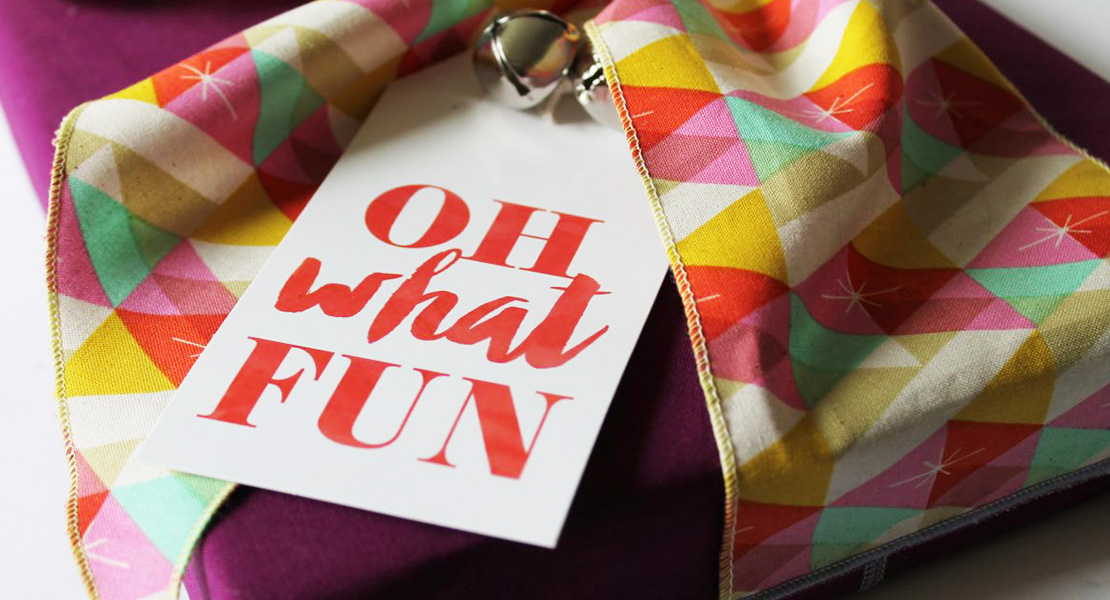
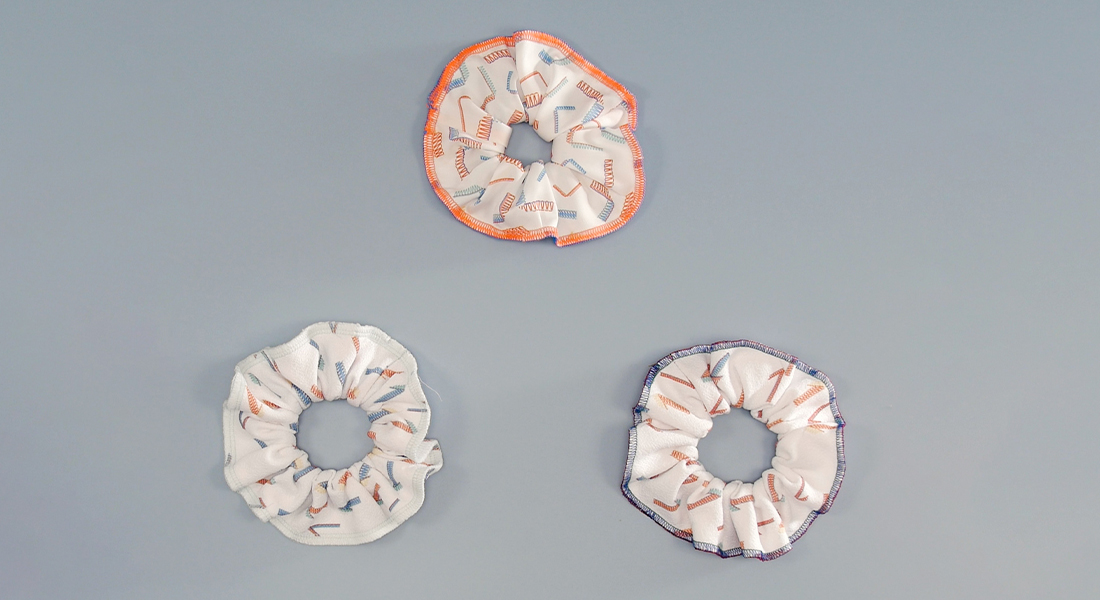
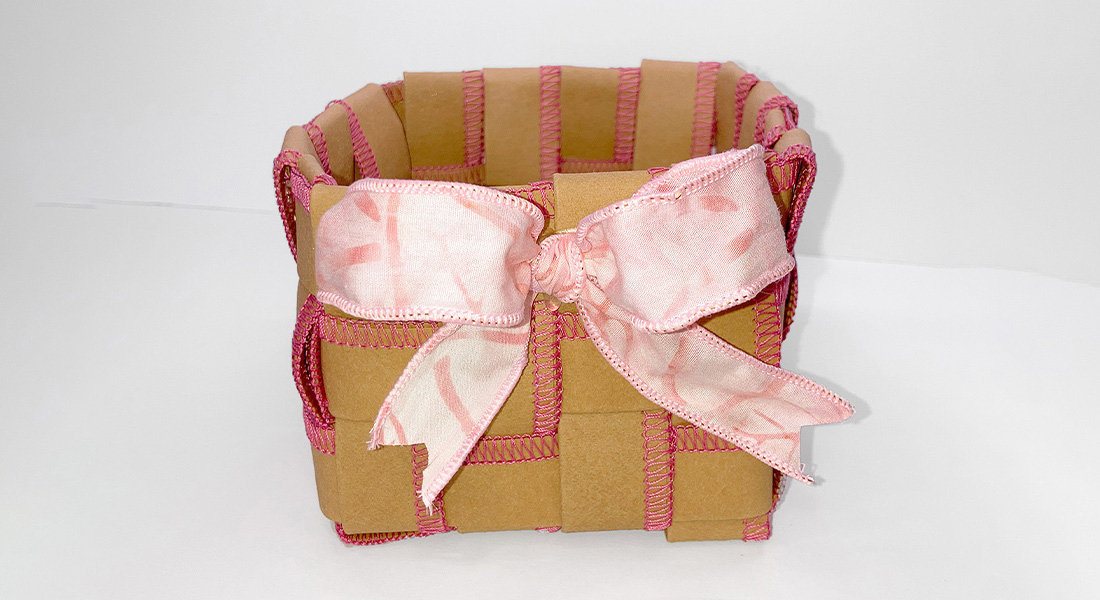
How to Make a Bow with a Serger
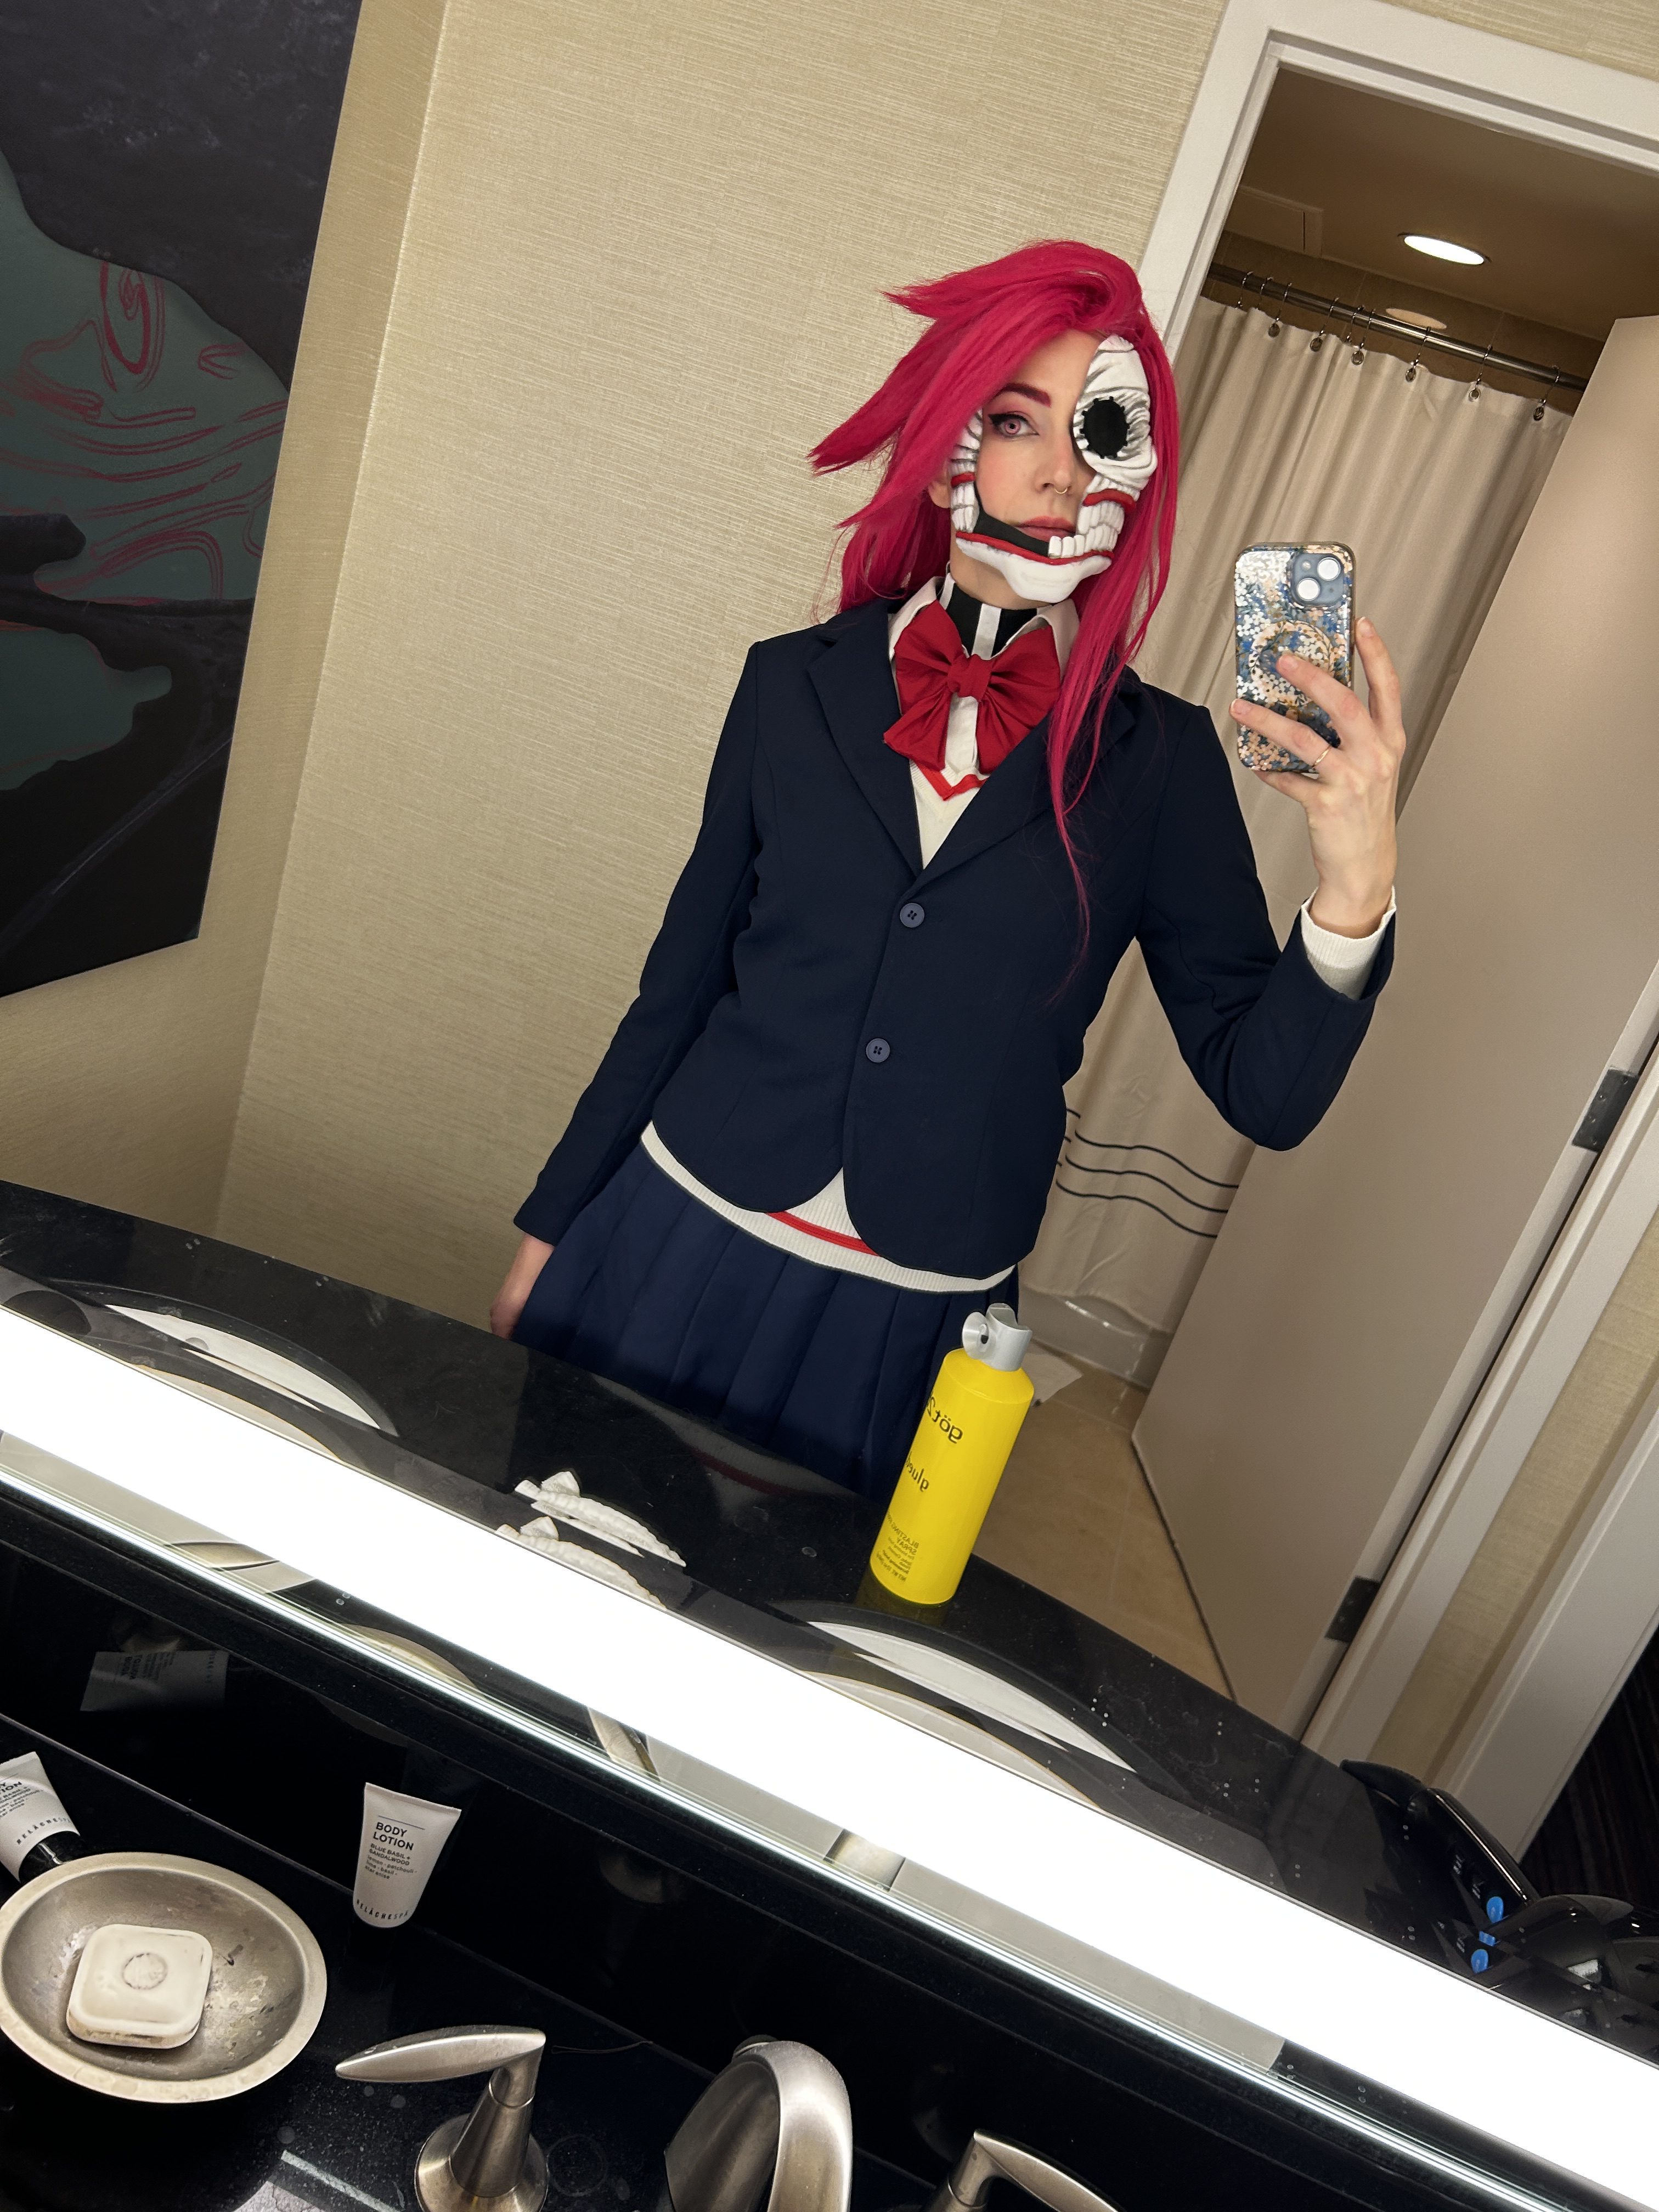
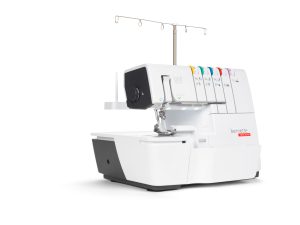
Bows can be used for crafts, costumes, and so much more! Personally, I have had to sew fabric bows for a variety of costuming projects, as they show up in Sailor Scout outfits, anime cosplay, and even in traditional Japanese attire. With the addition of the bernette 68 AIRLOCK in my arsenal, I wanted to challenge myself to create a fluffy fabric bow using only my serger.
Fortunately, making a bow on a serger is easier than ever. If you’re just starting out with your serger or are a veteran sewist who wants to experiment with a new technique, follow these steps to sew your way into this classic accessory.
Materials to Make a Serger Bow
- Serger machine (My favorite is the b68 AIRLOCK)
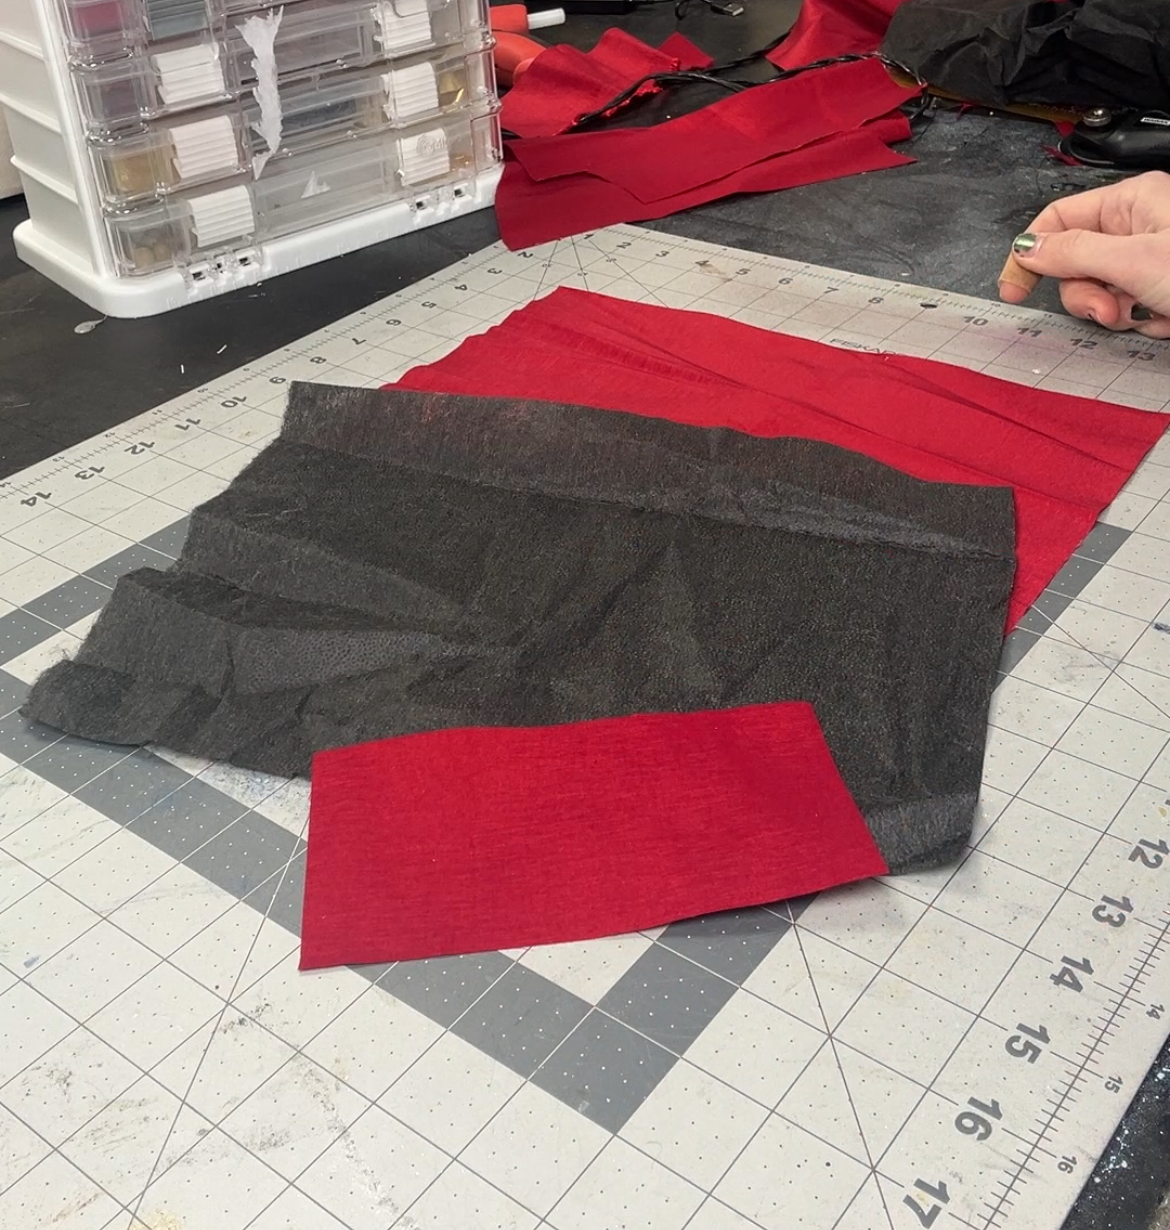
- Fabric:
- 9 x 12″ Panel for the main bow loop
- 4 x 6″ Panel for the bow tails
- 2 x 4″ Panel for the center bow loop
- Interfacing:
- 9 x 12″ fusible medium weight interfacing
- Serger thread (such as Mettler Seracor)
- Rotary Blade
- Cutting Mat
- Ruler
- Iron and Ironing Board
- Small Zip Tie
- Hot Glue and Glue Gun
Steps to Make a Serger Bow
Step 1: Iron Fusible Interfacing
Iron on your fusible interfacing to your main bow loop panel.
Step 2: Iron Panels
Iron your panels in the correct orientation for serging.
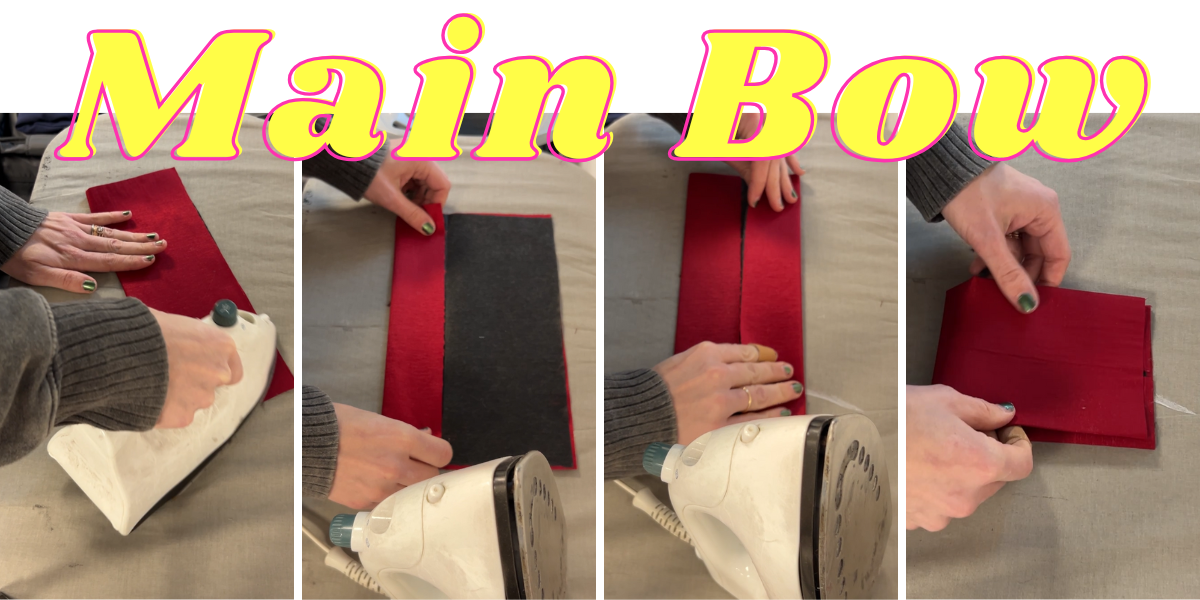
- For your main bow loop panel, you’ll fold in both of the long edges so that they meet in the center (right sides out). Iron flat. Then, fold with the right sides out so that both of the short edges meet. Iron at the center point and clip the short edges together. We will serge this section next.
- For your bow tail panel, fold both of the long edges in to meet at the center with WRONG sides out and iron flat. We will serge the short edges.
- For your center loop panel, simply fold in half longways, wrong side out, and iron flat. We will serge the long edge.
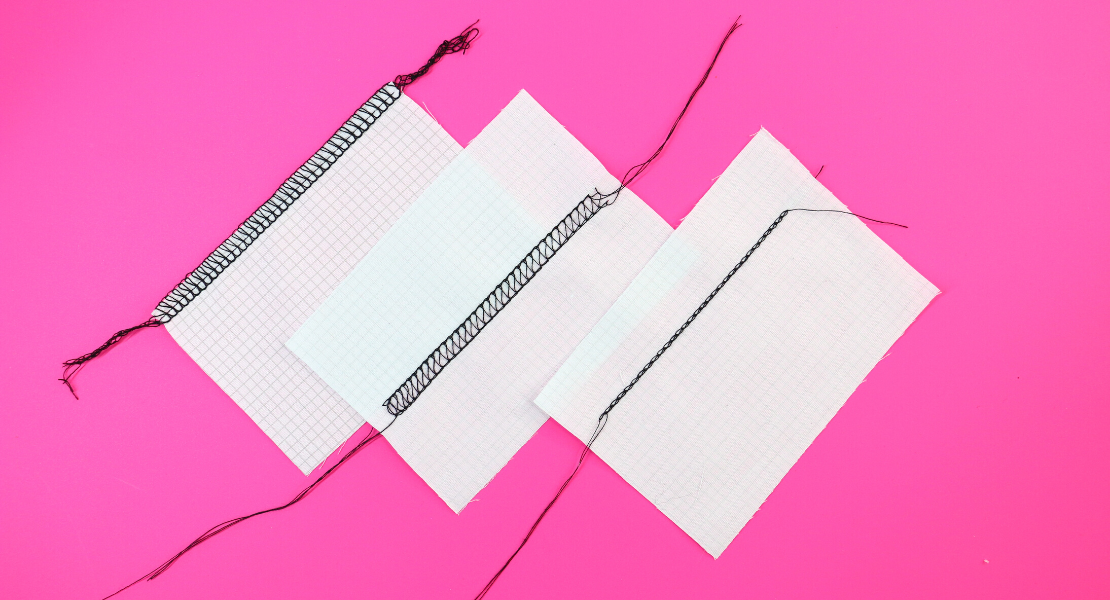
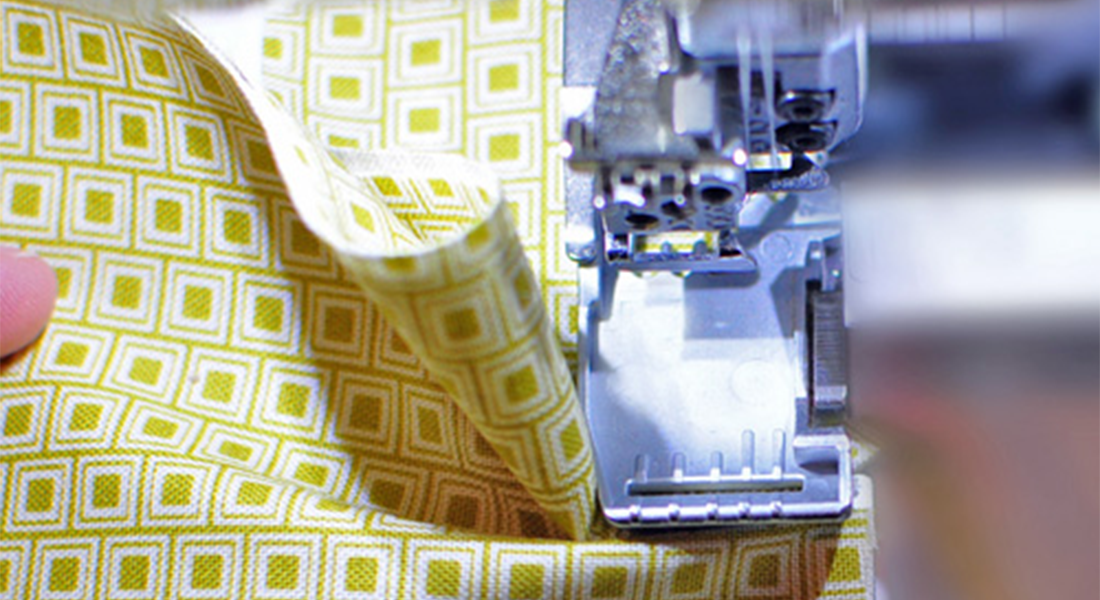
Step 3: Serge Your Panels
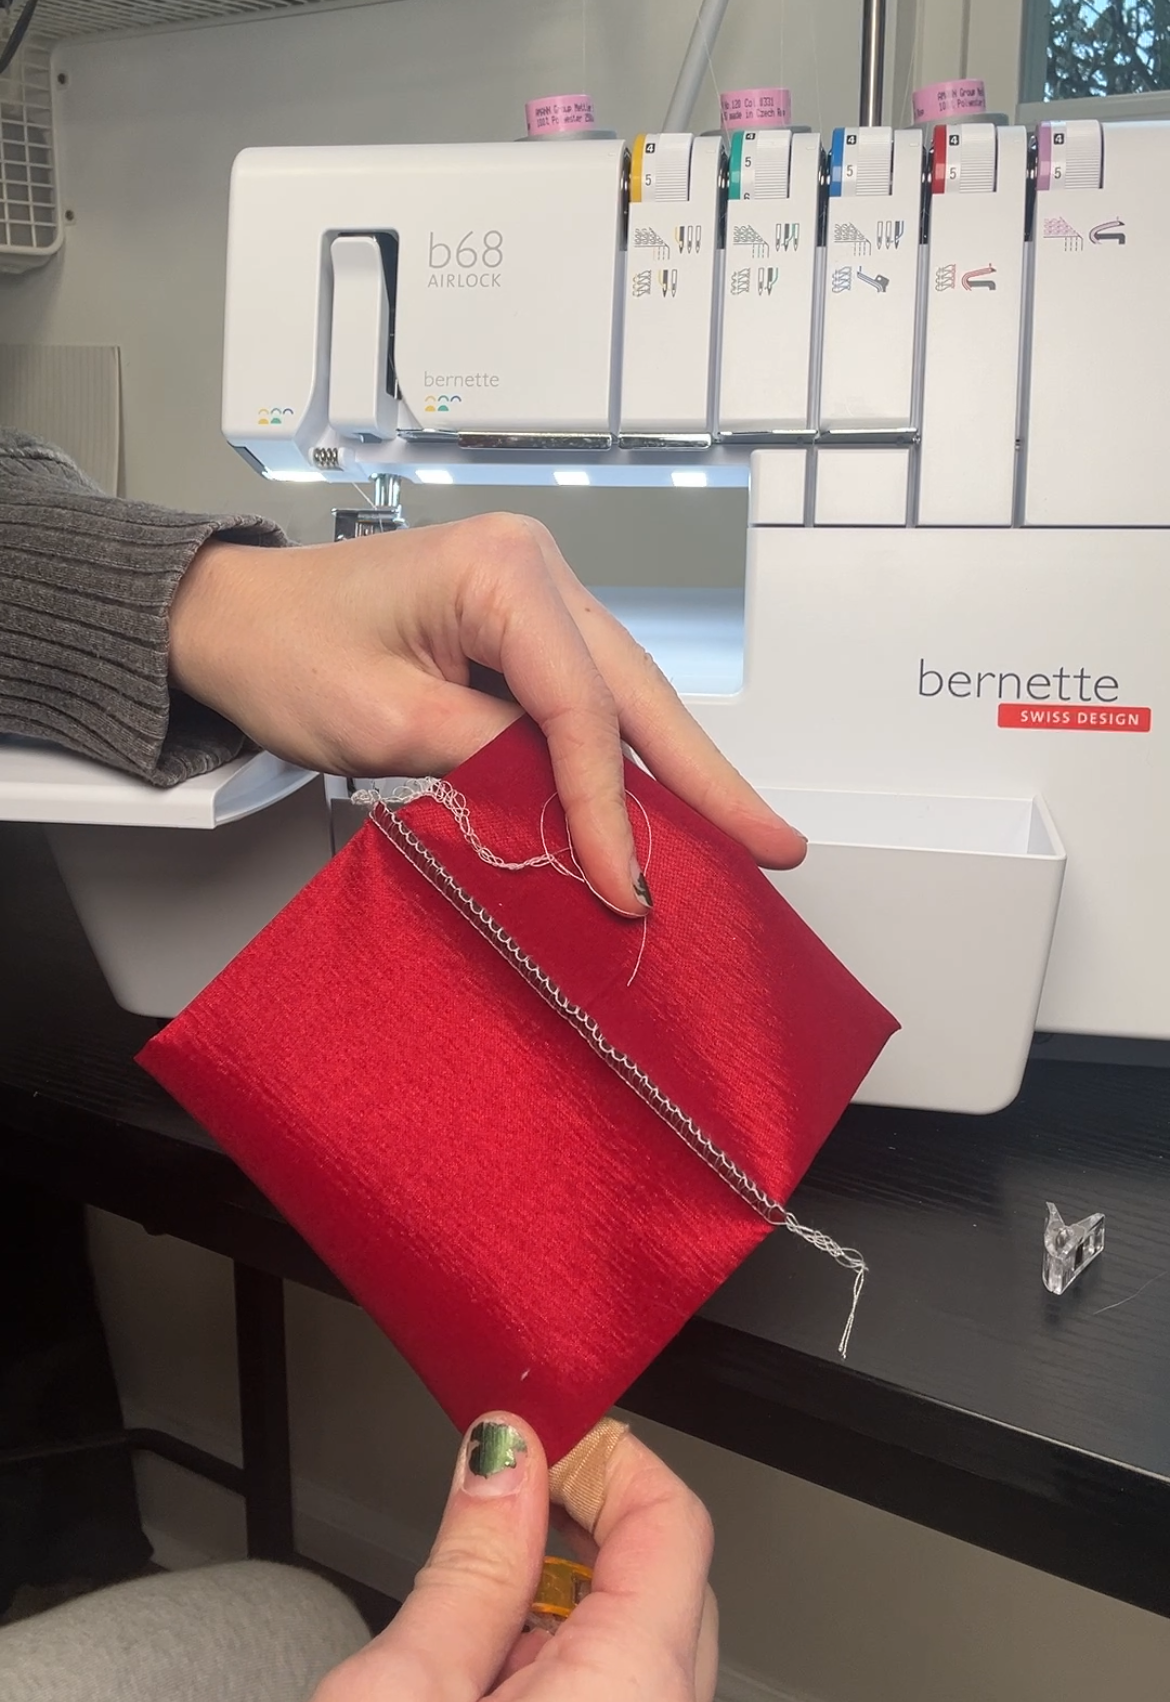
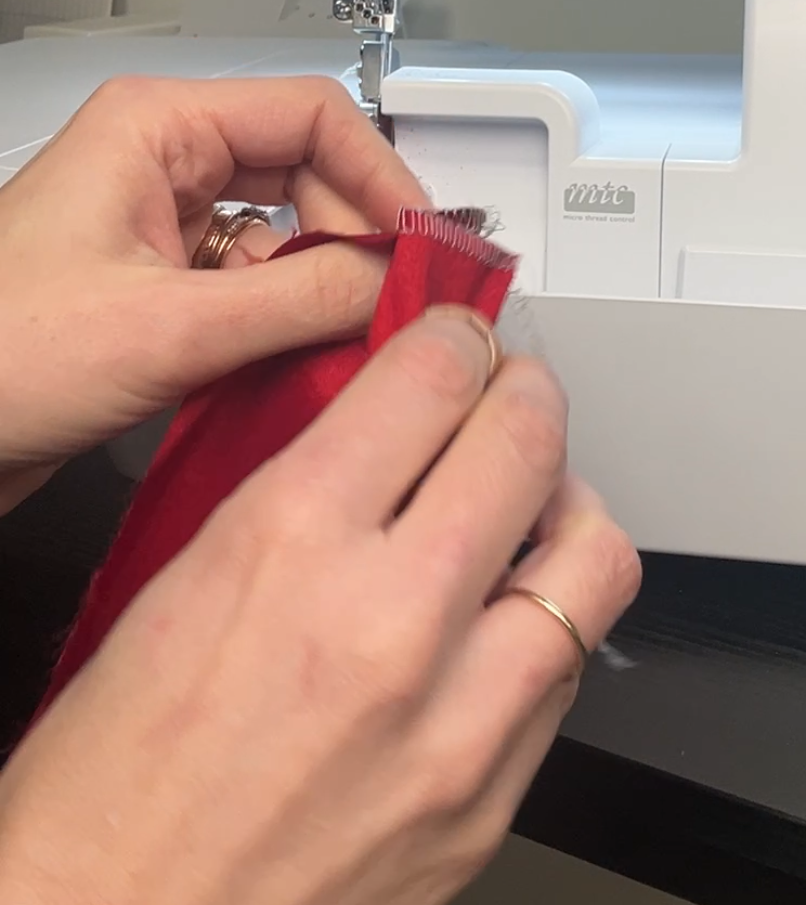
- Main Bow Loop Panel: Serge the short edges together, allowing for minimal cutting of your fabric by the blade.
- Bow Tail Panel: Serge the short edges, allowing for minimal cutting. Clip excess thread and turn right-side out.
- Center Loop Panel: Serge the long edge (minimal cutting of fabric) and turn right-side out.
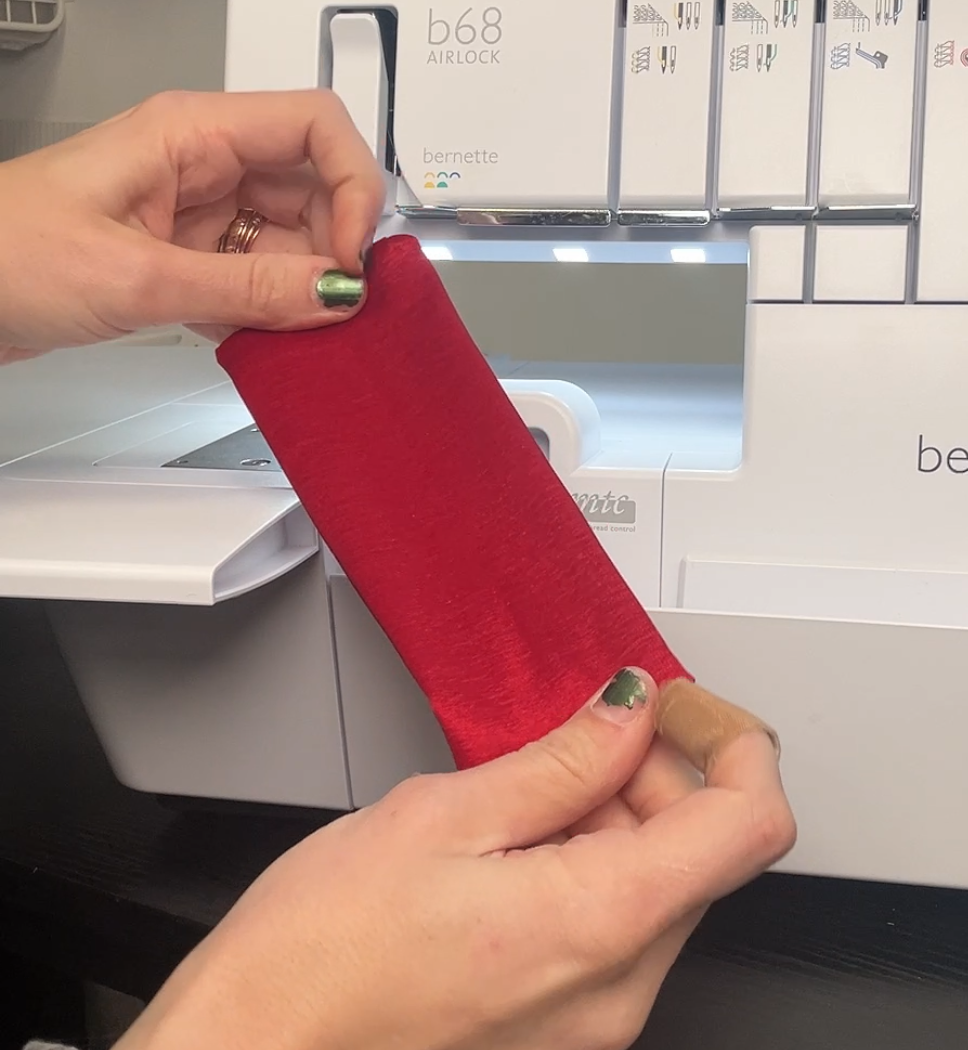
Step 4: Turn Panels and Iron
Turn all panels right-side out and iron into position.
- Main Bow Loop Panel: This section is already right-side out. Fold the panel so that the serged edge is center back and iron flat.
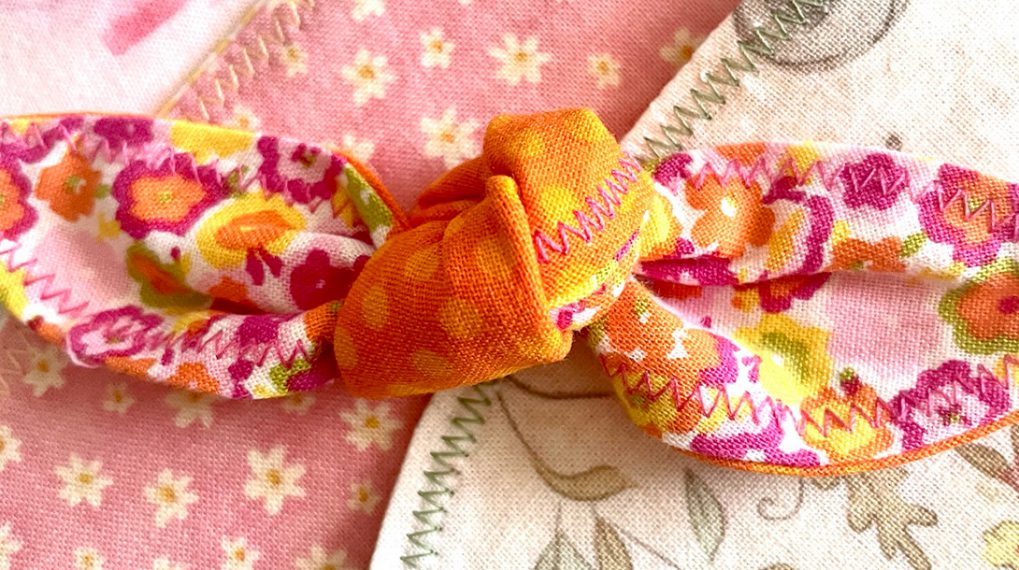
- Bow Tail Panel: Turn right-side out if you haven’t already and push all corners out. Iron flat. You will hide the back of the panel as the back-side of the bow tails. Only the front of the panel will be exposed forward-facing. (pictured left)
- Center Loop Panel: Turn right-side out if you haven’t already and fold the seam onto the center back. Iron flat with the front of the panel having no visible seam. Serge the short open edges to keep things tidy.
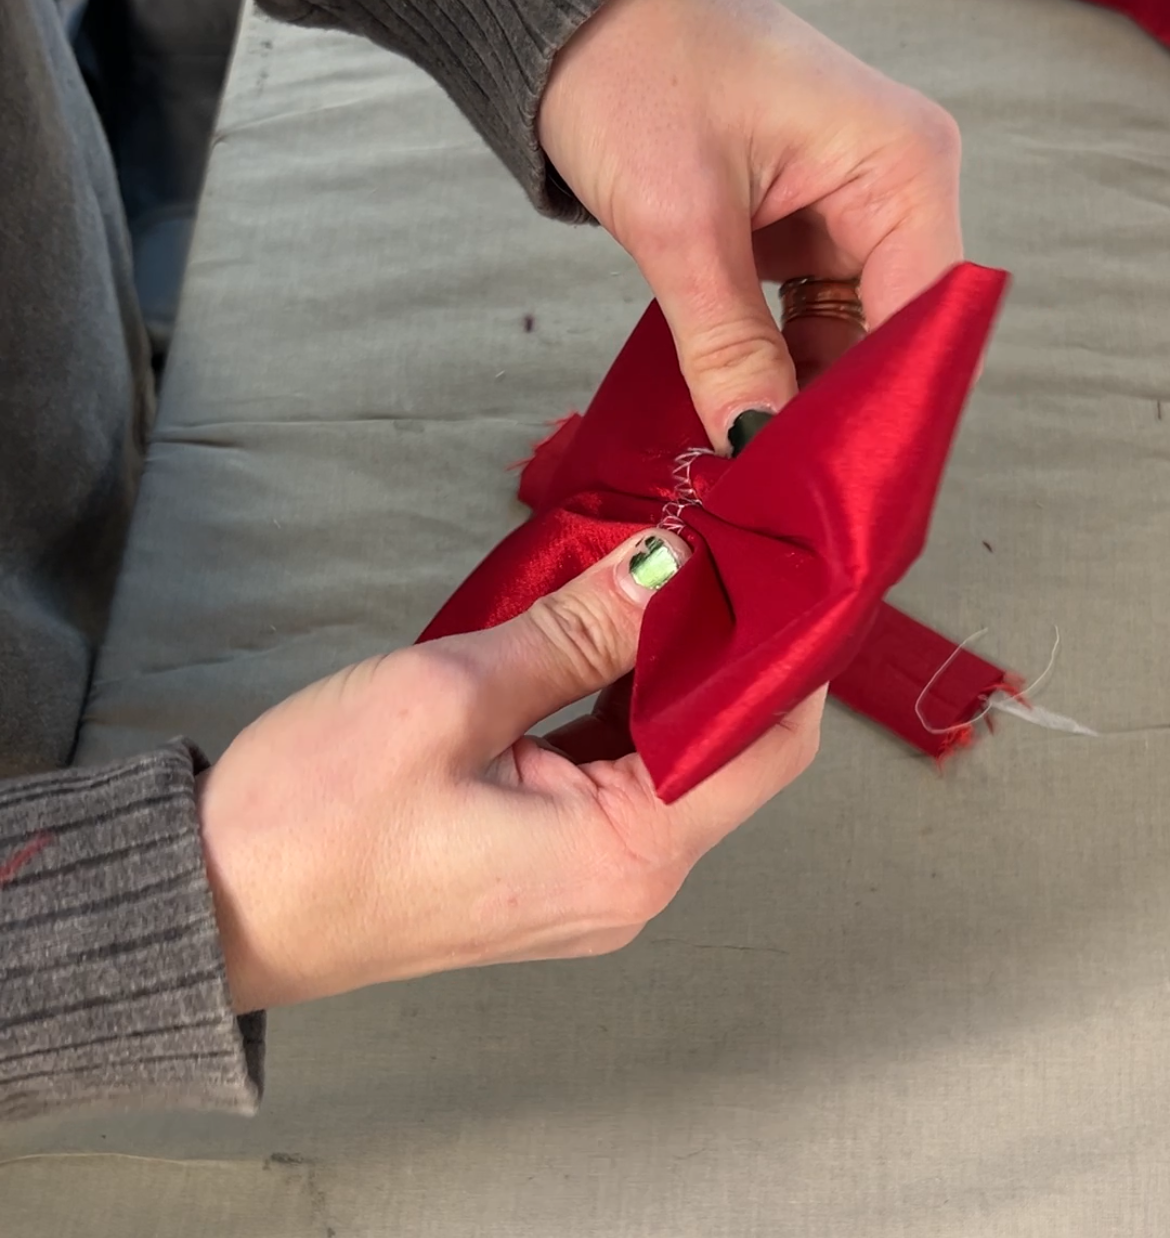
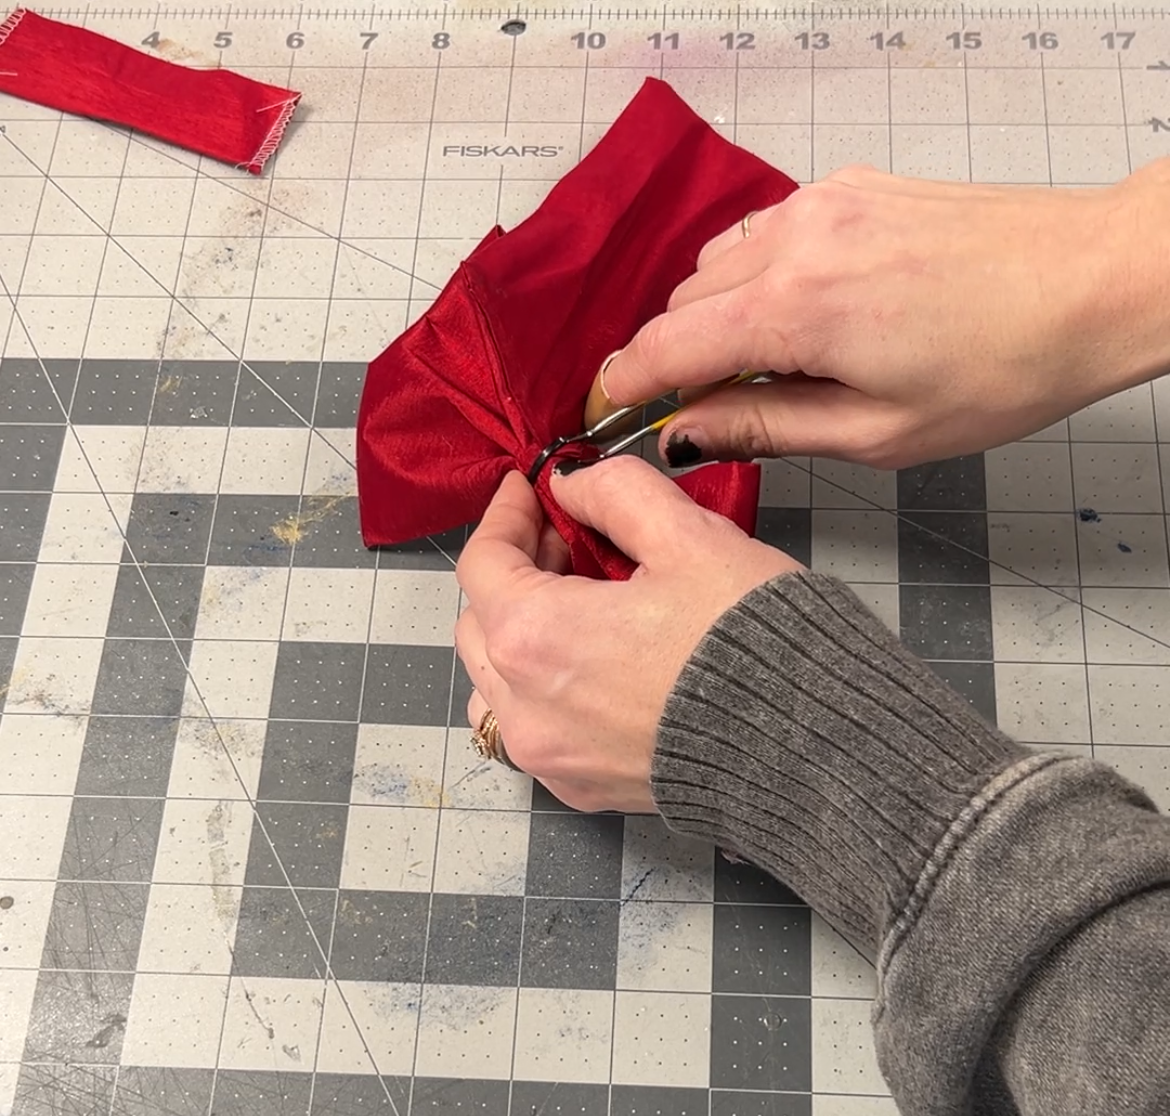
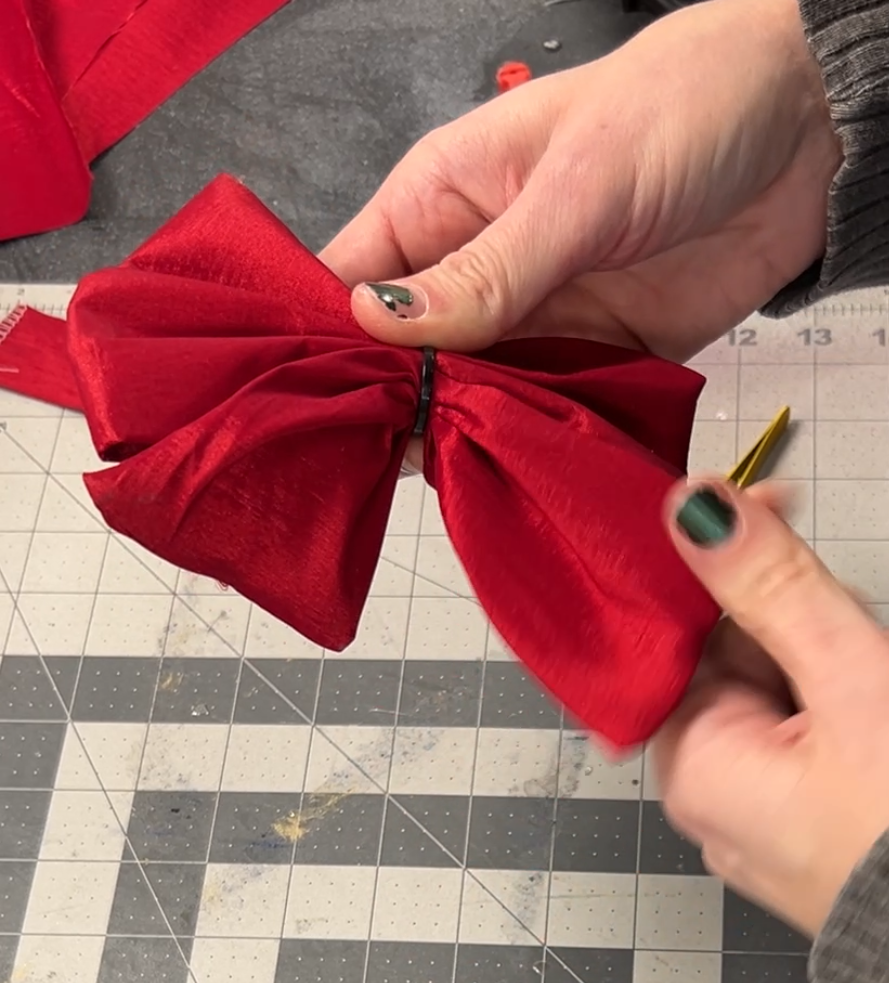
Step 5: Zip Tie Main Bow Panel
Gather the center of your main bow panel so that it folds nicely and zip-tie the center for a permanent pinch.
Step 6: Pull Bow Tail Panel Through Zip Tie
Pull the bow tail panel through the zip tie, making sure that only the clean front of the panel is showing at the forward-facing section of the bow.
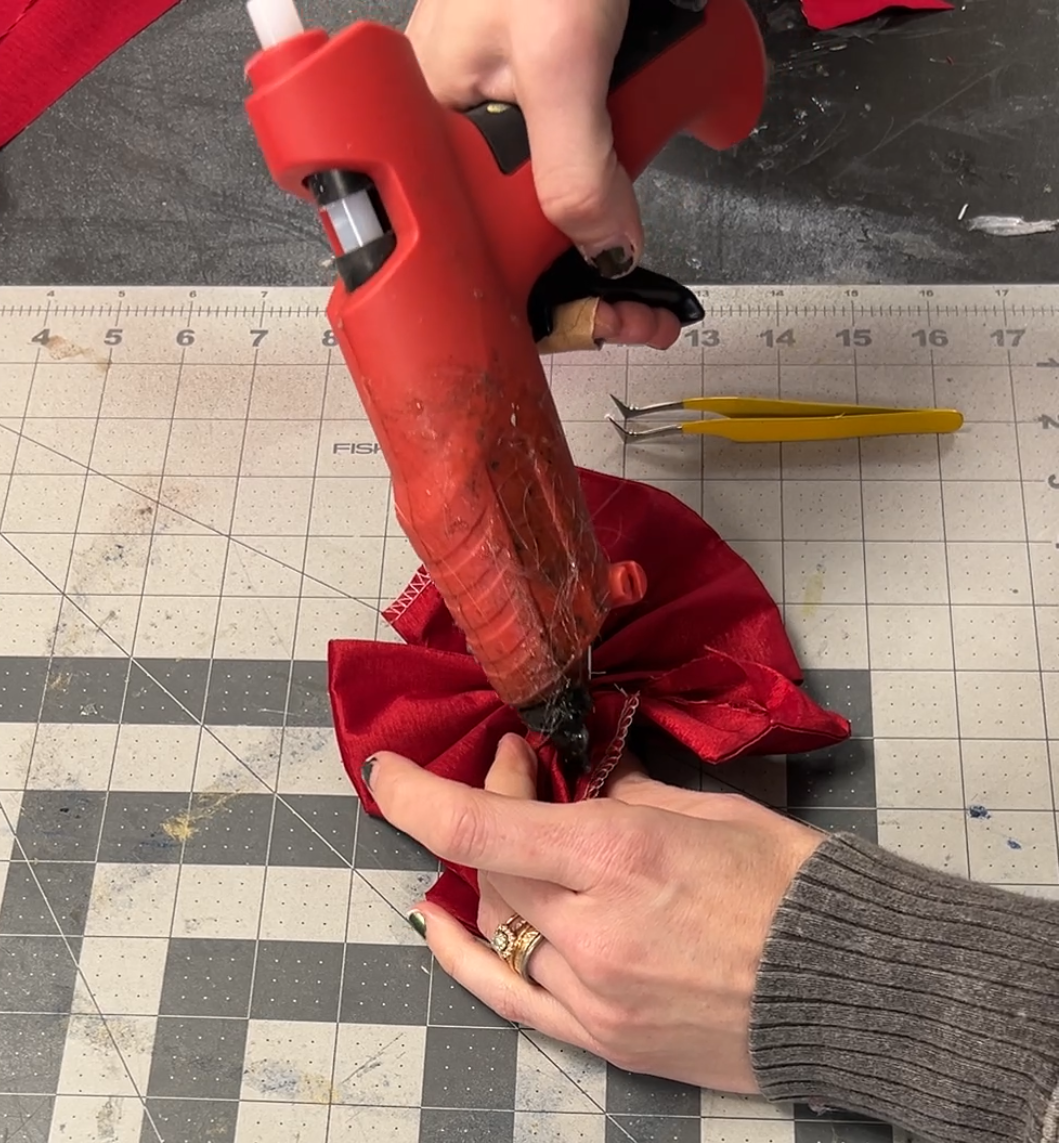
Step 7: Hot Glue One End of Loop
Once the main bow and tails look how you want, hot glue one end of the loop onto the back center of the bow.
Gently pull the loop around the front. Adjusting for aesthetics, and then cut and hot glue the other end of the loop on top of the back of the center bow.
Once everything is assembled, I gently use my fingers to pull open the bow loops (this can be skipped if you like a sharp flat bow). I also use a pair of tweezers to adjust little folds in the center loop and tails as needed. You can add a pin or additional attachments to the back of the bow for your needs!