How To Make Patches With Free-Motion Couching
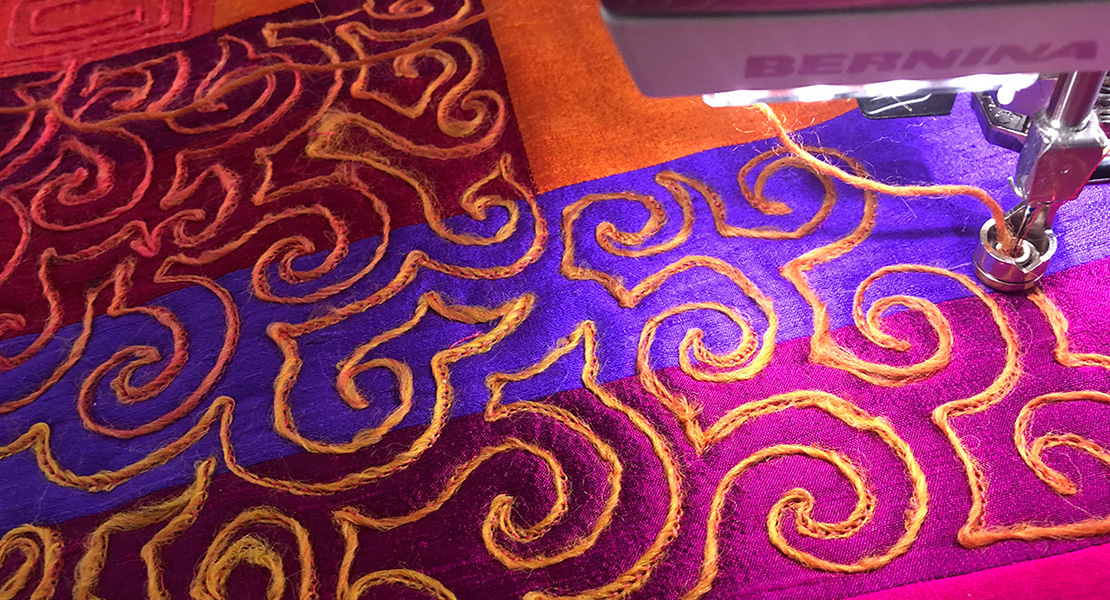
While playing around with Free-motion couching foot #43 I discovered a way to make name or word patches in the style of those retro chain stitched patches. If you’re already practiced in the art of free-motion stitching or quilting, then creating words with this technique will be a breeze. Free-motion stitching is similar to free-motion quilting, but instead of stitching on a quilted surface you are stitching on fabric. Read all about how to get started with free-motion in this tip post from Lori Kennedy here.
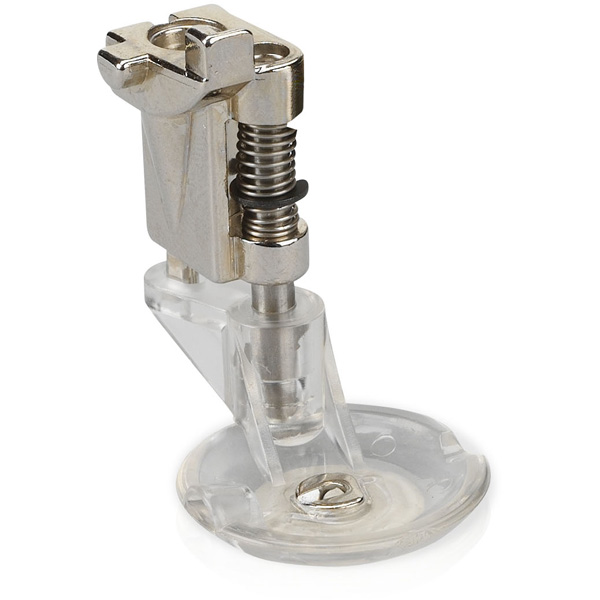
The BERNINA Free-motion couching foot #43 makes this technique easy! Read more about foot #43 and how to use it here.
Materials to Make a Patch With Free-Motion Couching
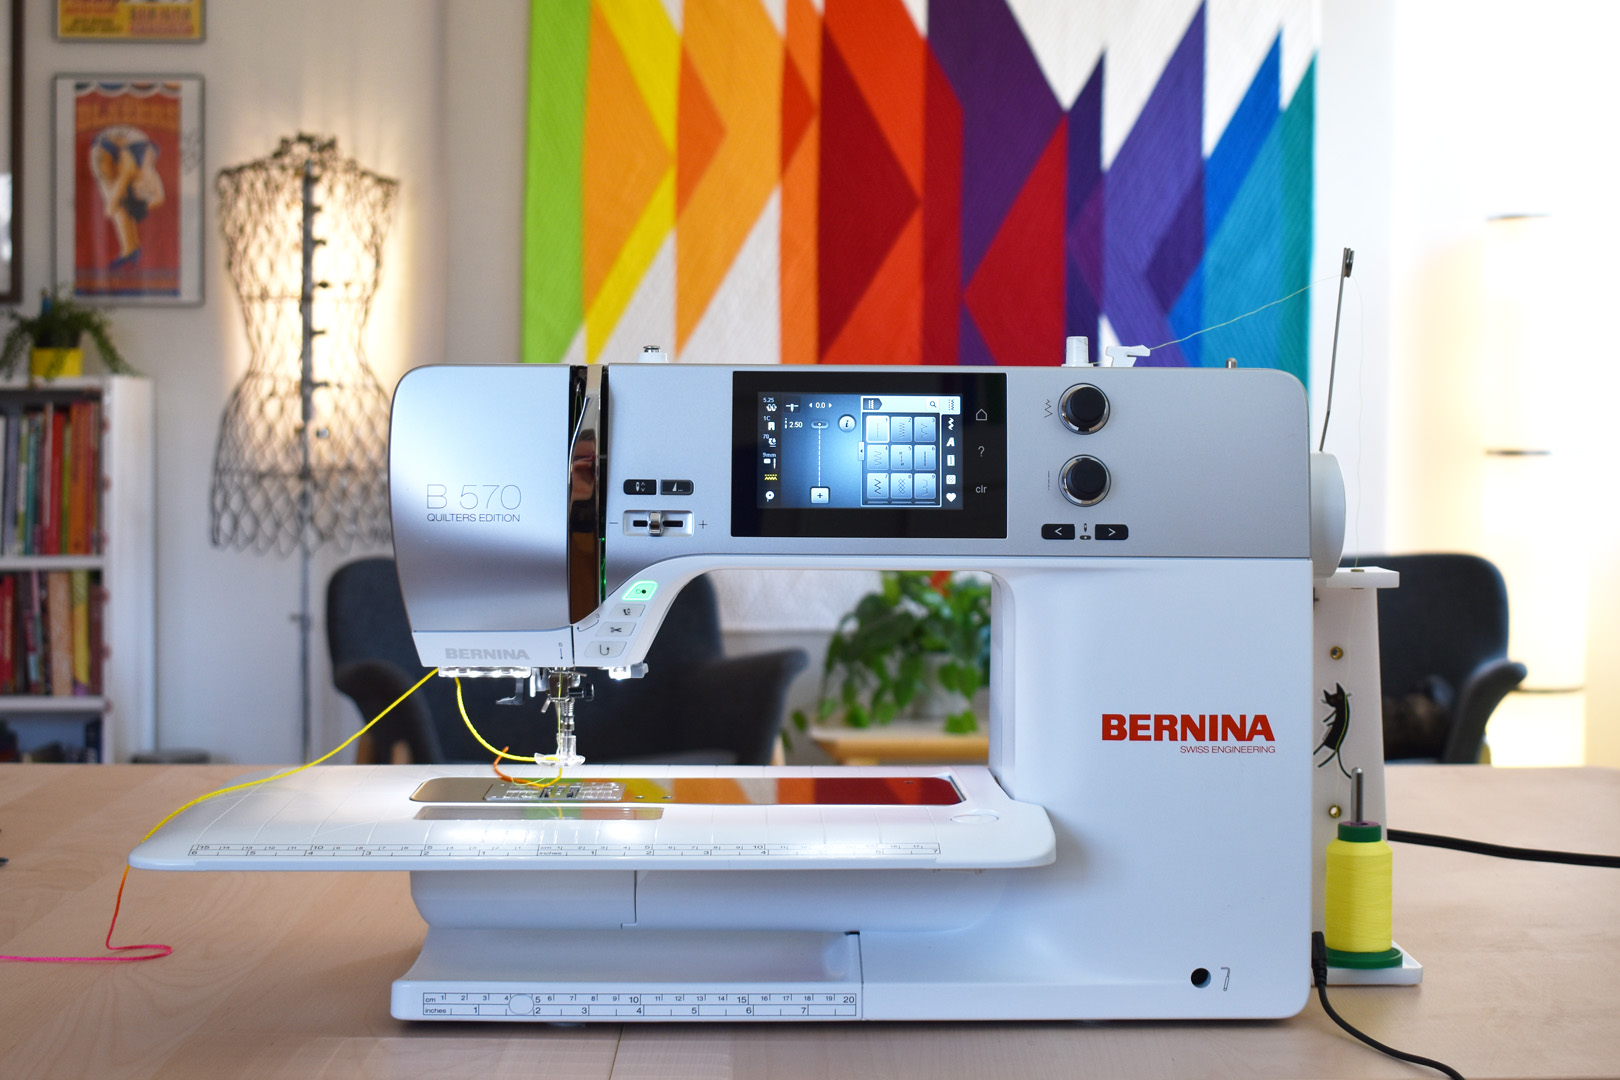
- Sewing machine (I use a B 570 QE)
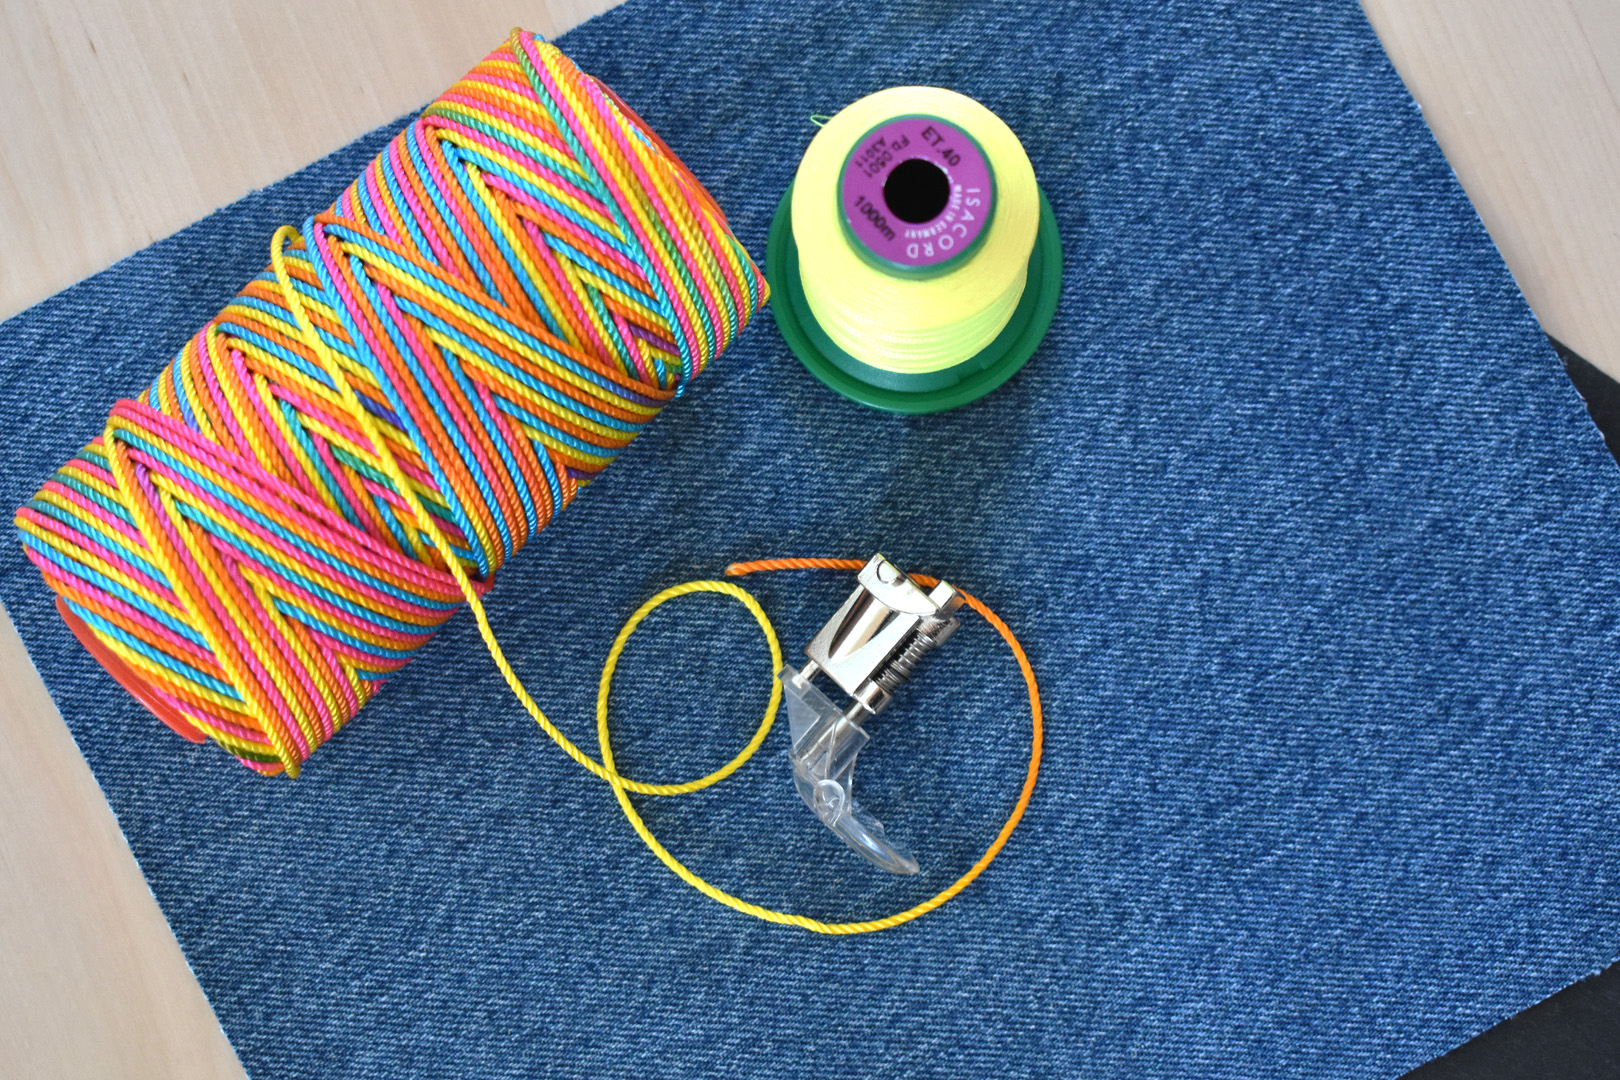
- Free-motion couching foot #43
- Straight stitch foot (for this project I use Patchwork foot #97D)
- Round cording 1.5mm – 2mm in width (I am using a bright variegated macrame cord and a black cotton yarn)
- Thread to match the cording
- Large, sharp hand sewing needle that will fit cording (I am using a large upholstery needle)
- Medium to heavyweight base fabric (I am using denim and a solid colored cotton)
- Medium weight cut-away stabilizer, white for light fabrics and black for denim or dark fabrics
- Lightweight tear away stabilizer (optional, only for use in marking words for stitching, read tutorial first)
- Temporary spray adhesive
- OESD Fuse ‘N Seal iron on film for patches
- Scissors, thread snips, sewing pins
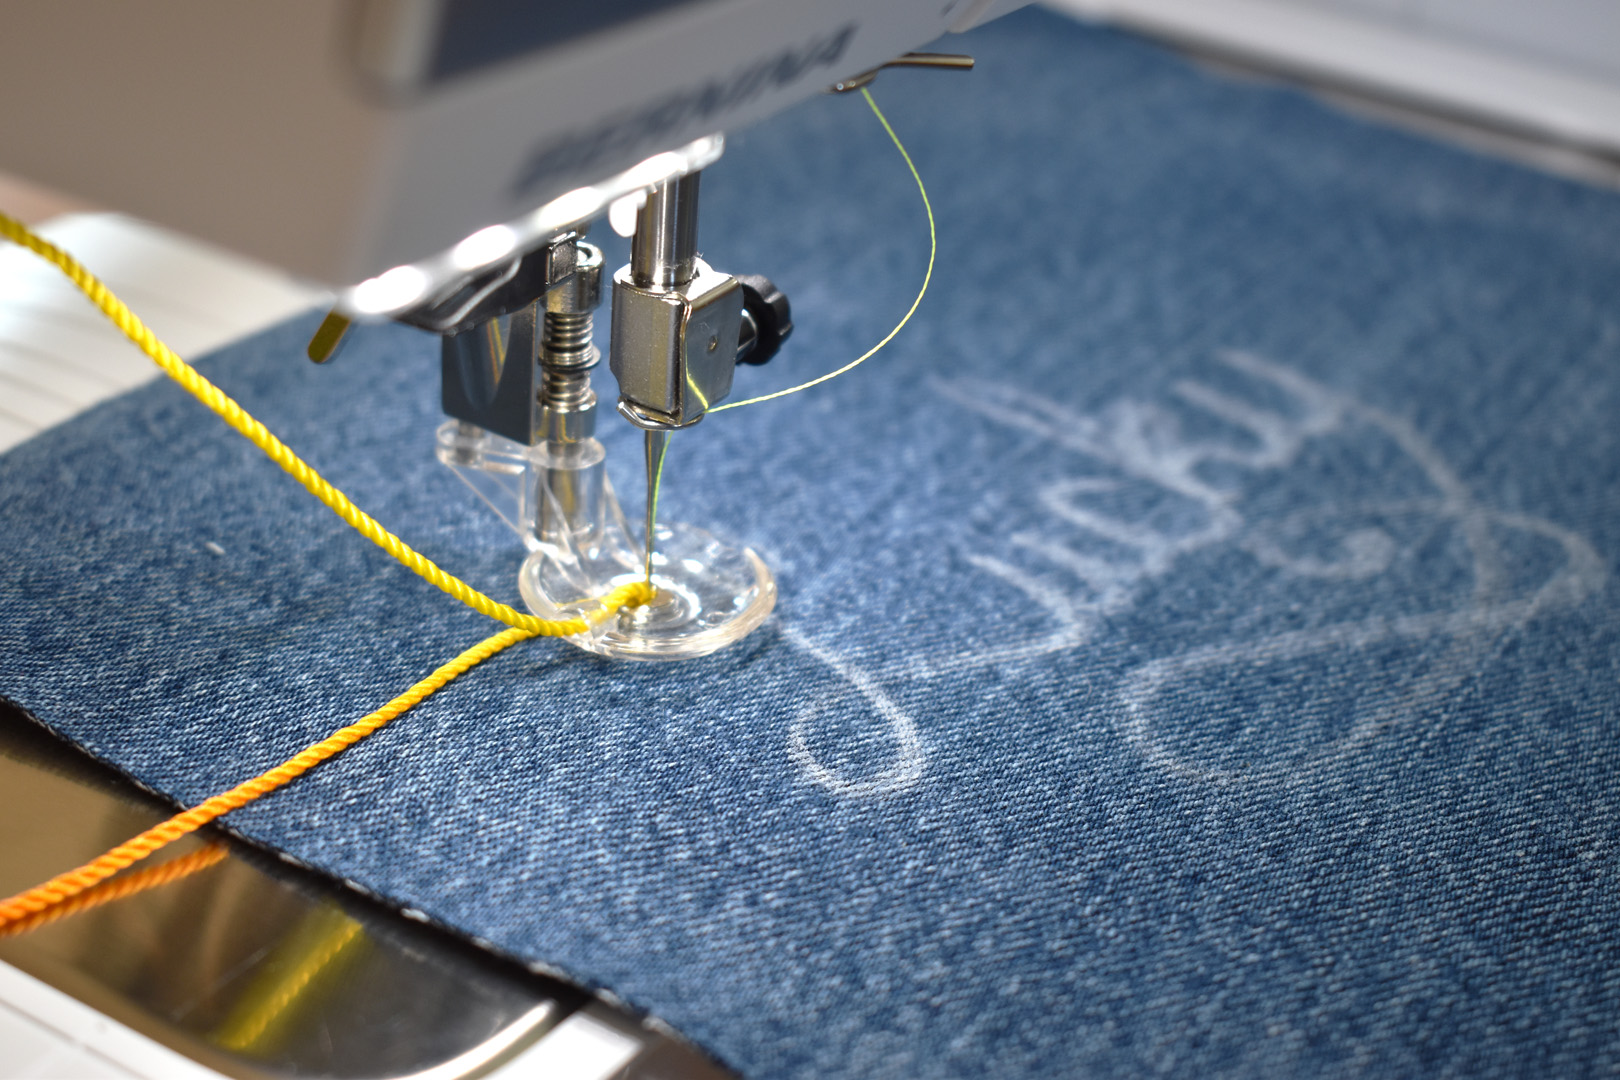
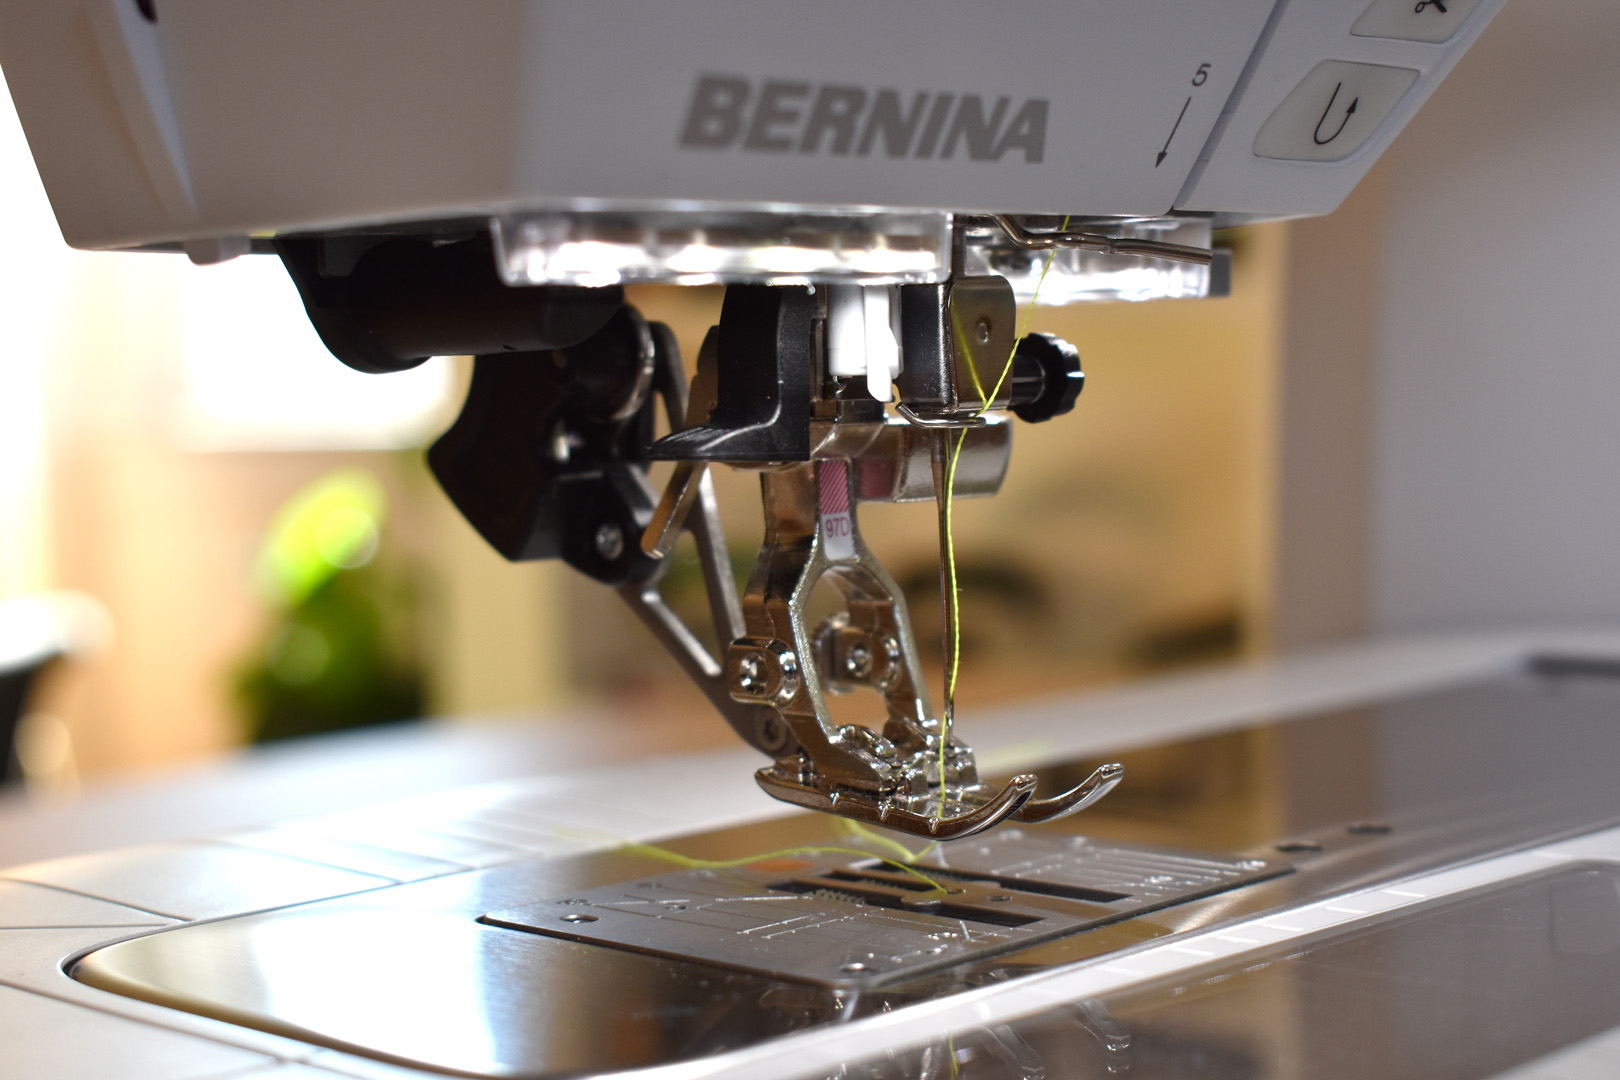
Before getting started with the project, set up your sewing machine for use with the Free-motion couching foot #43. I am using a BERNINA Jeans needle size 90 for this project.
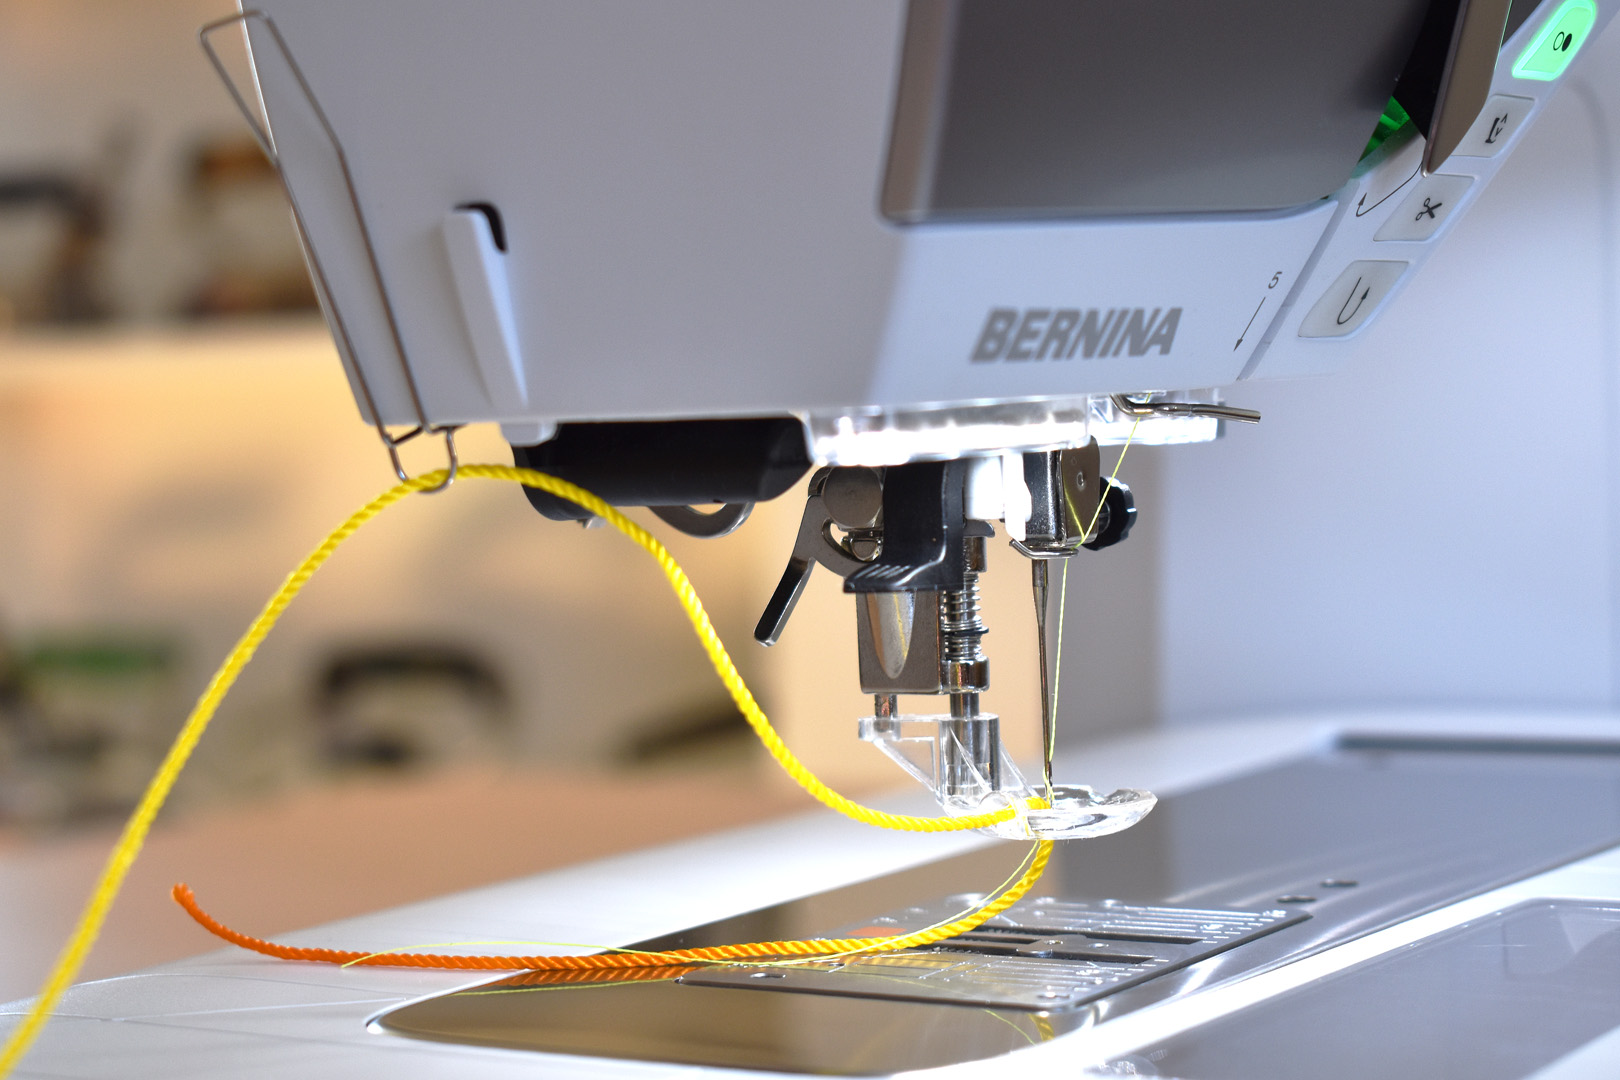
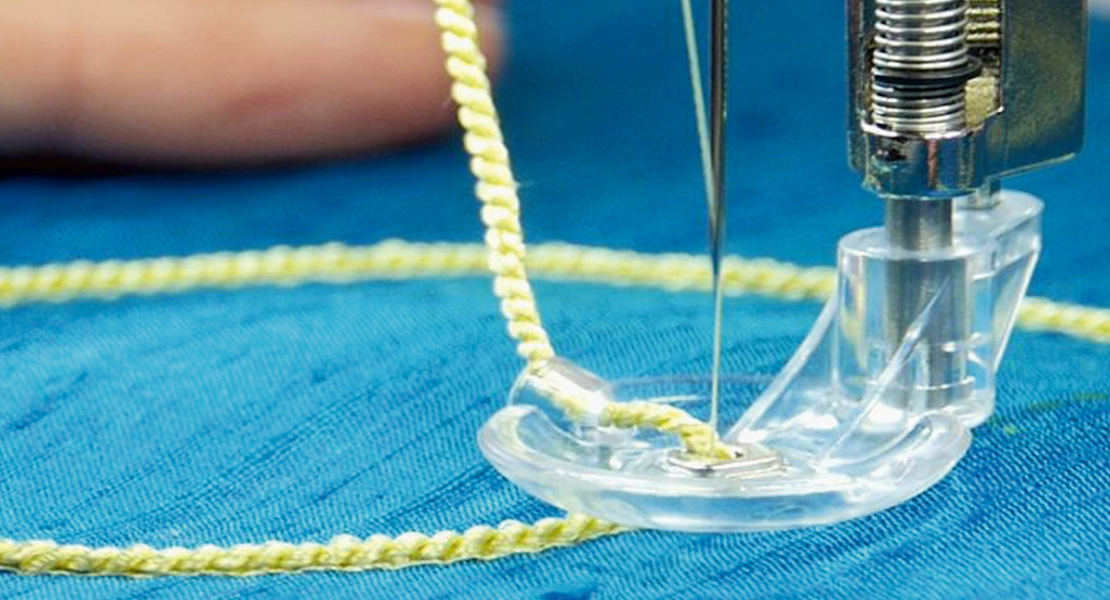
First, install one of the two cording guides with foot #43 to the side of your machine. Get in touch with your BERNINA store staff if you aren’t sure which guide works with your model. This guide is needed to keep the cording feeding evenly through the foot, and to hold the cord out of the way when stitching. Thread your machine as usual, then thread the cord through foot #43. Use the small cord guide with foot #43 to slide the cord into the side opening of the foot, then through the hole in the bottom of the foot, attaching the foot to your sewing machine after cording is inserted.
Prepare the fabric for free-motion couching.
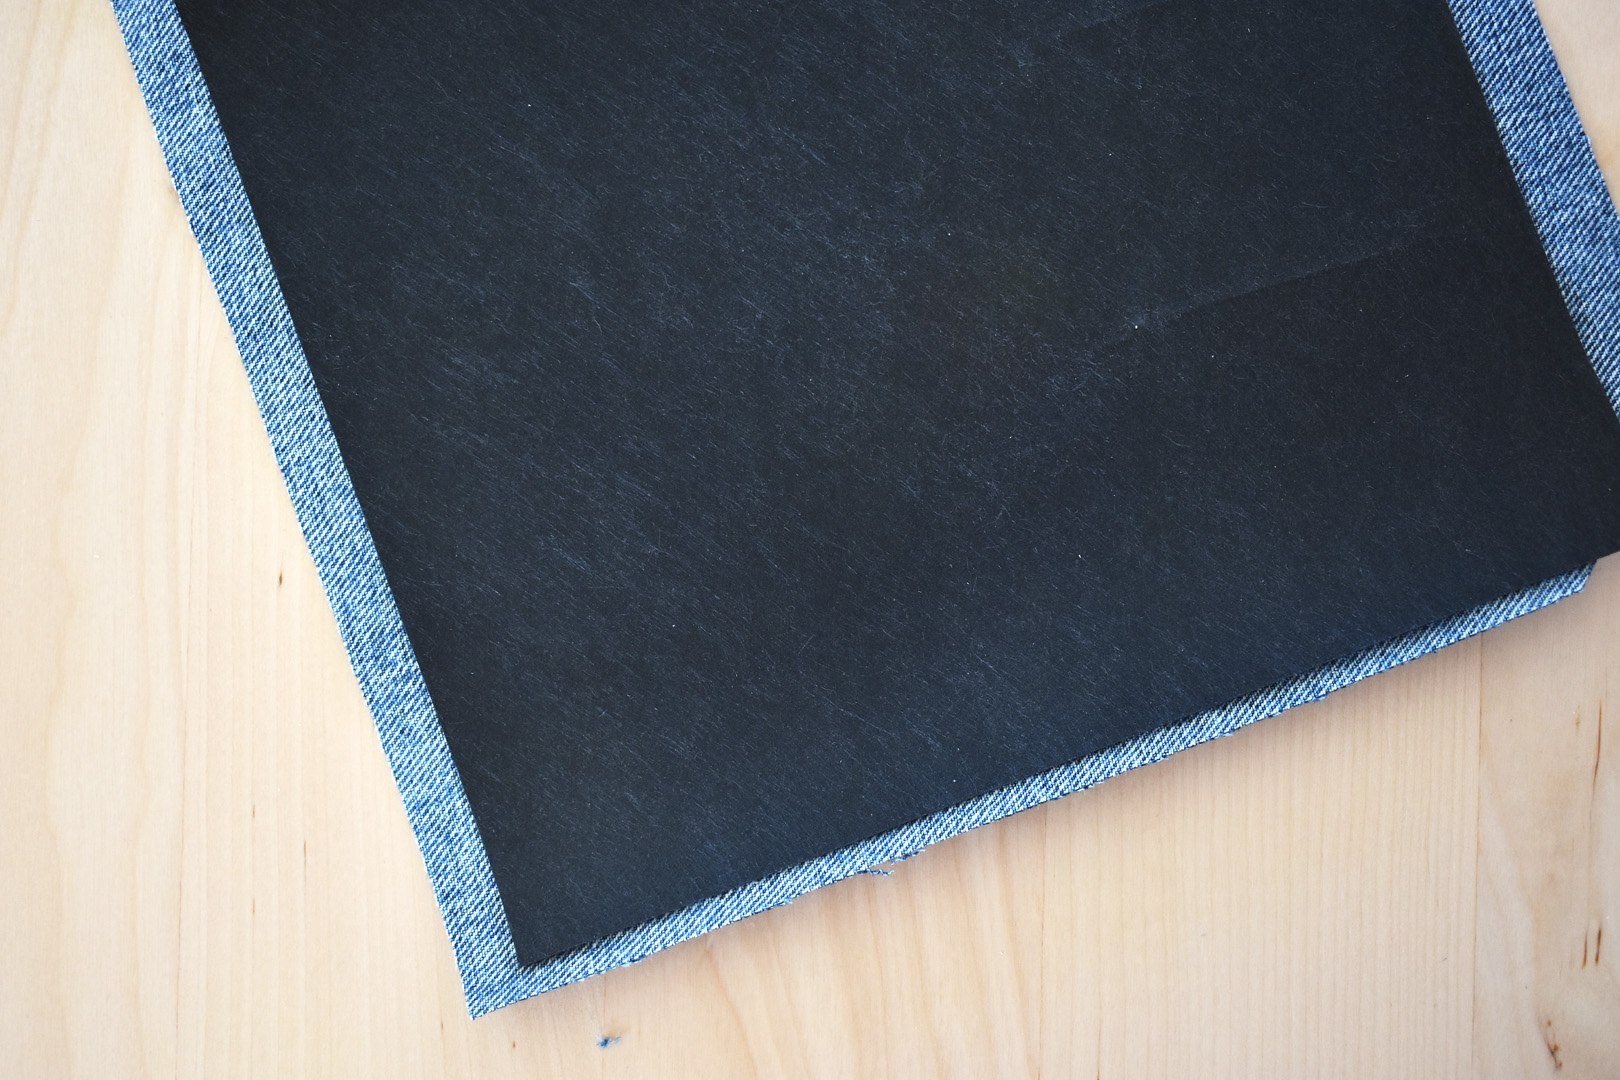
Cut a piece of base fabric for the patch larger than the finished patch size, you will need a little extra to work with. Stabilize the base fabric by adhering medium weight cut-away stabilizer to the wrong side of the fabric with a little temporary spray adhesive.
A quick word about making the words or names. I am showing two methods for marking a pattern; marking the word free-hand directly on the fabric, and using a lightweight tear-away stabilizer to trace or draw on. You can use a computer to find a script font you like, increase the size, and print to trace (scroll down to see this method). So don’t worry if you feel your handwriting skills aren’t up to the task!
To mark directly on the fabric free-hand, use a pencil, marker, or chalk that you know for sure will disappear or wash away after finishing your project.
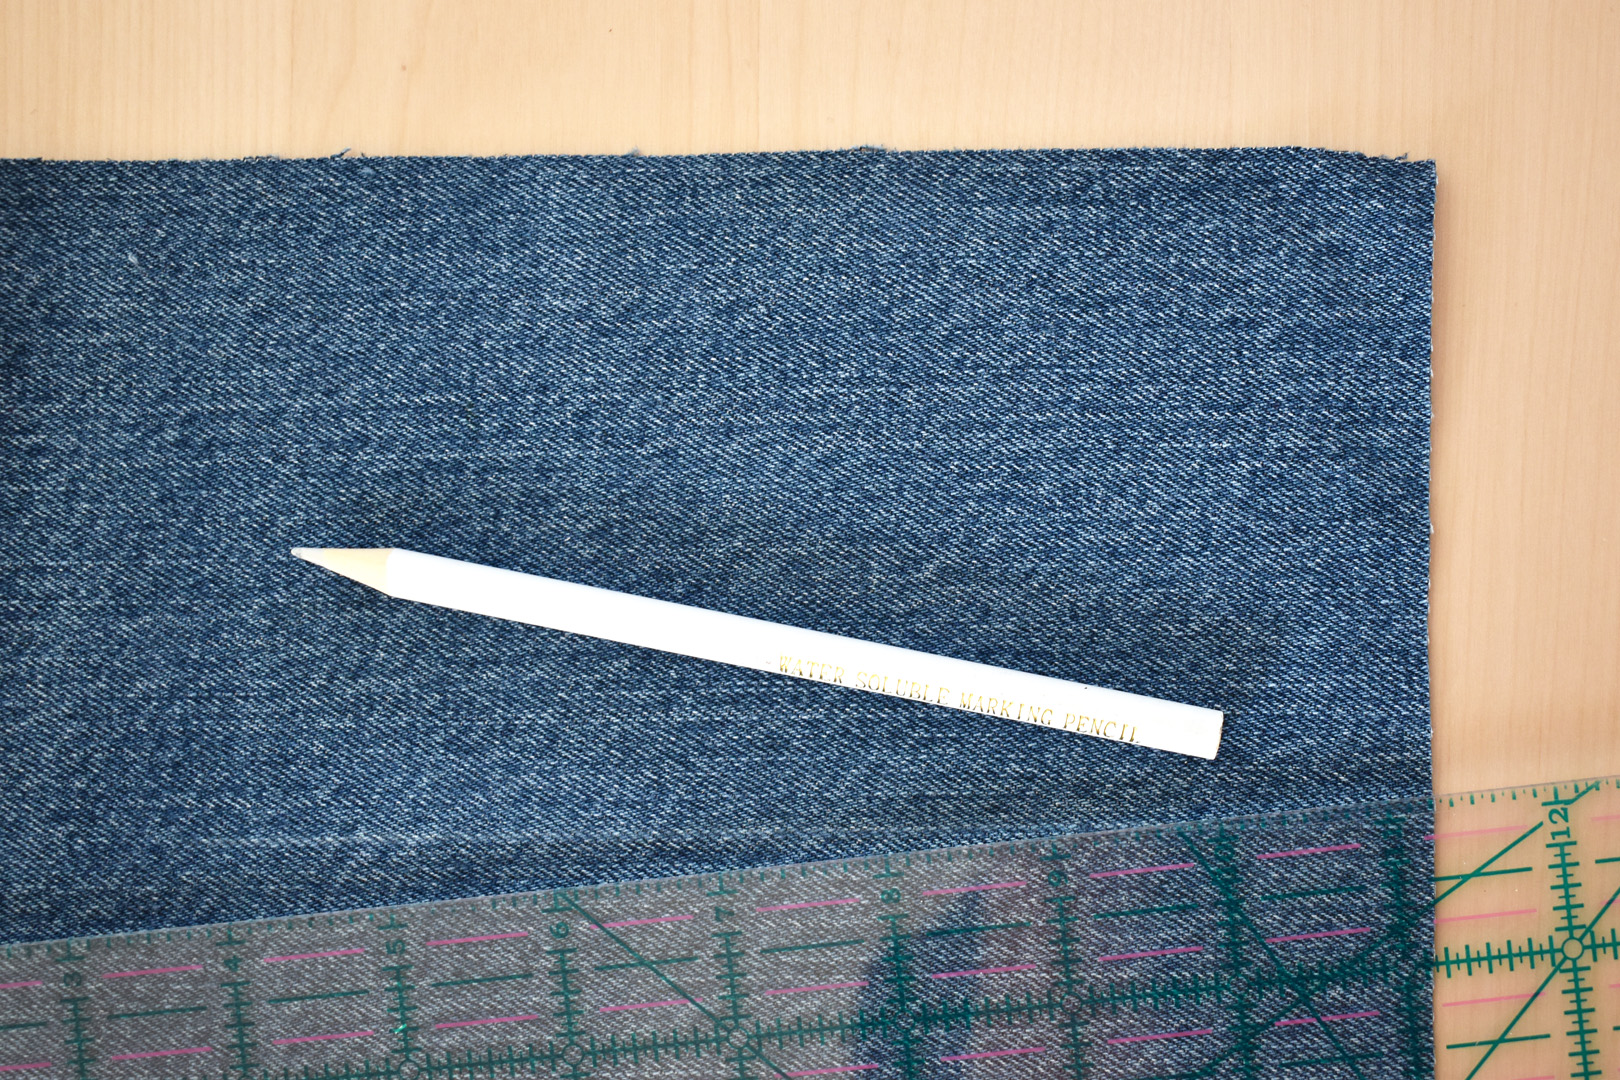
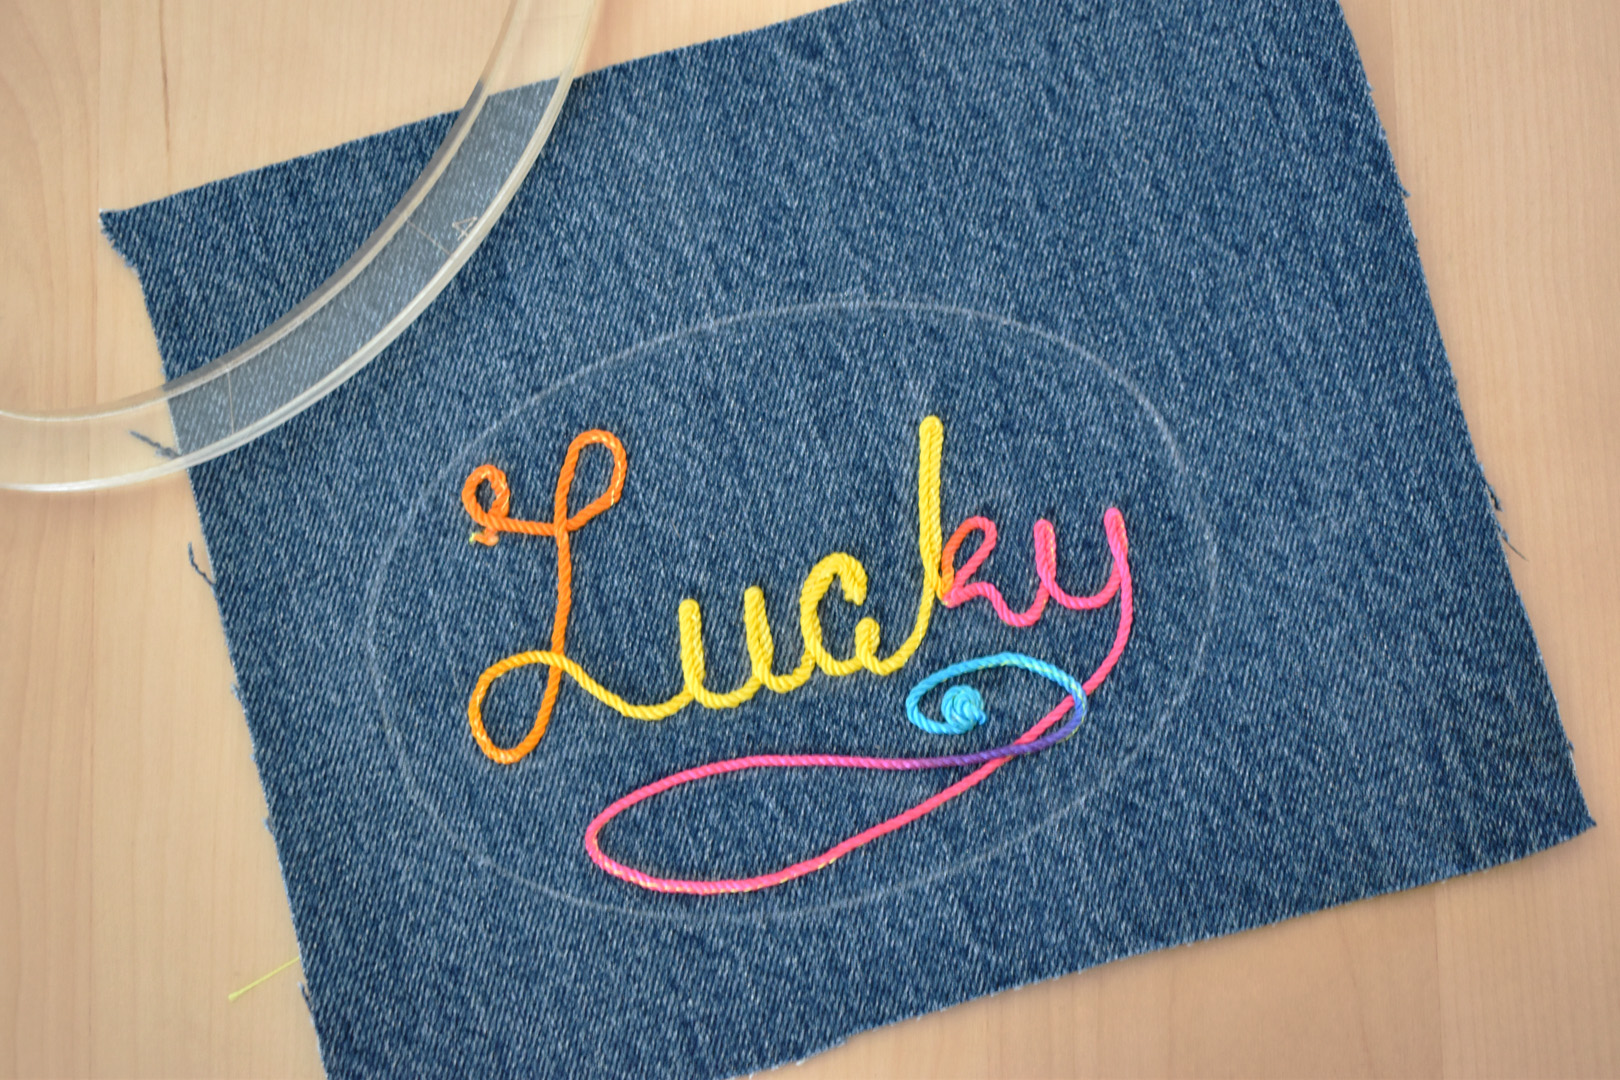
Mark a straight line that will be the baseline for the word. This will help you create the word with connected letters along the line. If I don’t have that line to follow, my handwriting will start to veer off! You definitely want the word to form a straight line with this technique.
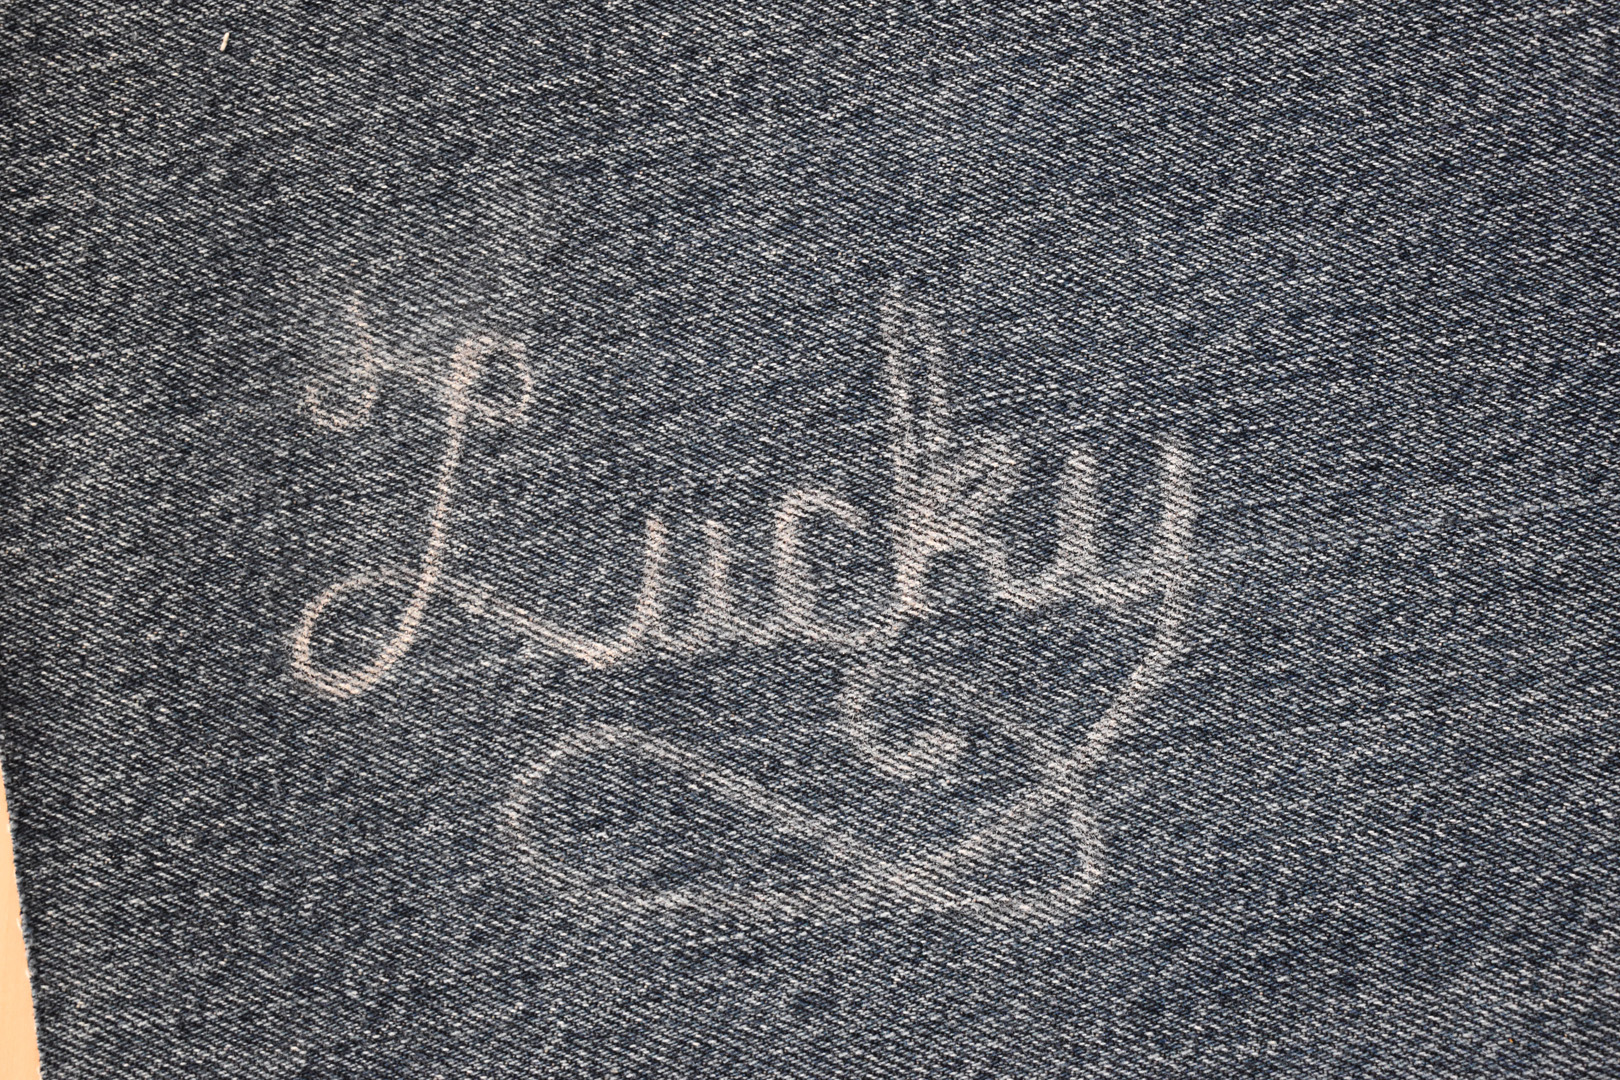
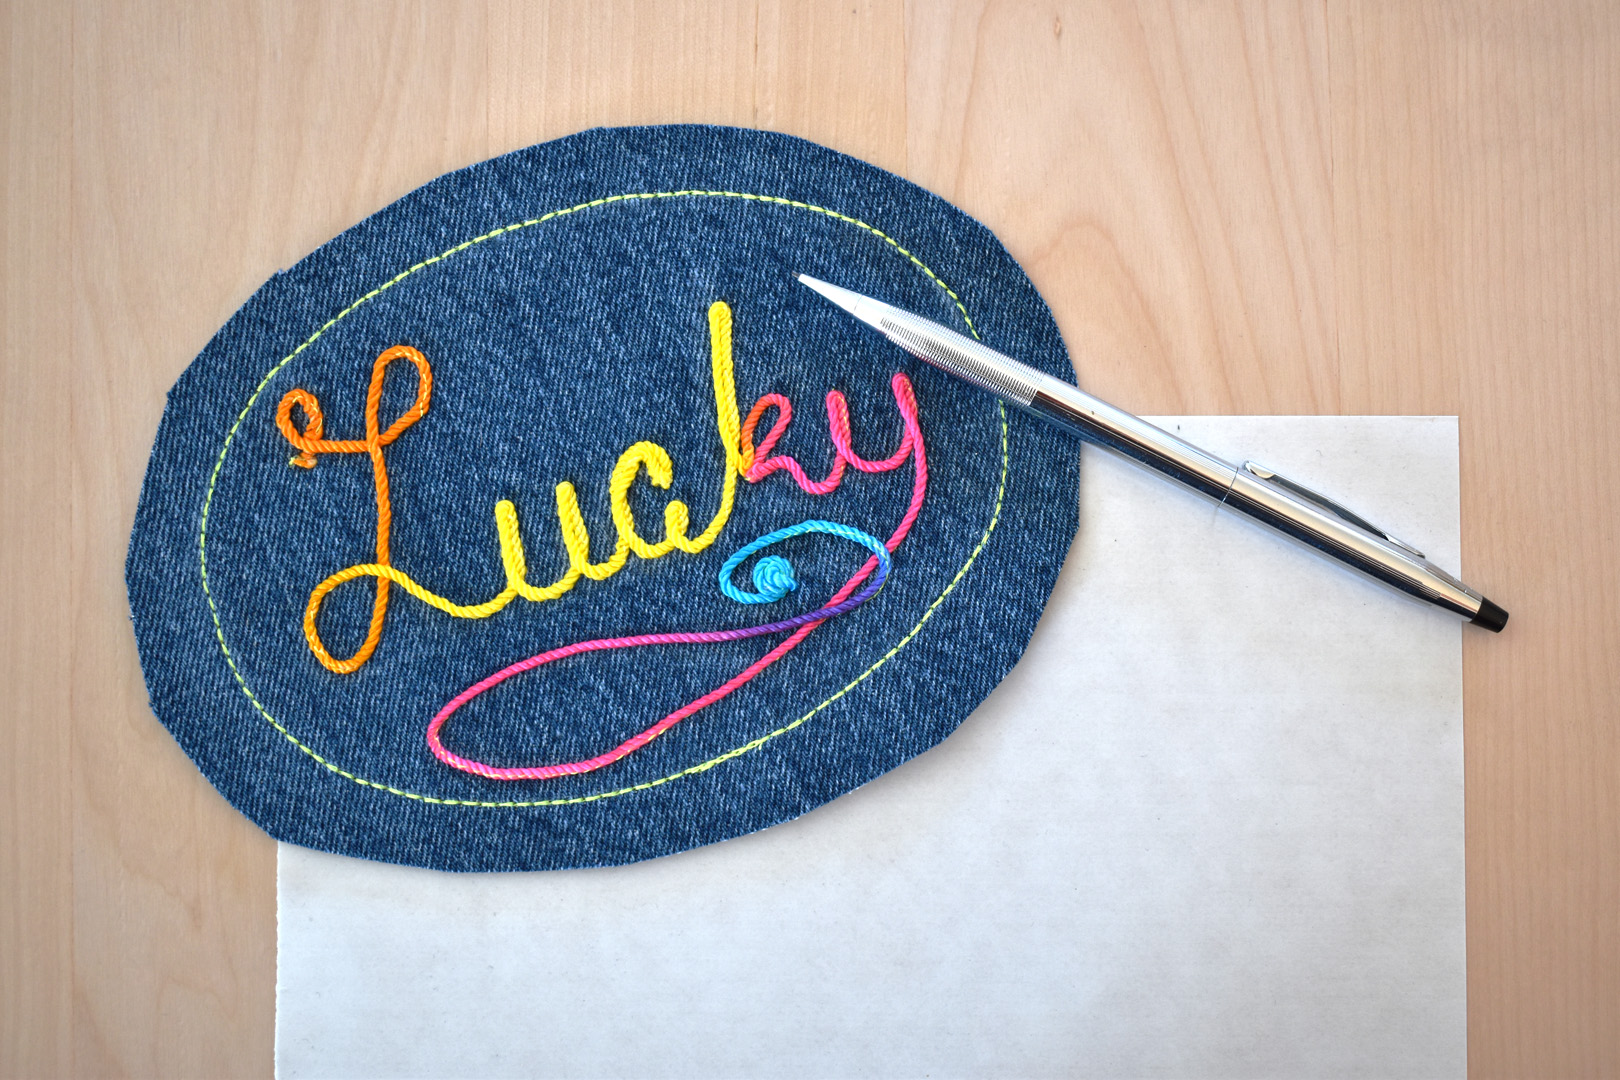
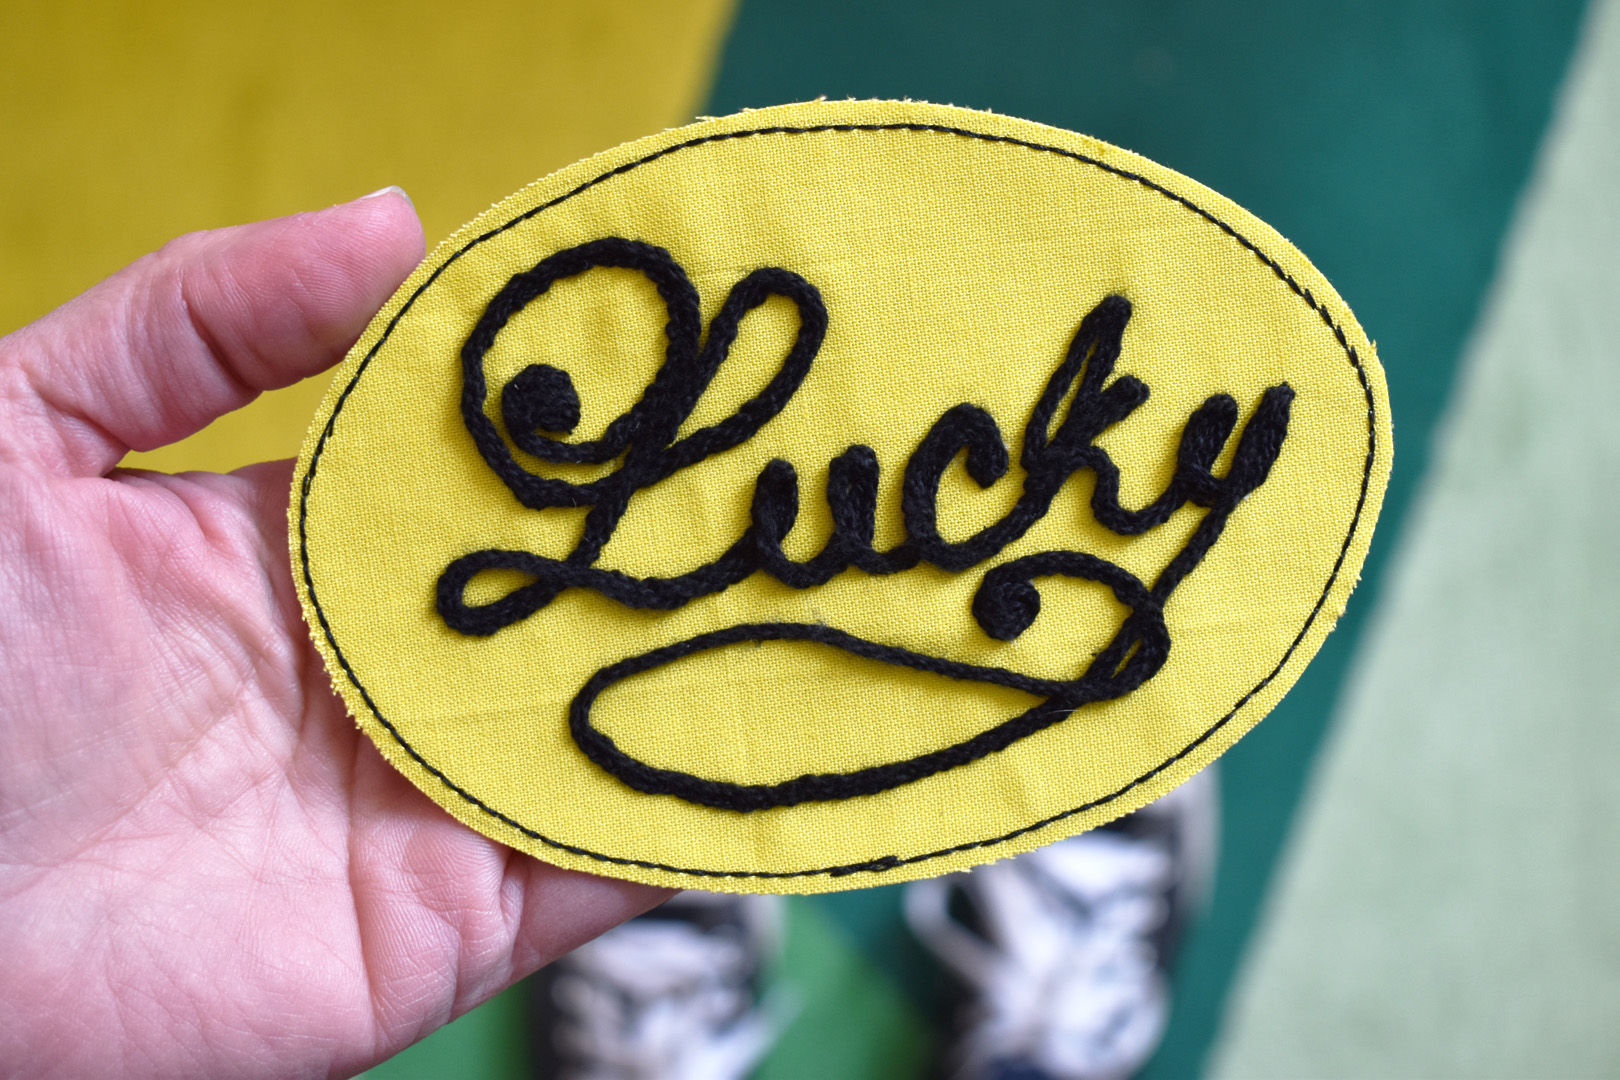
Make sure the smallest letters you are making are at least 3/4″ tall to begin with. I found this to be a good size to stitch with this technique, this size allows room to maneuver around the curves and turns. I lightly sketch the word directly on the fabric. Remember that you’ll be free-motion stitching the word, so be sure that your letters are all connected from beginning to end. I also embellished the word by adding a little extra curly bit on the “y”.
TIP: practice writing your word on scratch paper until you find a script and size that looks just right!
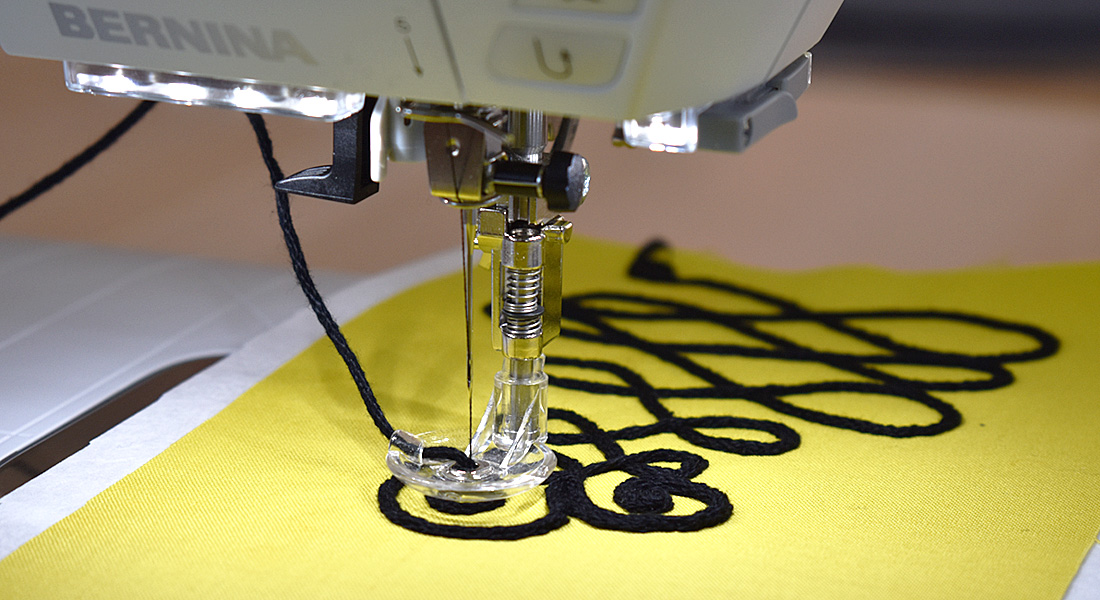
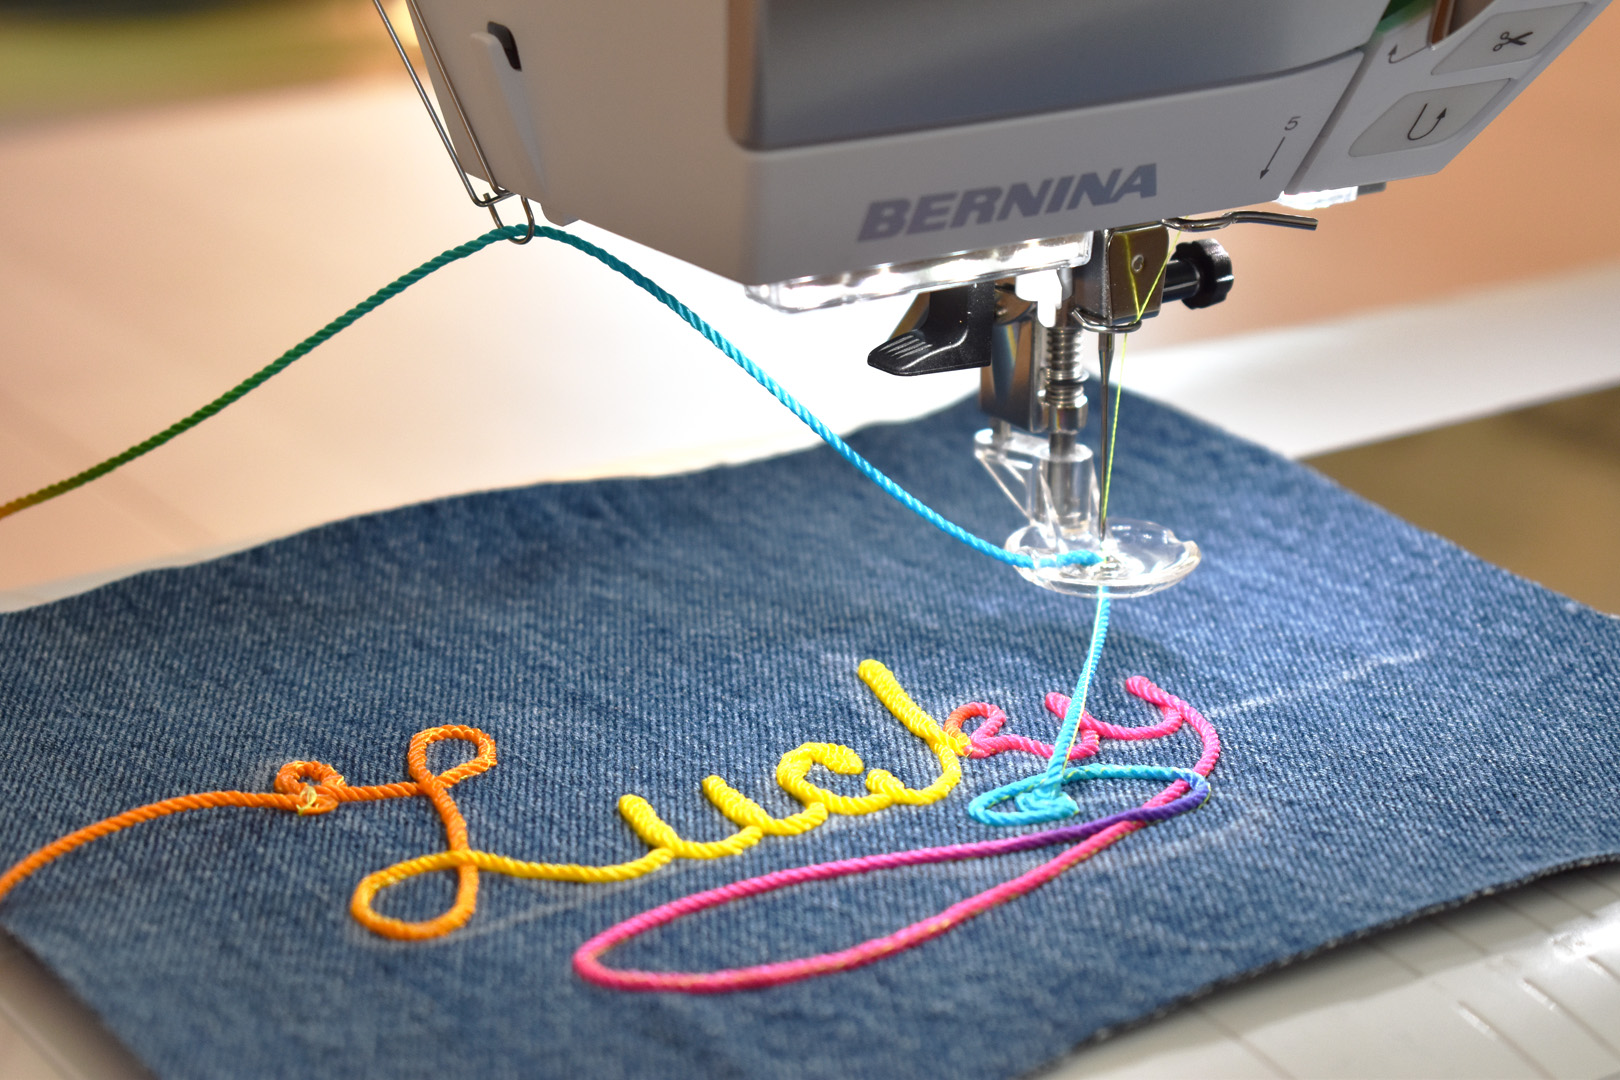
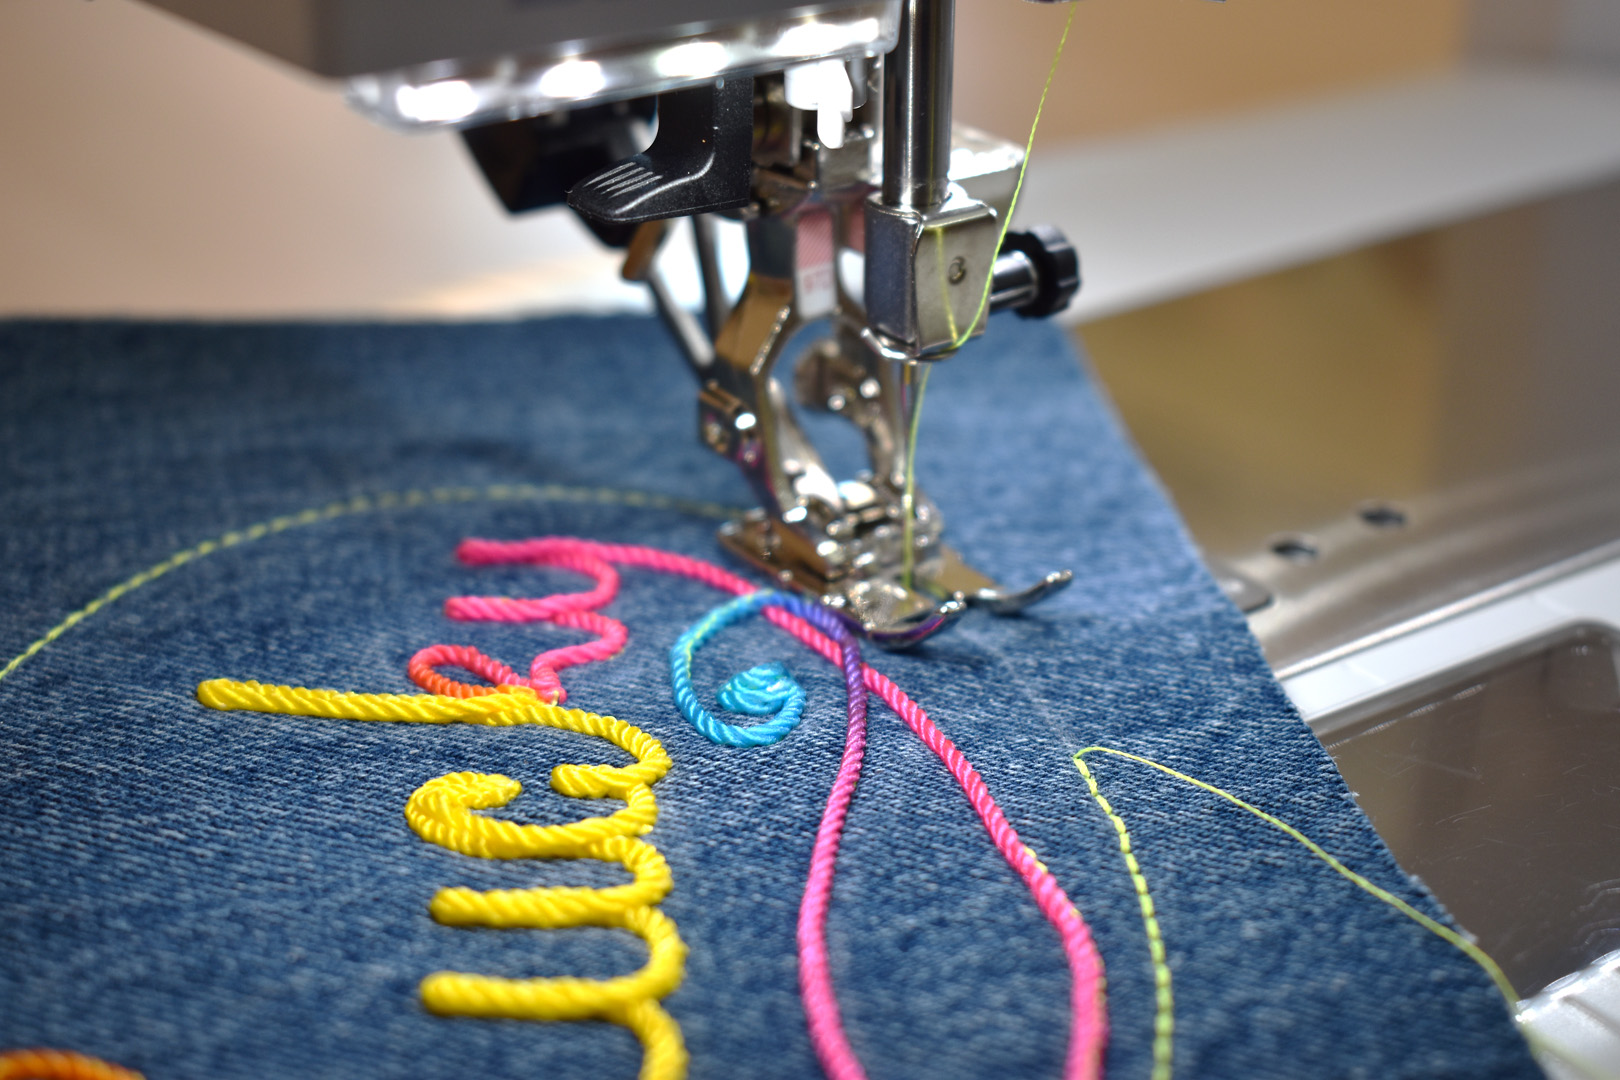
Leave a tail of cording several inches long before taking the first stitches. Lower the needle in the starting point of your word and take a few stitches in place. Stitch slow and steady as you move the fabric to trace the line with the stitches. Take smaller stitches in the tight curves and sharp turns to make sure the cording is being stitched down.
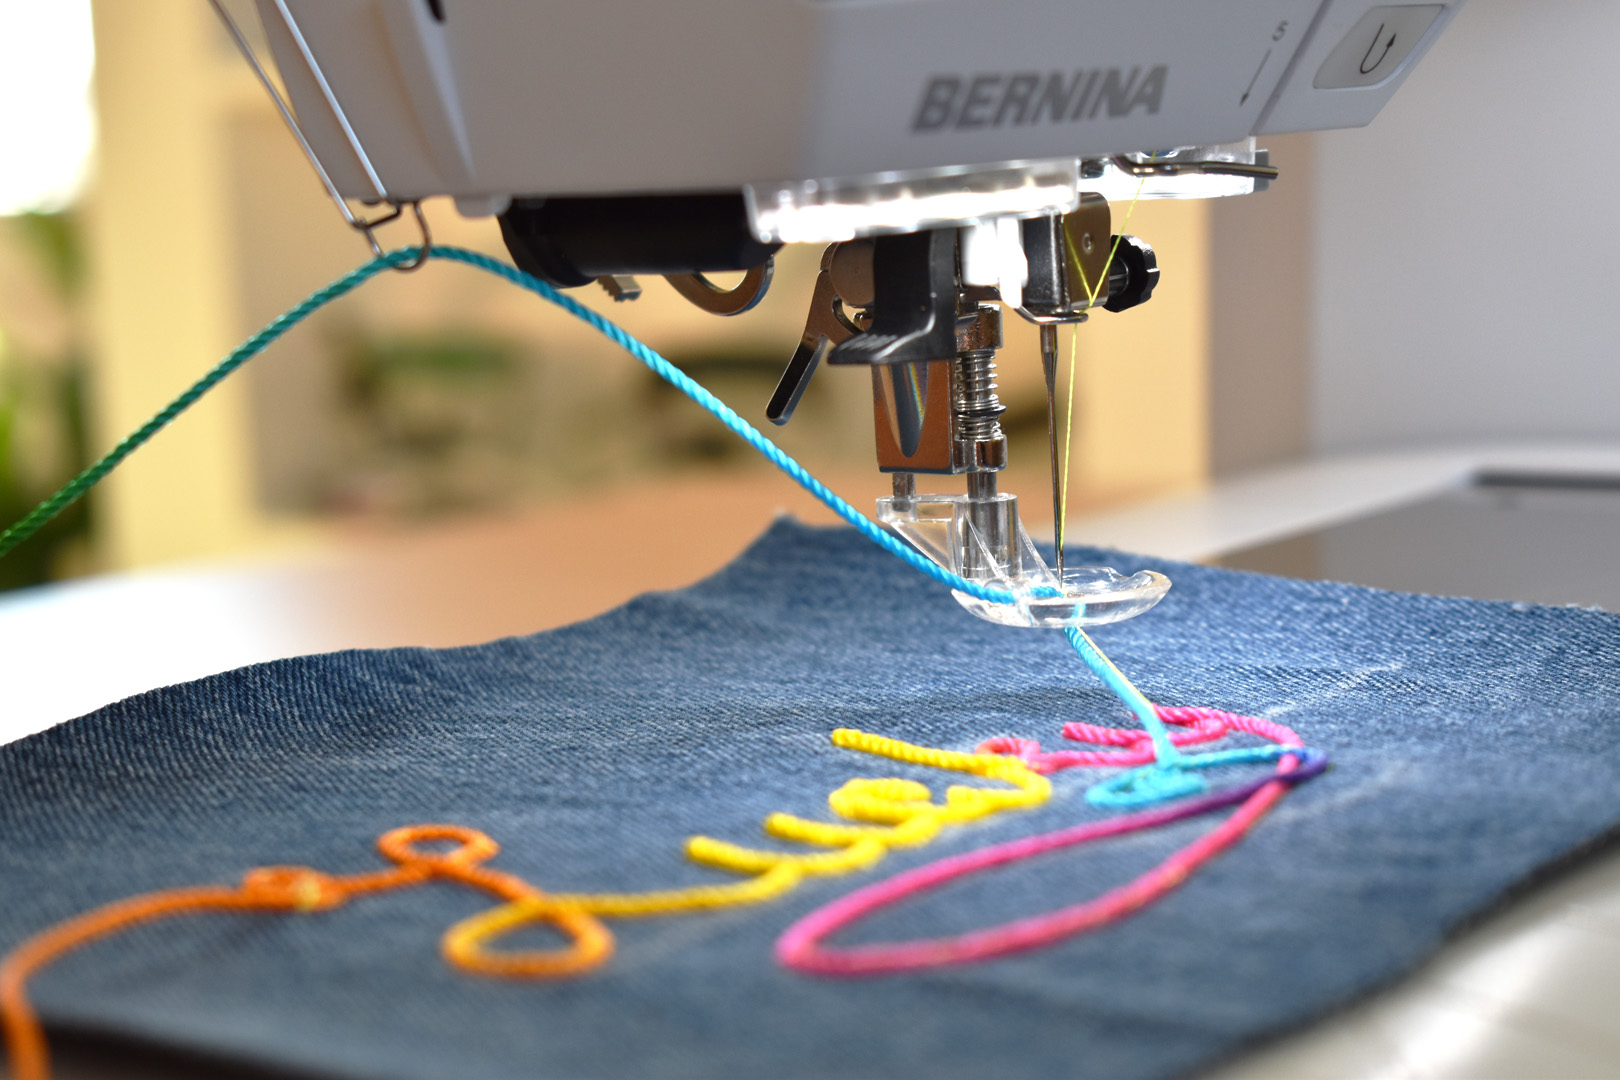
When reaching the end of the word, raise the needle and presser foot, and leave a tail of the cording a few inches in length before cutting.
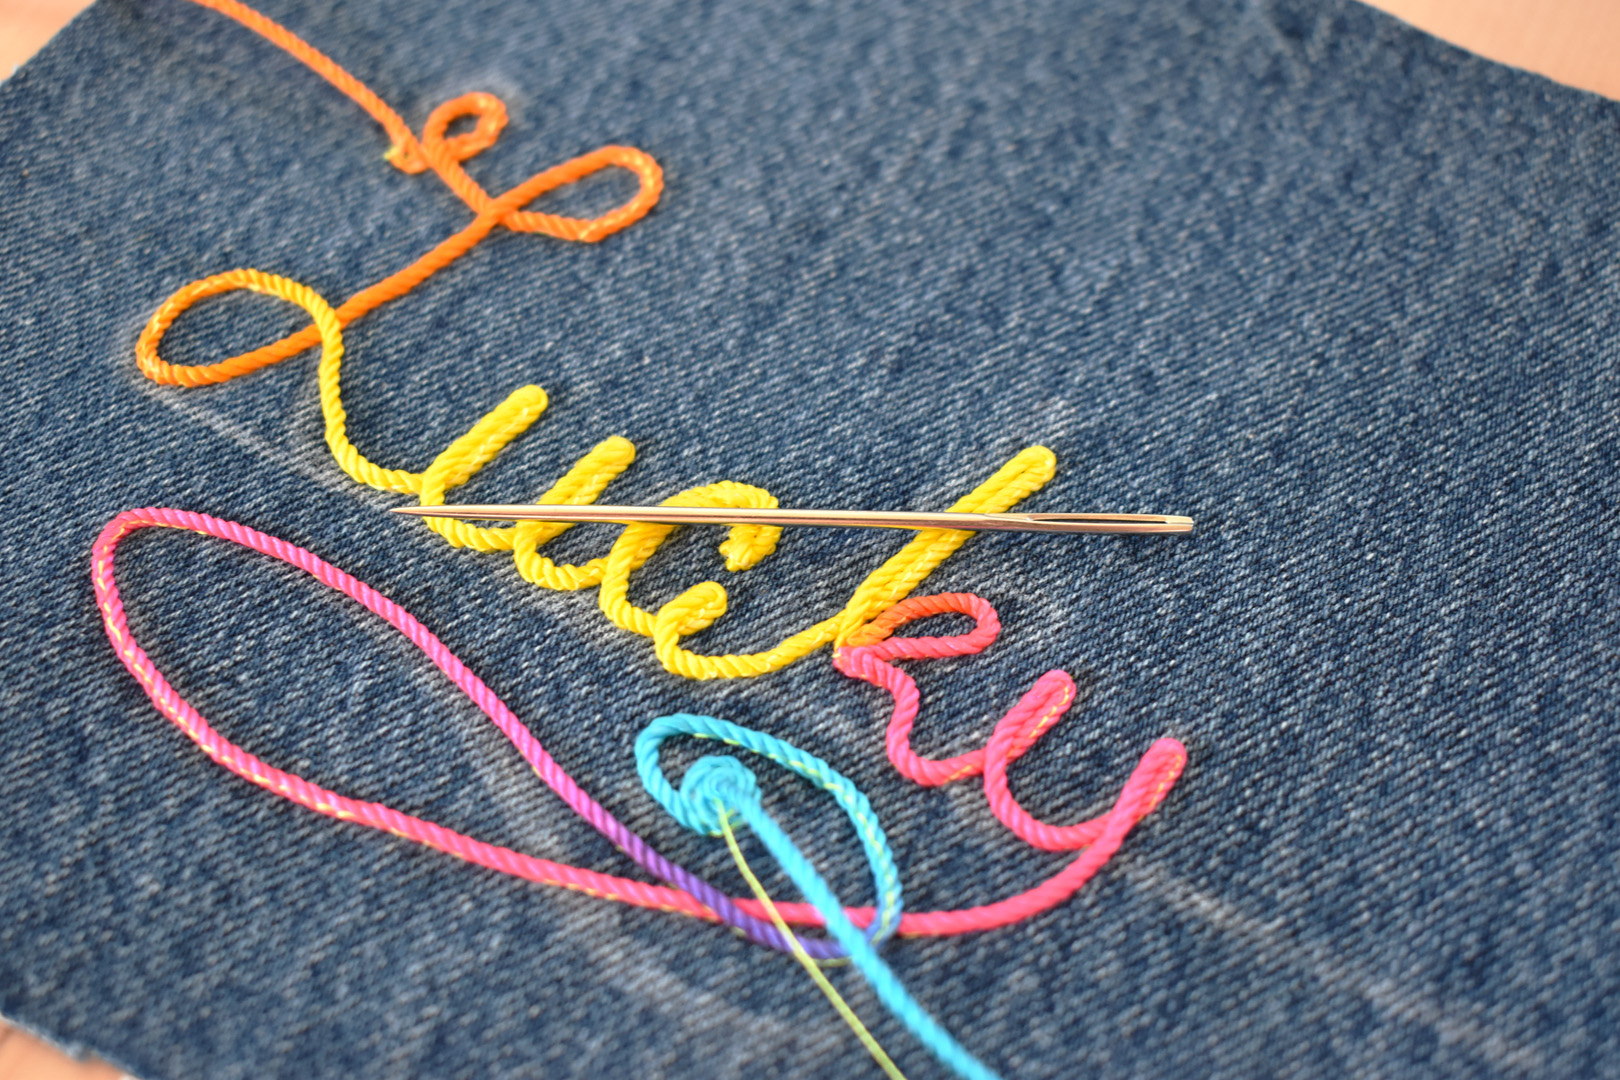
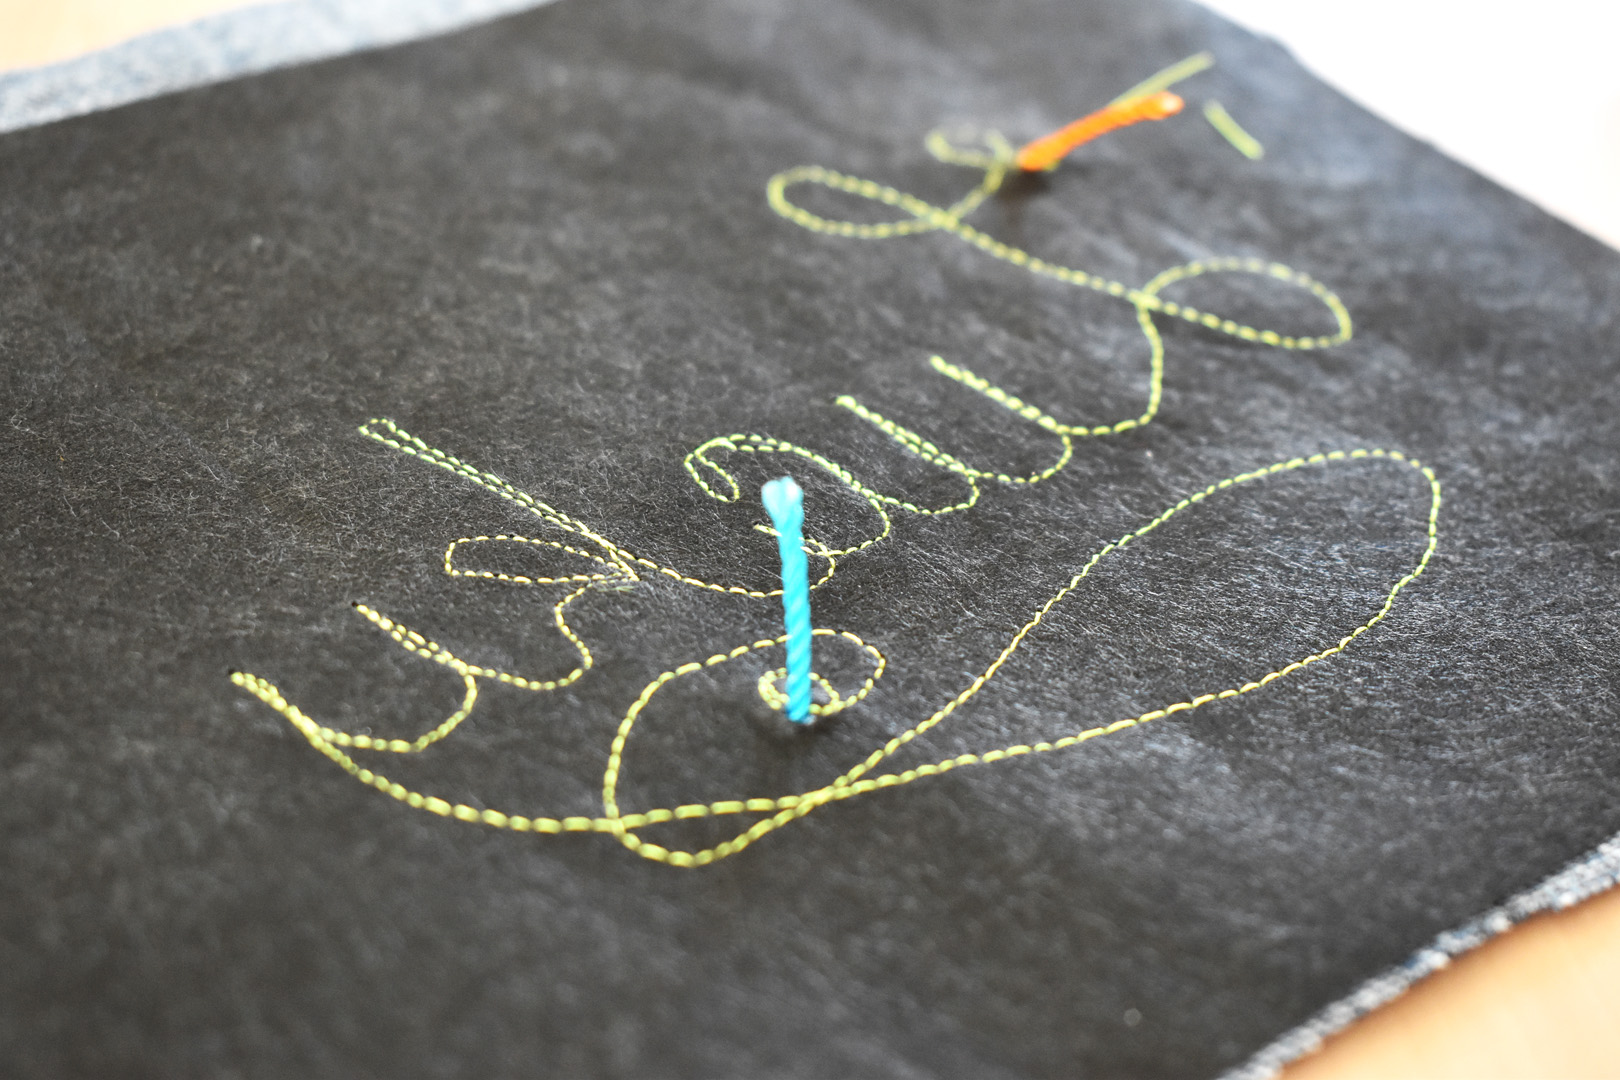
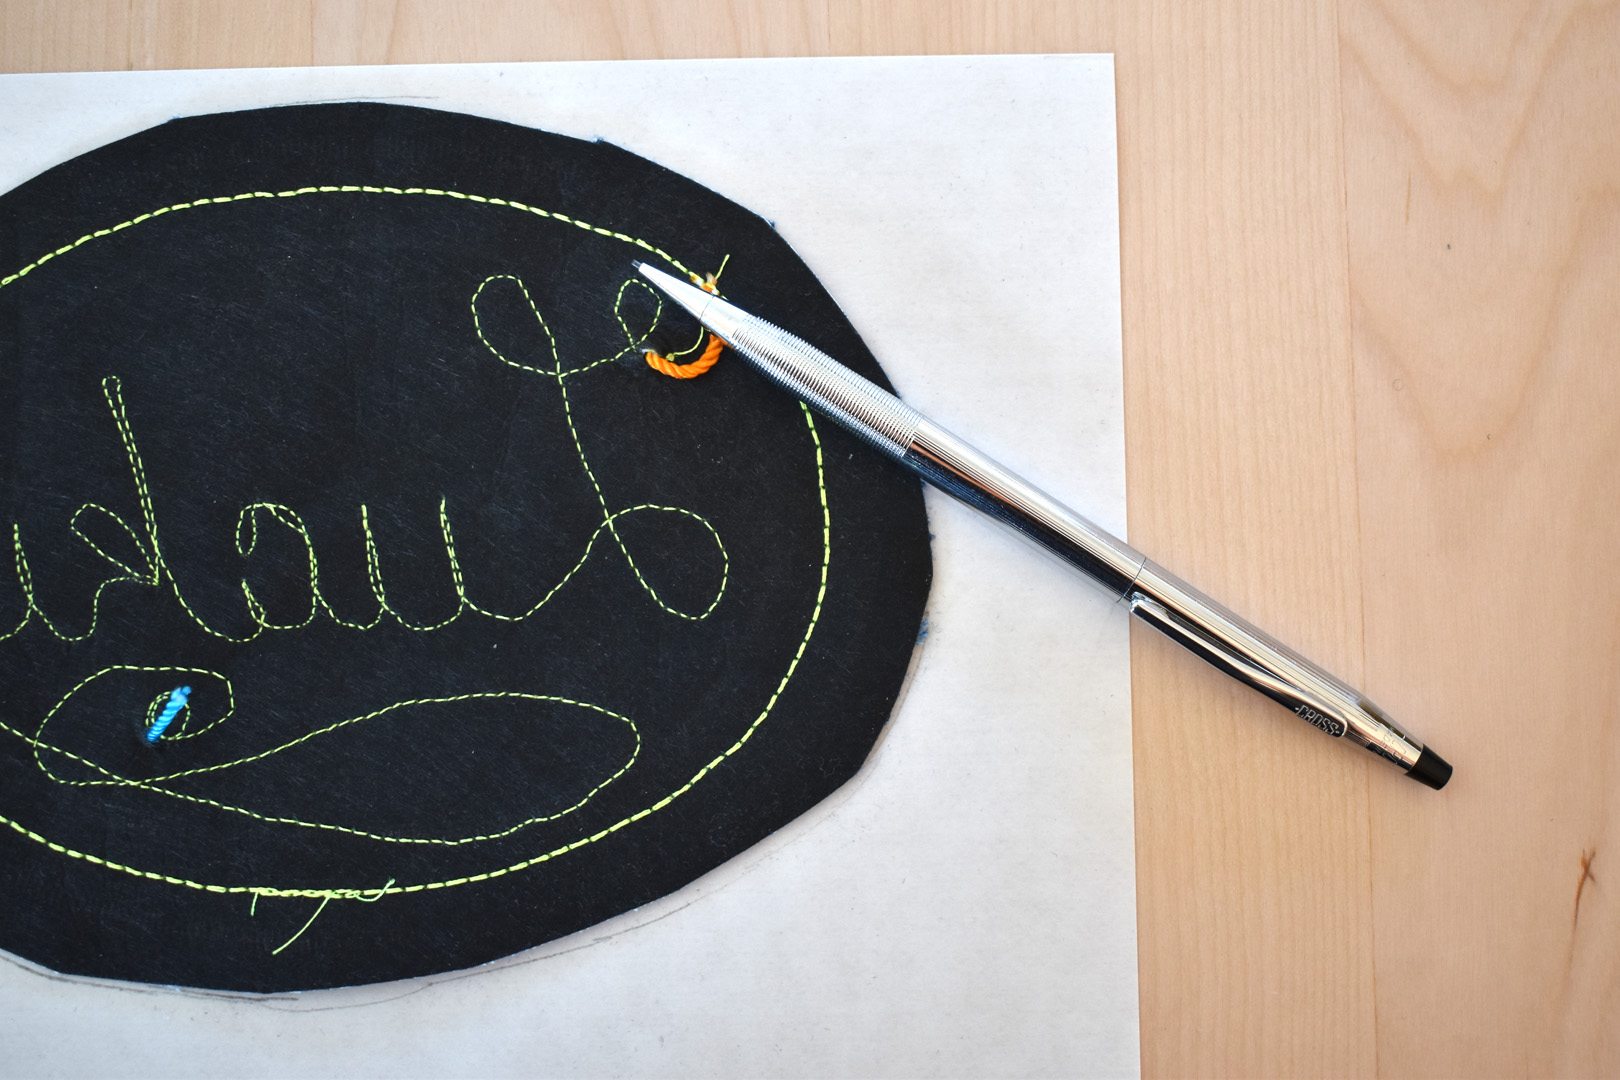
Use the large needle to pull the cording tails to the backside of the patch. I use a large-sized upholstery needle with a very sharp point.

Place the needle right behind the start and end points of the word. Then insert the cording through the eye of the needle and gently pull to the back of the patch.

Snip the cording ends to about 3/4″ to 1/2″ in length. The ends will be secured in place with the iron-on coating in the last step.

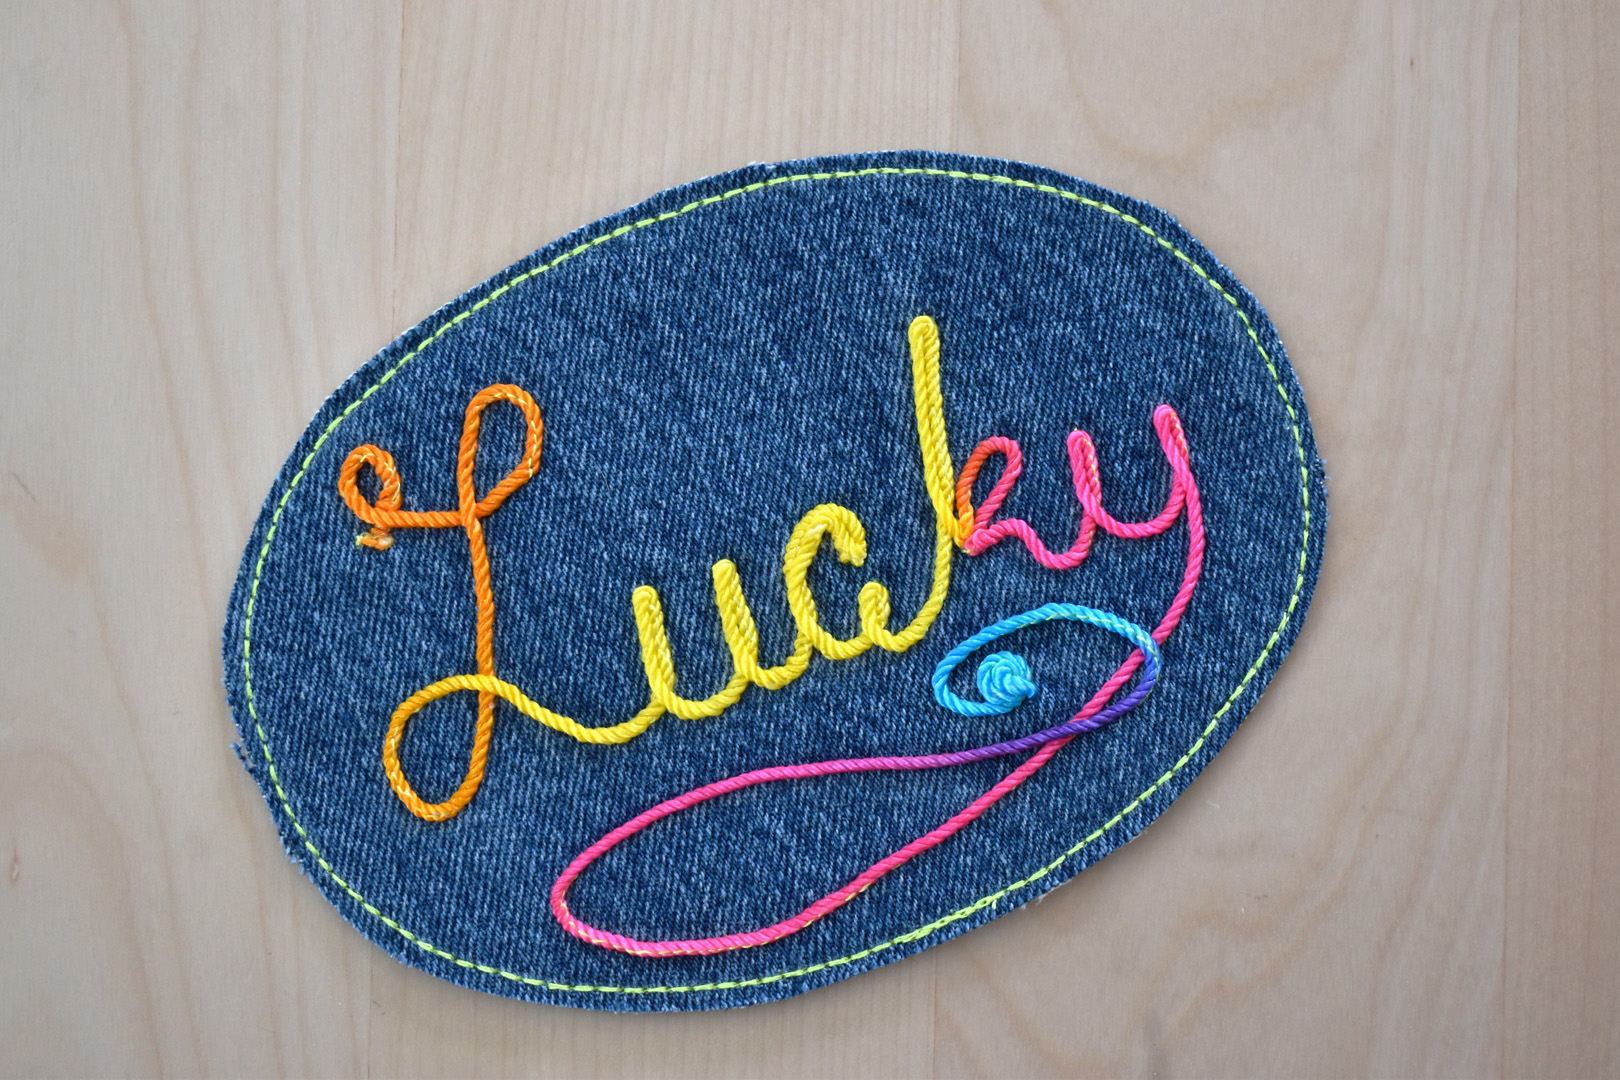
You can make your patch any shape you like; a rectangle, circle, oval, or even following the shape of the lettering. You can also finish the edge of the patch in many ways, from just leaving the edge raw to using a zig-zag stitch or decorative stitch. I’m showing you how I finish these patches in an oval shape with a line of triple straight stitches.
I use the Patchwork foot #97D with Dual Feed and the straight stitch needle plate. I’m still using the same thread that I used to free-motion couch the cording.
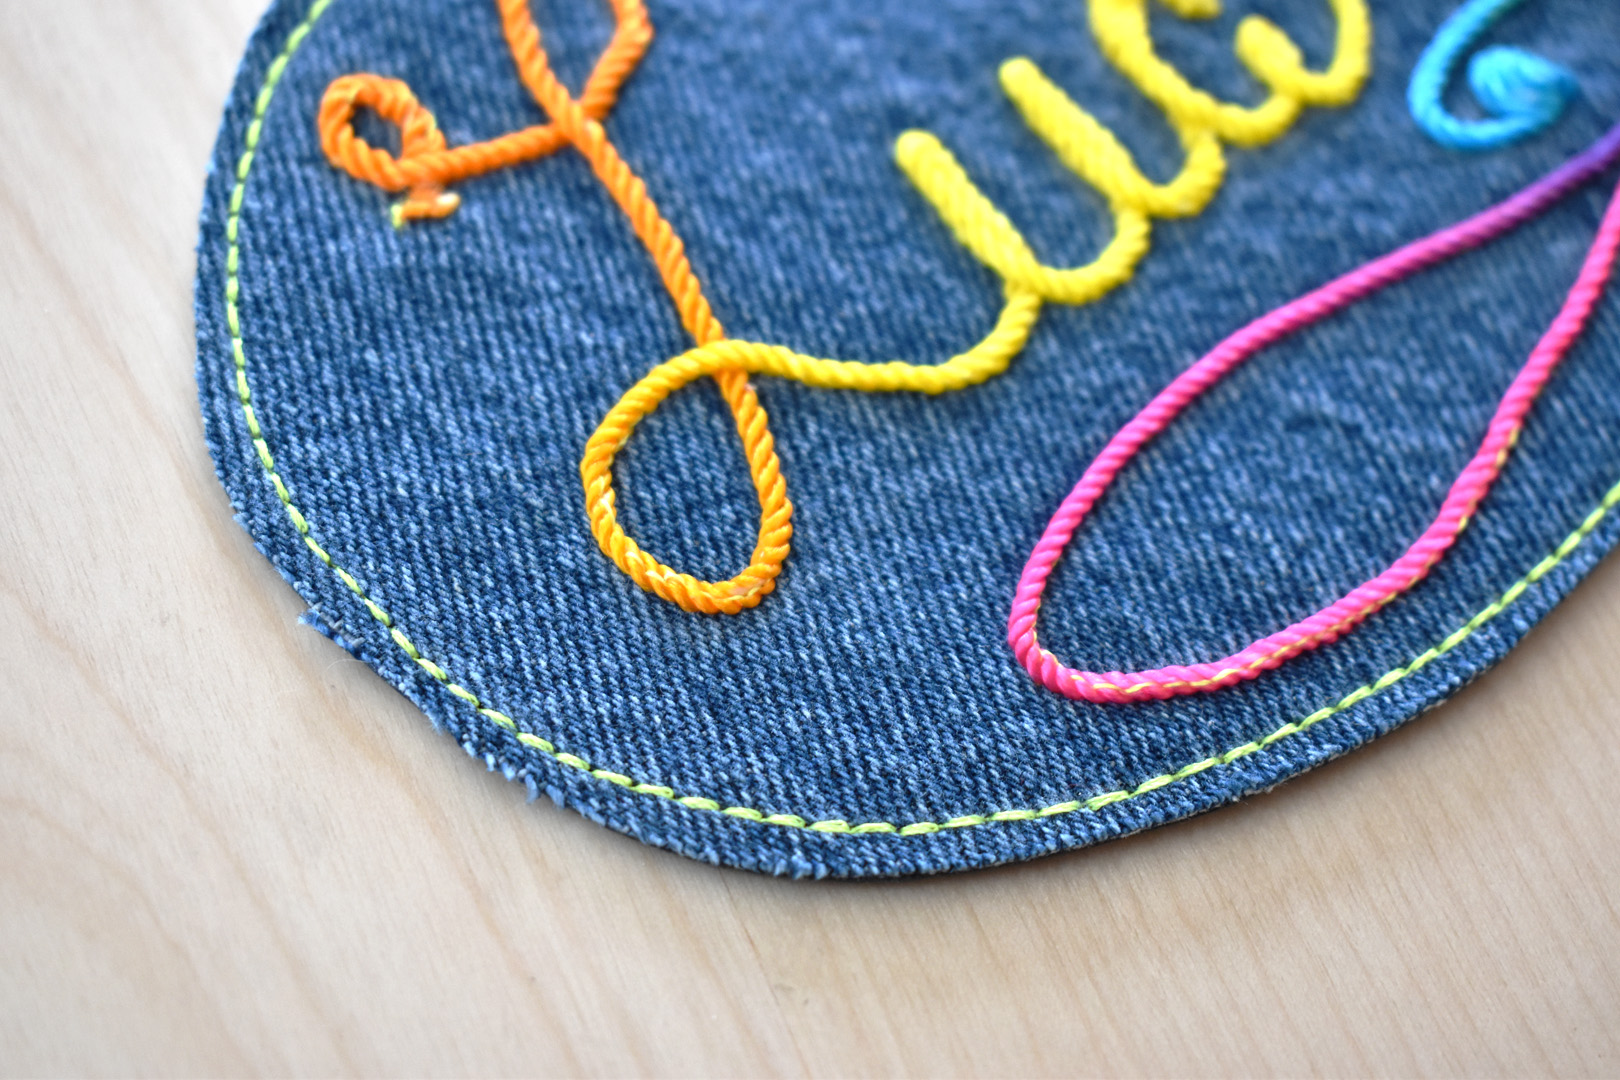
The stitch I use is the triple stitch (stitch #6 on my B 570 QE) to sew around the shape of the patch before I cut it down. It gives the edge a nice looking finish. With this technique, the edges of the patch may fray a bit, but I personally like the look. If you’d like to give your patch a clean edge that won’t fray, you can try one of these options. You can sew the shape of the patch with a very dense zig-zag stitch instead of a straight stitch, which will keep the edges from fraying after you cut close to the stitching. Or, follow this method but add a tight zig-zag stitch to the outside edge after trimming the patch to size.

As I mentioned, you can make your patch any shape you wish! I like an oval shape, and I happen to have a whole set of oval shaped acrylic quilting rulers that are the perfect shape for finishing my patches. Try tracing around anything you might find in your home that’s a similar shape to how you’d like to finish your patch – a bowl, cup, dish, etc.
Once you have a line traced to follow, sew along the line. Overlap your stitches a little bit when ending, and backstitch a few stitches.
Use OESD Fuse ‘N Seal to secure and seal the threads and cord on the back of the patch, and to create an iron-on backing.
First, cut widely around the final stitching, about 1/2″ away from the stitched edge. You’ll be trimming closer to the stitching after applying the Fuse ‘N Seal.
Turn the patch right side down on the paper side of the Fuse ‘N Seal, and trace around the edge with a pencil.
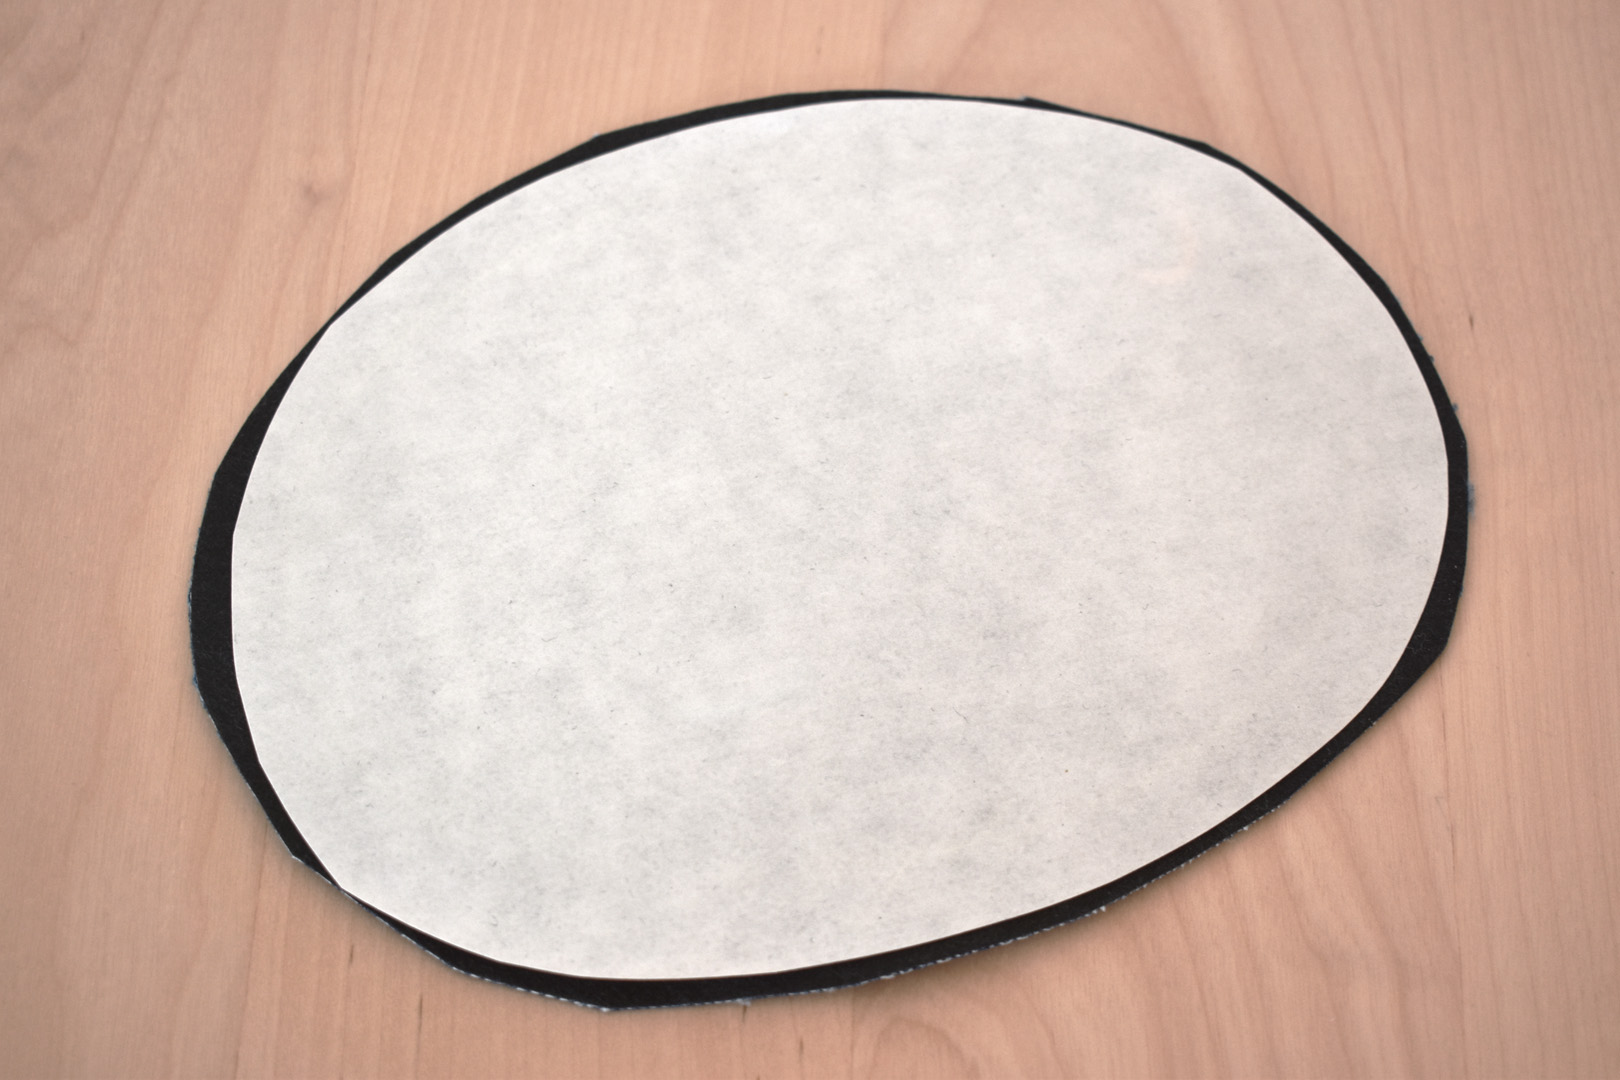
Cut the Fuse ‘N Seal on the inside line of the pencil mark. You will want the cut piece to fit just inside the shape of the patch so it does not overlap anywhere on the edges.
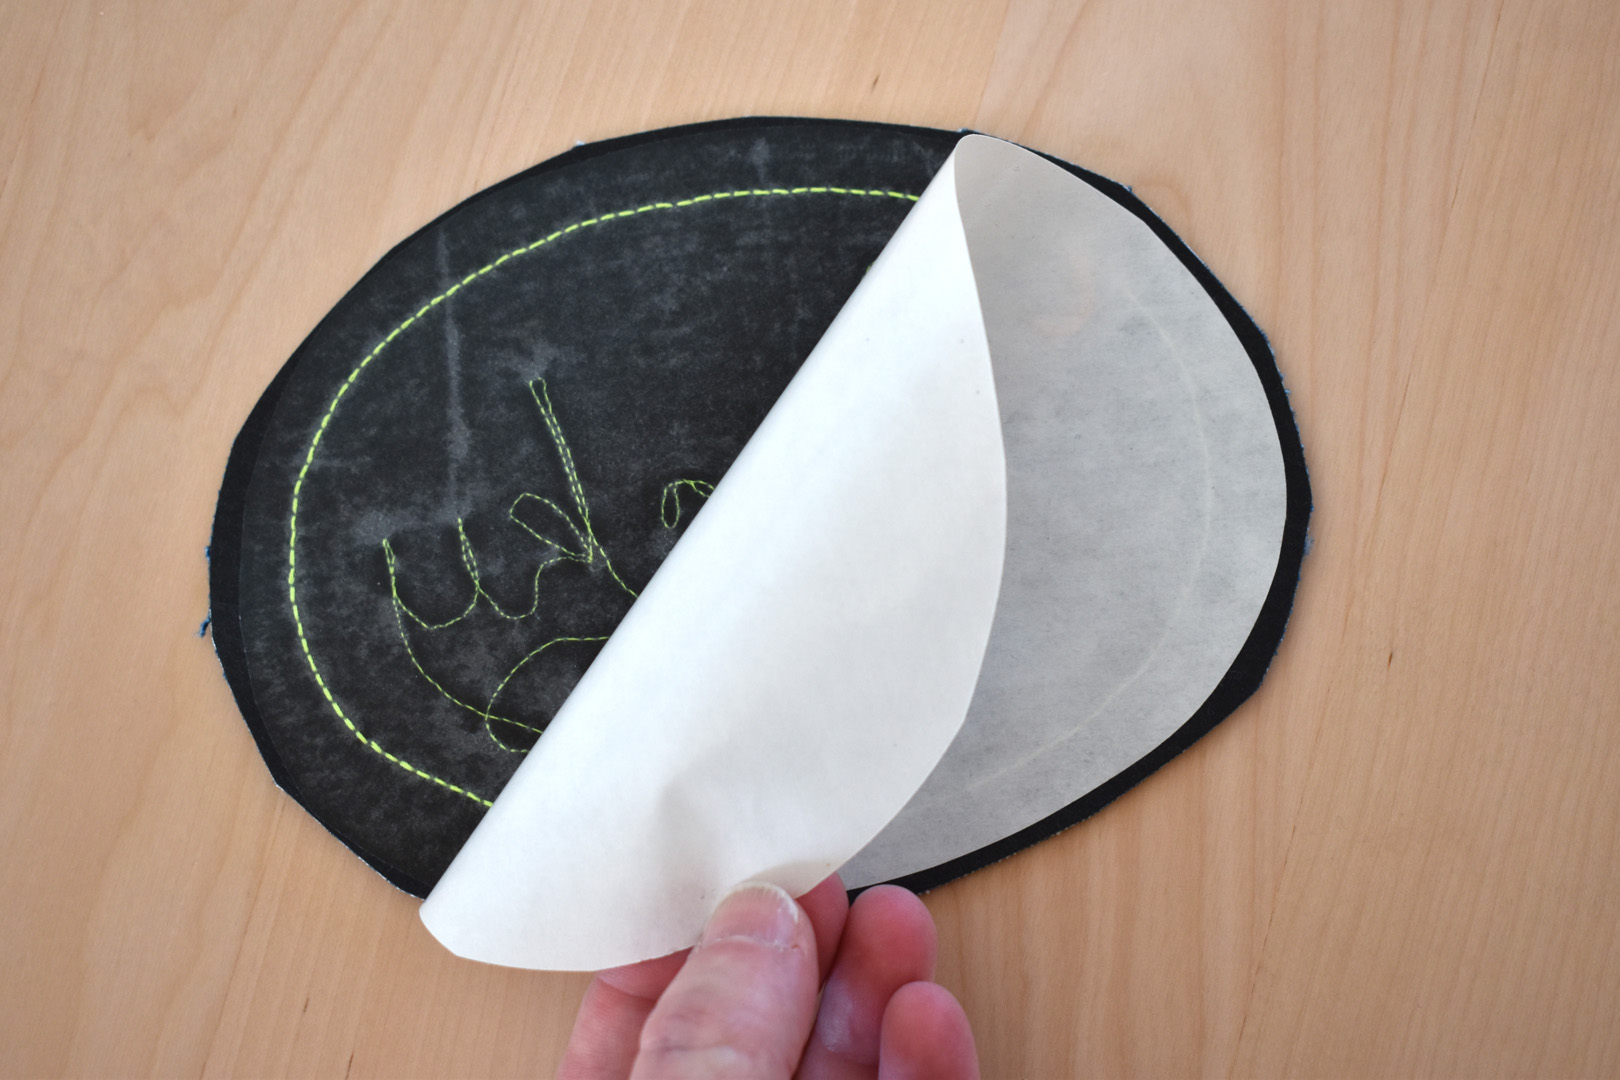
Follow the directions to fuse on the back of the patch. When cool, remove the paper backing.

Finally, trim the fabric close to the stitching. Your patch is finished and ready to rock!
Alternative Marking Method
You can print and trace a word as a template to stitch with this method. Either take your time creating the script word on paper, or use your computer to find a script font you like (make sure to increase the font size so the smallest letters are at least 3/4″ high, otherwise the letters will be too small and difficult to stitch through the curves and turns).

I’m using a font called Edwardian Script sized at 160. Print the word and use a lightweight tear-away stabilizer and fine tipped pencil to trace the word.
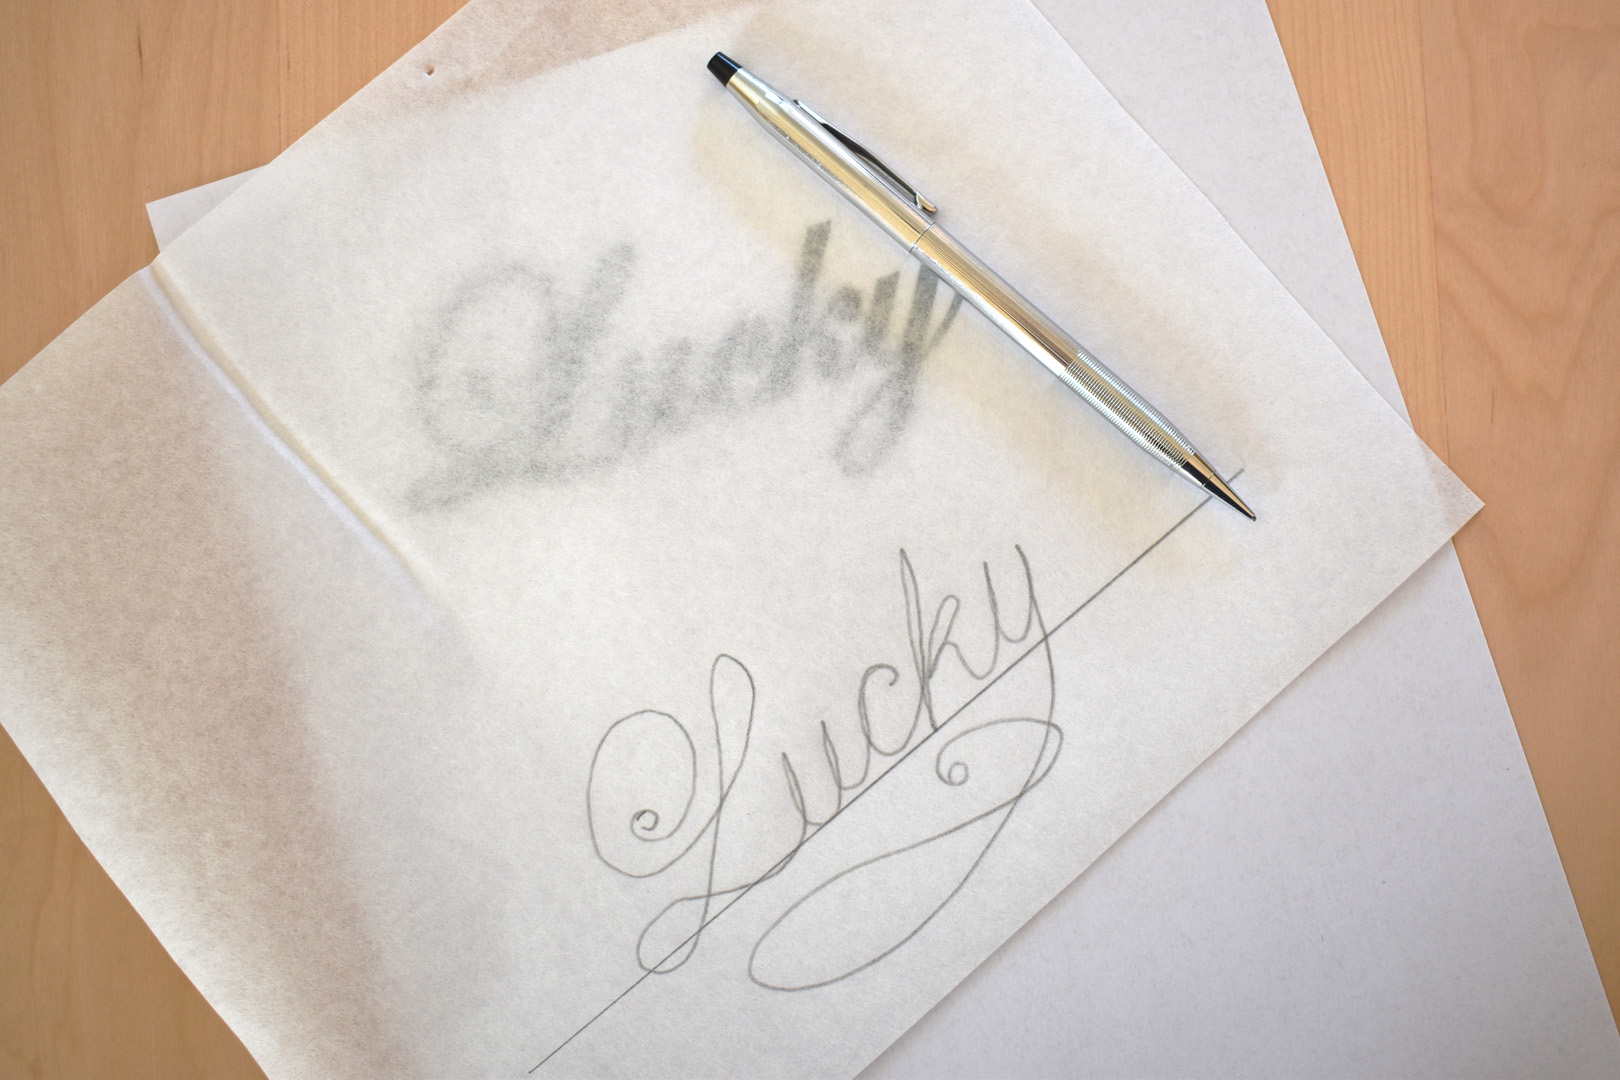
I did find it helpful to draw a straight line with a ruler first, then trace the word with one steady line from beginning to end. Again, I added a little flourish with the tail of the “y” just for fun.
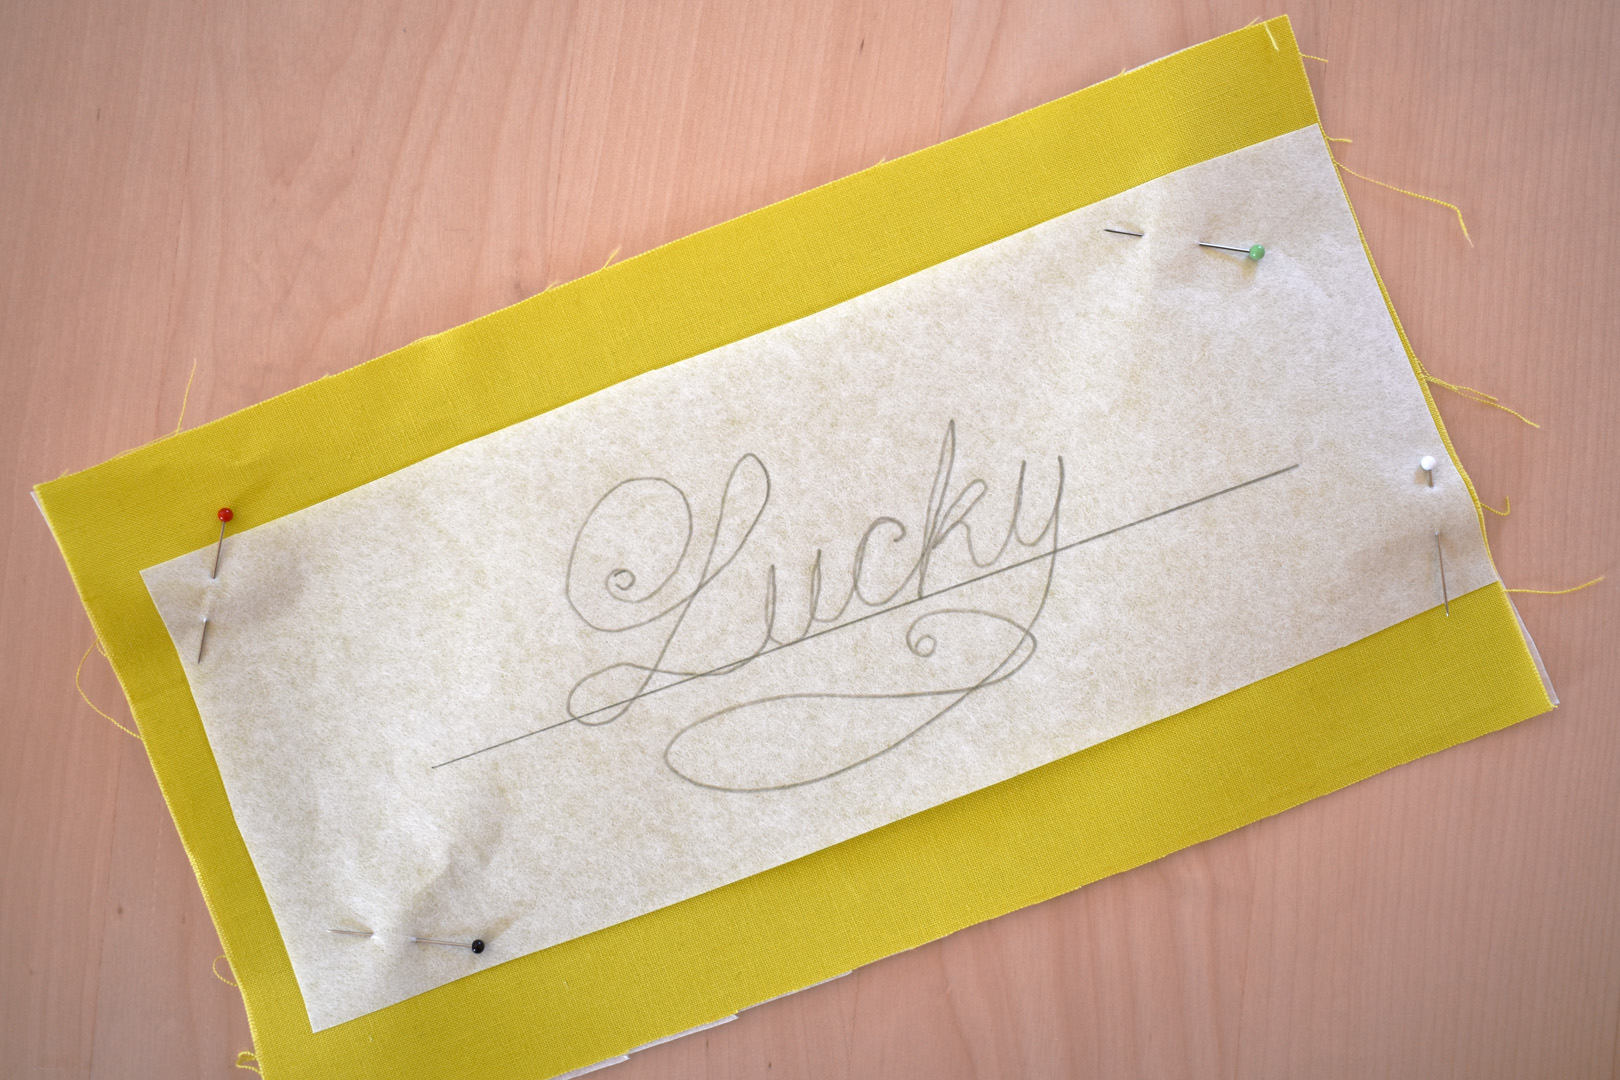
Follow the instructions above to prepare your base fabric by applying medium weight tear-away stabilizer to the back of the base fabric. Cut down the tear-away stabilizer and pin it to the top of your fabric. Don’t use temporary spray adhesive with the traced name on the tear-away stabilizer because it will be extra difficult to remove in the next steps.
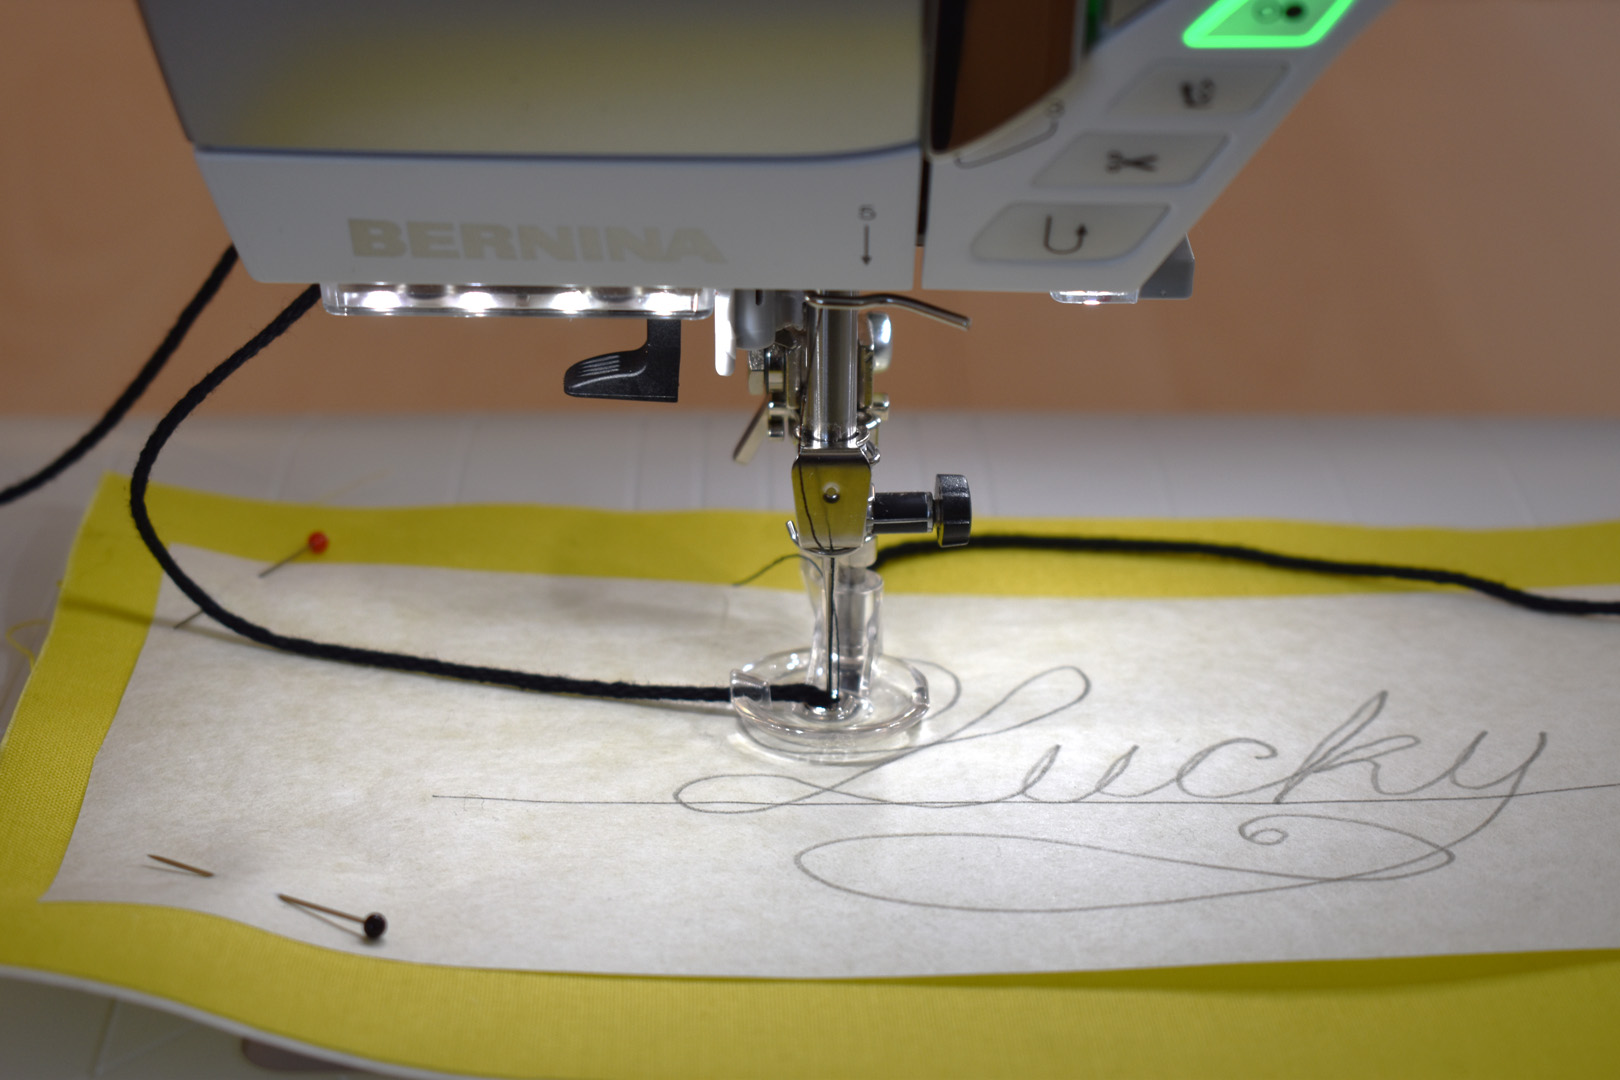
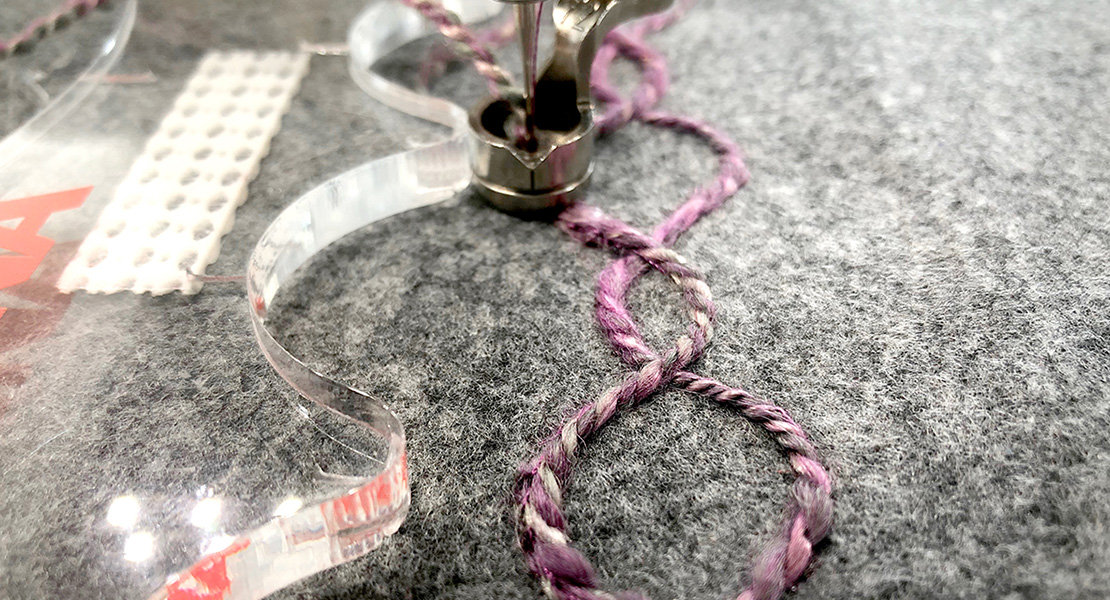
Begin by leaving a tail with the cording and taking a few stitches to secure the cord in place. Trace around the drawn line carefully, taking smaller stitches at the tight turns and curves.
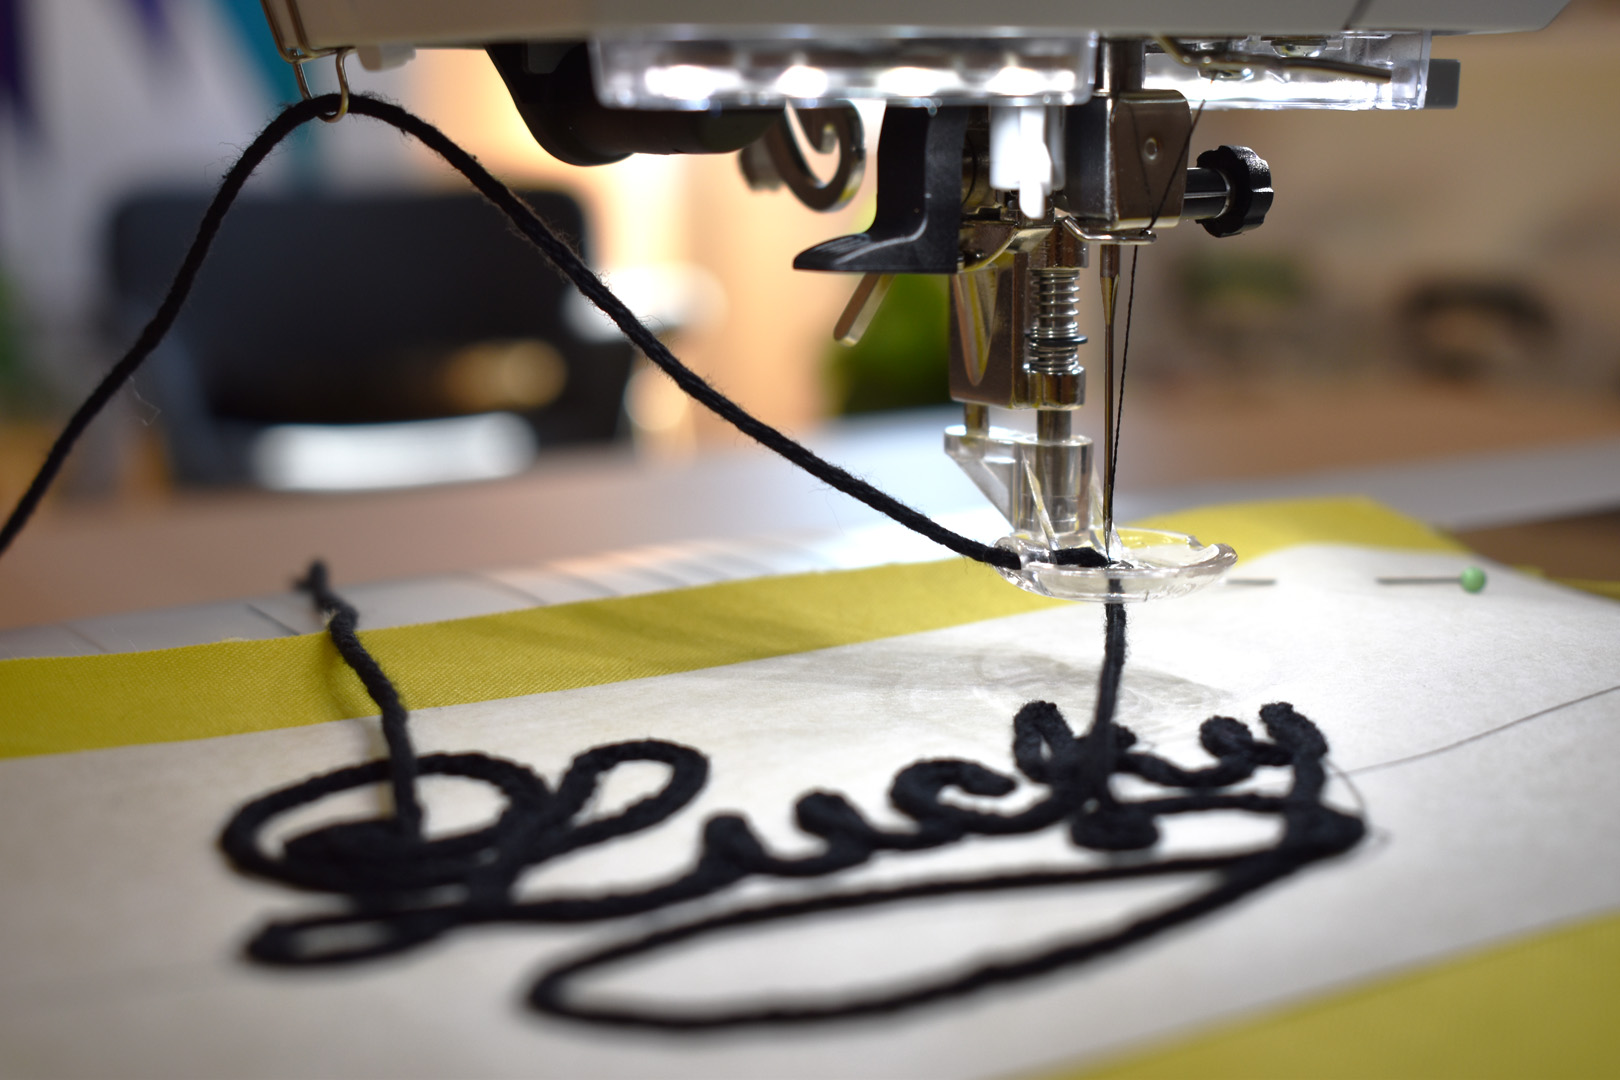
When finished stitching the word, leave a tail of the cording about 5″ long before cutting.
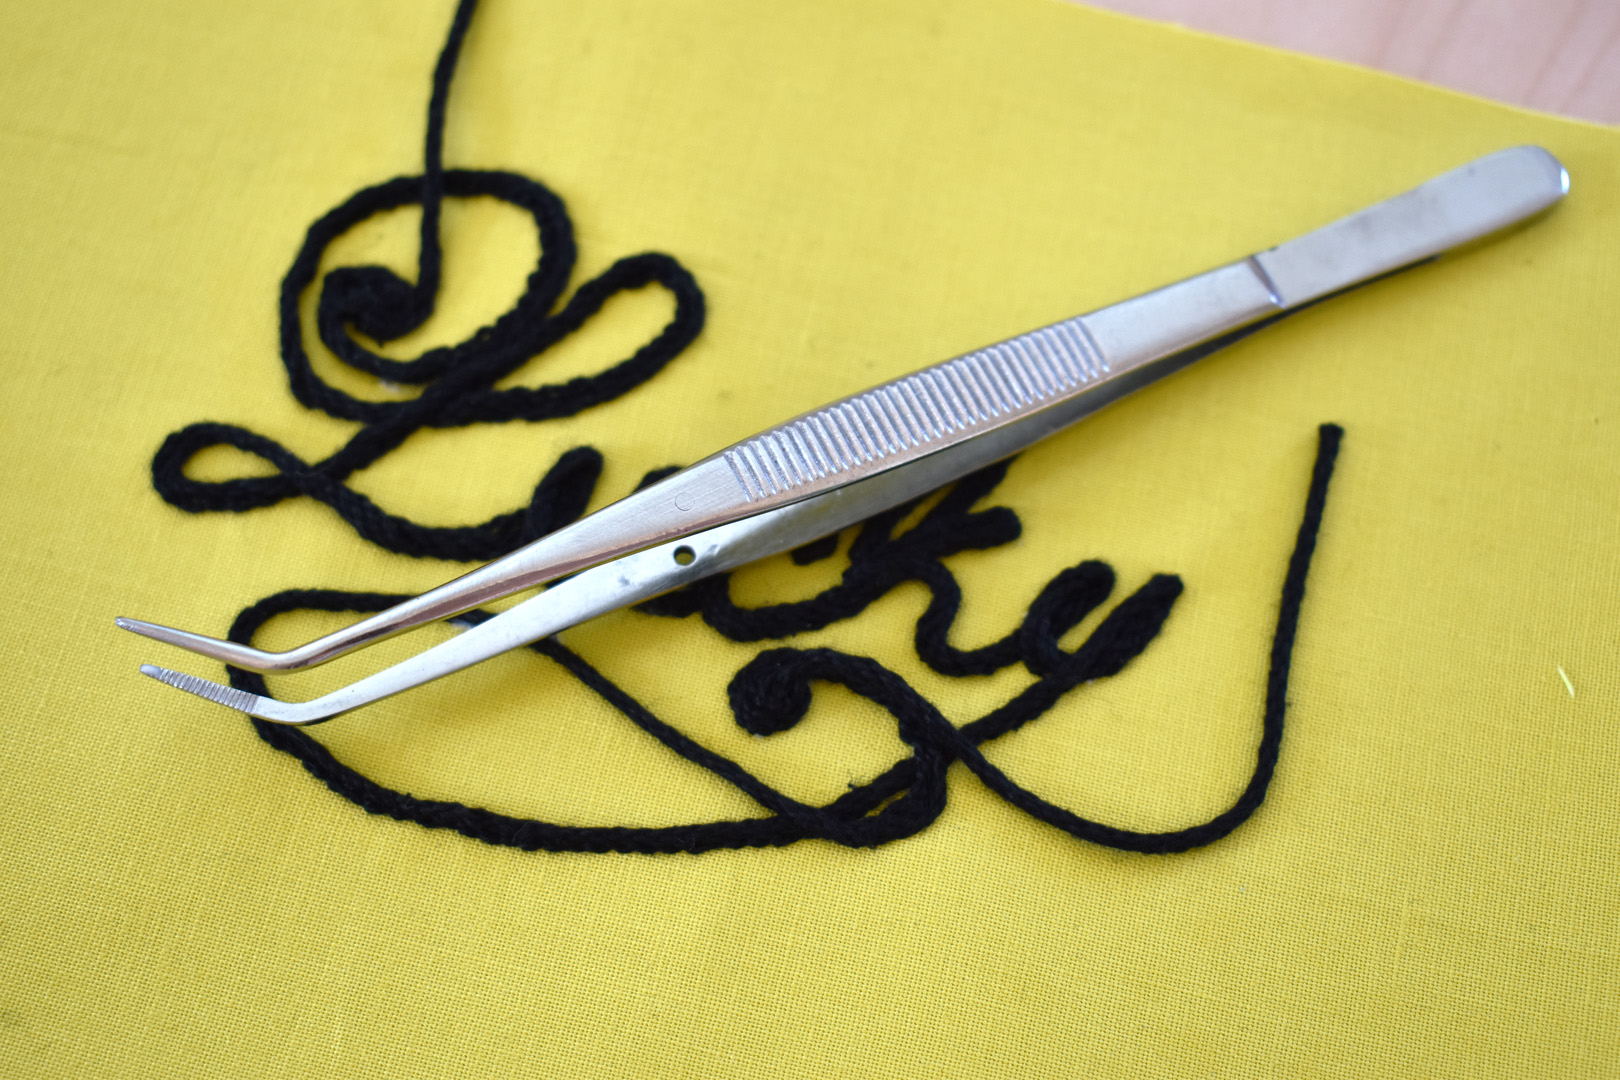
With this method you’ll need to carefully remove all of the tear-away stabilizer before finishing the patch. I find a pair of needle nosed pliers is essential to help pull out all of the small bits from under the stitches.
Then finish your patch as in the directions above.
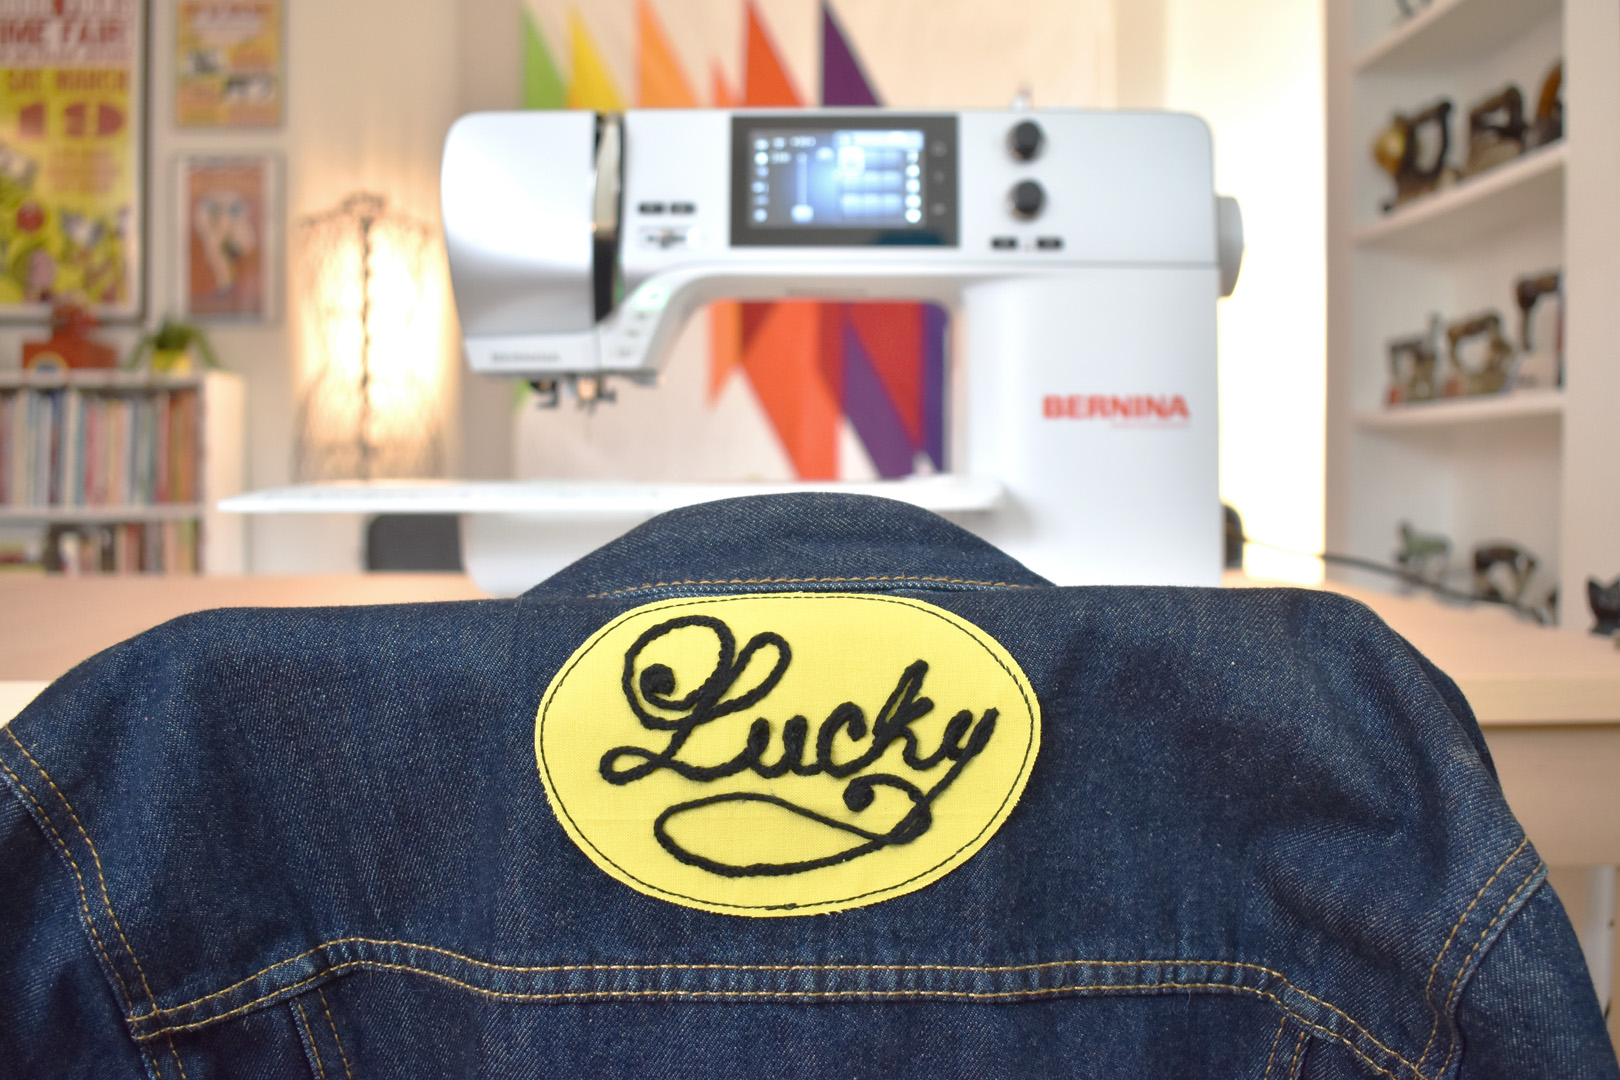
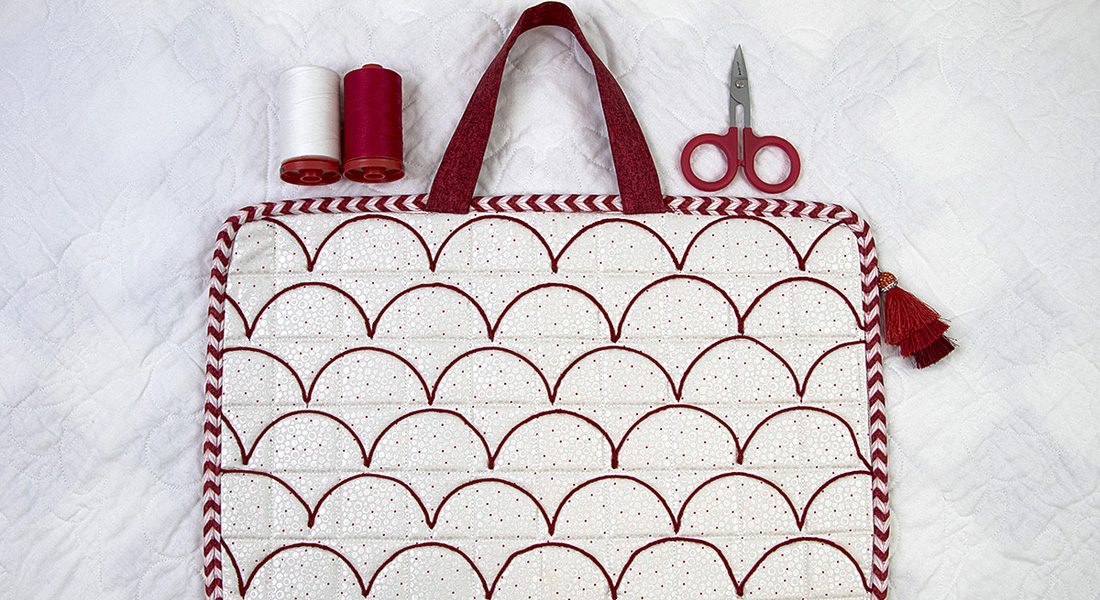
And you’re ready to wear your patch! Use your patch on a jacket, shirt, or even on a favorite tote bag.