How to Free-motion Quilt an Umbrella
April Showers may bring May flowers, but they also bring buckets of rain! Time to pull out our free motion quilted umbrellas!
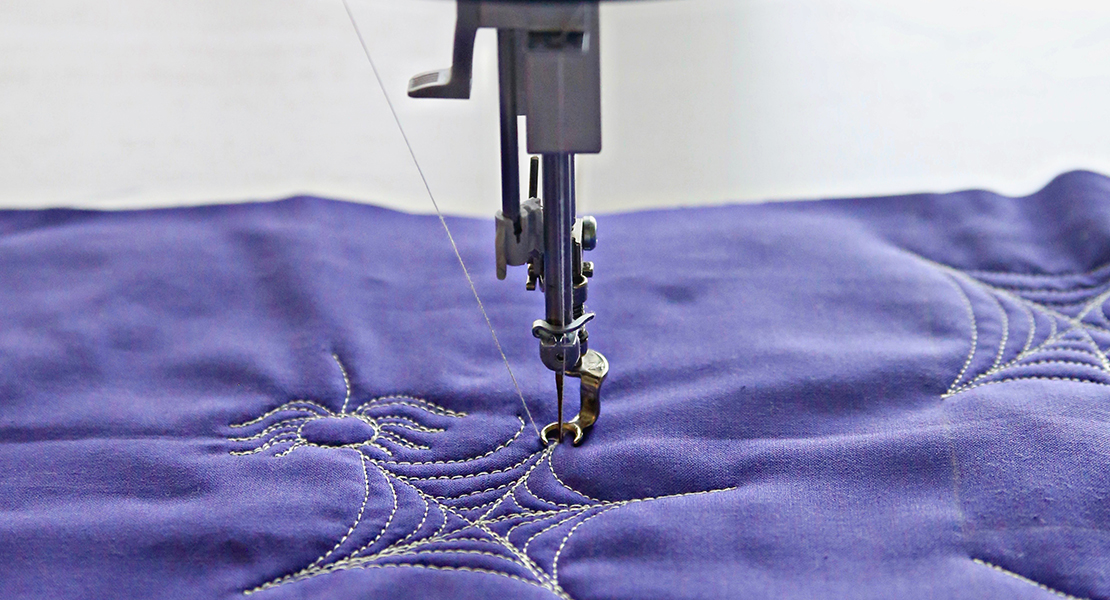
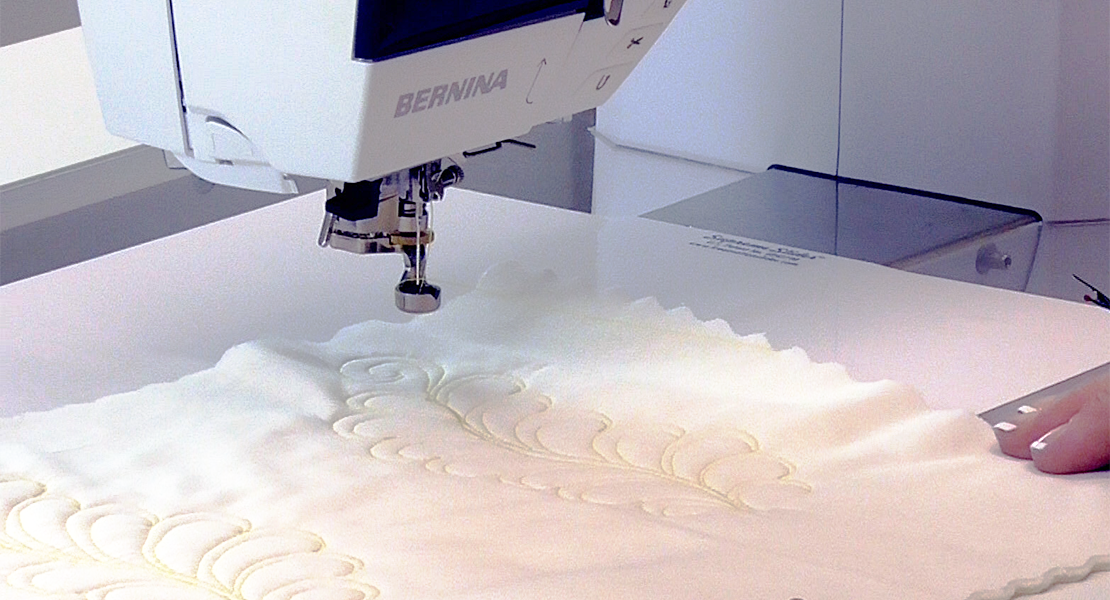
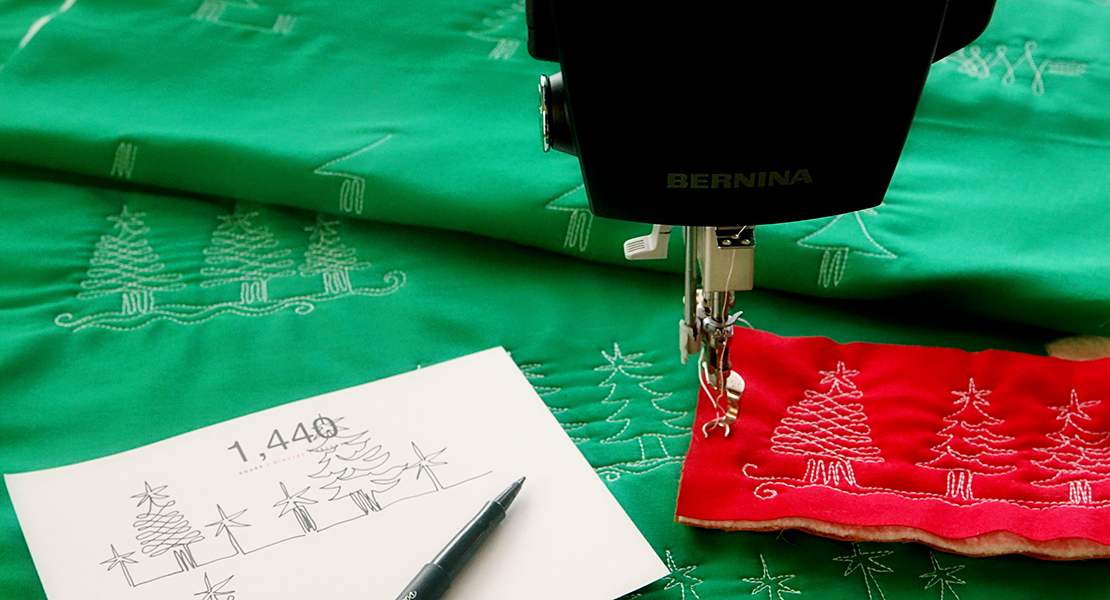
I’m Lori from Lori Kennedy Quilts with another step-by-step free motion quilting tutorial. I LOVE quilting on my two BERNINA sewing machines. I love the stitch quality and push-button thread cutter on my BERNINA 770 QE and enjoy the huge throat space and built-in BSR on my sit-down Q20. With two BERNINA’s in my sewing room, I don’t mind rainy days!
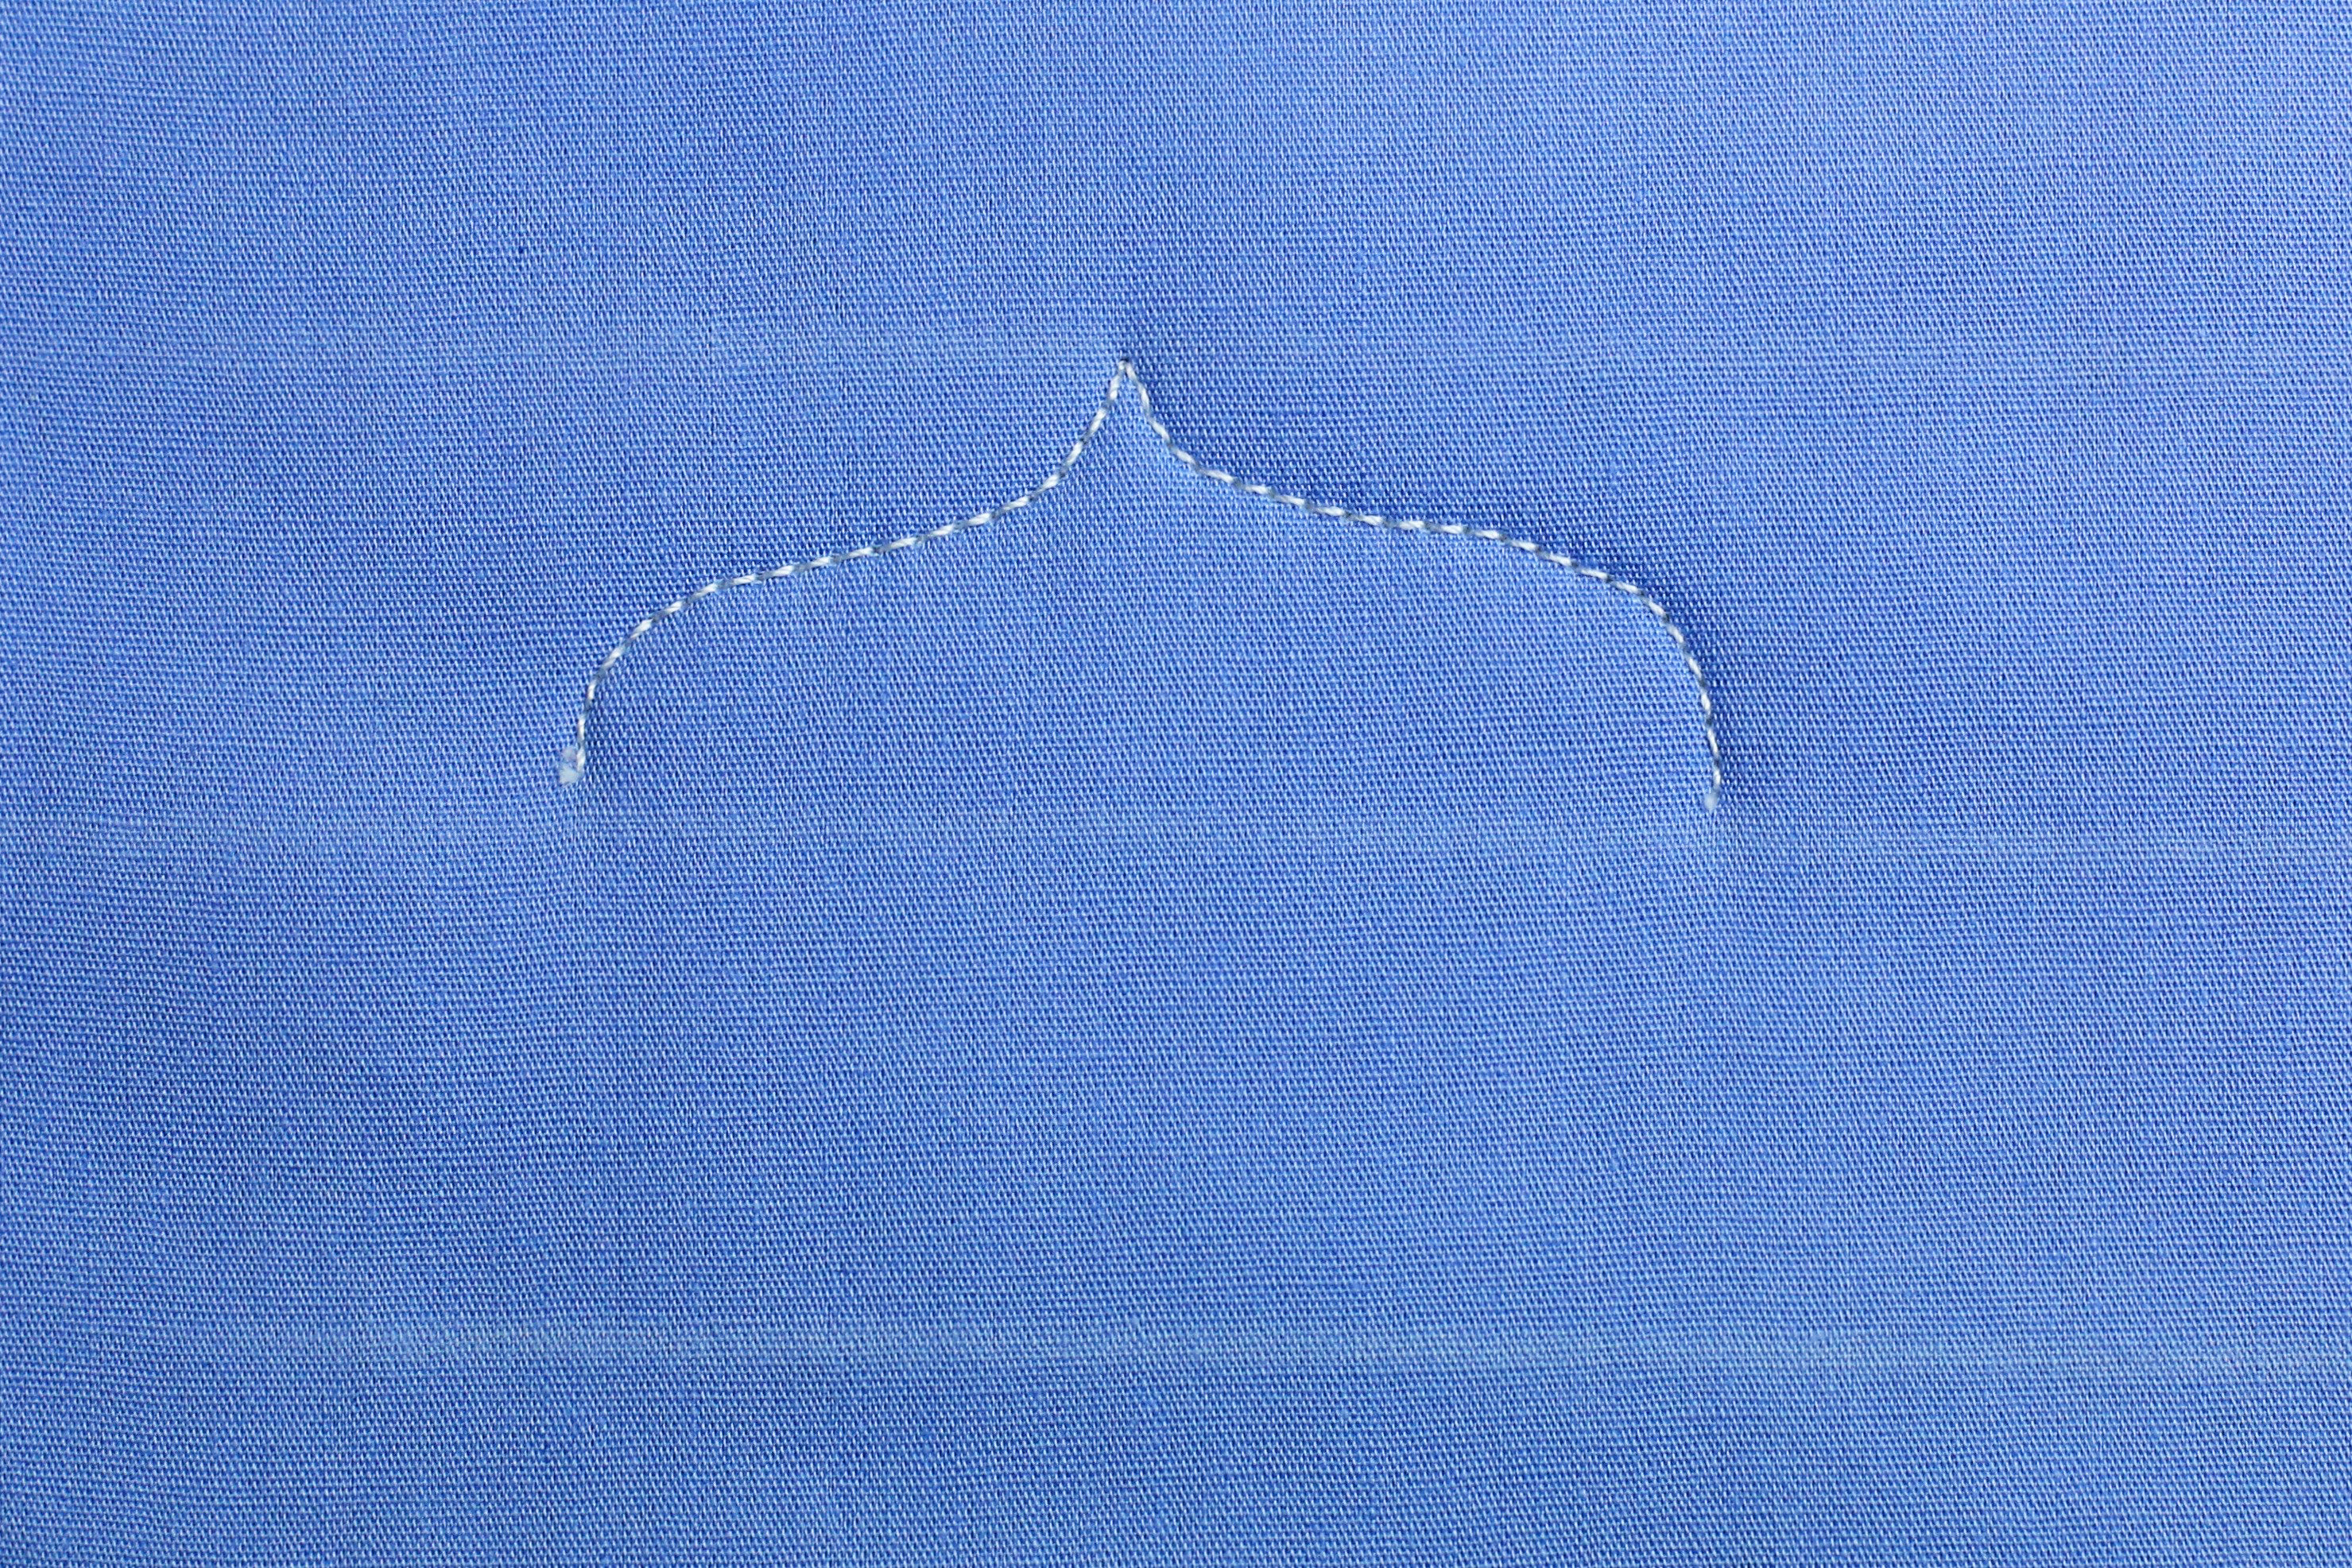
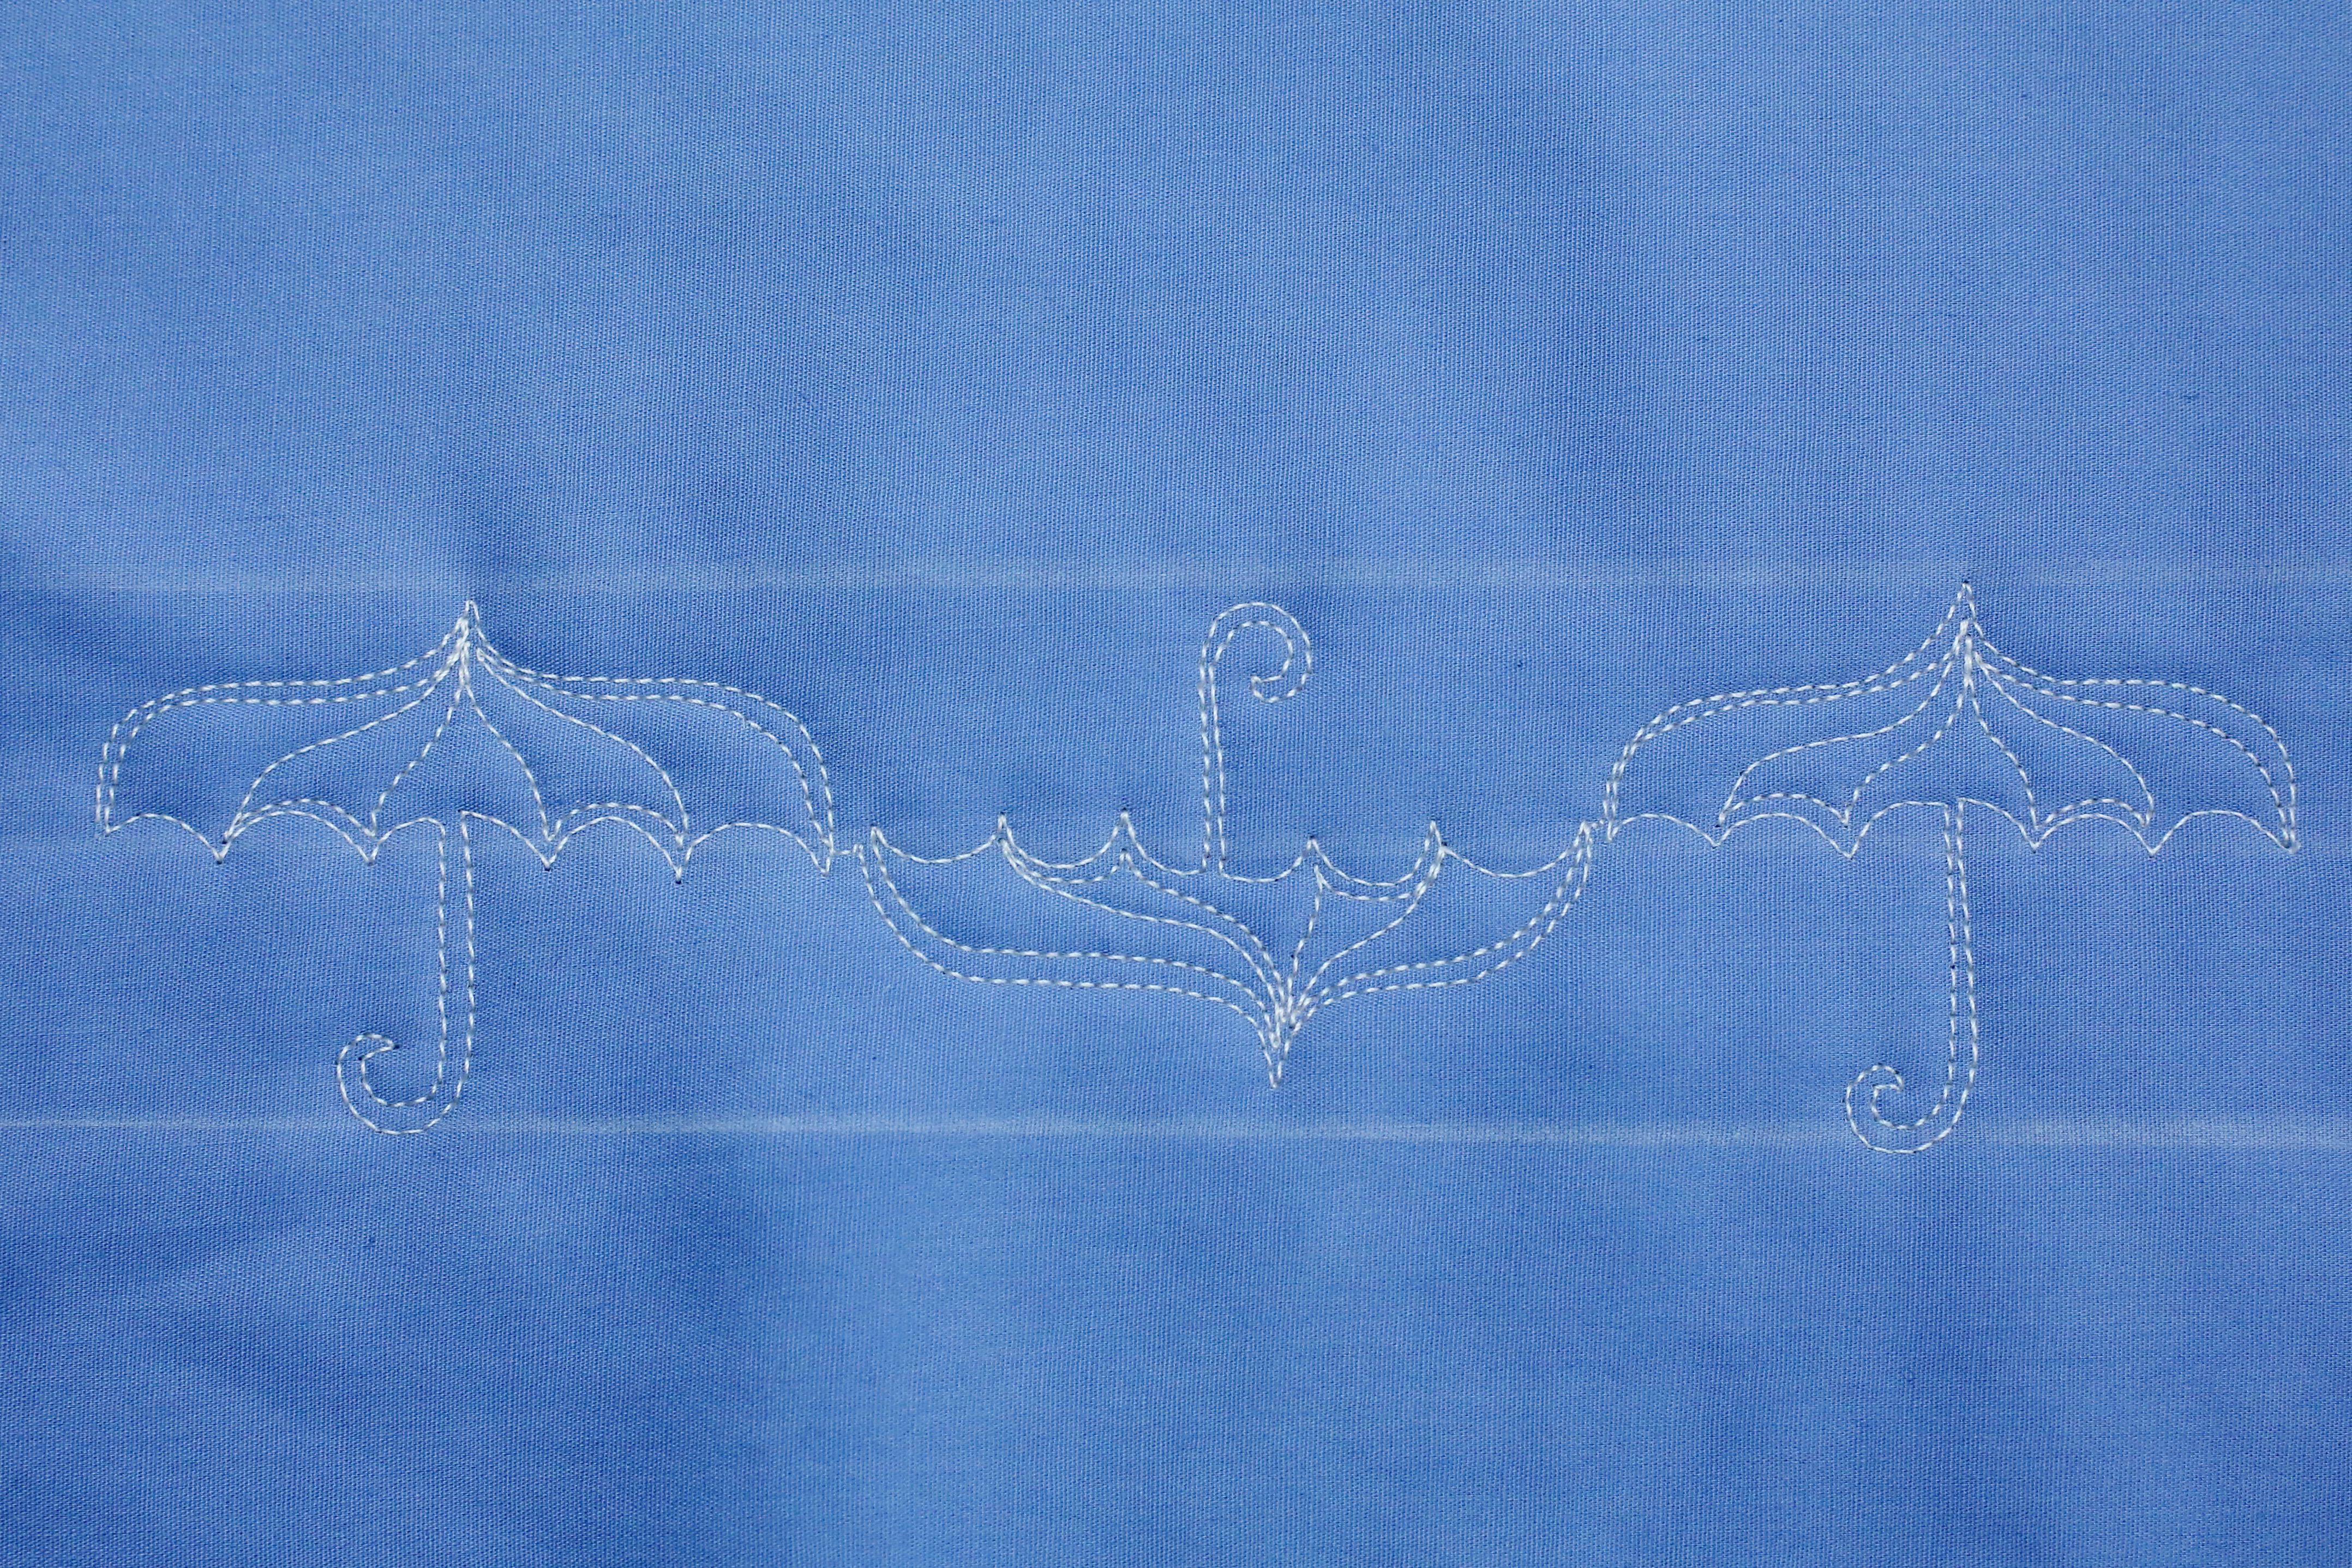
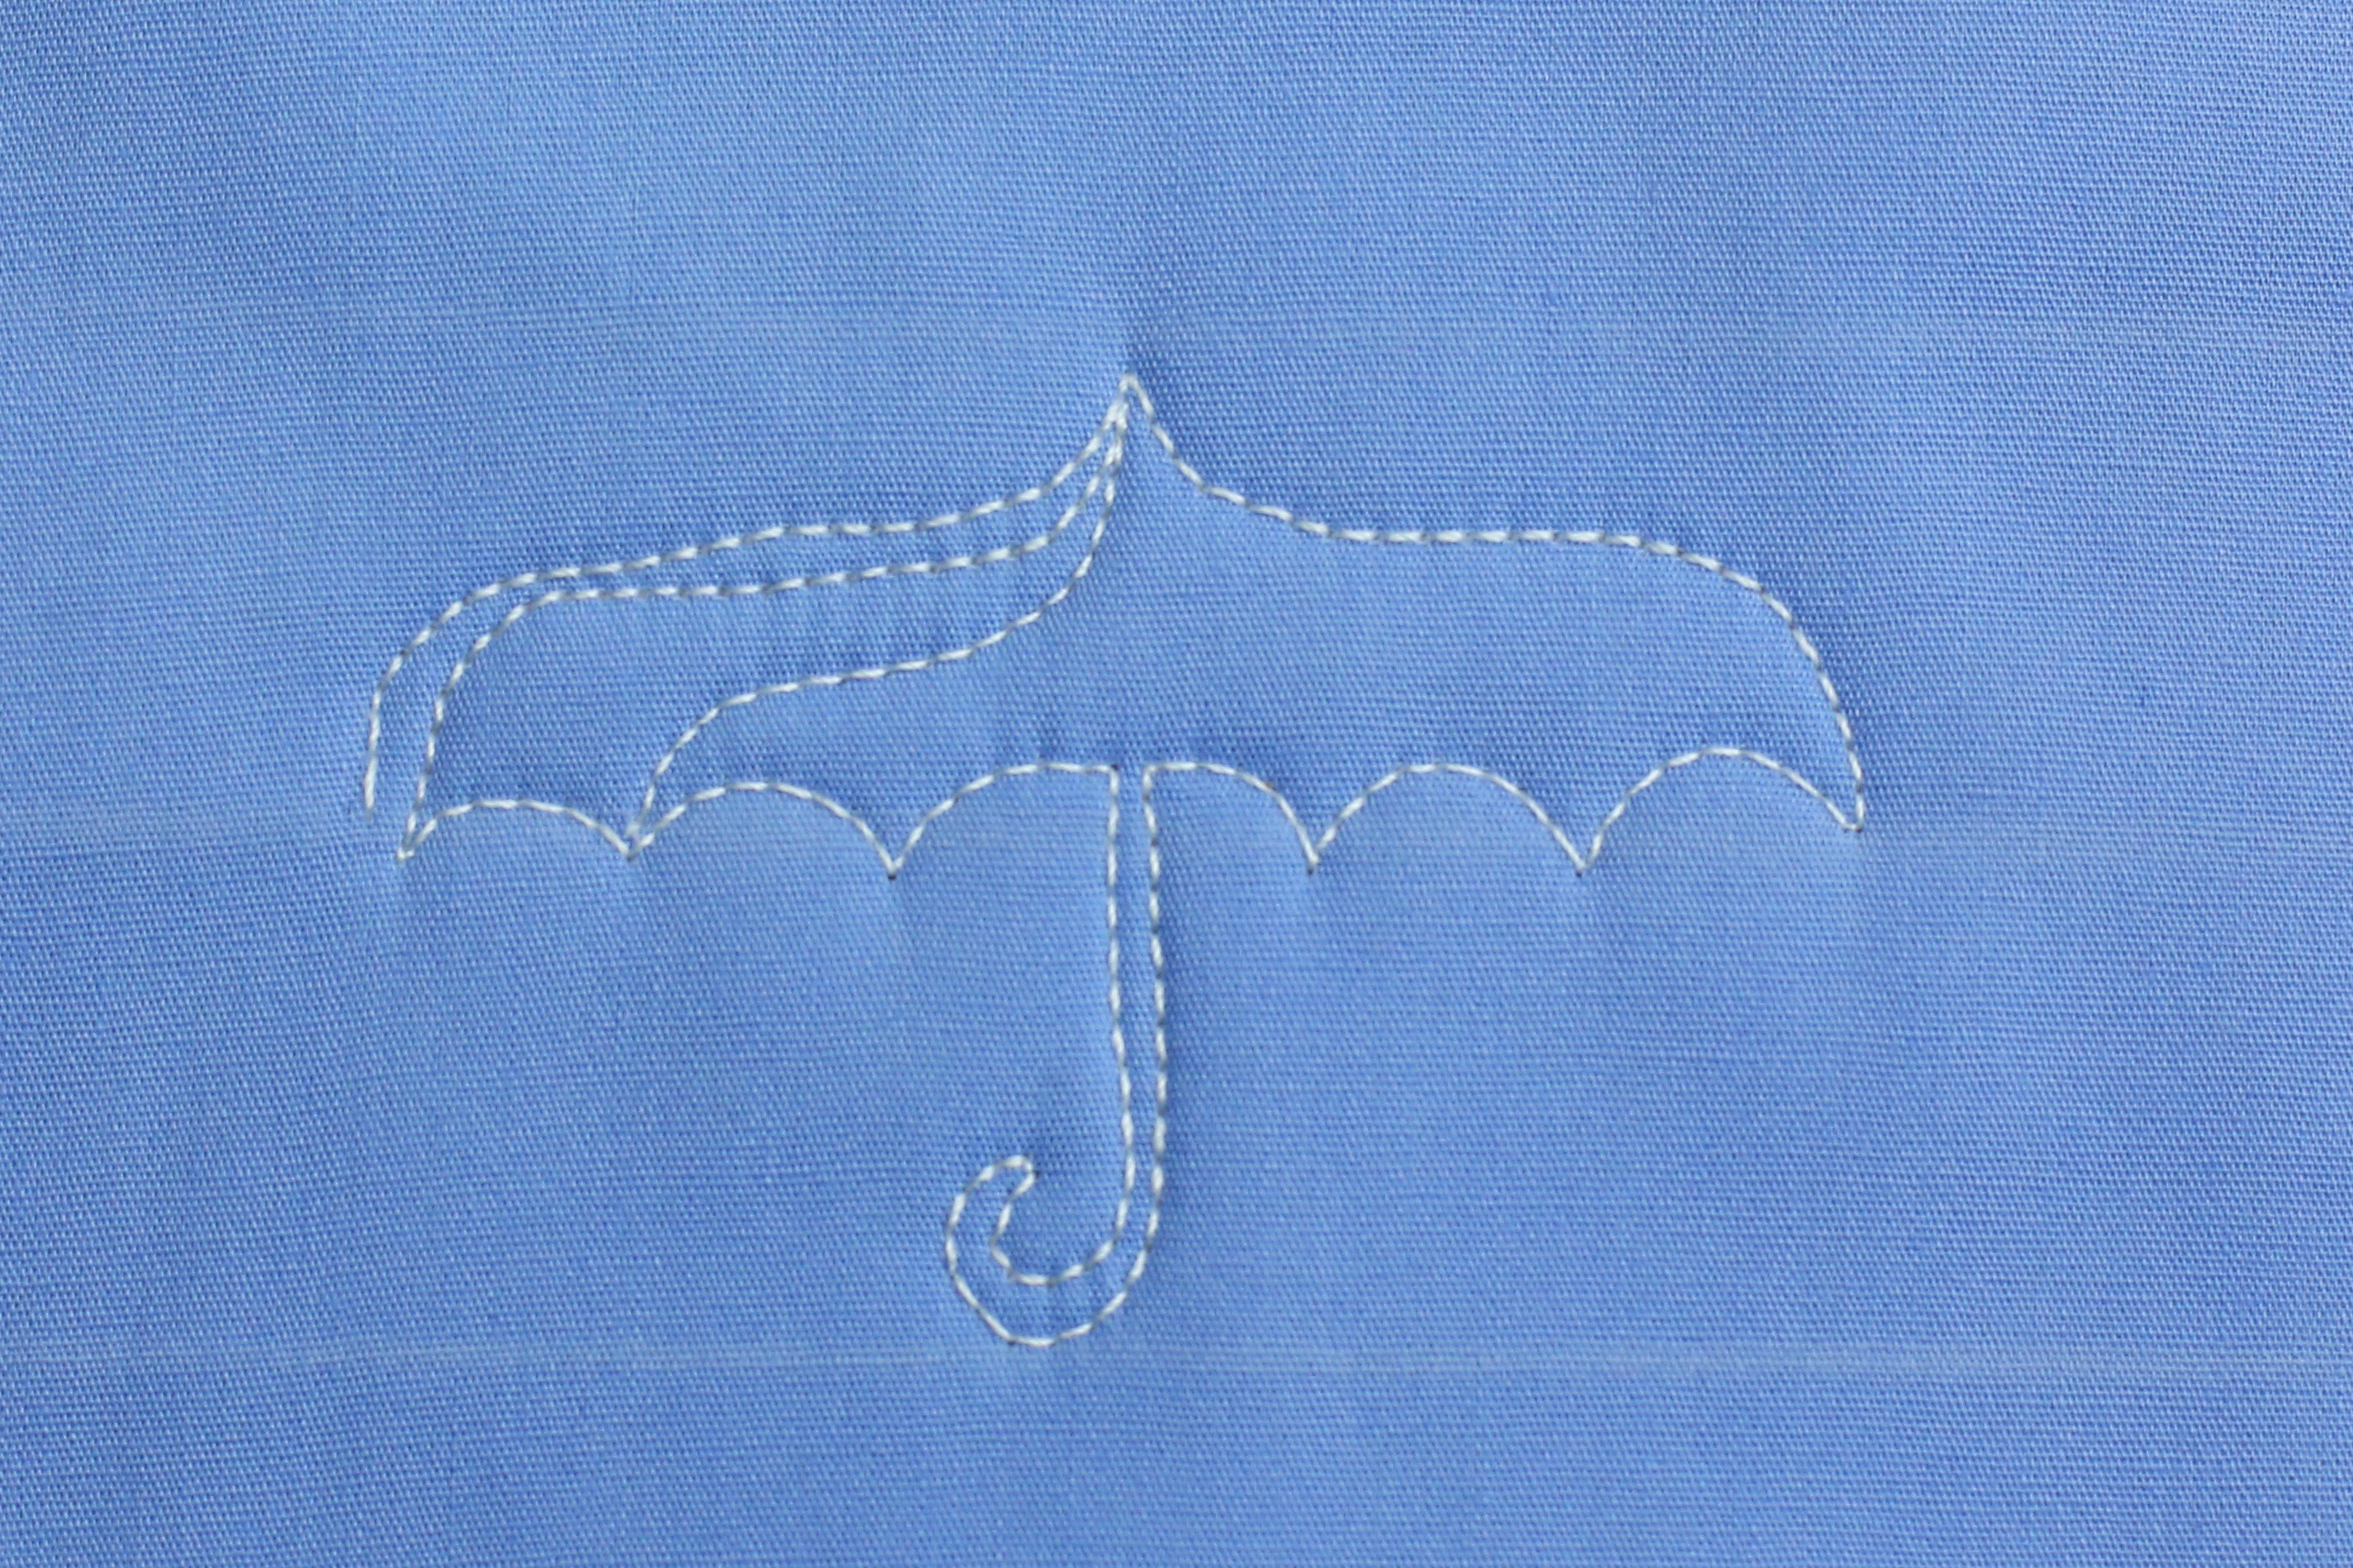
Begin by drawing three guidelines, equidistant apart.
Begin stitching on the centerline. Stitch a curve line to the top guideline and mirror the shape back to the centerline.
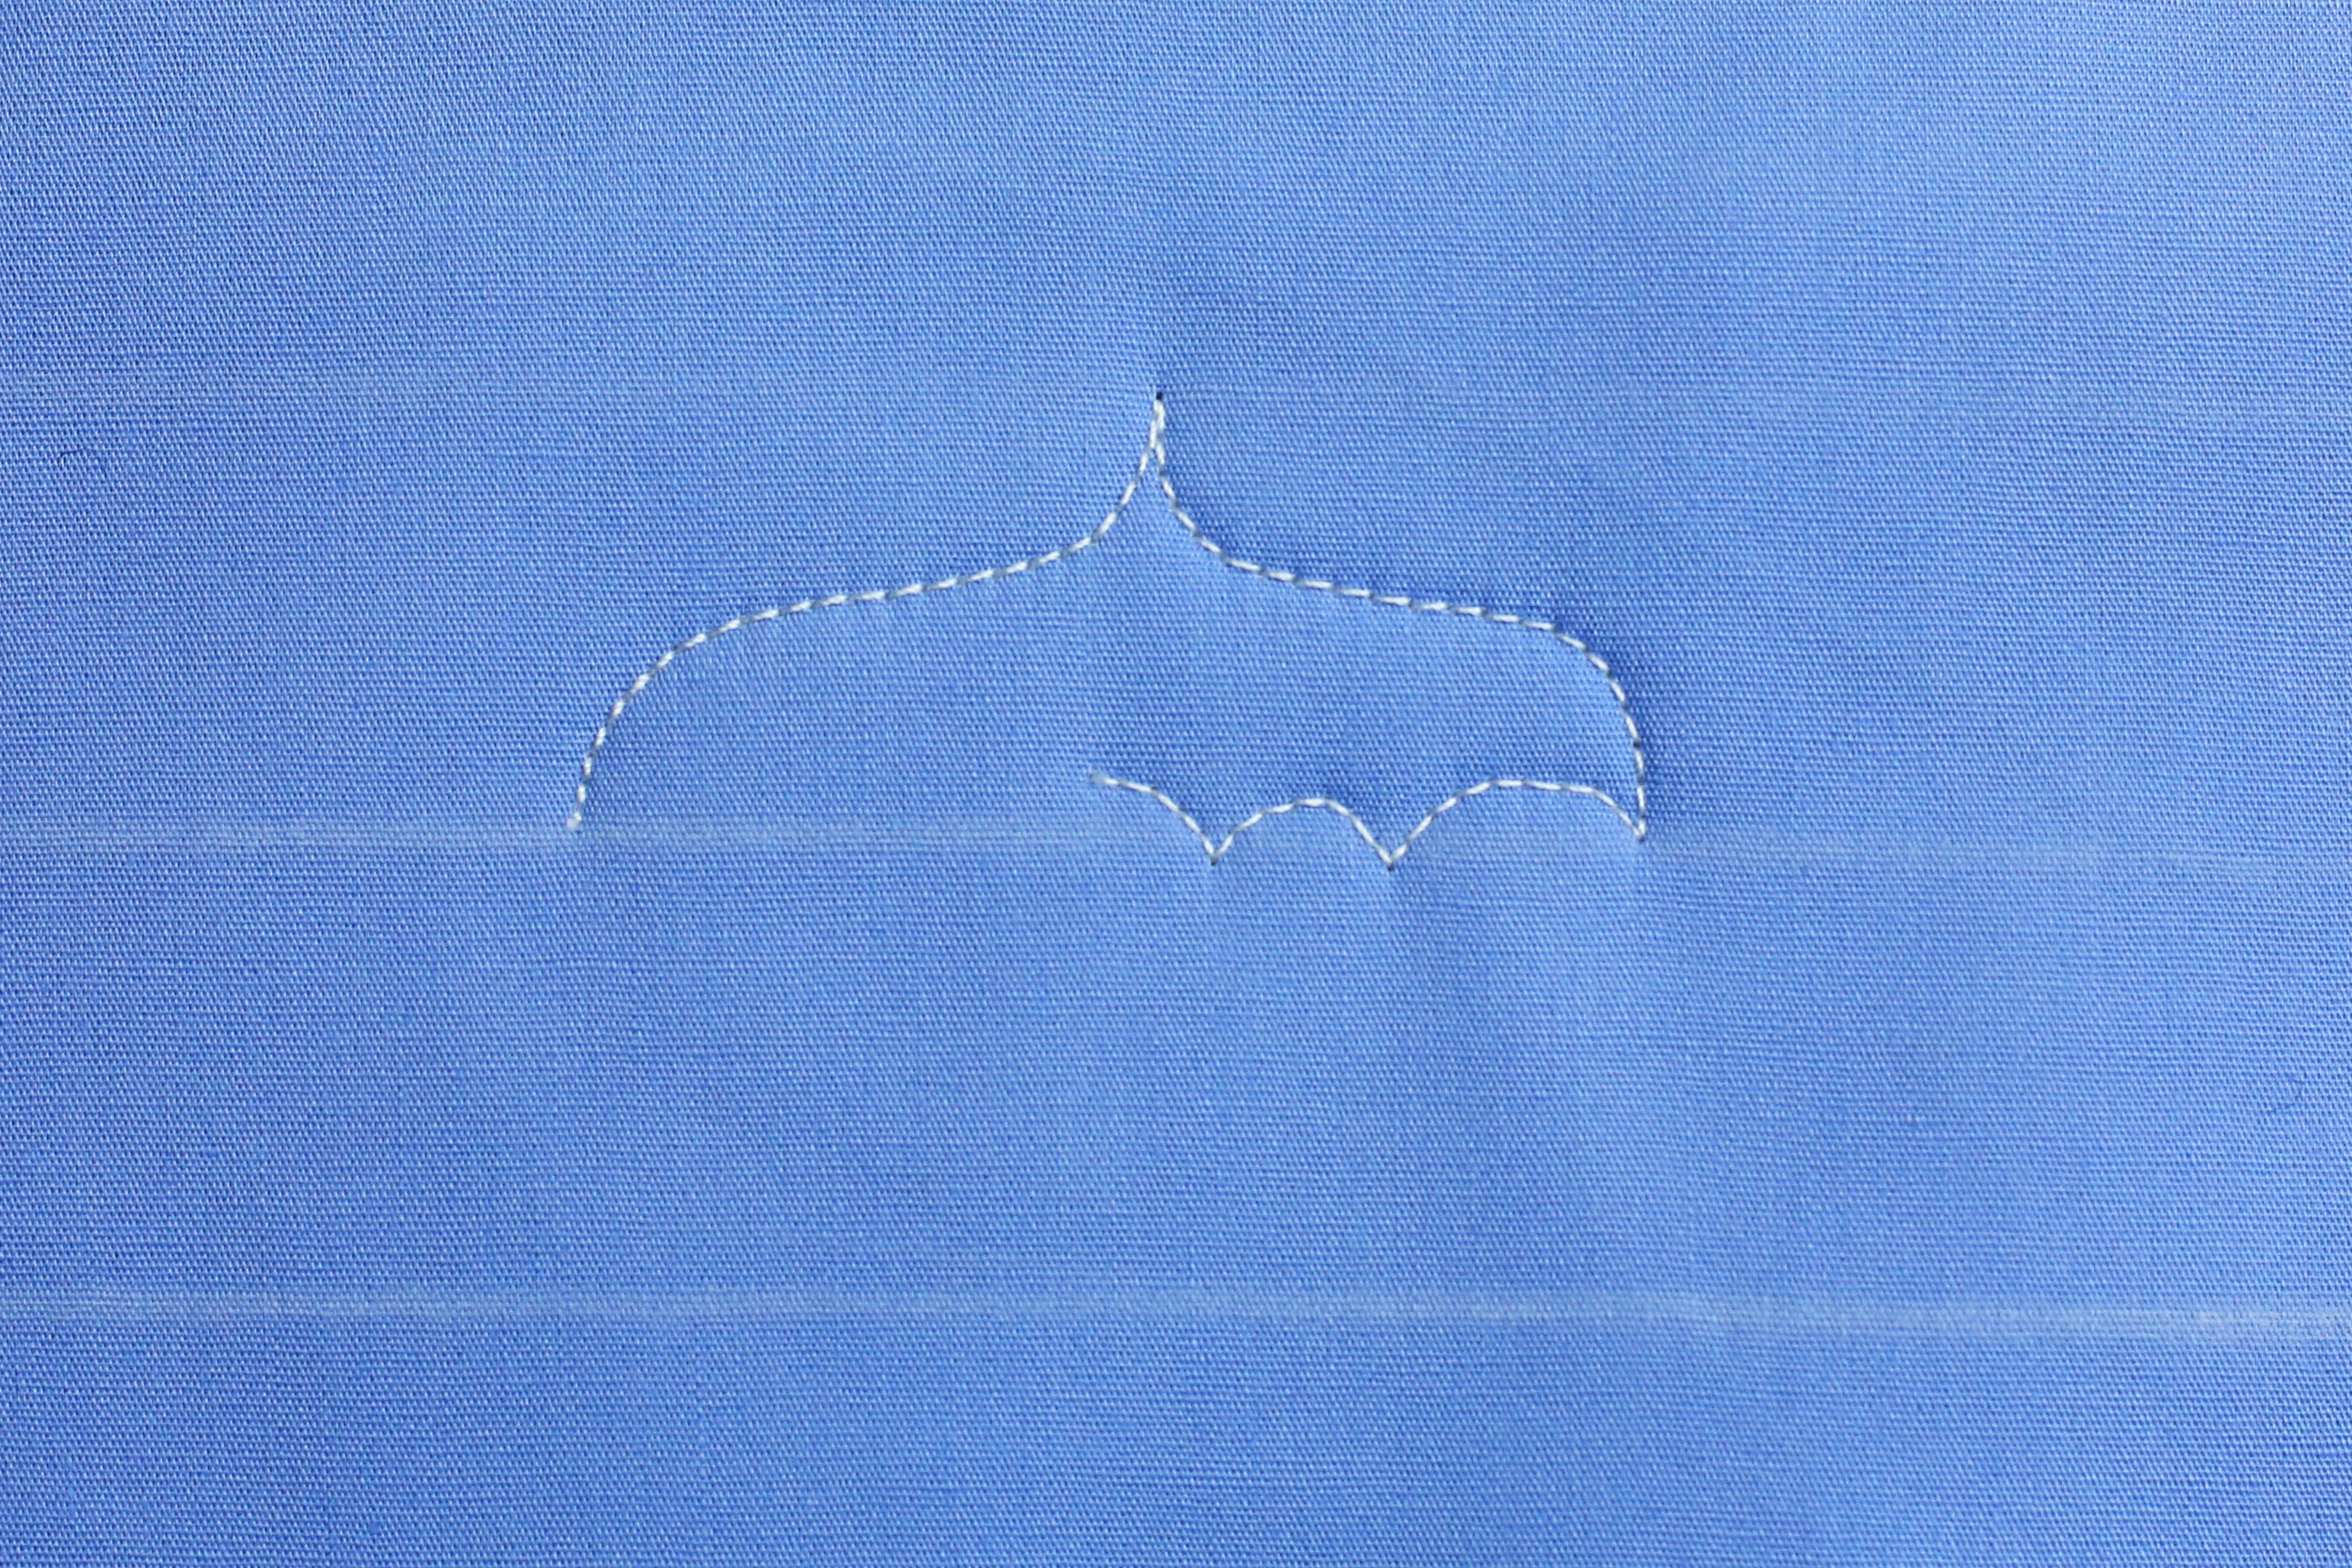
On the centerline, stitch two and ½ scallops.
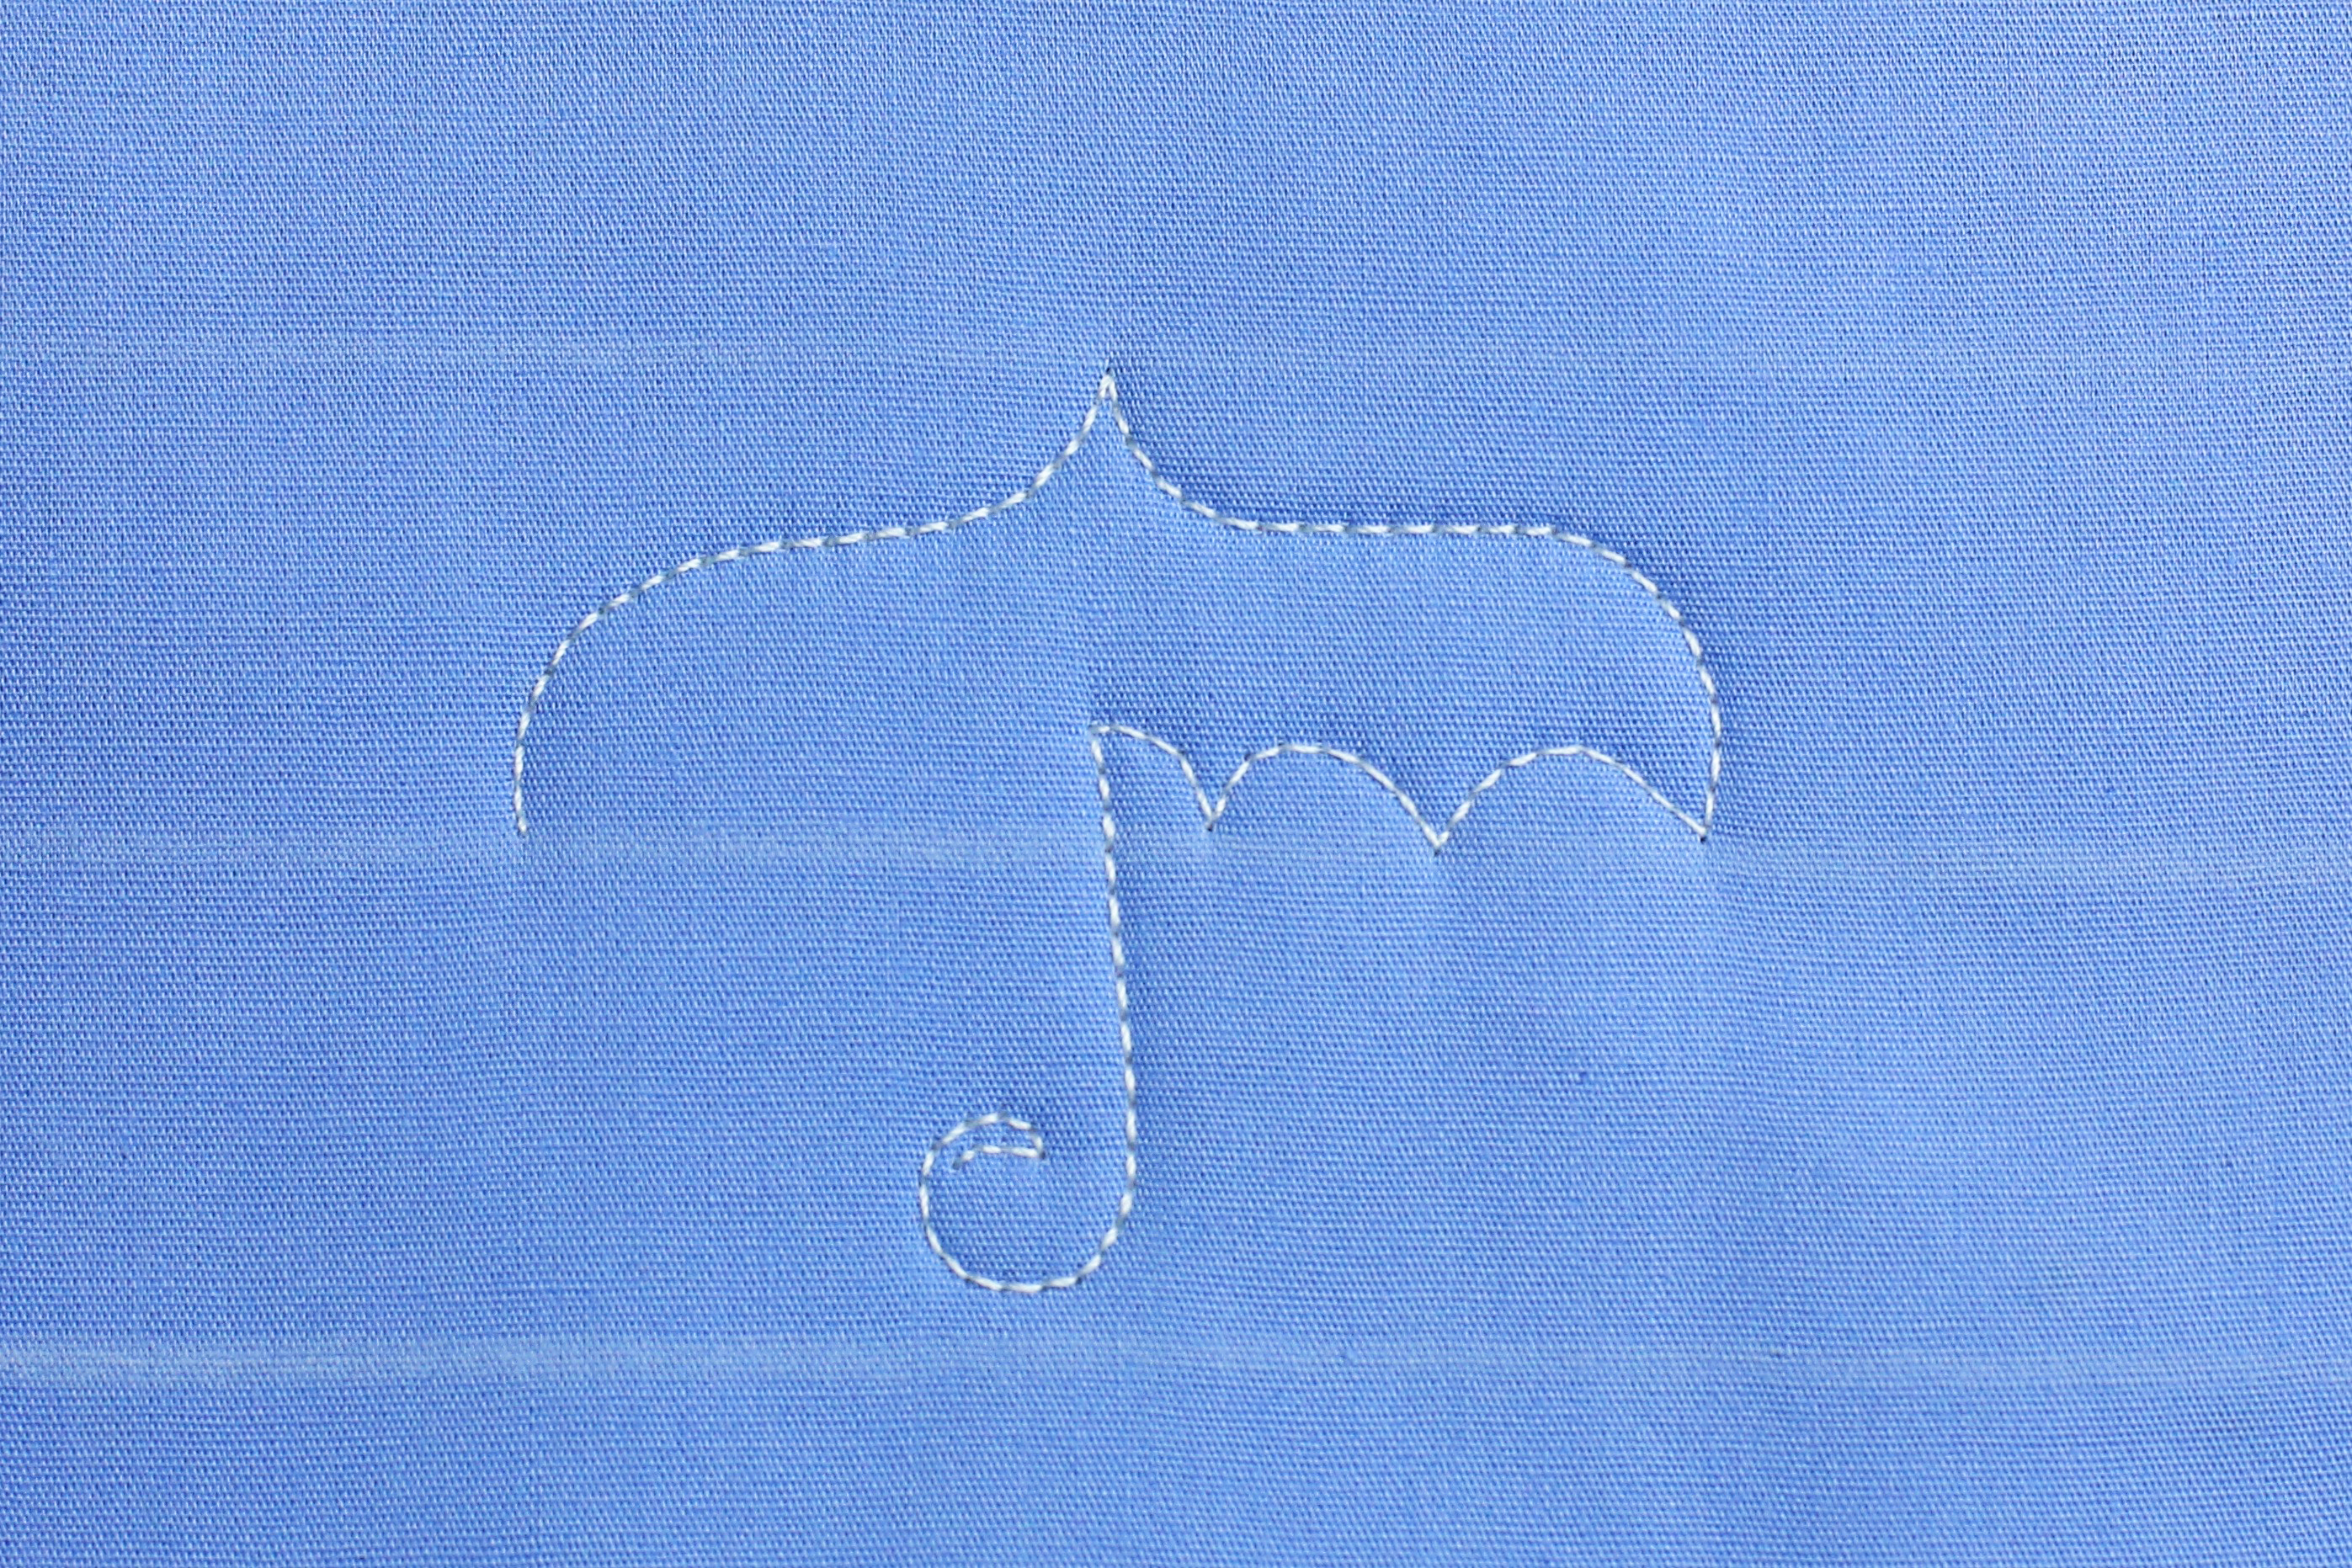
Stitch a vertical line to the bottom guideline and add a curl to create the umbrella handle.
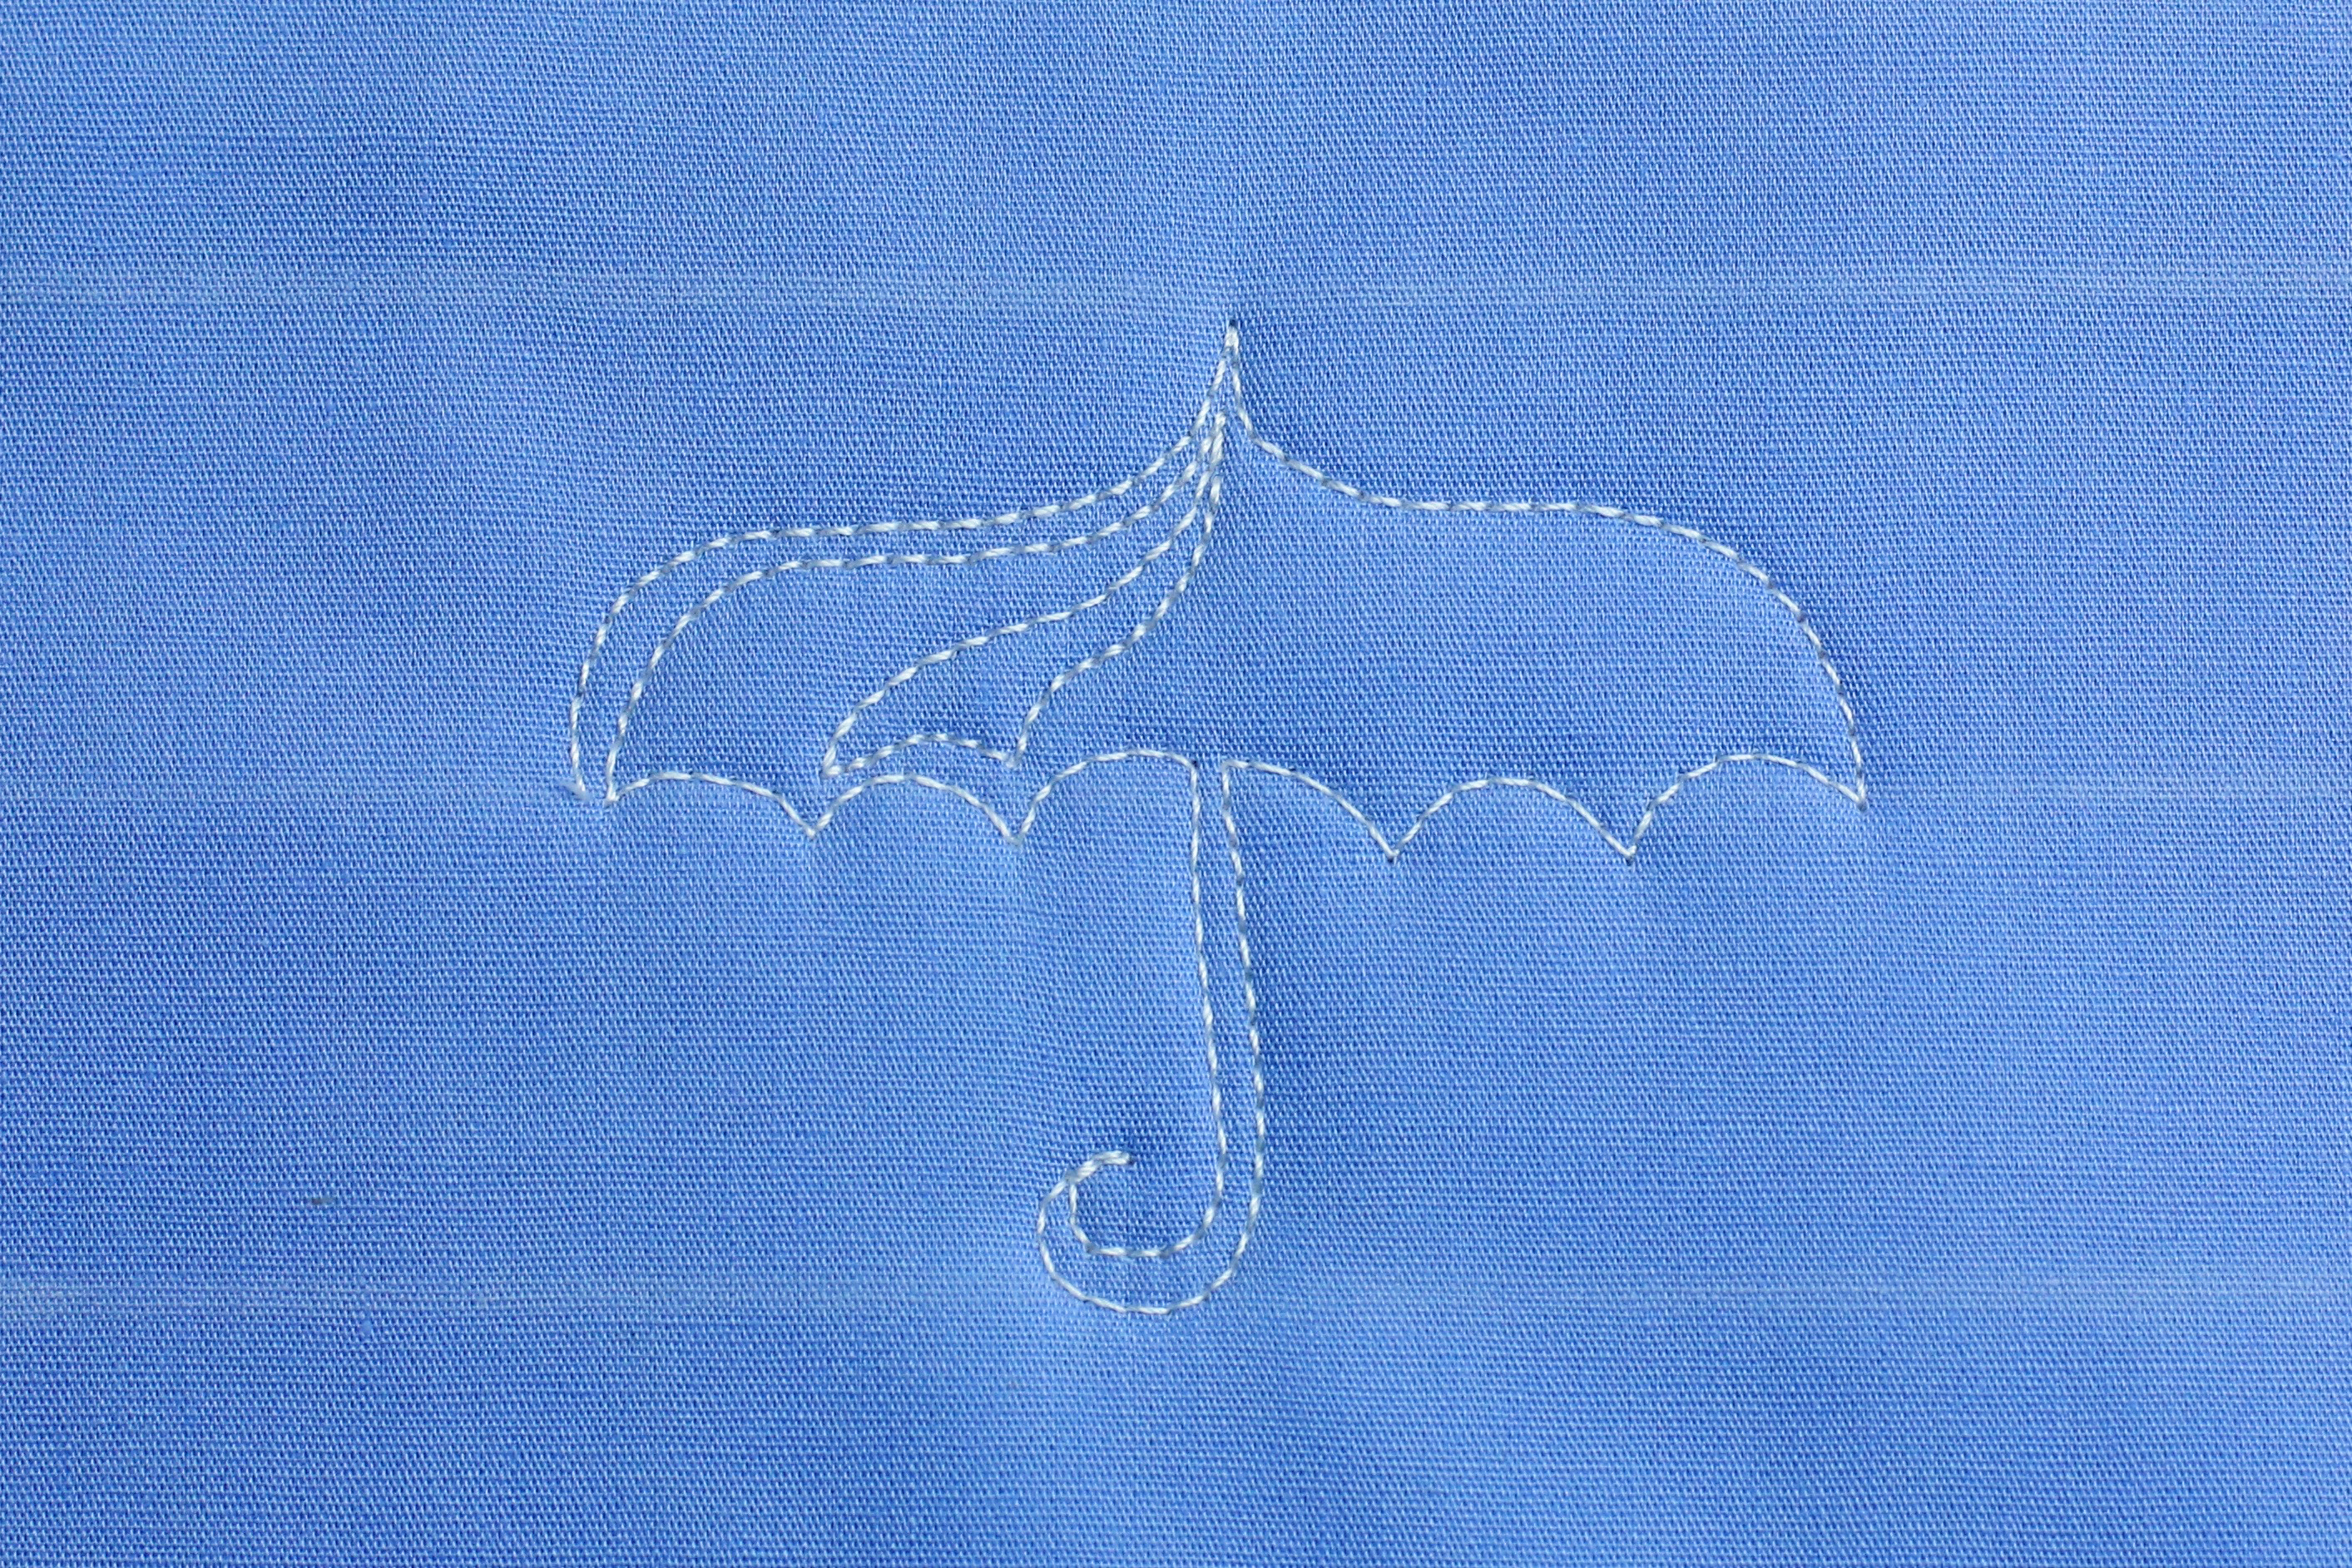
Echo stitch the handle back to the center guideline. Complete the center scallop and add two more scallops.

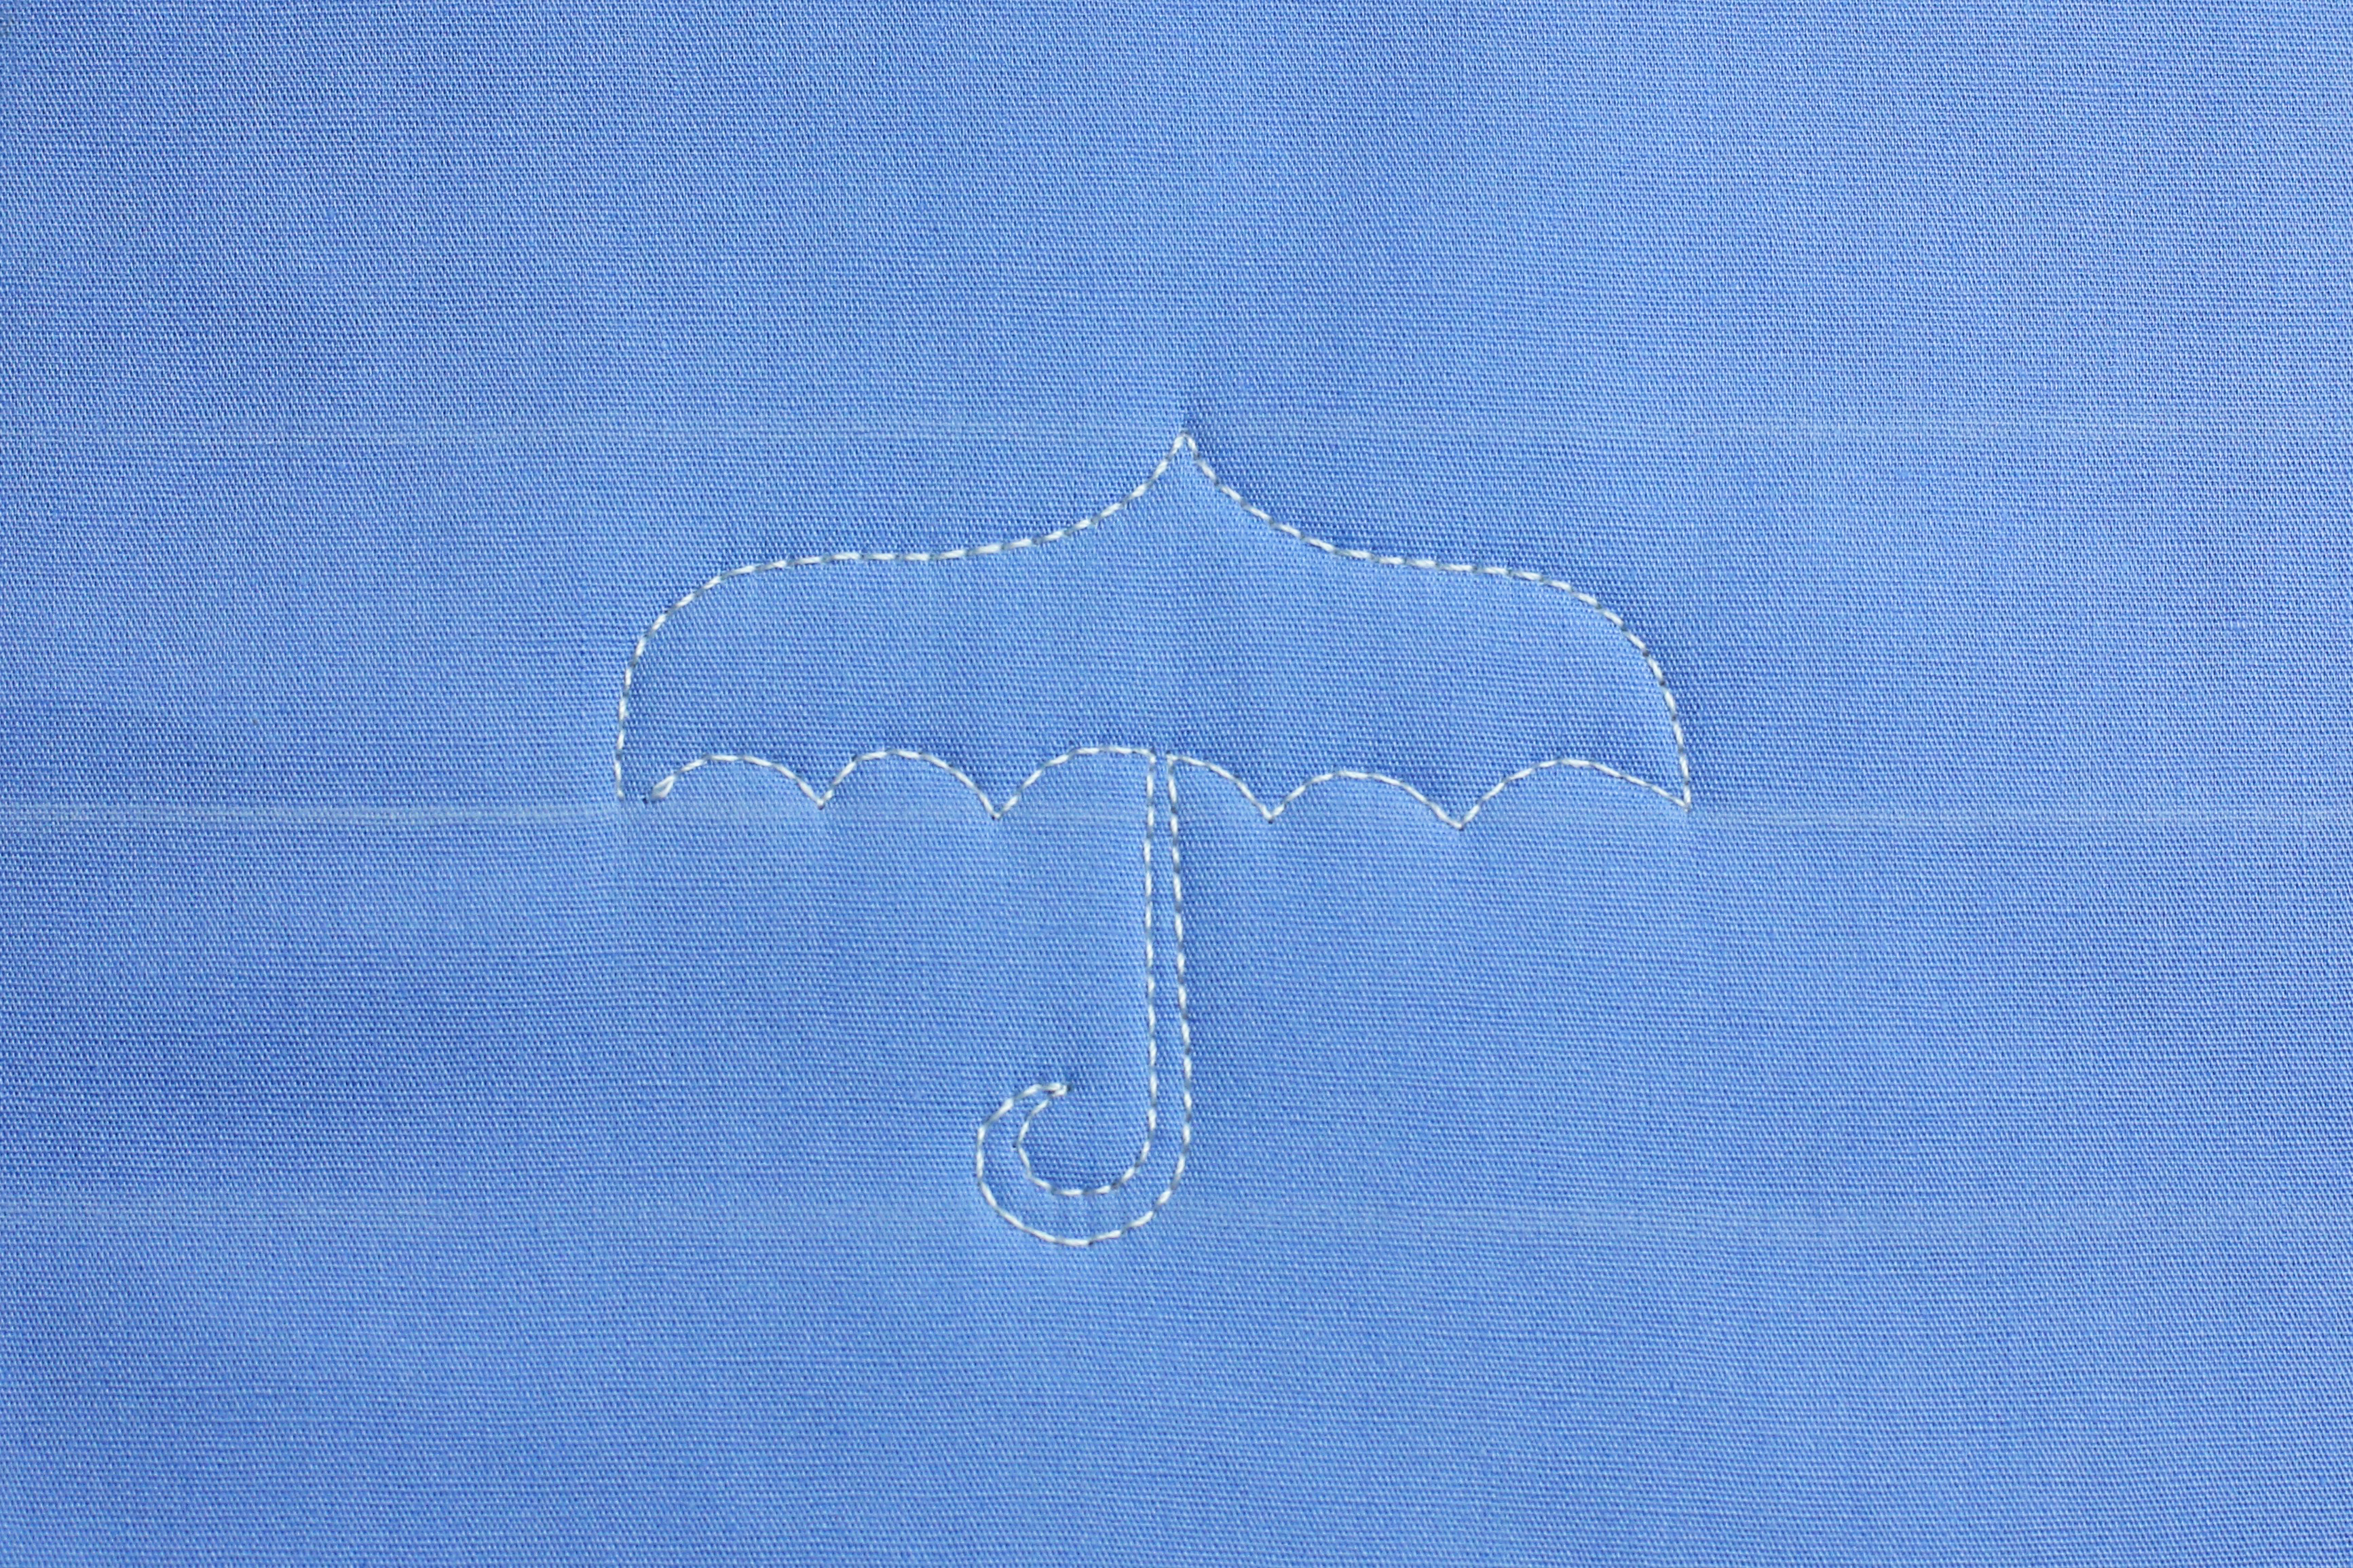
Closely echo stitch the left side of the umbrella stopping at the center tip.
Stitch a curved line down ending on the inset of the first scallop.
Closely echo stitch the second scallop and then stitch back to the tip of the umbrella.
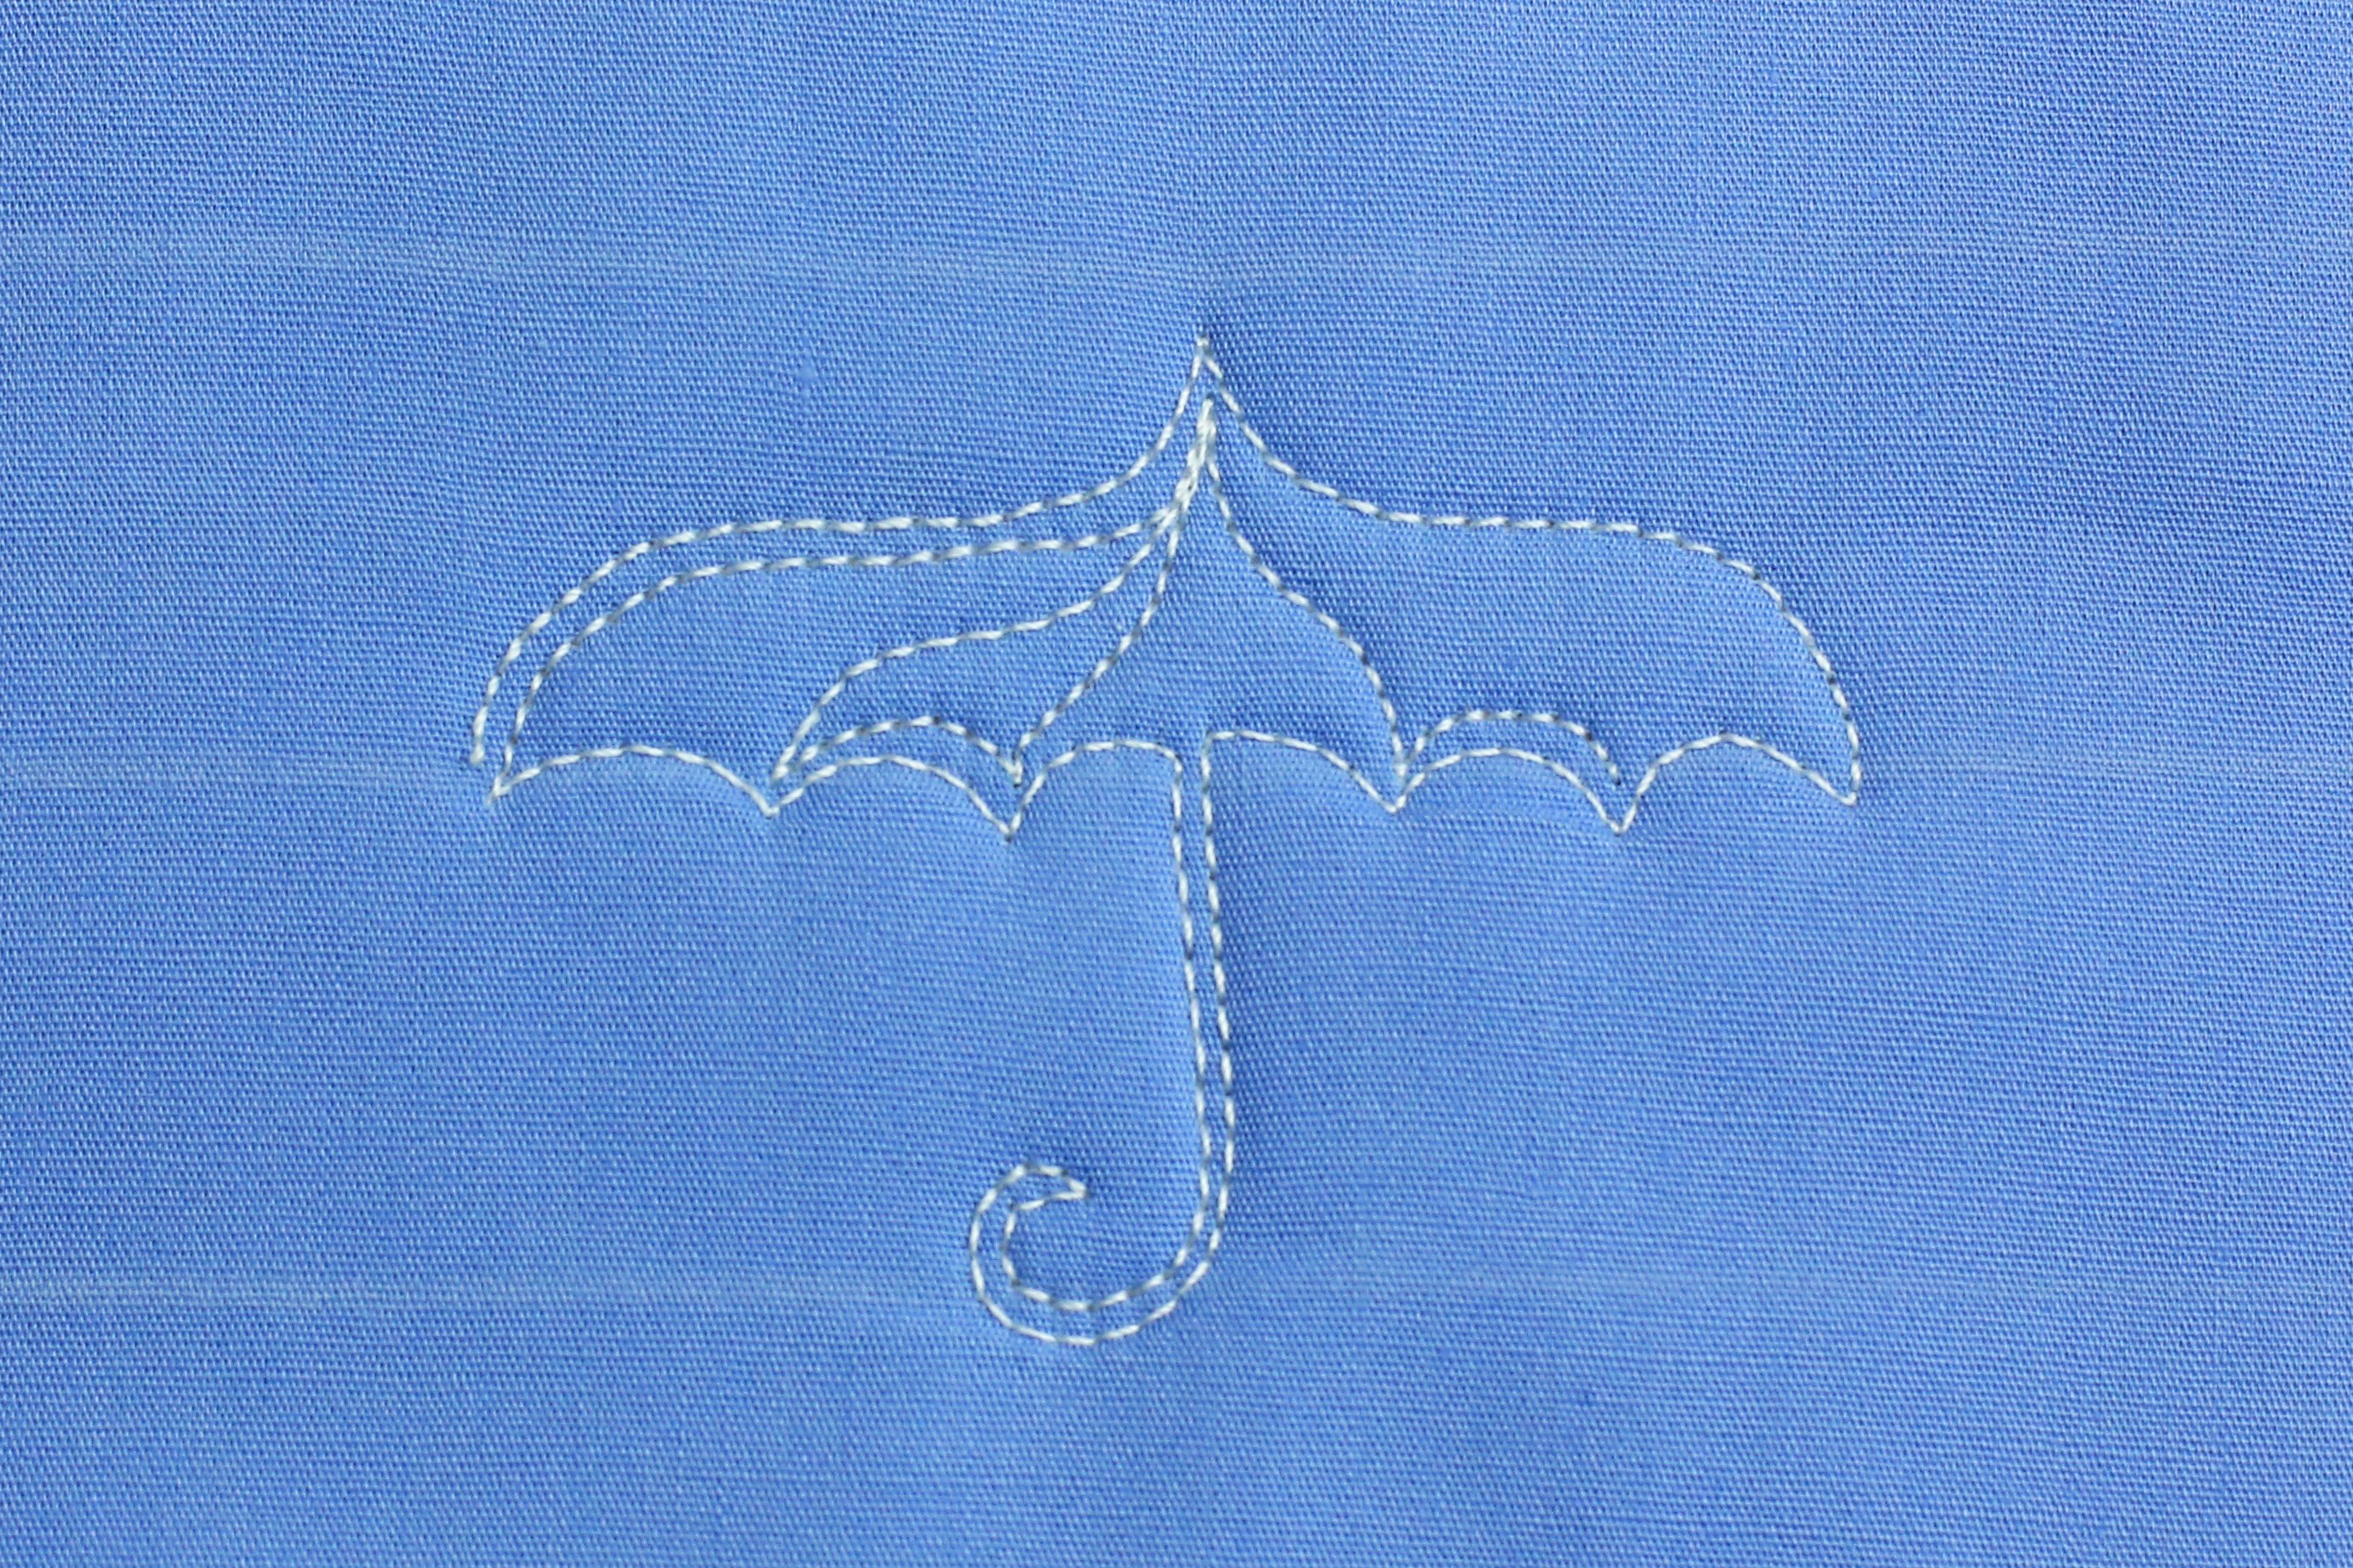
Stitch into the inset of the next scallop, and echo stitch the scallop.
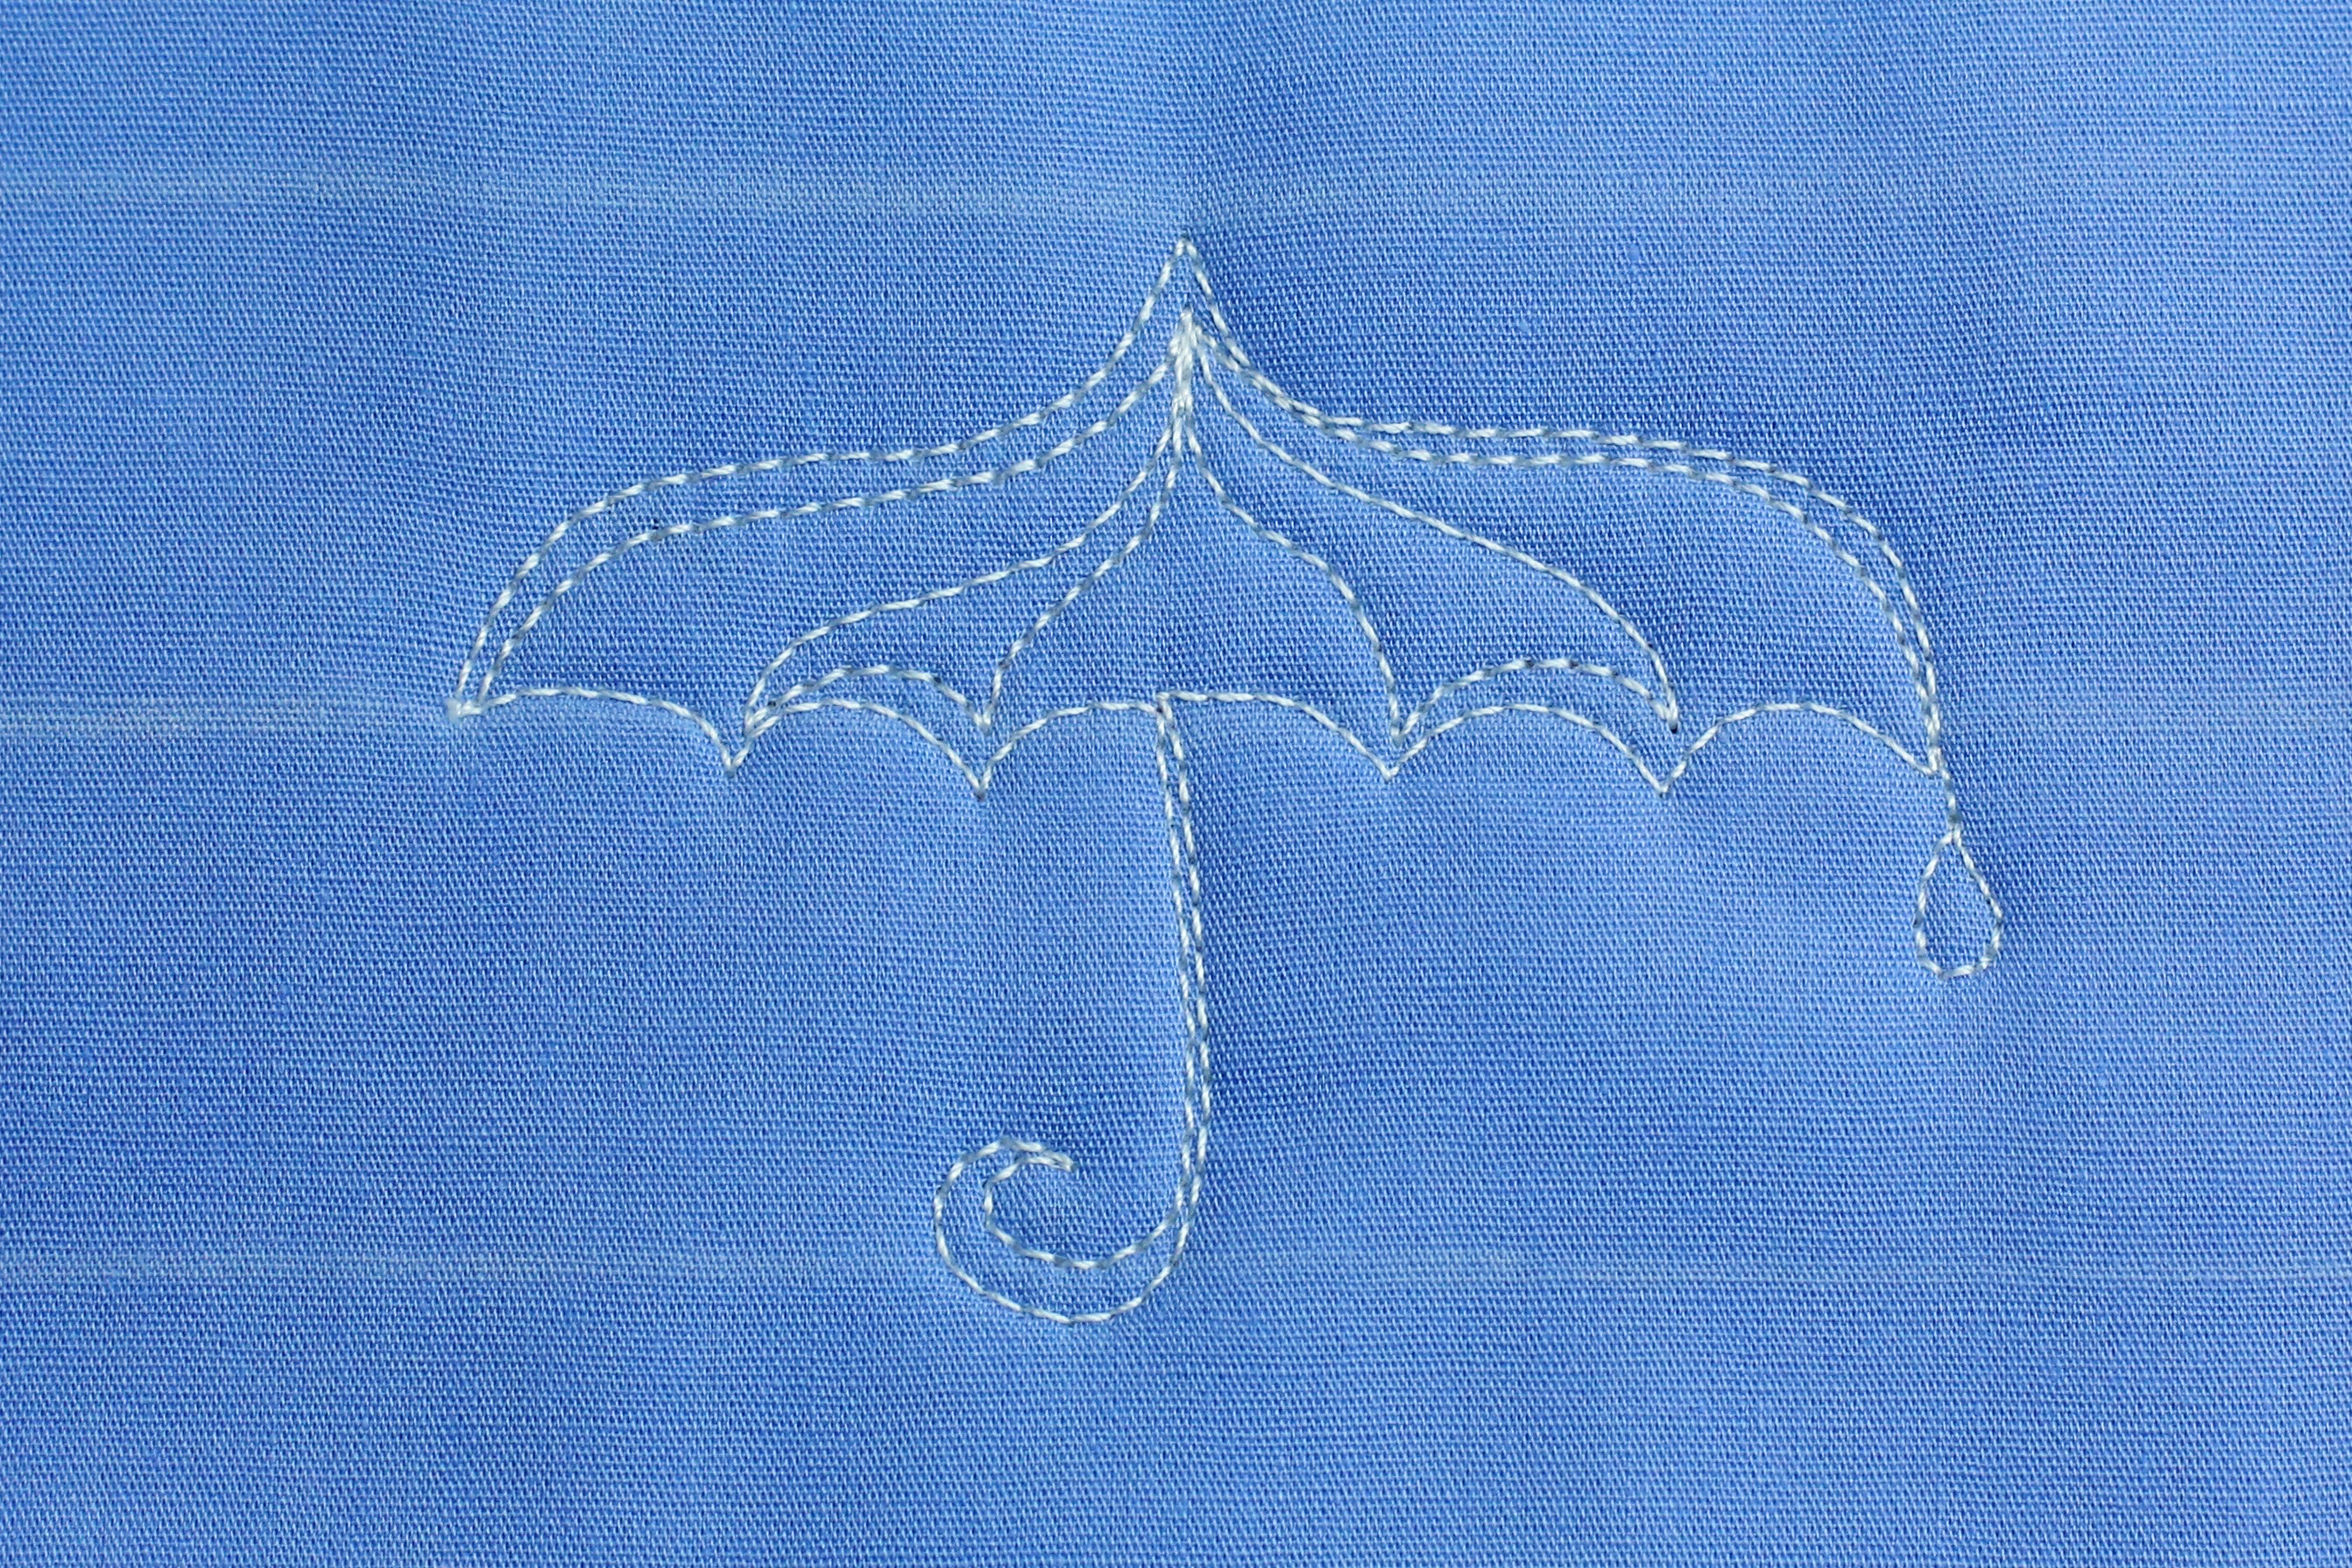
Stitch back to the tip. Complete the motif by closely echo stitching the right side of the umbrella. Add a few raindrops or a loop to begin a new motif in the pattern.
Rainy days and Mondays will never “get you down” when you’re quilting!
Be quilting in minutes with Twelve Steps to Machine Quilting on WeAllSew
For more free motion quilting motifs, tips and techniques, check out my books at LoriKennedyShop!