How to Quilt Feathers With Free-Motion and Rulerwork
Materials needed to quilt feathers:
- BERNINA 790 PLUS
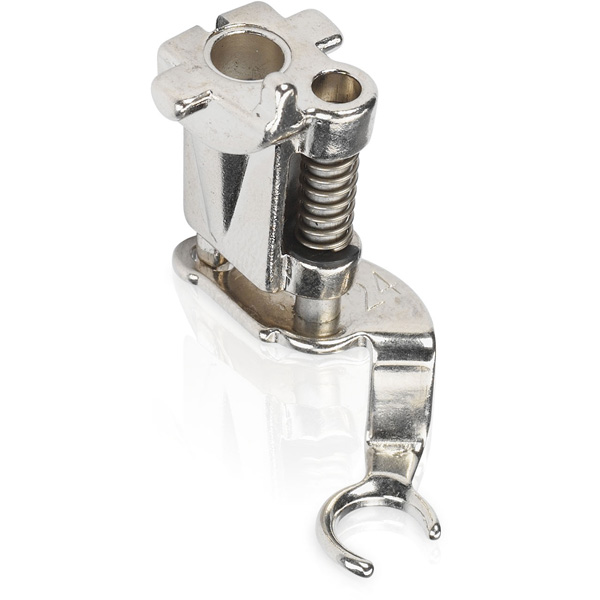
- Free-Motion Embroidery Foot #24
- Adjustable Ruler Foot #72
- Straight stitch needle plate
- Size 80 Jeans Needle
- Supreme Slider
- Quilting gloves (optional)
- Amanda Murphy’s Good Measure Rulers
- Drawing paper
- Drawing pen, pencil, or marker
MACHINE SET UP
Place a Straight Stitch Plate on your machine and select it in your machine’s Security Program. Insert a size 80 Jeans needle, or a sharp needle of the appropriate size for your thread. A Supreme Slider on the bed of your machine may make it easier to move the fabric. Use your favorite aid to move the fabric, such as quilting gloves.
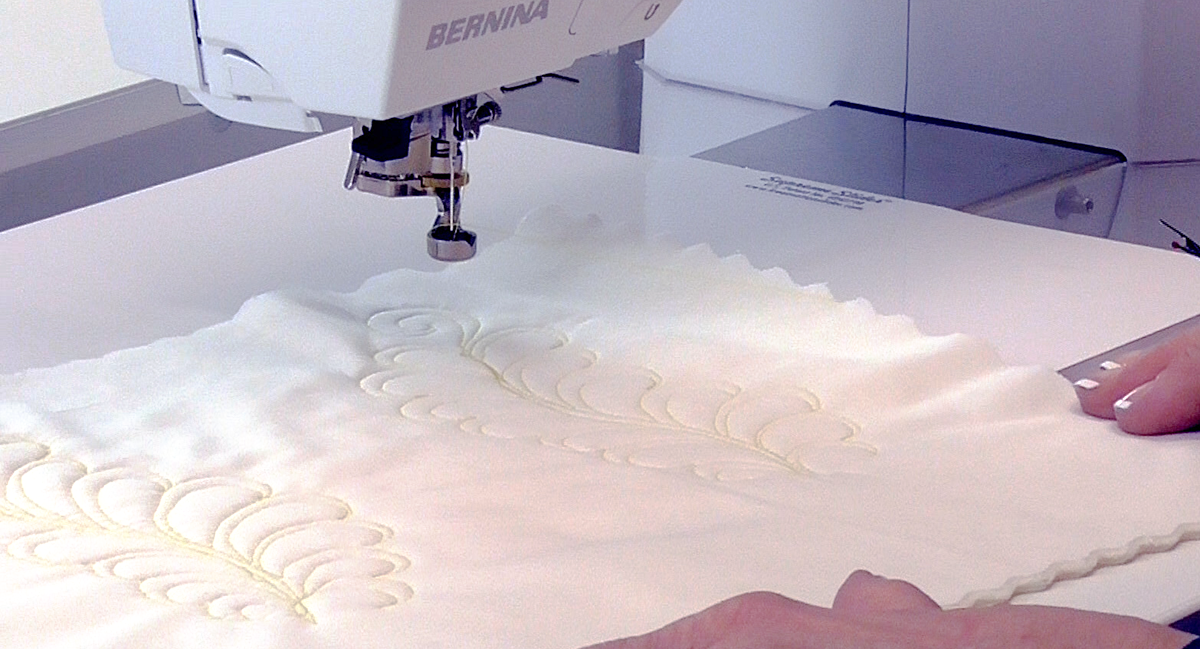
The style of feathers we will do have two parts – the spine and the plume. The spine is stitched first and the plumes are added to each side of the spine. Quilting feathers with rulers will make a perfect feather and teach you how to create free-motion feathers.
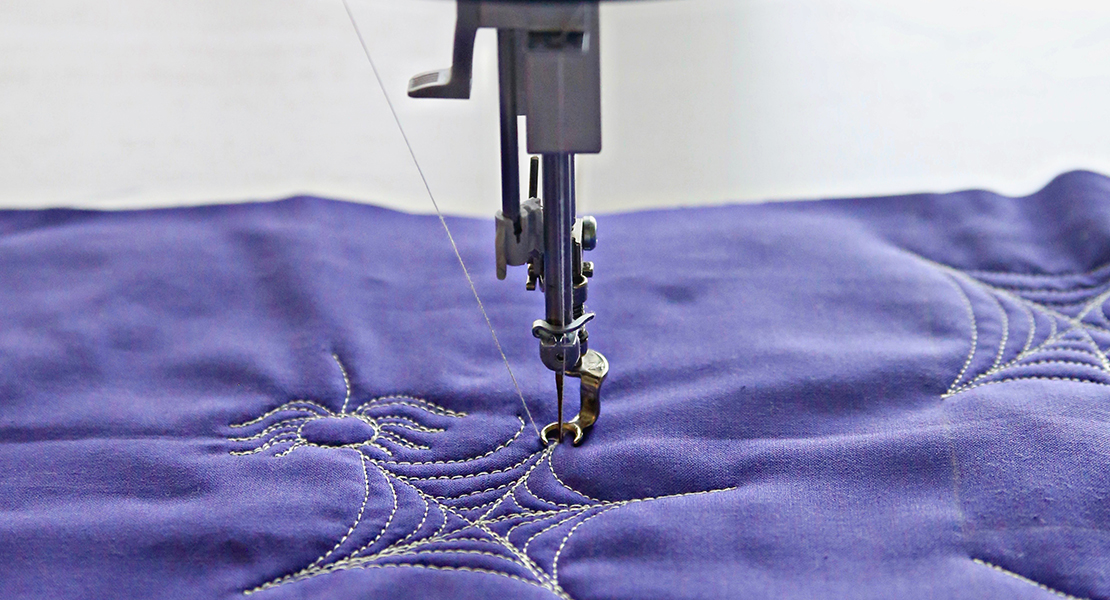
Place the Adjustable Ruler Foot #72 on the machine. Adjust the sole of the foot with the gold dial so that the quilt moves easily under the presser foot when the foot is lowered. We are using Amanda Murphy’s Good Measure Rulers – the Every Spine Ruler and the Every Feather Ruler. The rulers come with excellent instructions on how to use them.
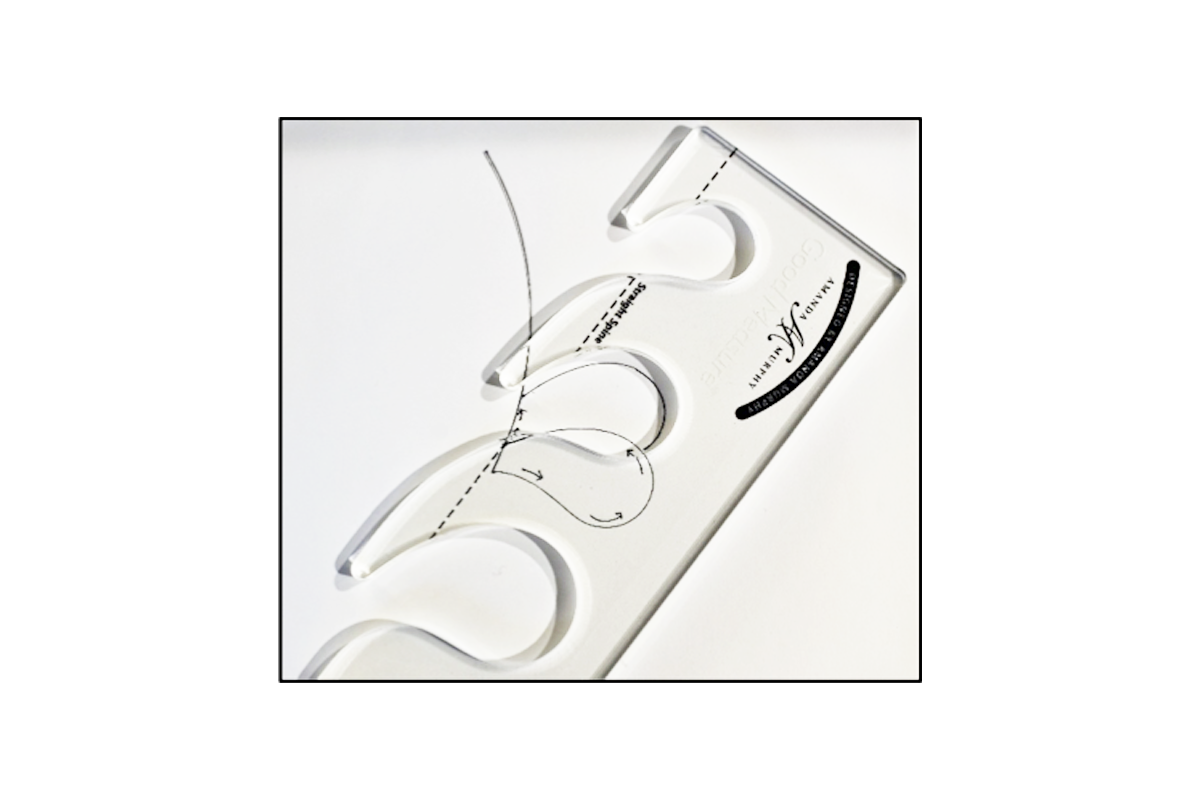
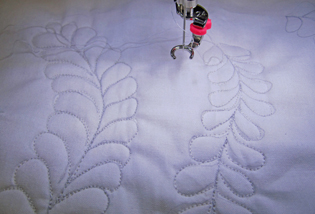
Stitch a spine using the Spine Ruler.
Stitch the first plume using the Every Feather Ruler. Place the plume at a pleasing angle to the spine. Stitch from the bottom of the plume, over the top and back to the spine. Stitch up the spine a little way.
Successive plumes will be stitched from the top, over the end until you bump into the previous plume, stitch back over the end and stop. Realign a plume that will be stitched from that point to the spine. Stitch up the spine again. Refer to the printed instructions that come with the rulers.
STITCHING A FREE-MOTION FEATHER
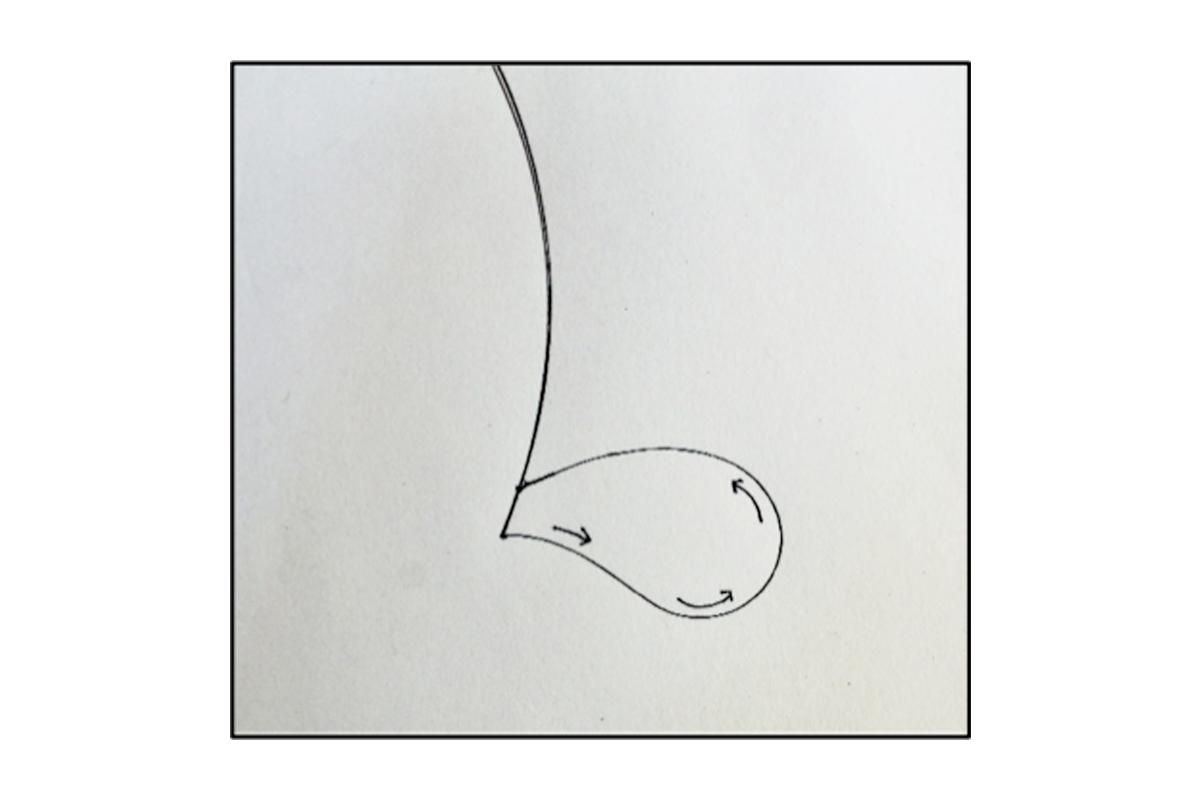
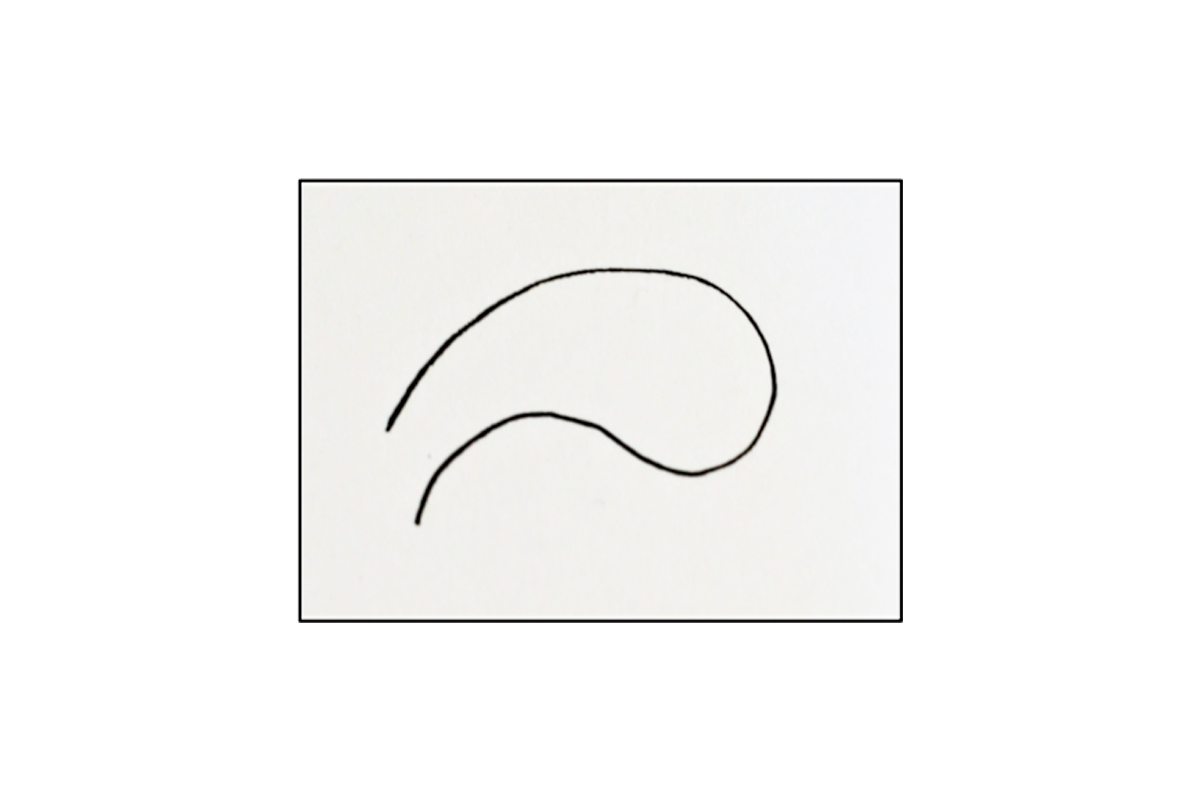
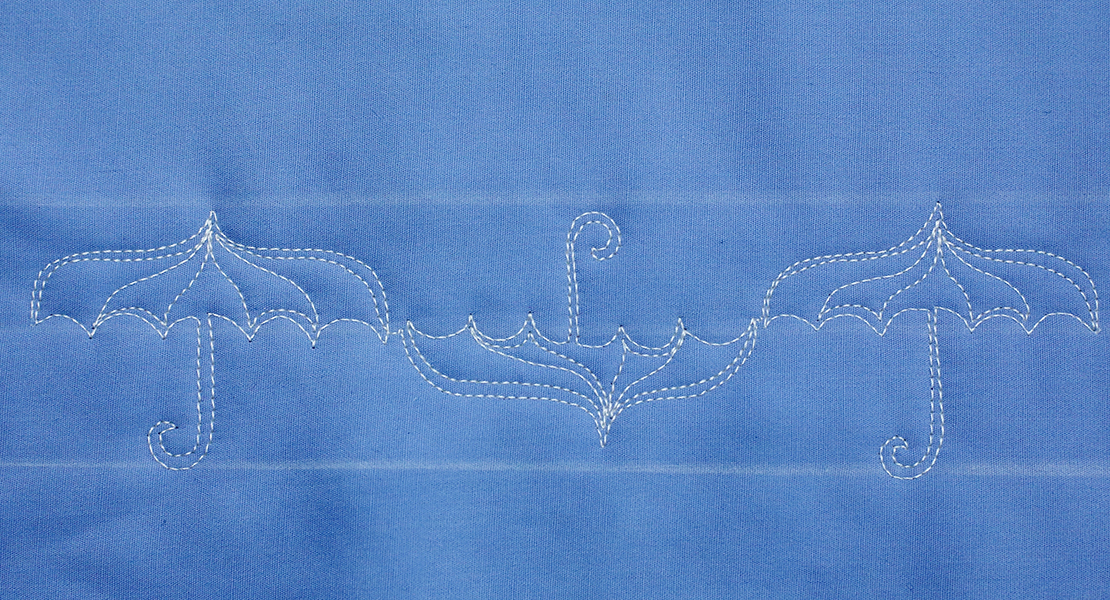
Anytime you are going to do free-motion quilting you will have greater success if you draw before you quilt. The shape of the plume is key to the success of the feather. Begin by drawing a shape similar to the shape below. Trace over the shape until you naturally draw the plume.
Draw successive plumes the way the ruler feathers were stitched. You will bump back on the end of every other plume. When you get to the top, trace back to the bottom on the spine.
 Practice by drawing over and over again. If need be, trace an existing feather until you get a feel for the movement. Attach the Freehand Embroidery Foot #24 and stitch what you have been drawing.
BERNINA Made to Create Studio Online Lessons
Equilateral Triangle Table Runner
Free-motion Quilting with Rulers
How to Quilt Feathers with Free-motion and Rulers
Used Products


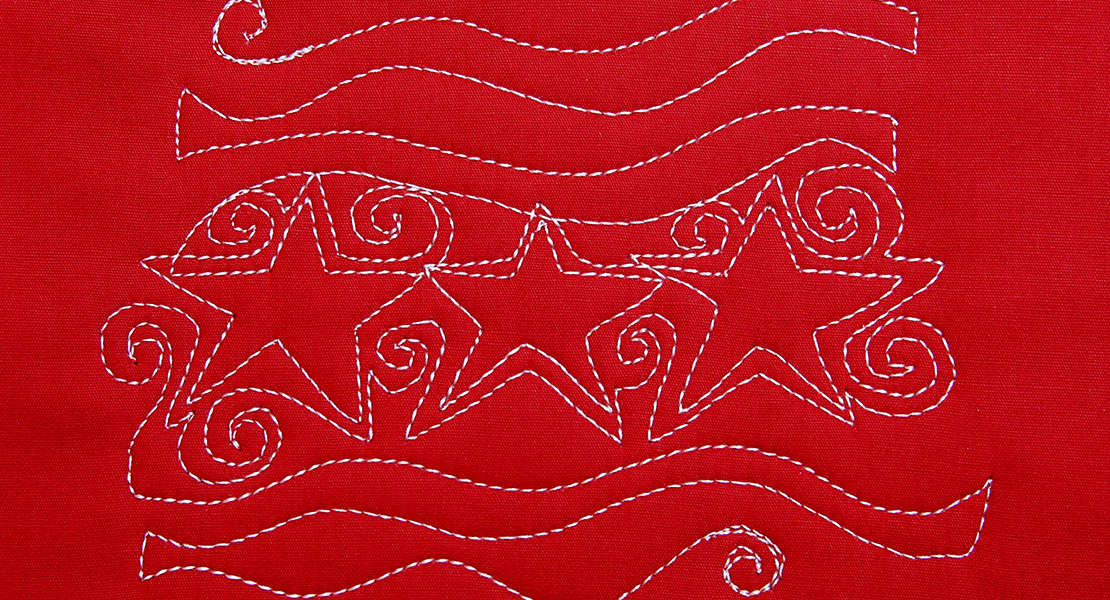
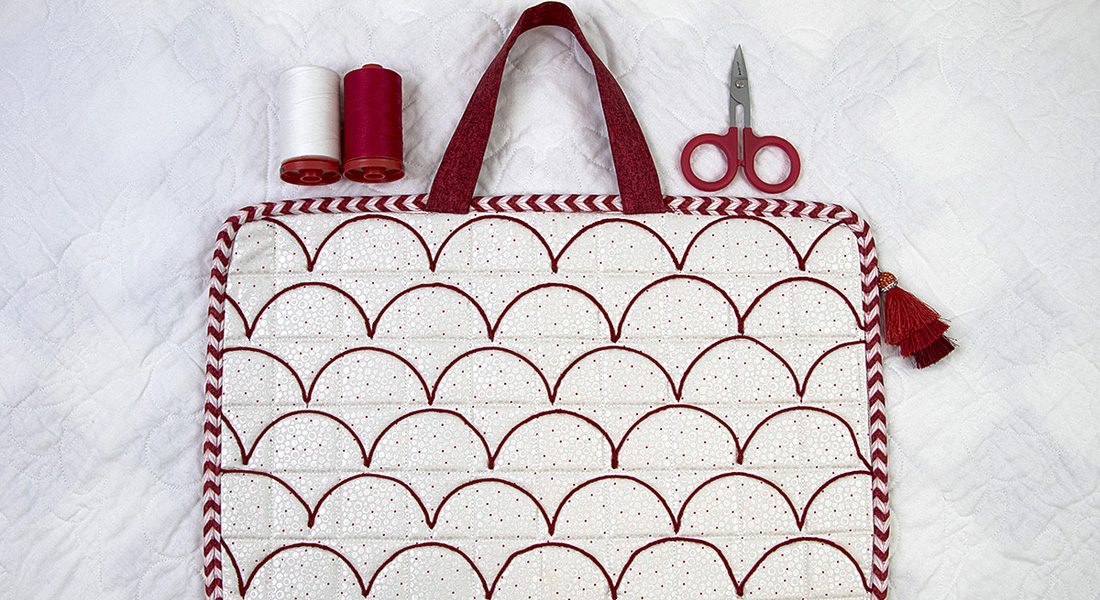
What you might also like

4 comments on “How to Quilt Feathers With Free-Motion and Rulerwork”
-
-
her 72 foot look like it is set a little high to me, i thought it should just kiss the fabric in the lowered position?
-
This is extraordinarily good content, but that’s Nina McVeigh’s style.
It would help those of us with older eyes and computers with dimmer screens if you could do the following in the future:
– have the sandwich color contrast to the sewing table color. Bernina red, maybe? 😉
– yellow to white isn’t quite enough contrast for the stitching. Something stronger would be better.
– a couple of times hands covered the thing we were supposed to see.Thanks SO much for qood quality content.
-
I enjoyed your tutorial, however, if you used a high contrast thread, it would be easier to see your stitching.
Leave a Reply
You must be logged in to post a comment.

❤️?