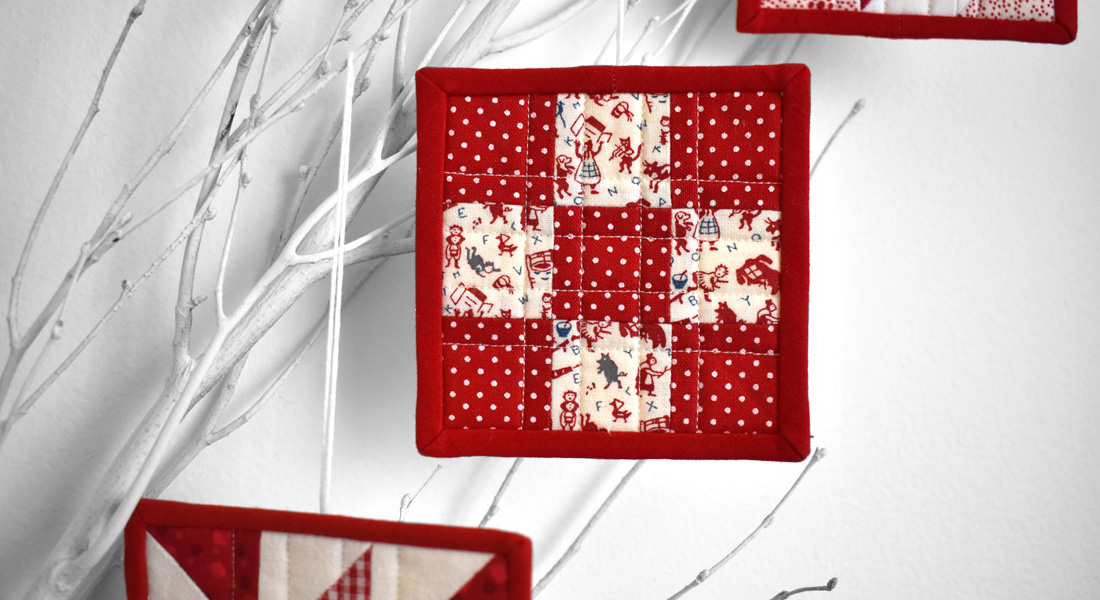
Heart Mini Quilt

A mug rug mini quilt is the perfect opportunity to use up some of those orphaned quilt blocks or scrap fabrics that are just laying around. This project is your chance to try out some new piecing or quilting techniques without committing to a whole quilt. This tutorial also demonstrates the difference between the two stitching modes of the BERNINA Stitch Regulator, and when to use each. The finished size will be a 16″ square.
Supplies for the Mug Rug Mini Quilt
- BERNINA 475 QE
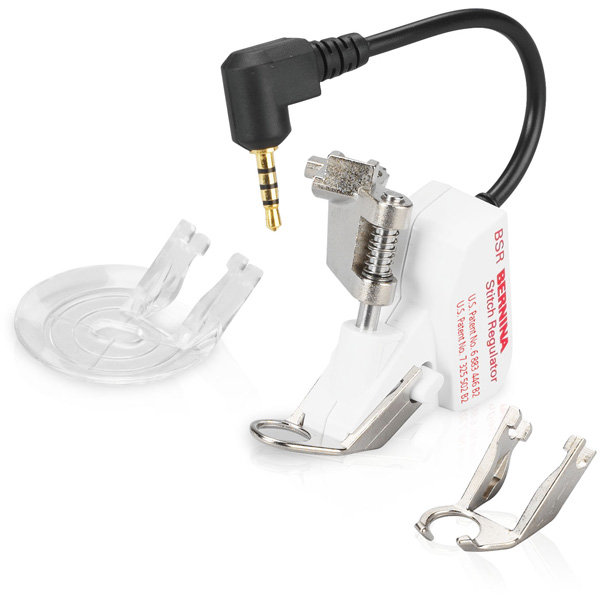
- BERNINA Stitch Regulator
- Patchwork Foot #37
- I Heart You quilt pattern by Then Came June
- Quilting weight cotton fabrics per pattern instructions
- 20” x 20” quilting cotton for backing
- Thread
- Fabric marker
- Pins
- Quilting ruler
- Iron and ironing board/mat
- 505 Spray Adhesive
- 18” x 18” batting
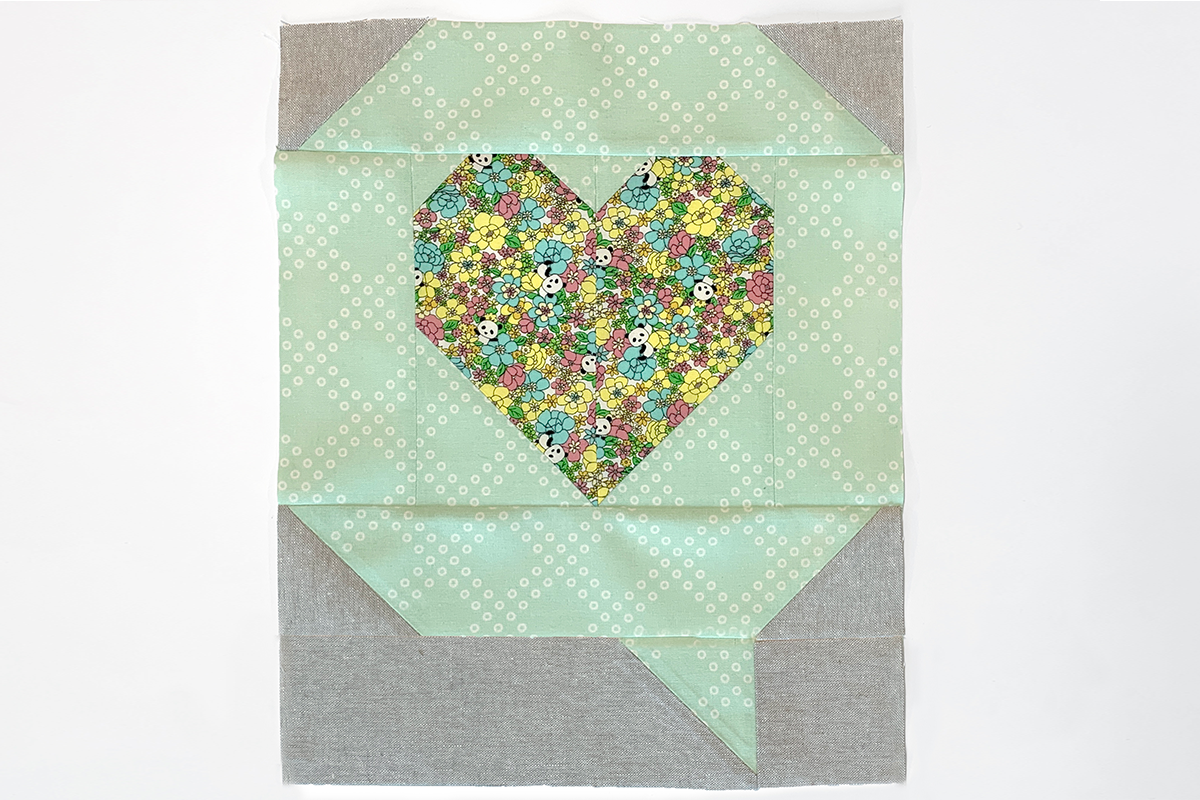
Piece the Quilt Top
Precut fabric according to pattern instructions. Piece the quilt block using your preferred patchwork presser foot, and press seams open.
Create Quilt Sandwich
Place the backing fabric right side down on a table or flat surface. Lightly spray with 505 Spray or other adhesive.
Lay the batting on top of the backing, centering over the fabric. Smooth it out with your hands, being careful not to stretch the batting.
Lay the pieced quilt top on top of the batting, right side up. Lift one corner at a time and spray adhesive on the batting. Smooth with your hands, being careful not to stretch the quilt top or batting.
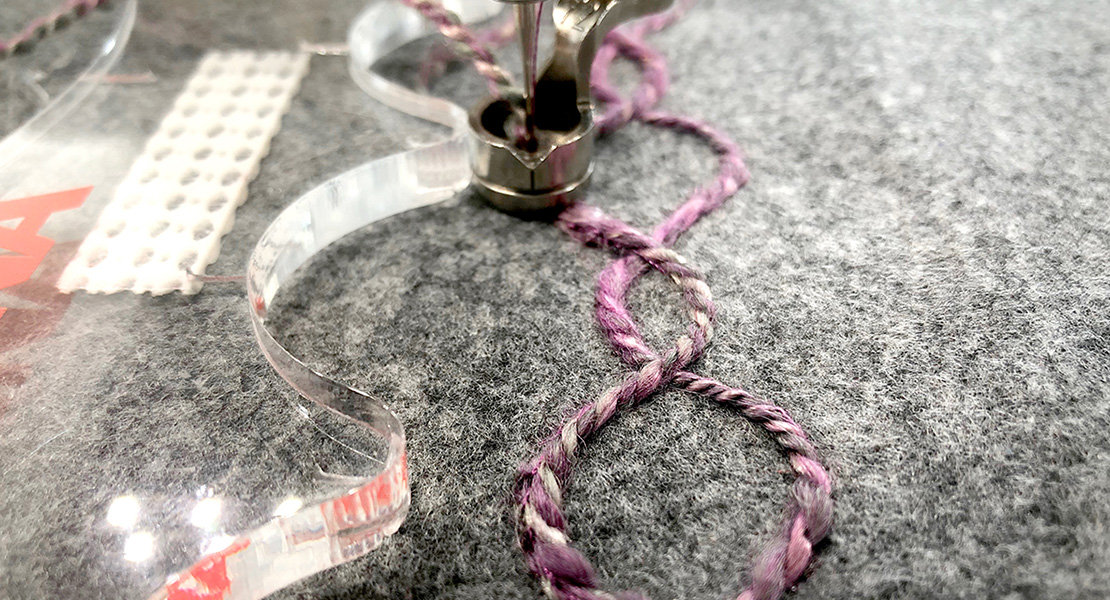
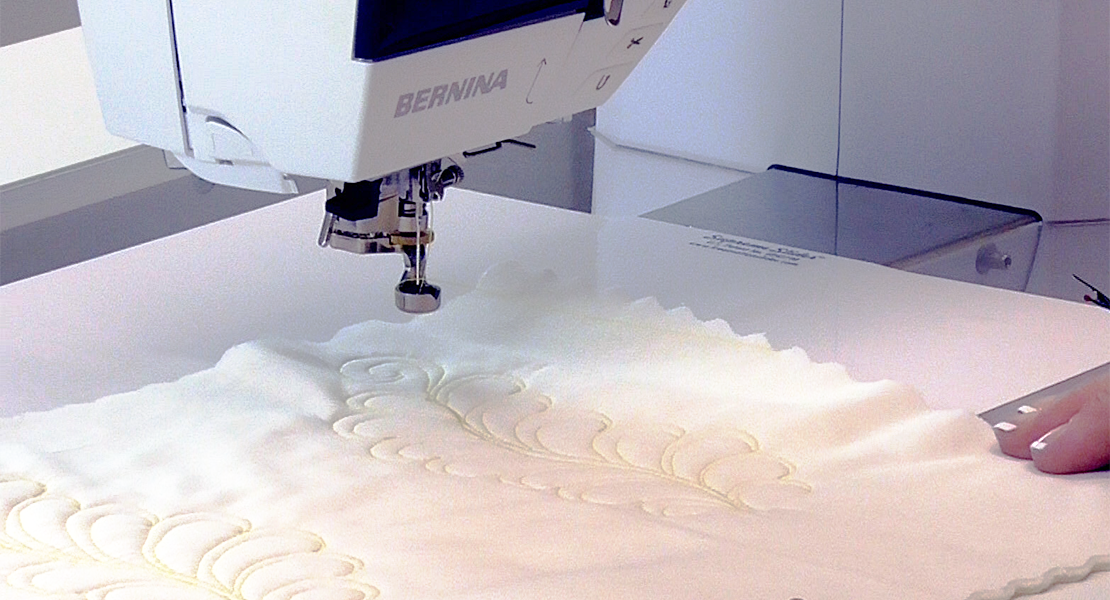
Quilting with BERNINA Stitch Regulator
Prepare to quilt by attaching the BERNINA Stitch Regulator (BSR) to the machine. Be sure to plug the accessory in to the port located on the back side of the machine.
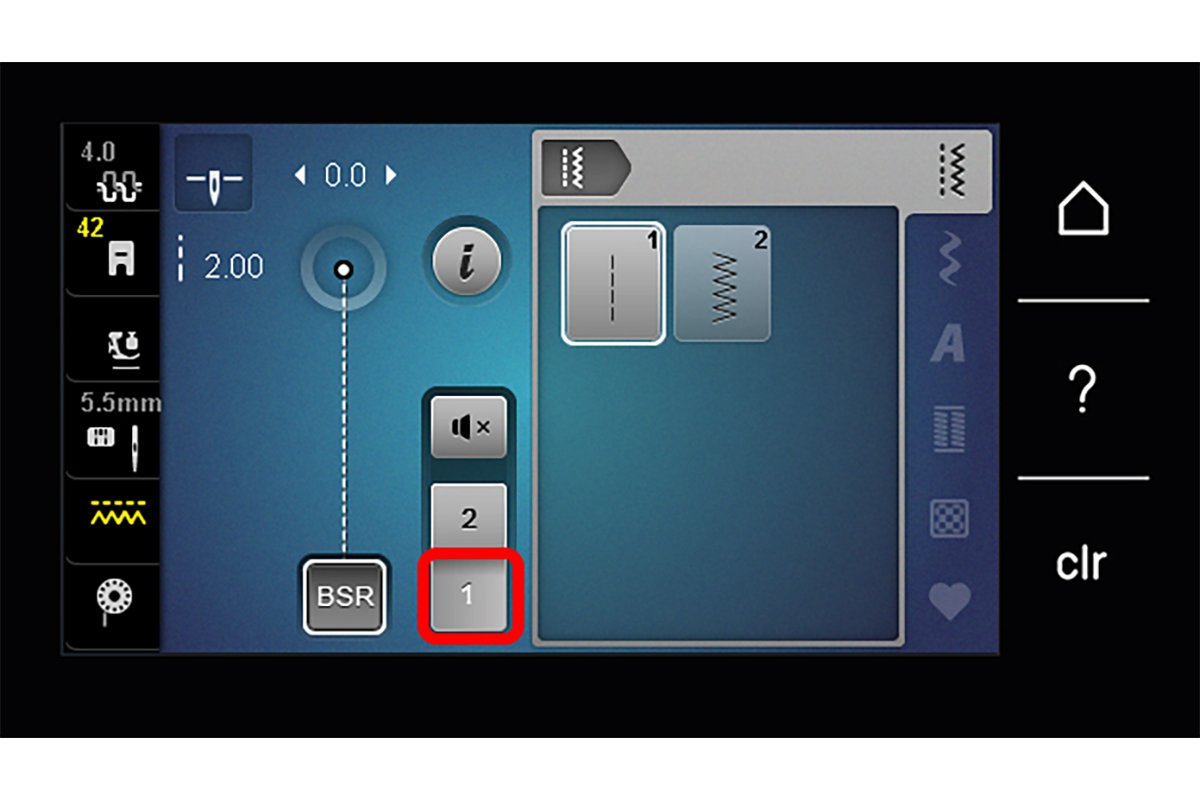
When the BSR is attached to the machine, it will default to operating in Mode 1.
BSR Mode 1
When Mode 1 is active, the needle will automatically begin stitching. The needle moves constantly whether or not fabric is being moved beneath it. This mode is great for achieving sharp points around corners or using angular motifs.
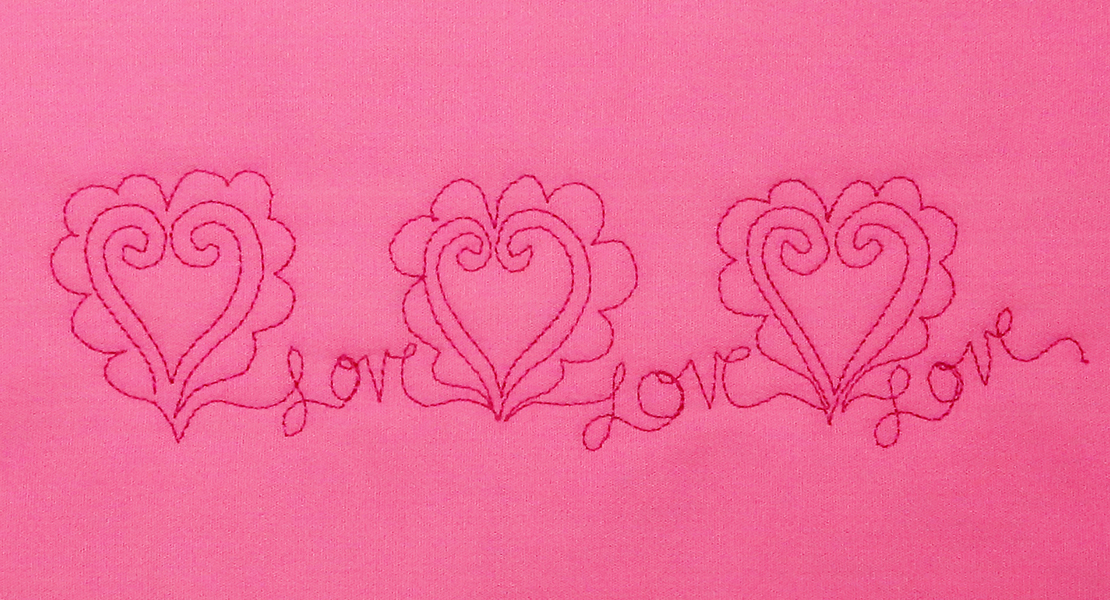
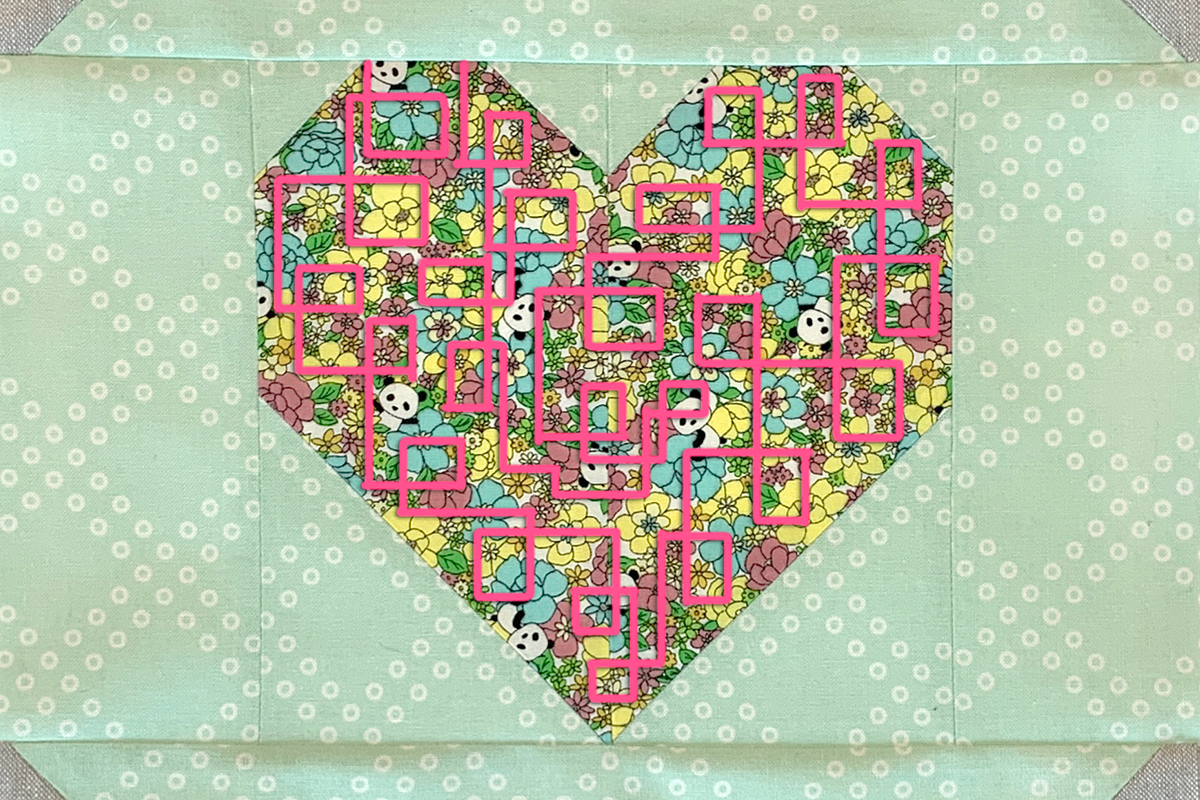
Place the mini quilt under the presser foot, preparing to quilt the center heart.
Use the Needle Up/Down button to bring the bobbin thread to the top of the quilt, pulling a long thread tail of both the upper and lower threads.
Use BSR Mode 1 to fill this section with an angular design.
When finished quilting, secure the stitch, raise the presser foot, and manually cut the threads leaving long thread tails.
BSR Mode 2
In Mode 2, the needle is only actively stitching when fabric is being moved beneath it. This allows the sewist to pause and consider a new direction without the fear of tiny stitches being built up in their quilt.

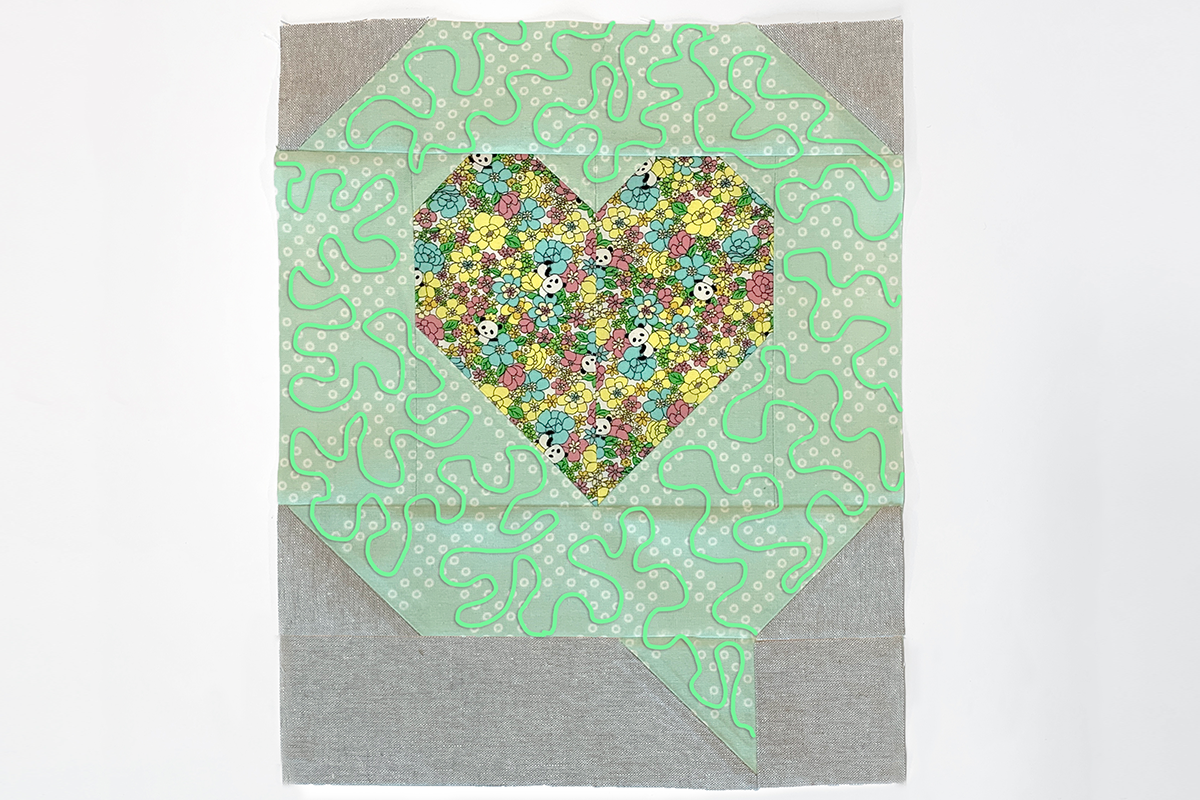
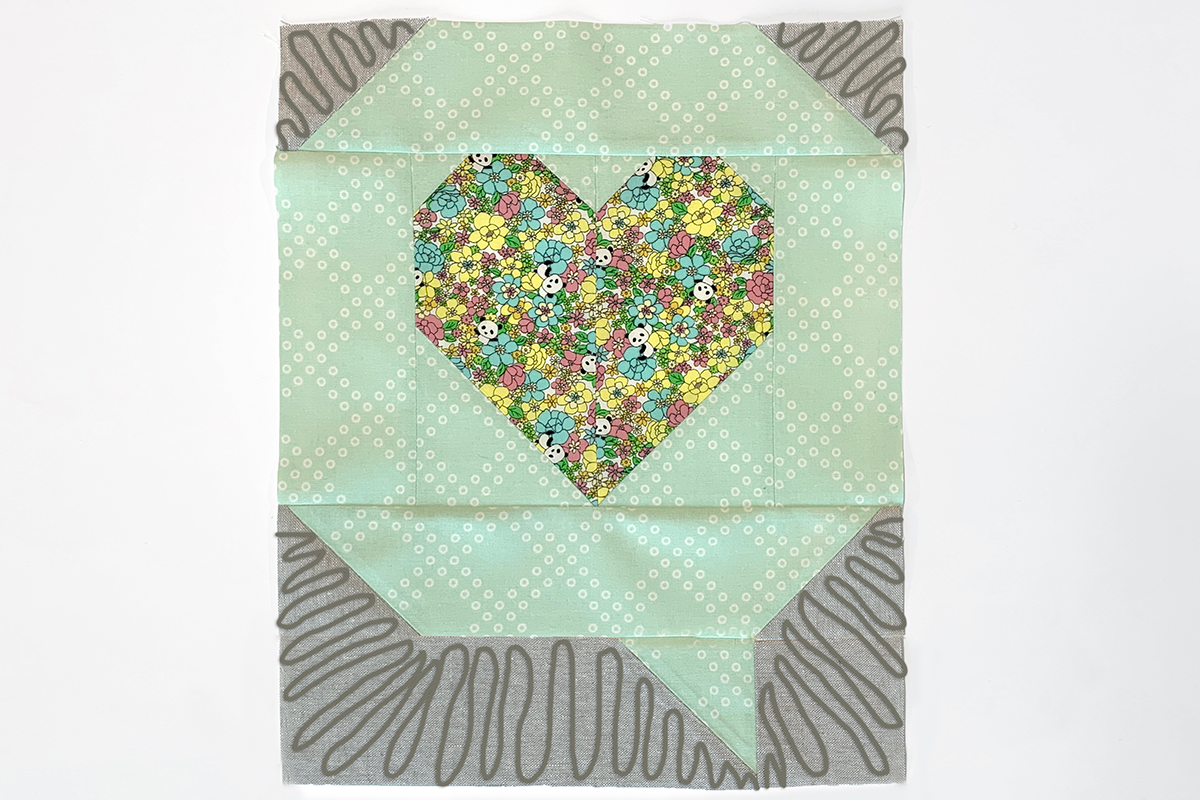
Place the mini quilt under the presser foot, preparing to quilt the ‘bubble’ fabric around the heart shape.
Use the Needle Up/Down to bring up the bobbin thread, the same way performed in the first round of quilting.
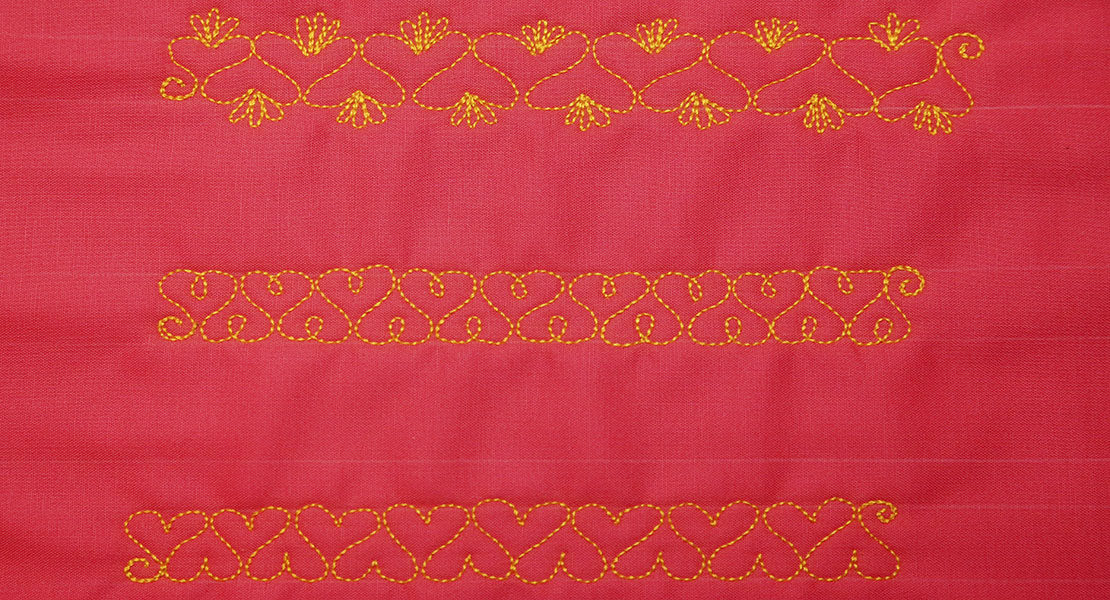
Use BSR Mode 2 to fill this section with a gently curving motif like large stippling.
When finished quilting, secure the stitch and cut threads leaving long thread tails the same way performed in the first round of quilting.
Finish Quilting
After trying both modes, finish quilting the mini using your preferred mode and a new motif.
Complete with Binding
Once your mini is quilted, square it up with a long quilting ruler, rotary cutter, and self-healing cutting mat. Bind the raw edge using your preferred method.

BERNINA Made to Create Studio Online Lessons
Equilateral Triangle Table Runner
Free-motion Quilting with Rulers
How to Quilt Feathers with Free-motion and Rulers