Overlocker for Beginners—The Essential Overlock Stitch
Welcome back, friends! With our last post, we got our overlockers set up and ready to go, and now it’s time to talk about stitching. There’s a variety of different stitches you can create on a serger (16 to be exact) and the way they’re created is different from a standard machine in a few ways. Most importantly, it comes down to a couple simple settings, including thread tensions.
Many folks fear the tension dial on their sewing machine. There’s a common phobia of getting the machine tension out of whack and not being able to fix it. But the ability to control and customize these settings is what makes an overlocker shine—changing these settings is how so many beautiful stitches are created!
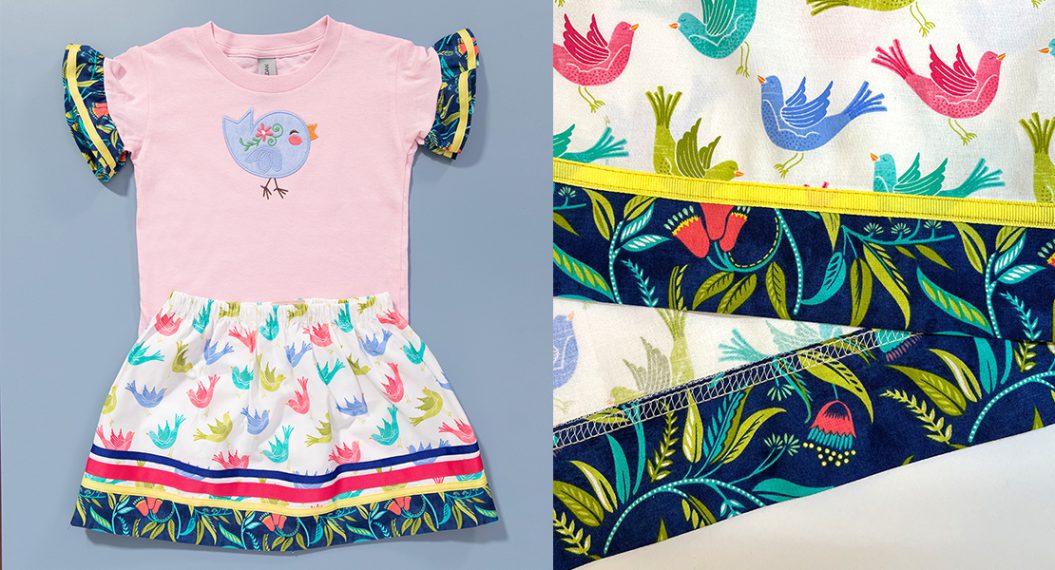
Let’s start with the most essential of these stitches, the one that gives this machine its name: the overlock stitch. When we think of a serged seam, this is the stitch that probably comes to mind. It can be sewn a variety of ways and most often functions to sew a seam while finishing the raw edges of the fabric at the same time.
Stitch Formation
An overlock stitch is formed when a needle (or two needles) penetrate the fabric to sew a seam while a knife blade trims the fabric and looper thread(s) wrap the clean, raw edge.
How Many Threads?
As I mentioned, this stitch can be sewn three different ways: using four, three, or even two threads. The key difference here is durability.
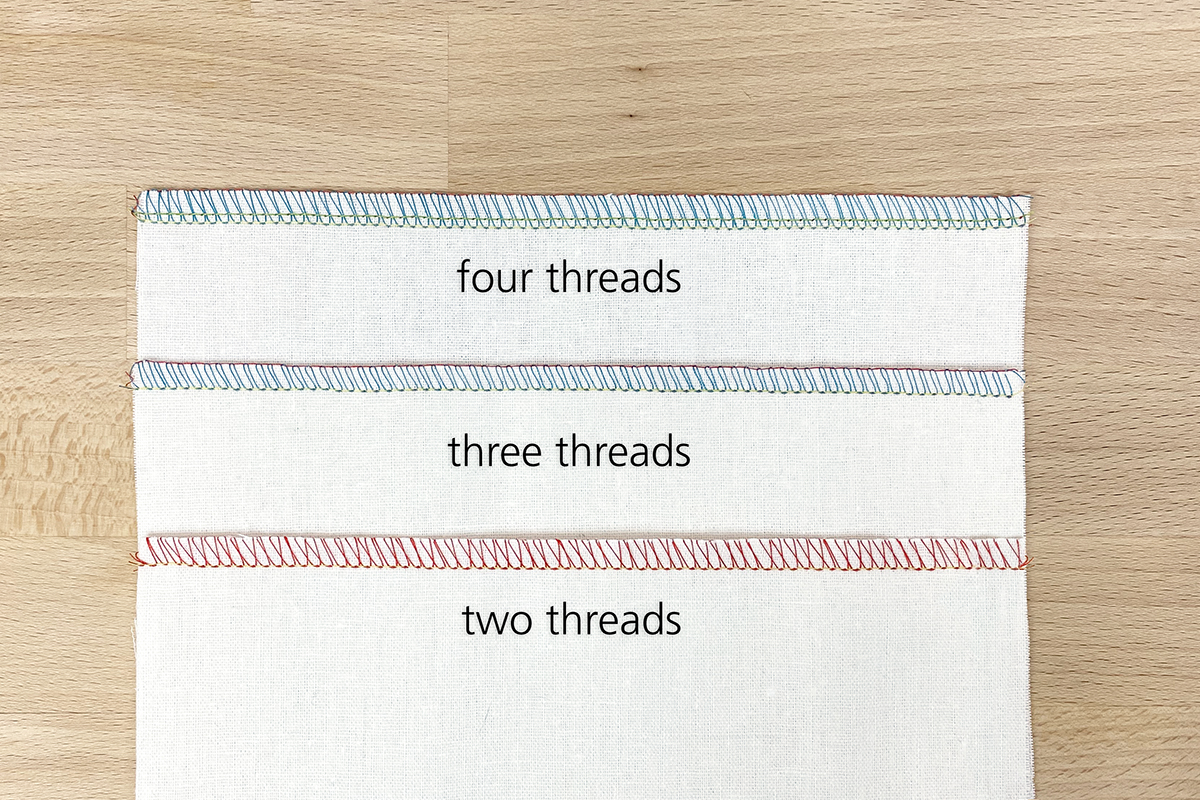
A 4-thread overlock stitch is sewn with two needle threads which essentially sews two rows of stitching in your fabric while the looper threads wrap the edge. This stitch is best used on medium to heavy weight fabrics or on seams that see a bit of stress, such as on fitted garments. When you need flexibility in a seam, as well as durability, the 4-thread overlock is your best bet.
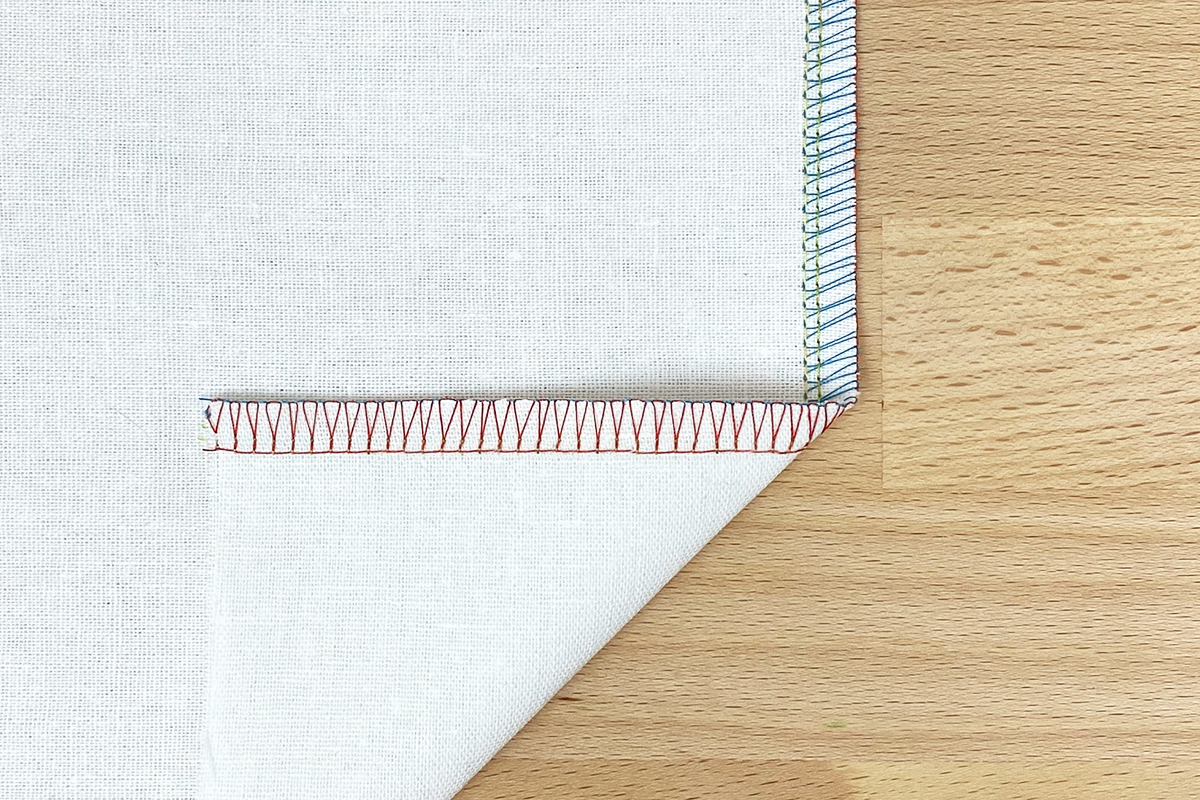
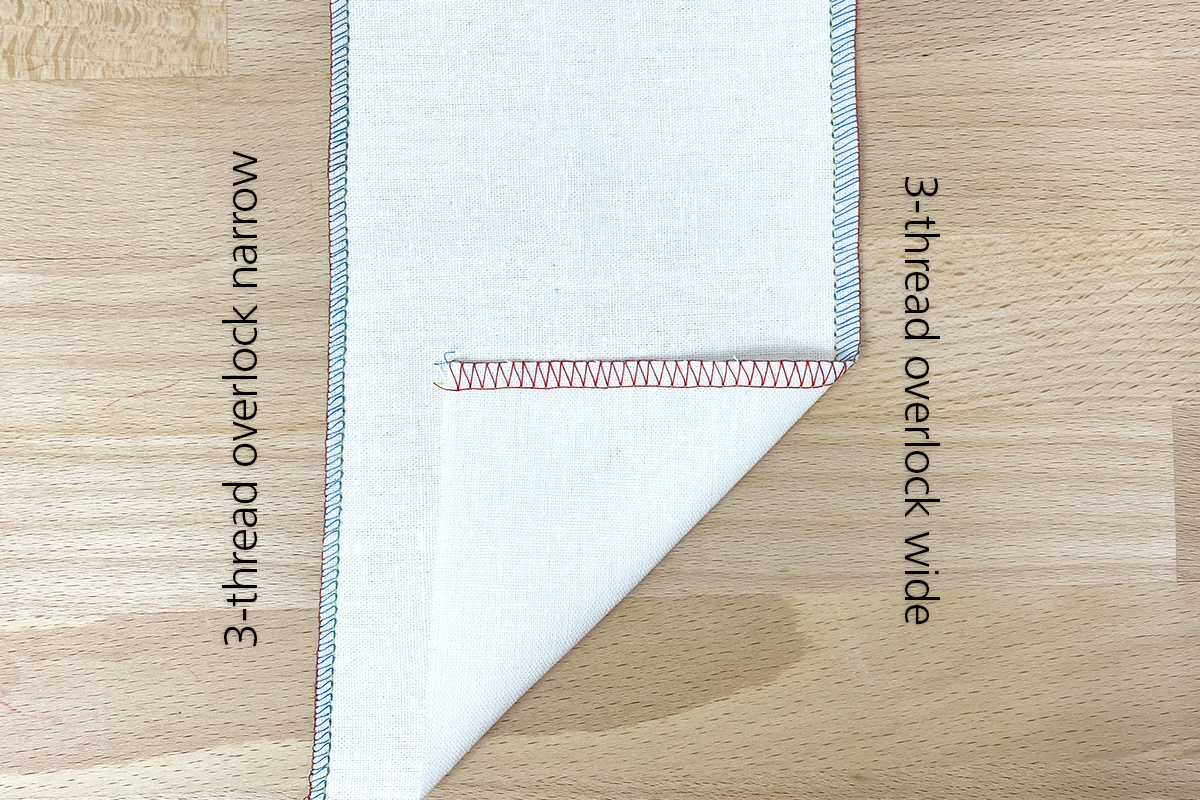
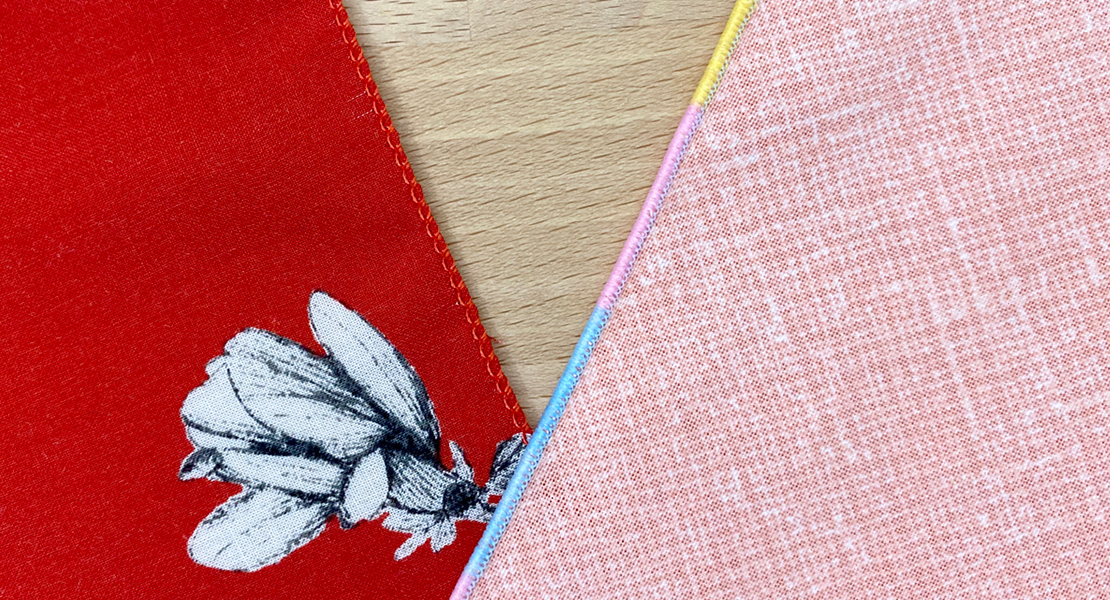
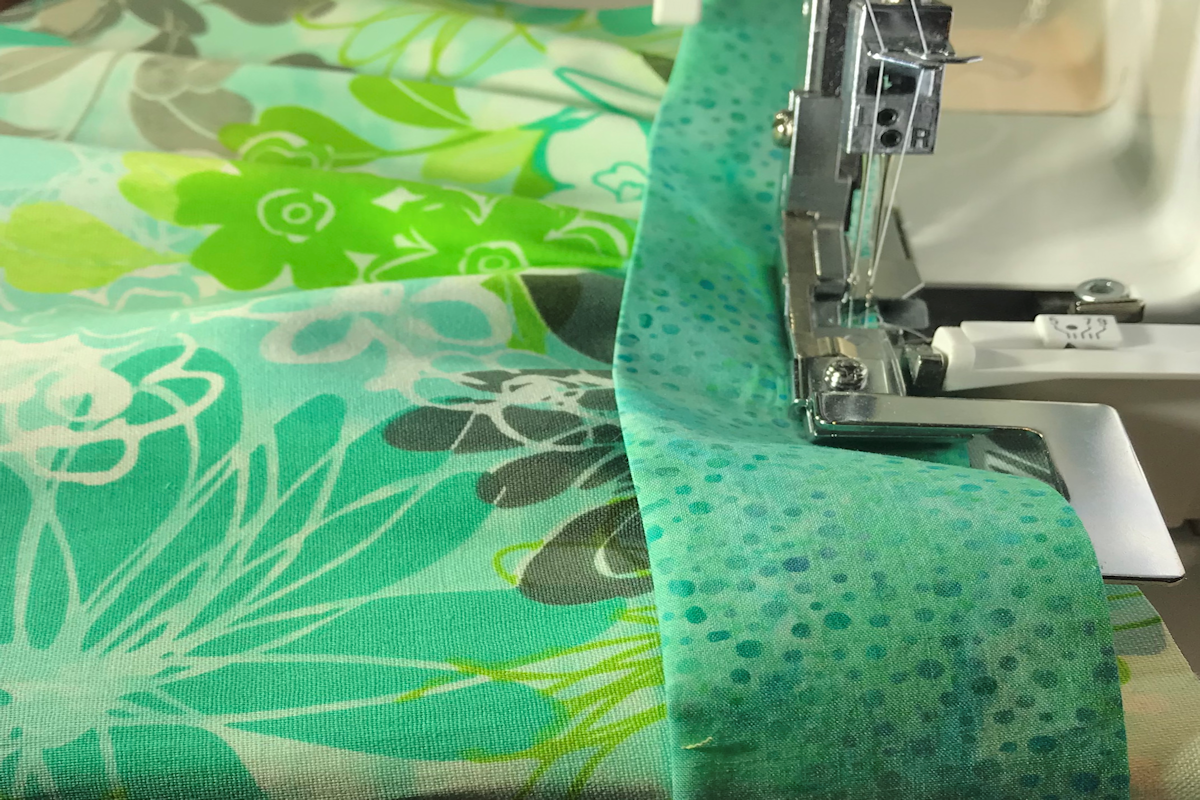
The 3-thread overlock stitch is a great choice for simple edge finishing or lightweight fabrics. The stitch uses only one needle—either the left or the right. This stitch is strong and has quite a bit of give for stretchy fabrics, but because of the use of only one needle, it has less bulk and thus less strength. A particular advantage to this stitch is that it can be used to sew a blind hem, hemming and finishing the raw edge at the same time.
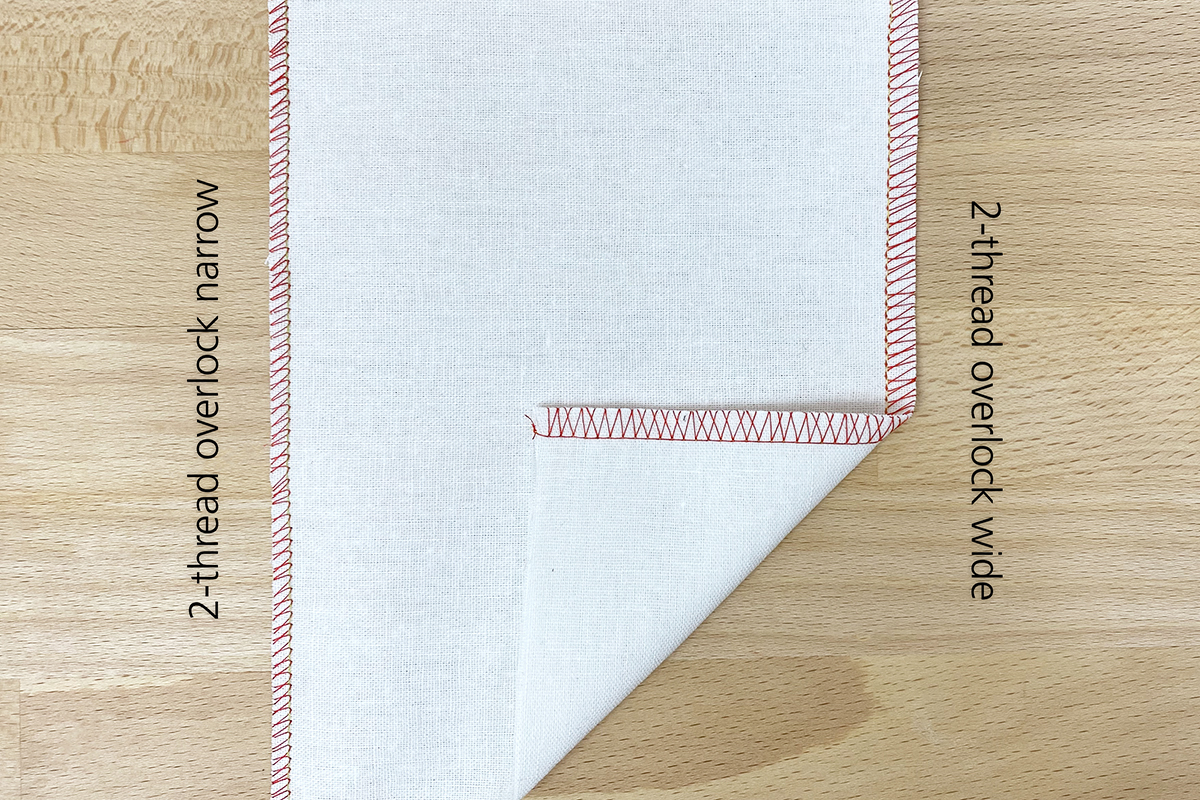
The final form of an overlock stitch is the most rarely used and that is a 2-thread overlock. This stitch will cleanly finish off raw edges (and is especially beautiful on lightweight or delicate fabrics) but isn’t very strong and thus not recommended for actual seaming. This stitch also requires the use of the upper looper converter, a small part stored in the looper door. Because of its limited use case, and an additional step to setup, this likely won’t be a stitch you go to as often.
When to Use an Overlock Stitch
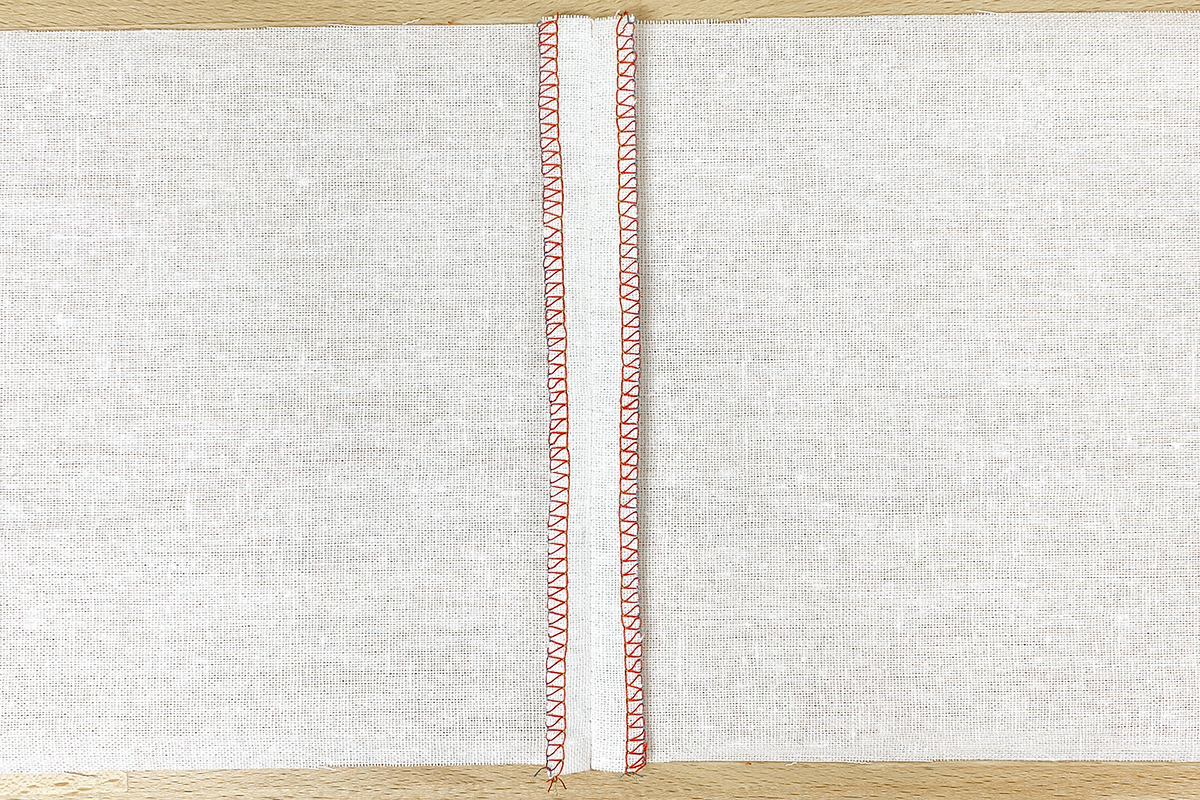
An overlock stitch, regardless of the number of threads you employ, is a great stitch for construction and general edge finishing. You can use this stitch to completely construct a garment and finish the edges simultaneously but you could use it in tandem with your domestic sewing machine. Some seams or fabrics benefit from being pressed open after being sewn in order to reduce bulk. In these cases, overlocking raw edges before construction may be the best bet.
There may be patterns that require extra attention to fit and detail where you prefer to baste seams before committing to a particular fit. In these cases, you may want to construct on the sewing machine before finishing edges on the overlocker.
Essentially it boils down to your preparation: how comfortable and confident are you in the pattern/how it fits? Have you considered the process of construction and what seams may benefit from edge-finishing prior to construction? How comfortable are you depending on your overlocker for the entire process? There’s no right or wrong answer to these questions. The answers are likely to change as your skills develop!
Creating the Perfect Stitch
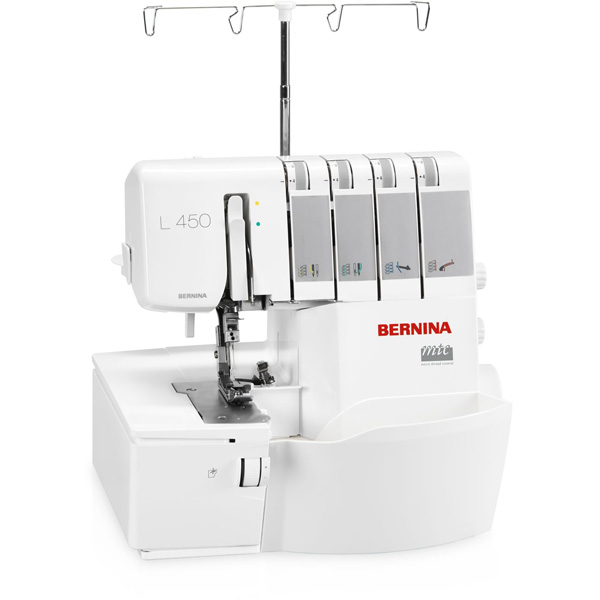
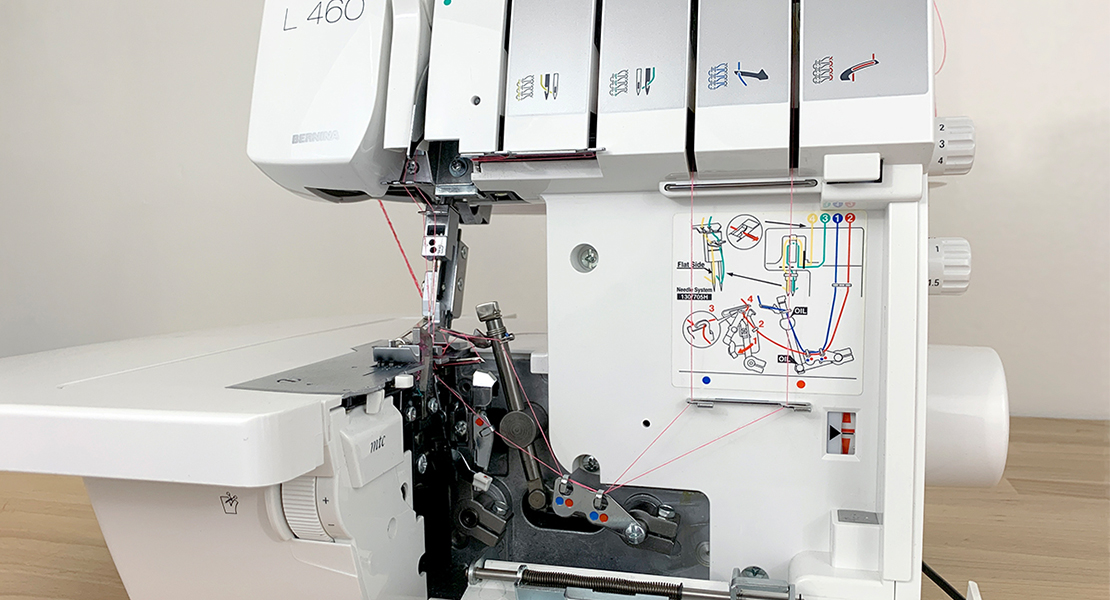
Because an overlock stitch (regardless of how many threads are used) is the most commonly used stitch on our sergers, the default settings for this stitch are indicated on your machine with a small dot. Across the tension dials, you’ll see a dot next to the number four on the BERNINA L 450 and 460 Overlockers.
The same goes for stitch length, differential feed, and cutting width. With your settings at all the recommended number, or “default”, you should end up with a solid overlock stitch.

However, just like on your domestic machine, you may find that the default isn’t always ideal for your particular fabric or thread choice. To the beginning serger, you may not know what that looks like!
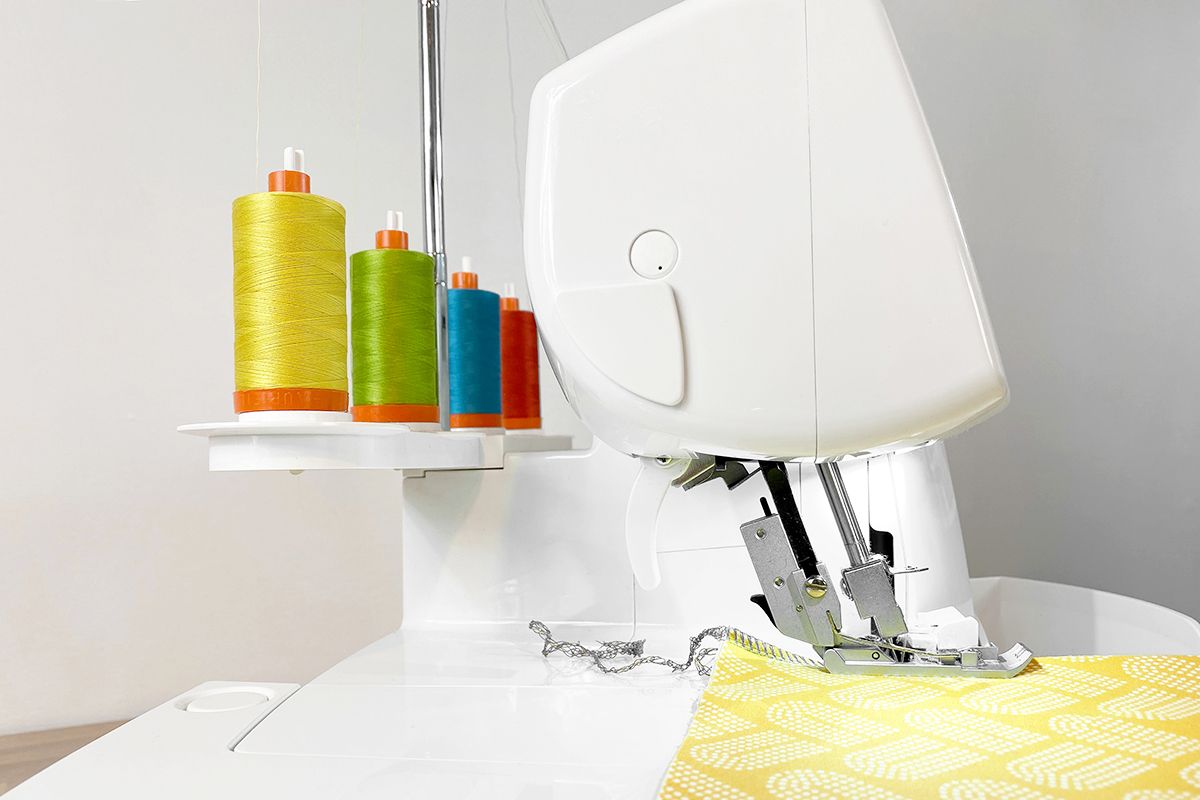
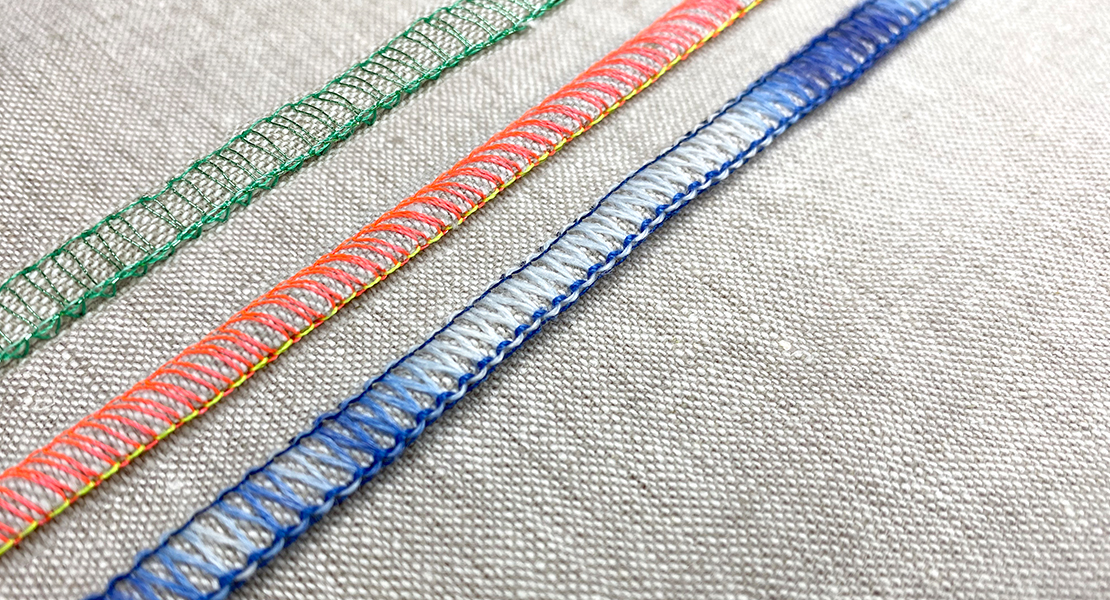
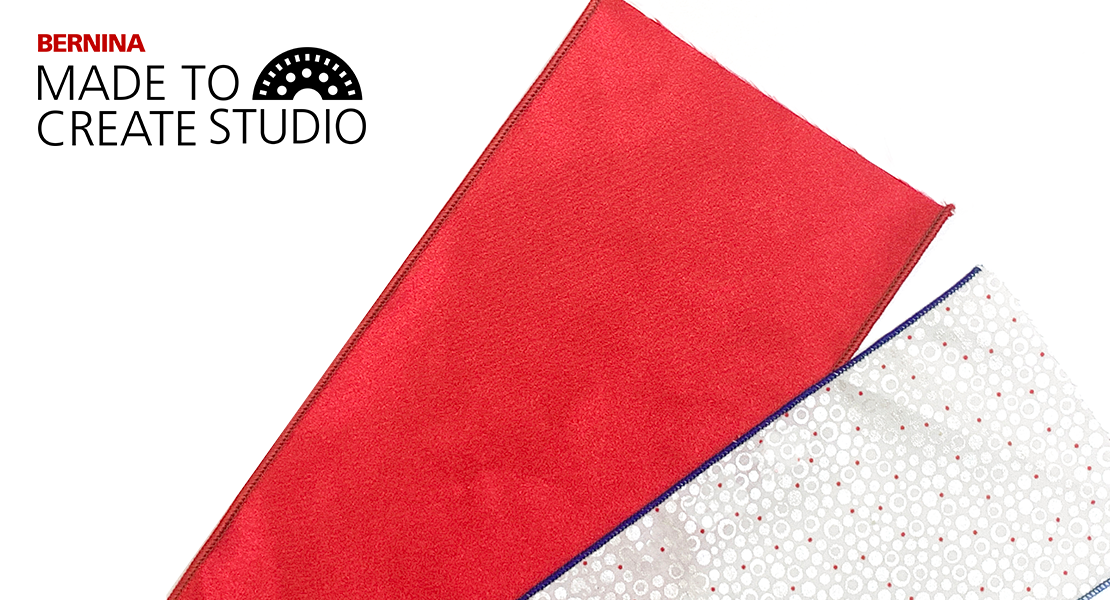
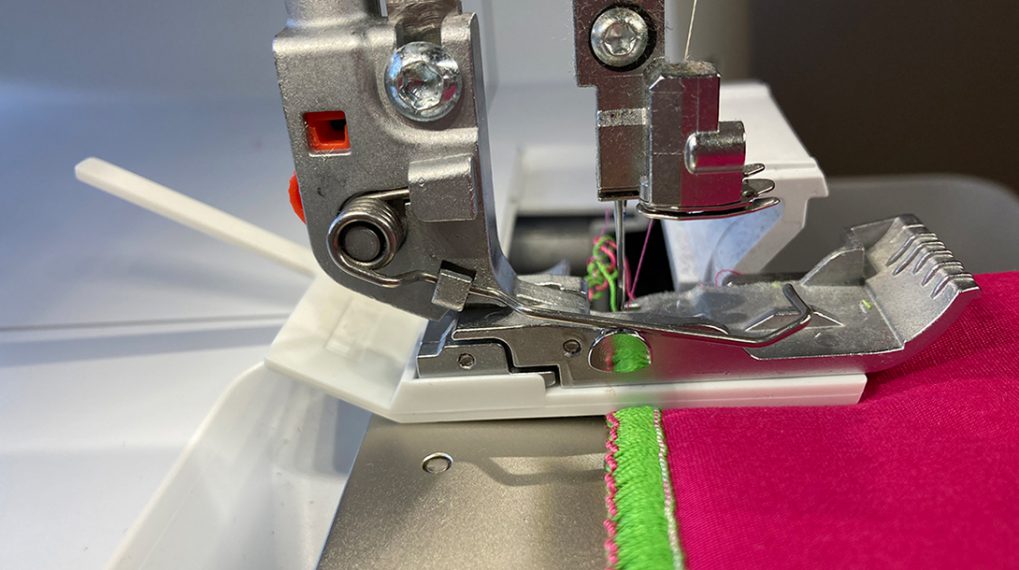
While you’re learning this machine and how to fine tune these stitches, I suggest threading the machine with colored threads that match the labeled paths on the machine: upper looper is blue, lower looper is red, left needle is yellow, and right needle is green. Being able to discern where each thread is coming from will make potential stitch problems easier to diagnose.
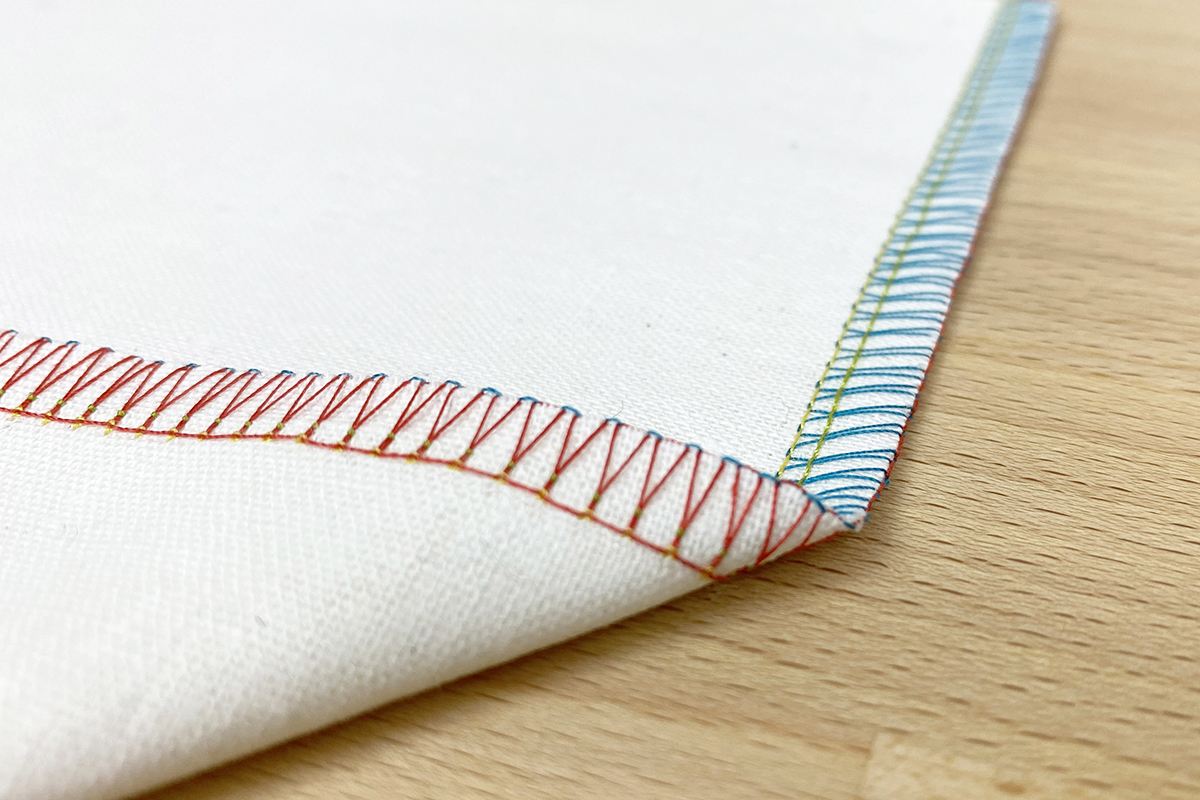
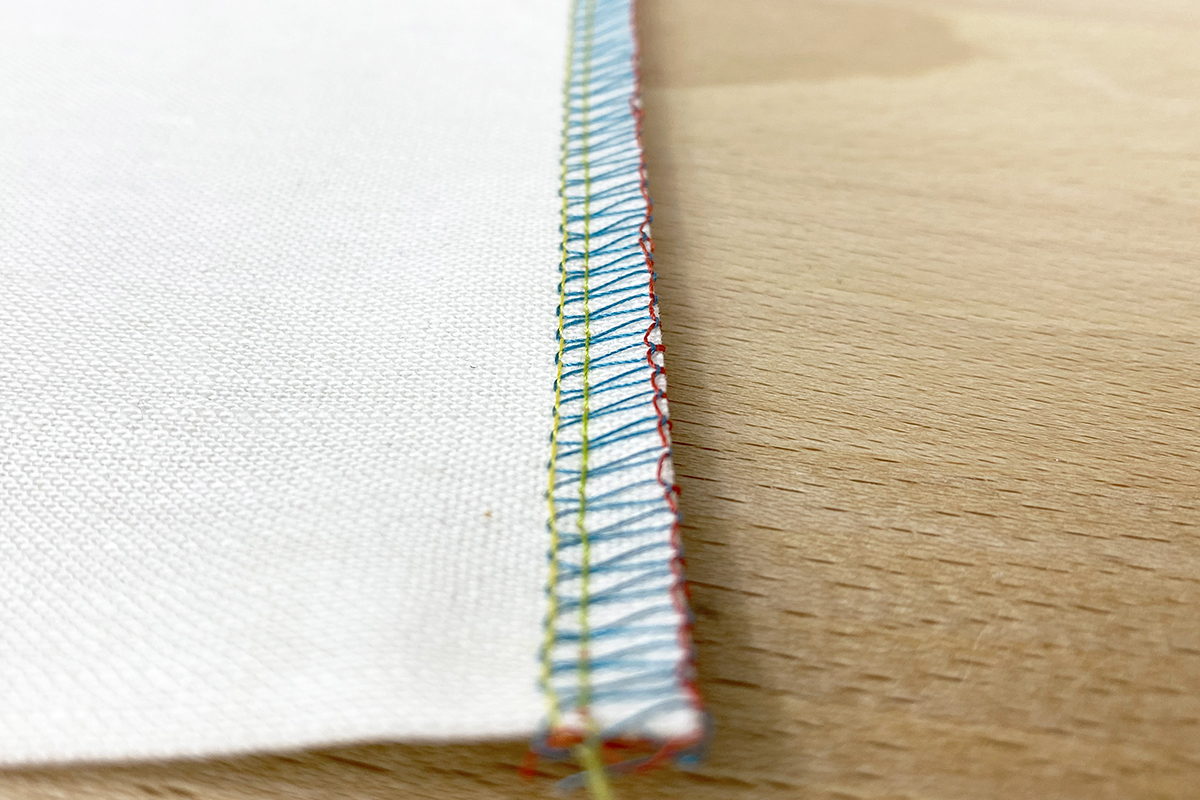
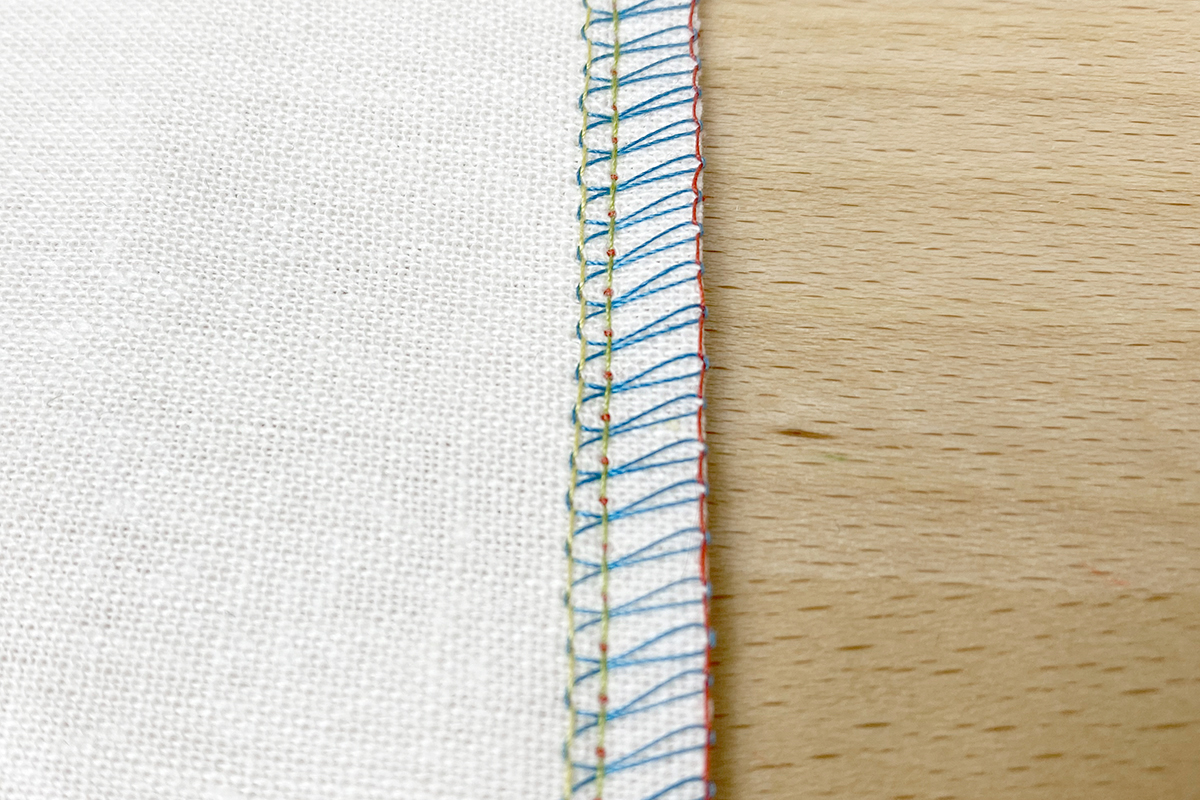
Your looper threads should meet neatly at the edge of the fabric. If something’s off with your tensions, this is likely the first thing you’ll notice. If you see the upper looper thread being pulled to the back or lower looper thread being pulled to the front, adjust the tension on these threads accordingly to balance out.
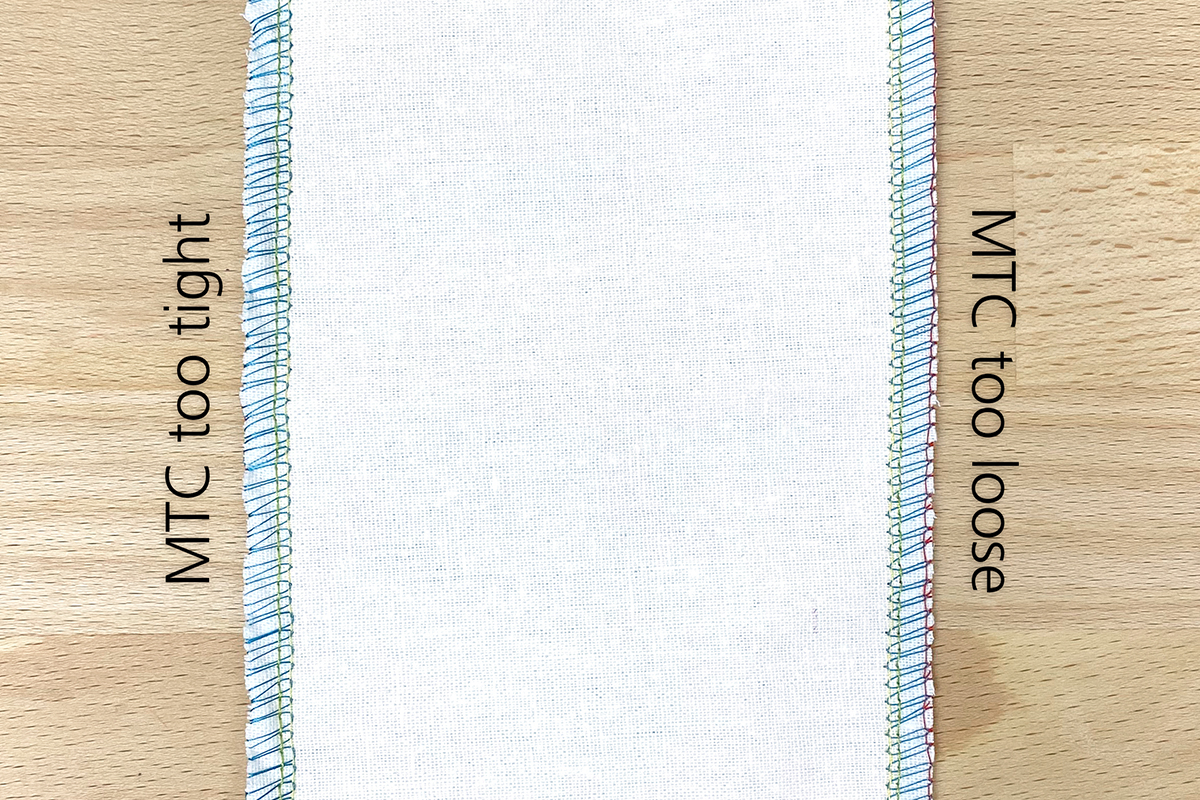
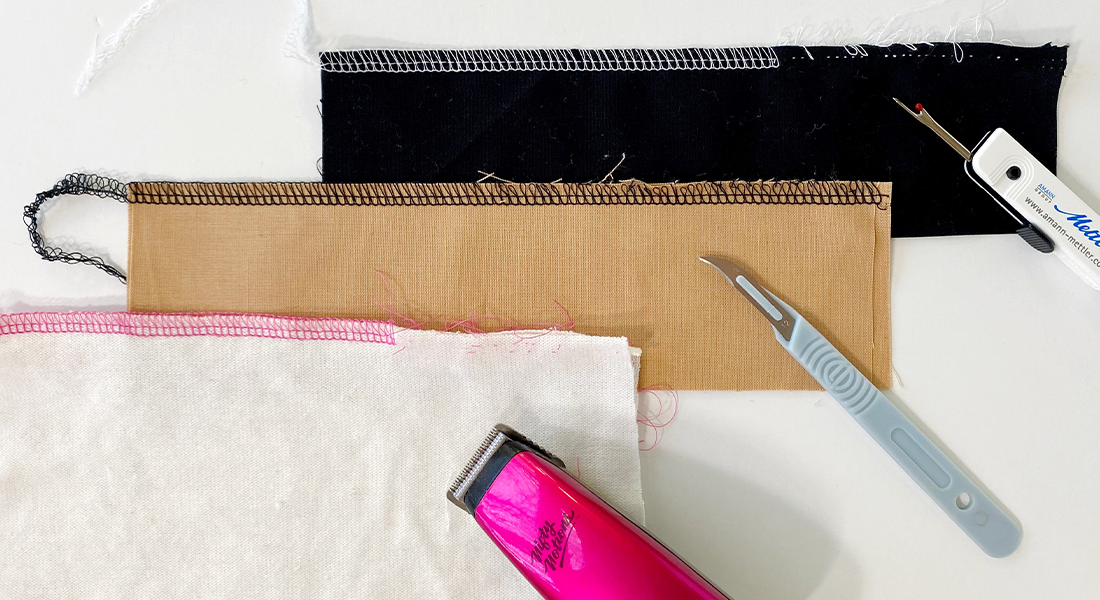
Needle thread issues can be identified a few different ways. If looper threads can be seen from the front side at the point where the needle is penetrating through the fabric, your needle threads are probably too tight. On this sample, you can see little red dots where our lower looper thread is being pulled too tightly.
Alternatively, if your needle tensions are too loose, those threads will no longer appear as a clean, straight line of stitching. The looper threads will pull needle threads toward the seam allowance, which can be seen on both the front and back side of the fabric.
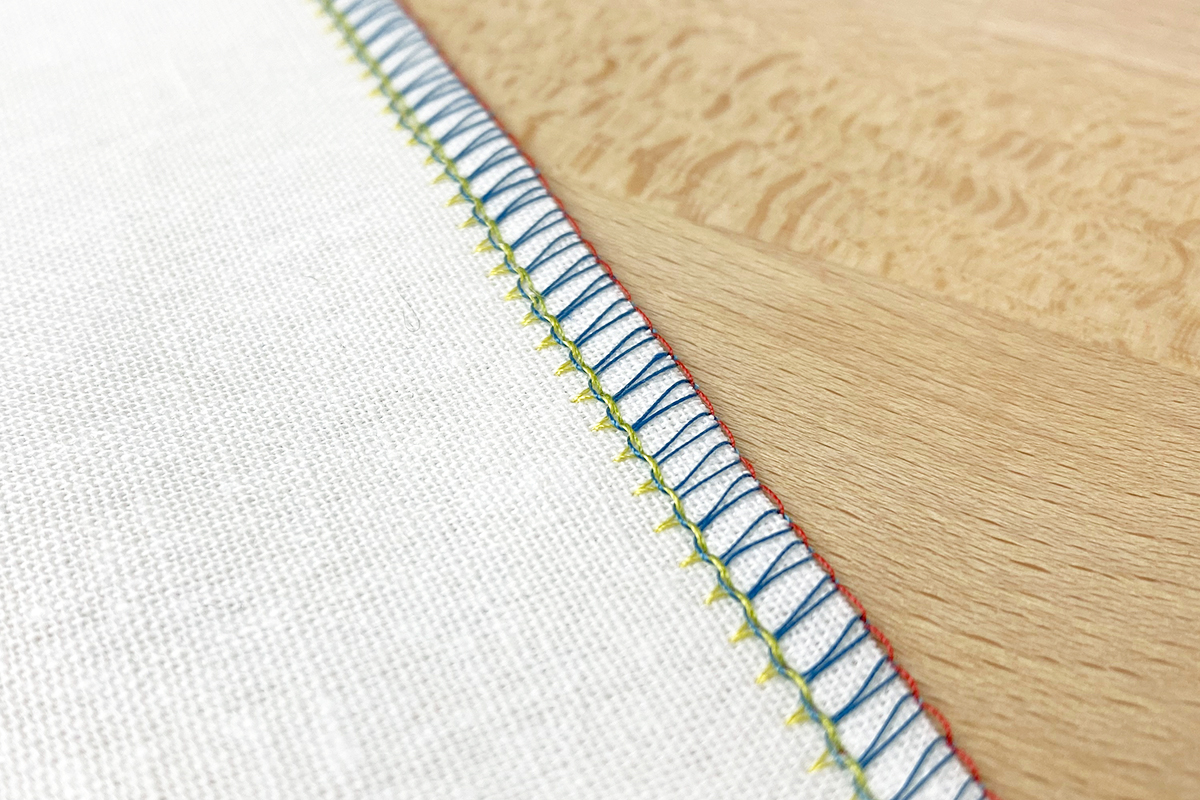
When needle threads get extremely too loose, it can even cause looping on the front and/or back side of the fabric. On this sample, you can see the little loops of green thread, meaning our right needle is too loose.
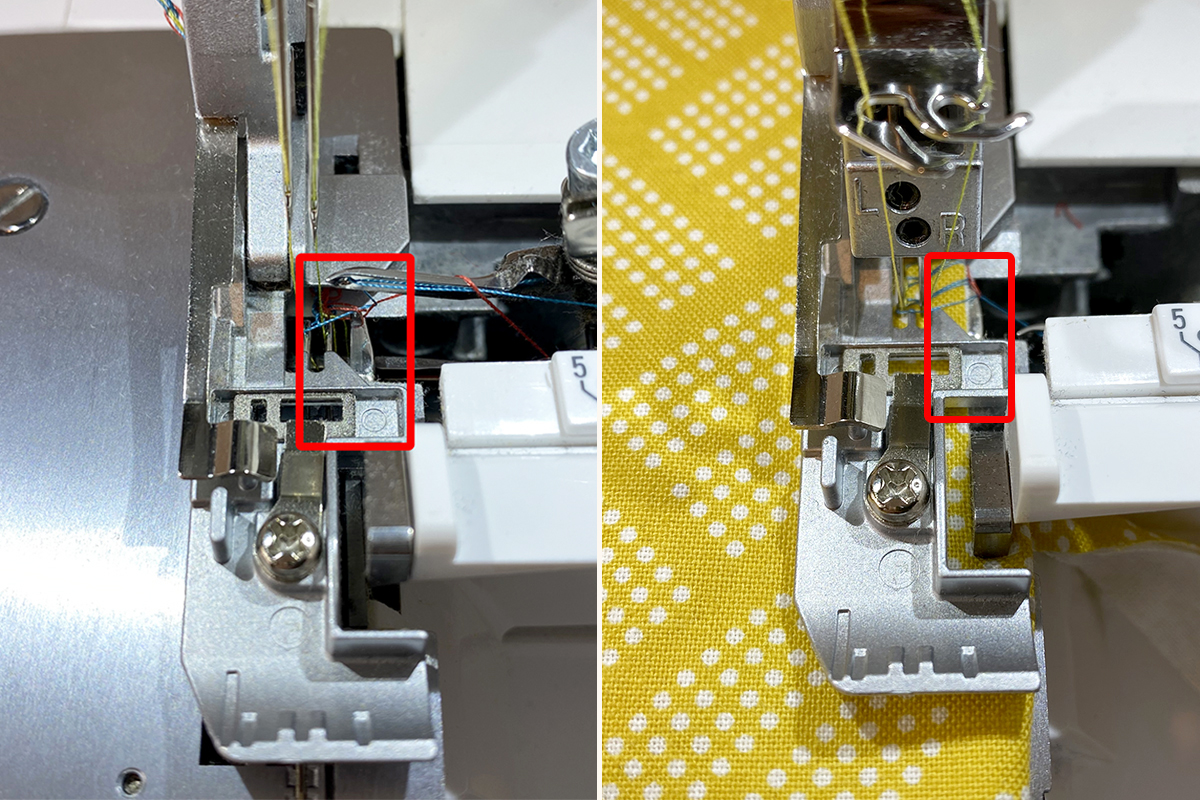
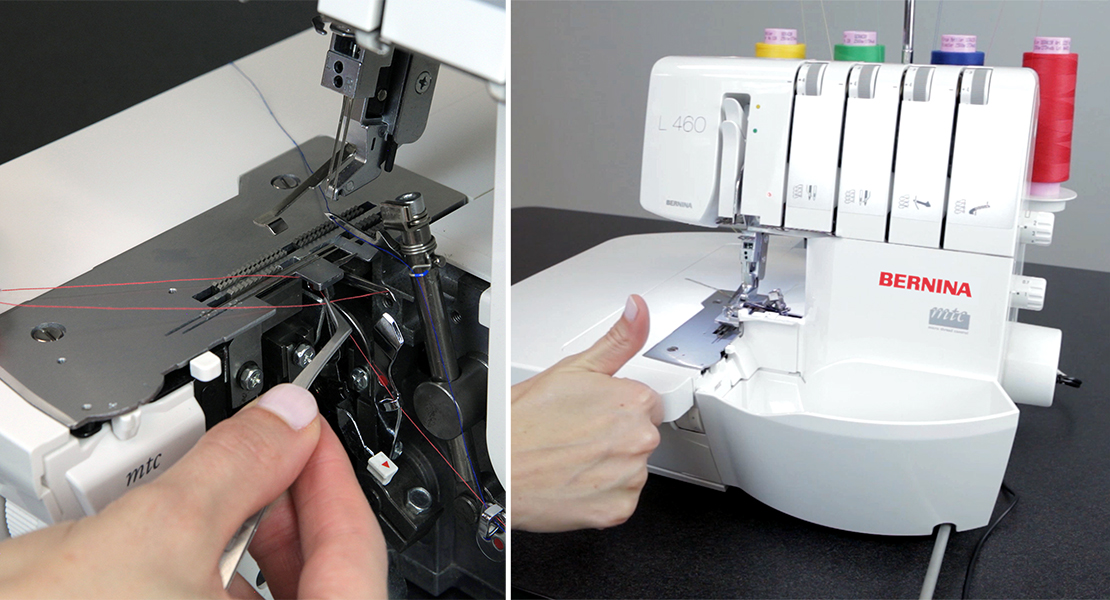
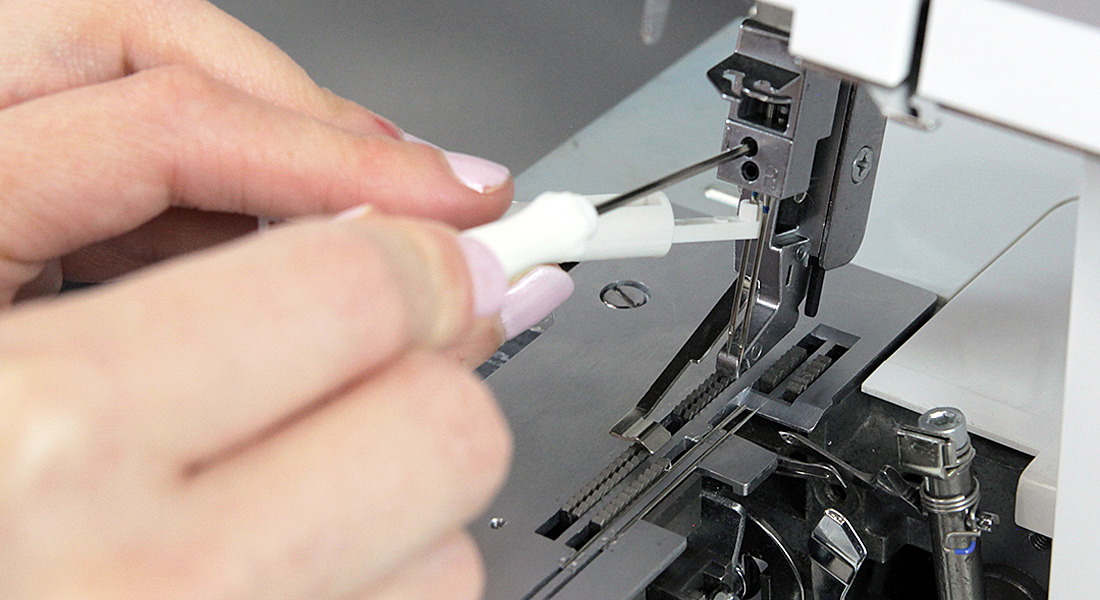
Last is tunneling. If your seam allowance is just pulled too tight (or conversely, if both looper threads are hanging loosely off the edge of the fabric), we need to adjust Micro Thread Control, or mtc. This is a lever that controls the stitch finger, a small metal piece that sits under the fabric at the needle area that supports the fabric at the point where looper threads are wrapping the raw edge.
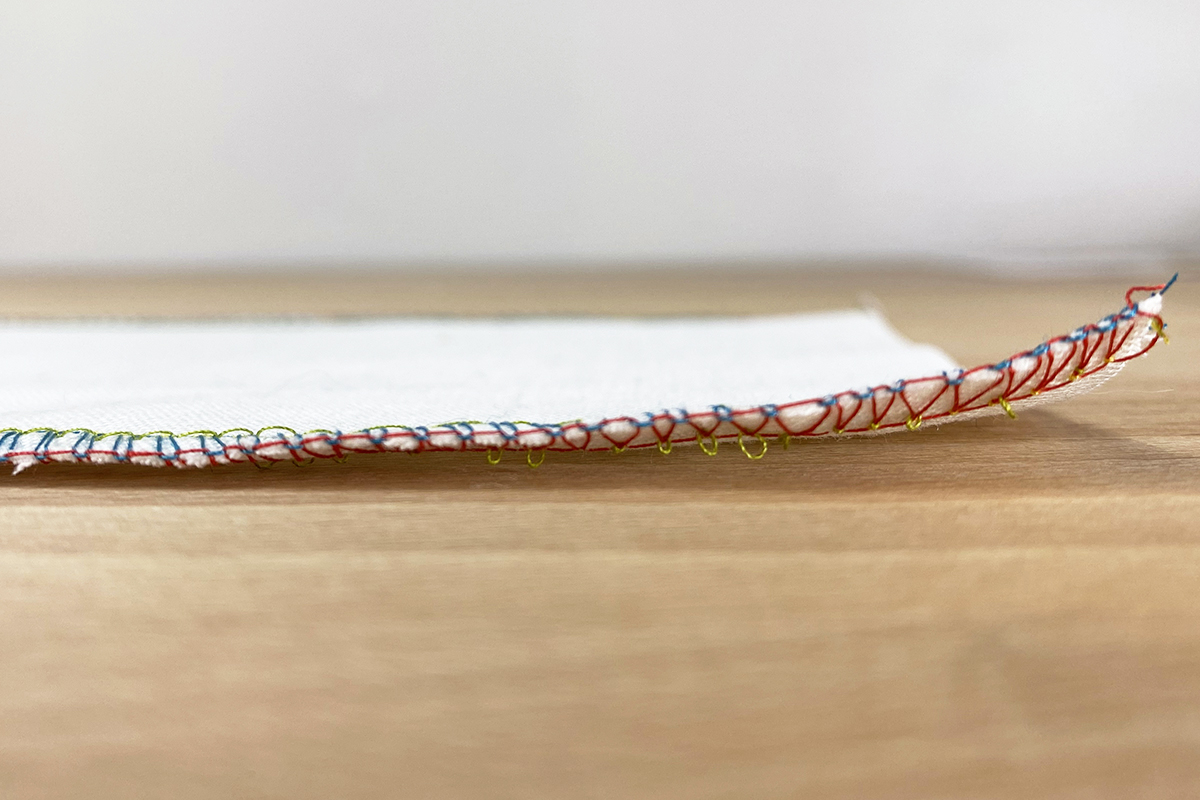
Increasing the mtc (MicroThread Tension) will move the stitch finger out, creating more room between the fabric and the threads and thus reducing tension that results in tunneling. Conversely, reducing mtc moves the stitch finger in, bringing threads closer to the raw edge and eliminates looping.
When mtc is too tight, the looper threads will dig into the raw edge of the fabric, preventing the seam from lying flat or causing a “tunneling” effect. If mtc is too loose, it means it’s creating too much slack between the looper threads and the edge.
A great exercise as you’re learning how to use this machine is to change all the settings, chosen at random. Sew that stitch out then practice diagnosing it—where does this stitch need more tension or less? Make changes, and sew out again. Practice this several times until you learn how to bring your stitch back to the desired result.
Finishing Your Seams
We’ve established that an overlock stitch is the key to a clean, professional edge finish, but consider how you finish these seams. As these seams see stretching and washing and wearing, we want to make sure they’re as secure as they can be.
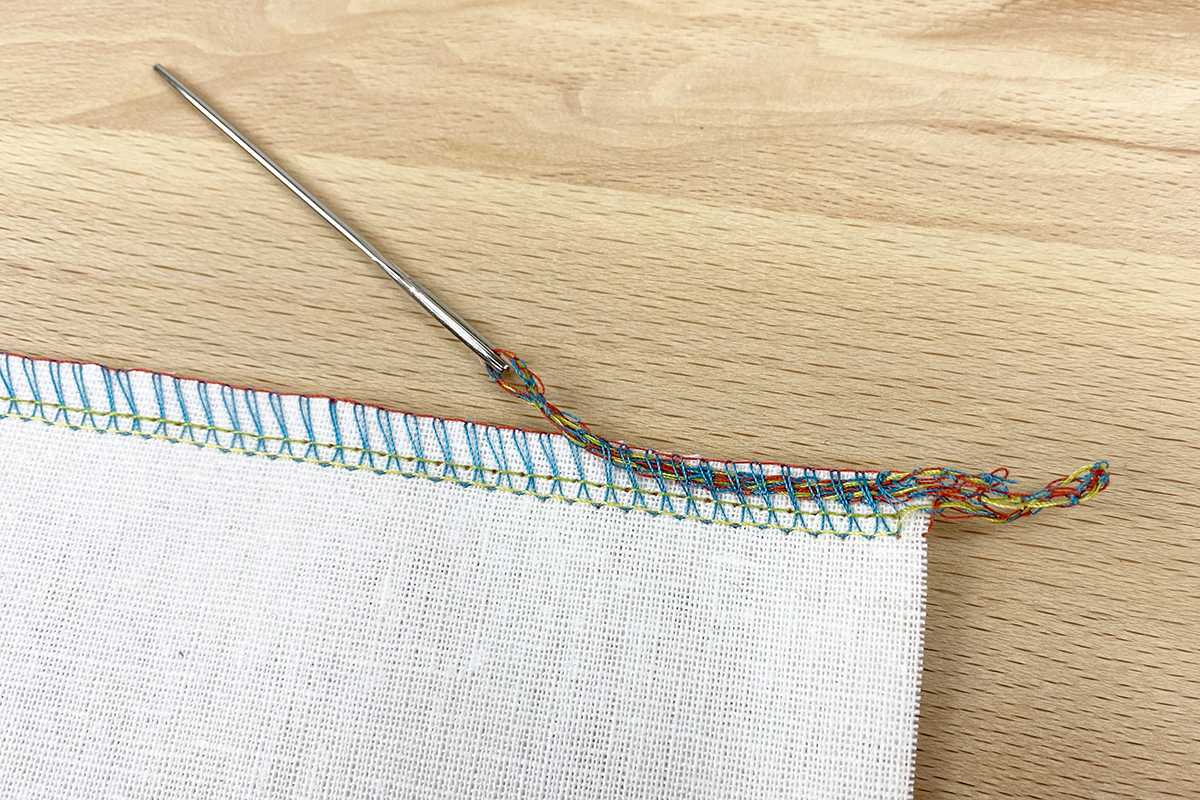
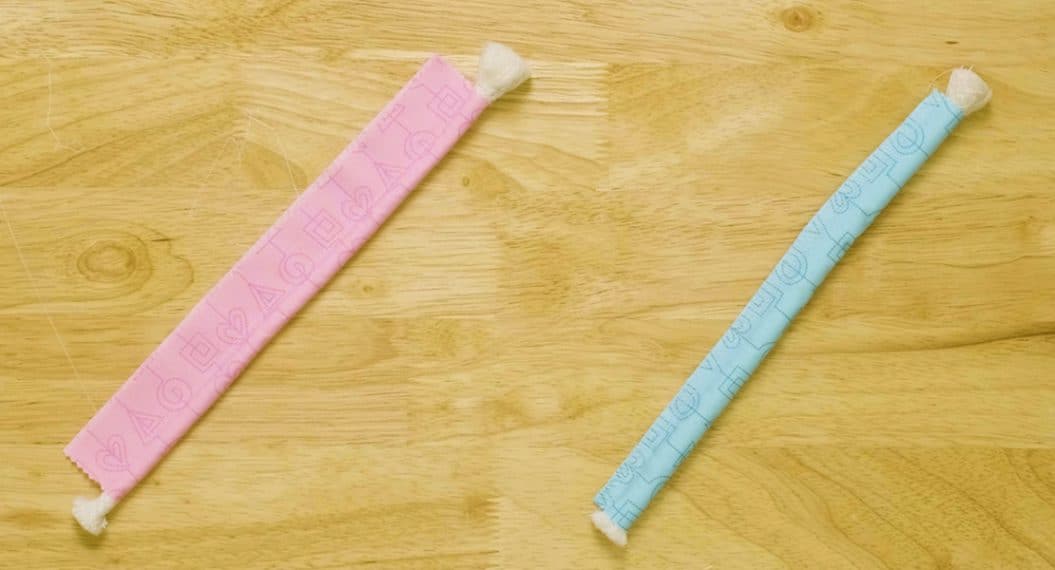
Just like you would backstitch on a domestic machine or bury your threads in a quilt, there’s one last step we need to take on our overlock seams. When you reach the end of a seam, chain off 4-6” from the end of the seam before cutting your threads. Then, using a large eye tapestry needle, tuck the thread chain back through the seam about one to two inches before trimming the end.
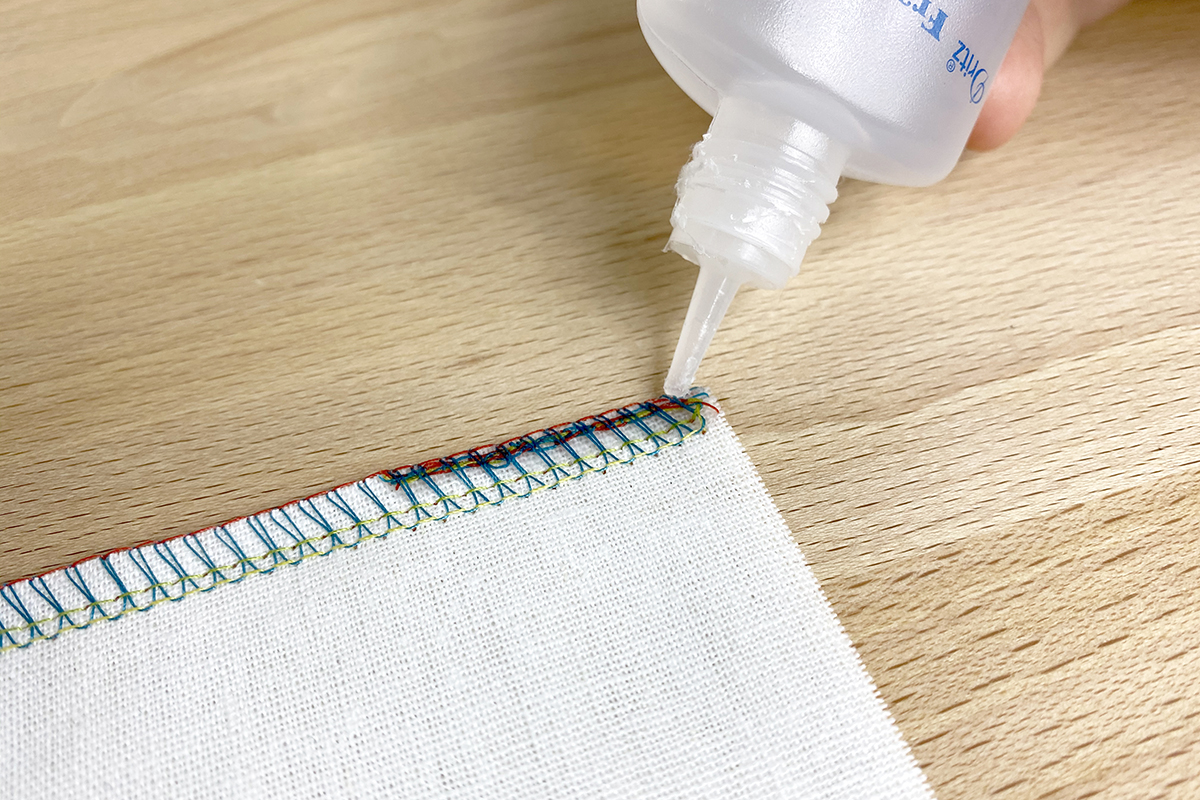
For added security, run over this tuck with a fray blocker. When that’s dry, your seam is ready to wash and wear!
Overlocker/Serger for Beginners Series
Part 1: Overlocker for Beginners—An Introduction to Sergers
Part 2: Overlocker for Beginners—The Essential Overlock Stitch
Used Products

What you might also like
2 comments on “Overlocker for Beginners—The Essential Overlock Stitch”
-
-
Great article! Excellent job being thorough and explaining adjustments for proper stitch formation. I’ll definitely save this!
Leave a Reply
You must be logged in to post a comment.

very informative…