Easy Ribbon Embellishment on the Overlocker
Are you ready to take your next serging project from “wow” to “WOW”? Come along with me as I share with you how to upscale a basic skirt for a little girl. Read to the end for a couple of extra tips to complete the outfit.
When sewing for littles, it’s fun to experiment with new techniques and fun fabrics because kids look cute in anything you make! I was recently working on a skirt for one of my granddaughters and decided it needed a little bit of pizzazz. And that carried over into a coordinating shirt, as well!
Materials Needed
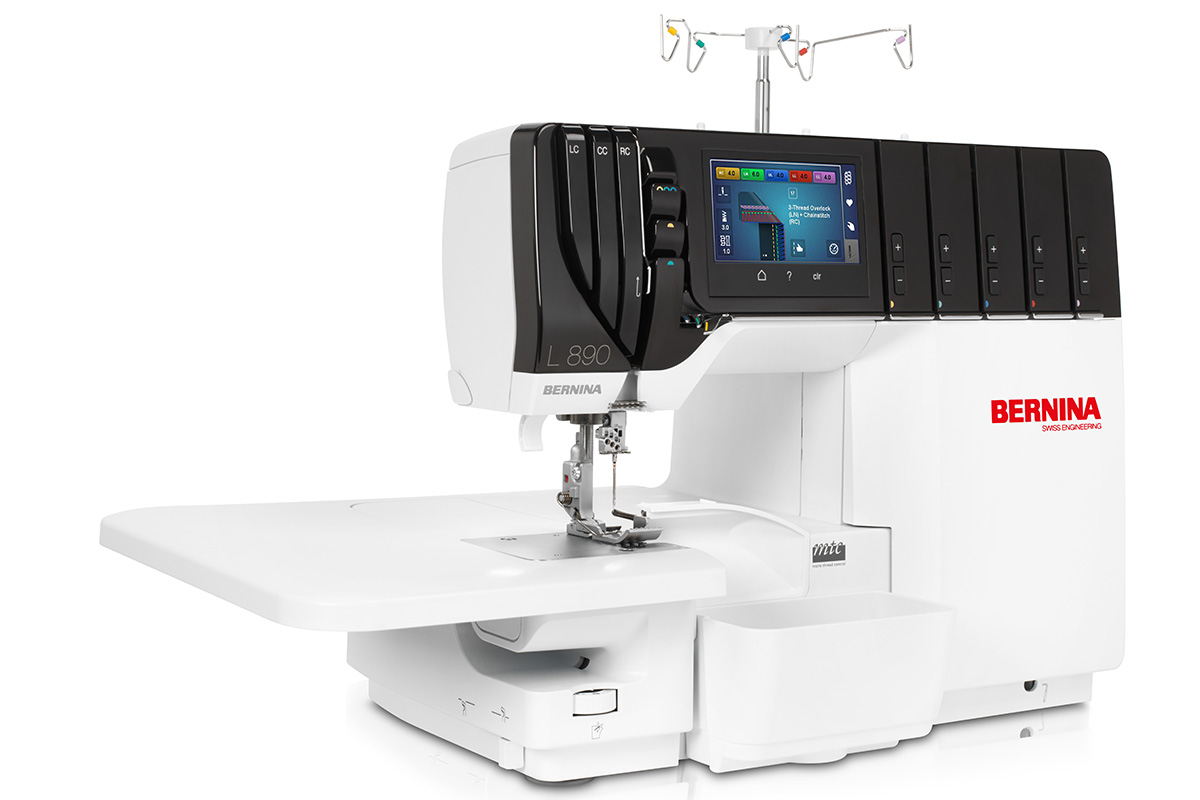
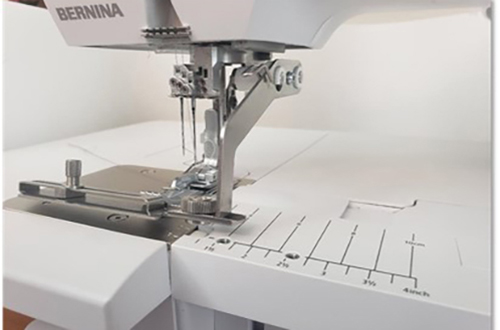
- BERNINA L 890 Overlock Combo Machine
- Coverstitch Compensating Foot #C12
- Shirring Foot #C24
- Clear Foot #C27
- Upper Accessories Holder
- Adjustable Tape Guide
- Favorite little girl’s skirt pattern
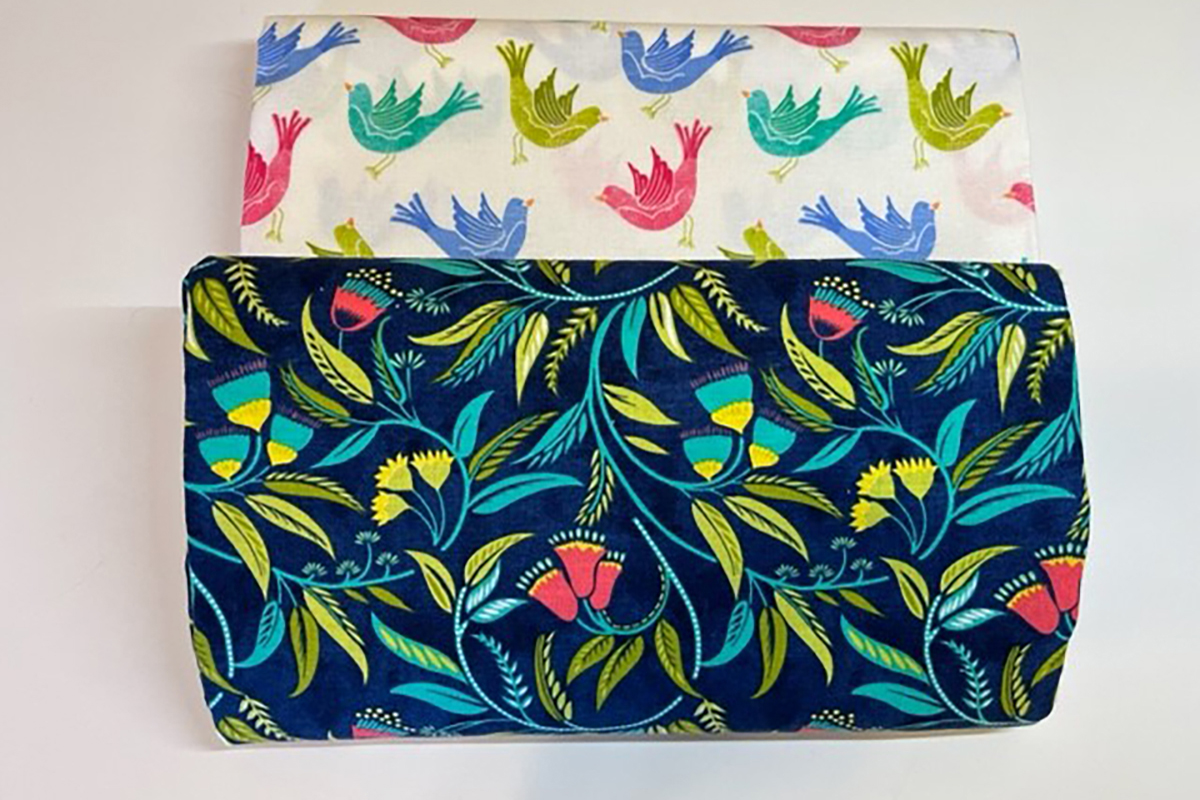
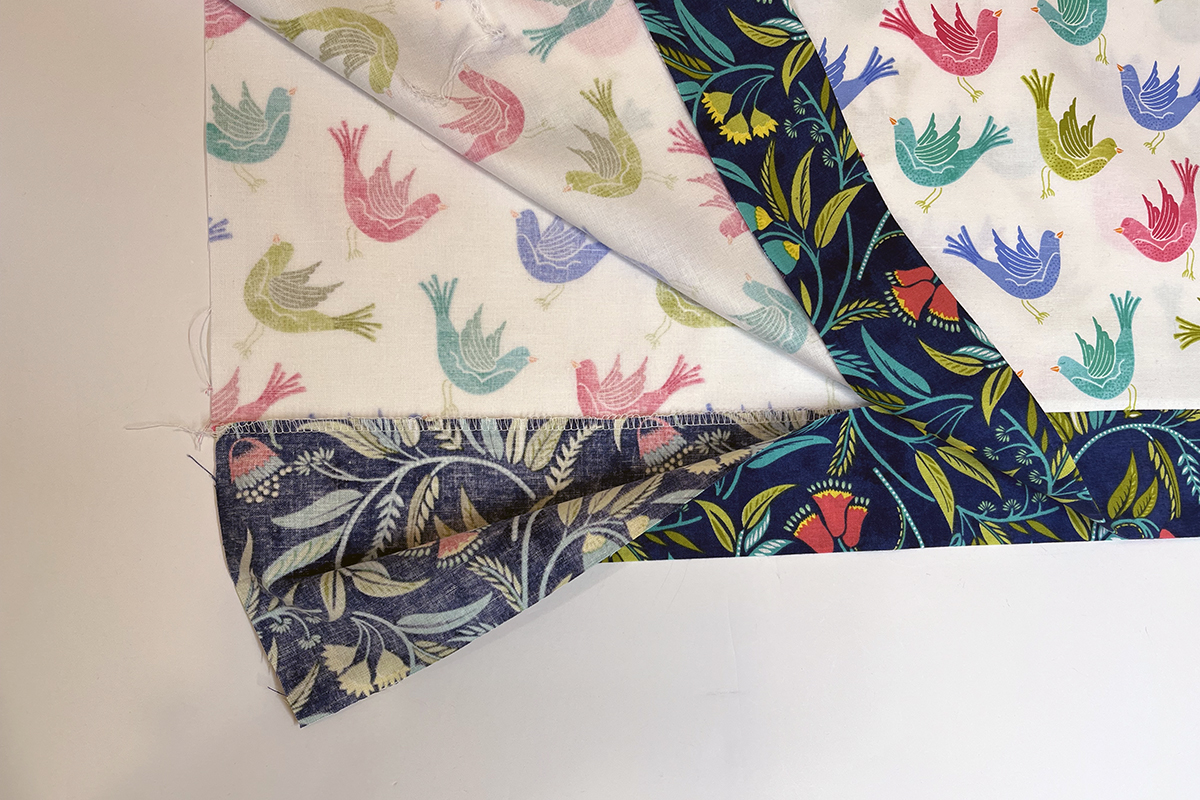
- Two coordinating cotton fabrics
- 3/8″ and 5/8″ wide grosgrain ribbons
- 3/4″ wide knit elastic
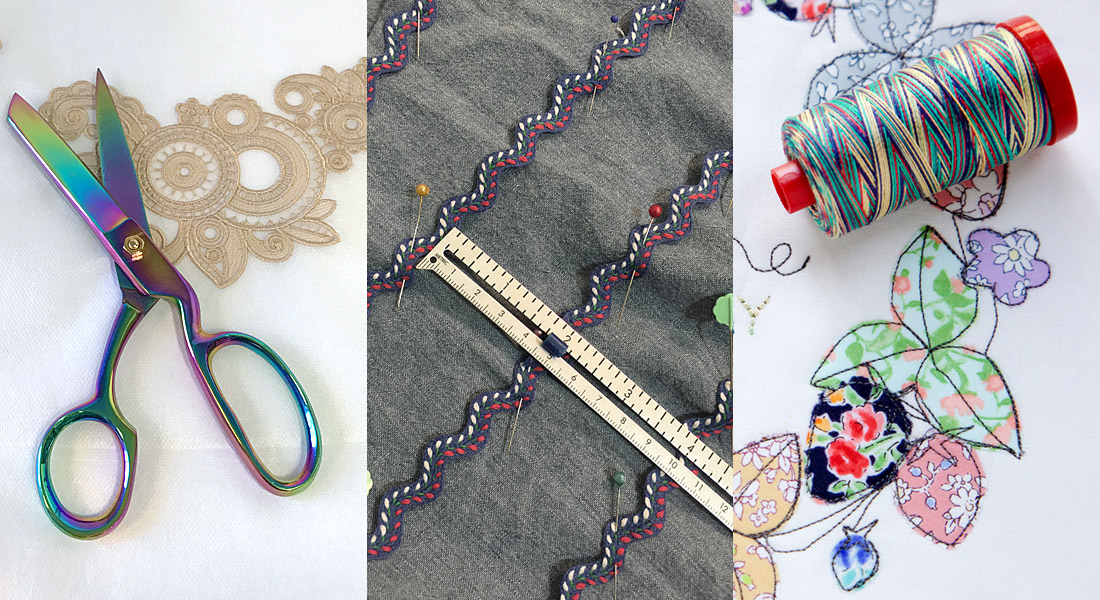
- Basic serging supplies including coordinating threads for the ribbon topstitching
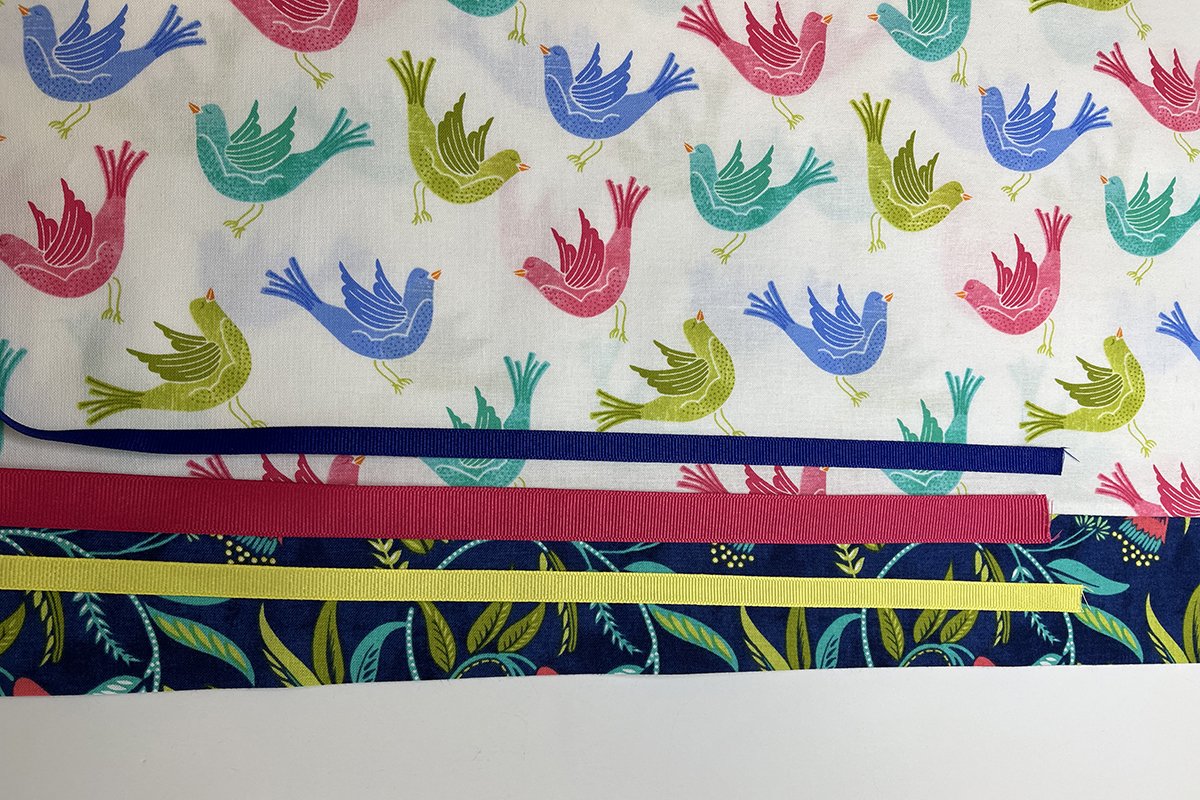
The colorful cotton fabric I used is from the Chalk Garden Collection by Cherry Guidry for Benartex.
The L 890 was the perfect machine for this project. It was quick to thread and easy to convert from overlock to coverstitching.
Using your favorite pattern, plan your changes. For the contrasting band at the bottom of the skirt, I cut a 4″ wide strip equal to the length around the bottom edge of the skirt and pressed it in half lengthwise, wrong sides together. I then shortened the main skirt piece to account for the band. I also decided to serge in the elastic for the waistband instead of sewing in a waistband, so I added length to the top of the skirt to allow for this and for folding over the elastic for a finished look.
I used a flat construction method, so I stitched the last side seam when I was done with everything else. (Secret tip: For toddlers, cut a width of fabric for the skirt and skip one of the seams! I positioned the one and only seam along the center back of the skirt.)
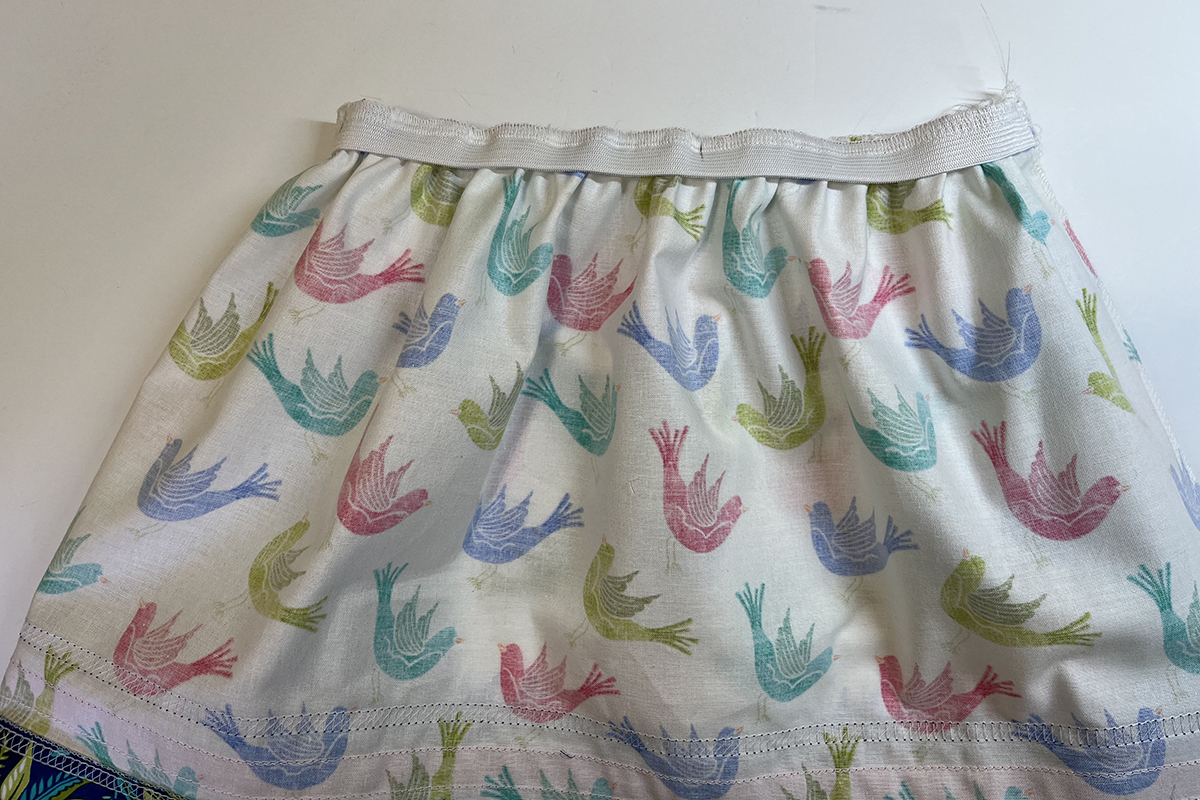
Here is a picture of how I sewed the lower band using the 4-thread Overlock Stitch #1. Notice that I only stitched through the front of the band and left the part folded to the back unattached.
Then it was time to play with ribbons! I prefer to use grosgrain or woven ribbons for sewing projects. I used 3/8″ wide (blue and yellow) and 5/8″ wide (pink) grosgrain ribbons. They are cut a few inches longer than the width of the skirt.
For stitching down the ribbons, I used the Adjustable Tape Guide. It was great not having to pin, glue or tape the ribbons down! Let me show you how it works.
The Adjustable Tape Guide is useful for precise attaching of ribbon, lace, tape and elastic to fabric. It accommodates widths from 10-60 mm (about 1/3″ to about 2 1/3″). It is designed for use on the L 850, L 860 and L 890 and can use all overlock, cover, chain and combo stitches.
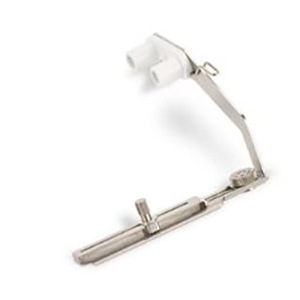
It attaches to the Upper Accessories Holder.
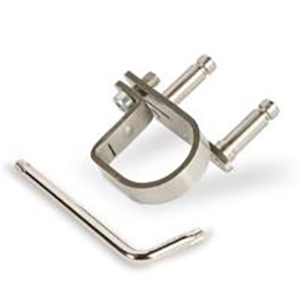
The Upper Accessories Holder attaches to the presser foot bar. Once in place, it can remain there, as it does not interfere with other functions of the machine. 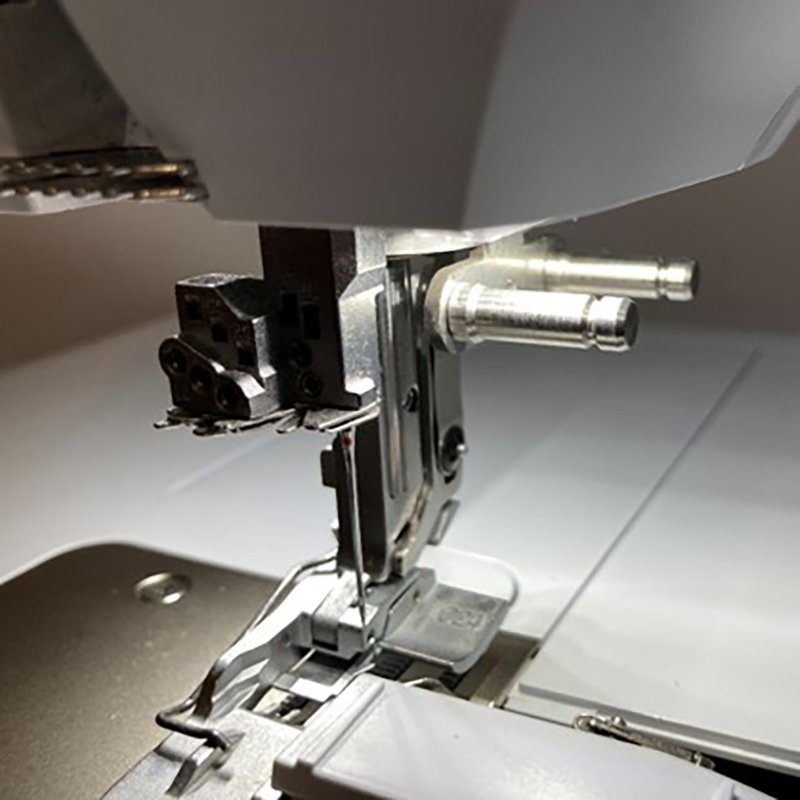
The Adjustable Tape Guide is clamped onto the connecting pins.
Then all you have to do is adjust the screws on the guide for the width and placement of your ribbon and you are ready to sew!
To watch a video of how this attaches to your machine, click HERE.
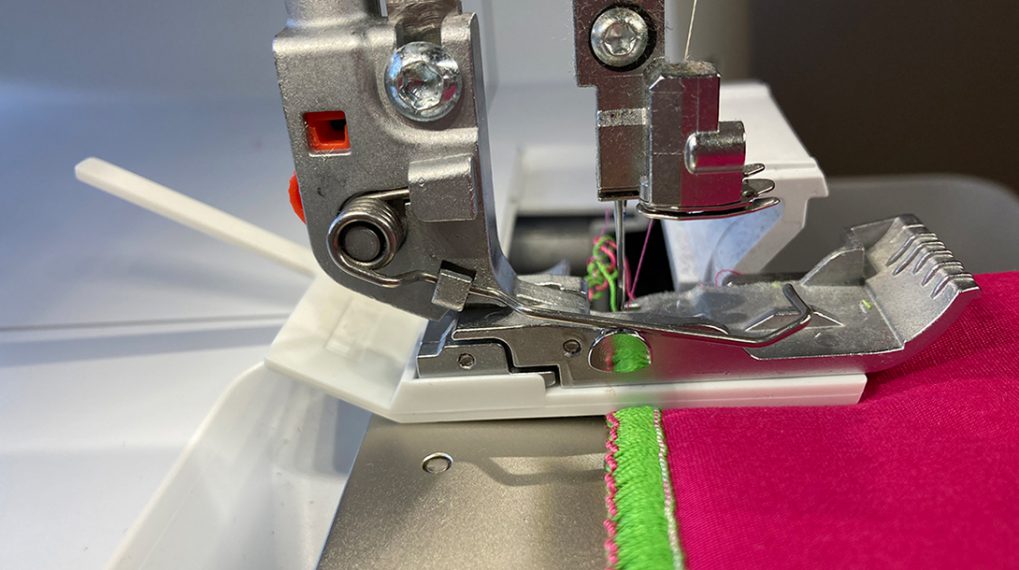
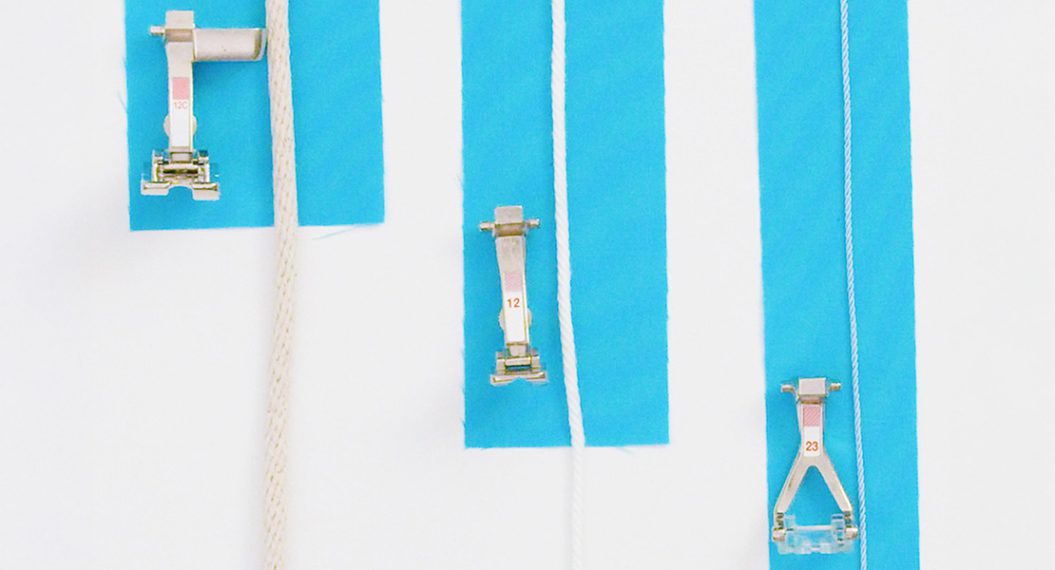
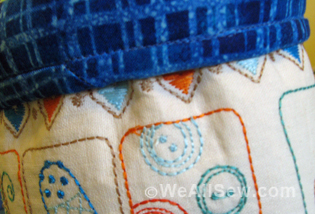
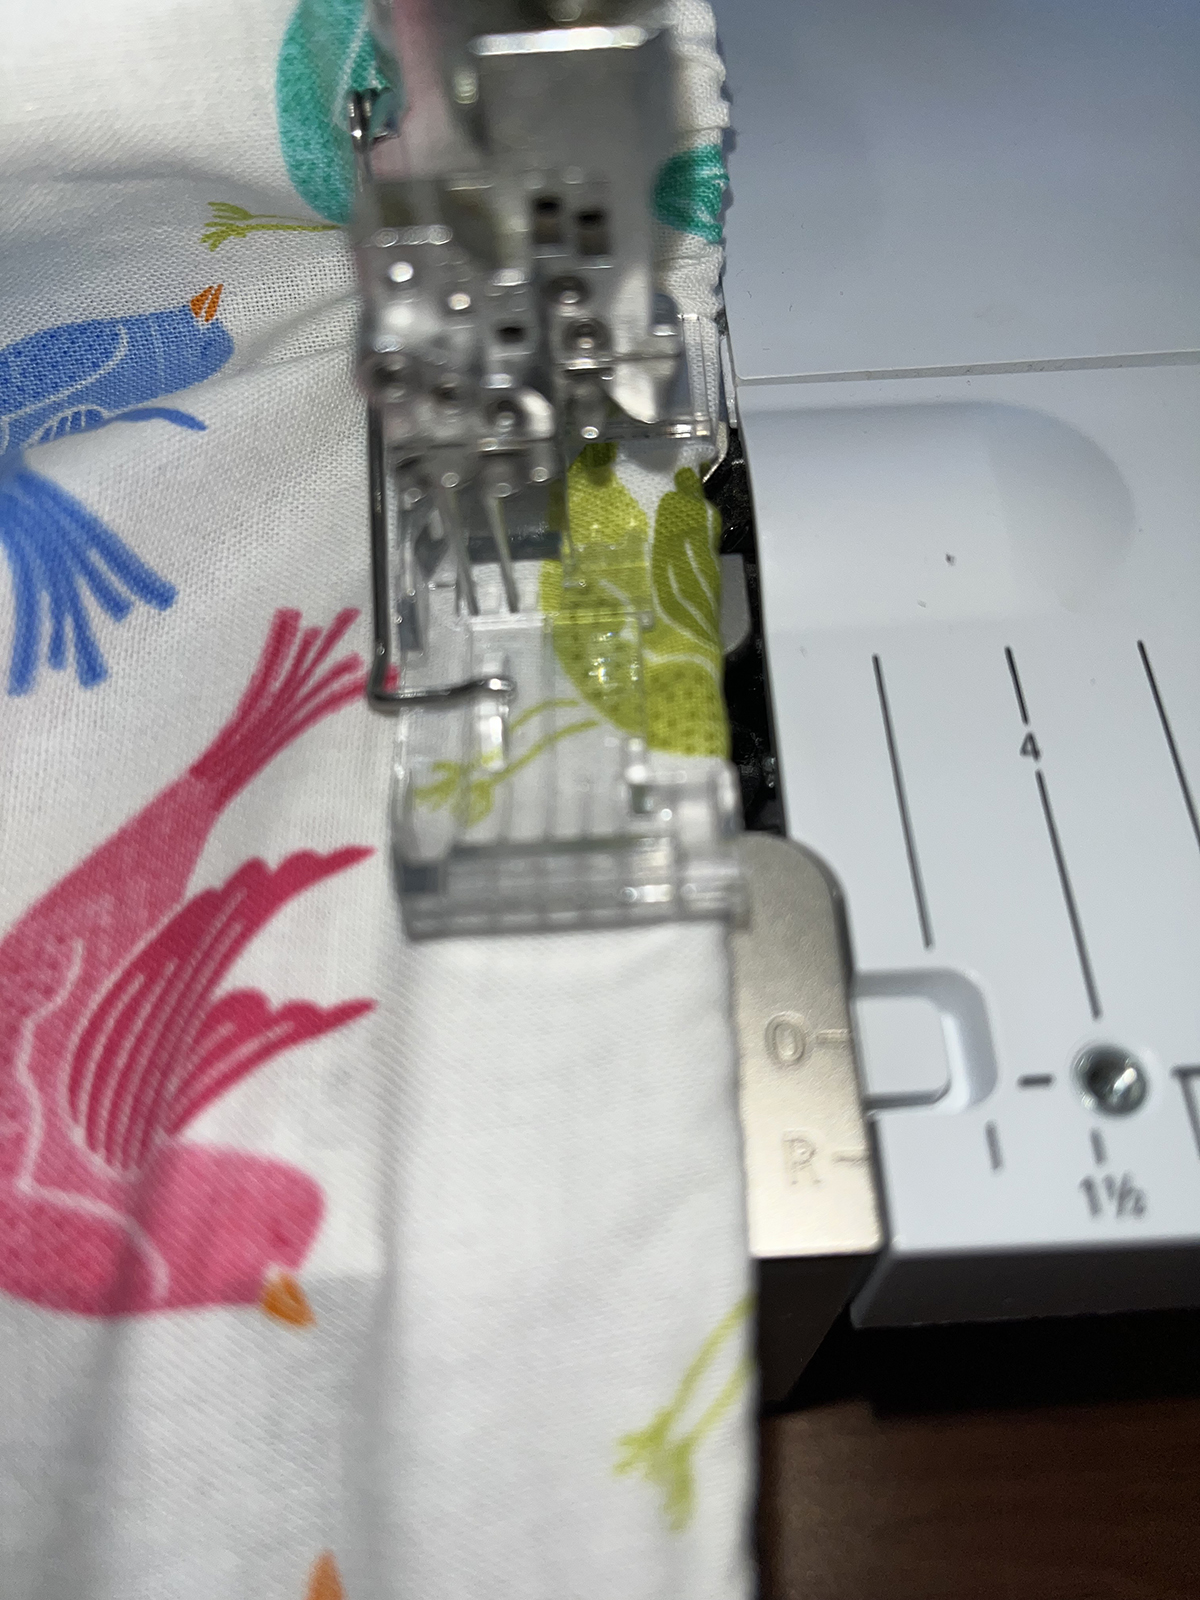
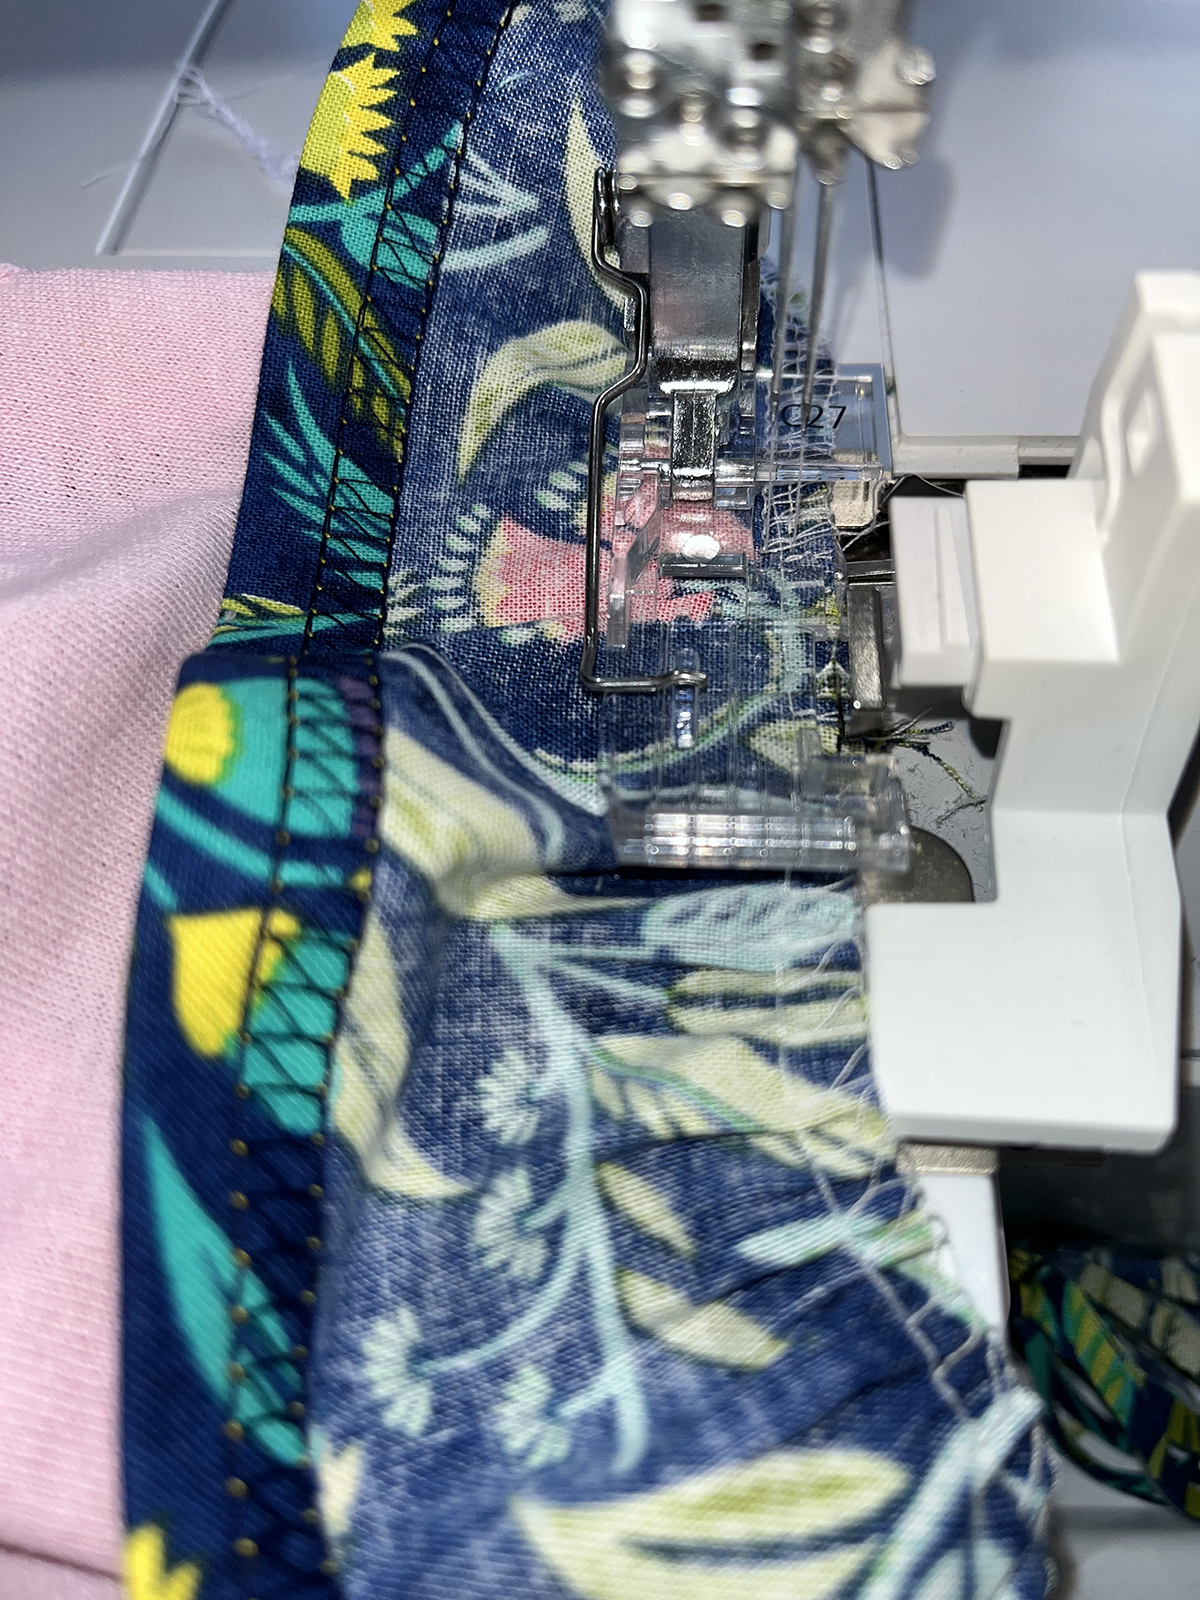
I discovered that the wide 3-thread Coverstitch 6mm LC-RC Stitch #22 was perfect for stitching down the 3/8″ wide ribbon. I placed the yellow ribbon in the guide and centered the ribbon on the needles. The raised markings on the front of the Coverstitch Compensating Foot #C12 showed me exactly where the needles would stitch on the ribbon. The floating toes of the foot guided right along the ribbon edges. You can see that I have folded the lower band to the back along the fold and I am centering the ribbon on the seam line.

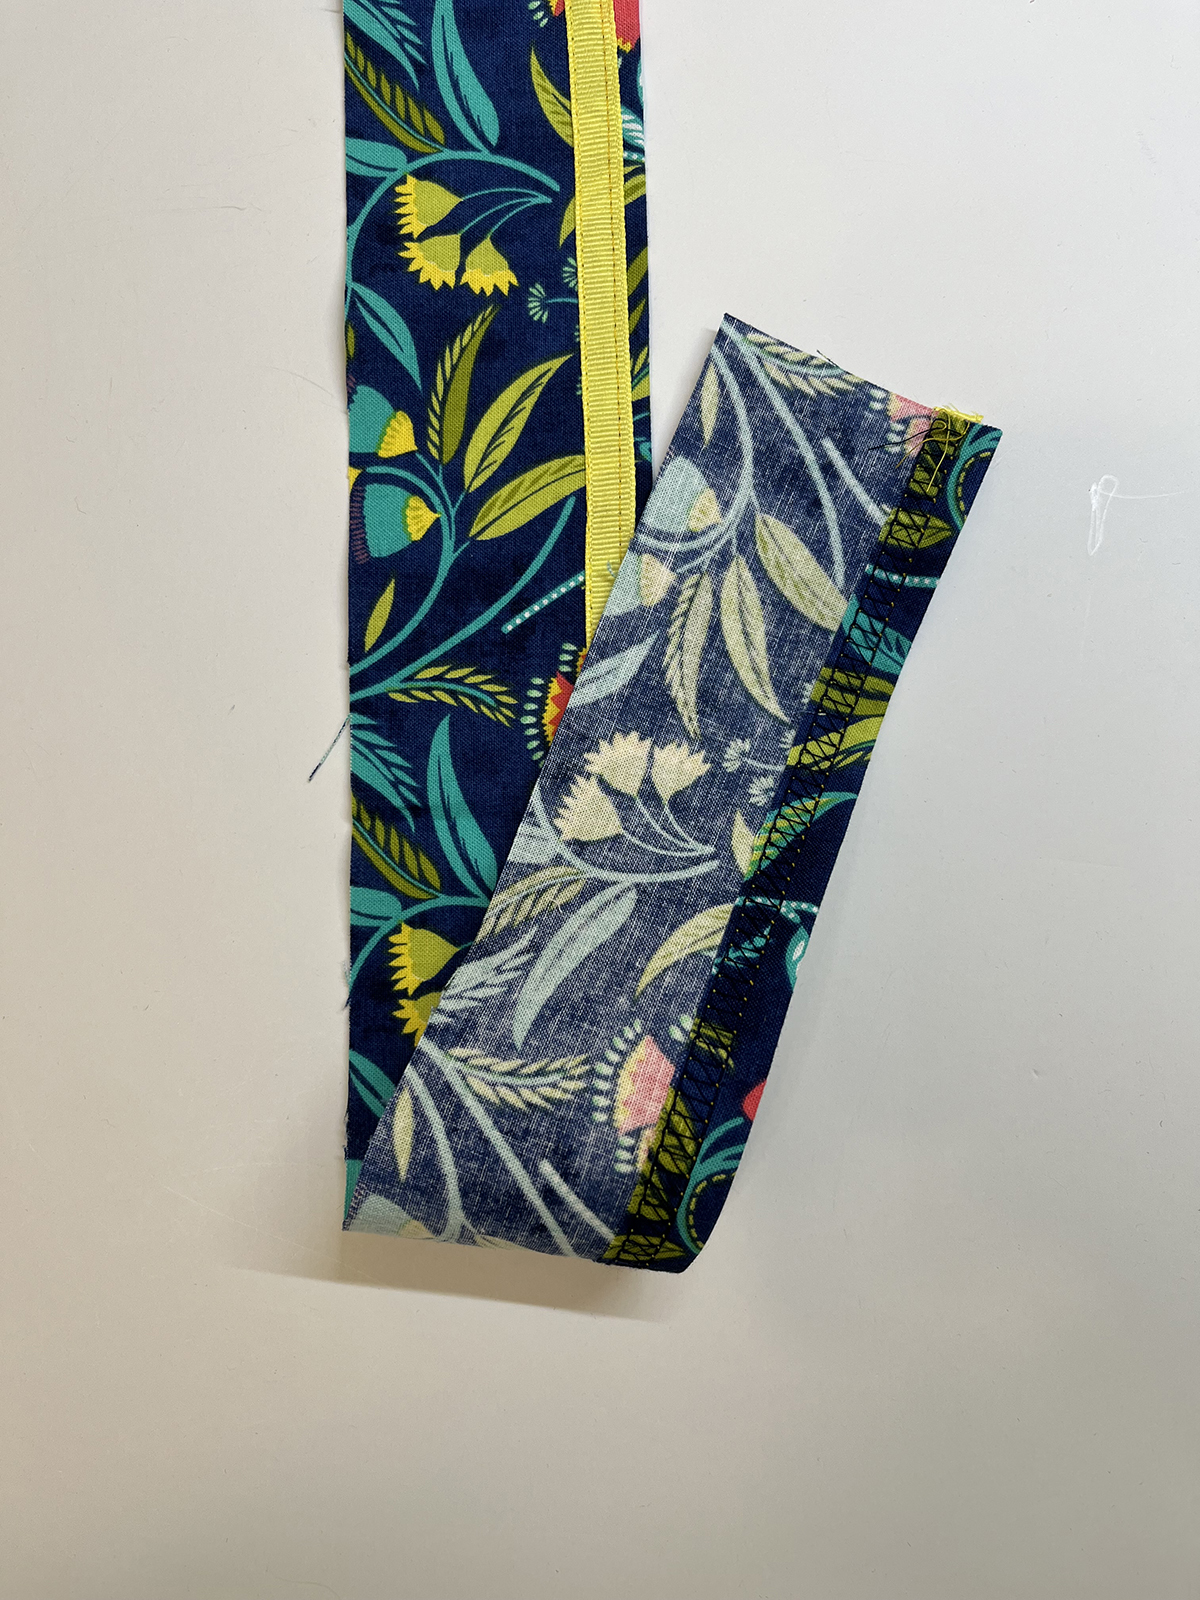
Now take a look at the wrong side of the skirt. While I was stitching the ribbon in place I was also hemming the skirt! What a time-saver! And a professional finish, too.
I switched the machine to a 2-thread Chainstitch RC Stitch #16 to stitch down the 5/8″ wide pink ribbon. Again, I adjusted the tape guide for the width and placement of the ribbon. I stitched the pink ribbon down along one side, guiding the presser foot edge along the yellow ribbon. The pink ribbon is guiding along the inside right toe of the foot. 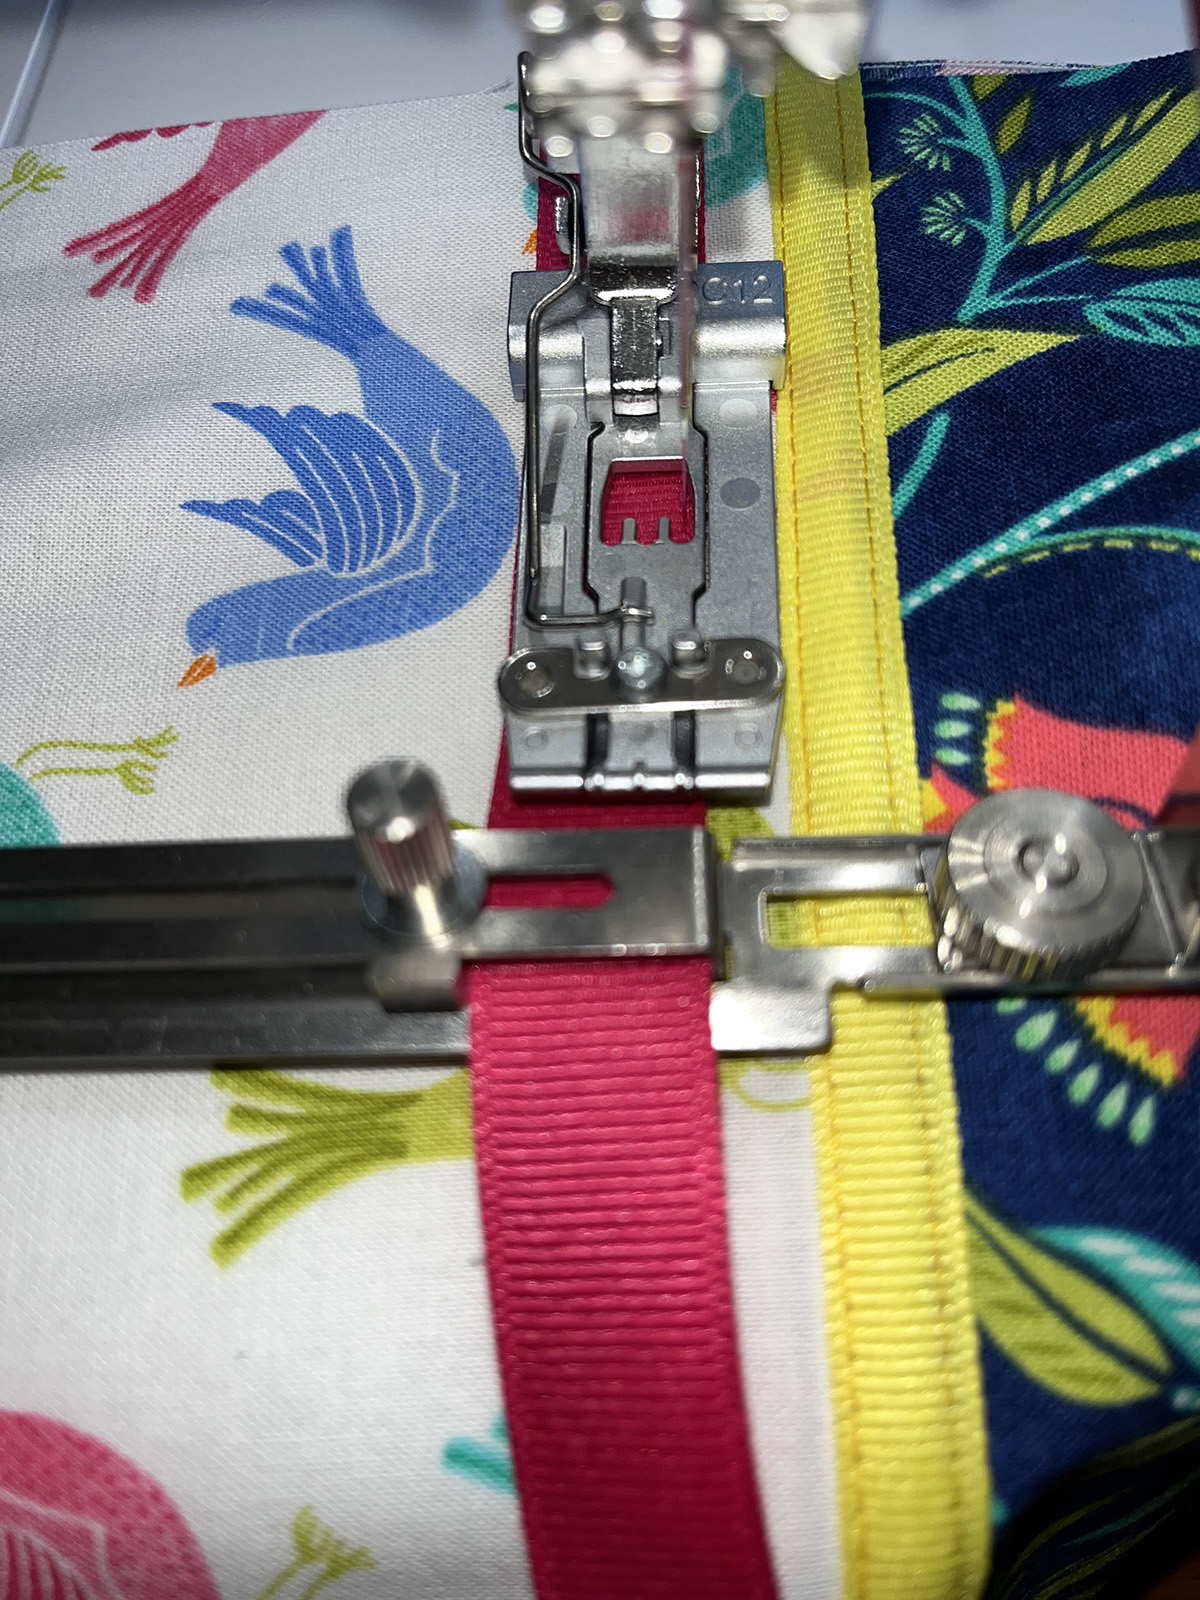
I removed the Accessory Holder and stitched the other side of the ribbon in place. I used the inside edge of the right toe on the foot as a guide. 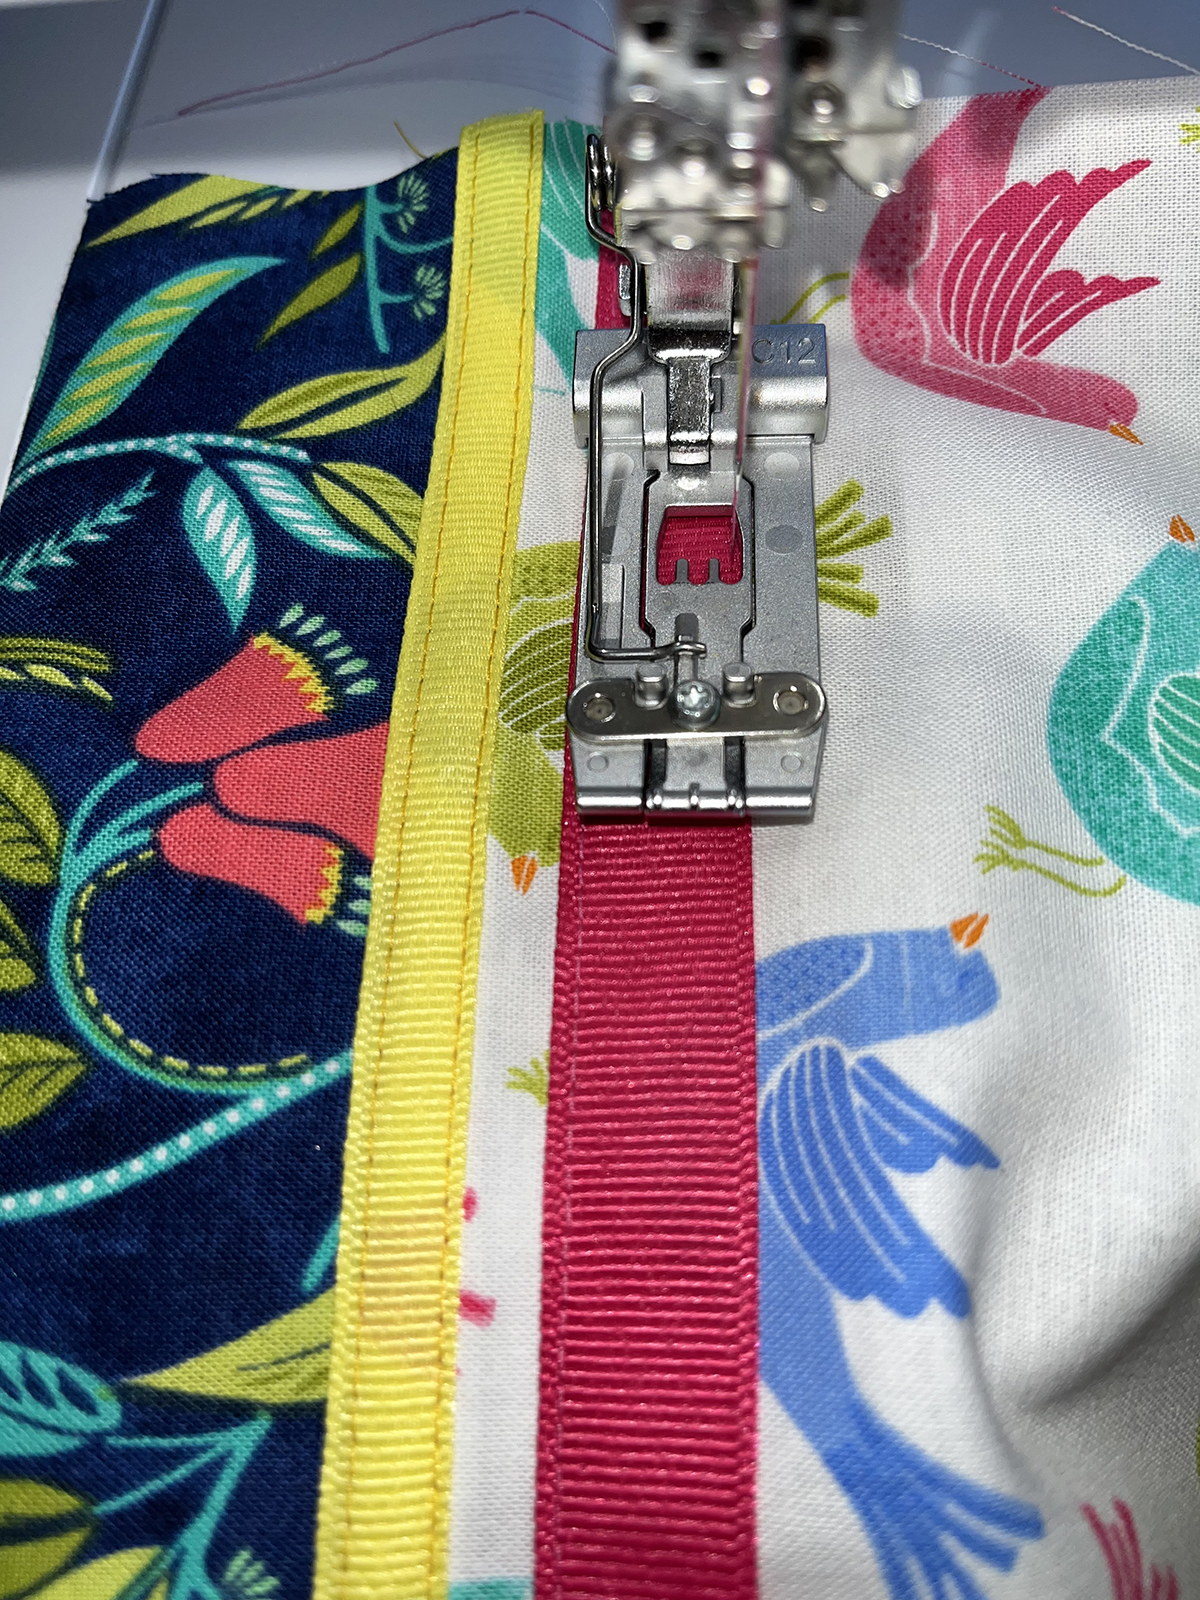
Now back to the wide coverstitch to stitch down the blue ribbon. Again, I am guiding the edge of the presser foot along the previously stitched ribbon. 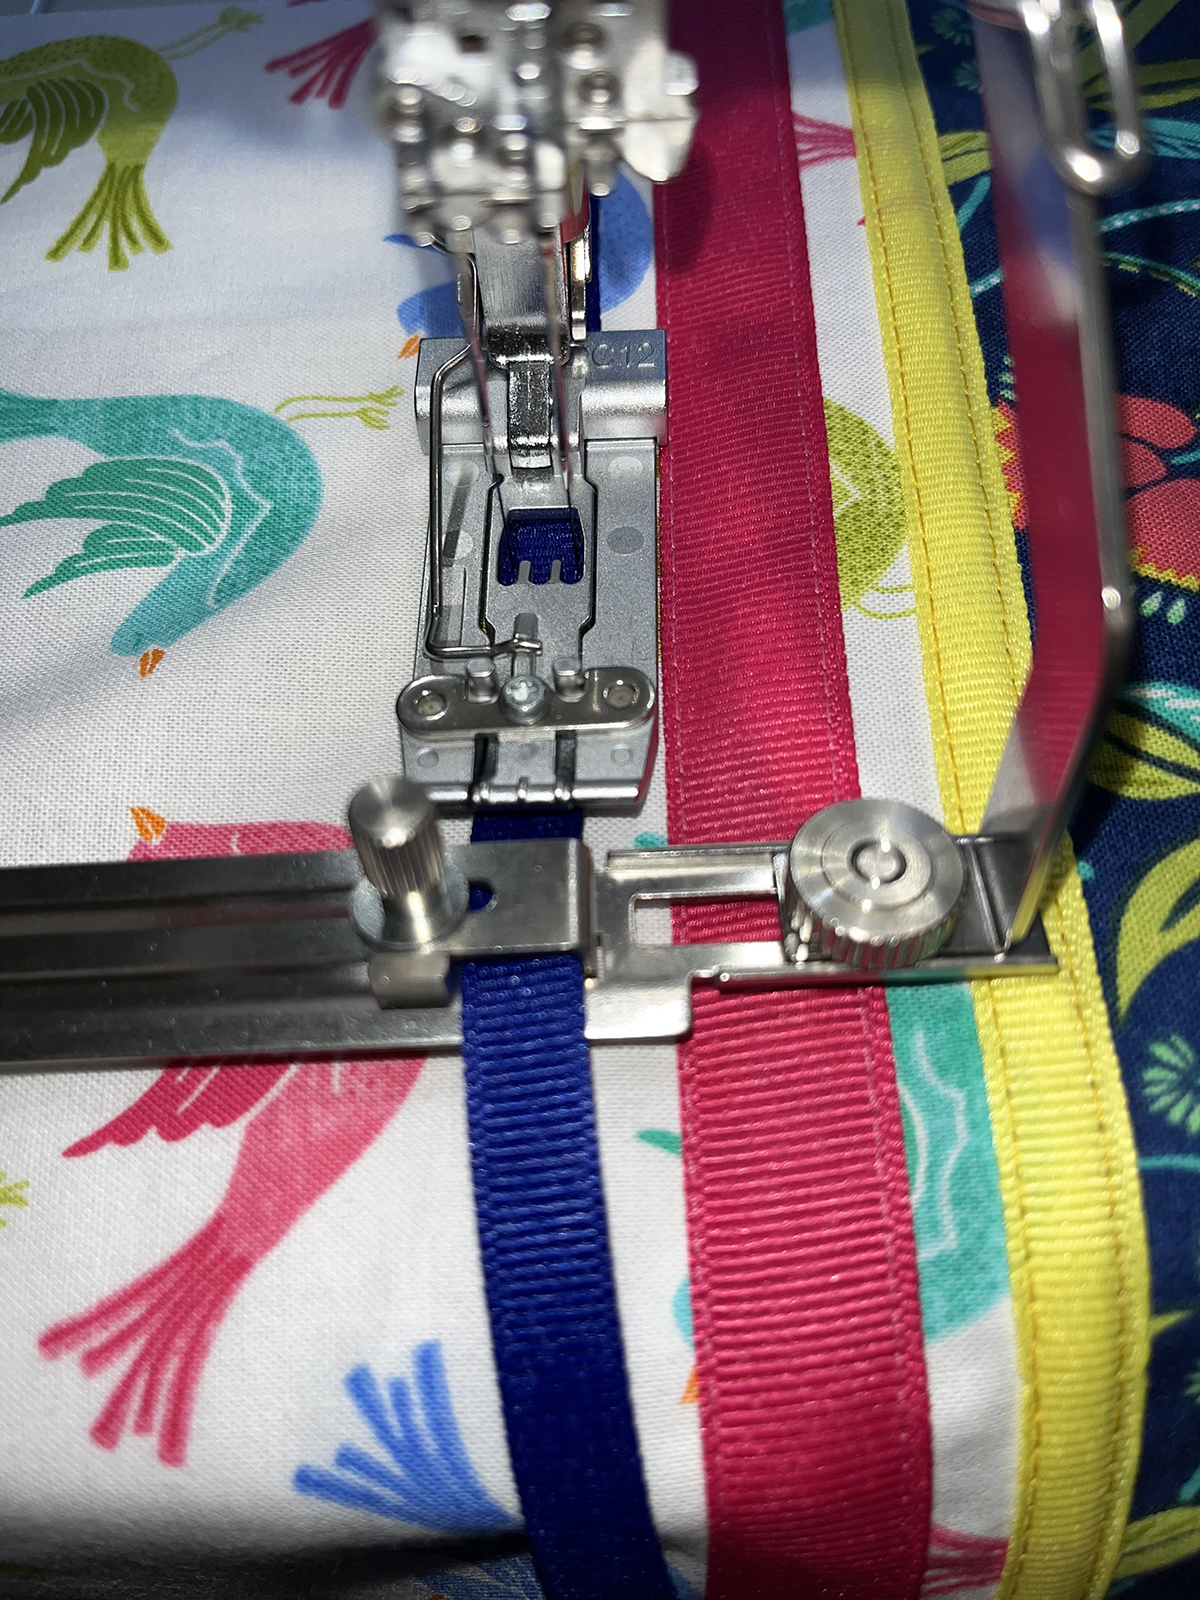
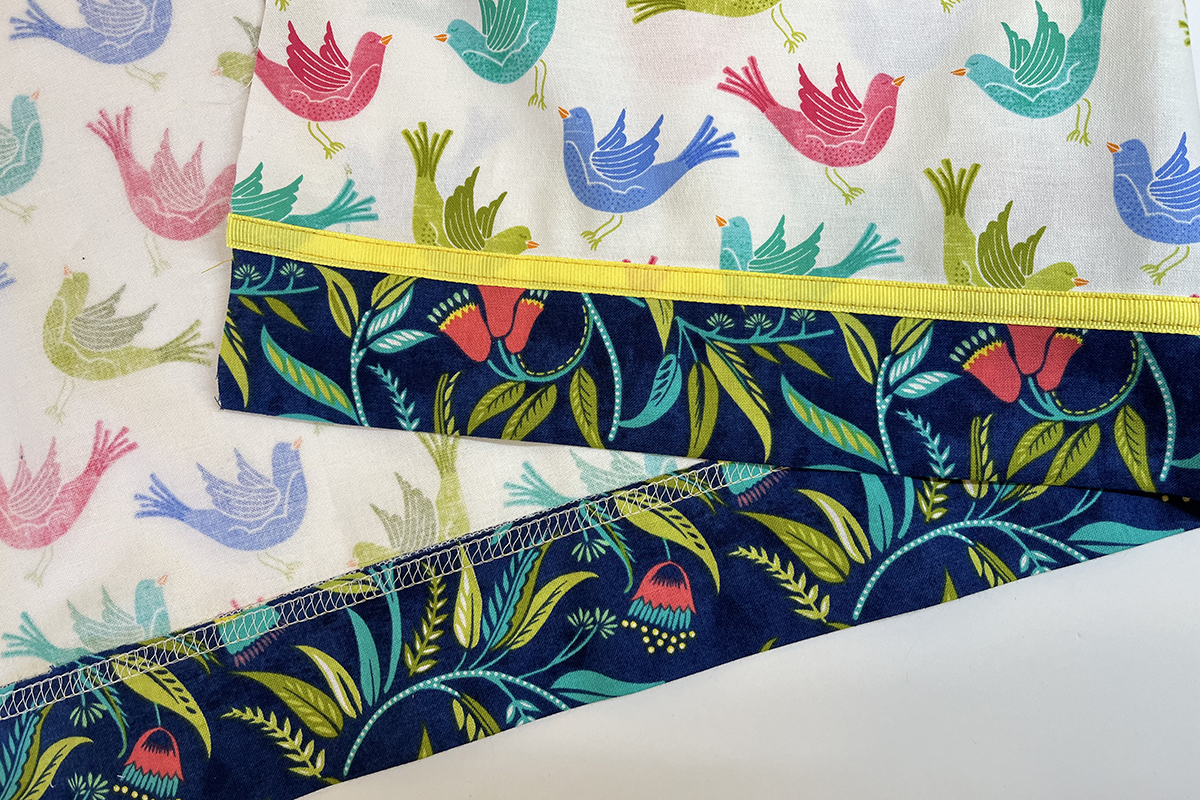
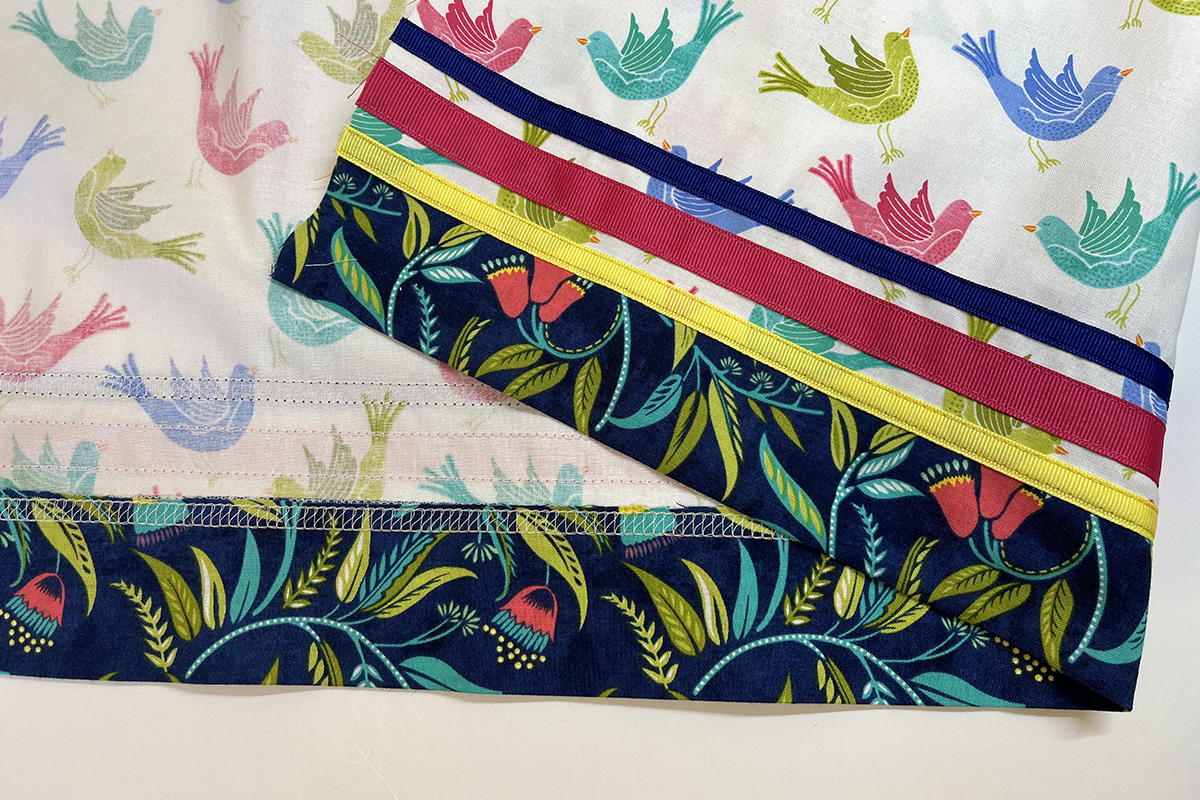
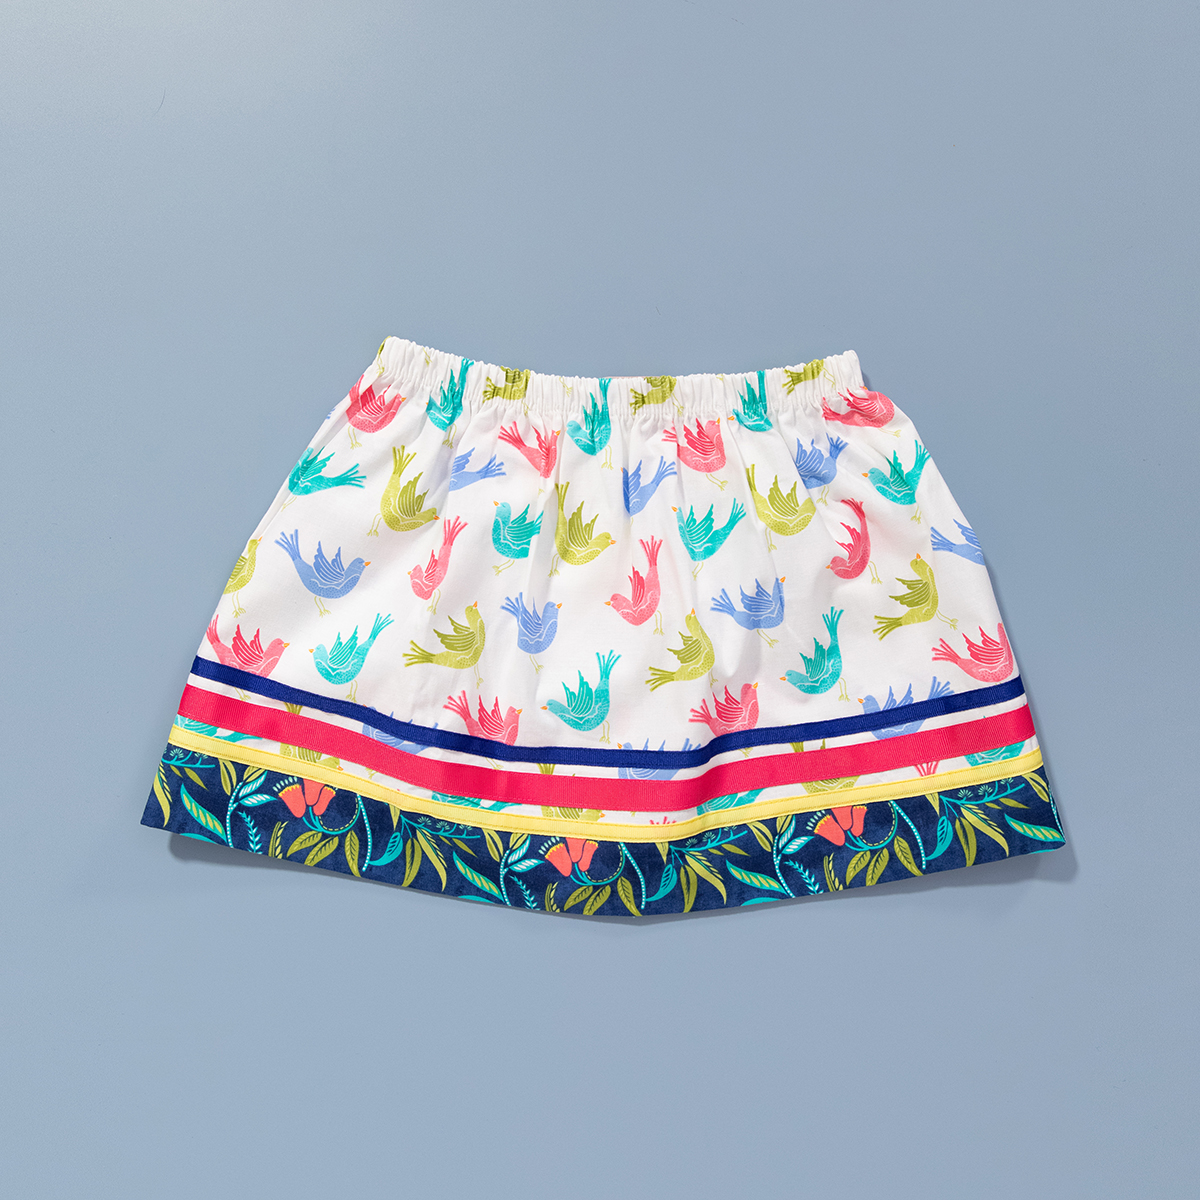
And here is how everything looks! That was easy!
There are a couple of ways that you can serge elastic to a waistband. One way is to measure the elastic and stitch the short ends together. Then divide and mark into quarters. Do the same on the skirt waistband edge (both side seams will have been sewn). Match the marks on the elastic to the marks on the skirt and serge the elastic to the wrong side, stretching the elastic to fit as you go.
Sometimes when I do this, the elastic and/or fabric doesn’t feed straight as I am stretching and sewing and I lose control. I’m going to let the Adjustable Tape Guide help me stay in control!
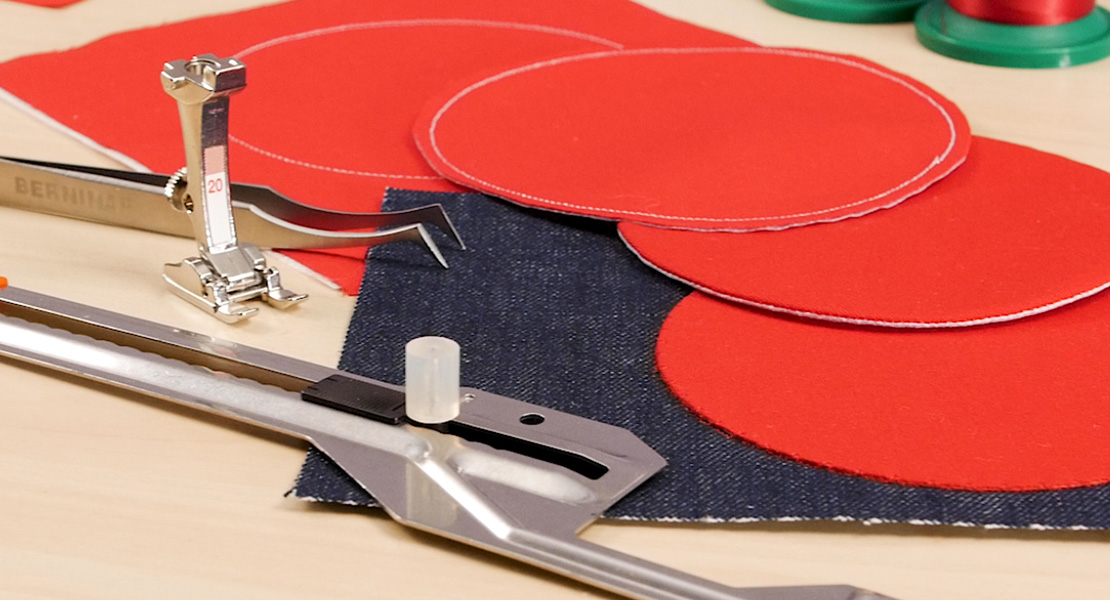
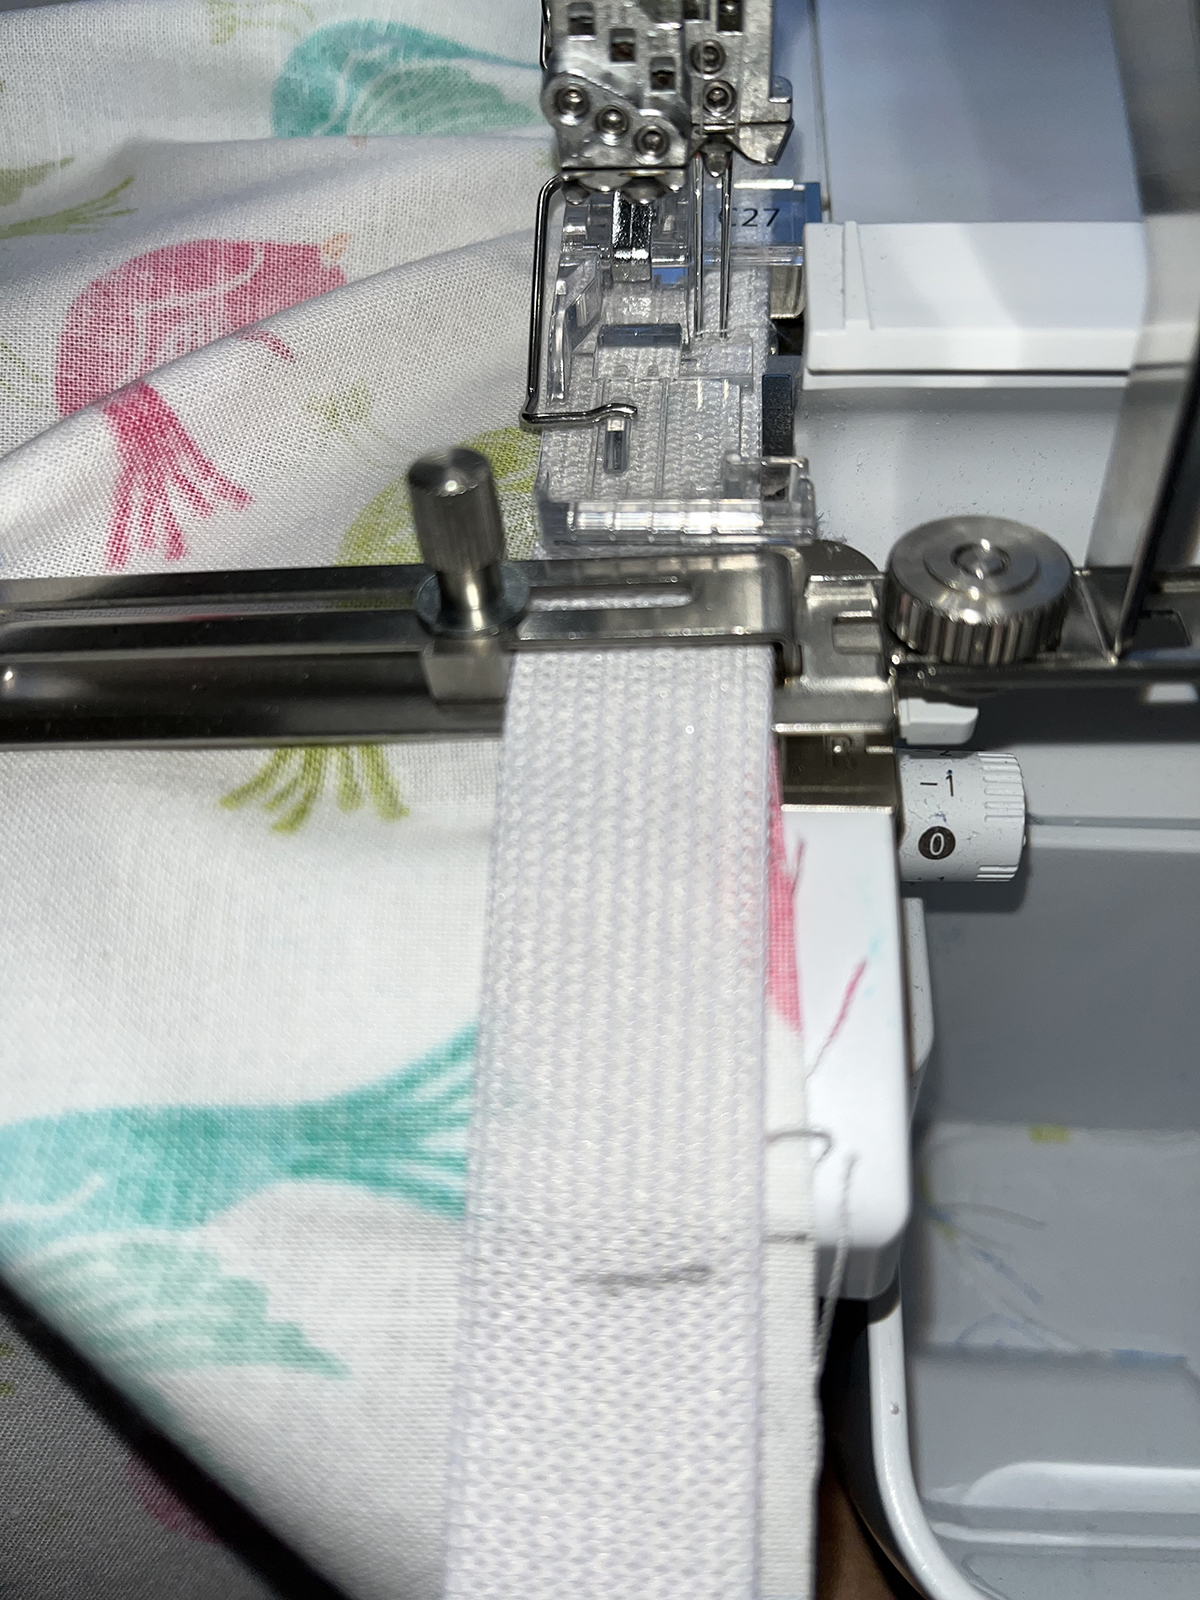
After I cut my elastic to the desired length, I marked it into quarters. (Remember that I did not sew the last side seam of the skirt, so I am not sewing the edges of the elastic together.) I also marked the skirt waistband edge into quarters. I set up my machine for a 4-thread Overlock Stitch #1 with a stitch length of 4.5 and the needle set to stop down. I adjusted the tape guide to fit the elastic and positioned the elastic so that it would not be cut by the knife. I then secured the elastic to the top side edge of the wrong side of the skirt with a couple of stitches. I guided the top of the skirt for a trim of 1/8″ or so. I took my time and serged, stretching the elastic to match the marks. I’m also using Clear Foot #27 so that I can easily keep an eye on things as they move under the foot (it’s my favorite foot!).
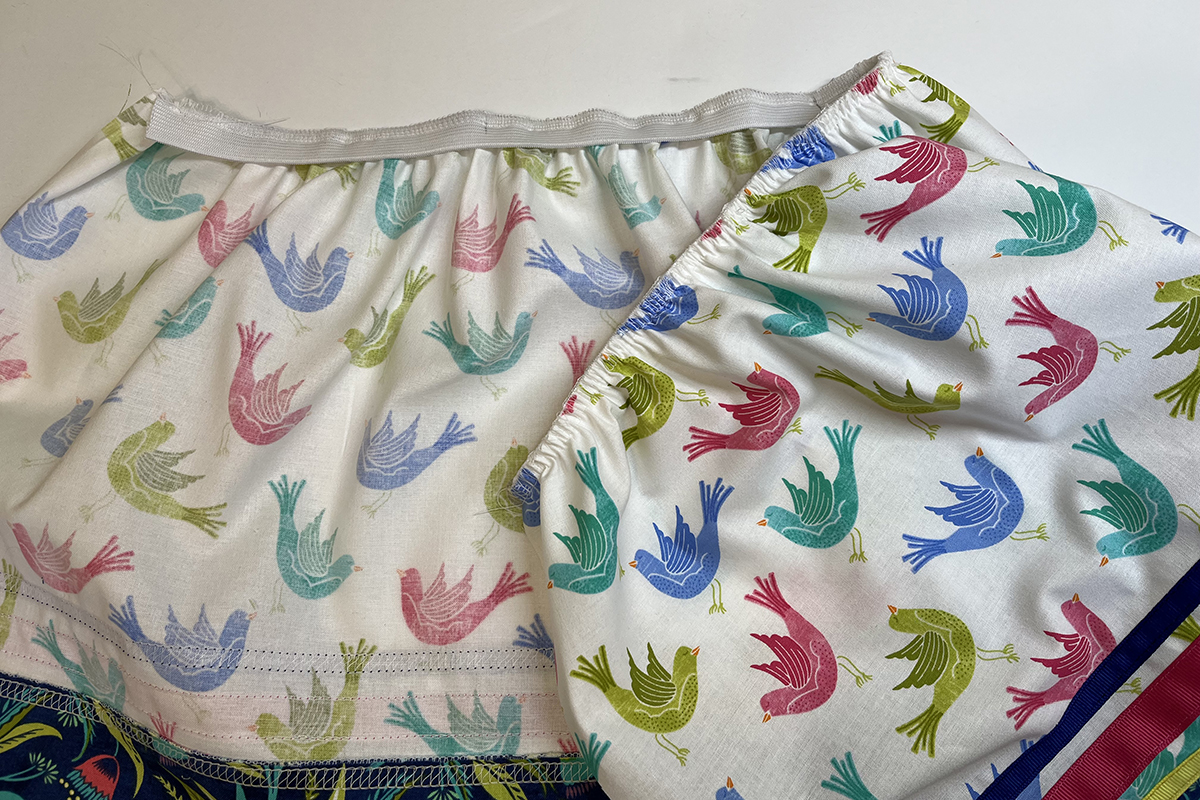
Here is the elastic all serged in. The Adjustable Tape Guide made this a lot easier!
Now to sew that last side seam.
For the finishing touch, I folded the elastic down to the wrong side of the skirt. I set up the machine for 3-thread Coverstitch 3mm LC-CC Stitch #23 and topstitched along the bottom of the elastic on the right side of the skirt, stretching as I sewed. The stitch length was increased to about 4. The result is a nice clean finish on the inside of the waistband.
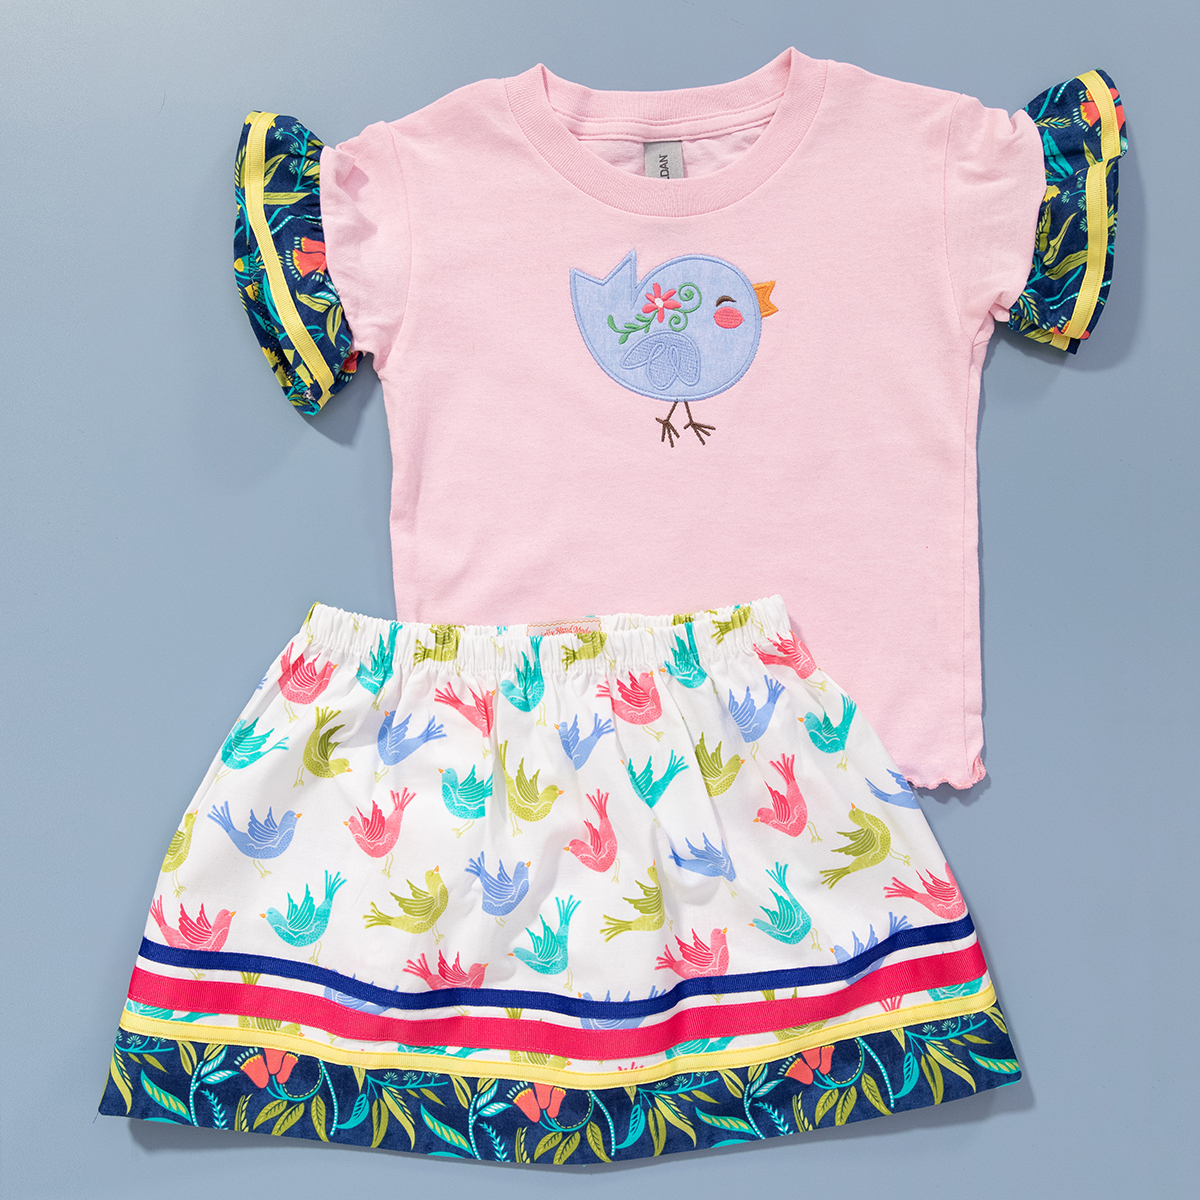
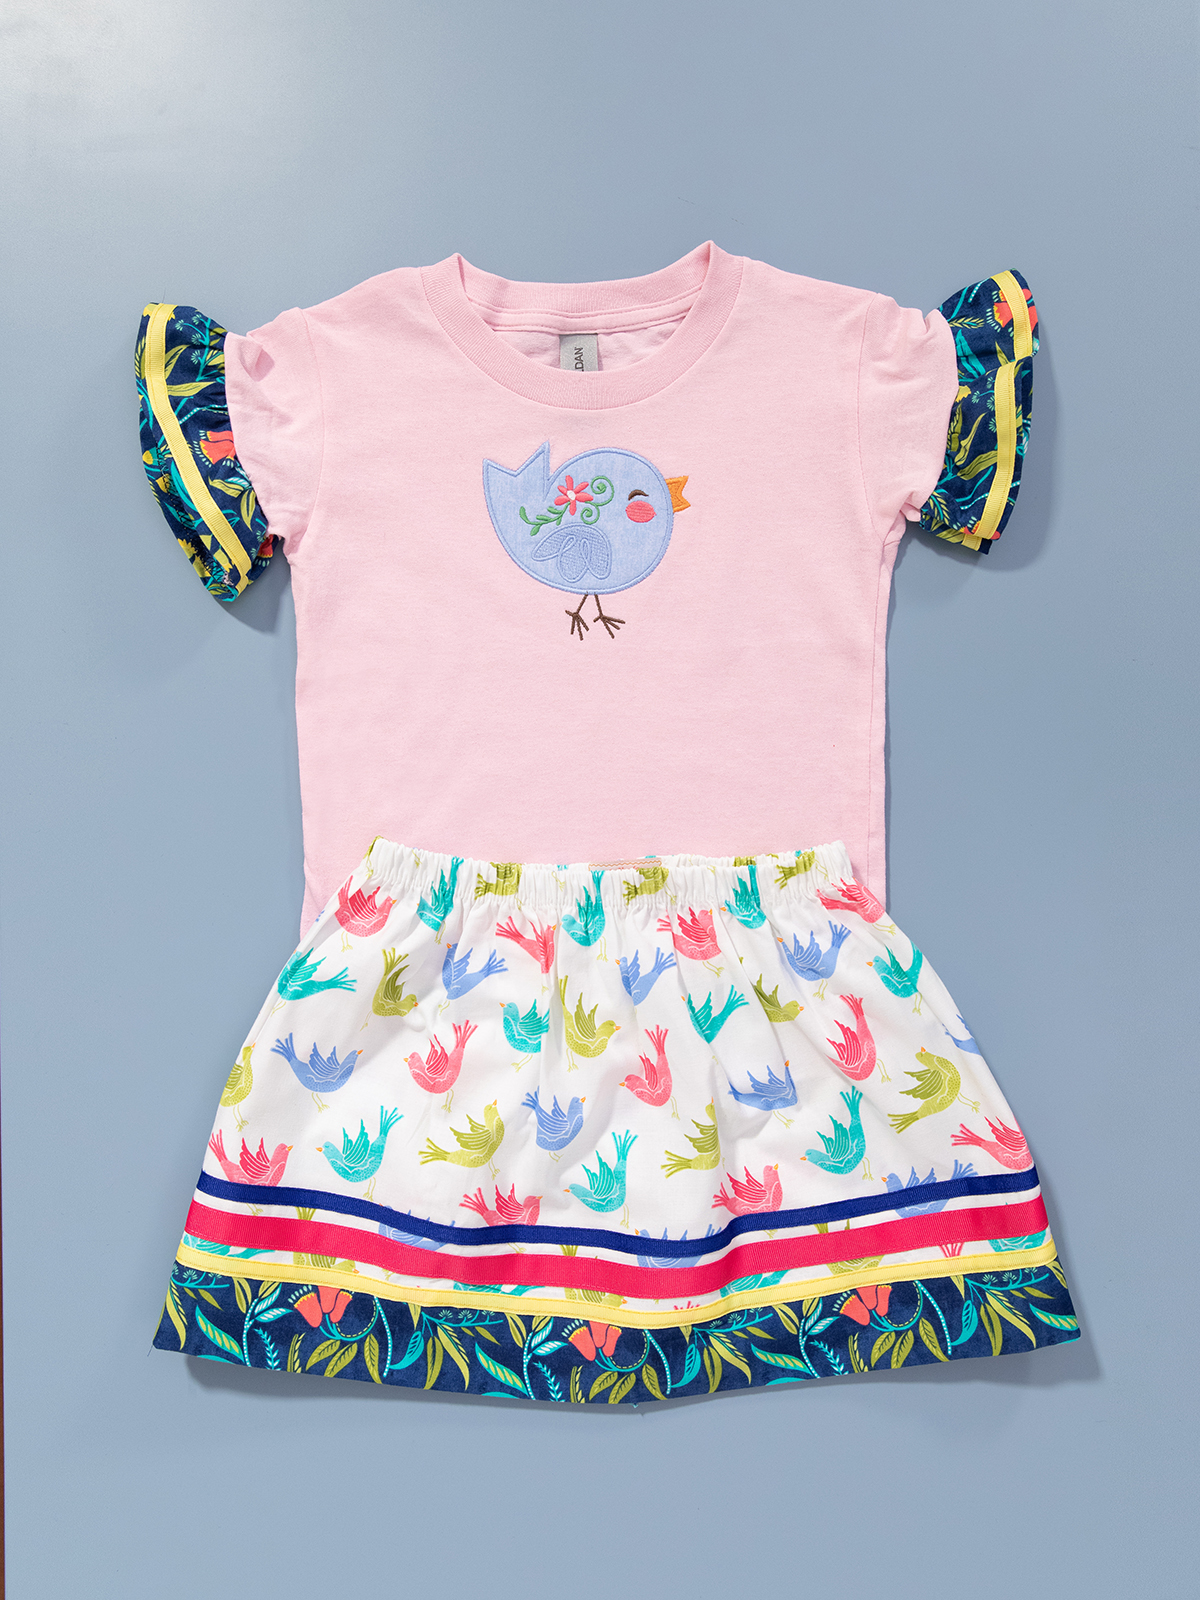
And that’s it…a fancy skirt without a lot of effort!
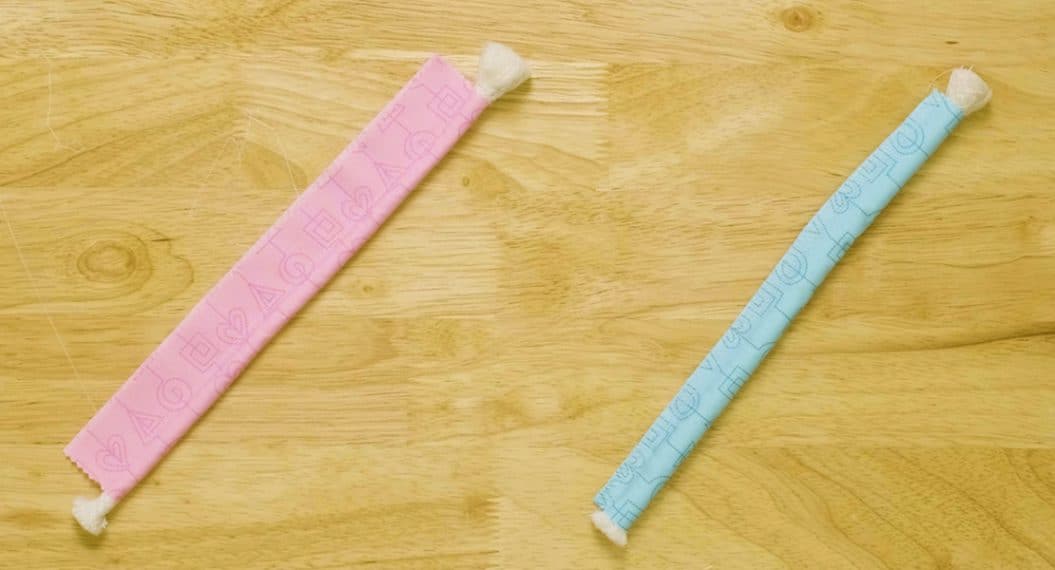
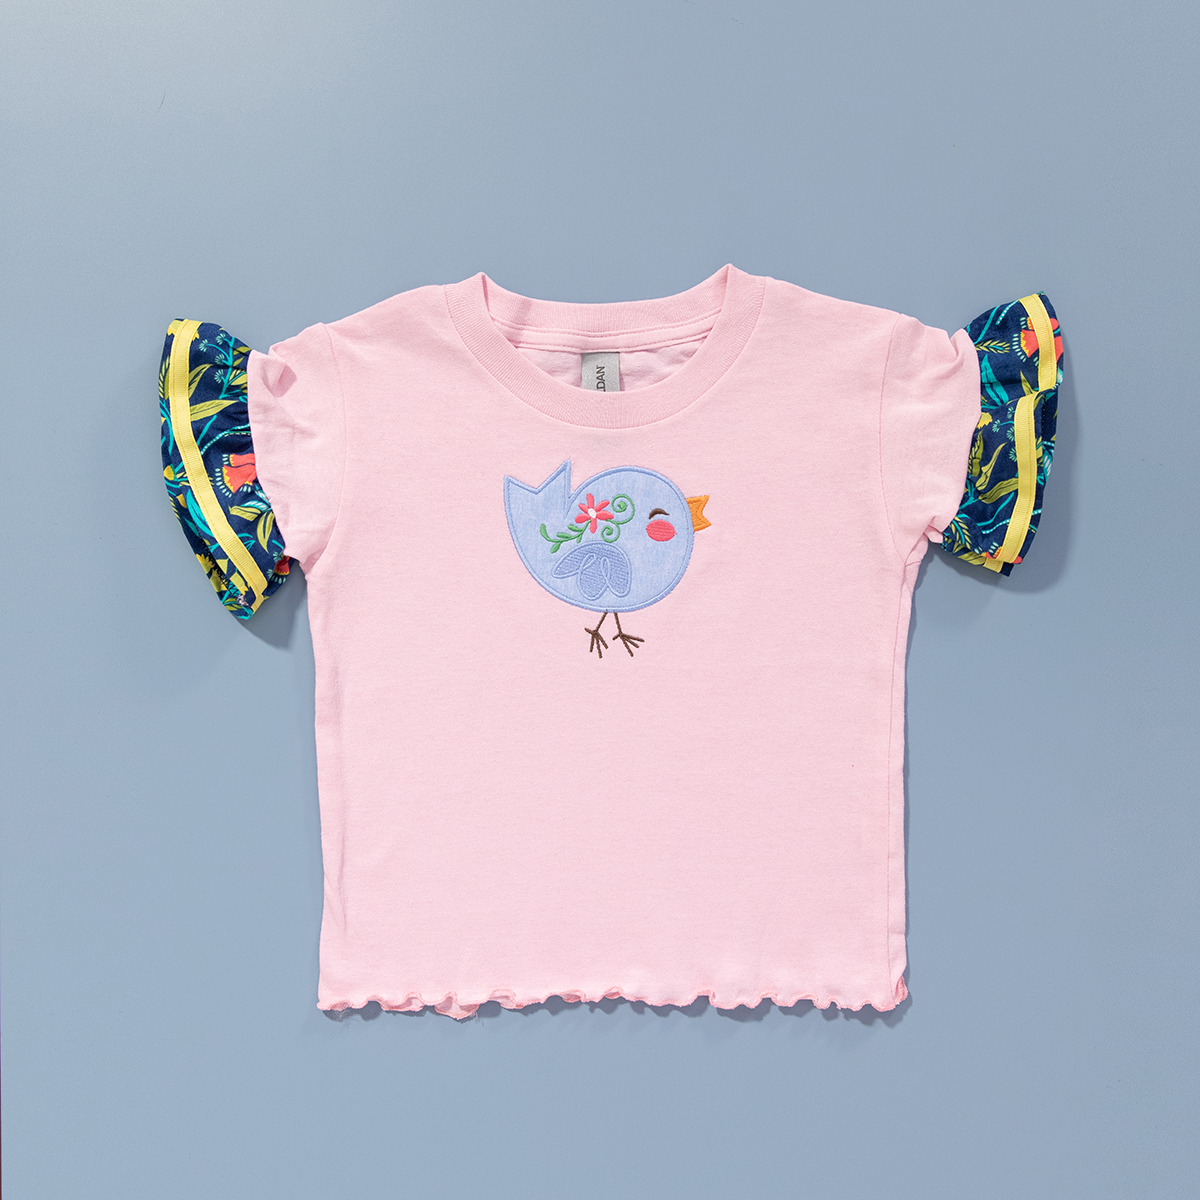
To complete the outfit, I added some ribbon-embellished cuffs to a pre-made t-shirt. To do this, I cut a 2 1/2″ x 20″ strip of fabric for each sleeve and pressed a 1/2″ hem on one long edge of each strip. The ribbon was added in the same manner as on the skirt.
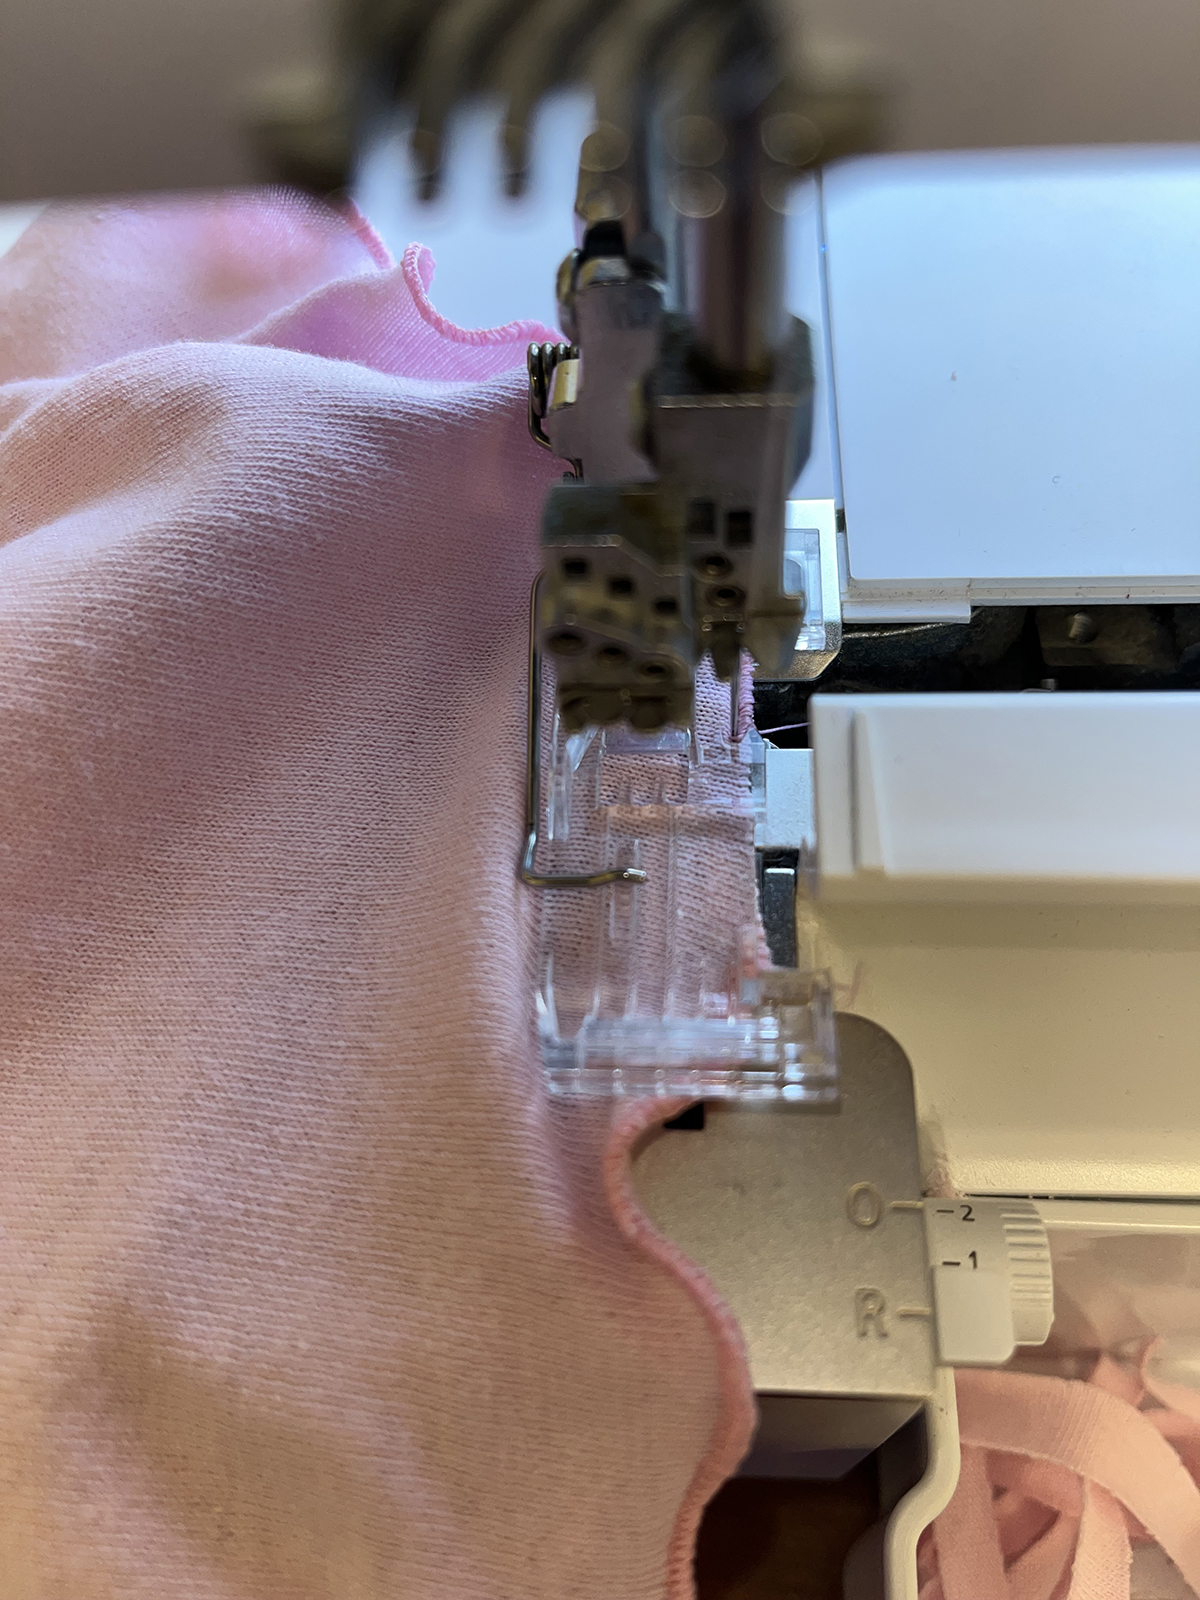
Then I gathered the band with the Shirring Foot #C24. (This is the perfect foot for gathering single layers of light to medium weight fabrics.) I cut the sleeve hem off the shirt and opened the seam enough so that I could sew in the band.
I serged the gathered band along the sleeve edge, trimmed the excess and then sewed the side seams back together. The right seam guide came in very handy.
I added a lettuce edge along the bottom edge for one more bit of flair. Click HERE for more information on techniques for edging.
All of these extra touches added that extra bit of zing to an otherwise ordinary outfit. The right accessories and feet made it easy!
If you are looking for some inspiration to jazz up your next project, check out these patterns by Barbara Goldkorn: Cutting Edge Serger Techniques: Specialty Serger Techniques and Cutting Edge Serger Techniques: Kids Fashion Set.
Happy serging!