Piping on the Overlocker
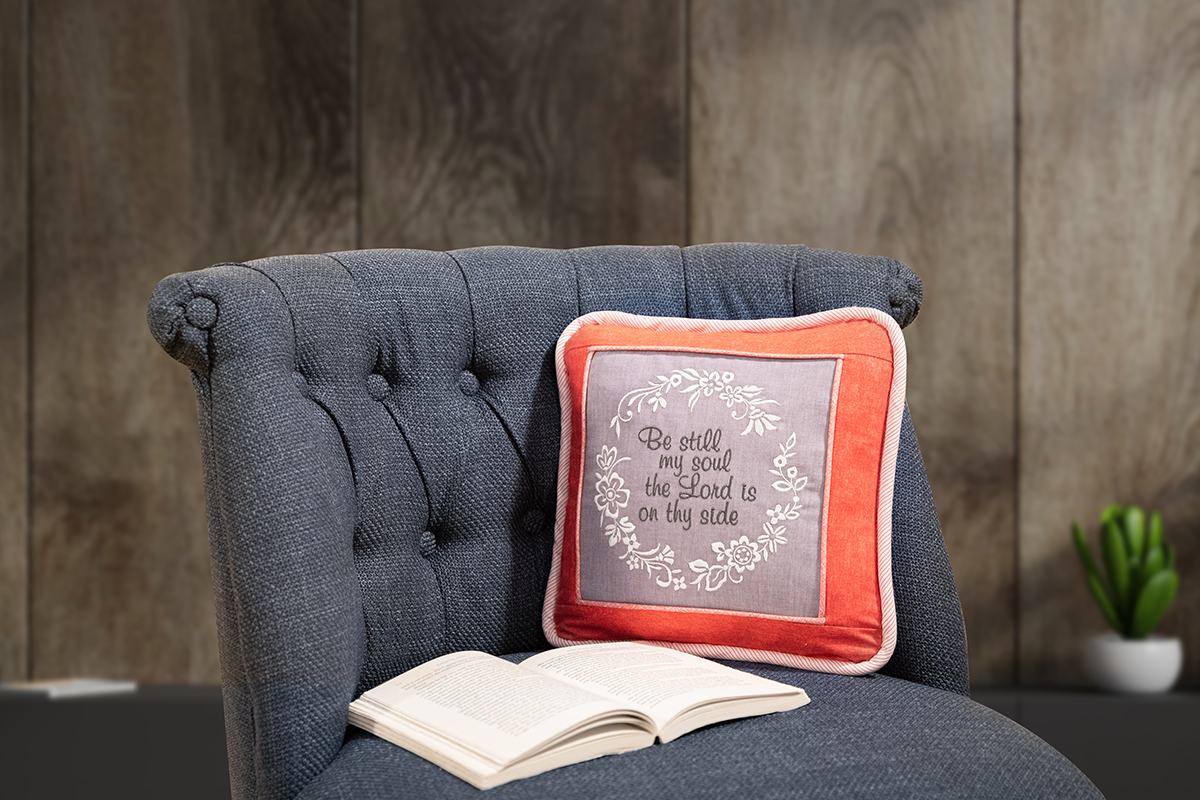
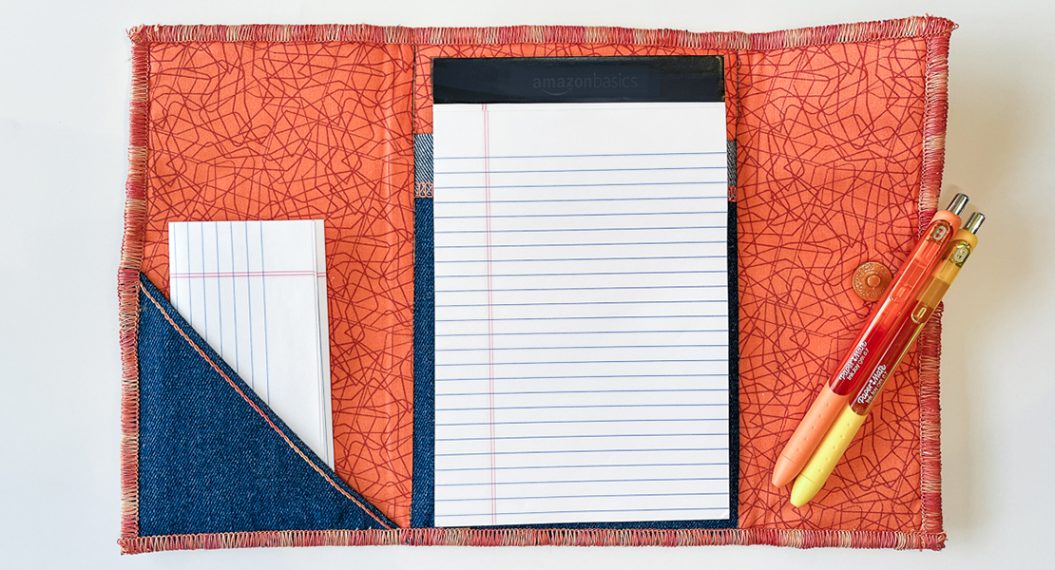
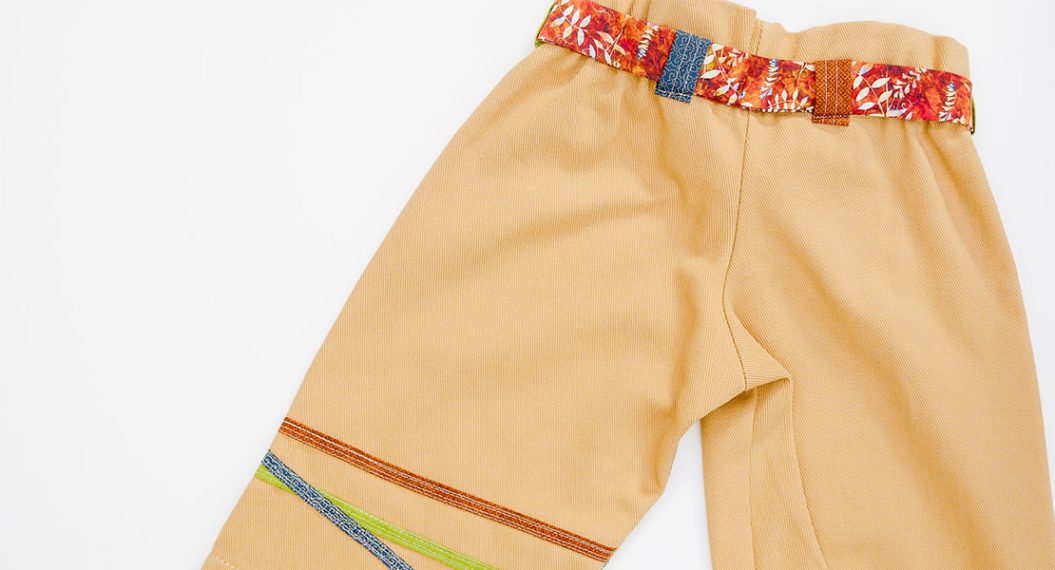
I recently did a decorating refresh and stitched this 12″ pillow for my front room. I had a lot of fun trying out the different piping feet on my overlocker and love how a few extra minutes at my machine gave my homemade pillow a designer look. The embroidery design is from the Hymnspirations collection by OESD.
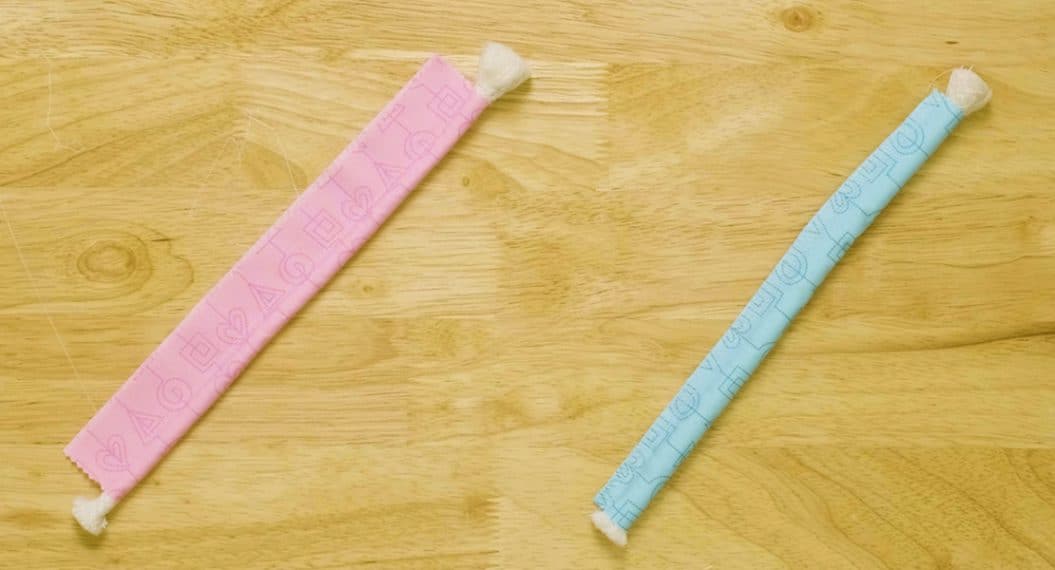
Piping is an embellishment that is sewn into a seam to add a pretty detail or to define the edges of a project. A fabric strip is usually cut on the bias and then is wrapped around cording of various sizes, depending upon the project. Striped and plaid fabrics are fun to use, as well as contrasting colors, to add that “extra something” to your creation. 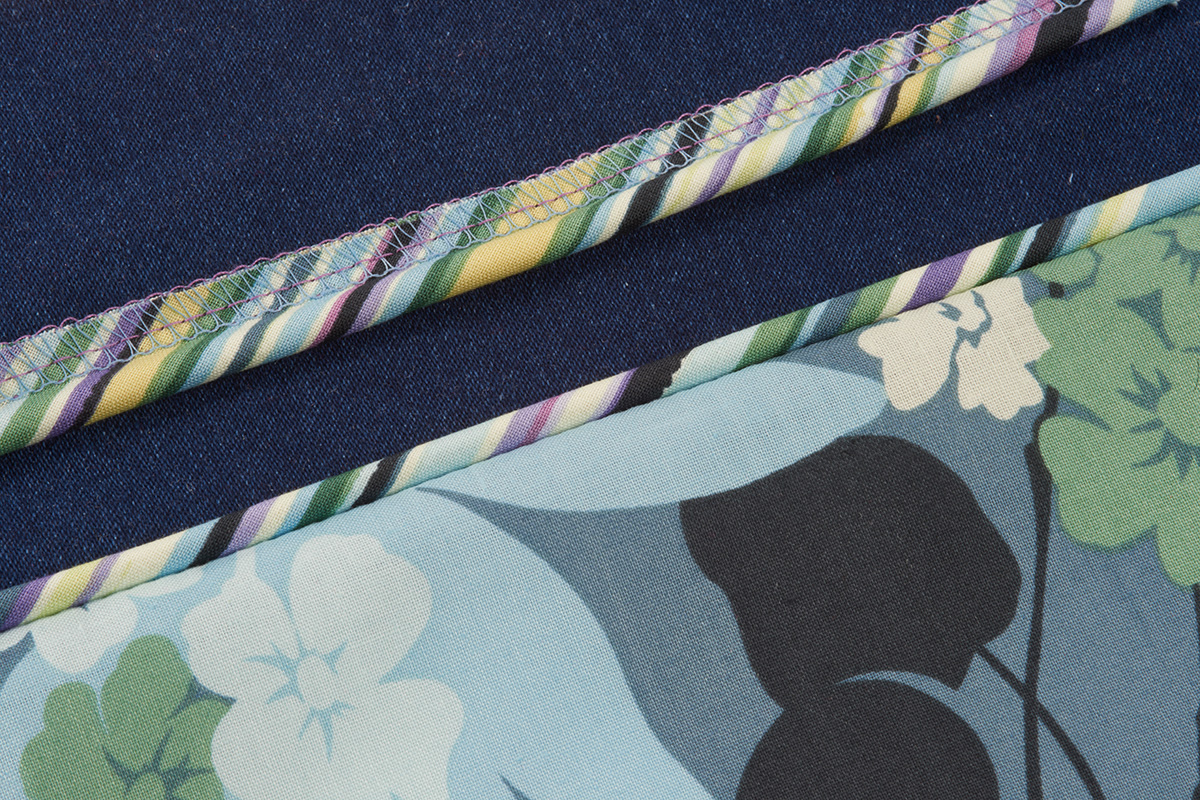
Perhaps you have made piping on your sewing machine using your zipper foot or a cording foot. When you are done stitching, you then need to trim the piping to the desired seam allowance, which can get rather tricky when working around thicker cords.
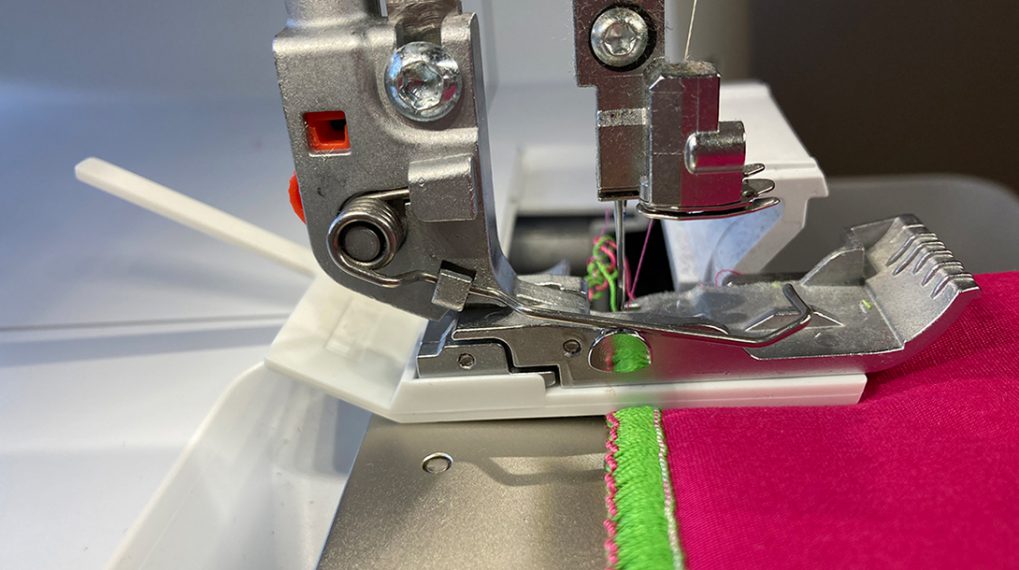
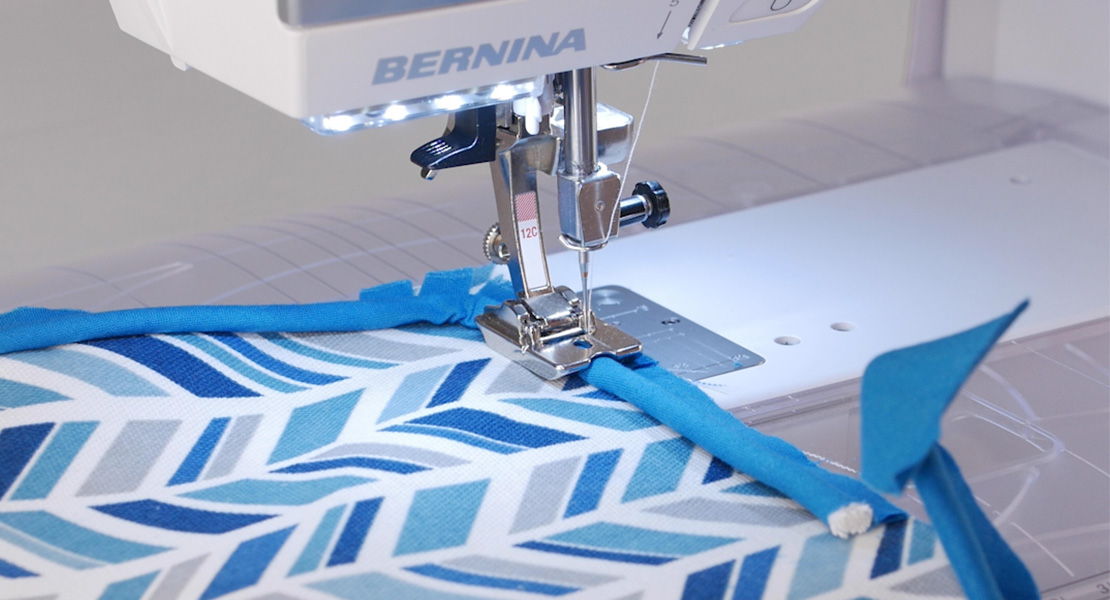
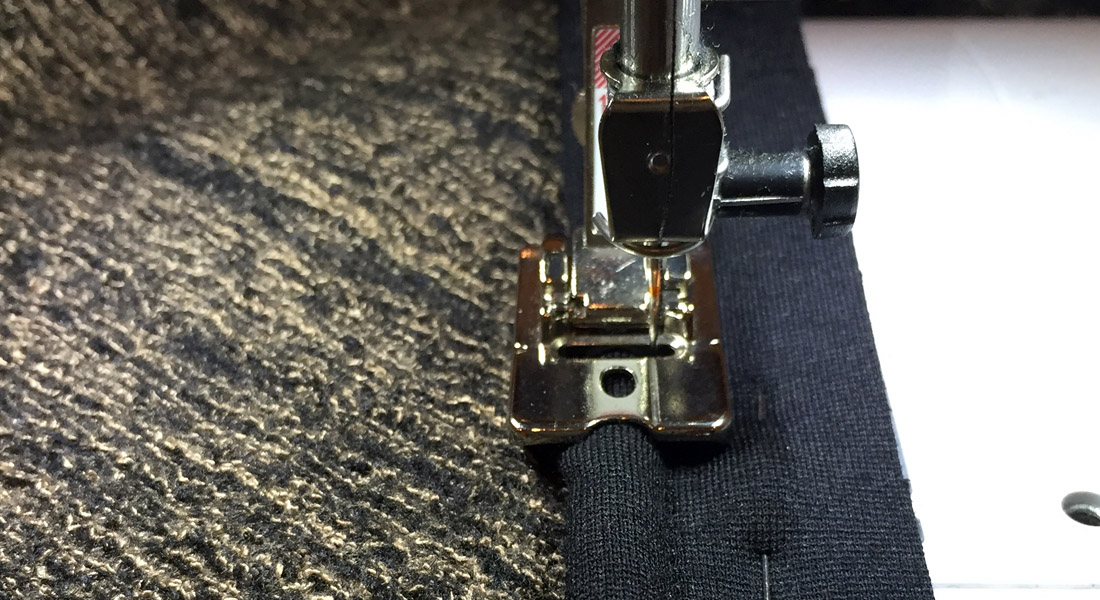
Making and inserting piping on the overlocker is faster and easier. Fabric is wrapped and sewn around cording and the seam allowance is trimmed and finished to the desired width all at the same time. Then it is ready to stitch into any project. The groove running the length of the bottom of the foot guides the piping nice and straight for piping perfection. Once the piping is made, use the same foot to serge it into your project.
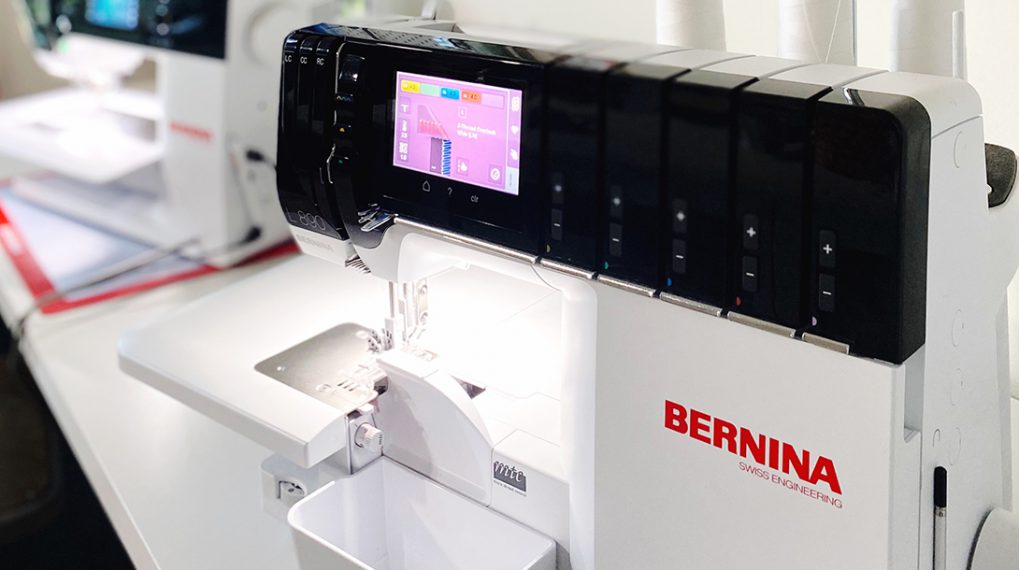
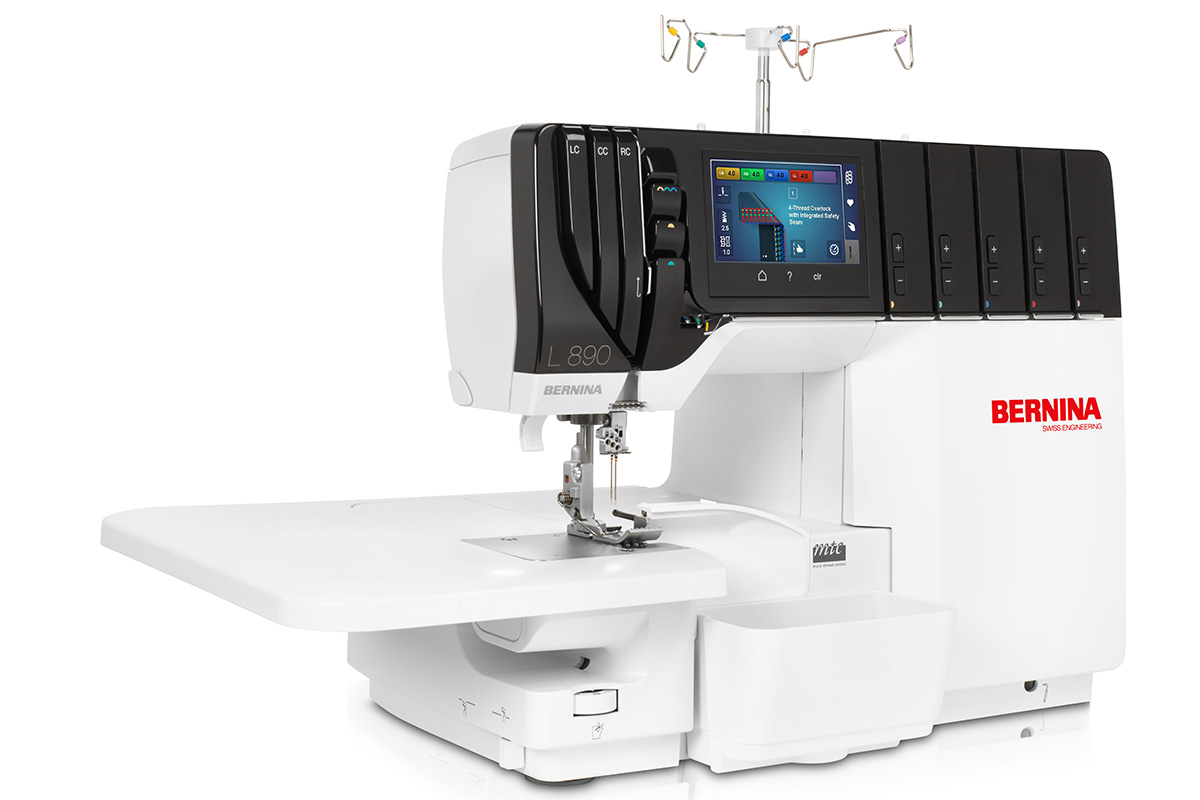
I used the BERNINA L 890 to make my pillow.
I like to create piping using a 3-thread Overlock Narrow (Right Needle). I switch to a 3-thread Overlock Wide (Left Needle) or a 4-thread Overlock to insert the piping. That way, I do not have to worry about the first set of stitches showing on my project. You may want to increase the stitch length to 3-4 mm when making the piping to reduce thread build-up and go back to a normal stitch length of 2.5 mm when inserting the piping. Of course, this is variable, depending upon your fabrics.
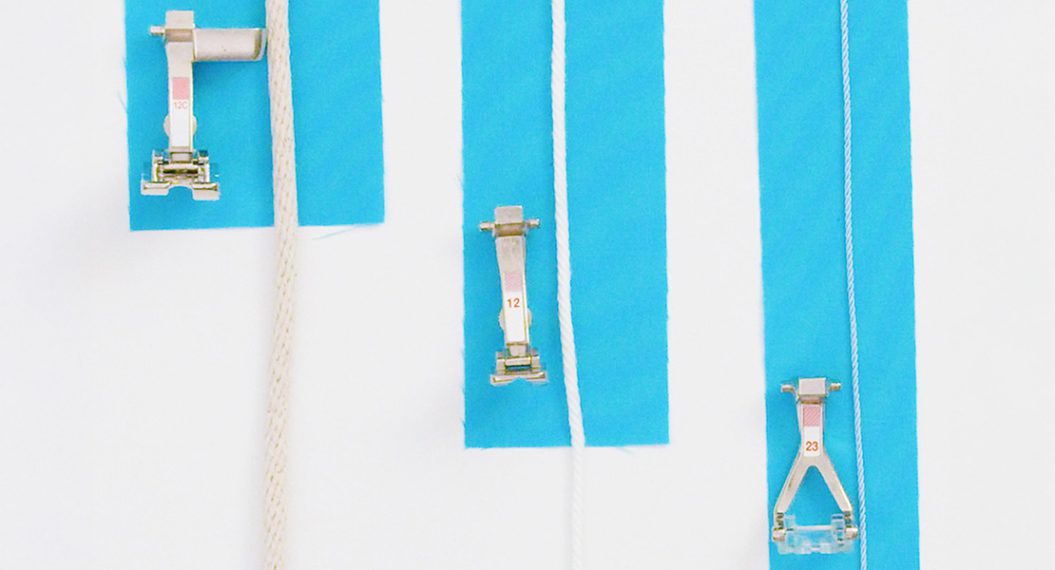
I decided to use all three sizes of the L 8 Series piping feet to make my pillow.
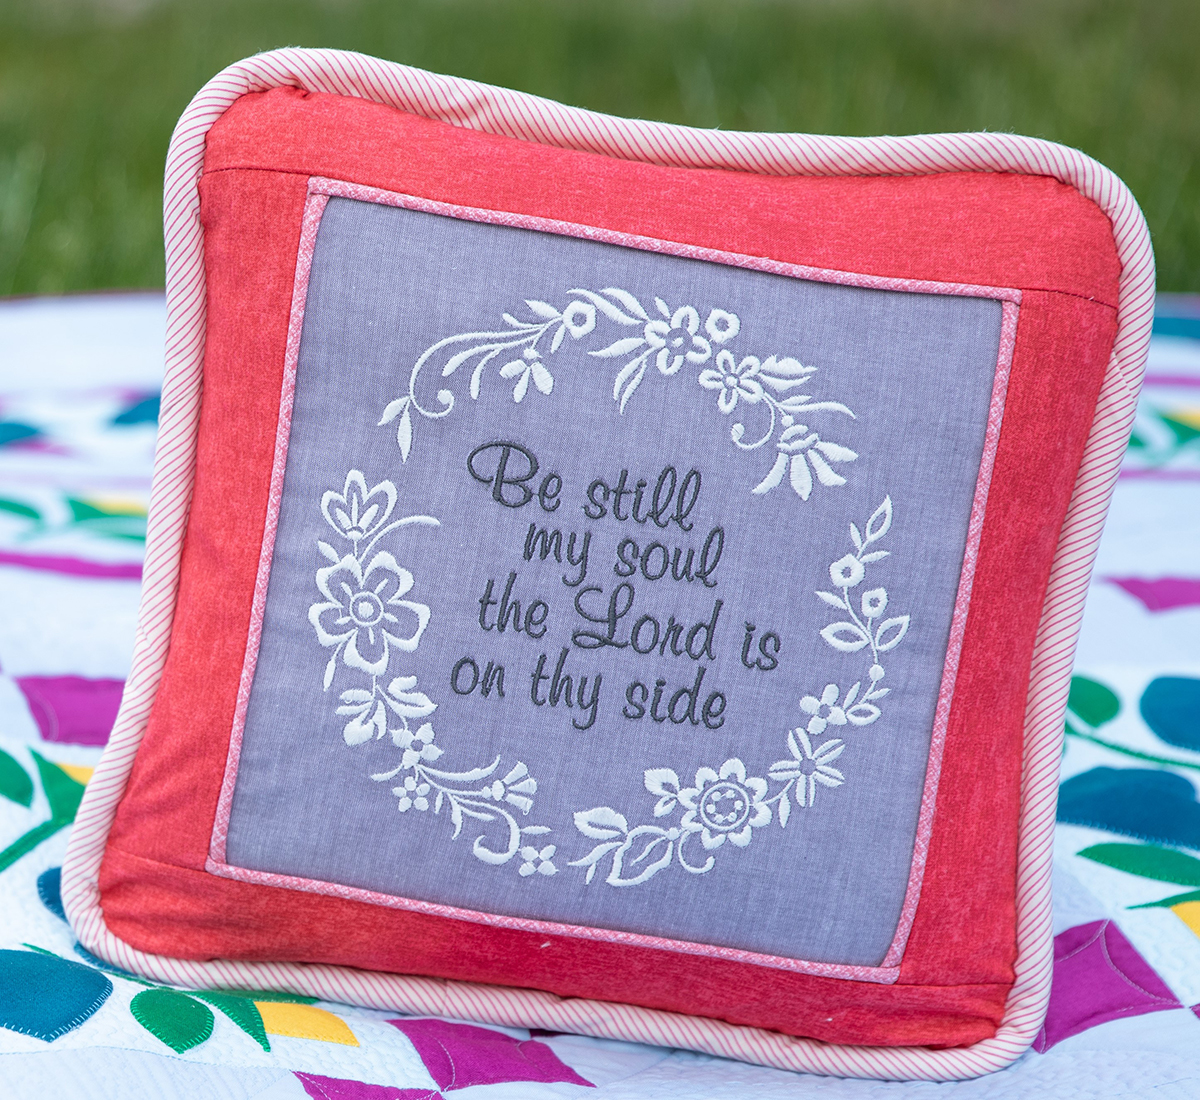
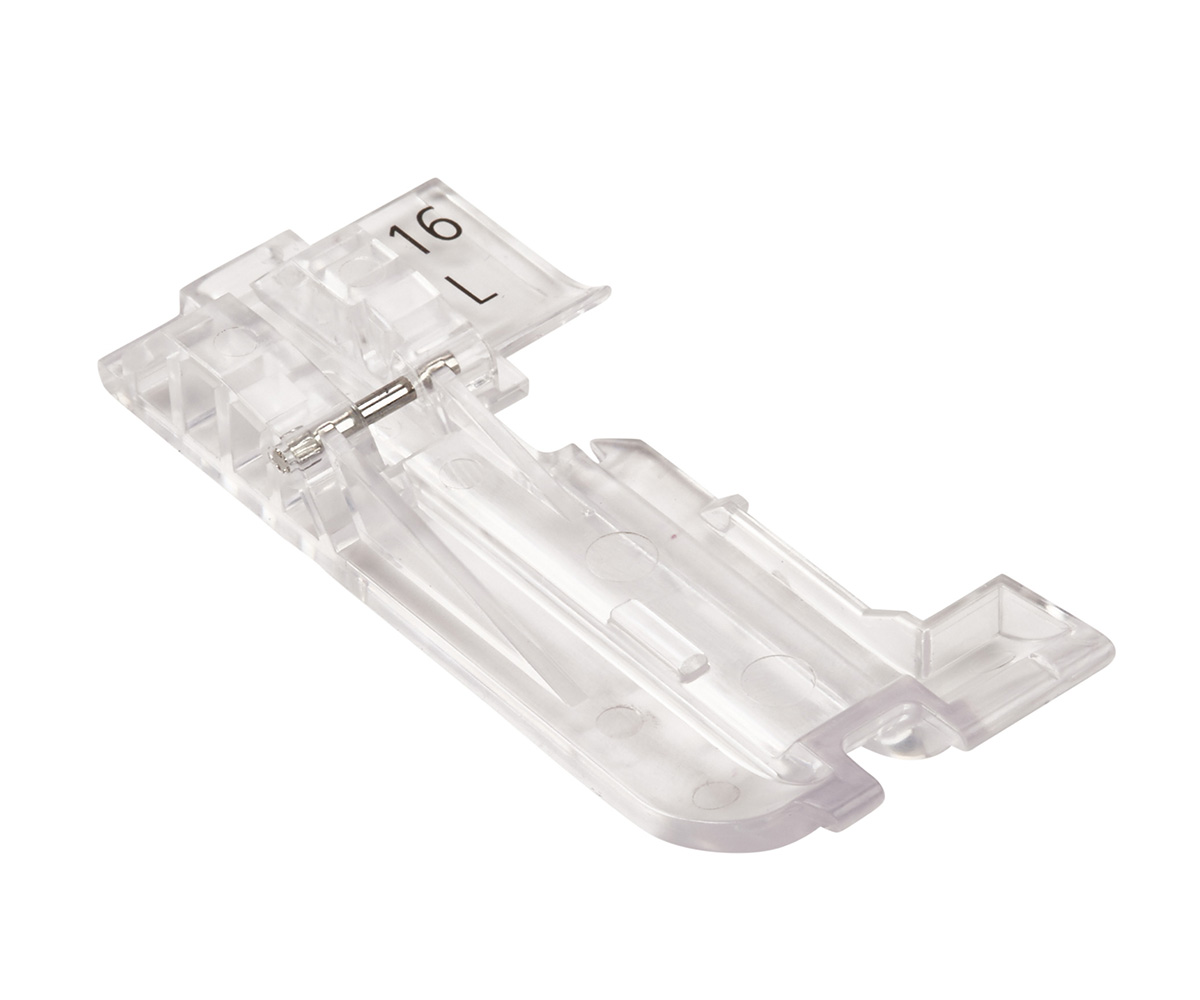
I used Piping Foot #C16 S (3 mm) to make the small piping that is framing the center embroidery motif.

The small piping foot uses cording up to 3 mm in diameter. Small piping adds a beautiful bit of color along garment necklines, sleeves and pockets. You can also use small piping to define or reinforce the style line of a garment. Small piping is a very nice accent along the binding of a quilt, too. 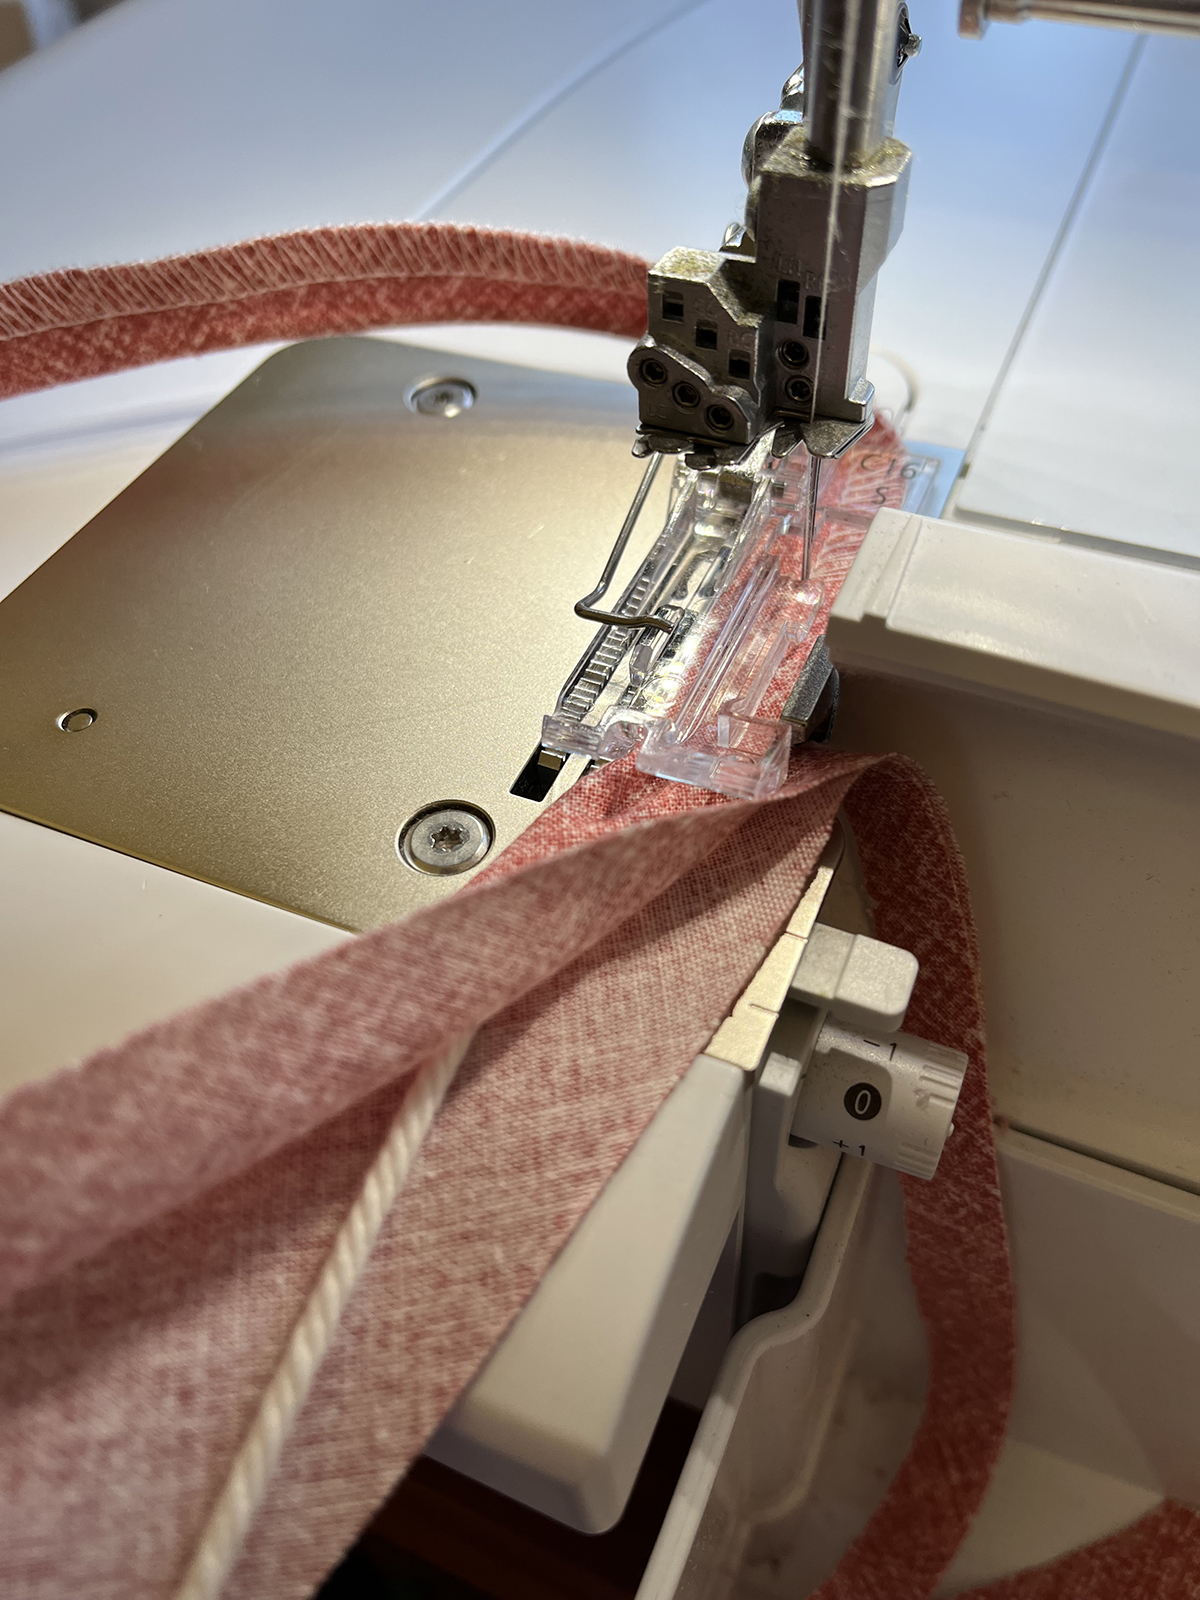
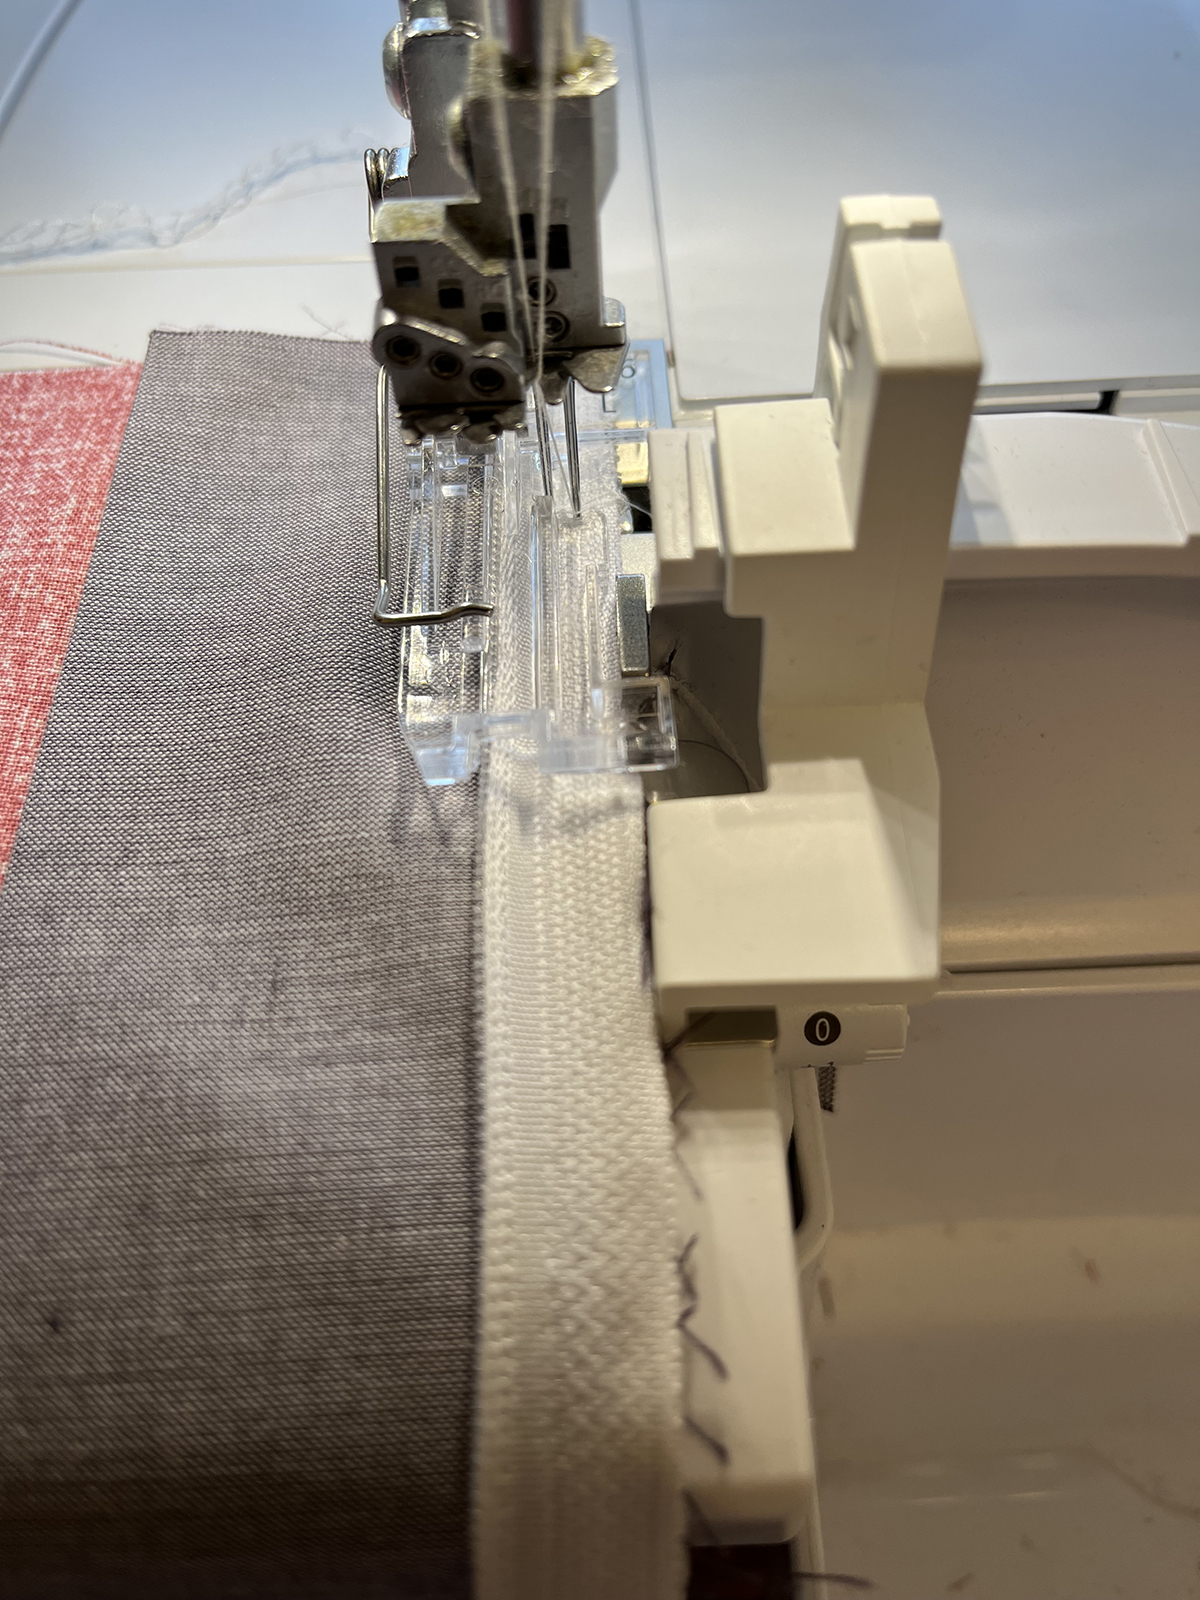
Piping Foot #L16/C16 L (5 mm) uses larger cording up to 5 mm in diameter.
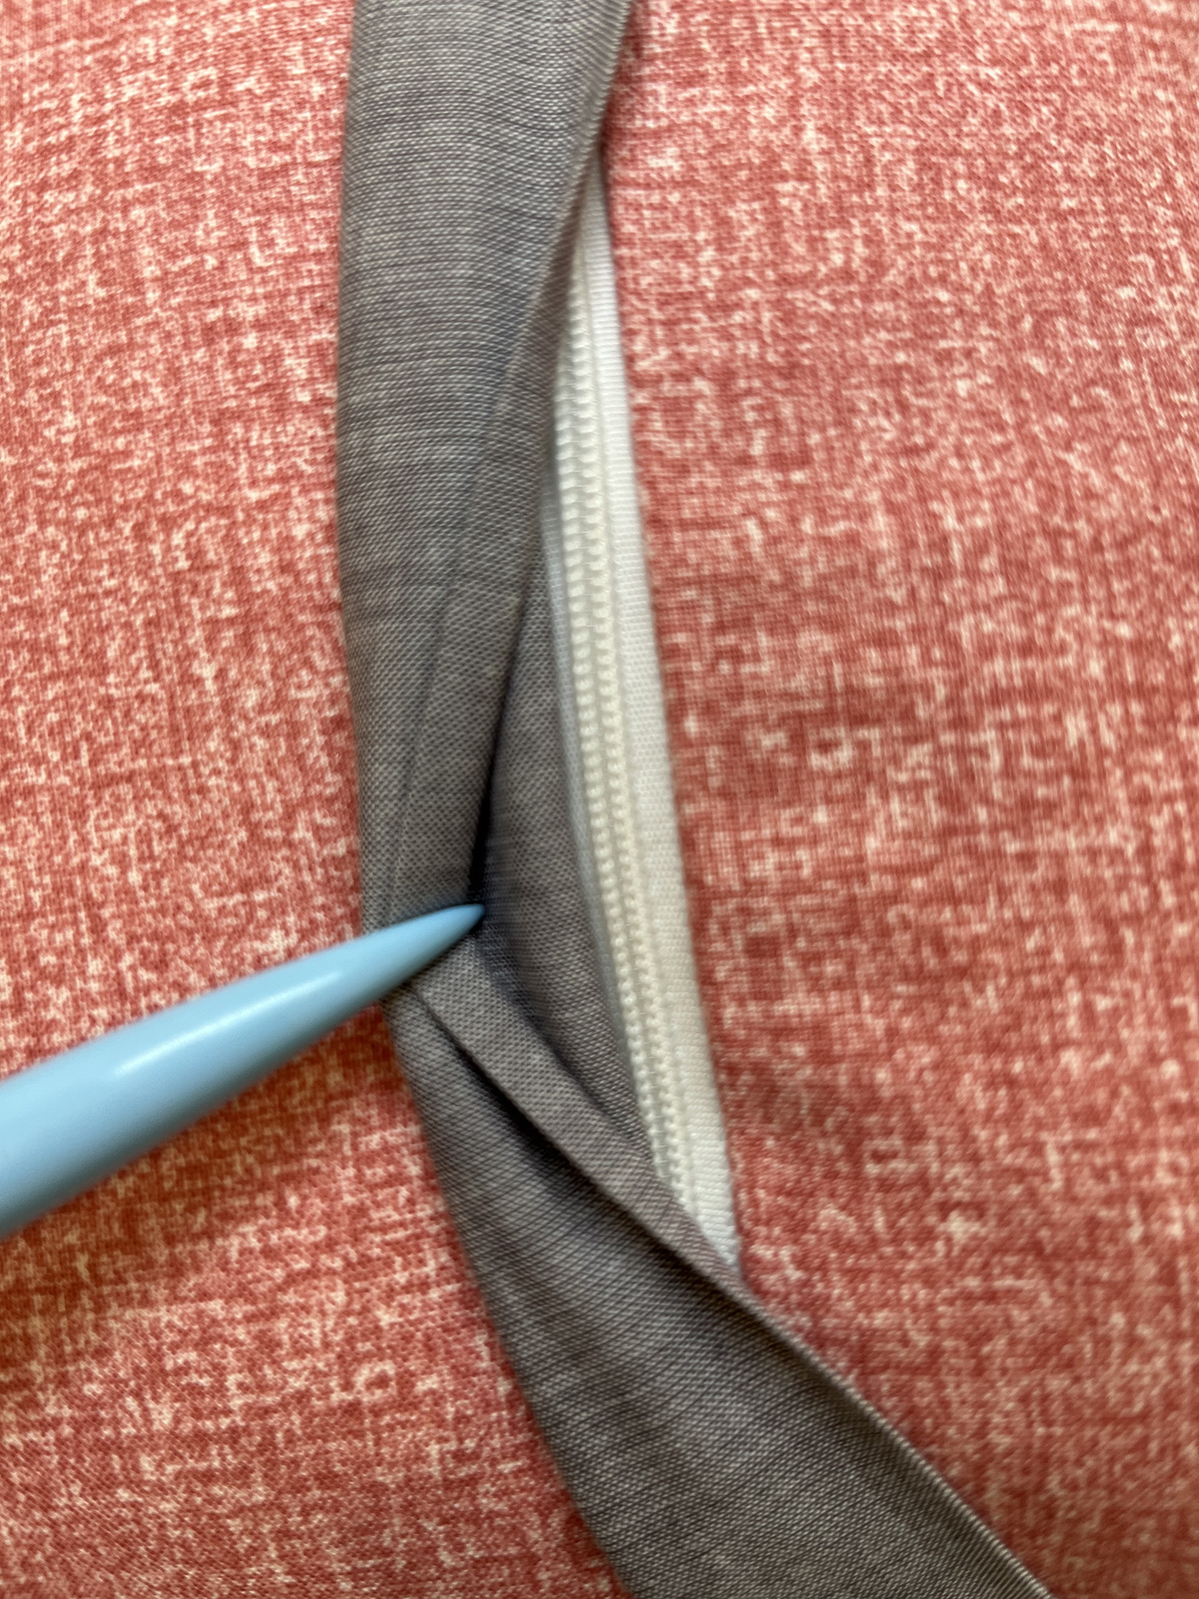
Large piping makes a bolder statement than small piping. Add it to a seam in a bag or chair cover to add a pop of color. I also find this is the perfect size foot for inserting standard zippers. The zipper teeth guide right along the groove. It was super easy to add a zipper to the back of my pillow. I added a contrasting color flap to cover the zipper to add some visual interest, just in case my pillow flips over!
Did you know that you can now make extra-large piping on your L 8 overlocker? The XL Piping Foot will make piping 6, 8 or even 10 mm in diameter! 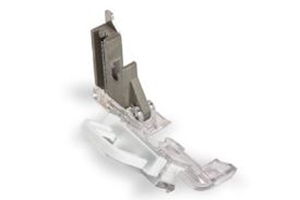
The XL Piping Foot does not have a letter or number associated with it and can be used with the L 850, L 860 and L 890. To get ready to use, remove the presser foot on your machine. Then use the torx screwdriver included with the XL Piping Foot to remove the presser foot shaft.
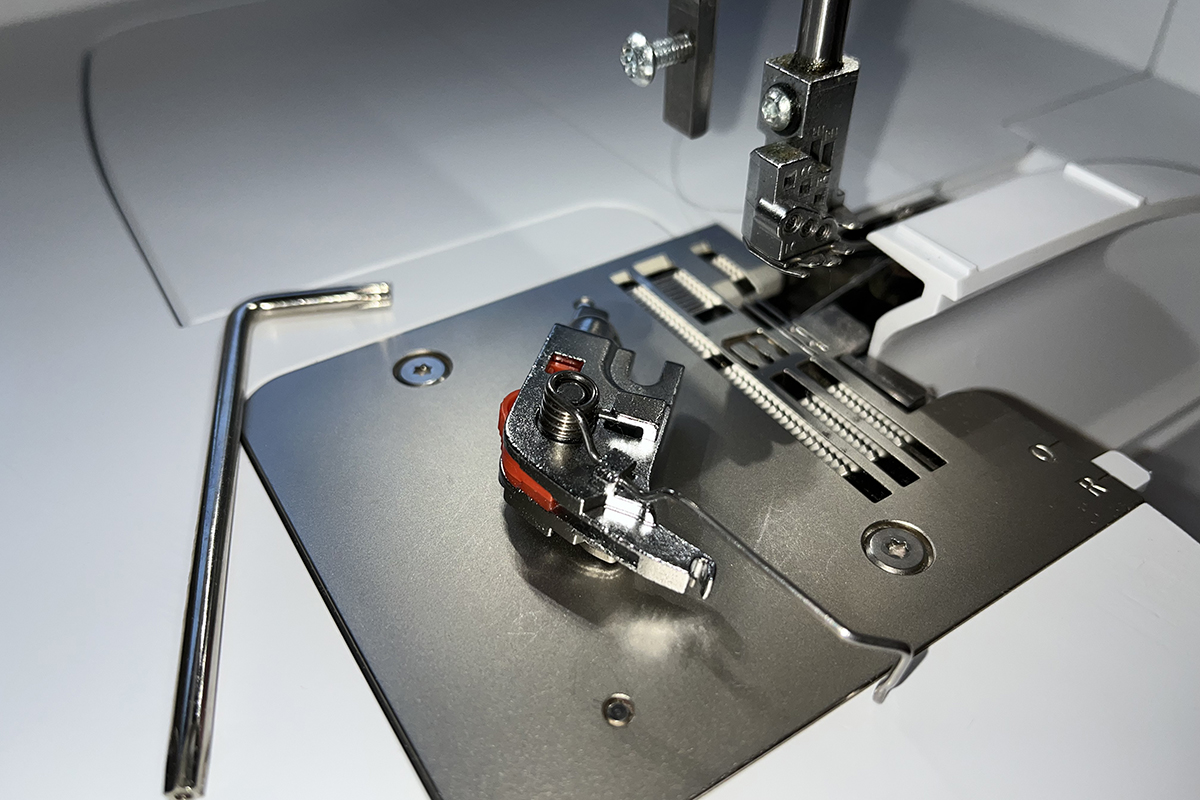
For easier access, remove the needles and deactivate the knife. Then slide the XL Piping Foot into place, lower the presser foot bar and tighten the fixing screw. 
A note for the L 850 and L 860…you will NOT be able to use the built-in needle threader once this foot is attached as damage to the needle threader head could occur. There is an easy-to-use Needle Threader/Inserter in the threader cover of the machine.
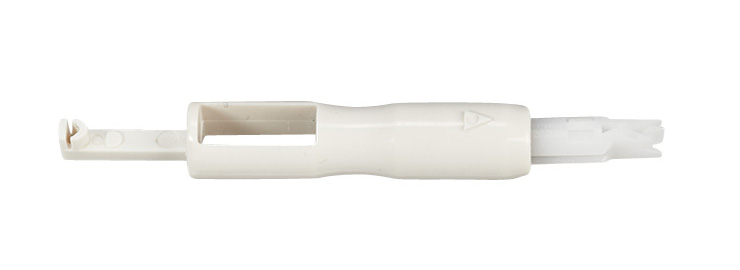
The foot has a built-in adjusting tool above the guide groove that can be adjusted for different sizes of cording. Press the white parts together and adjust up or down, depending on the thickness of the cord.
![]()
There are three markings on the front to guide you. Special note: The adjusting tool is NOT removable. 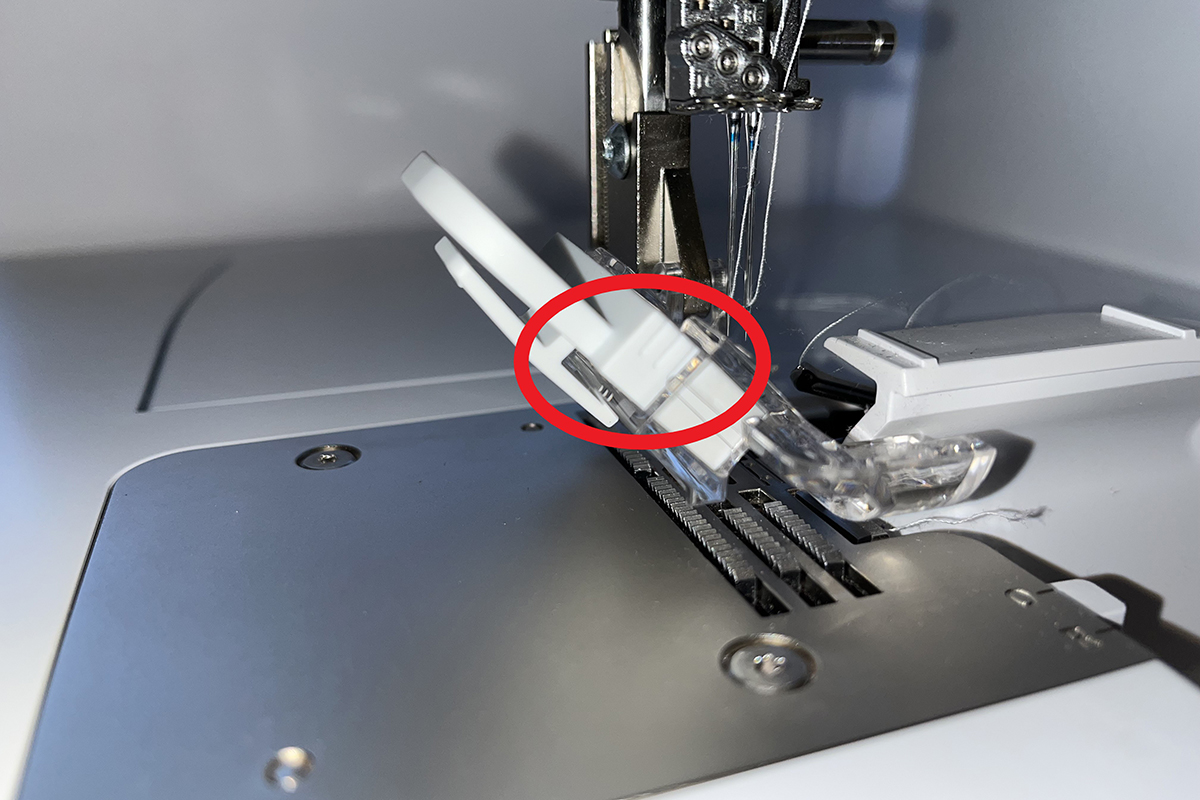
As you are sewing, make sure that the piping is fed evenly and smoothly without puckering. It is recommended to use a longer stitch length with this foot. When sewing the finished piping into your project, you may have to adjust the groove to account for the fabric thickness added to the cording. 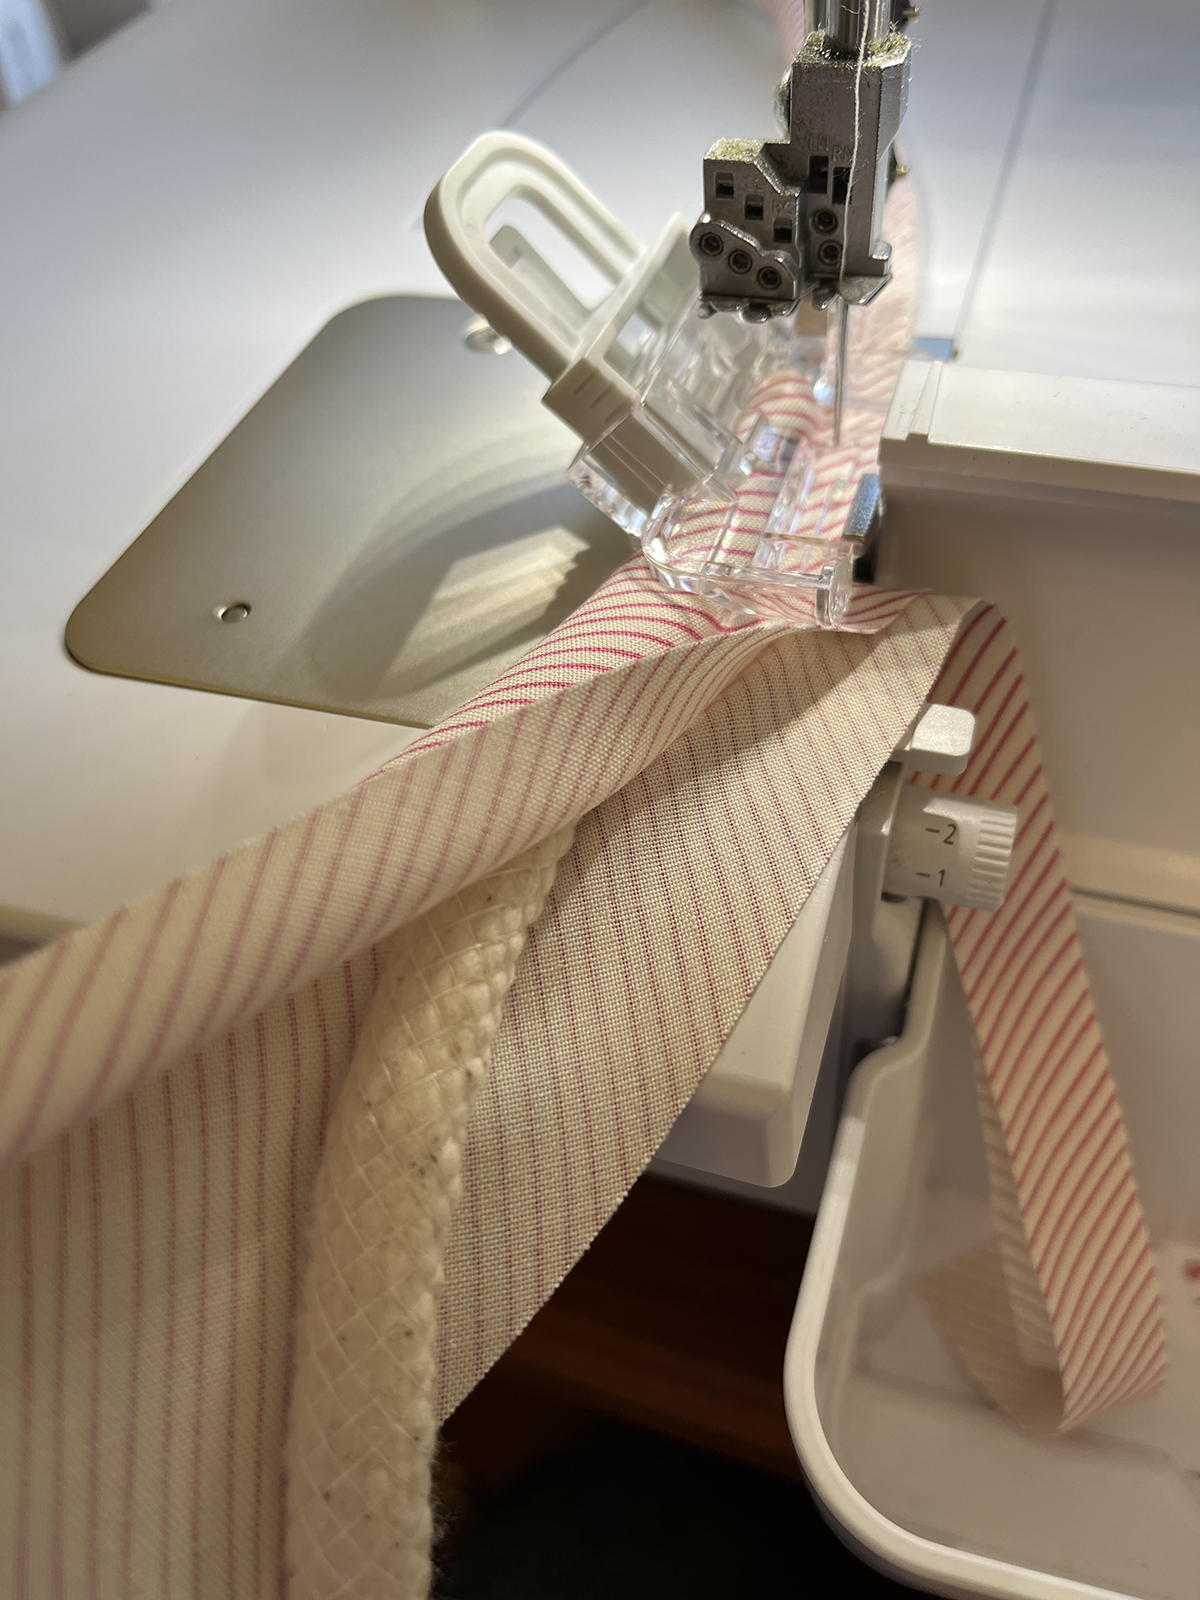
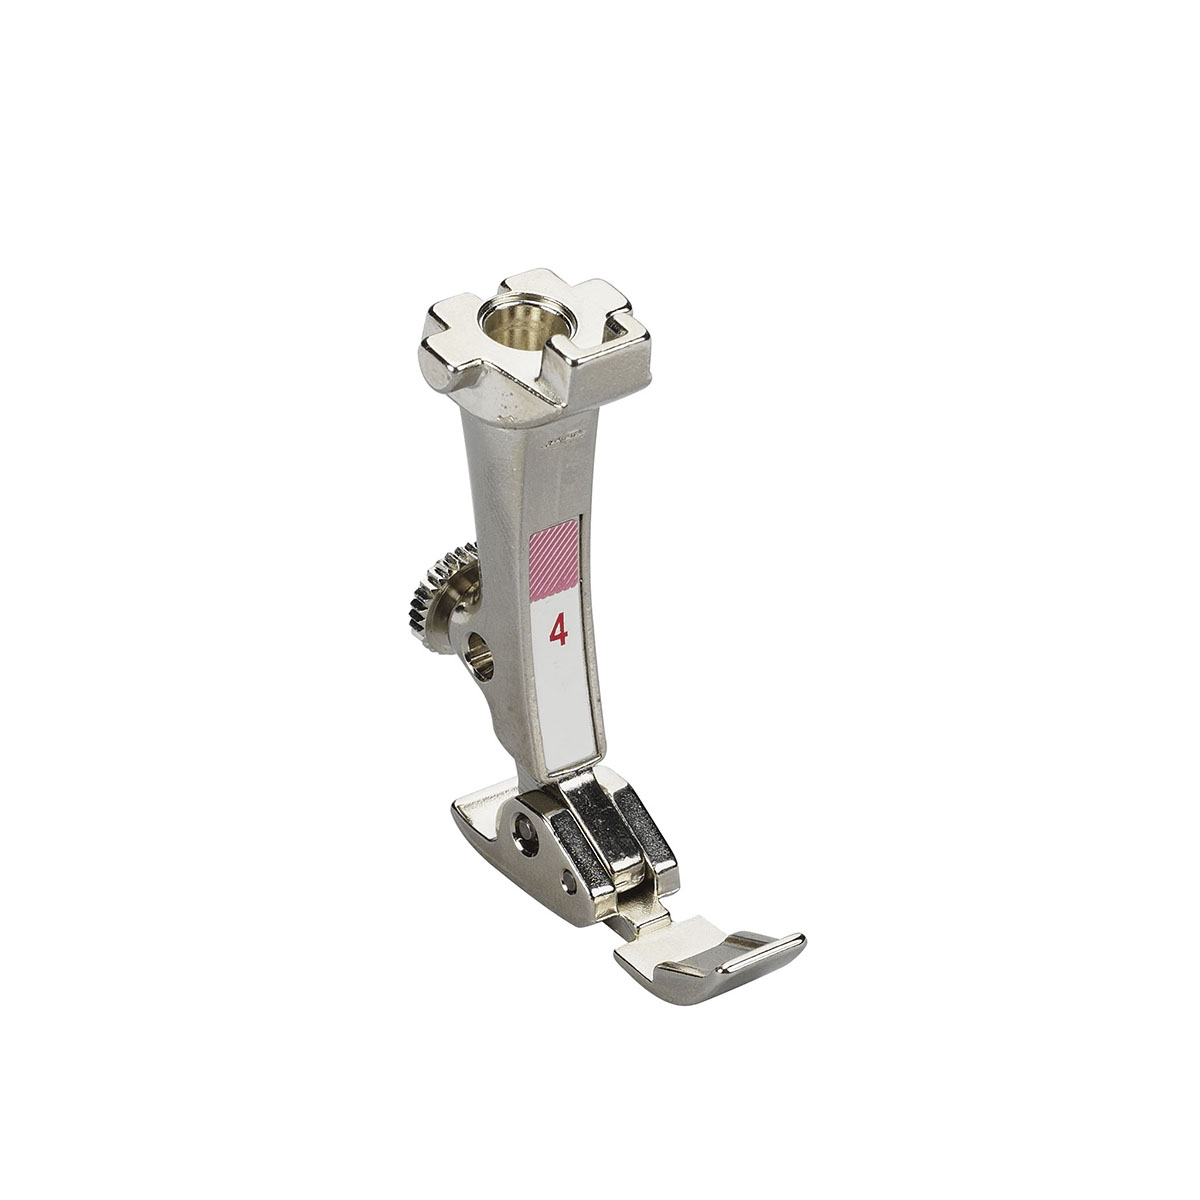
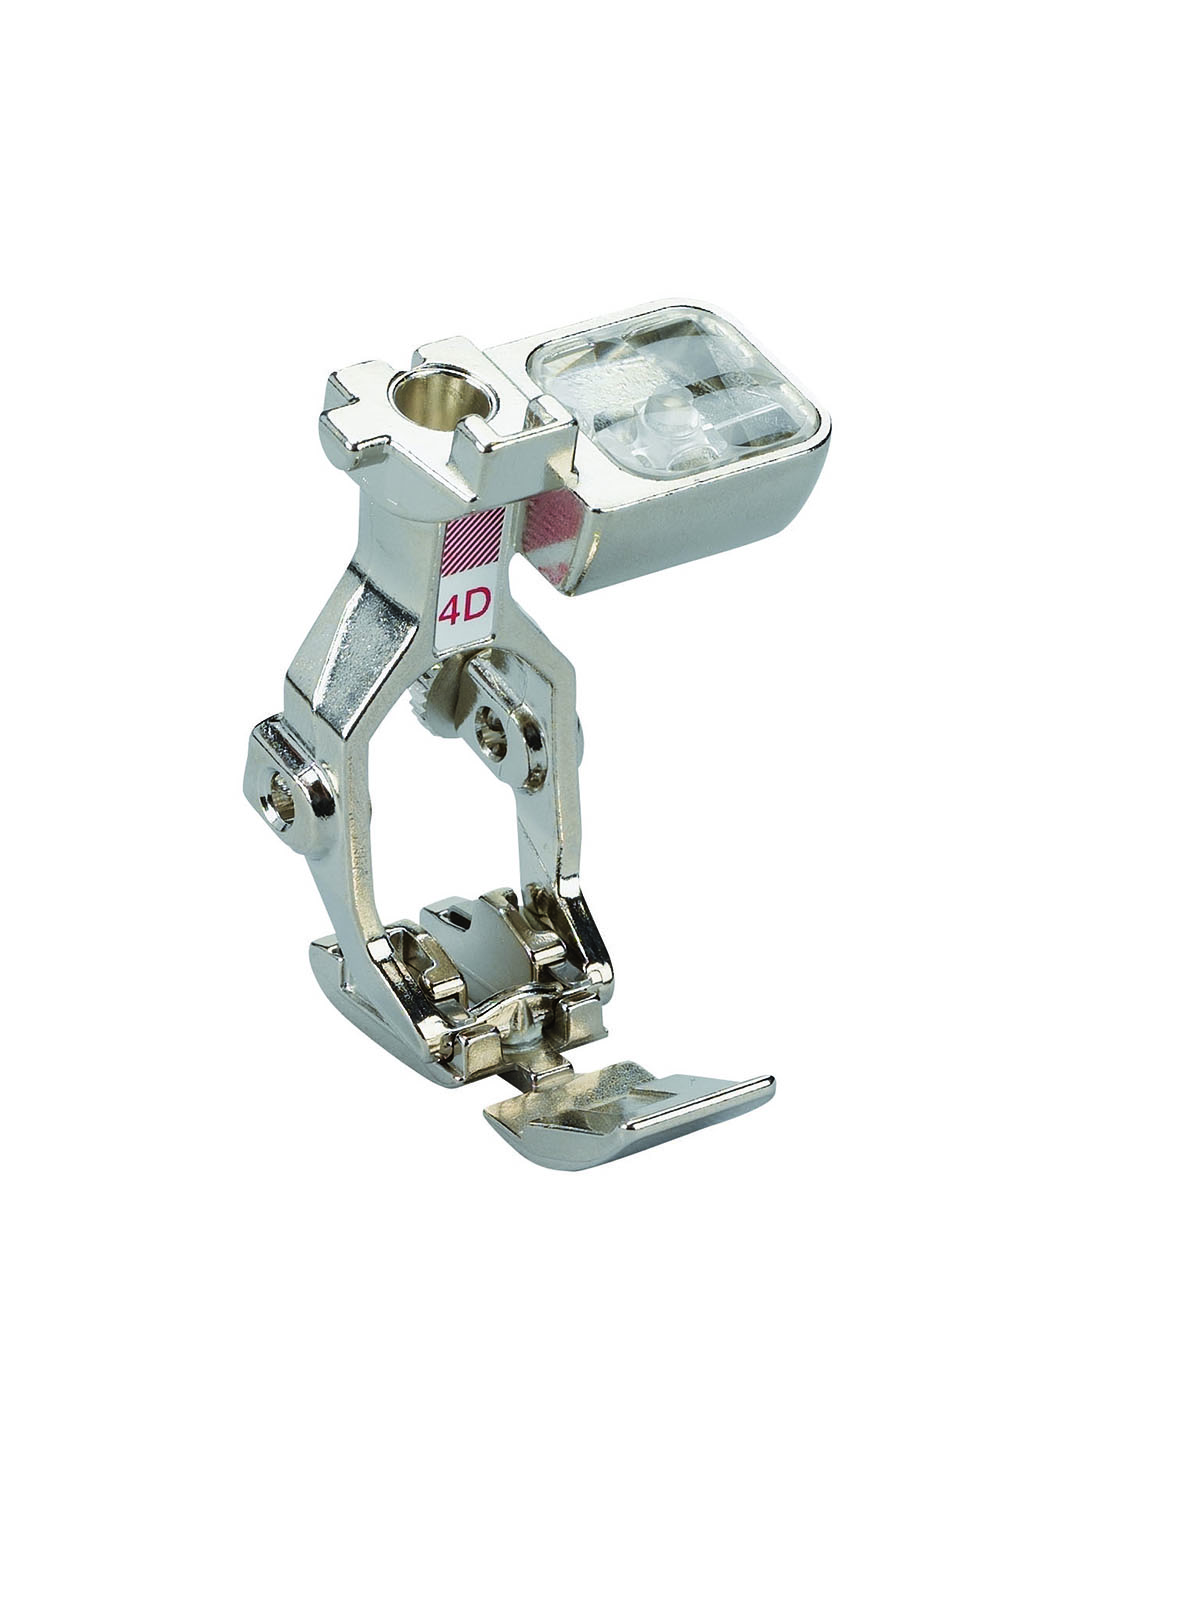
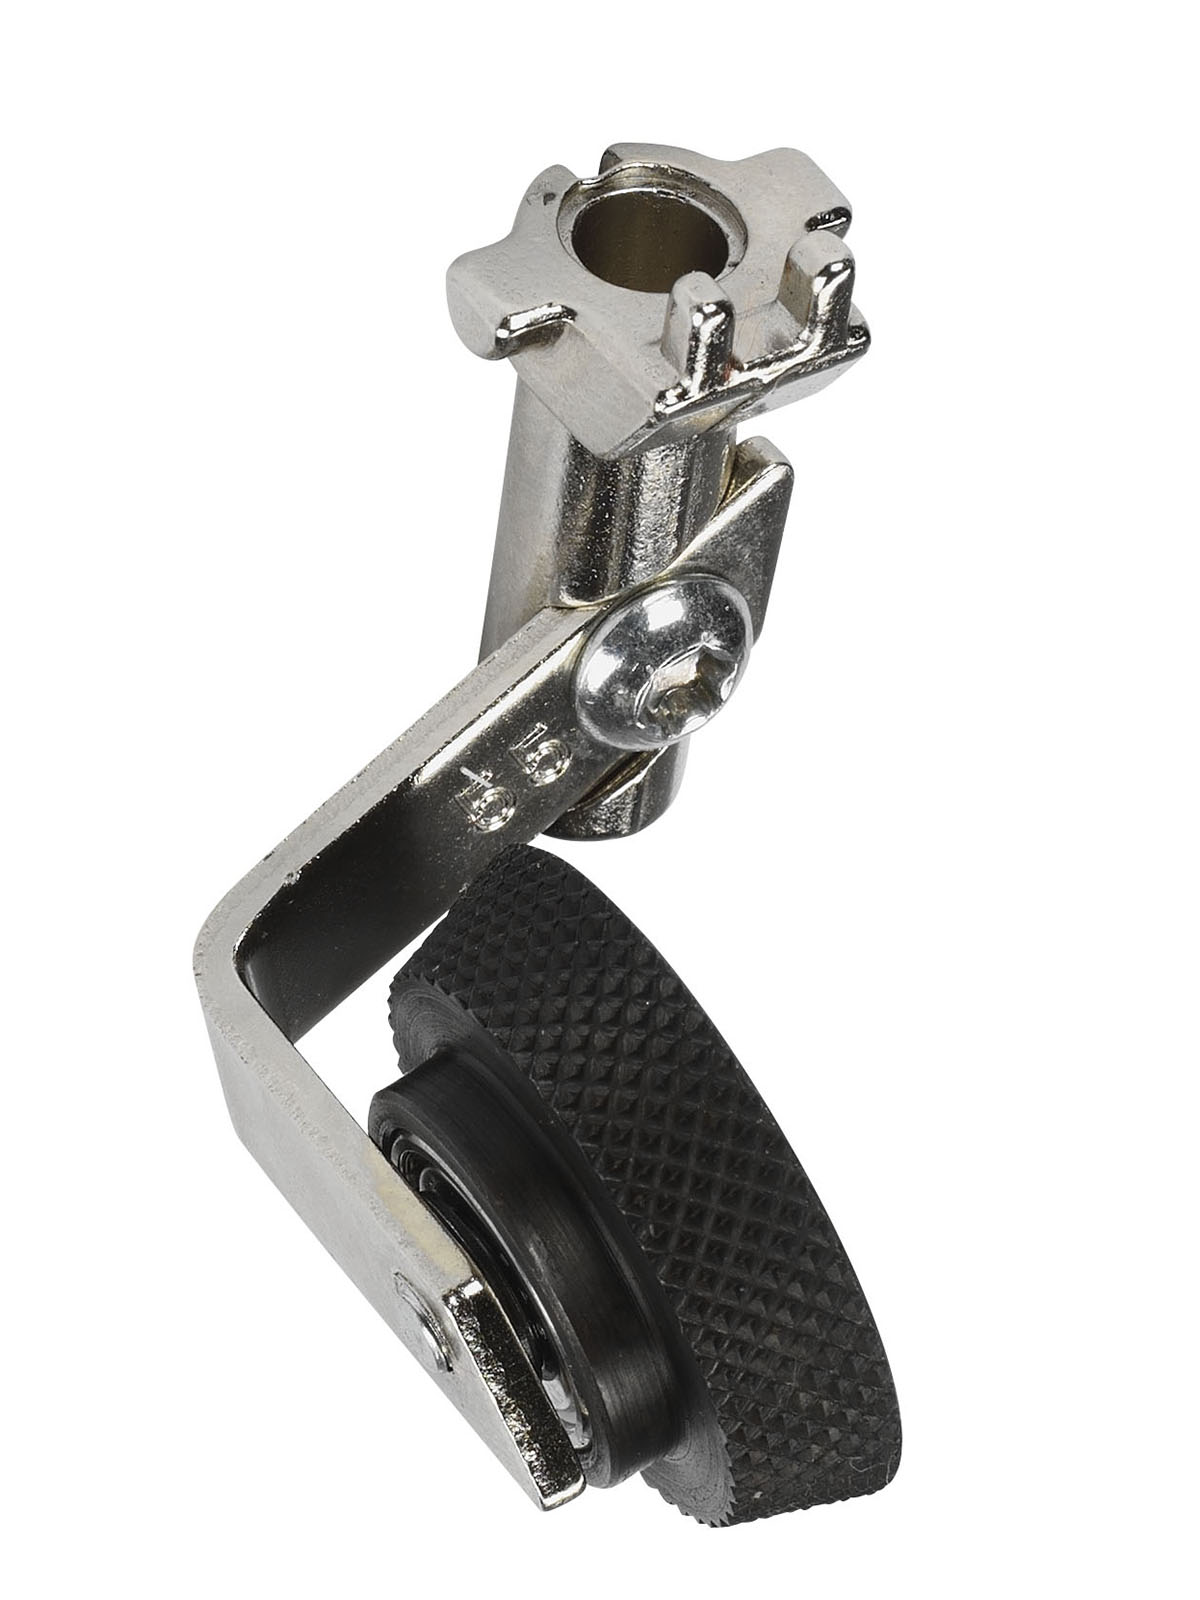
I have discovered that if I make the biggest piping possible (10 mm), it is easier to go to the sewing machine to sew it into my project. I use either the Zipper Foot #4 or #4D or the Leather Roller Foot #55. I increased the cutting width when creating the piping on the overlocker to give myself a little more seam allowance to work with at the sewing machine.
I used the XL Piping Foot to make piping with 9.5 mm cording and then attached it to the pillow edges with the same foot. I rounded the corners and slowed my sewing speed down as I serged it all together. Take your time and you will be successful, too!

I hope you have been inspired to give piping a try on your next project.
Until next time, happy serging!