Capture Your Child’s Creativity: How to Digitize a Drawing
Children have such a wonderful way of expressing their creativity without being bound by preconceived notions of what art should look like. What better way to make them feel special than to embroider their creations!
BERNINA Software 9 offers many creative tools for transforming these special creations into embroidery. Some artwork is easier than others. We will focus on the tools found in the Auto Digitizing Toolbox, but know that any artwork can be manually digitized.
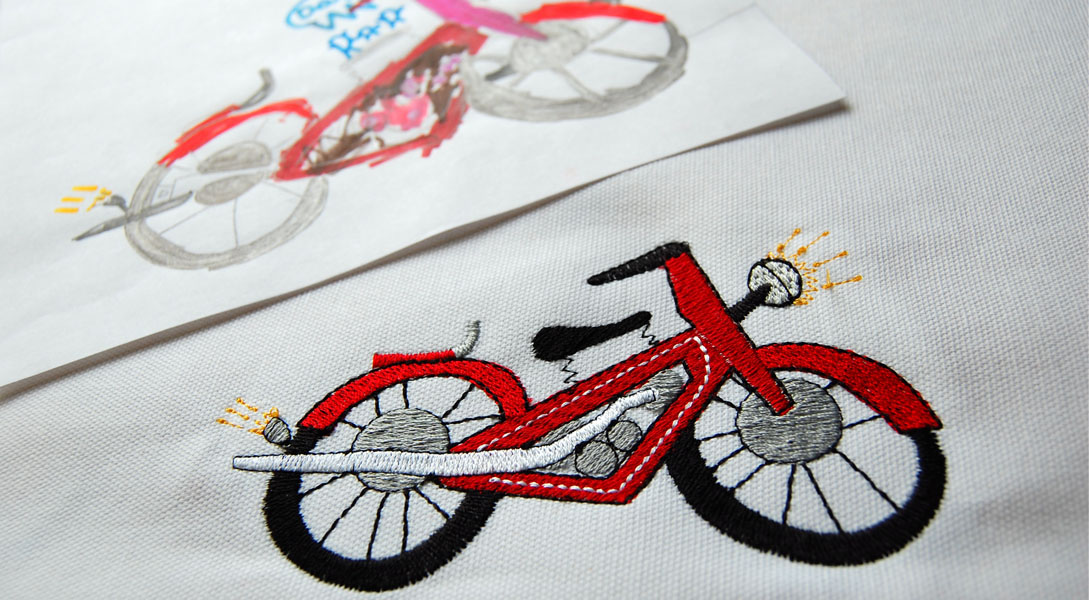
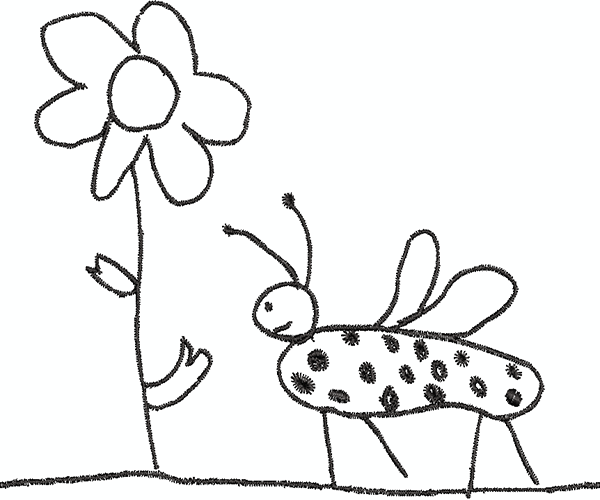
Let’s begin with ideas for line artwork. One of the challenges in digitizing line artwork with the Auto Digitizing tools is that sometimes the drawn lines are not seen as complete lines by the software.
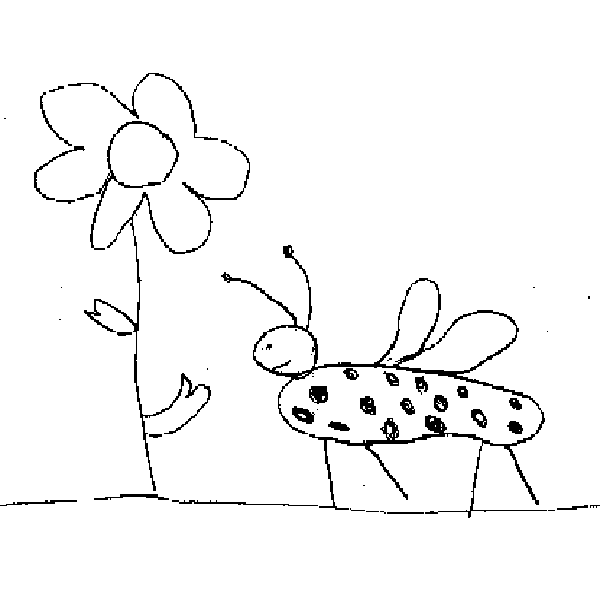
Take advantage of the Auto Digitizing Artwork Preparation controls to help fill in these lines. By increasing the detail in the Artwork Preparation dialog box, you may get better-prepared artwork to create a more successful embroidered design. You also can omit the white background in this process so only the black lines generate stitches. By increasing the detail, you may find you have to eliminate some tiny “specks” of stitches that will also appear, but these can easily be eliminated using the delete key. Reshape can also be used to bring broken lines together after the embroidery is generated. With BERNINA Software 9, Branching can then be applied to reduce unnecessary jump stitches in these satin-filled designs to create a more efficient stitch-out.
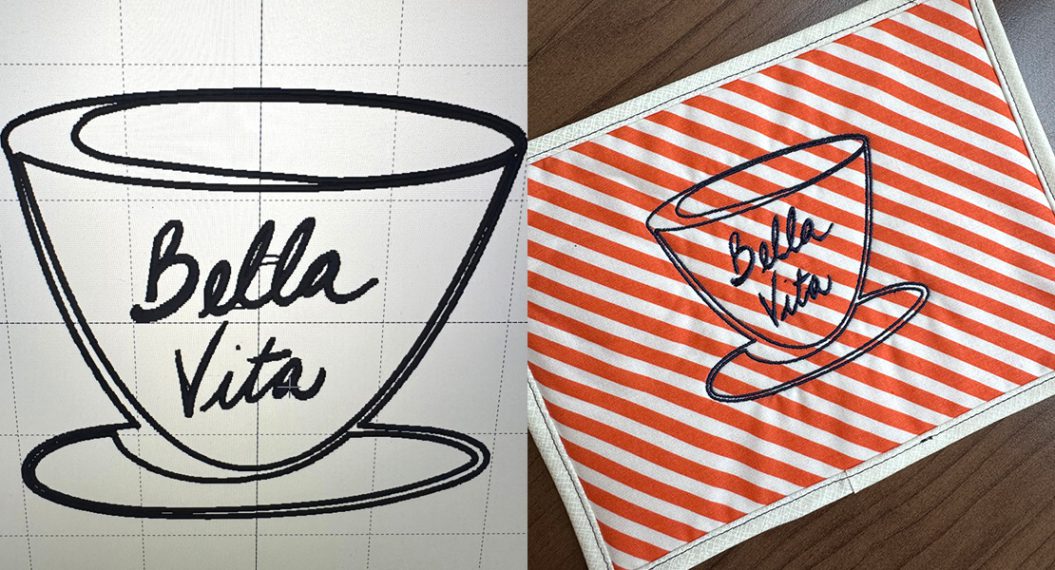
Some line artwork offers additional challenges. What looks like a perfect piece of artwork may have lines that are too faint to be recognized by the Auto Digitizing tools.
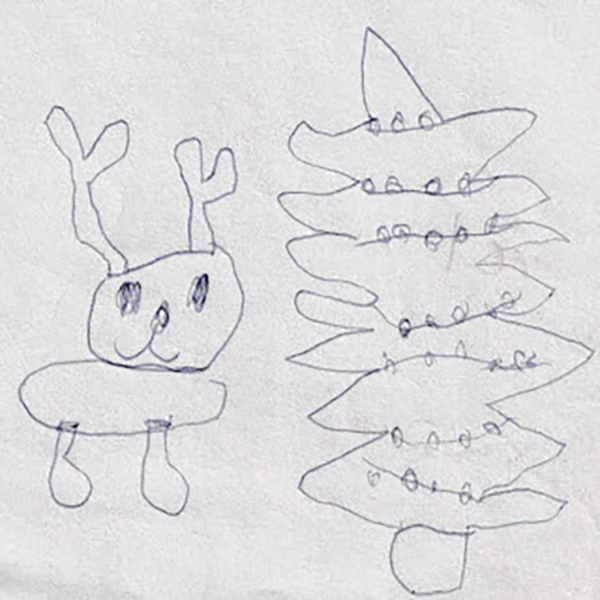
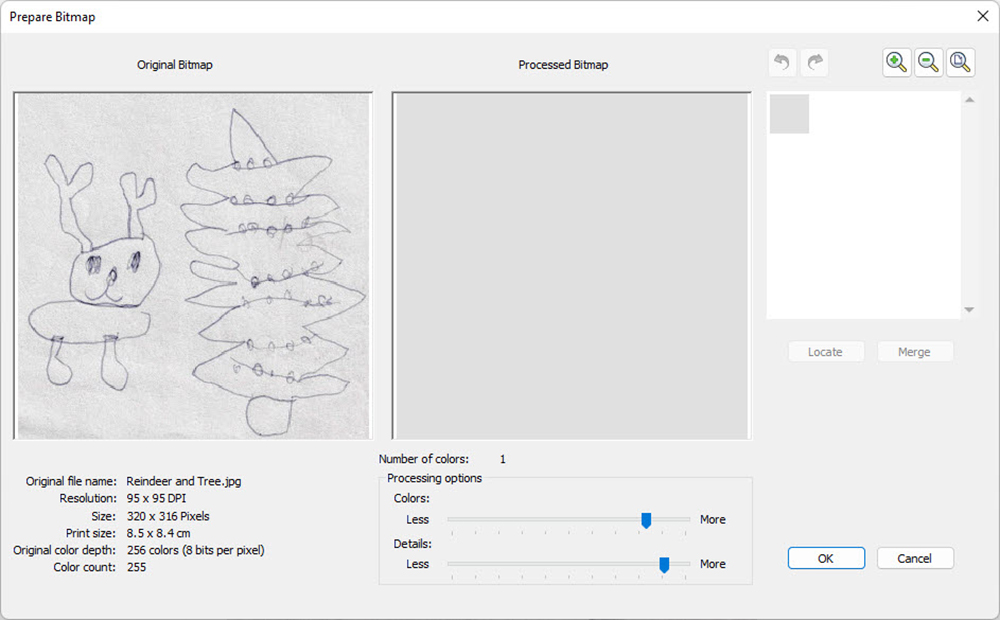
CorelDRAW SE within DesignerPlus software can help overcome these obstacles. By tracing the bitmap with Clipart Trace and then coloring the lines with black, the outline color will be recognized by Auto Digtizing when the vector image is exported as a JPG.
Converted Vector with Black Details
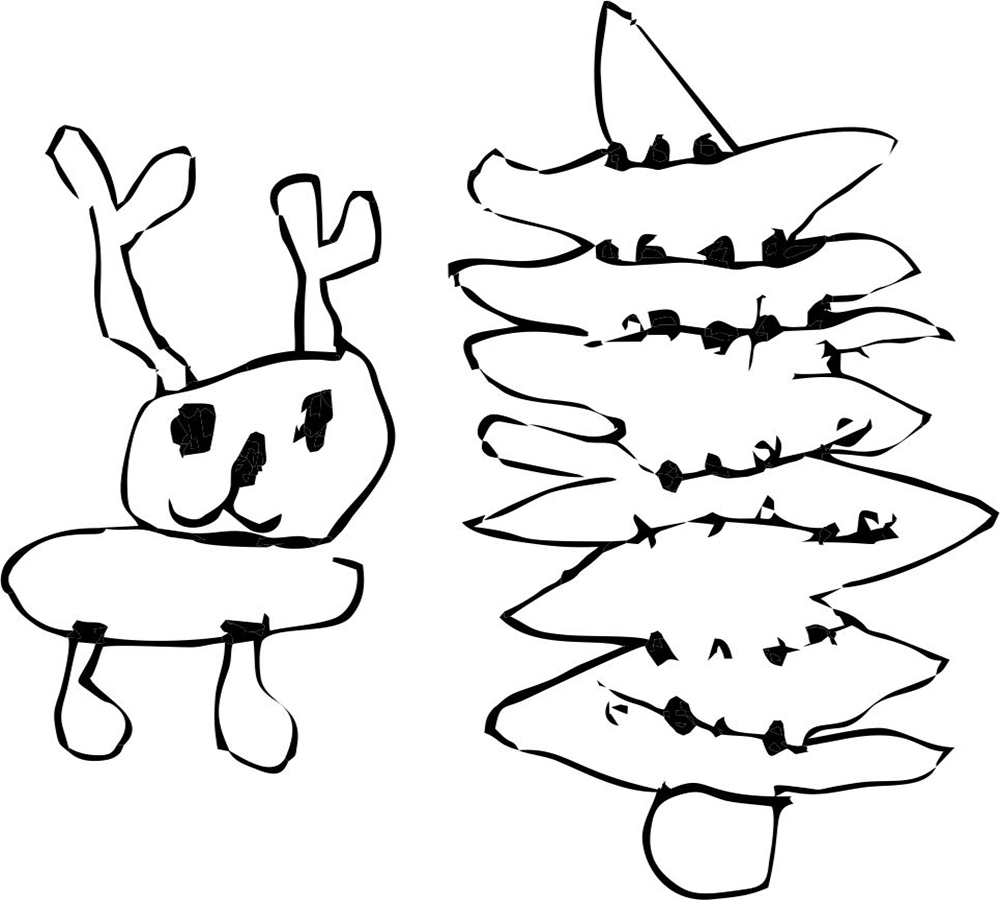
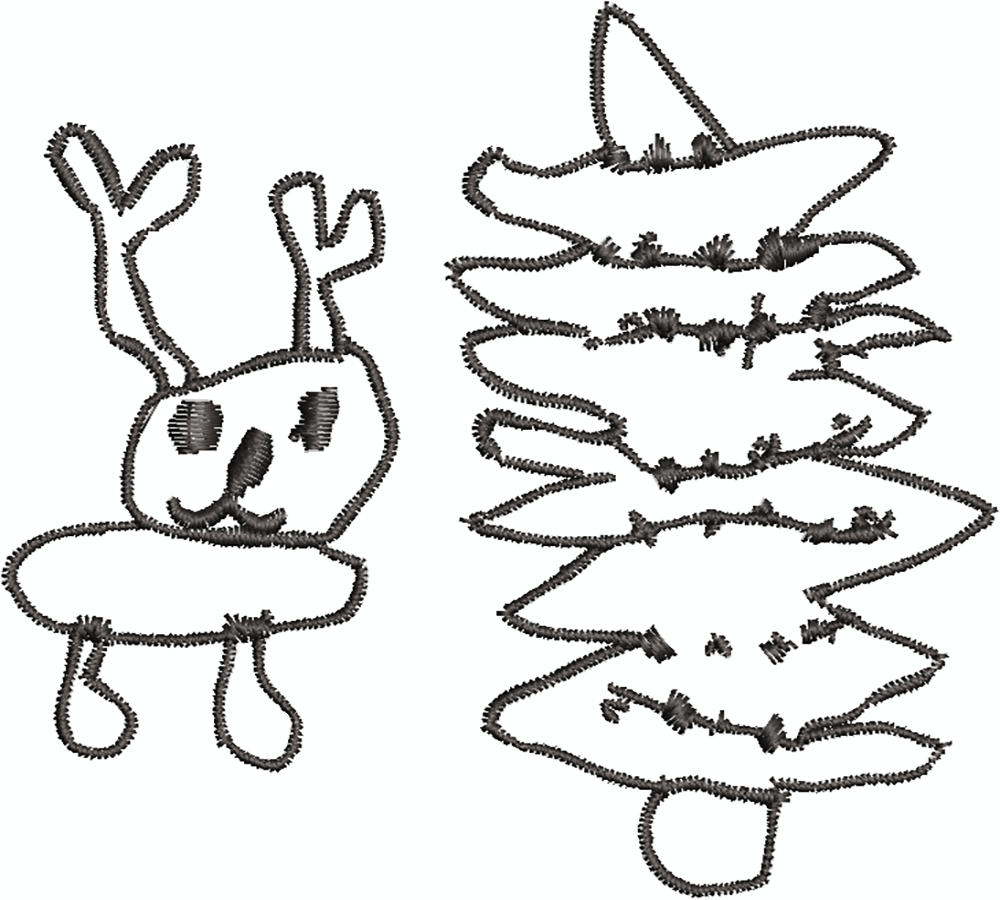
All the same editing tools listed above can work to improve the embroidered design. In addition, the Knife tool can be a handy tool to separate embroidered objects that are bound together and need to be split; such as the nose and mouth of the reindeer.
Finished Design
Thick line drawings can be a perfect candidate for Magic Wand Centerline to create a stitched outline rather than a
satin-filled outline. Some artwork will require the help of CorelDRAW PHOTO-PAINT, also included with DesignerPlus.
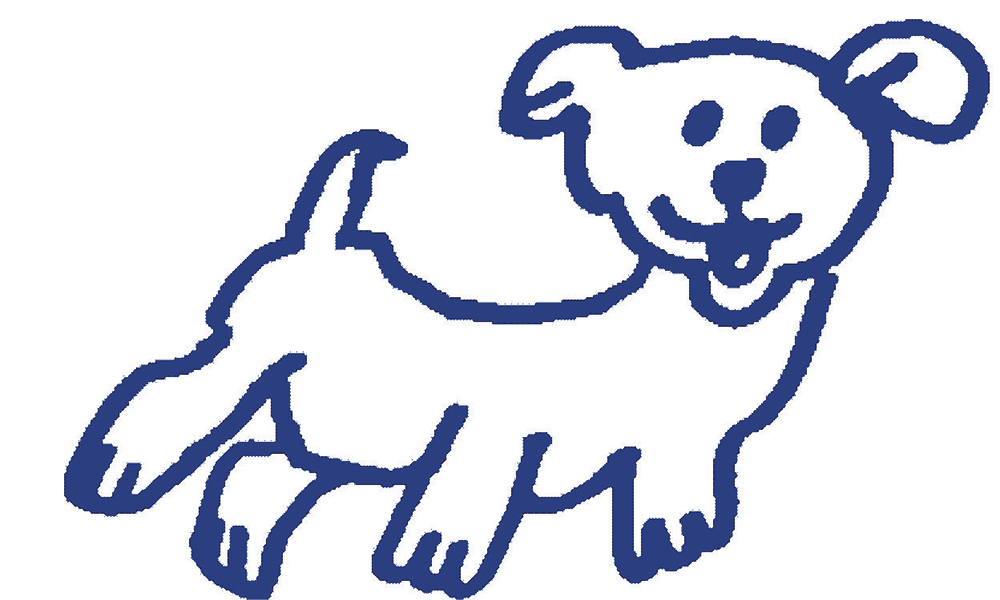
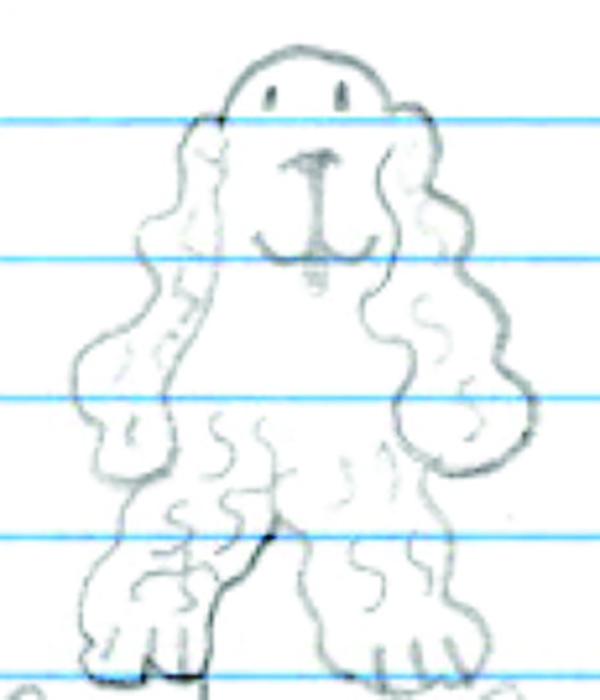
Puppy Artwork
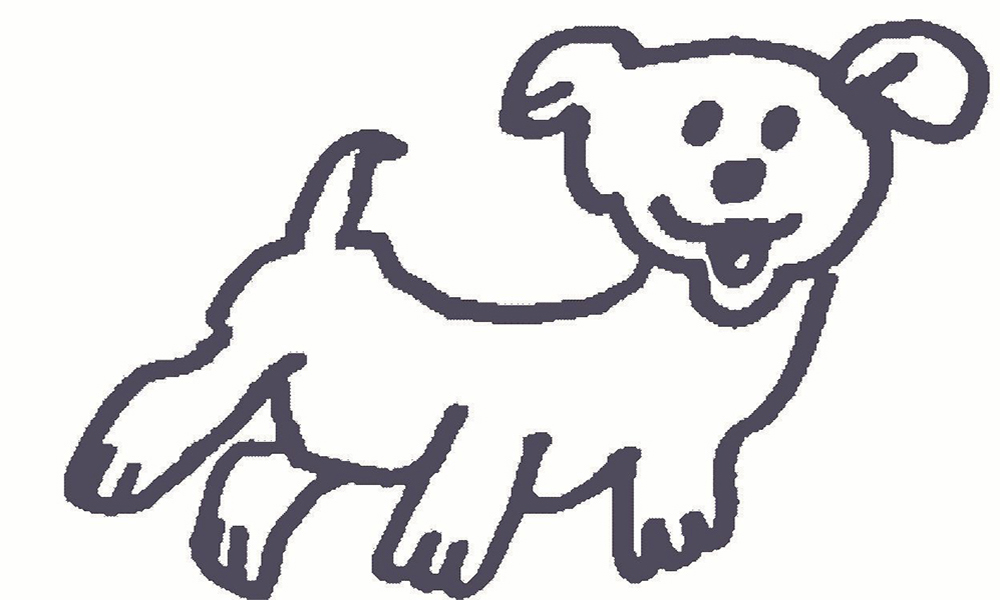
In PHOTO-PAINT, lines of separation can be painted into a drawing to create separate objects so all objects can be correctly digitized with Magic Wand tools. Notice the white areas that were added to separate the puppy’s nose and mouth.
Touched Up Workwork With Corel Photo-Paint
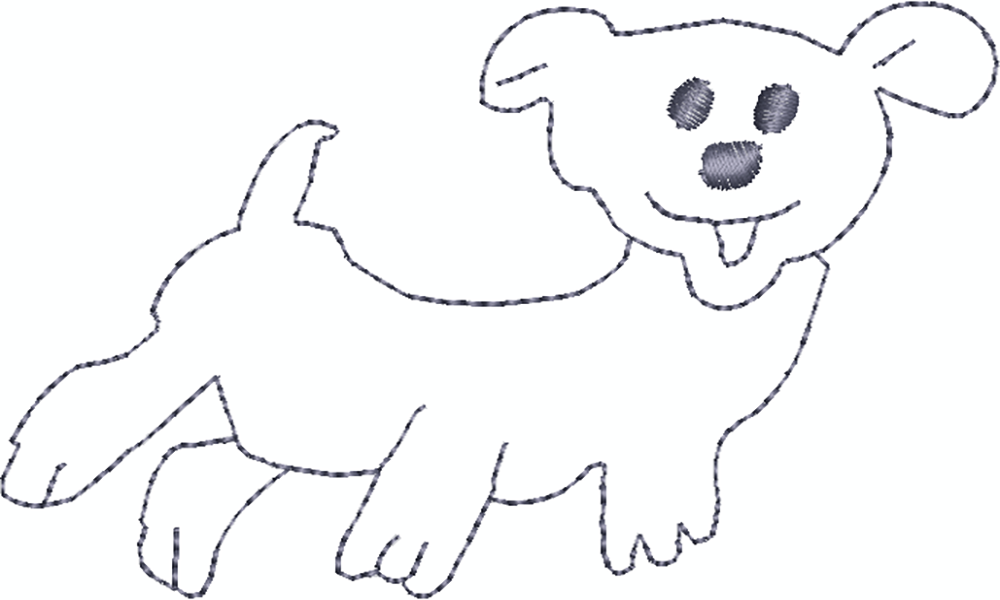
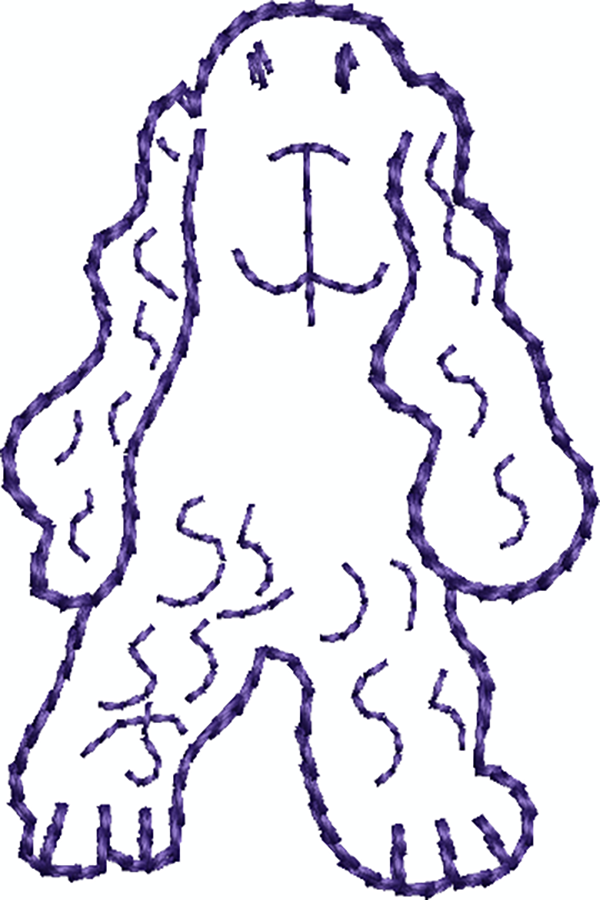
Two Magic Wand tools were used to digitize this artwork; Magic Wand Centerline to create the single outlines around the puppy and Magic Wand Block Digitizing to create the satin-filled eyes and nose. All the single outlines that touch will not have jump stitches. Some of the stitched outlines will most likely need to be brought together with Reshape.
Finished Design
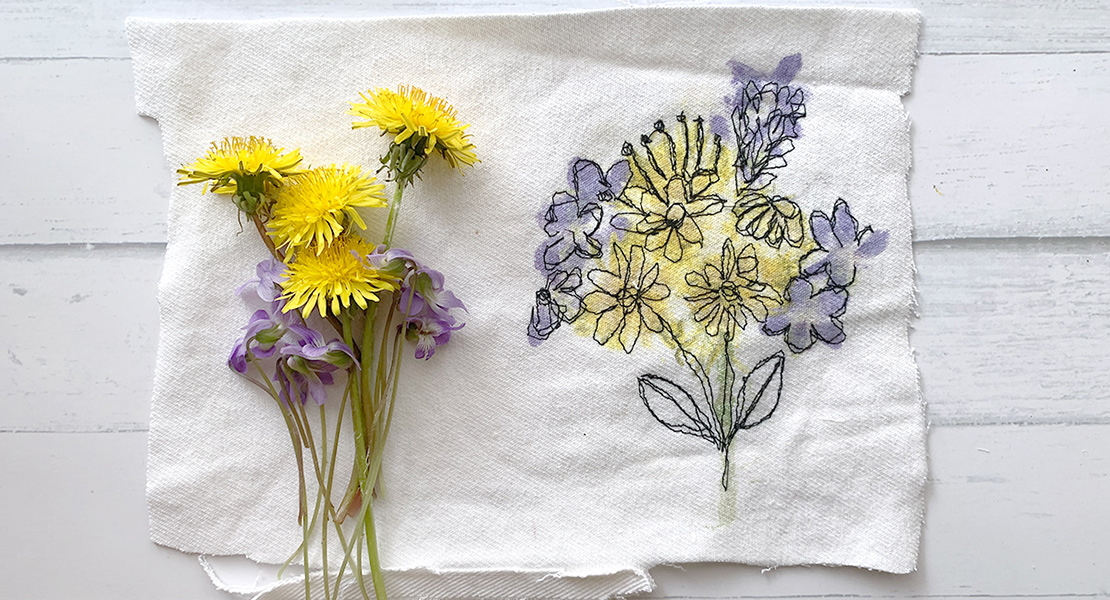
Magic Marker drawings can be fun to convert to stitches using the Color PhotoStitch tool in the Auto Digitizing Toolbox. Colors can be increased or decreased as needed to edit the artwork to create the desired combination of stitches. Choose a high resolution for more detail. With some drawings, the background can be deleted after the stitches are created.
Artwork
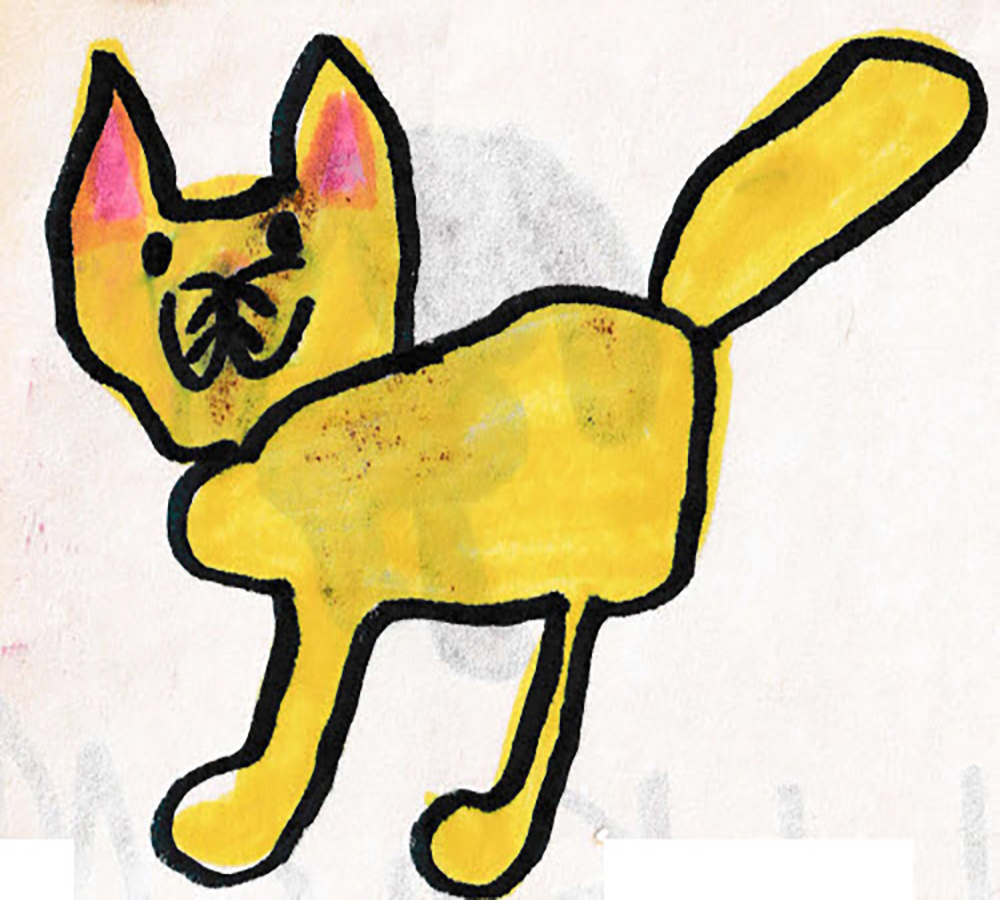
Finished Color Photostitch

A crayon drawing can be a bit more challenging because the colors don’t translate into stitches as easily.
Artwork
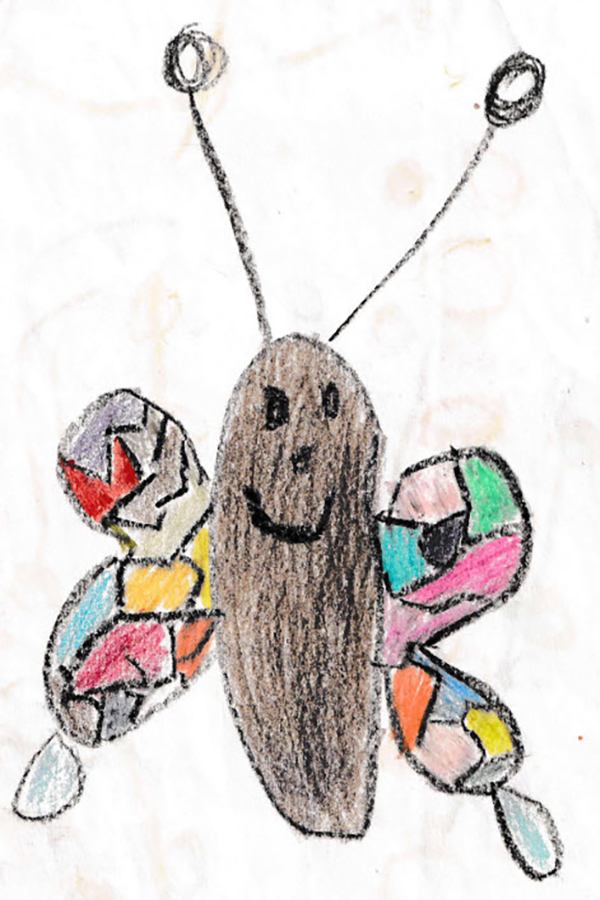
Enter CorelDRAW SE once again. The tracing feature in CorelDRAW SE gives you the ability to convert a bitmap into a vector drawing which can then be filled in with colors.
Converted & Filled in Vector
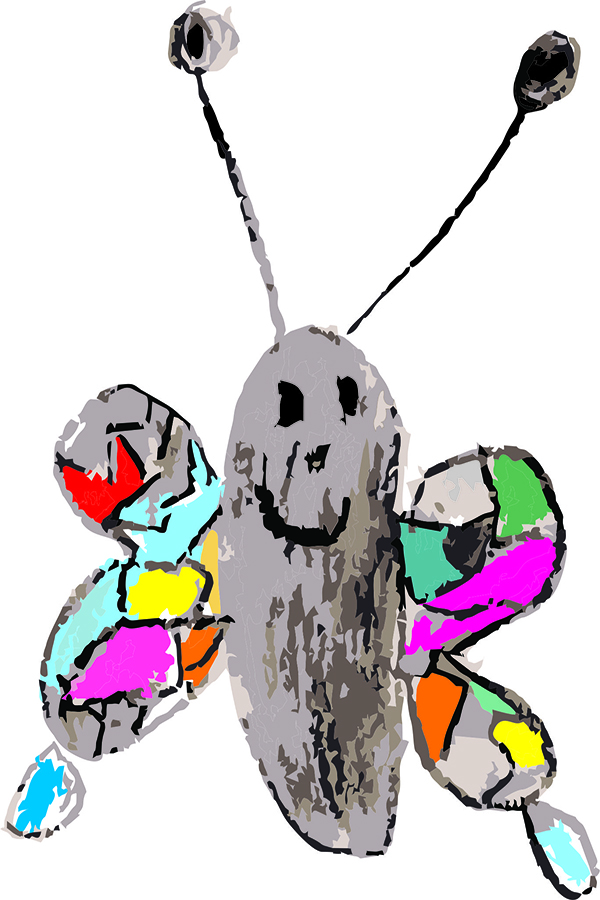
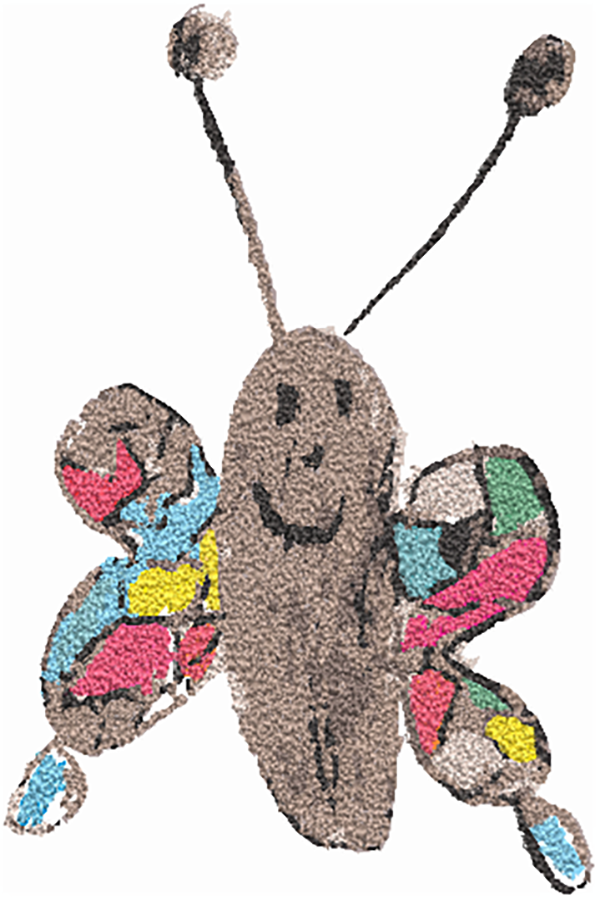
The image can then be exported as a JPG for conversion into Color PhotoStitch.
Color Photstitch
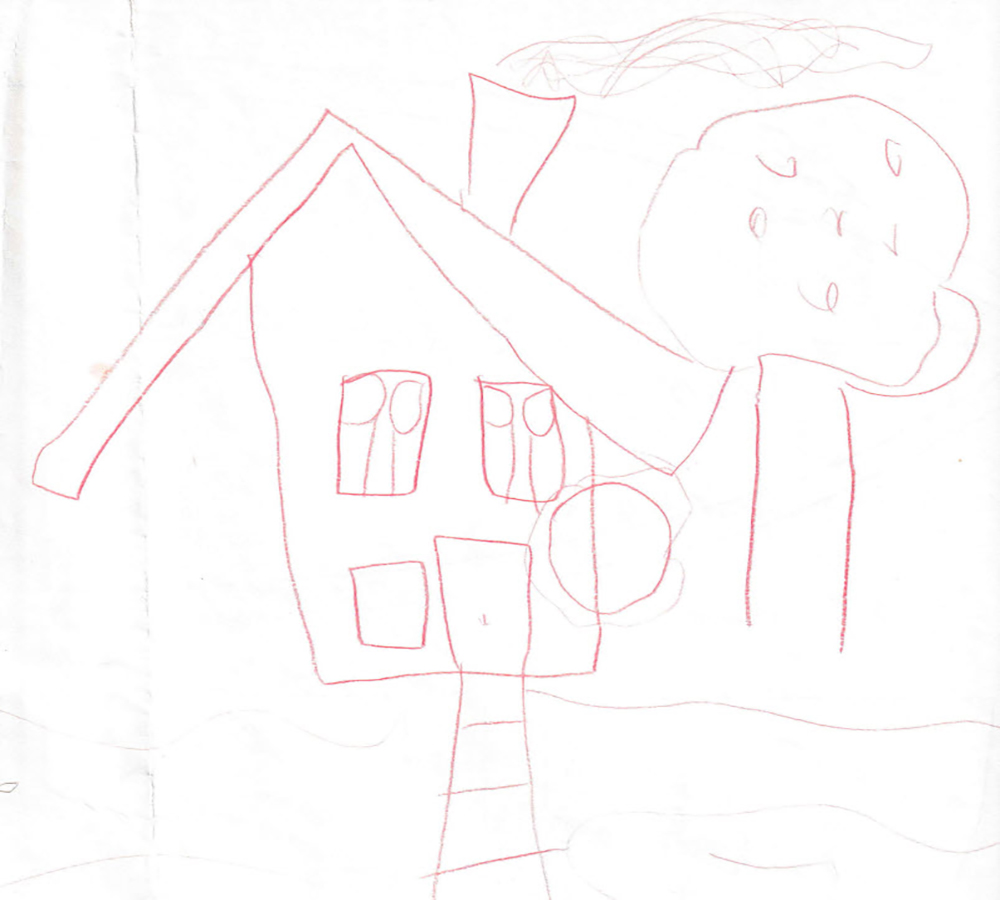
Some forms of artwork are going to be best manually digitized. For example, drawings that are drawn on lined paper will be difficult to auto-digitize.
Artwork
With manual digitizing tools, you must decide on the stitch order and the type of stitches to apply. Begin with objects in the background and work toward the items in the foreground. Use the manual digitizing tools to set your selected stitches with left and right clicks over the artwork, and then press enter on your keyboard.
Finished Design
Editing tools in the software can help you refine the embroidery. Manual digitizing takes a bit longer to learn; but the more you practice, the easier it becomes!
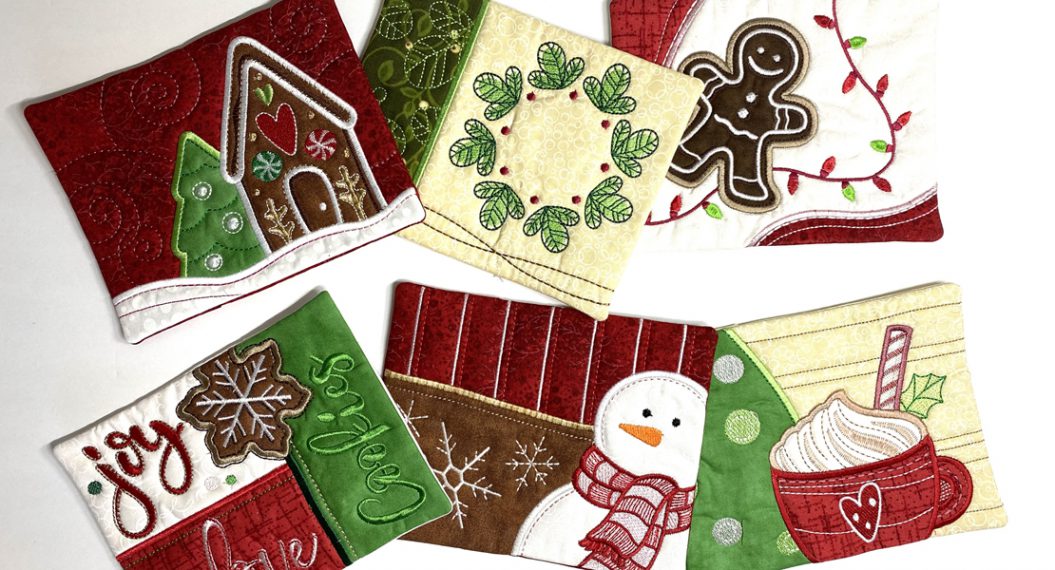
You can also digitize applique designs to showcase the artwork.
Artwork
Applique is always a fun way to introduce color into your child’s embroidered artwork. When you manually digitize, you don’t have to include all the details of the picture and you can also rearrange the details as needed for your project. DesignerPlus has both Advanced Applique and Digitize Applique tools that can be used to create a unique applique design. Use Remove Applique Overlaps with Digitize Applique to remove the heavy cover stitches under the applique fabrics. No need to use this tool with Advanced Applique because you digitize the artwork without overlaps.
Appliqué Design

BERNINA Software 9 can offer unique ways to preserve your child’s masterpiece. There are many different tools that can be used in the software to create the embroidery design. For more information about how you can use the tools in the software, be sure to check out the tutorials built into the software. There are over 250 videos to help you learn. Also, use this link to discover the online classes that are available to learn the software.
BERNINA Virtual Classes – BERNINA
Special thanks to the artists responsible for this artwork: Jennifer Lashbrook and Jessica Taylor.