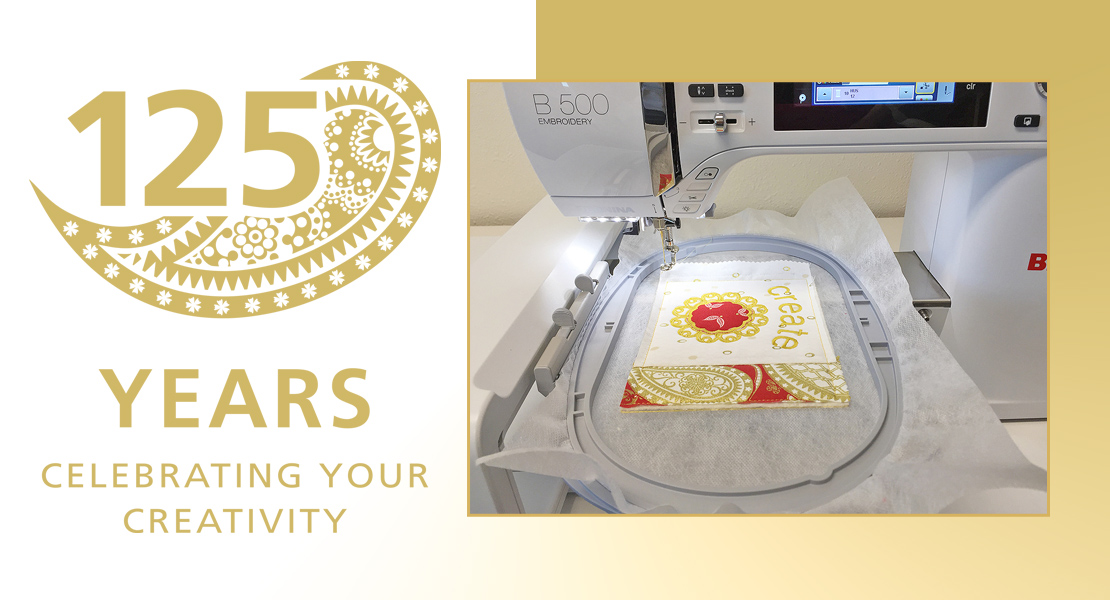
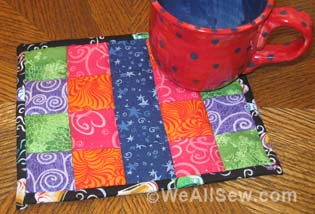
Hoopin’ It Up: Embroidered Holiday Mug Rugs
Hesitant to Try?
Guild members, quilting friends, and online posts have talked about and created IN-THE-HOOP EMBROIDERY projects for years. All of the talk just flew right over my head. The work appeared to be very difficult with the huge variety of stitches and precise placement of appliquéd fabrics. While presenting a trunk show titled “Be Inspired to Try Something New” I realized it was time to lead by example. I set off to explore a technique that was a bit out of my wheelhouse.
Look for the Positives
As an art quilter with a background in clothing construction, I love the freedom that my choices bring to a project. Would this technique stifle my creativity? I quickly learned that there is room for self-expression through the fabric and thread choices made during the hoop embroidery process. The bonus is the precise, exacting stitches that result from the computer-aided designs.
A Quick Definition
In-the-hoop projects (also referred to as ITH projects) are different from regular embroidery and appliqué because you are making the complete project from scratch. In-the-hoop projects generally require you to add material/notions at different points, but you should never have to rehoop.
Materials for In-the-hoop
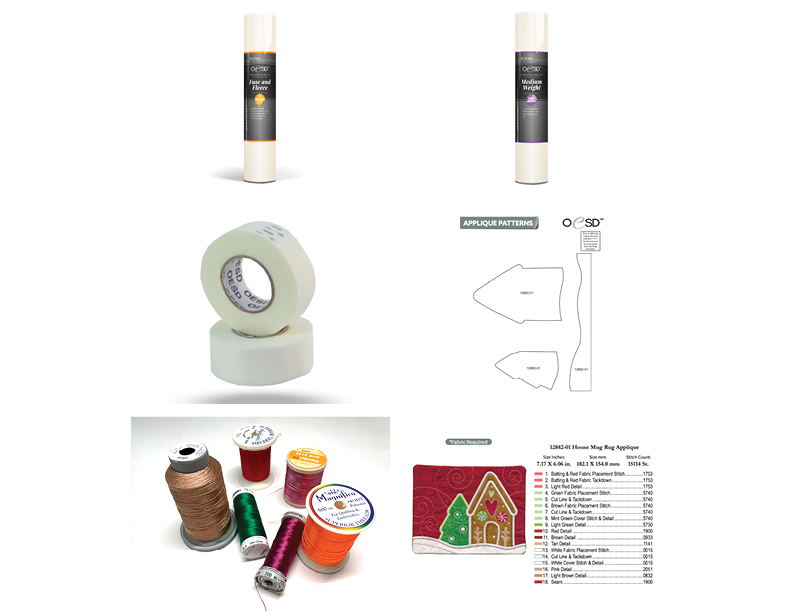
• Tear Away Stabilizer – such as OESD Medium Weight
• Fusible Batting – such as OESD Fuse and Fleece
• Embroidery Tape – such as OESD Expert Embroidery Tear Away
• Fabric for Added Appliqué
• Machine Embroidery Thread – I used an assortment of 40 wt polyester
• Thread Color Chart with Order of Use List
Embroidered Mug Rugs

• Digitized Computer File – I used Warm & Cozy Mug Rugs from OESD
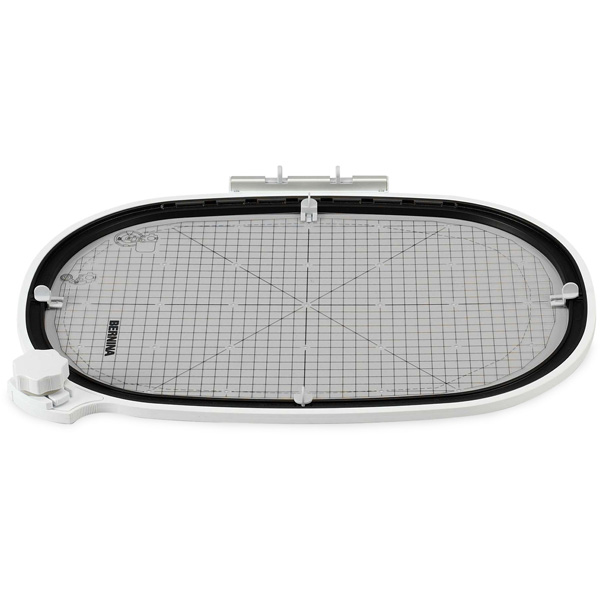
• Embroidery Hoop – I used the BERNINA Jumbo Hoop
• Embroidery Foot – I used the BERNINA #26 Drop Shaped Embroidery Foot
• Sewing Machine with Embroidery option – I used BERNINA 790 PLUS
• Iron and Pressing Surface
• Hera Tool or other point-turning tool
Pre Hoop Preparation

Online directions included with the digital computer file include the preparation of fabrics for the project. Photos shown are for the gingerbread house design but all patterns in this downloadable file are prepared the same way.
- A 7-inch X 8-inch rectangle is cut from the main front fabric and the Fuse and Fleece.
- Fuse and Fleece is bonded to wrong side of front fabric.
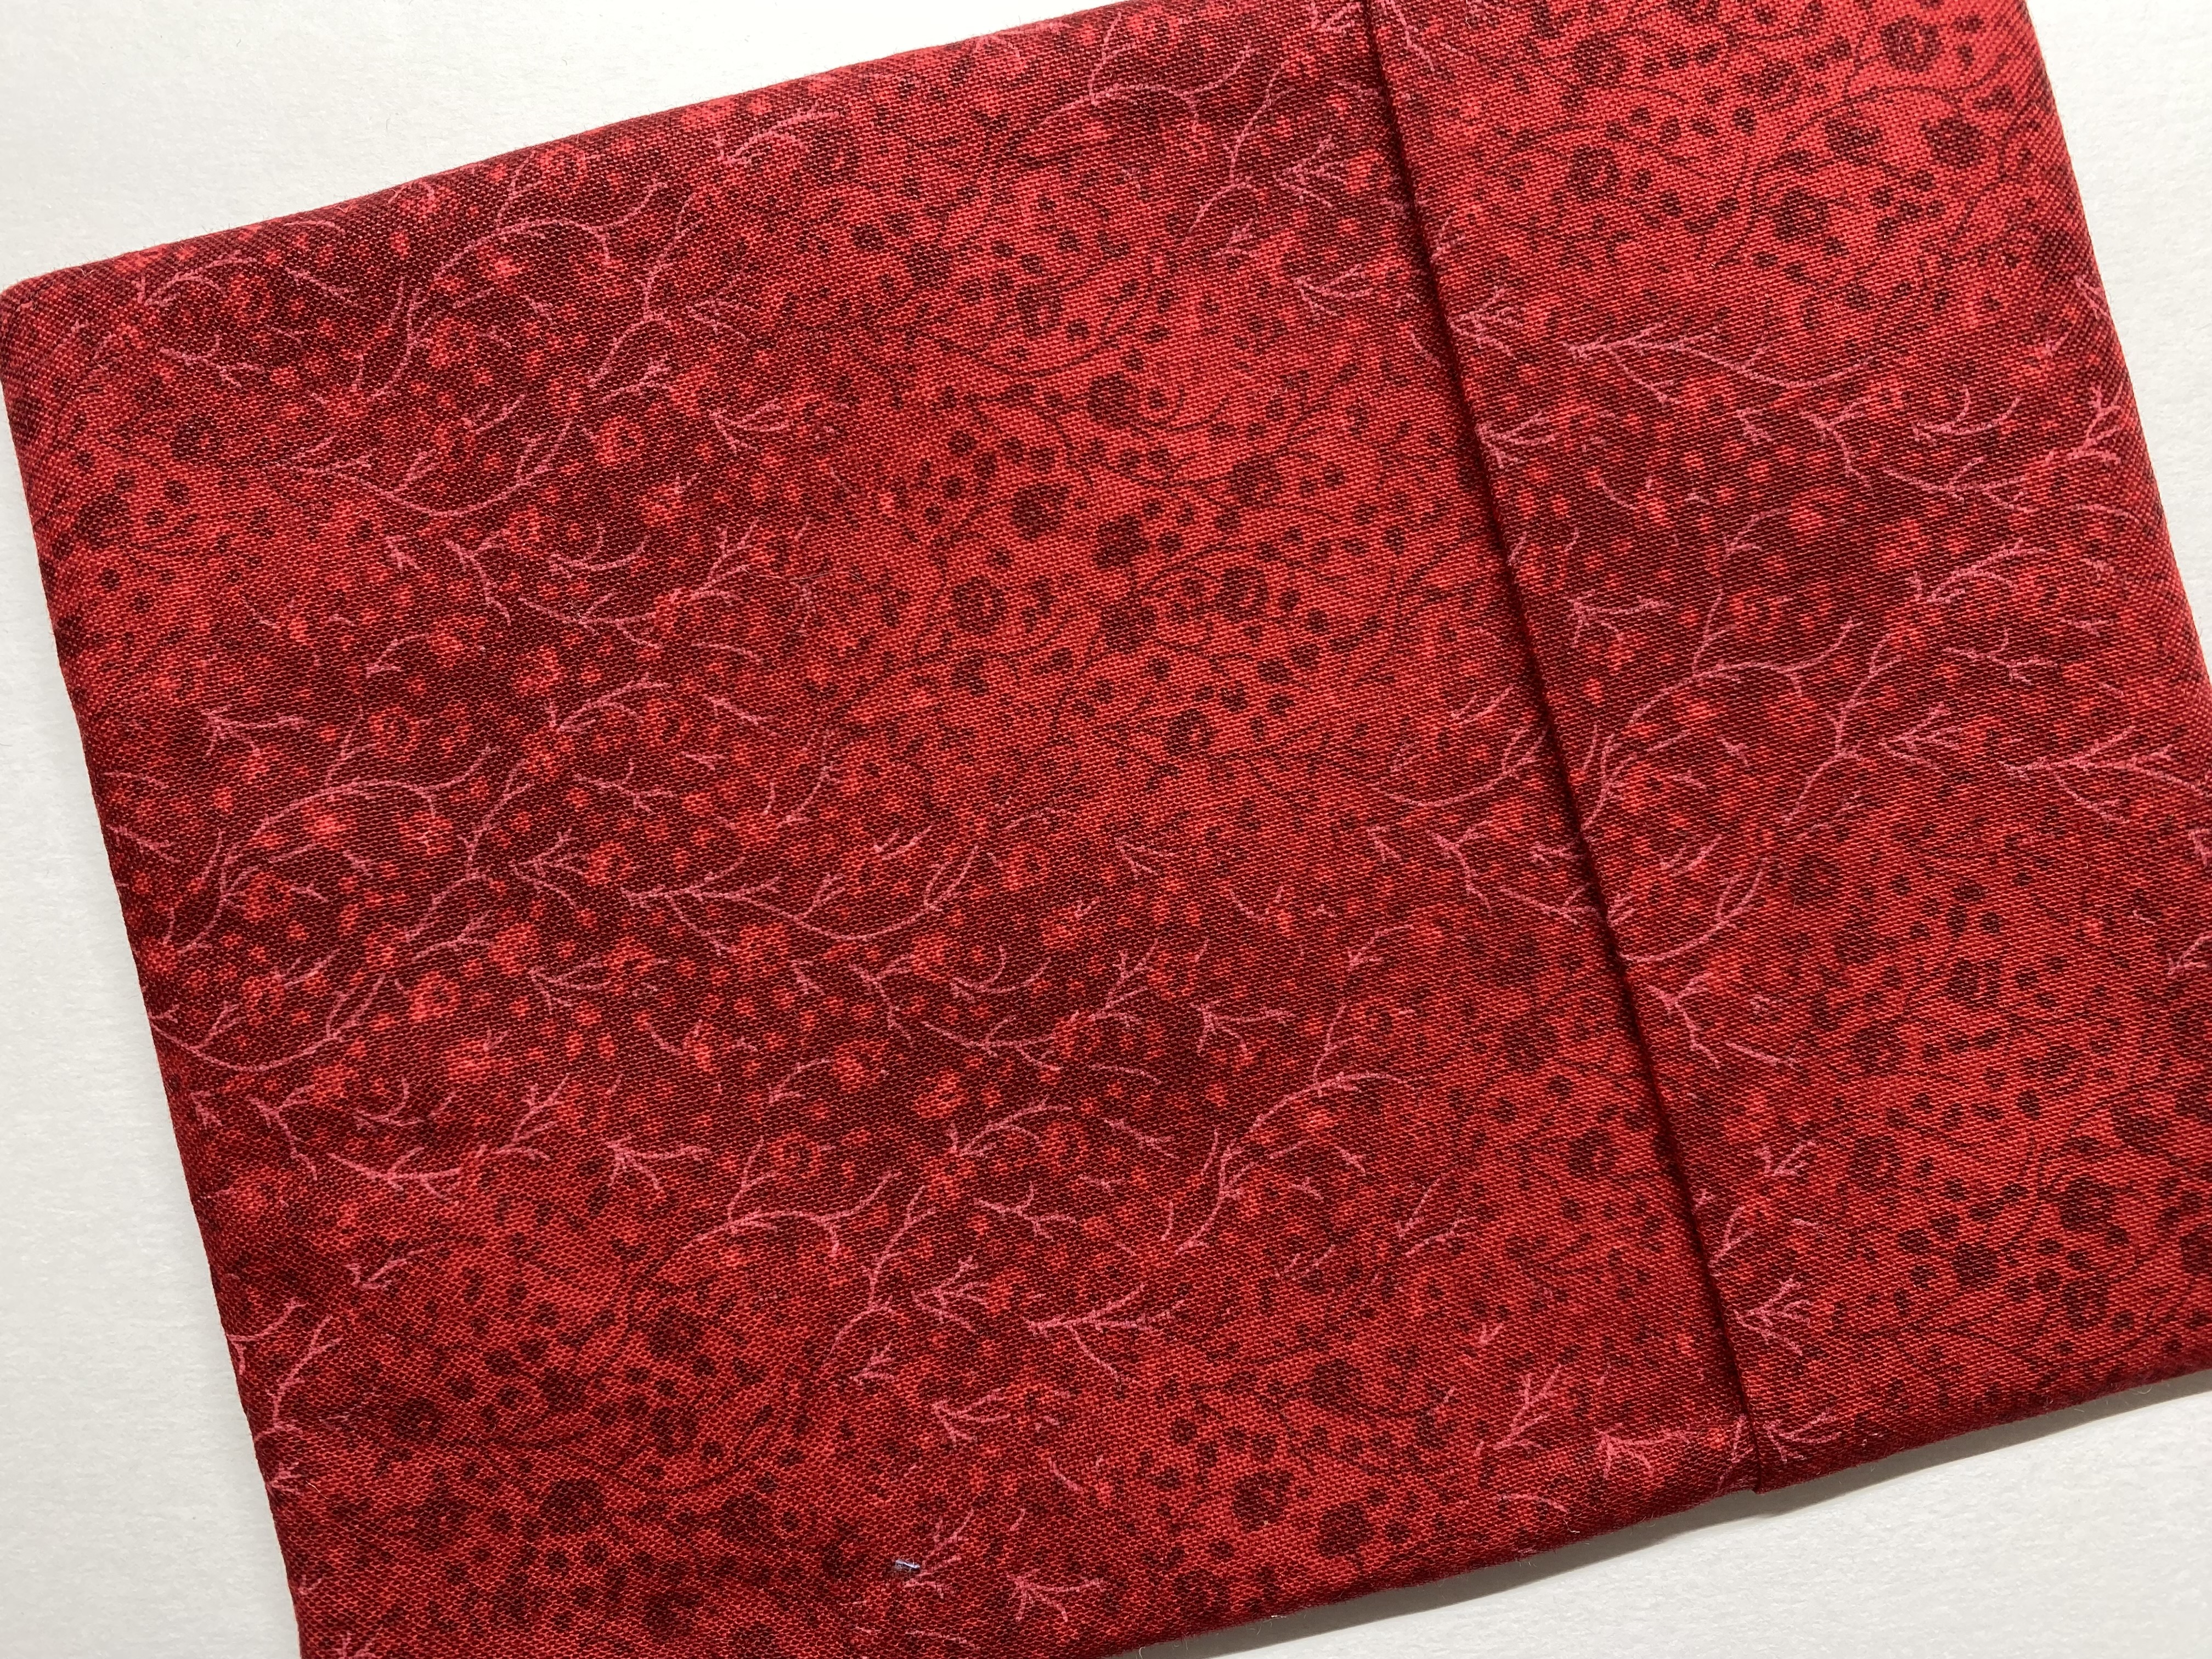
- Cut two pieces for the back, 7-inch X 12-inch and 7-inch X 6-inch. Press wrong sides together to make a 7-inch X 6-inch and 7-inch X 3-inch piece.
- Hoop the stabilizer, thread with first color indicated on color chart then move to step on the on-screen digital file.
Follow the On Screen Prompts
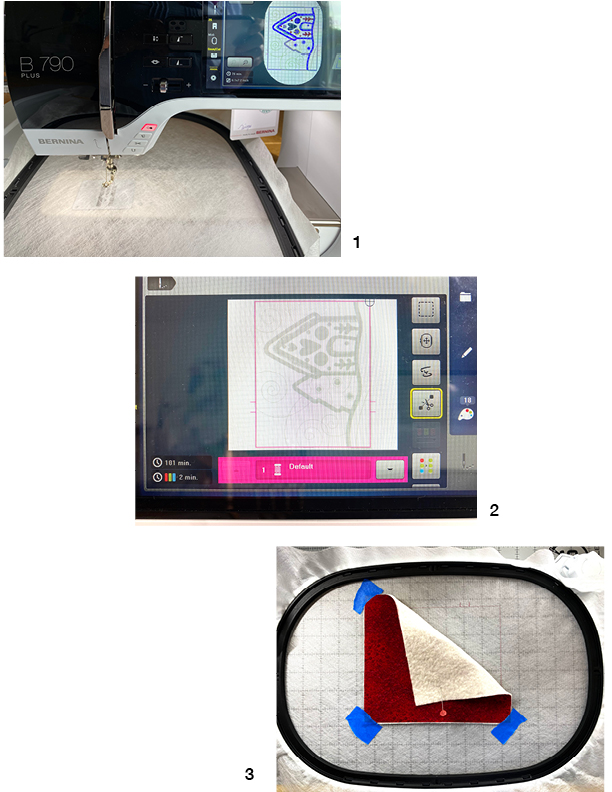
- Stitching out step one of the digital design. This creates a rectangle to show fabric placement.
- With step one stitched out, touch arrow down on screen to take you to the next step, placement of the fabric with bonded fleece over stitched guidelines.
- Use tape to secure bonded fabric over stitched area. Hoop can be removed and laid on flat surface for this step.
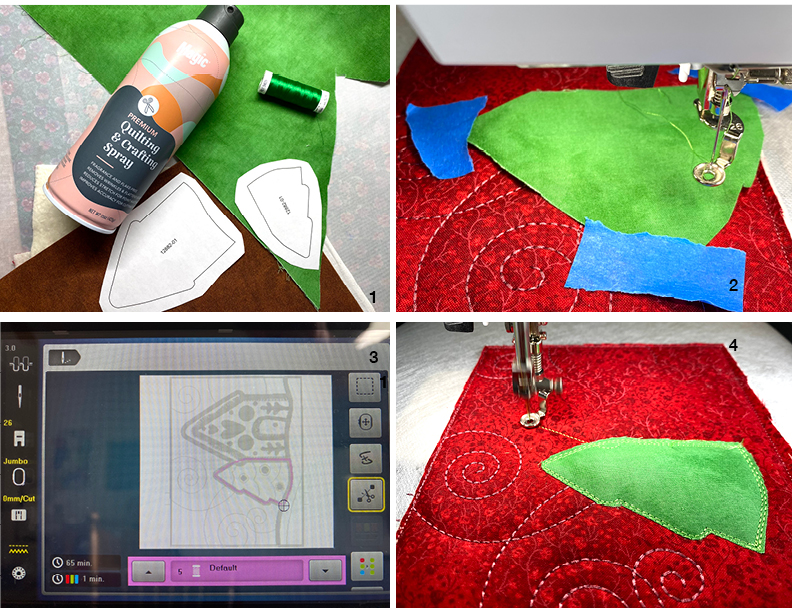
- Using provided templates for appliqué, cut shapes from fabric. Treating fabric with your choice of spray starch stabilizes soft or fraying fabrics for a crisp appliqué.
- Tape appliqué fabric over outline guide stitched in previous step.
- Pink display indicates where tree will be stitched to project. Note the screen display indicates this is step 5 in the process.
- After tree is stitched in place, remove hoop from machine (NOT FABRIC FROM HOOP) to cut close to stitched edge.
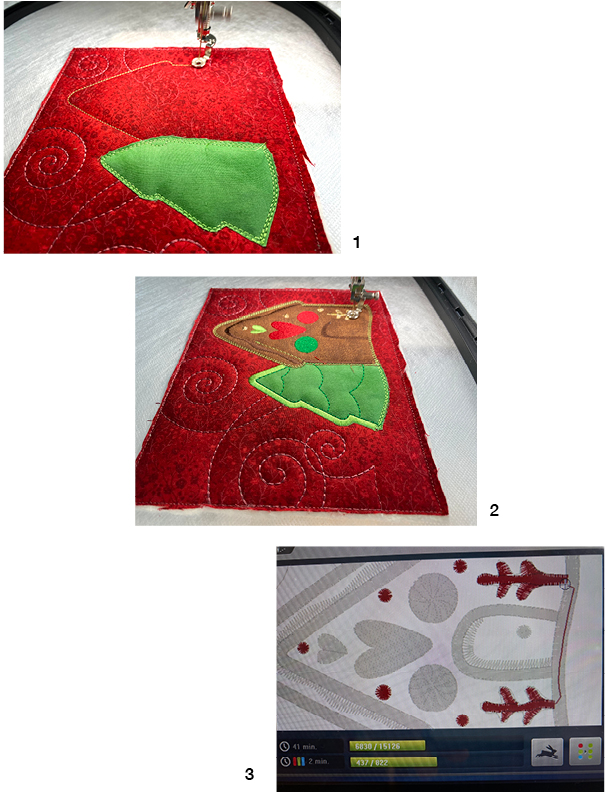
- With the first appliquéd fabric in place, the design moves on to outline the location where gingerbread house will be placed.
- Brown gingerbread house has been stitched in place and trimmed close to stitching. Embroidered details are added to gingerbread house and tree.
- Screen display showing total minutes of stitching remaining for entire project and time remaining to complete this step. The top green bar shows total number of stitches in this project, number already stitched. The bottom bar shows how many stitches needed in this step and how many have been completed. The red highlighted area on the screen displays what was stitched during this step.
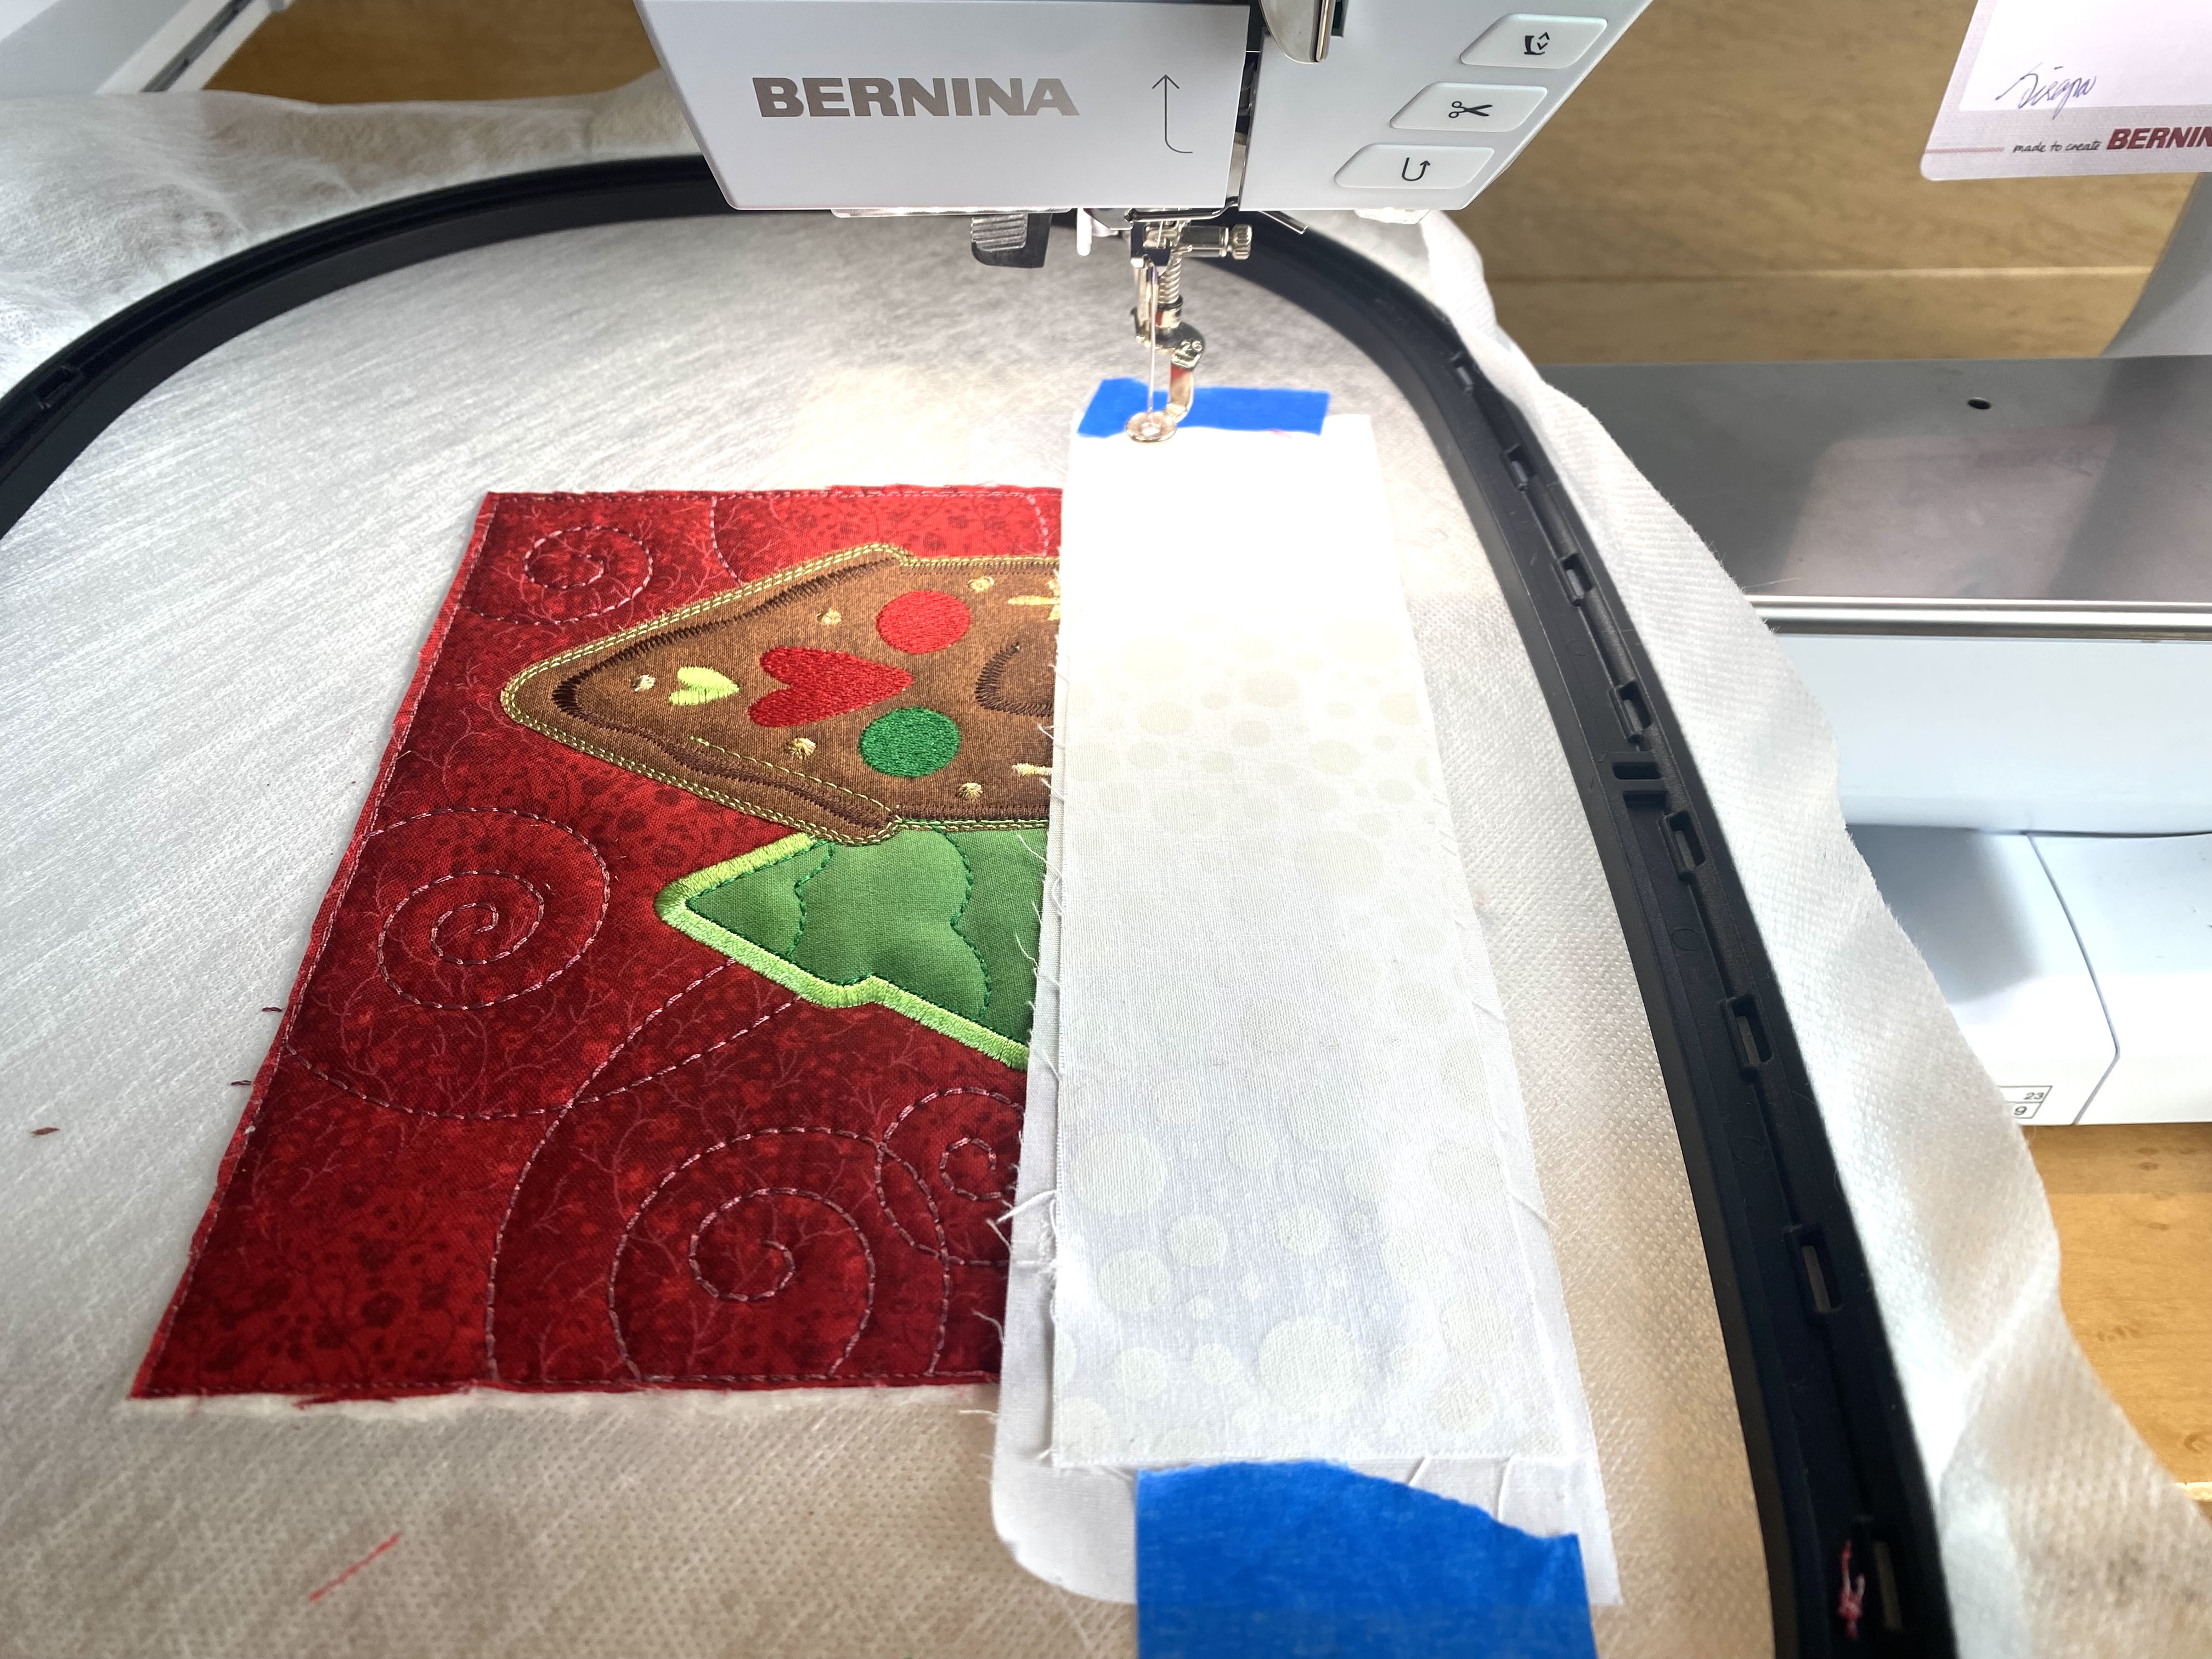
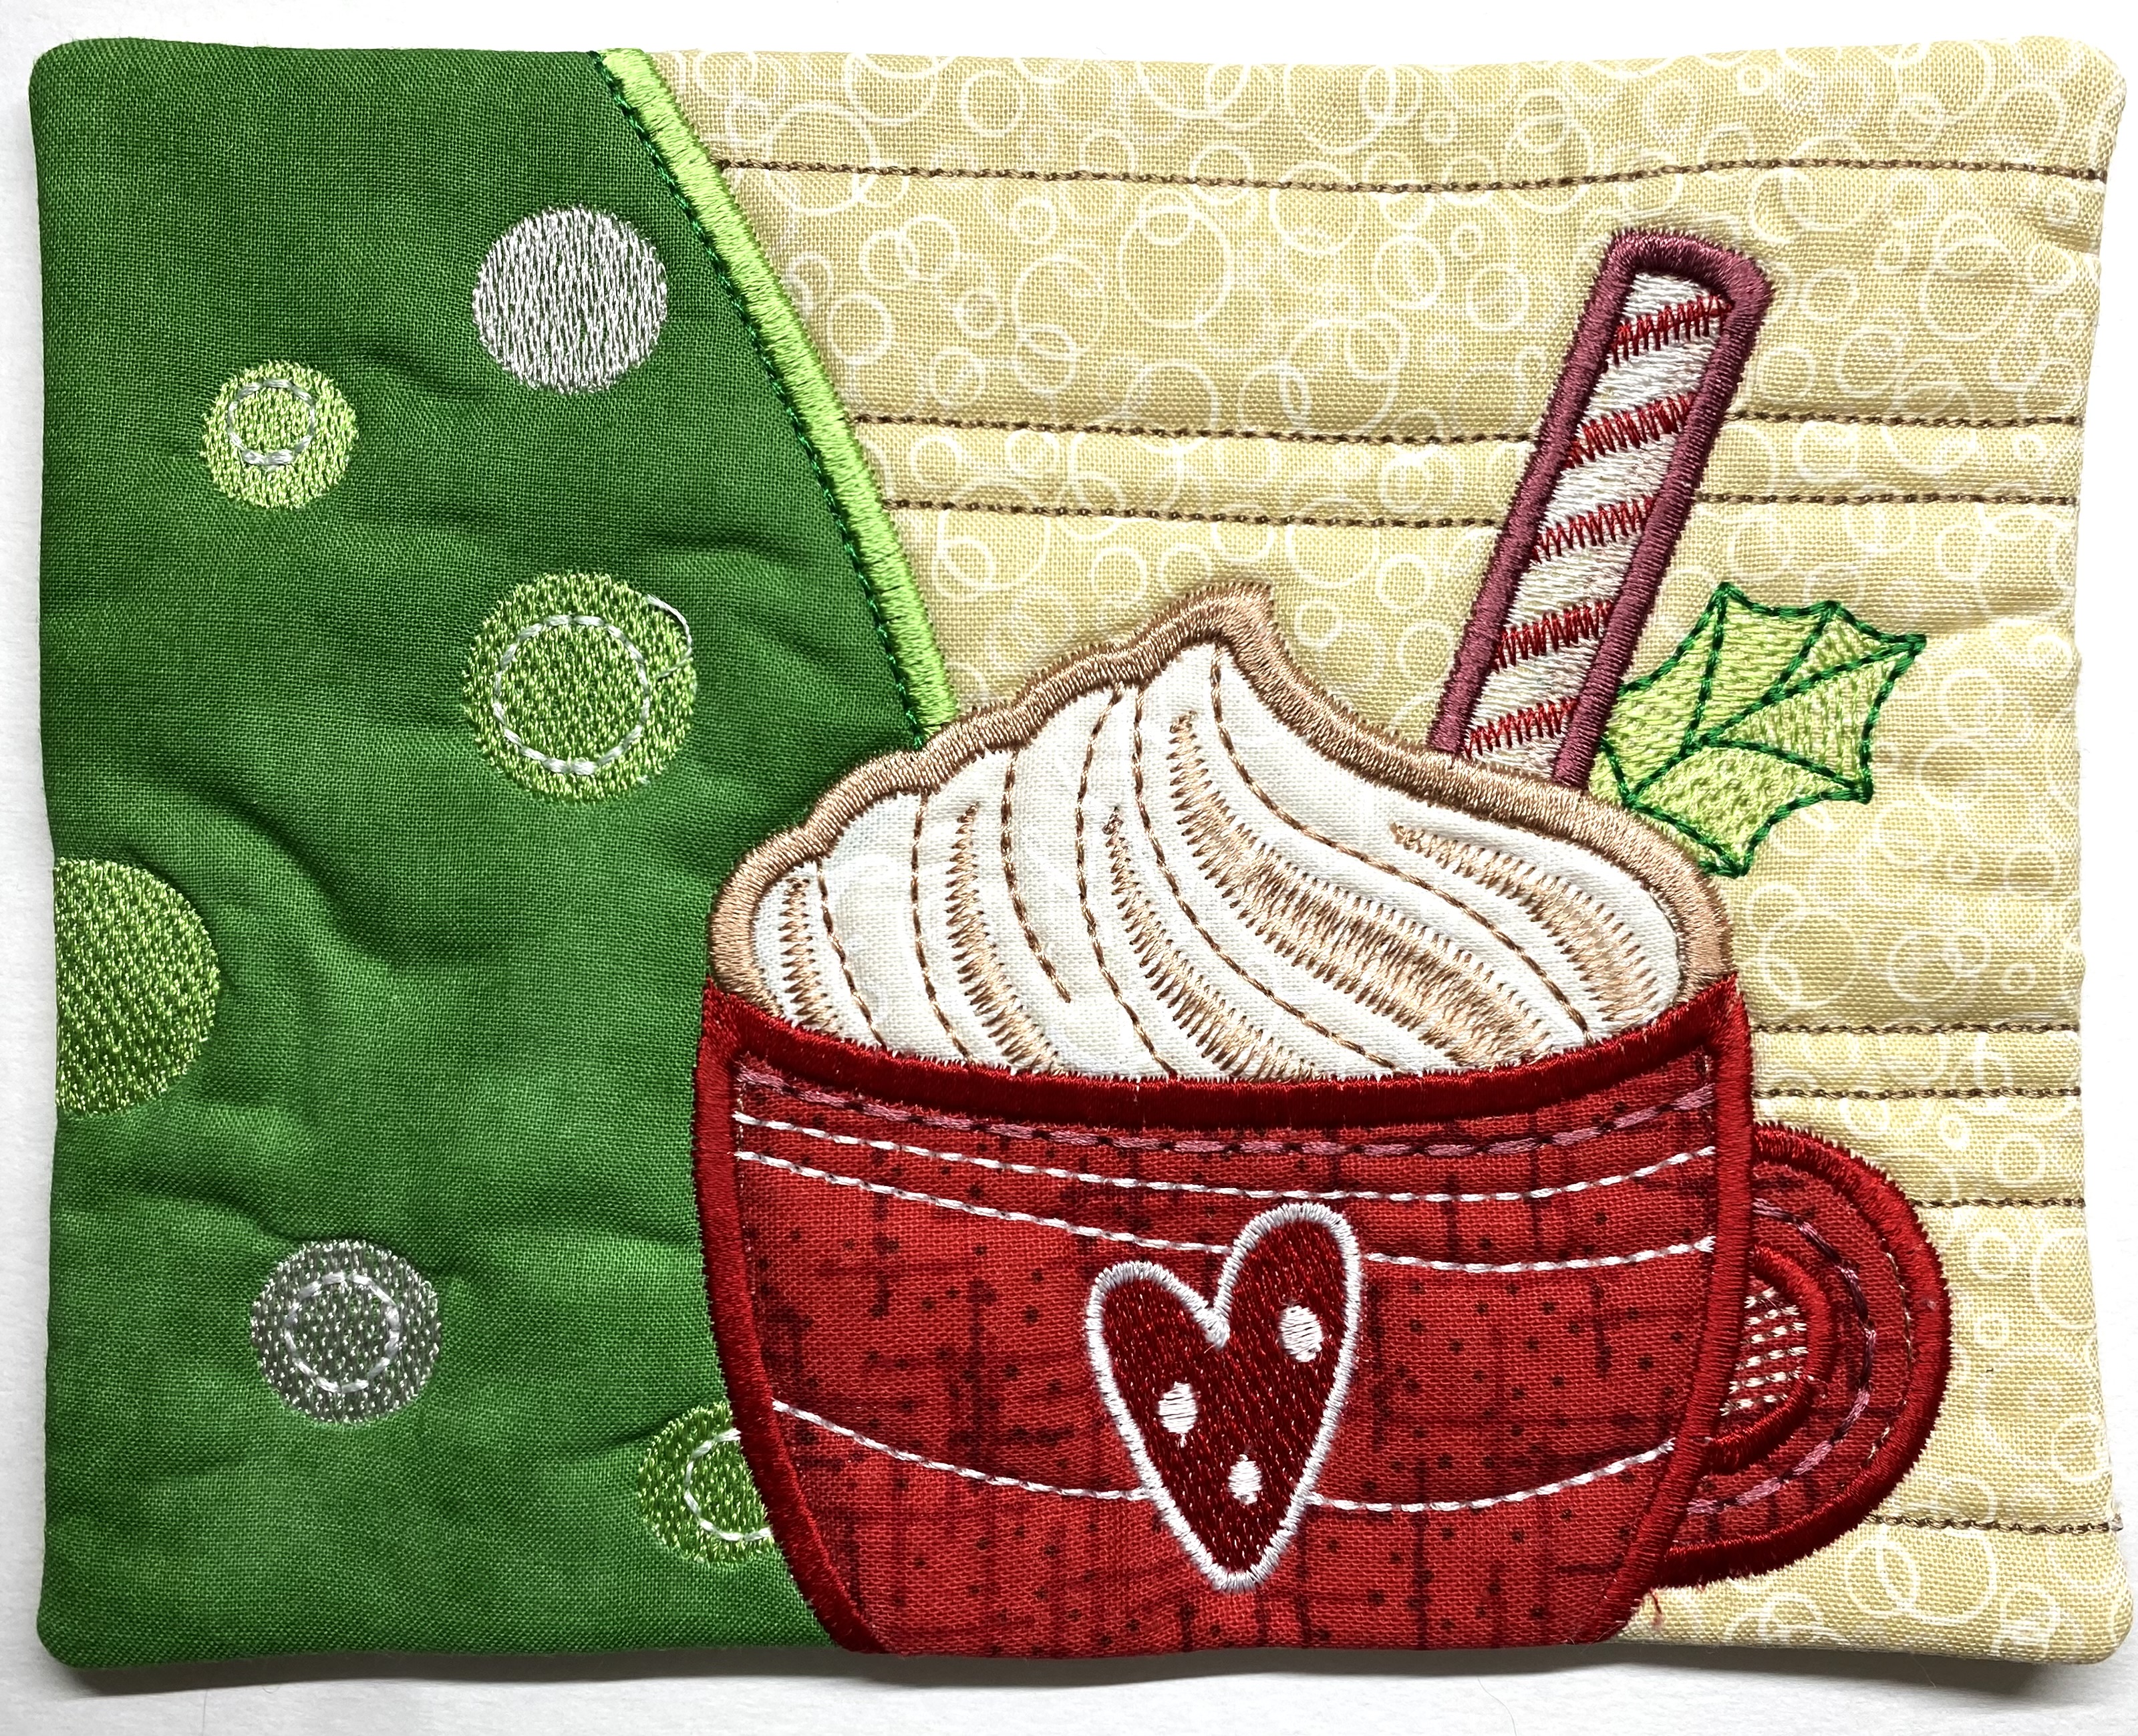
The last piece of appliqué is added to the mug rug. A single layer of white fabric might allow the darker red, brown and green colors to show through. A second layer of white fabric is bonded with MistyFuse (or fusible webbing of your choice) to prevent any shading.
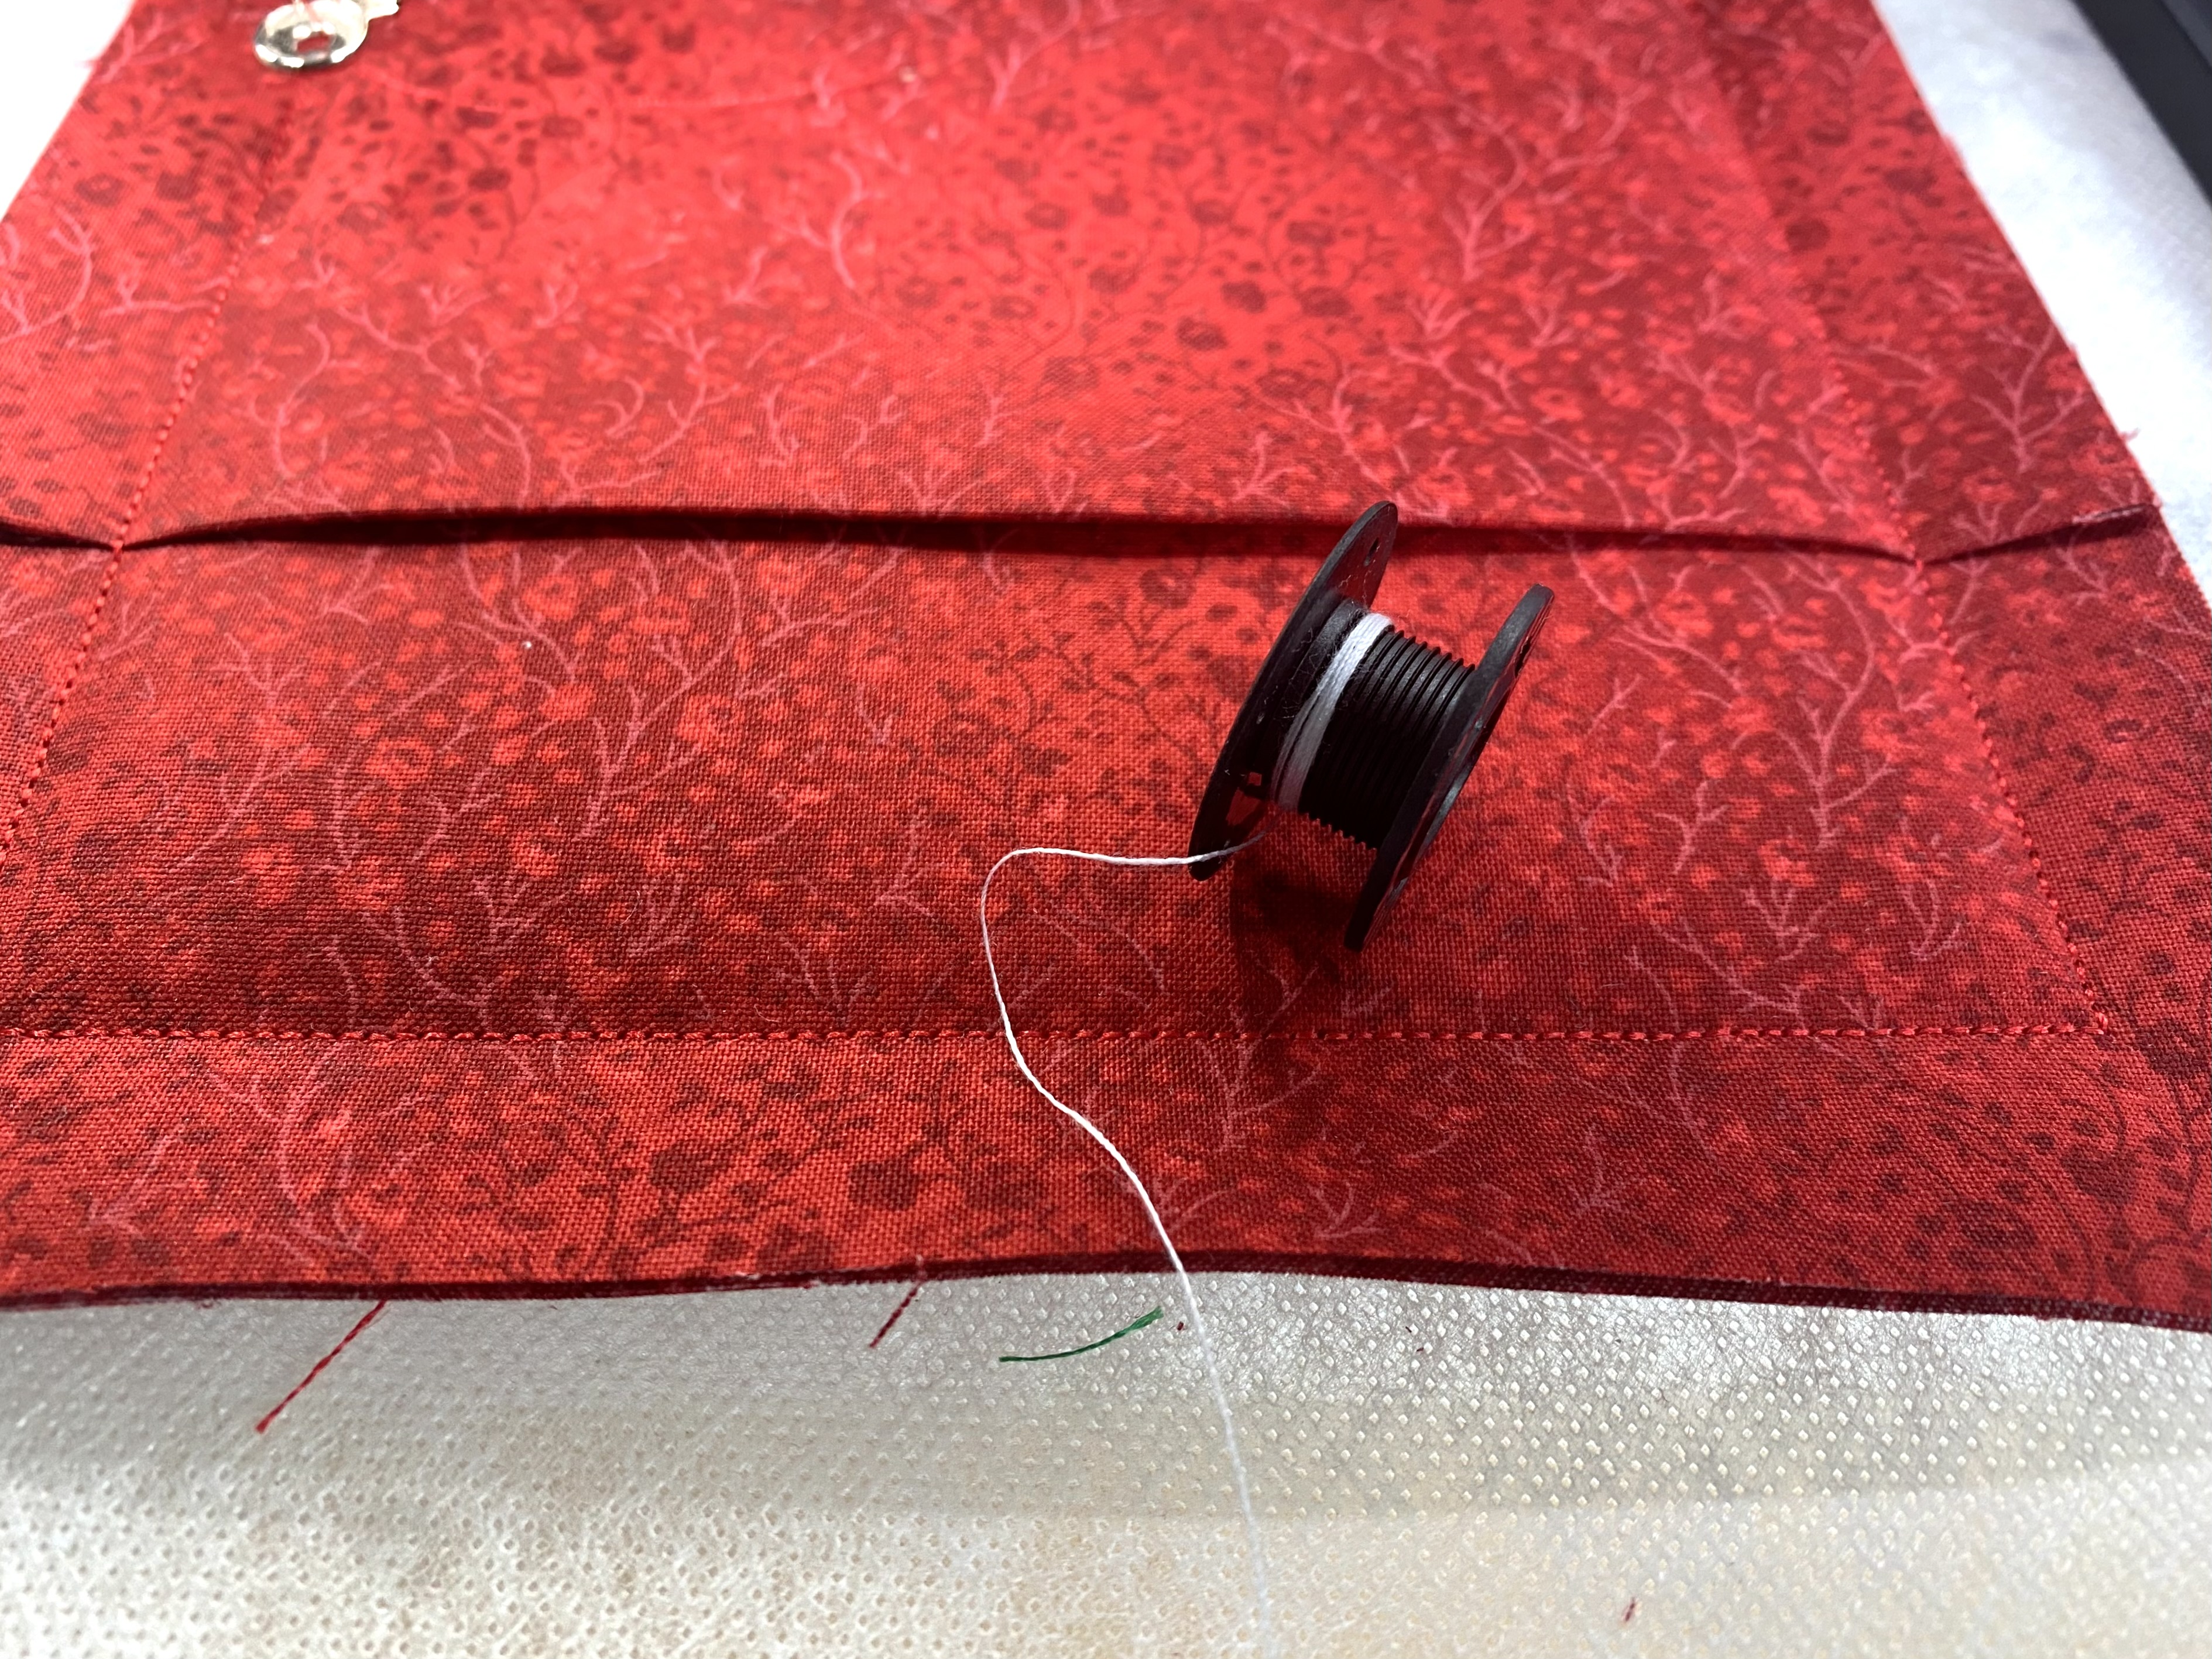
This final step shows the two pieces of backing fabric stitched over the completed embroidered and appliquéd project. This is the final step of the in-the-hoop project.
NOTE…the BERNINA extra large bobbin allowed me to win the bobbin thread lottery!
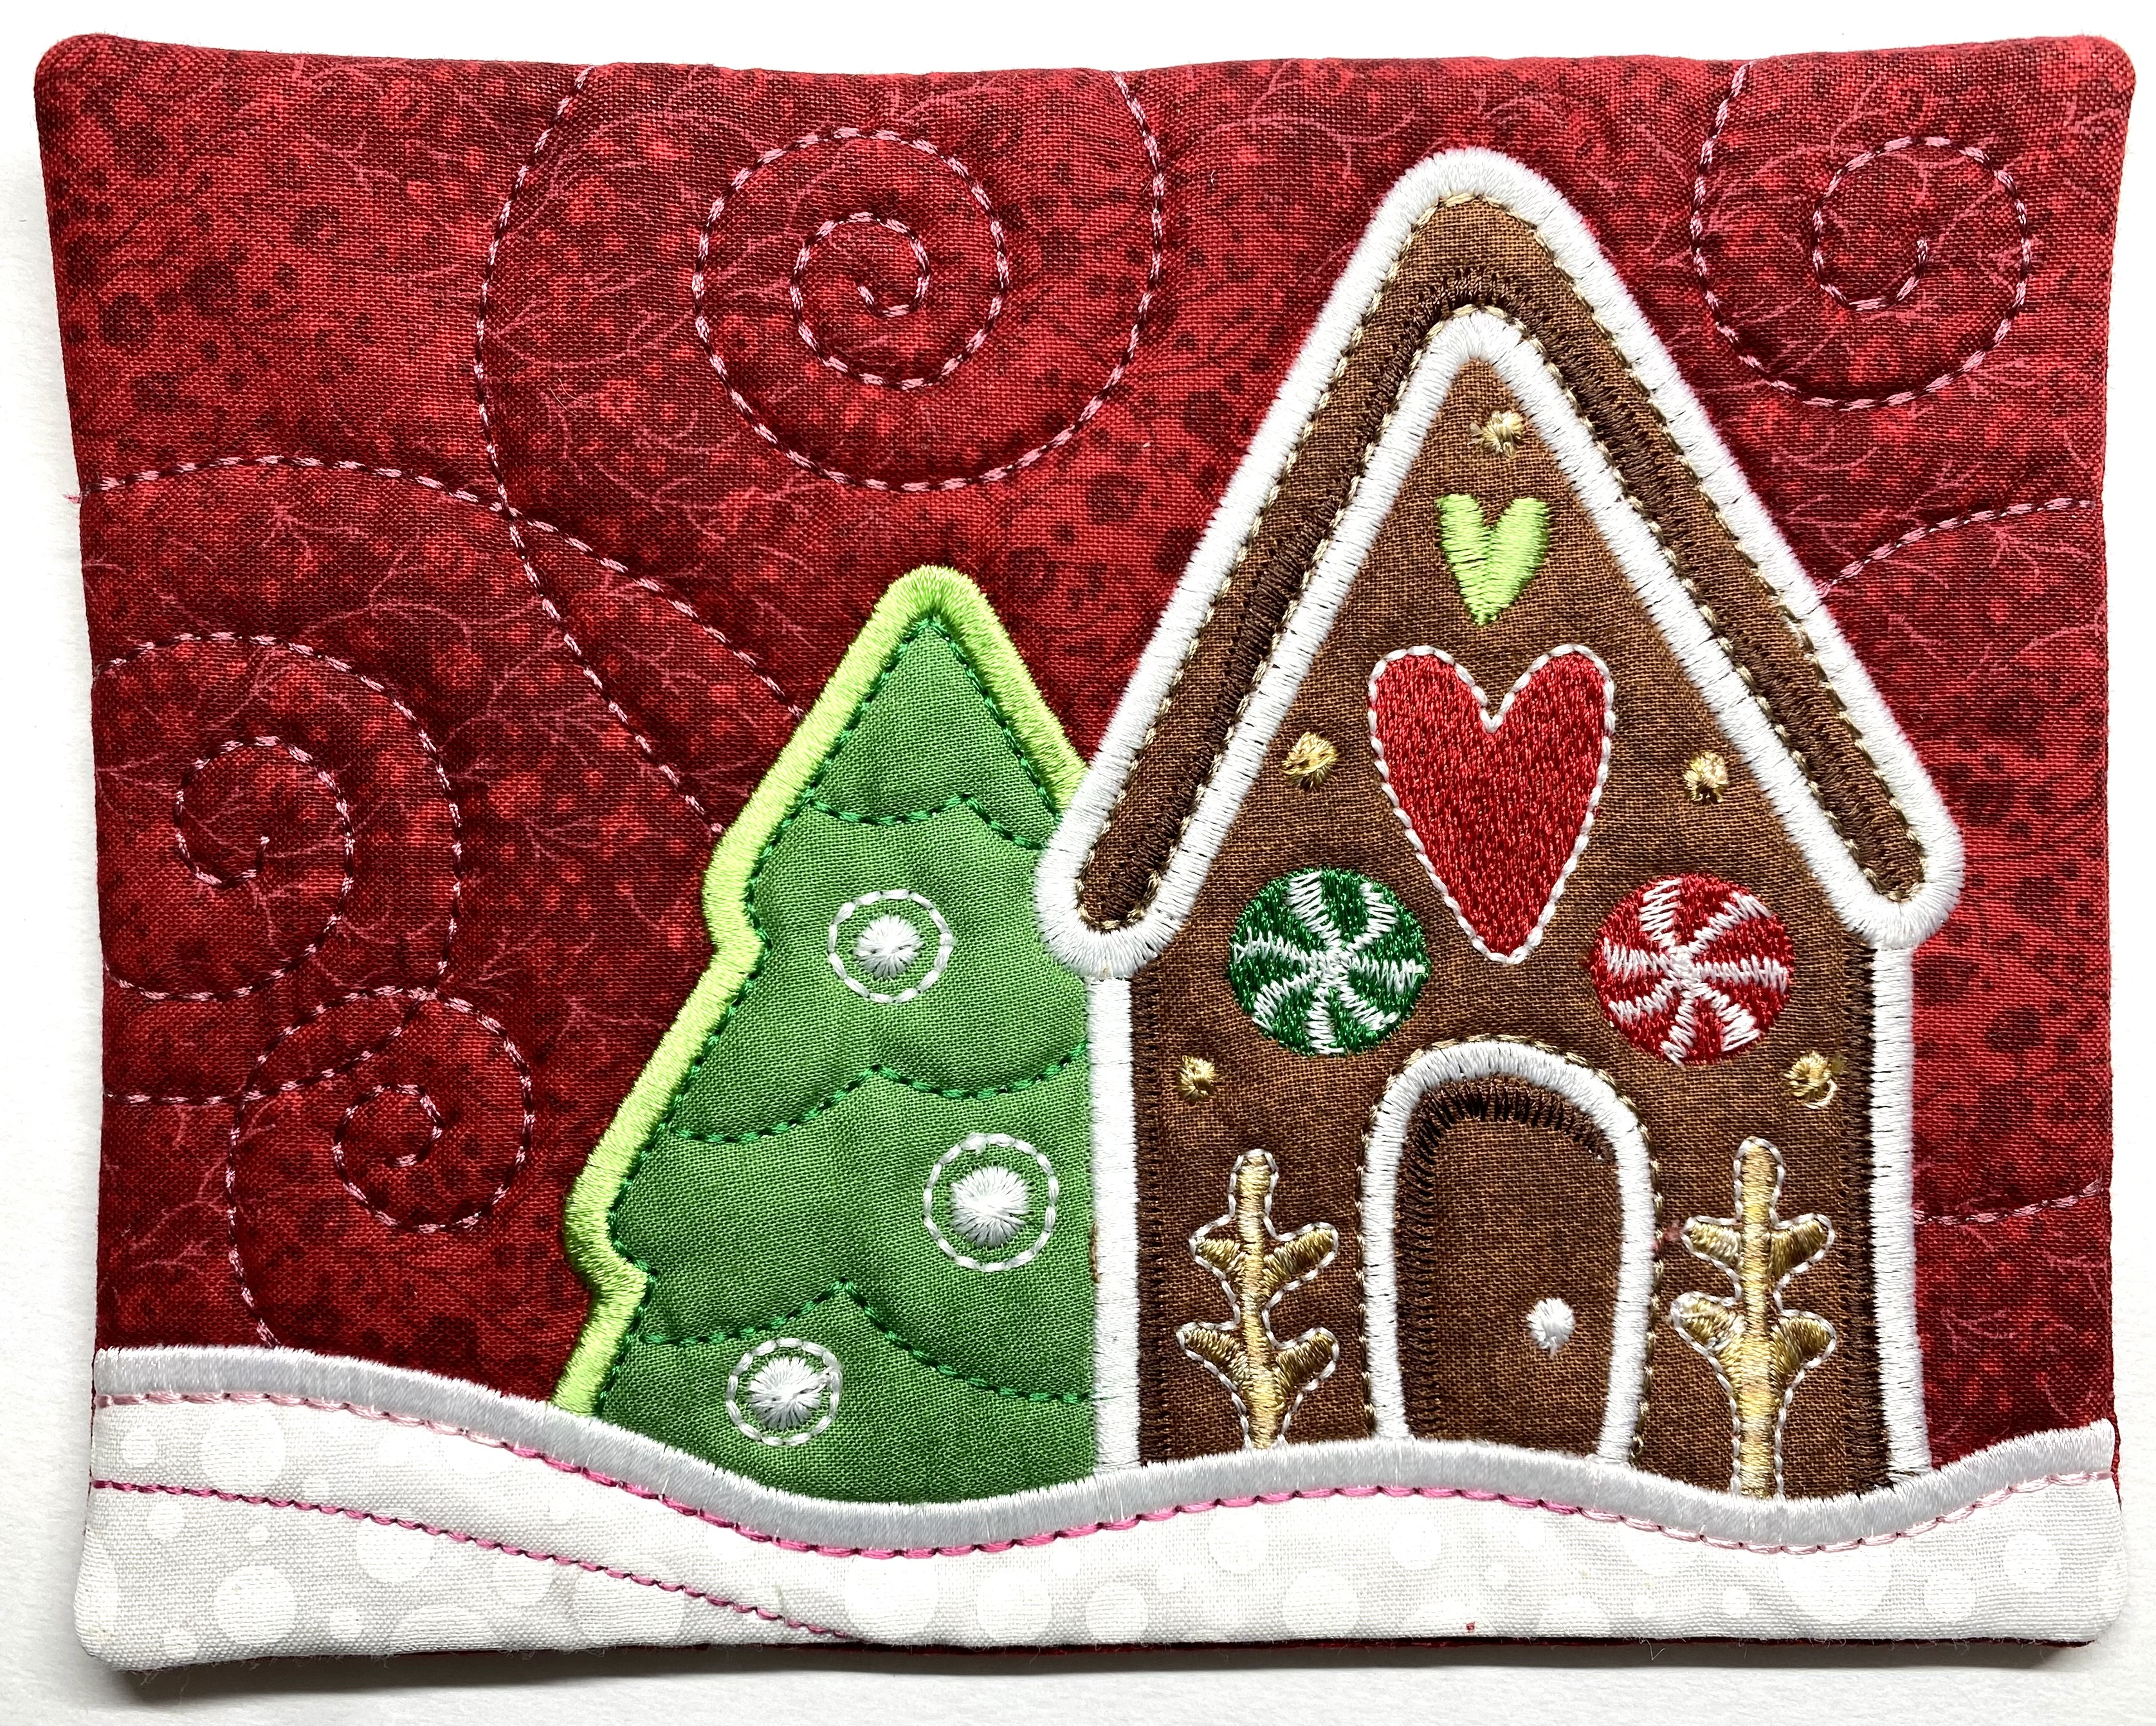
In-the-hoop Appliquéd & Embroidered Gingerbread House
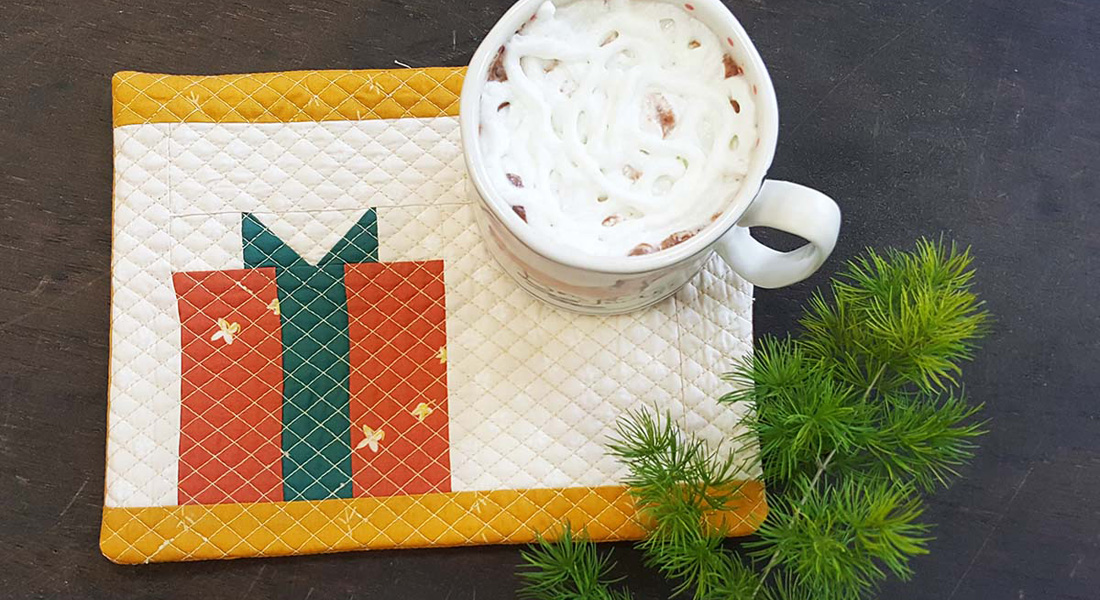
Here the beauty of the experience shines. The mug rug is popped out of the hoop with only edges to trimmed and corners to mitered. After turning right side out using the open back and giving it a quick press…IT IS COMPLETELY FINISHED. There is no measuring to do, no binding to be cut, no hand stitching to finish! The in-the-hoop projects will never become a dreaded UFO (Unfinished Object) making it a win-win.
View of the back
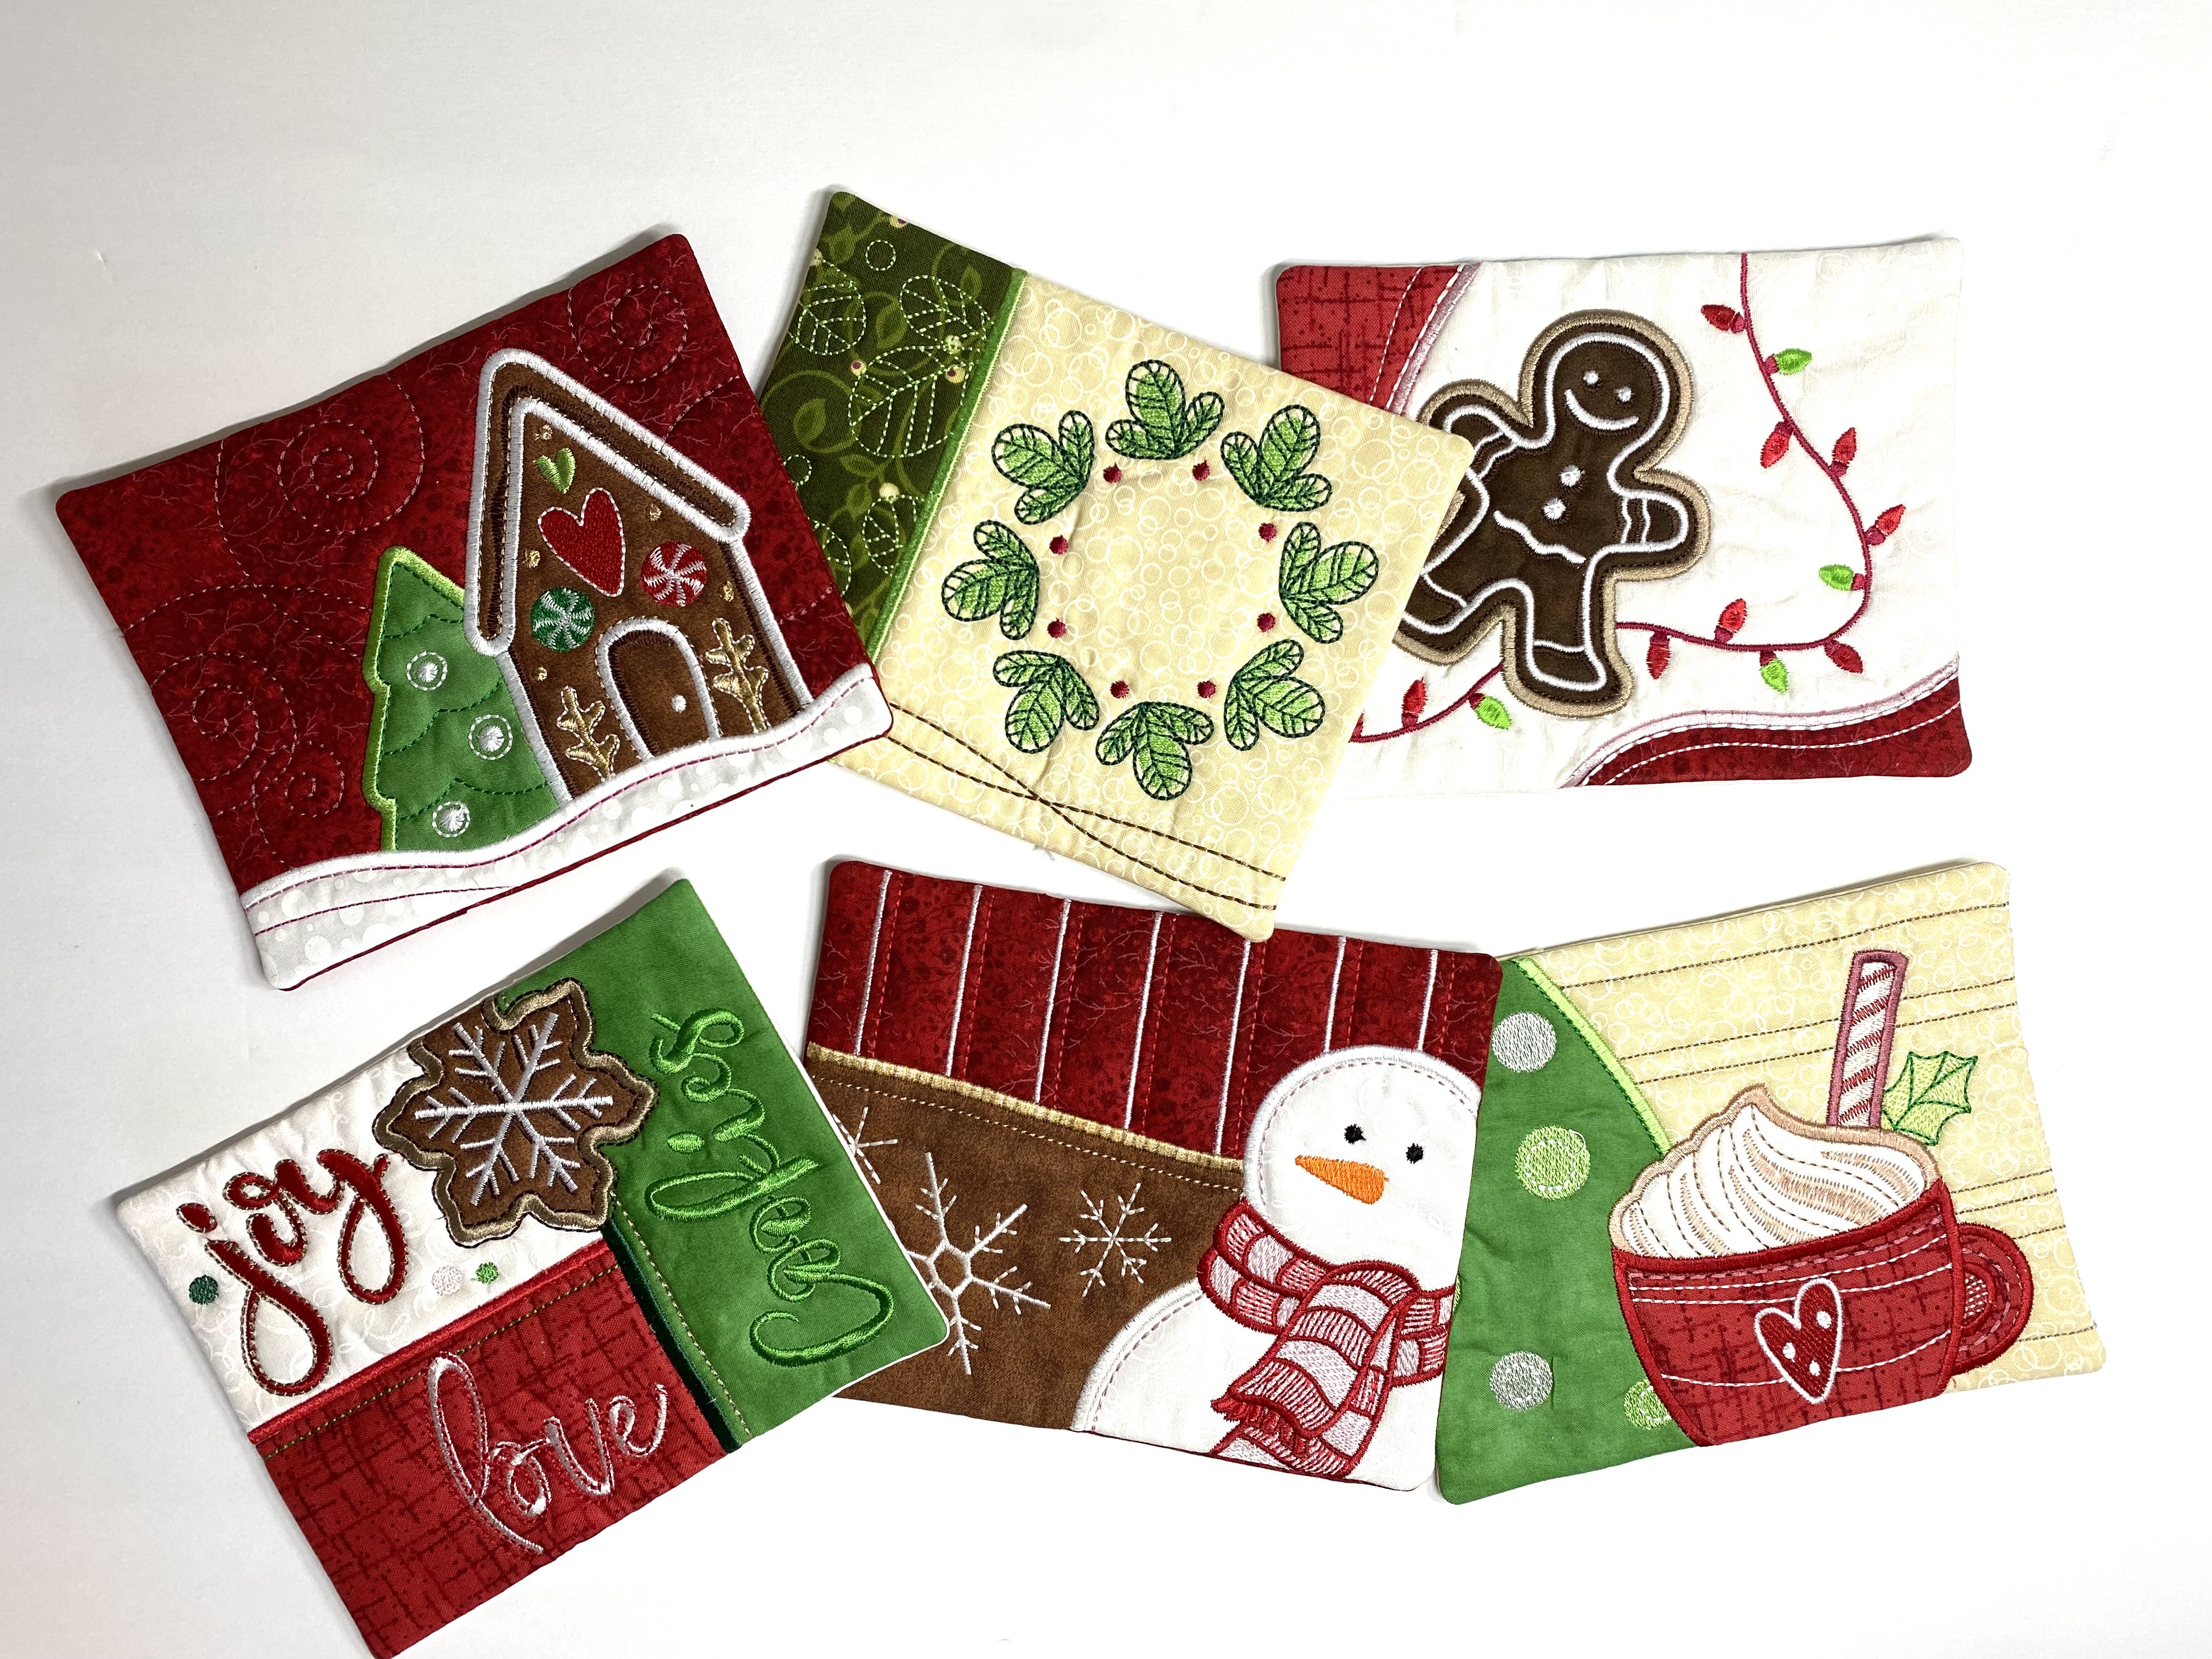
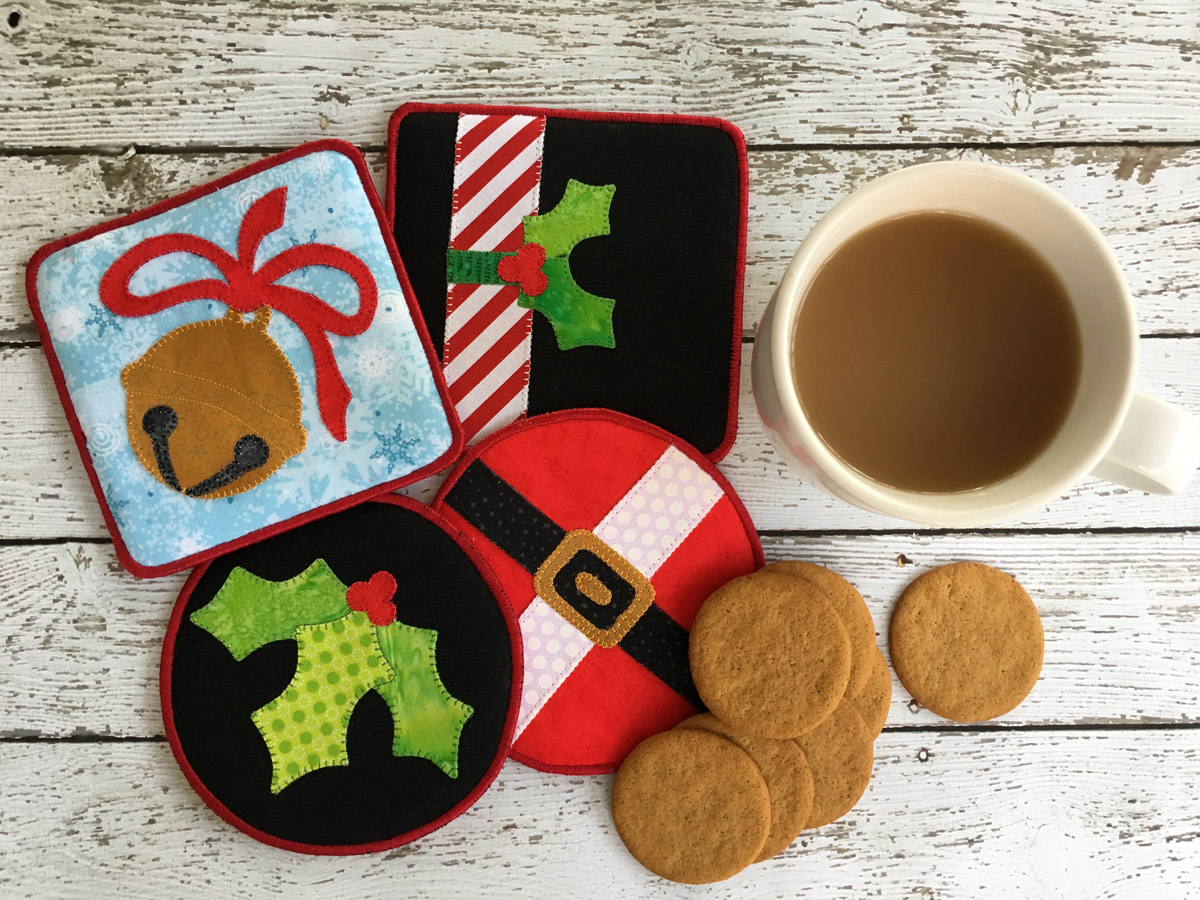
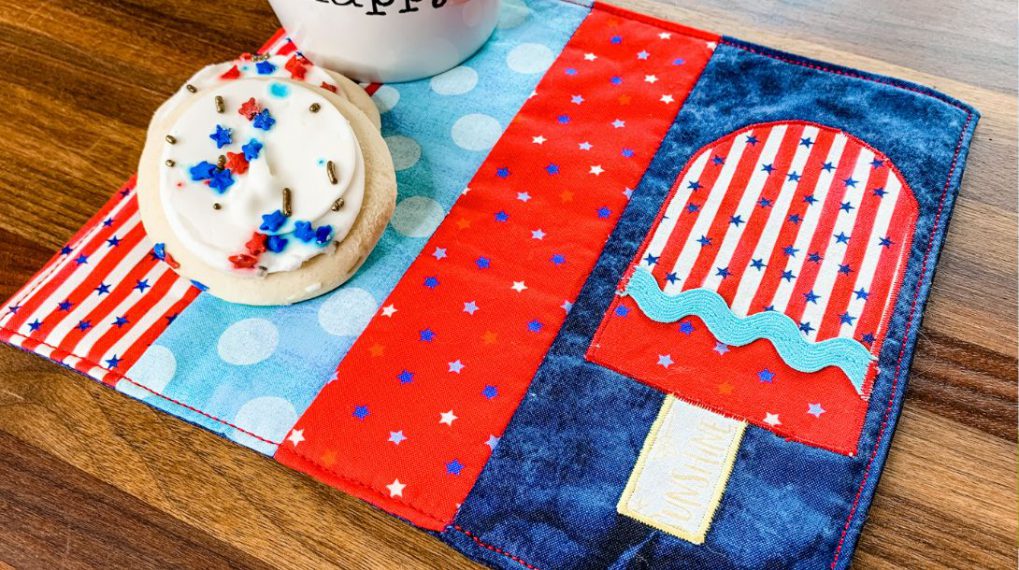
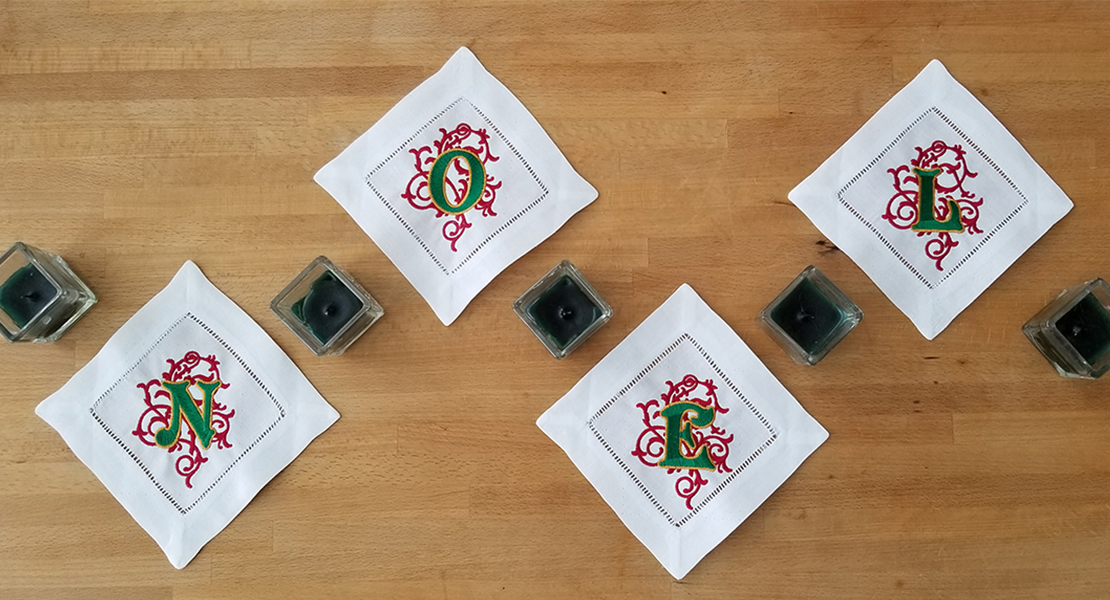
It was so energizing to finish the first one that I completed all six designs! Here are close-ups of a couple more designs included in the online download. Designs are also available to purchase individually.

Details
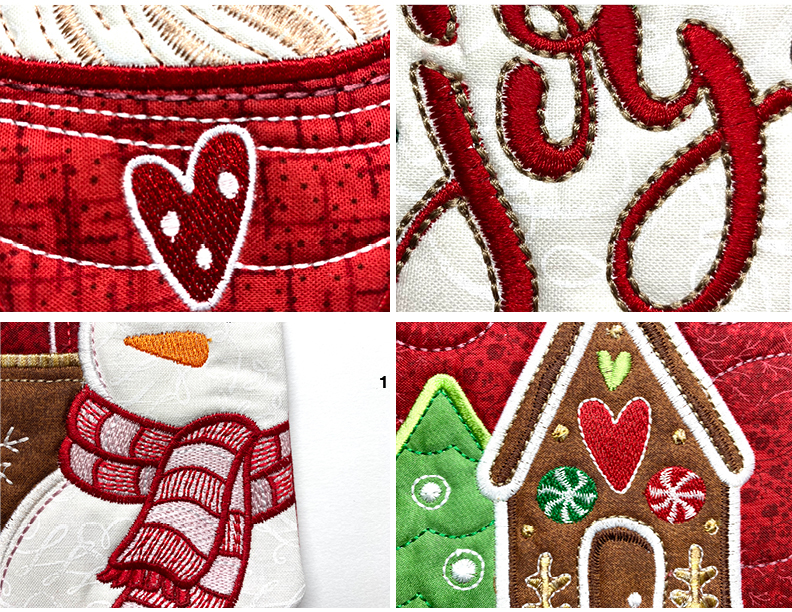
Seriously…when is your stitching so perfect that you want to show up-close photos. I’m taking full credit for this beautiful appliqué and perfect stitches when the real credit goes to my BERNINA 790 PLUS!
Create some to give as hostess gifts over the holidays, bundle them with a mug and hot cocoa mix for your child’s teacher or enjoy them in your own home.
Used Products


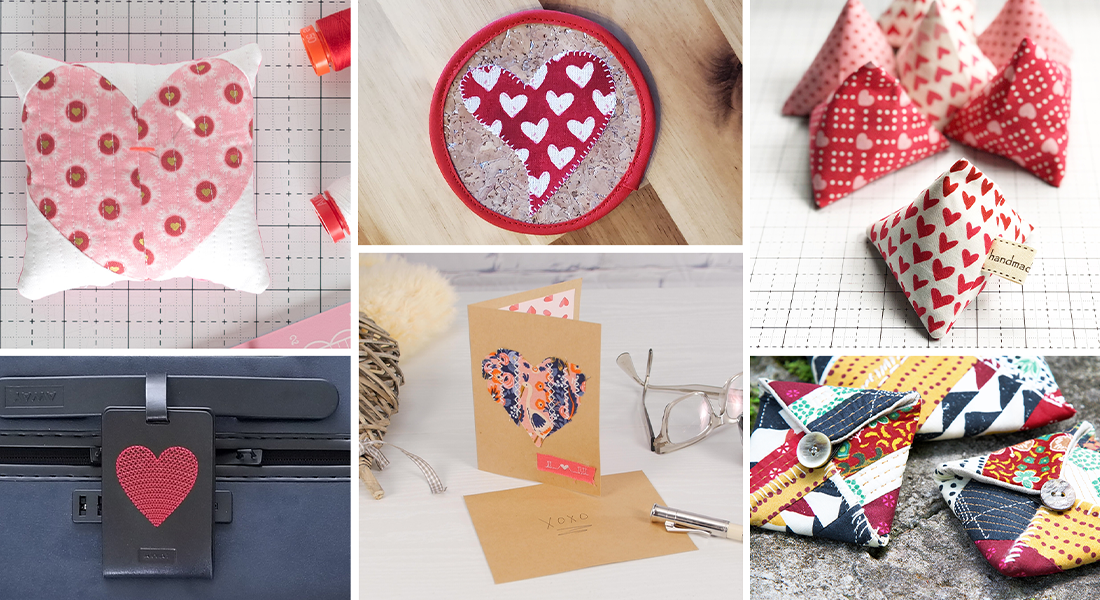
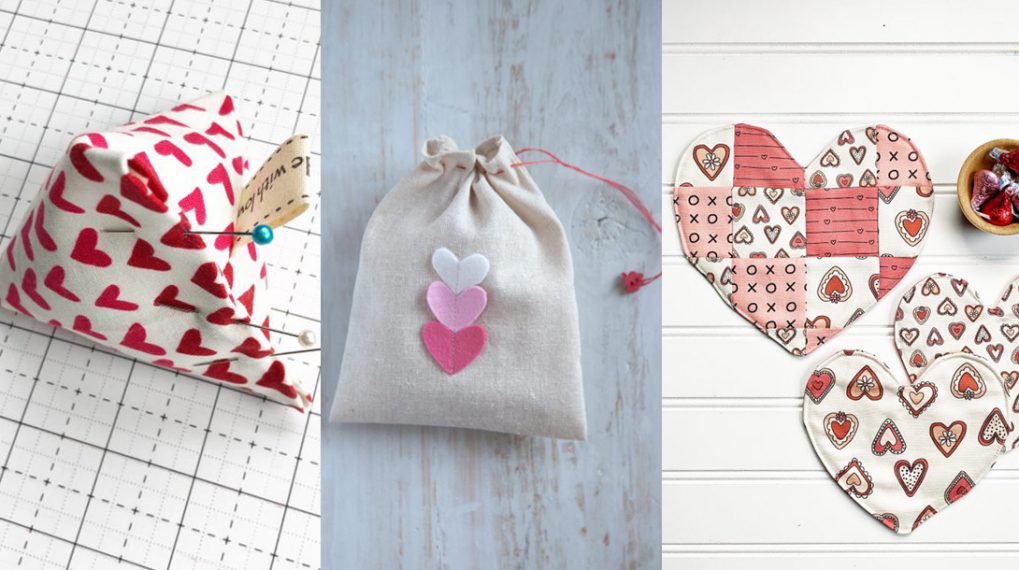
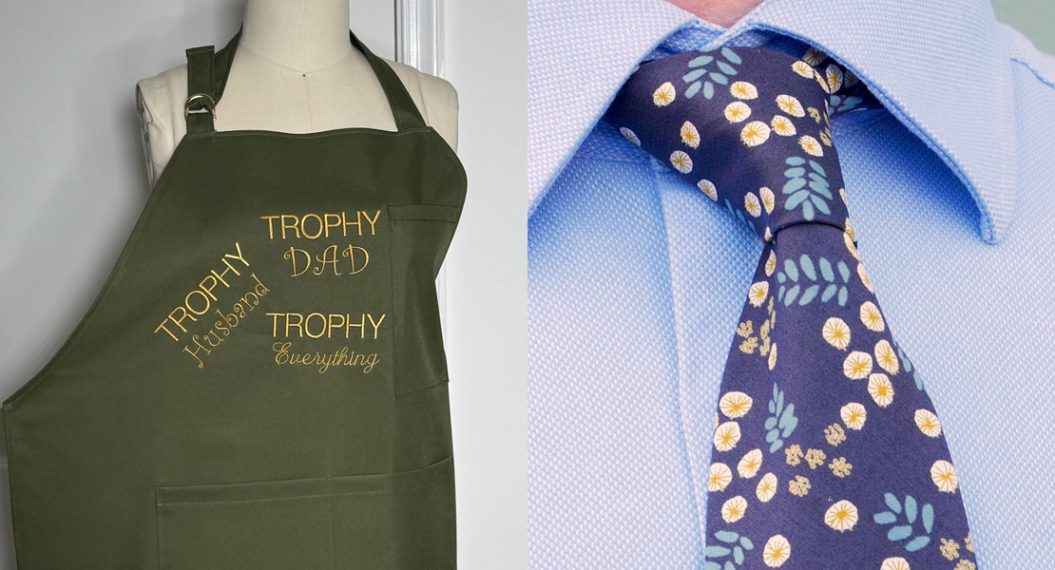
What you might also like


5 comments on “Hoopin’ It Up: Embroidered Holiday Mug Rugs”
-
-
So many fun projects to put on the to-do list!
-
-
I love these projects… quick, cute and great for gift giving. Important supply item is an embroidery/appliqué scissors- double curve, duck bill, etc.
-
Thanks so much for sharing this. After I posted the blog I found my duck billed scissors which I totally forgot I even owned. Definitely stashing them with my embroidery supplies now!
-
-
Thanks so much for sharing this. After I posted the blog I found my duck billed scissors which I totally forgot I even owned. Definitely stashing them with my embroidery supplies now!
Leave a Reply
You must be logged in to post a comment.

Can’t wait!