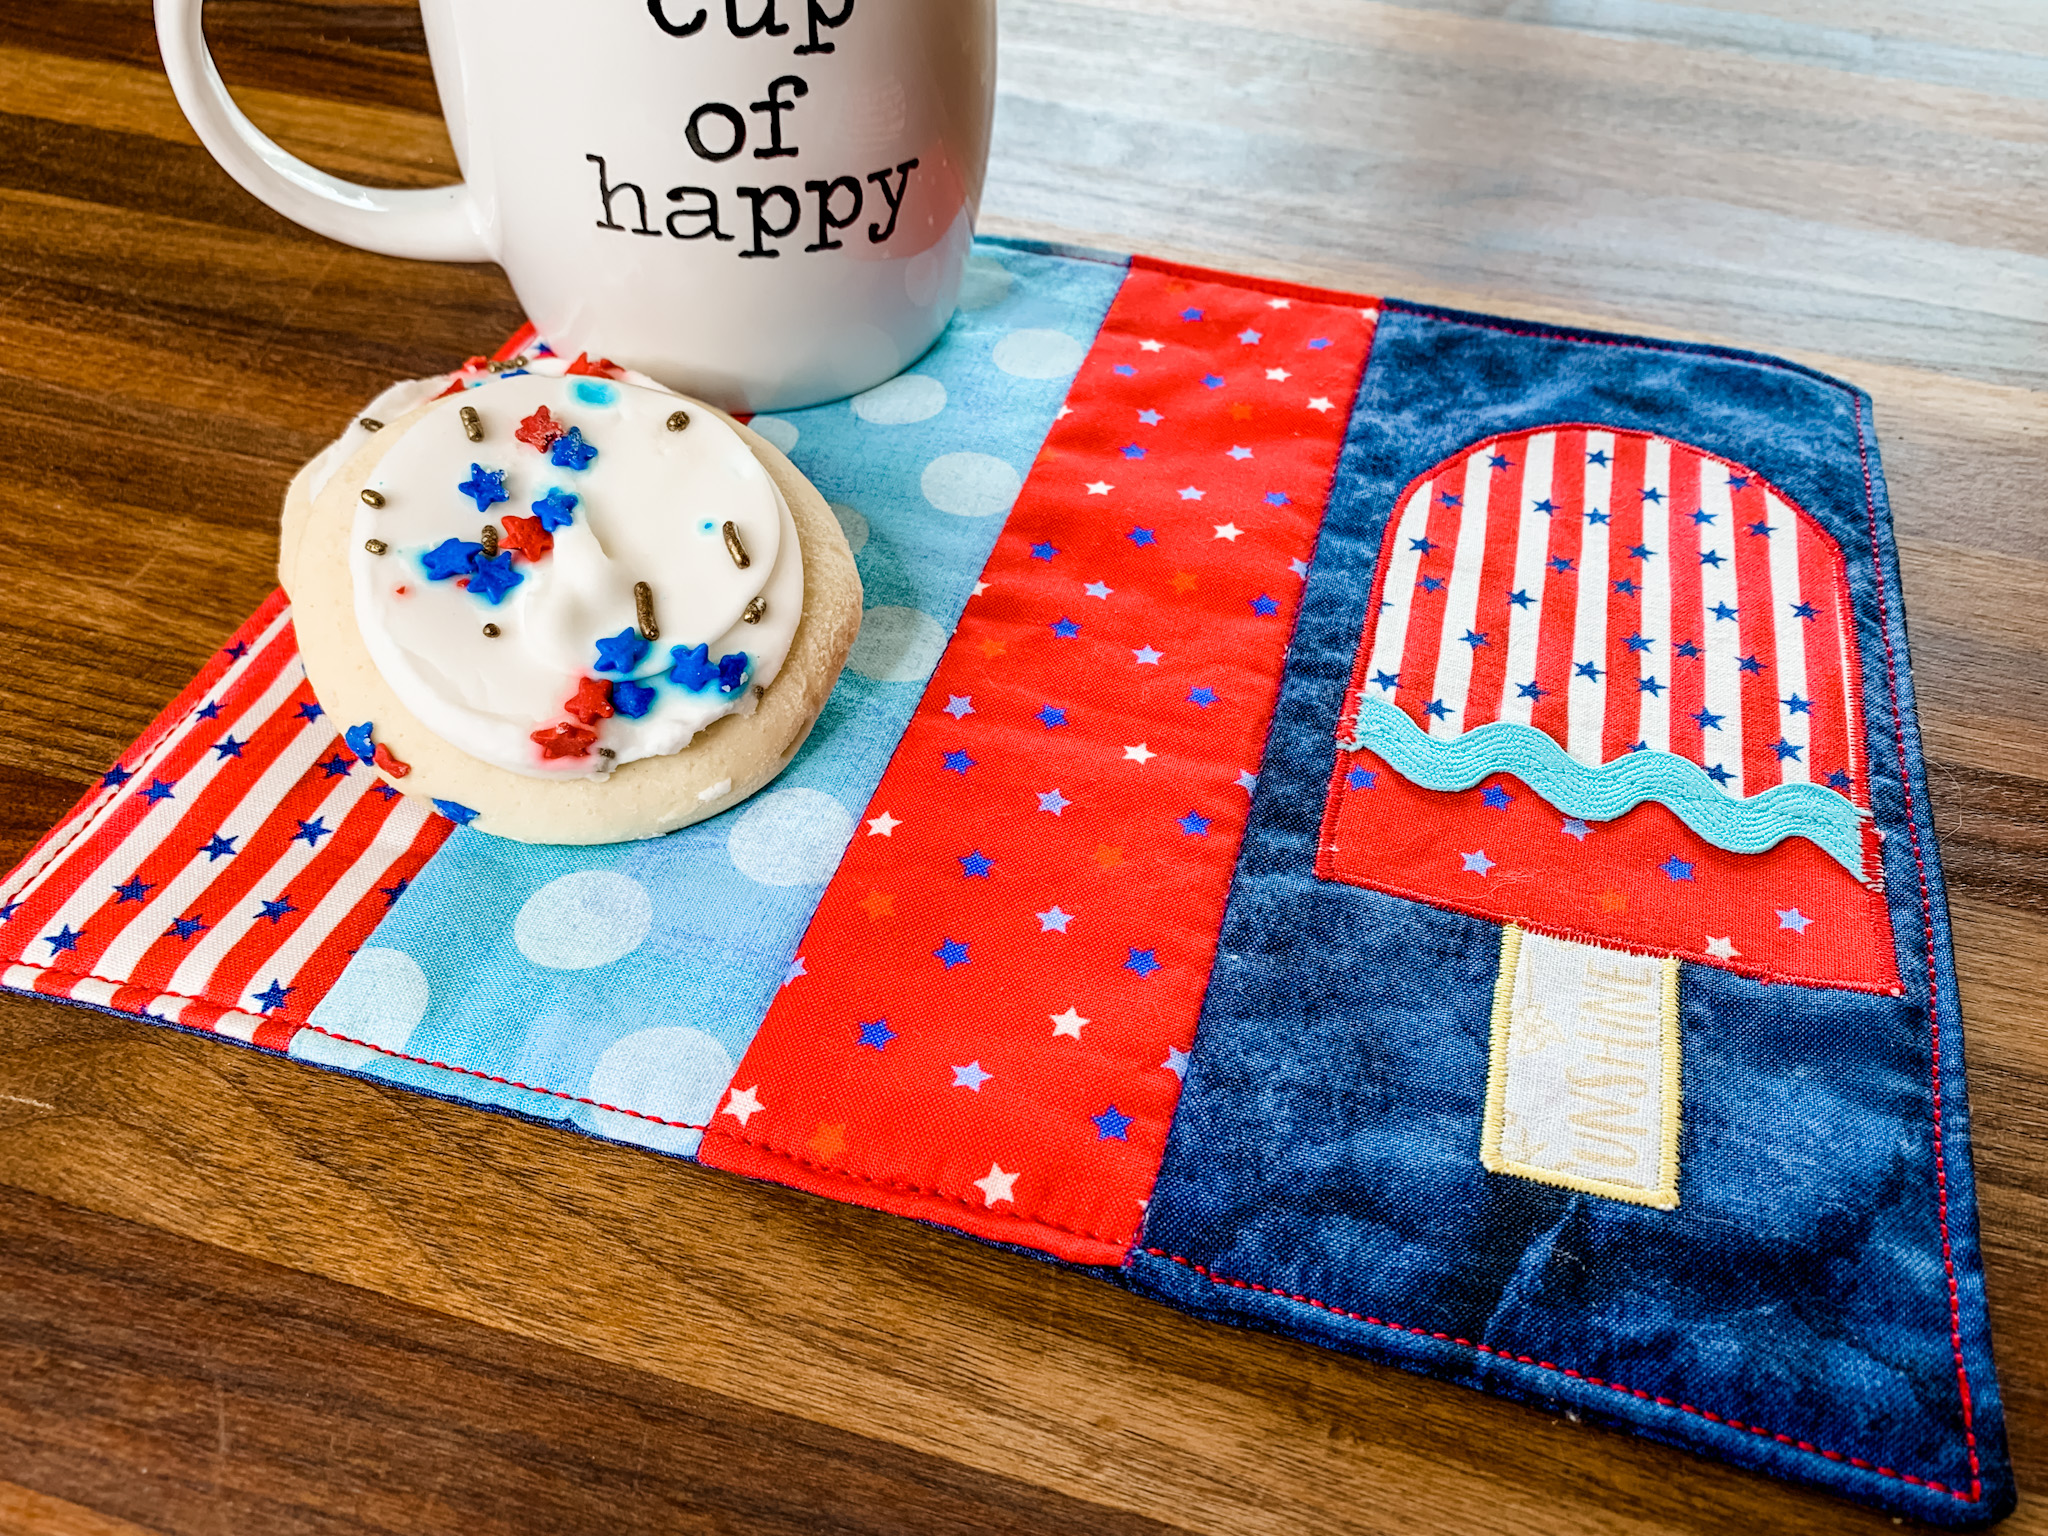
How to Sew a Patriotic Mug Rug with Appliqué Popsicle
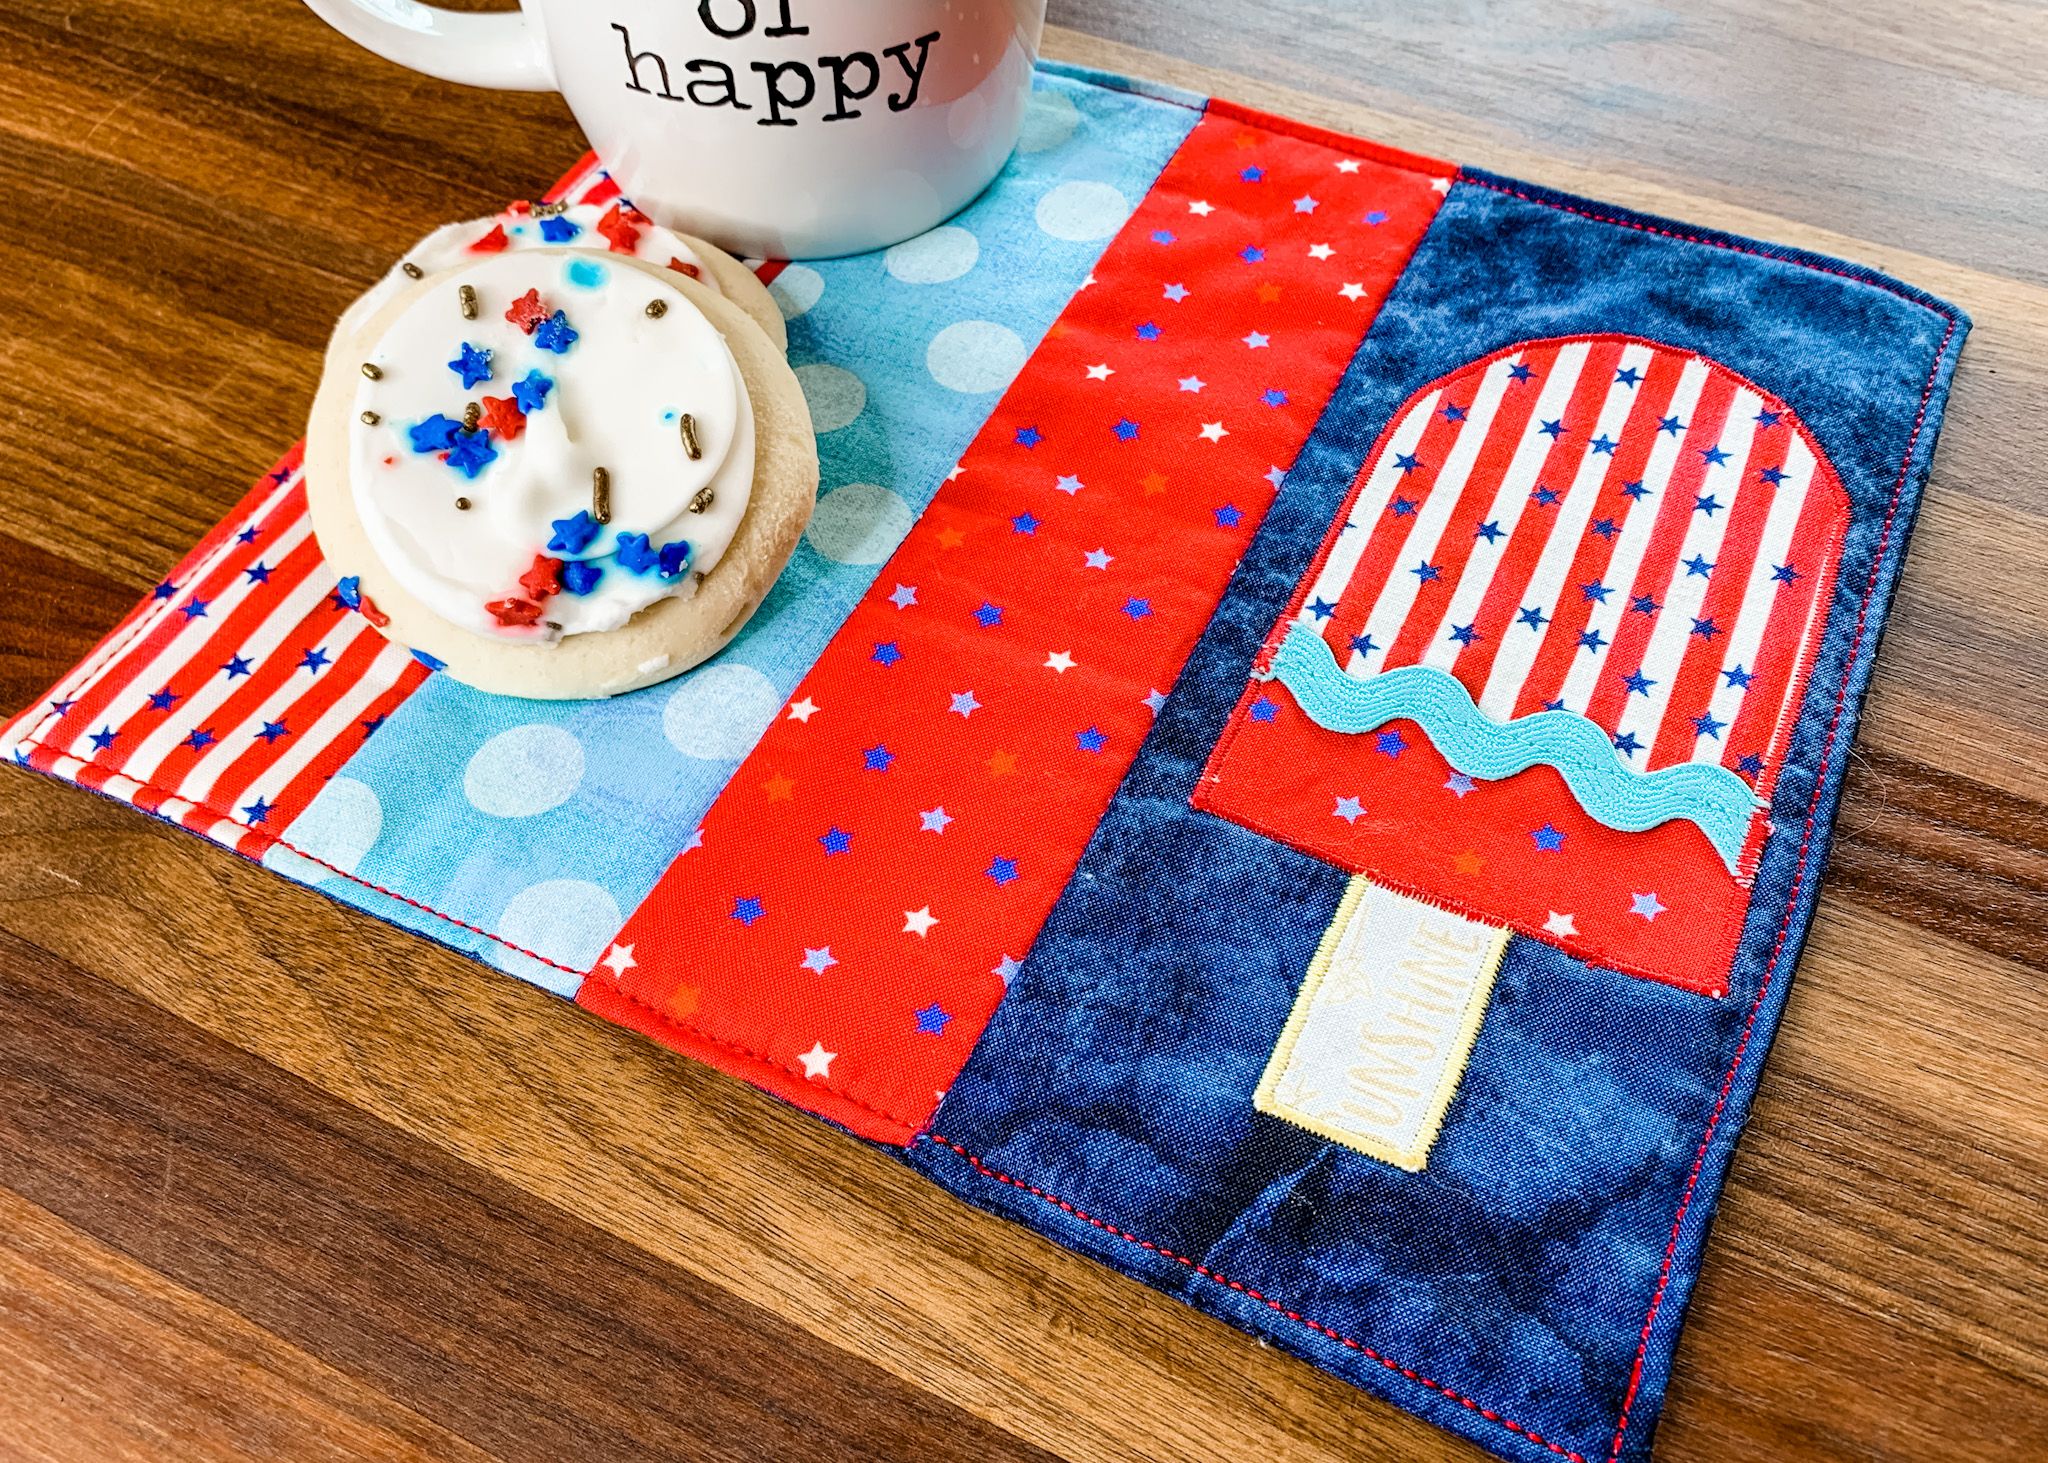
Whether you celebrate Independence Day with a backyard BBQ or a picnic in the park, this easy to sew mug rug is a great addition to your holiday meal. It’s the perfect size for a refreshing glass of lemonade, a cookie, or a piece of birthday cake if you have a family member who’s birthday falls on July 4 – like I do!
In today’s blog post I’m showing you how to sew this mug rug with an appliquéd Popsicle that will remind you of enjoying a refreshing treat on a hot summer day. Plus, it’s so easy to create that you can quickly sew multiple ones to give as gifts.
Choose red, white, and blue fabrics for a patriotic look, or use bright ice-cream colors for a mug rug that can be used all summer long. In addition, the back side is one solid color, so you can flip it over for a different look. The finished size of this mug rug is 8-1/2″ x 9-1/2″.
Hello my sewing friends, I’m Sharon of Sharon Sews. You can connect with me on YouTube and Instagram where I share sewing tips, projects, and reviews, as well as wardrobe ideas.
Let’s sew the mug rug!
Gather Your Supplies
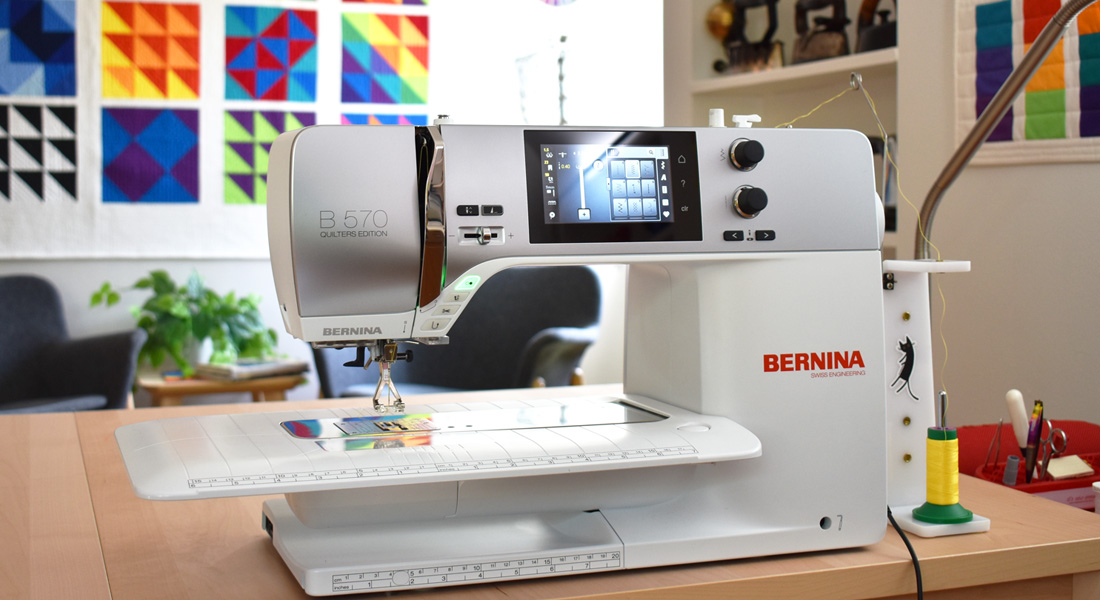
- Sewing Machine (I used my BERNINA 770 QE Plus)
- Four fabric scraps for the front
- Fabric scrap for the back
- Three fabric scraps for the Popsicle appliqué
- Approx. 3-1/4″ x 4″ for the top
- Approx. 3-1/4″ x 1-1/2″ for the bottom
- Approx. 1-1/4″ x 2″ for the handle
- Approx. 3″ of ric-rac trim
- Cotton batting
- Coordinating thread to sew the mug rug (I used Mettler Metrosene thread)
- Contrasting thread for appliqué and edgestitching (I used Mettler Poly Sheen thread)
- Paper-backed fusible web (I used Heat-n-Bond Lite)
- Pencil
- Rotary cutter and cutting mat
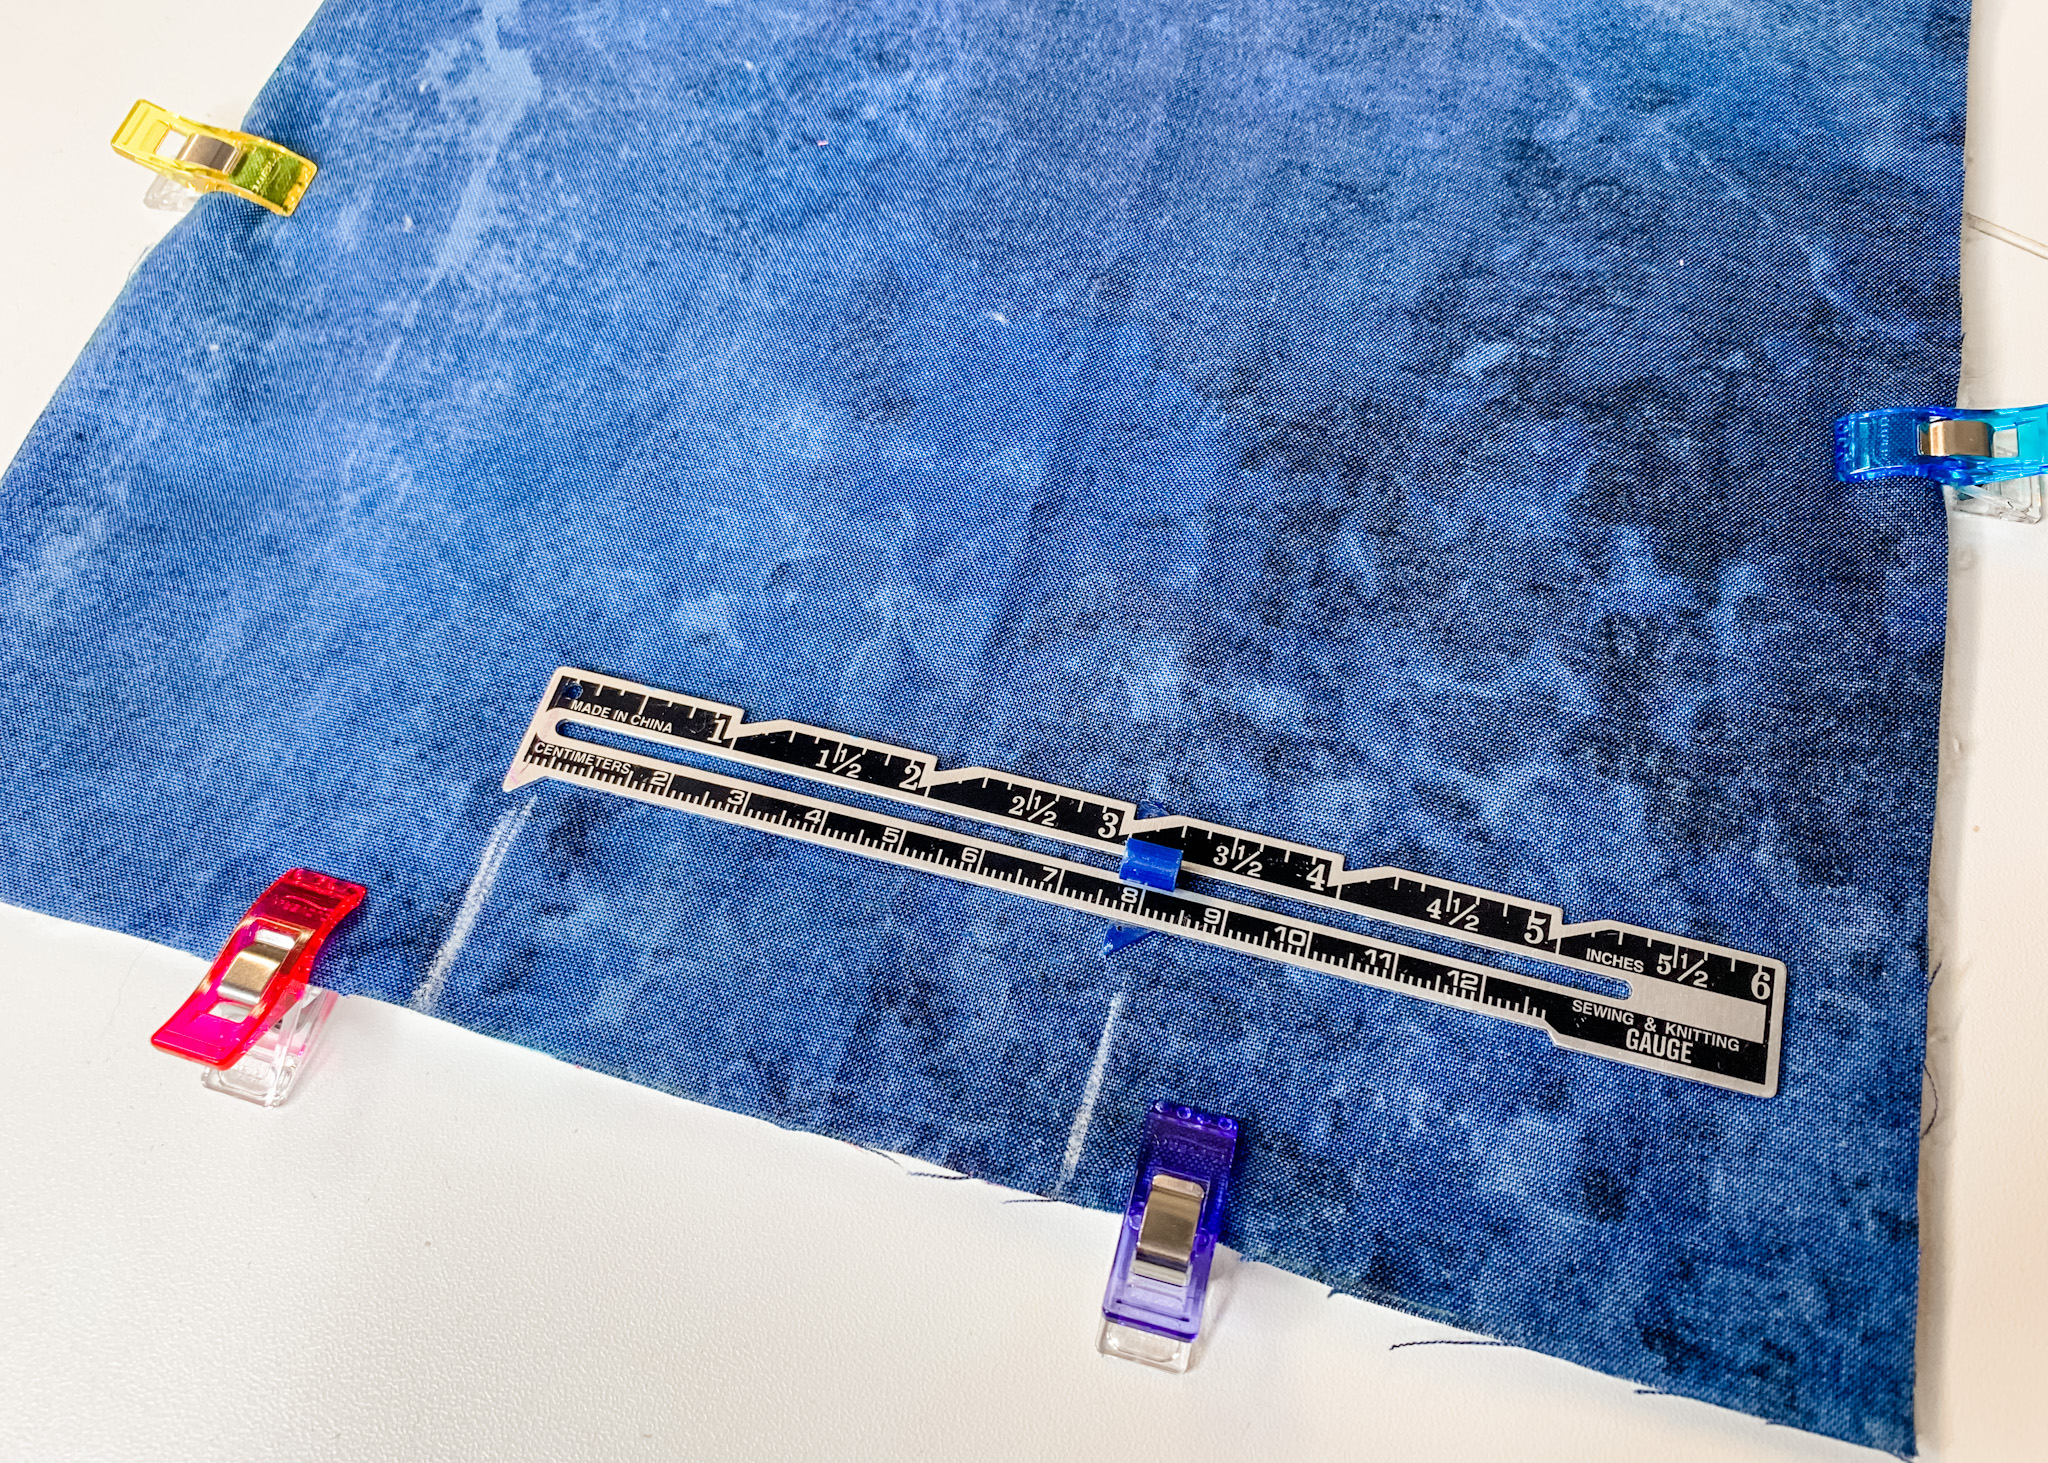
- Quilting ruler
- Scissors
- Paper scissors
- Pins or clips
- Iron and ironing board

Cut the Fabrics and Batting
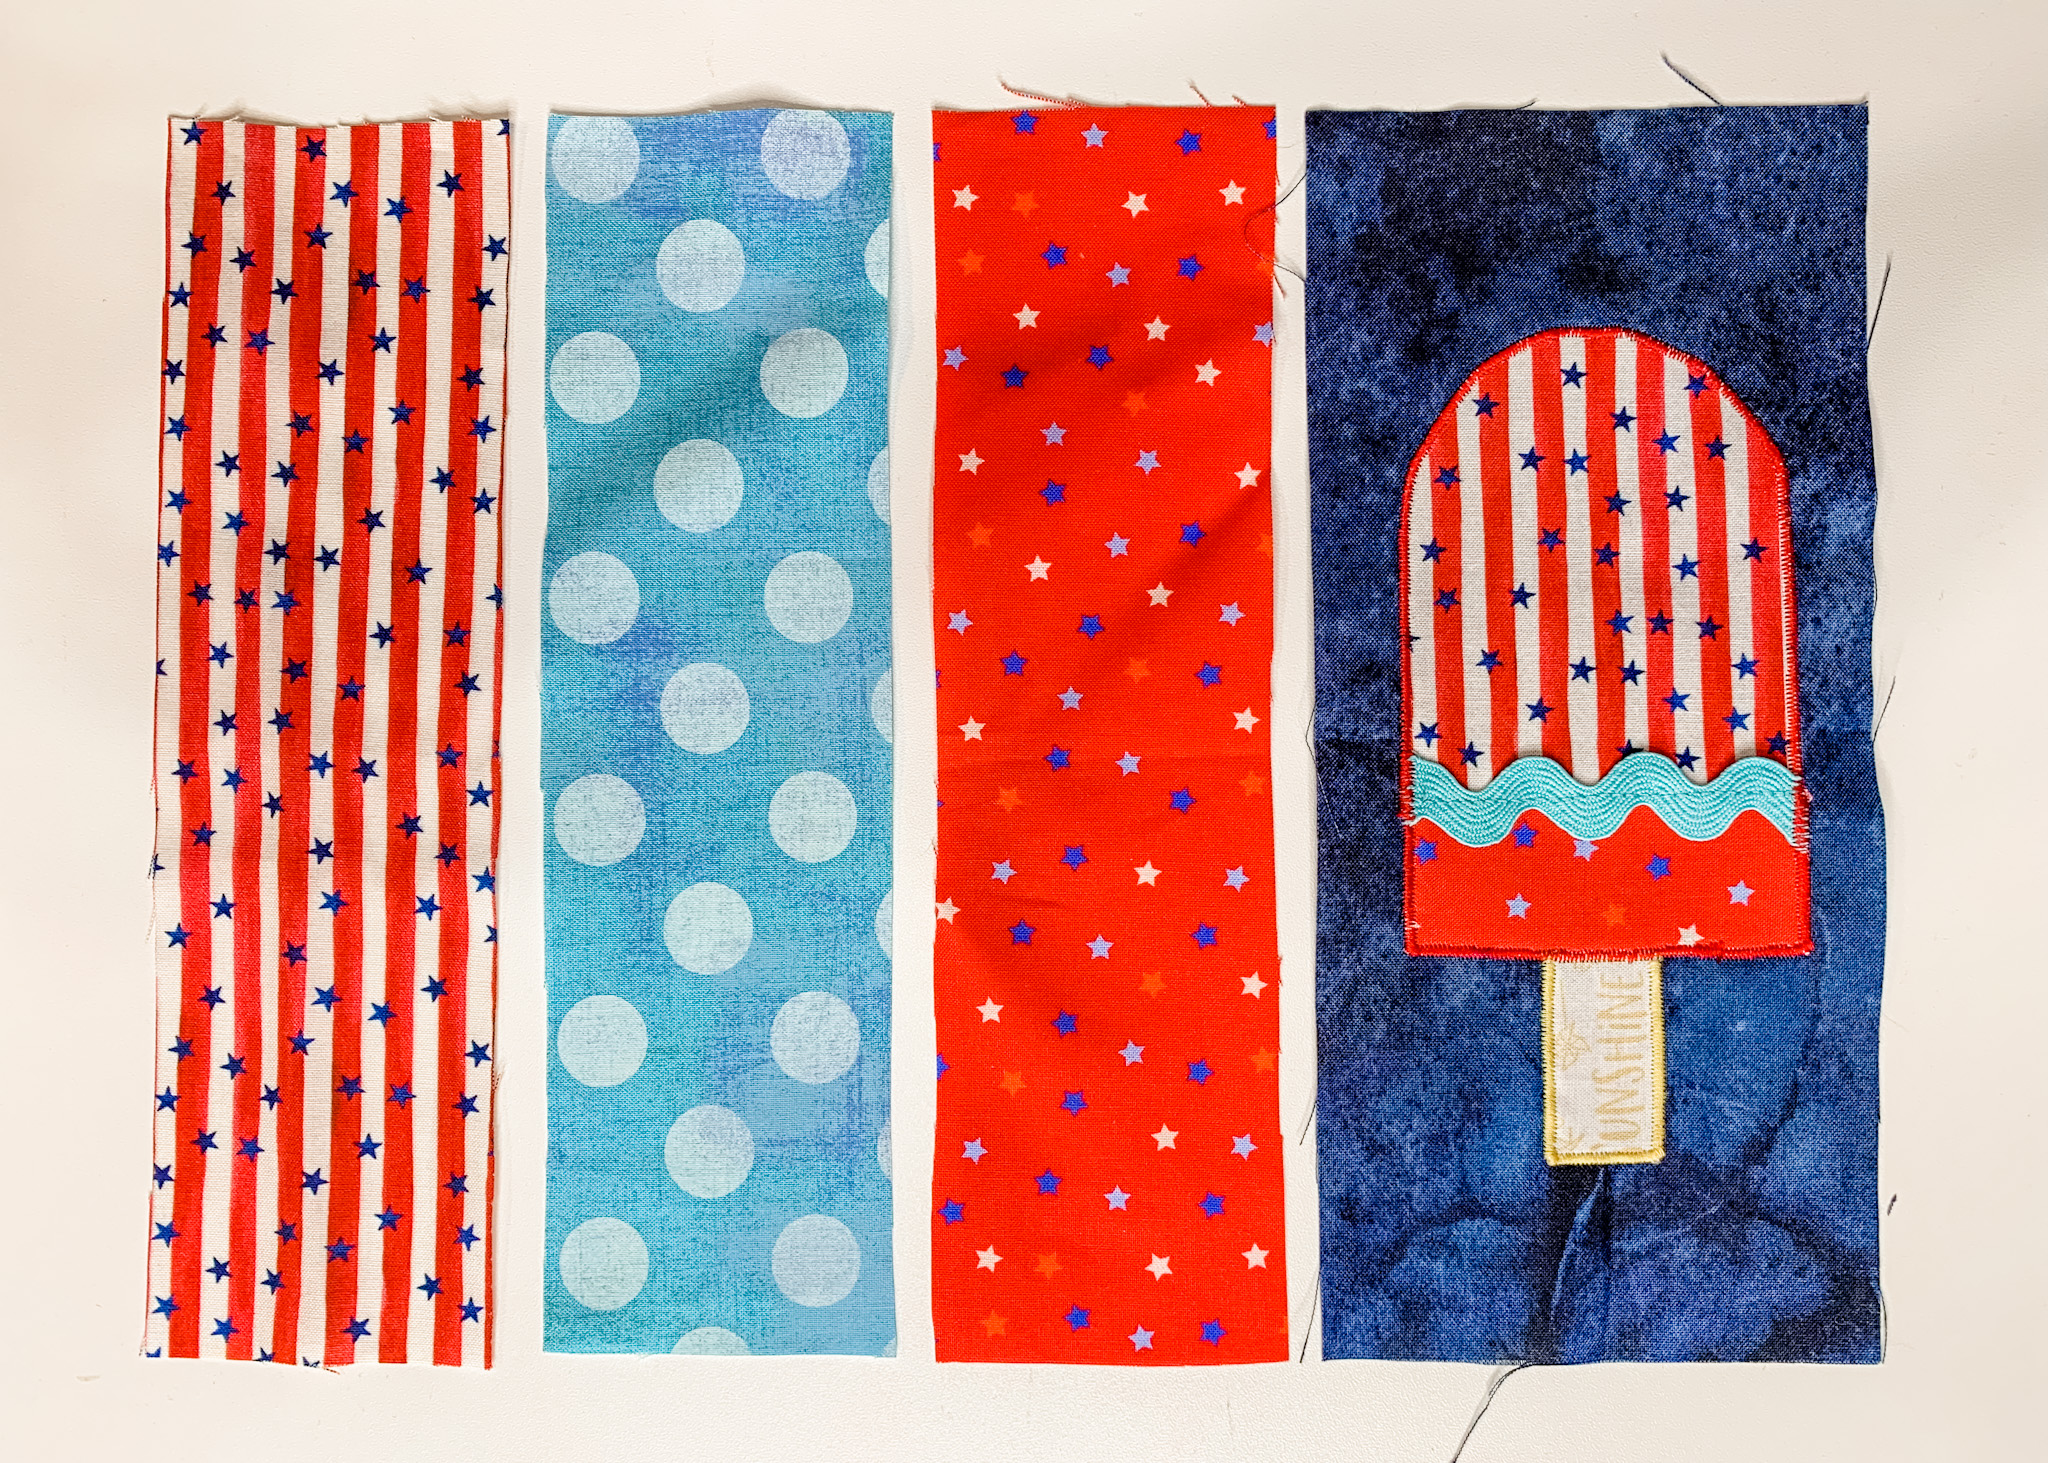
- Fabric A – Cut one 2-1/2″ x 9″
- Fabric B – Cut one 2-1/2″ x 9″
- Fabric C – Cut one 2-1/2″ x 9″
- Fabric D – Cut one 4″ x 9″
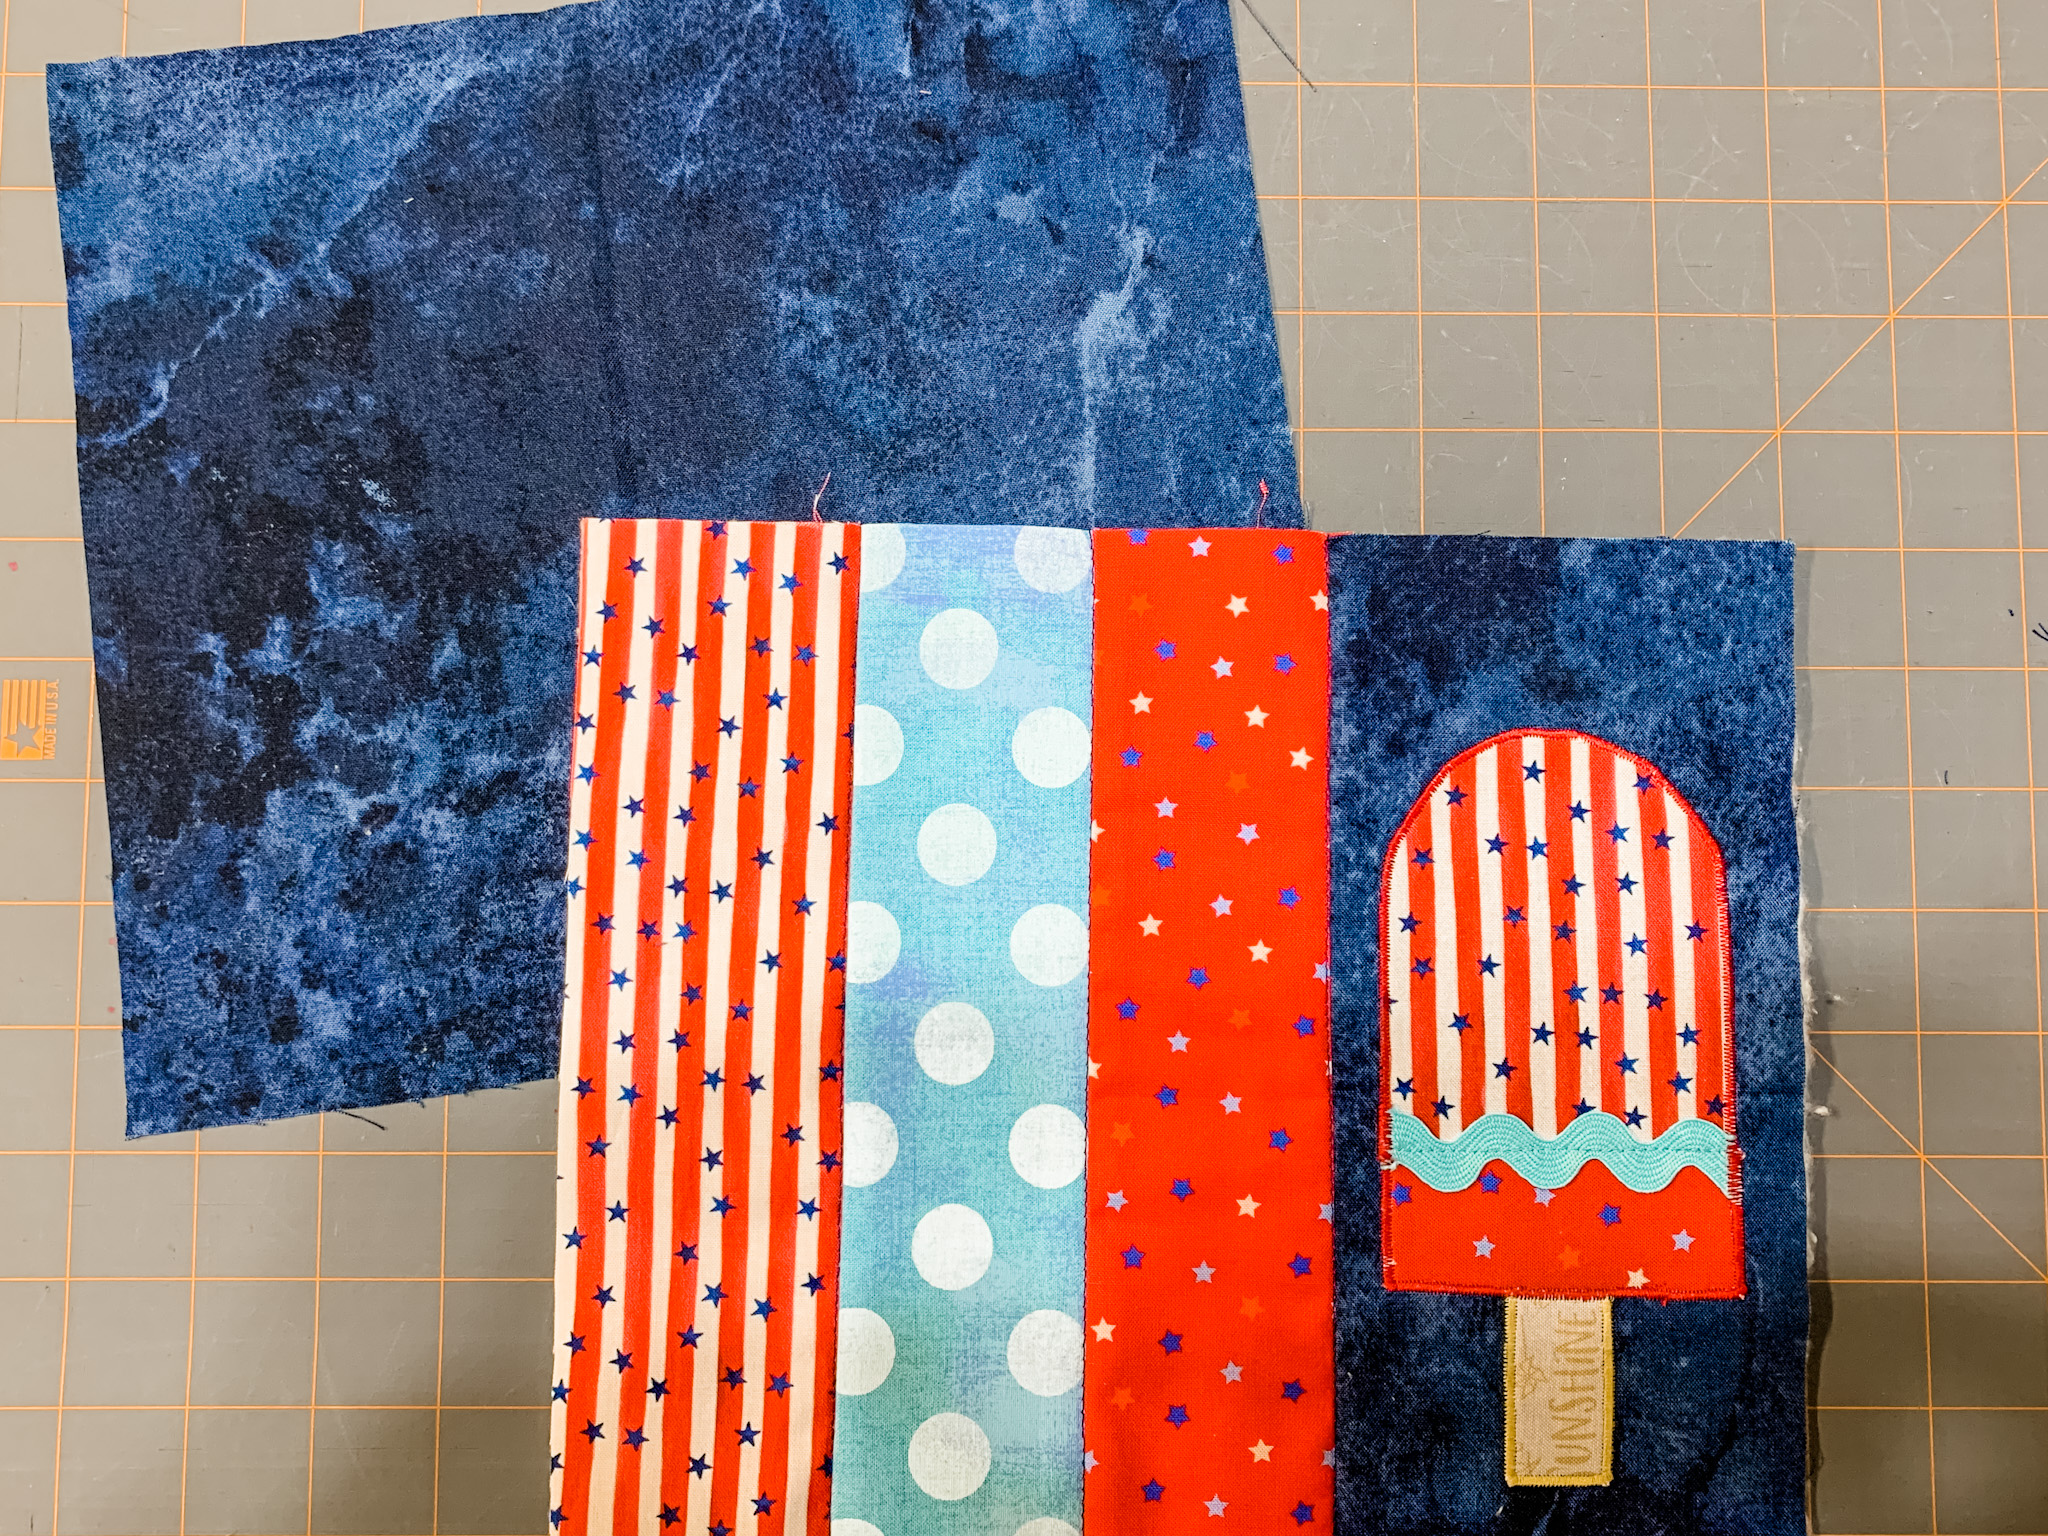
- Backing Fabric – Cut one 10″ x 9″
- Cotton Batting – Cut one 10″ x 9″

Appliqué the Popsicle
Trace and Fuse the Appliqué Pieces
Download the PDF file of the Popsicle appliqué template and print. There are three pieces to the appliqué- the top of the Popsicle, the bottom of the Popsicle, and the handle. Use paper scissors to cut out all three pieces.
Place the appliqué template pieces over the fusible web paper backing with the paper side up (the bumpy side will be down), and trace the pieces using a pencil.
Following the manufacturer’s instructions, fuse to the wrong side of your fabrics.
Cut out each appliqué piece and carefully peel the paper backing from the fabric.
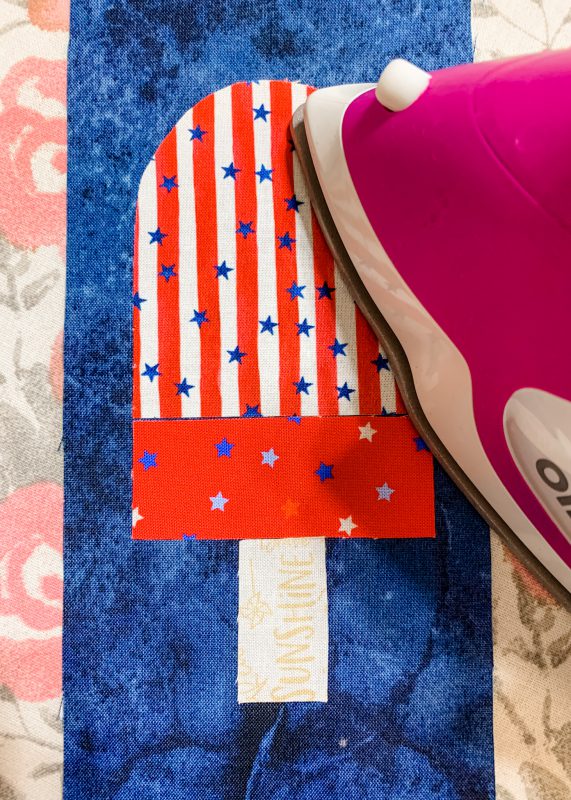
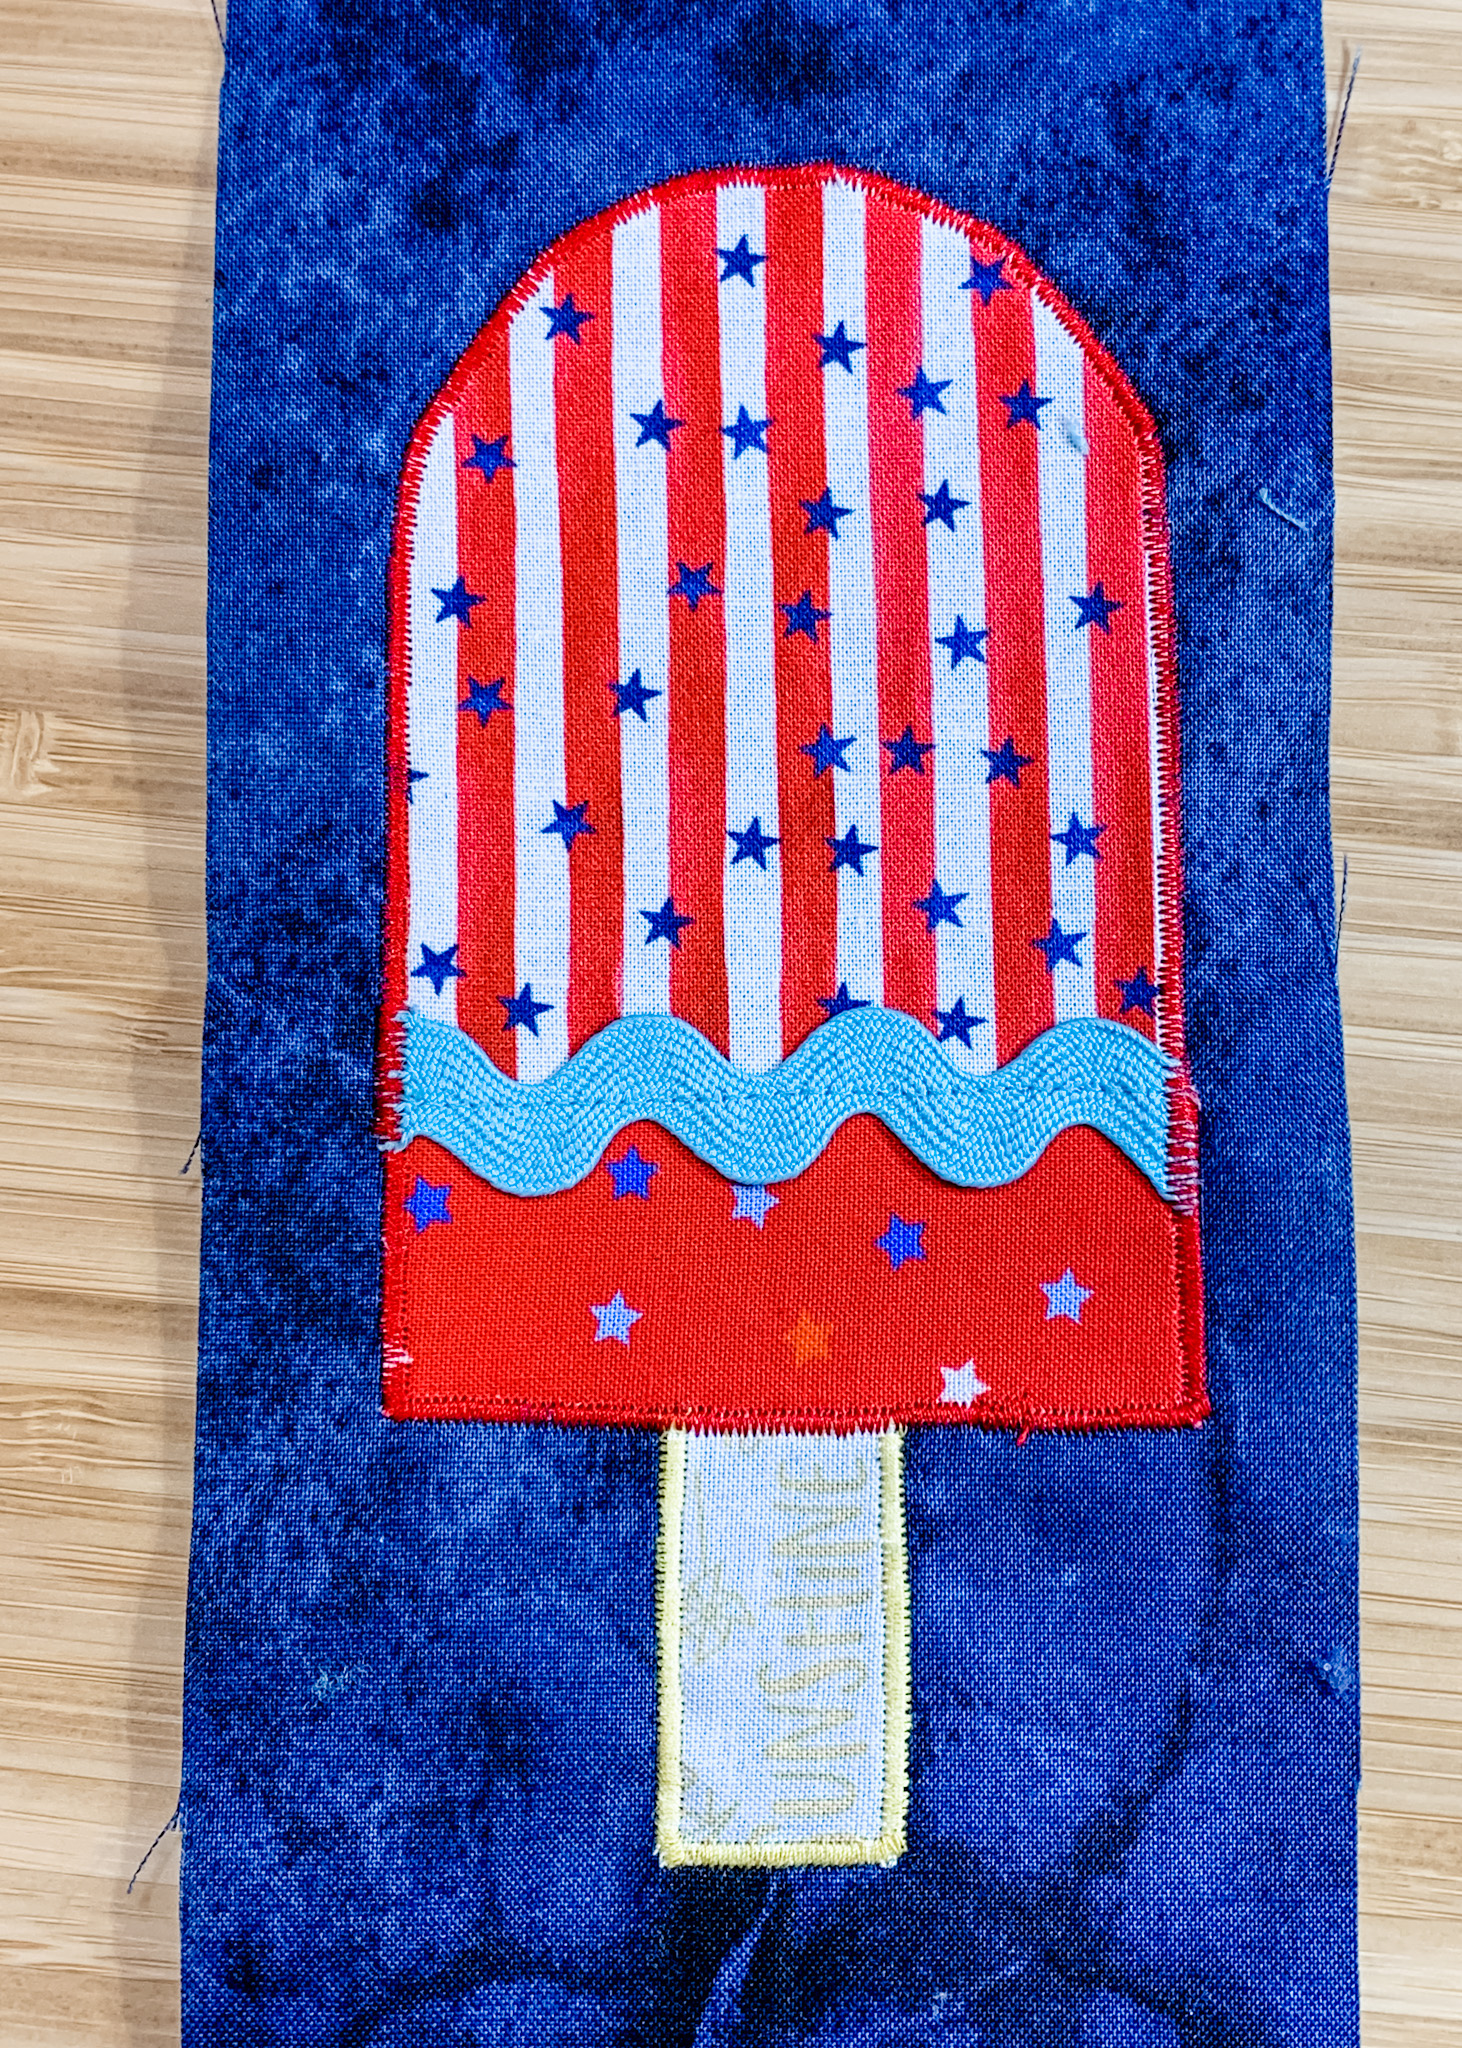
Place the appliqué pieces in the center of fabric piece D with right sides up. Once you are happy with the placement, fuse in place following the manufacturer’s instructions.
 Stitch the Appliqué
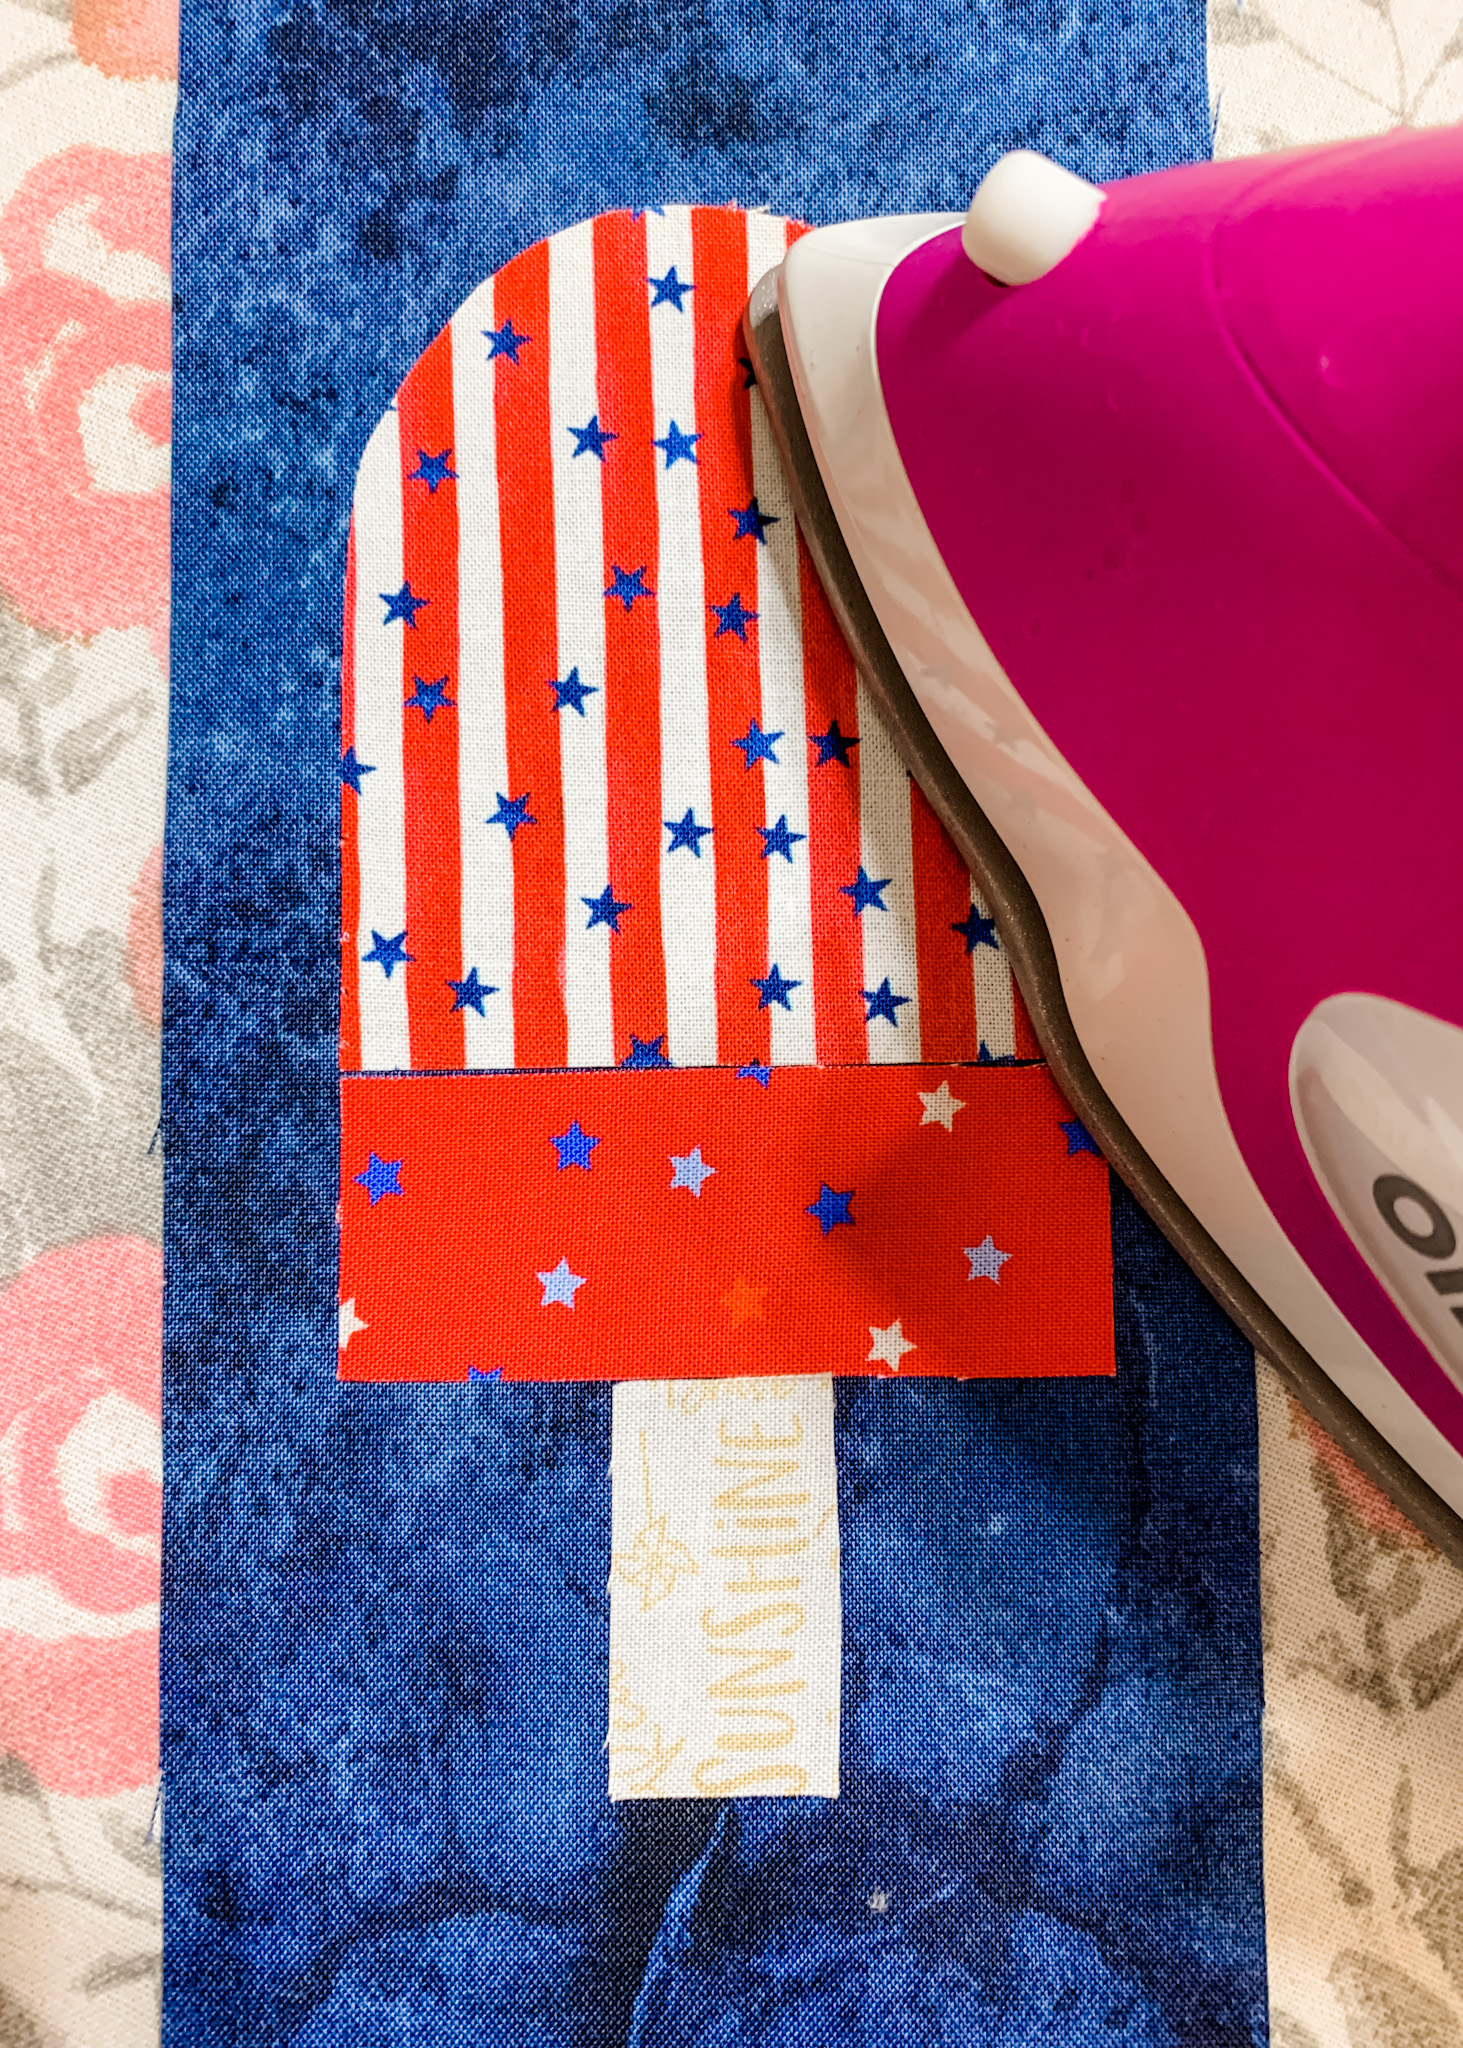
Place the piece of ric-rac on top of the appliqué right where the top and bottom pieces meet. Trim any excess and stitch in place.
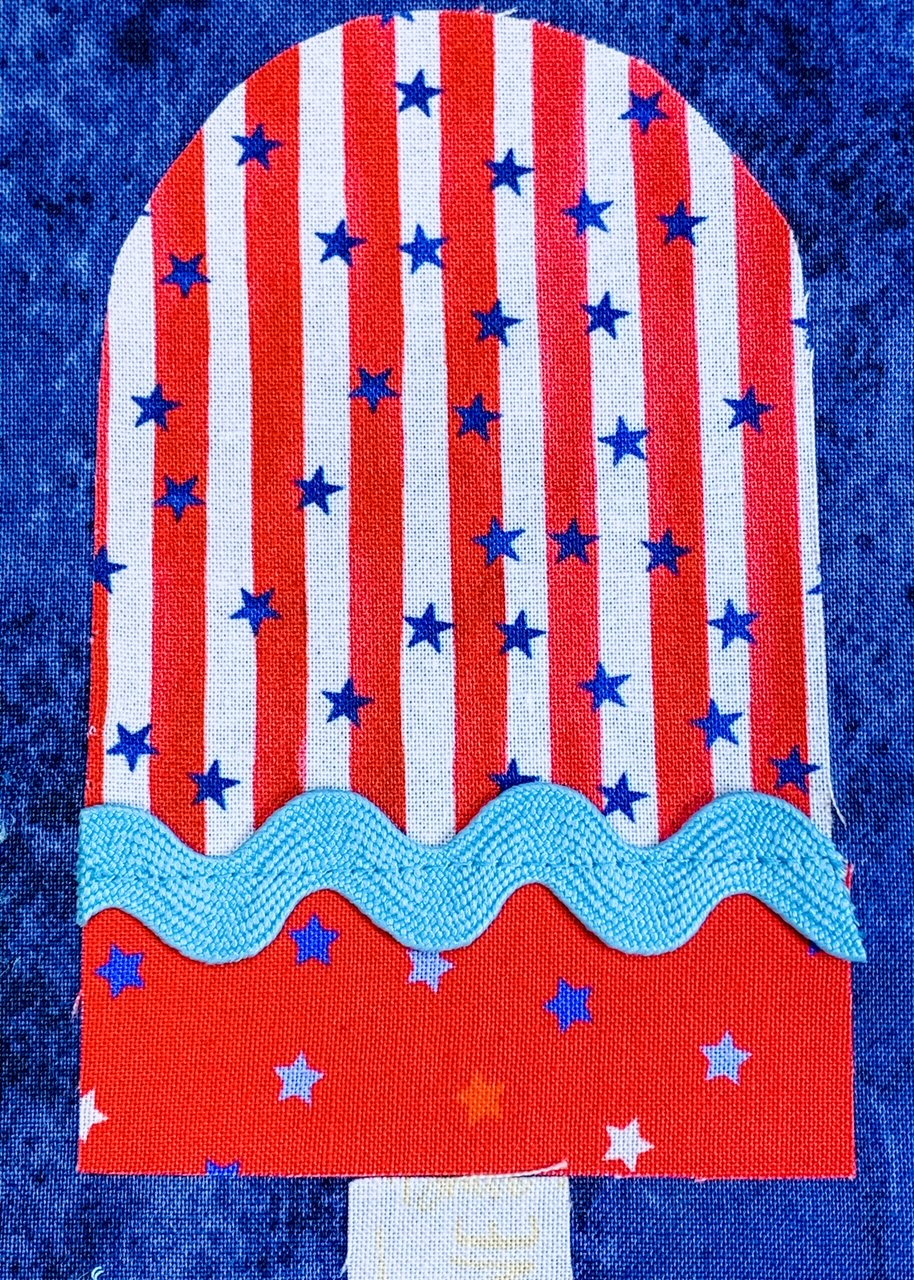
Thread your machine with contrasting thread. Mettler provided the red and yellow Poly Sheen thread that I used on this appliqué.
Put an open-toe appliqué foot on your machine. I used the BERNINA Open Embroidery Foot #20C as the wide opening at the front allowed me to easily see my stitching area.
Set your machine for a narrow zig-zag stitch. On my BERNINA 770 QE PLUS I used stitch number 2, with the length set to 0.25 mm and the width set to 2.5 mm.
Tip: Experiment on a sample piece of fabric first to determine the exact zig-zag width and stitch to use on your machine. Depending on your fabric, you may need to place a stabilizer on the backside to help prevent the fabric from puckering when you stitch.
Starting at the top of the Popsicle handle, slowly stitch around the two long edges and the short bottom edge. The top edge will be secured when you stitch around the body of the Popsicle.
Make sure the left swing of the needle is on the appliqué piece and the right swing is on the mug rug fabric.
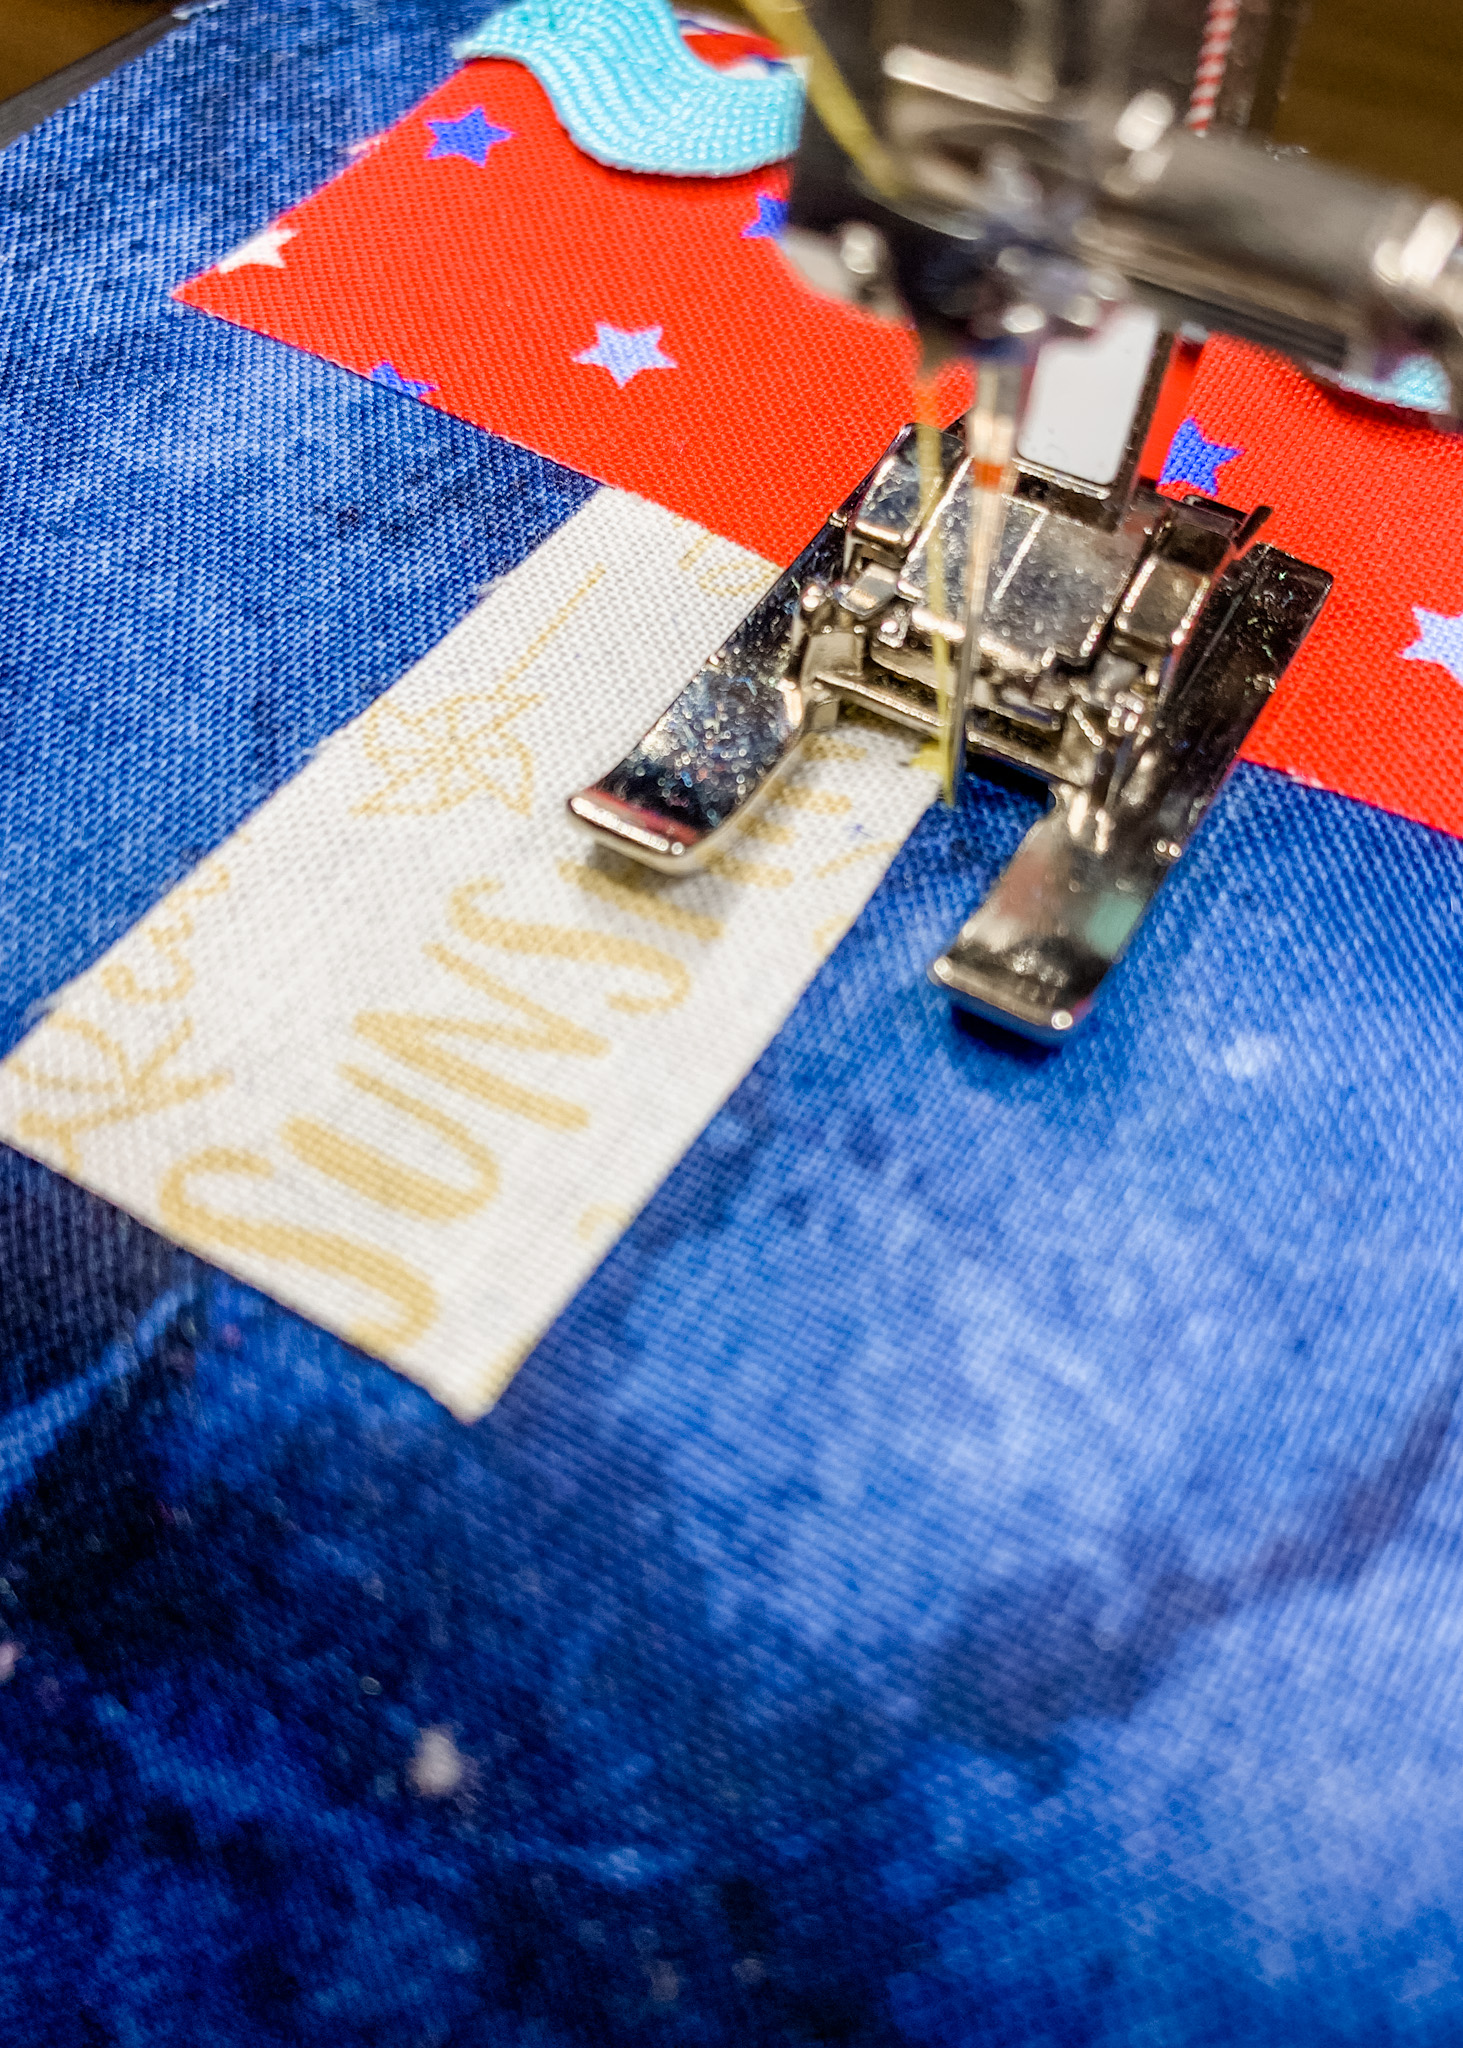
If desired, change thread color before you appliqué around the entire Popsicle shape.
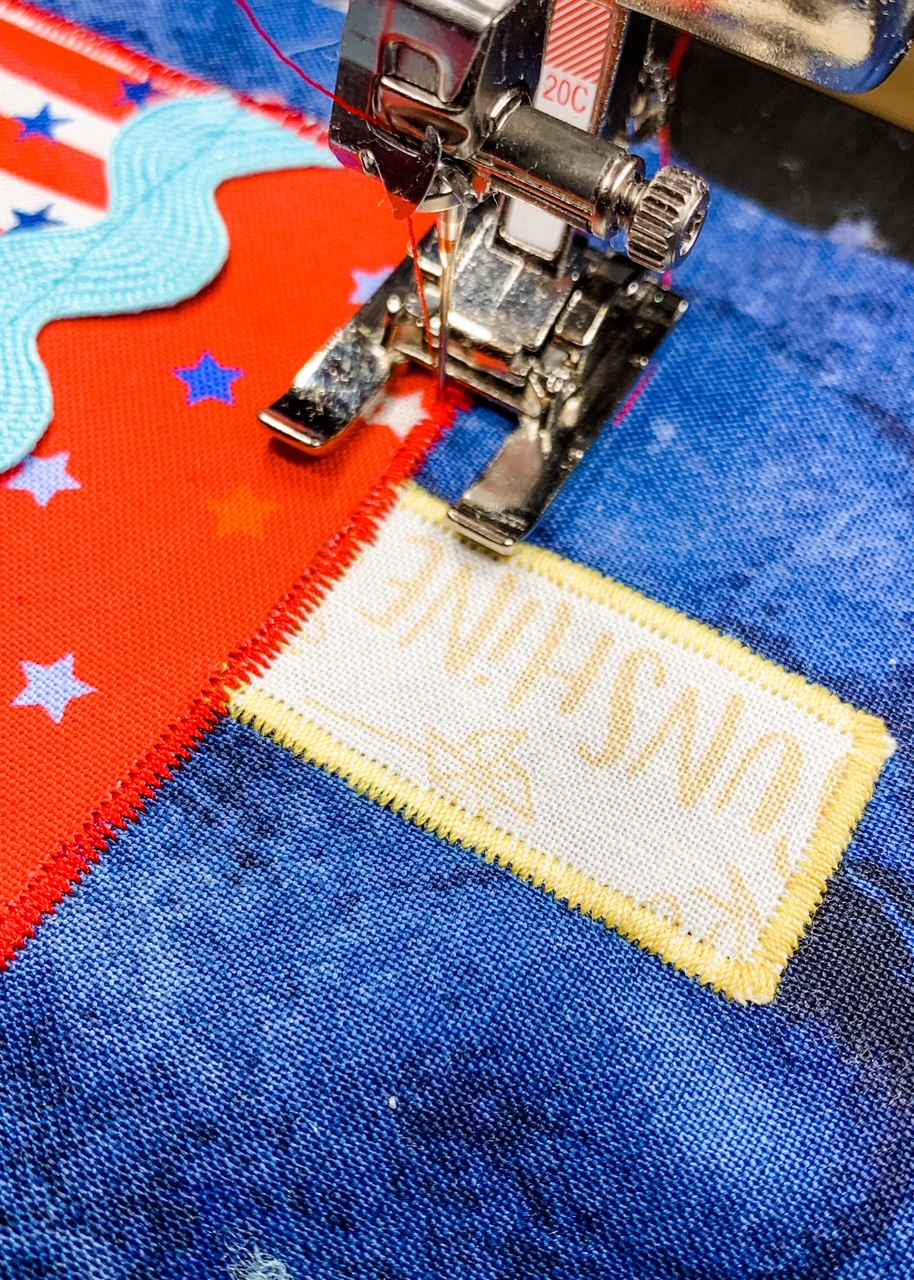
Tip: You may need to increase the width of the zig-zag stitch slightly when you stitch over the ric-rac trim.
Sew the Mug Rug
Sew the Top
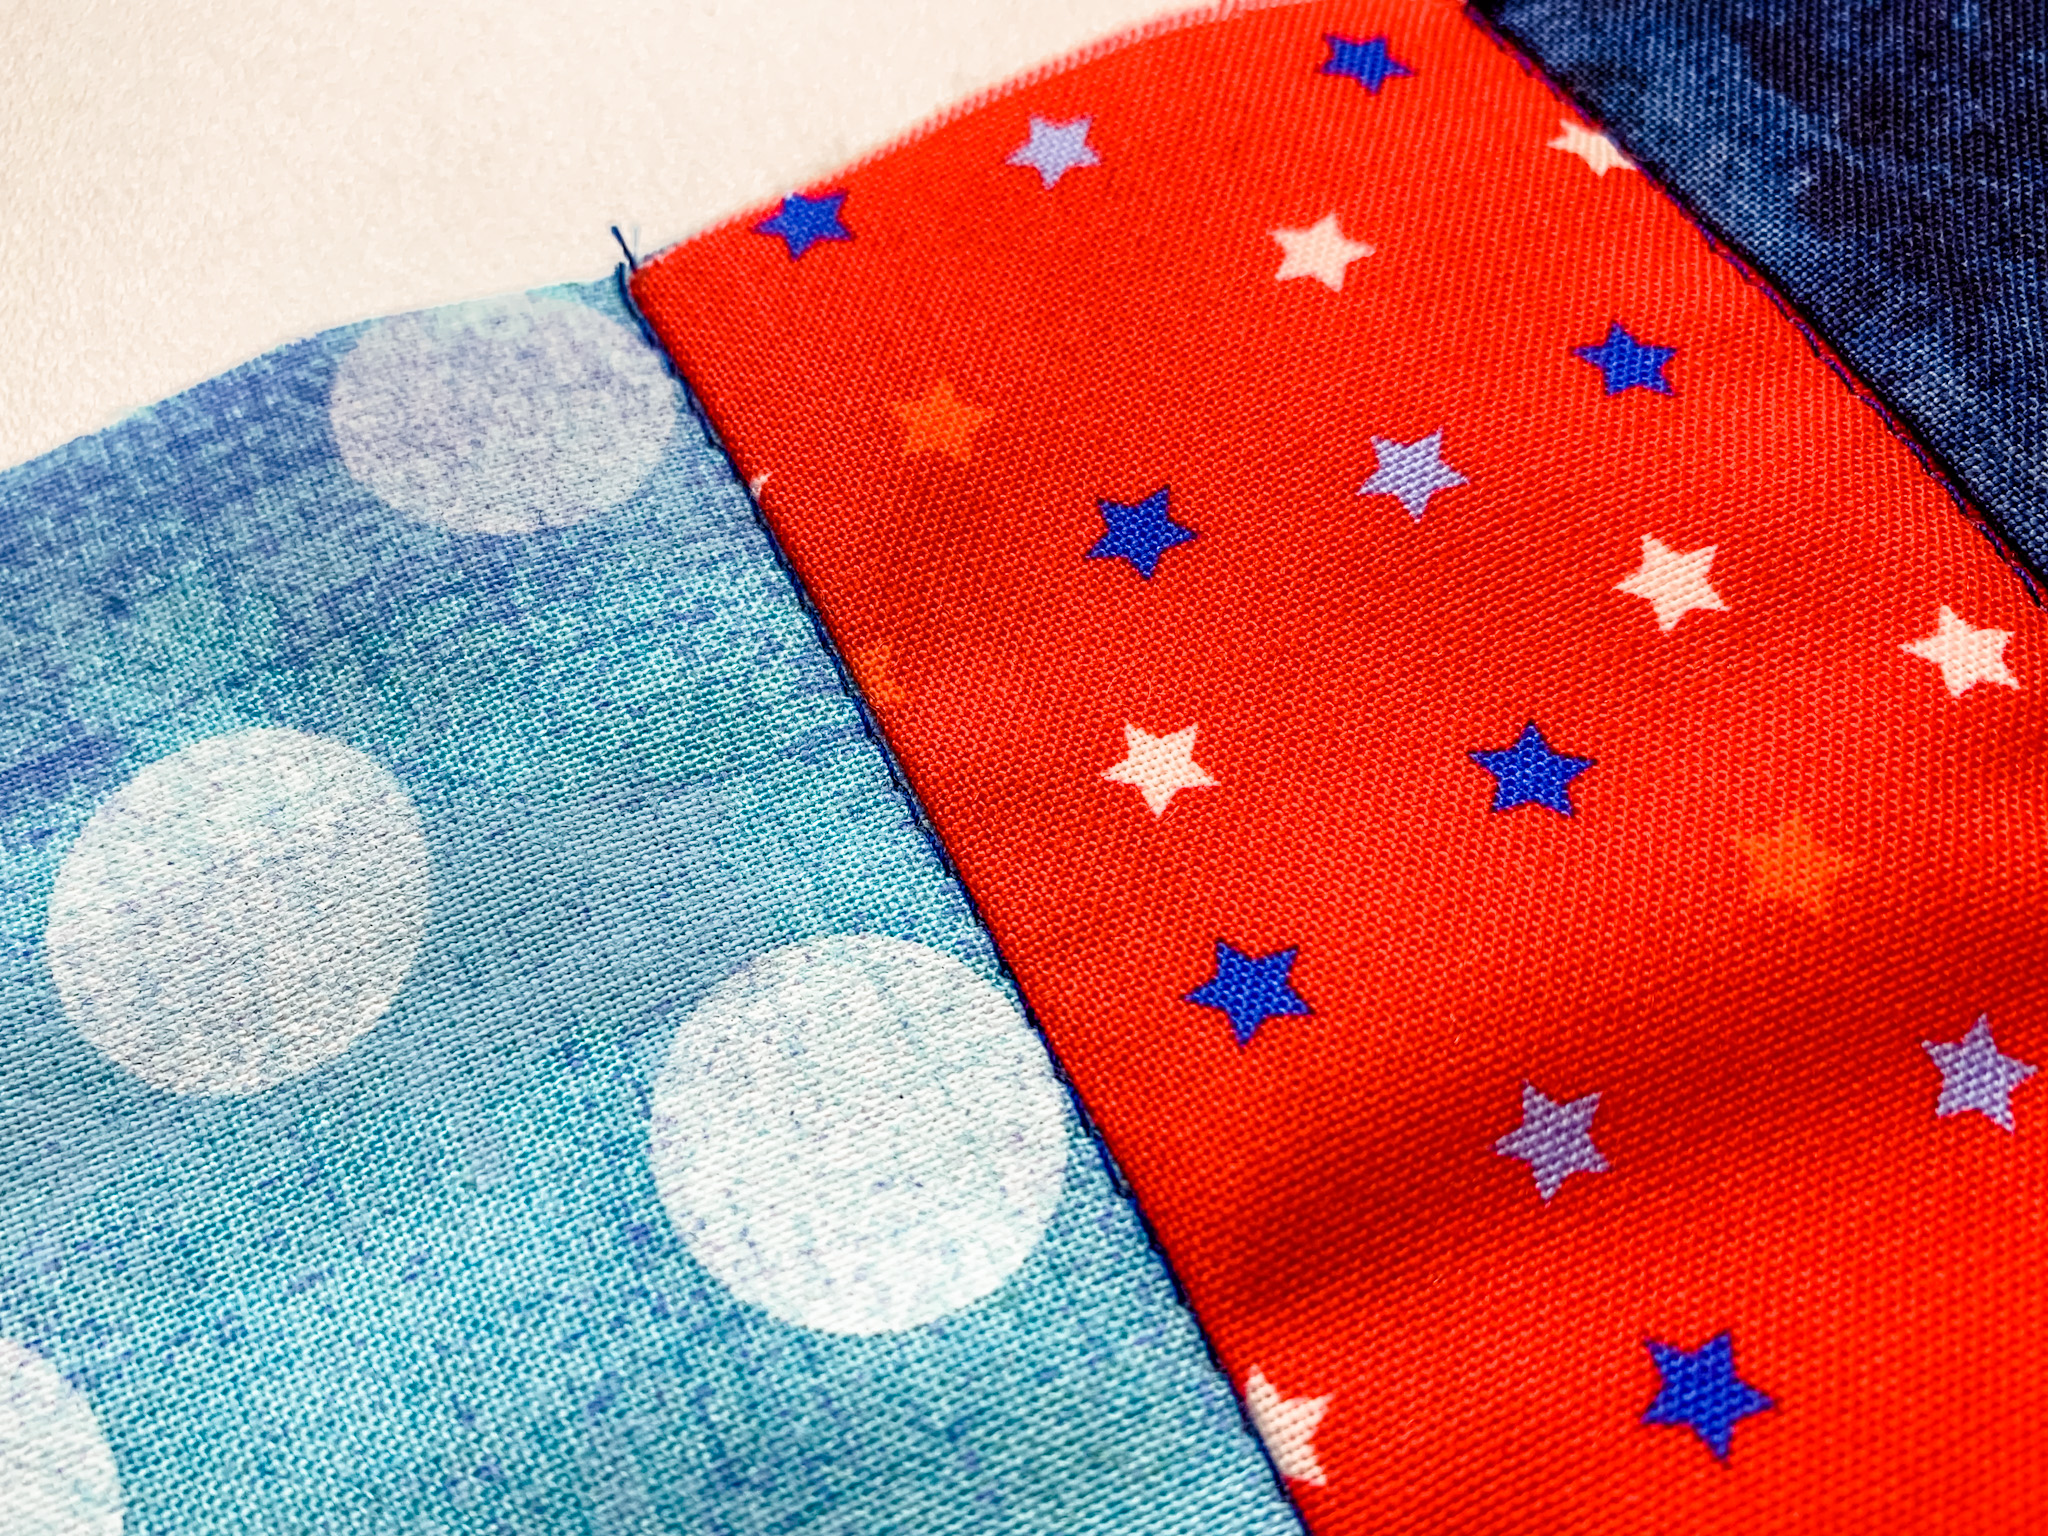
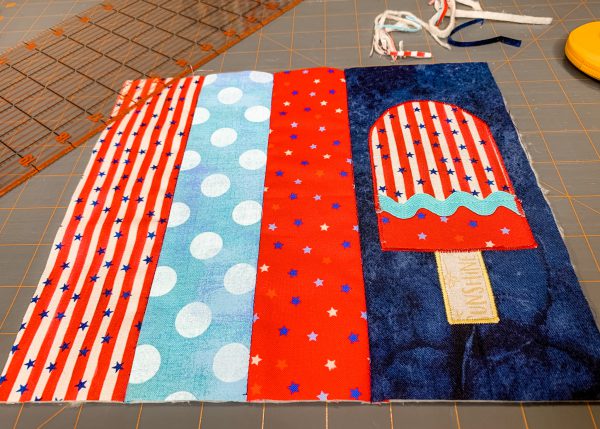
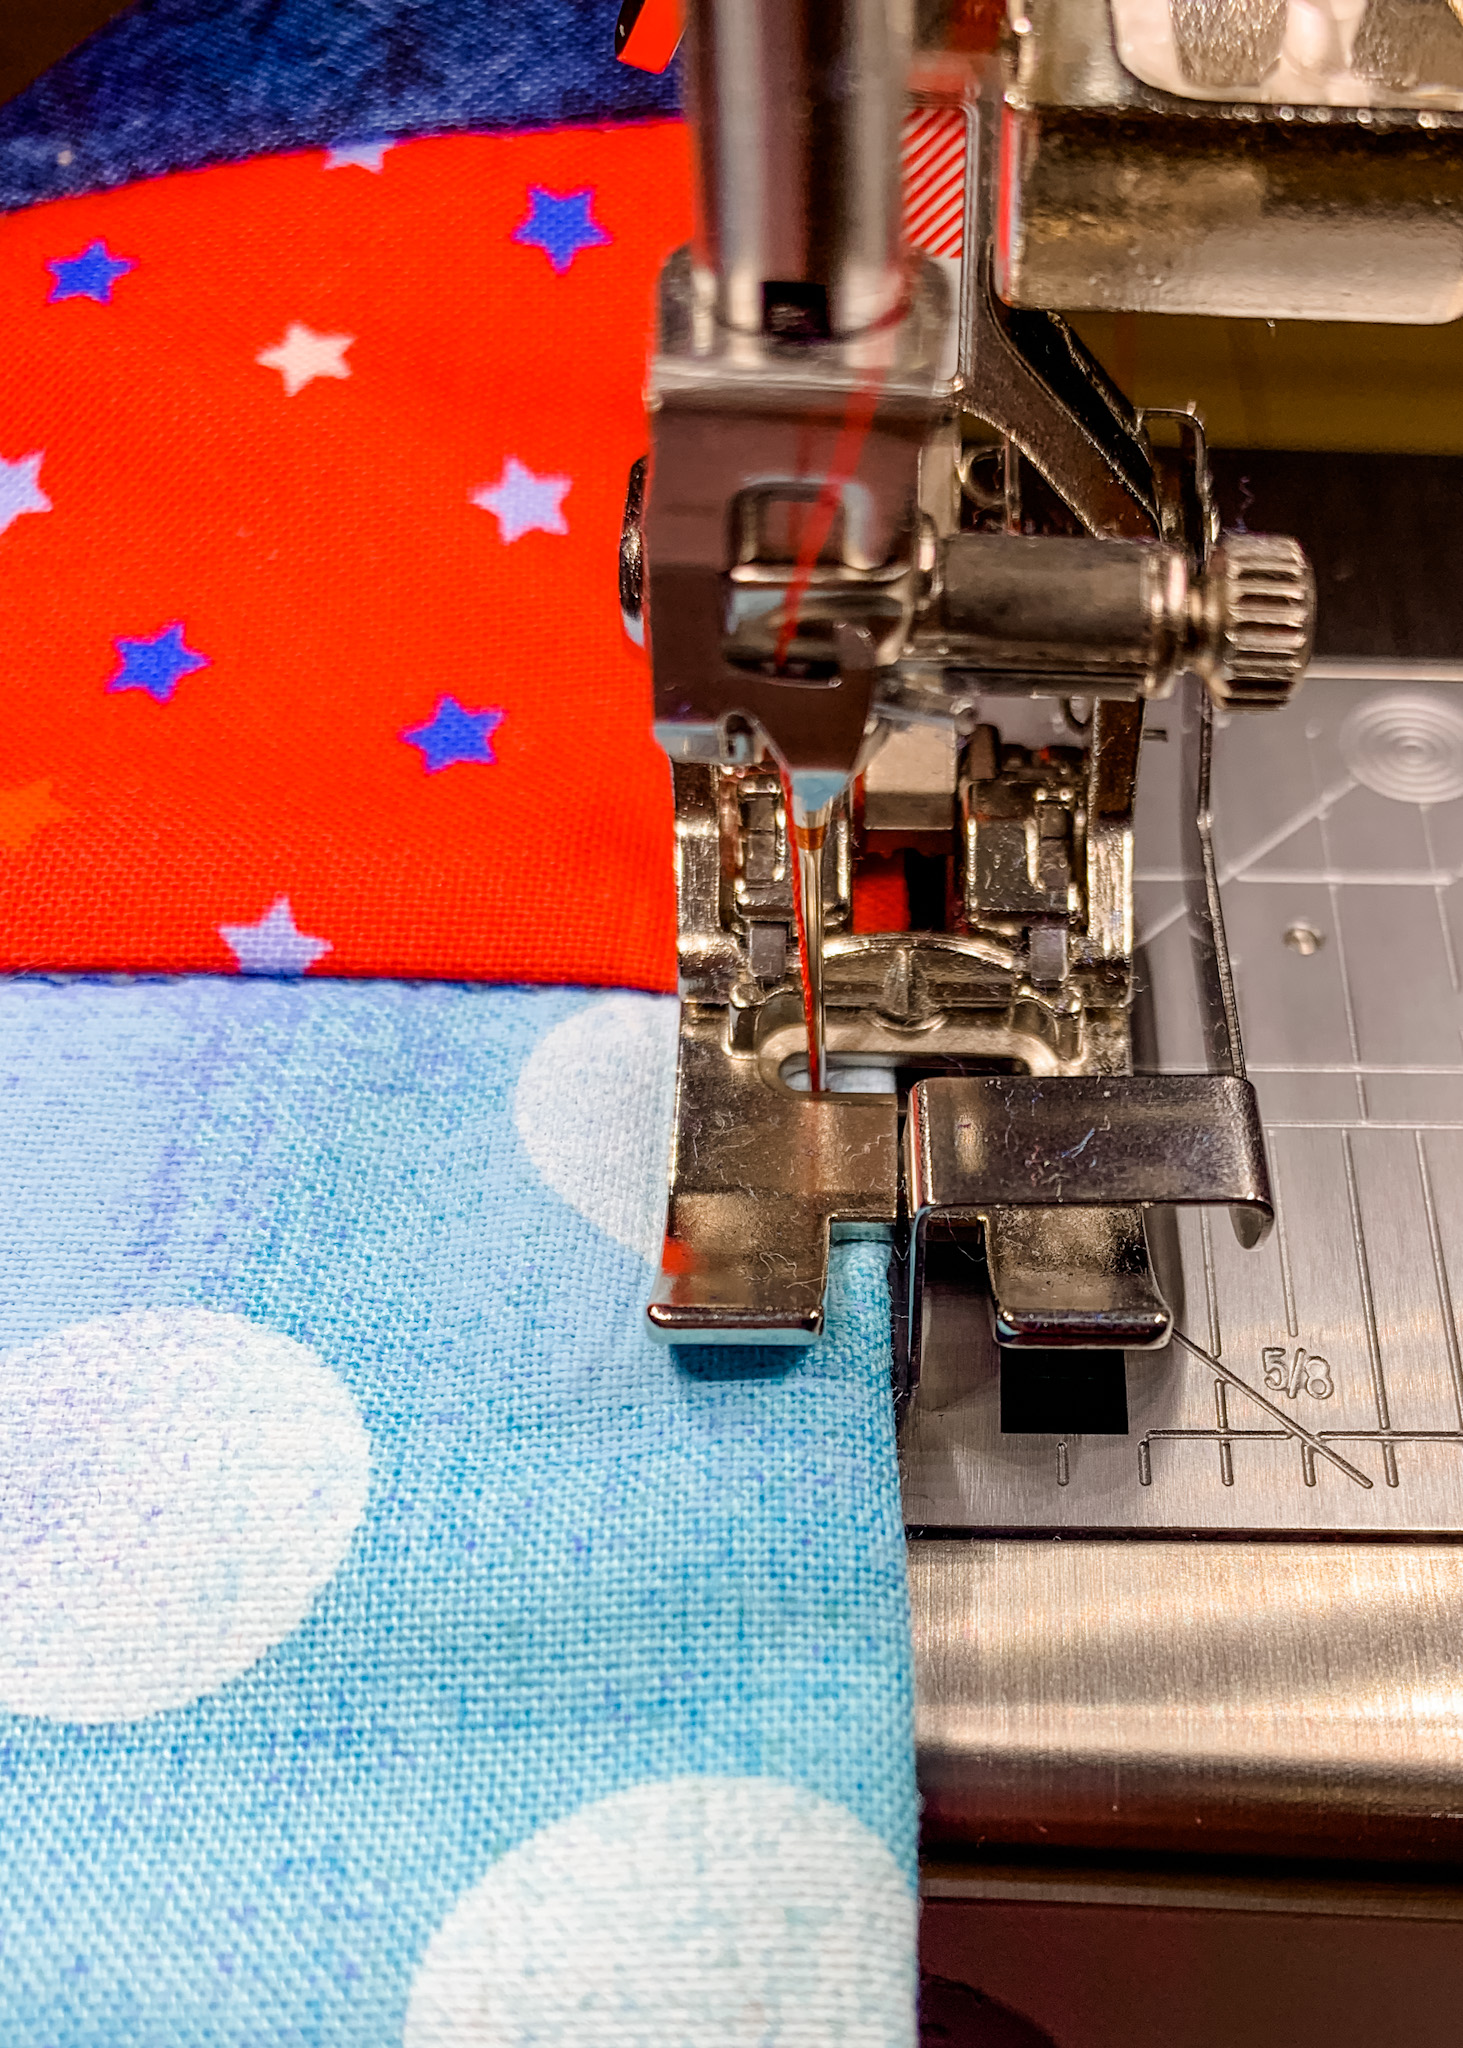
To sew the mug rug, begin by positioning your 2-1/2″ x 9″ strips of fabric, along with your appliquéd piece, on a flat work surface, right sides up, and audition the placement of the fabrics until you have the order you like.
Place two strips of fabric right sides together along the long edge and stitch using a 1/4″ seam allowance.
Next, place that strip to the next strip right sides together along the long edge and stitch using a 1/4″ seam allowance.
You now have three strips sewn together. Place those to the appliquéd piece of fabric right sides together along the long edge and stitch using a 1/4″ seam allowance.
 Press seams toward the darker fabric, or press open.
Add the Batting
Place the batting on the wrong side of the mug rug. You can secure with pins, clips or temporary spray adhesive.
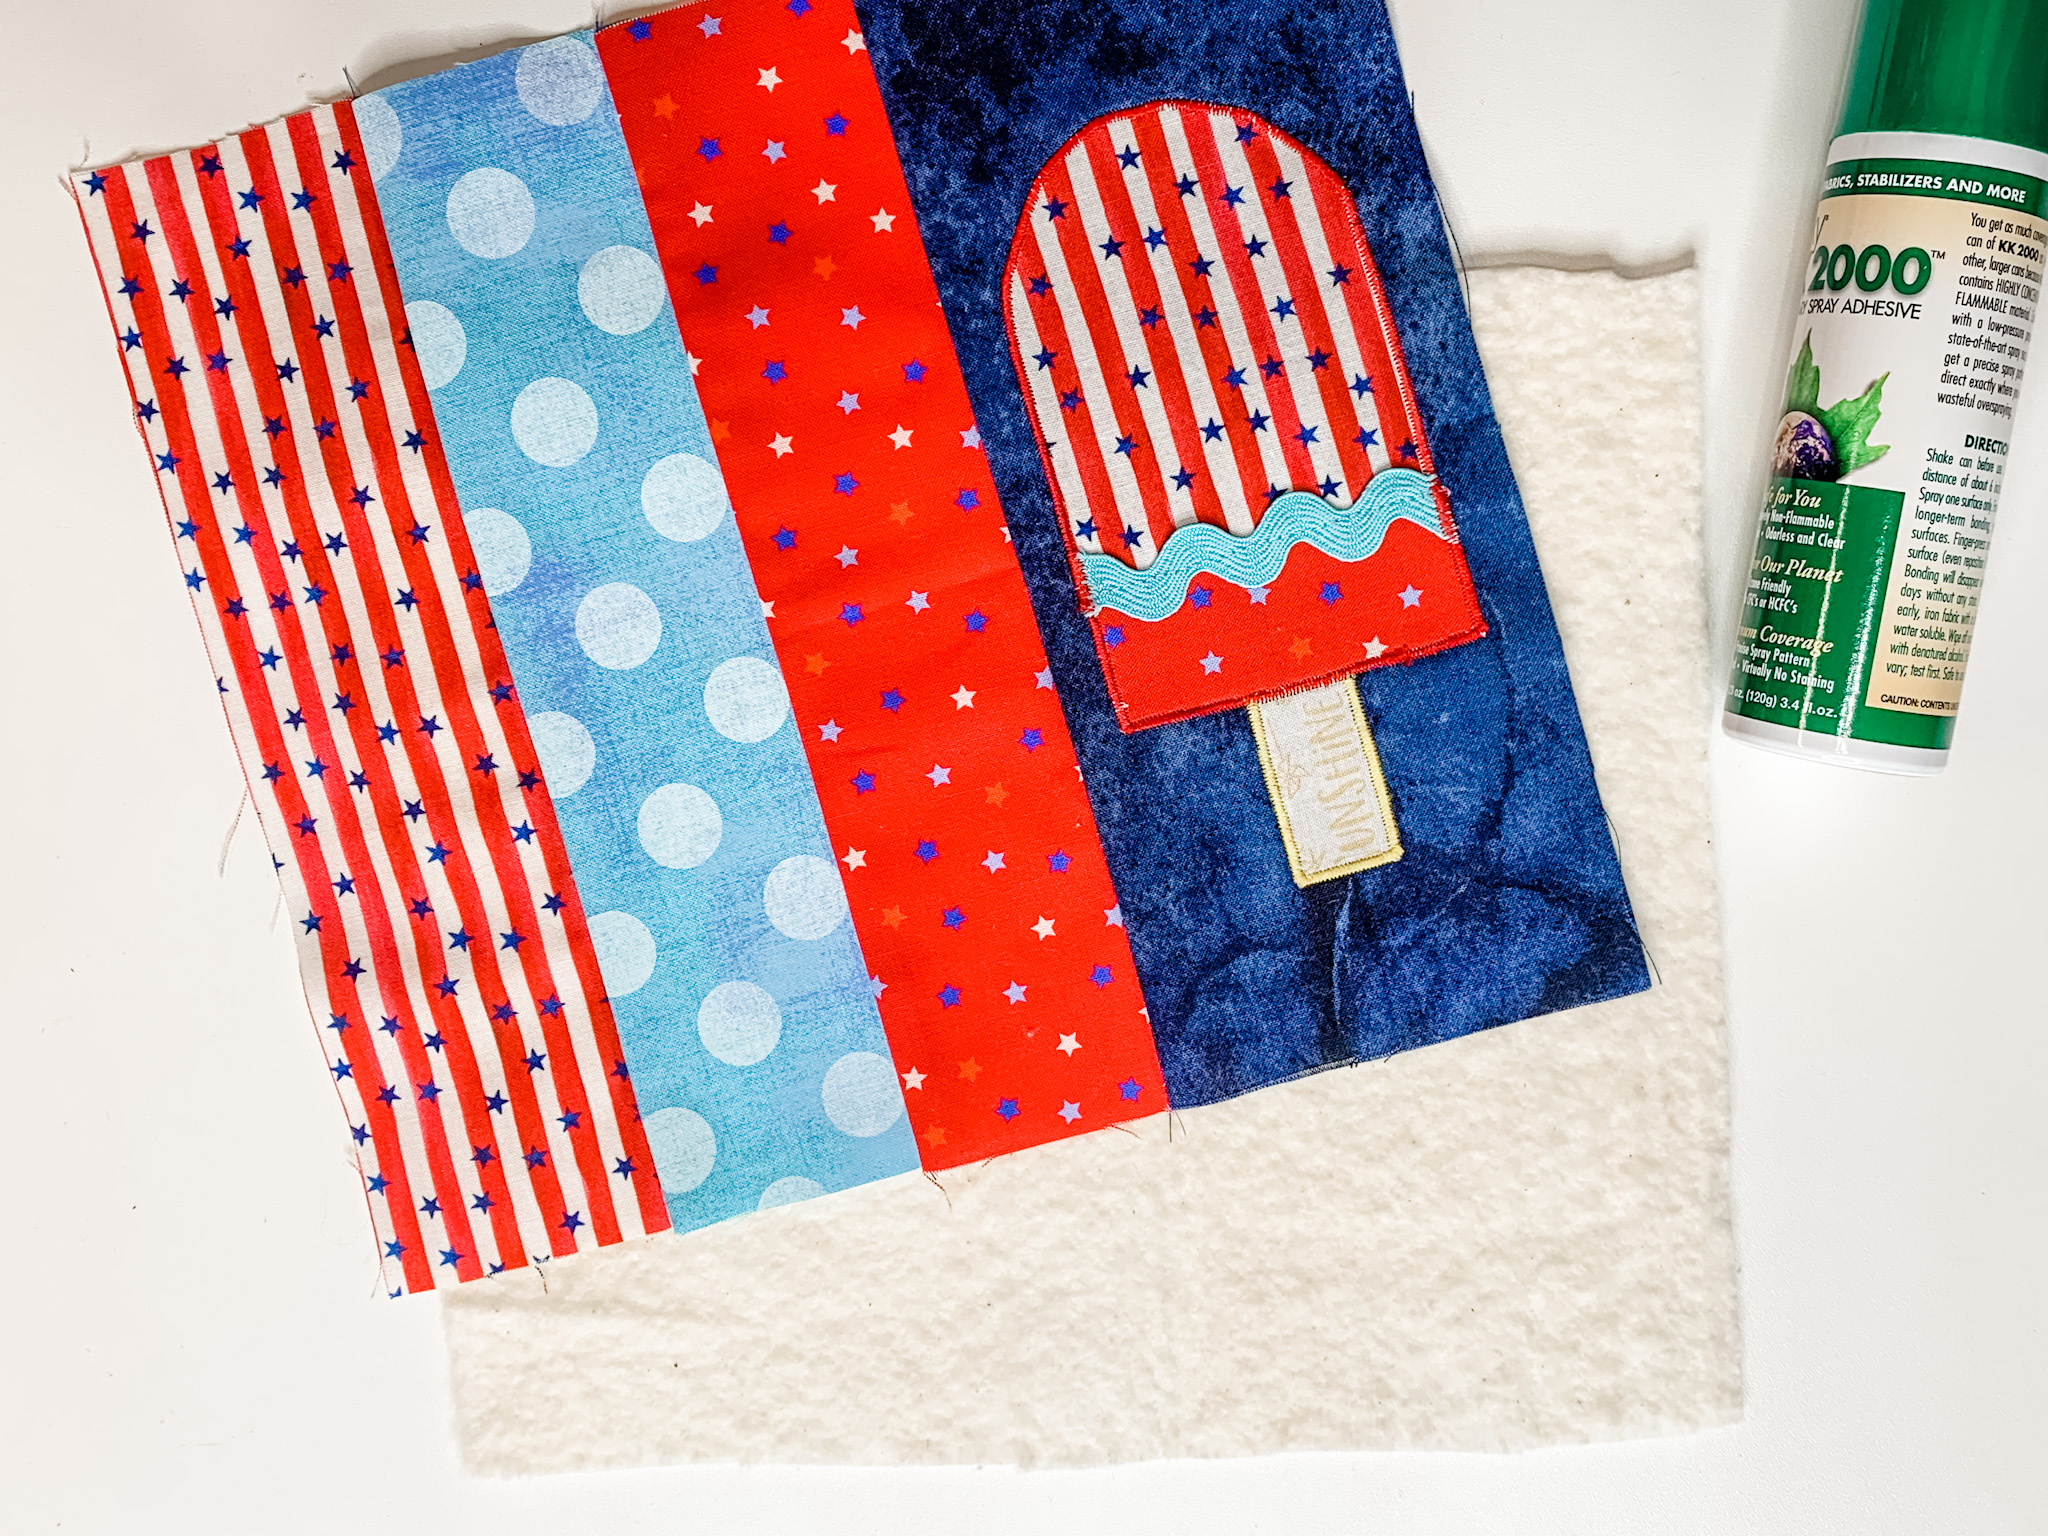
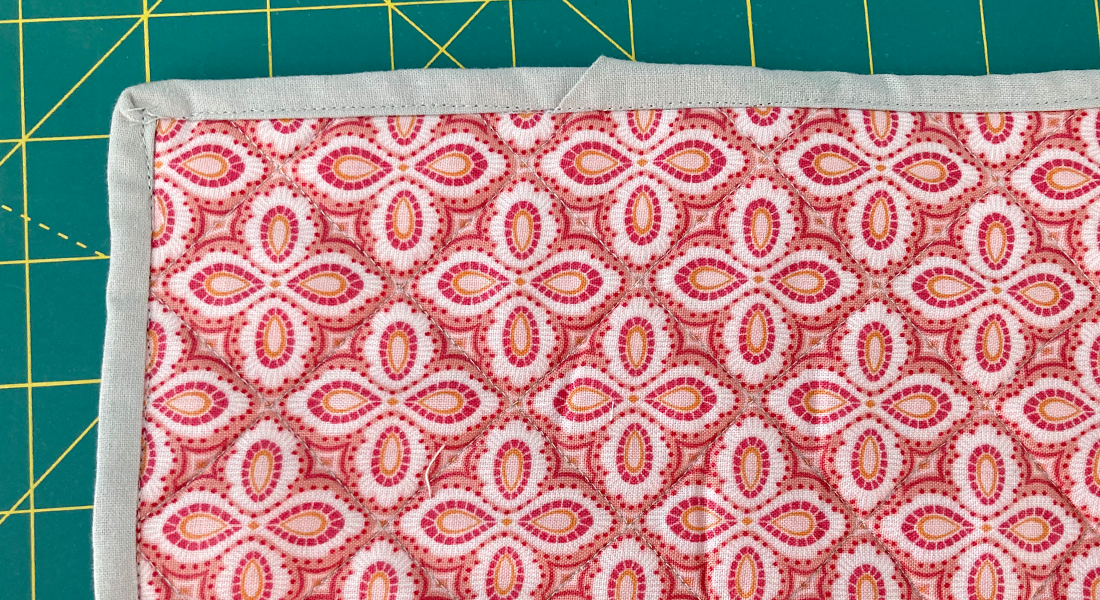
Stitch in the ditch of each strip using a matching or contrasting thread – your choice. I used the BERNINA Edgestitch Foot #10D and lined the guide of the foot in the groove of the seam for the stitch in the ditch sewing.

The stitch in the ditch sewing will secure the batting to the mug rug.
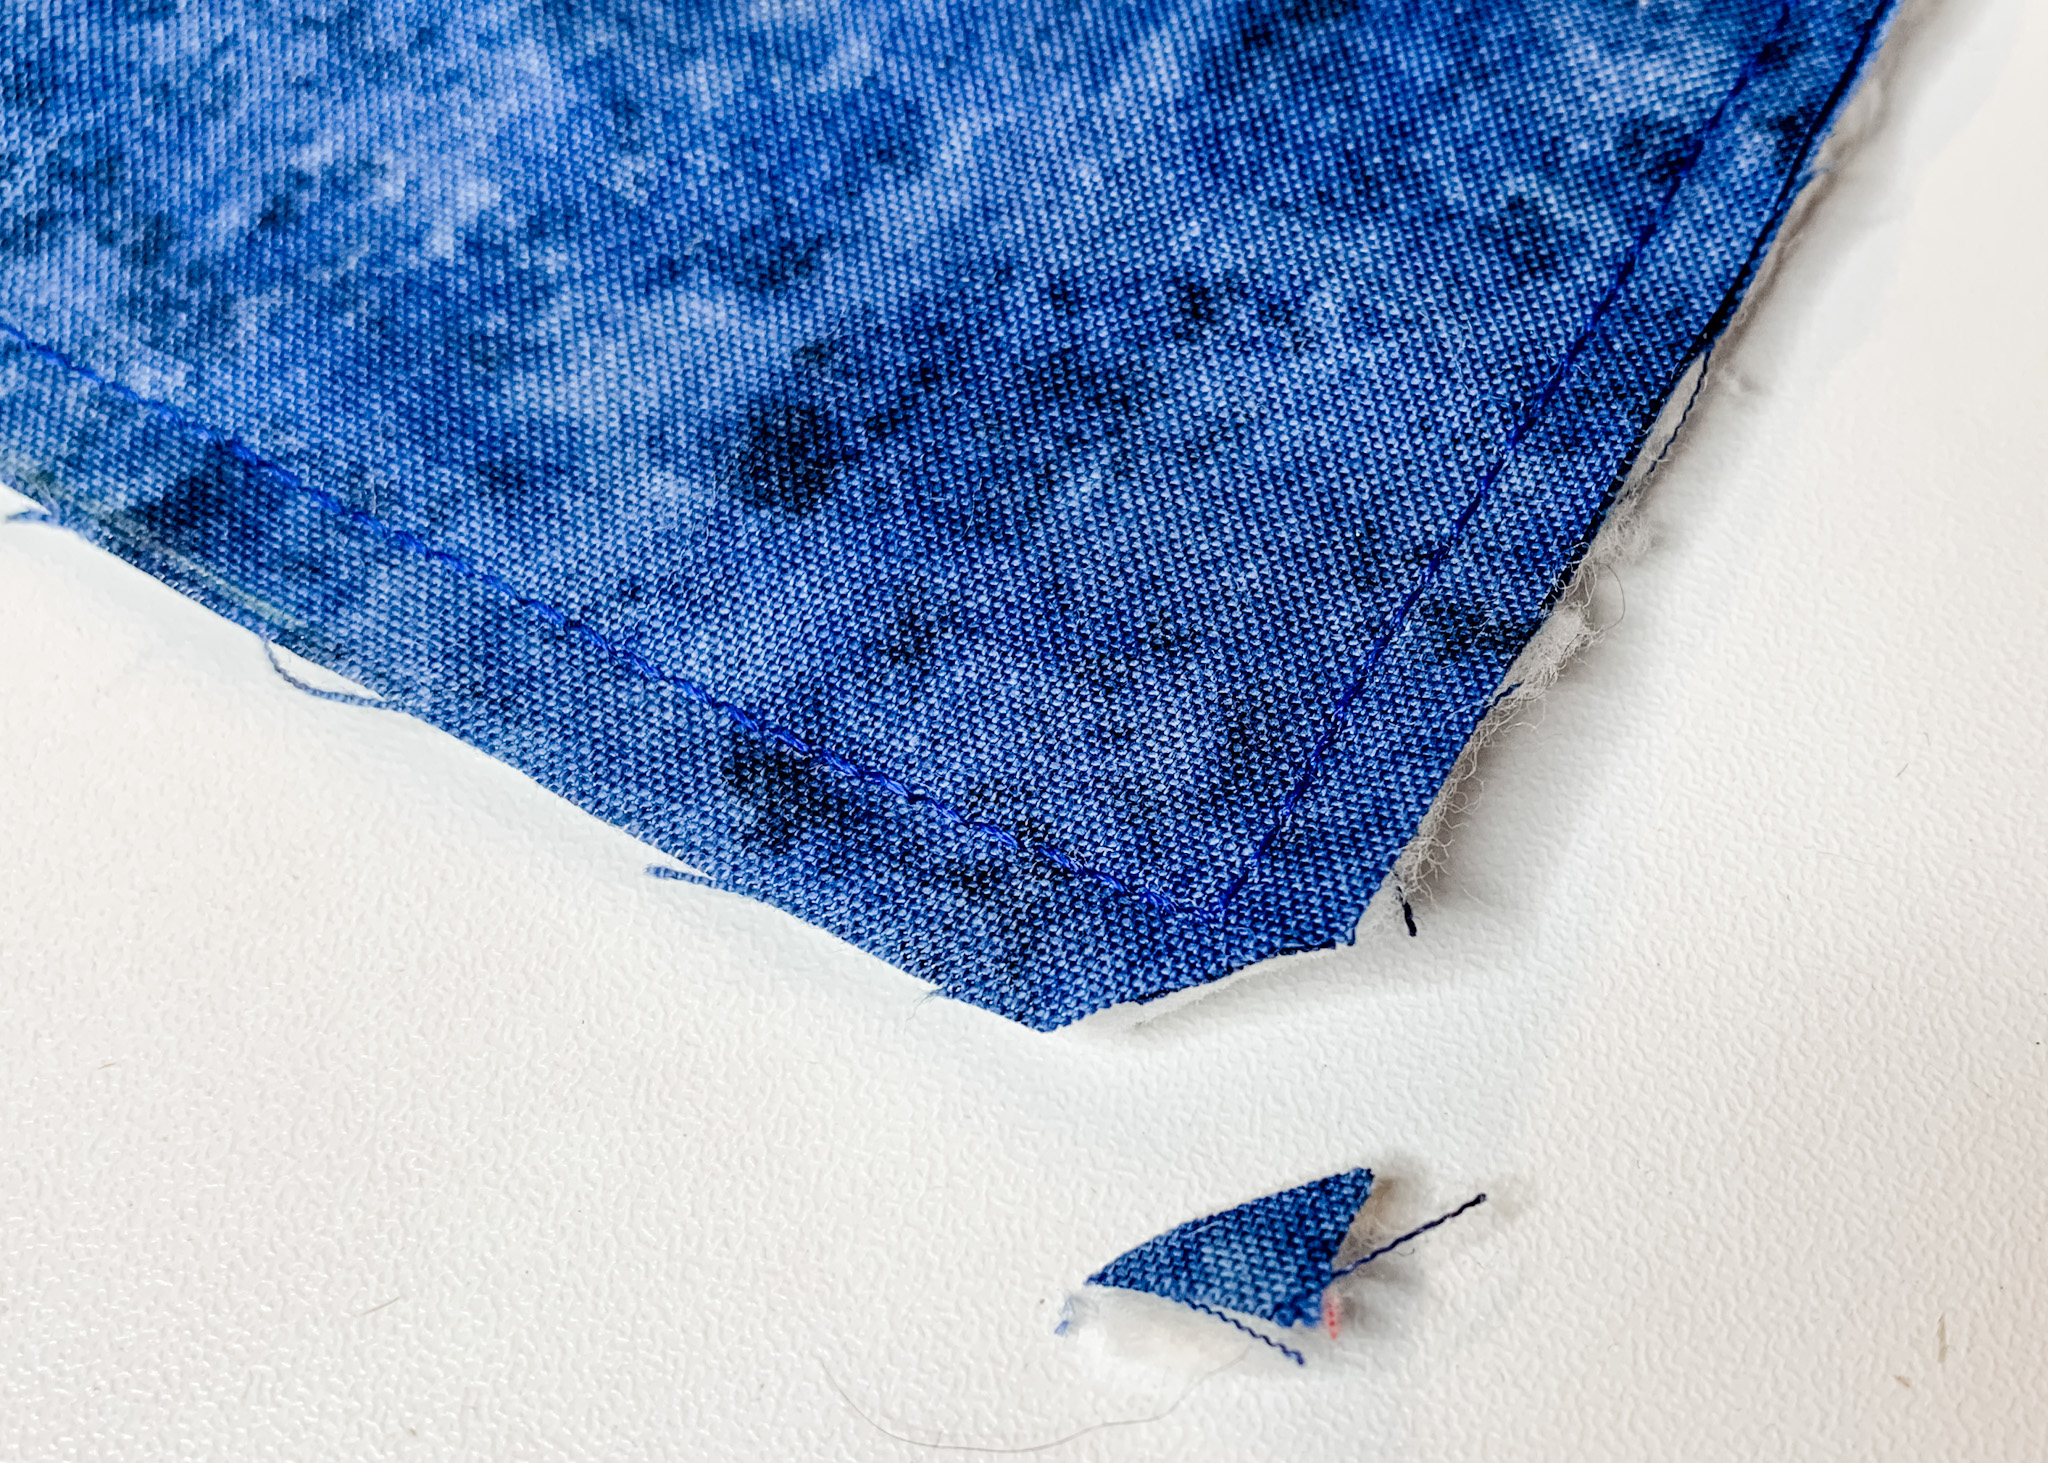
You may need to trim a bit to ensure all of your edges are even before adding the back.
 Add the Backing

With right sides together, place the backing fabric on top of the appliquéd front.
Pin or clip the edges together, leaving a 3″ opening at the bottom for turning.
Clip the corners, turn right side out, and press, folding in the 3″ opening.
Finish with Edgestitching
Using a contrast thread, edge stitch around the entire mug rug, closing the opening used for turning. I used the BERNINA Edgestitch Foot #10D , placed the foot guide along the edge of the mug rug, and moved the needle position to the left before stitching.
Tip: use the triple straight stitch to really make the edgestitching stand out! That stitch takes two stitches forward and one back making for a beautiful, bold stitch.

It’s now time to relax with your favorite beverage and treat while you admire your new mug rug!
Used Products


What you might also like


4 comments on “How to Sew a Patriotic Mug Rug with Appliqué Popsicle”
-
-
Hello! Here is the link: PDF Download
-
-
What Fabric lie did you use for this project?
-
Hi! These were all scraps from my stash, but I found some of the salvage edges with the information.
Dark blue: Stonehenge by Linda Ludovico for Northcott
Light blue polka dot: Grunge Hits the Spot for Moda
Popsicle stick: Red, White & Blue by Kimberbell
Red stripe with blue stars: Stars and Stripes Forever Michael Miller
Red with stars – I didn’t have the information on this one, I think it was from the same Michael Miller line as above.
Hope this helps!
-
Leave a Reply
You must be logged in to post a comment.

Couldn’t find pdf for popsicle. Where is it? Such a cute project,great fa bric.