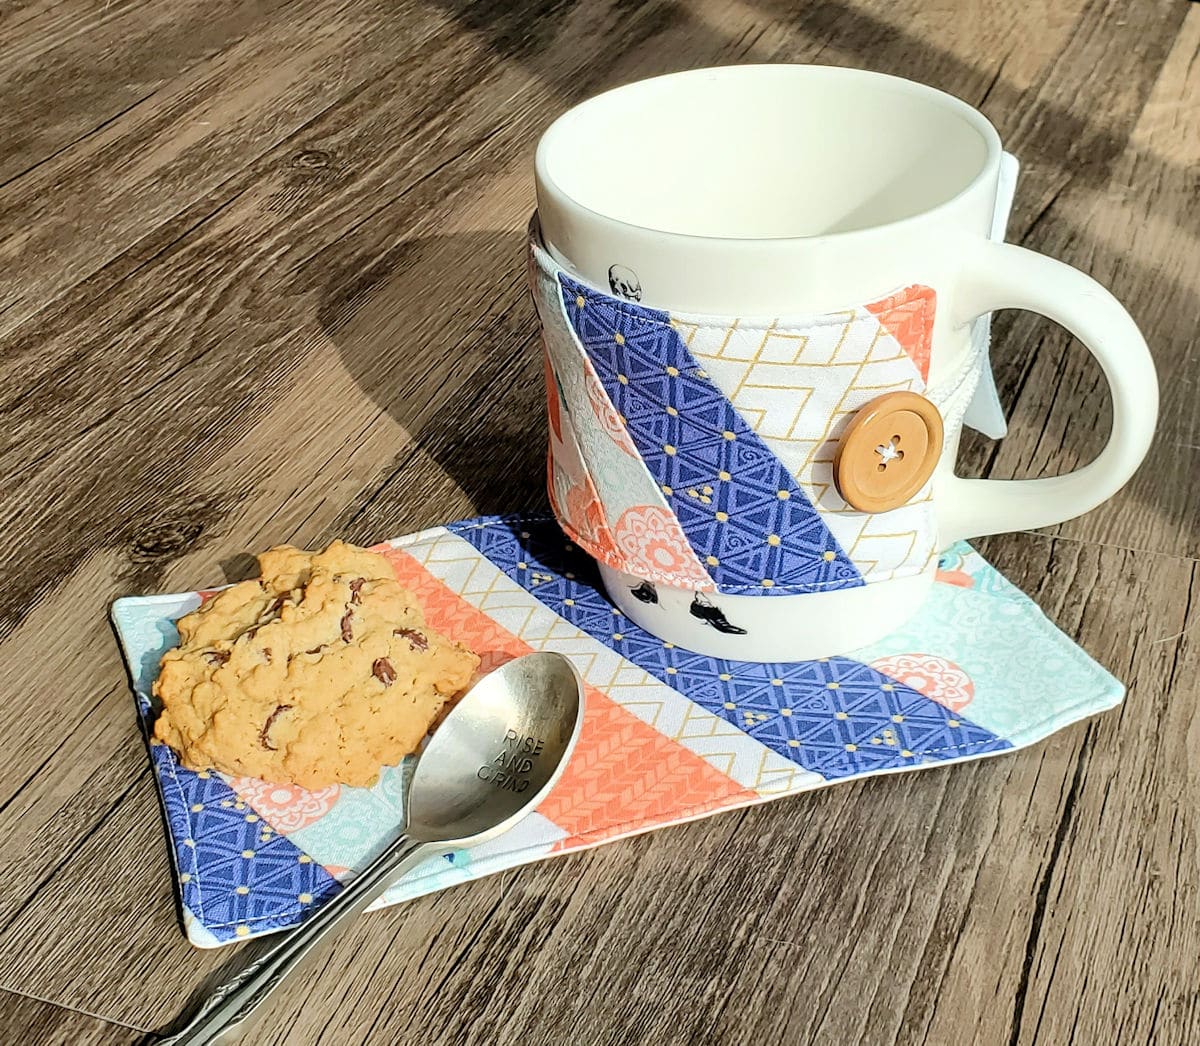
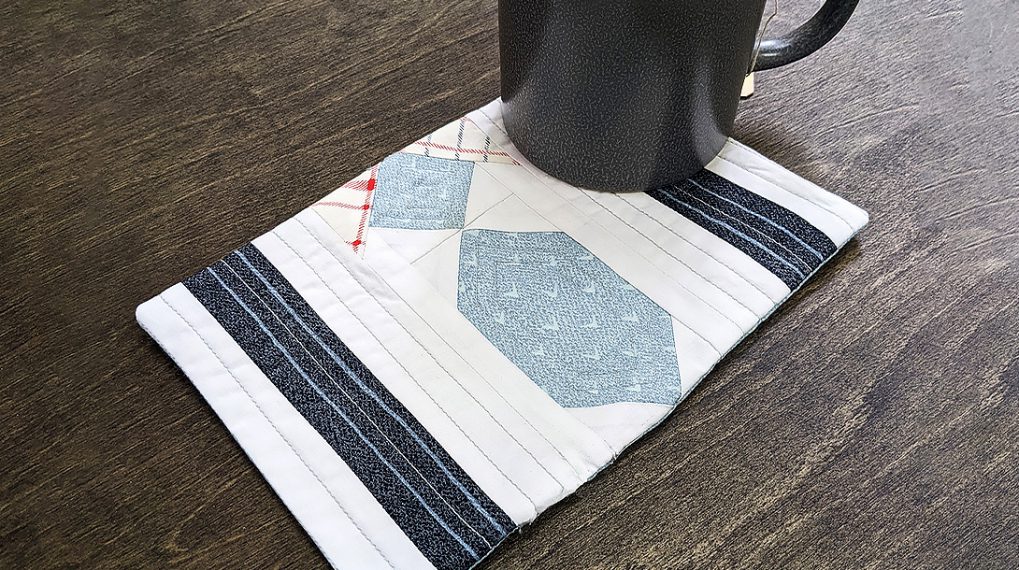
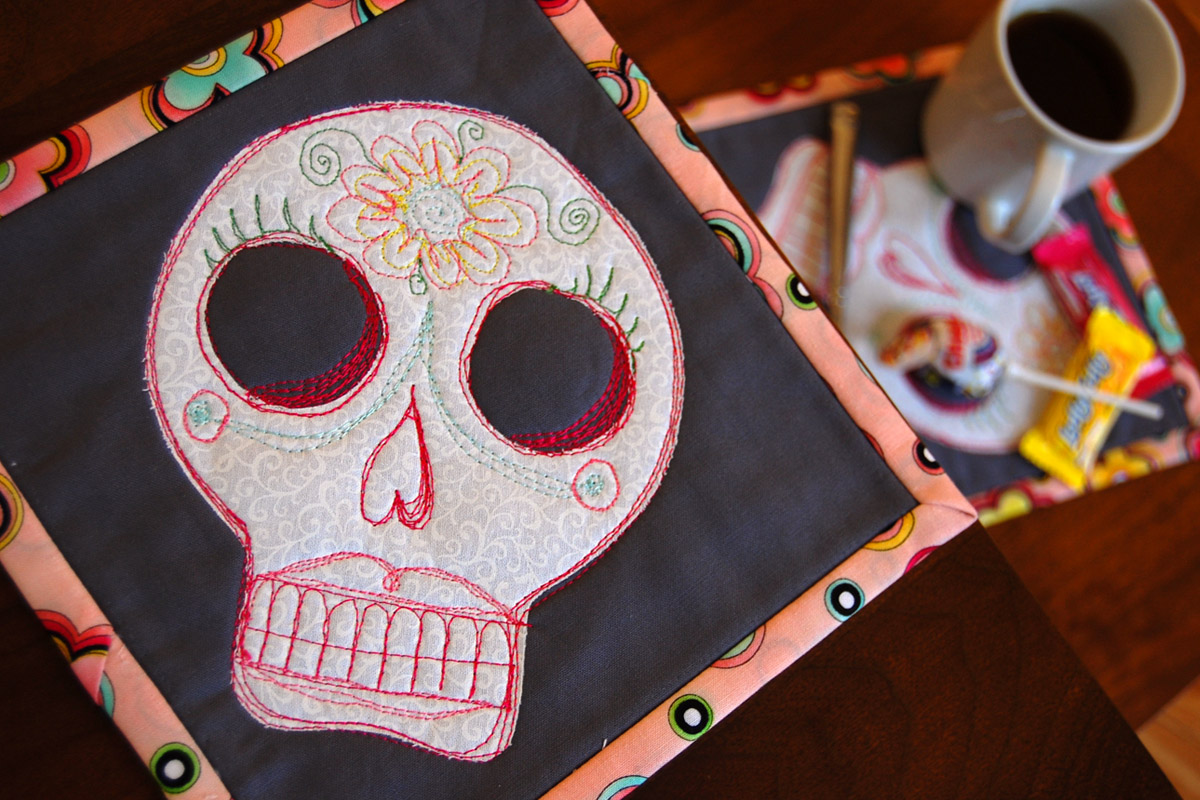
Easy Strips Mug Rug and Cozy Set
The days get shorter and evenings get cooler, I find myself longing for a warm cup of coffee or tea… and maybe a sweet treat, too. Today’s project is the perfect way to keep your cuppa hot and give it a pretty place to rest while you eat your favorite snack. This mug rug and cozy set also makes a great gift – pair it up with their favorite blend, a fun spoon, and don’t forget the cookies!
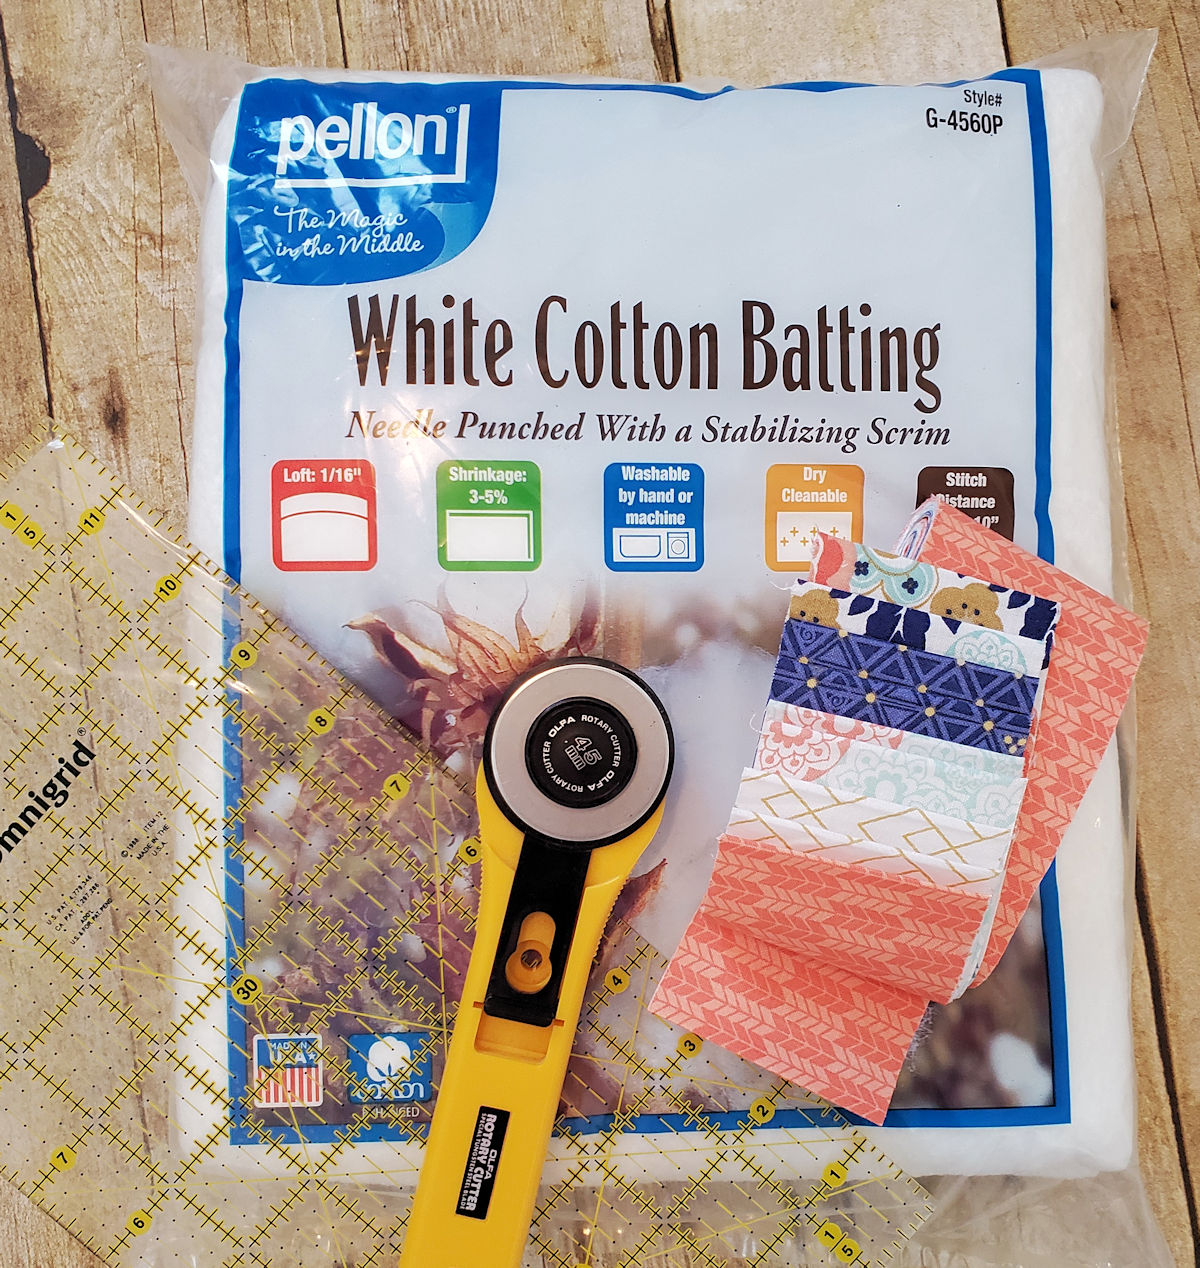
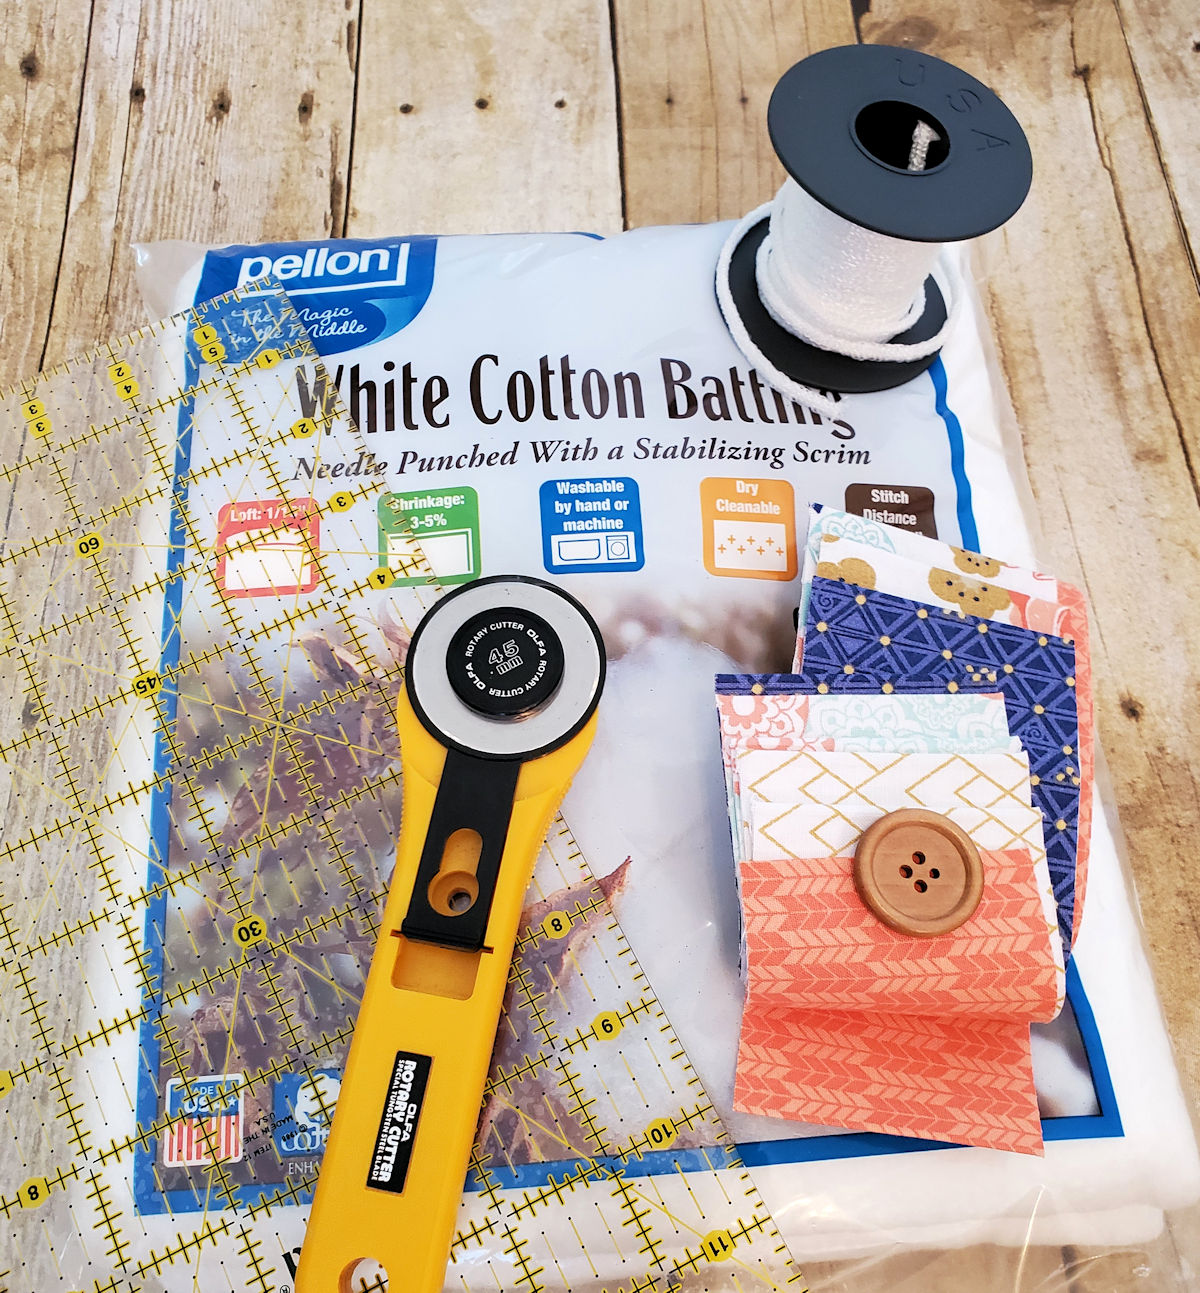
Before we dive into these projects, I thought I should mention a few things. First off, I love “Jelly Rolls”, those 2.5 x 42″ strips of coordinating fabrics that you see in stores. They are a great way to sample designer lines and take the thought out of trying to fabric match, plus there’s less cutting involved which is great if you’re looking to save time. Unfortunately I’m not an avid quilter, so I’m always thinking of new ways to use this type of precut material. Both the mug rug and cozy list Jelly Rolls listed in the materials section – if you don’t want to use this type of precut material feel free to swap it out with your favorite fabric scraps.
Lastly, the measurements! The finished mug rug measures 8 x 5″ while the cup cozy measures 10.5 x 3″. I like my coffee BIG and these projects fit both. However, if you prefer smaller size cups, you may find that this cup cozy is too large and may want to reduce the final size to 8.5 x 2.5″.
Mug Rug Materials
- Jelly Roll (2.5″ x 42″ of precut fabric strips)
- Fabric scrap for backing
- Cotton Batting
- Rotary cutter
- Ruler
- Standard sewing notions
- Iron
- 1/4″ foot (#37) – optional
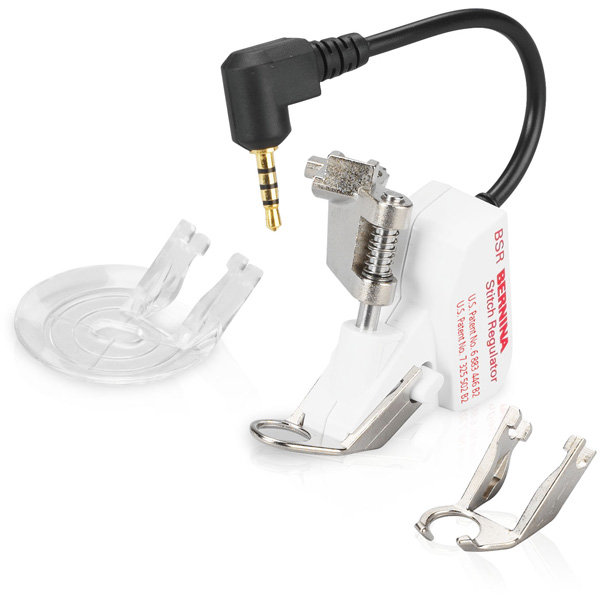
- Bernina Stitch Regulator (BSR) – optional
Sewing the Mug Rug
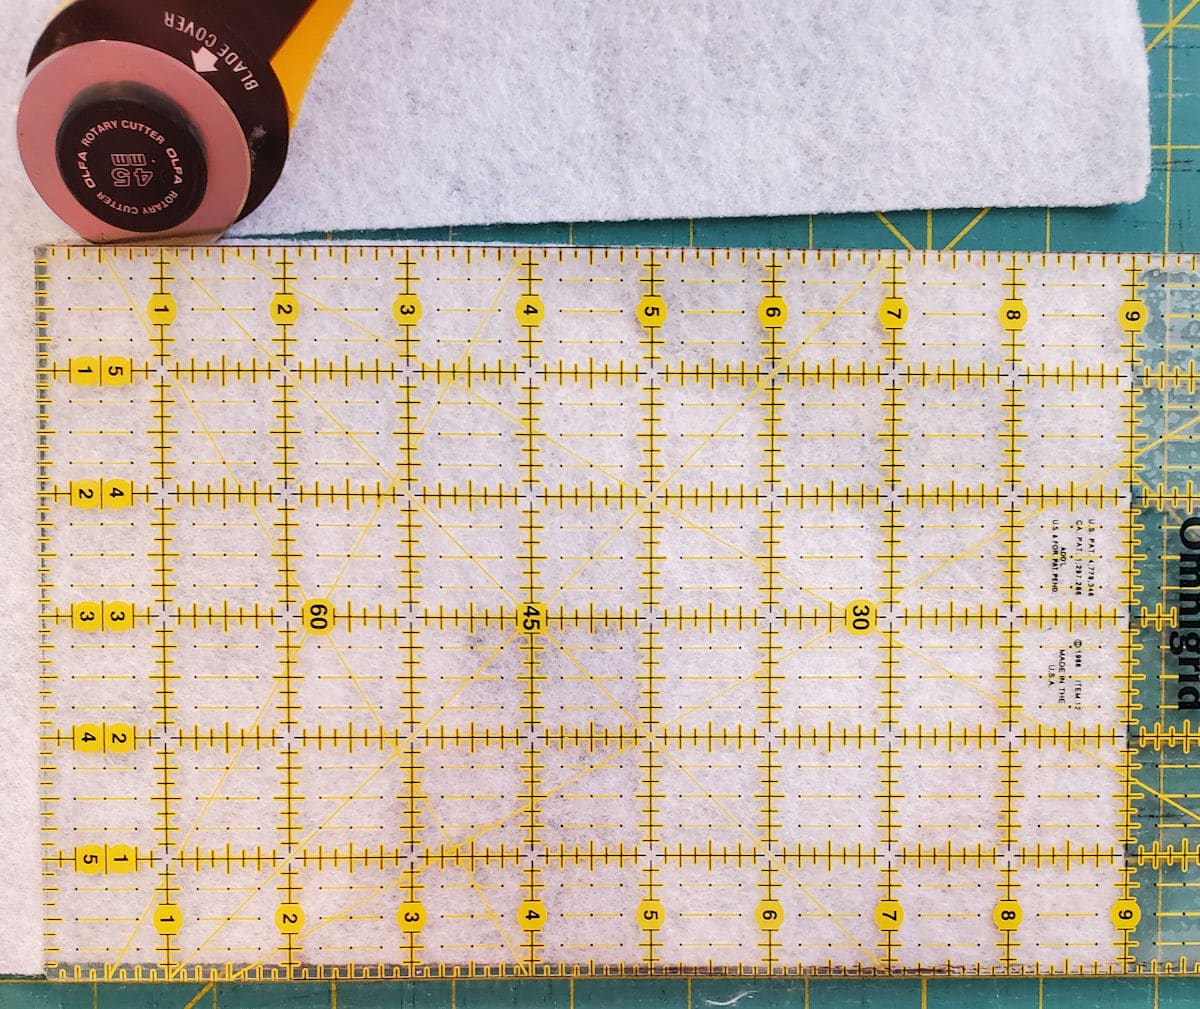
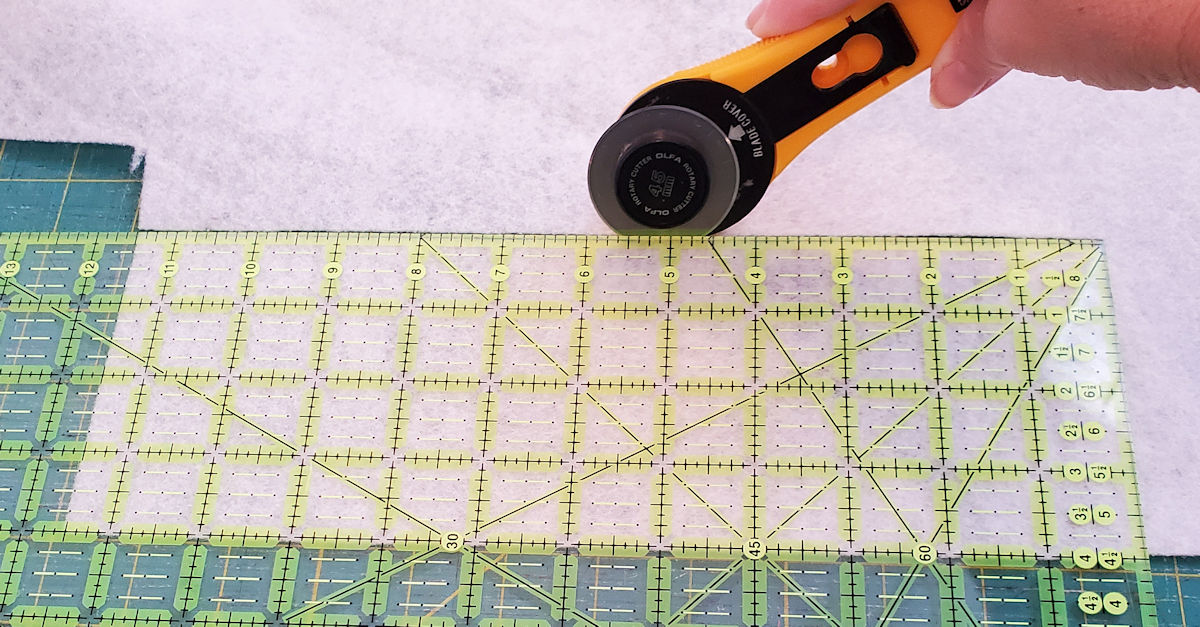
Cut a piece of batting and backing fabric, 9 x 6″.
Cut 10 Jelly Strips approximately 15″ long. If you are only making a mug rug, you can reduce this measurement to 10″.
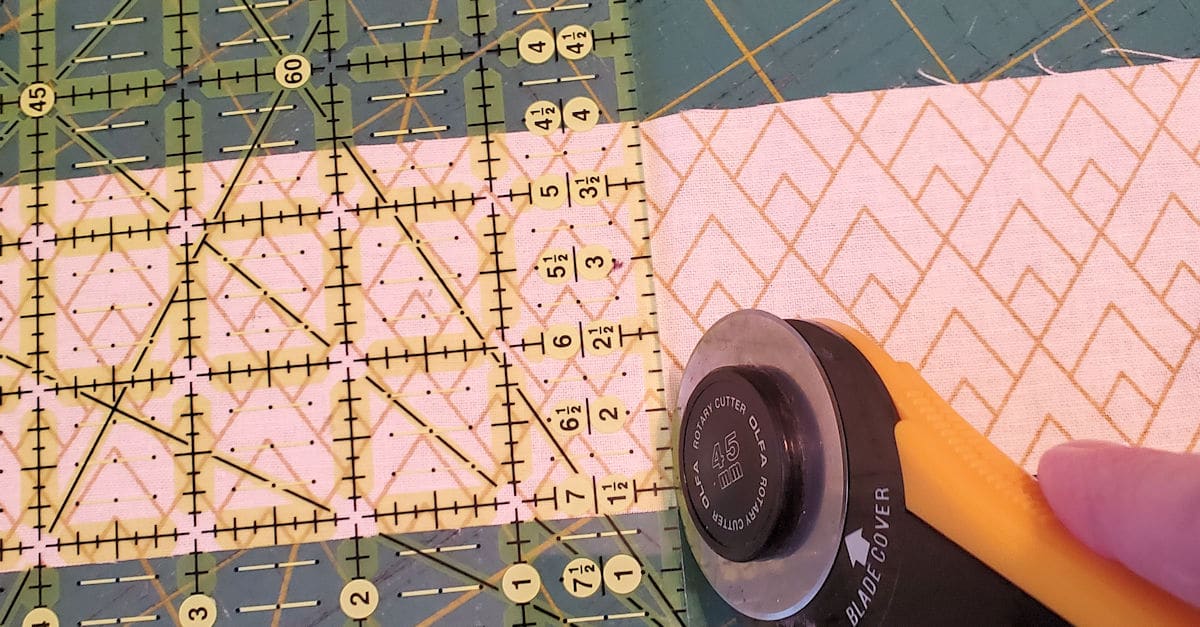
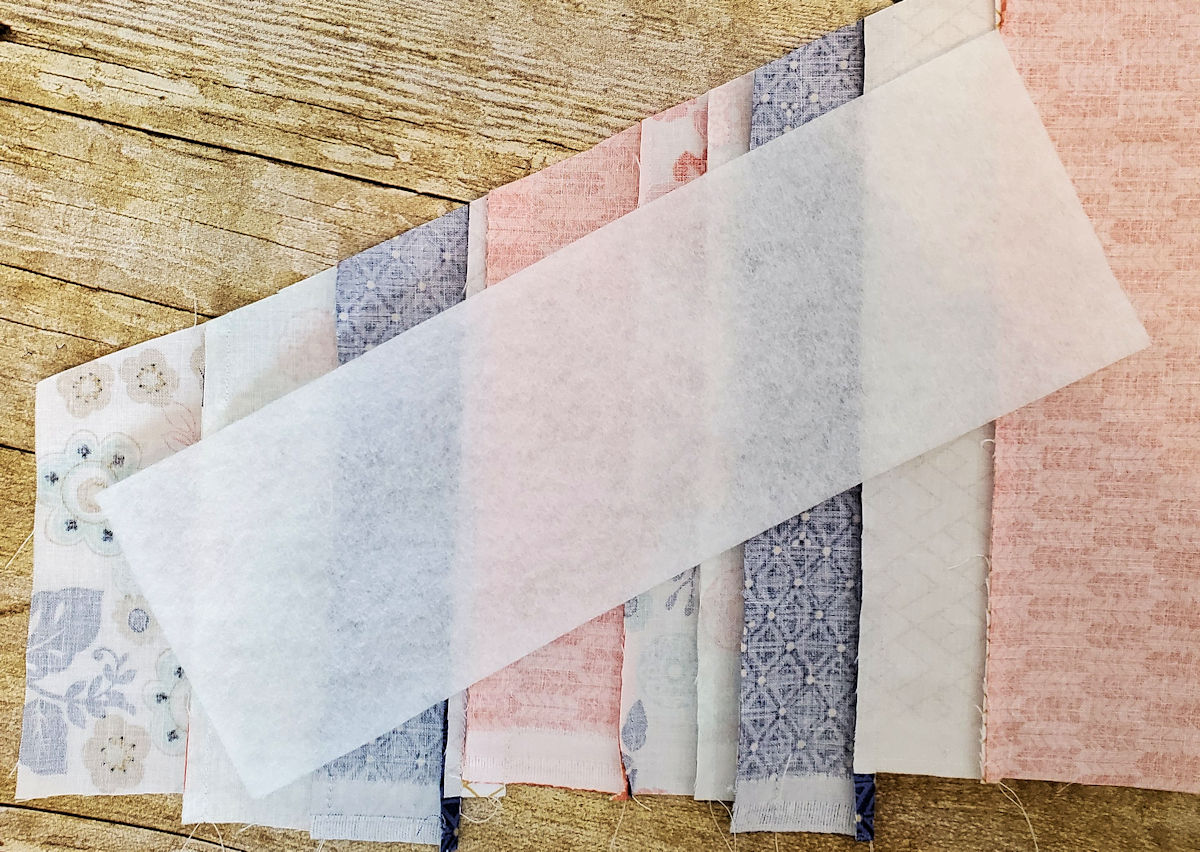
Place two strips of fabric, right sides together and sew. For this seam allowance I used 1/4″, but feel free to make it any size you want.
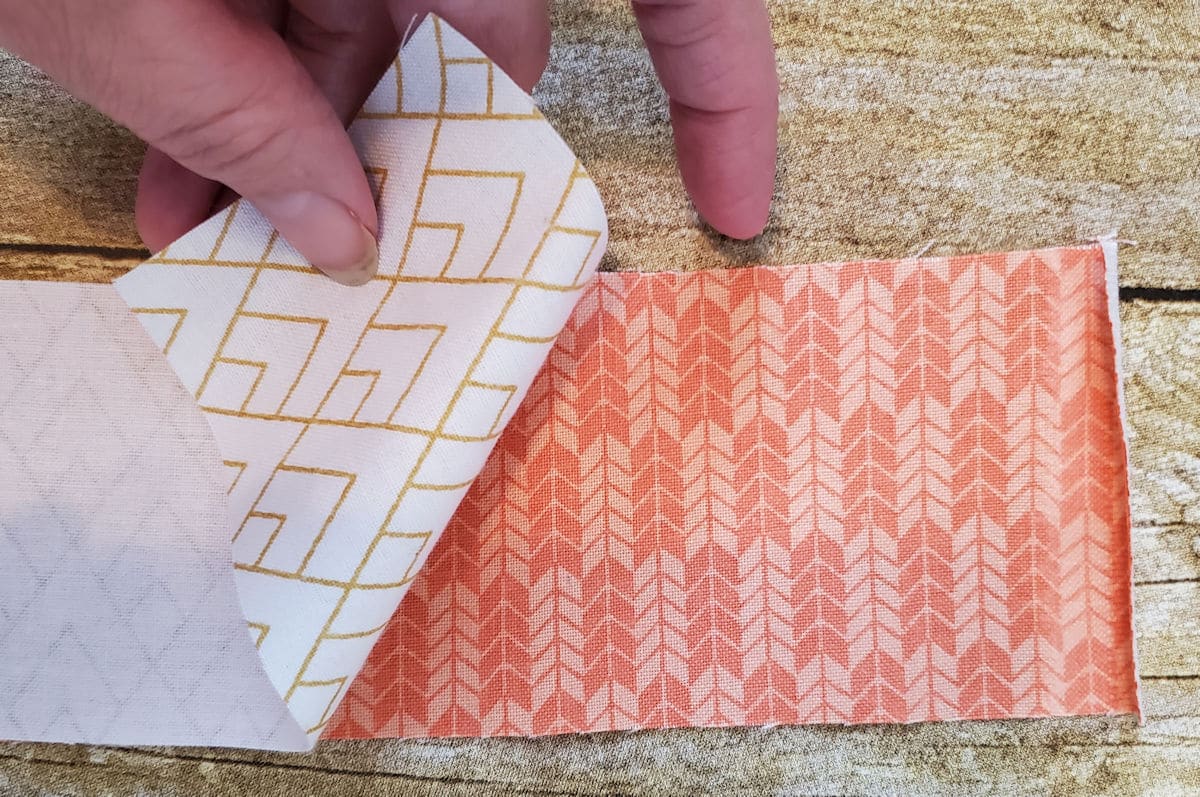
Press fabrics open and sew a third strip, right sides together. This time, use a seam allowance that is different from the previous strips (if you used 1/4″, consider using a wider seam allowance like 5/8″, 1″, or even wider!). Doing this will give your finished strips different widths which should add more interest to your mug rug. When using wider seam allowances, be sure to trim you seam allowance to 1/4″ to reduce bulk.

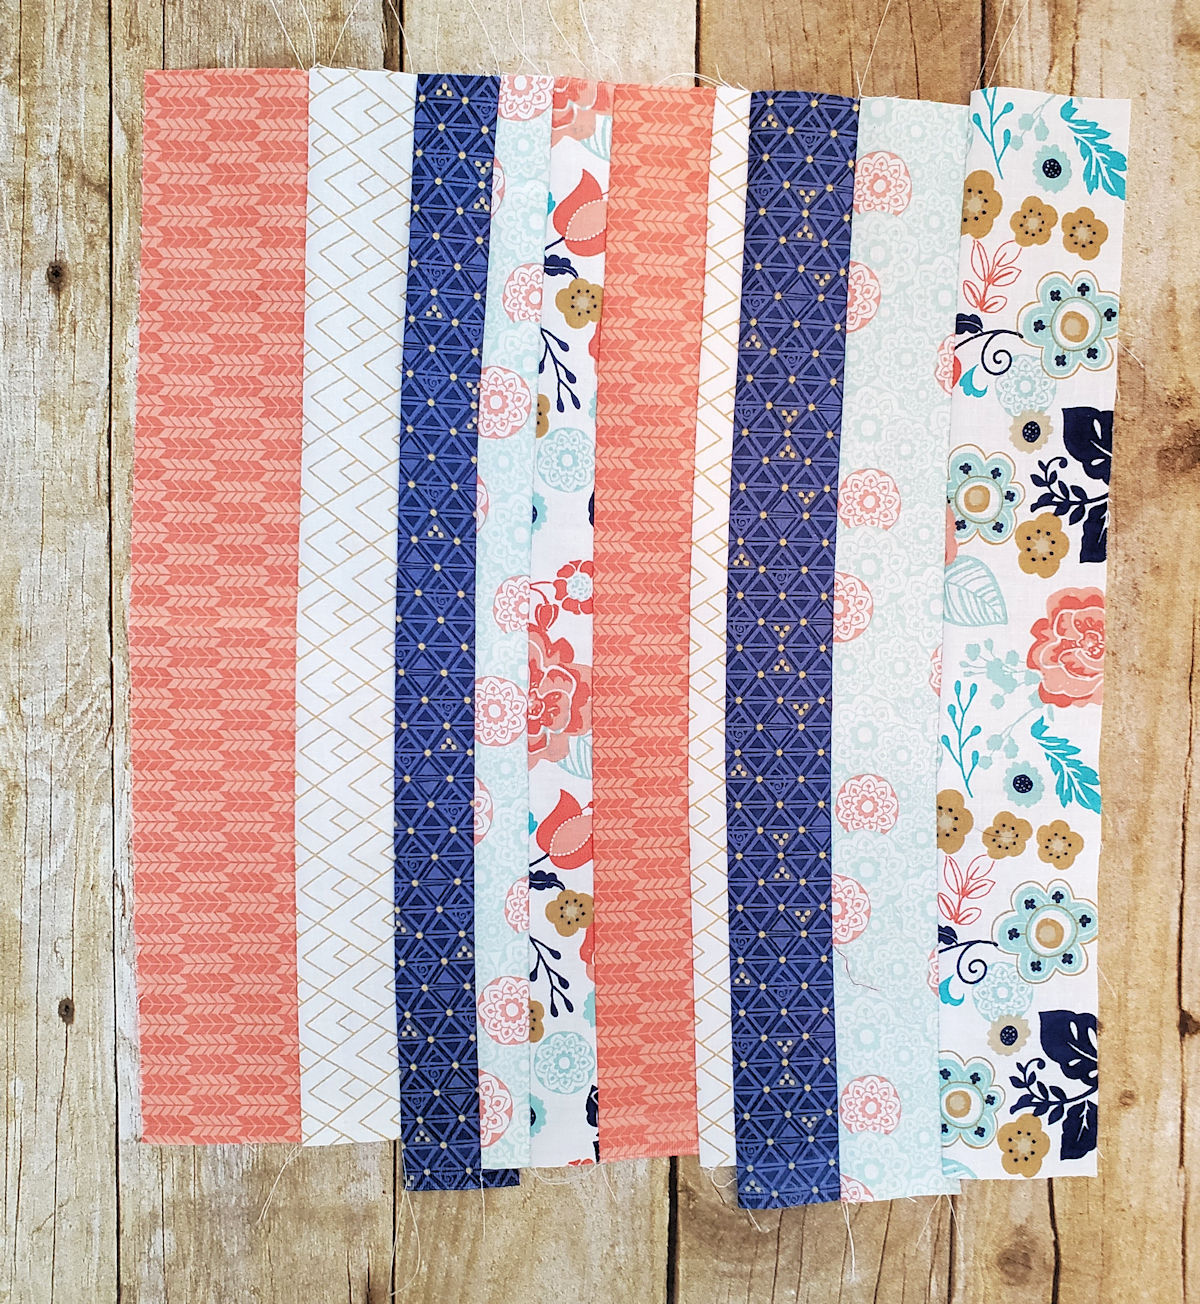
Continue sewing the remaining 7 strips together, using a variety of seam allowance widths, pressing the seams open, and trimming the seam allowances. If you have made very thin lines with your fabric, you may find it necessary to add a few extra strips so that your batting fits in the steps below. Your finished piece should look something like this:
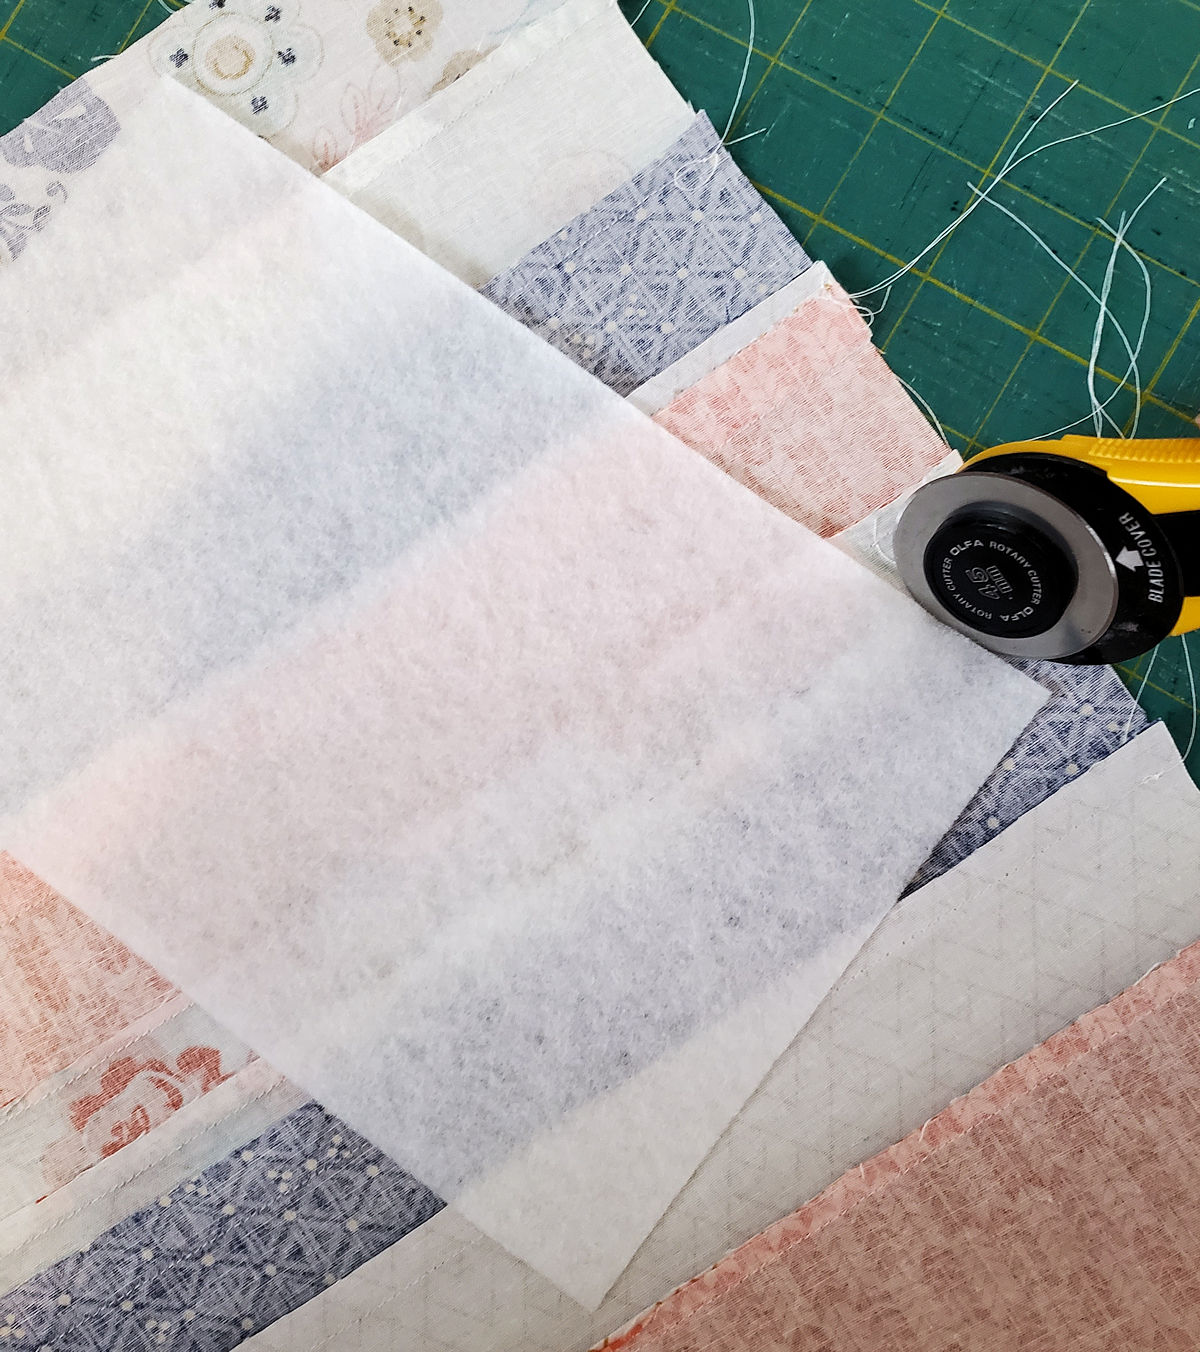
Flip the sewn strips so that the wrong side is facing up and place the batting on top. The direction you place your batting will determine how your finished mug rug will look – so feel free to keep the strips vertical, turn them horizontal, or turn the batting so that the strips appear diagonal. (Just be sure that if you plan on making a cozy, you leave enough material for that project too). Once you have decided on placement, cut the fabric so that it is the same size as the batting (6 x 9″) – you can use your batting as your cutting guide in this step. Once cut, you can baste your batting to the mug rug front. This is also the perfect time to do any quilting to your top layer, if desired. Use your favorite built in stiches, make your own designs, or attach the BSR and do a bit of free motion embroidery!
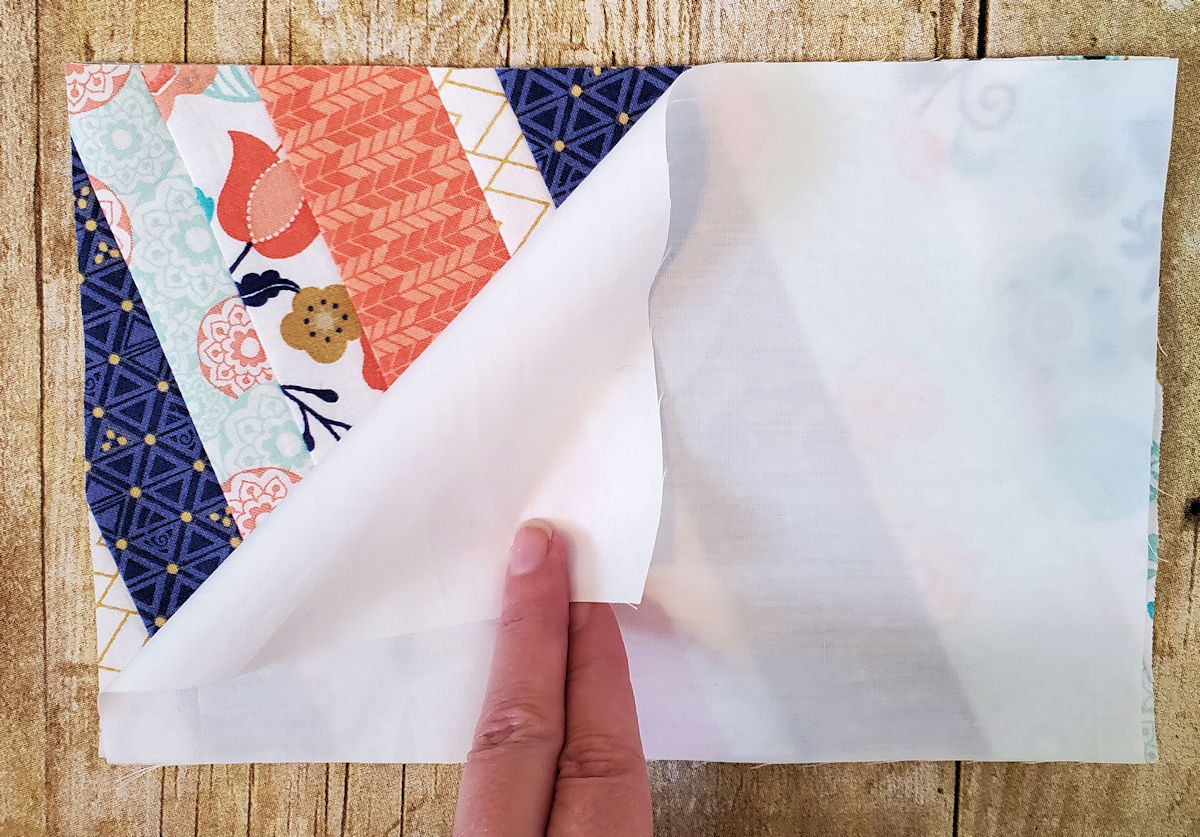
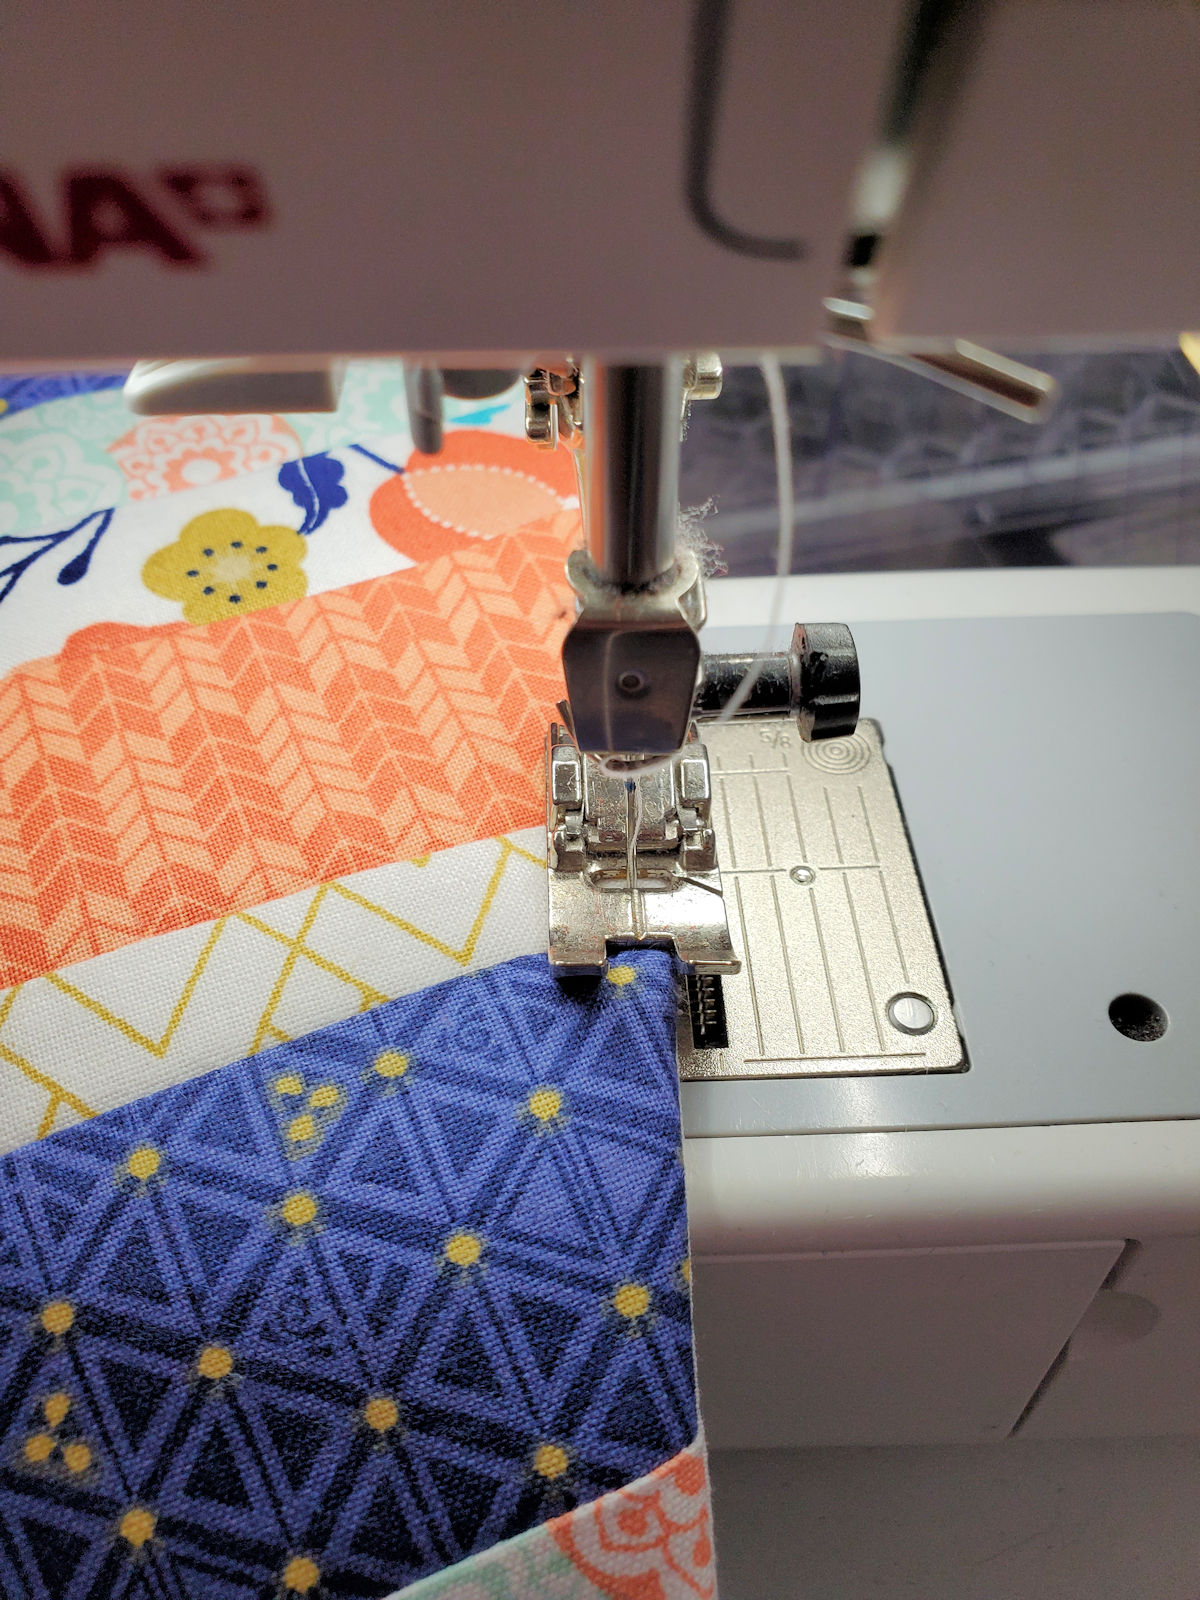
With right sides together, place the backing fabric on top of the pieced front and sew using 1/2″ seam allowance. Stitch around all sides of the mug rug, leaving a 3-4″ opening for turning.
Clip corners, turn right side out, and press. Edge stitch along the entire mug rug front, closing the hole used for turning.
Mug Cozy Materials
- Jelly Roll (2.5″ x 42″ of precut fabric strips)
- Fabric scrap for backing
- Cotton Batting
- 1/4″ round or flat elastic
- 1″ button
- Rotary cutter
- Ruler
- Hand sewing needle
- Standard sewing notions
- Iron
- 1/4″ foot (#37) – optional
- Bernina Stitch Regulator (BSR) – optional
Sewing the Mug Cozy
Cut a piece of backing fabric and batting 11.5 x 4″.
Flip the remaining sewn strips so that the wrong side is facing up and place the batting on top. Once you have decided on placement, cut the fabric so that it is the same size as the batting (11.5 x 4″) – you can use your batting as your cutting guide in this step. Once cut, you can baste your batting to the cozy front, if desired. Again this is a great time to quilt your top layer.
Cut a piece of elastic, 5″. Fold the elastic in half and center along one short edge so that the raw edges are even and the loop is toward the pieced strips. Baste the loop in place.

With right sides together, place the backing fabric on top of the pieced front and sew using 1/2″ seam allowance. Stitch around all sides of the mug rug, leaving a 3-4″ opening for turning.

Clip corners, turn right side out, and press. Edge stitch along the entire cozy front, closing the hole used for turning. Center the button on the short end (without the loop) and sew using a hand sewing needle and thread.

And you’re done! Now go pour yourself your favorite beverage and enjoy your new set!
Used Products


What you might also like


5 comments on “Easy Strips Mug Rug and Cozy Set”
-
-
I am wondering how to download this project?
-
If you hit control P you can download the pattern and either print it out or save it on your computer as a pdf file.
-
-
I really like this project and am planning on doing it. Having the finished measurements in advance is very helpful.
-
It would really be nice if you could put this pattern into a PDF!
Leave a Reply
You must be logged in to post a comment.

This looks like a lot of fun even for a beginner! I am going to try this for sure! Thank you for the great idea!