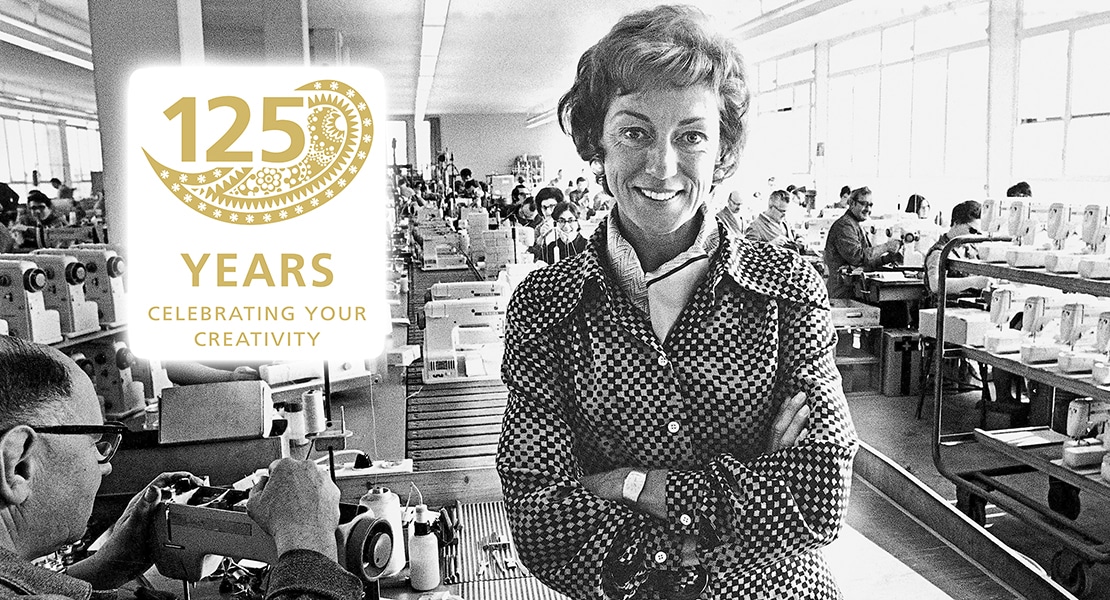
First Stand Alone Embroidery Machine
This post is part of our blog series celebrating 125 years of the BERNINA Company. Each post is bringing you a little more of the history of BERNINA, along with modern inspiration. For more information on this series, and earlier posts, click here.
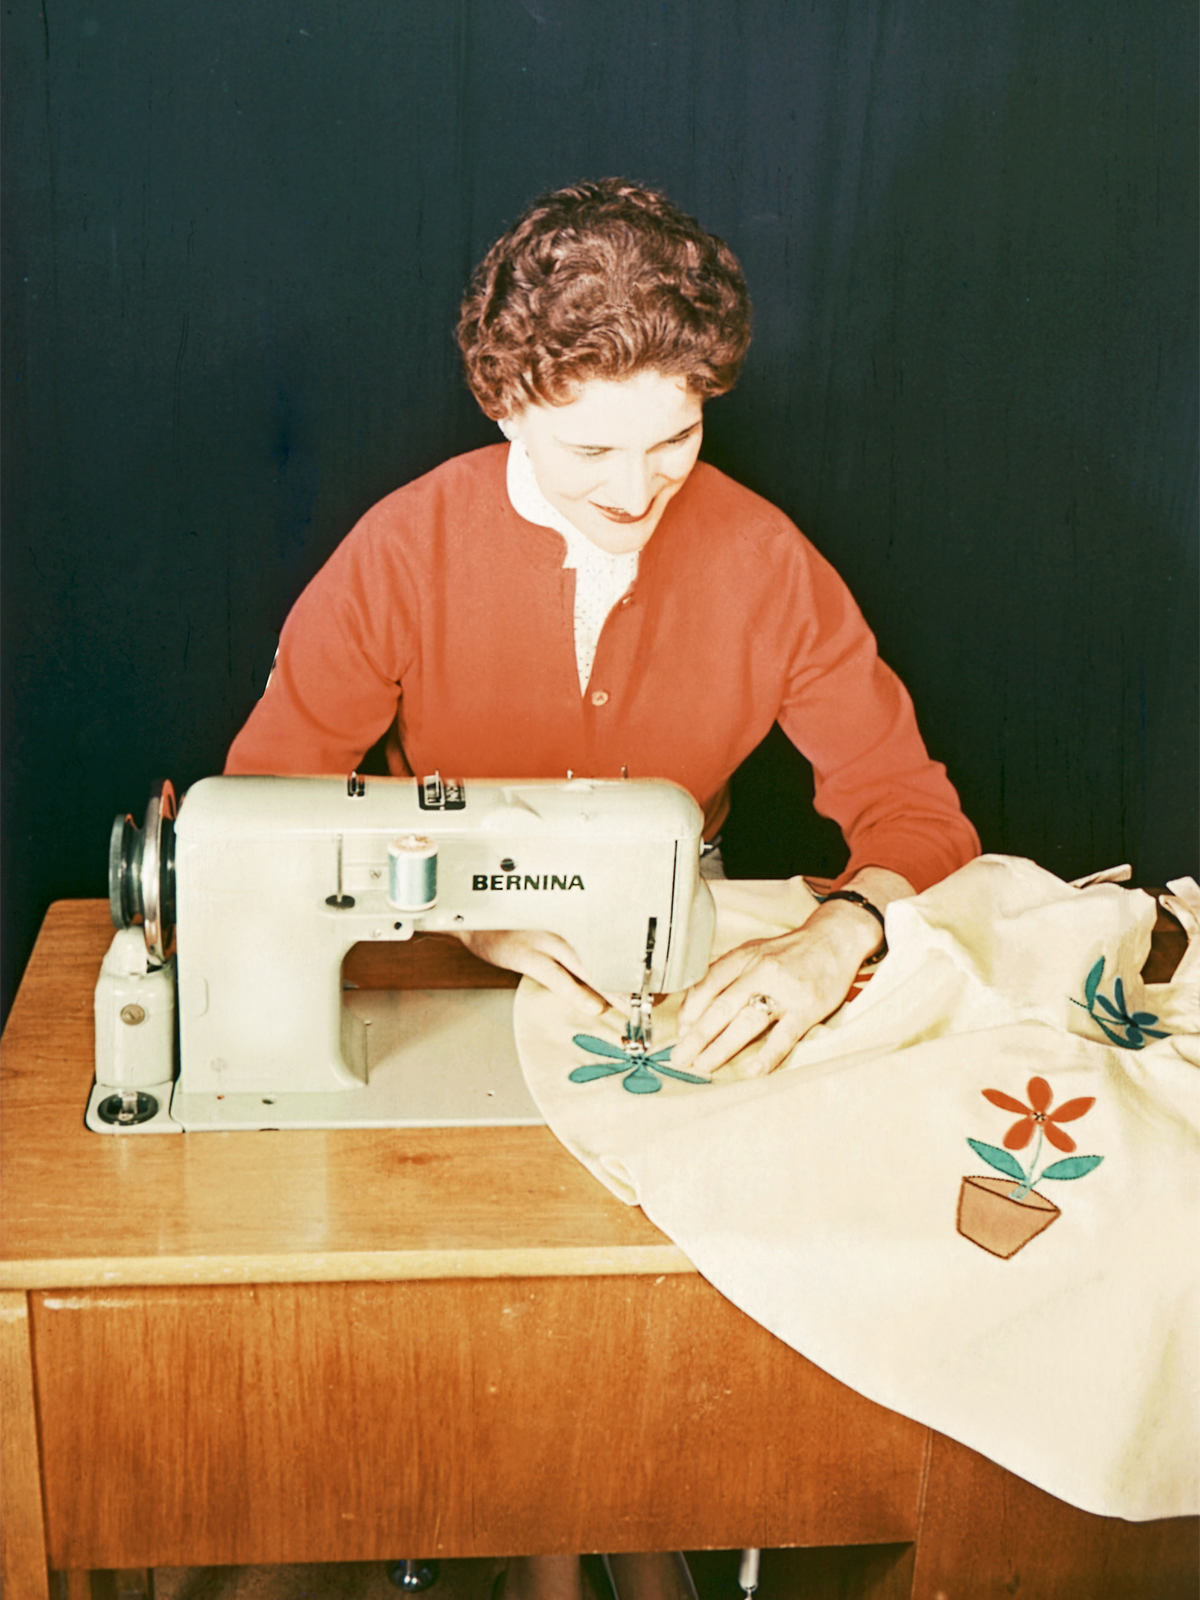
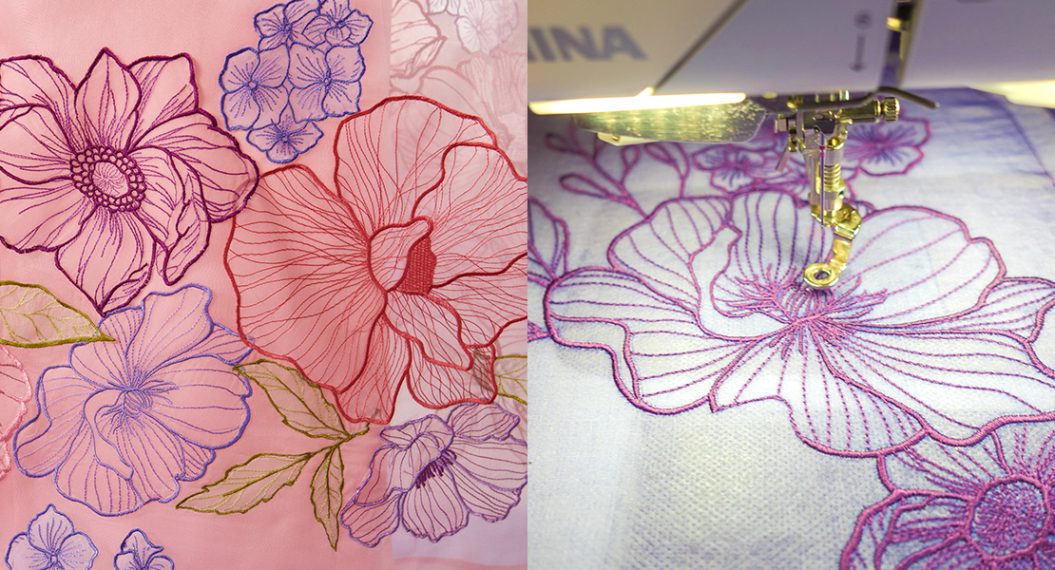
With the age of computerized sewing machines came the ability to have embroidery designs stitched by the sewing machine. Prior to this, any embroidery created with the sewing machine was a hand-guided or free-motion embroidery process.
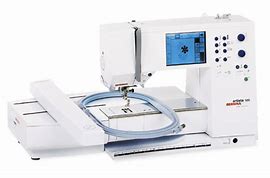
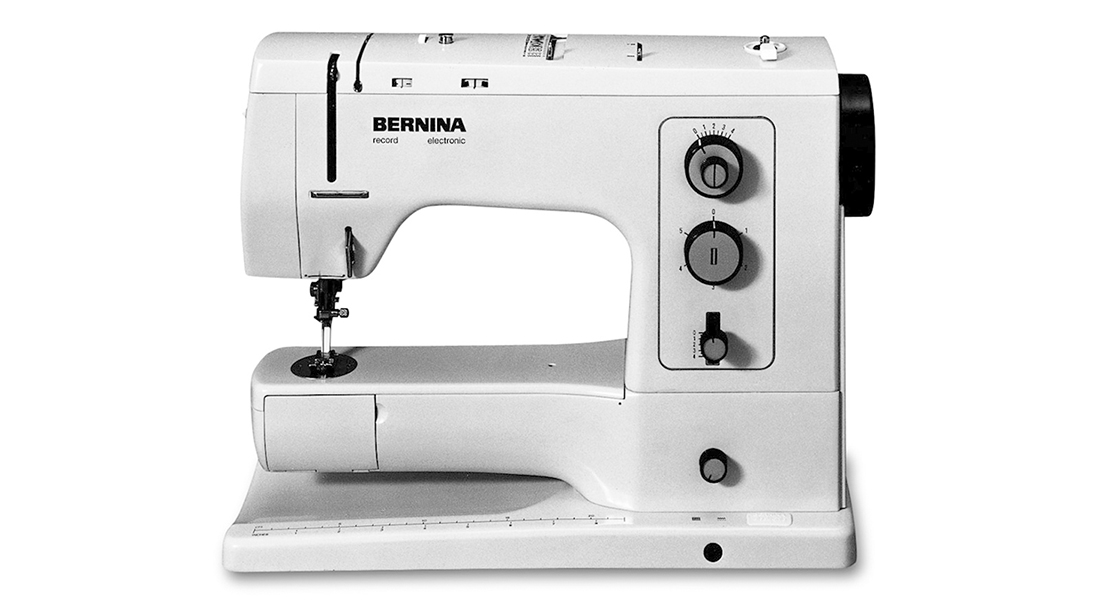
In 1998, the first BERNINA computerized sewing machine, the artista 180 was introduced. This was the first sewing machine to have machine embroidery capabilities, bringing with it so many wonderful and new creative possibilities. The embroidery design was opened on the machine, then you would hoop the project and thread the machine with your choice of beautiful threads. The machine stopped for each thread change. This was just the beginning of so many wonderful new creative opportunities in the world of machine embroidery.
Fast forward to 2016 and the introduction of the BERNINA 700, the first embroidery-only machine made by BERNINA. The B 700 drew attention from embroidery enthusiasts, and was packed with some pretty powerful tools for successful embroidering. It featured an extra-large embroidery area with a stitching field of 400 x 210 mm (15.75” x 8.27”). The Jumbo Bobbin allows you to stitch longer, and Pinpoint Placement gives the ability for precise positioning of the designs by aligning two points on screen with markings on the fabric.
It also includes more control of threads, with less cutting and trimming of jump stitches, and these are a winning combination with the new B 700.

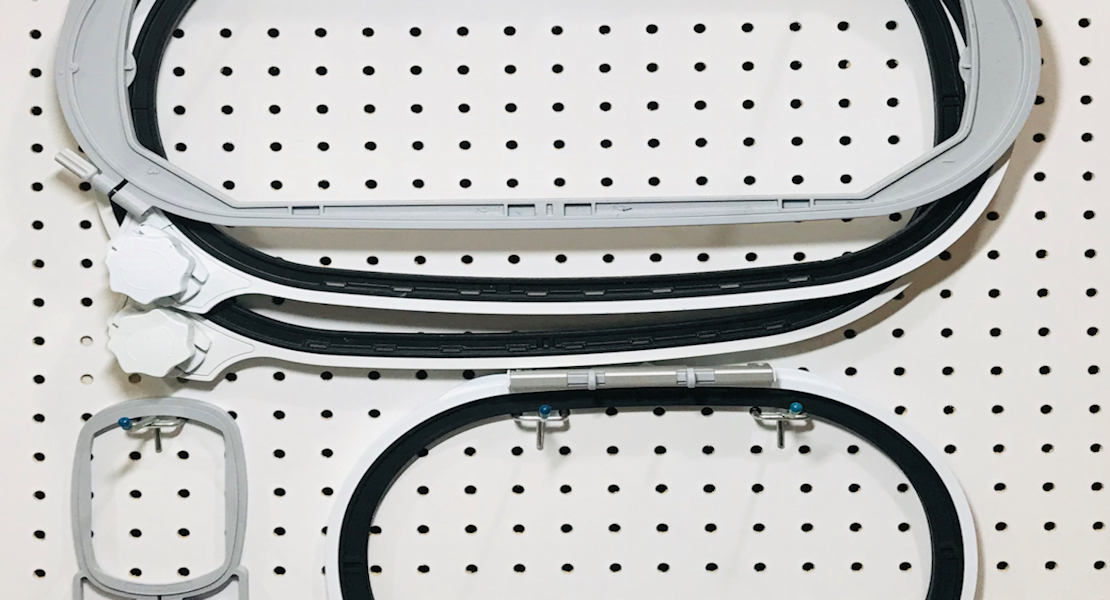
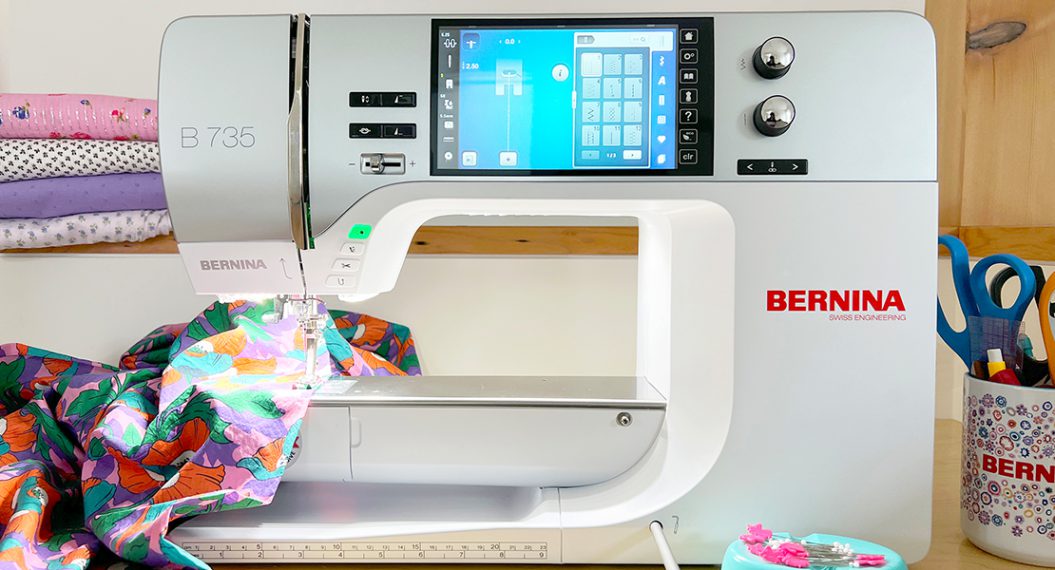
Then in 2017, another embroidery-only machine was added: the BERNINA 500. This machine has a new embroidery module design that is easy to install and includes a carrying handle. The new design allows for easier free-arm embroidery with all hoops and a generous embroidery area.
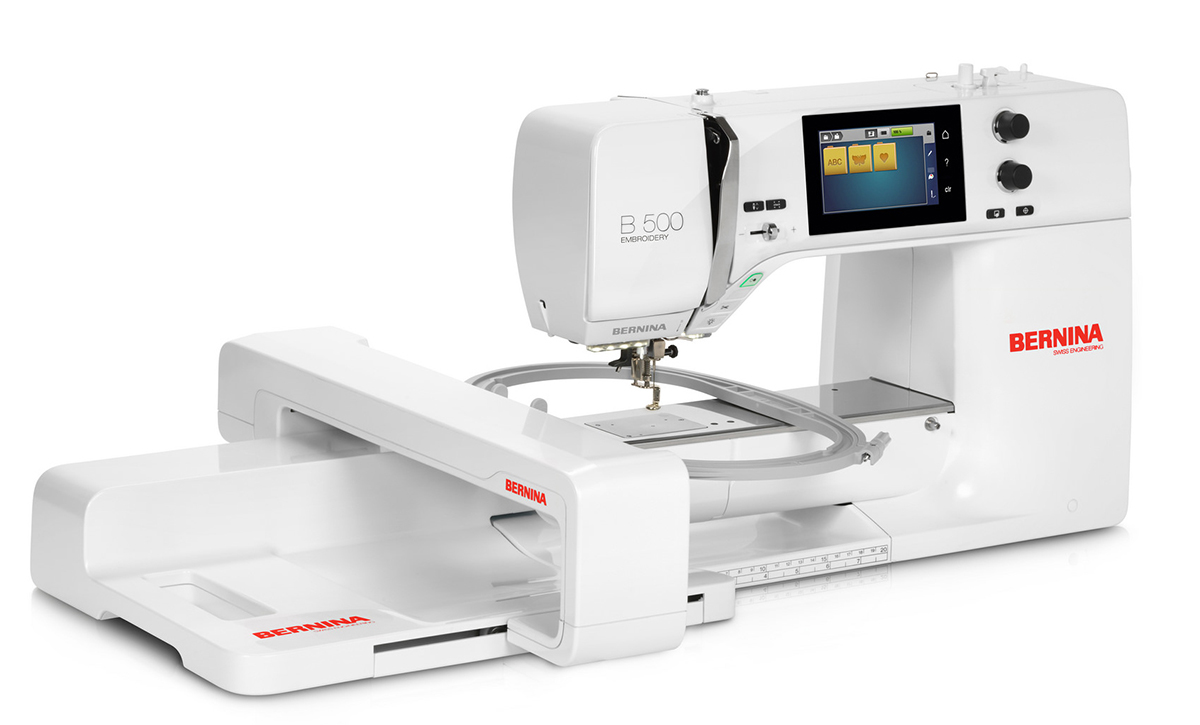
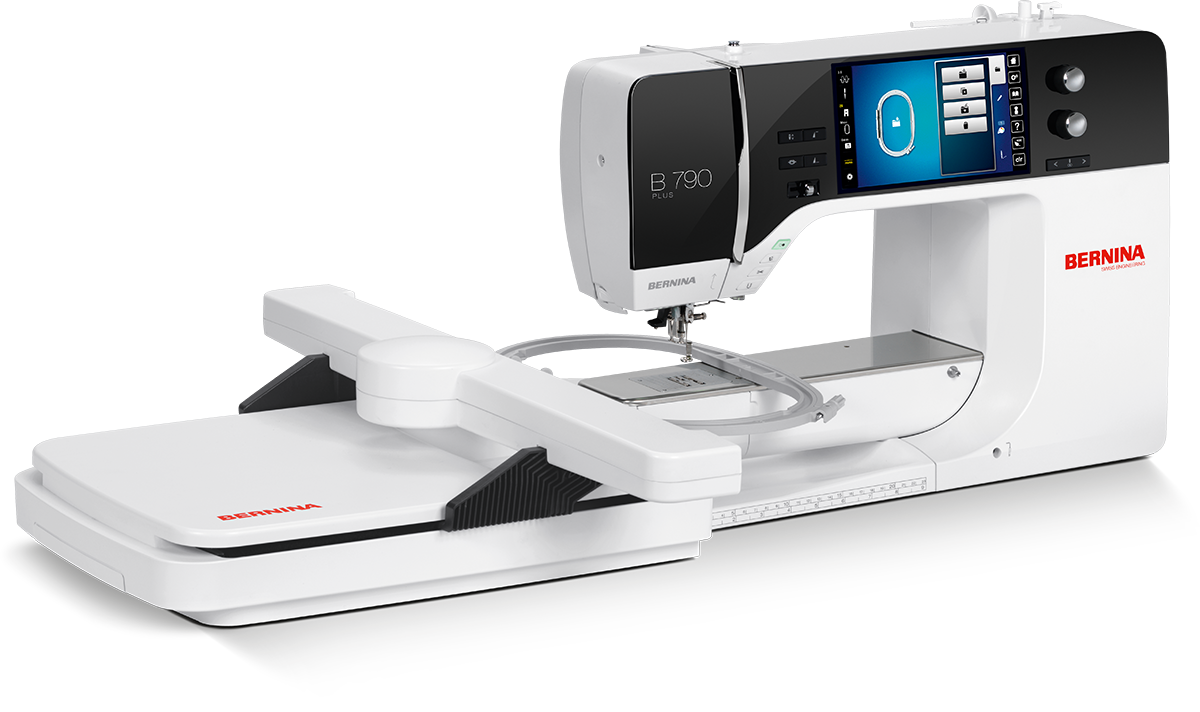
With the addition of the B 500 came many new embroidery features and tools featured on the top-of-the-line machines. The on-screen editing of designs includes more than just rotate, mirror and combine. Now you are able to group or break apart designs so you can edit and eliminate elements and then customize the stitch-out sequence of the design. Want a do-over without starting over? Okay, simply touch the Undo/Redo icon and redo steps to create your design. These new features are also enjoyed by embroiders on the B 880 PLUS, B 790 PLUS, B 700 and B 590 embroidery machines.
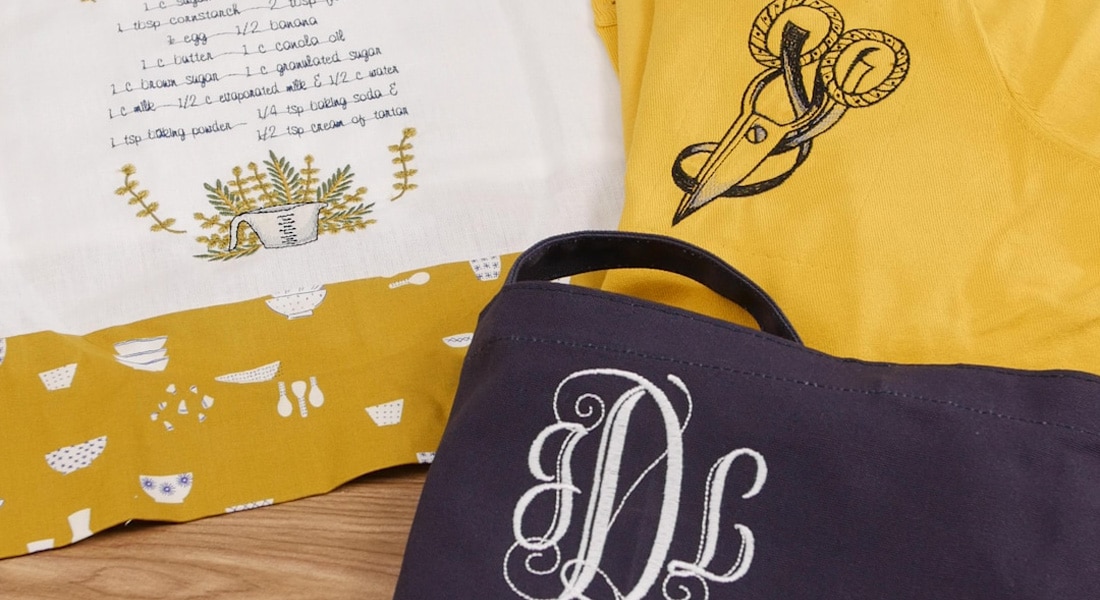
The BERNINA embroidery machines are loaded with features that are designed so the embroidery enthusiast can create right at the embroidery machine.
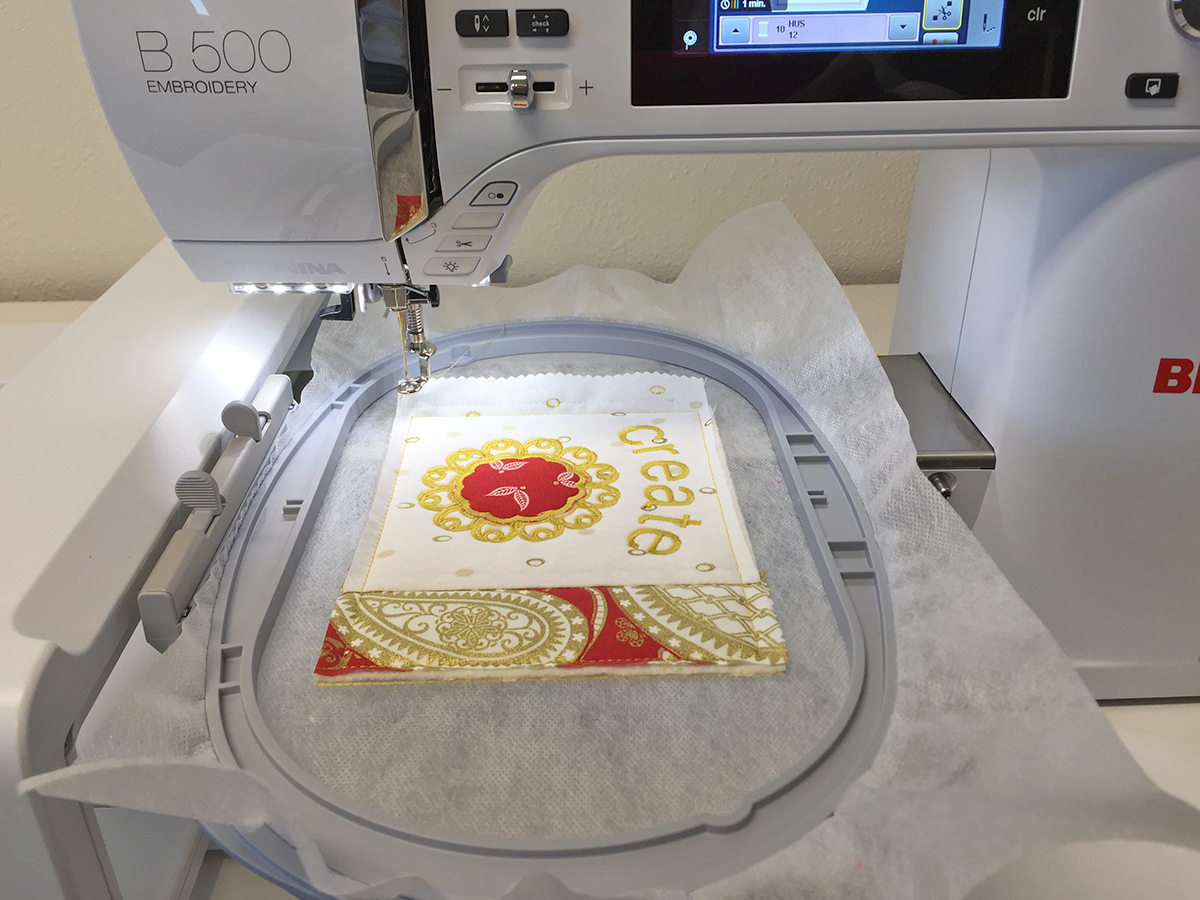
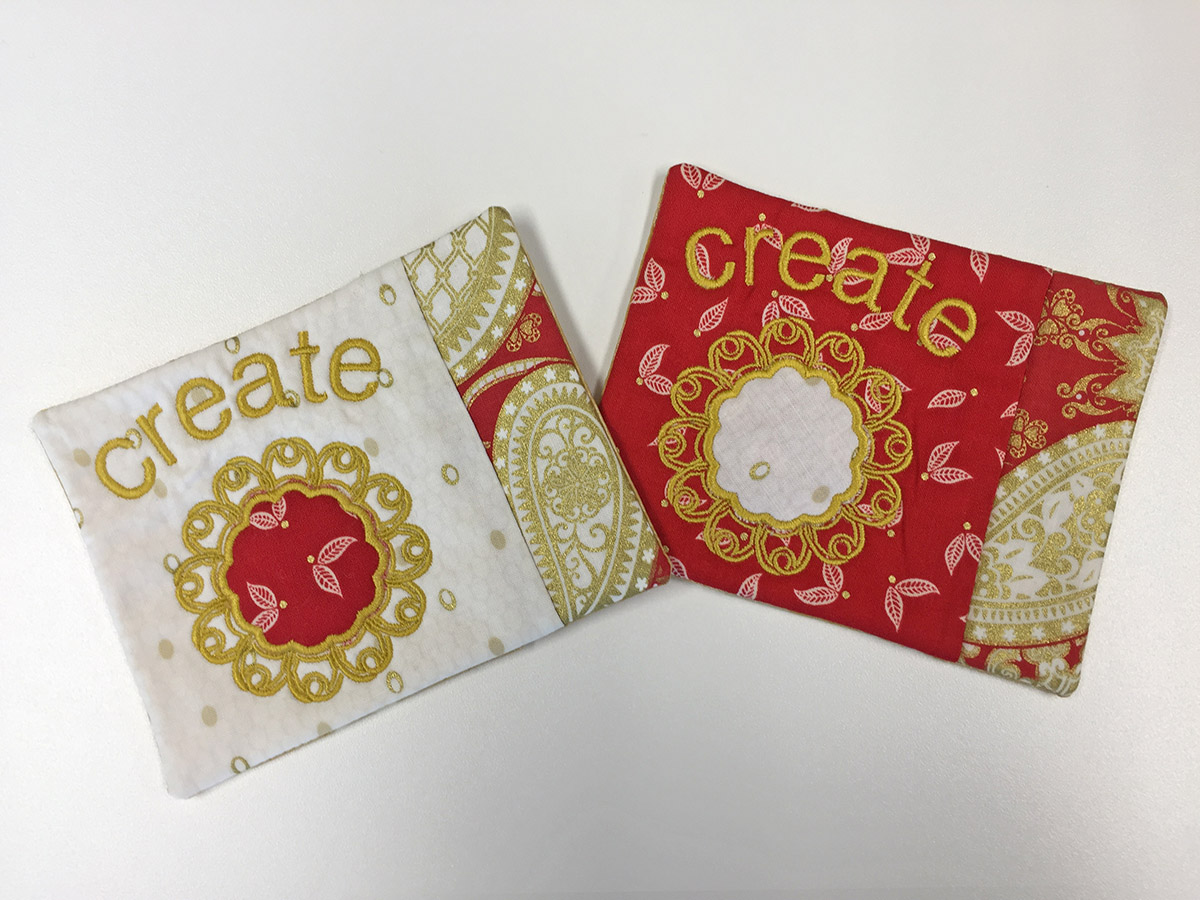
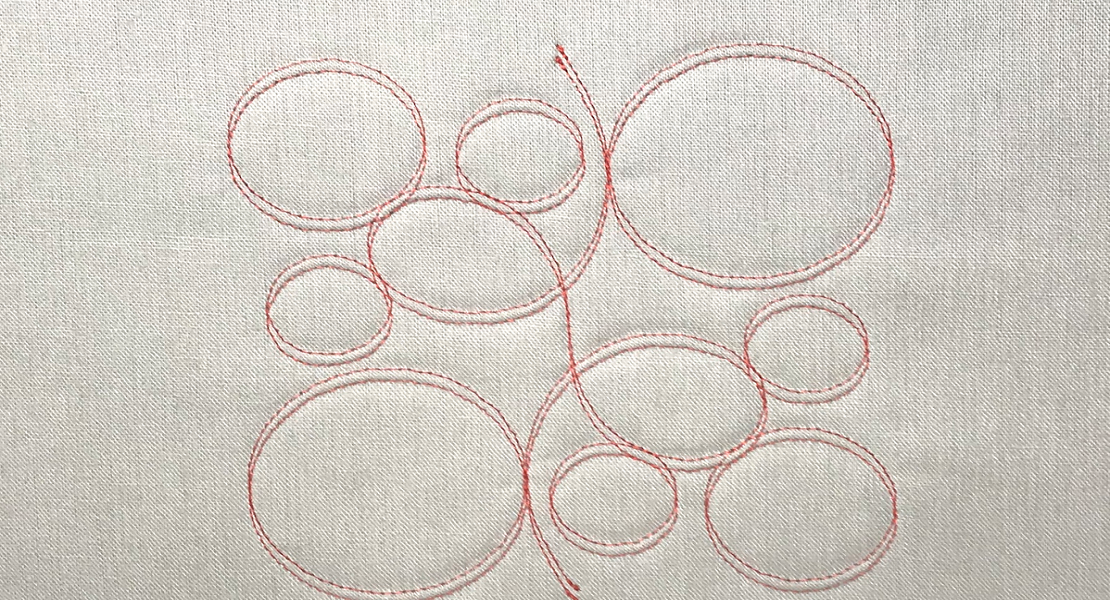
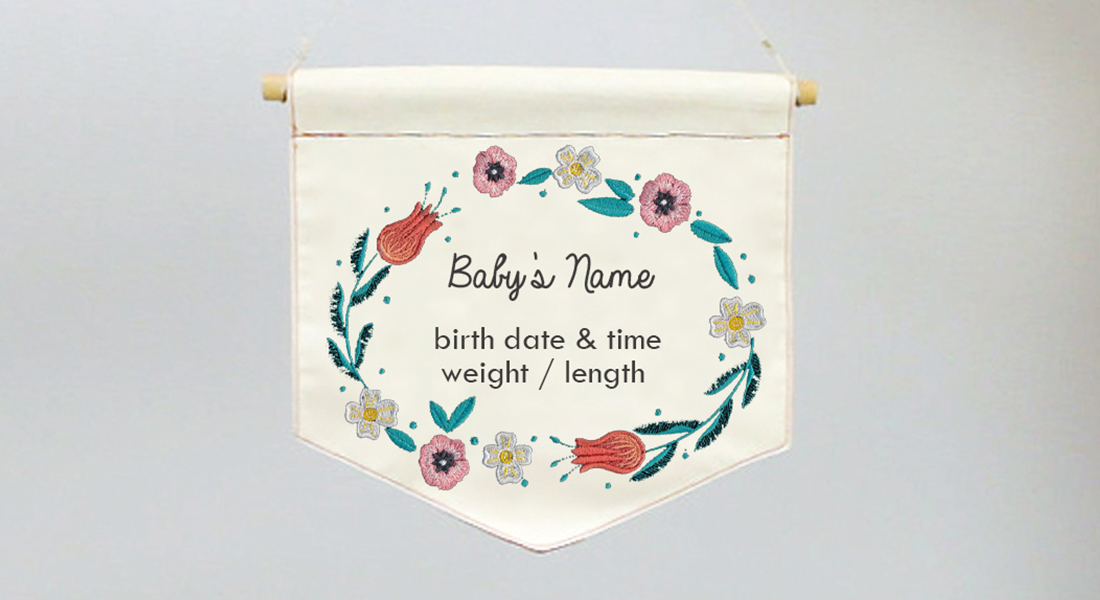
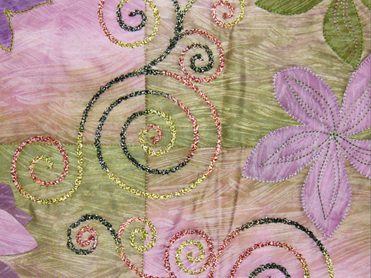
This Jubilee Mug Rug was a fun in-the-hoop project. Using the design editing features on the B 500 embroidery machine, it was quick and easy to set up. (All these features are also available on the B 700, B 880 PLUS and B 790 PLUS).
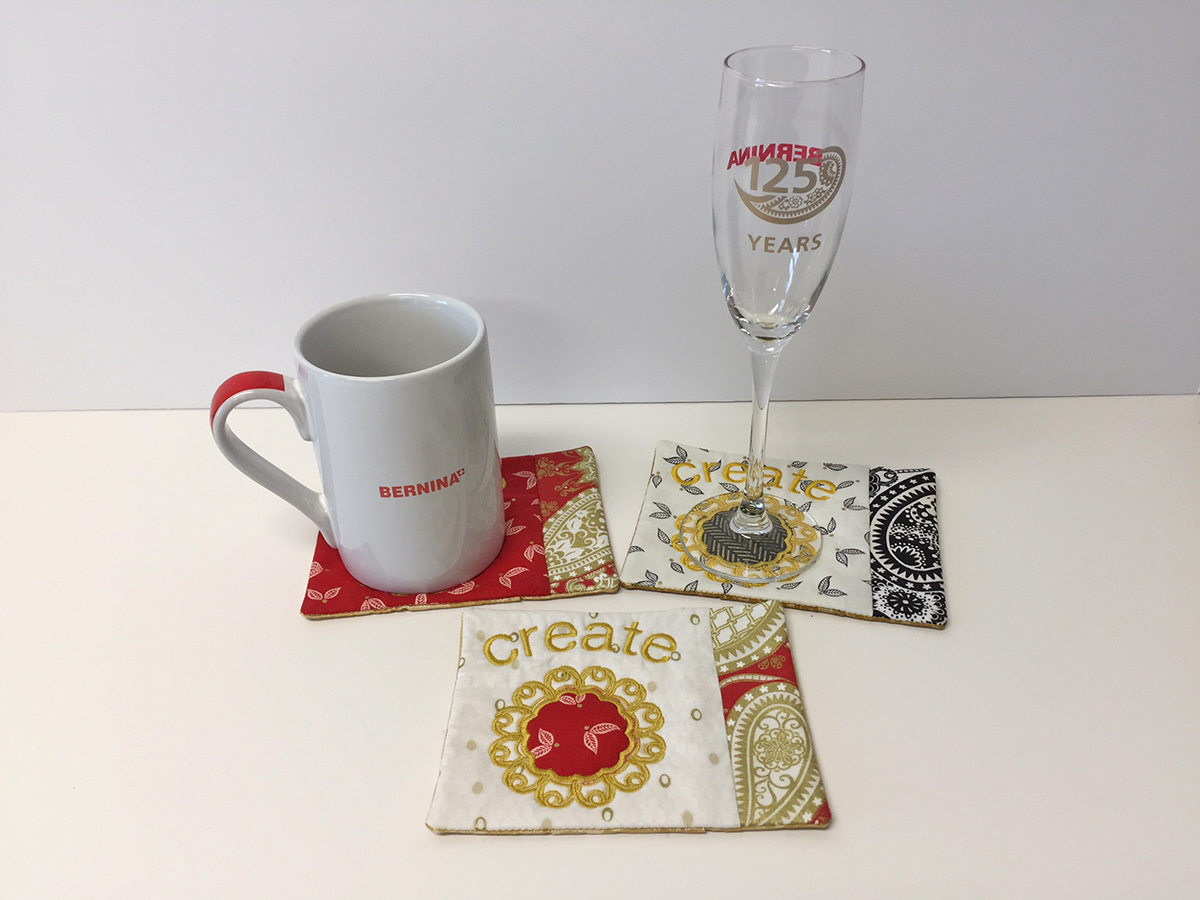
This design is an in-the-hoop mug rug from Amelie Scott Designs. I ungrouped the design, removed some elements of the design, and replaced them with a design from BERNINA Exclusive Design Collection #80190 Jubilee by Amanda Murphy. The lettering was added using the built-in lettering on the BERNINA B 500.
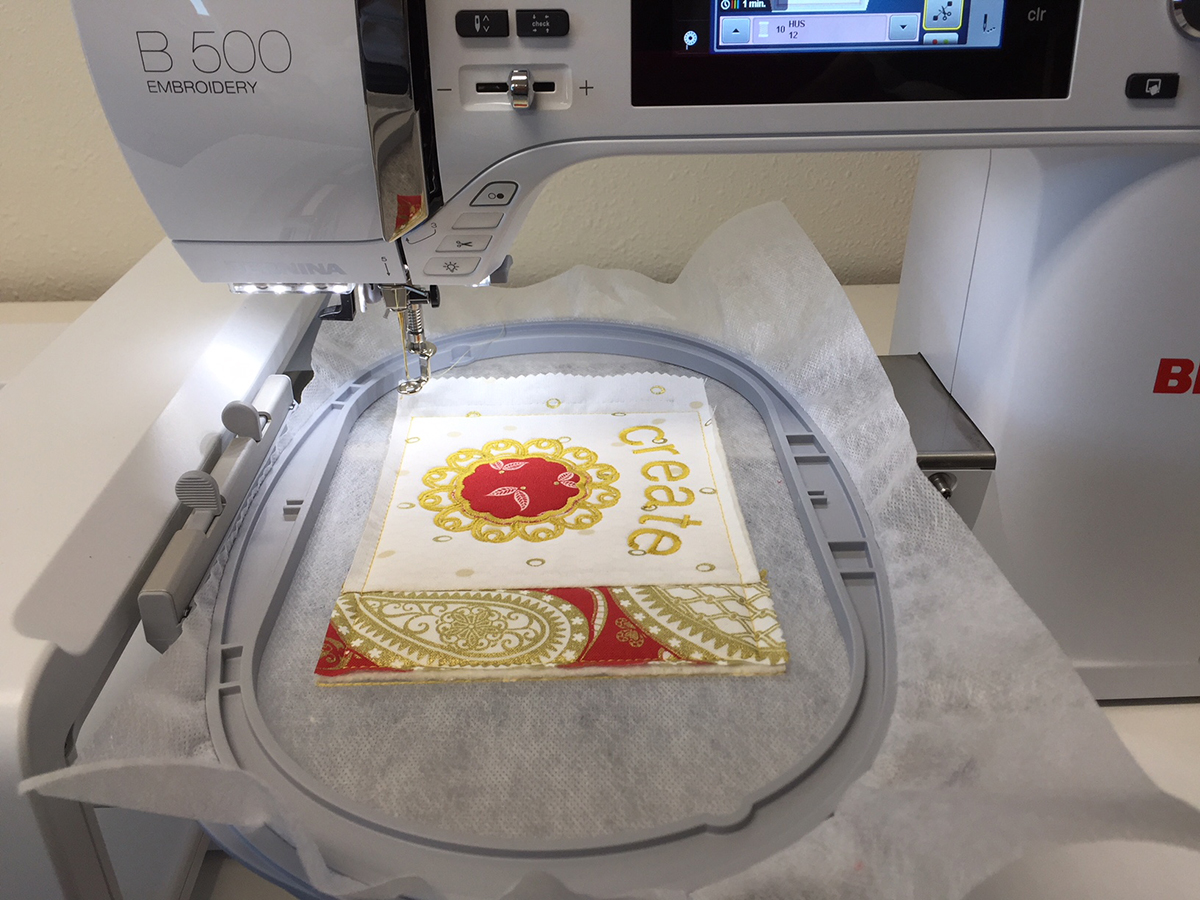
Let me show you how I put it together on the B 500 embroidery-only machine using some of the wonderful editing features and tools.
Editing the Design
Ungroup
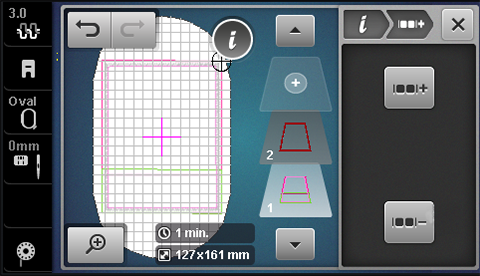
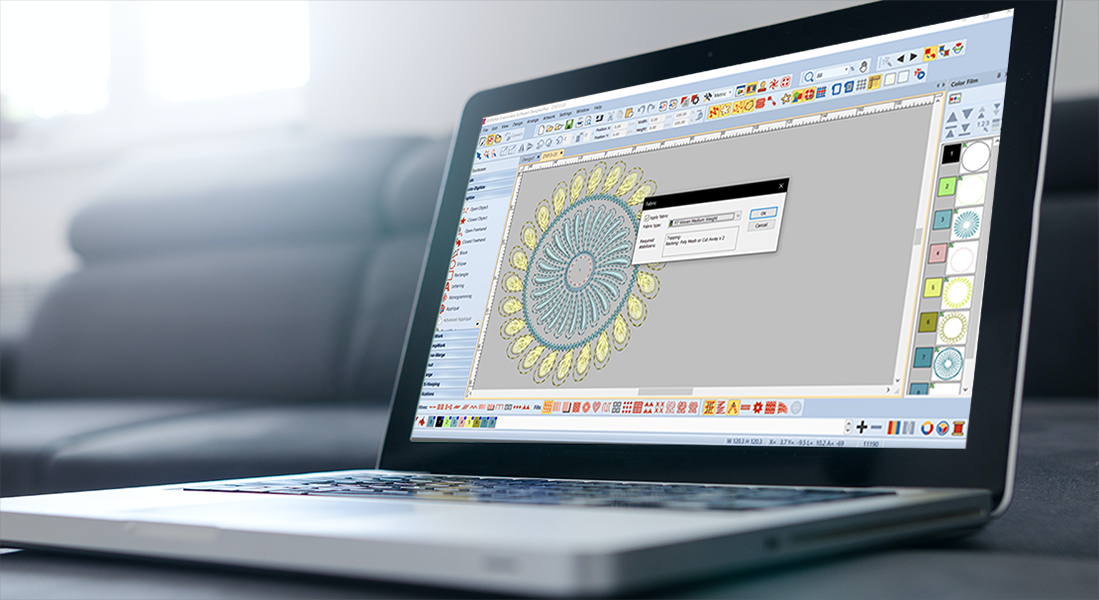
After loading the mug rug design, I selected the Information icon, then the Group/Ungroup icon.
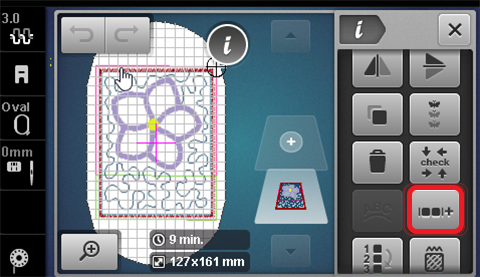
I then selected the Ungroup icon.
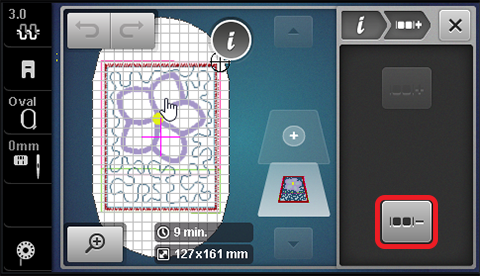
This broke apart the mug rug design into elements that I could then delete.
Delete Motif
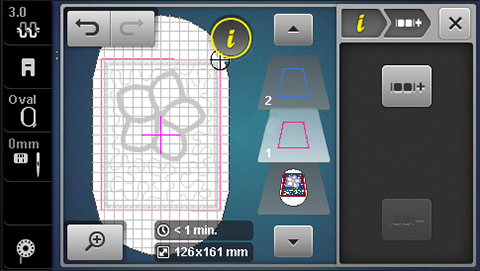
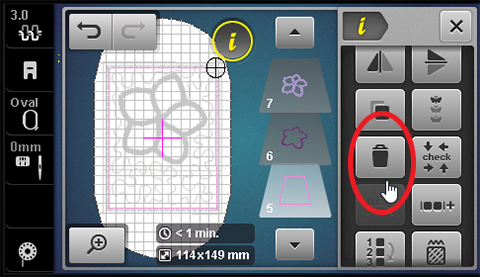
In the Layer Panel, I scrolled to locate the elements of the applique flower.
I selected Layers 6 through 10 one at a time and deleted each one. To delete the motifs, you have two options; delete by Swiping the layer off the Layer Panel, or by touching the Delete icon in the (“i”) Information display.
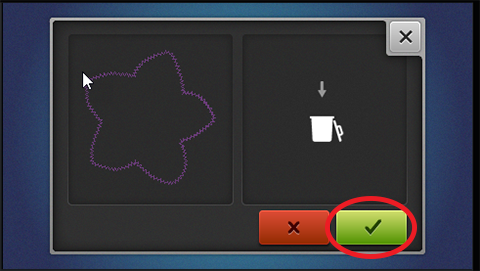
Touch the Confirm icon to confirm the deletion.
Group Layers 6 and 7
After deleting the applique design, I used the Group/Ungroup function to group the layers of the mug rug for optimal stitching. Select Layer 6 and select the Group/Ungroup icon.
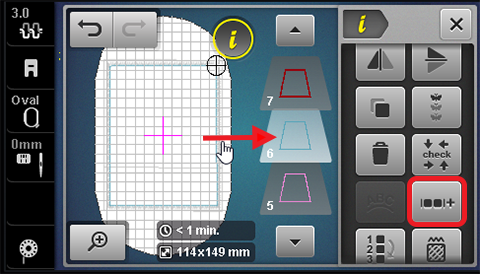
With Layer 6 still selected, touch the Group icon.
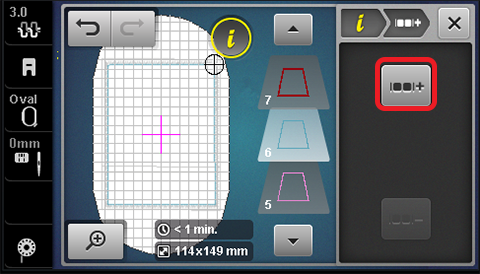
This will group Layers 6 and 7 together in one layer.
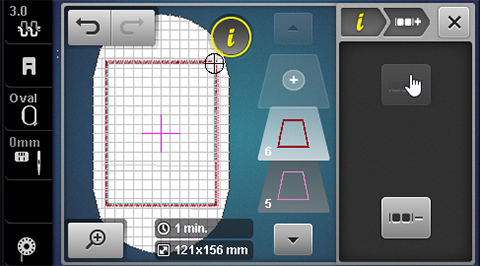
Group Layers 1 through 5
Select the down arrow in the Layer Panel until Layer 1 is visible. Select Layer 1 and select Group.
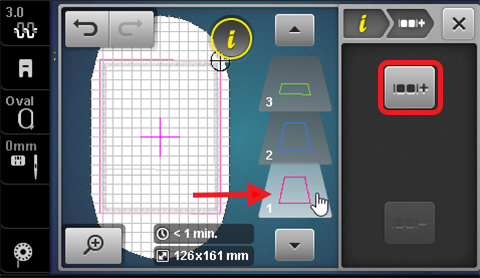
Continue to Group the layers three more times until there are just two layers in the Layer Panel.
Add New Motif
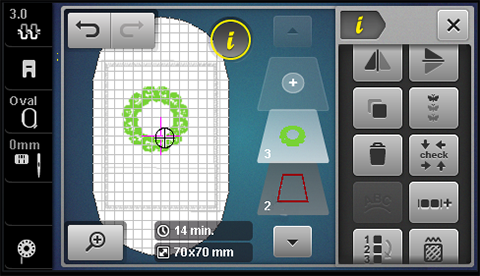
Select the Add icon (+) at the top of the Layer Panel to add the new applique design from the Jubilee by Amanda Murphy #80190 design collection. I used design #80190-44 from this collection. Select the design on screen and position it in the upper section of the mug rug.
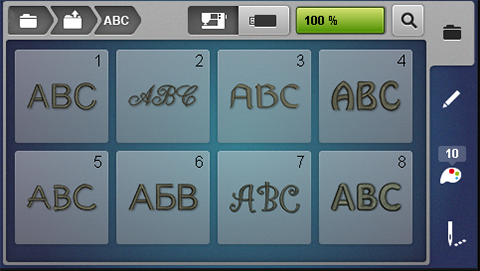
Add Alphabet
Select the Add (+) icon at the top of the Layer Panel to add the lettering. I used Alphabet folder 1 (Swiss Block), selected lowercase and entered the word “create”.
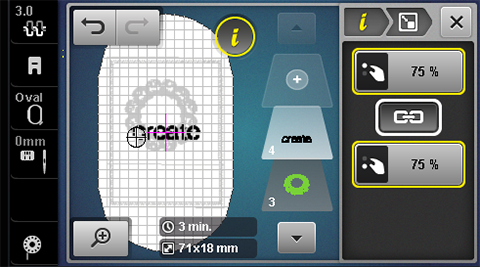
Change Motif Size
Select Change Motif Size.
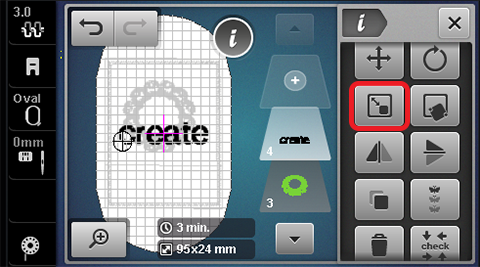
Using the Multifunction knobs decrease the size of the lettering to 75%.
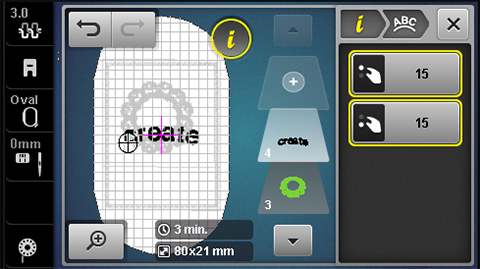
Word Art
Select the (“i”) from History Navigation (breadcrumb at top of display) and select the Word Art icon. Use the Upper Multifunction knob to change the spacing to 15; use the Lower Multifunction knob to change the arc of the lettering to 15.
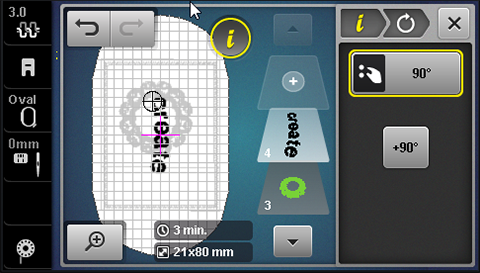
Rotate Motif
Select the (“i”) from the breadcrumbs; select Rotate Motif and select Rotate Quick 90°.
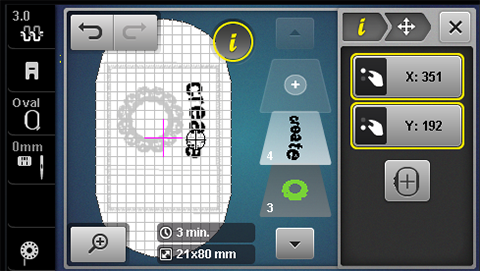
Move Motif
Select the lettering on screen to move it into position above the applique design (note: this will be to the right of the design in the displayed hoop as shown). Use the Upper and Lower Multifunction knobs to fine tune the positioning.
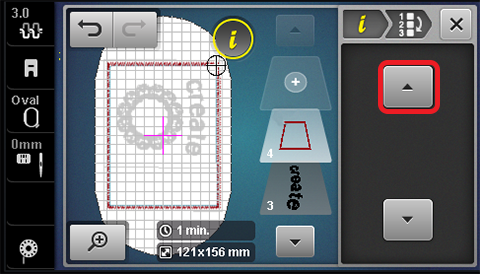
Rearrange Stitching Order
Select the (“i”) from the breadcrumb and select Rearrange Stitching Order. Select Layer 2.
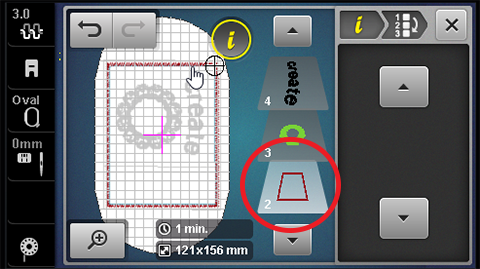
Use the up arrow to move that layer of stitching to be the last to stitch, so that it is now Layer 4.
Select Close (x at upper right of display) to close Information display.

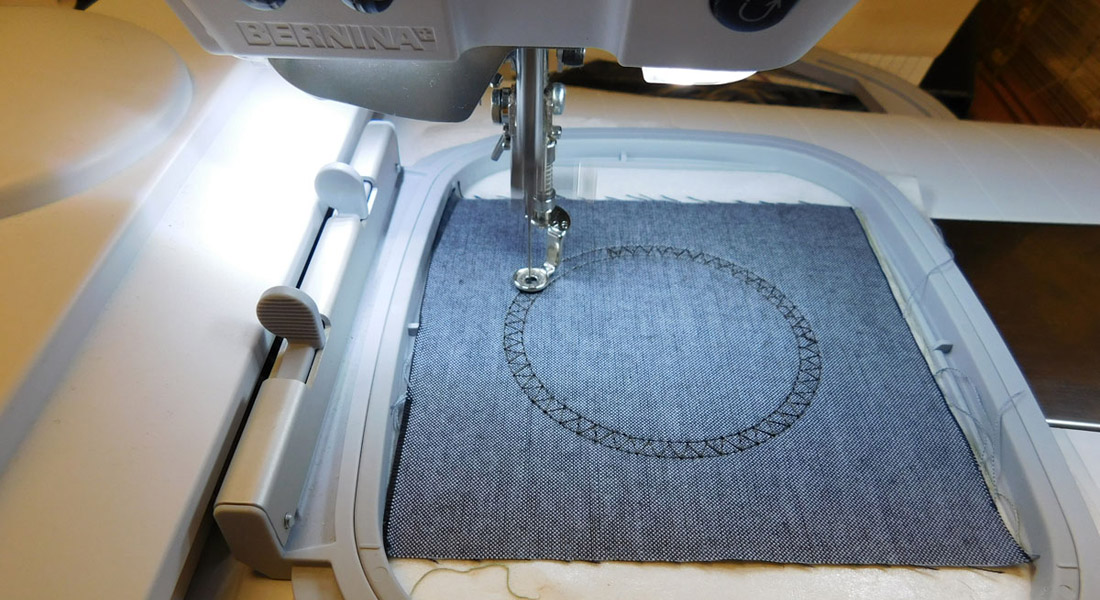
The design is now ready for stitching.
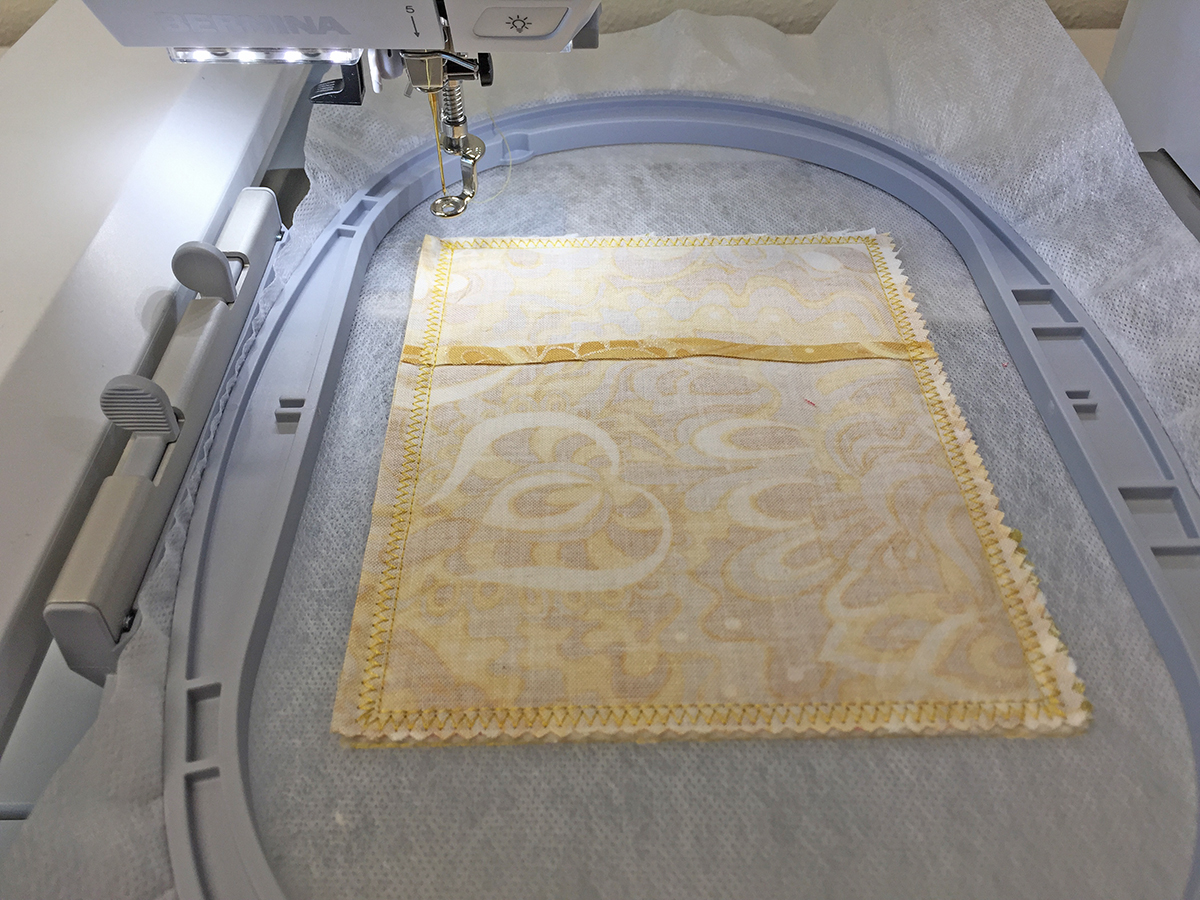
In-the-hoop projects are so easy and fun, and with these great editing functions right at the machine it just got easier!
Here is a link to a previous blog post for the Flower Mug Rug Design from Christine Connor of Amelie Scott Designs https://weallsew.com/how-to-make-a-mug-rug-in-the-hoop/
For more information on the B 700 and B 500 Stand Alone Embroidery Machines click here.
Used Products

What you might also like

4 comments on “First Stand Alone Embroidery Machine”
-
-
This looks like way more easier than what I’m doing now.
-
Looks so much easier than my 440QE. They have come a long way on their machines but I love my QE also.
-
I am currently using PE800 Brother Embroidery Machine but I’ll do some savings for this one, just for the hope to get things much easier.
Leave a Reply
You must be logged in to post a comment.

I have never embroidered anything, but I have an interest. I attended the Bernina Embroidery event for Hinkletown Bernina Sewing shop at Shady Maple in Lancaster County, PA a few weeks ago, and enjoyed the machine embroidery presentation. I do not own an embroidery machine, but talked with a few ladies that had them, and they are enthusiastic about the machine. About 250 women attended the event.