Embroidery Basics: The Machine Embroidery Hoop
Machine embroidery is one of my favorite hobbies! I love the precision you can achieve! One key to getting that precision is properly hooping the fabric and stabilizer.
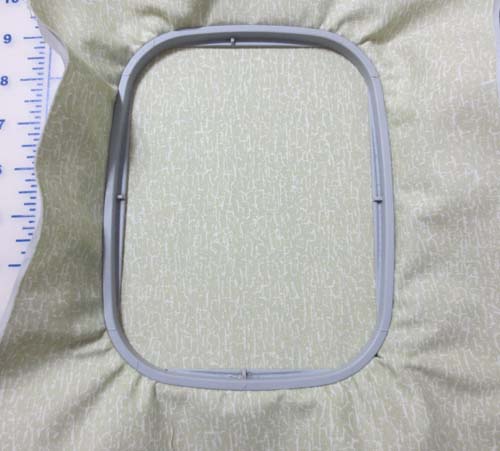
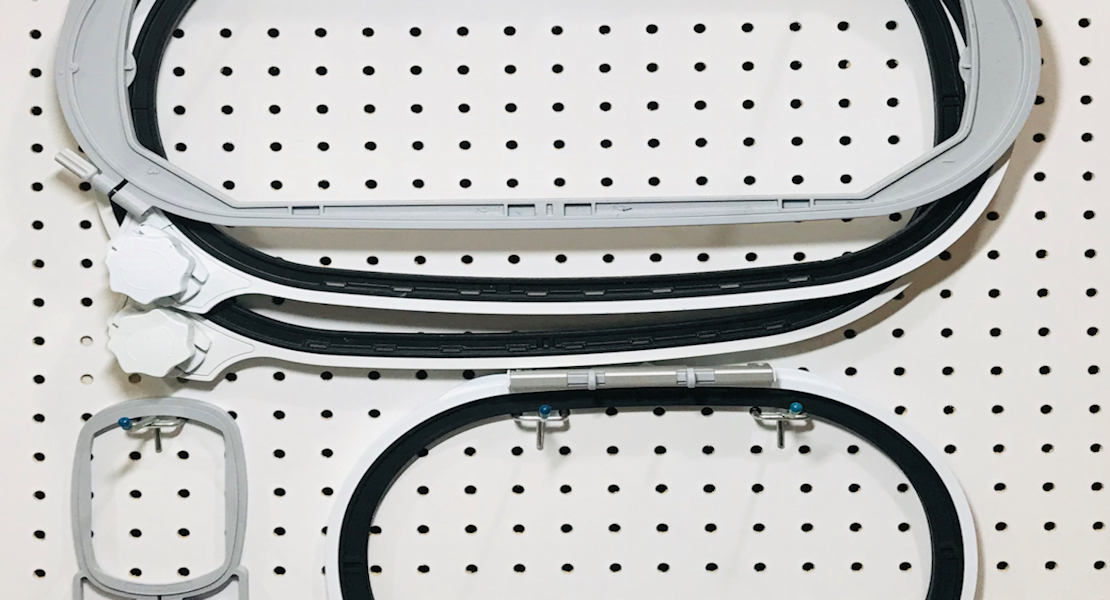
The Hoop
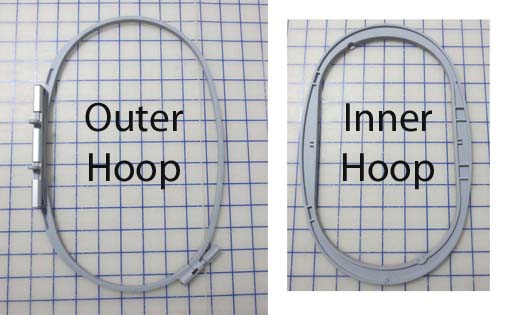
The embroidery hoop consists of two rings —the outer ring (with the screw) and the inner ring. The fabric/stabilizer is placed between these two rings. The compression between the two rings as the screw is tightened holds the fabric in place.
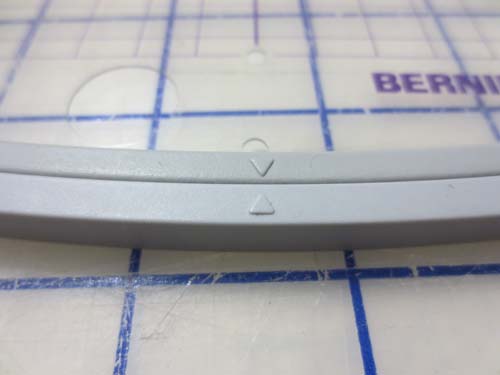
There is are alignment marks on both the inner and outer rings. These alignment marks should always match up when hooping.
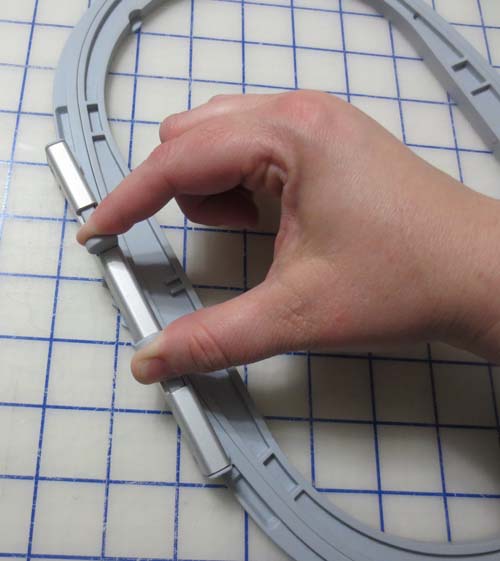
The hoop bracket attaches the hoop to the machine. The two bracket pieces are squeezed toward one another and then fitted over the bracket on the module arm.
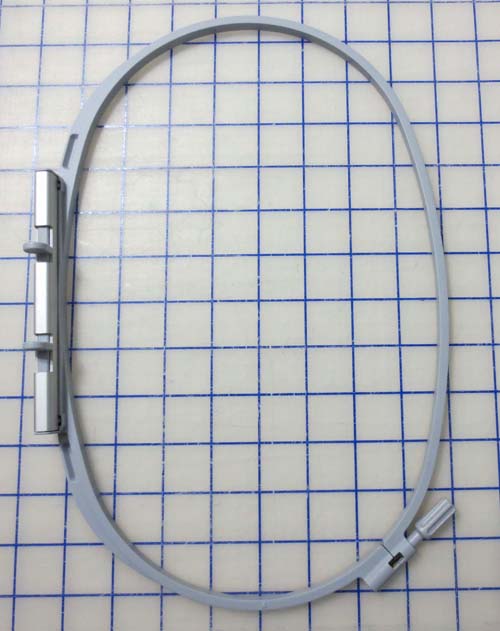
The hoop’s screw fits into the gap in the outer ring. Loosening this screw allows the gap to get wider. The bigger the gap, the easier it will be to hoop the fabric. Tightening the screw reduces the gap, anchoring the fabric between the inner and outer hoops.
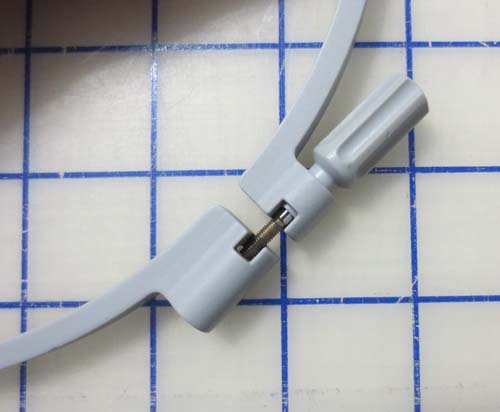
Use caution when tightening and loosening the screw – the nut can separate from the screw if it is loosened too much.

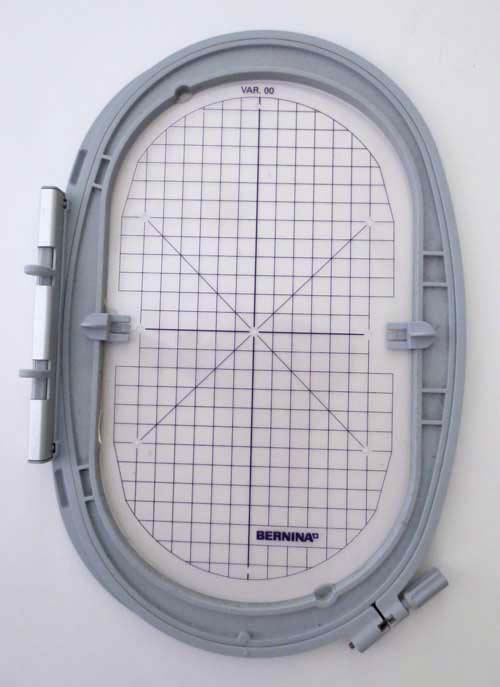
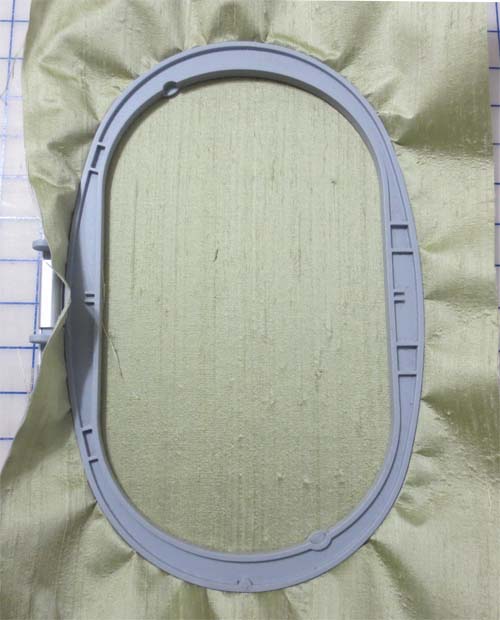
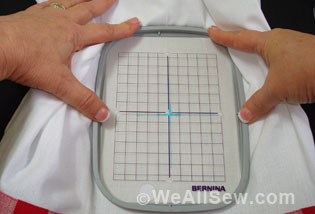
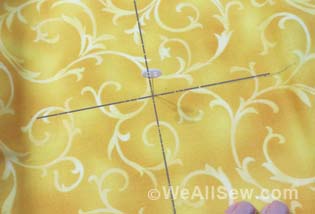
The Hoop Template
The hoop template is a plastic grid that fits into the inner ring of the hoop. The marked lines indicates the center of the hoop’s embroidery field. The gridlines help you to hoop your fabric accurately for perfect placement of your design. Some hoops have clips that attach to the template; these are placed into the center notches of the inner hoop. Be sure that the word “BERNINA” is right side up when you hoop.
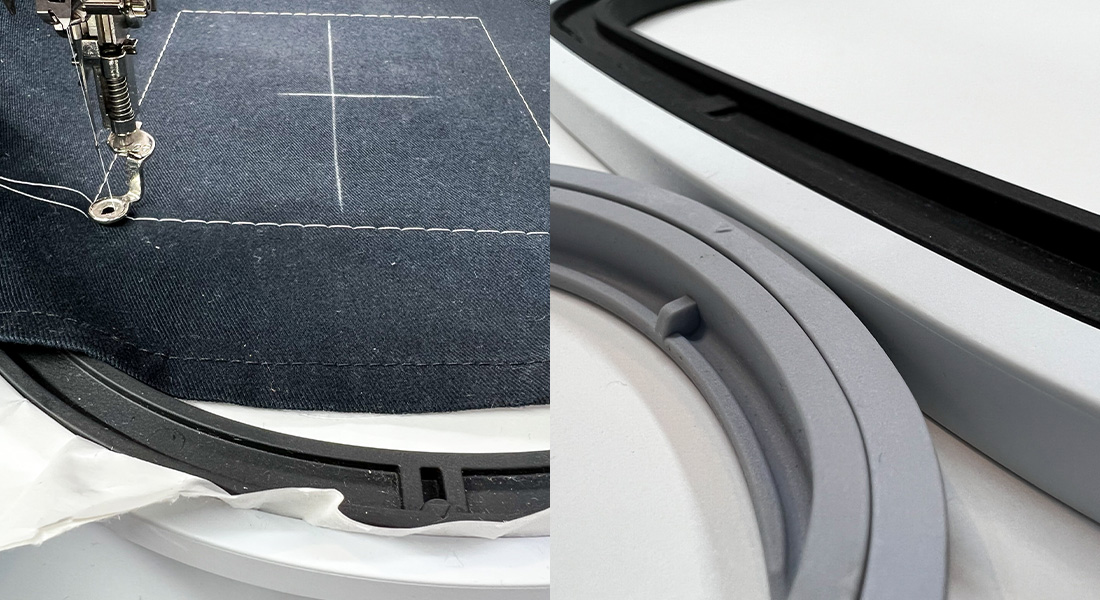
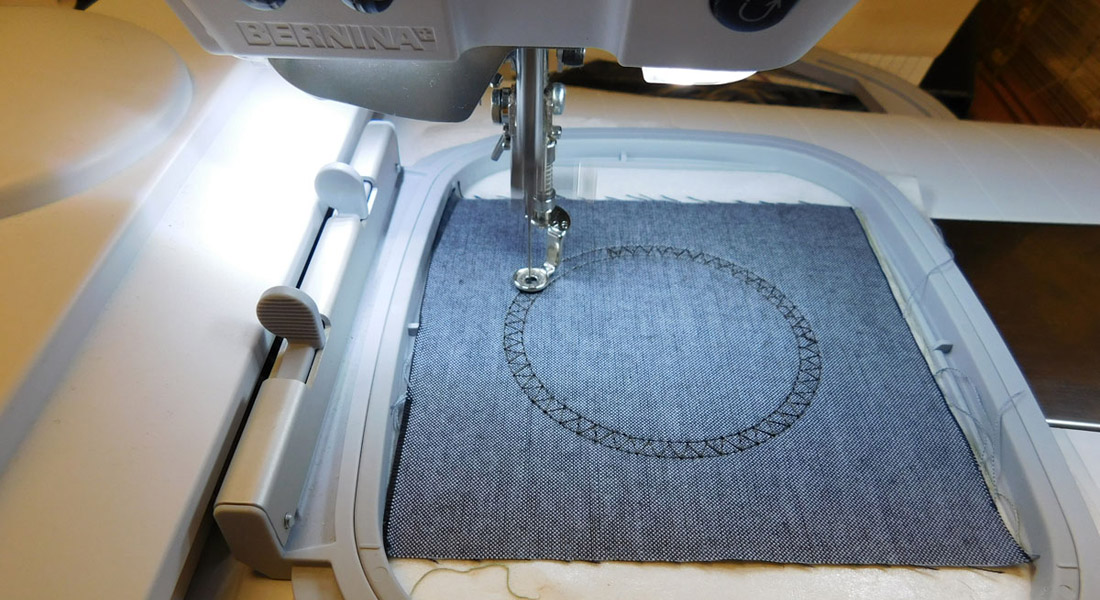
The Hooping Process
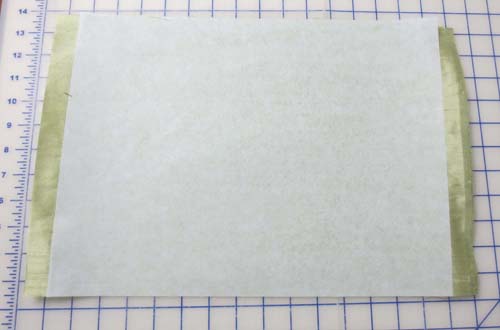
Whenever possible, it is best to hoop your fabric and stabilizer together in the hoop. Spray one side of the stabilizer with temporary adhesive spray and adhere it to the back of your fabric in the area to be embroidered.
Loosen the screw on the outer ring (the looser the screw, the easier it will be to hoop your fabric), and place the outer ring flat on your work surface.
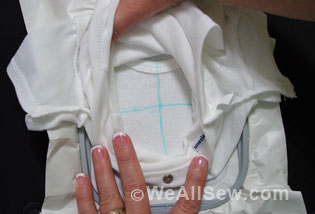
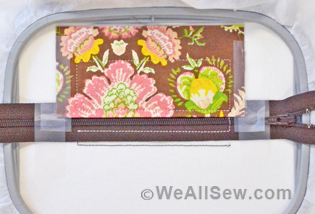
Place the inner hoop with its template over the fabric to be embroidered. Pick up the fabric, stabilizer, and inner ring and position them inside the outer ring so that the fabric sits flush against the work surface as you do so.
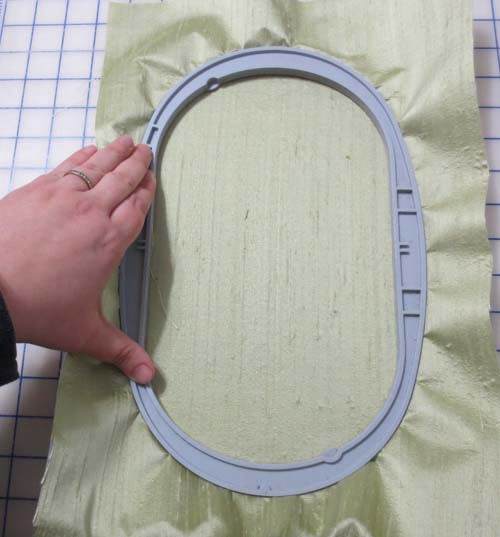
Gently smooth any wrinkles from the fabric and then tighten the screw. One of the most important factors in successful hooping is that the screw be tightened so the fabric/stabilizer is held firmly in place and will not shift during the embroidery process.
After the screw has been tightened and the fabric is taut, pick up the hoop in push the inner hoop down ever so slightly.
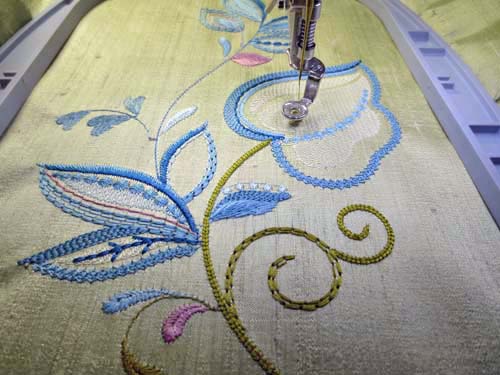
Once you have hooped your fabric, you are ready to place it on the machine and get to the fun part!
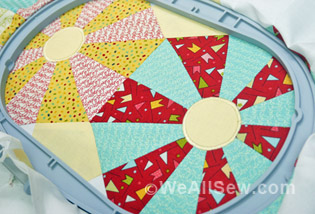
Good Hooping vs. Bad Hooping Examples
Good hooping: The fabric should be smooth and flat within the hoop.
Bad hooping: The fabric should not pucker or bubble within the hoop.


What you might also like


11 comments on “Embroidery Basics: The Machine Embroidery Hoop”
-
-
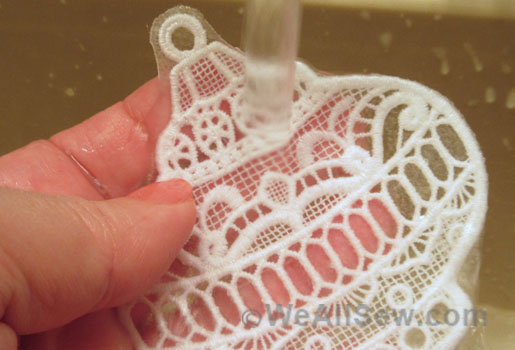
I use a product called Remove which is made specifically for cleaning hoops which works well. But be sure to use it in a well ventilated area.
You can also use soap (Murphy’s Oil Soap works well) and hot water.
-
-
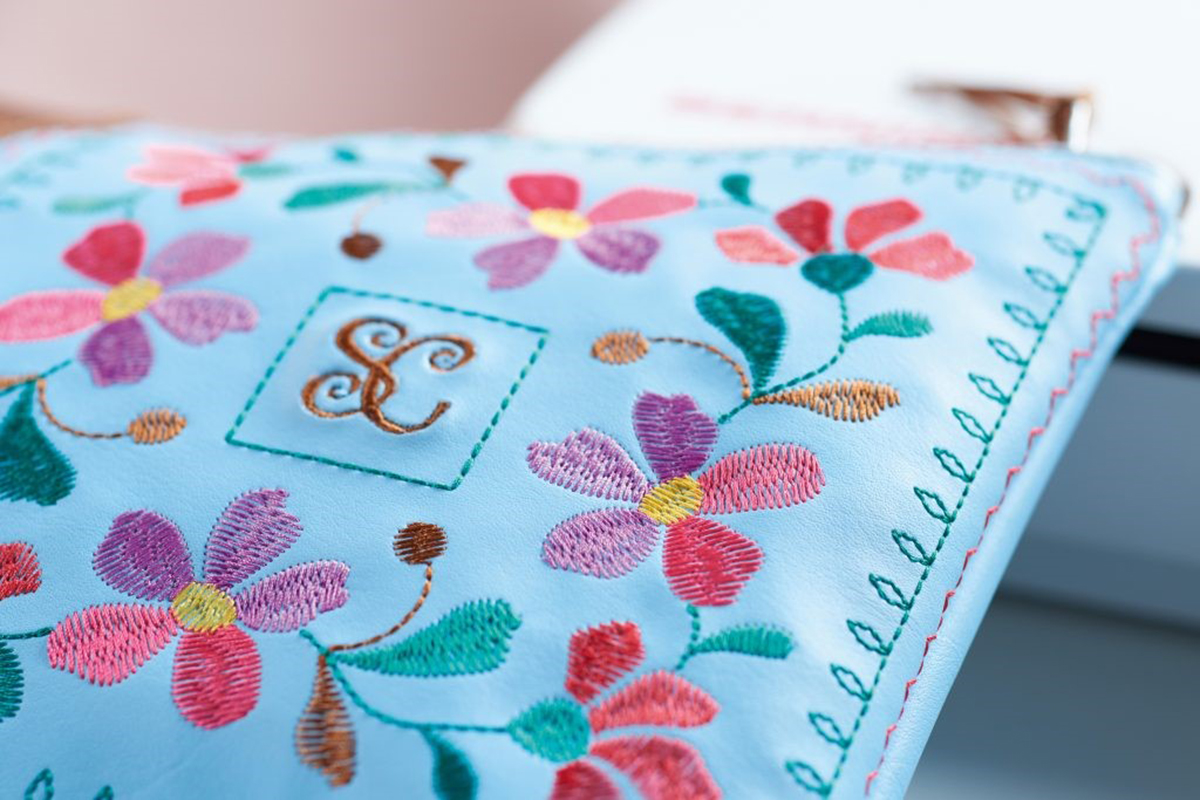
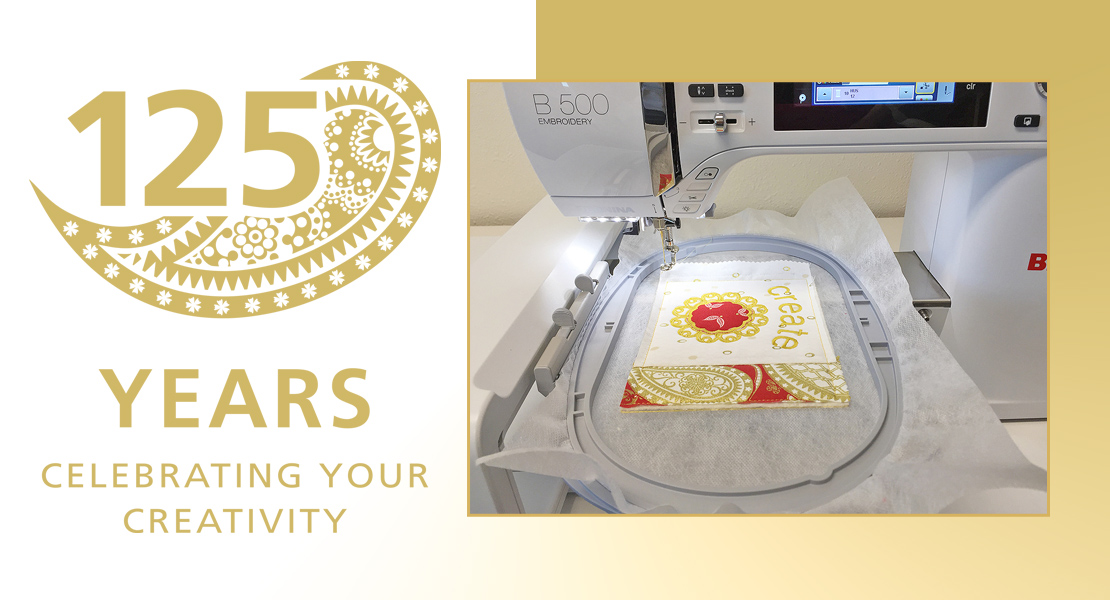
What design are you embroidering? It is very pretty. Excellent instructions for hooping.
-
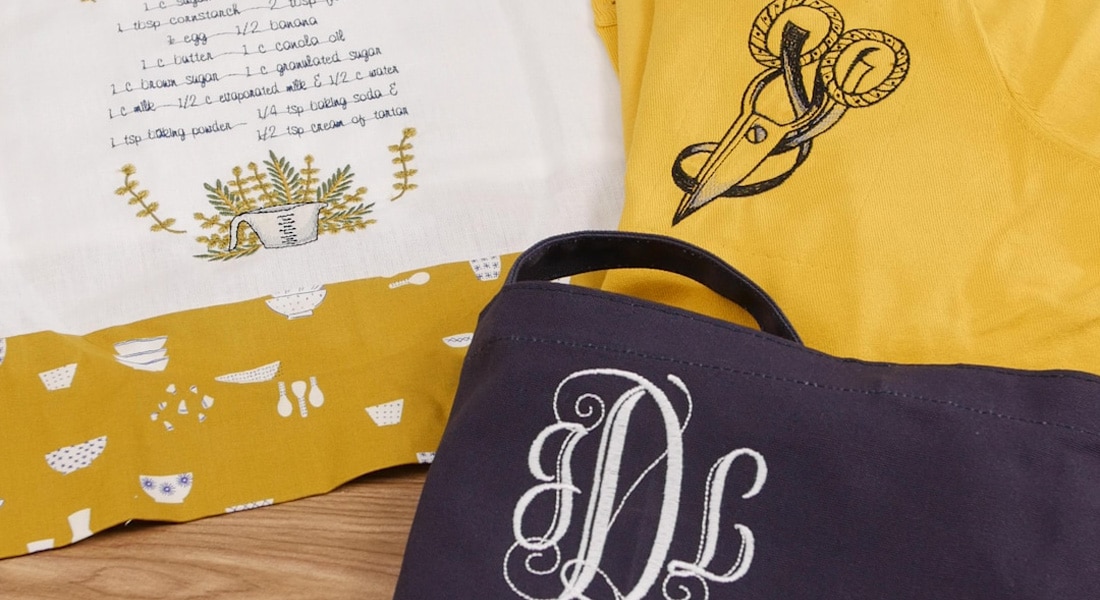
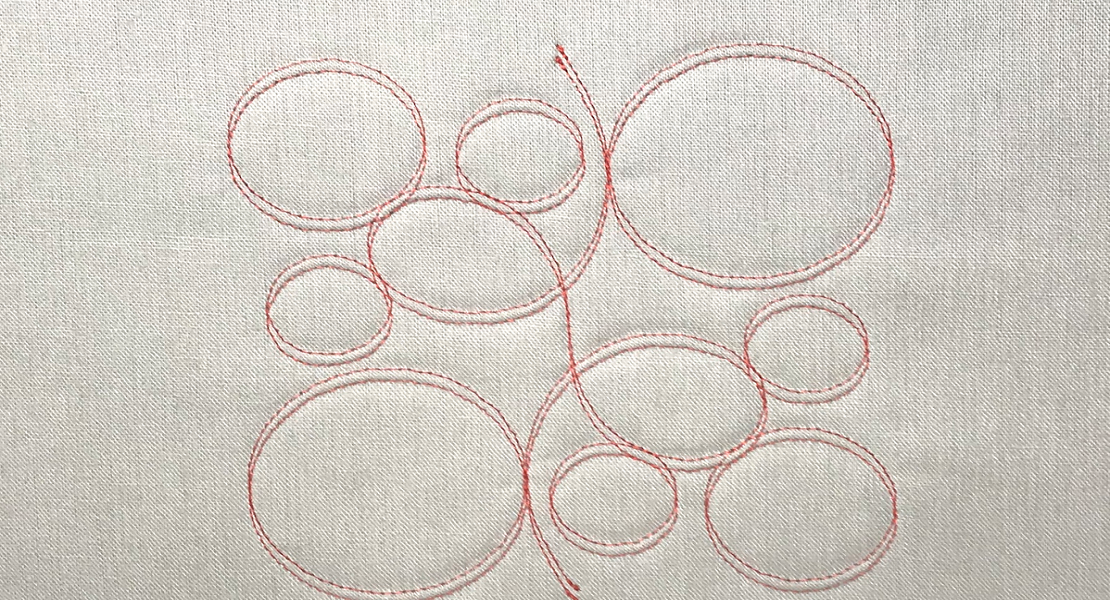
Thank you! The design is from the new BERNINA Exclusive Collection #21013 – A New Leaf. The picture design is #21013-10. It is really a beautiful collection!
-
-
It the Maxi hoop for the 7 Series available yet?
-
Yes – the new Maxi Hoop is available. Here’s a link to all the embroidery hoops and other embroidery machine accesories: http://www.bernina.com/en-US/Products-us/BERNINA-products-us/BERNINA-Accessories-us/Special-accessories-for-embroidery-machines-us Jo
-
-
Thanks for the tip about cleaning the hoops.
Speaking of hoops what happened to the new hoop that was supposed to come out? I have to say I am a little disappointed with the size hoops available for my 830. There are a lot of designs that are just a little too big for thr large hoop however really small for the jumbo hoop. A 200 by 200 hoop would be great. Also i had an endless hoop with my Viking that was awesome for quilting and or hard to hoop items where you slide item in then pull down a lever
My sister just bought a low level Viking machine and has these hoops available . Makes me wonder about my purchase? I do love my Bernina as it is a great quality machine. However feel that Bernina is not keepin up with the competition as far as the hoops that are available
Love the blogs we all sew and the information found on your website
Cindy
-
Hi, Cindy – The Maxi Hoop is available – here’s a link to all the hoops: http://www.bernina.com/en-US/Products-us/BERNINA-products-us/BERNINA-Accessories-us/Special-accessories-for-embroidery-machines-us. I’ll pass along your hoop suggestions to the Product Development team – thanks! Jo
-
-
I’m right there with Cindy on the need for an large “endless” border hoop like Babylock, Brother, and Pfaff. With the unique capability of enlarging every built-in stitch for embroidering quilt borders and other wonderful items on the 830 and 880 machines, the only item that’s lacking is an easy-to-open endless border hoop. PLEASE make this happen – soon!!
-
Do you have any tips for hooping the 3 quilt layers when securing the three layers via embroidery designs?
-
Using Warm ‘n Natural batting, I can generally get all three layers into the hoop. Be sure to loosen the screw as much as possible without losing it, and hoop on a flat surface so you can press the inner hoop firmly. When I cannot hoop all three layers, I hoop a layer of tear-away stabilizer — Hydro-Stick Tear-Away is great for this — and adhere the basted quilt to the stabilizer. (With Hydro-Stick, just spritz with water to activate the adhesive.) With both methods I stitch a basting box around hoop before embroidering the design to make sure nothing shifts during stitching. Also be sure to support the weight of the quilt to the side and back of the machine to prevent it from pulling on the hoop. Jo
-
Leave a Reply
You must be logged in to post a comment.

How do you recommend we clean our hoops of gunk?