Embroidery Basics: Two Techniques for Aligning Centers in Hoopless Embroidery
When you have something that is difficult or too small to hoop, you can use the “hoopless” embroidery technique – hooping the stabilizer by itself and then positioning the fabric over the top of the hooped stabilizer. You can use a regular stabilizer and spray the top with temporary adhesive spray, or you use a sticky backed stabilizer.
In either case, you will need to mark the center point of the hoop on the hooped stabilizer and the center point of the design on the fabric. Then you will align the marks on the fabric over the marks on the stabilizer.
There are a couple of ways to make this easier. One I call the Folded Method, and it’s the one I use most often. It works well on fabrics that can easily be folded, but not as well for bulky fabrics. The other I call the Pin and Swivel Method, and I use it when the Folded Method isn’t appropriate.
The Folded Method
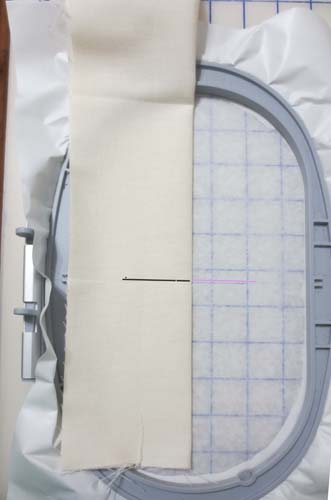
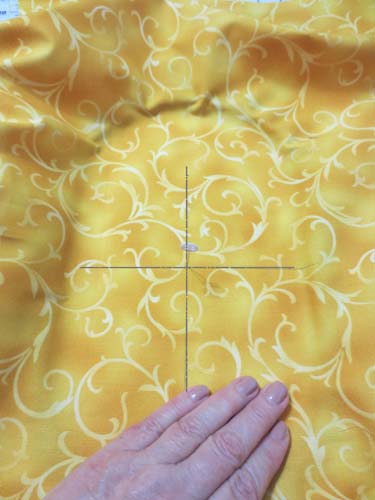
Mark the horizontal and vertical center lines of the design onto the front of the fabric.
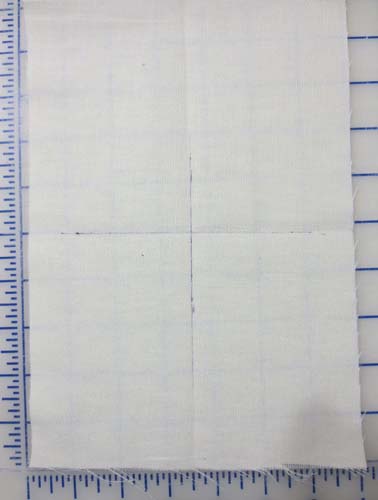
Transfer those marks to the back of the fabric.
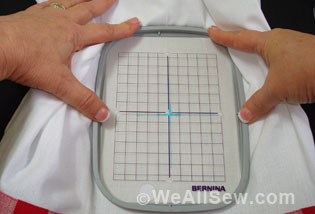
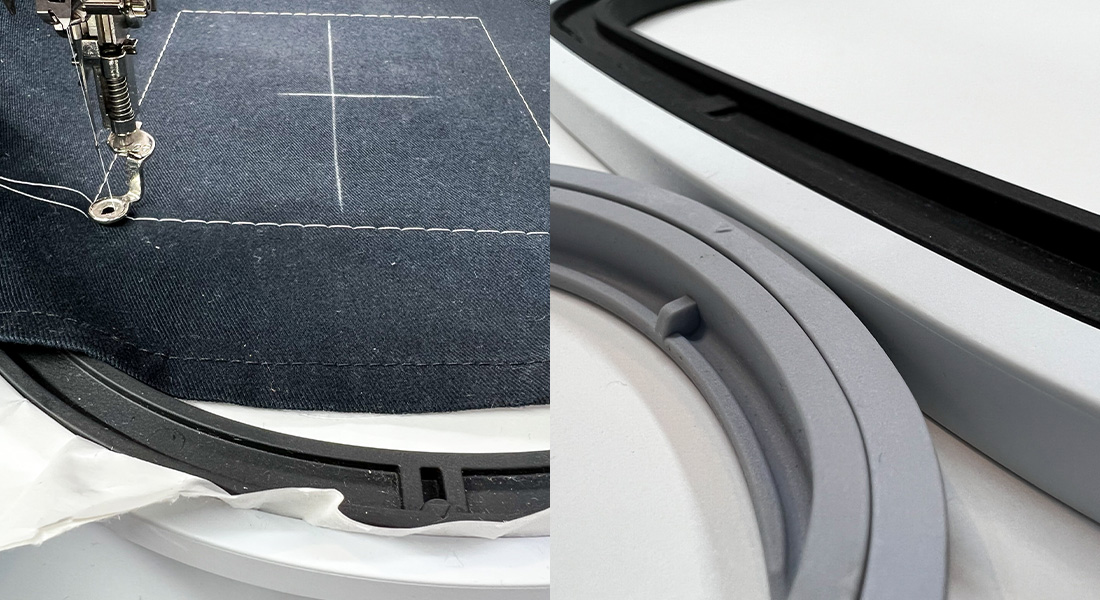
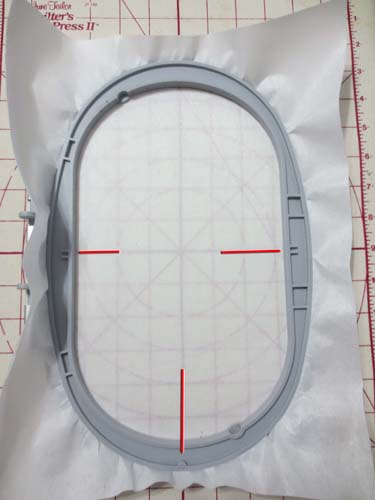
Hoop the stabilizer and mark the horizontal and vertical lines using the hoop’s plastic template.
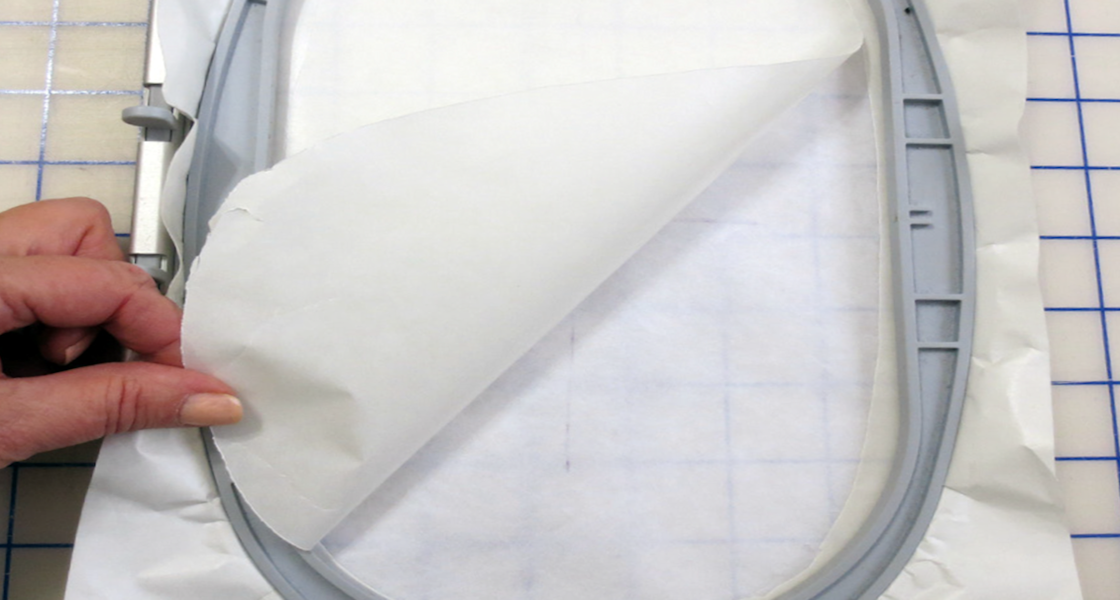
If using a regular stabilizer, spray the top with temporary adhesive spray. If using a sticky-backed stabilizer, hoop with the paper side up and then score and remove the paper covering.
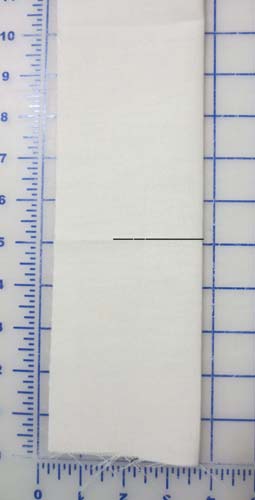
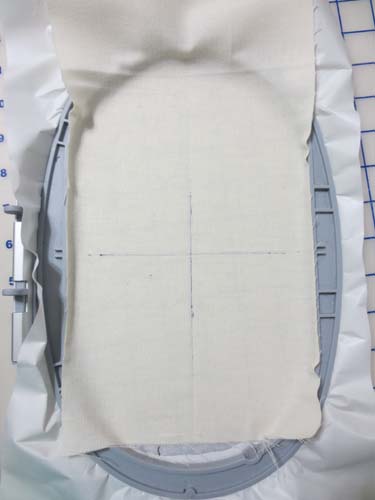
With right sides together, fold the fabric along the vertical center line with the bulk of the fabric to the left.
Position the fold along the vertical mark on the hooped stabilizer, placing it so that the horizontal line on the fabric and the horizontal line on the stabilizer are aligned.
Unfold carefully and smooth the fabric to adhere it to the stabilizer.
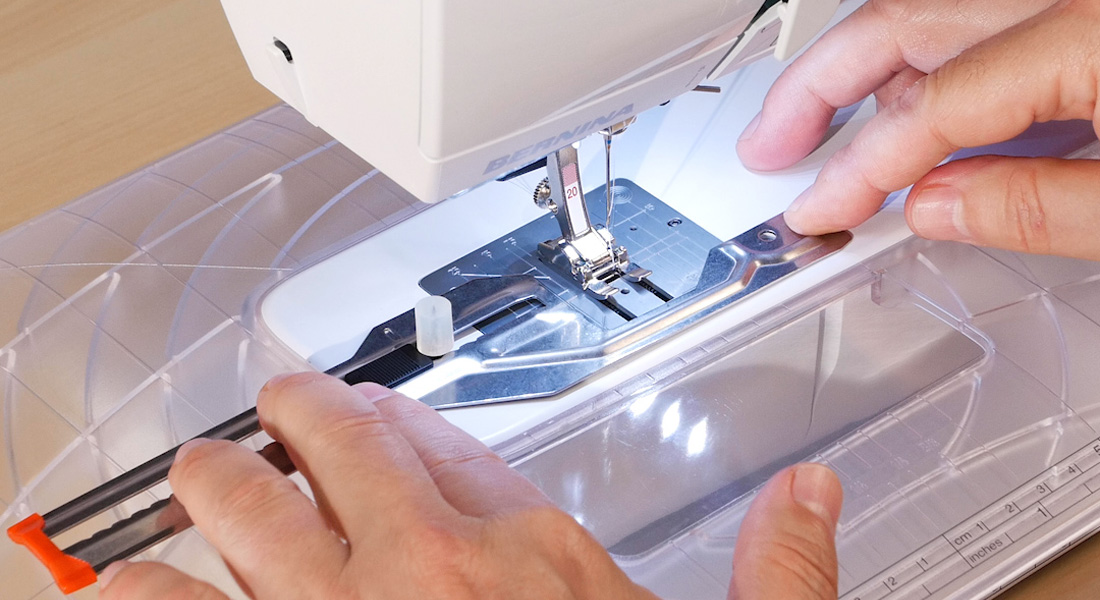
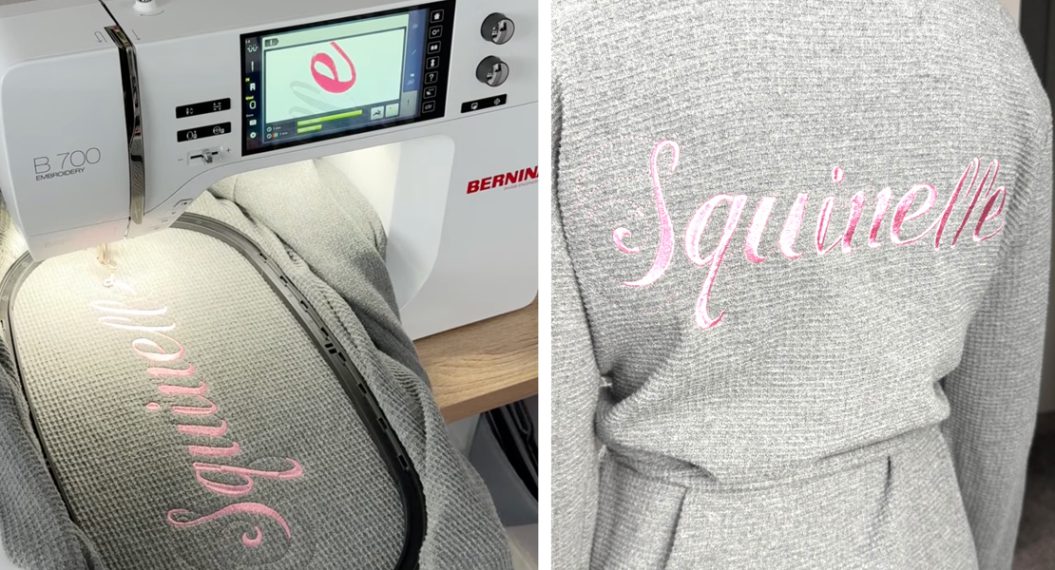
Attach the hoop to the machine. Use the machine’s edit features to ensure that the center needle position is over the marked center on the hoop and embroider the design.
The Pin & Swivel Method
I recently met Lynne Thompson, a teacher at Quiltique in Henderson, Nevada. While I was at the store she shared with me her method of easily aligning the marks. You will need a gridded padded mat for this technique.
Mark the horizontal and vertical lines of the design’s center on the fabric front.
Hoop the stabilizer alone and spray the top with temporary adhesive spray. If using a sticky-backed stabilizer, hoop with the paper side up, then score and remove the paper. There is no need to mark the stabilizer’s center points with this method.
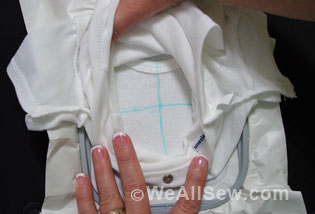
Place the gridded padded mat on a flat surface. Place the hooped stabilizer over the surface and align the marks on the side of the hoop with the center horizontal mark on the padded surface. Align the bottom alignment mark on the hoop with the center line on the gridded surface.
Insert a pin down through the center of the fabric at the design center and stick the pin into the hooped stabilizer at the center mark of the padded surface. (You will be able to see through the stabilizer.)
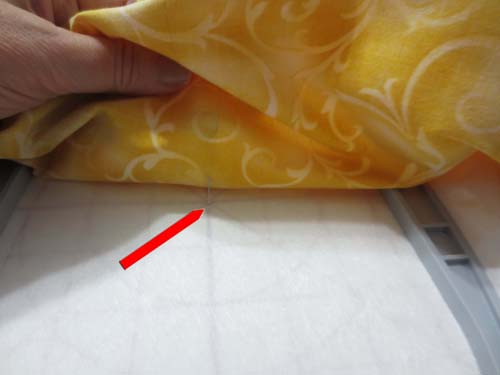
Then swivel the fabric until you see that the marks on the fabric align with the gridded surface. Smooth the fabric in place when you are pleased with the alignment.
Attach the hoop to the machine and use the machine’s edit feature to align the center needle position with the marked center on the fabric. Everything’s in place and you are ready to embroider!