Opening vs. Inserting a Design File in BERNINA Embroidery Software V8
In this blog post, we will review the basic difference between Opening and Inserting an embroidery design file, with some practical tips to take advantage of both options.
This option is practical when you just want to open a file in order to Export a machine file to a USB for instance.
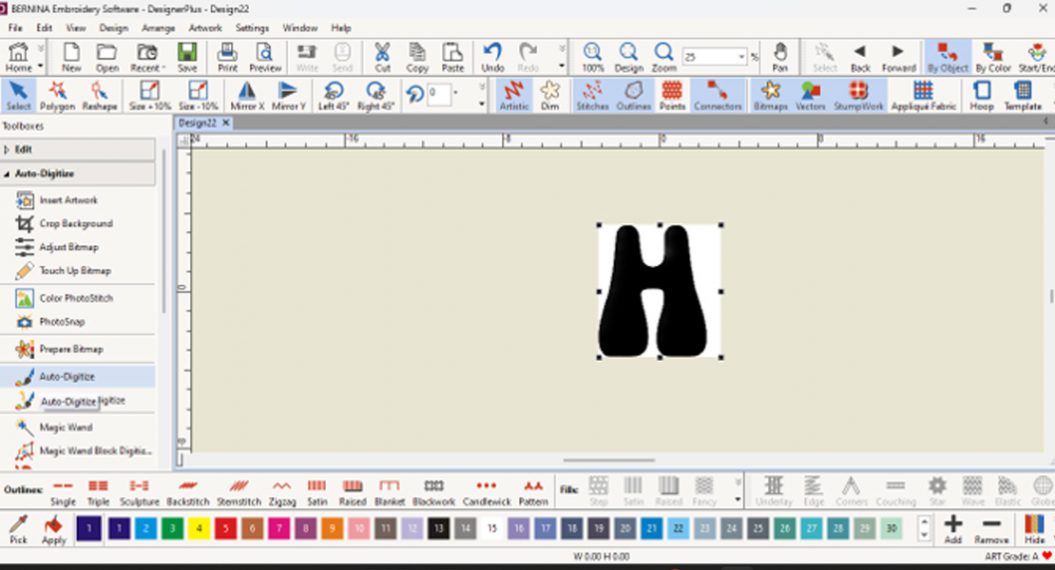
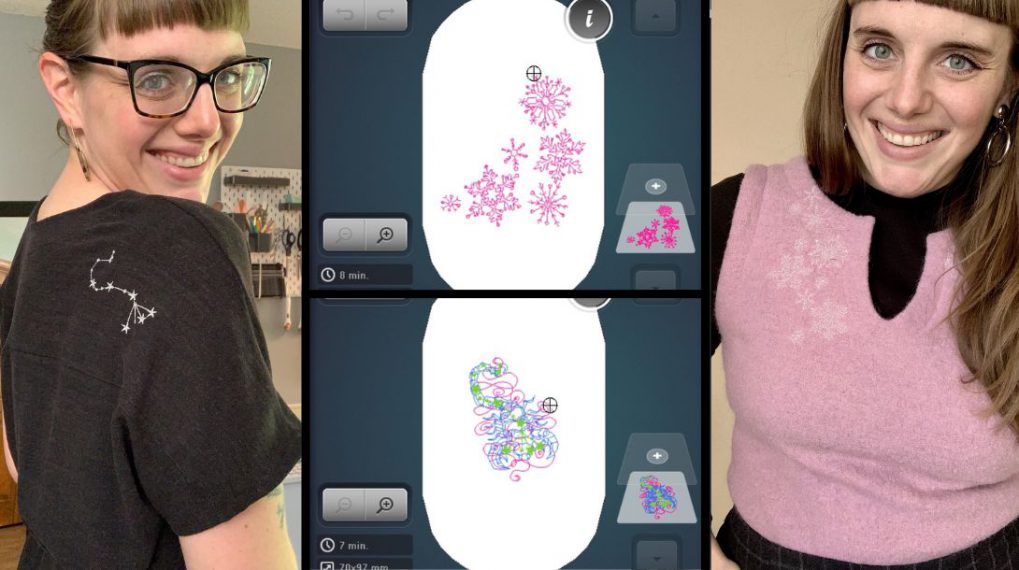
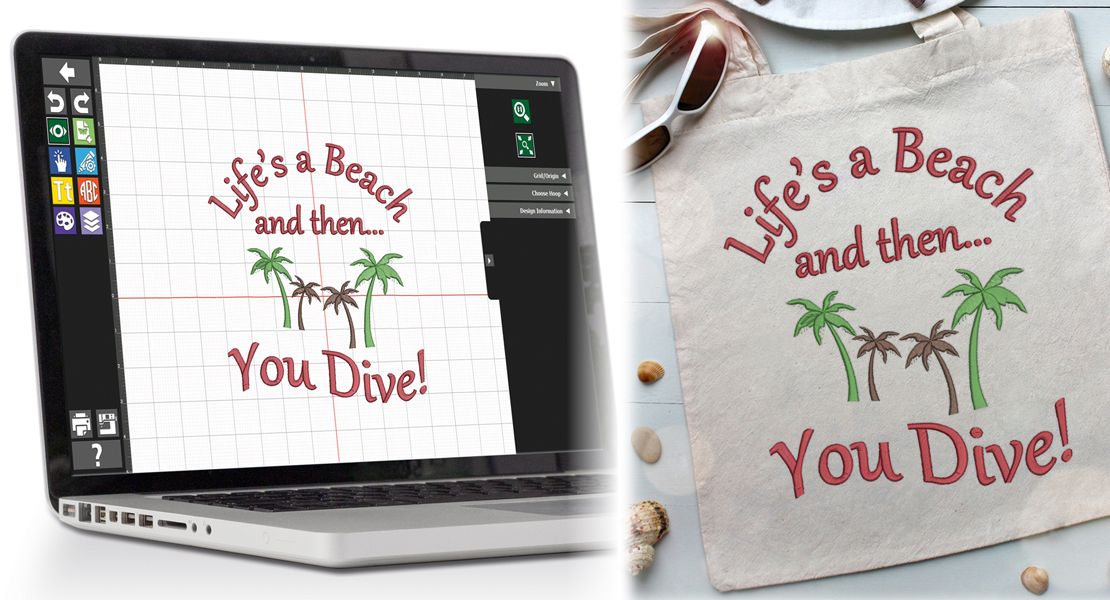
Using the File > Open (or Open Recent) command from the main menu (or the corresponding tool icons on the General toolbar, you can open a design file directly in the software. The following will happen:
- The original file will be opened ‘stand alone’ in its own tab.
- Only the thread colors originally saved with the file will be listed in the Color Palette at the bottom of the screen:
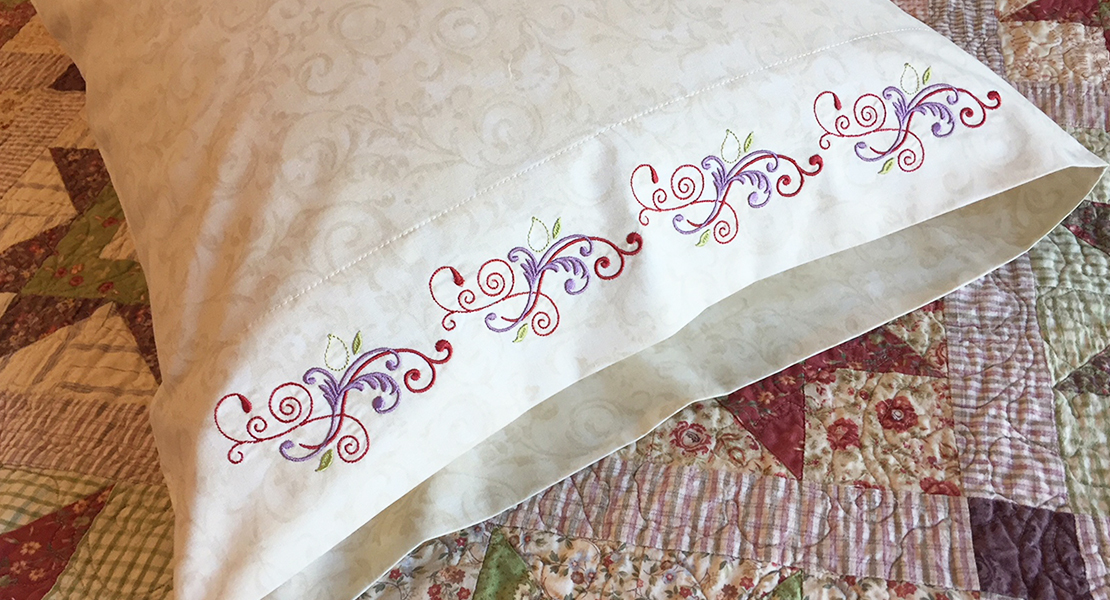
- It is common for purchased designs to list only the actual colors used in the design.
- If the design was grouped (in parts and/or as a whole) before saving, the file will open with the grouping in effect.
- CAUTION: Any changes made on screen will be saved and will replace the original file when the SAVE command is used.
- Use the Save As command and use a different file name if you want to make and save changes while preserving the original file.
INSERTING A DESIGN FILE
This option is most useful when you want to combine designs into a single file. When inserting a file, the following things happen:
- The file being opened is being inserted (added to) into the current tab.
- The thread colors listed in the file being inserted will be added to the existing list of colors in the Color Palette at the bottom of the screen.
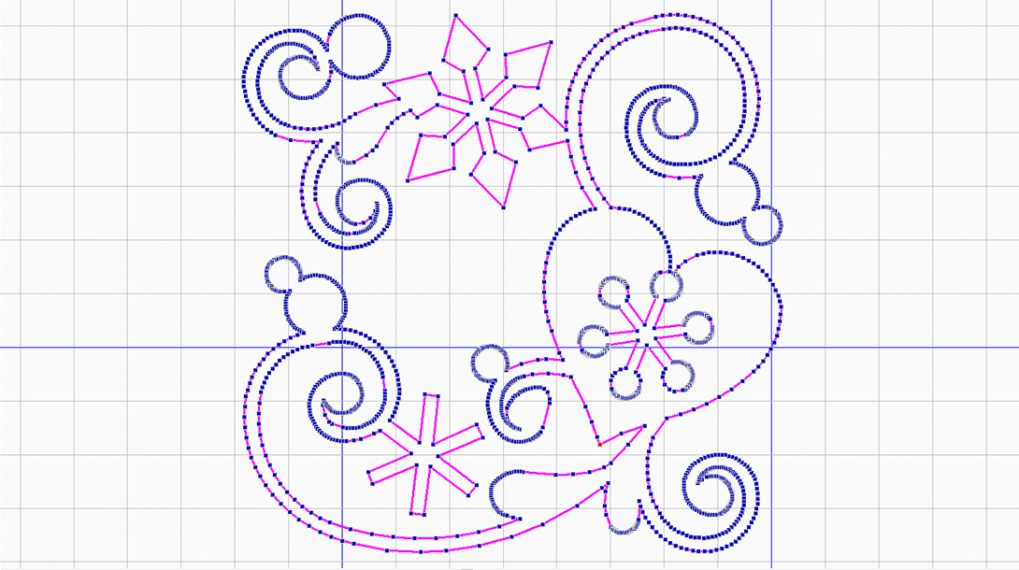
- By default, all the objects in the file being inserted will be grouped together:
- This is very useful in preserving the integrity of the design being inserted by default.
- This setting can be turned off if needed in the following Menu/dialog box: Settings > Options > General Tab > Other.
- You can ungroup the inserted design if you wish to manipulate, delete or keep only parts of it.
- If you insert a file (e.g. MyDesign 2) into an already opened tab on your screen (e.g. MyDesign 1) and proceed to Save, you will be saving the file that was already opened (MyDesign 1), now with the added/inserted content of MyDesign 2. Saving will not affect the MyDesign 2 file on disk.
Note: Files with specialty digitizing like appliqué and stand-alone lace should be opened “as is” and should not be inserted in order to preserve their color sequence. They can still be Saved As if modified, e.g. if adding lettering next to an appliqué.
PRACTICAL TIPS
- Keep the Group designs on Insert setting turned on (box checked) in the Settings> Options General Tab dialog box
- Show only used colors in the design by clicking on the Hide Unused Colors tool in the Color Palette at the bottom of the screen.
![]()
- When working with purchased designs:
To prevent the accidental overwriting (aka inadvertent replacement) of the original file:
- Create a new file from scratch and name it according to your project or purpose.
- Insert the design(s) you want to use.
- Save As with a file name relating to your project and design.
- For appliqué and stand-alone lace files, open the file(s) on their own (do not insert).
You can add content to the files and Save As as needed.