How to Make a Spring Dog Bandana
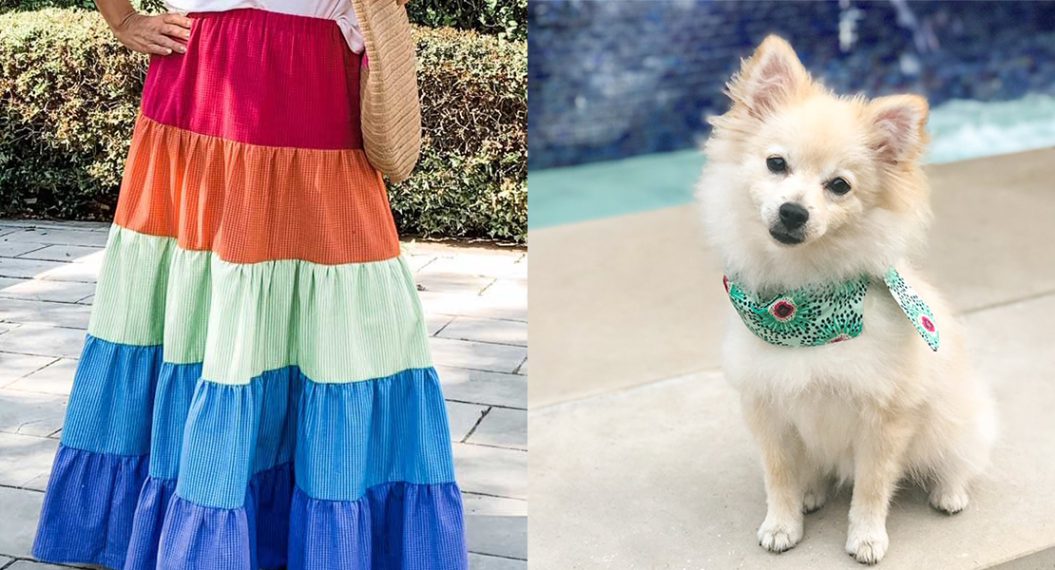
With warmer weather approaching and birds returning to the Midwest, this means spring photos are on the way. It seems as if many of us have furry friends. So what’s better than creating adorable bandanas for wonderful pictures? This bandana is perfect for all of our needs and wants; adorable spring photos and a quick embroidery project. Stella (my dog) loves her bandana.
Materials Needed to Make a Spring Dog Bandana
- Basic sewing supplies
- 1 piece of fabric
- matching thread
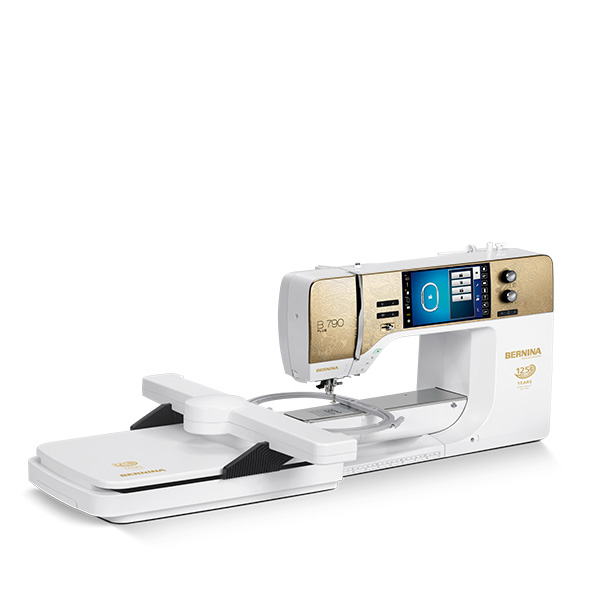
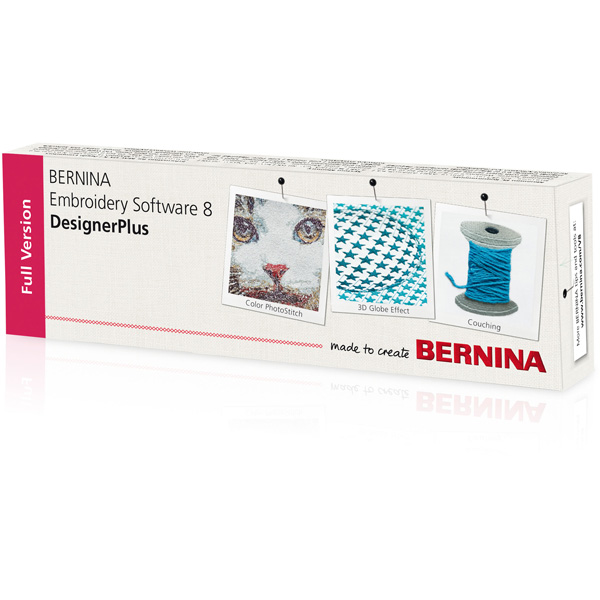
- Bernina Embroidery Software
Instructions to Make a Spring Dog Bandana
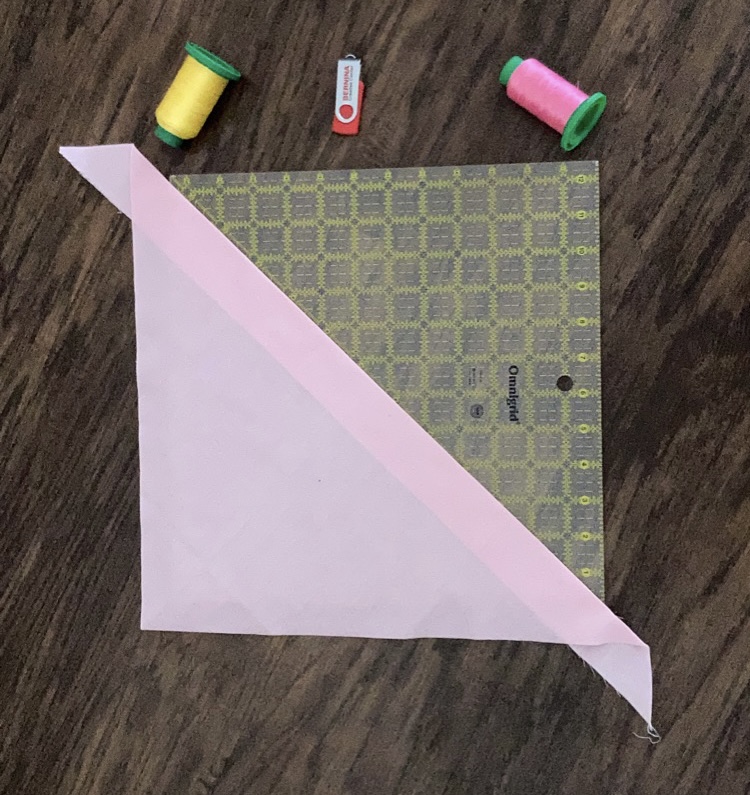
Let’s get started! First you will need to cut your fabric to the appropriate size for your dog. I have a 45-pound labradoodle. Cutting a bandana is quite easy! I use a 12.5 x 12.5 square ruler. Following the diagonal line down the middle of the ruler. Place your straight edge on the diagonal line and cut around the edges. Similar to how I have it laid on the ruler in the picture above. I also cut it a little longer as you can see that way it is easier to tie.
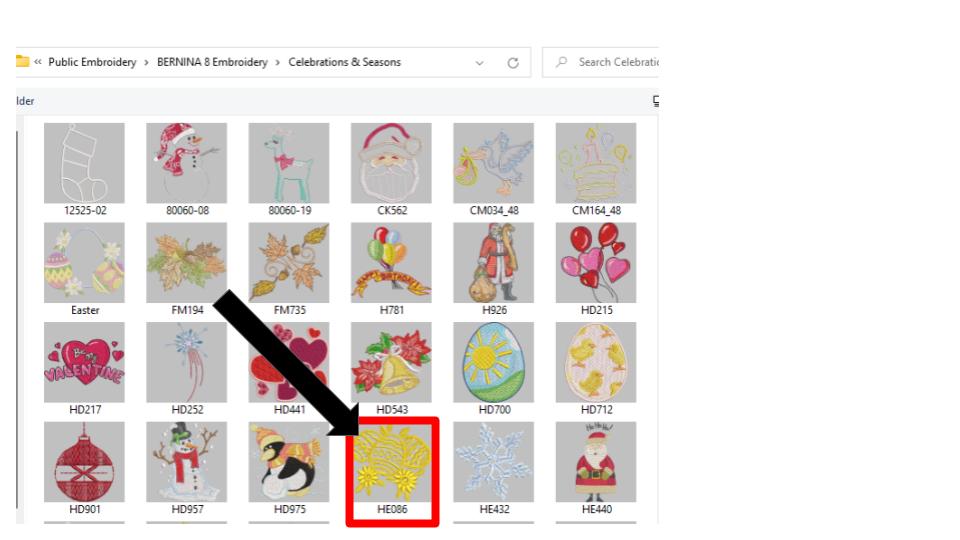
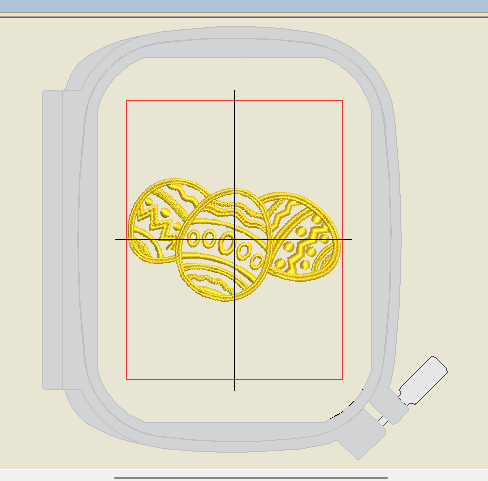
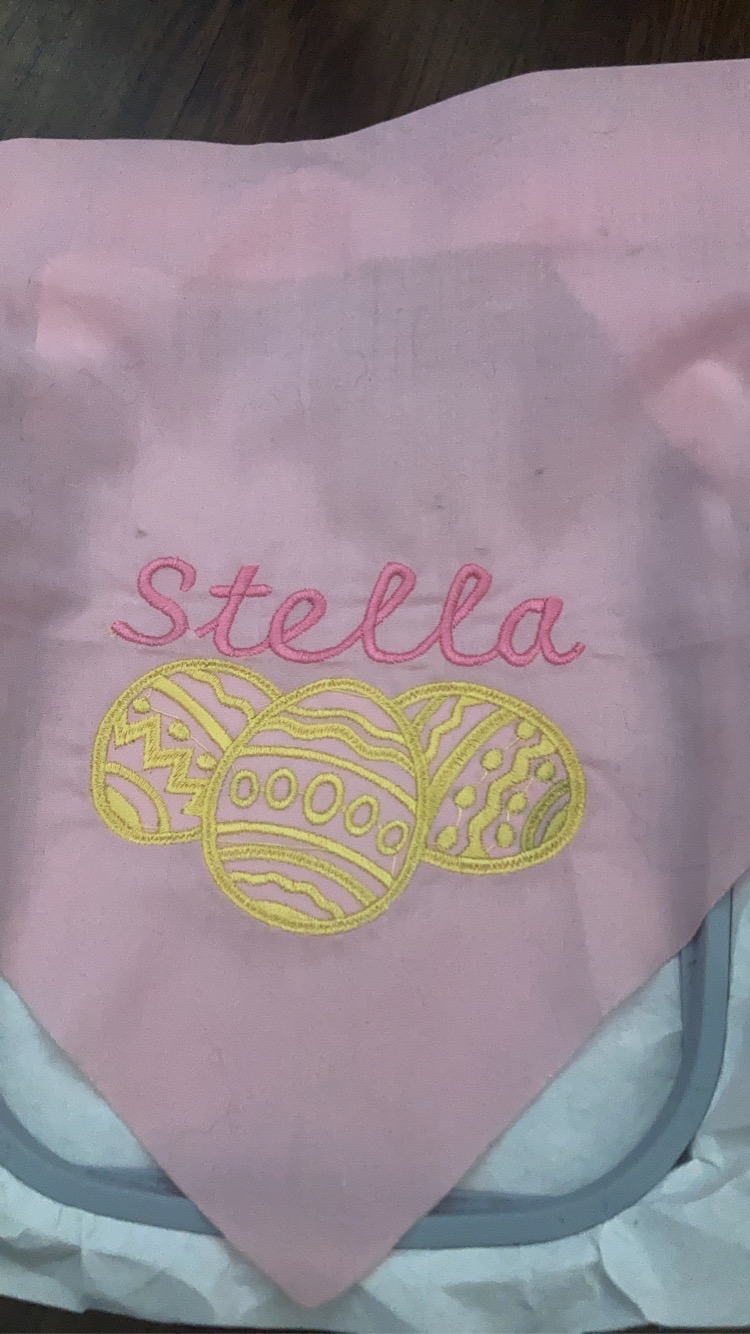
Now that you have the bandana cut out it is time to design with our BERNINA Software and sew. For Stella’s bandana I put some adorable little eggs with her name. These adorable eggs were already in the embroidery software. To access this file you need to insert embroidery. Open celebrations and seasons, about the sixth row down I found these eggs. (HE086)
But, something just didn’t seem right about these eggs. I felt like they needed a few tweaks for me. With the BERNINA embroidery software, this is super easy to accomplish. Using the “Alt” key, I made them just to my liking. To select each piece that did not fit my style I pressed “Alt” and then clicked on the piece with my mouse. To select more than one piece of this design you press and hold “Alt” and “Ctrl” at the same time while selecting each item that does not fit your liking. Once you have them selected you then use the “delete” key on your keyboard. This will remove those pieces. Here is how I tweaked mine.
Once you have it set to your liking it’s time to add your furry friend’s name above or below the eggs. You could do this with the many other BERNINA embroidery files if the eggs are not your cup of tea.
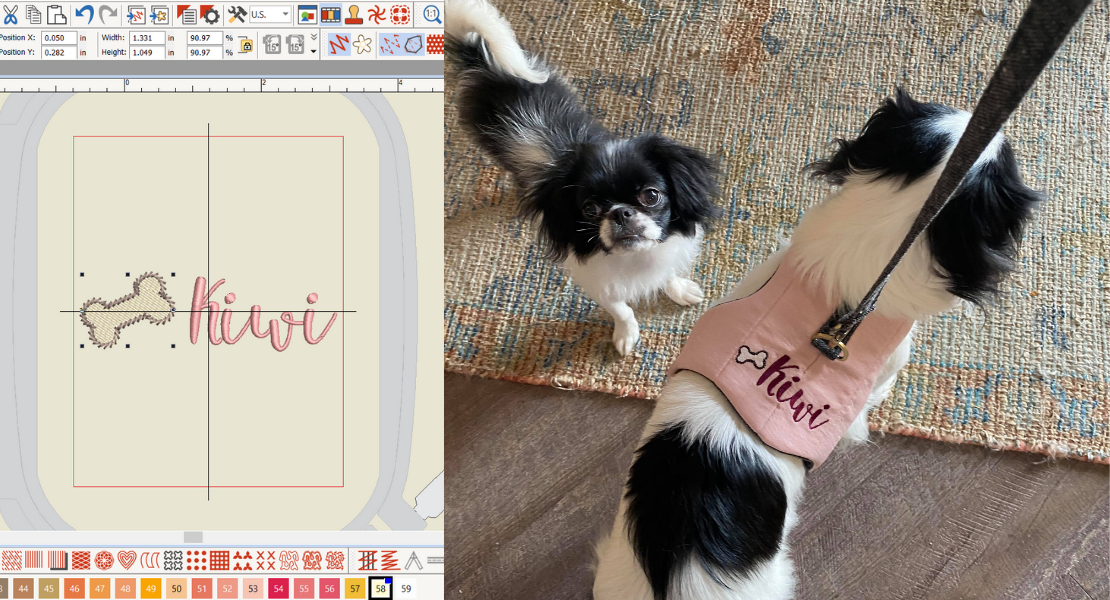
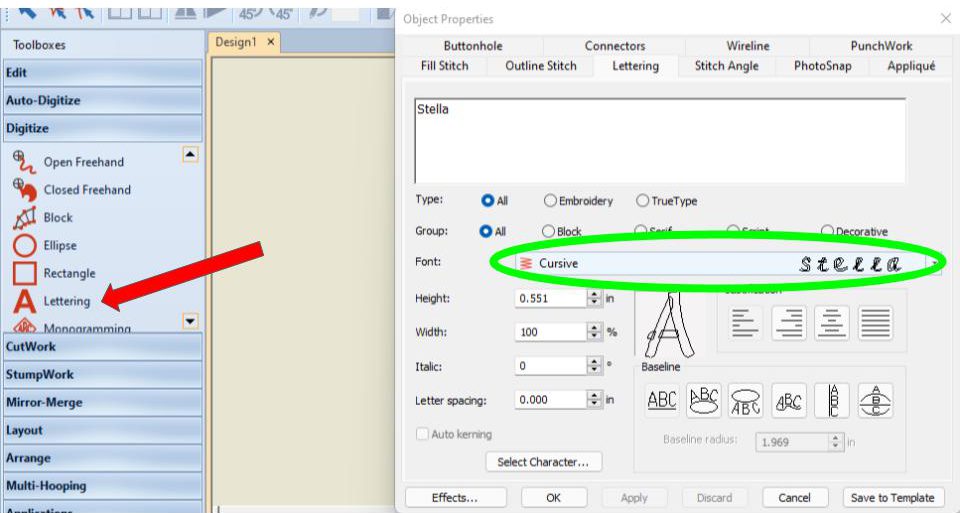
To add the text above or below the design open the digitize toolbox. Then right-click on lettering (red arrow). Type the name of your furry friend. I used the cursive font (green circle).
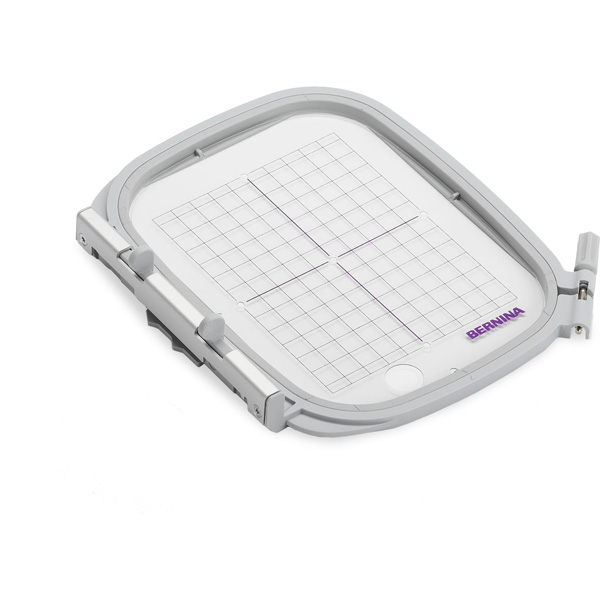
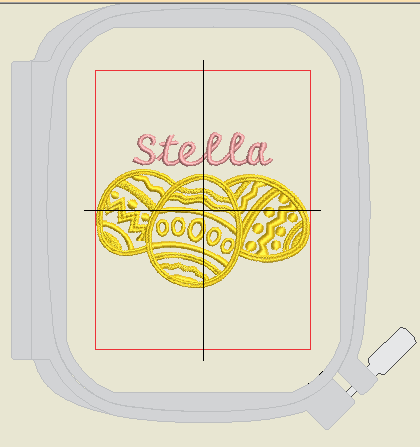
Once you are out of the lettering portion, click where you would like to place the lettering. Here is my placement in the BERNINA medium hoop.
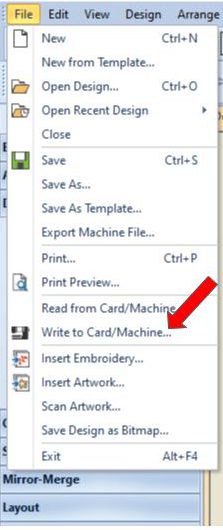
Now that you have the design done, it is time to get this design over to your machine. You will want to first save and name your file. Then write to card/machine (red arrow).
I choose to put it on my BERNINA USA Stick. So once you have clicked on “Write to Card/Machine”, choose “EXP”.
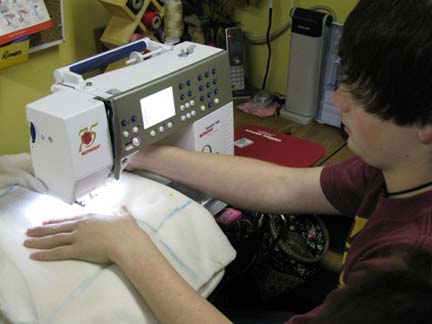
Once you have your file completed, it’s time to sew! I floated my bandana. This means I hooped the stabilizer (tear away) and did not hoop the fabric. I let the bandana “float” on top of the stabilizer. Then use the placement stitch provided with your machine.

Then sew as you normally would. Once I removed the placement stitch this is what looked like in the hoop. The small little puckers were gone once I took it out of the hoop. 😉
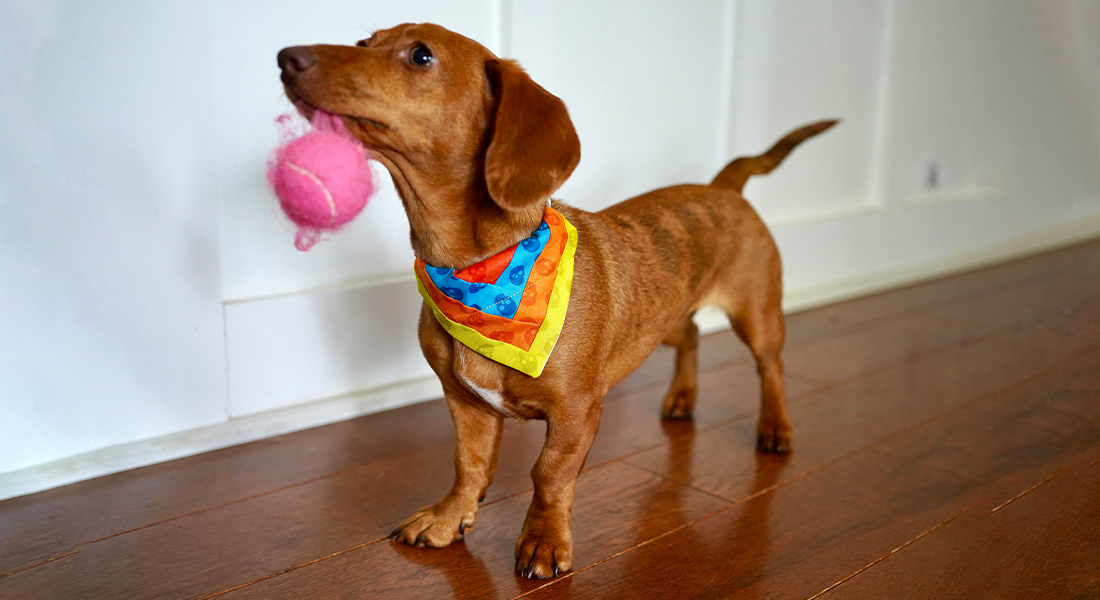
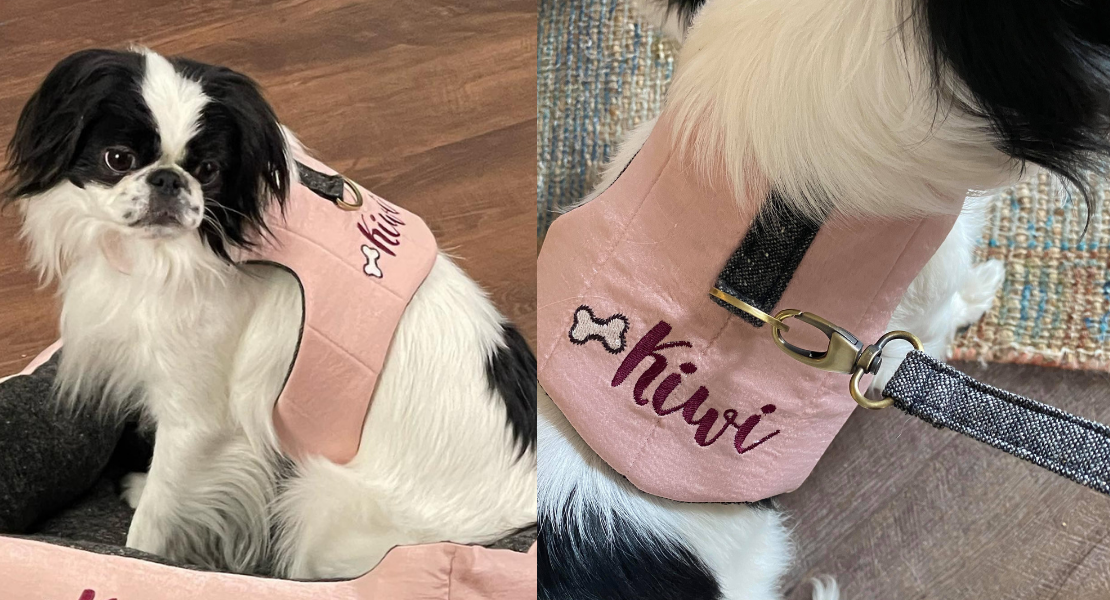
When your design is embroidered, its time to take some adorable pictures with your furry friend. ?
Here is what mine looked like completed.
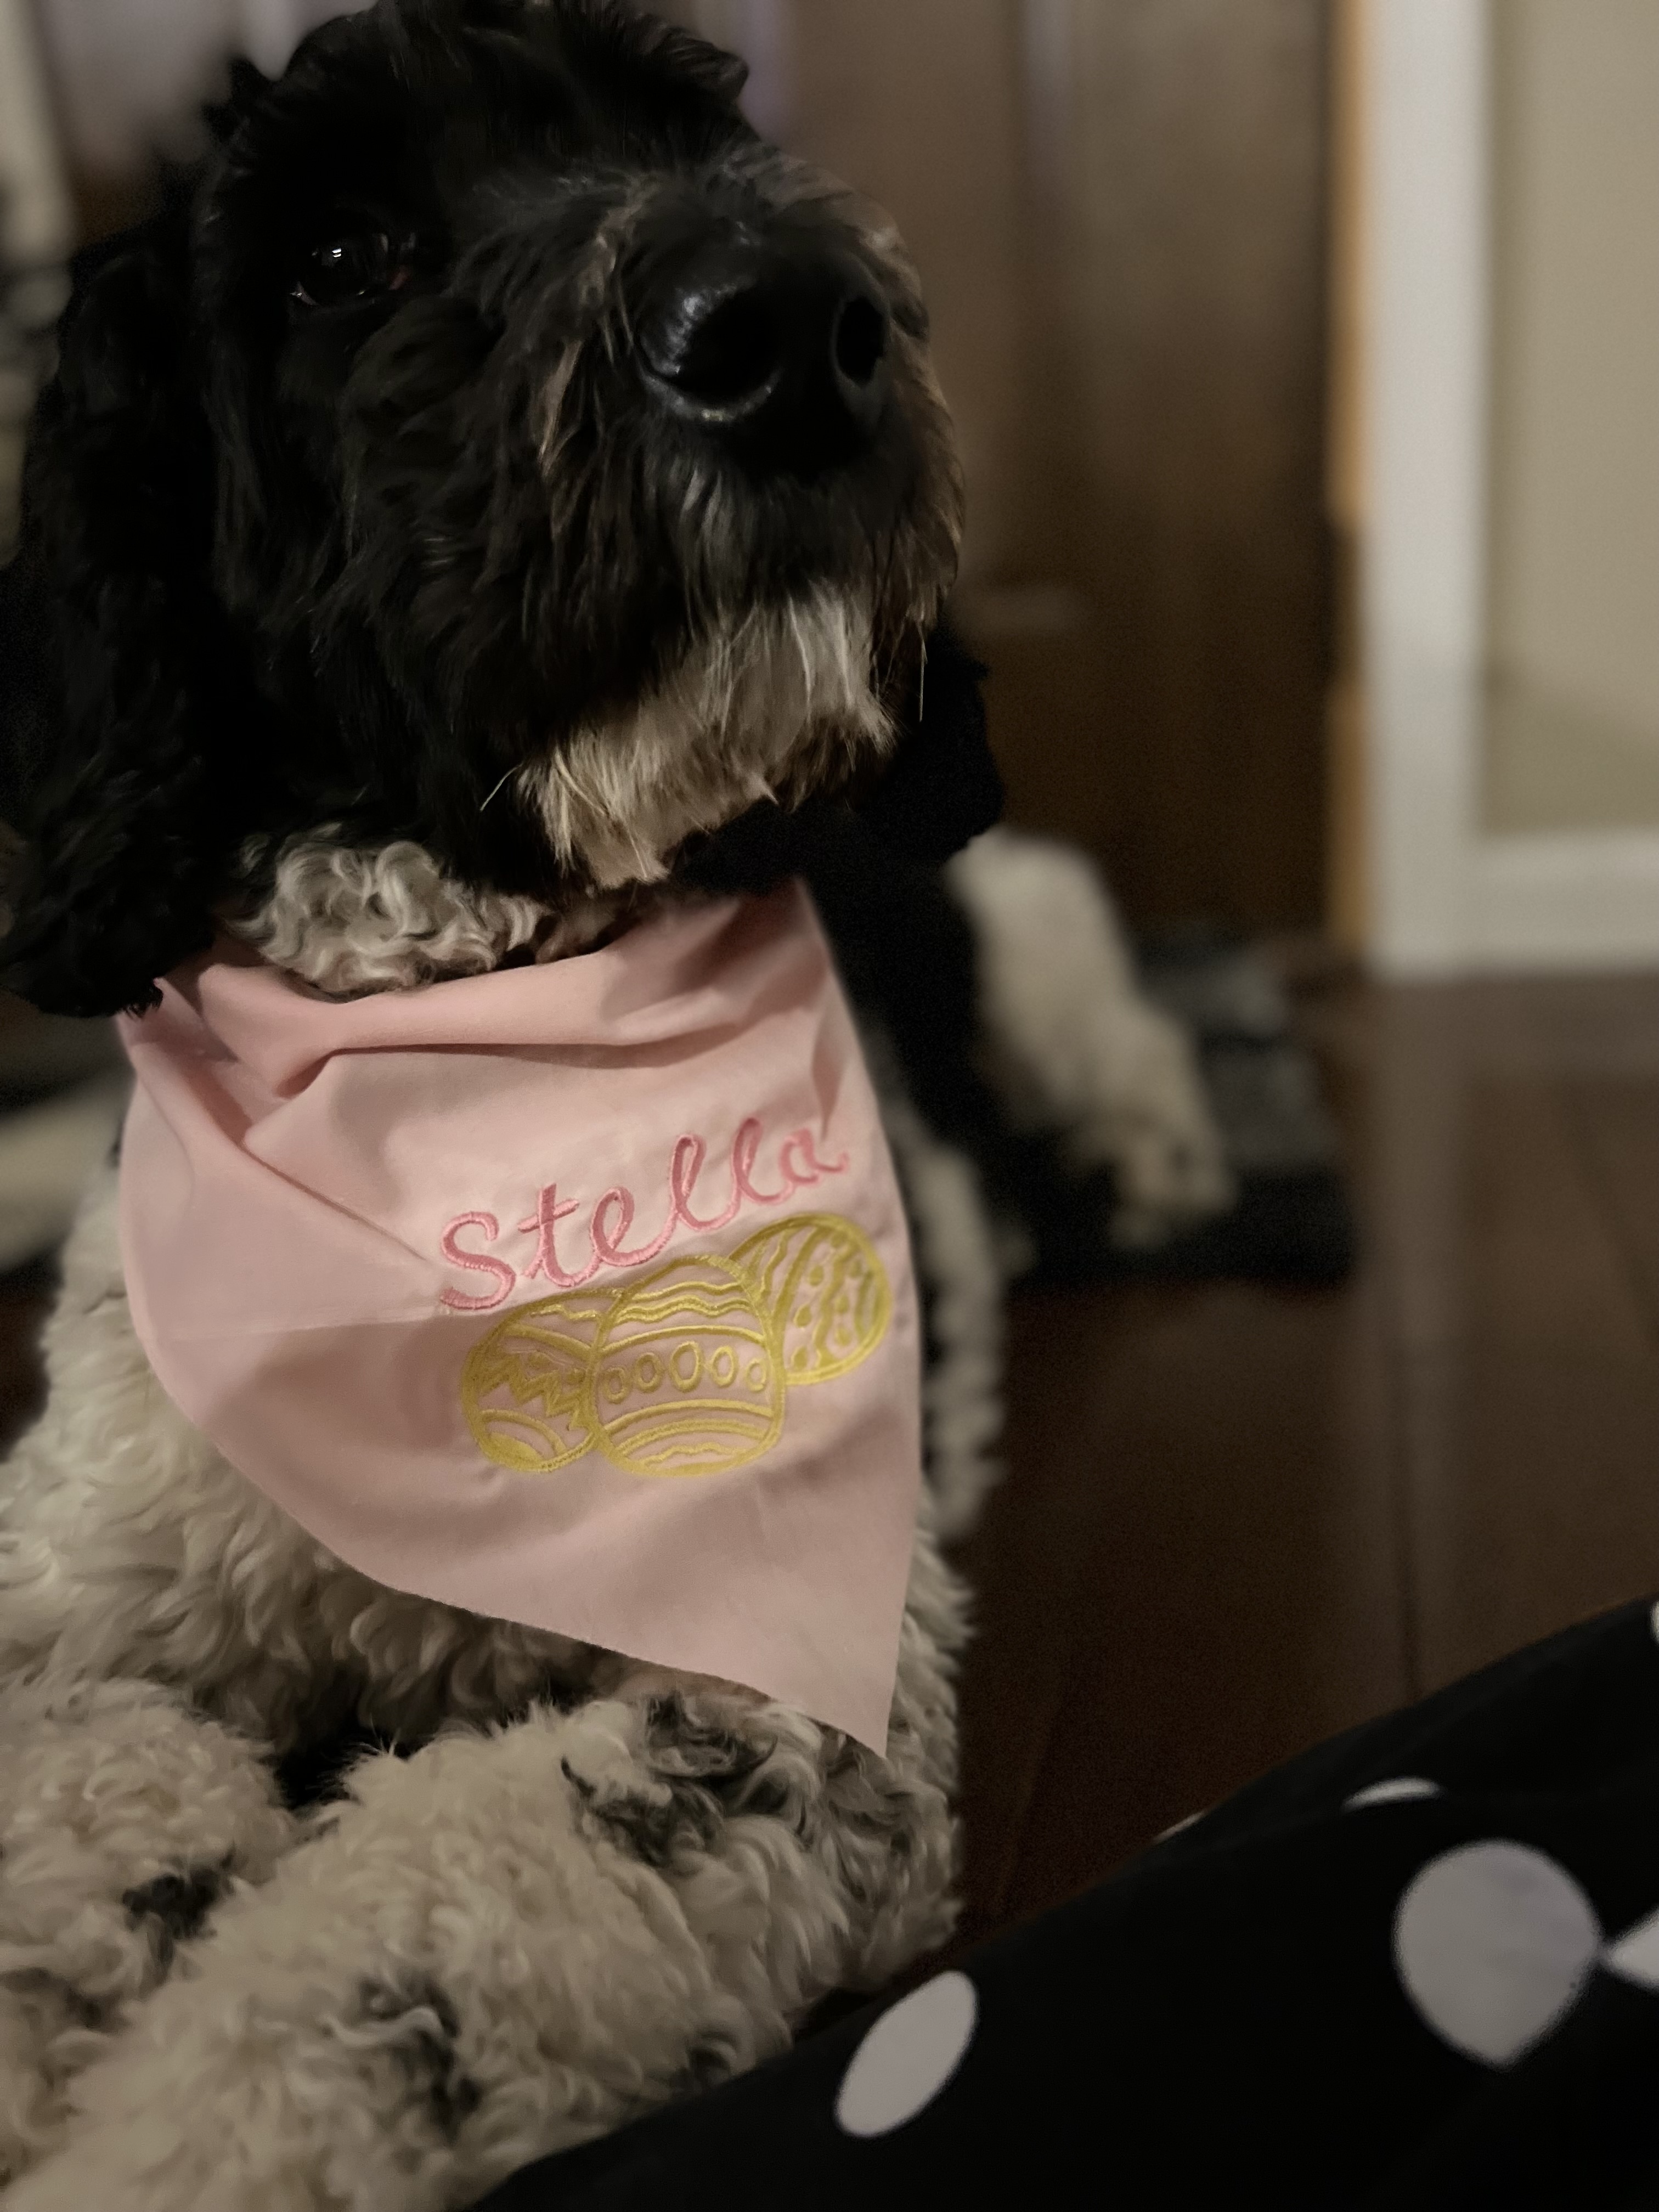
Stella adores her bandana and so do I!