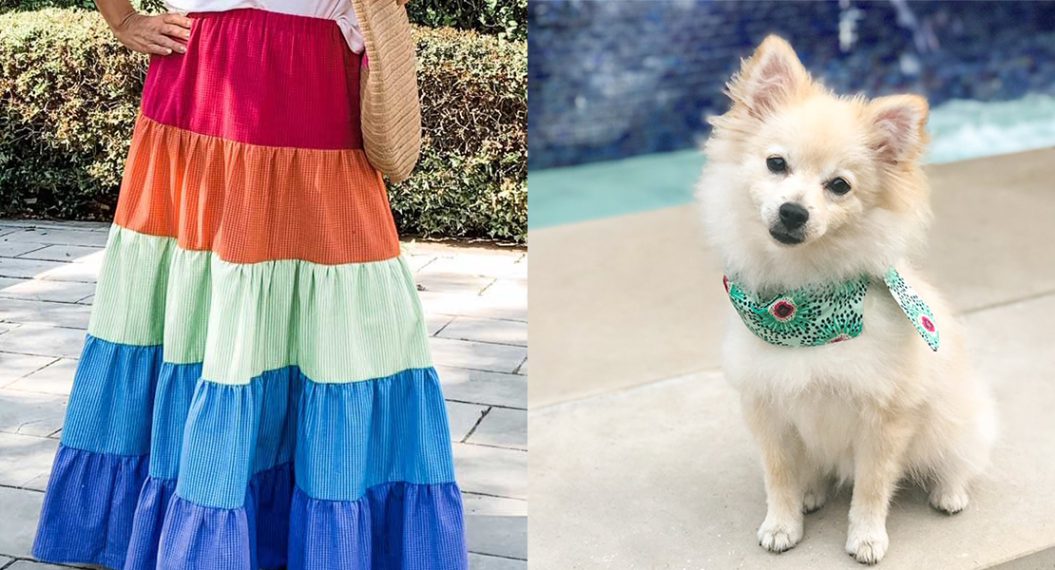
How to Sew a Dog Bandana
Hi there, it’s Audrey from Cotton and Bourbon sharing a tutorial for a dog bandana that slips over your pet’s collar! I couldn’t resist making a new accessory for our pup! Follow along with tutorial below and download the free pattern templates!
Materials to Sew a Dog Bandana
- Basic sewing supplies
- 10×12 inch piece of feature and backing fabric
- Coordinating thread
- Pins
- 1/4 inch foot

I sew on a BERNINA 770 QE and used the BERNINA Patchwork Foot #97D for this project.
Steps to Sew a Dog Bandana
To begin, print the pattern template linked here. Check the 1-inch square printed on the template for printing accuracy. Select the desired bandana size. Double check your pet’s collar measurement to ensure fit.
Press the fabric. Fold fabric in half so the folded fabric rectangle measures 10×6 inches. Note the “Cut Fabric on the Fold” arrows, and align the template with the folded fabric. Using the template, cut two pieces from the fabric, one feature fabric for the bandana front and one piece for the bandana backing (white). I had fun and pieced together several colors before cutting the bandana front!
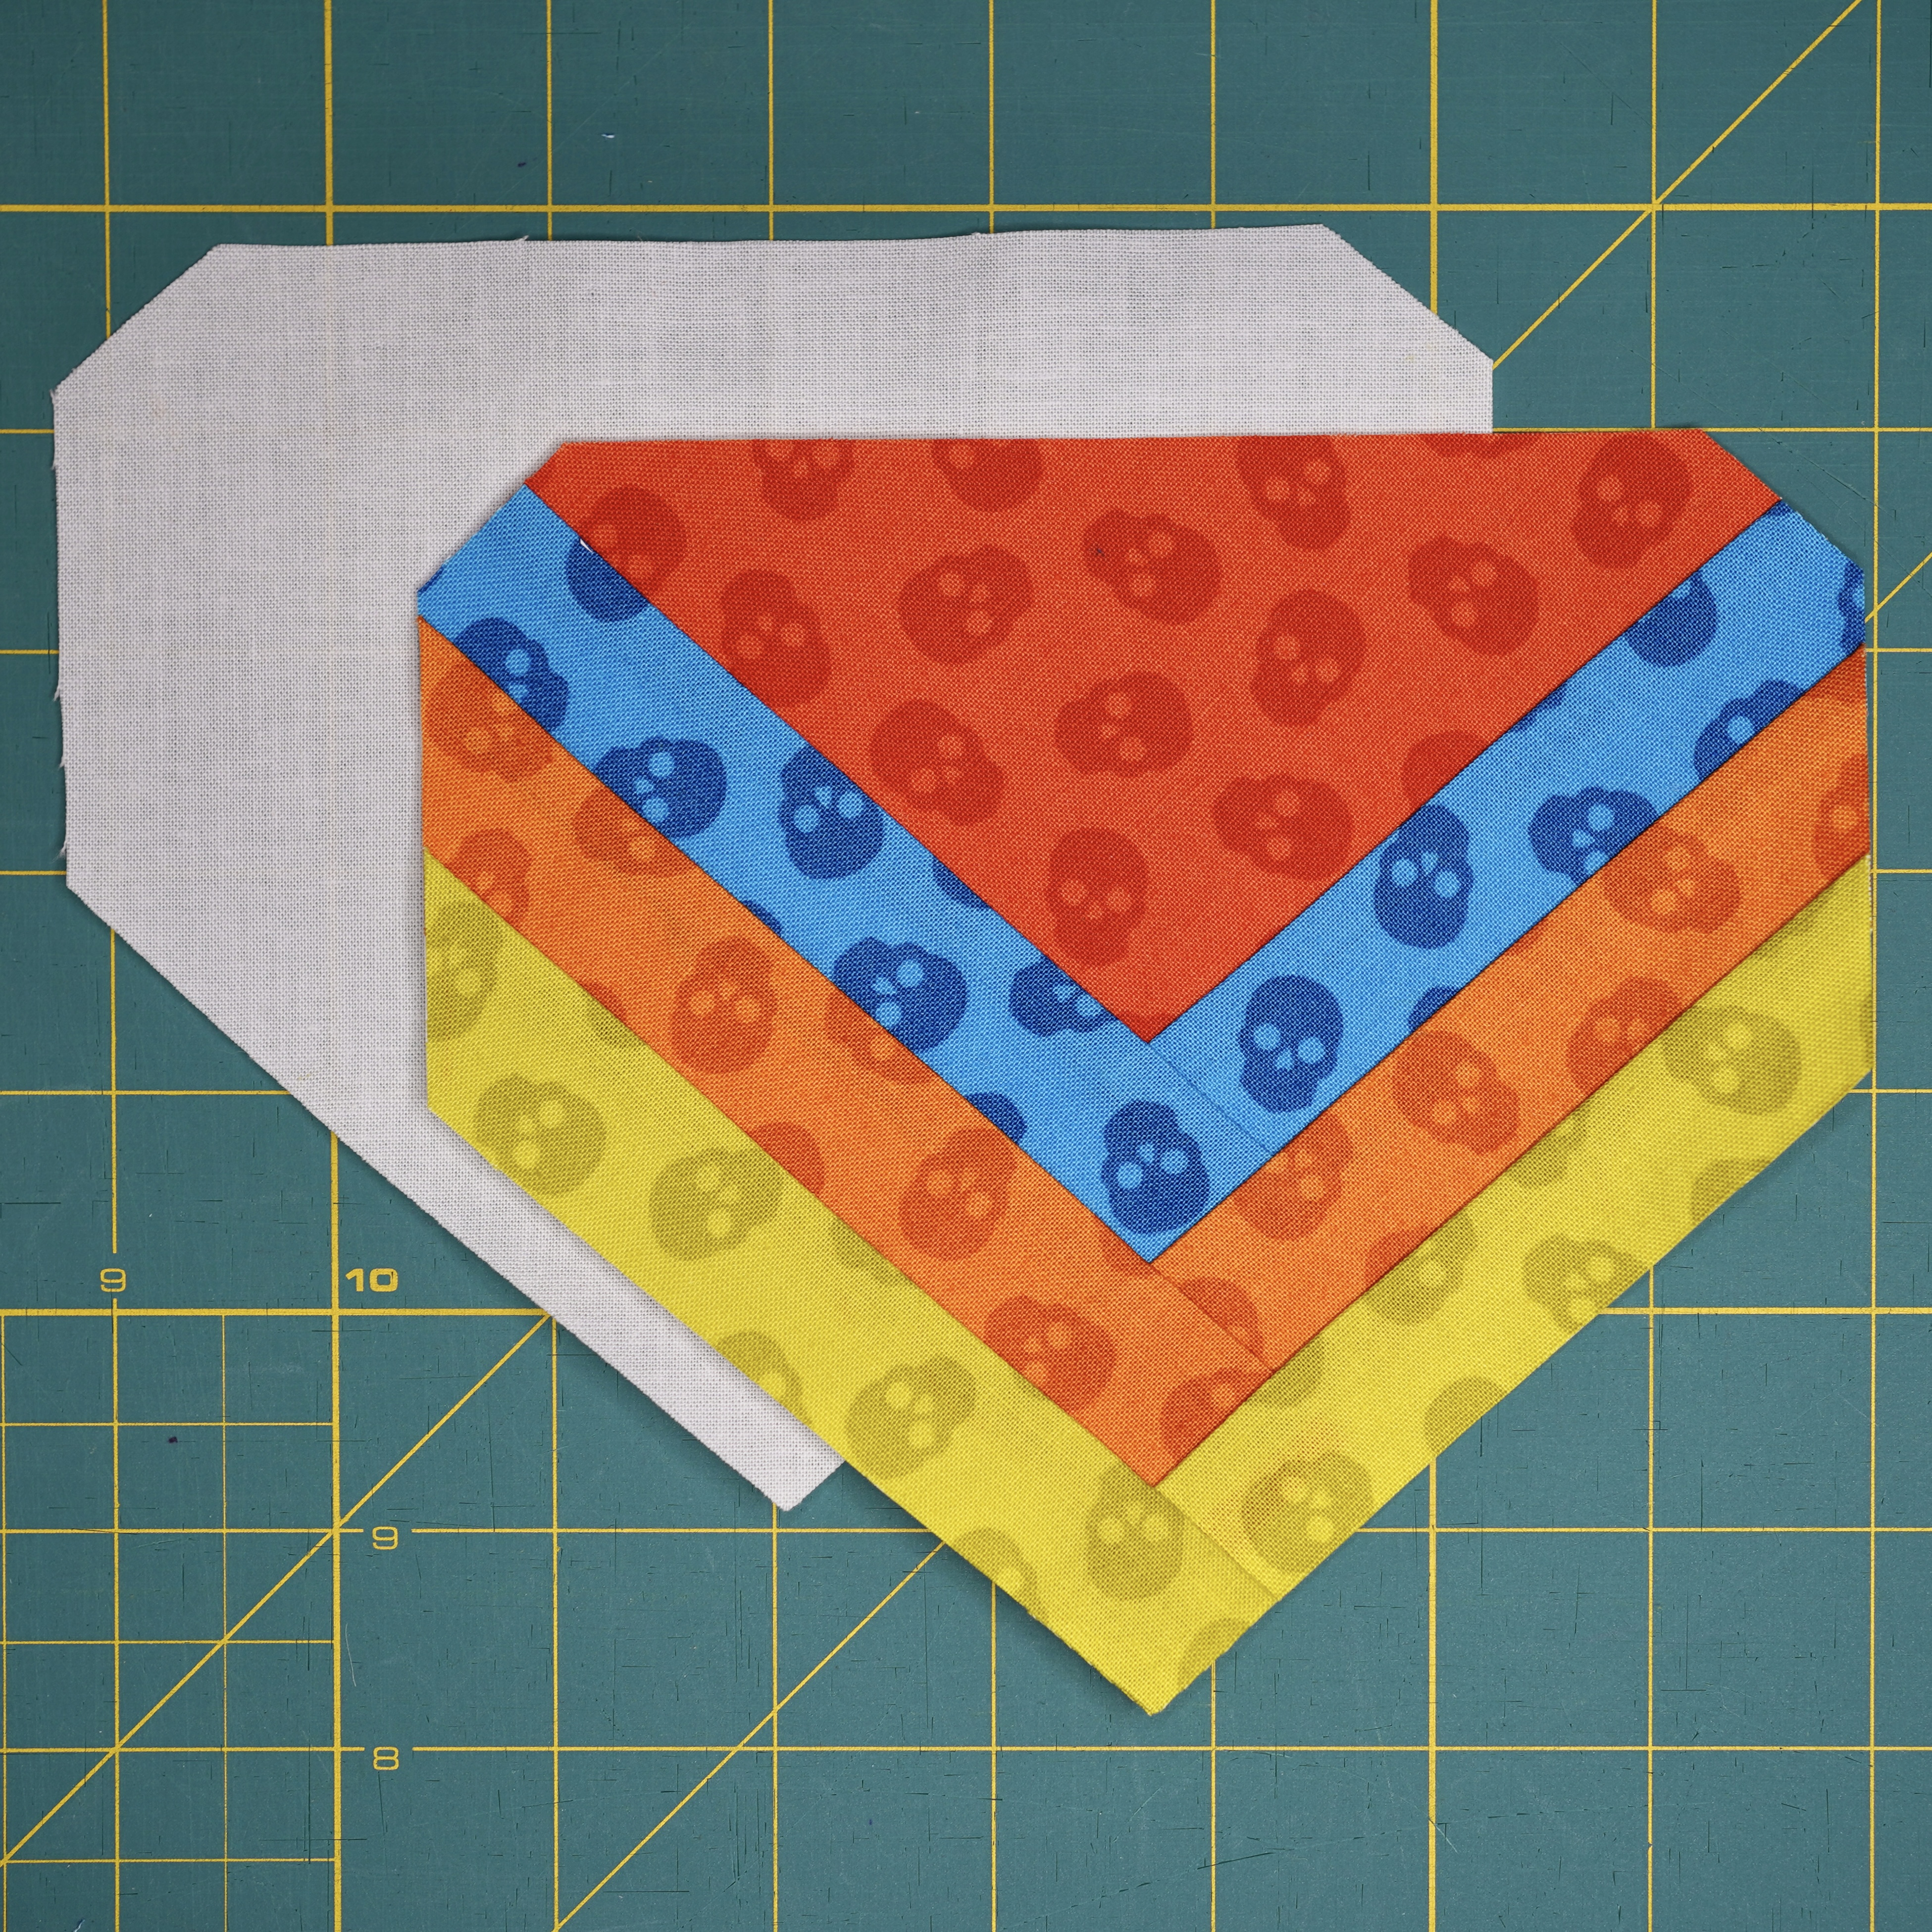
Unfold and press the fabric. Place the two pieces right sides together, and stitch around all edges with a 1/4 inch seam.

Leave an opening in the seam line (about 2 inches) for turning.
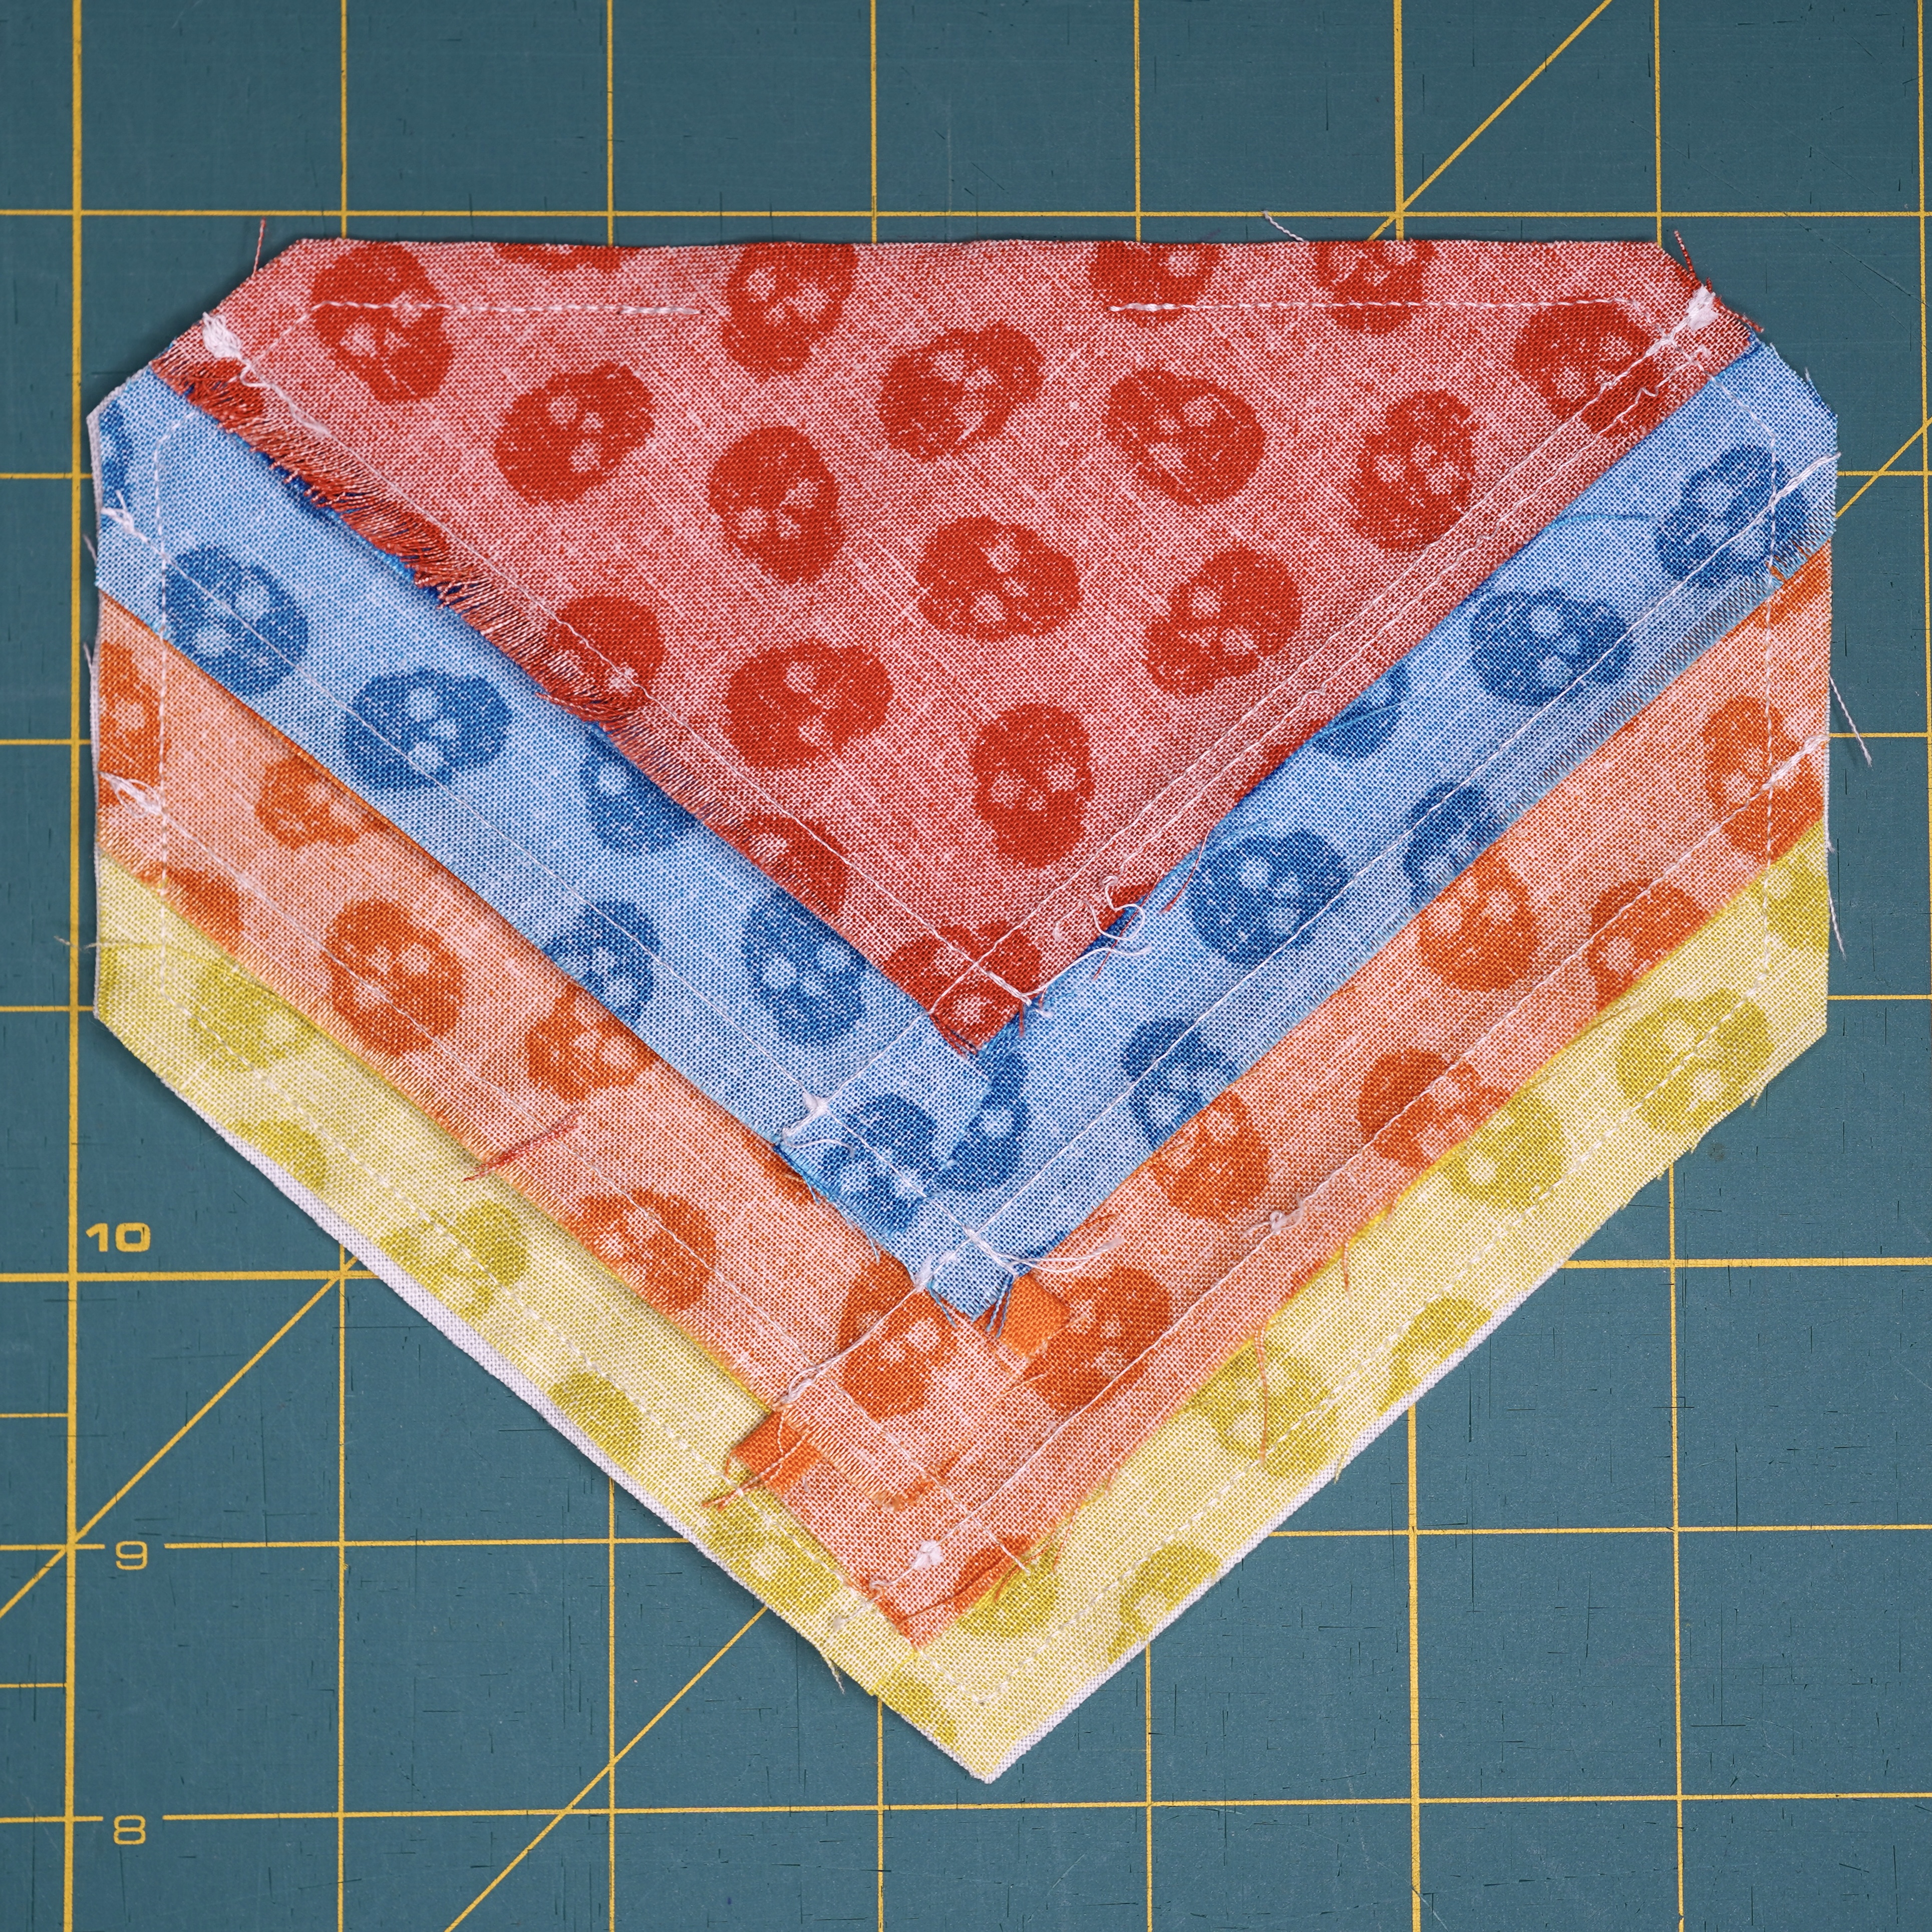
Turn the bandana, and use a turning tool to gently ensure each corner comes to a point. Press, making sure the seam edges stay aligned on top where there is an opening.
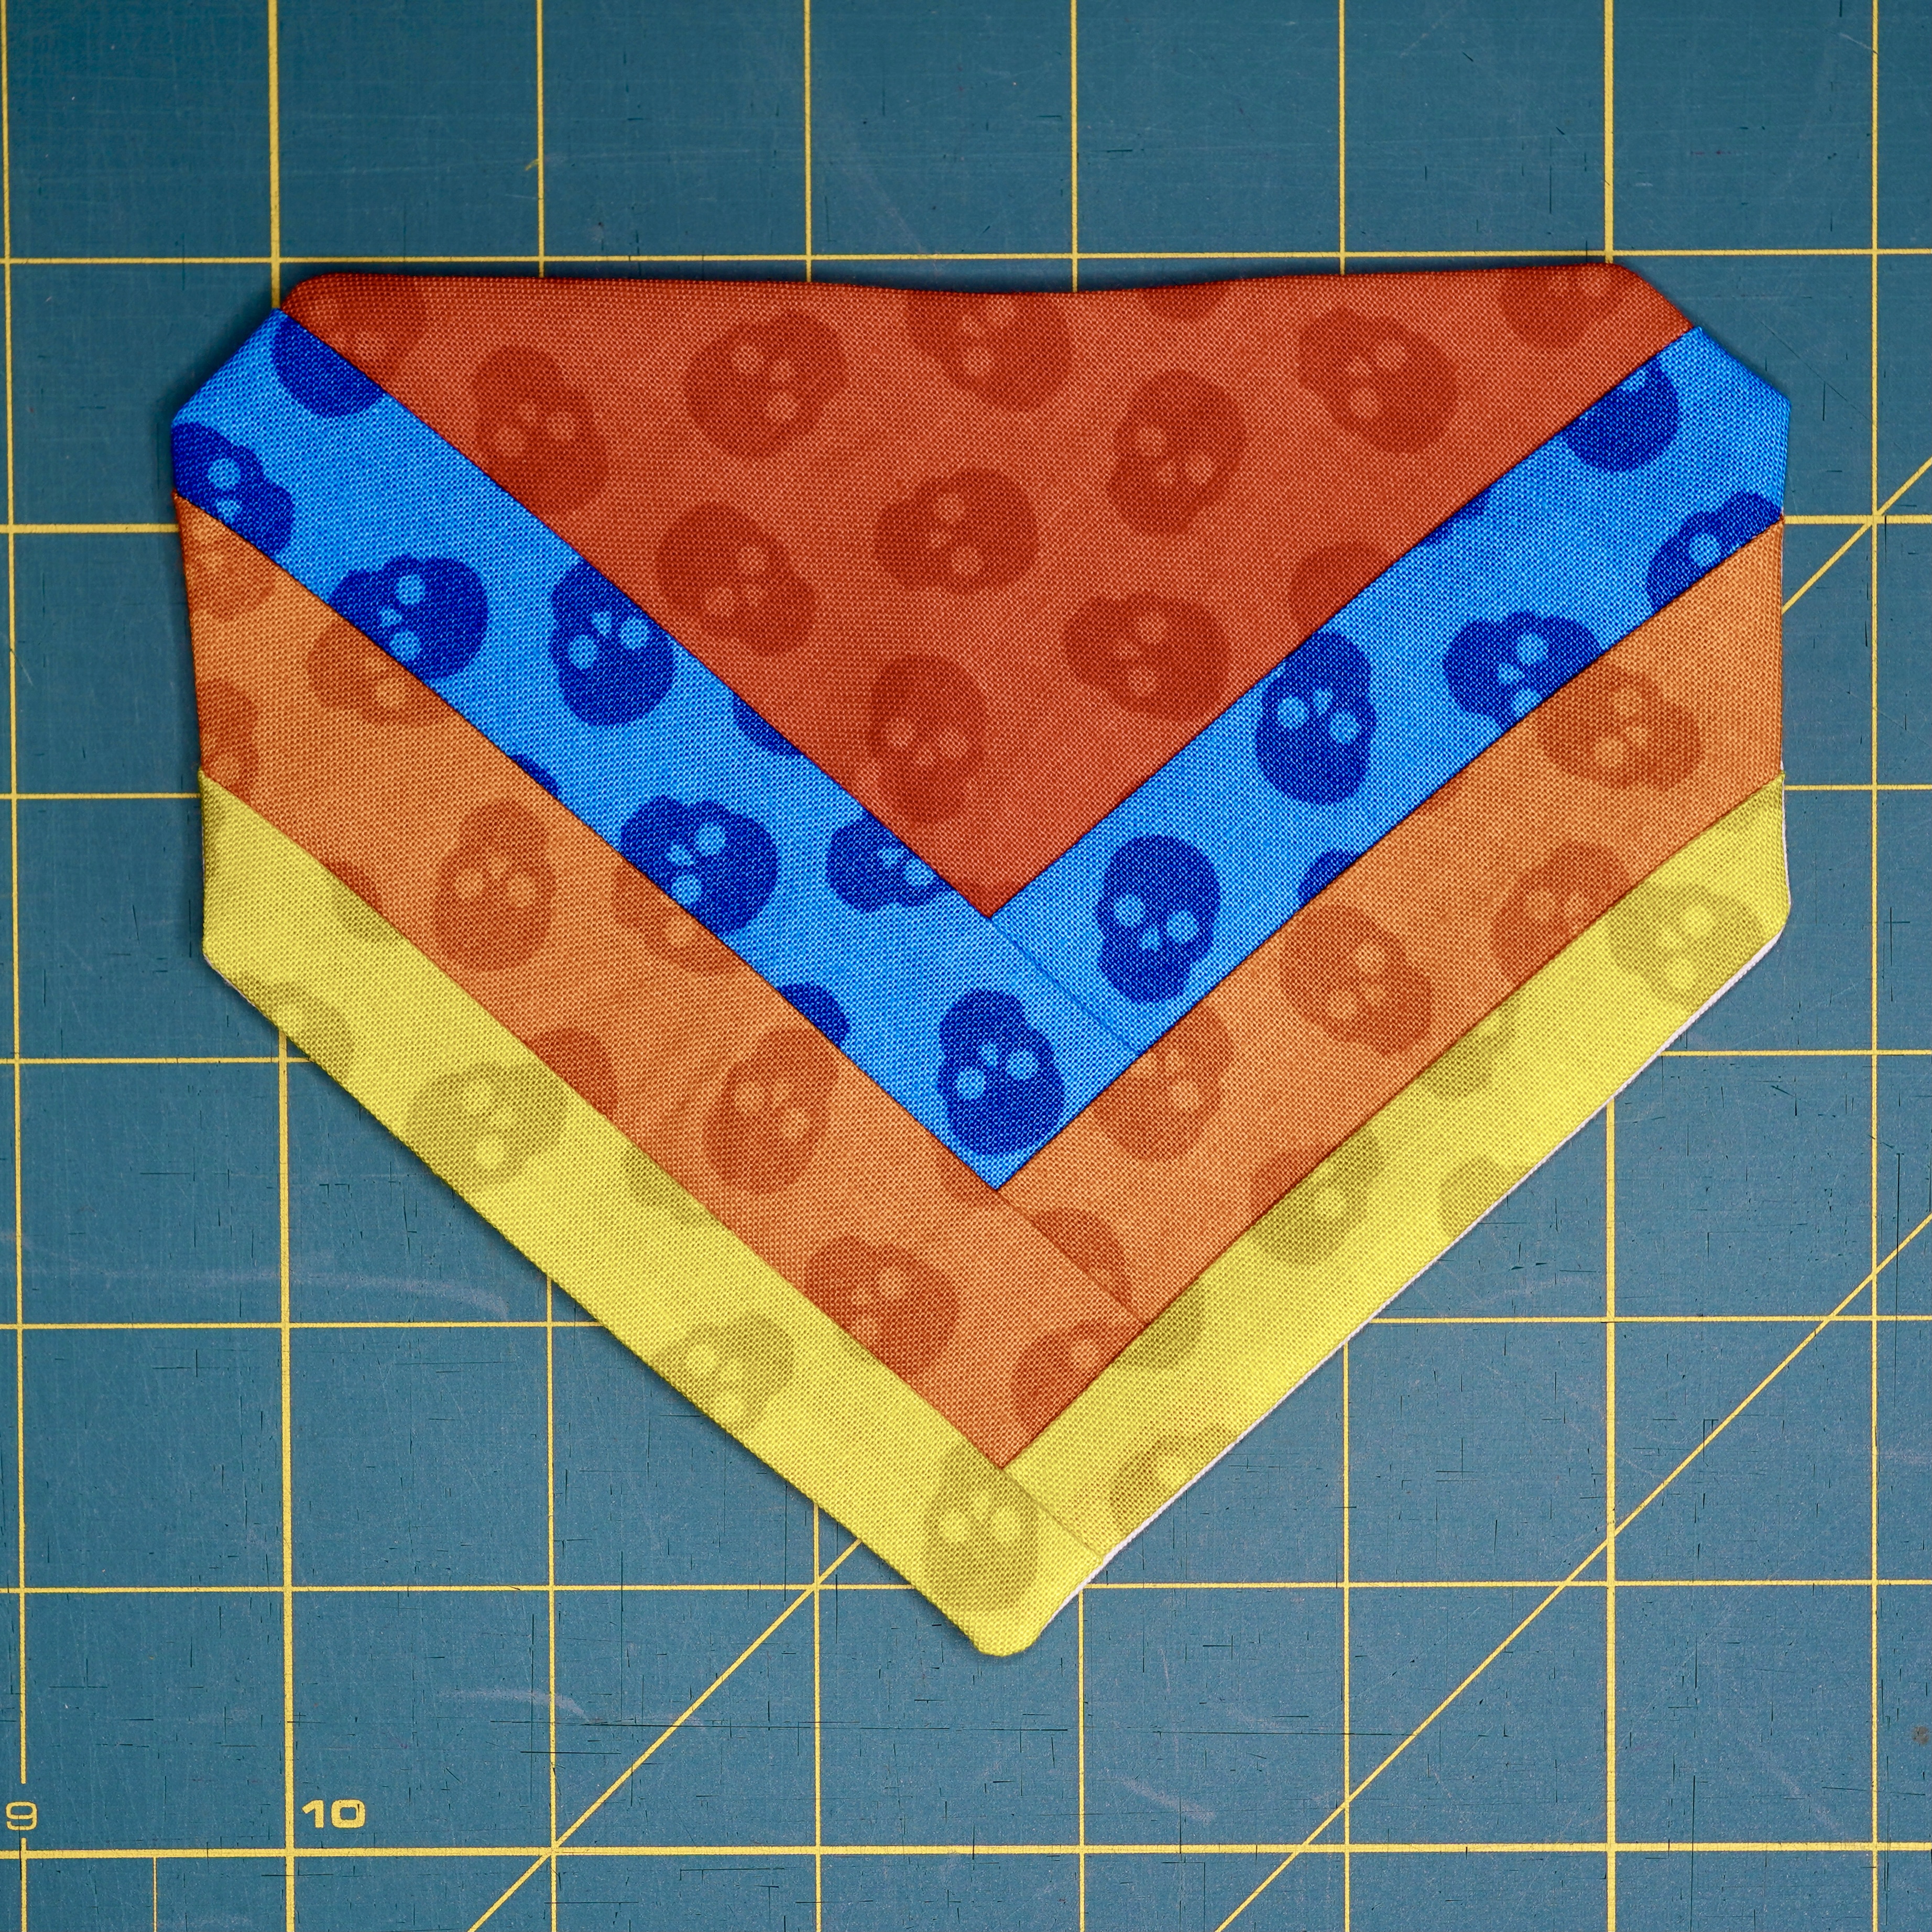
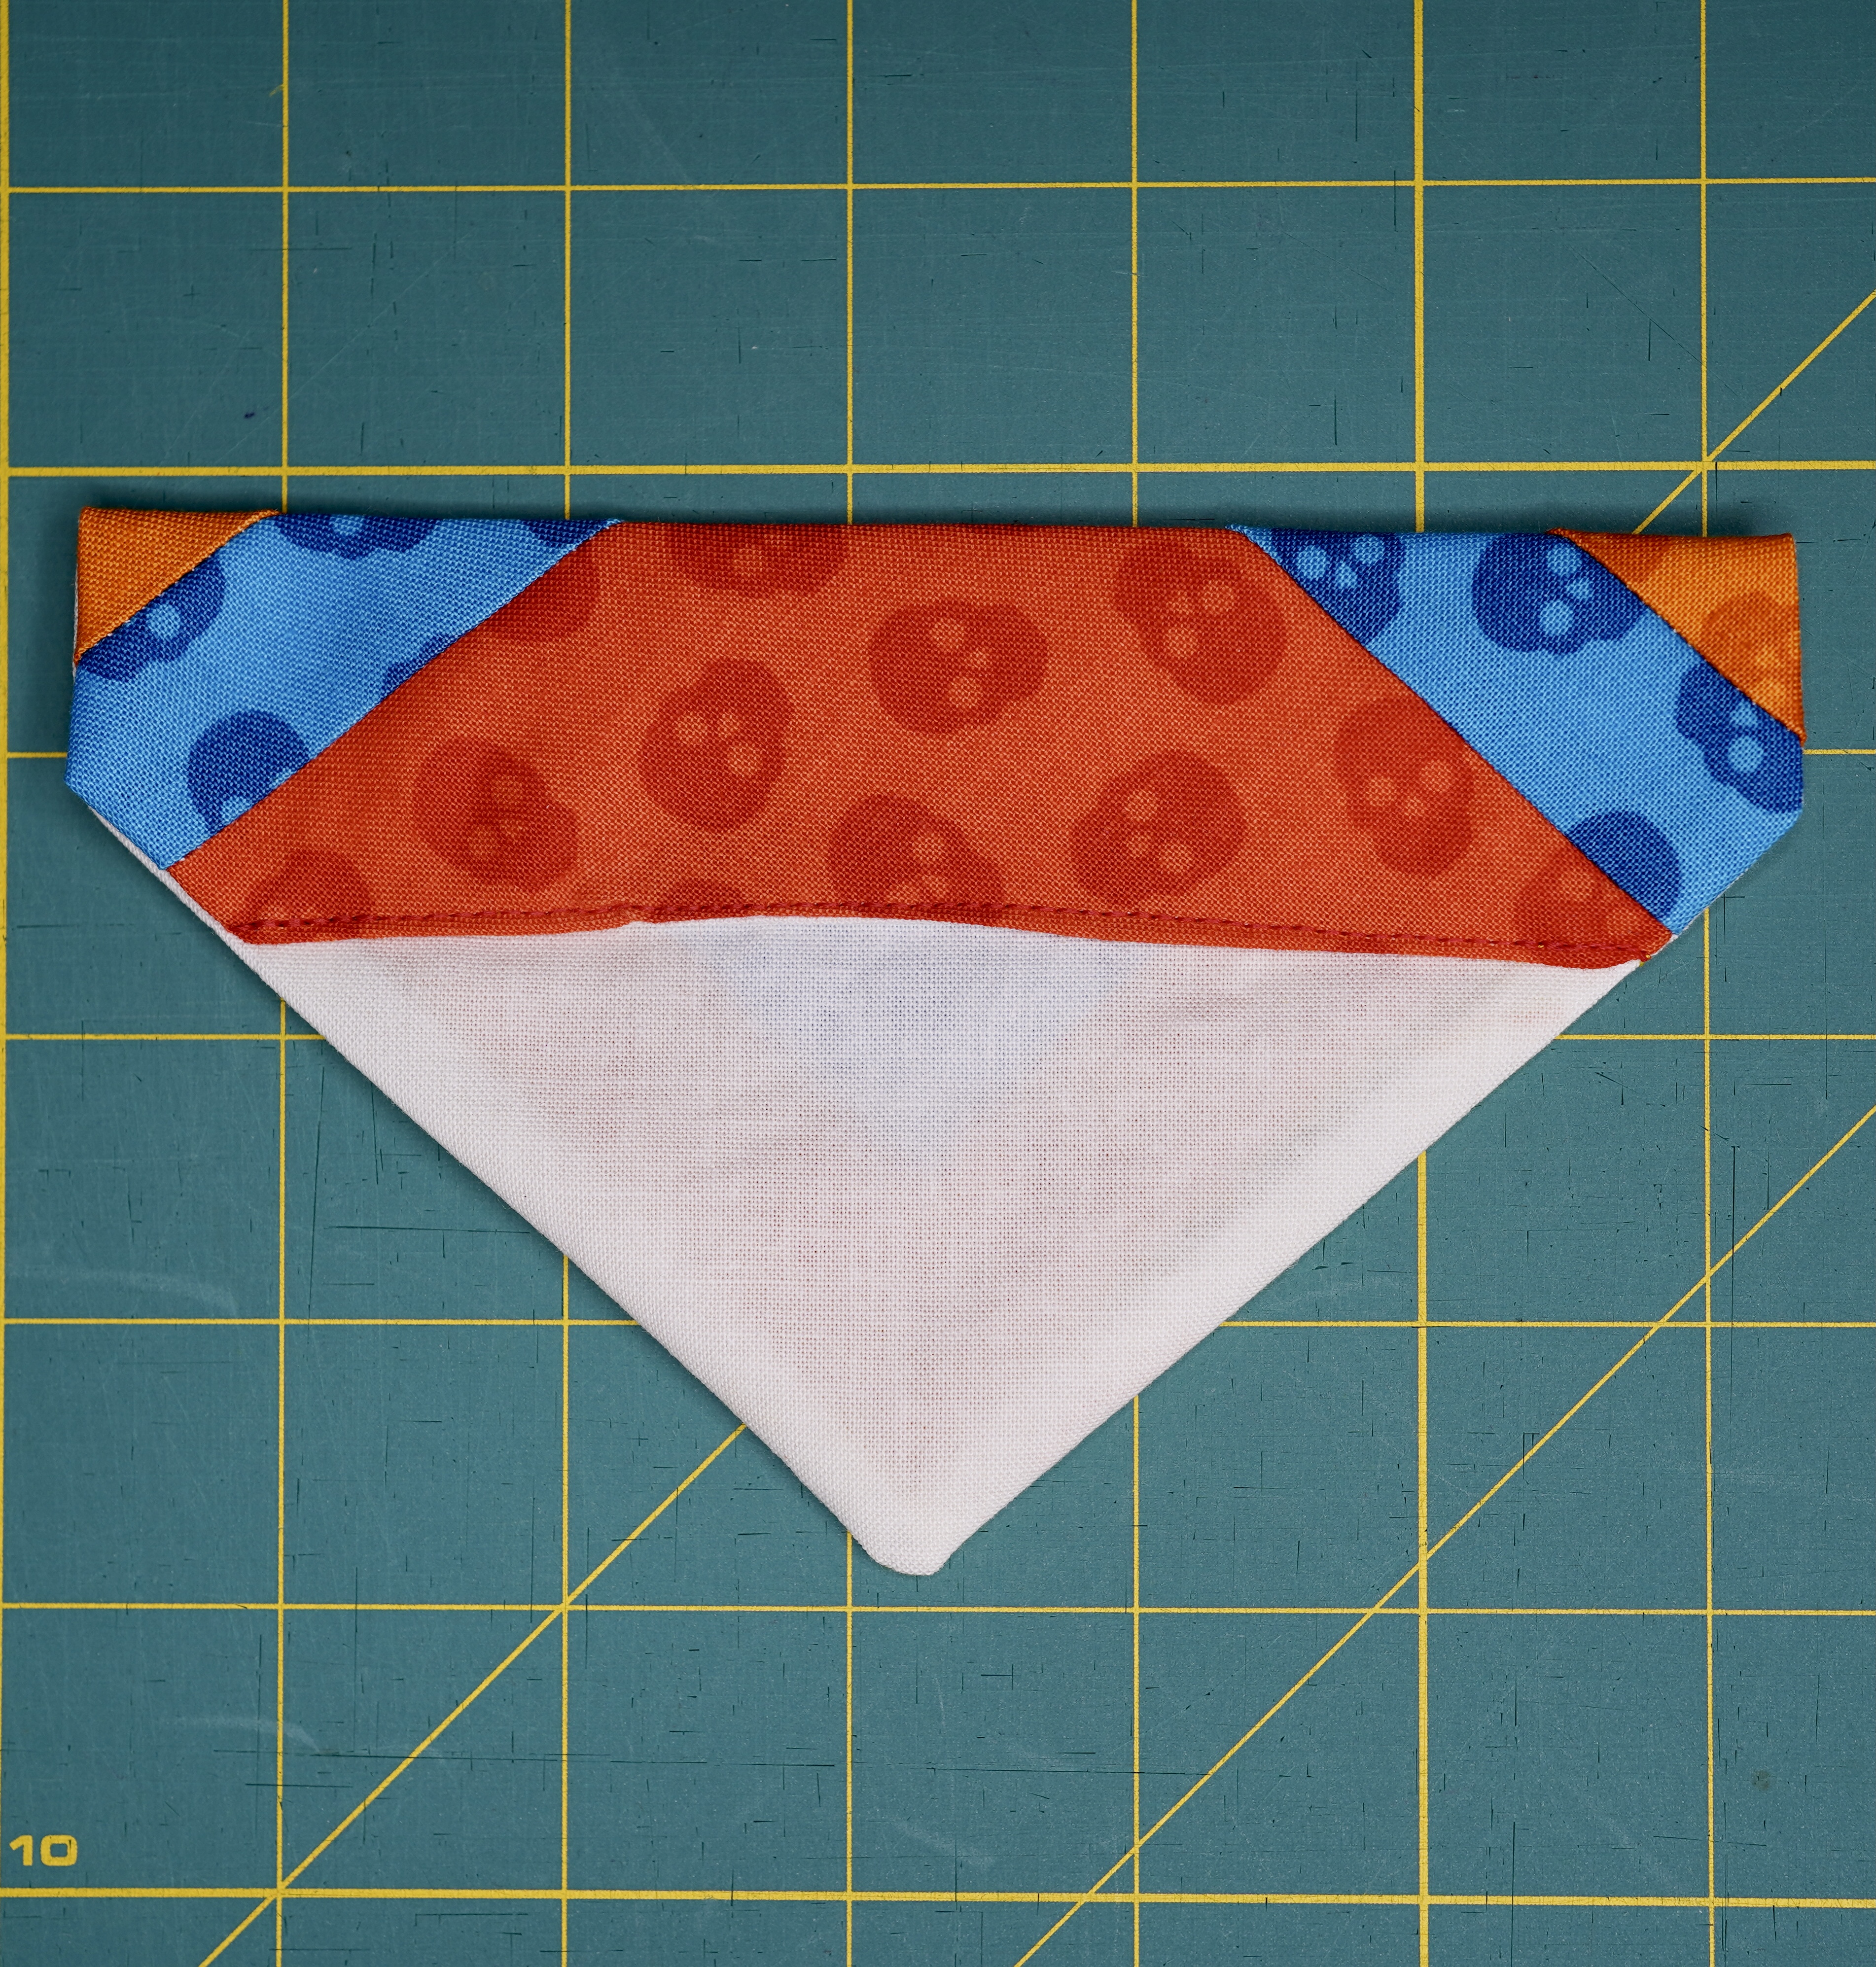
Fold over the top edge and pin in place.
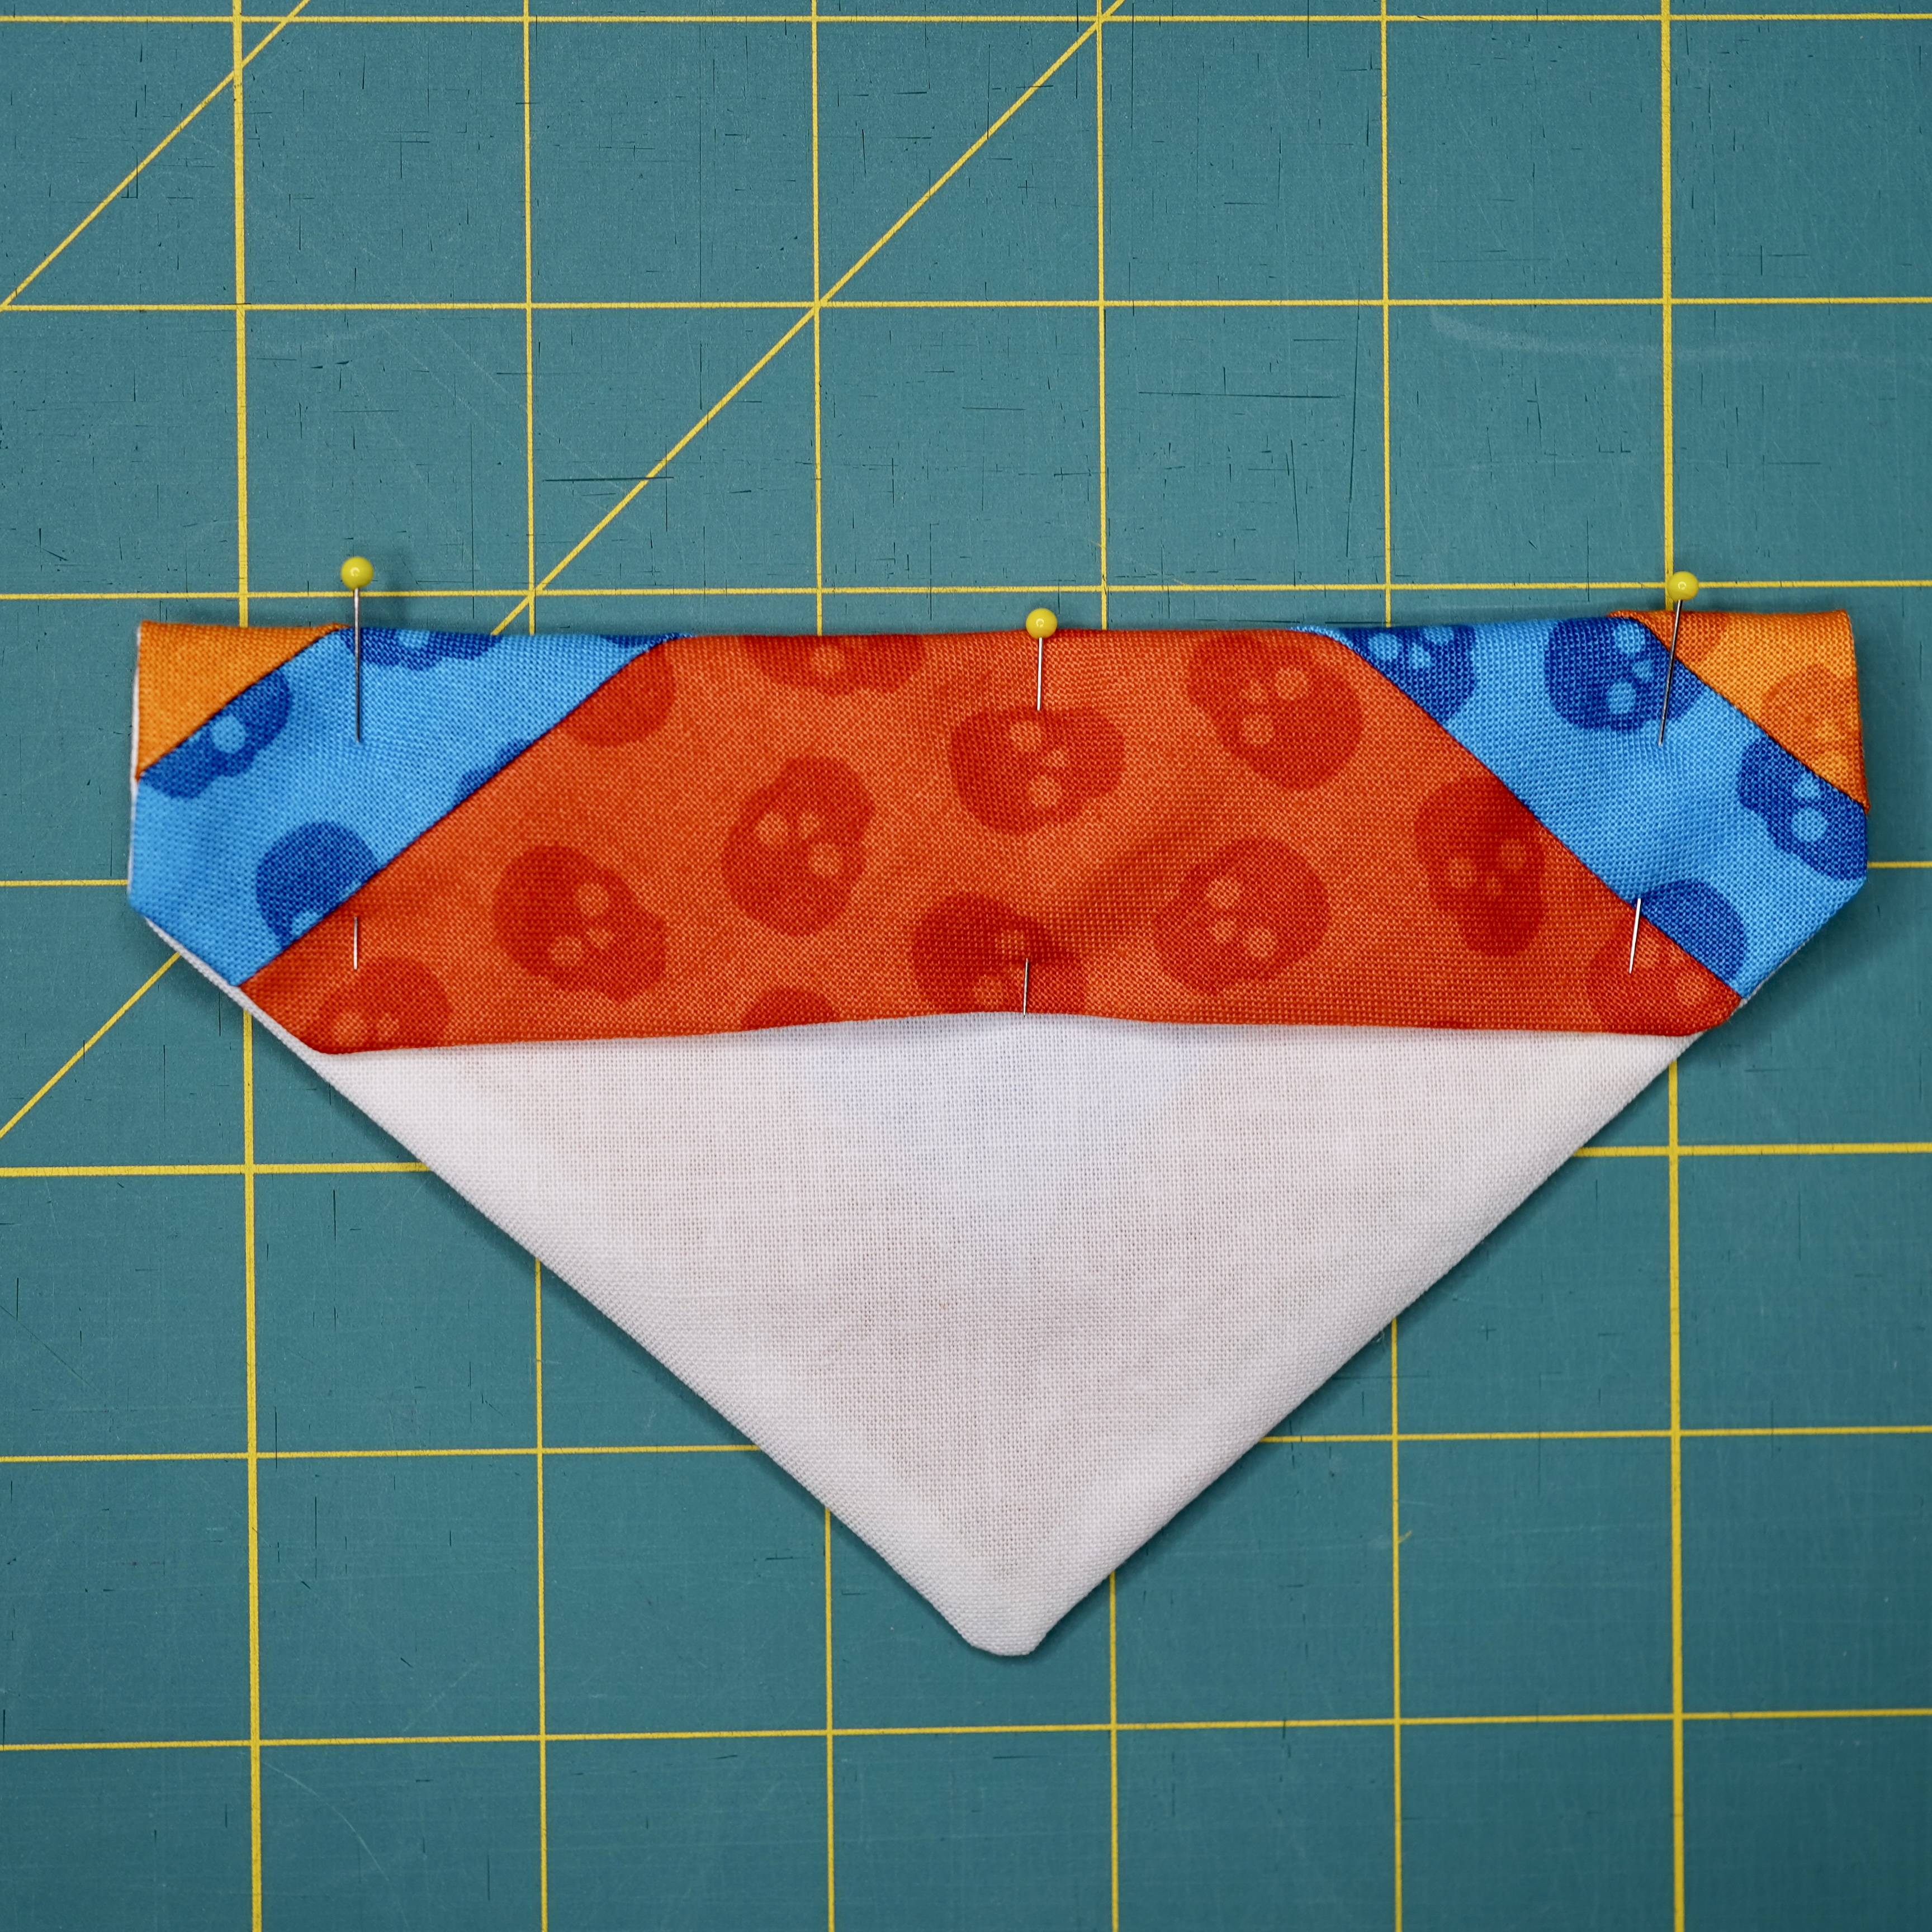
Thread your Bernina with coordinating threads (top and bobbin). With the backing facing up, stitch across the back, securing the flap, and closing the 2 inch opening. Make sure to backstitch at the start and end of the seam for extra strength.
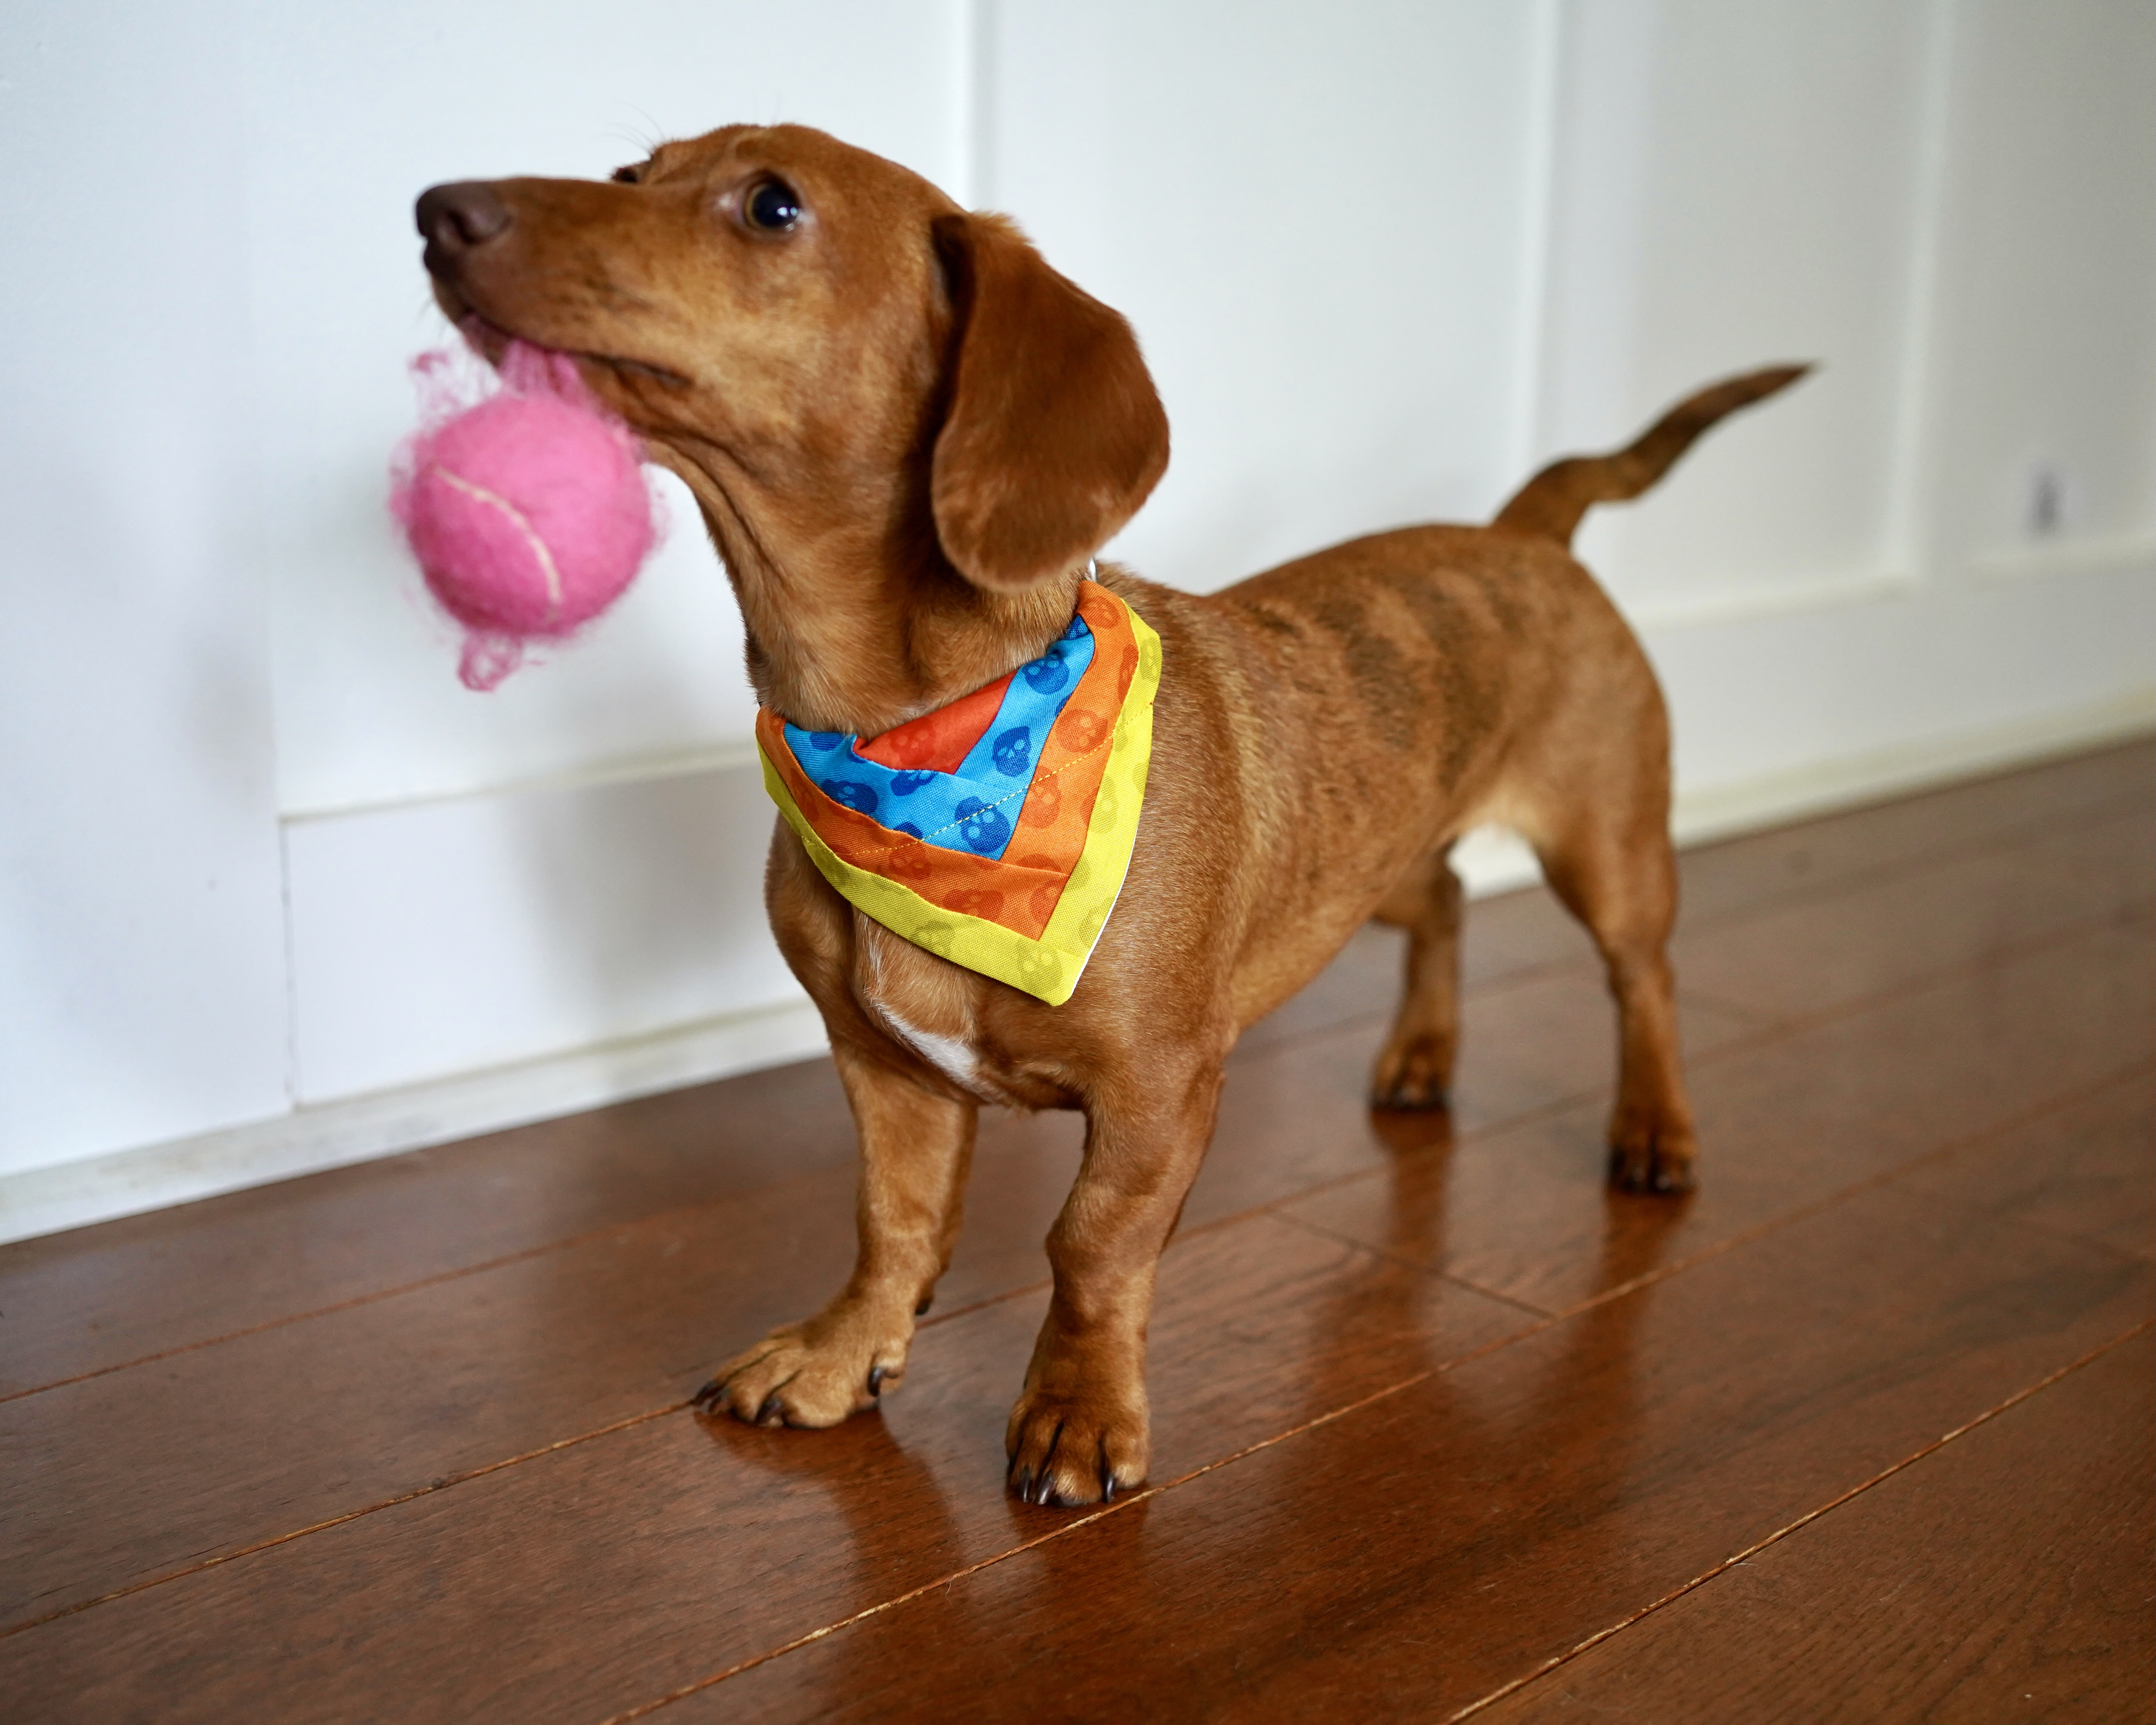
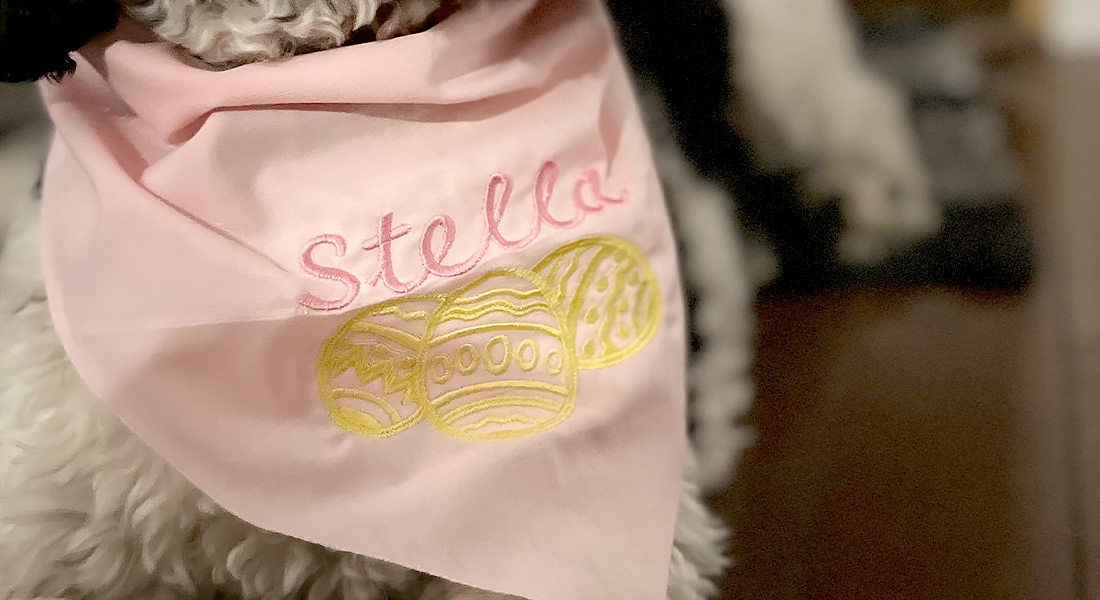
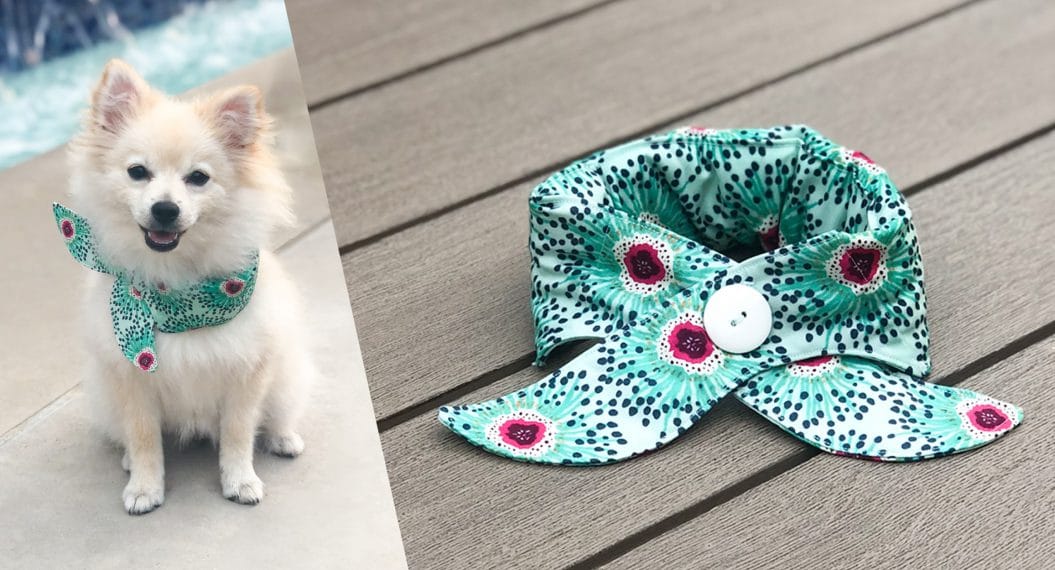
Your pet has a new accessory – cheers!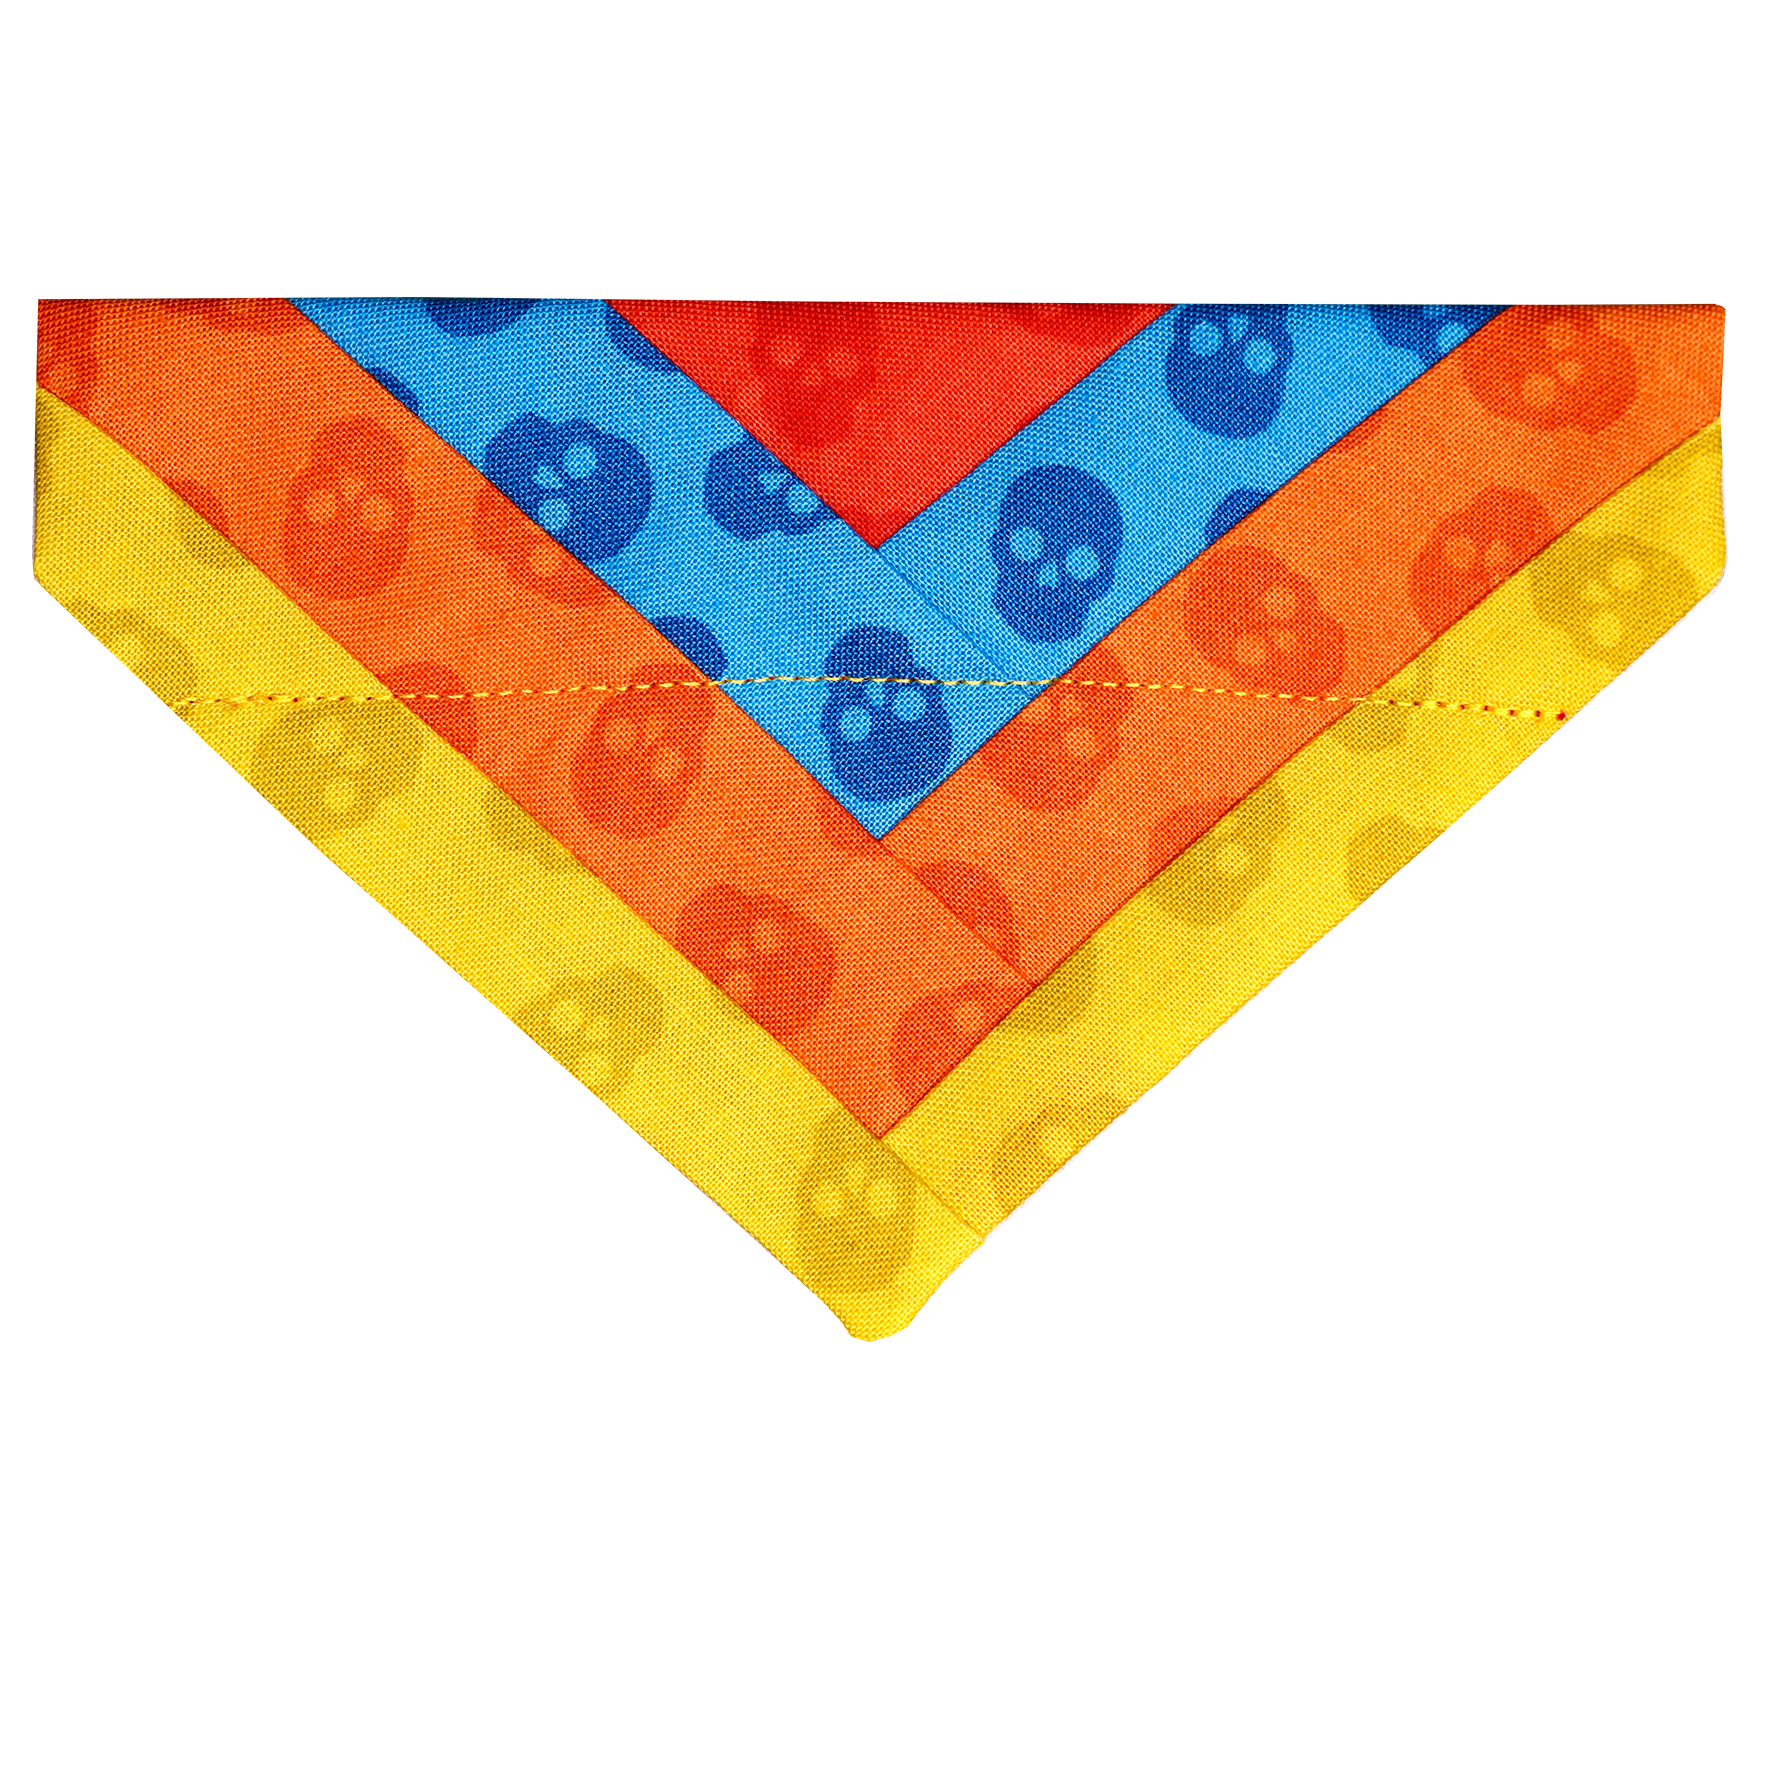
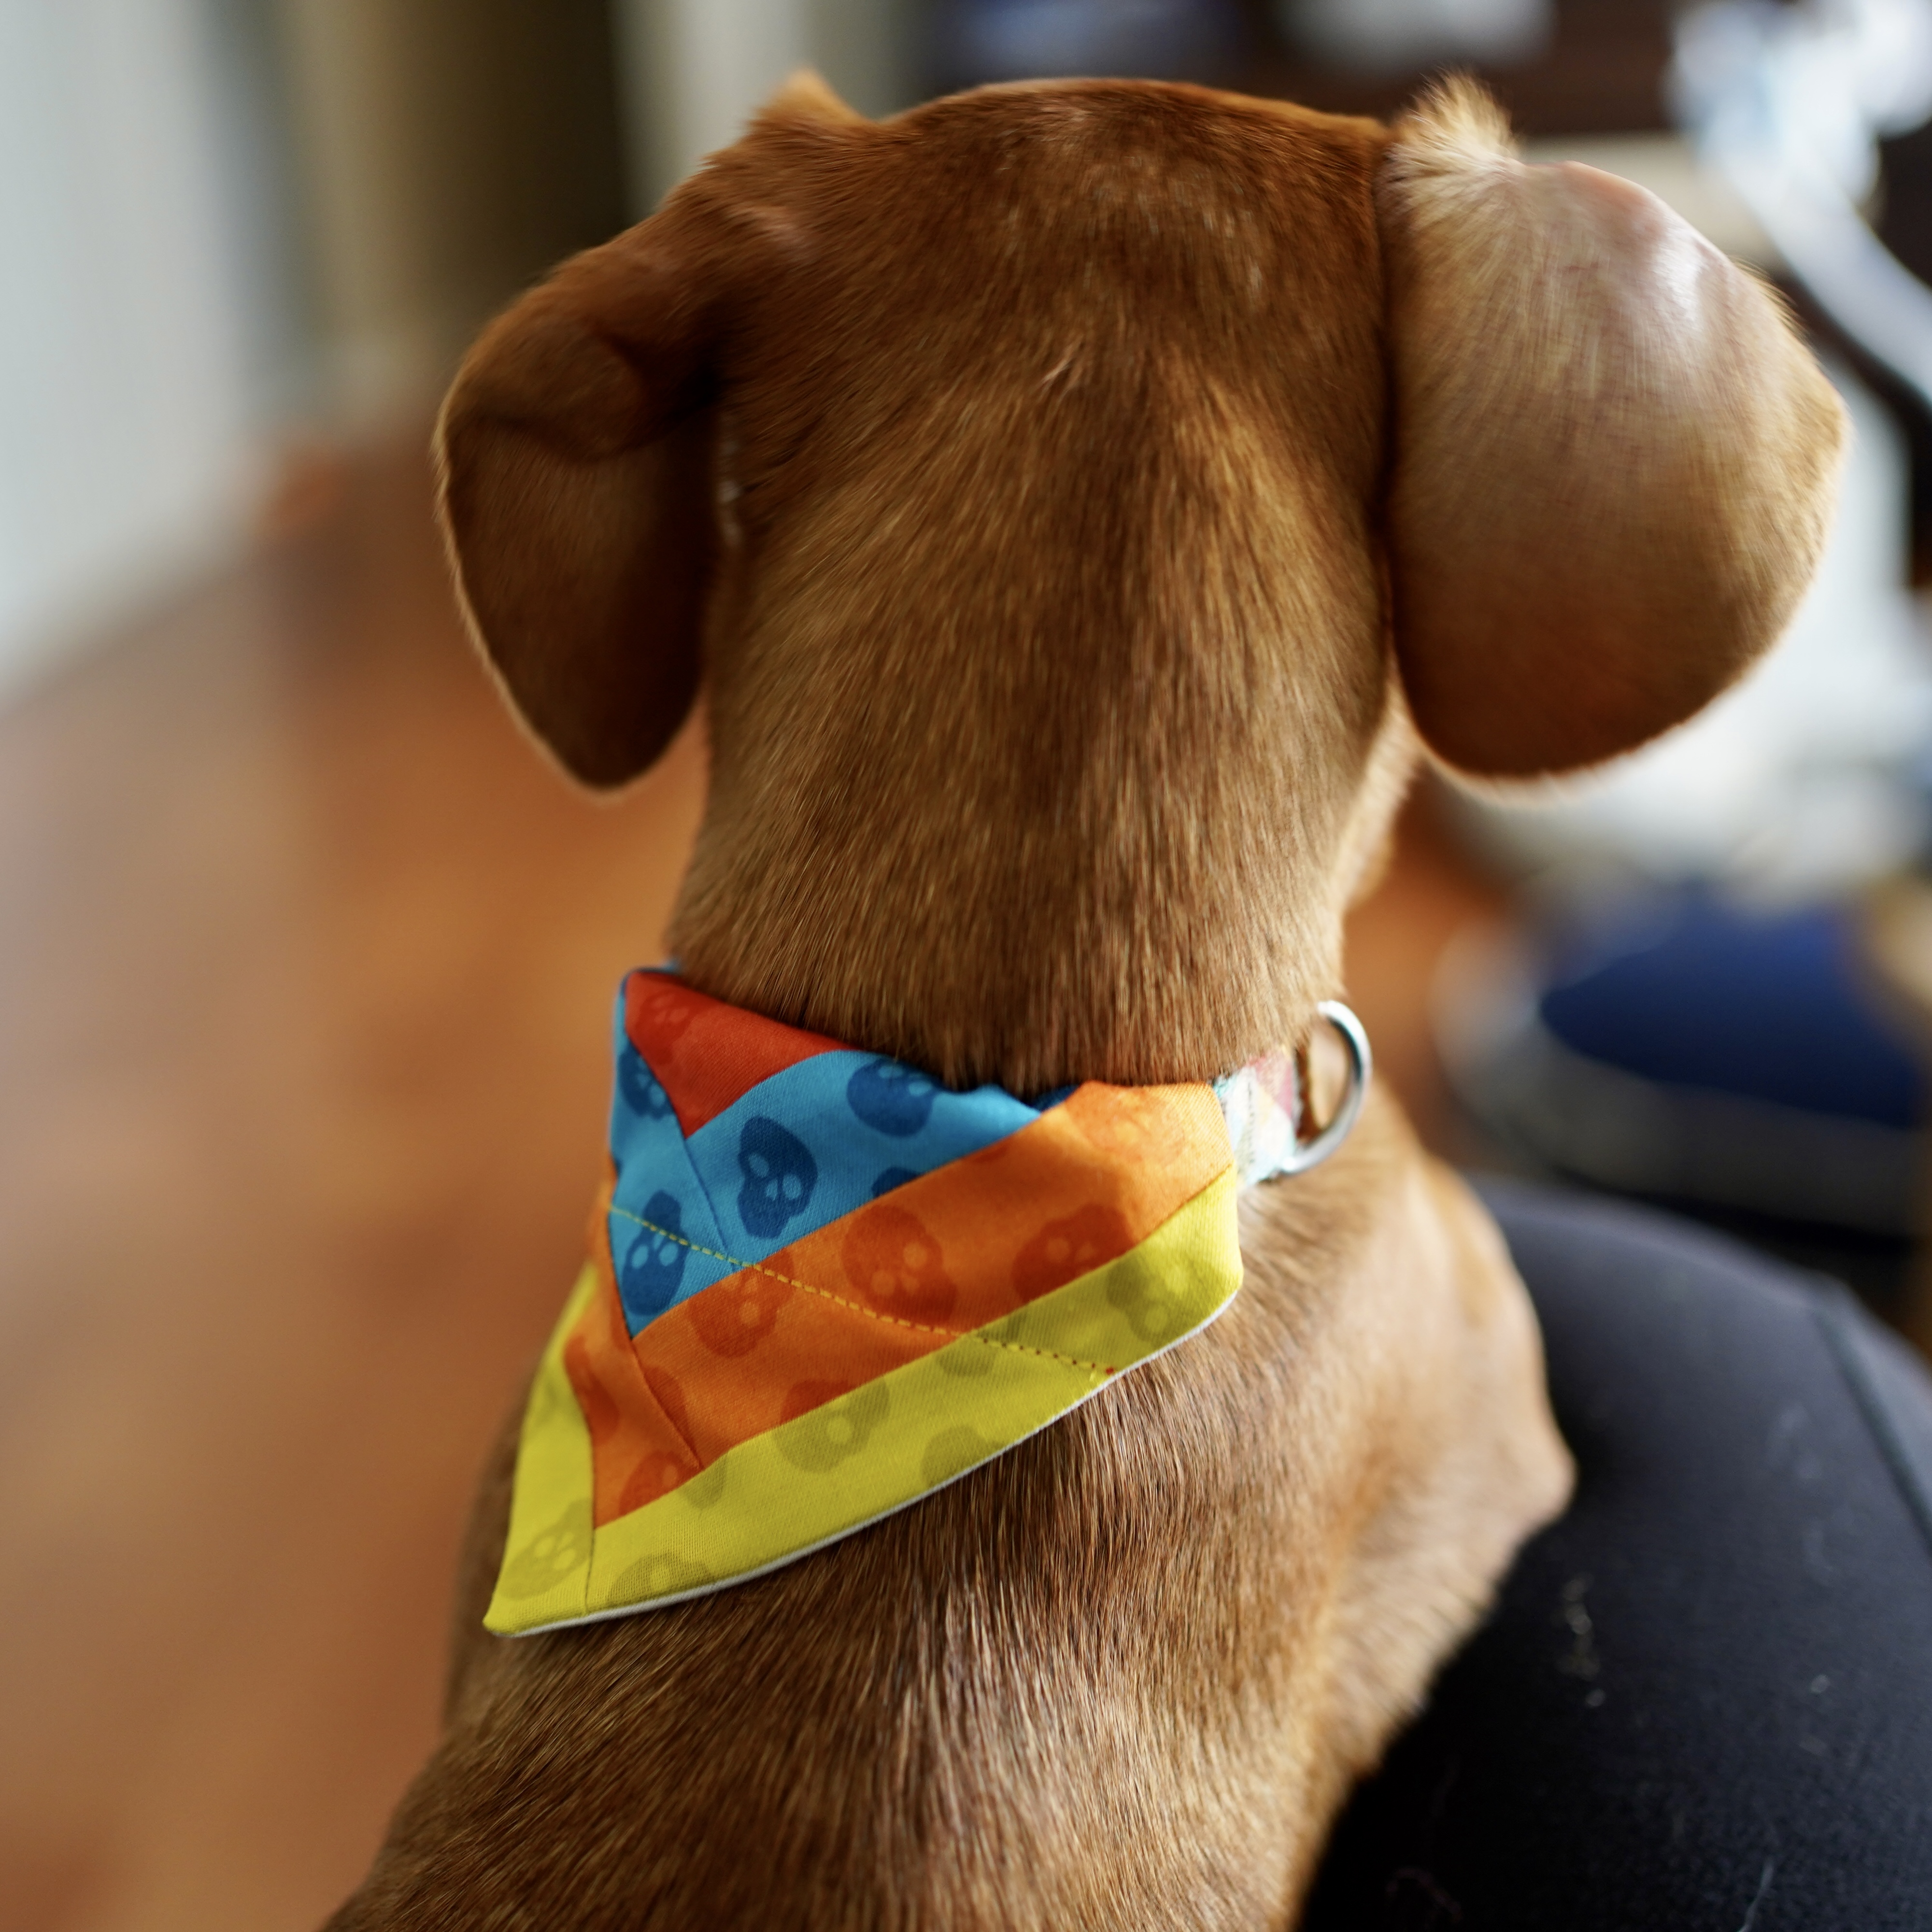


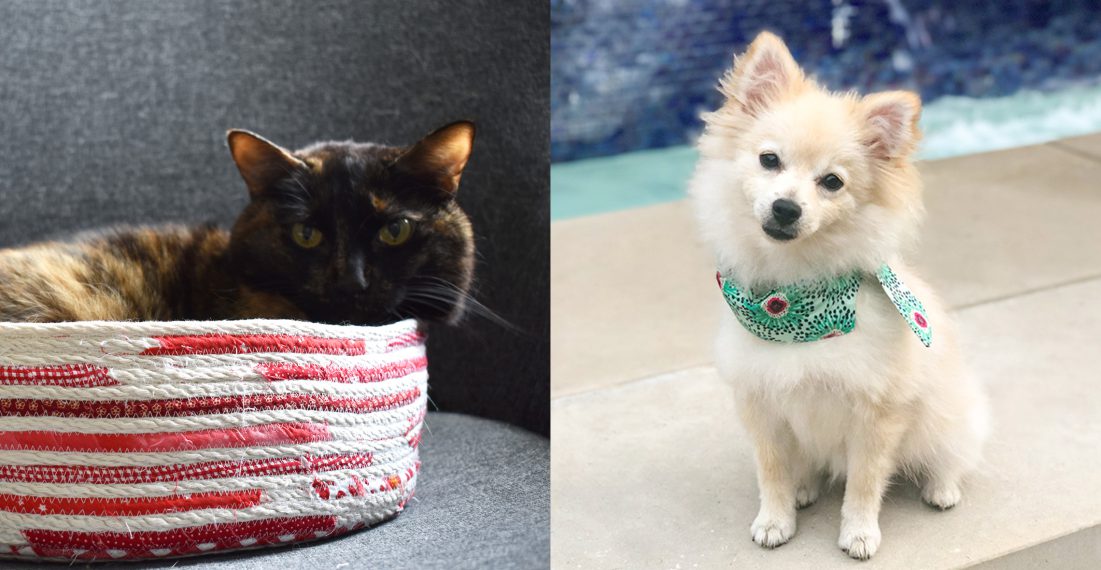


So cute. I decided to make a doggie bandana for a furry friend of mine. It came out really cute, especially with puppy printed fabric & paw prints on the backside