How to Create a Dog Harness, Part 3: Sewing a Dog Leash
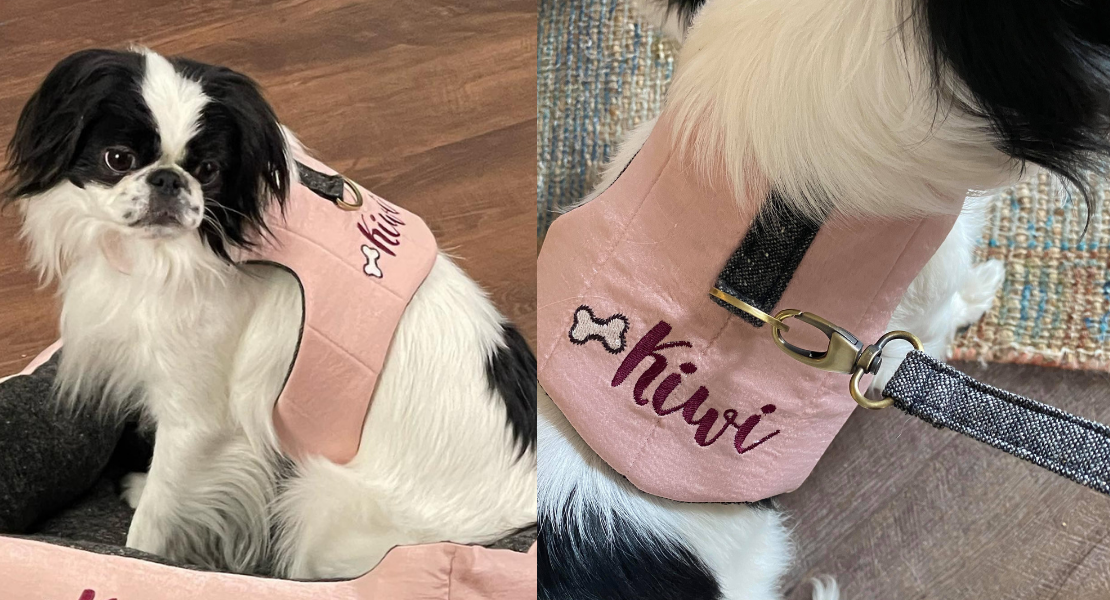
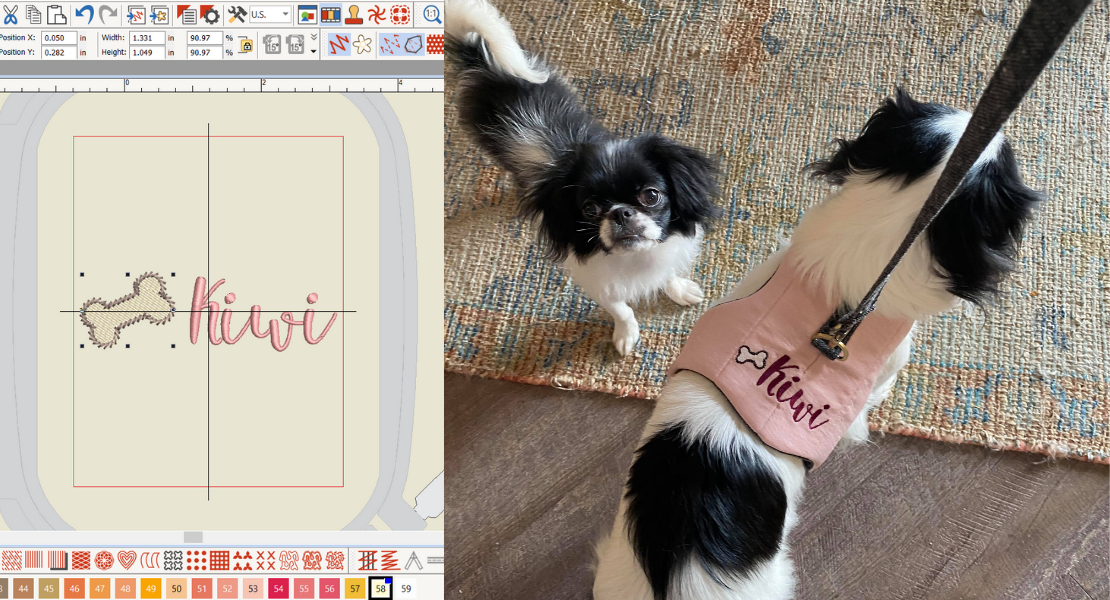
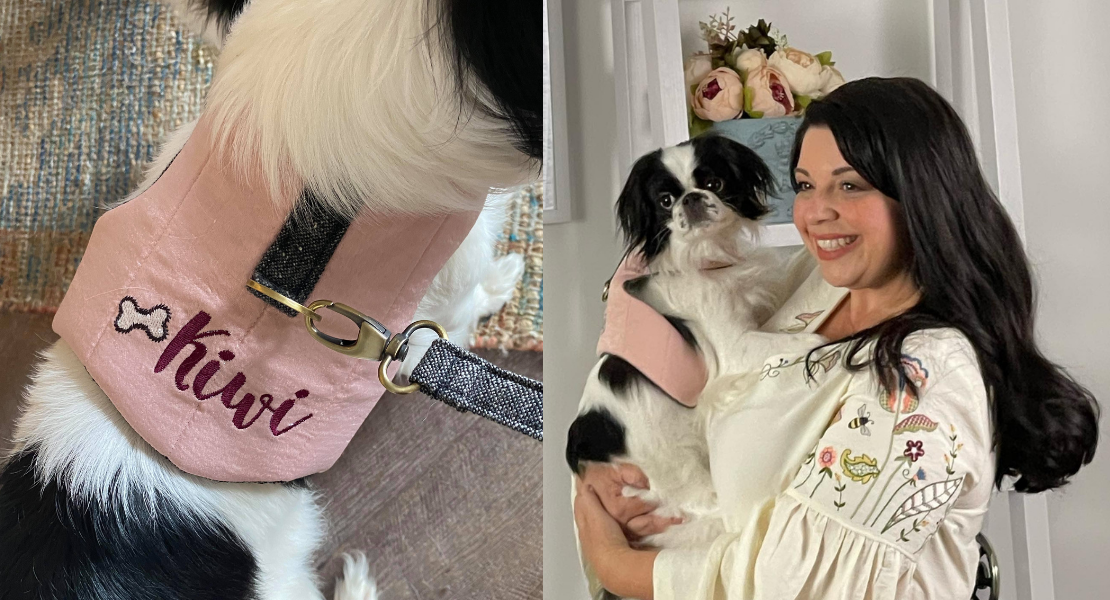
Hello my Sewing Bees, my name is Sue O’Very owner of Sookie Sews and BERNINA Expert. You can find me on Instagram at @SookieSews and my website SookieSews.com where I have hundreds of machine sewing patterns, embroidery designs, and In-the-Hoop projects. Today I am teaching you how to sew a dog leash. This is part 3 of the Dog Harness blog series. The first was how to digitize the dog bone using BERNINA Embroidery Software V9 and the second was how to embroider and sew the dog harness.
Materials to Sew a Dog Leash
Measurements are Width by Height
Fabric
- (2) Leash 3″ x 42″ (or width of fabric)
- Mettler METROSENE and matching bobbin for sewing
- 1″ Swivel hook
Supplies to Sew a Dog Leash
- Sewing and Embroidery machine – I used my BERNINA 790 PLUS
- Reverse Pattern Foot #1D with Dual Feed engaged for sewing
- Fabric shears
- Rotary cutter, mat, and ruler
- Schmetz Universal needle 80/12
- Iron/Pressing surface
- Straight Pins
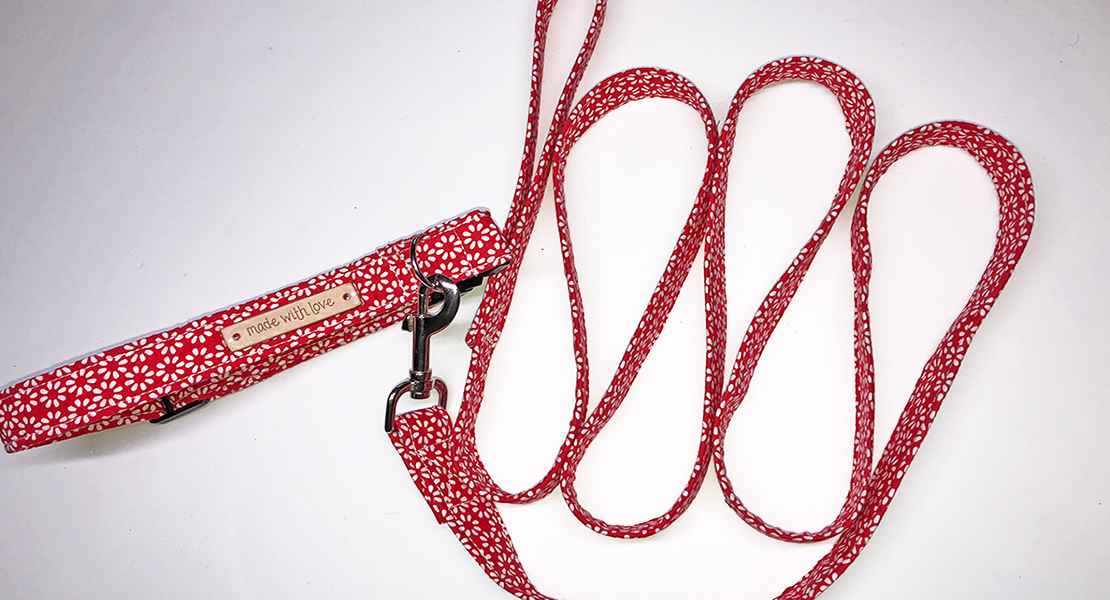
Steps to Sew a Dog Leash
- Set sewing machine up with a 1D foot and Dual Feed engaged for straight stitch. Use a Universal needle and matching thread in the top and bobbin.
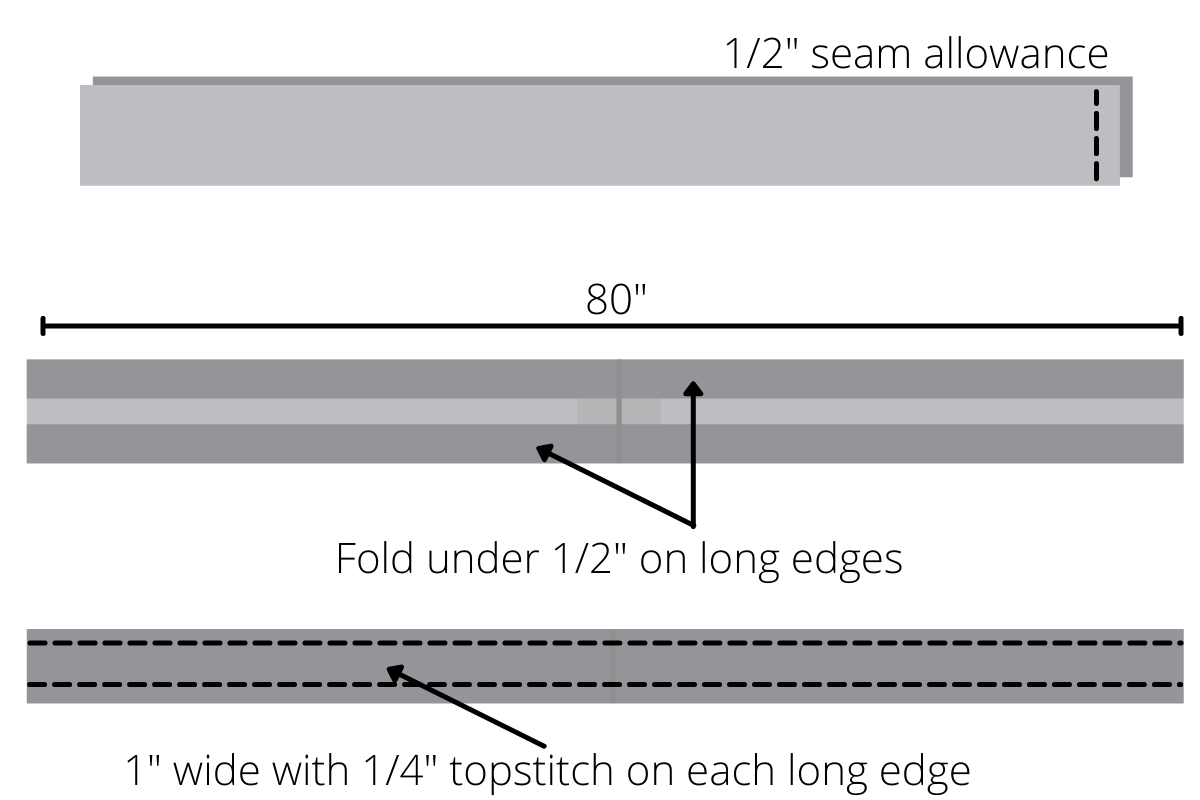
- With a 1/2″ seam allowance sew the two shorts ends of the leash together to form one long piece, press open. Cut the total length to 80″.
- Fold under 1/2″ on each long edge towards the wrong side and press. Align the two long folded edges and press encasing the raw edges. Leash should measure 1″ wide. Press and topstitch along long edges at 1/4″.
 Feed one end through the swivel clip. Fold under the raw edge 1/2″ and sew an “X” box secure stitch through all layers.
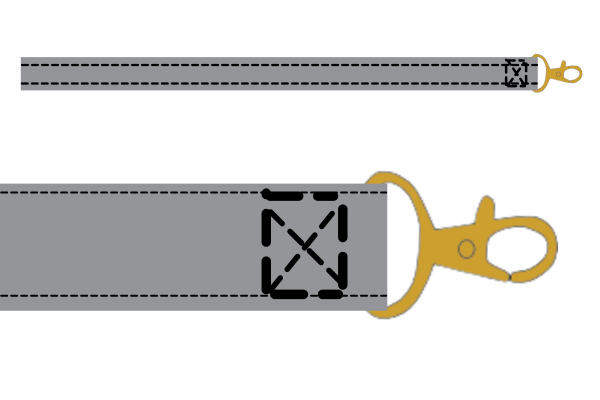
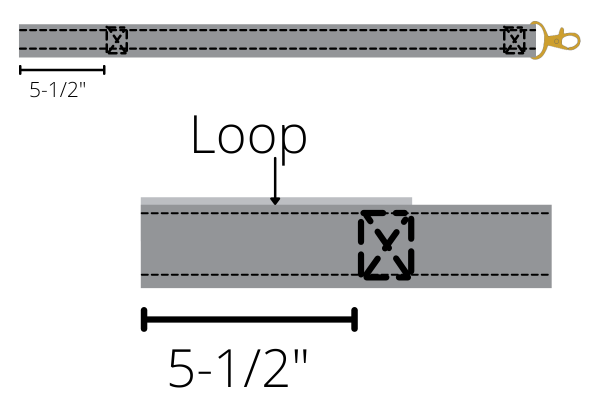
- To create the loop measure 6″ from the end, fold under the raw edge 1/2″ and sew an “X” box secure stitch through all layers. The total loop opening will be 5-1/2″.
- Attach swivel clip to D-Ring on the harness.


I hope you enjoyed this three-part series of making Kiwi’s Dog Harness. If you do make a dog harness and leash, please snap a shot and be sure to tag me @SookieSews and @BERNINAUSA !!
How to Create a Dog Harness
- Part 1: Digitizing the Dog Bone
- Part 2: Embroidery and Sewing
- Part 3: Sewing a Dog Leash
Used Products

What you might also like


2 comments on “How to Create a Dog Harness, Part 3: Sewing a Dog Leash”
-
-
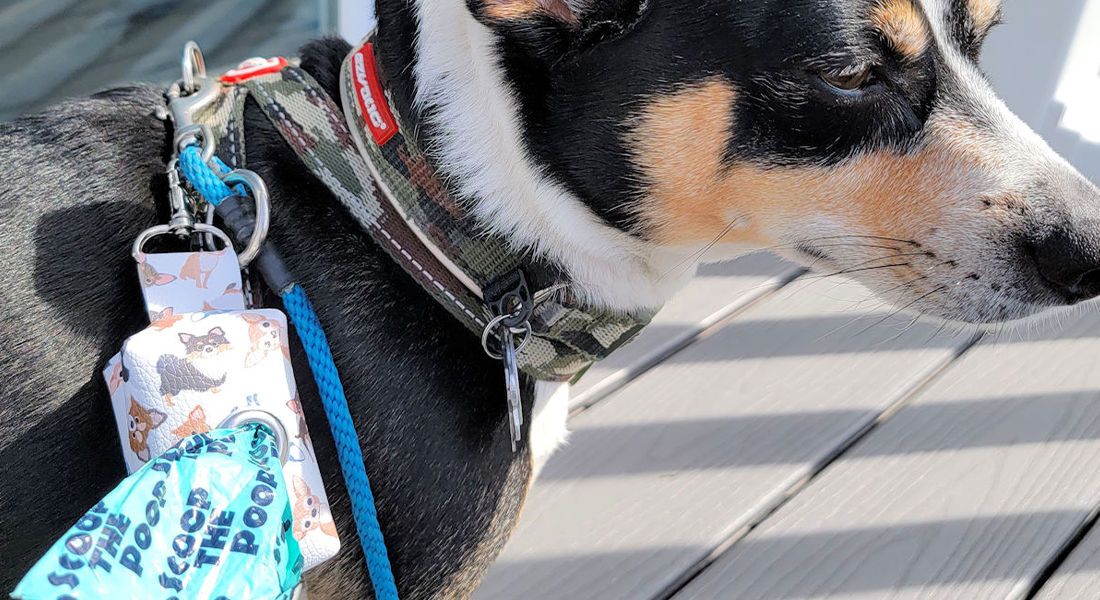
Great pattern. I also added a D ring near the human side handle so I can attach a small zip case for waste bags.
Leave a Reply
You must be logged in to post a comment.

Where can I find the first two parts for the dog harness please?