Dog Cooling Bandana Sewing Tutorial
Dog Days of Summer
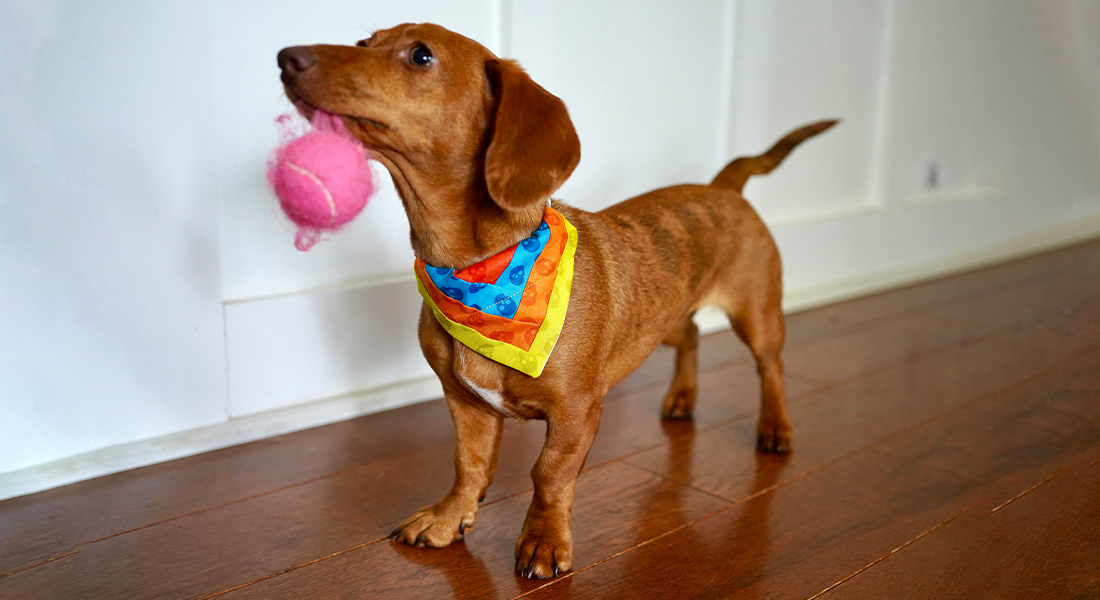
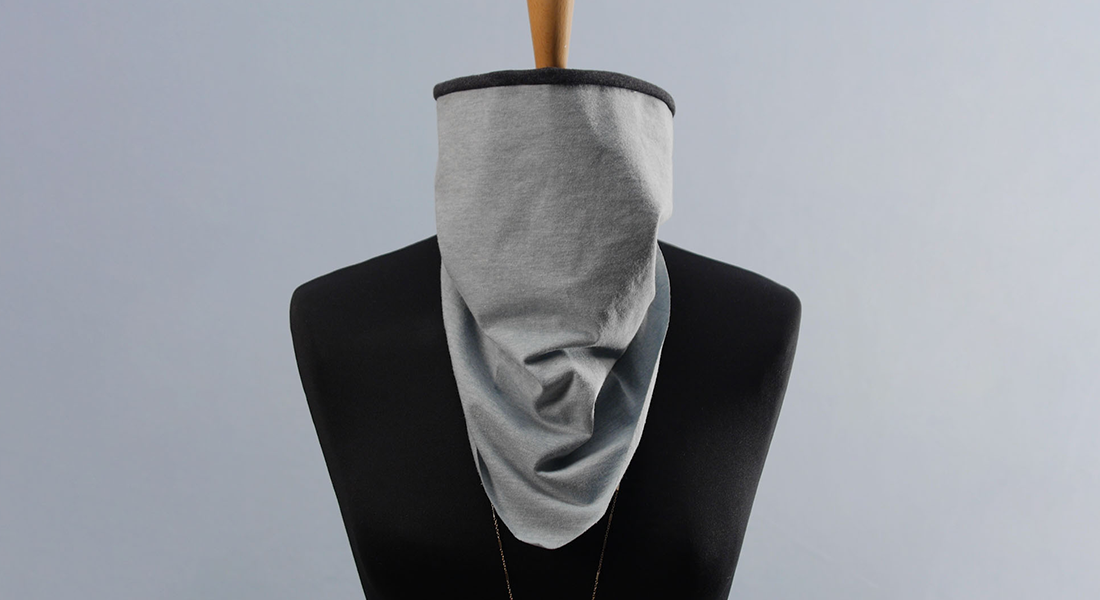
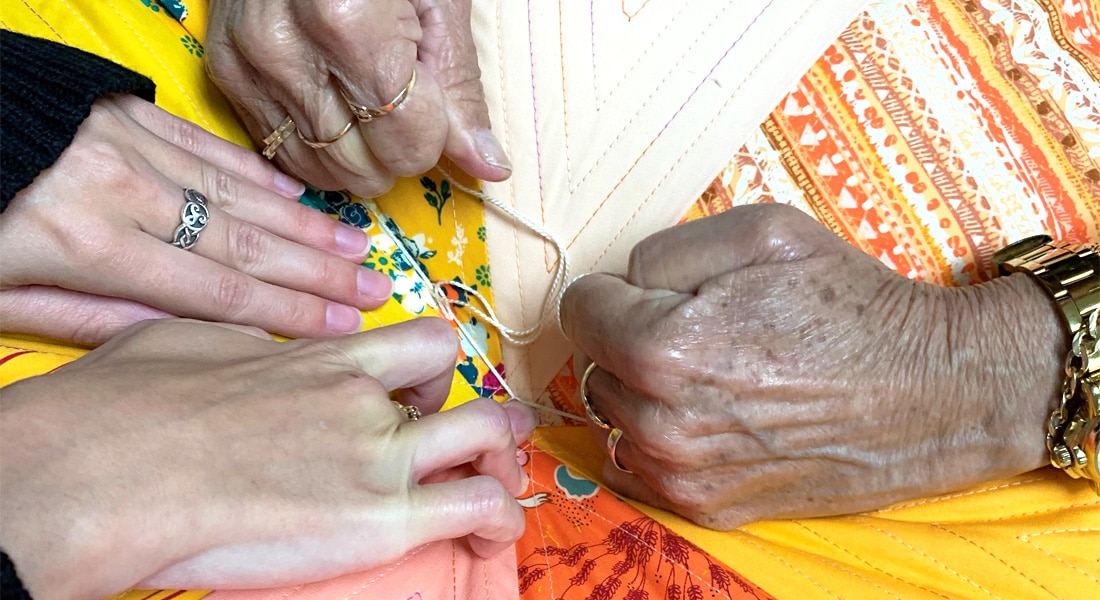
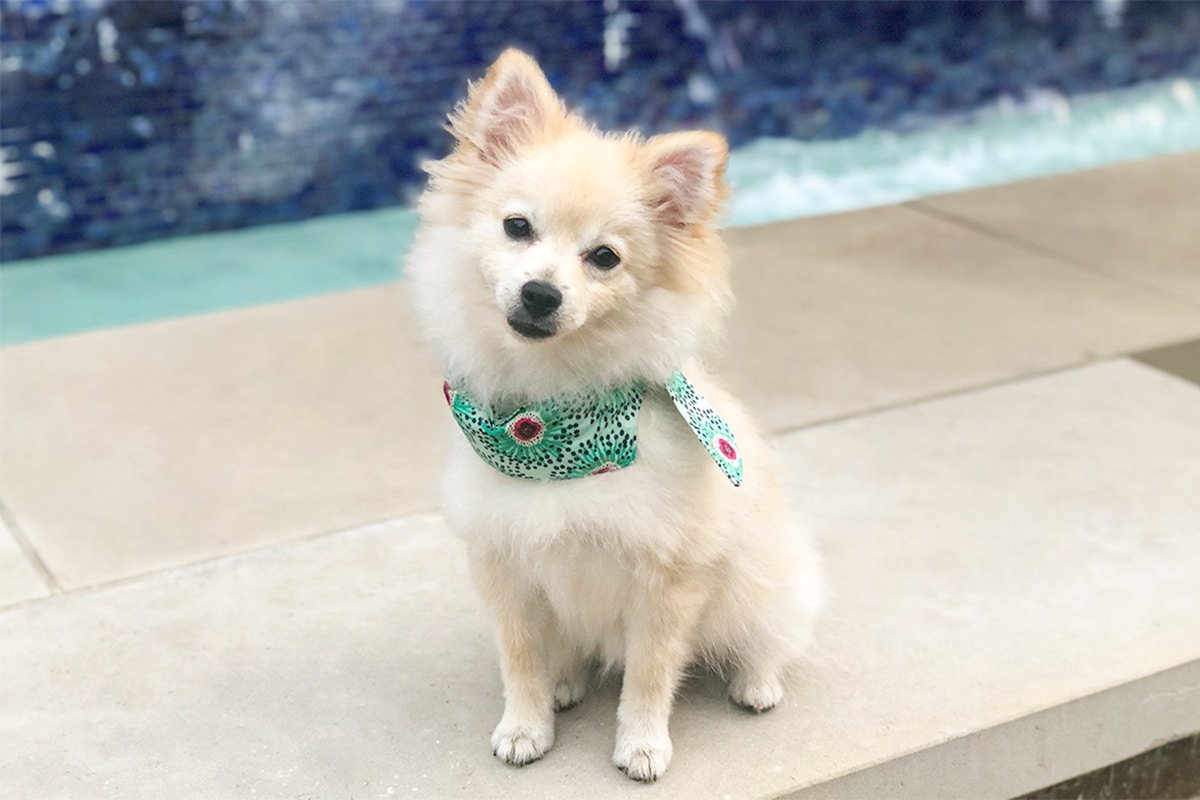
Greetings from Austin, Texas! The weather has finished pre-heating around here and we are officially in the swing of triple-digit days. My sewing assistant, Buttons, still is a puppy and desperately needs multiple walks a day to get out some of her adolescent energy. To keep her safe in the intense heat, I designed a quick and easy dog cooling bandana that she can wear on our sunny outings. The bandana is filled with polyacrylamide crystals (water storing crystals), which will help keep your dog cool after being soaked in cold water. Polyacrylamide is non-toxic, but you should still supervise your pet when they are wearing their bandana to avoid ingestion. You can never be too careful!
Materials to Sew a Dog Cooling Bandana
- 1/4 Yard Main Collar Fabric
- 1/4 Yard Lining Fabric (You won’t see this fabric at all)
- 1 Button to match the size of your collar
- Polyacrylamide Crystals (Water Storing Crystals)
Sizing Instructions
My Buttons is a tiny dog, weighing just 8 lbs, but I want you to be able to make these bandanas for dogs of all shapes and sizes! To do this you will need to take a tape measure and measure the circumference of your dog’s neck. Wrap the tape measure around the area where the collar usually sits and notate the measurement. Button’s circumference is 9 inches. Take the circumference and add 1-2 inches to allow for the bandana to sit loosely around their neck. For smaller dogs, you only need to add about one inch, for larger dogs you probably want to add an extra two. Take that measurement and add 12 inches for the “ties.” So for Buttons, I took 9+1+12 and that gave me my length of 22 inches. The width will be the same for all dogs at 6 inches.

Steps to Make a Cooling Dog Bandana
Cutting Instructions
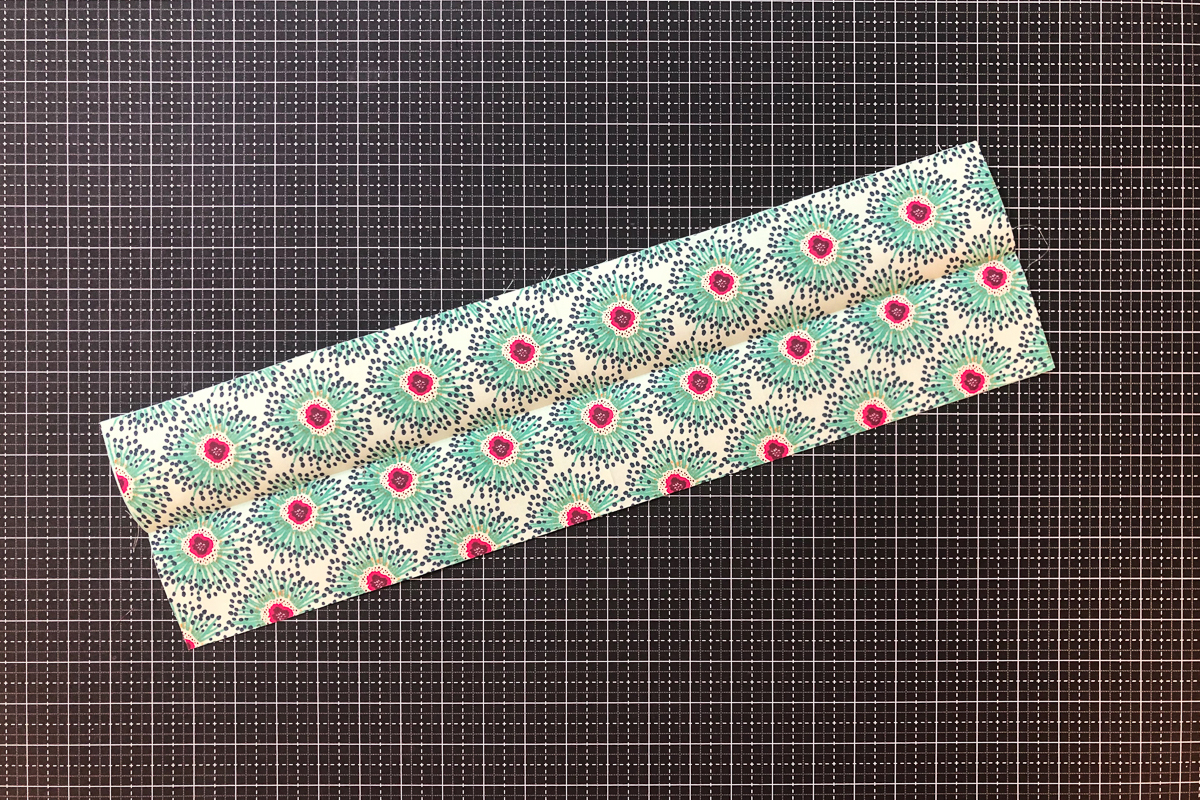
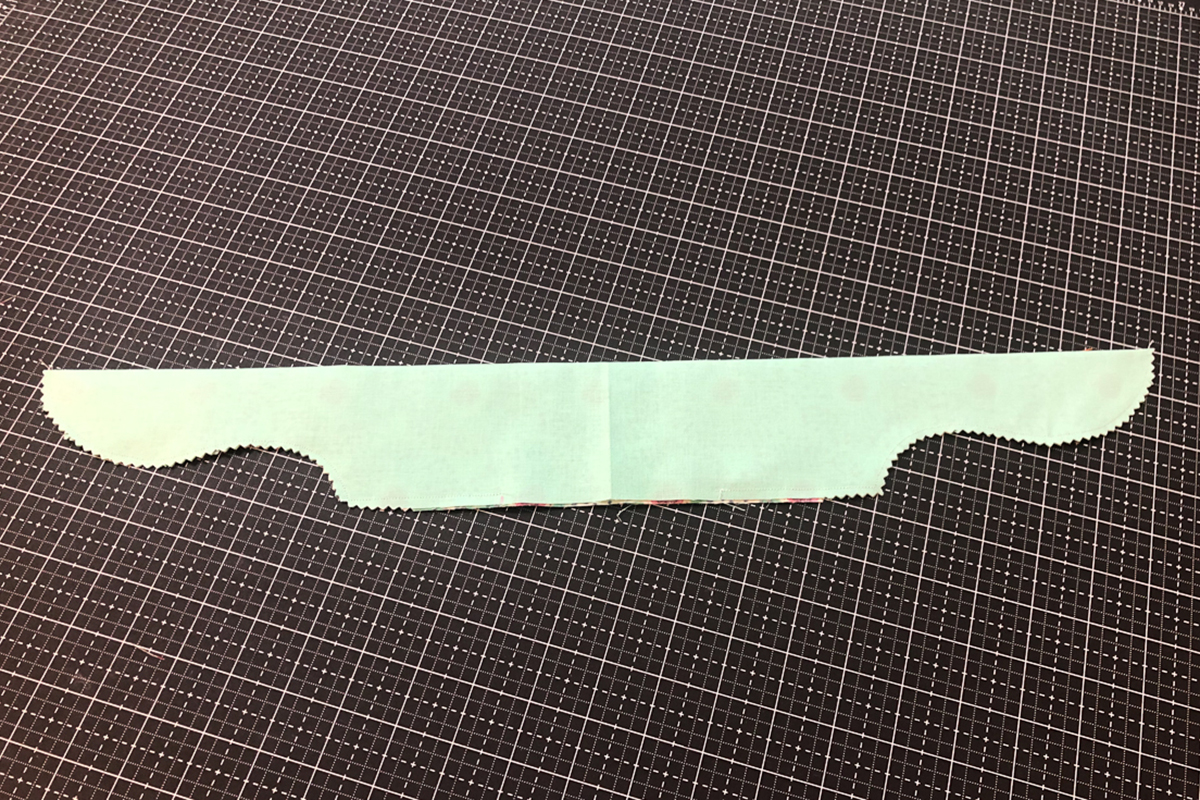
Cut (1) rectangle from your main fabric using the length you determined above and a width of 6 inches.
Cut (1) rectangle from your lining fabric using the same dimensions you used for the main fabric.
Cutting the Tie Curves
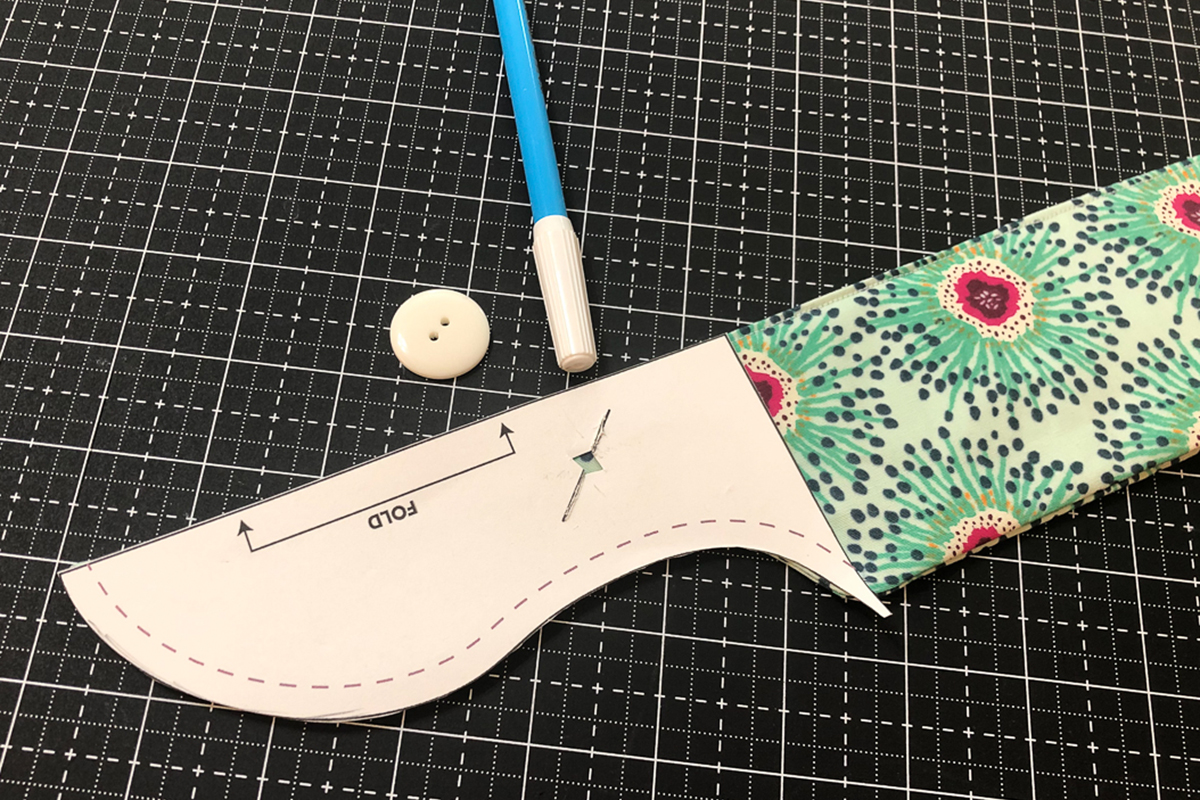
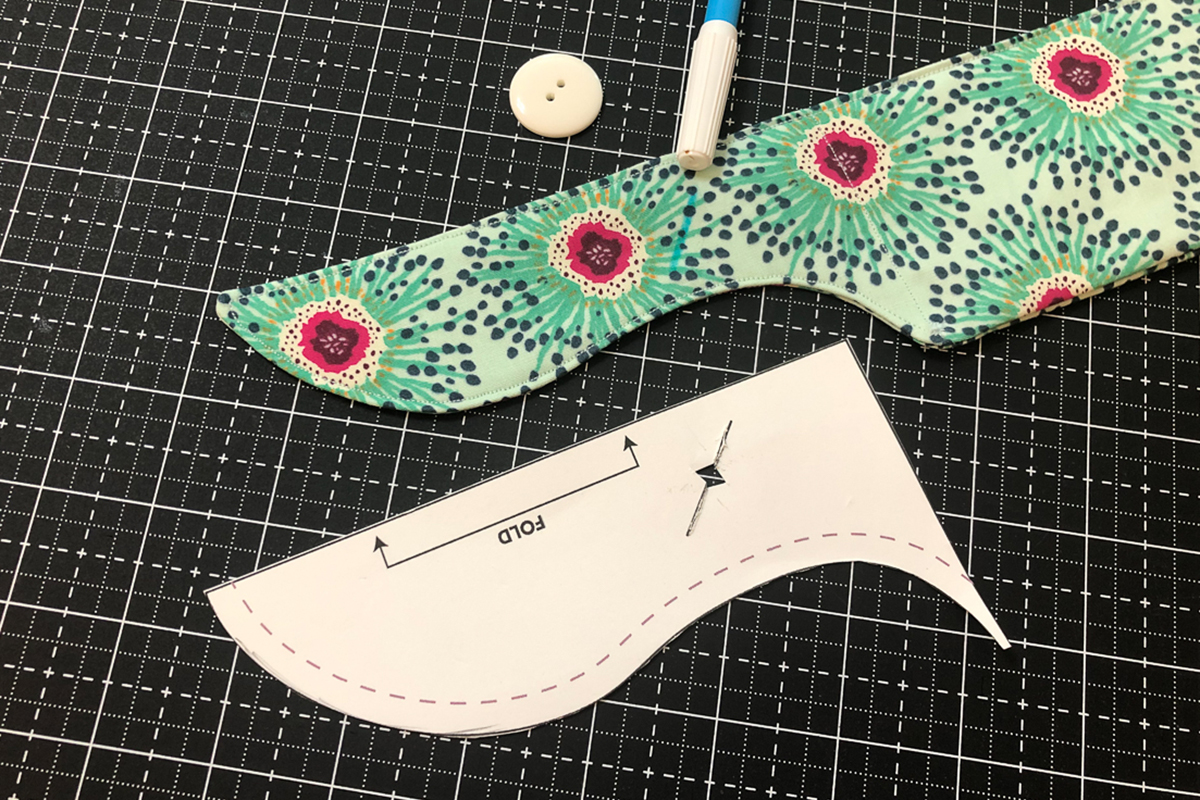
The pattern for the scalloped tie curve can be found here.

Place your main fabric on your lining fabric with the right side of the main fabric facing you. Fold in half lengthwise so the main fabric is right sides together (you won’t see the lining fabric). Press the long crease so you have a nice, crisp fold line.
Place the tie curve pattern on one side with the point towards the outside and use a fabric-safe marking tool to trace the line edge.
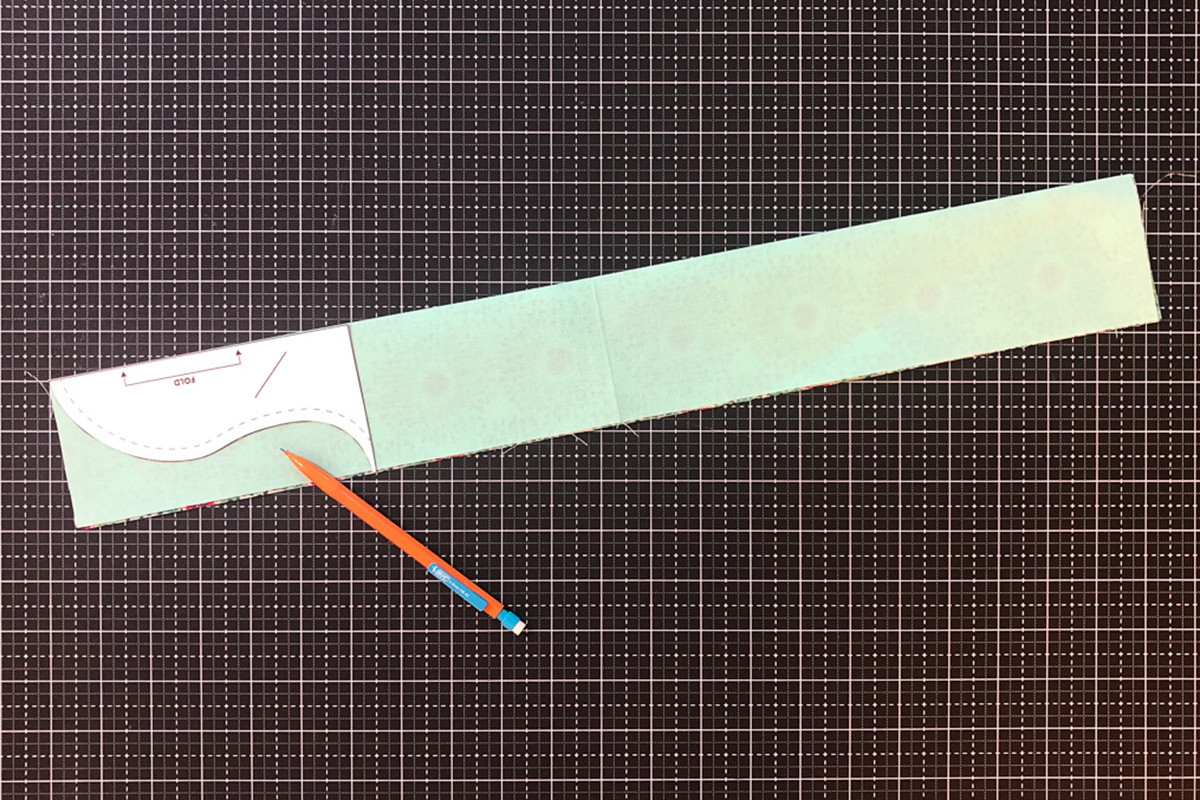
Flip the tie curve pattern over and repeat for the other side.

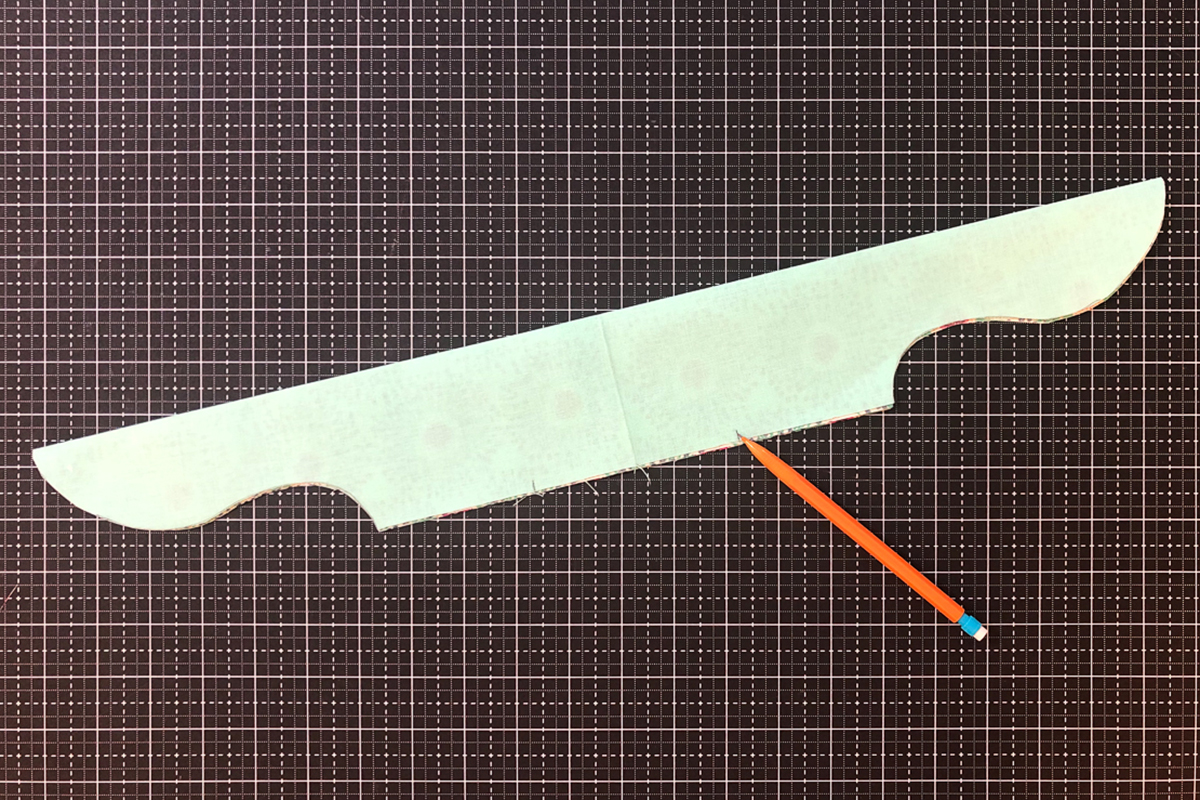
Use scissors to trim along the lines you drew, through both sides of the folded fabric. Use a fabric-safe marking tool and make a tick mark approximately 2 inches left and right from the center. This four-inch section will be open so you can add your water-storing crystals after you sew. It is helpful to mark the opening so you know where to start and stop sewing in the next steps.
Sewing the Bandana
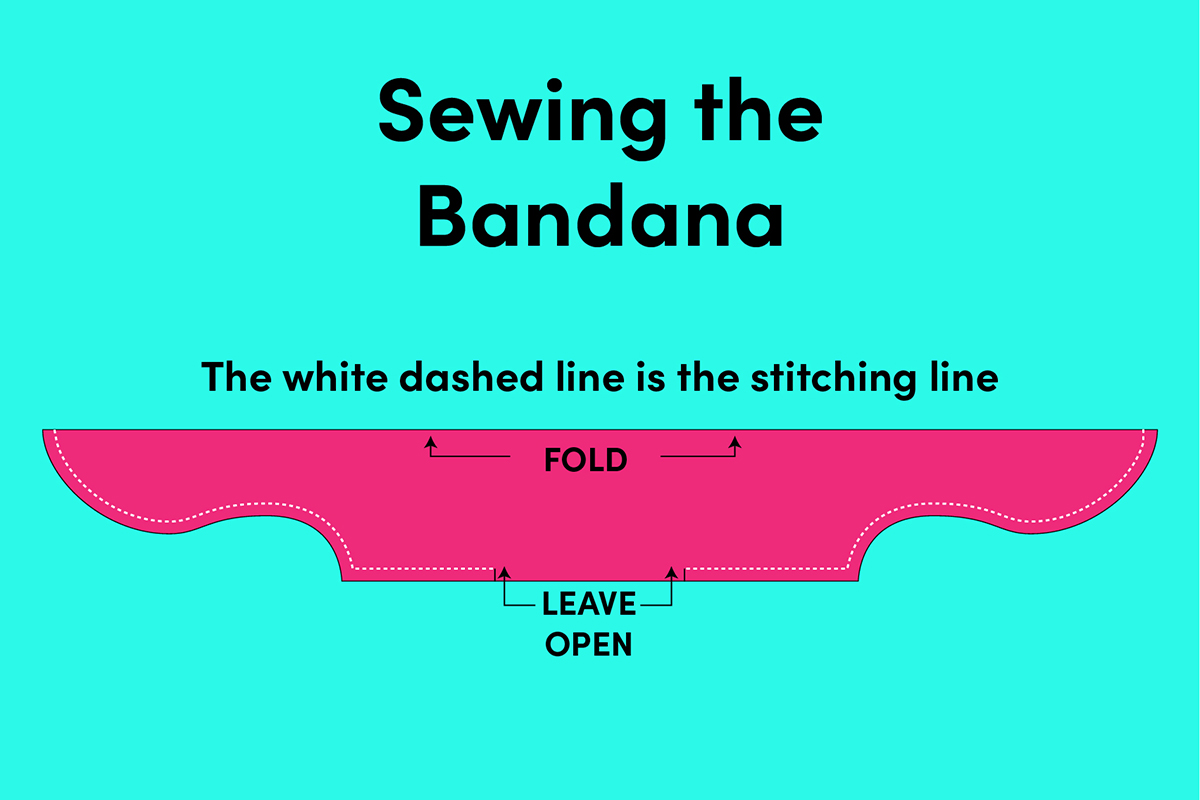
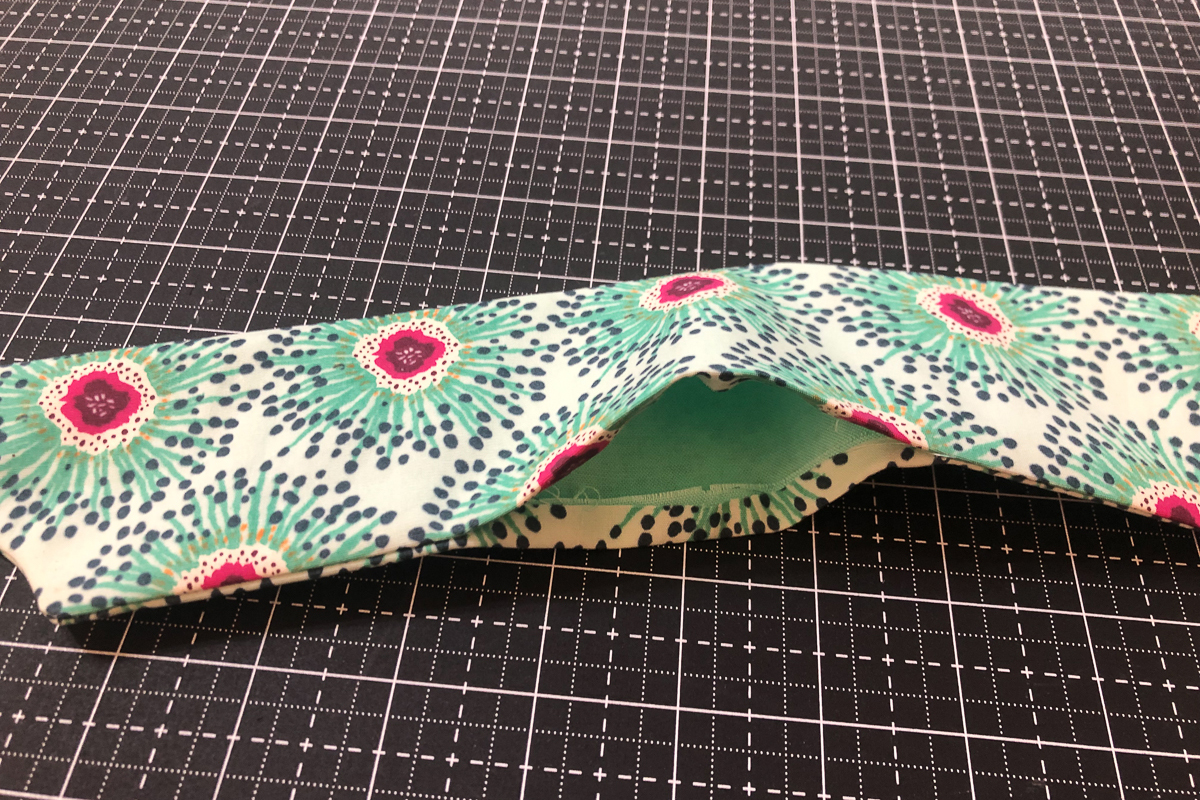
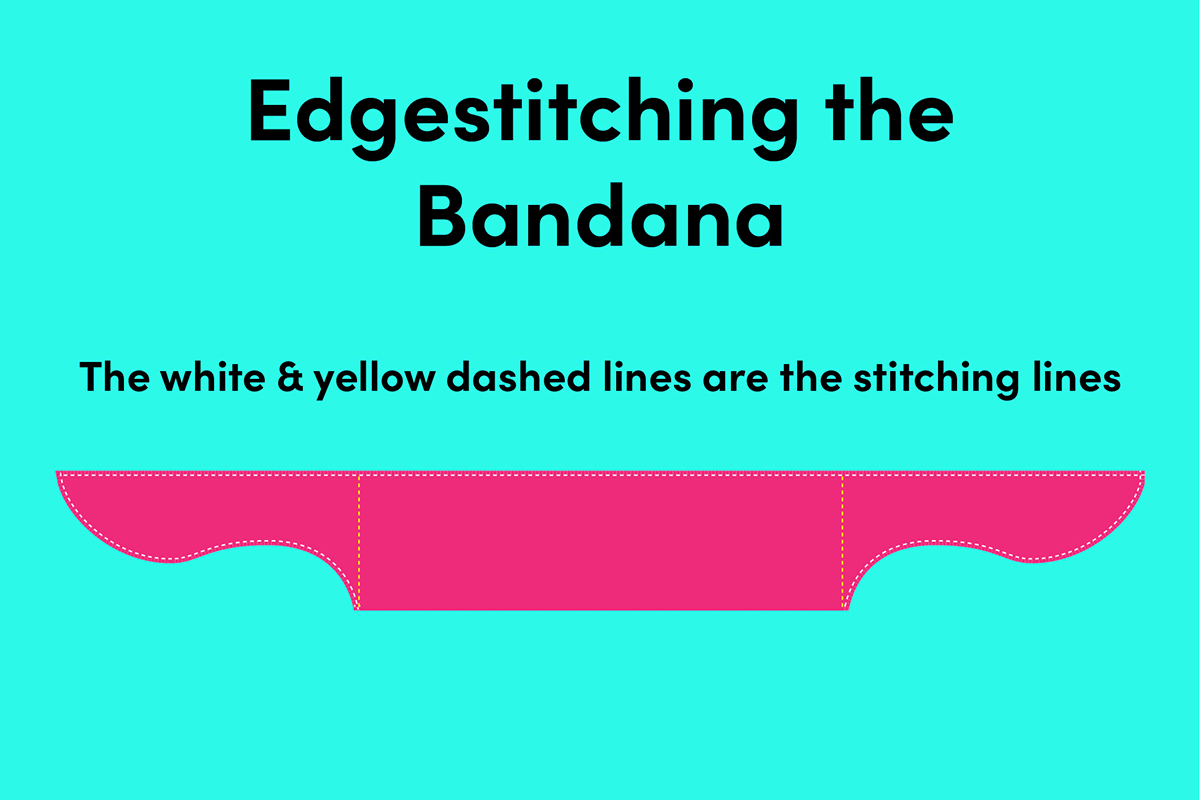
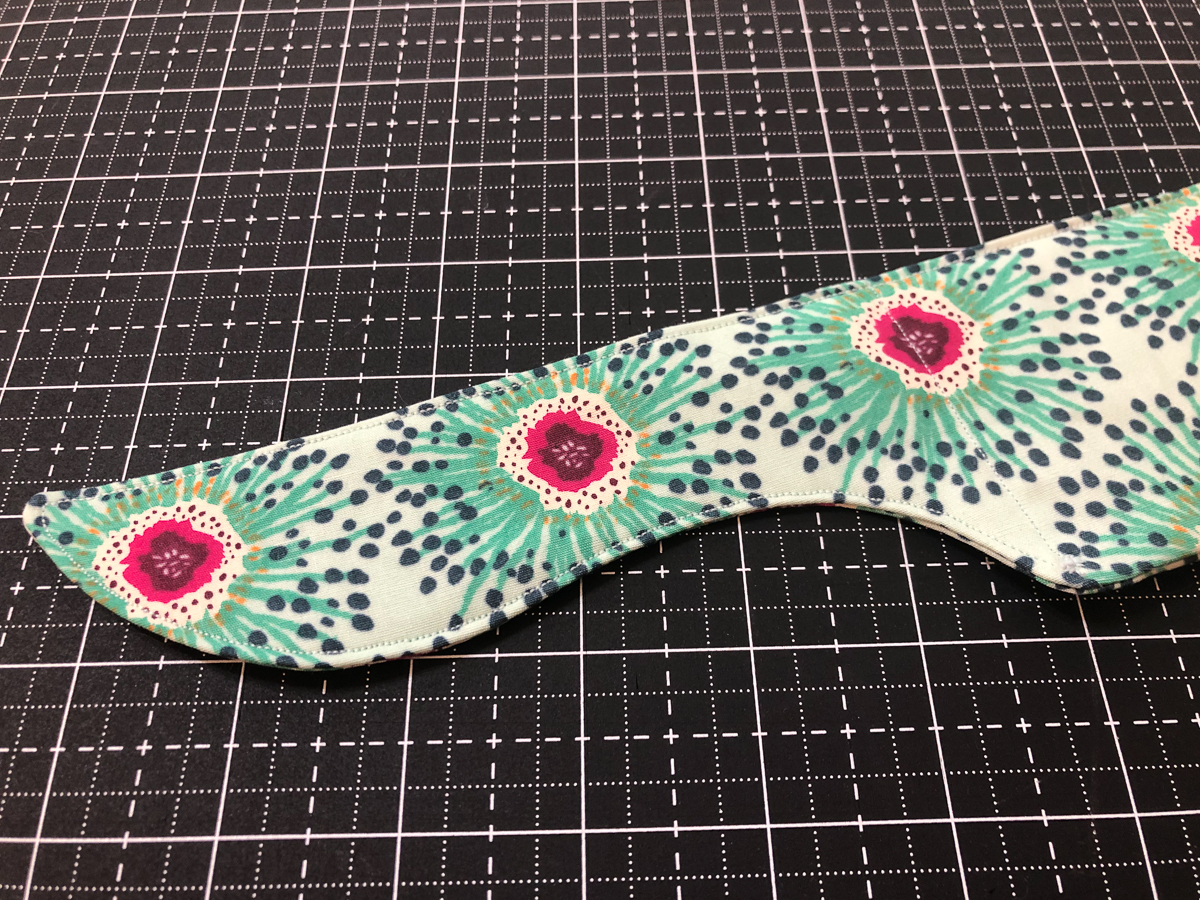
Using the #97 patchwork foot and a quarter-inch seam allowance, stitch from one tick mark (back-stitching at the tick-mark) to the upper corner of the bandana. Repeat for the other side. You don’t have to sew along the fold. The illustration below shows your stitch lines as a white dashed line.
Use a pair of pinking shears to clip the curves (or clip the curves with your regular scissors, pinking shears will just speed up the process!). Don’t clip the open part of the bandana between the tick marks.
Turn the bandana right sides out and press the open seam inward a quarter of an inch to make sewing it shut easier after filling with water-storing crystals.
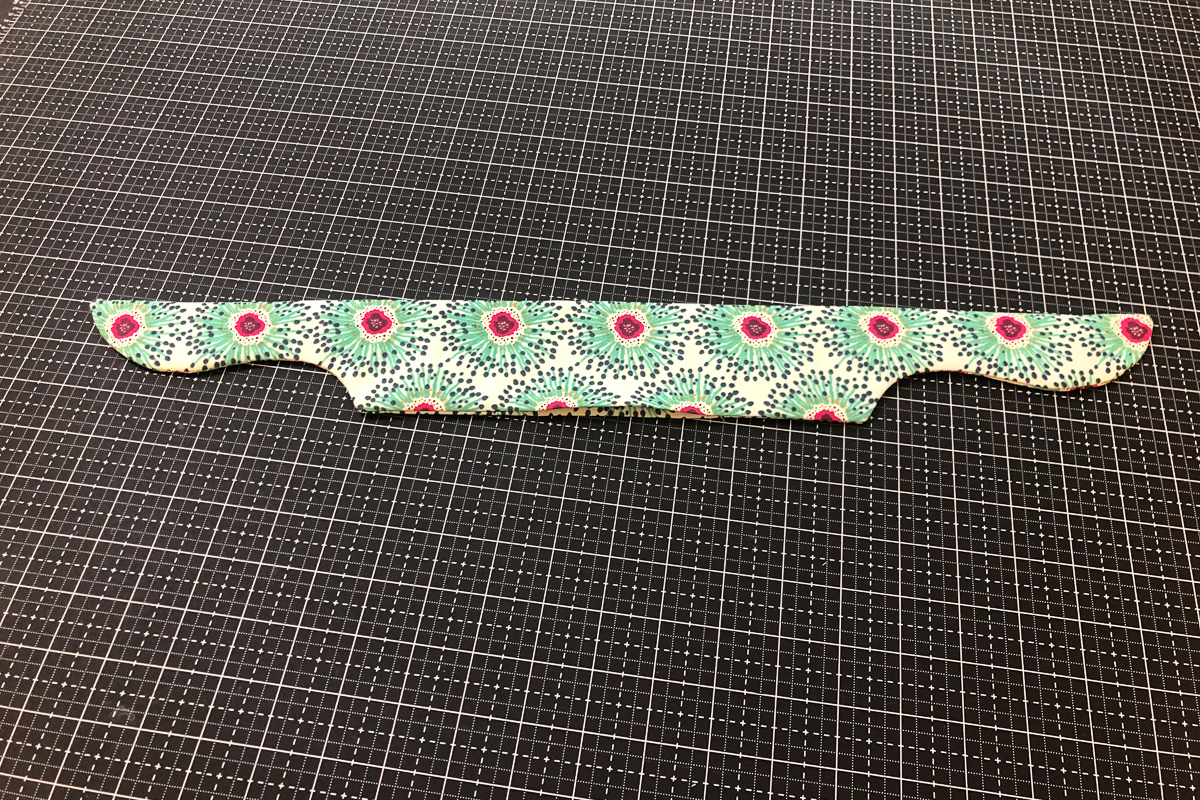
Edgestitching the Bandana
You don’t want the water-storing crystals to get in the way of the ties, so you’ll want to sew a straight line from the top to the bottom of the bandana as seen below marked by the yellow dashed line. Use a small stitch length. Next, using your edgestitch foot #10, edgestitch around the perimeter of the bandana as shown below by the white dashed line. You will edgestitch the bottom section after adding the water-storing crystals.
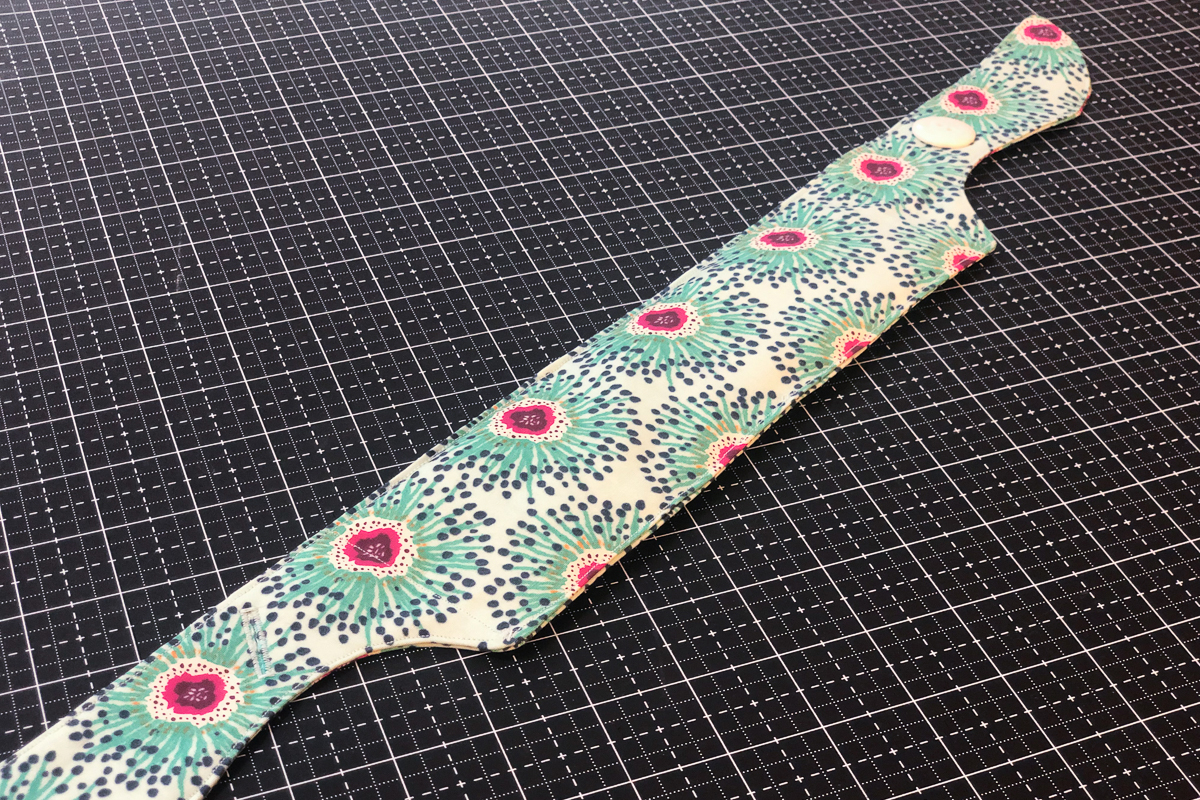
Adding a Button
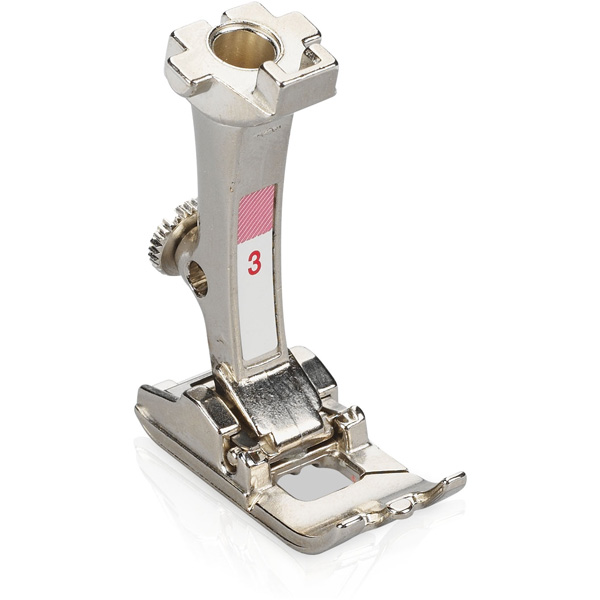
The tie curve pattern template has a line marking where your button should go. Cut a slit in the template and use a fabric-safe marking tool to draw the approximate place you want to sew your buttonhole (I did mine on the left tie). Use your buttonhole foot #3A to sew the perfect buttonhole. BERNINA really makes it easy! Just select the button size and let the foot do the work.
Add your button on the opposite tie using button sew-on foot #18.
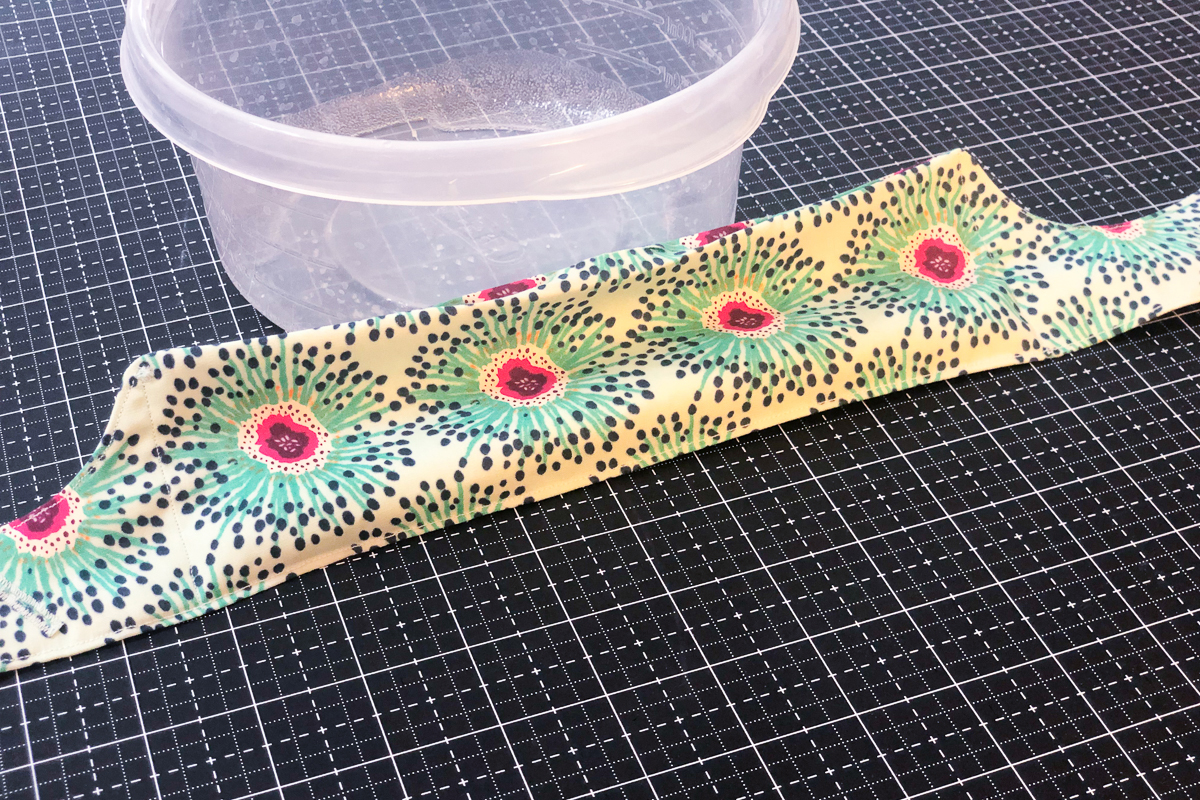
Adding Water Storing Crystals
You will want a tupperware container of some sort to help keep things tidy when adding the water-storing crystals. Using a measuring cup or large spoon, add the crystals to the opening in the bandana.
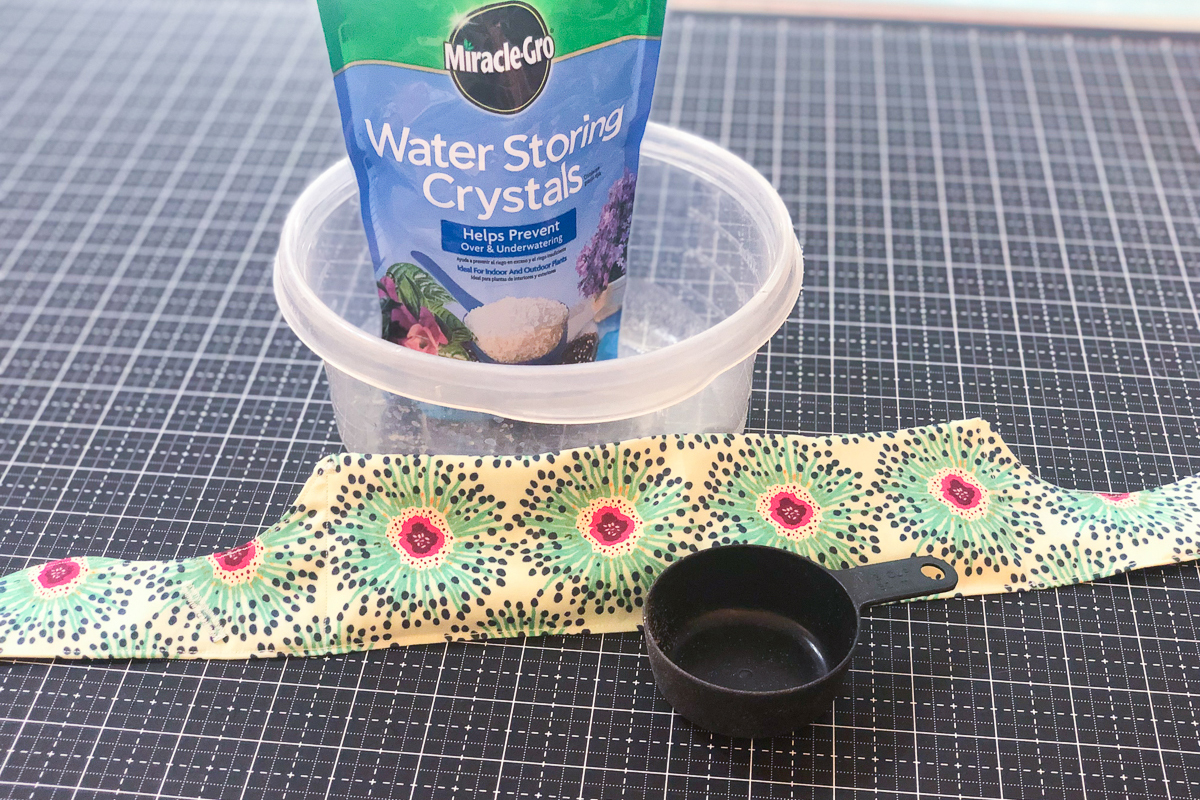

IMPORTANT: You want to fill the bandana between 1/3 to 1/2 full. The crystals absorb water, so they will get much larger once you get them wet. You don’t want the bandana to be so full it bursts. The image below is approximately half full.
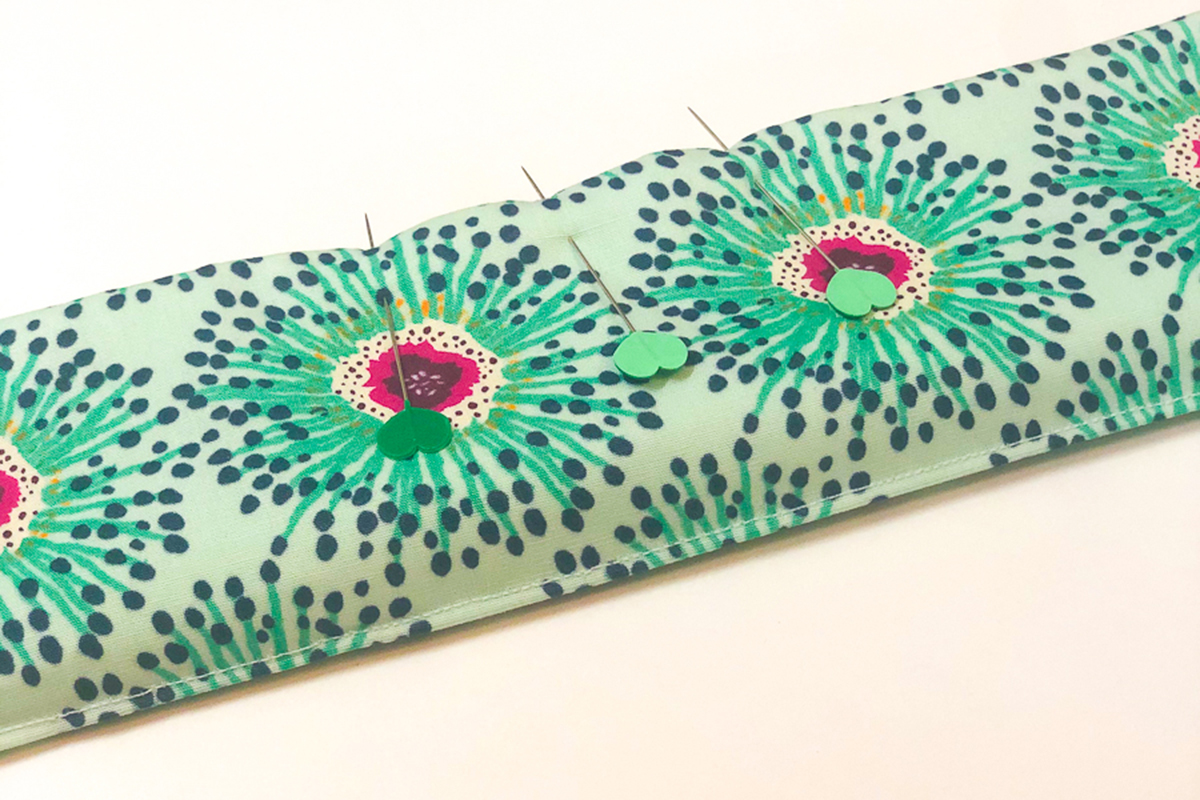
Closing the Bandana
Use pins to pin the open section of the dog cooling bandana shut. Edgestitch along the bottom part of the bandana to encase the water-storing crystals and finish the bandana. You might have to stop halfway through sewing the bottom shut to “shimmy” the crystals from getting in the way of your presser foot.
Using the Bandana
Once your bandana is all sewn up, it is ready for action! Simply run it under a cool faucet until the bandana has soaked up enough water to increase in size. Wrap it around your pup’s neck, button them up and they are ready to stay cool in style! You can even use the same instructions to make one for yourself. If you make any bandanas, share with BERNINA and me by tagging @berninausa and @corinne.sovey on Instagram. I would absolutely love to see your pup wearing their cooling gear, even better if you have one that matches! Stay cool my friends.