Scrub Cap Tutorial
I was sitting at my computer scrolling through social media and ignoring the constant breaking news alerts on my phone, feeling helpless in the fight against COVID-19 when I received a message from a friend needing a favor. Ron, who I used to work with at BERNINA of America, needed some protective wear made for his doctor friends in the Chicagoland western suburban hospitals. I didn’t hesitate for one minute. Although I am helpless at production work, I can teach people how to sew, and Ron’s suggested skull scrub cap pattern was easy to explain.
After trying out a few prototypes, I asked our social media audience to “Make one, make two or make a slew…” for which they did! Our original broadcast was on our Twitch.tv live streaming platform. After the live video was posted to our YouTube Channel, tons of viewers tuned in from all over the world. I want to warn you, if you are looking for a quality production, DON’T WATCH THE VIDEO ? However, if you have a fondness for Wayne and Garth’s style basement broadcast, by all means watch and enjoy.
Supplies:
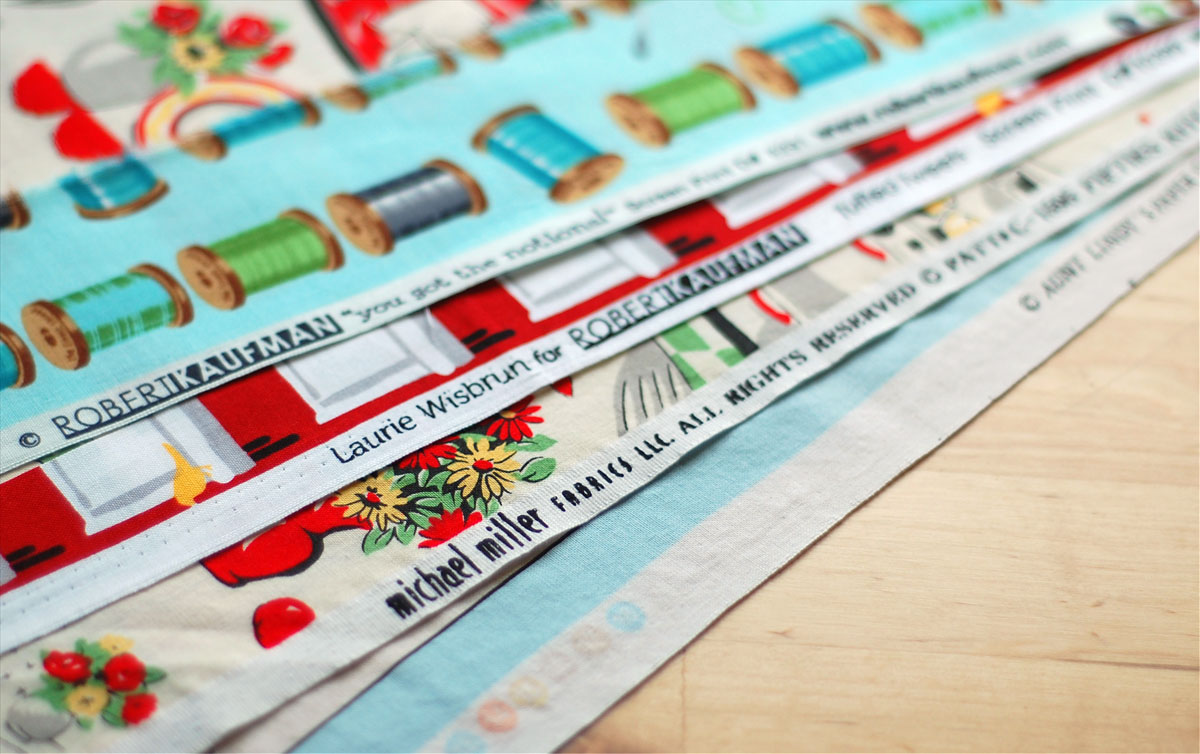
- 1/2 Yard each of outer and inner 100% cotton fabric. We used Benartex All Systems Glow and Gridwork for our picture samples.
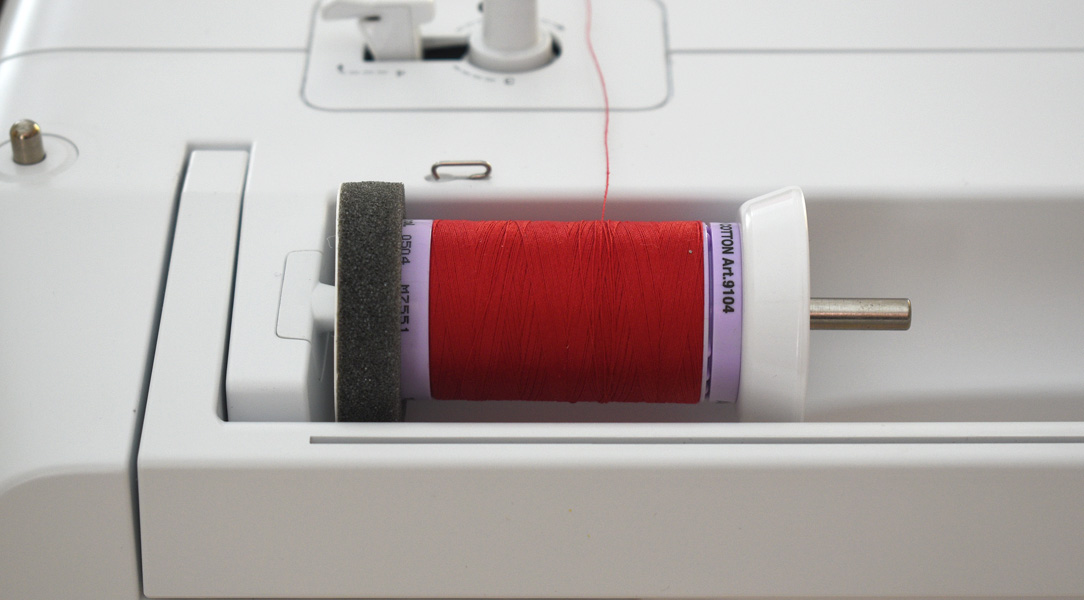
- Thread: We used 100% Cotton Aurifil
- Sharp Scissors for cutting out the pattern
- Straight pins: we used Magic Pins
- EZ Point and Turner: Sue O’very style (THE BEST)
- Printer Paper and Printer
- Pattern: Use the Pattern and instructions for the Tie-back option DOWNLOAD Printer friendly adjustment: DOWNLOAD
Prepare the Pattern
The tie-back scrub cap pattern and instructions, designed by Katy Nicholson, is found on the lifebox.org website. The pattern is free, but please consider donating to lifebox.org to help them send pulse oximeters (critical for monitoring COVID-19 patients!) and safety training materials to support healthcare workers and their patients around the world.
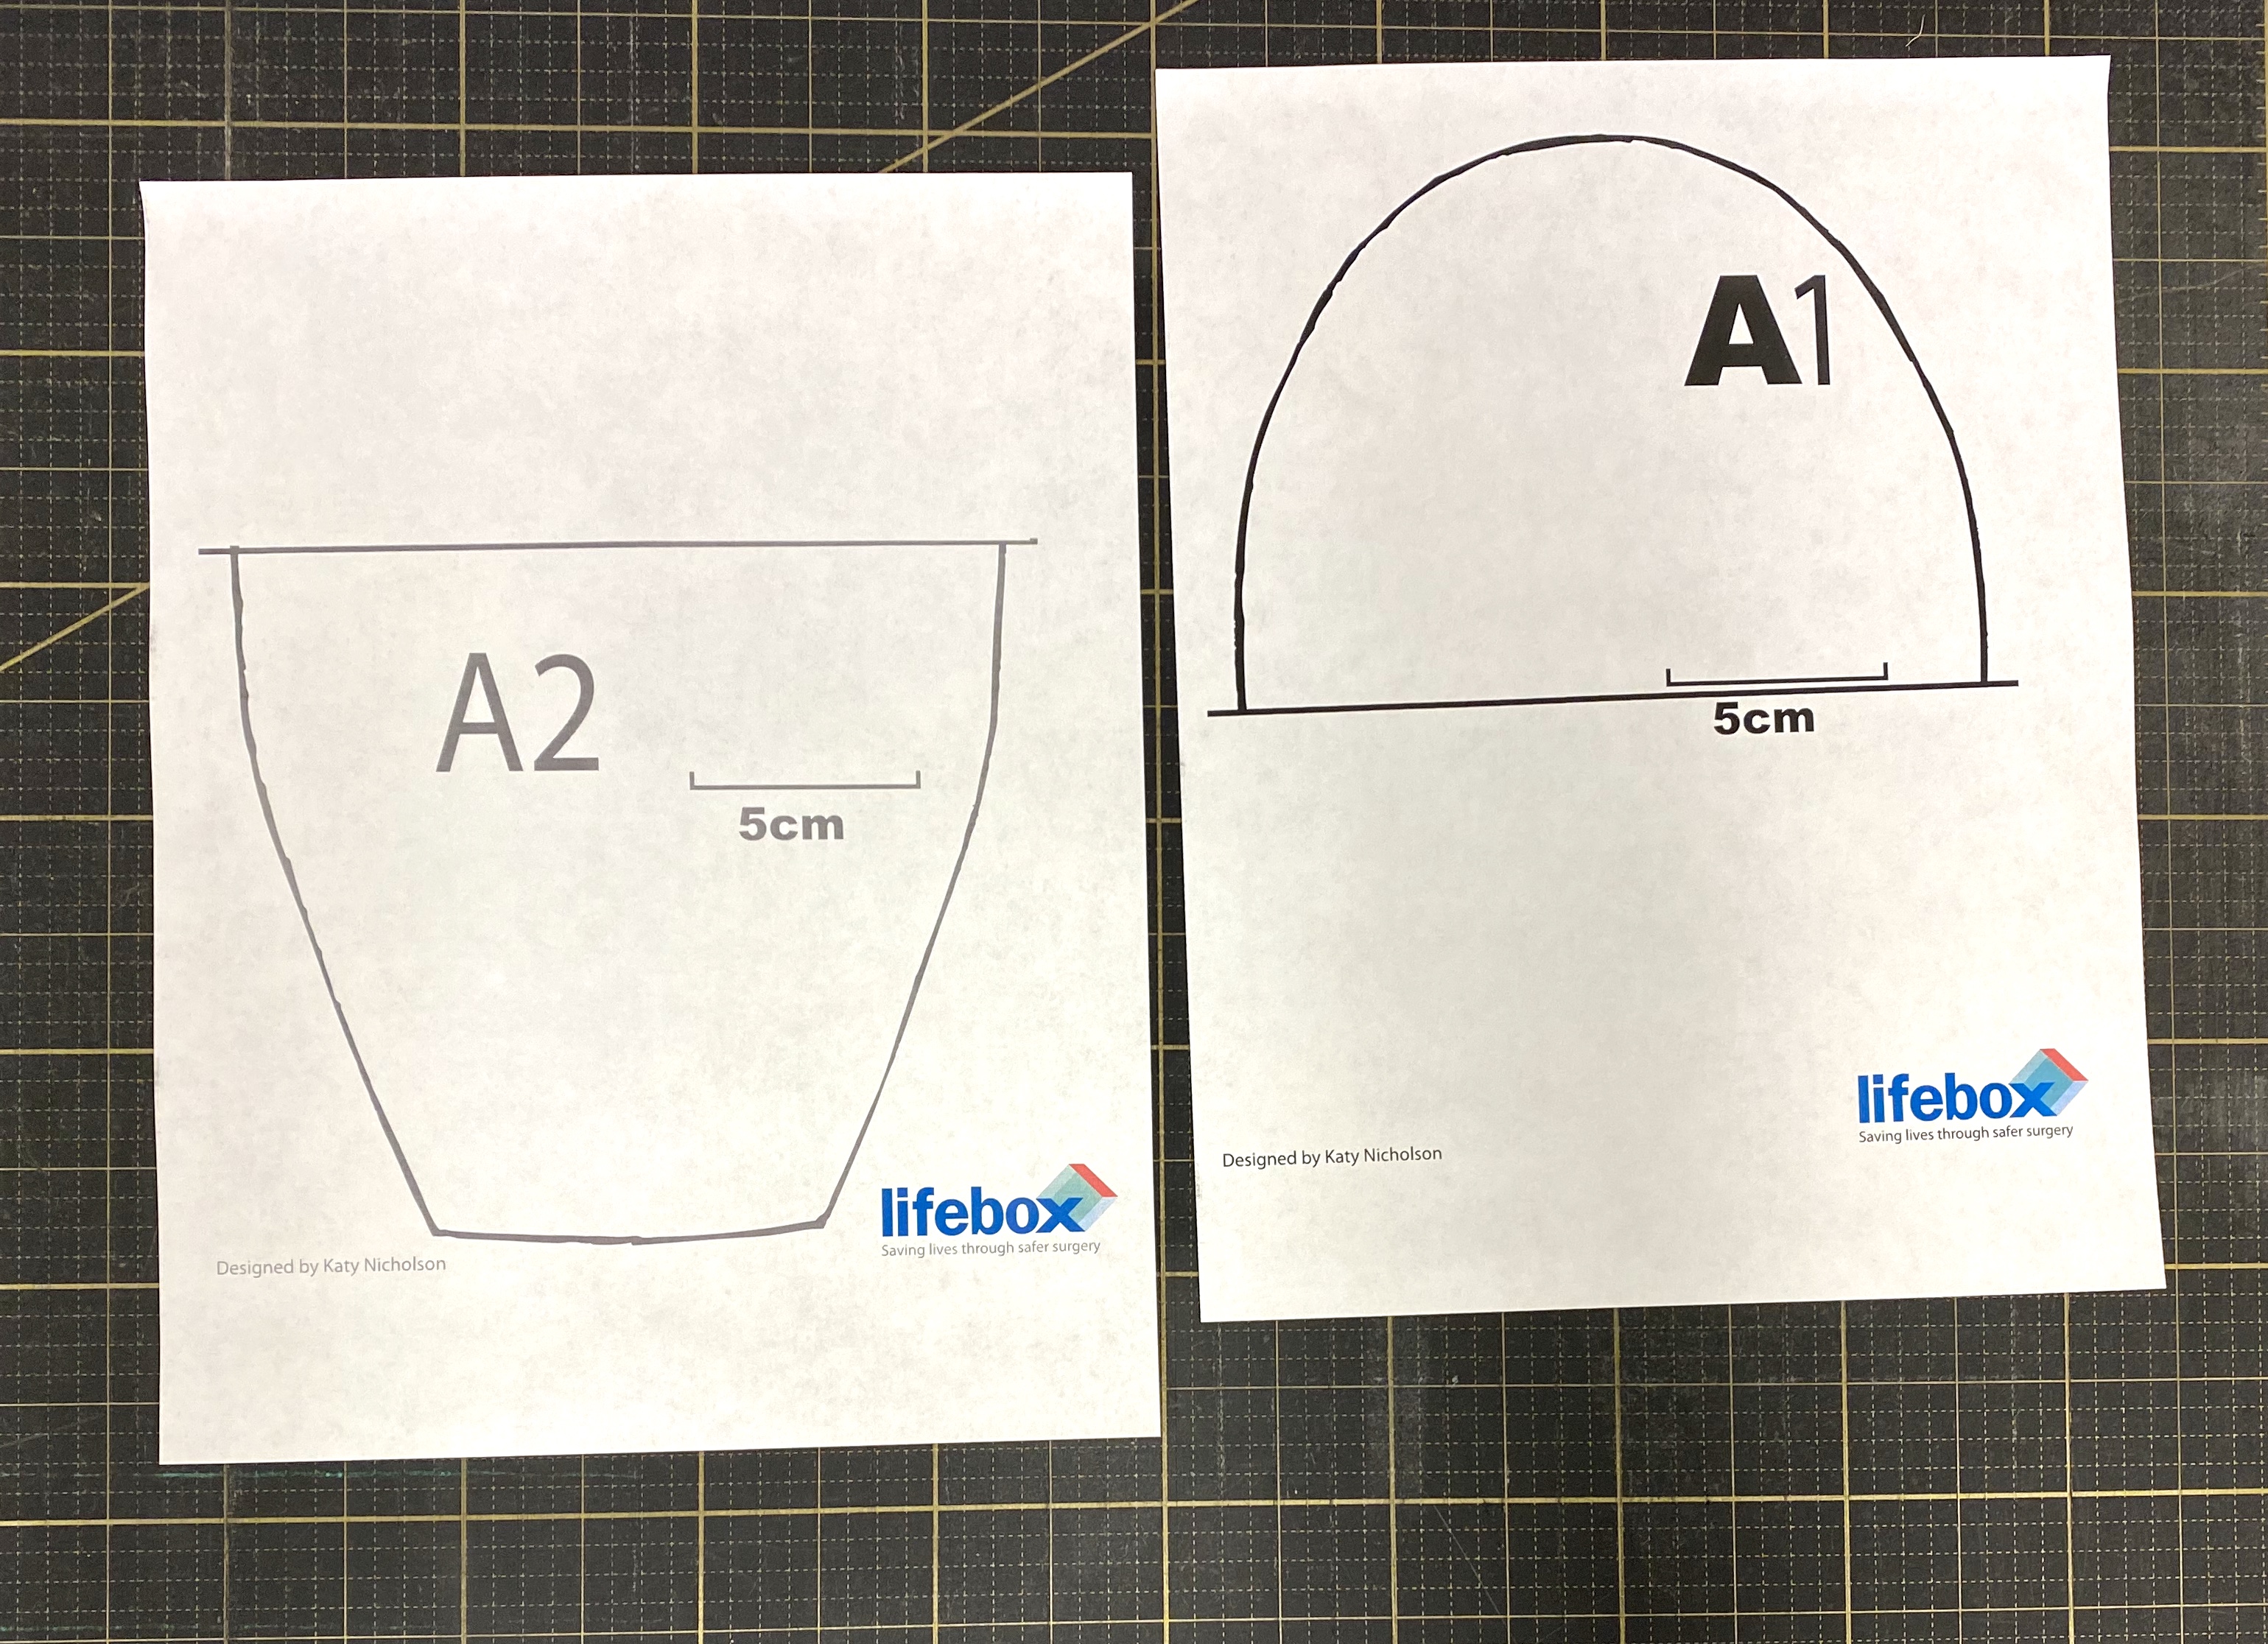
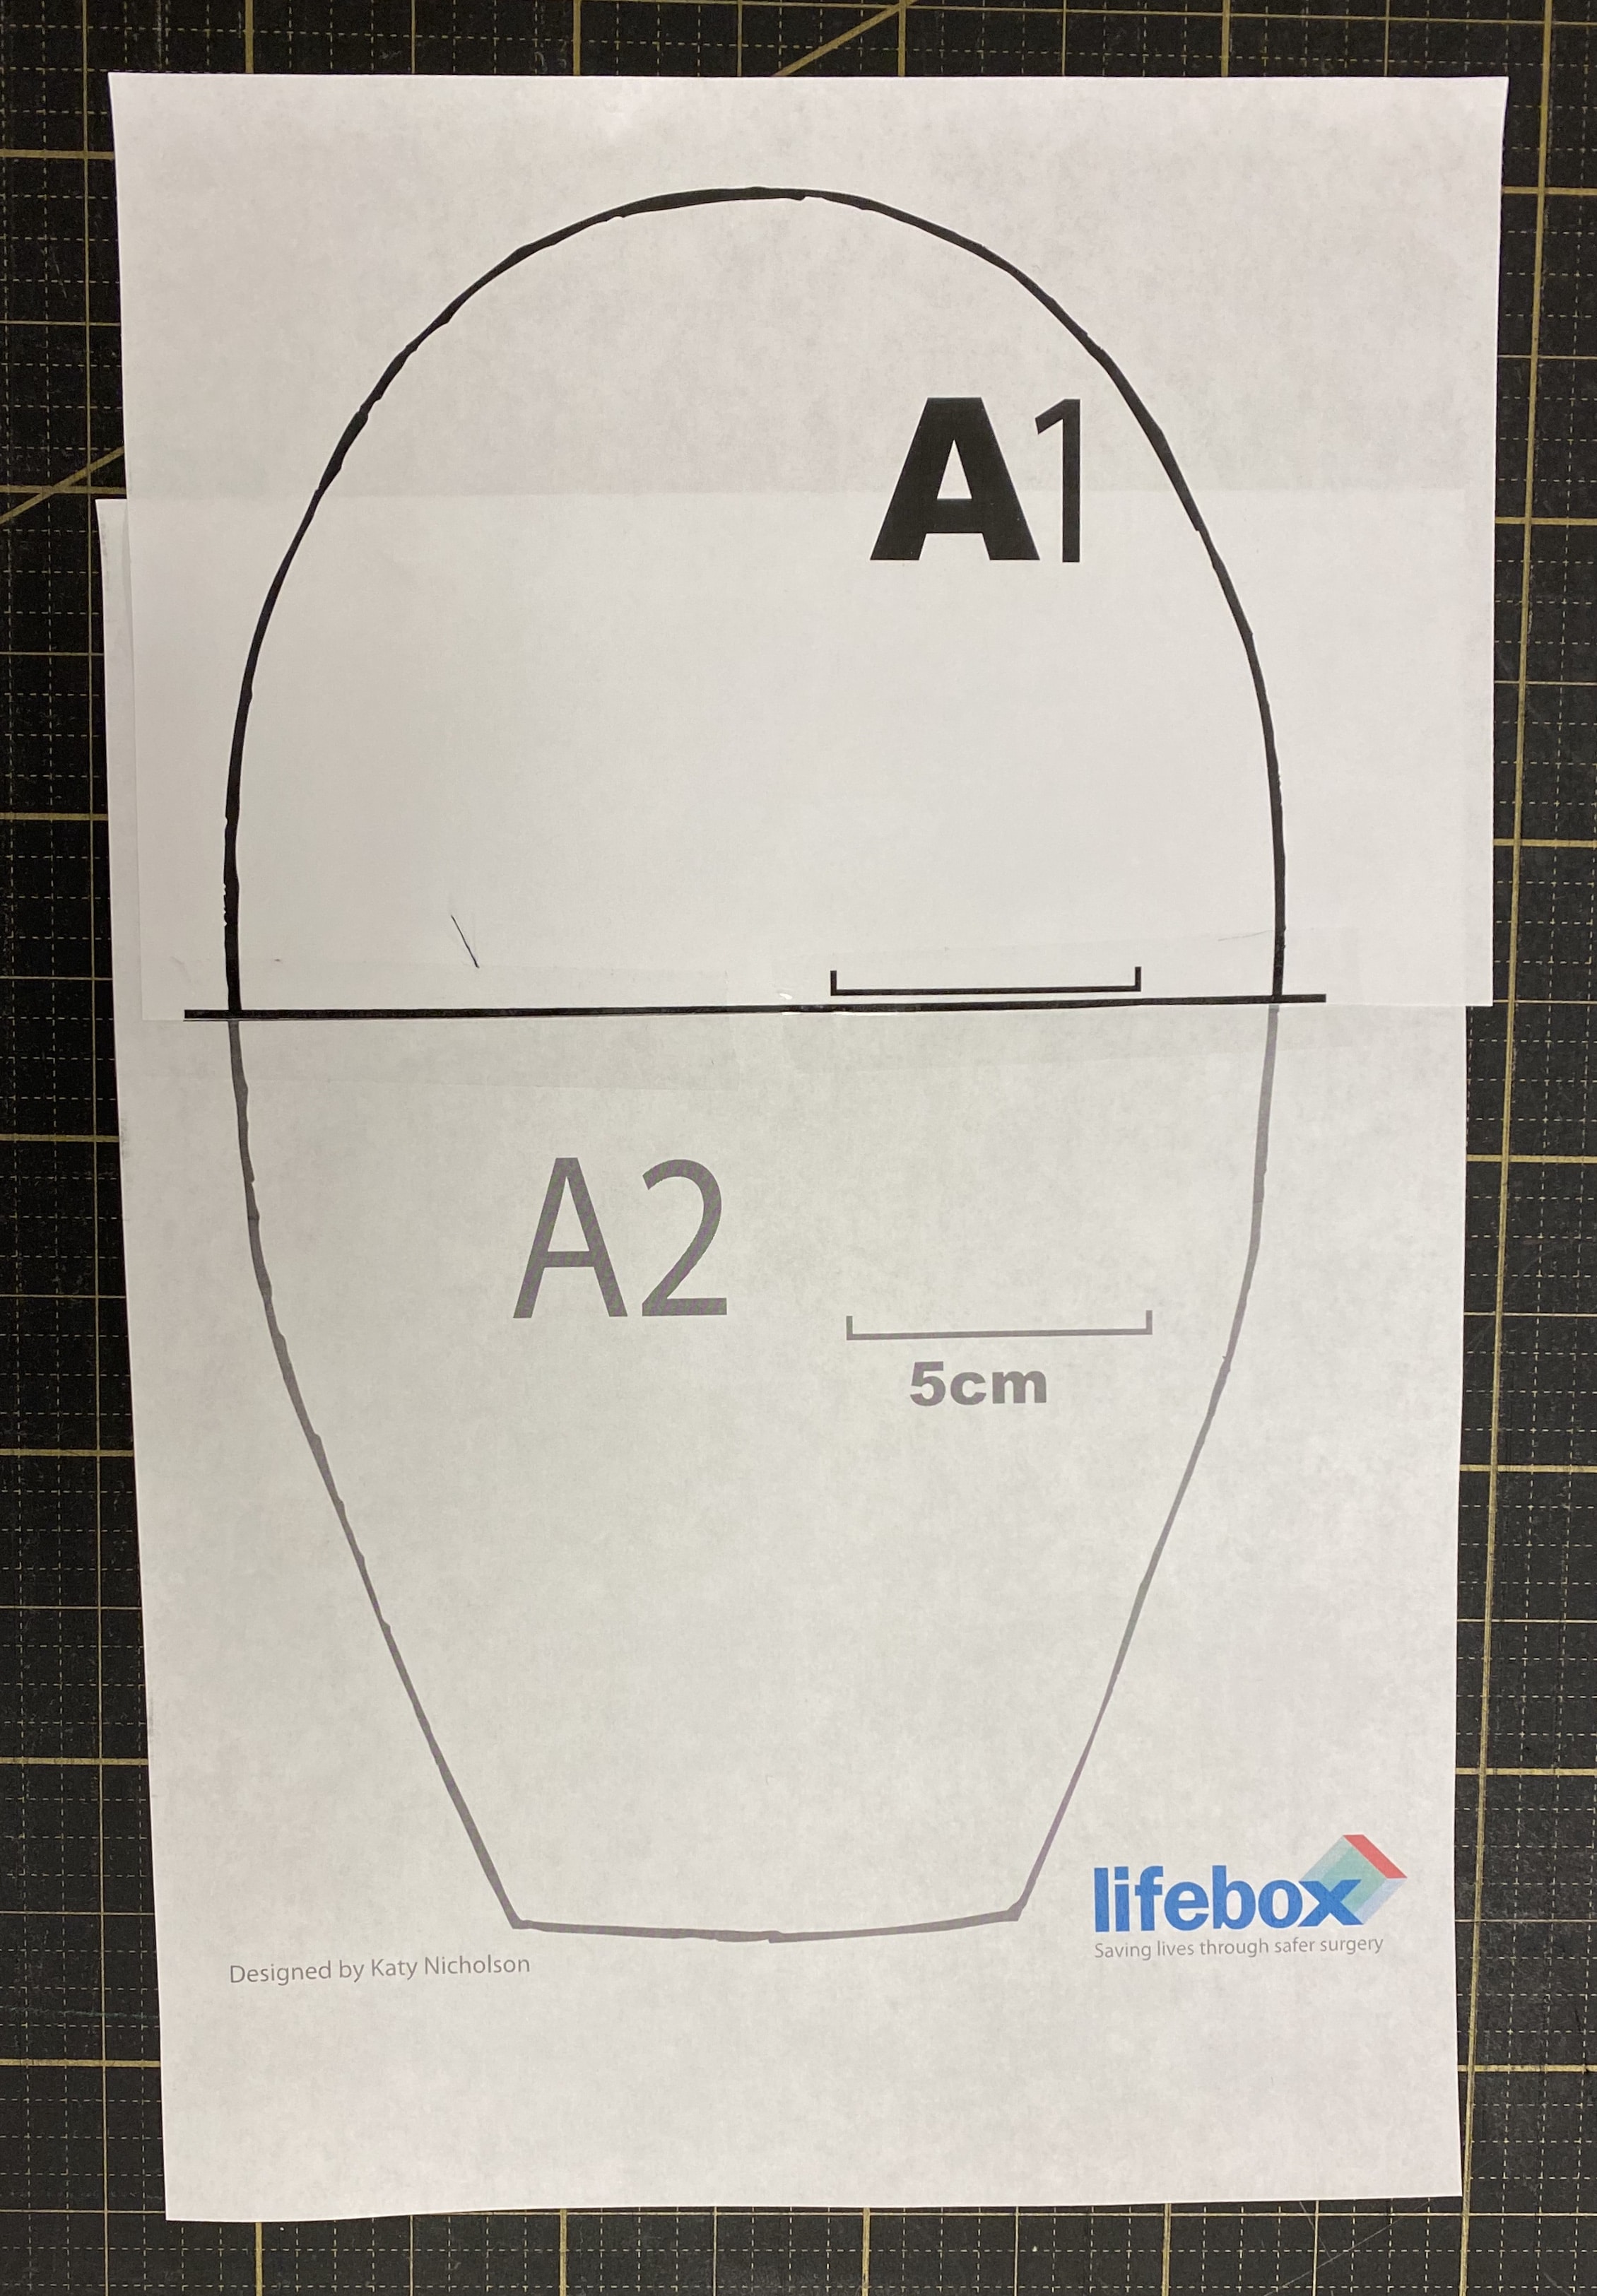
Print the PDF pattern and do not shrink to fit paper – adjust your printer properties to either print actual size or 100%. To help you, I separated the Scrub Cap crown piece (A) into a new PDF File. You can alternatively click here for the printer friendly version, still Katy’s design, but just adjusted for easier printing. Then line the top and bottom up together along the straight horizontal line.
In the video, I said you need 14” of two coordinating fabrics to make two caps, but it is closer to 16”. Get a half yard of each to be safe. You can cut two caps at a time, then sew those two together. Cut the pieces out.
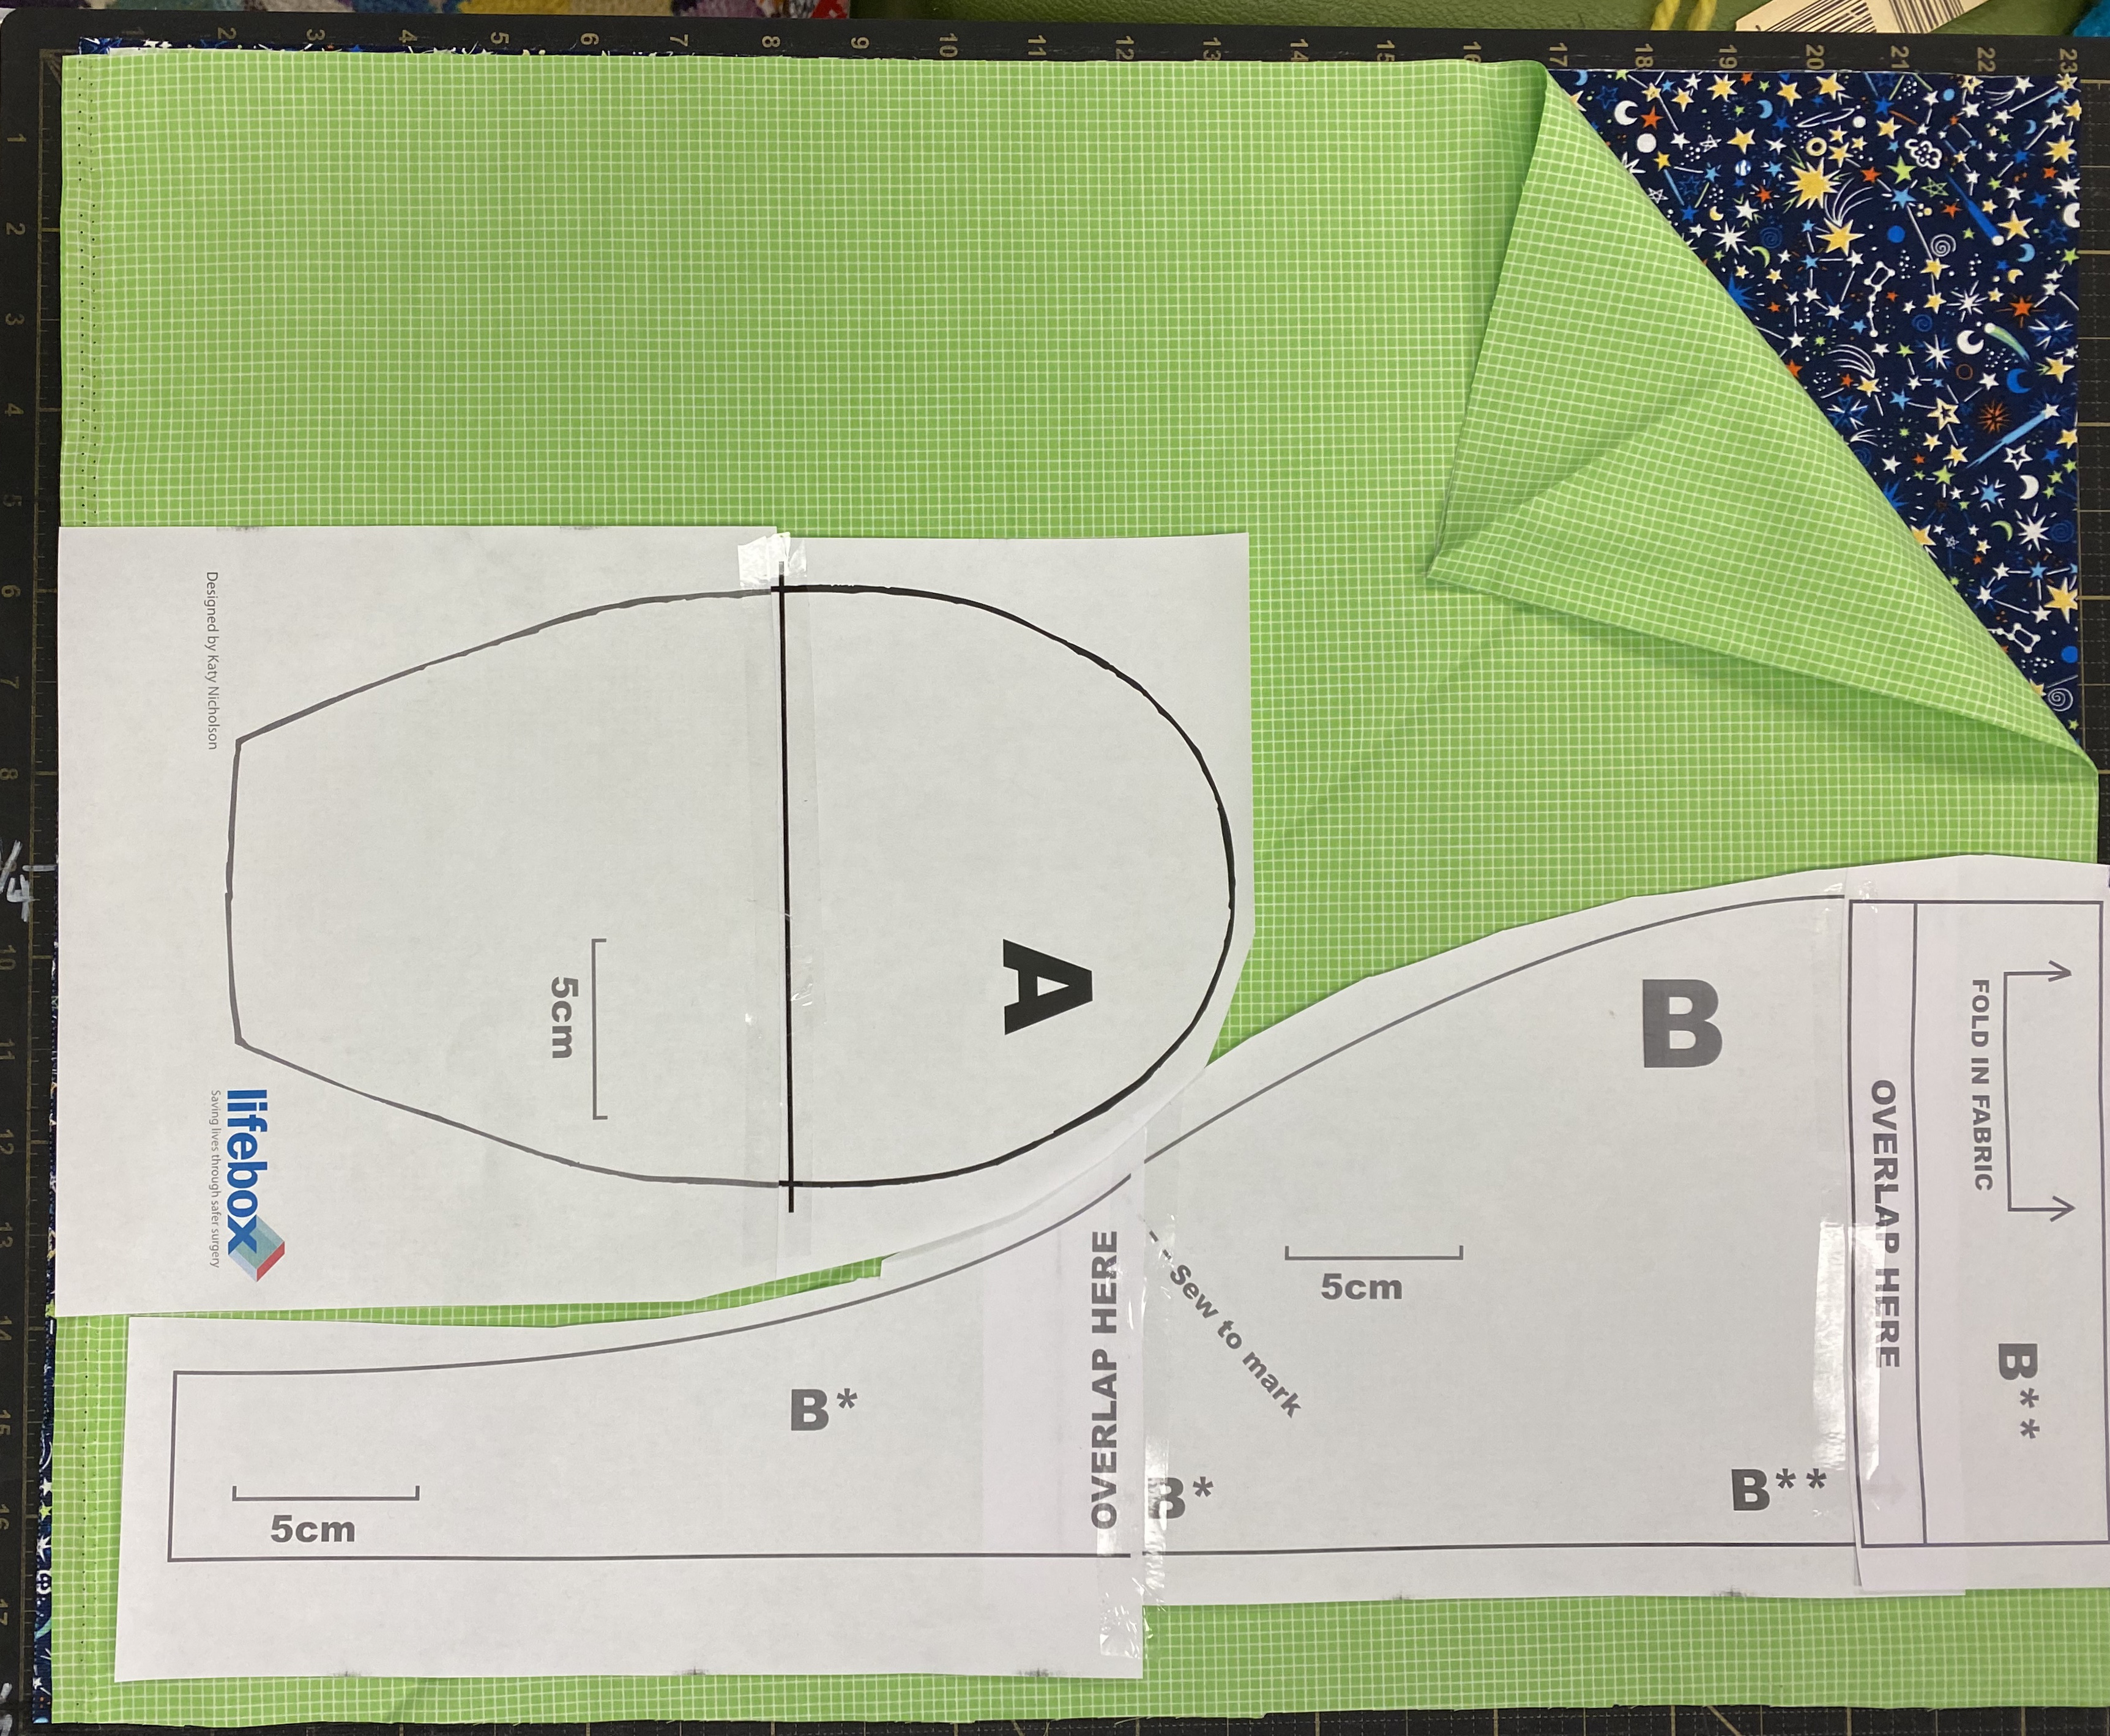
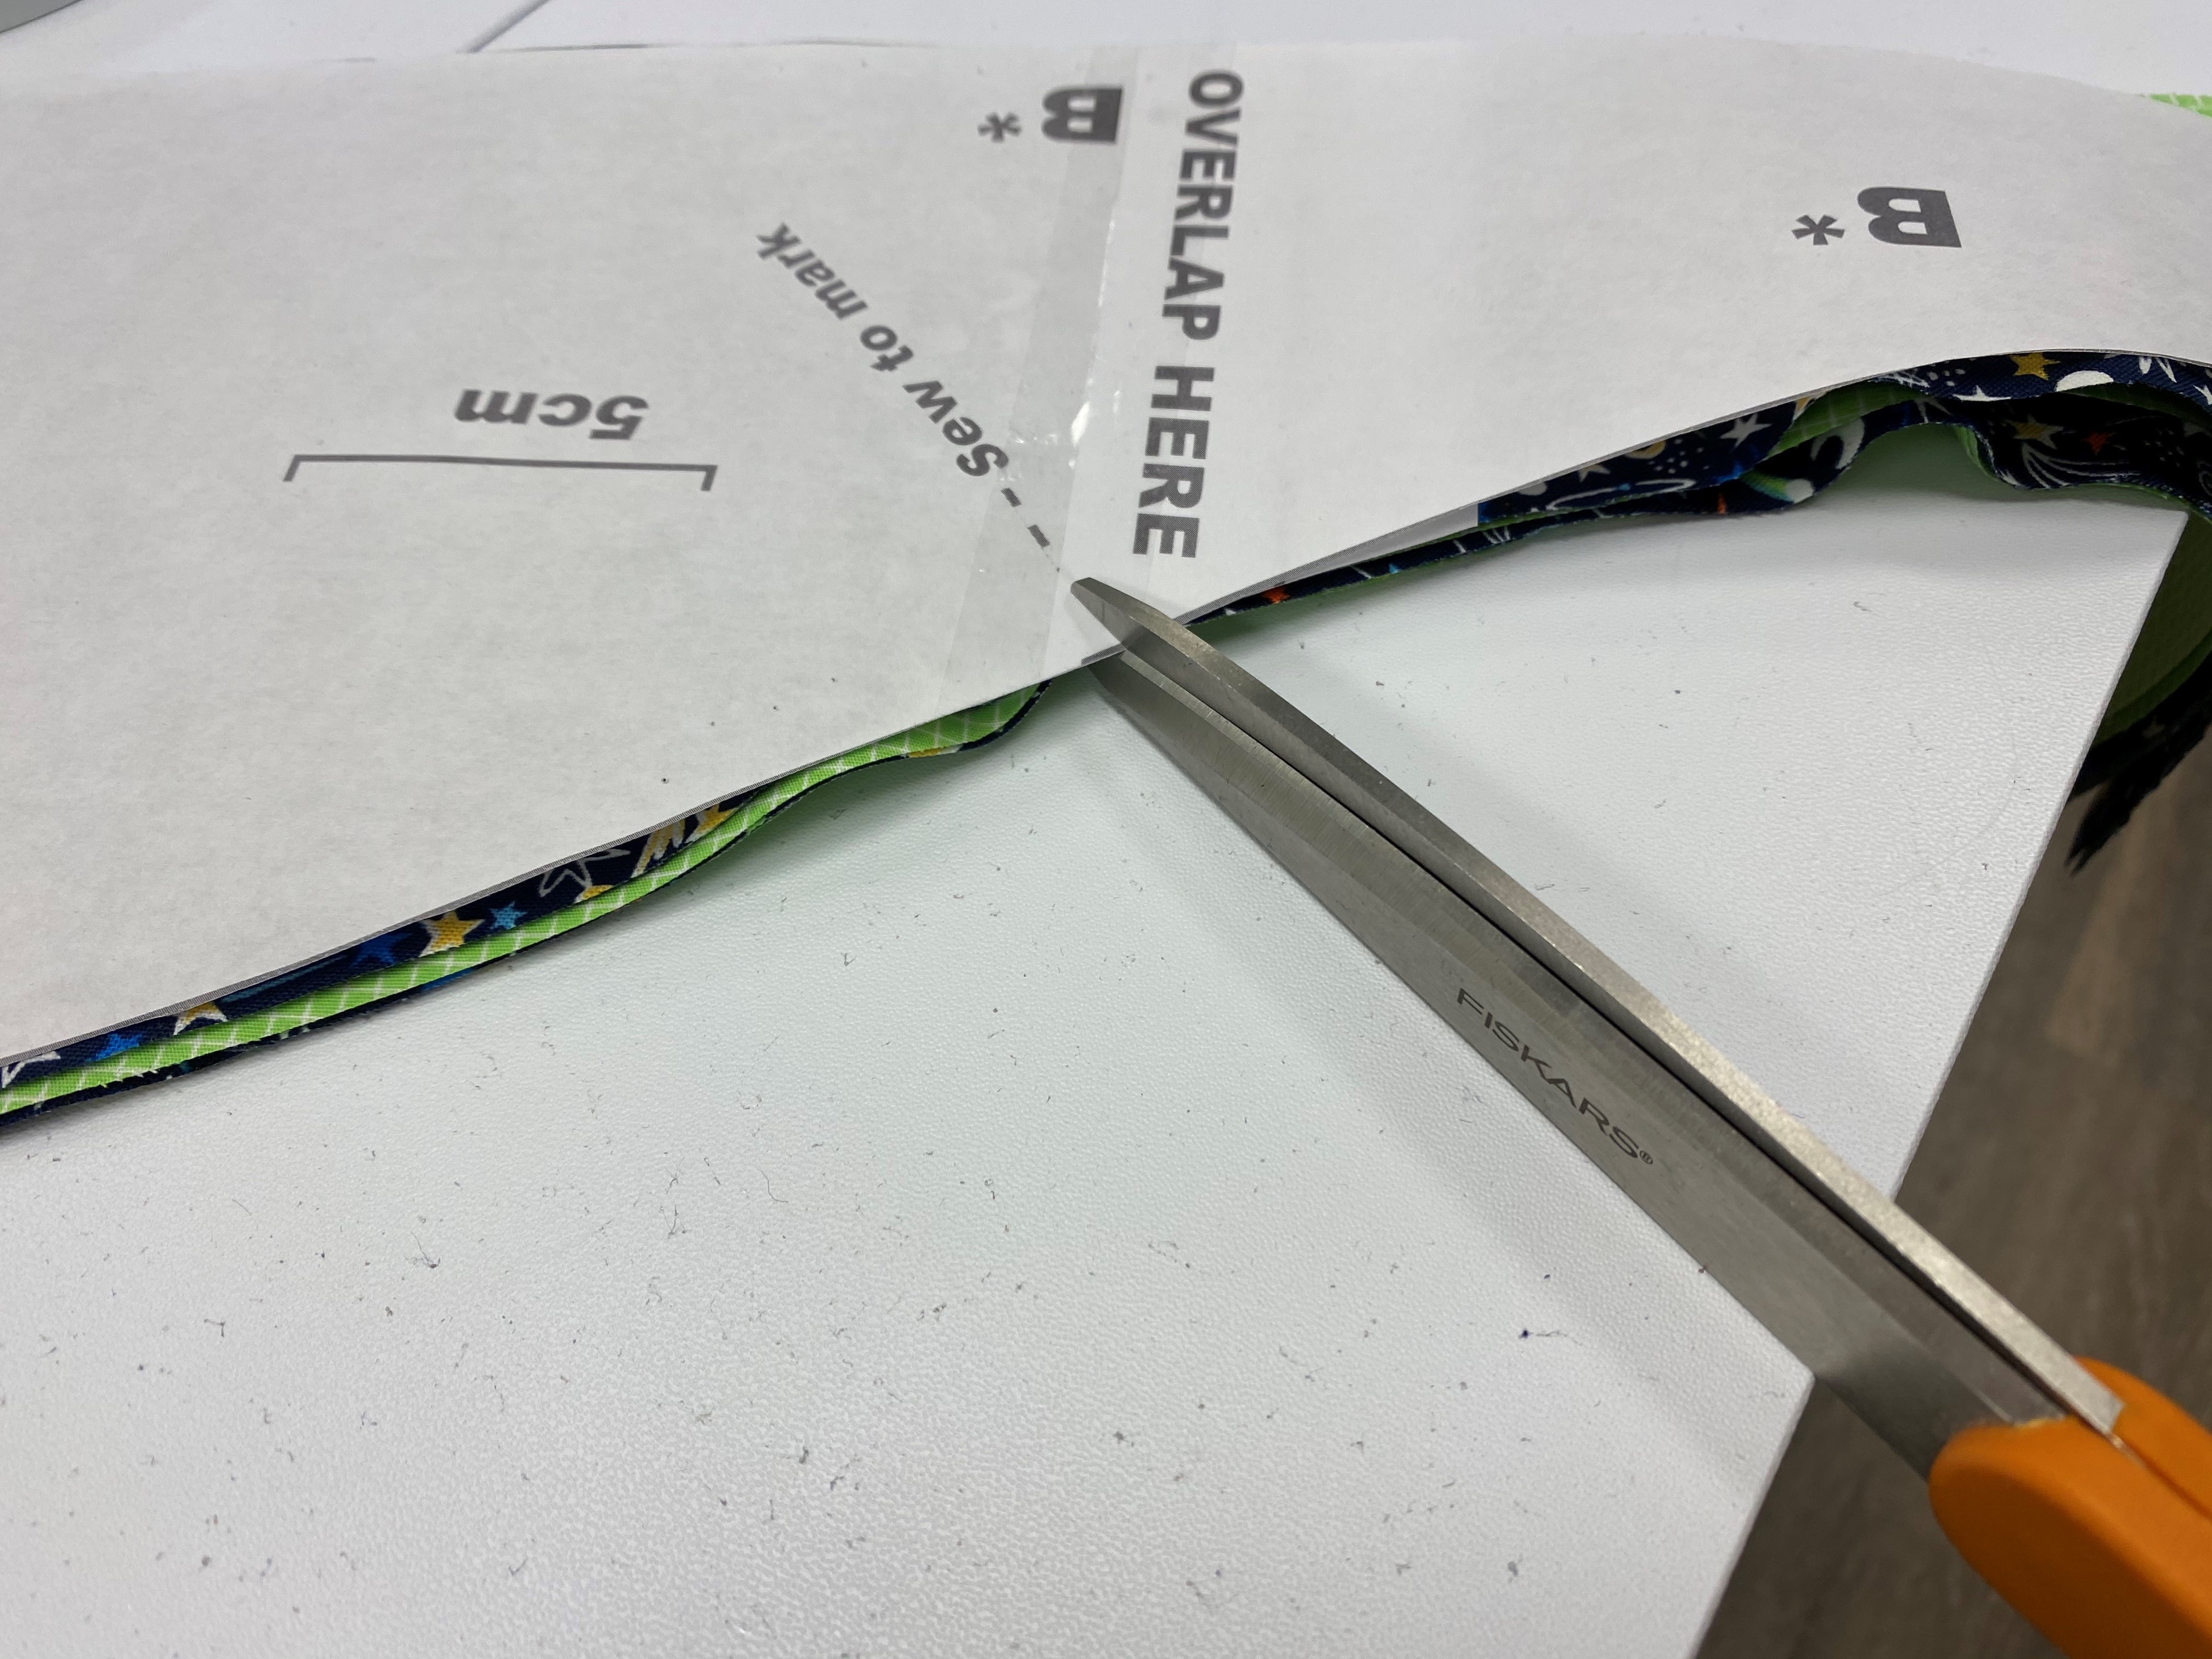
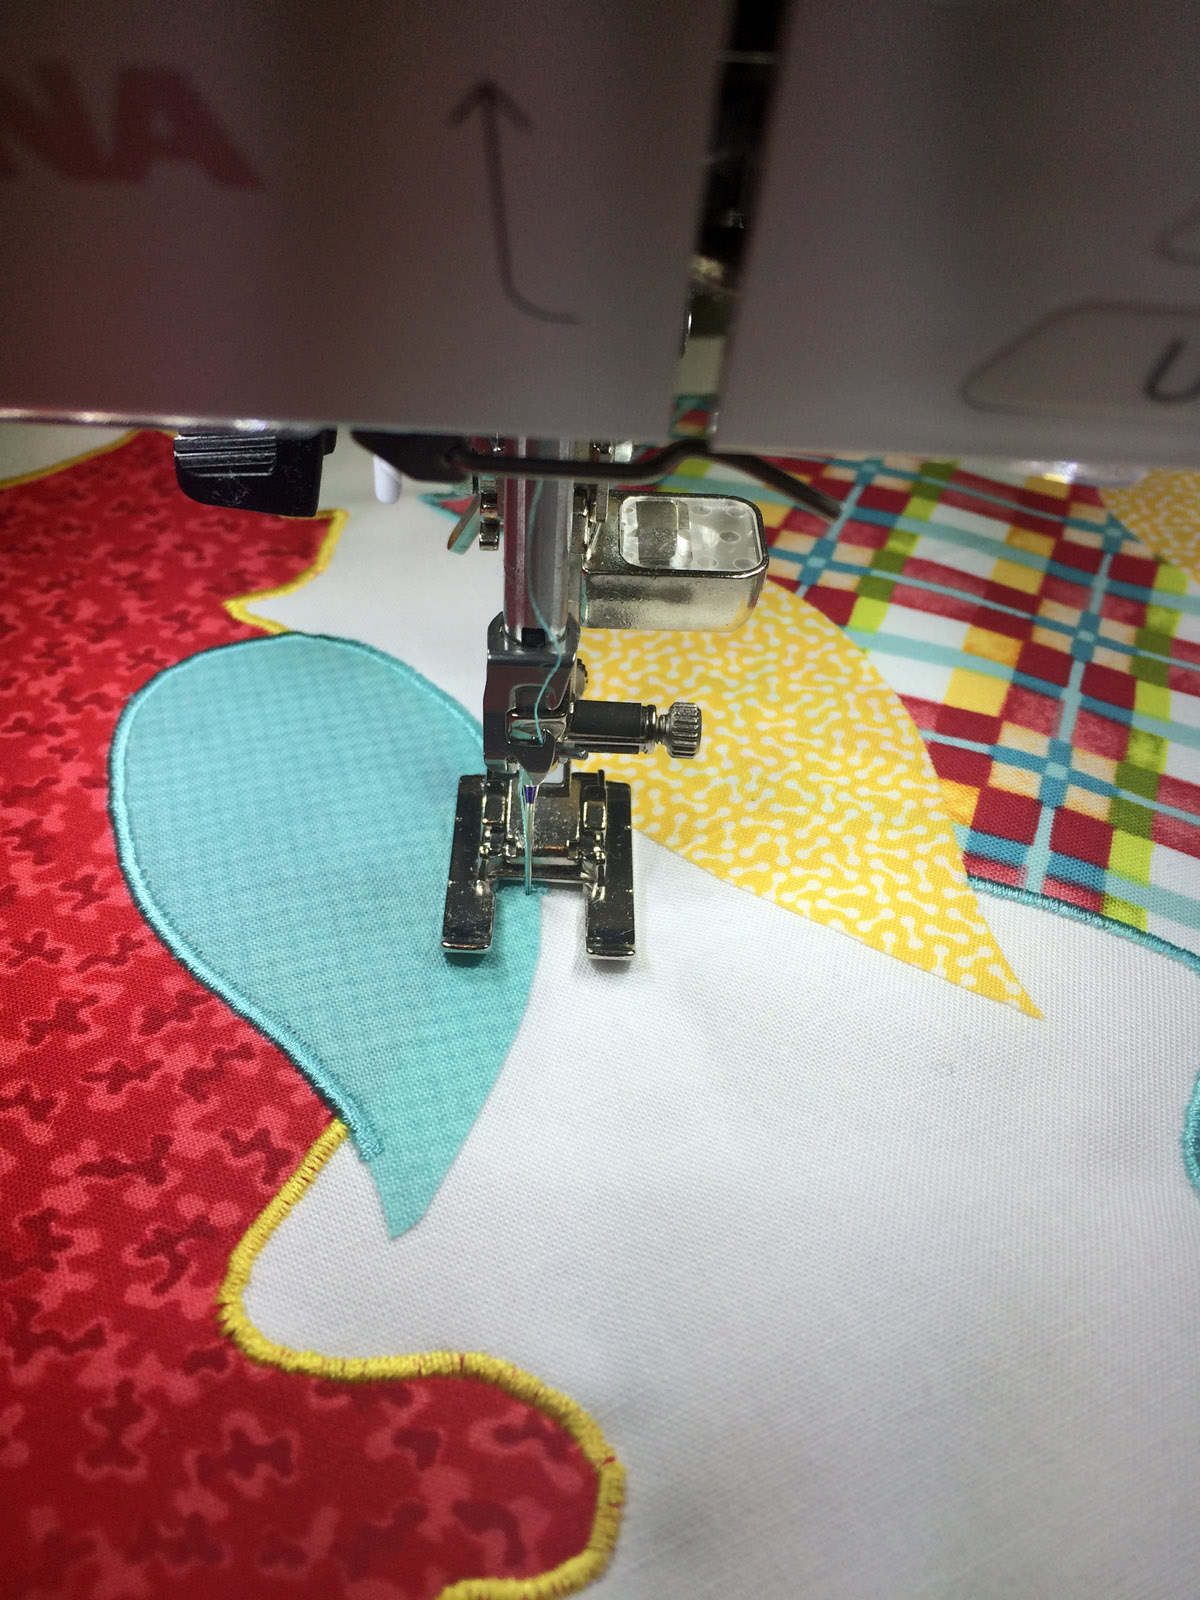
Instead of hemming the bottom edge of the crown (A), we lined it. We trimmed 2cm off the bottom and then stitched with a ½” seam allowance.
Cut a notch in your fabric where marked on the pattern Piece B.
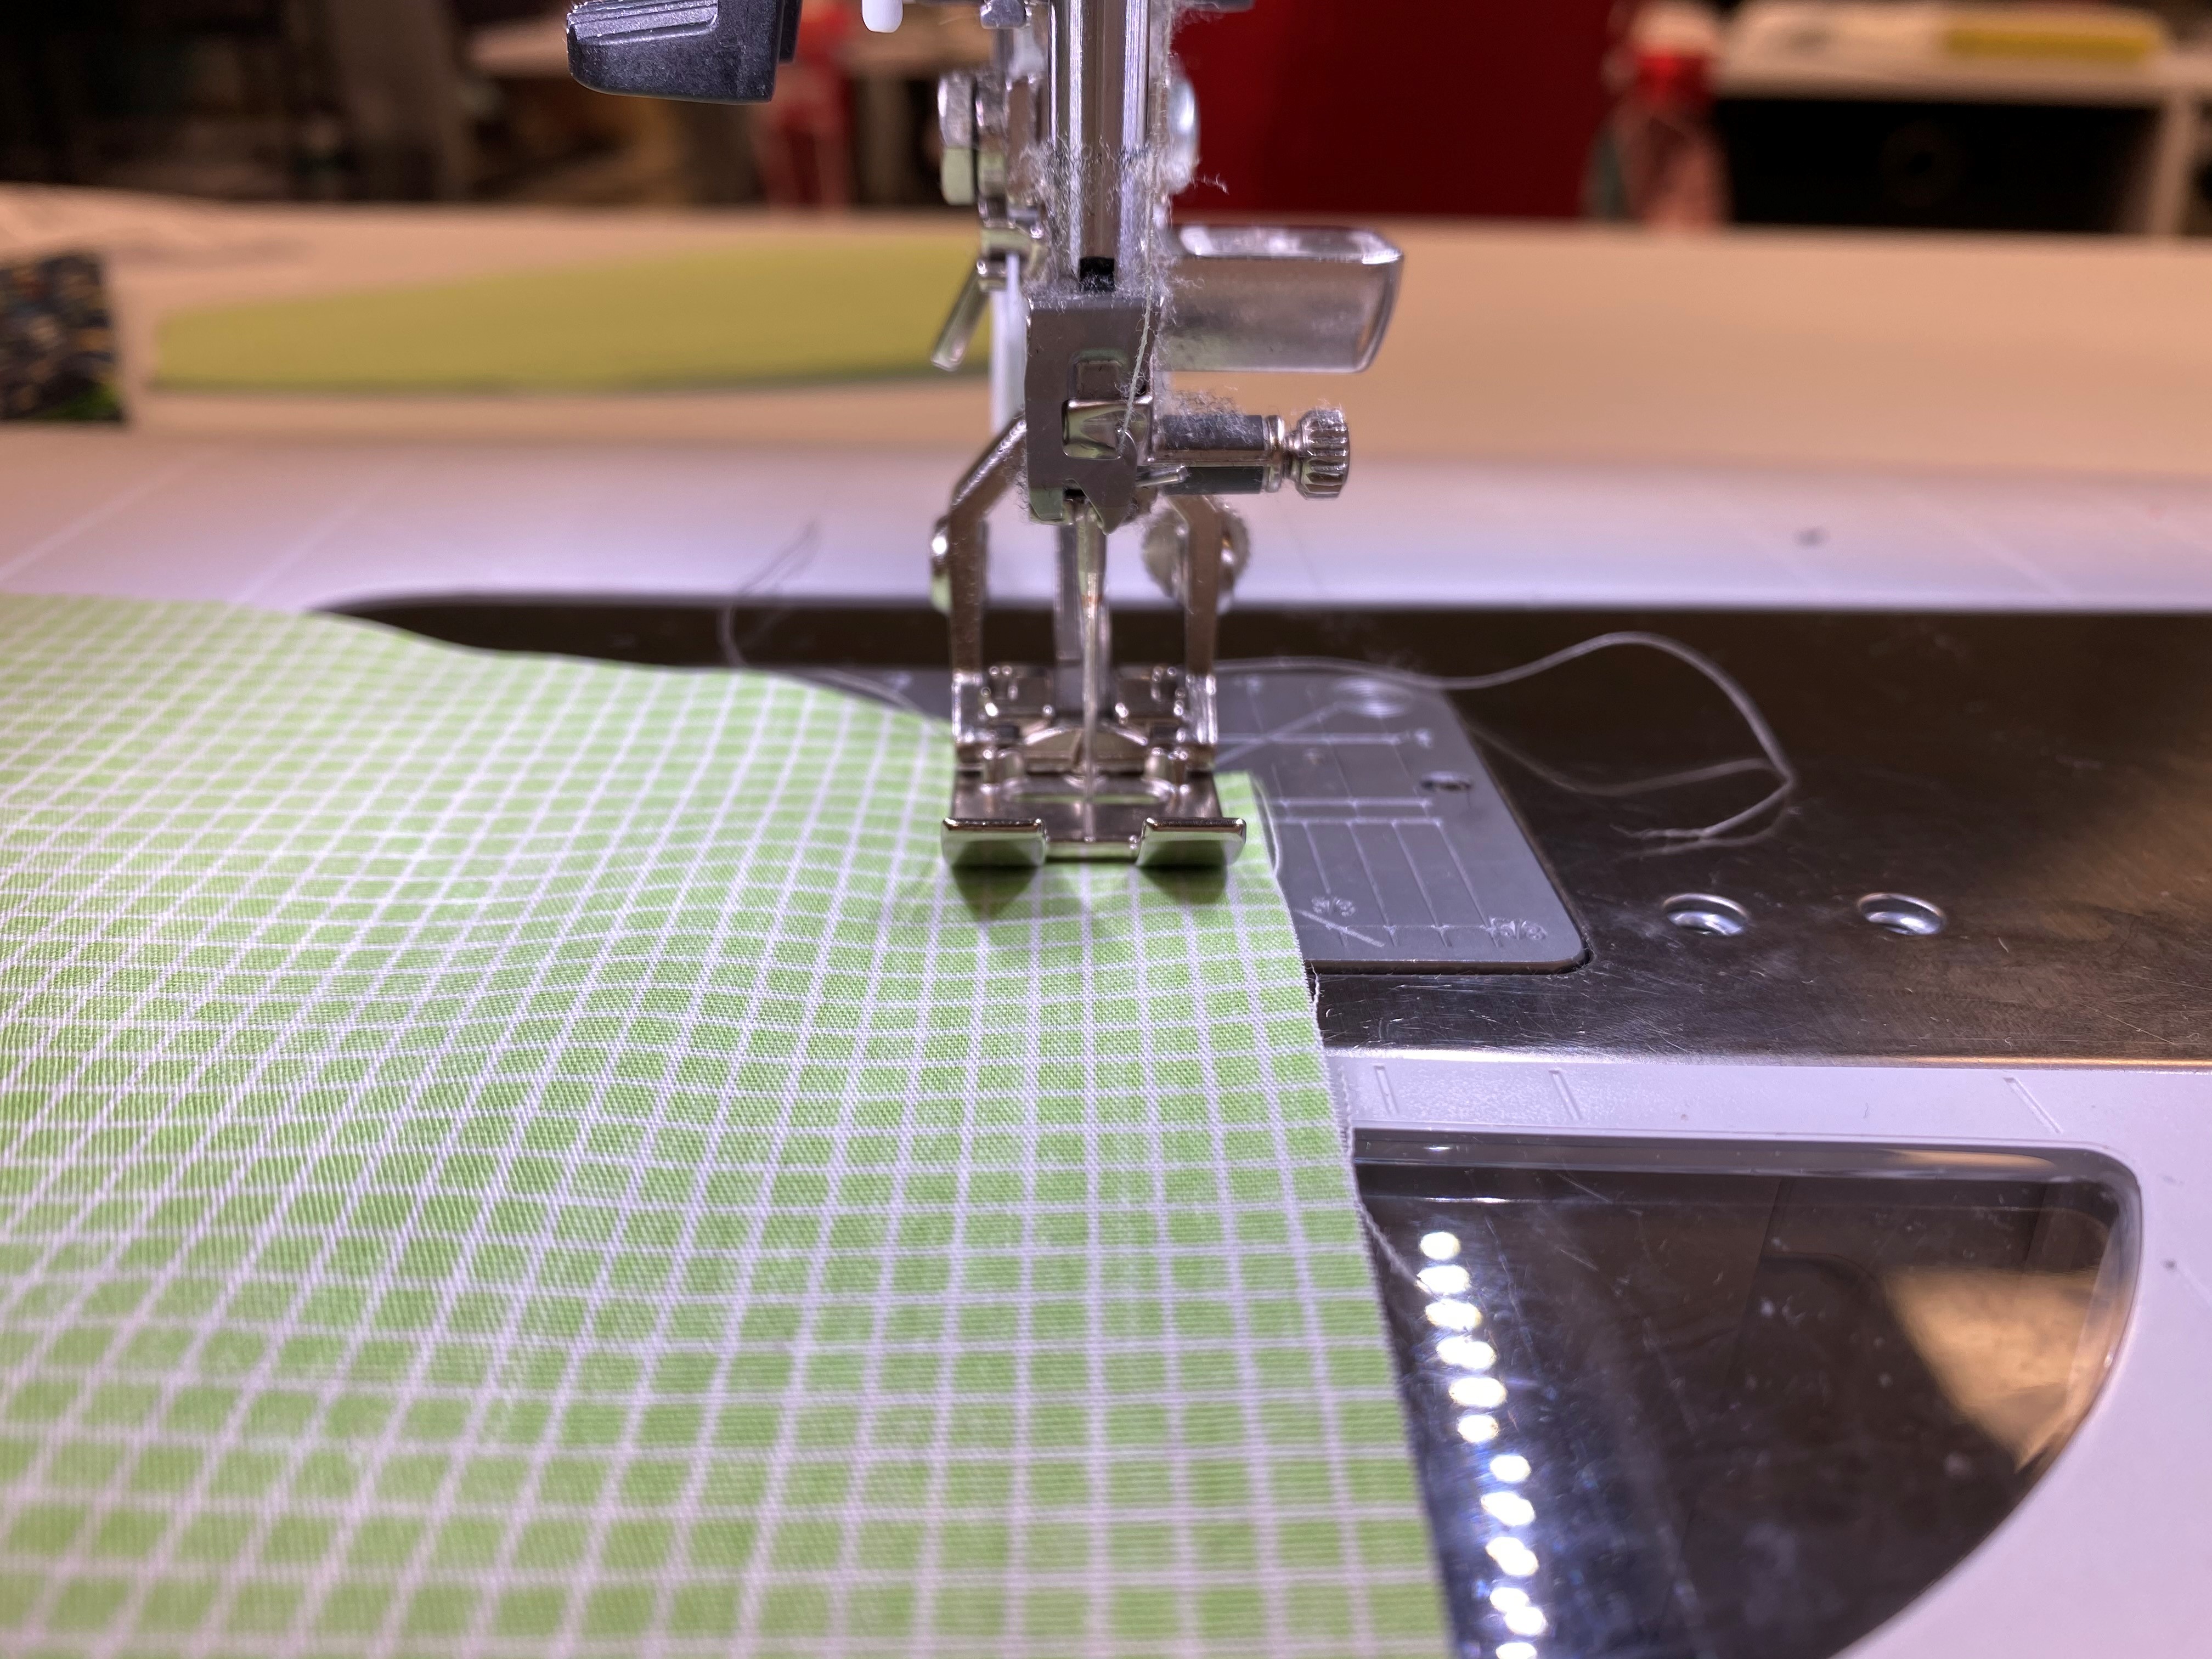
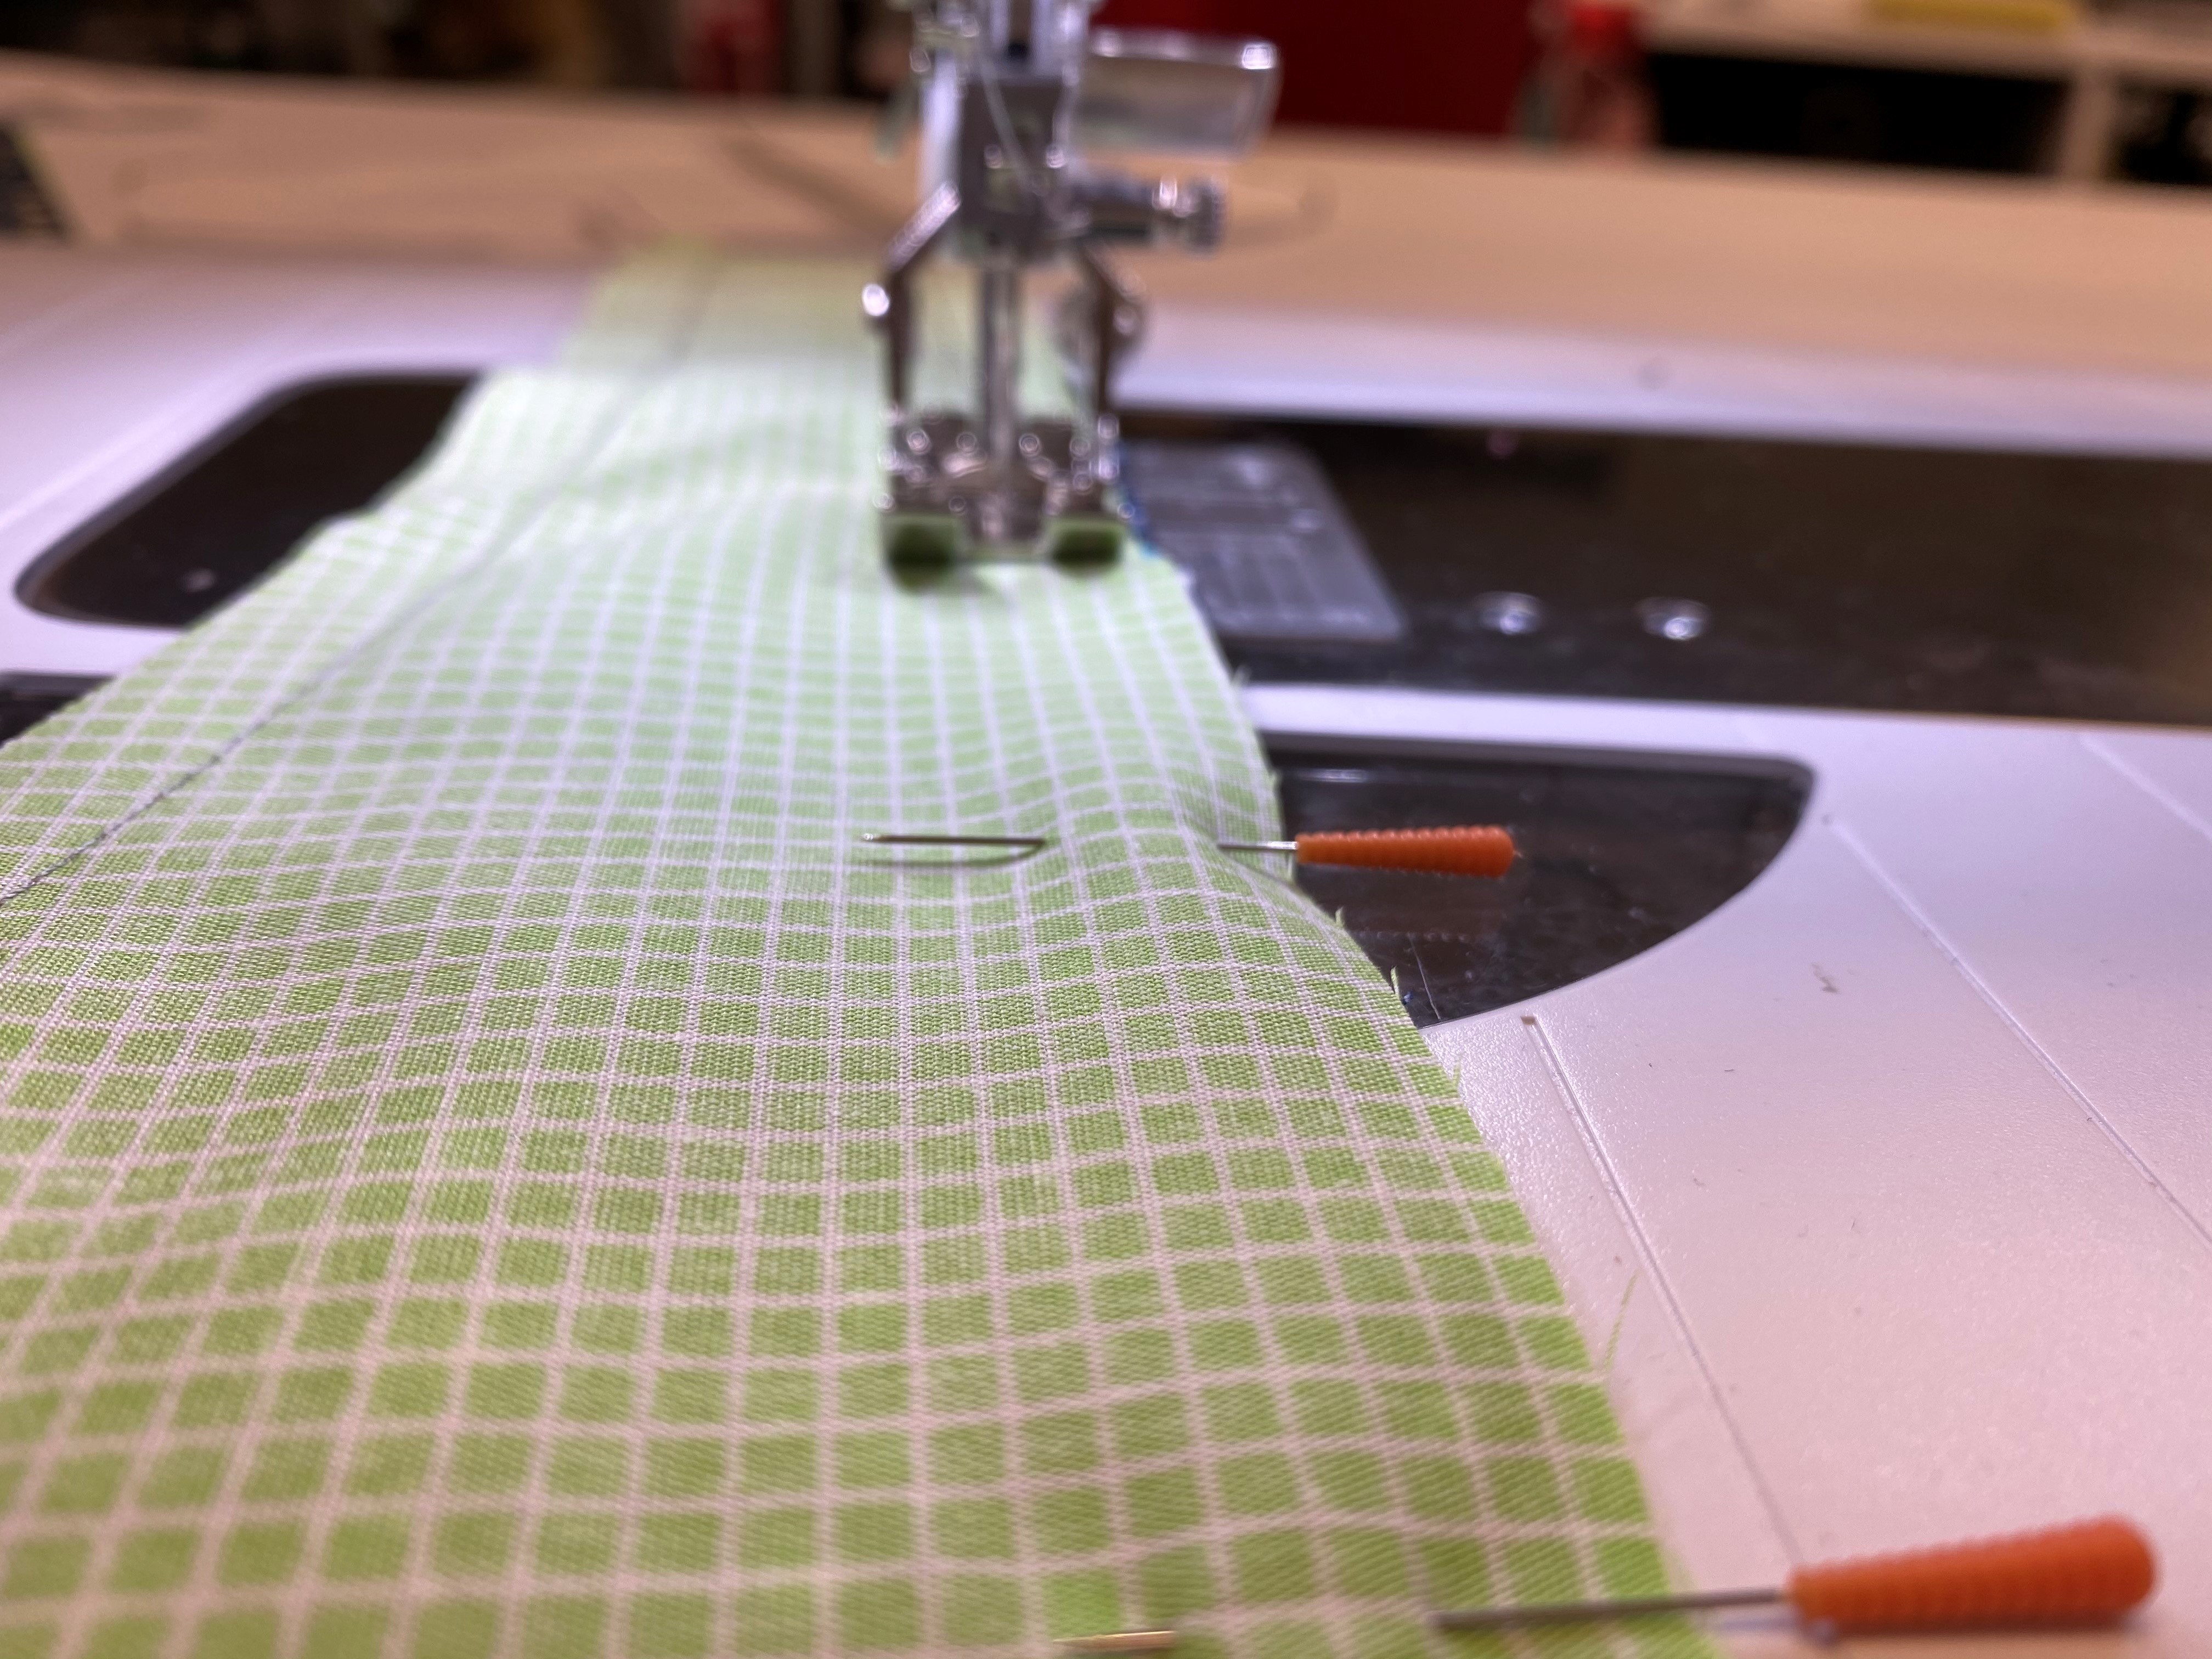
Place the lining and outer fabric of the B patter right sides together. Sew from one notch to the next, remembering to back stitch at beginning and end.
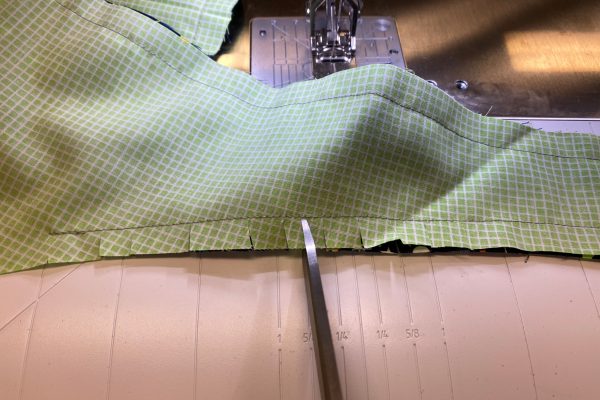
Clip your curves so that when you turn the brim right side out it will press flat.
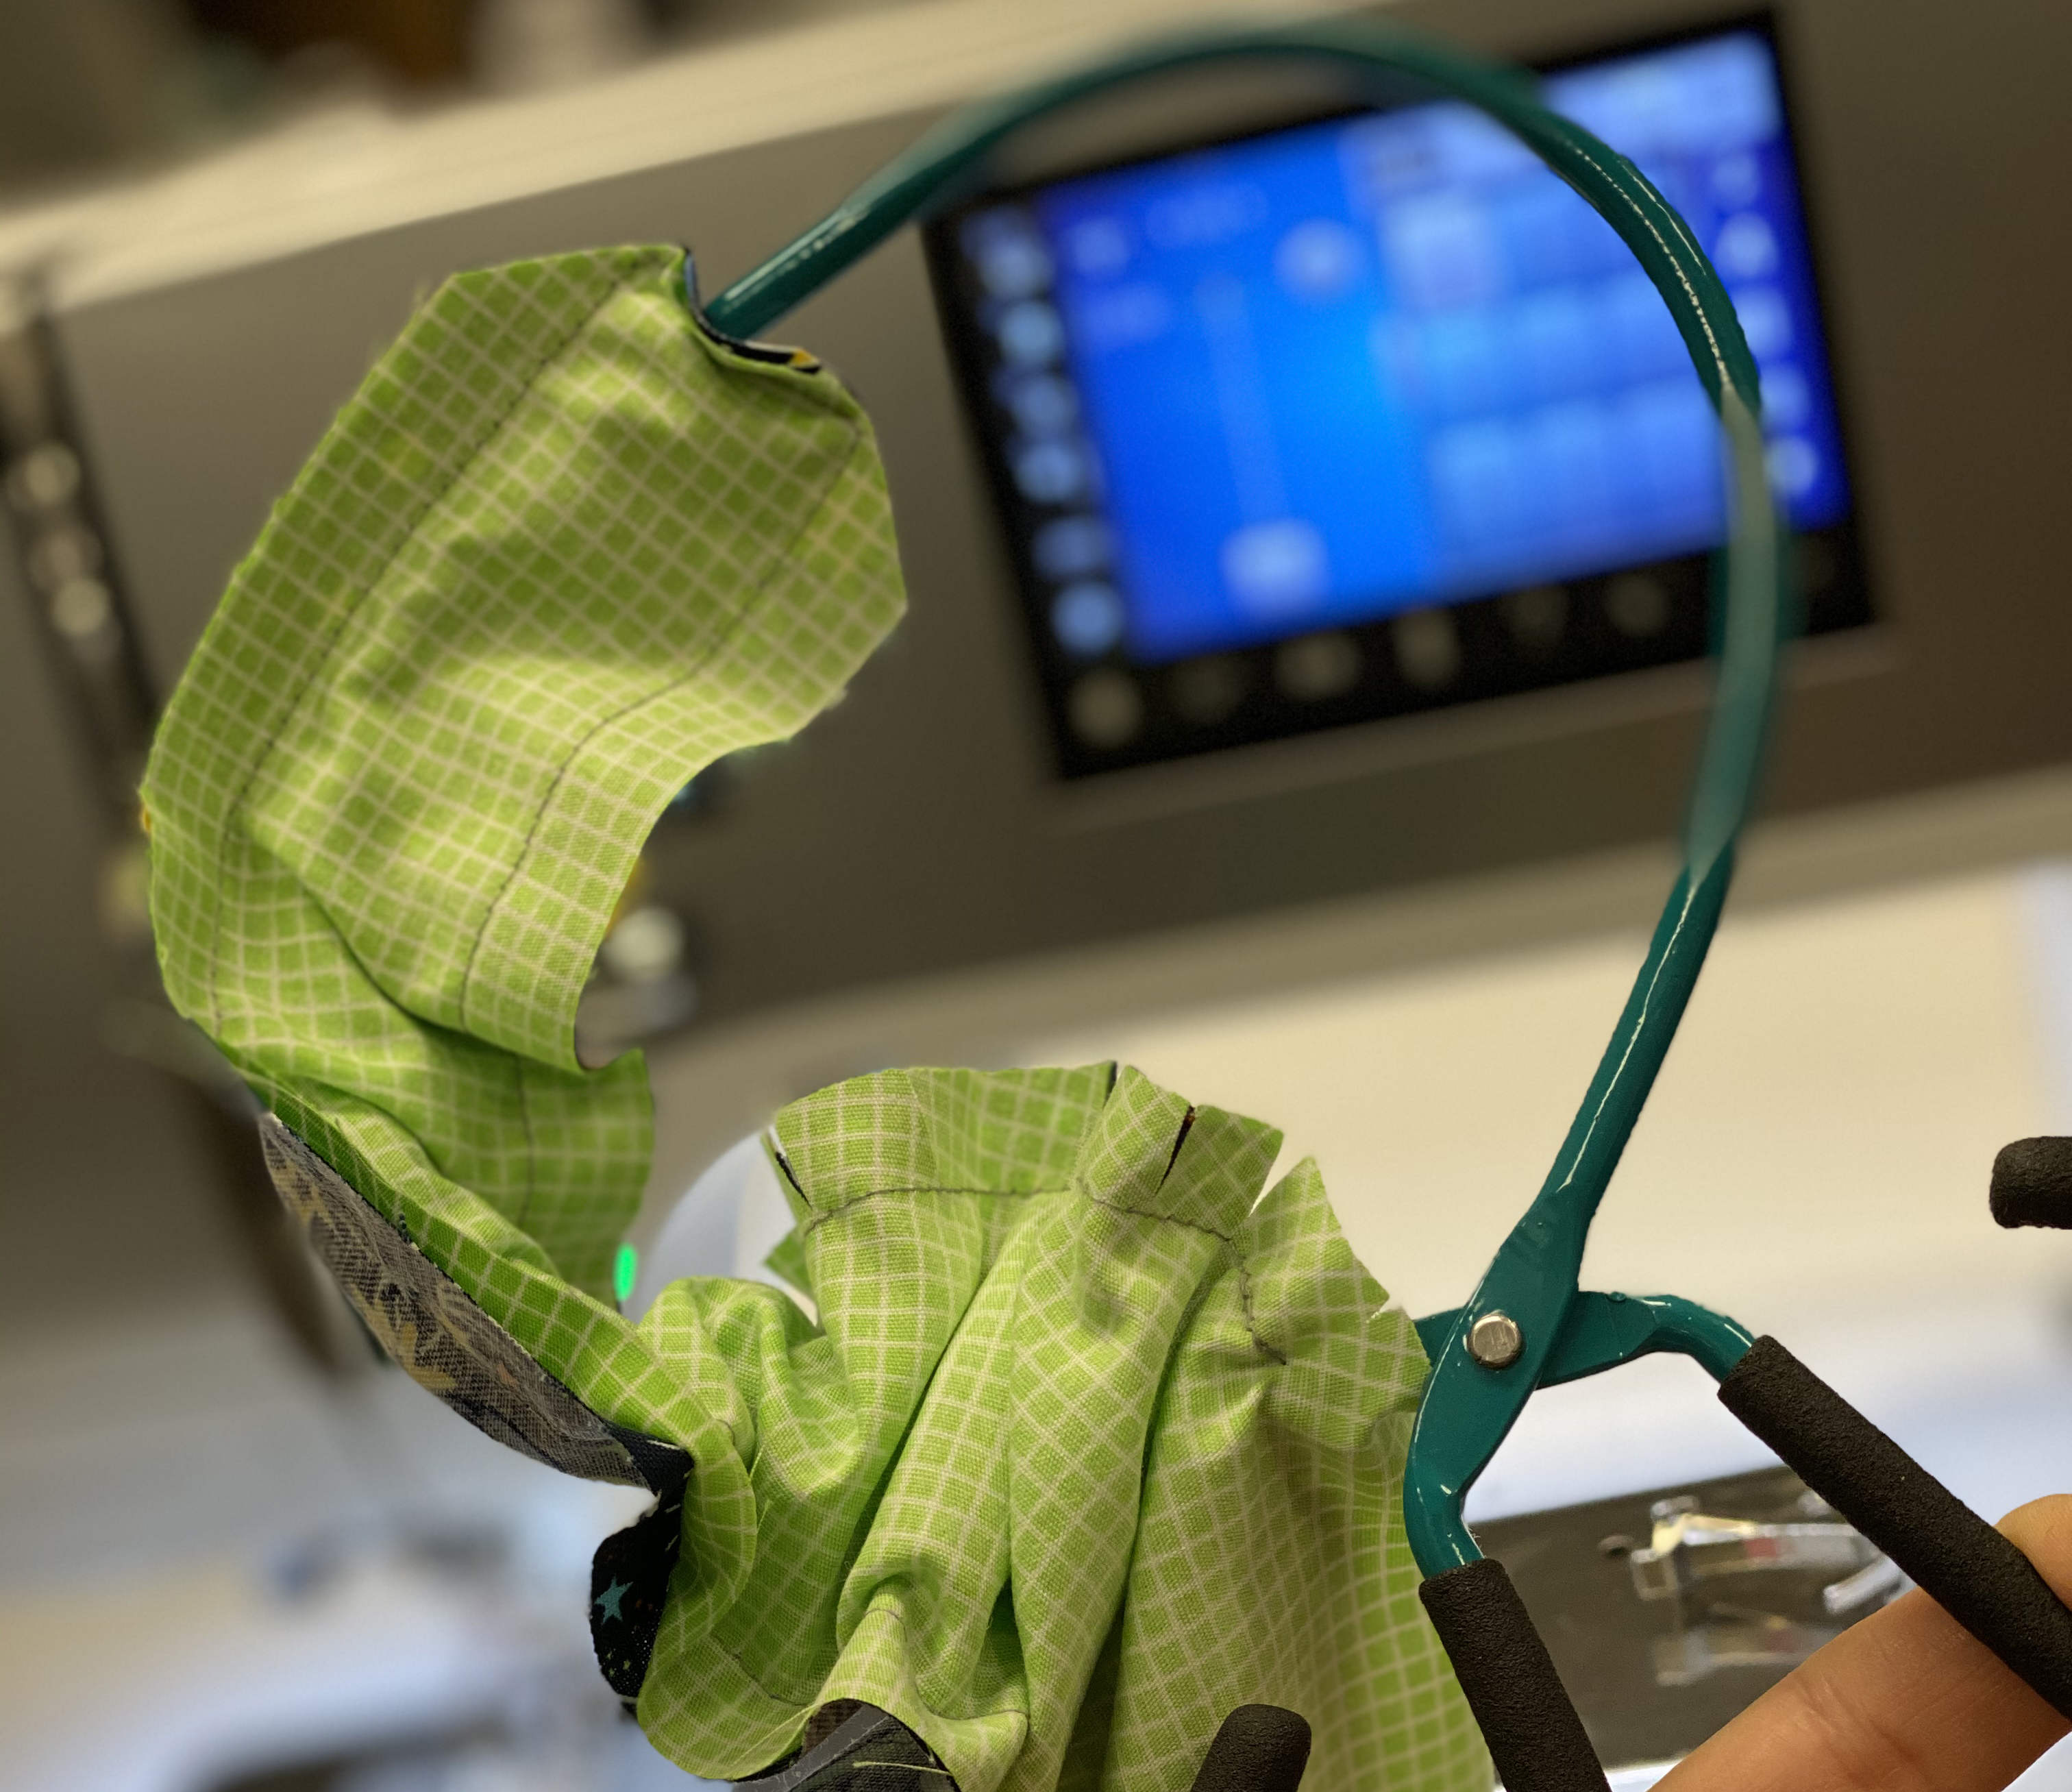
Turn the ties. We love the Sue O’very turner, it worked perfectly for this project.
Press.
Pin the cap together, trying to distribute the bulk around the crown so there are no puckers. Back stitch at the beginning and end of the stitching.
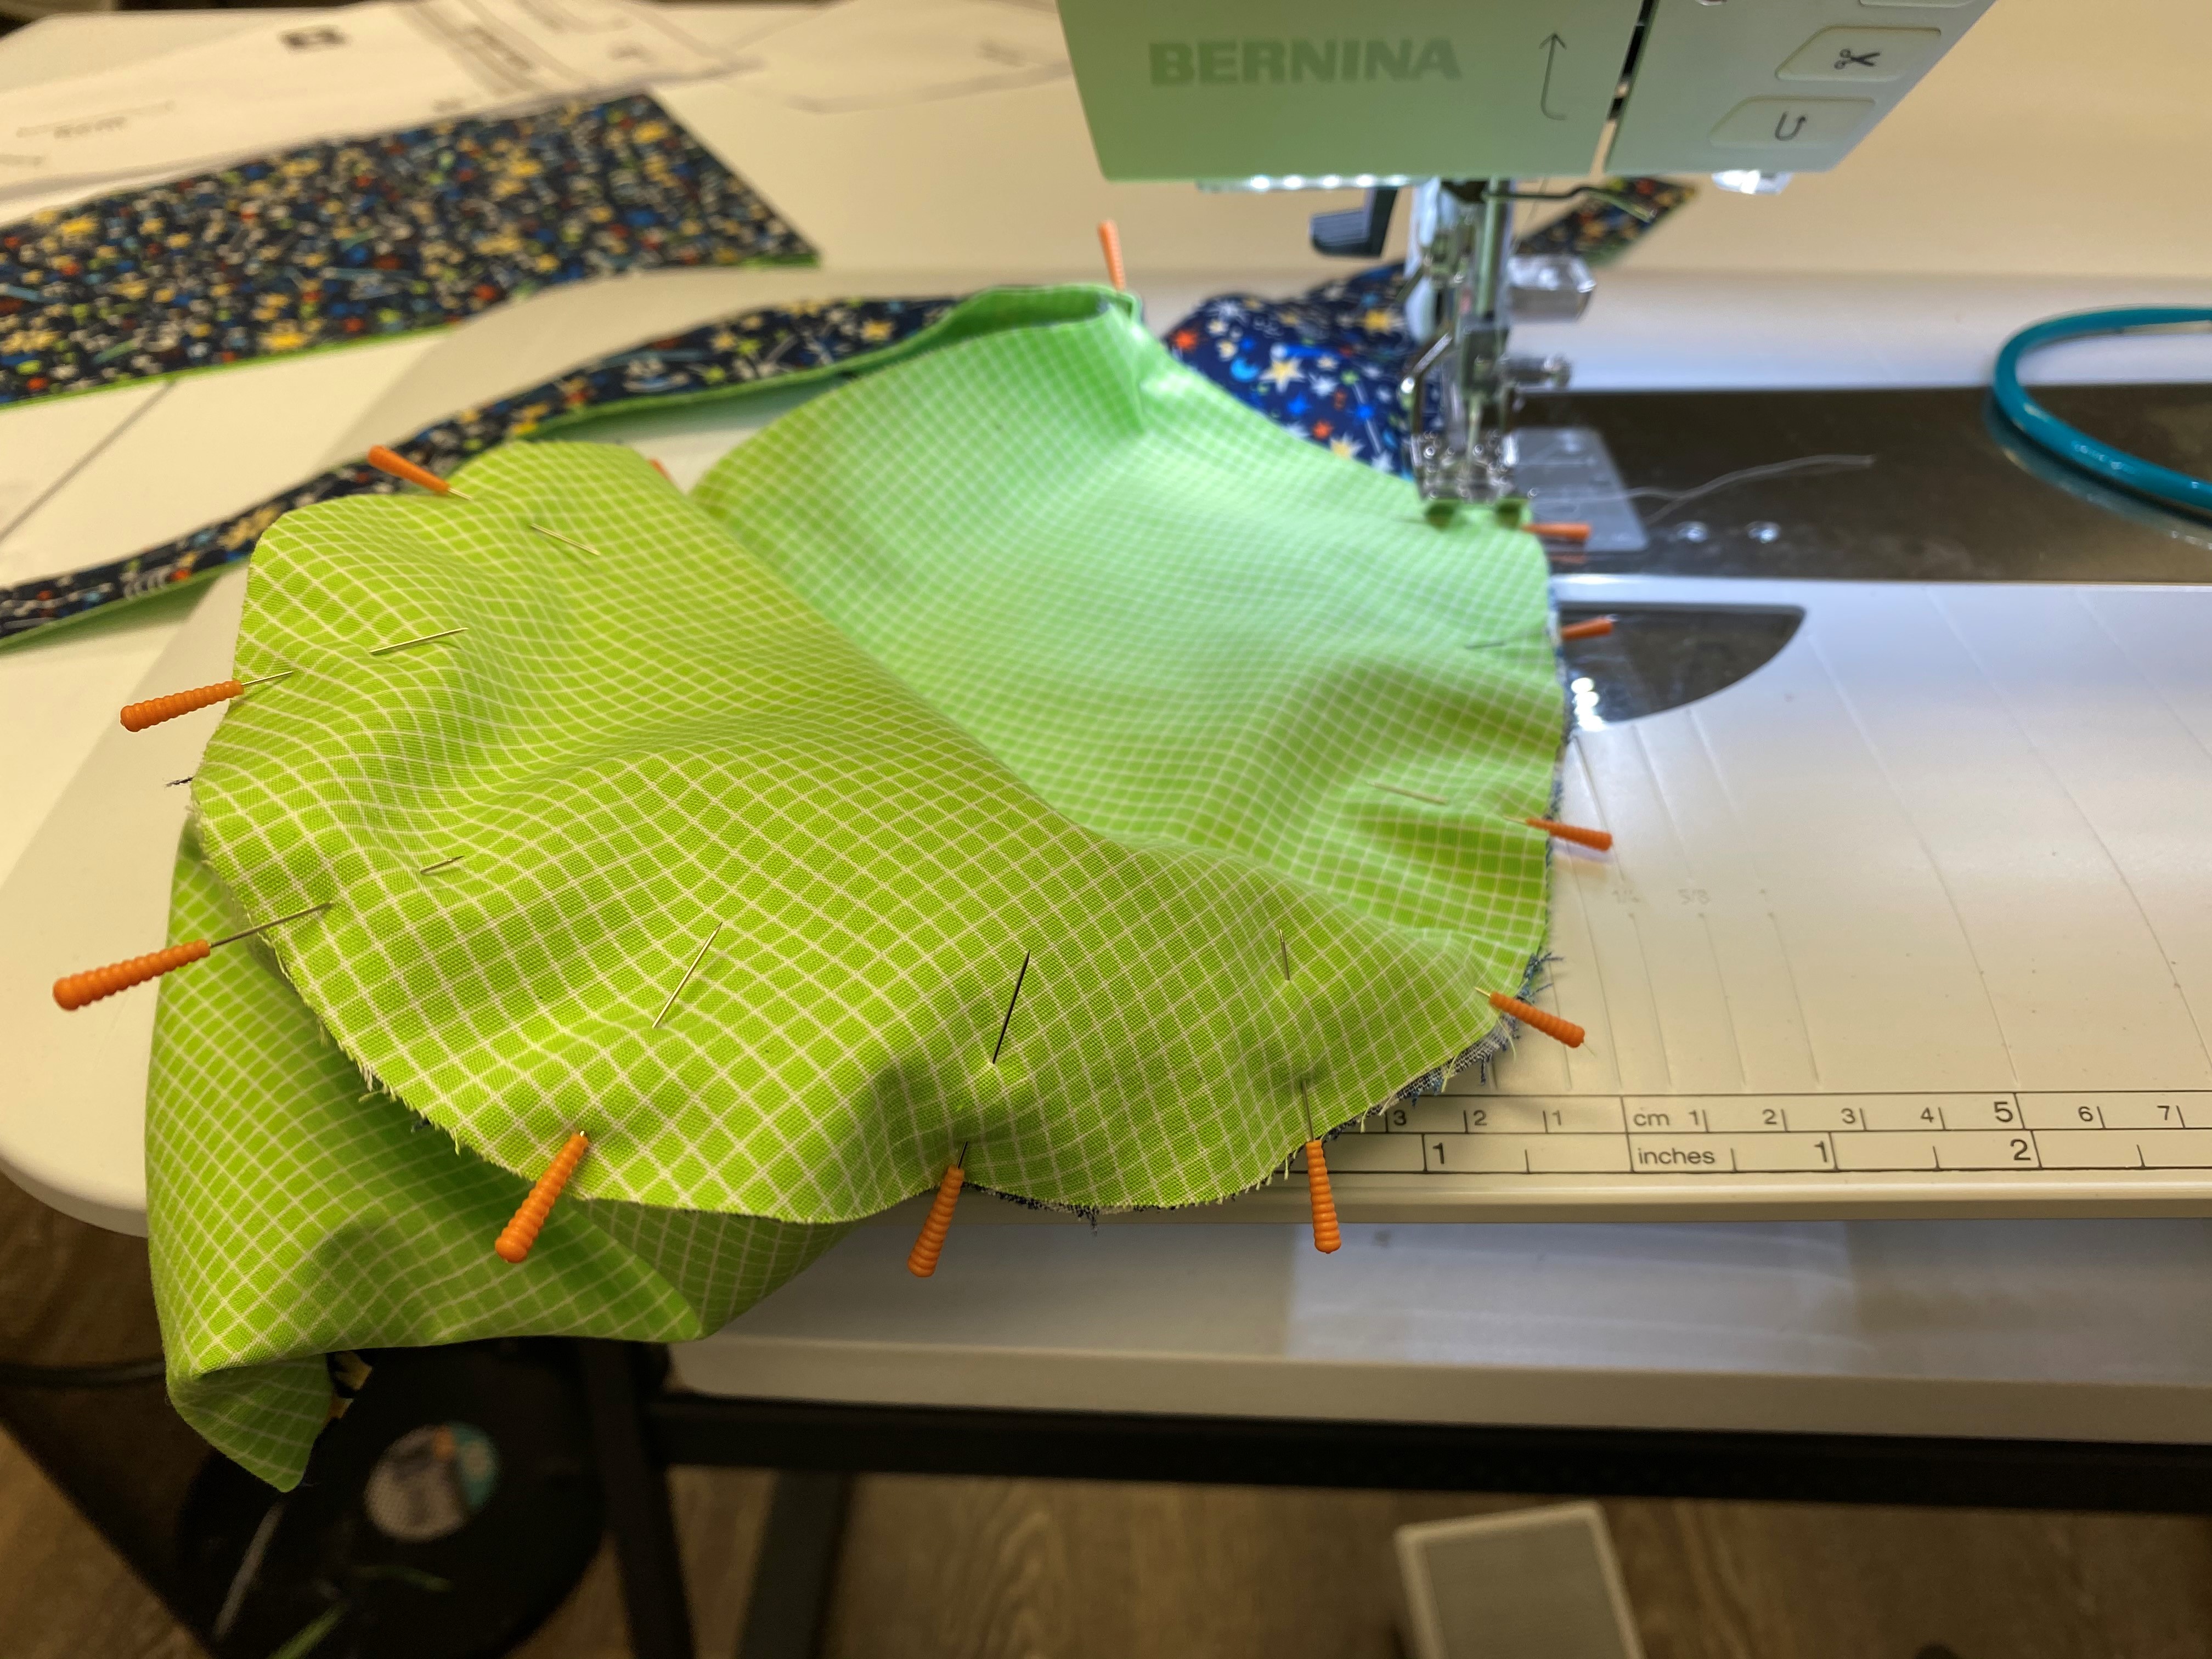
Use an overlocker/serger (if you have one) to save the raw edges inside the cap. You can also use a practical stitch like the honeycomb stitch so that the seam will not unravel in the wash.

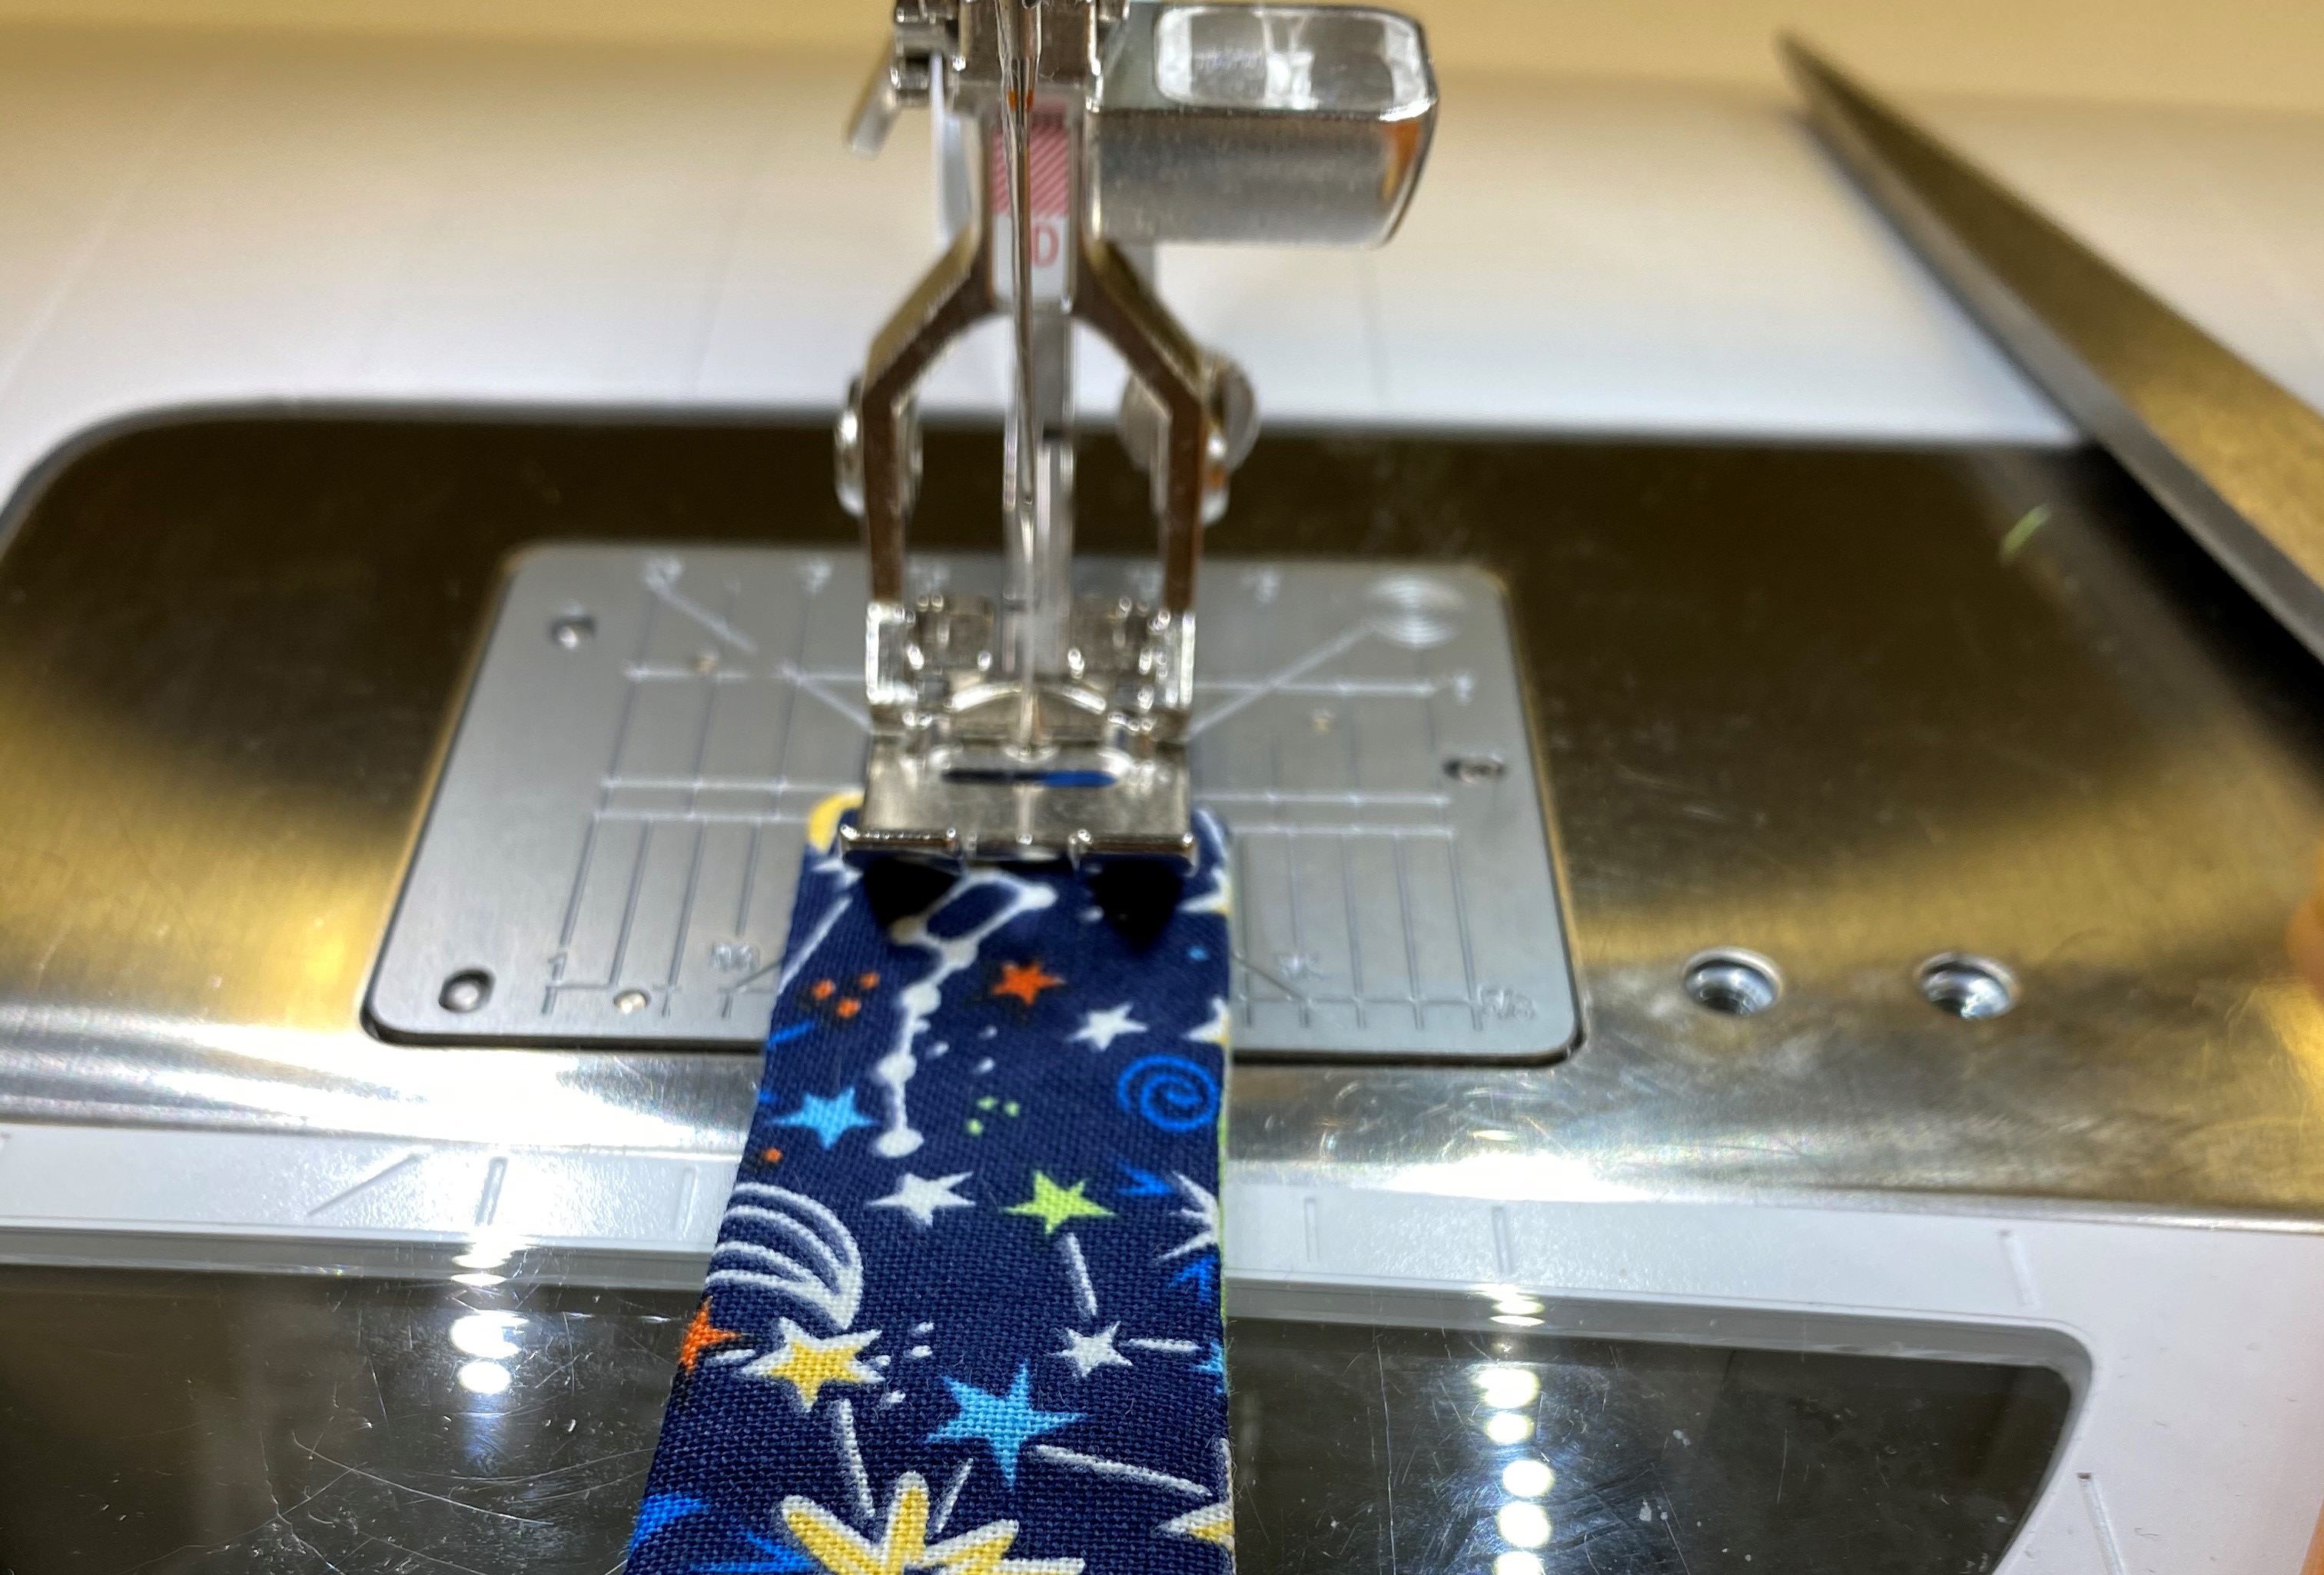
Finally, to hold the cap together in the wash, topstitch about 3/4″ – 1″ away from the edge of the brim.
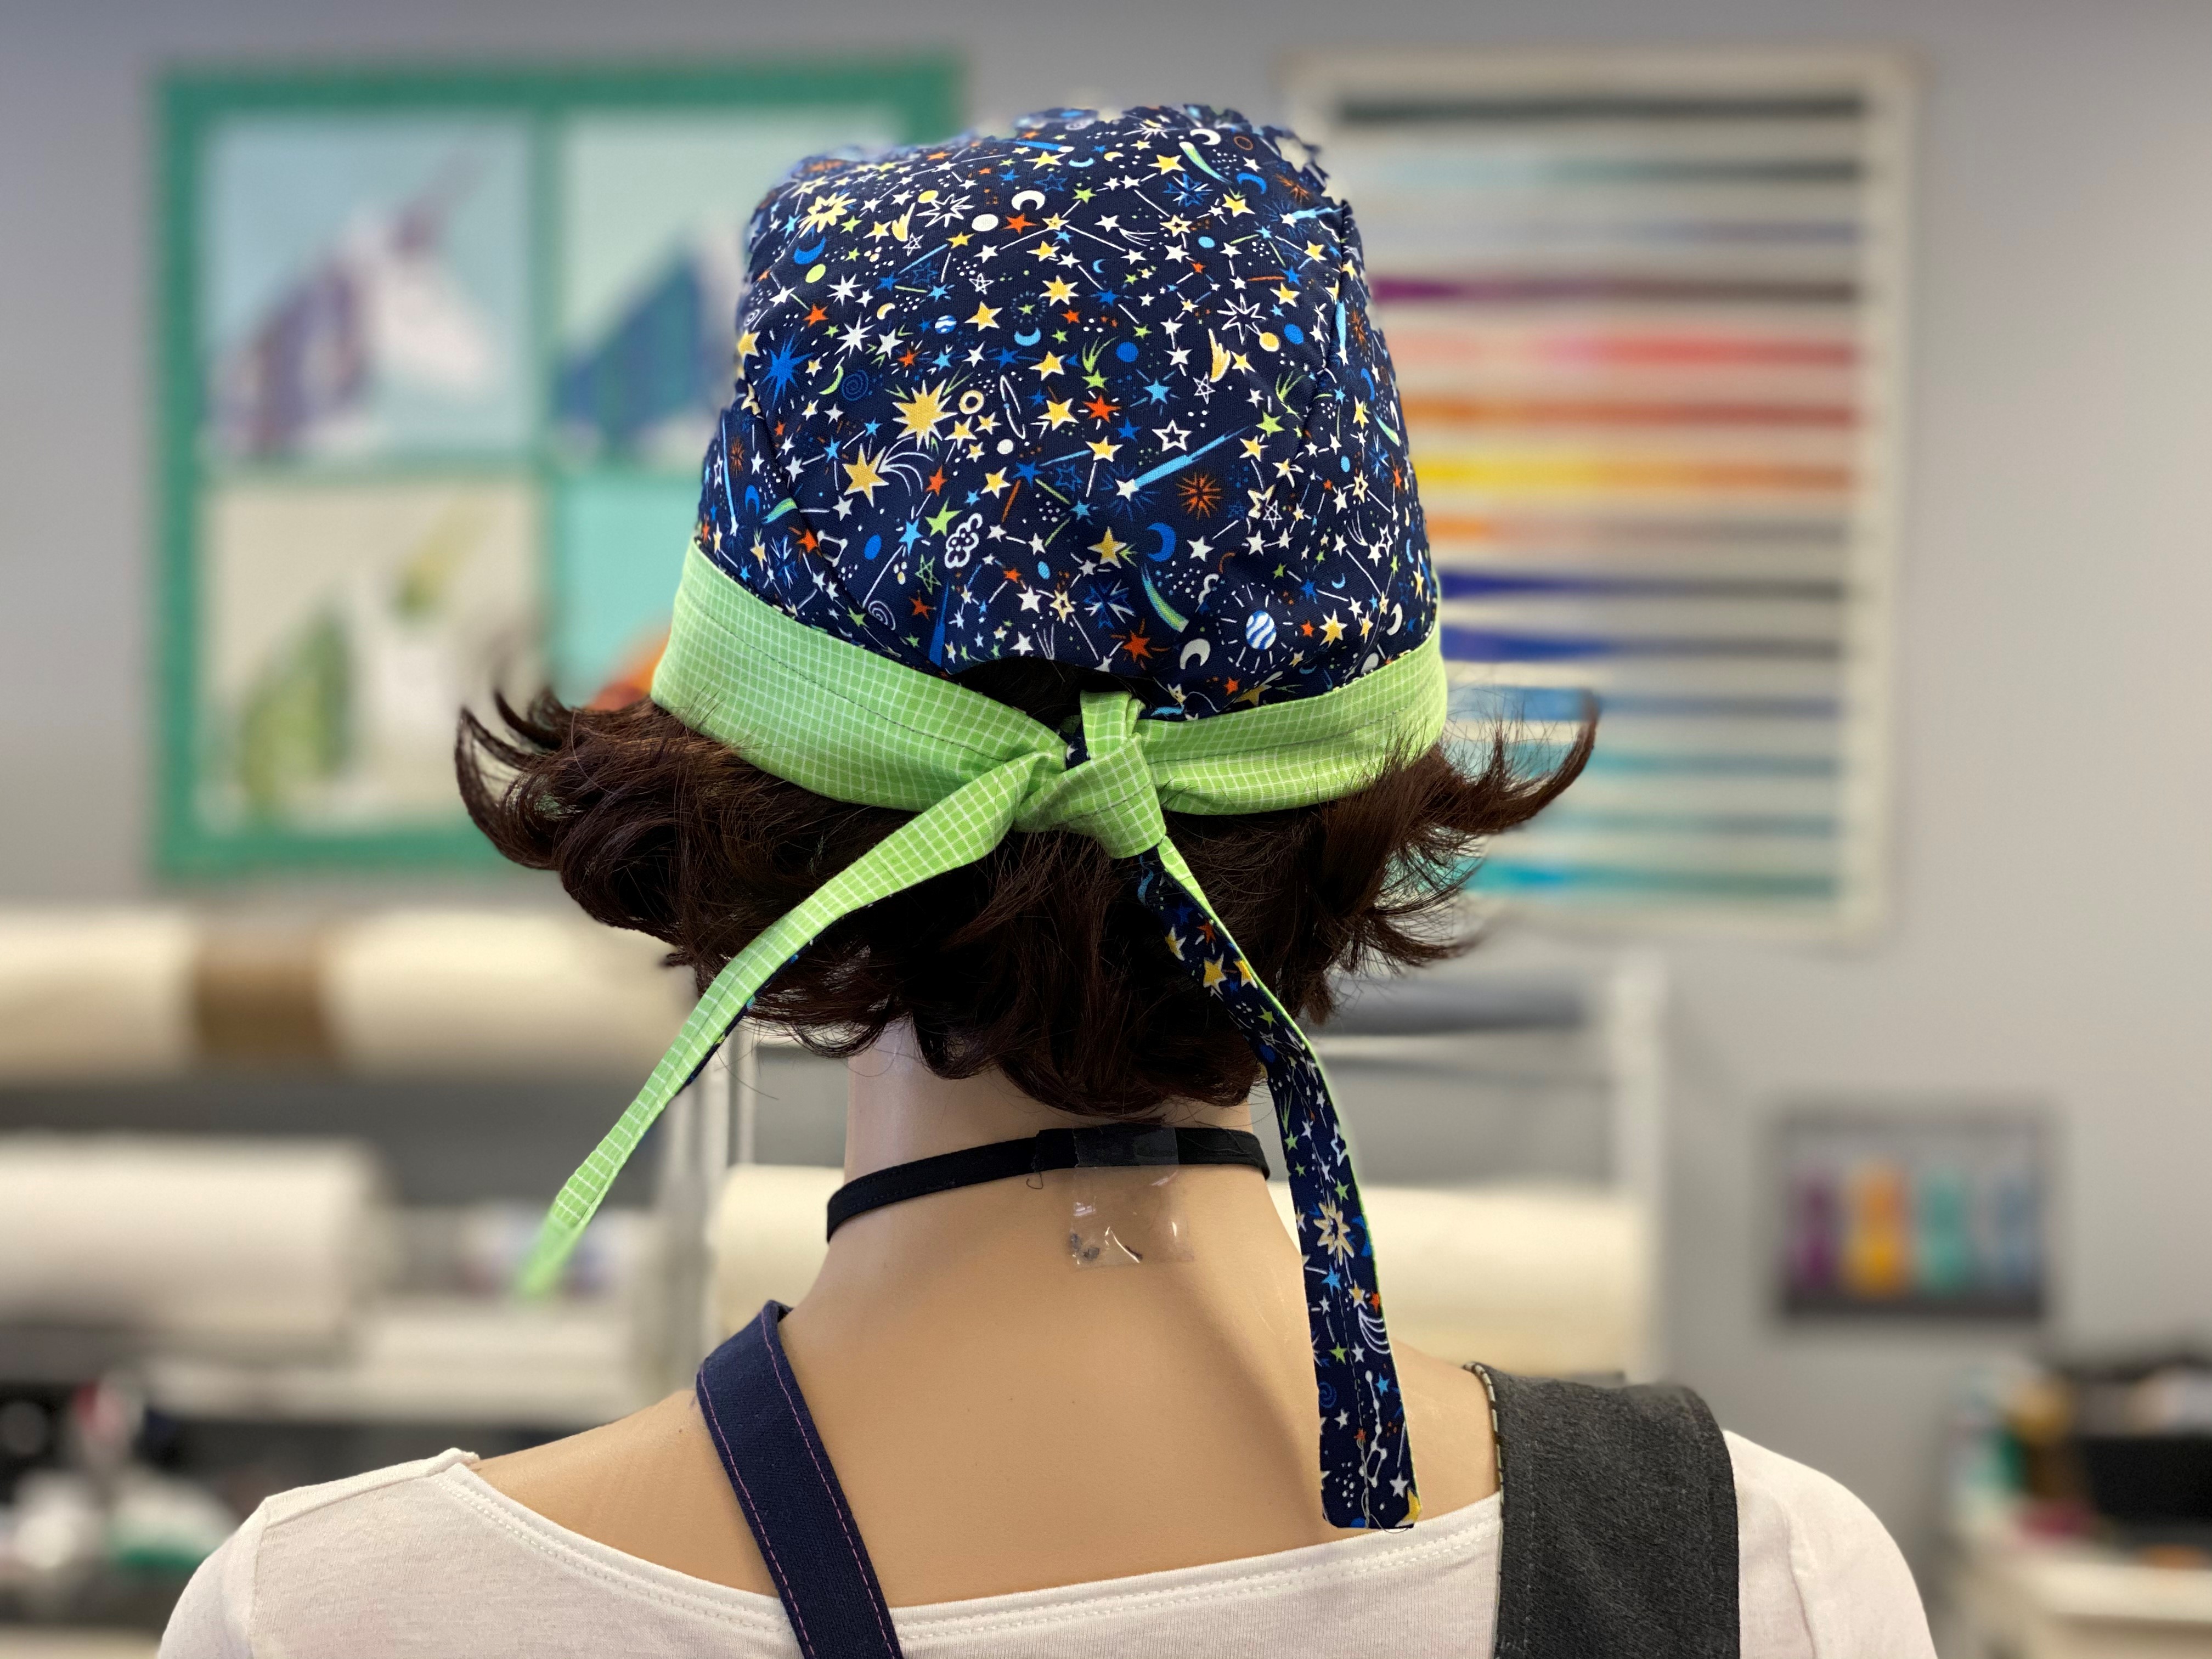
Woohoo! You have a scrub cap (or a do rag for a bad hair day). Listen we have to joke in times like this, but seriously, I haven’t seen a hairdresser and am resorting to wearing baseball hats.
Used Products


What you might also like


9 comments on “Scrub Cap Tutorial”
-
-
Thank you for your question. In order to make this a quick to sew project, we sewed the crown to the brim and did an overcast style stitch along the raw edge as not to let it unravel in the wash.
-
I did as a french seam
-
-
Here is my surgeon cap, I drafted my own pattern, takes about 7 minutes with serger and 790. I tried to post picture, but can’t..so am posting to e mail..Joann [email protected], I am on 50 right now..
-
Can’t wait to try this pattern. I’ve been making caps for nurses with interlock fabric without a pattern! They are not perfect but work well for them. Just a suggestion: I’ve been sewing a button to each side over the ears so that health personnel can hook their masks on the buttons and take stress off their ears.
-
How would you alter the pattern to accommodate all hair. Picture shows hair out
-
Hi Bolinda, The ties in the back of the cap allow it to be adjustable. The picture of the cap is on a mannequin and it was hard to get her wig in it 🙂 Thanks for the question.
-
-
Thank you for posting this pattern. How long should piece B be from fold to opposite edge.
-
Hi Sueella, The measurement I have is 21.5″ Thanks for your question.
-
Leave a Reply
You must be logged in to post a comment.

How did you turn the head piece so seam is inside? If you didn’t turn it inside out you would see the raw edges. This is the step I do not understand.
Manquist
[email protected]