Adding Leather Accents to Existing Patterns
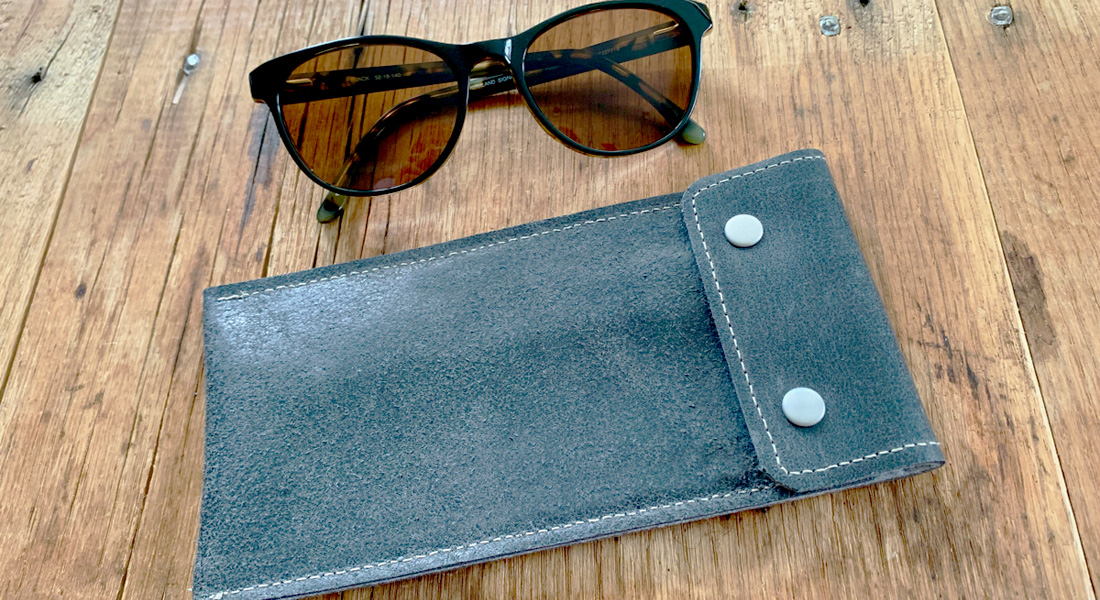
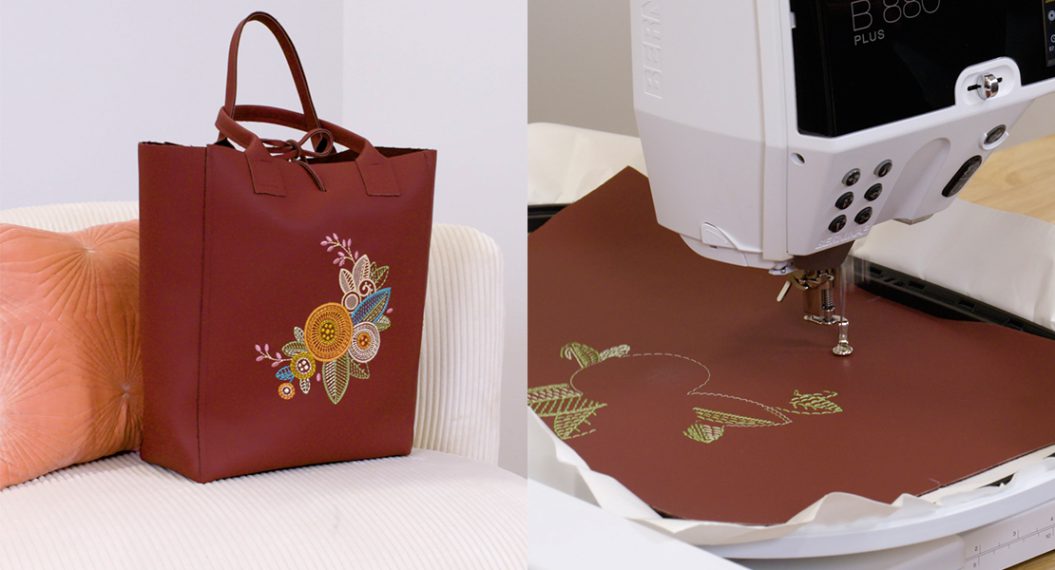
Now that you know the basics for sewing leather with your BERNINA machine, and maybe have even tried your first leather project, I wanted to show you some ways to add leather accents to existing patterns such as bags! While the patterns may not call for it, adding leather as an accent or for strength can really take your projects to the next level.
Materials for Making Leather Handles or Straps
- Leather (approximately 3-4oz weight) or premade leather straps
- Utility knife
- Mat for cutting with a fixed blade
- Metal Ruler
- Nylon upholstery thread
- Leather needle
- End cutter (optional)
- Double cap rivets (optional)
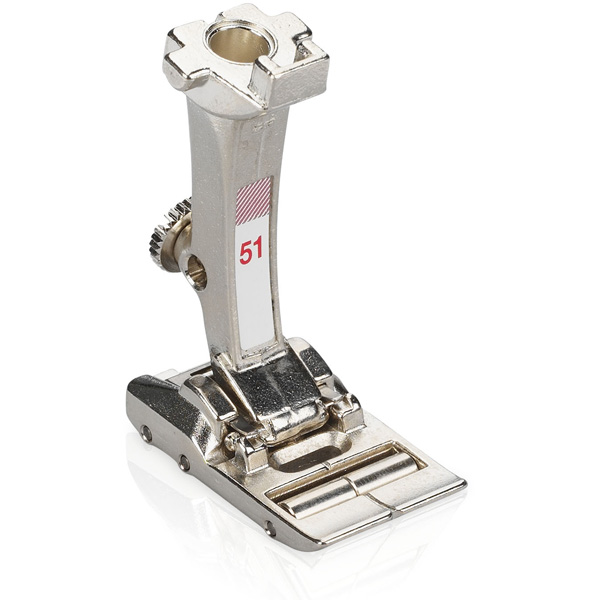
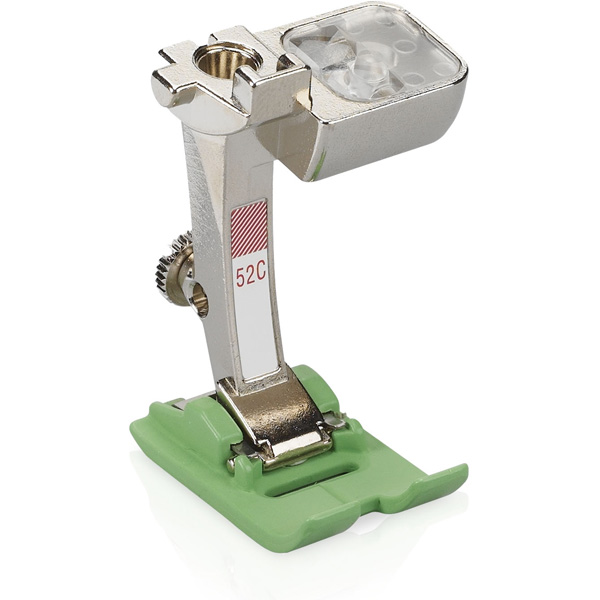
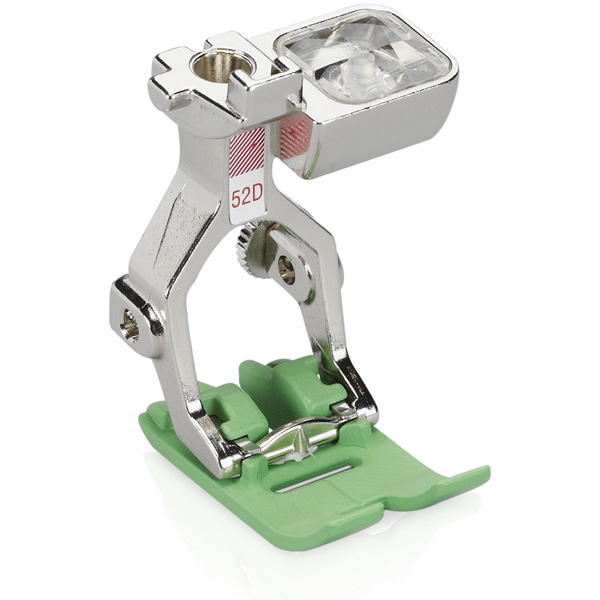
- Presser foot for leather (BERNINA Roller Foot #51, BERNINA Zigzag foot with non-stick sole #52, BERNINA Straight-stitch foot with non-stick sole #53 or BERNINA Open embroidery foot with non-stick sole #56.)
Instructions for Making Leather Handles or Straps
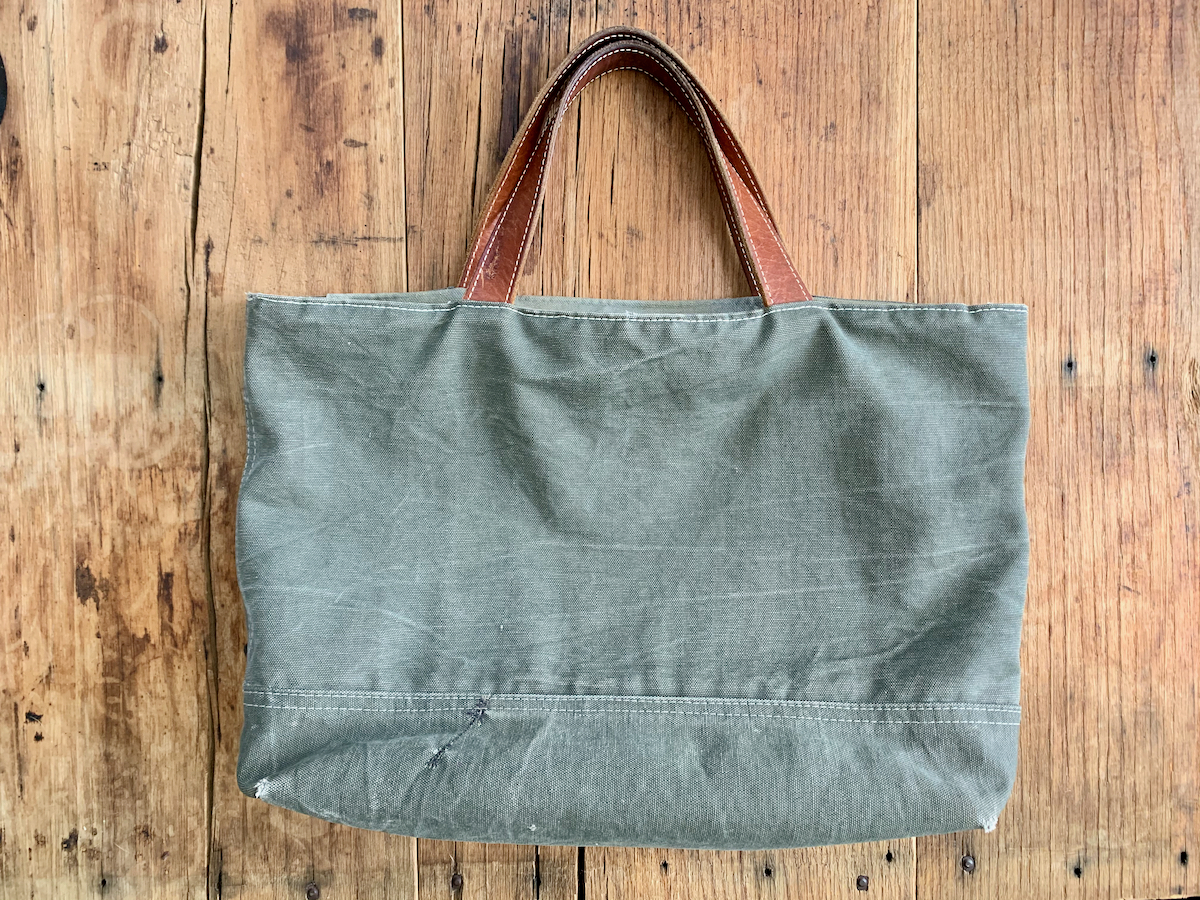
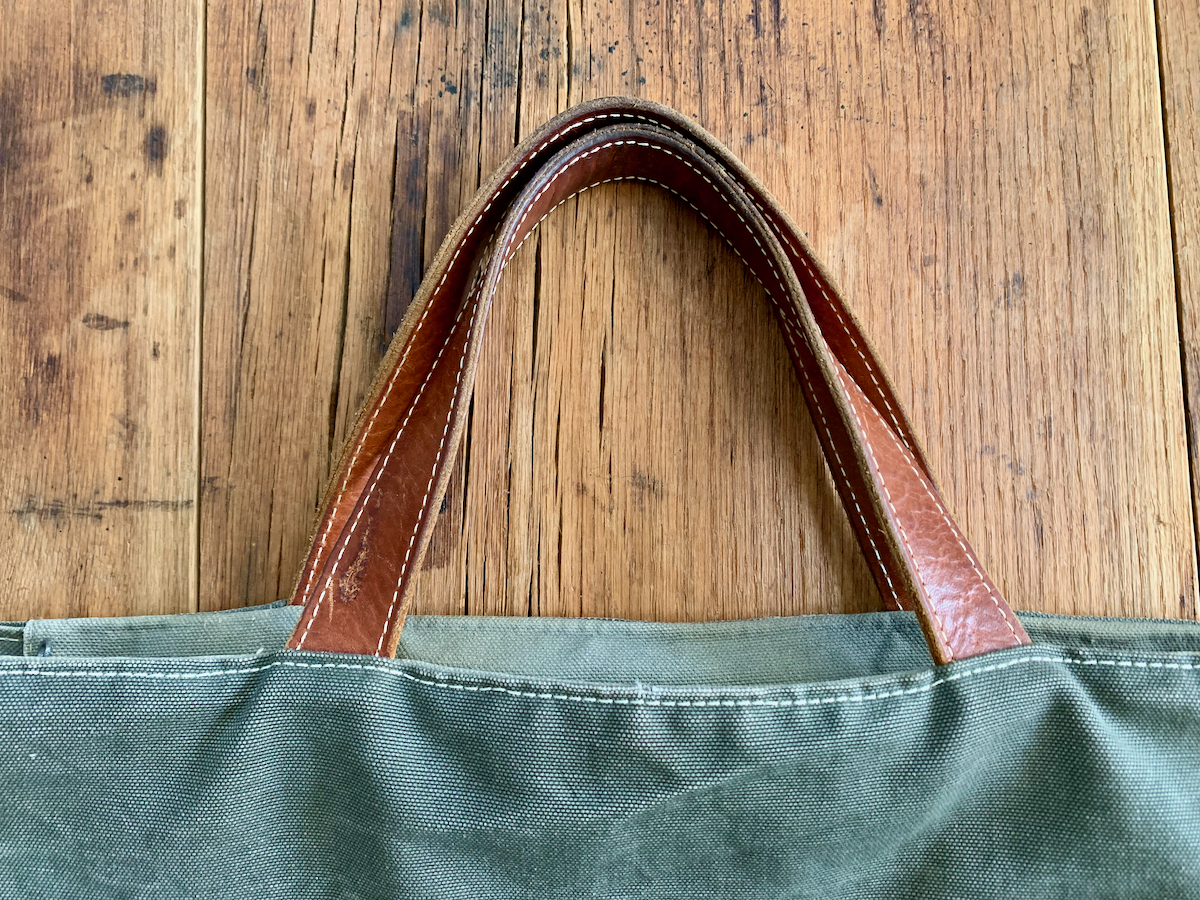
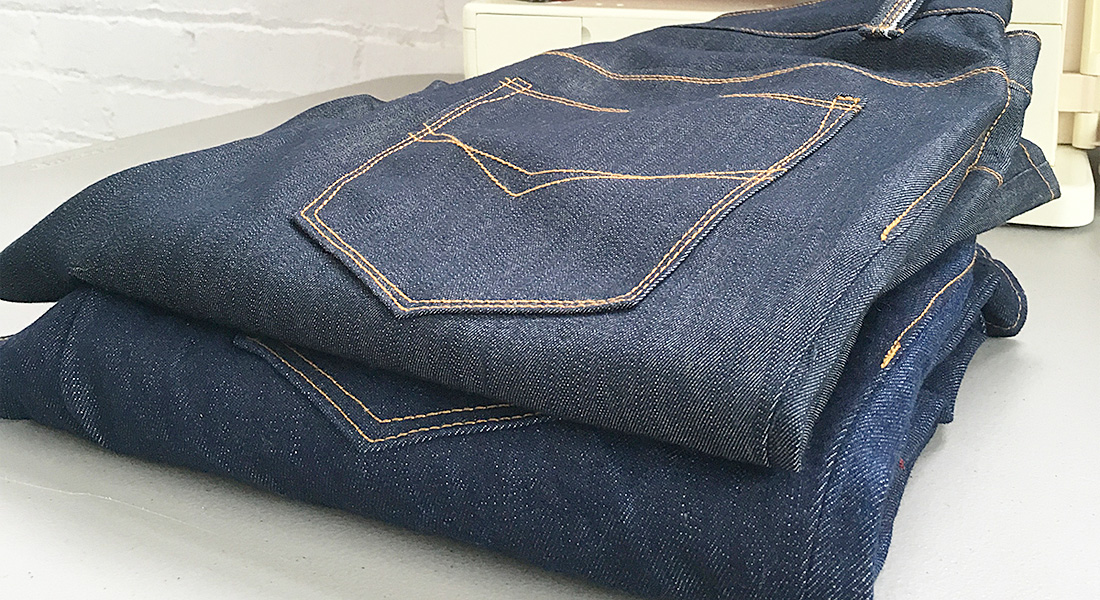
When you are making a cotton or canvas handbag, there are a couple of ways that you can add a lot of strength and durability to your project by swapping cotton for leather. First is to swap a cotton strap for a leather one! A leather handle not only stretches less than a cotton one, it will stay clean longer and also give your projects a higher-end look.
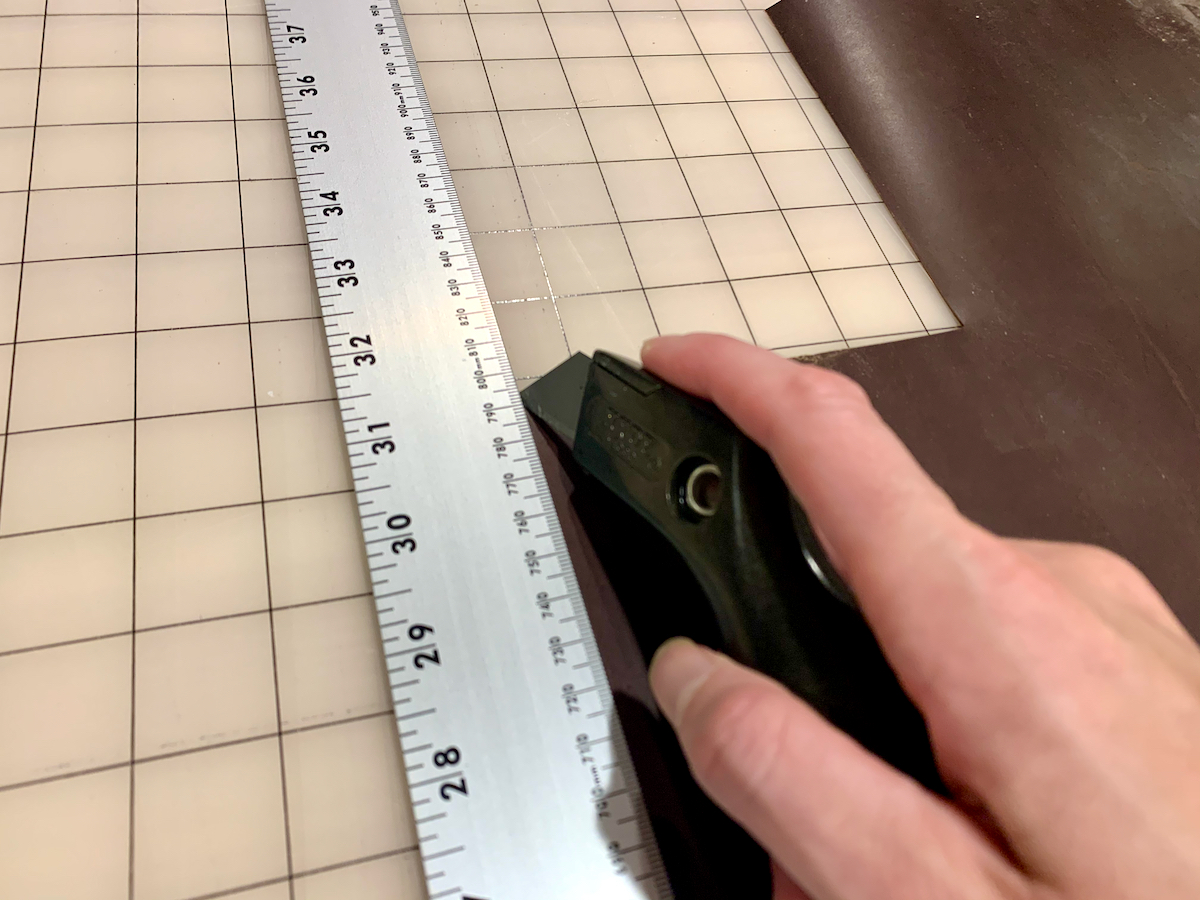
Cutting
To make a leather strap, first you need to choose the length and width that suits both you and your project. I am a fan of a 3/4” strap personally, but you can cut any width you like. For the length, you can pin a length of string to your bag and hang the bag on your shoulder, adjusting the length until it is right where you like it. After measuring the string, cut your leather strap to match. You will want to use your fixed blade and non-rotary mat for this.
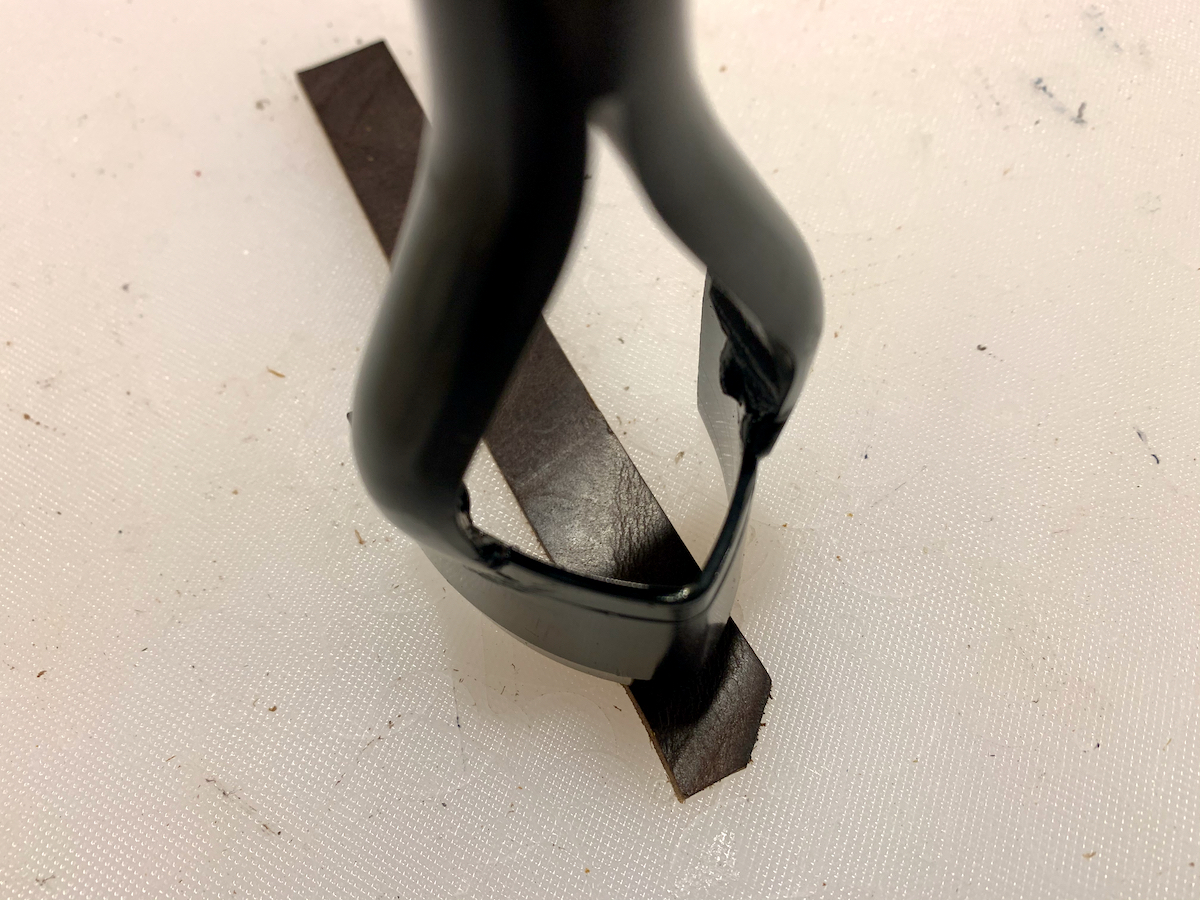
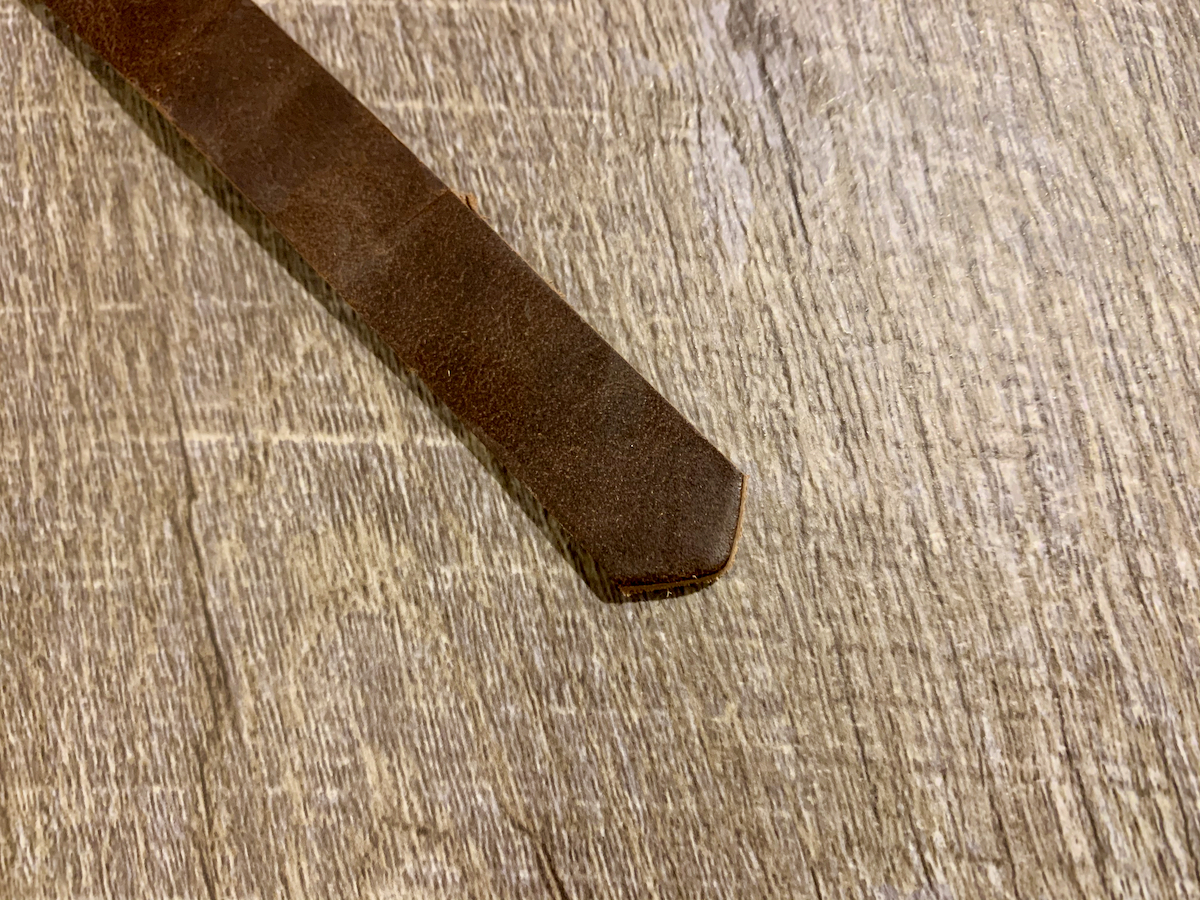
Shaping
Once you have your strap or straps cut to length, you can trim the end using an end cutter to give it an interesting shape if you wish. Or you can leave the end nice and square.
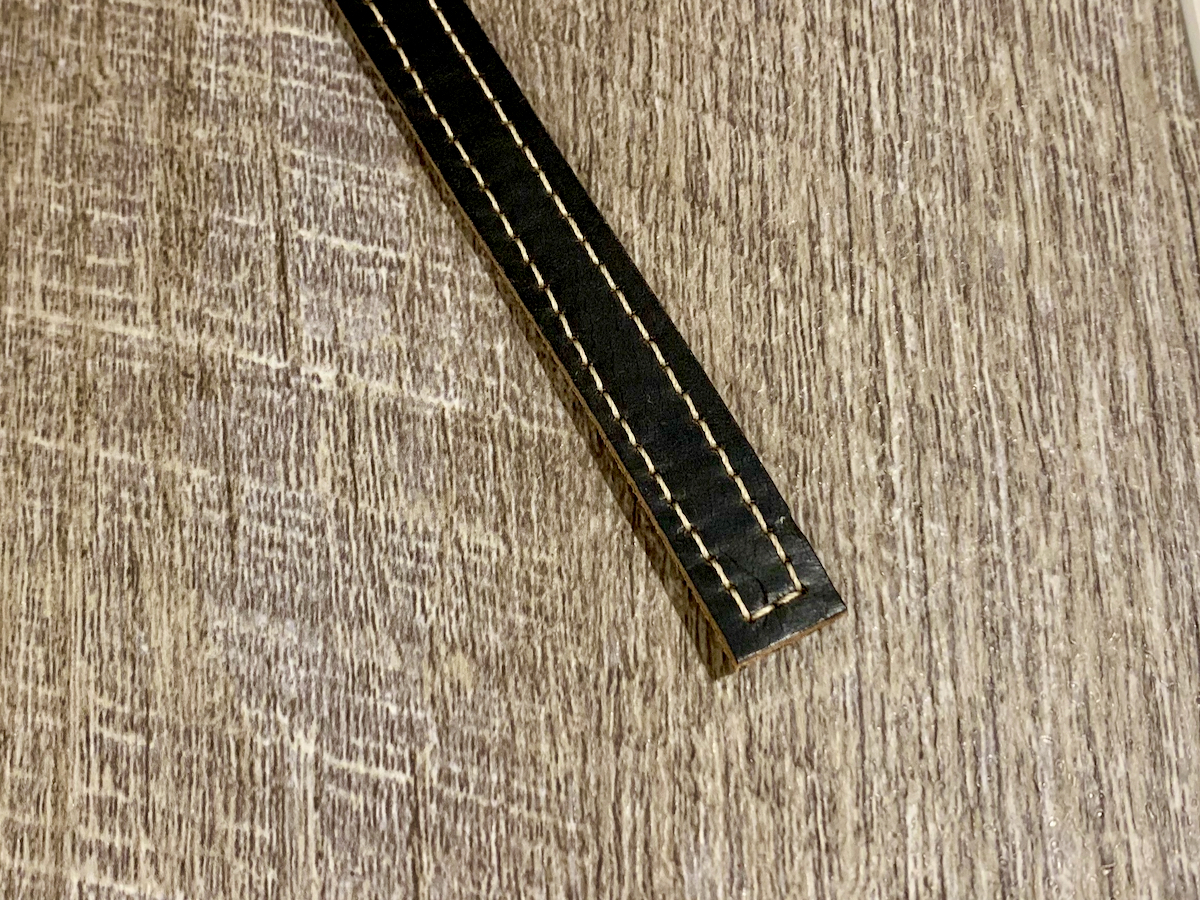
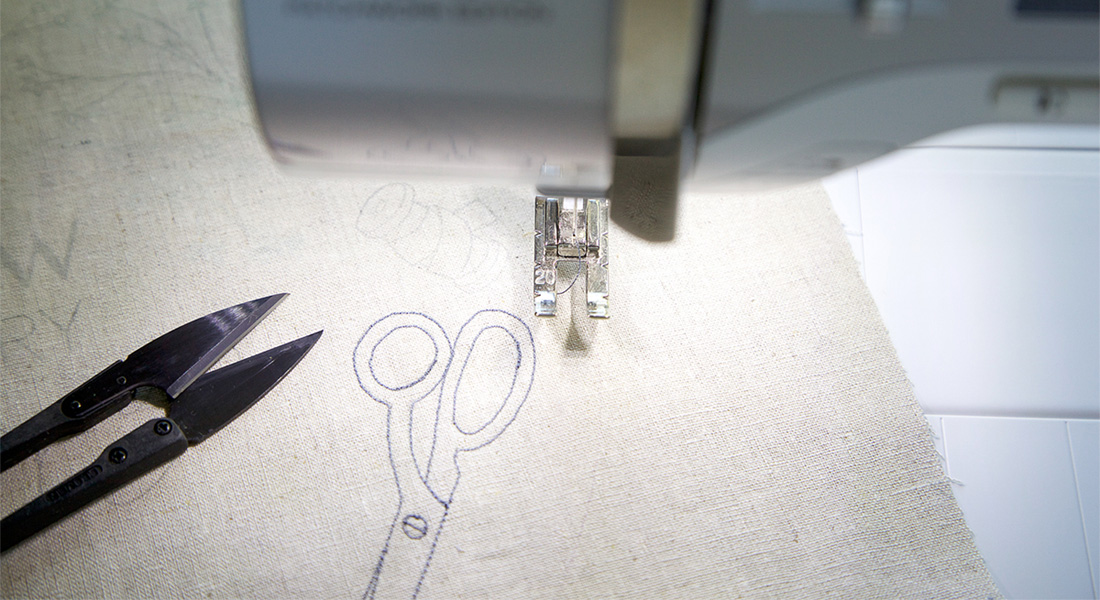
Stitching
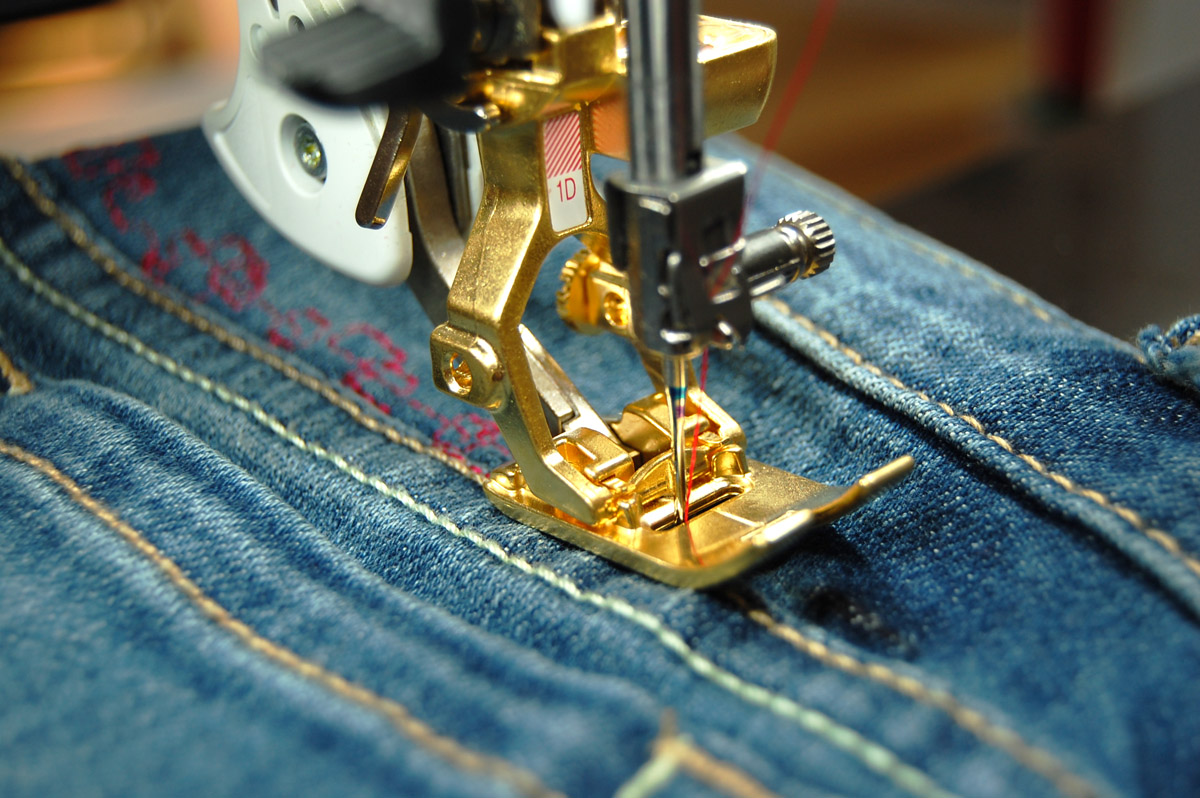
With your perfectly shaped straps, you now want to move to your BERNINA and stitch around the perimeter of the strap with a wide stitch length (3.5-4.5). Be sure to use a leather needle in your machine along with nylon upholstery thread and one of the presser feet listed above. Stitching around the edge will keep your strap from stretching out and add to the durability. Backstitch at the beginning and end for a few stitches, or use a lighter to melt the ends to secure them.

*Don’t panic if while you are sewing down one side of the strap, it starts to curve off to one side. It is just the leather stretching slightly on the sewn side. It will even out when you sew the other long edge, I promise!
Your completed straps can now be attached to your bag.
Materials for Attaching Leather Handles or Straps
- Nylon upholstery thread
- Leather needle
- Presser foot for leather (see above)
- Double-sided tape (optional)
OR
- Hole punch that corresponds to the size of the rivet (usually 1/8″)
- Punching mat
- Rivet setter and base
- Mallet
- Double Cap Rivets
Instructions for Attaching Leather Handles or Straps
There are three ways to attach leather handles to your bag: 1) sewn into the top seam, 2) sewn onto the surface of the bag, or 3) riveted to the surface of your bag. You will want to refer to your bag pattern to determine which one will work best.
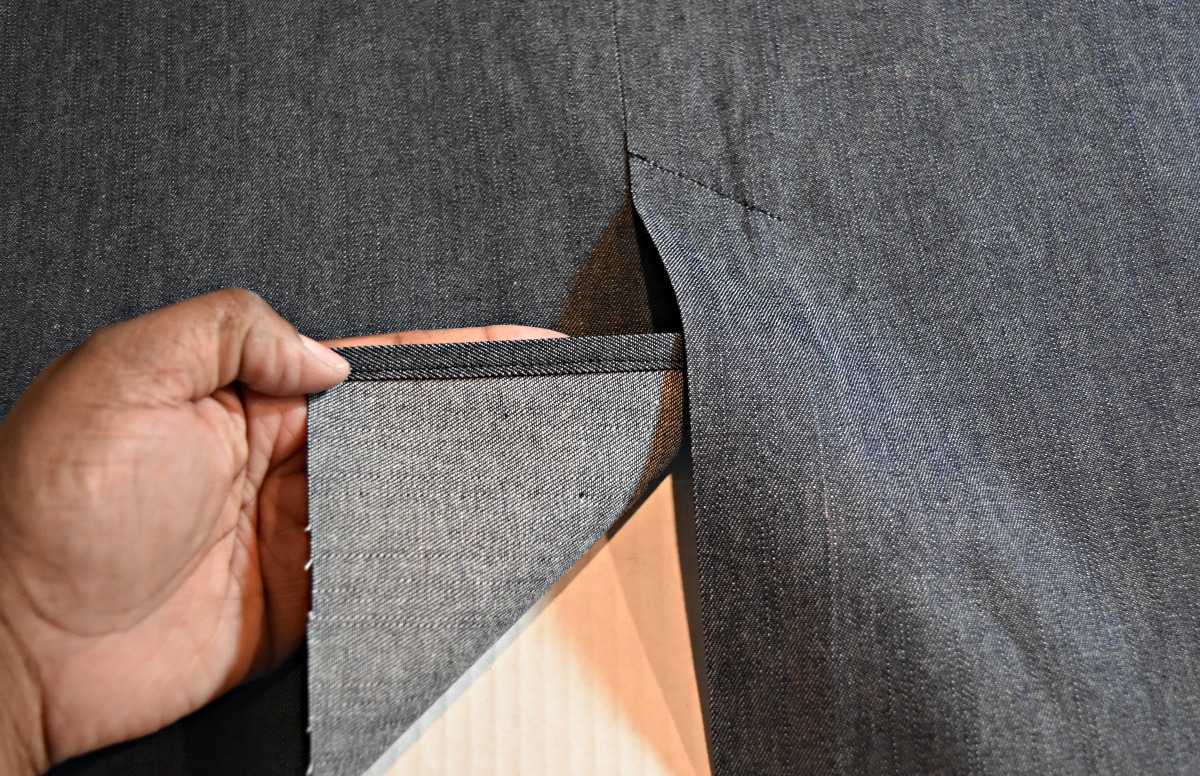
Sewn Into Top Seam
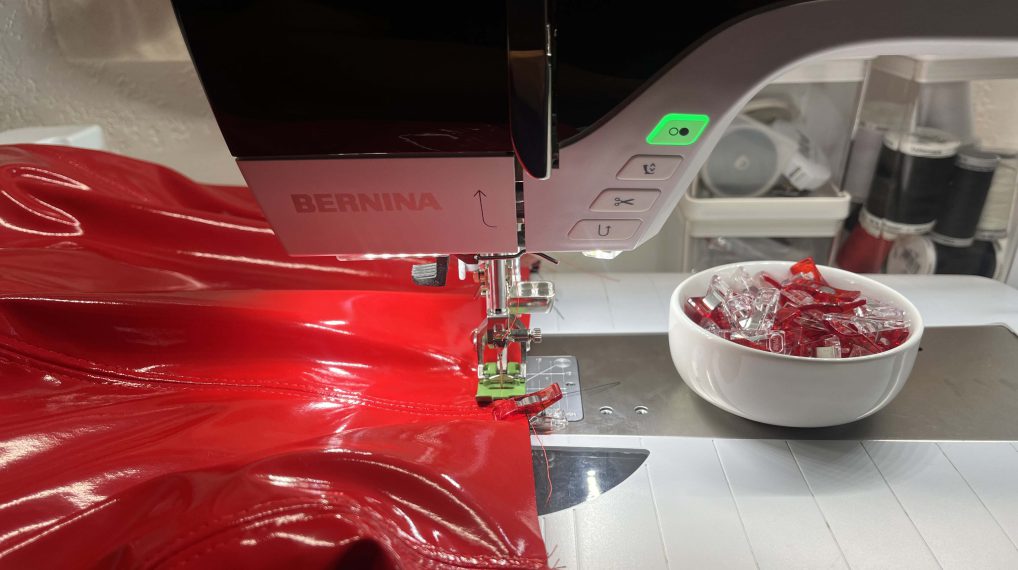
To sew your handle into the top seam of your bag, follow the instructions in your pattern for placing the handles in the correct place within the seam (you will want to use binder clips or Clover Wonder Clips to hold on to the leather rather than a pin). Stitch around the top seam as you normally would with your regular needle and cotton or poly thread, skipping over the spots in the seam where the handles are and leaving a space for turning. Change out your regular needle for a leather needle, and your thread for nylon upholstery thread. Go back and stitch over the spots where the leather handles are in the seam. Turn your bag right side out and top stitch using the leather needle and the upholstery thread.
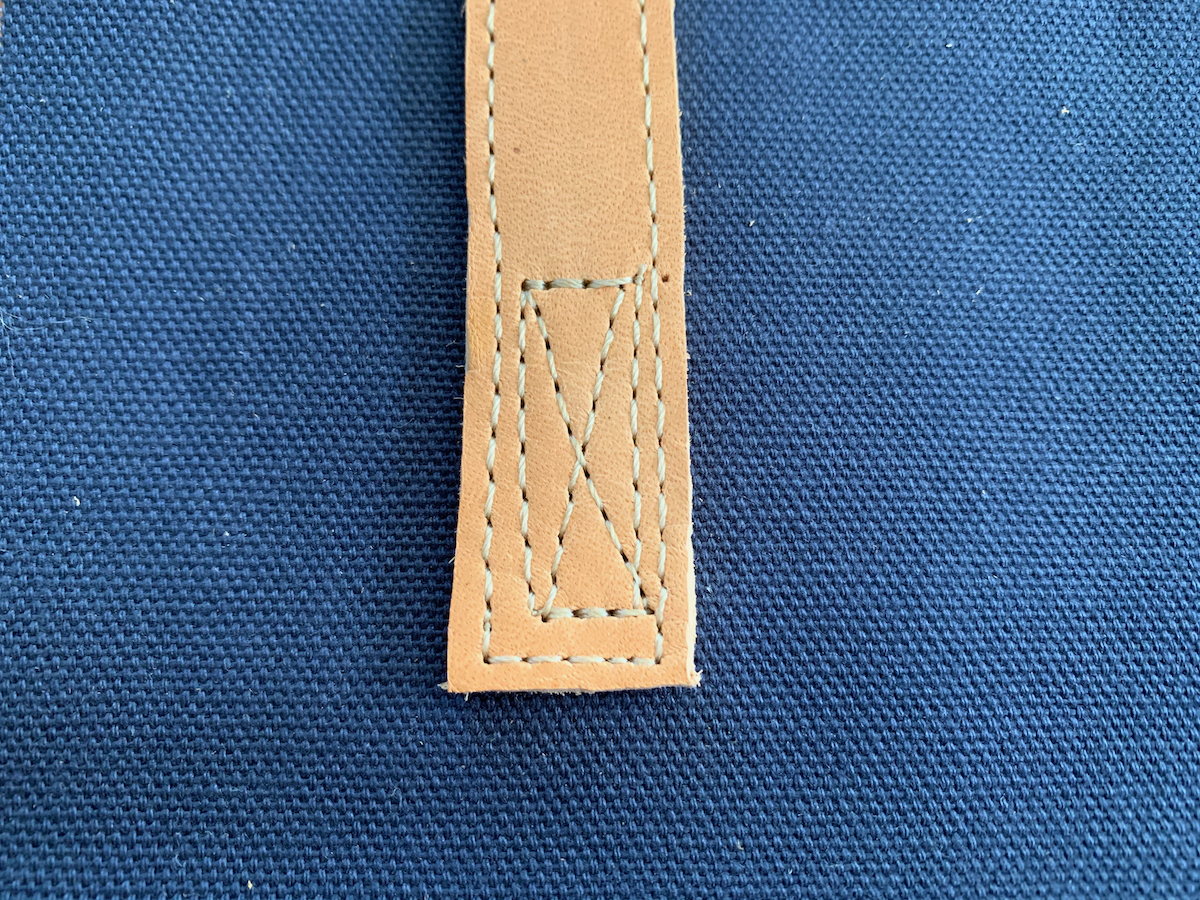
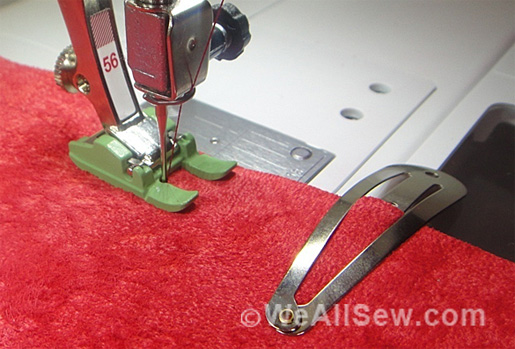
Sewn On To Surface
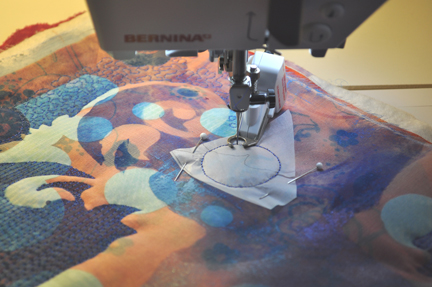
If you are sewing your strap to the surface of the bag, you can use double-sided tape to help the handle stay in place while you stitch it. The photo below shows an example of a stitch pattern you might use to attach your strap to the surface of your bag. Use your pattern as guidance for placement for the handles.
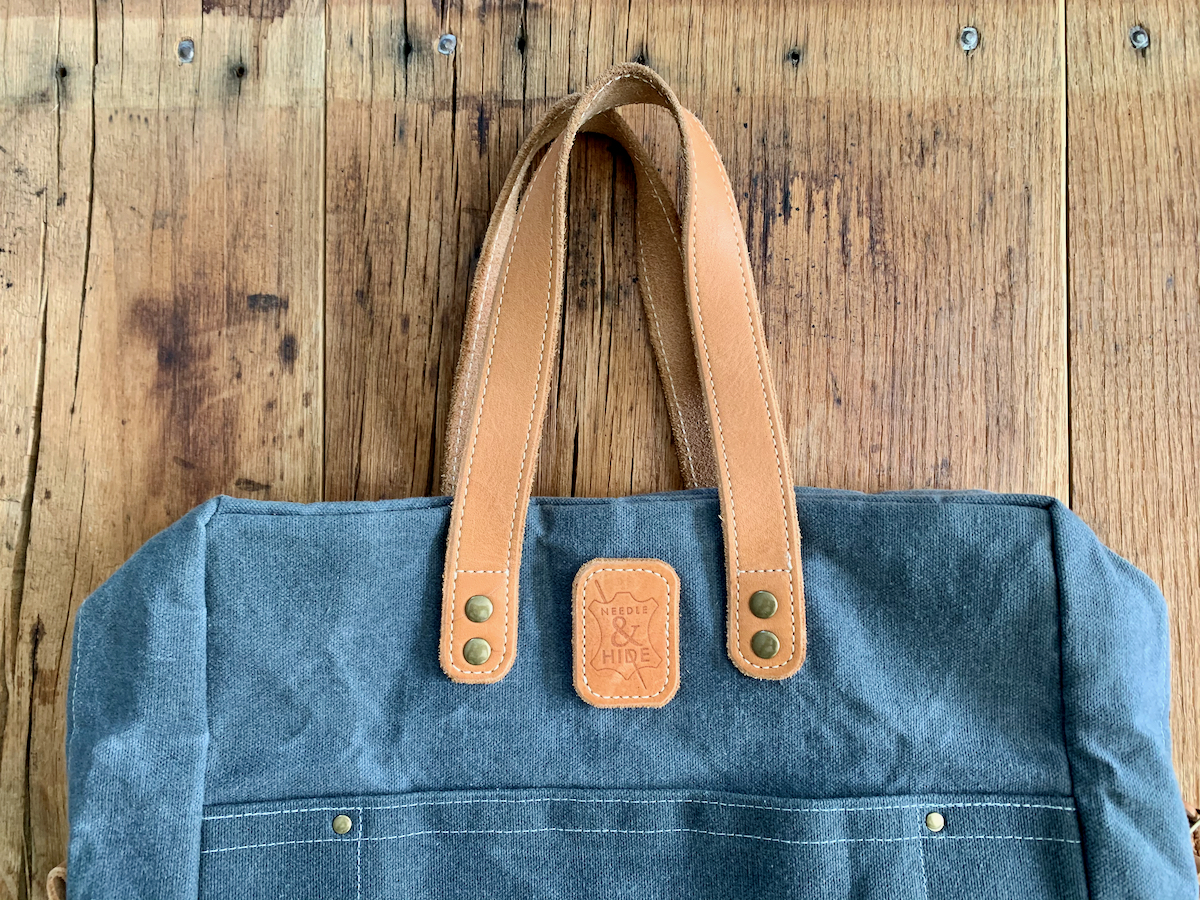
Riveted
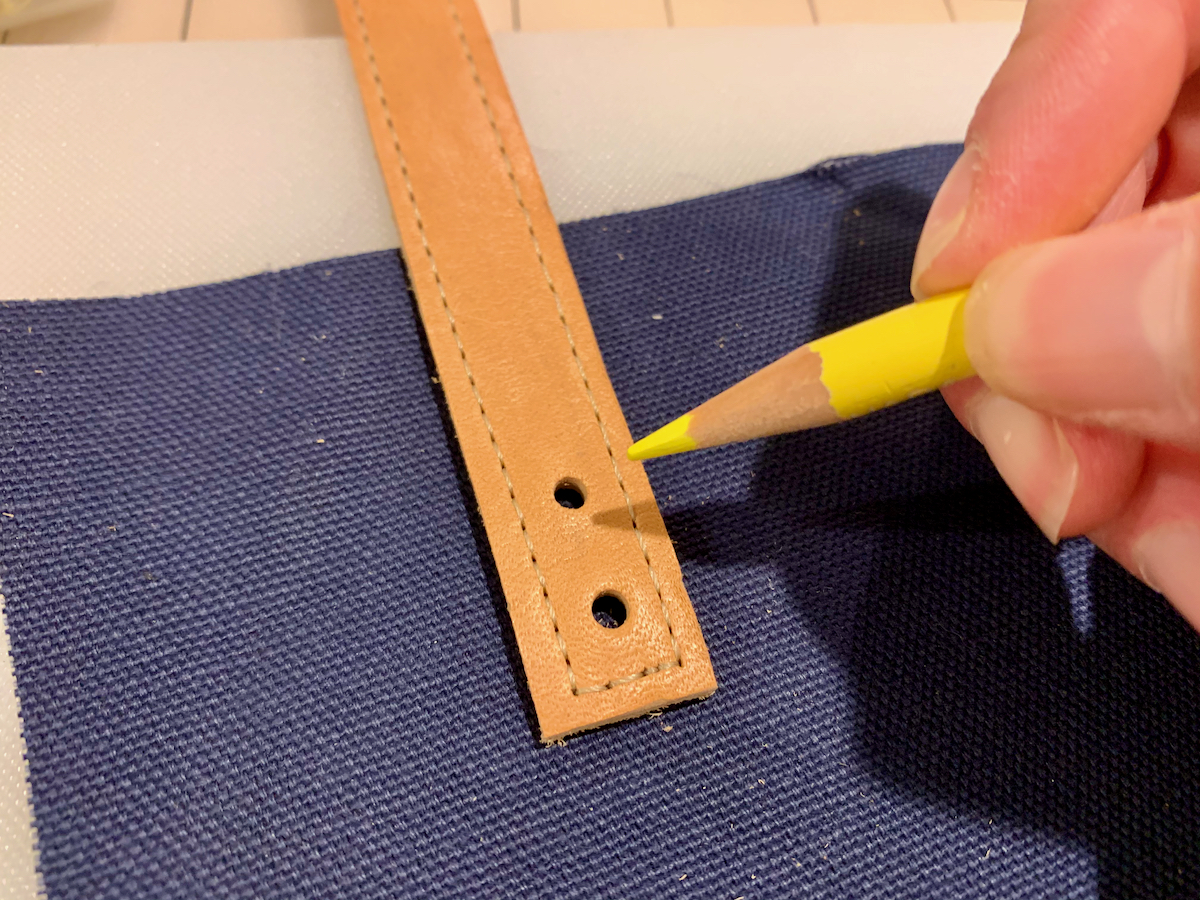
If you wish to rivet your strap to your bag, two rivets per end will work well for most handles. Using your hole punch, tool mat, and mallet, punch two holes far enough apart that when the rivet caps are set, they will not touch each other.

Place your handle on the bag in the correct location. Mark the two holes using your preferred marking utensil (frixon, chalk, etc).
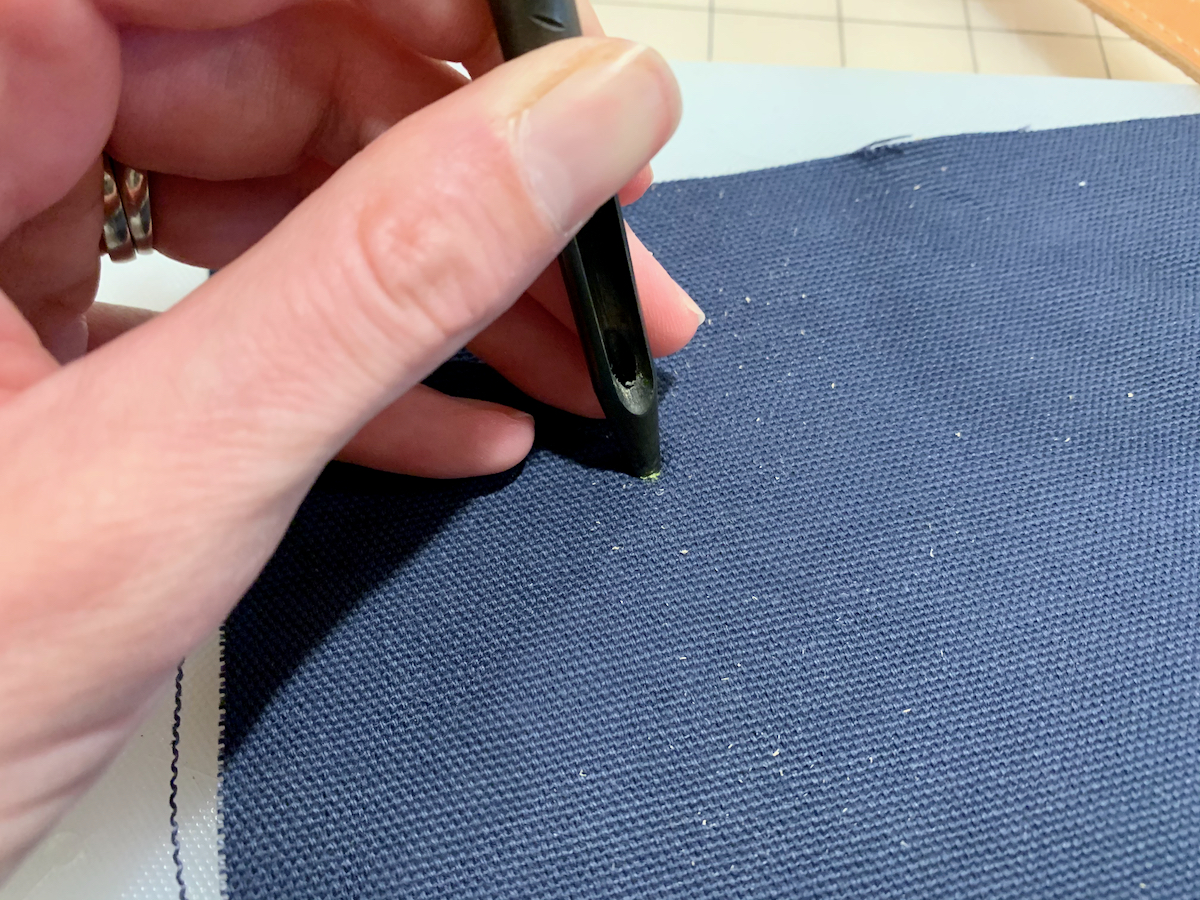
Punch the holes corresponding with your handles in your bag again using the hole punch and tool mat.
Line up your handles on the bag, and place the rivets through the hole and snap the cap on. The rivets are designed to lightly snap in place so that it is easier to position the rivet setter.
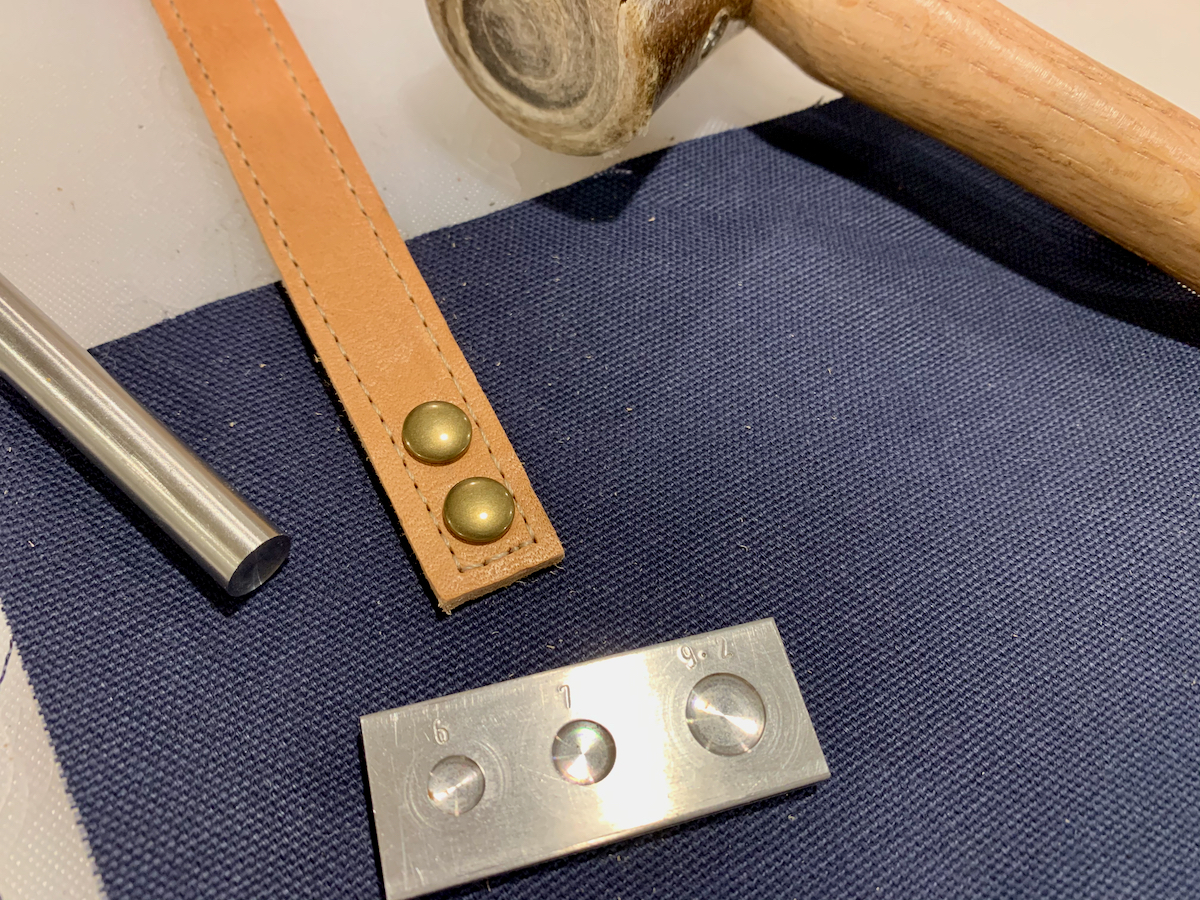
Place the cup end of the rivet setter under the rivet, making sure you are using the correct size of cup for your rivet. Using the correct size rivet setter tool, lightly tap the rivet into place with the mallet, making sure that you have everything lined up completely vertically, not off on an angle. Make sure the tool is centered over the rivet so that you do not get a ridge in the rivet cap.

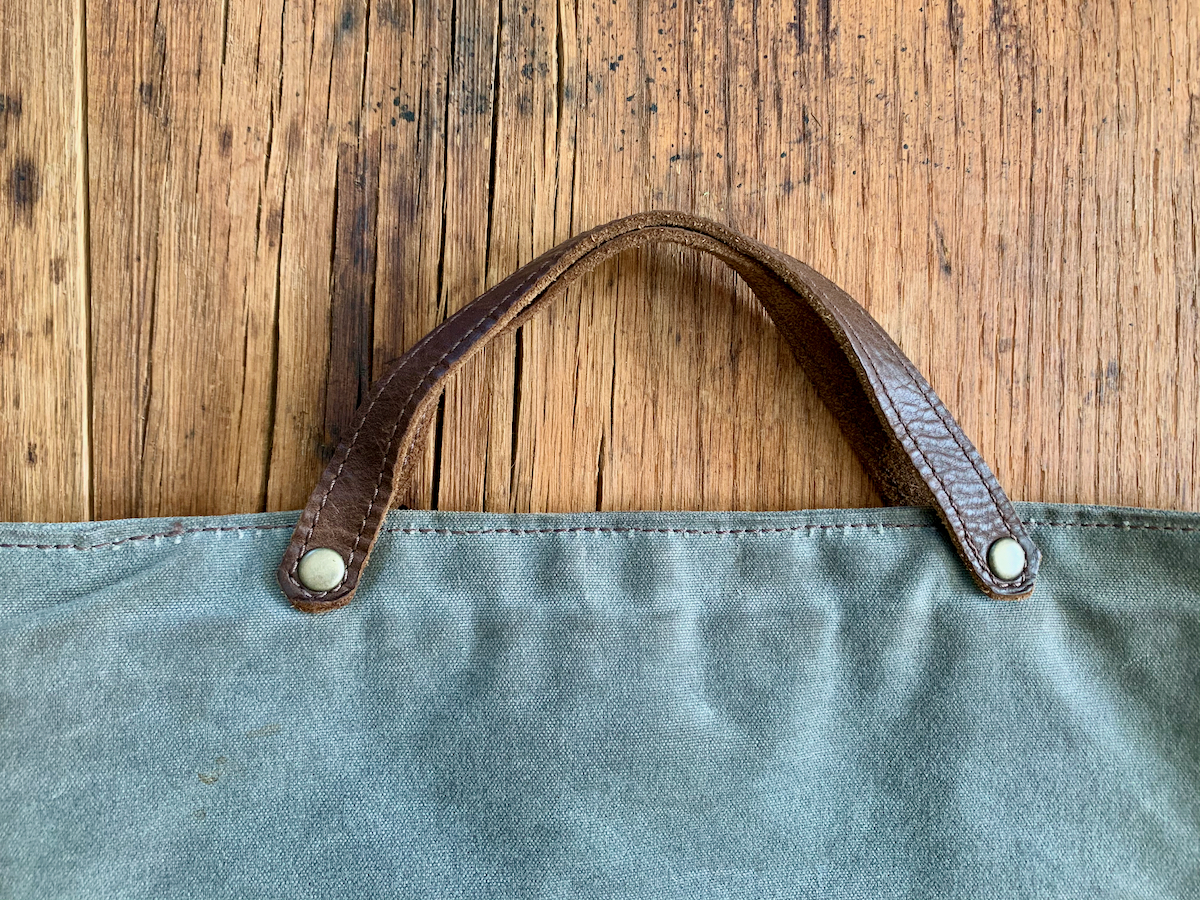
Repeat for all of your rivets. You can also try using a single rivet for a smaller handle that doesn’t need as much support.
Other Leather Accents
If you have a bag pattern that uses small cotton loops on the side to hold a ring that your strap is clipped to, this is an excellent place to switch for some leather.
Cut your leather to match the FINISHED size of the cotton loop that your pattern calls for. Stitch down both sides of the leather tab as you per the instructions for creating a leather strap. Carefully insert the leather into the side seam of your bag, making sure to use a leather needle to stitch through that area. (You will want to switch needles as you sew the side seam – this might seem time consuming but using a leather needle for areas without leather can cause small holes in the fabric. It is best to use it just for the inch or so that has the leather incorporated into the seam, backstitching well at the beginning and end).

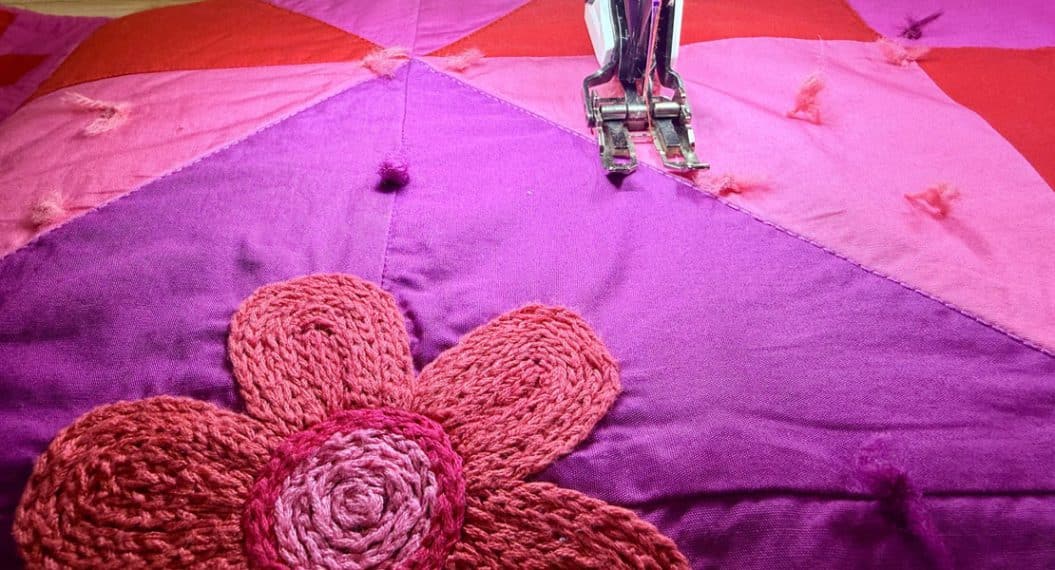
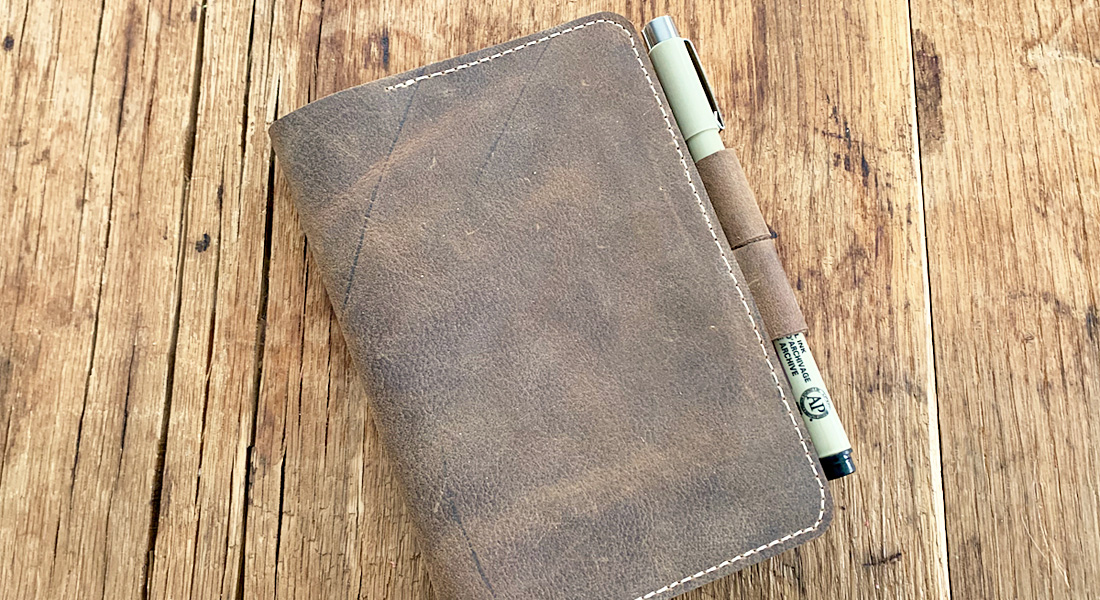
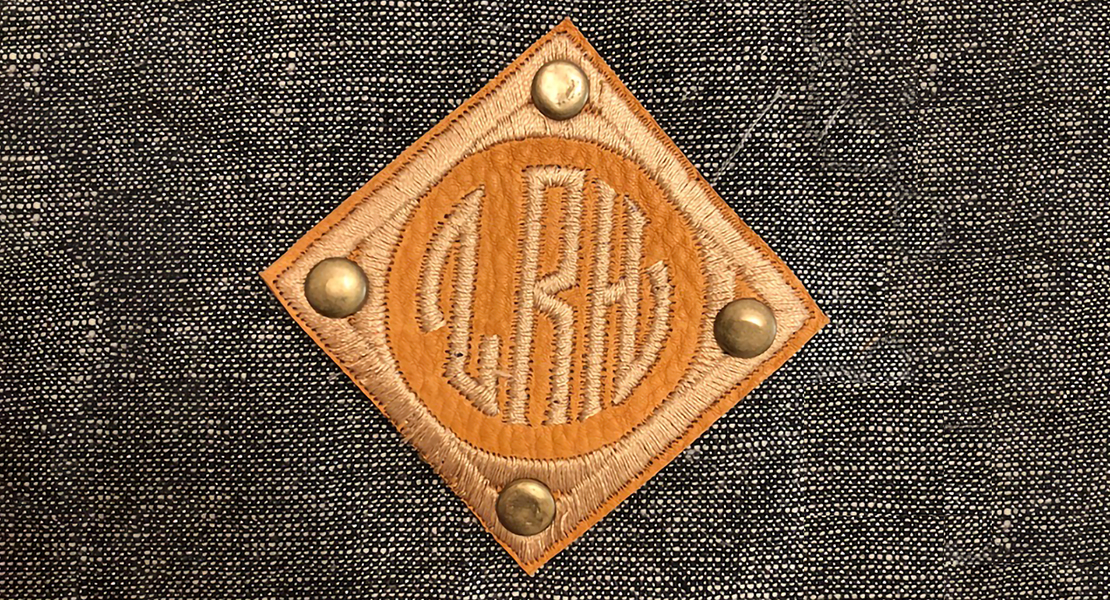
Tags are another great way to add a leather detail to your bag. You can use letter stamps or shape tools to personalize your tag before you stitch it on. This can really make a bag or project look special!

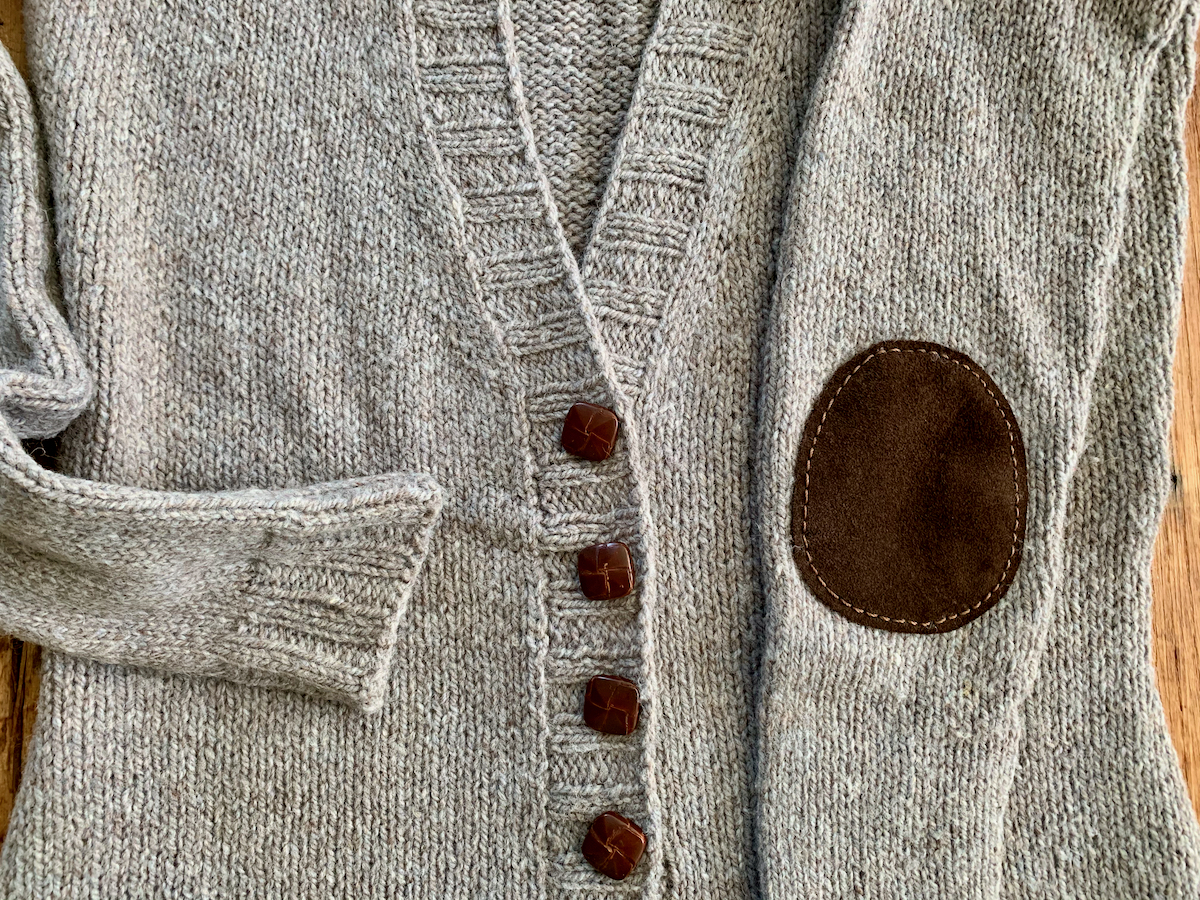
But tags aren’t only for bags! What about adding one to your next knit project? Or elbow patches on a favorite sweater?
Hopefully this post gives you some ideas and a starting point for adding leather accents to existing patterns. Now that you have some practice working with leather on your BERNINA, let your imagination run wild!
Used Products


What you might also like


2 comments on “Adding Leather Accents to Existing Patterns”
-
-
Thank you! Keep your eyes peeled on the site….there just might be a pattern coming!
-
Leave a Reply
You must be logged in to post a comment.

Great leather tricks to use. Any ideas for good bag/tote patterns you may have. I am always on the lookout for tote patterns. Thanks and keep up the great work.