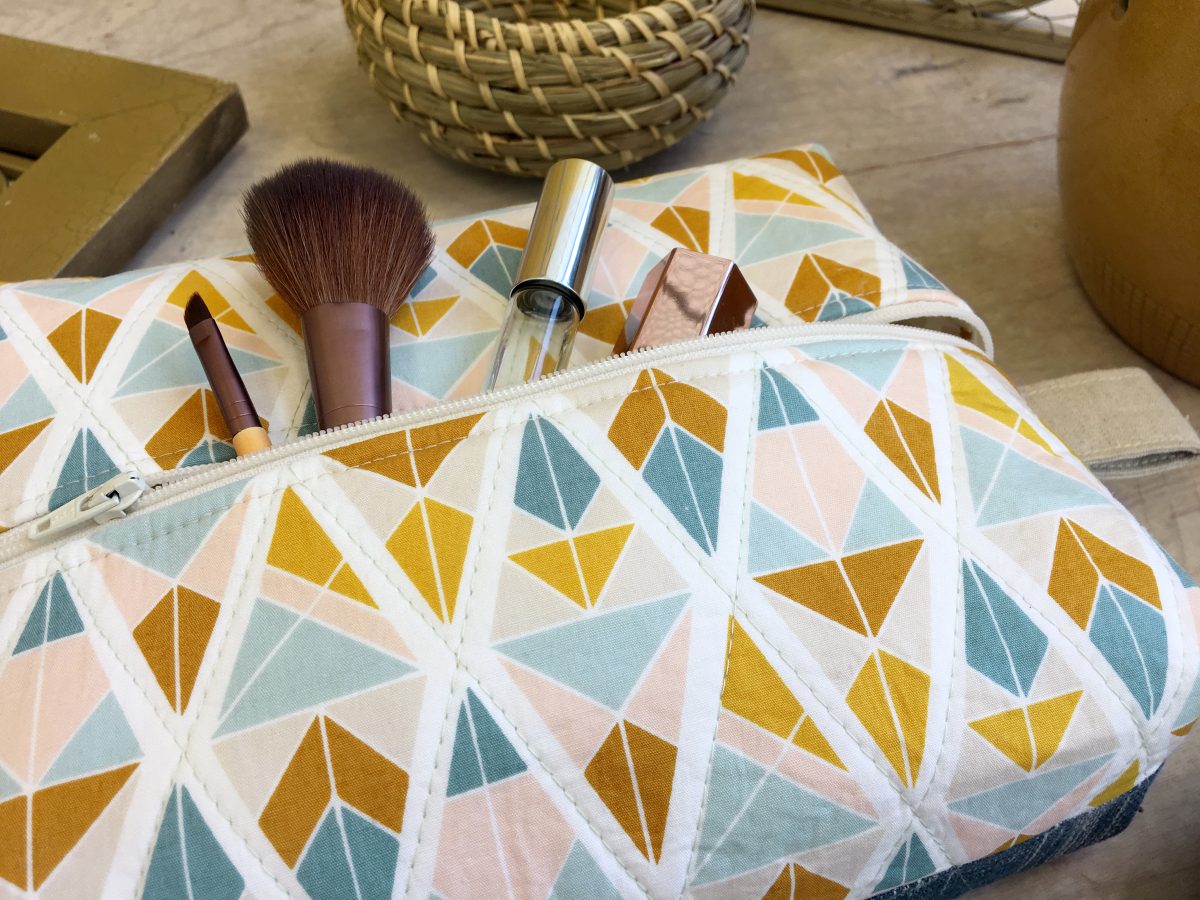
How to Make a Zippered Travel Pouch for Dad
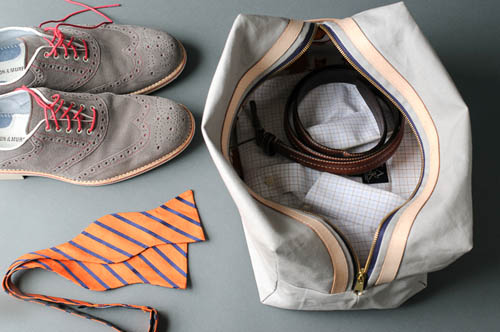
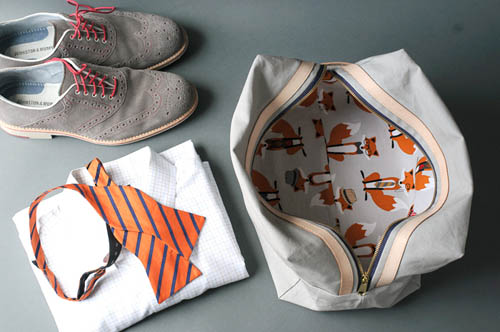
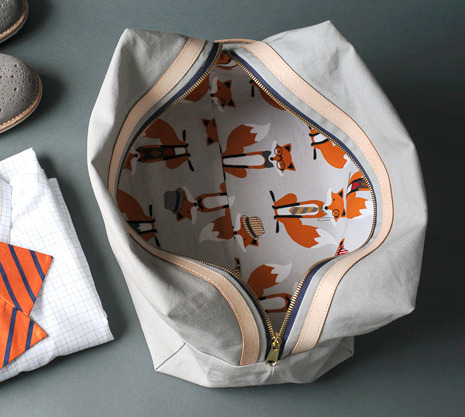
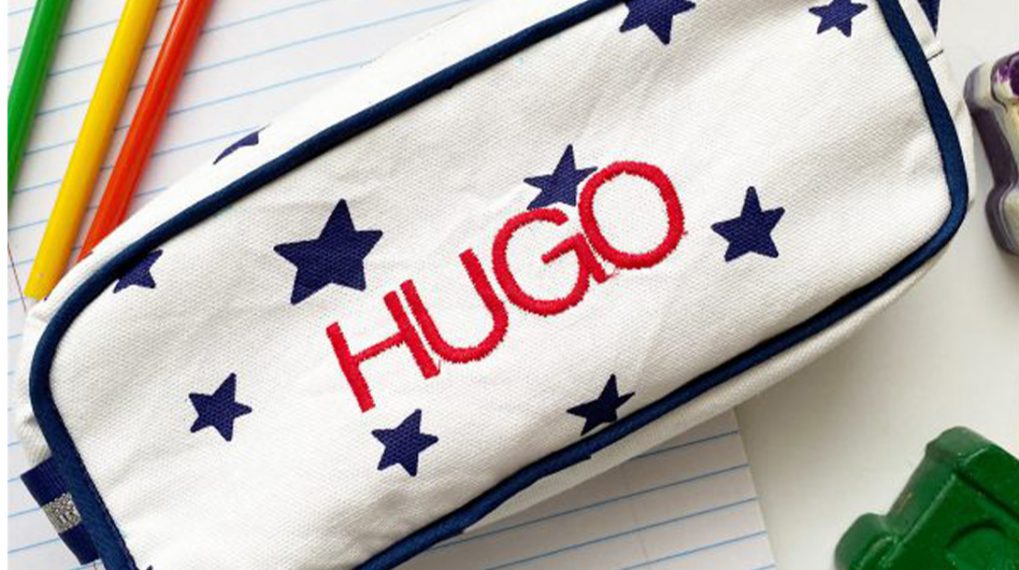
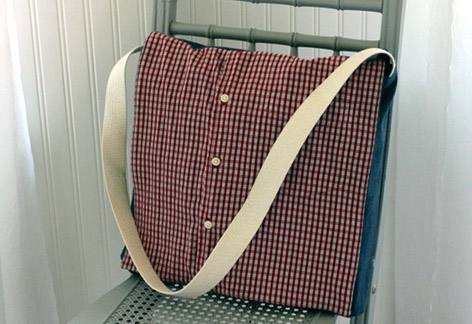
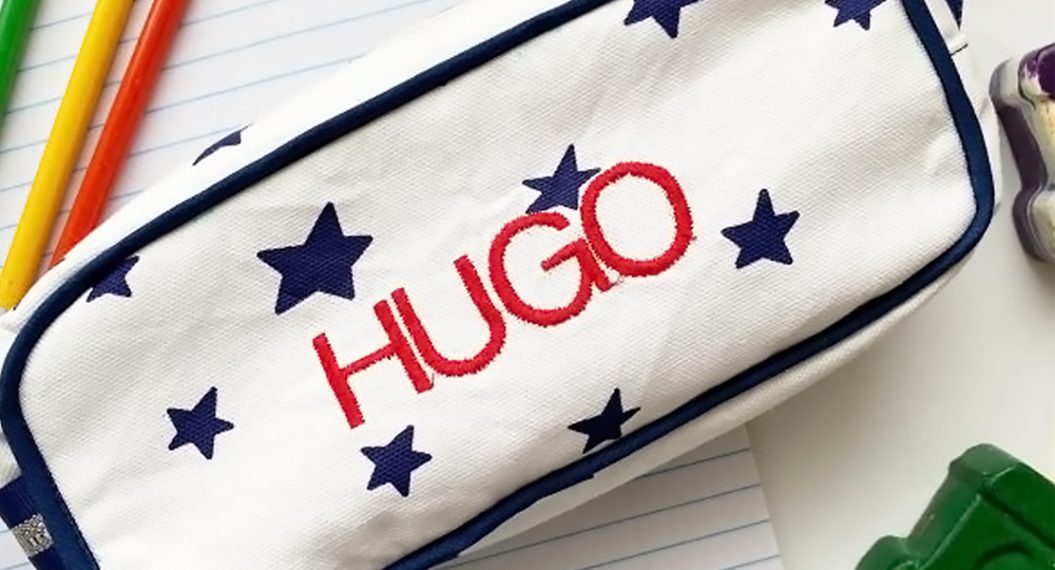
Make Dad (or any traveler in your life) smile with this practical travel bag. Combining simple construction with distinctive materials like canvas and leather, it’s bound to be an instant classic. Add an embroidered monogram to make it even more special. A fun novelty-print lining adds a bit of whimsy to every trip.
Hello! I’m Melissa Mortenson from the Polka Dot Chair Blog. I’m so excited to be sharing with you this idea for a large box zip pouch that’s perfect for a gift for Dad on Father’s Day.
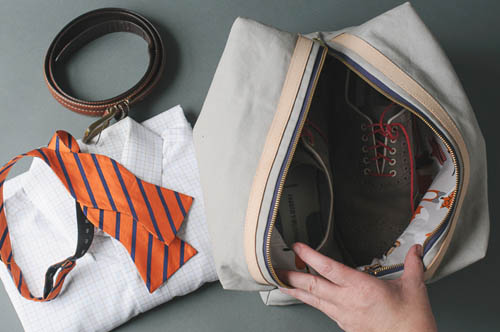
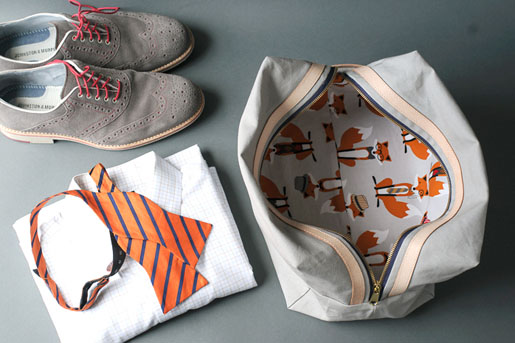
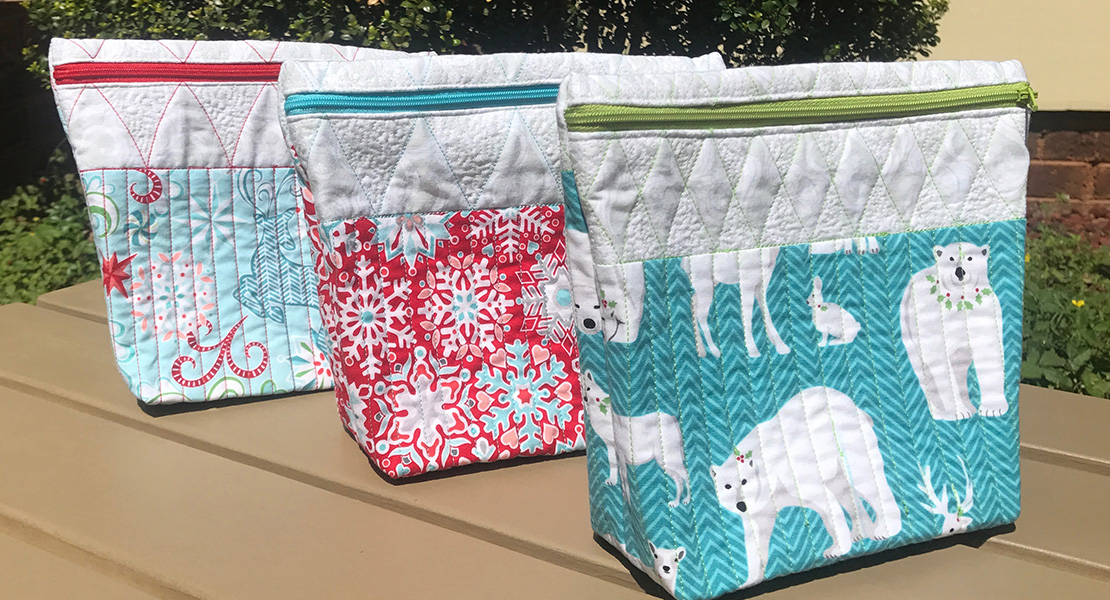
When I travel I like to pack smaller bags inside of my large suitcase. I think it helps me to keep my items organized while I travel. I thought it would be a fun idea to design a bag for my husband that is big enough to fit folded dress shirts, belts or even shoes.
This bag is fully lined and made from duck cloth that has been washed to give it some softness and flexibility. After you get your duck cloth home from the store wash it a couple of times on hot, then throw it in the dryer making sure to use softener sheets. Keep washing it until it’s a texture that you like. It has a tendency to wrinkle a little bit, but I love that! I think it gives the project a fun rugged texture, great for a guy.
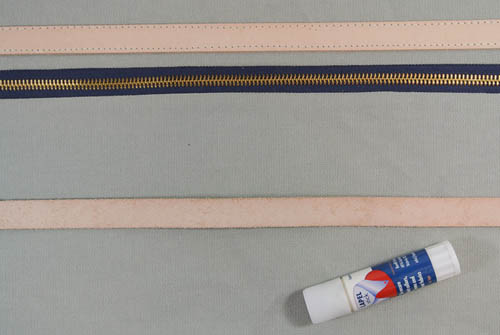
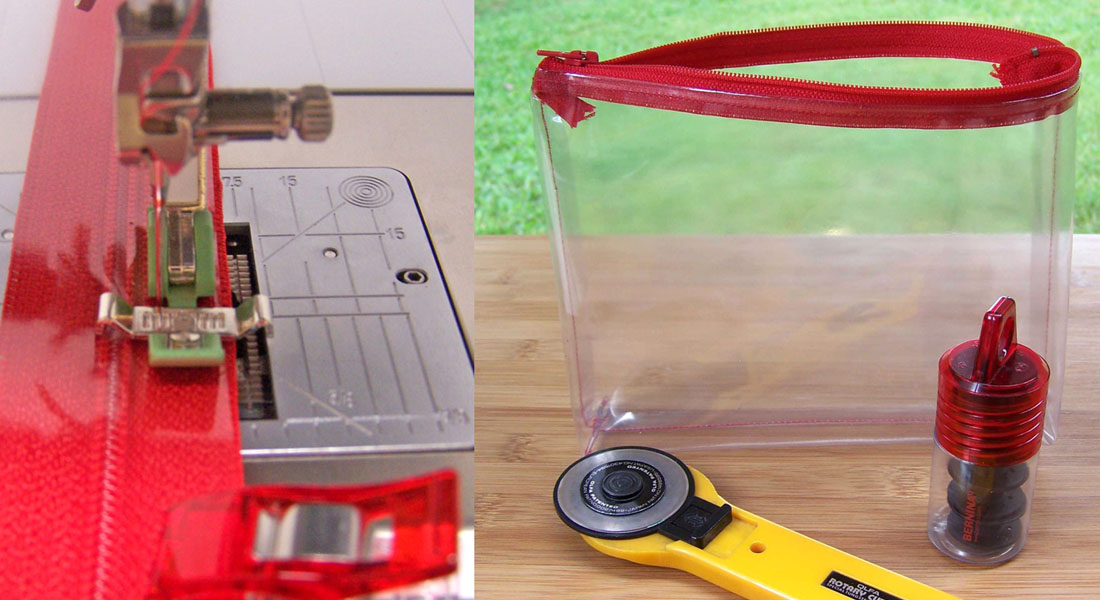
The leather I used for the accent is very thin (1/8” thick) and is 1/2” wide. You can find it at the leather store in the section with the belt making supplies. Make sure you buy the thinnest piece – the standard belt making leather will be way too thick for your machine.
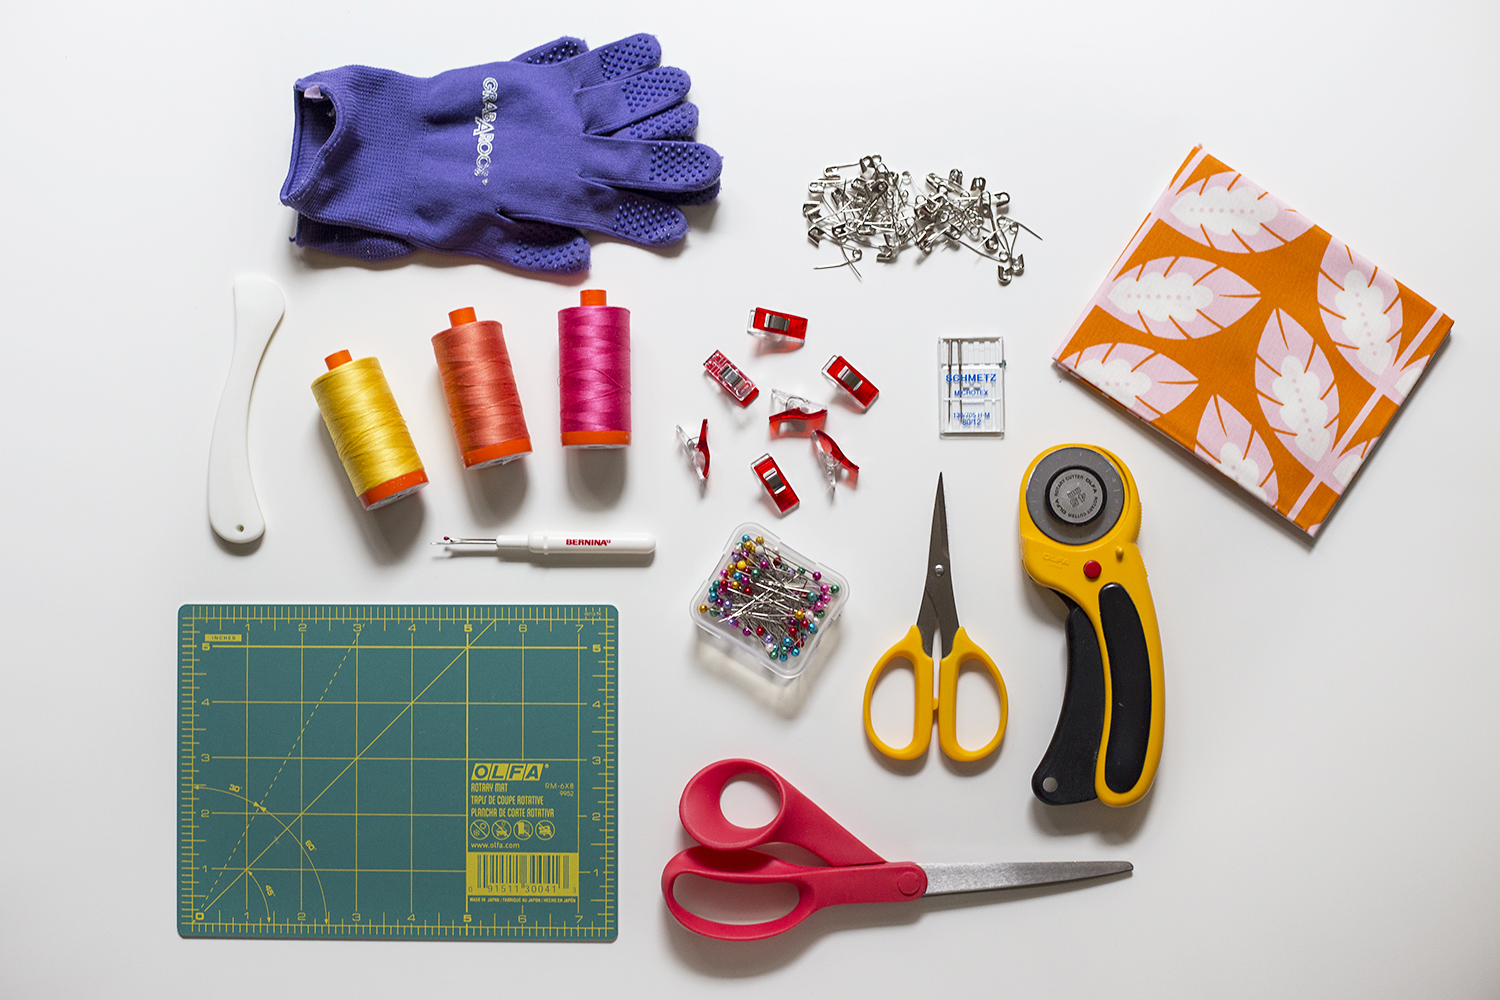
Leather is most easily cut using a rotary cutter. Like any material that is not fabric the leather will dull your rotary cutter, so it is best to have one blade dedicated to cutting leather. If you need to cut leather with scissors it’s best to use a pair of standard (yet sturdy and new) scissors. You don’t need to buy a pair of leather shears.
You want to work with leather that is between 1 and 4 ounces in weight. Also consider using lambskin or suede as they are a great thickness for use with home sewing machines.
Tips for sewing with leather:
- Do not backstitch when you sew with leather.
- Do not pin leather; use Wonder Clips or binder clips instead.
- Never iron leather.
- Use a Leather needle for sewing leather. (But do NOT use a Leather needle on regular fabric, as it will pull the threads in the fabric.)
- Mark leather only on the wrong side, using tailors chalk or a very light pencil.
- Always sew on a test strip first to make sure your machine settings are correct.
All seam allowances are 1/2” unless otherwise noted
Supplies
- Two 16” x 21” rectangles of washed duck cloth
- Two 16” x 21” rectangles of lining fabric
- Two 16” x 21” rectangles of Shape Flex Interfacing
- Two 21”-long pieces of 1/2″-wide leather
- One 8-1/2”-long pieces of 1/2”-wide leather
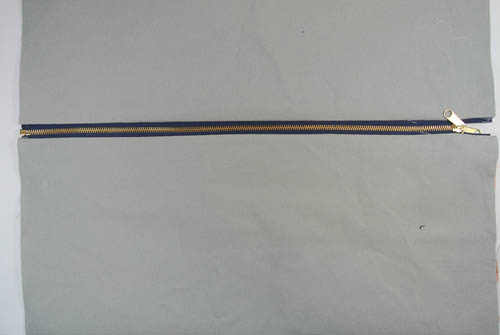
- One 20” metal zipper
- Heavy-duty thread
- Standard-weight thread
- Lapel Stick or other fabric glue stick
- Two Wonder Clips or binder clips
- Leather needle
- Zipper foot (BERNINA Zipper Foot #4/4D)
- Teflon foot (BERNINA Zigzag Foot with Non-Stick Sole #52/52C/52D)
Step 1) Prepare the lining pieces.
Apply the Shape Flex Interfacing to the wrong side of your two bag lining pieces.
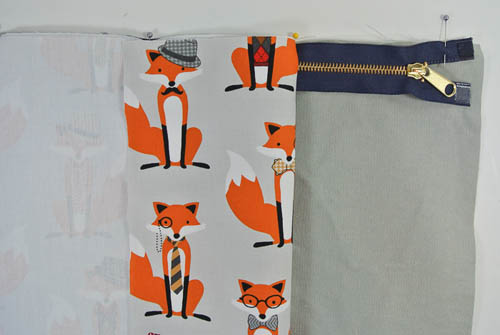
Step 2) Insert the zipper.
Pin the right side of the zipper to the right side of the outer bag piece. Now pin the wrong side of your zipper to the right side of your lining piece. You’ve made a “zipper sandwich.”
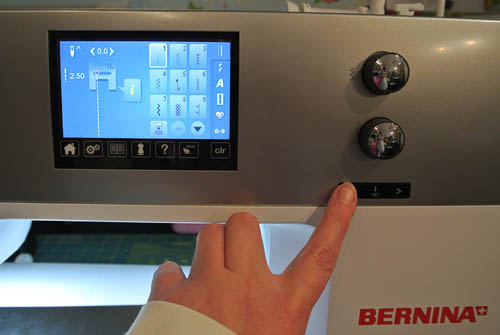
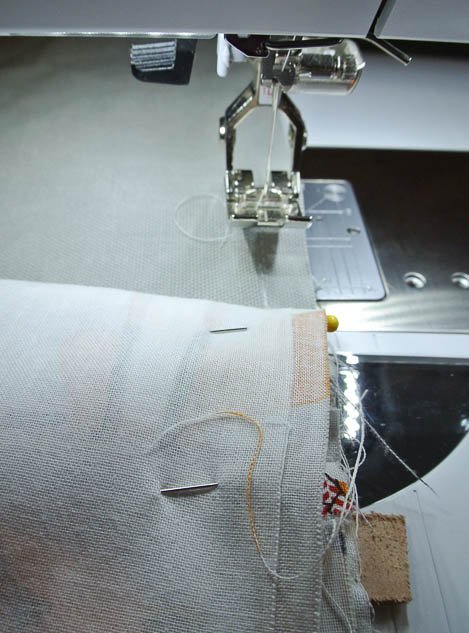
Put the zipper foot on your machine. Move your needle 4 clicks to the left.
Place your zipper sandwich with the lining towards the machines feed dogs under your presser foot. The edge of the presser foot should be flush with the raw edge of your fabric.
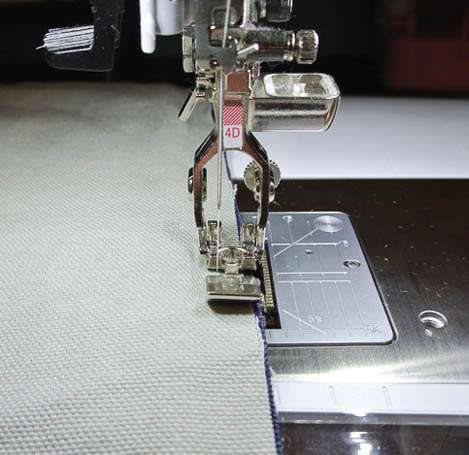
Stitch along the length of the fabric. If your zipper pull gets in the way as you sew, you can put your needle down, lift your presser foot, and move the pull so that it’s out of the way.
Repeat for the other side of the zipper.
Step 3) Apply the leather accent strips.
Press all seam allowances away from the zipper. Lay out your sewn piece so the zipper is in the center and the lining pieces are behind each of the bag outside pieces.
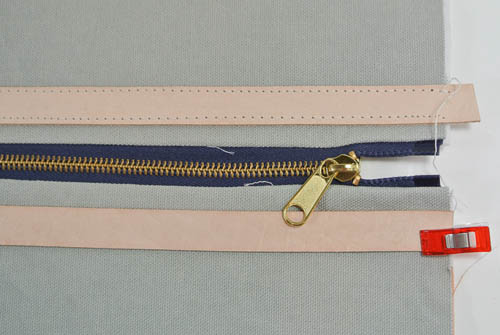
Using your lapel stick, apply a thin amount of glue to the wrong side of one of your 21”-long leather accent pieces.
Glue the strip to the right side of the bag, about 1/2″ below the center of the zipper.
Secure each end with a binding clip.
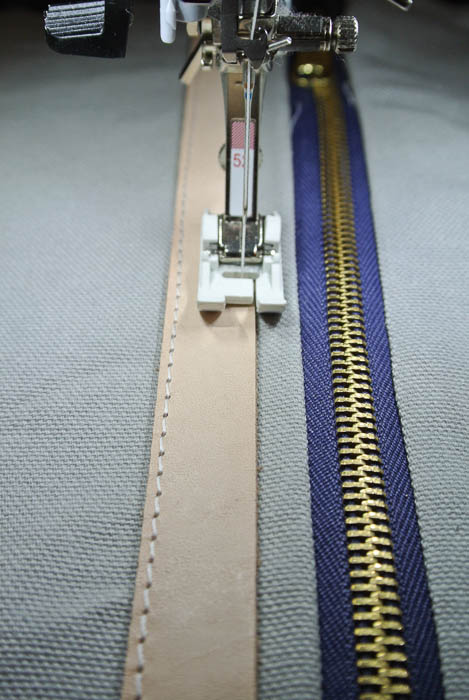
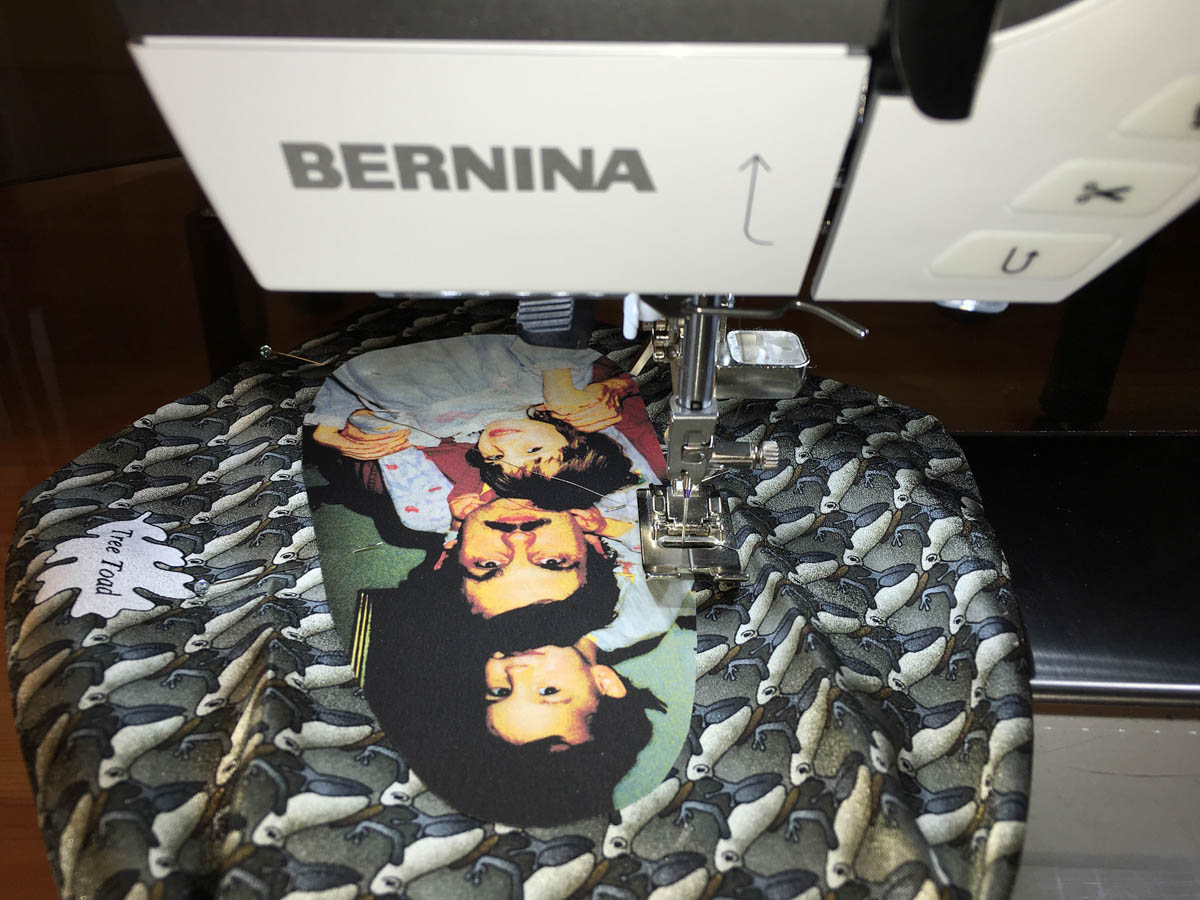
On your sewing machine, install a Leather needle, heavy-duty thread in the needle only (leave the bobbin thread as is), and a non-stick foot. Set your stitch length to 4 mm.
Topstitch along both long edges of your leather accent piece. Make sure you keep a steady motion on your machine (don’t start and stop frequently) and don’t get the fabric stuck on anything – it needs to feed through the machine smoothly to ensure a good topstitch.
Repeat for the accent strip on the other side of the bag.
Step 4) Construct the bag.
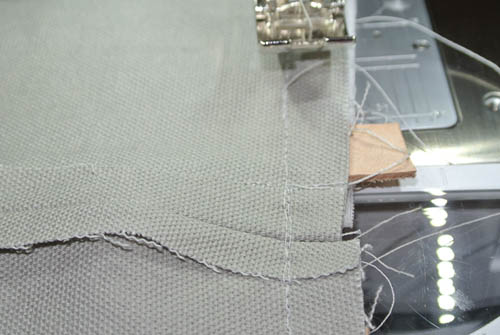
Bring the two bag outside pieces together, right sides facing, and stitch along the bottom seam.
Bring the two bag lining pieces together, right sides facing, and stitch along the bottom seam, leaving a 4” opening in the center of the seam for turning. Press the seam allowances open.
Now arrange your pouch the zipper is in the center with the bag outside seam on top of the zipper and the bag lining seam below the zipper. Press the outer edges of the fabric to create a crease.
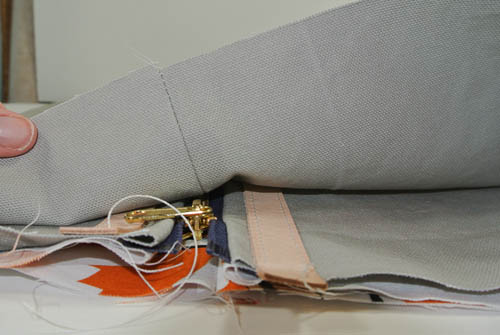
Unzip the zipper half way.
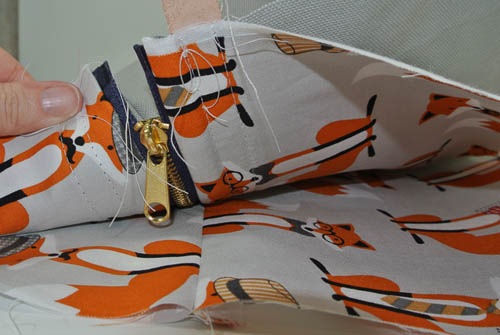
You are now going to sew the side seams. Each side seam is sewn separately (you will end up sewing a total of 8 seams). Sew the four outer bag side seams, making sure NOT to catch the lining as you sew. Sew to the point of the leather accent strips.
Repeat for the four bag lining side seams.
When you’re done sewing all of the side seams, lay the bag out flat again and sew the portion of the side seam between the leather accent pieces. It’s okay at this point to sew the lining and the bag front pieces together. Make sure you DO NOT sew over your metal zipper. Sew to the zipper, backstitch, then start sewing again on the other side of the zipper.
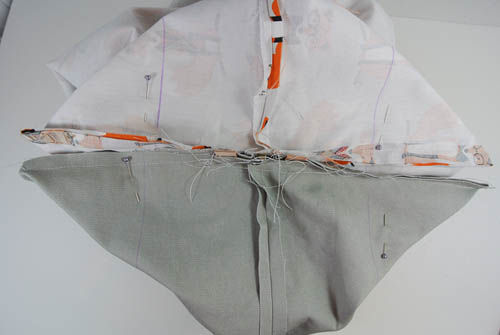
You now have a bag with eight corners: four outer fabric corners and four lining fabric corners.
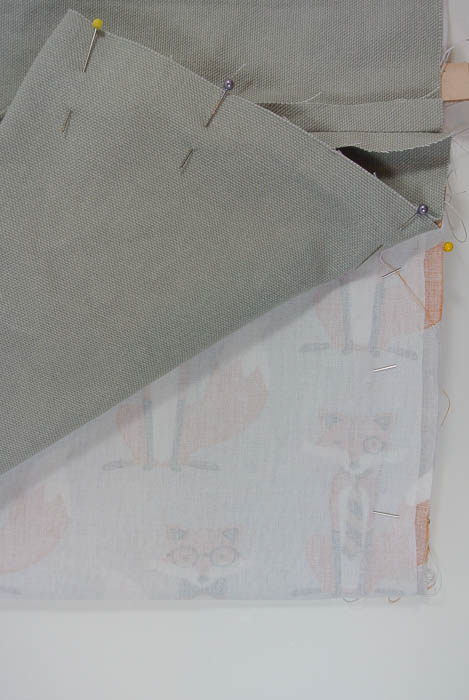
Pinch one of the bag outer corners so that it comes to a point with the seam in the center; the side seam will be on top of the crease that you pressed in the fabric.
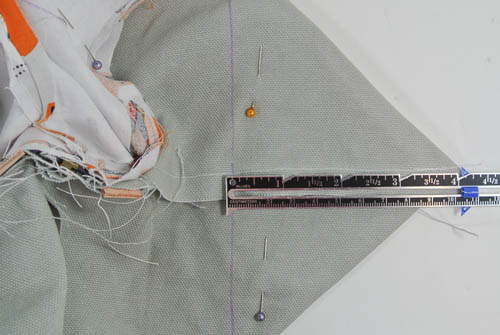
Measure 4” from the tip of the corner and use a fabric safe pen to draw a line. Make sure that the side seam is right in the center, directly on top of the crease you made. Pin in place.
Repeat for all eight corners.
Sew along the line you drew on each corner piece. Cut off the excess fabric triangles leaving a 1/2” seam allowance.
Step 5) The last step is to insert the leather handle.
Find the two outside fabric corner pieces that are on the end of your bag where the zipper starts. On the seam that you just sewed (the one where you made a triangle), unpick 1/2” of stitching at the center of each corner.
Insert the 8-1/2”-long leather accent piece into the bag through the holes you just unpicked (you’ll have to use the hole in the lining to get your hand in there). Place the wrong side of the leather so it faces the right side of the bag, inserting one end of the leather strip through through each hole. Stitch in place making sure to back stitch.

To finish, turn your bag right side out using the opening you left in the lining bottom seam. Poke out your corners and press. Slipstitch the opening in the lining closed.


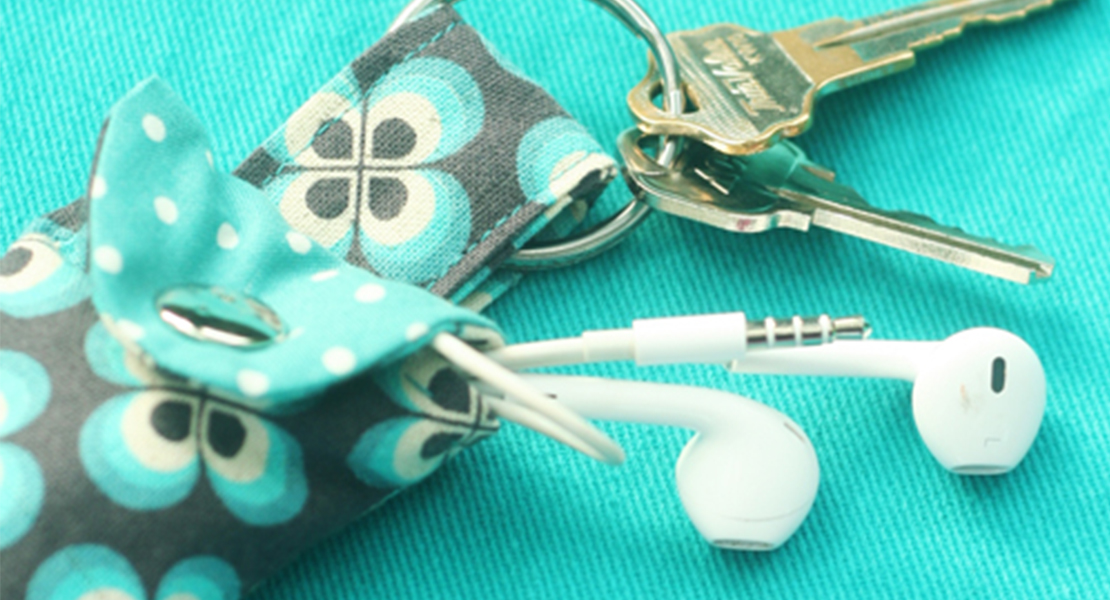
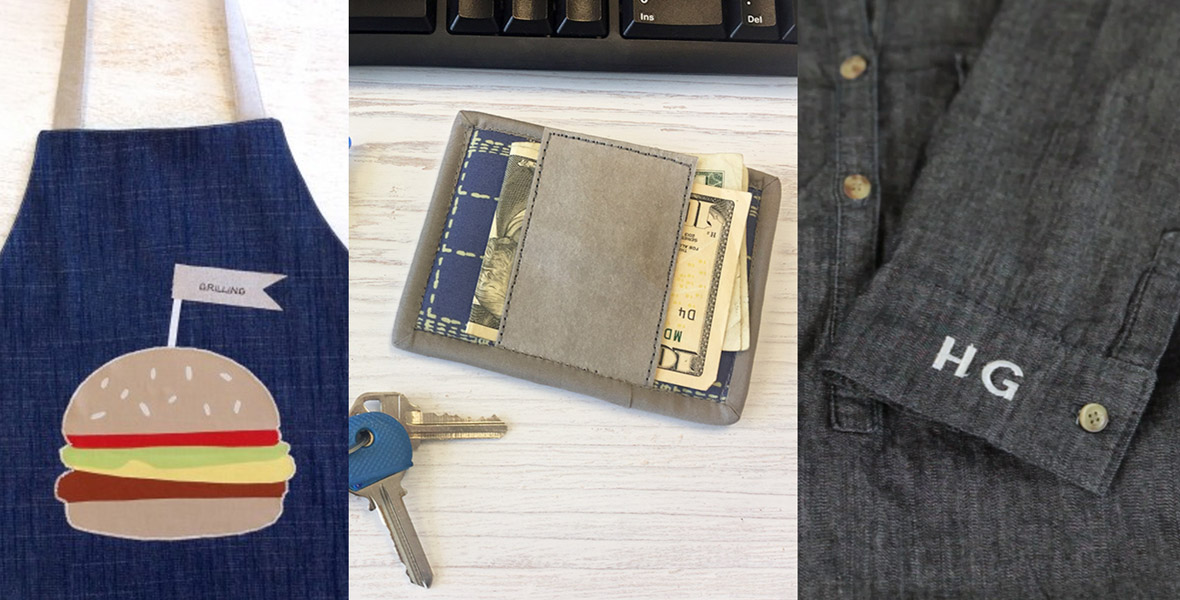
What you might also like


11 comments on “How to Make a Zippered Travel Pouch for Dad”
-
-
Pingback: WeAllSew « https://weallsew.com
-
Pingback: Des cadeaux sous le sapin… |
-
Pingback: Man's Zippered Travel Pouch - Sewtorial
-
I’ve worked in sewn product manufacturing for 35 years; I specialize in leather production. I own a factory.
I love sewing with leather and wish more people would try it. I think that part of the problem is fear and there’s a lot of misleading advice out there.
In my experience:
We back stitch leather all of the time at the start and end of seams. This is nearly always hidden within the allowance of an joining piece and operation so it is not unsightly. If you have a good machine with settings as they should be, you should hit the same holes anyway.We iron leather all of the time. How else will be apply fusible interfacing? To be sure, you can’t apply interfacing like they do it in homesewing but doing it properly, the leather is just fine.
If using a leather needle on fabric results in pulled threads, change the needle because the tip is dulled. To be sure, you don’t want to use leather needles on fabric because the needle *CUTS* the threads. If you need to join leather and fabric together, you might fuse the seam line of the fabric before stitching to reinforce it.
We only mark leather on the face side, not the back. You can’t see flaws from the back side. Typically, we use china (wax) markers or ball point pen.
I sew leather with 2 types of machines, a needle feed and a walking foot. With the walking foot, the work piece never gets sticky (hangs up). The needle feed does sometimes even tho I’m using a teflon foot. A great way to resolve this is to use silicone spray. We use this a lot. Buy it from a dealer of industrial sewing (SouthStar Supply is a supplier I like but there are plenty more, Sprayway is a solid brand) and you won’t have to worry that it’ll stain the work piece or ruin your equipment as it is designed for sewing. In fact, I suggest buying two cans because your significant other will “borrow” and fail to return it. It is nicer grade than the hardware store so it is a popular item in households for minor repairs and such.
Leave a Reply
You must be logged in to post a comment.

Wow…. love this bag! Would love to make one for me!