How to Make a Travel Changing Pad
Hi everyone – this is Brittany from Sew Very Lovely. Today I am bringing you an easy, do it yourself, baby project for a special mom to be in your life.
My sewing journey is tied with my journey into motherhood. After years of light dabbling with my sewing machine, I really dove straight into the craft when my oldest was born. It brought so much joy to learn and experiment with makes just for him. Since I was still rather new to sewing, I made a lot of mental notes about products that I would like to be able to customize in the future.
One of the products that I knew I wanted to create myself was a portable diaper changer. My oldest was consistently in the upper 80th to mid 90th percentile and quickly became too long for his changer. It was also handwash only and a bit on the expensive side. I knew that I could create a diaper changer that would be able to suit my needs, and, in that space, this tutorial was born.

Sew a Travel Changing Pad
A quick note before we get started! This tutorial serves as a foundation and is easy to customize. Feel free to play and experiment with the size, adding batting, adding a button loop instead of a satchel tie, etc. There are so many ways that you truly make this DIY baby project your own!
Materials to Sew a Travel Changing Pad

- One towel (I used a towel from Target’s Room Essentials line)
- Fabric backing (one yard)
- Quilting ruler
- Rotary cutter
- Cutting mat
- Scissors
- Pins
- Water-soluble pen
- Coordinating thread
- BERNINA 590 E
Steps to Sew a Travel Changing Pad
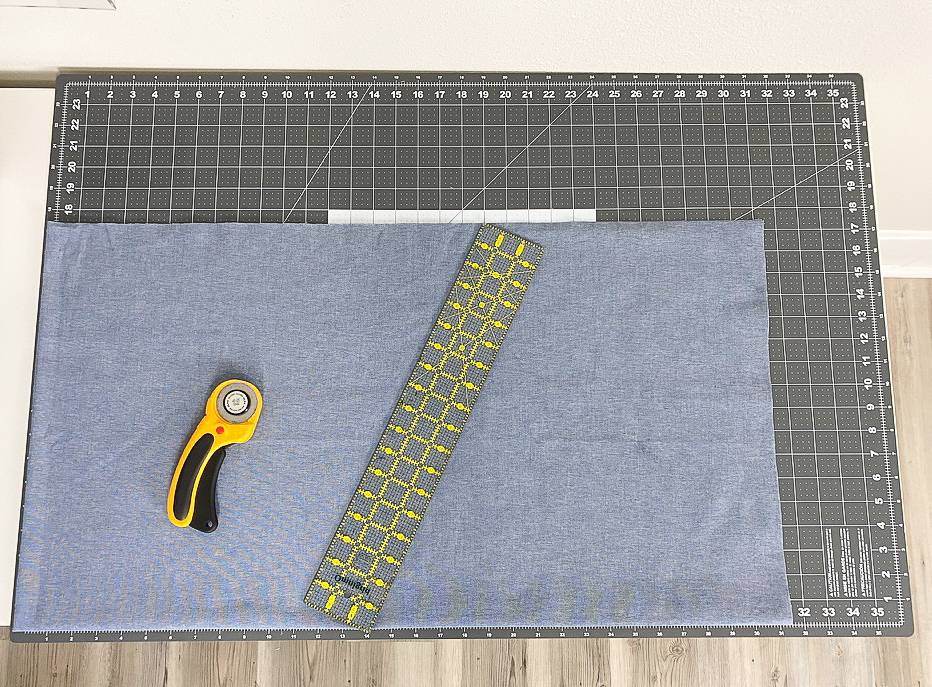
Step 1:
Arrange the fabric on your cutting mat and cut a 28×20 rectangle. Do the same for the towel or toweling.
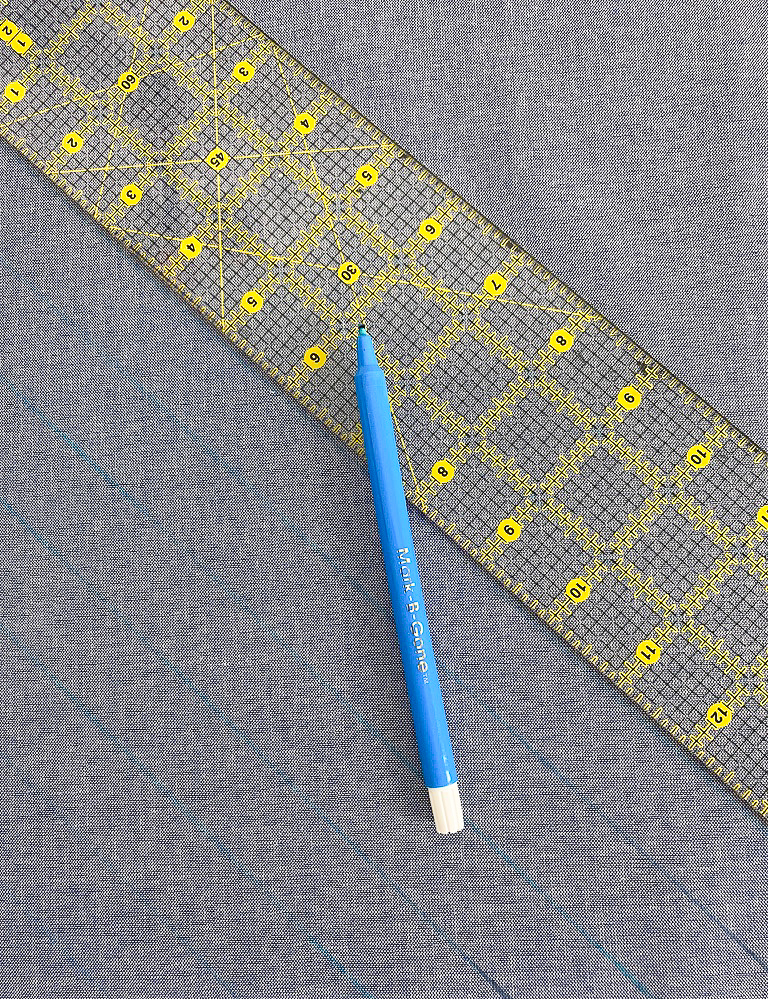
Step 2:
Once you’ve cut your front and back to size, take the right side of the fabric backing and begin marking 1″ diagonal lines from corner to corner. Begin in the bottom left corner.
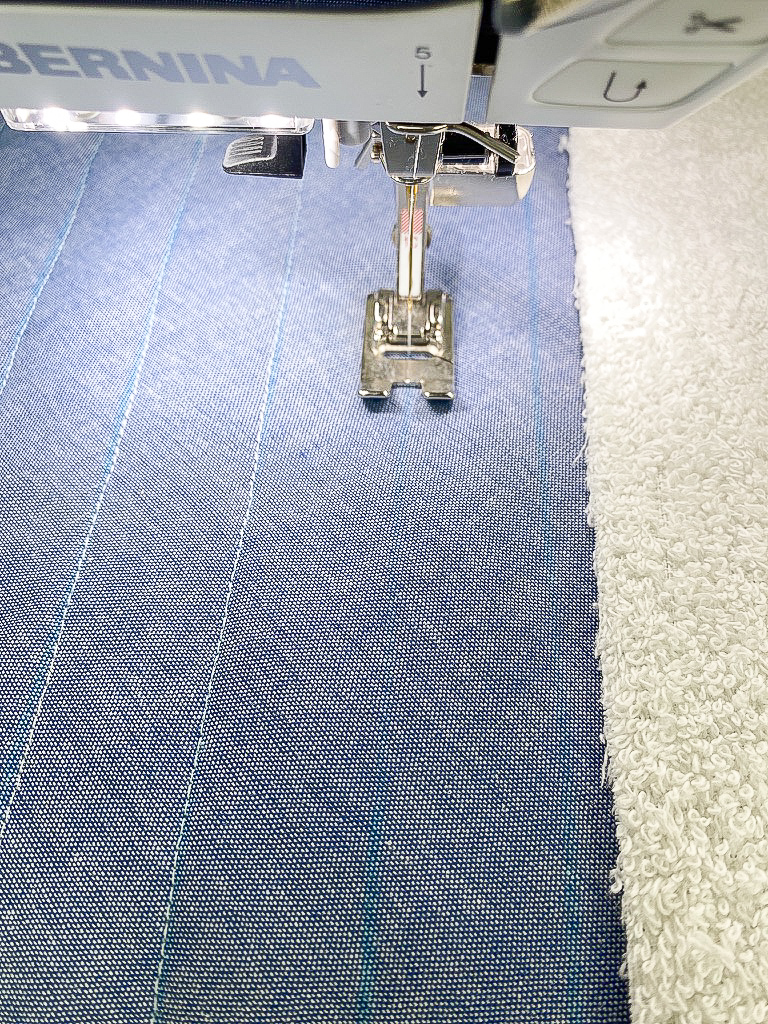
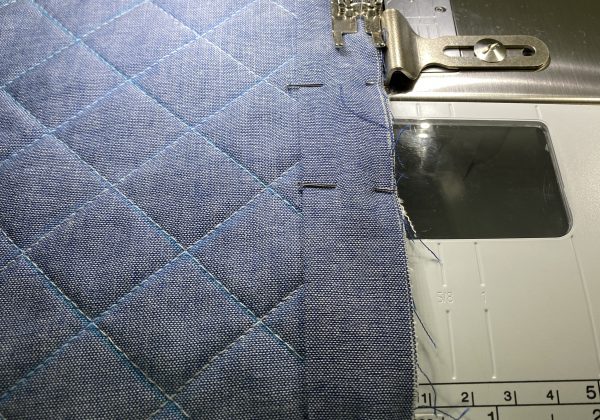
Step 3:
After you’ve marked your diagonal lines, place the backing on top of the wrong side of the towel piece. Pin in place. Then start topstitching down the lines beginning from the center and moving out to one corner. Repeat on the other side.
Step 4:
After topstitching the first set of diagonal lines, mark the next set of 1″ diagonal lines. Begin in the bottom right corner. This will create 1″ square boxes.
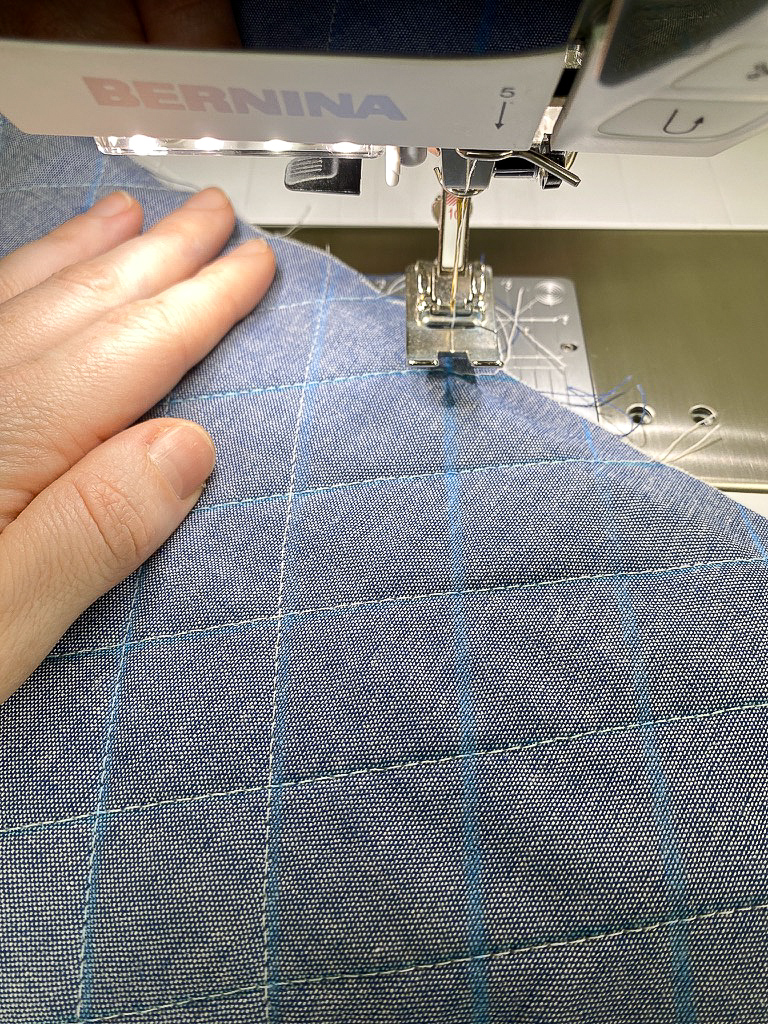
Step 5:
Topstitch the next set of lines.
Step 6:
Return the diaper changer to the cutting mat and even out the sides of the changer by trimming with the rotary cutter.

Step 7:
Measure the outside of your diaper changer for the binding and cut 1.5″ strips. Iron the strips in half with the wrong sides facing.
Step 8:
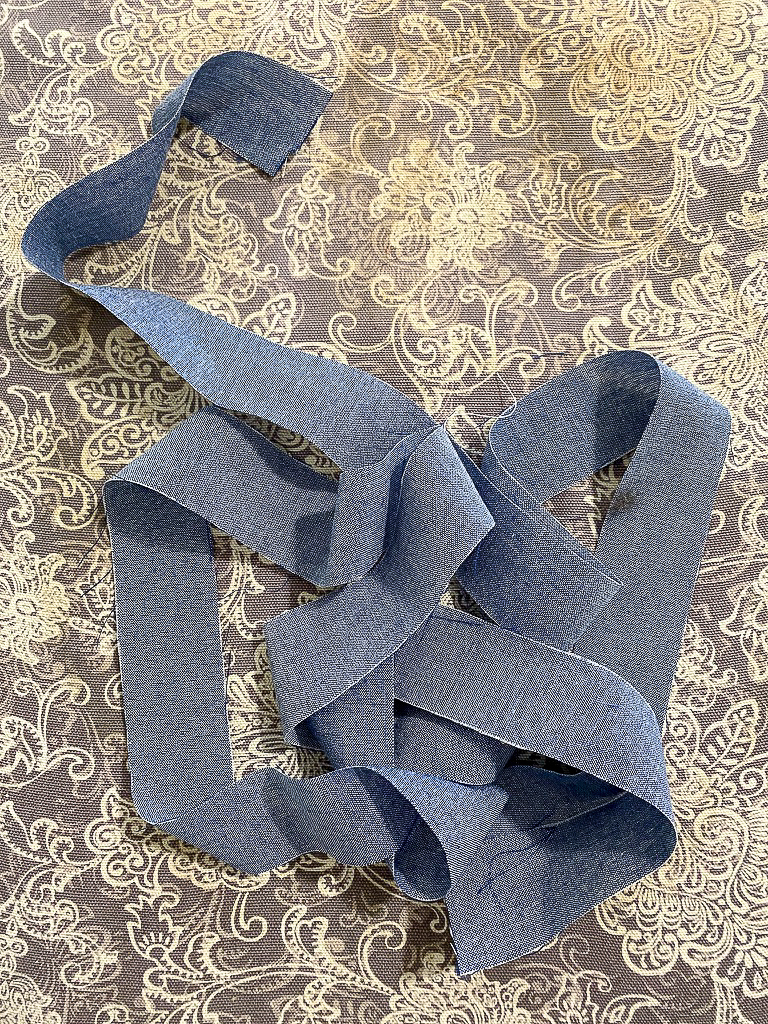
Cut a 1×27″ strip of fabric, iron in half right sides together, and sew with 1/2″ seam allowance leaving an opening at the top to turn right side out. Turn right side out and iron.
Step 9:
Place the strip in the center on the top of the diaper changer. The long side of the strip should face the diaper changer so it doesn’t get caught while binding.
Step 10:
Bind the diaper changer.
Step 11:
Remove the water-soluble pen. I like to toss mine in the wash on delicate.
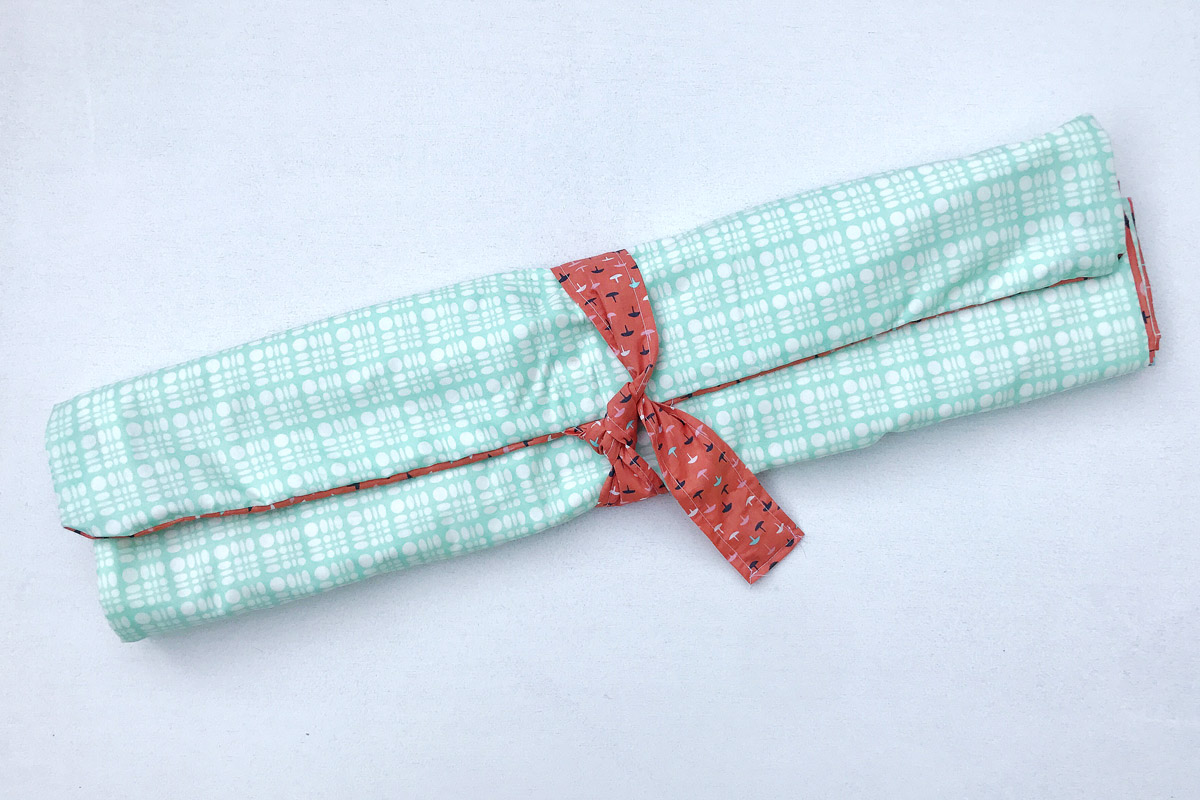
Step 12:
Iron and then fold. To fold like a satchel, fold in thirds vertically and then fold the top slightly more than half. Wrap the tie and knot in the front.

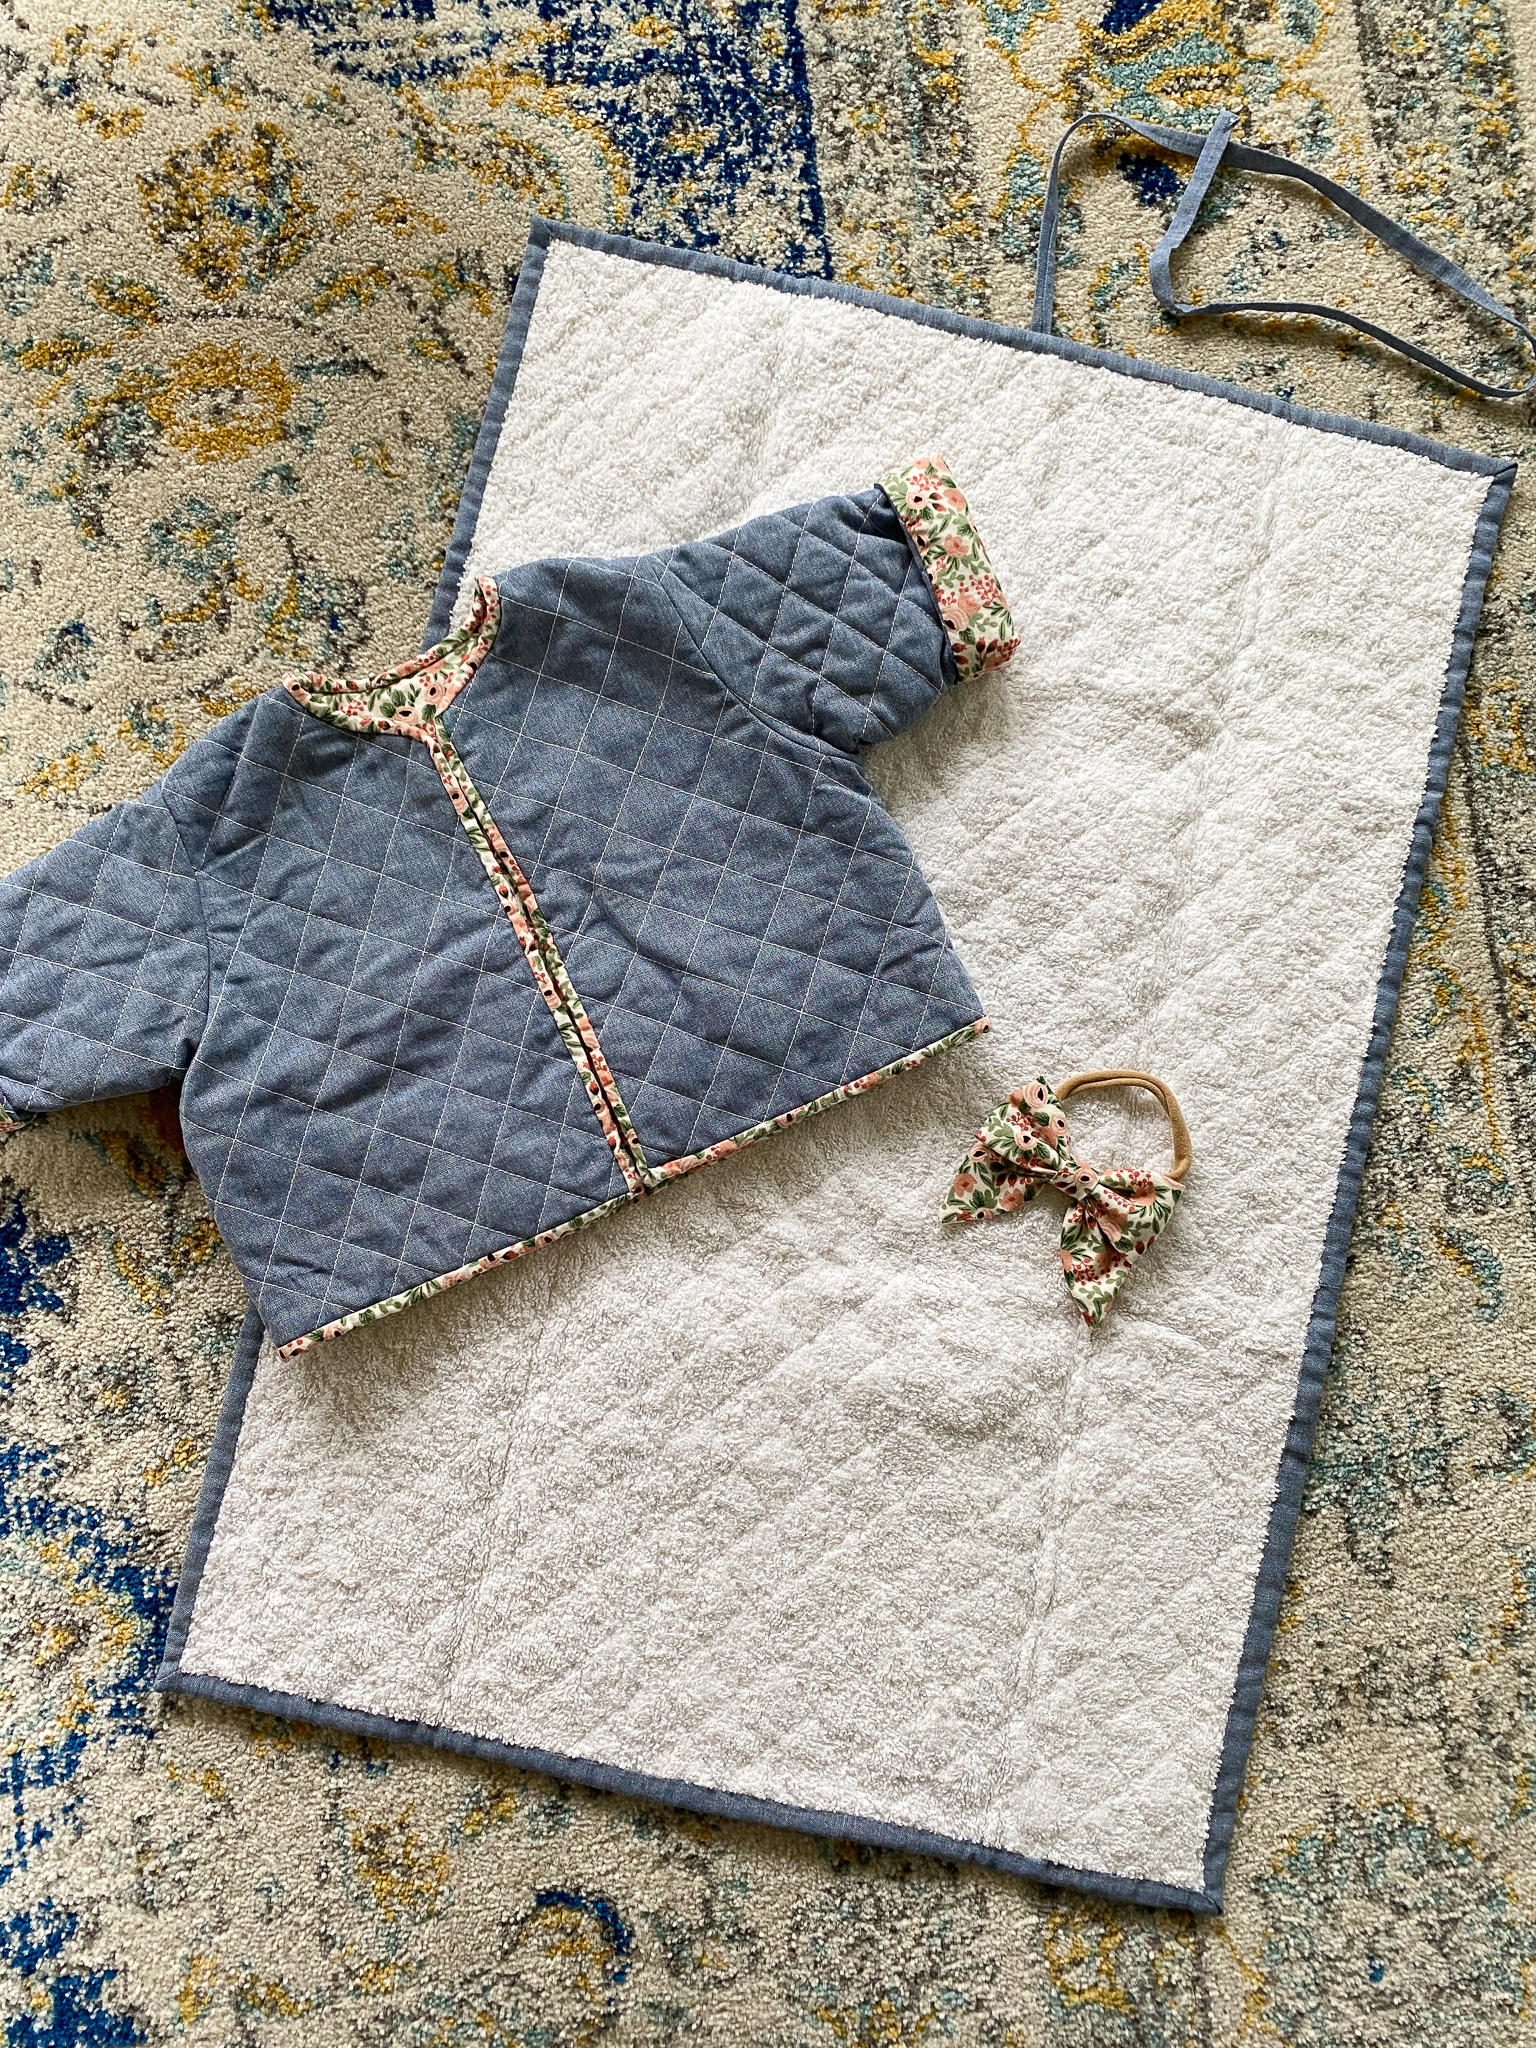
And voila! Now you’ve completed your very own DIY baby project. I hope that you’ve all enjoyed this tutorial and has encouraged you to start sewing your own DIY travel changing pad! Don’t forget to tag us in what you make—we’d love to see how you bring your creativity to life with this tutorial!
Until next time!
Used Products


What you might also like


11 comments on “How to Make a Travel Changing Pad”
-
-
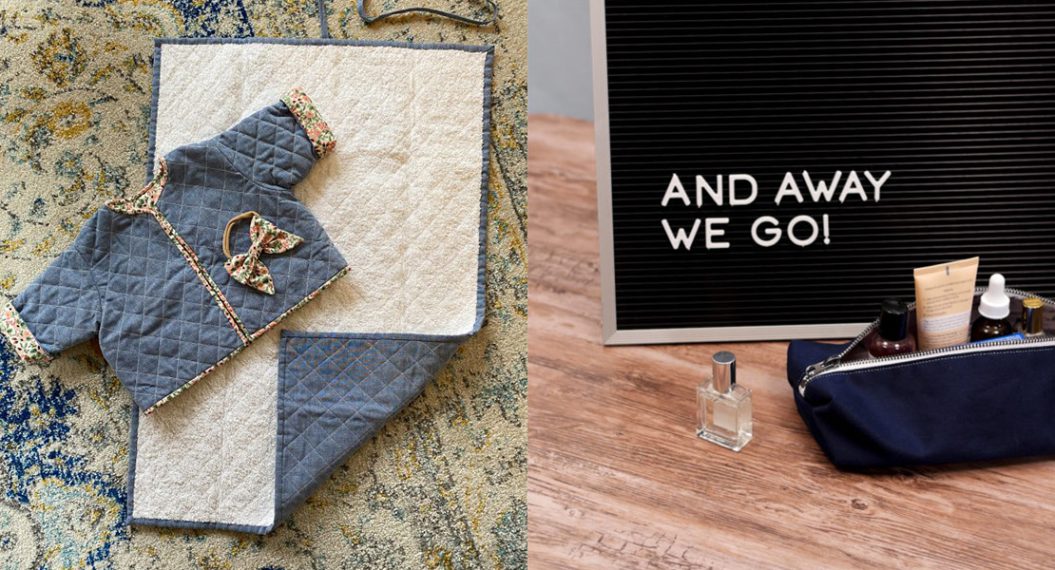
Thank you! The pattern from the jacket is by AyoMiniPatterns on Etsy and the bow is the Alexandra bow from Violette Field Threads in 3″. The Alexandra bow is a favorite!
-
-
I’m having trouble visualizing how you attached the tie strip. Did you sew one end of it into the binding, which would mean you would wrap the other end around the tie at the binding and tie it in a not?
-
Yes – that is exactly right! You can also modify it to make a traditional tie as well. Just cut and sew another strap, mark your placement, and sew the strap right sides together, iron over the strap with the wrong side facing the right side of the quilted back, and topstitch it down. You’ll have a really nice, clean looking additional strap for a traditional tie. I hope that helps!
-
-
I love this project! I’m somewhat of a beginner.
Two questions:
1. Did you bind by hand on the other side of the pad or use machine?
2. With the bow, what did you use for the part that goes around the baby’s head.
Thank you so much for sharing this project!! I have 2 baby showers to attend and hoping I can make the pad and bow…. Would love to try the jacket, but that might be past my skill level!! Thanks Again.-
I am so happy to hear that you’re going to give it a try for your upcoming baby shower! Don’t forget to use the hashtag weallsew on Instagram so we can see your beautiful gifts!
To answer your questions, yes – I did hand bind to the other side! Machine binding is also quick and great to use so choose whichever method works the best for you. 🙂 And I used nylon elastics for the bow since they’re really soft and stretchy!
Also – don’t be afraid to give the jacket a try! It’s pretty beginner friendly as well because you can choose to do a button hole or leave it without for a reversible jacket.
Can’t wait to see your creations!
-
-
A quick question….is there a reason you mark all diagonal lines? Couldn’t you just mark the first and use the arm on the presser foot to make the rest?
Thanks, looks like a great project.-
You could absolutely do it that way! I have a background in apparel where you start in the middle and then work out to each corner so I prefer to mark lines. There are lots of different ways you could go about quilting the top!
-
-
Unless my thinking process is really messed up today, I think there is a problem with step #8. If the strip is 1″ wide and you fold it in half, I don’t think a 1/2″ seam will work on a 1/2″ wide piece of fabric. Assuming I am correct, should the strip be wider or the seam narrower?
I did try using a scant 1/4″ seam allowance, but have been unsuccessful in turning the tube right side out.
-
Penny! I am so sorry – I believe you are correct! The finished tube should be 1/2″ so it should be 1.5″ with a scant seam. I am so sorry about this error and I will update it in this post. Thank you for bringing this to my attention!
-
-
Hi Brittany,
When you talk about cutting the binding the post says to cut 1.5″ strips. Is that what you intended to write? Once folded in half and accounting for two 1/4″ seam allowances on either side, that only gives you a 1/4″ to fold over. I cut and prepared mine and am having to start over to do 2.5″ instead to allow for enough space
Leave a Reply
You must be logged in to post a comment.

Great, quick project! Is the pattern for the jacket and headband available?