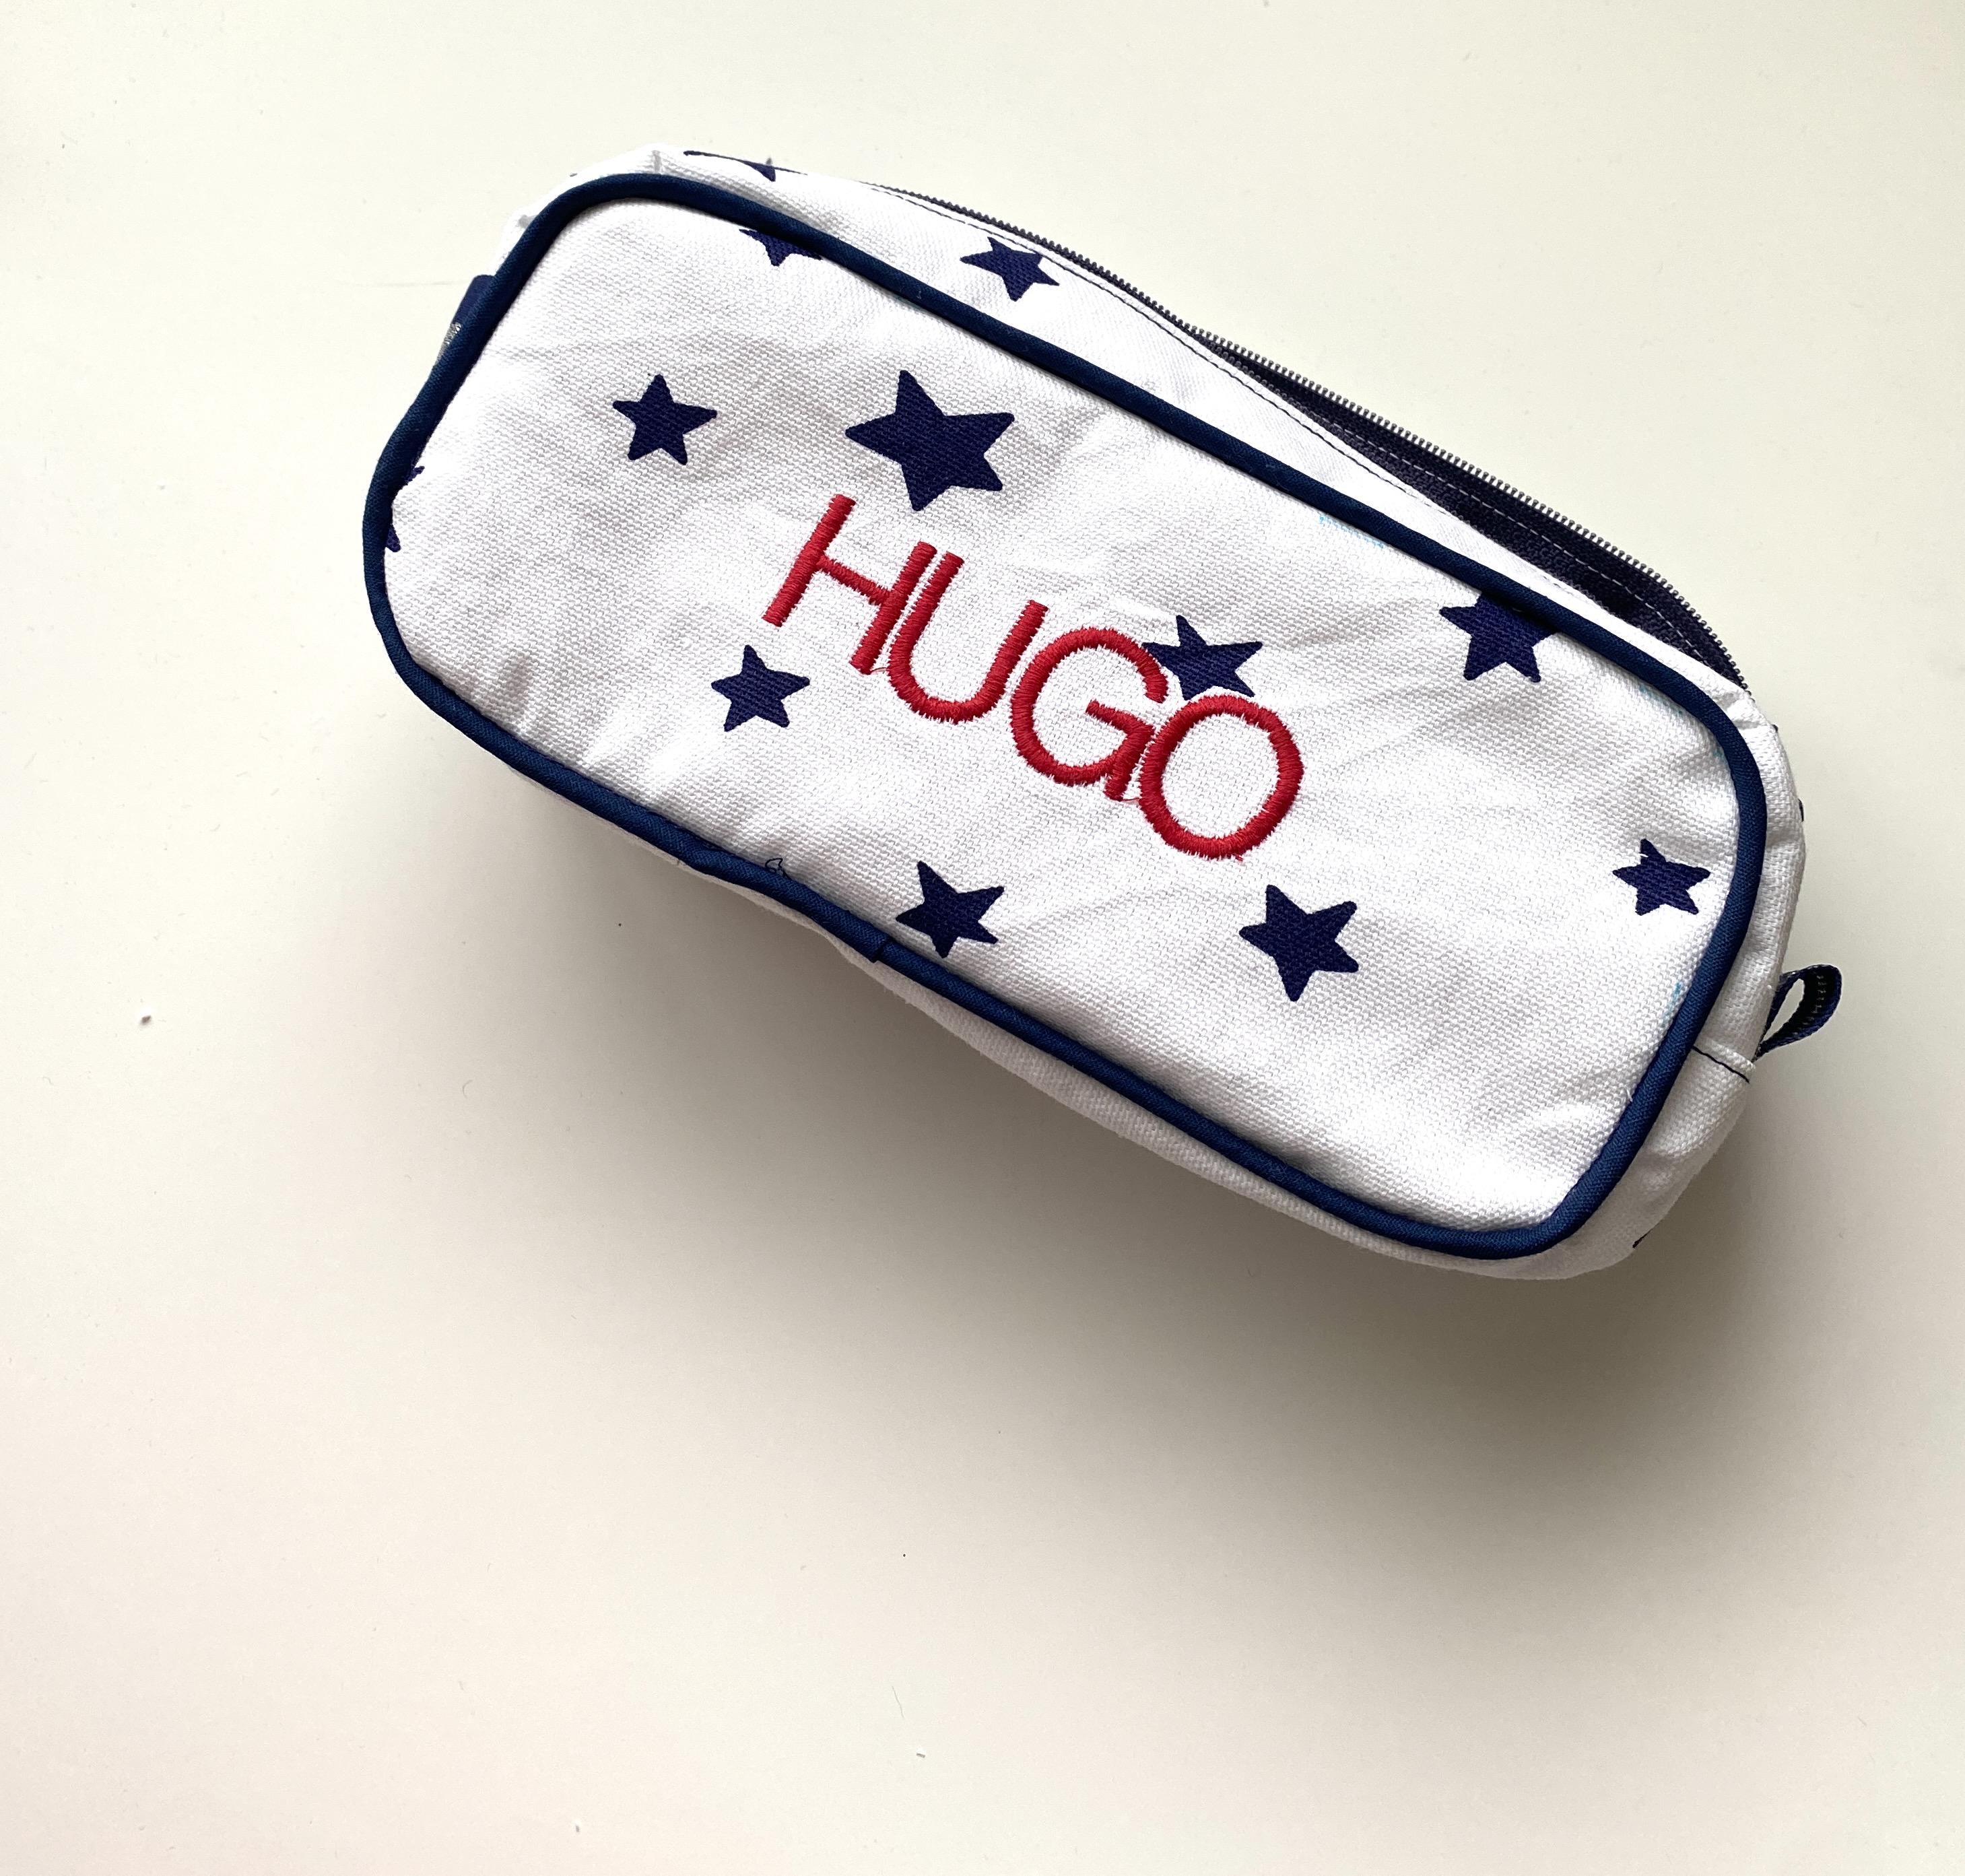
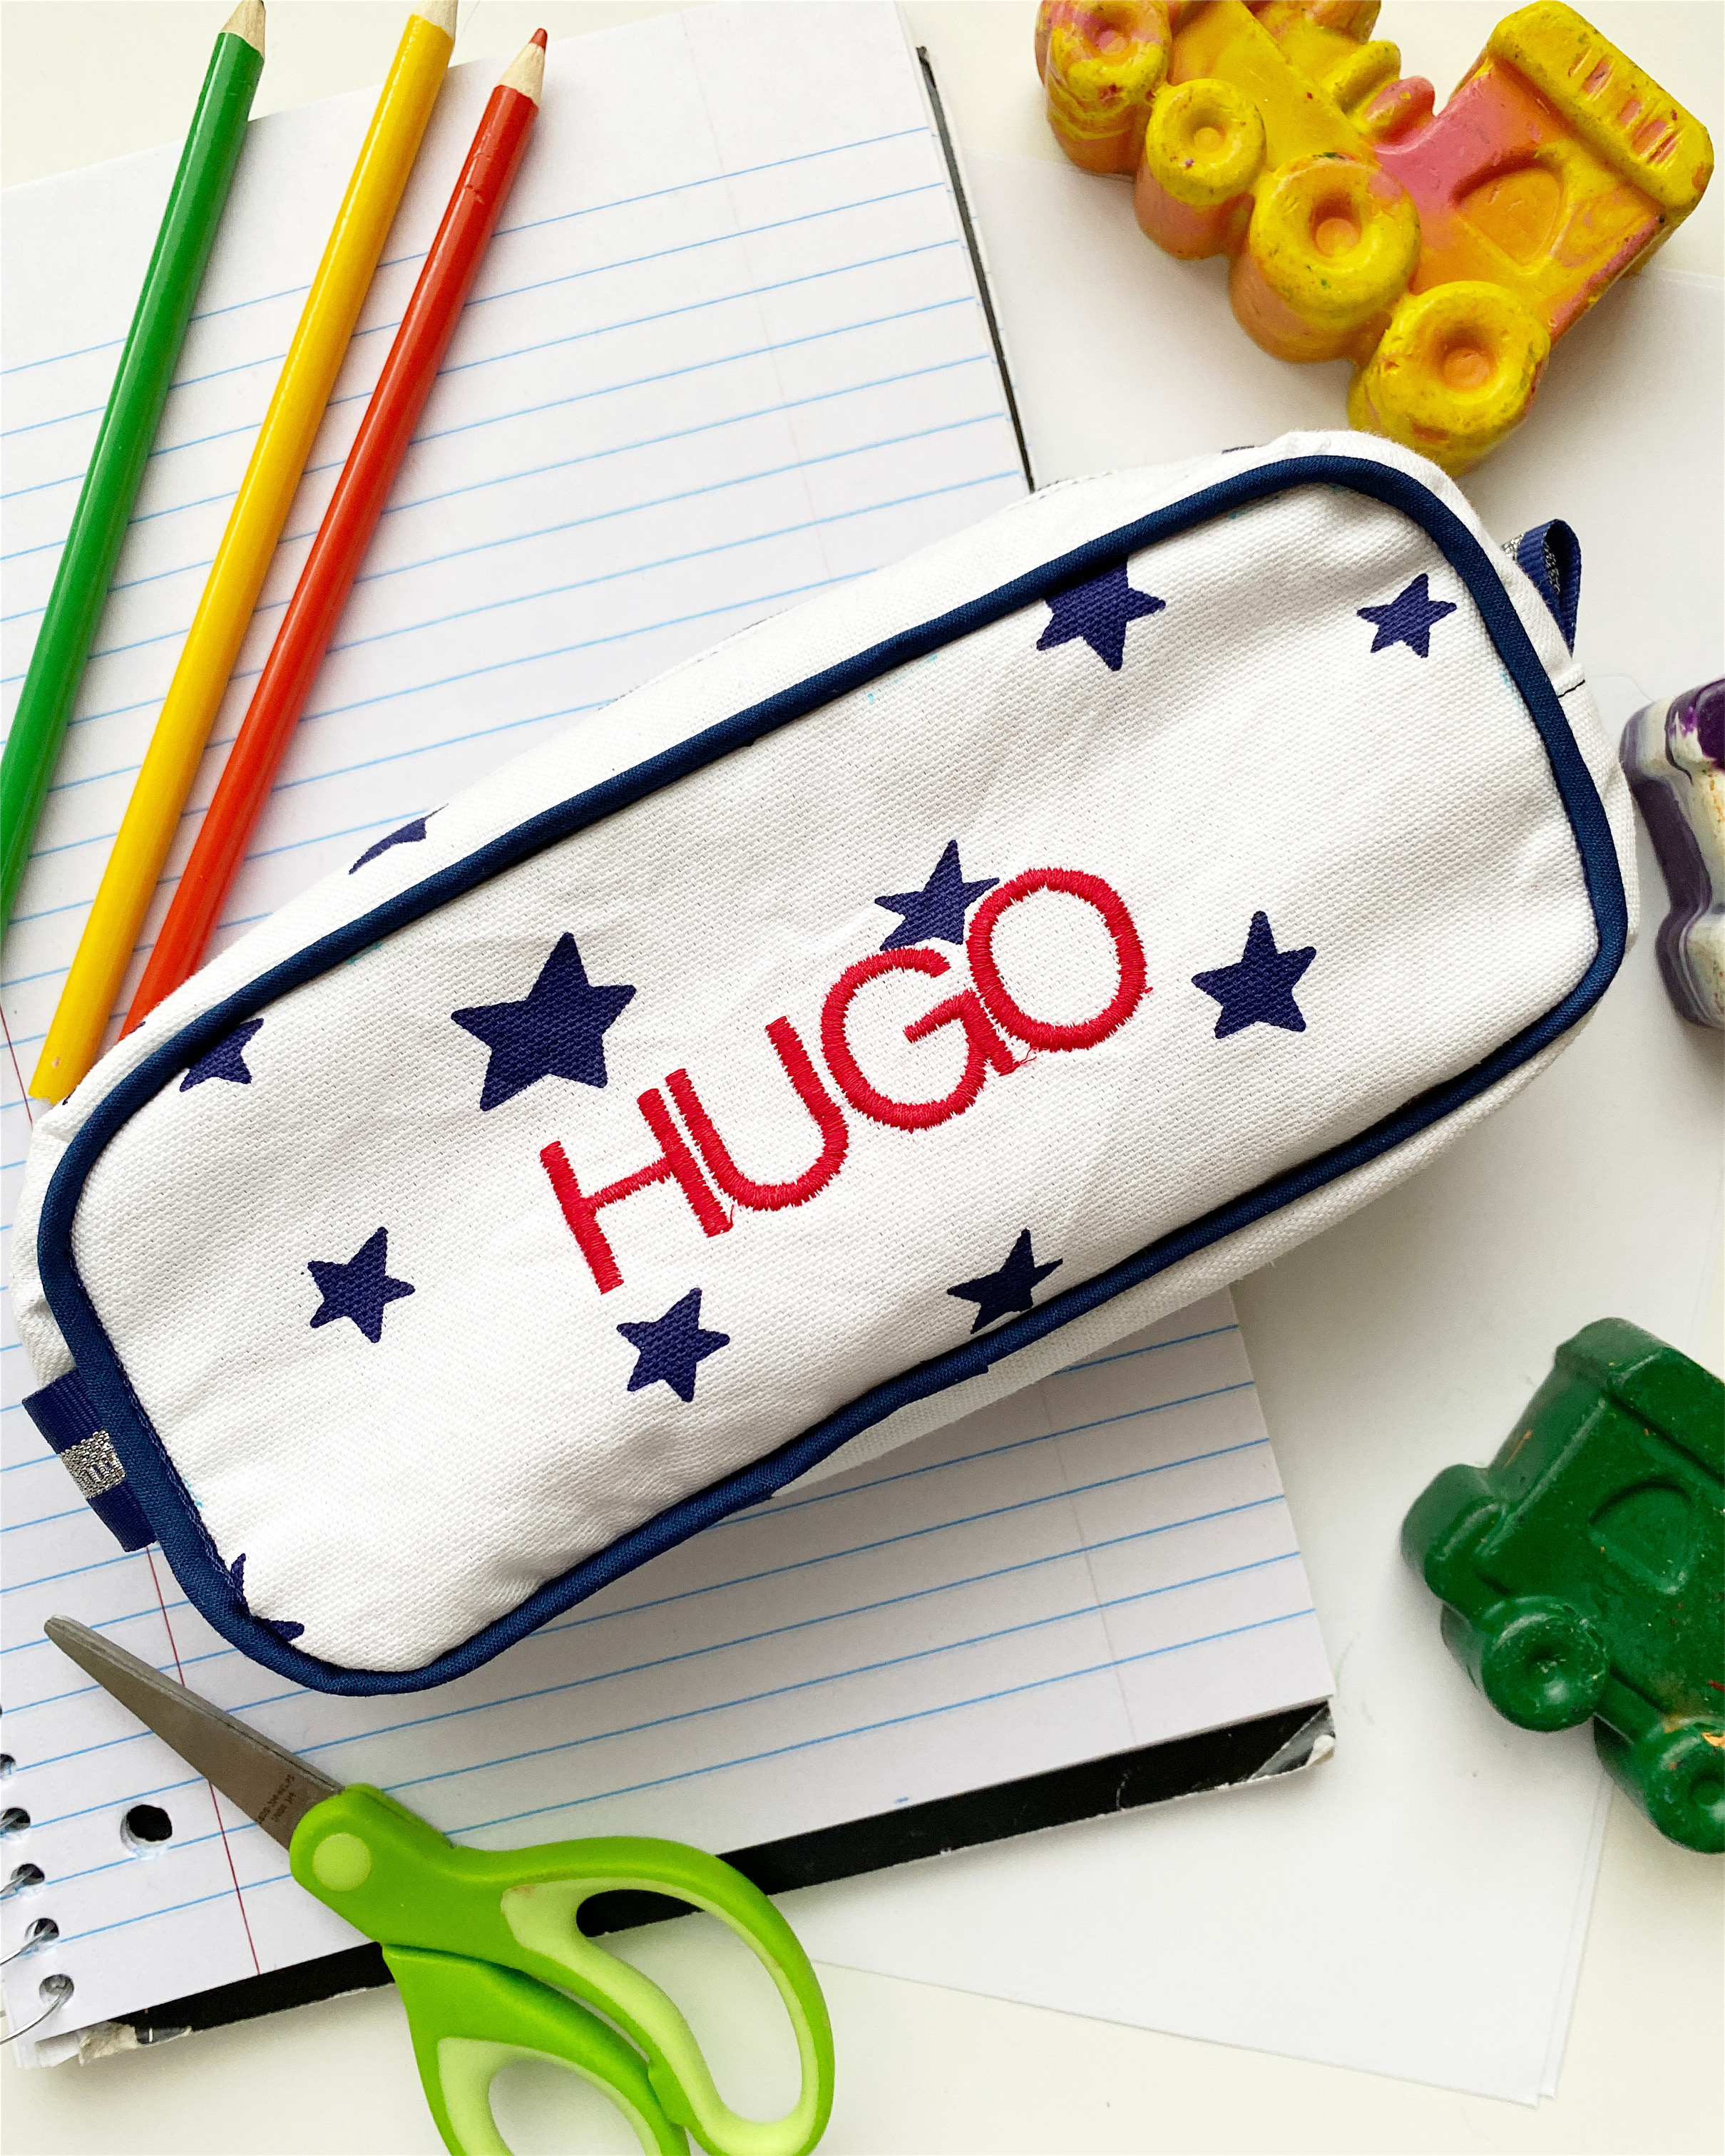
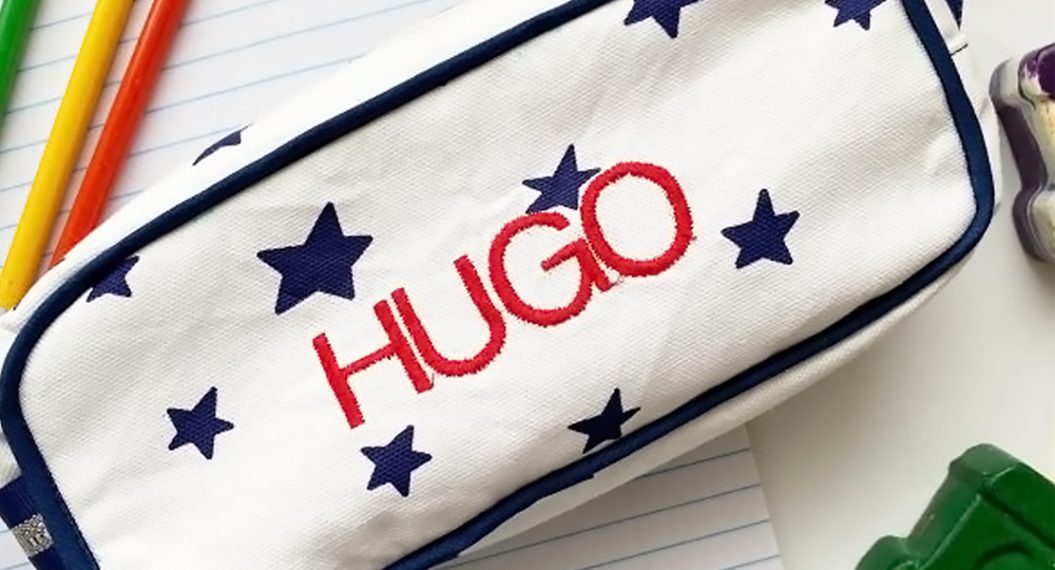
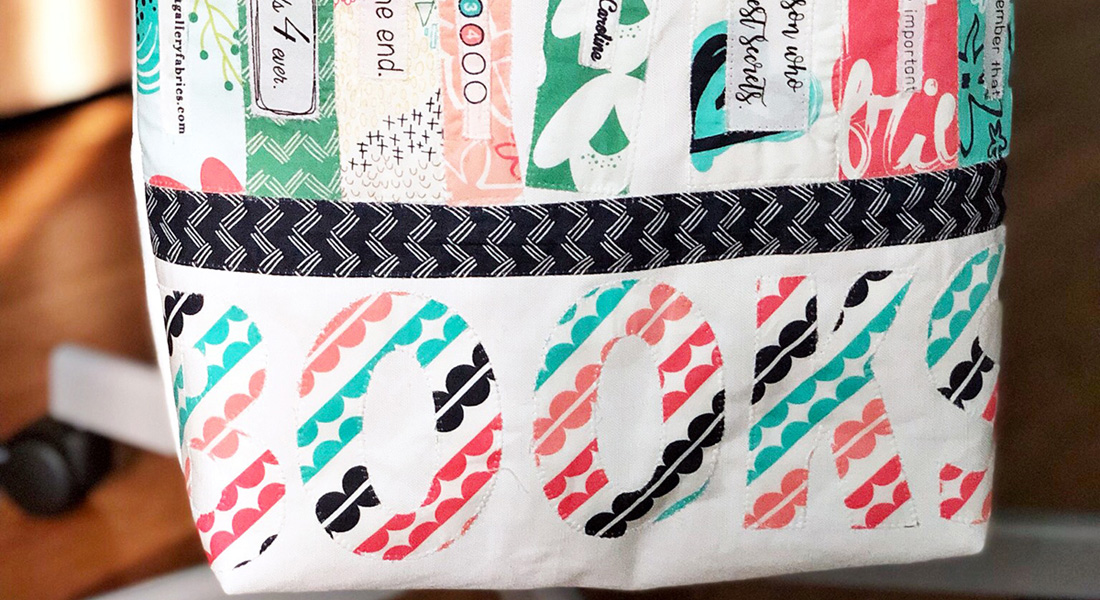
How to Make a Monogrammed Pencil Pouch
Why, hello again! This is Brittany from Sew Very Lovely. Back to school season is in full swing, which means, all the school supply lists, clothes shopping, and preparation! I’ve been wanting to make a Pottery Barn Kids inspired pencil pouch for my oldest for awhile now and as soon as I learned that he was going to have quite the supply list – I dove straight into creating a pencil pouch, complete with monogramming. Naturally, I could wait to share with you how to create your own monogrammed pencil pouch too! But, enough chatting – lets get to it!
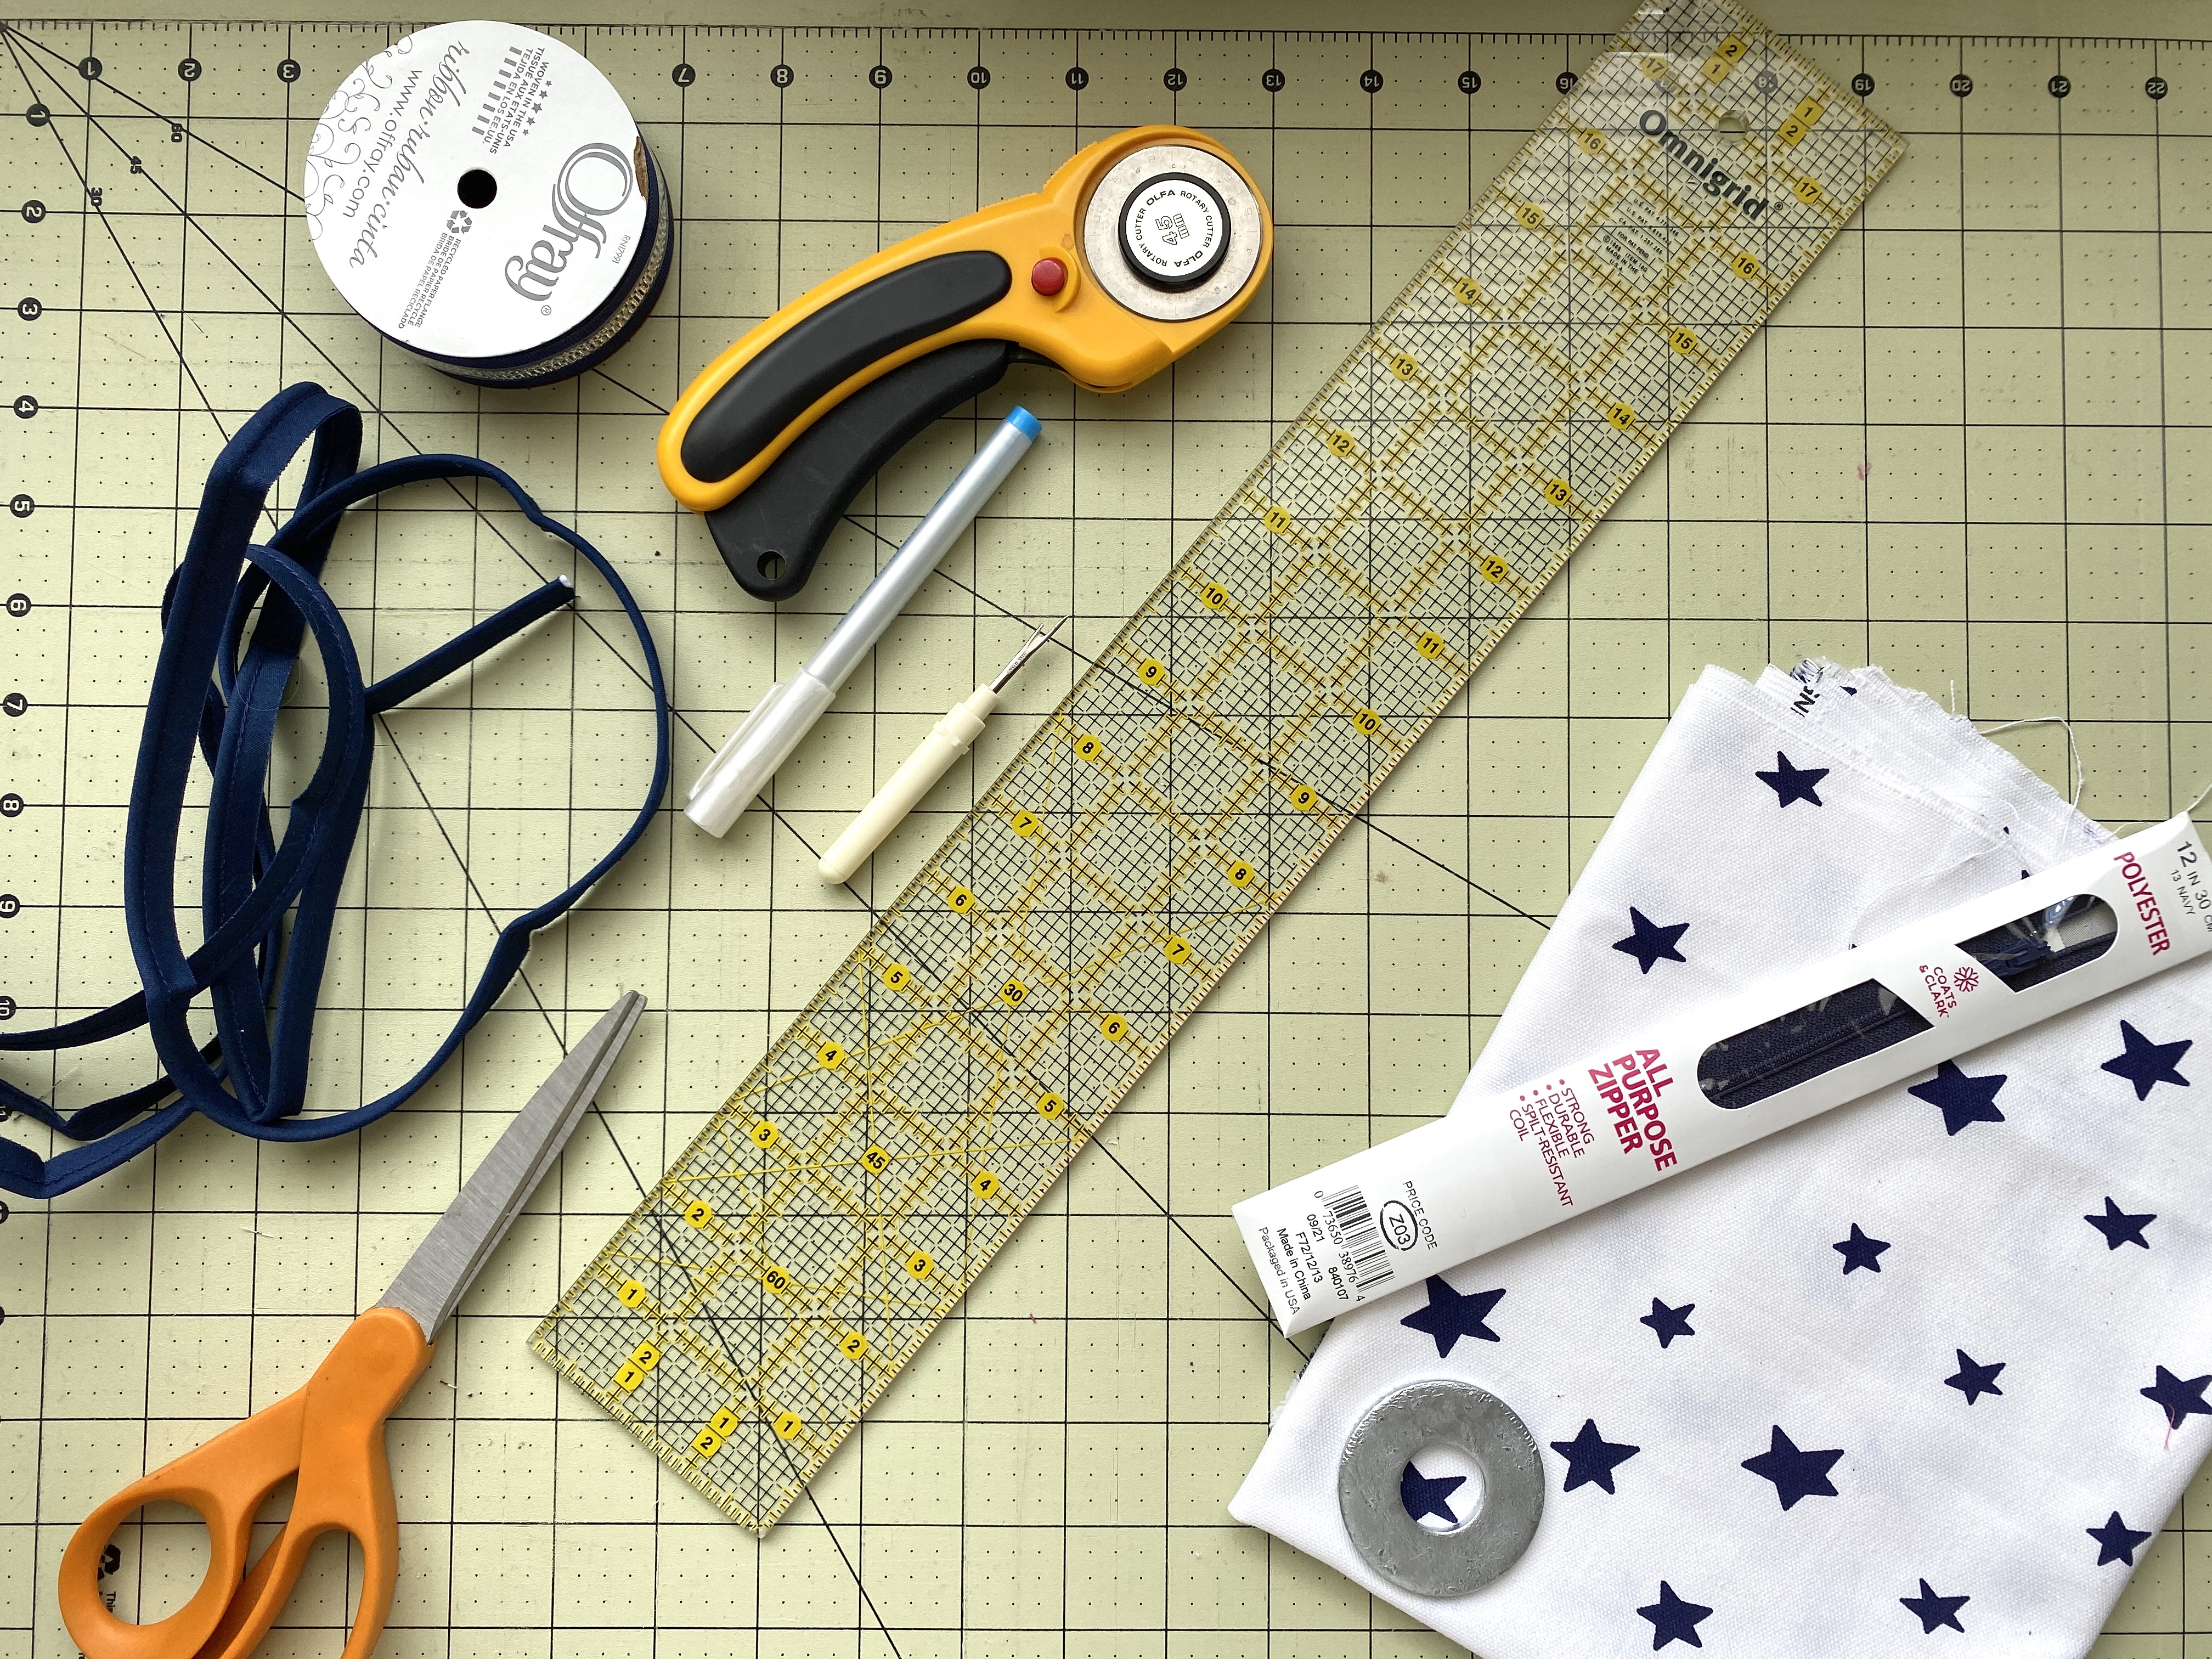
Supplies to Make a Monogrammed Pencil Case
- Rotary Cutter or Scissors
- Cutting mat
- Ruler
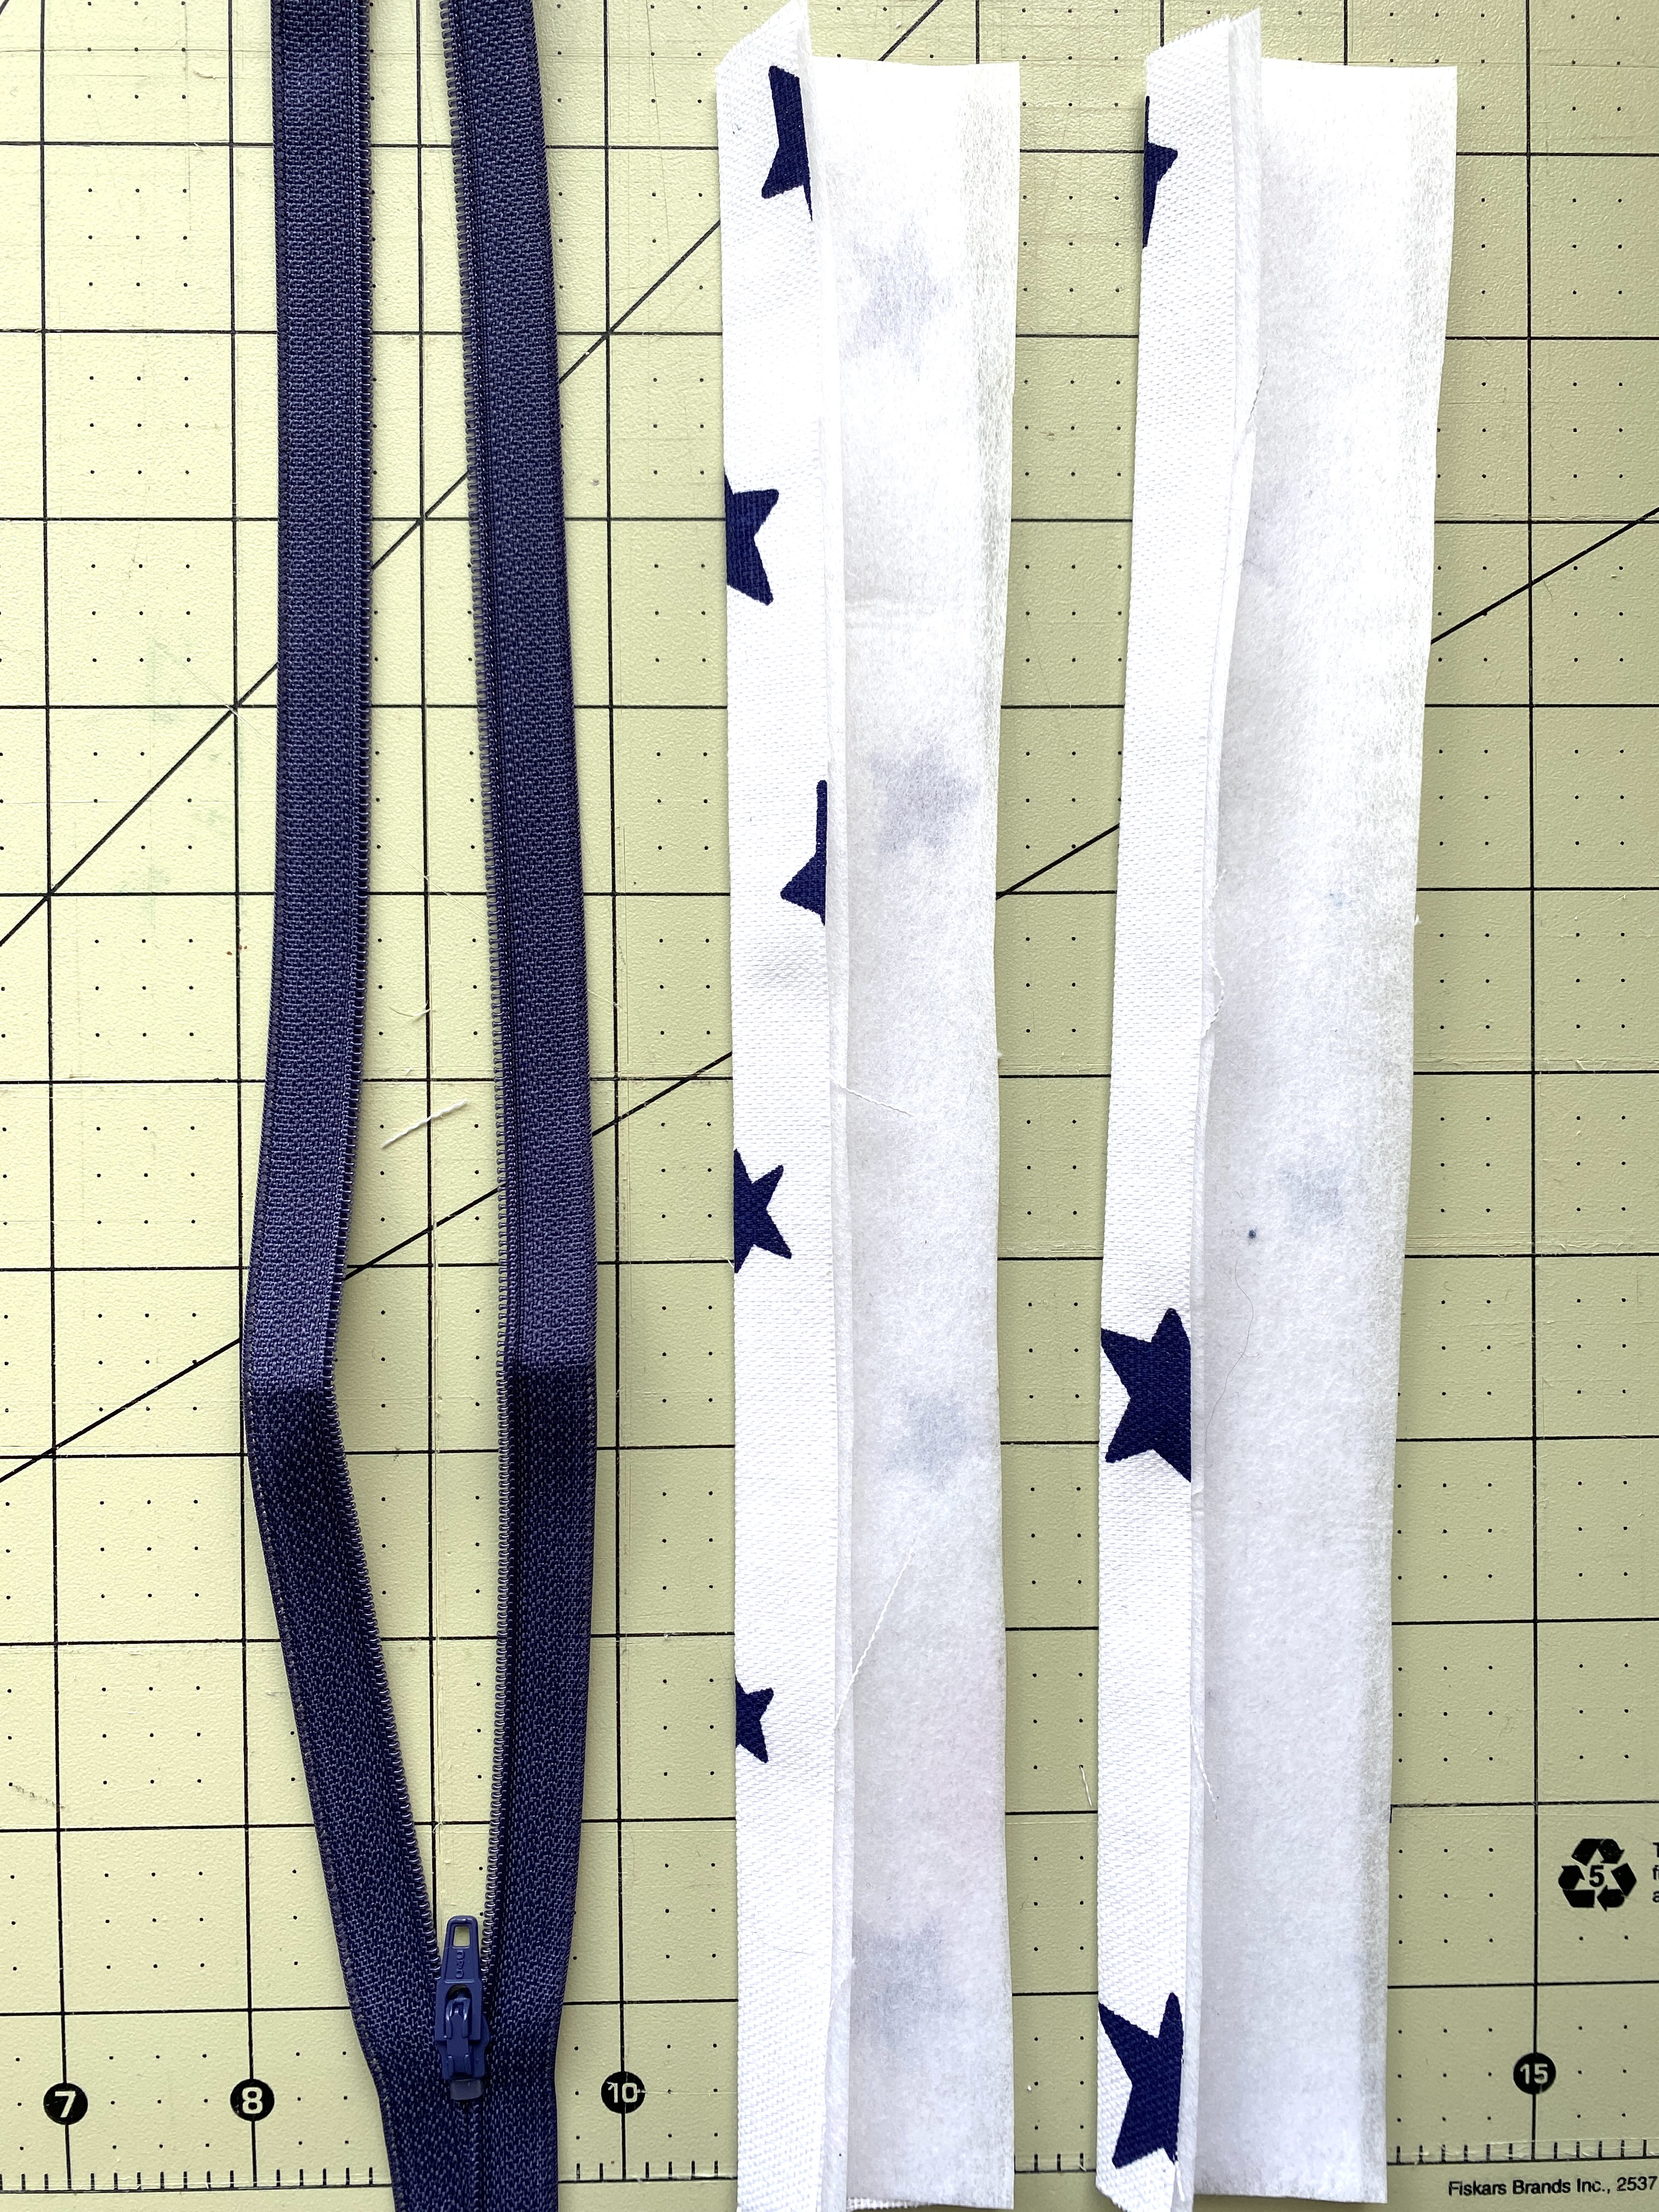
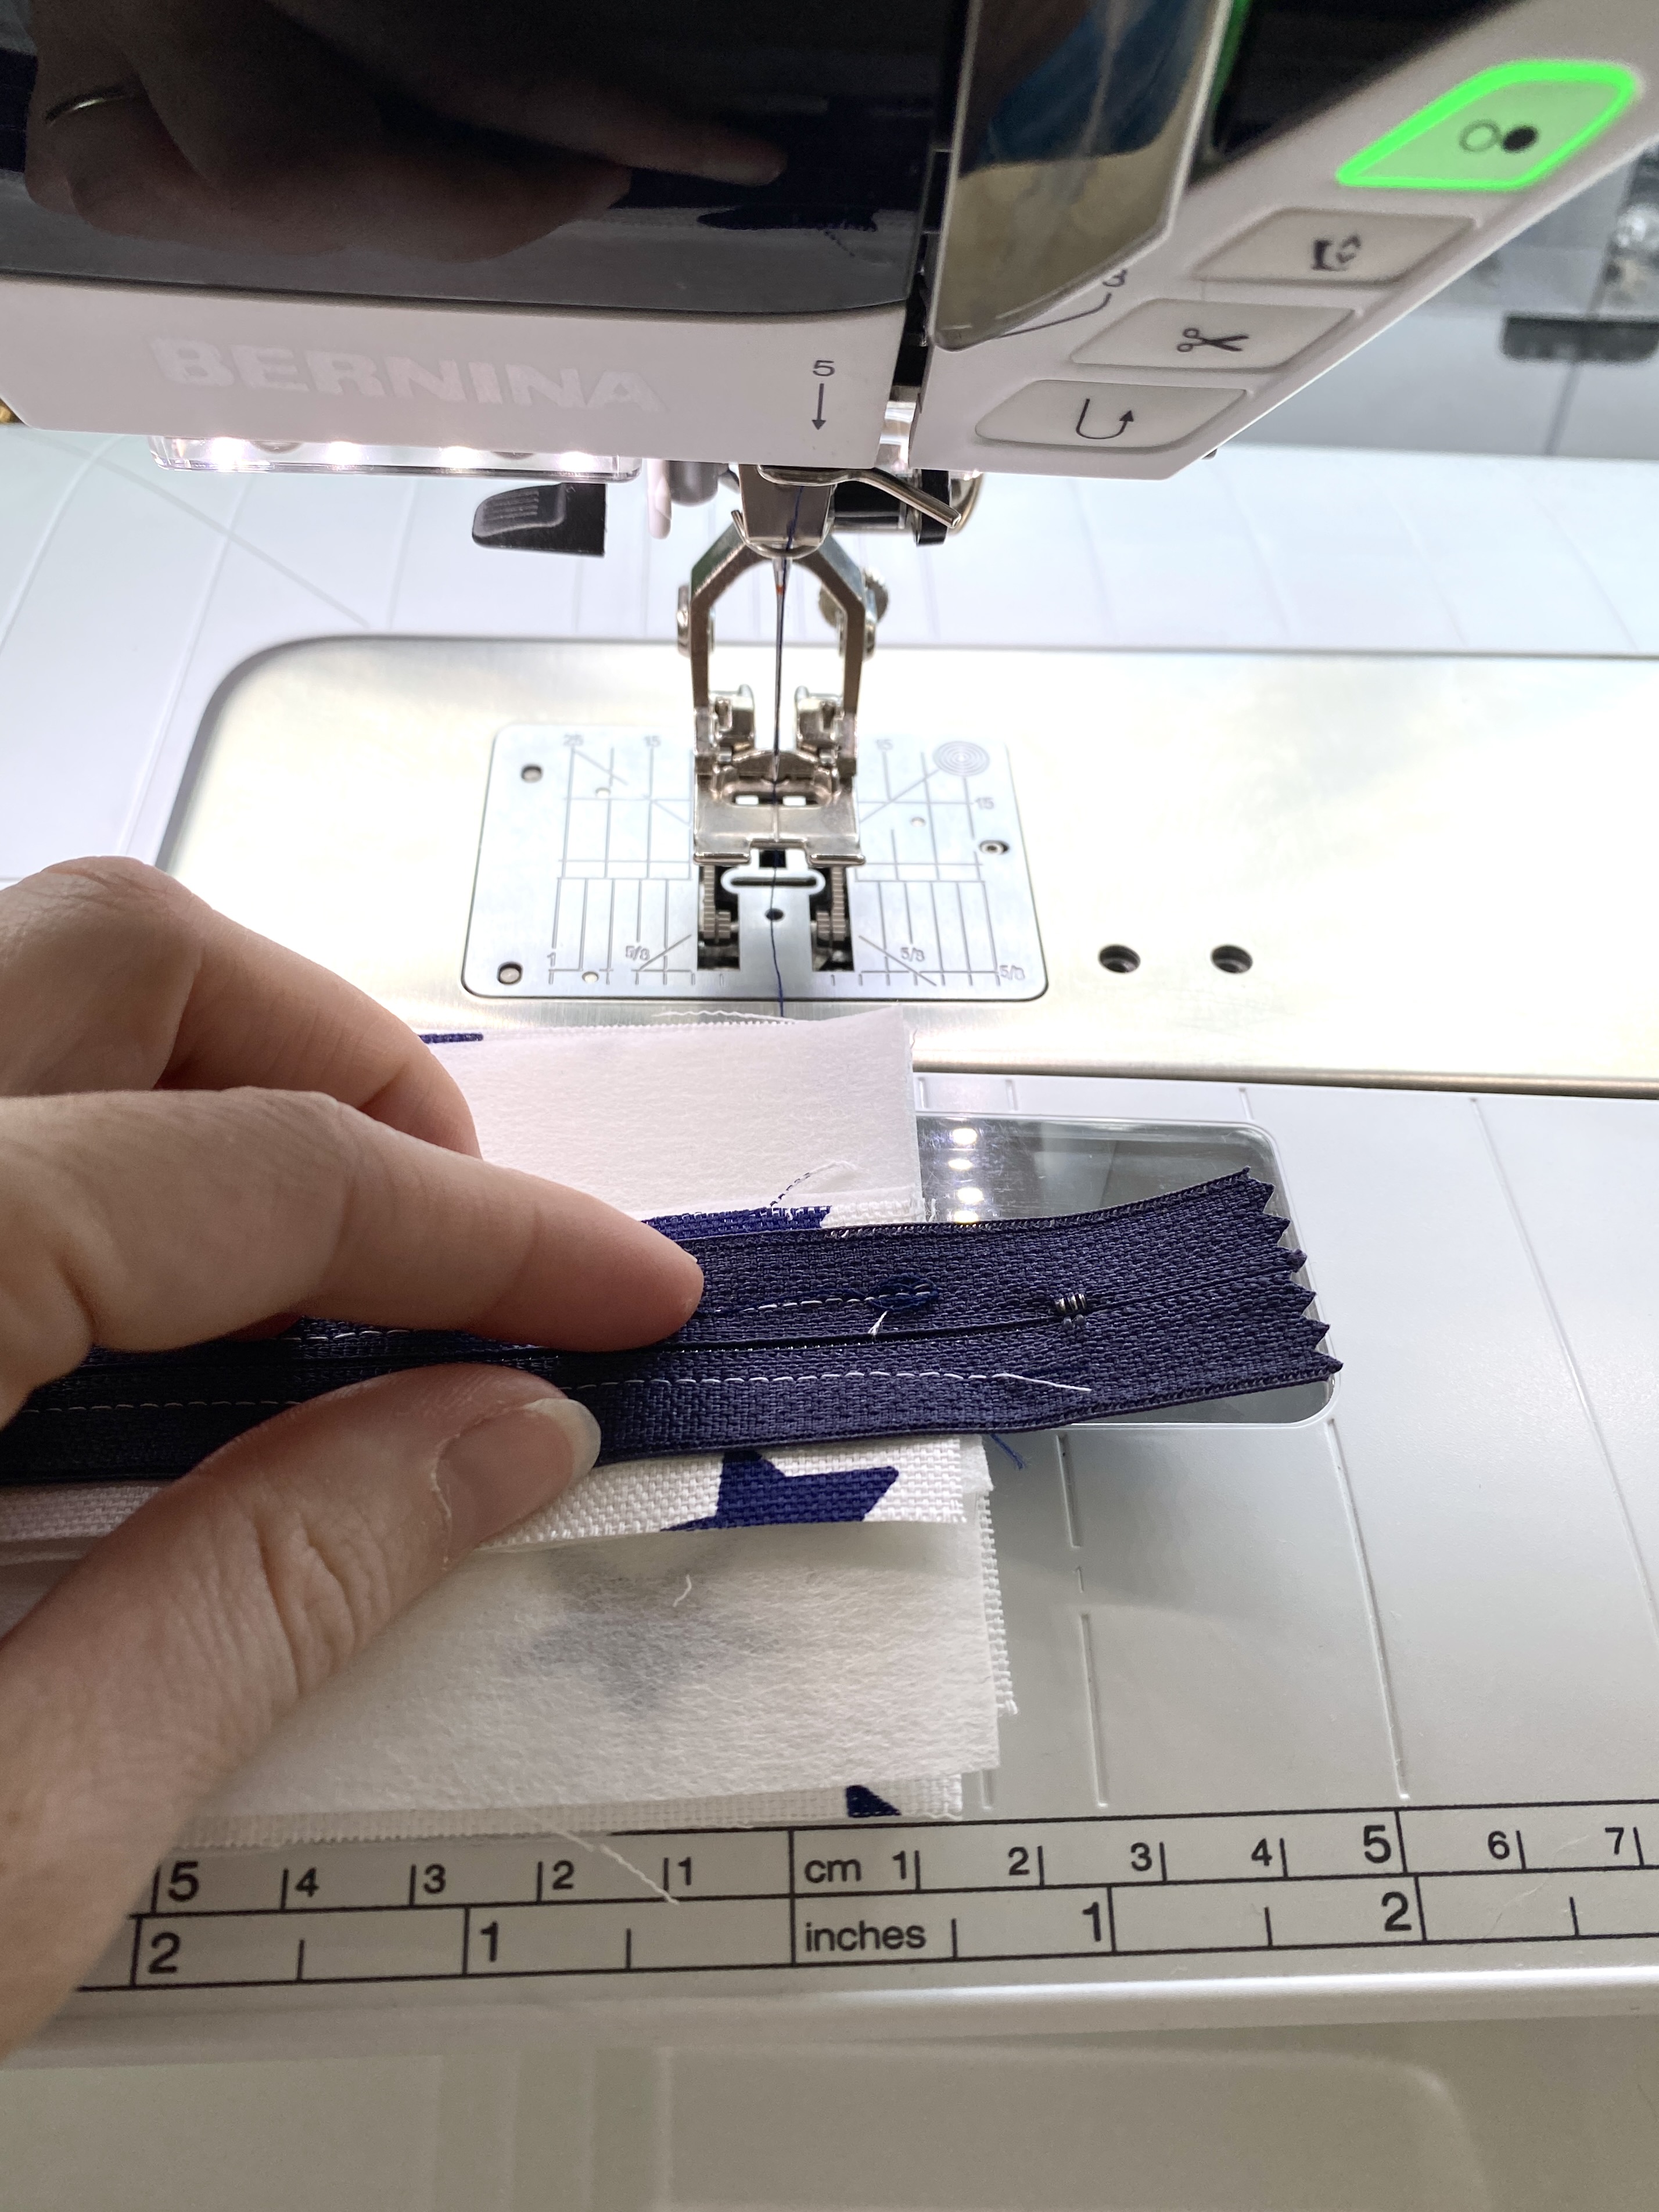
- 12″ zipper
- 1 pack of piping
- 1 spool of ribbon
- .5 yds of canvas cotton (I had a lot leftover but I like to have extra fabric on hand so this is the amount that I had cut.
- .5 yd lining
- Interfacing (a medium weight)
- Coordinating thread
- Contrasting thread (for top stitching)
- Contrasting embroidery thread (if monogramming)
- Pins
- Machine: BERNINA 590

Embroidery Instructions

Cut enough of your main fabric for your 4X4 hoop. Layer your fabric on top of your interfacing into the hoop. Add your embroidery attachment piece and switch the machine setting to embroidery. After you’ve lowered the dog feed, switch out your regular foot for 26 (or an embroidery foot of your choice), attach your hoop.
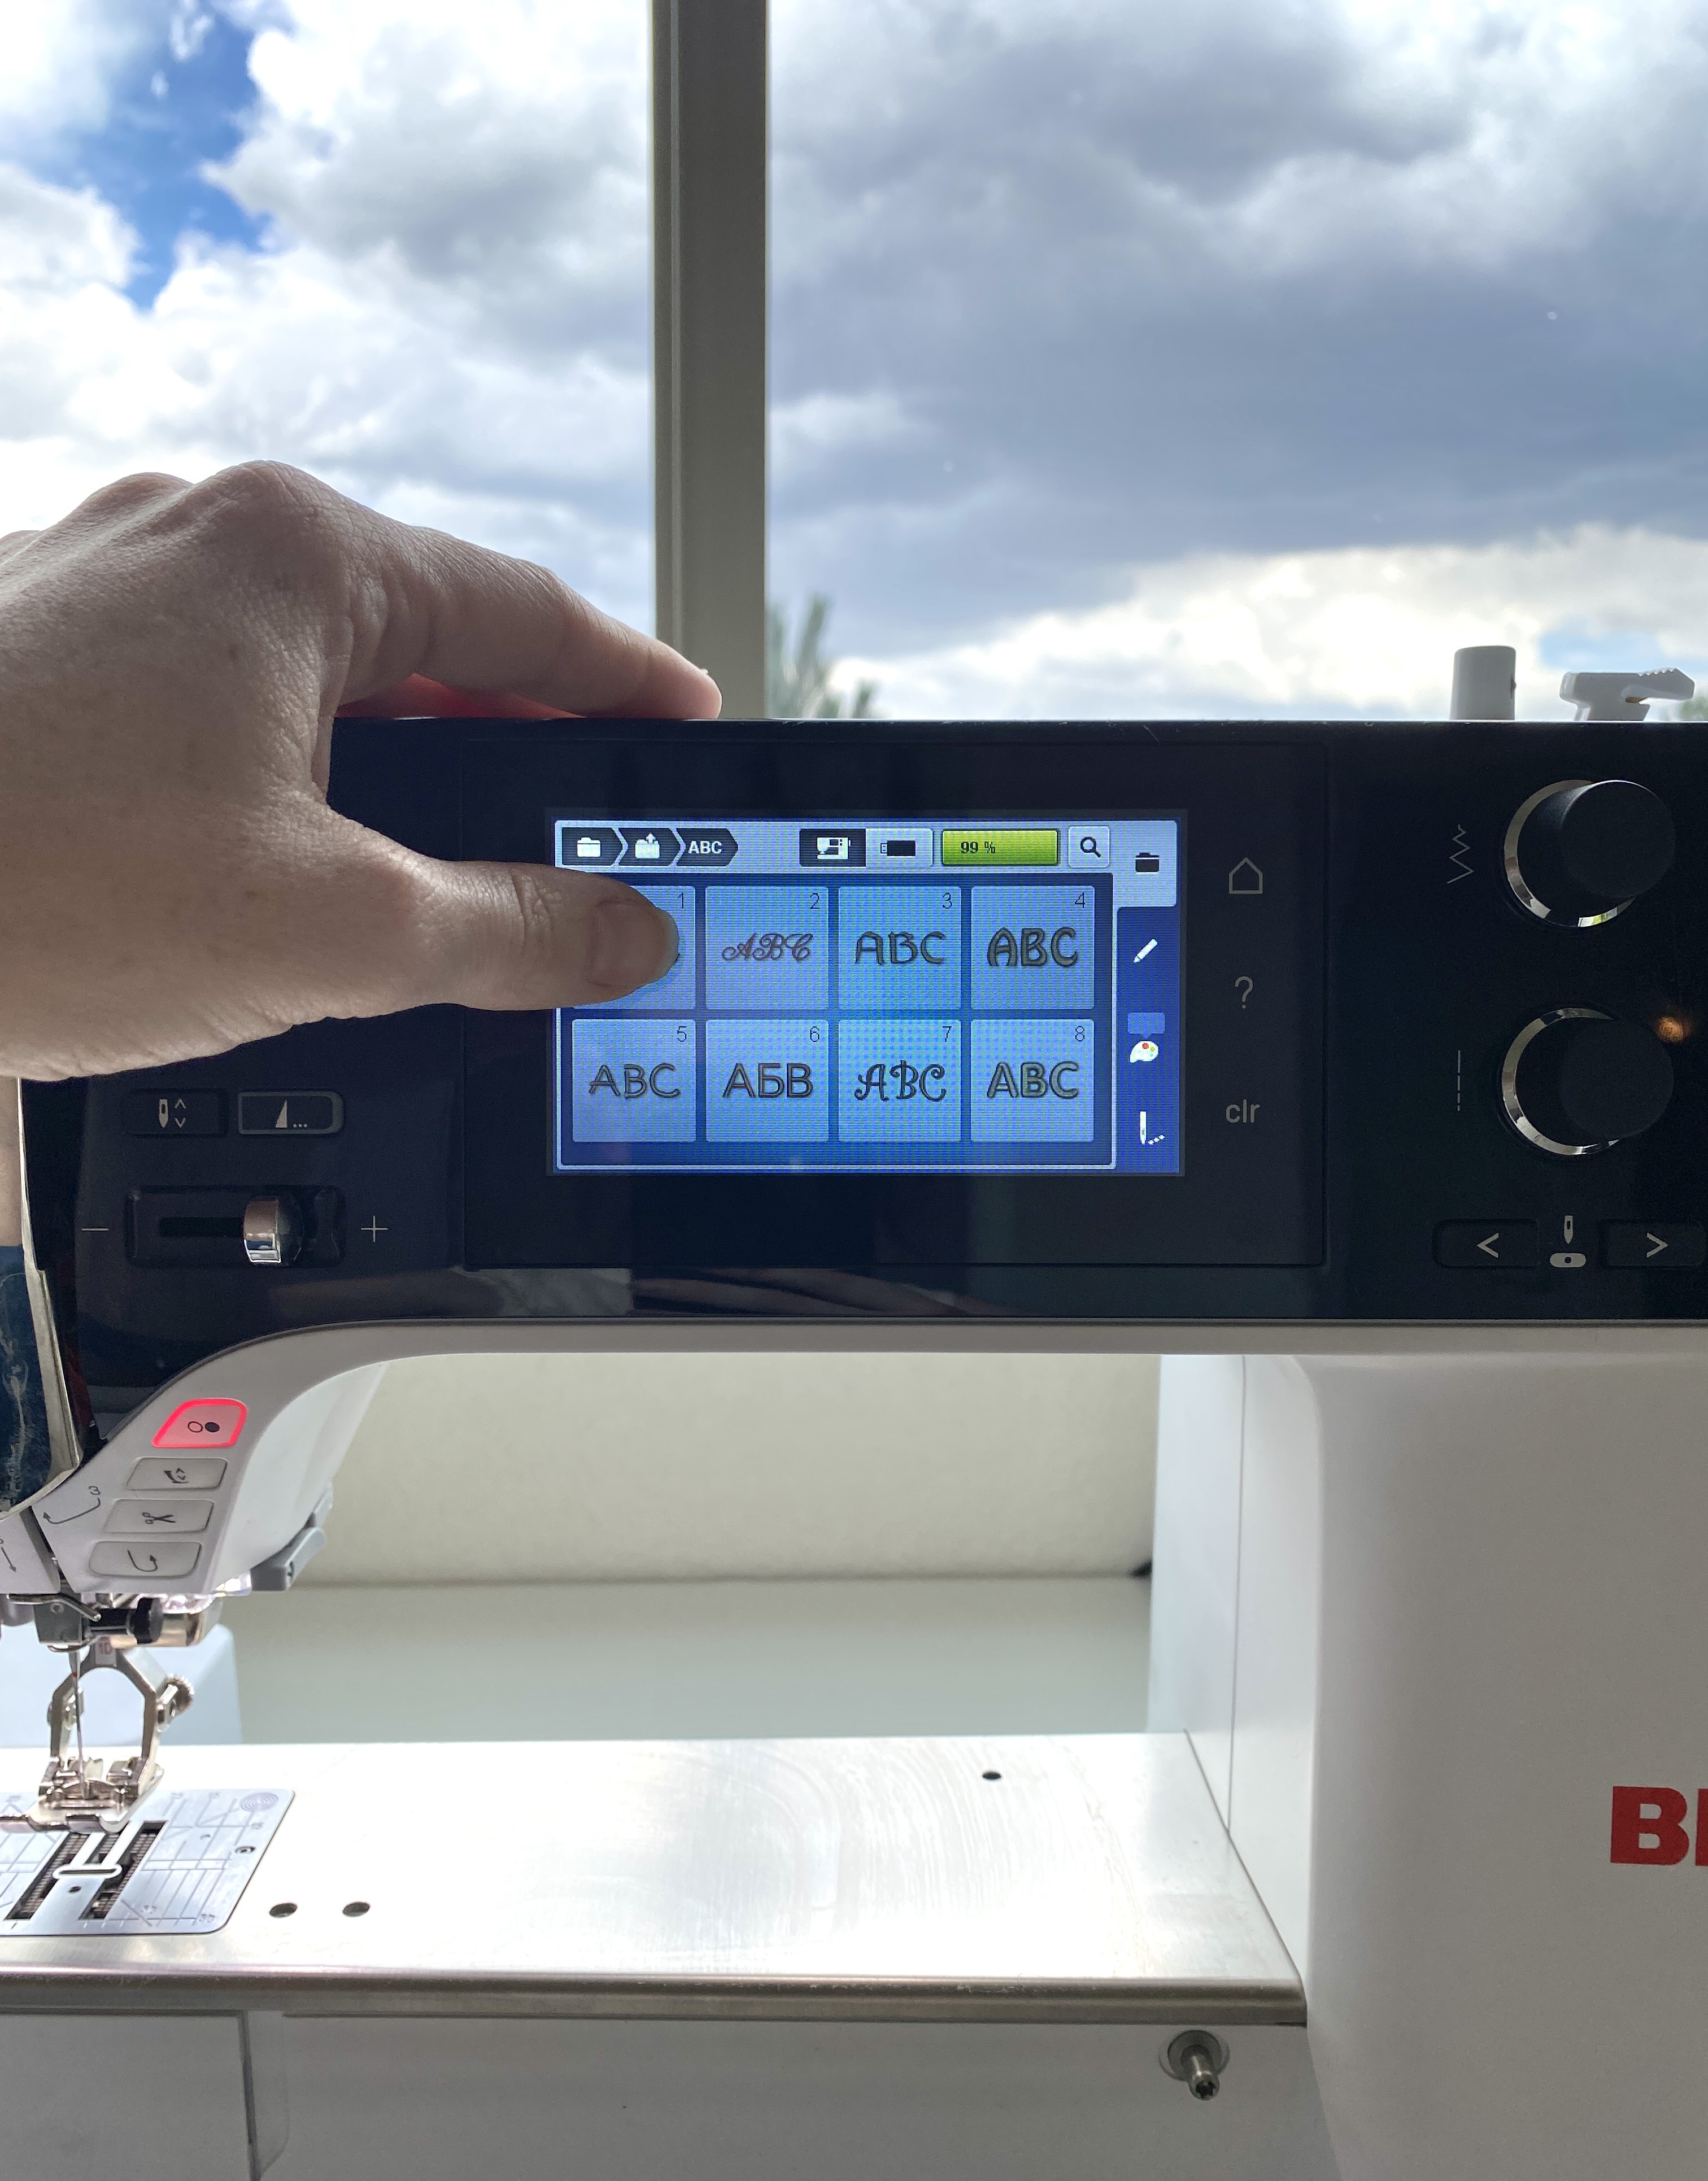
Select the ABC button on the display screen. From there, select the type of font that you would like to use and input the name into the display screen. Once the name appears on your display screen, adjust the size and whether or not you need to change its’ orientation (i.e. vertical, horizontal, diagonal). After you’ve made your adjustments – start monogramming!

How to Create the Pencil Pouch
Step One.
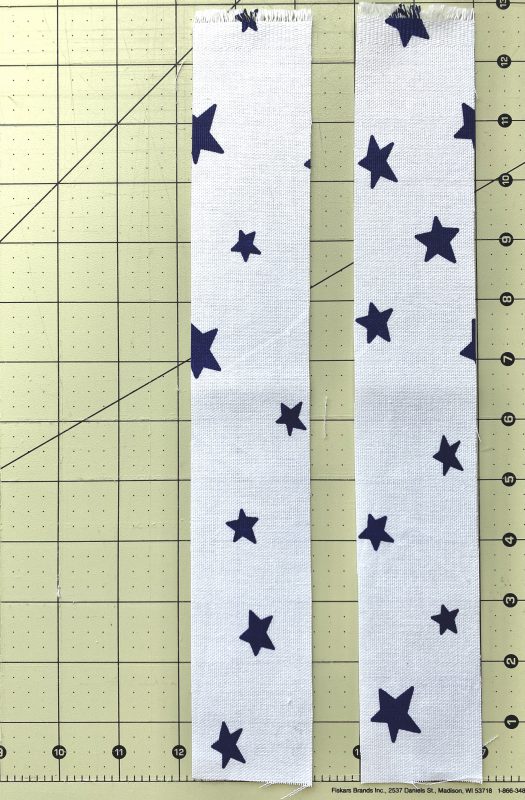
First, cut two strips 11.5×2″ of the main fabric and 11.5×2 of your interfacing. Iron or baste your interface to the wrong side of the main fabric.
Step Two.
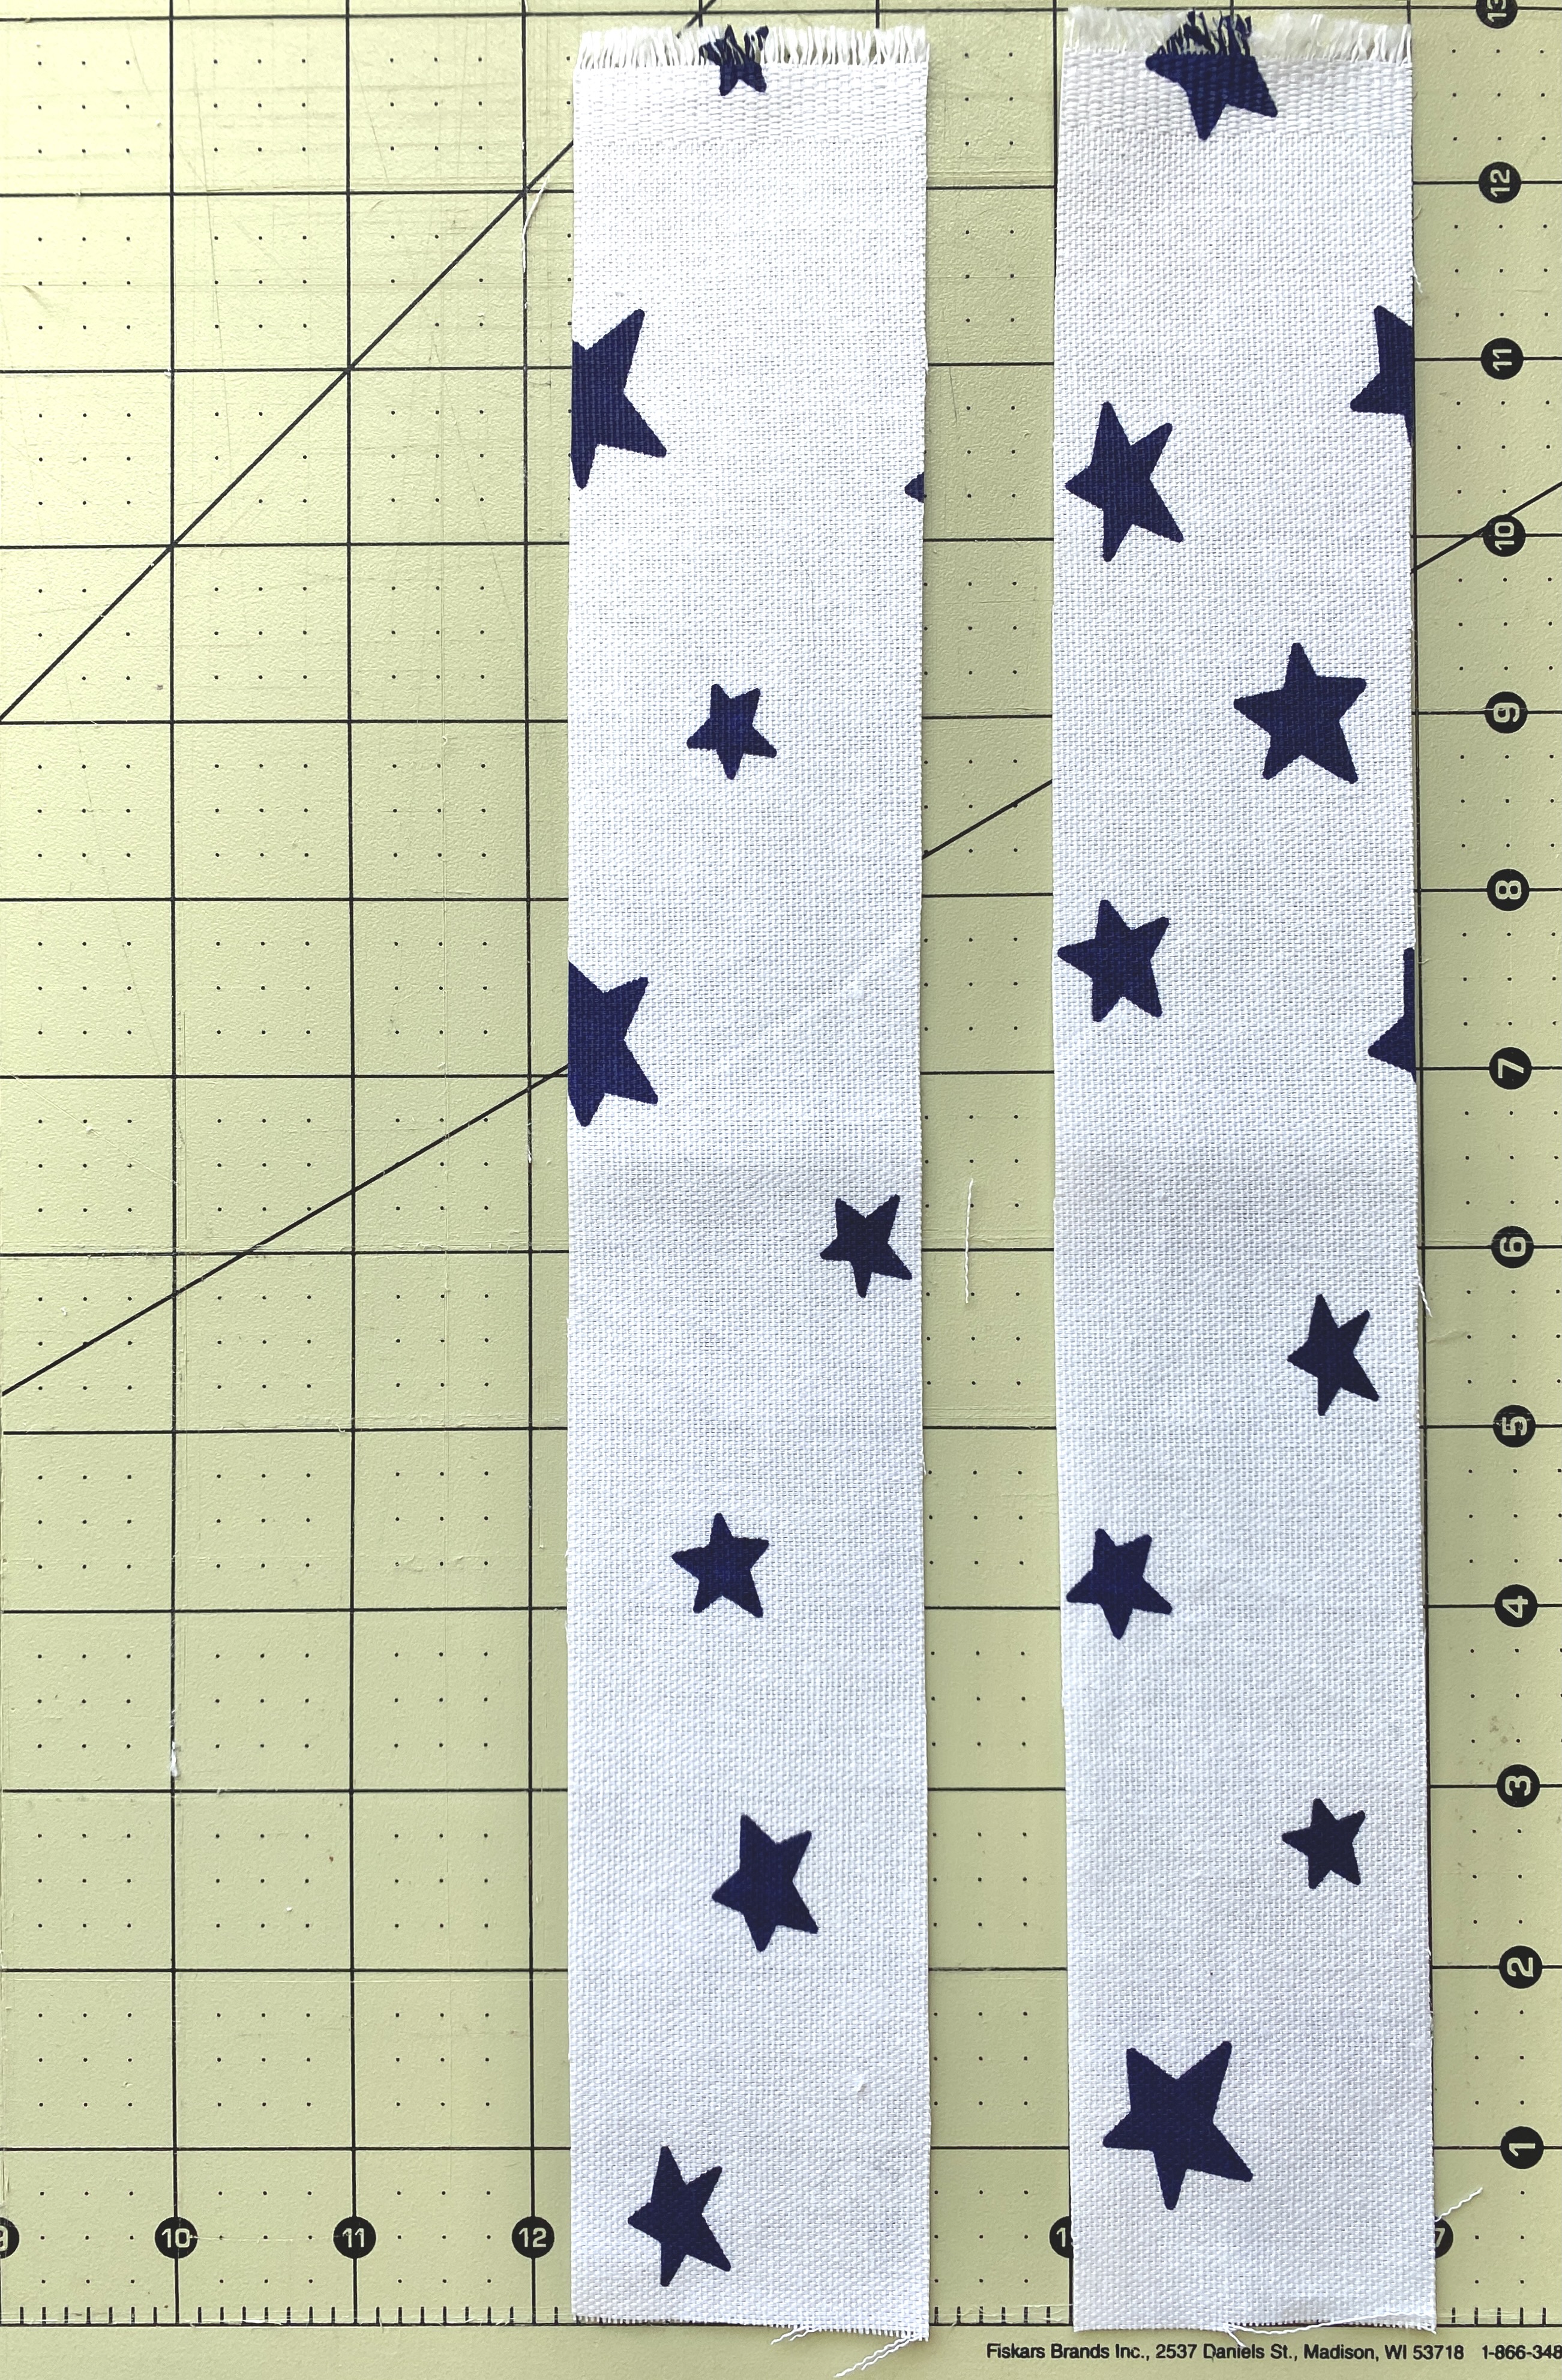
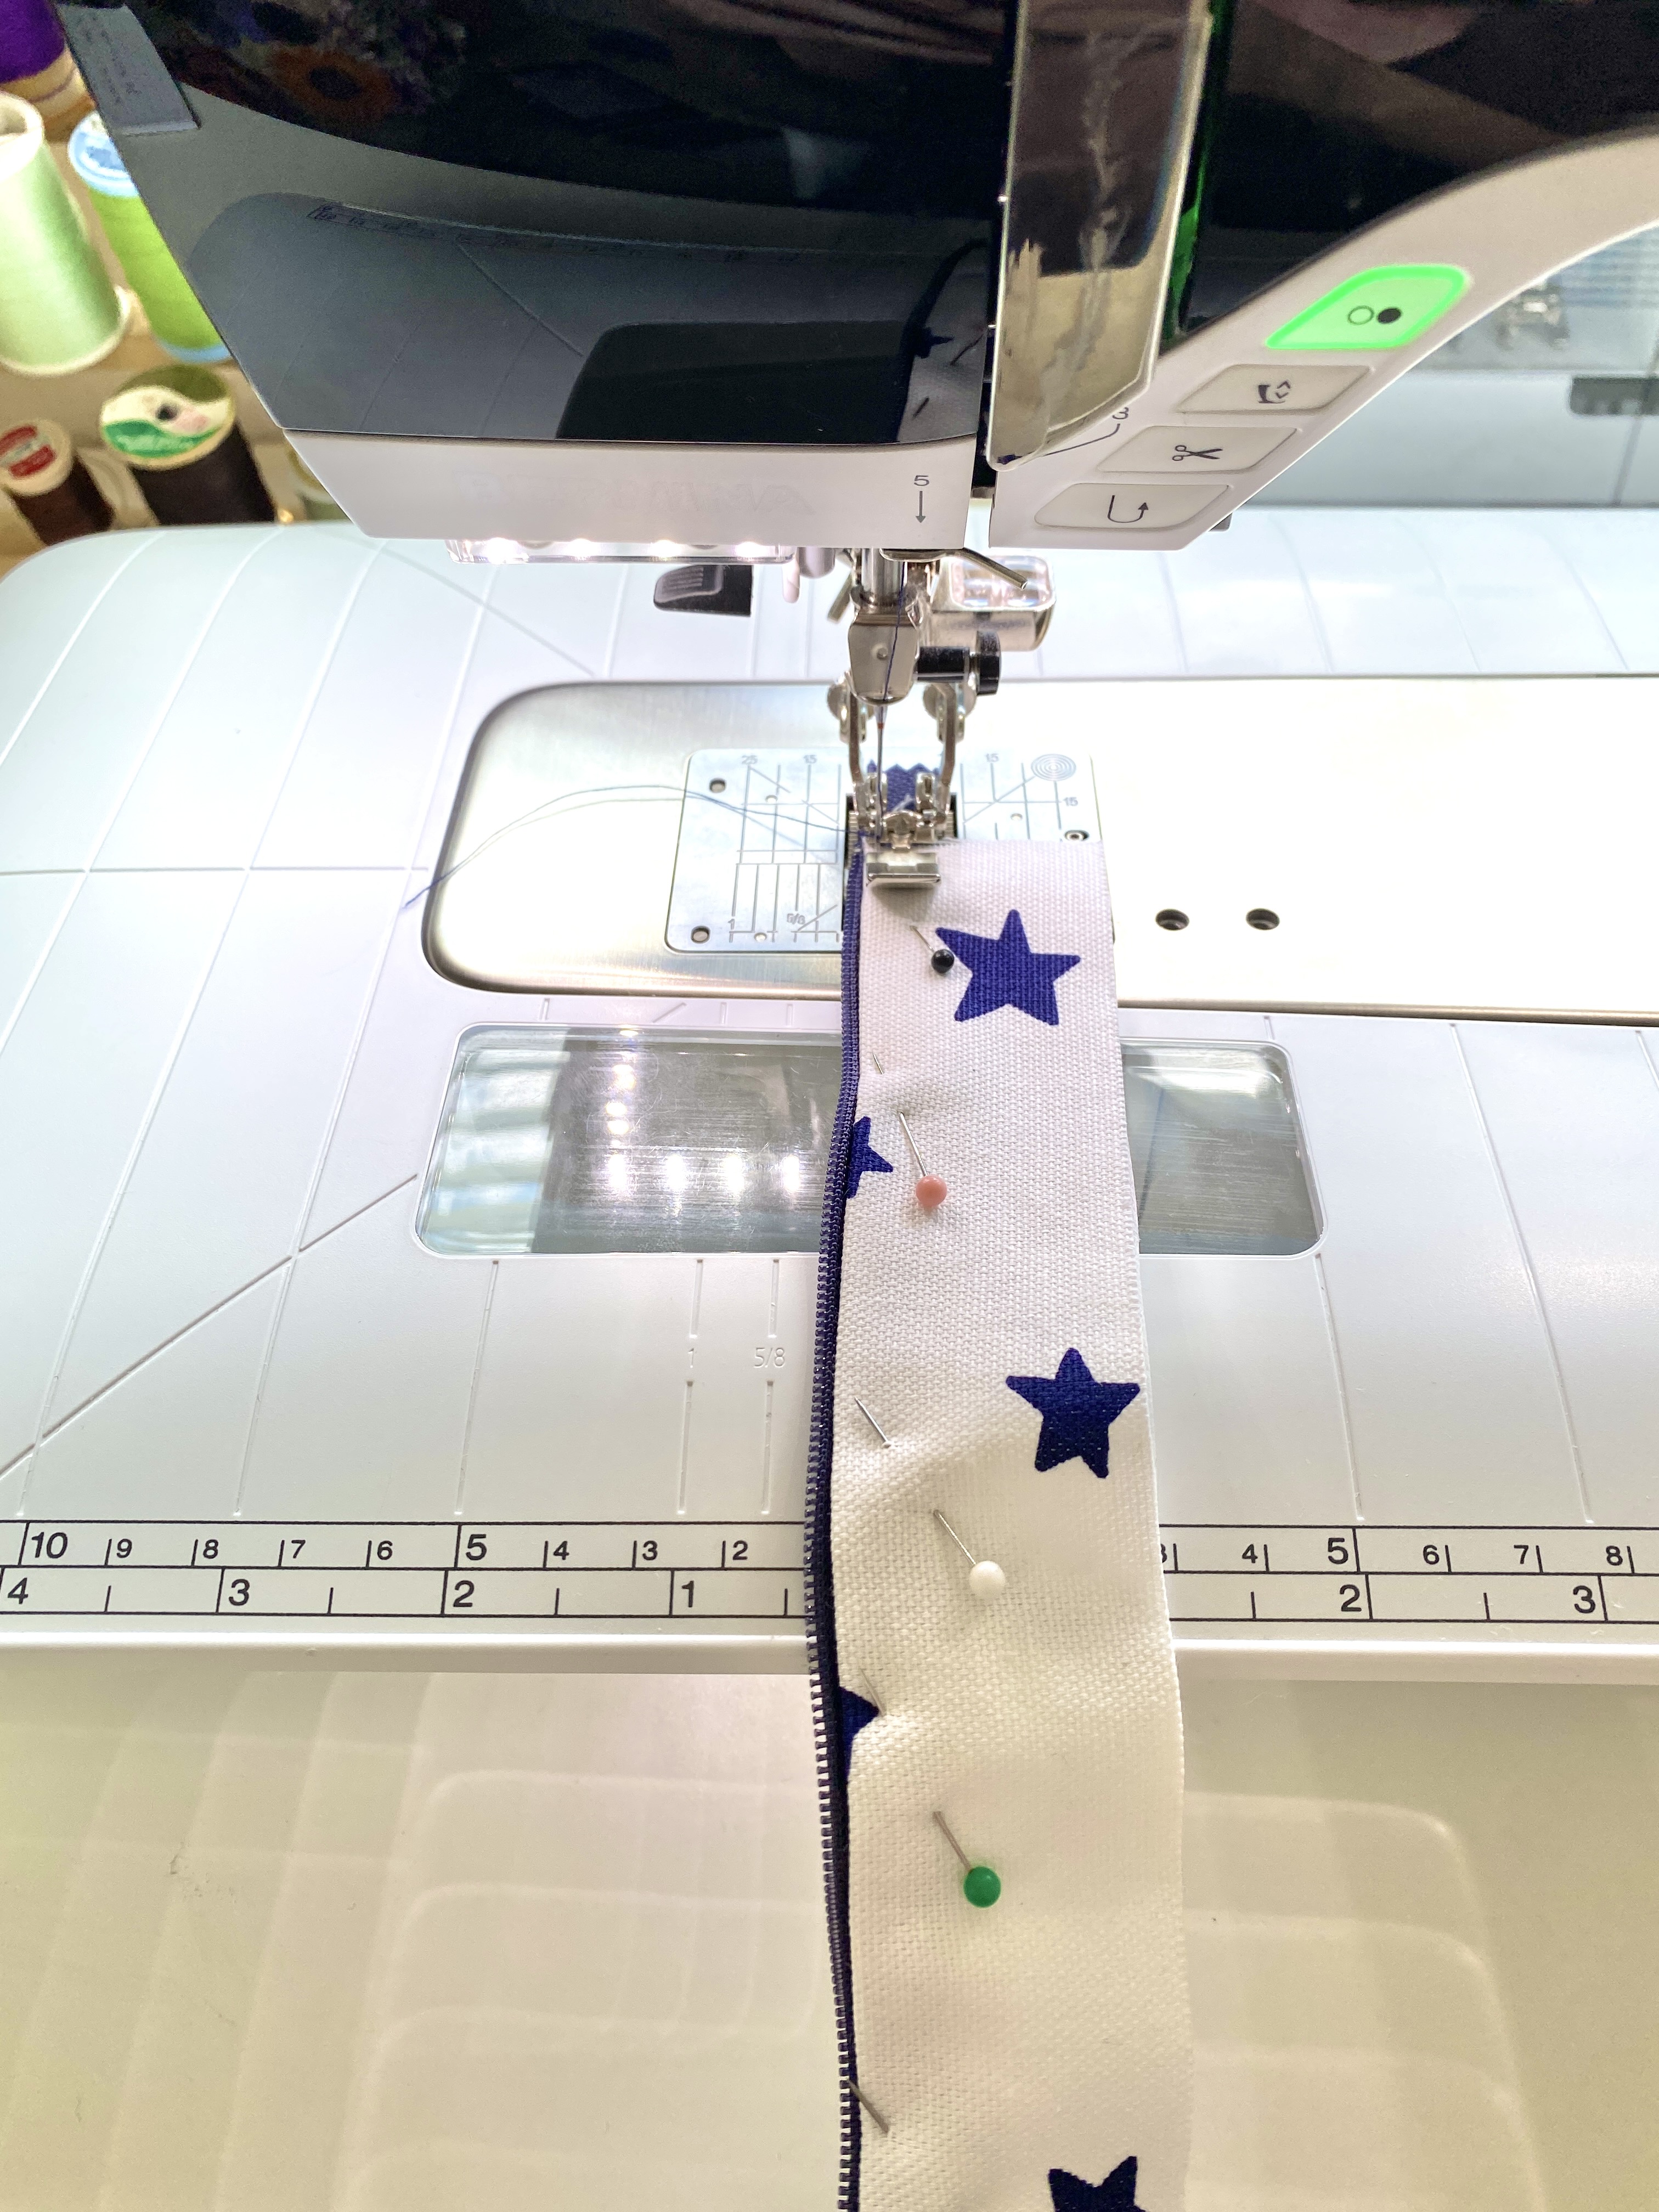
Along the length of the fabric, fold .5″ toward the back of the fabric. Iron all the way down. Repeat on the second strip.

Step Three.
Line up the zipper along the folded sides, pin in place, and top stitch along the zipper with a contrasting thread.
Step Four.
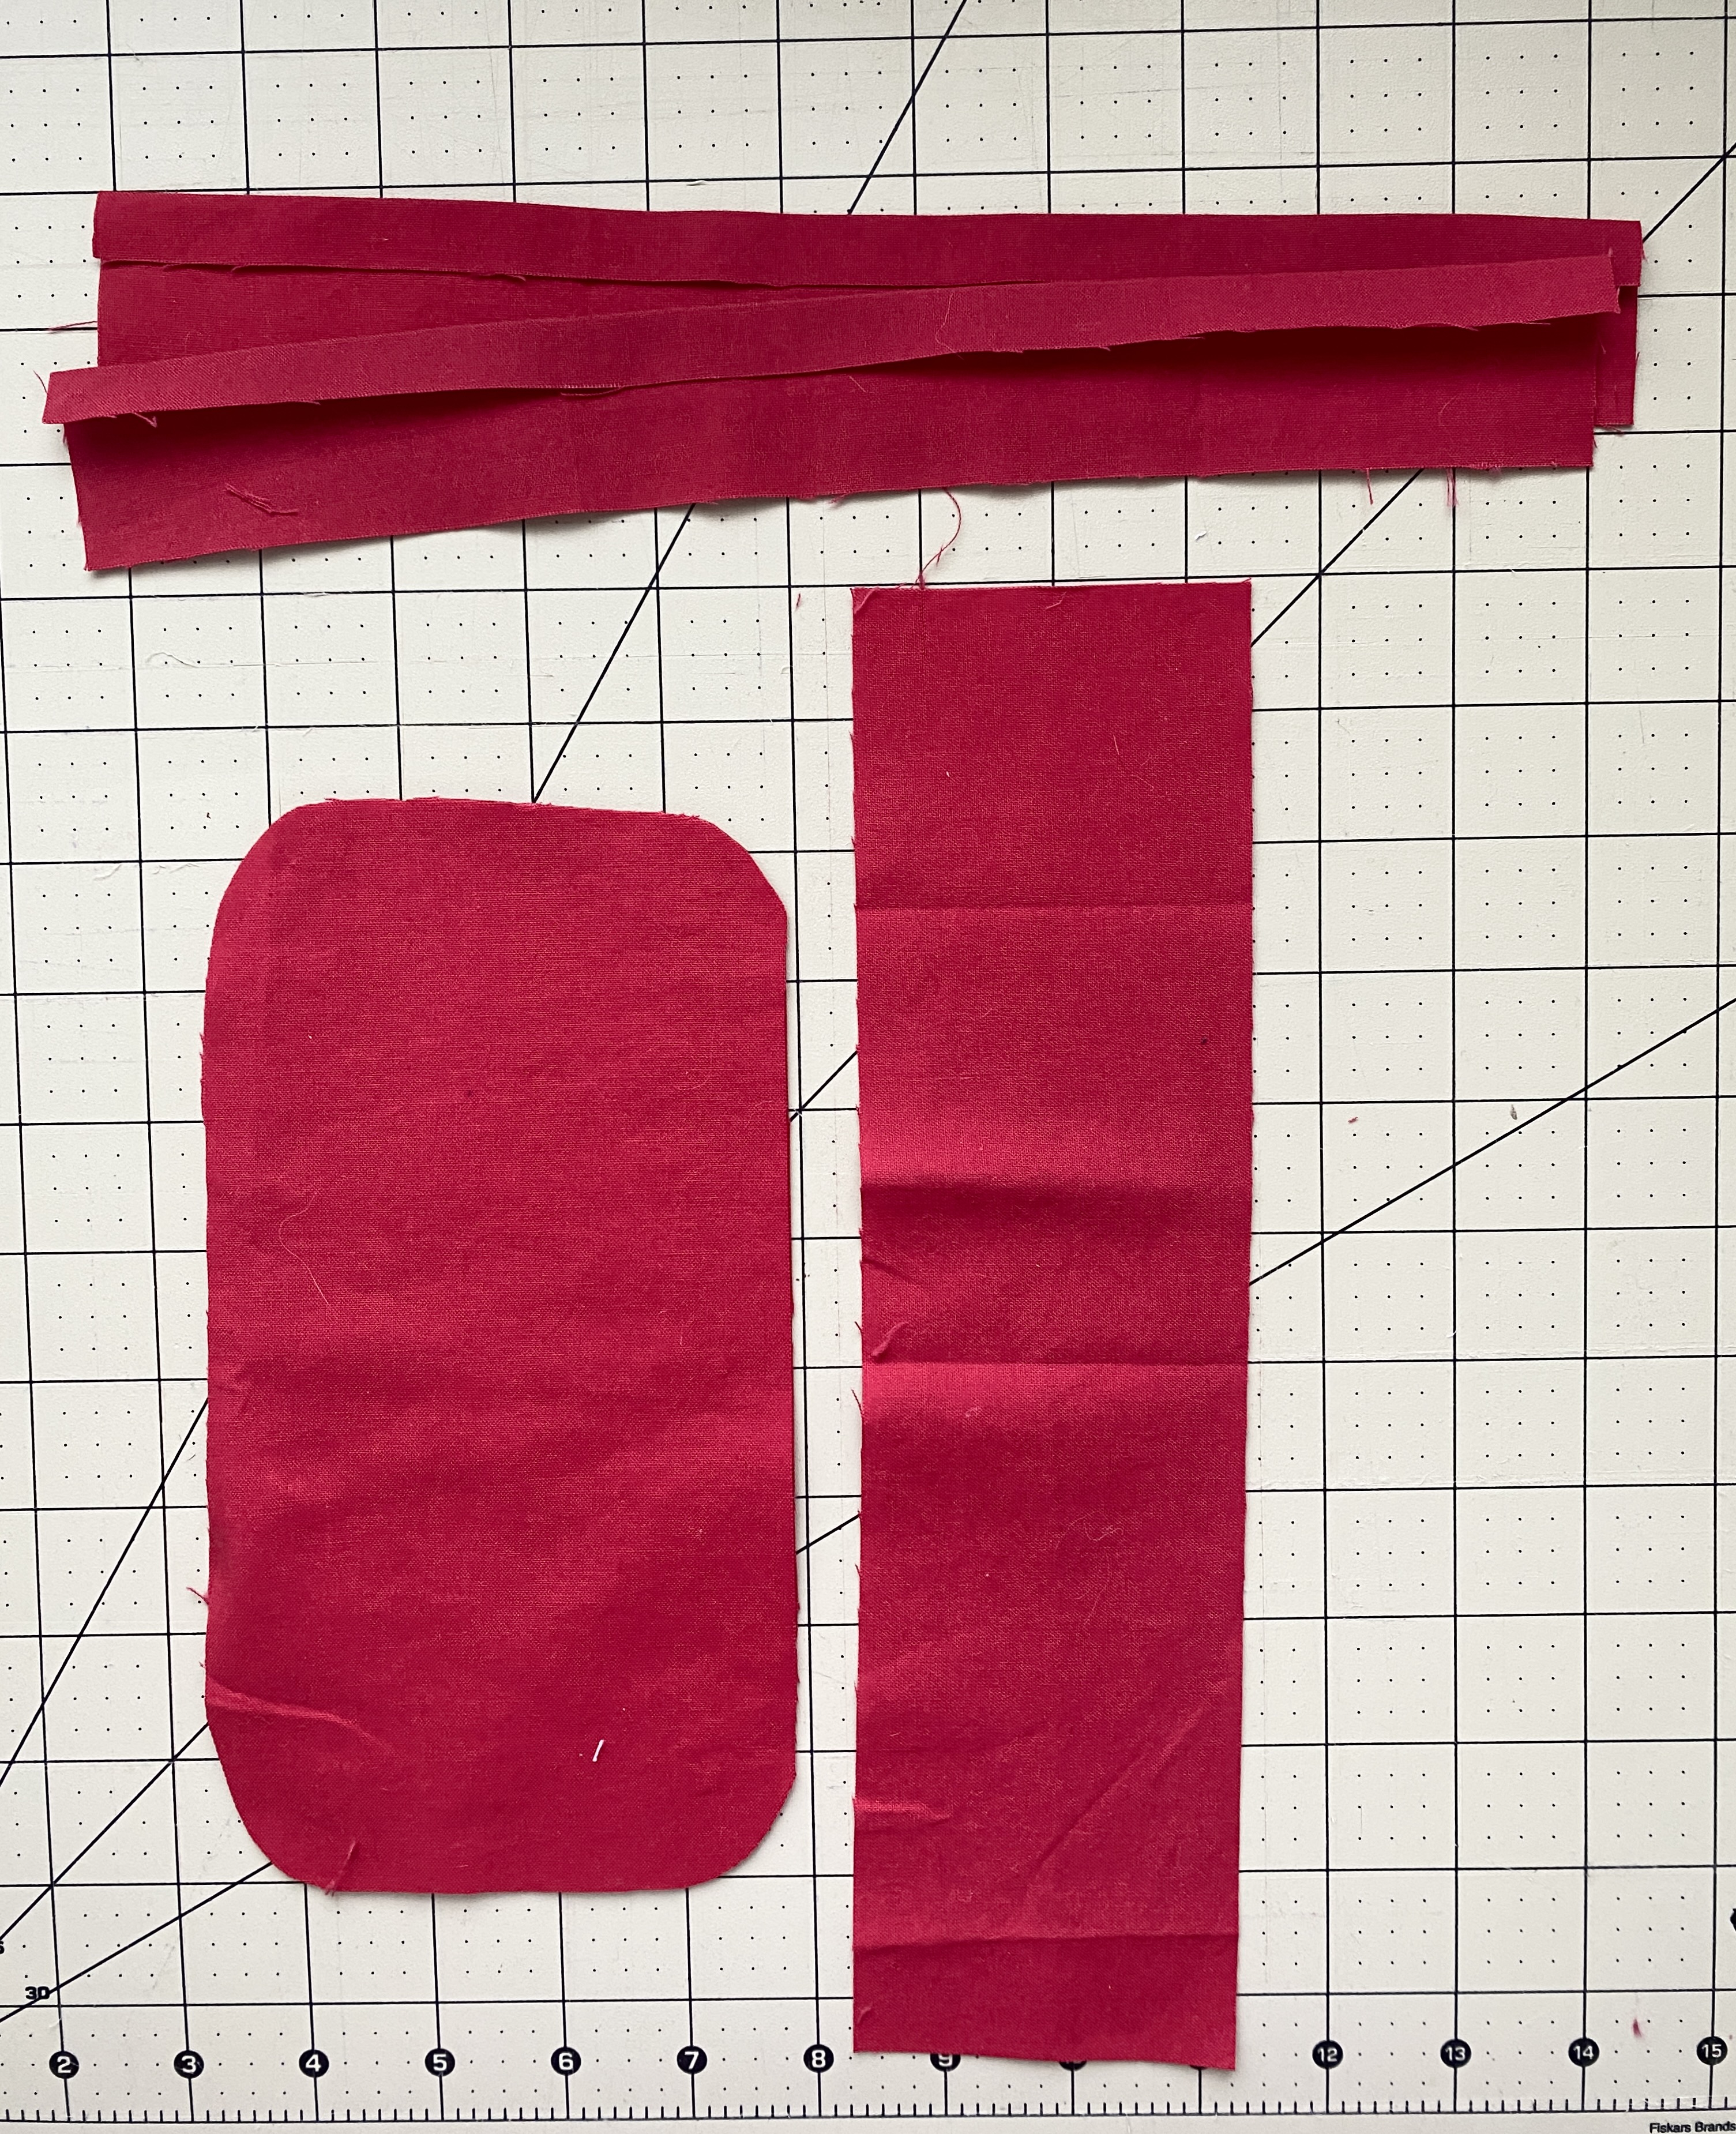
Cut a 2.25″ long strip of ribbon. Then cut a strip of main fabric and interfacing 11.5×3.25 inches. Attach the interfacing to the back of the main fabric.

Step Five.
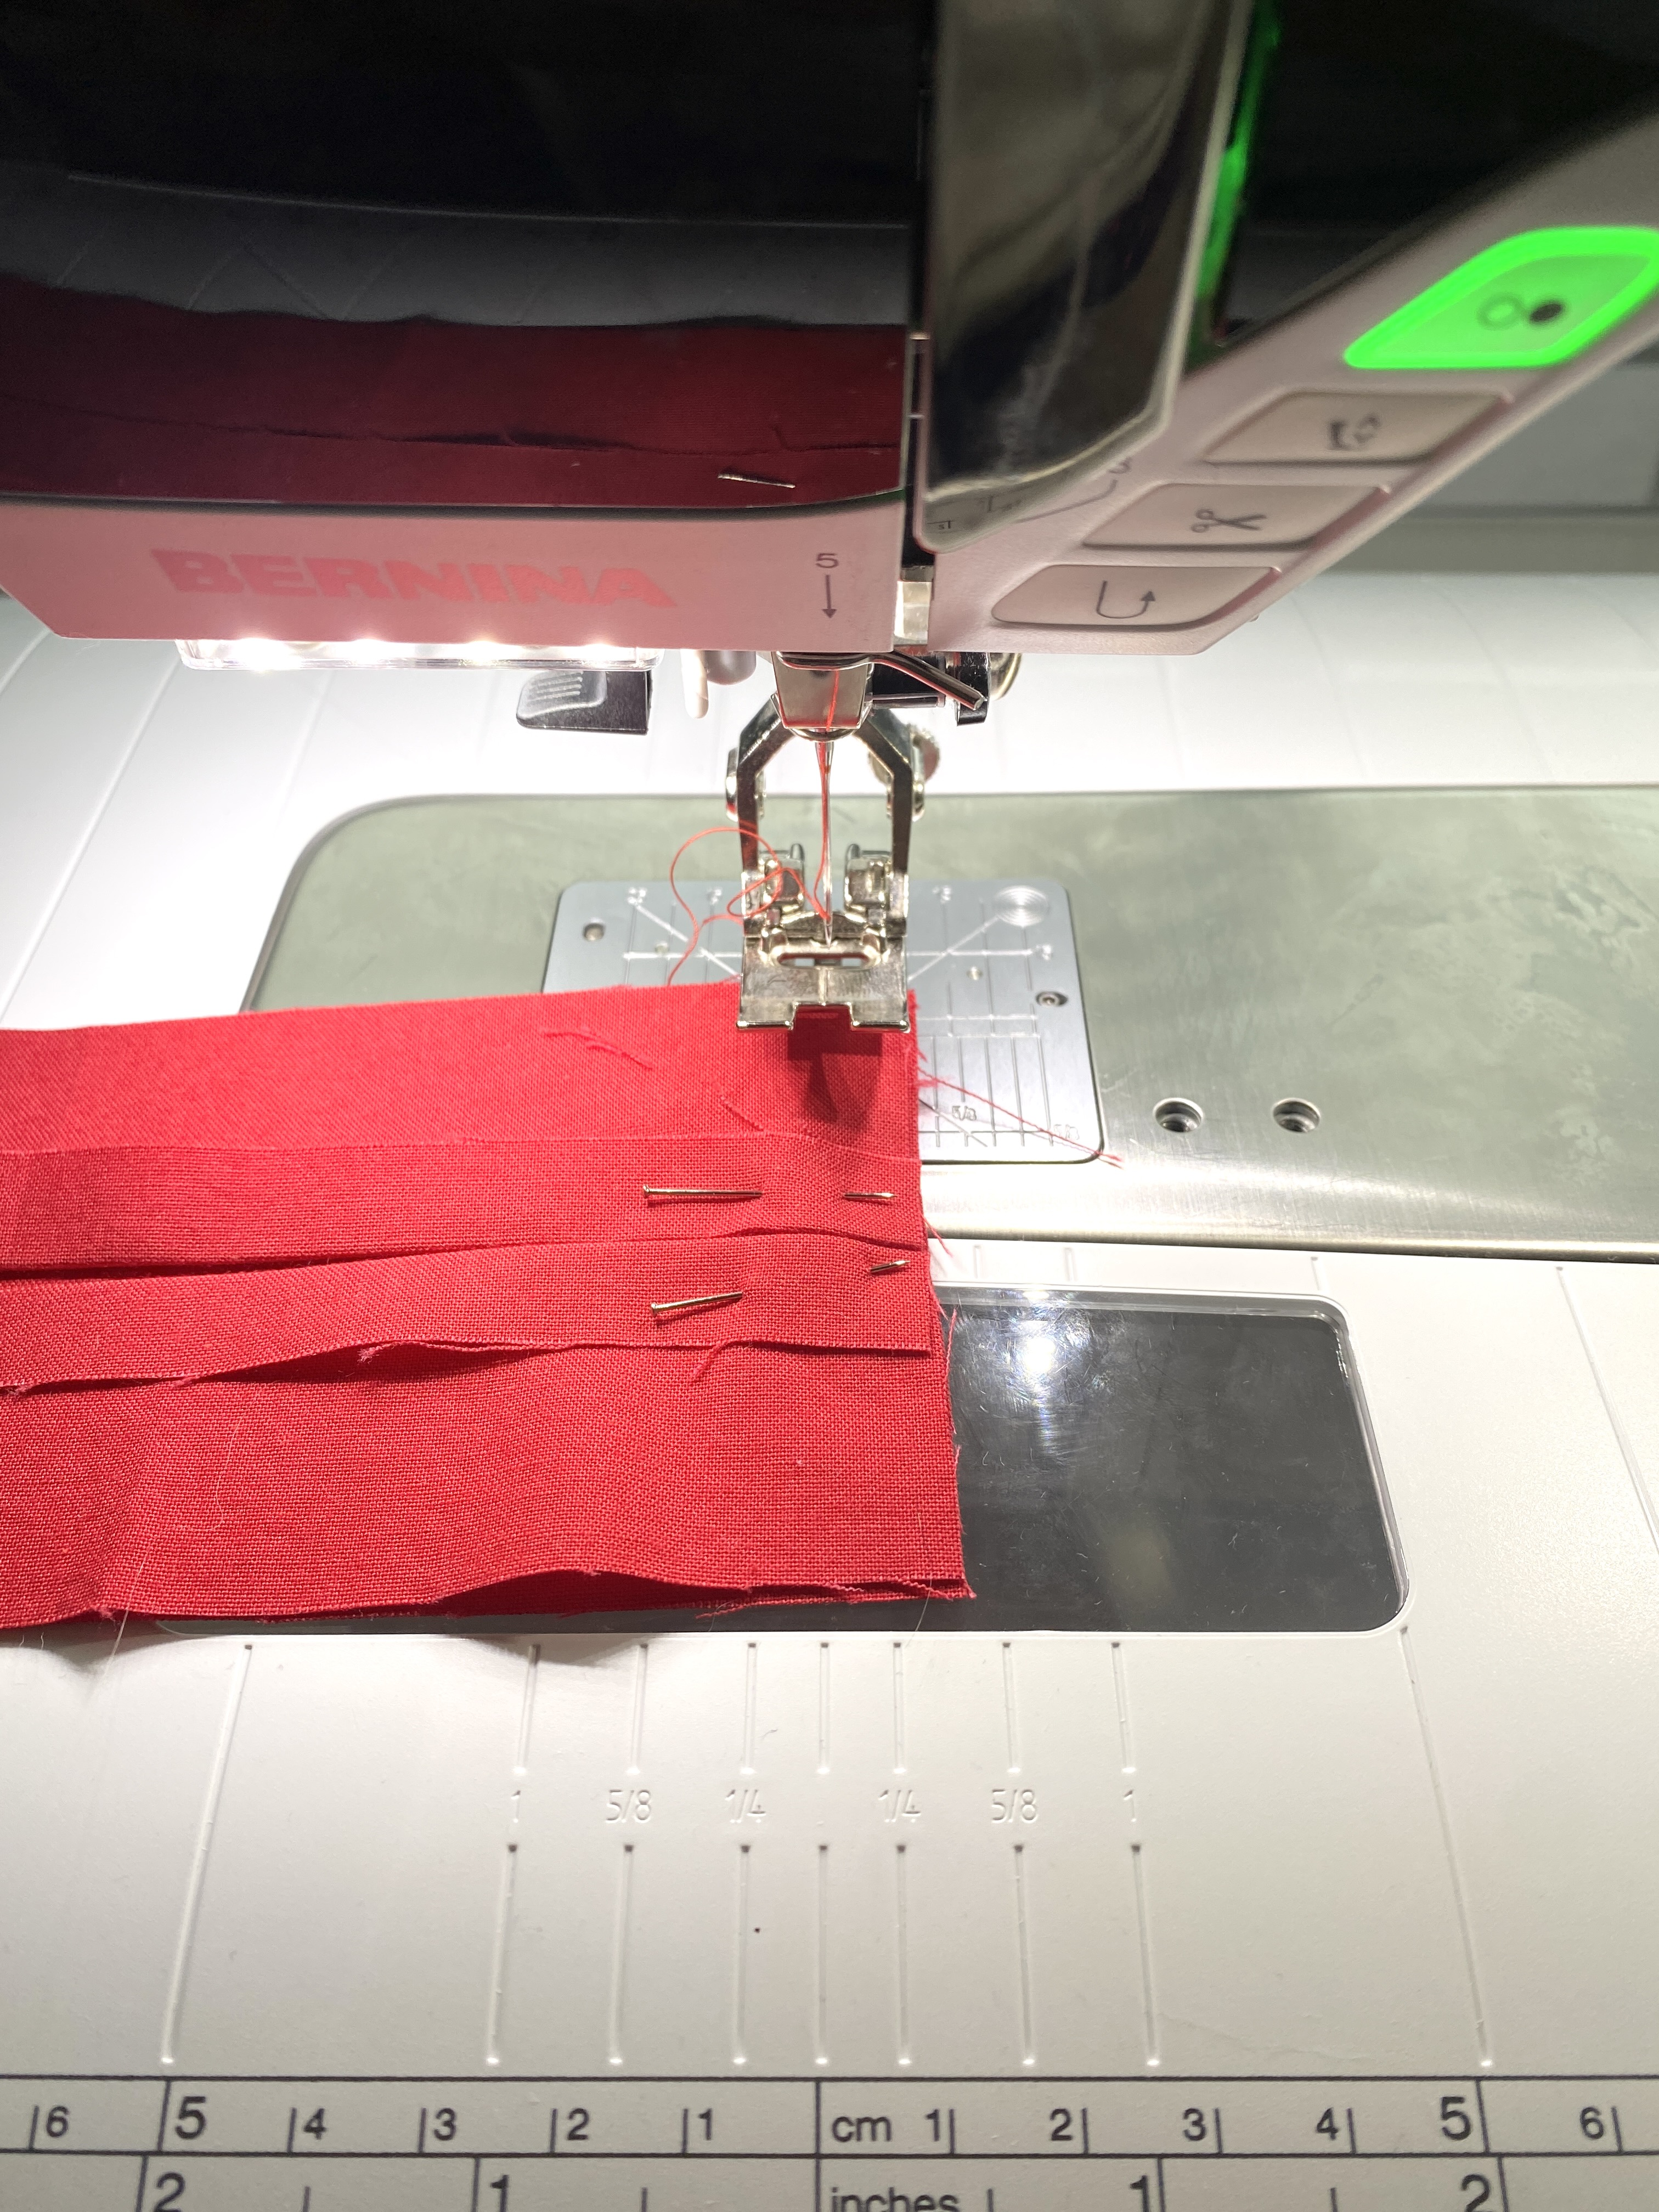
Fold the ribbon piece in half and place in the middle of the strip. Pin and baste.

Step Six.
Then, with right sides together, line the strip with the ribbon to the bottom of the zipper. Pin in place and stitch together.

Step Seven.
Trim the bulk, open up the seam, iron down (away from the zipper), and top stitch along the seam with contrasting thread.

Step Eight.

Next pin the other sides right sides together and stitch to form a loop. Trim the bulk and iron the seam away from the zipper. Then top stitch the seam in contrasting thread.

Step Nine.
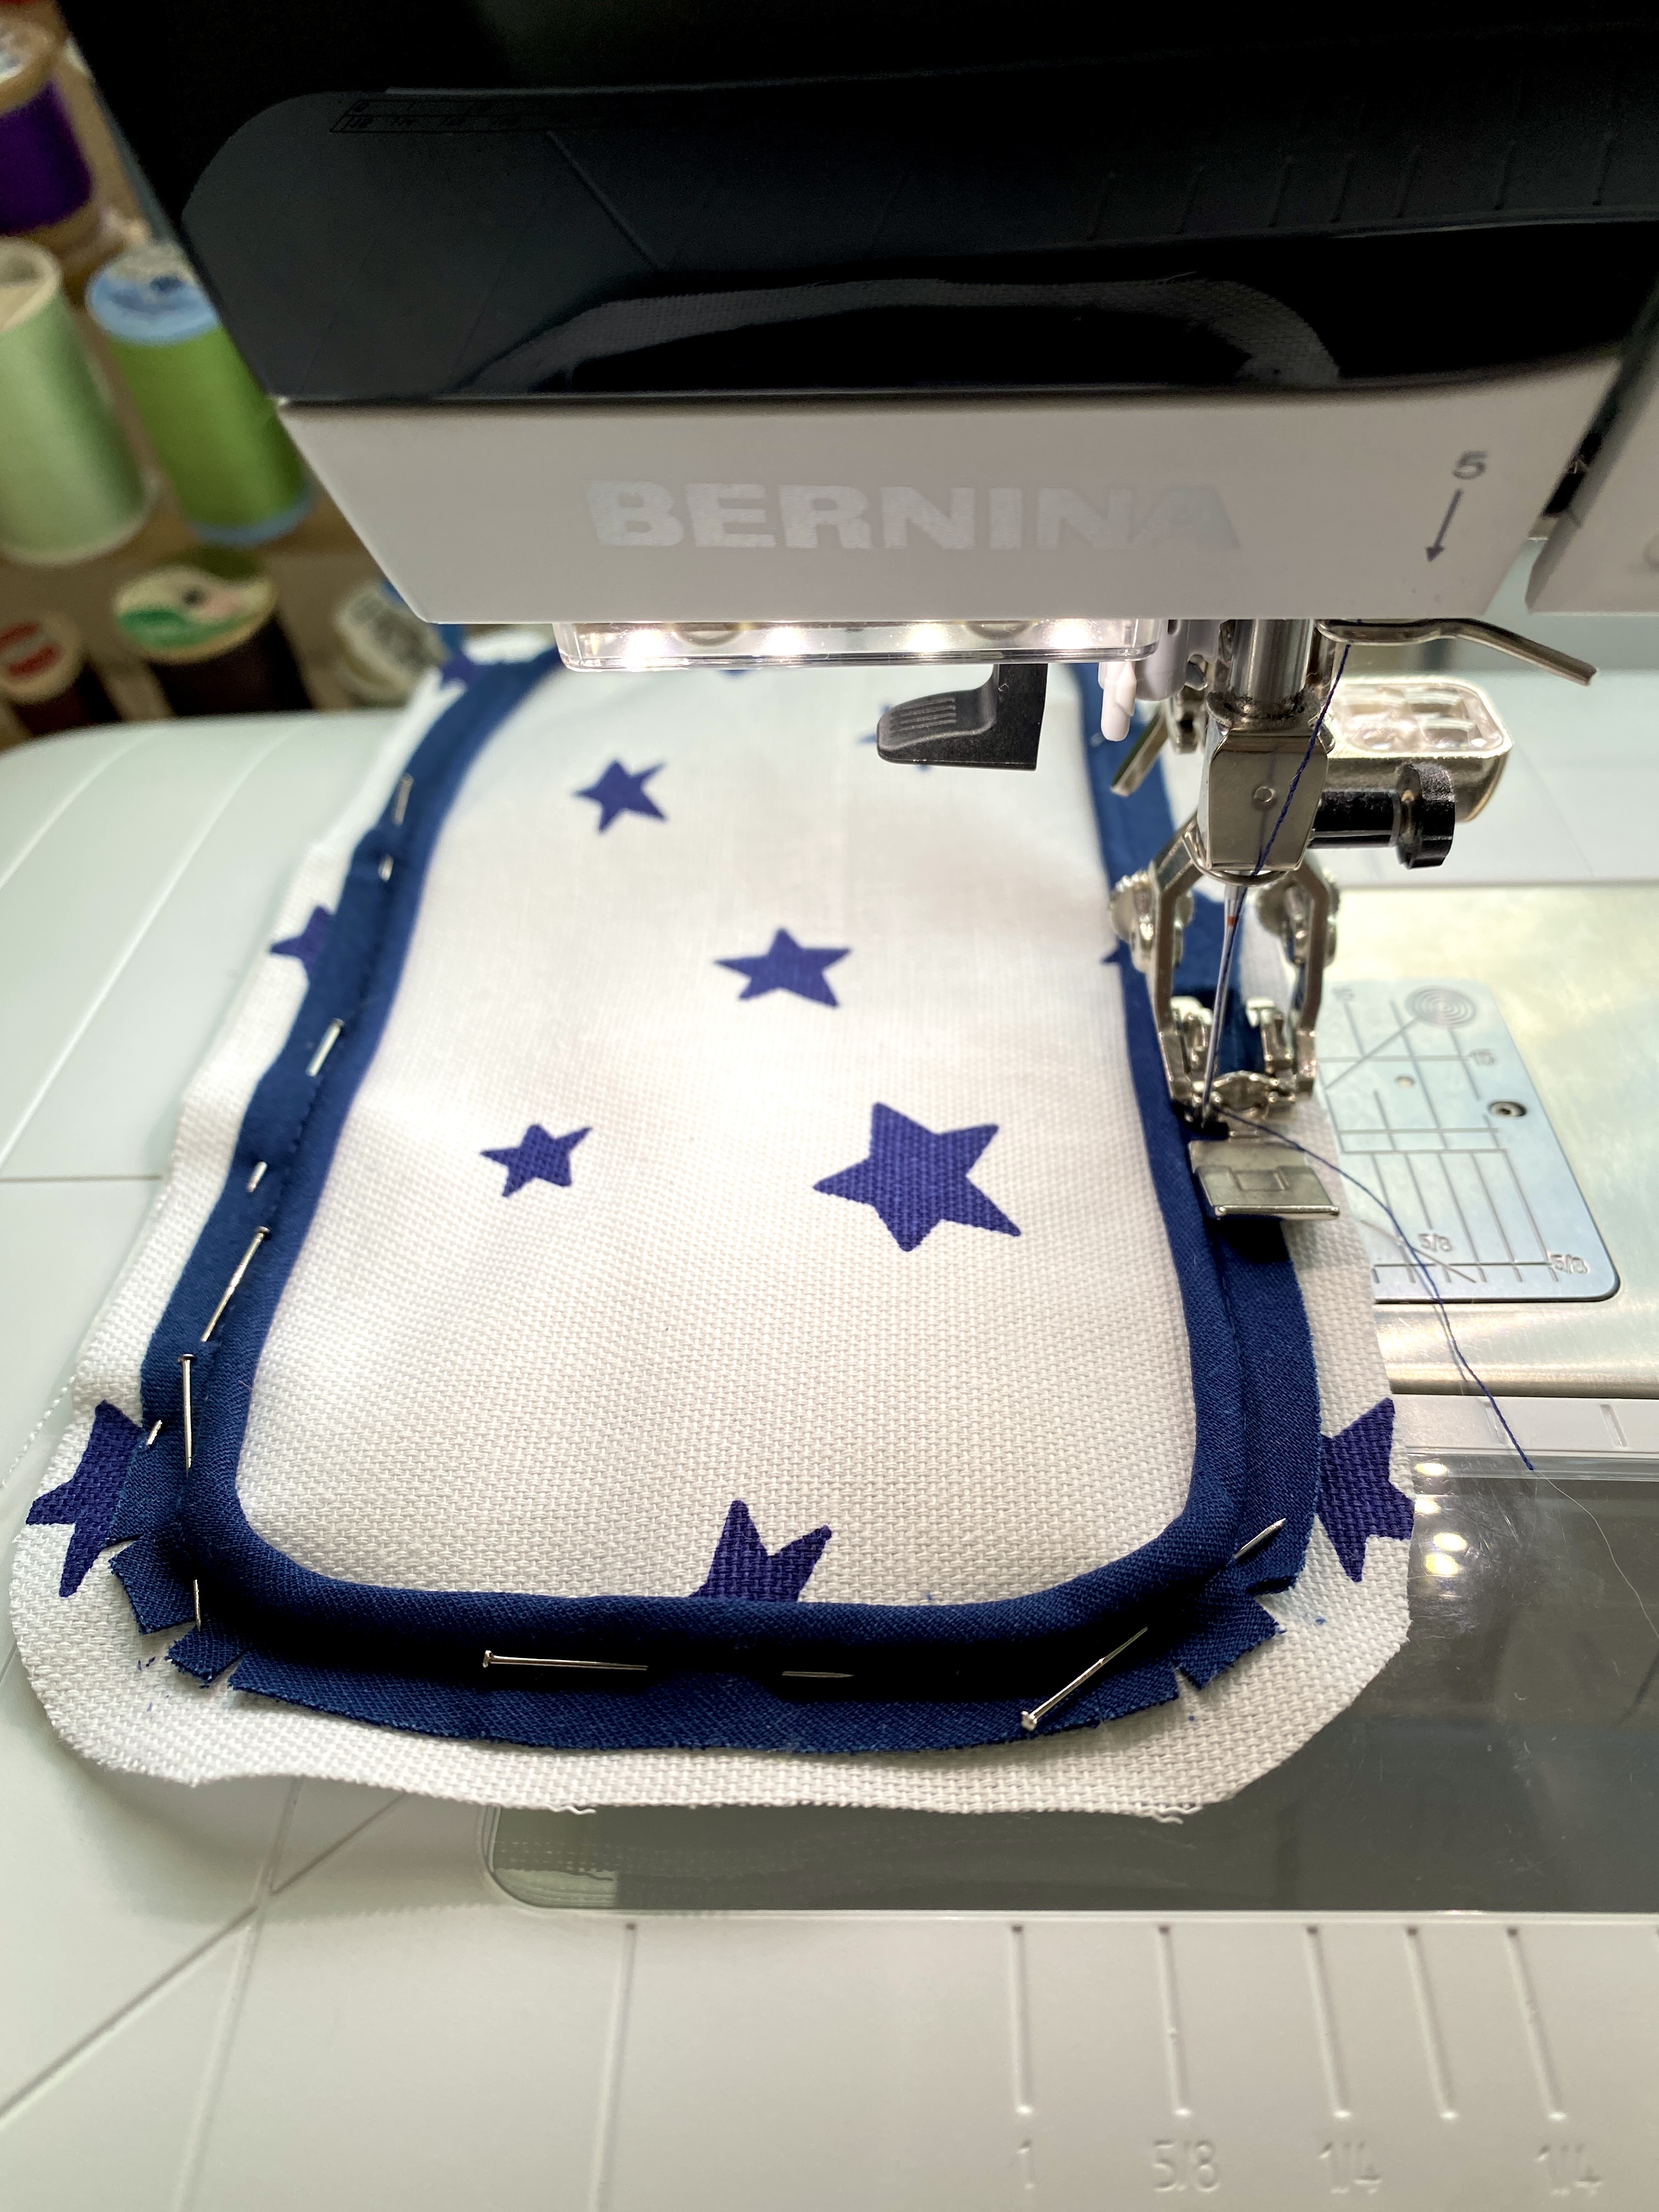
Now it’s time to cut out the sides. Using either the monogrammed piece or the main fabric, cut out a rectangle 8.5×4.5.” If using the monogrammed piece – don’t forget to make sure that your monogram is centered within the measurement. Then round out each corner. I used pattern weights to create my curve, but you can use whatever you would like! Use your first piece as a pattern to cut out another piece of main fabric and two pieces of interfacing. Attach the interfacing to the back of the main fabric.
Step Ten.
Attach the piping .5″ away from the raw edge of the fabric on both pieces and stitch.

Step Eleven.
Cut a strip of ribbon 3.5″ wide and baste it to the sides of the loop by the head of the zipper.

Step Twelve.
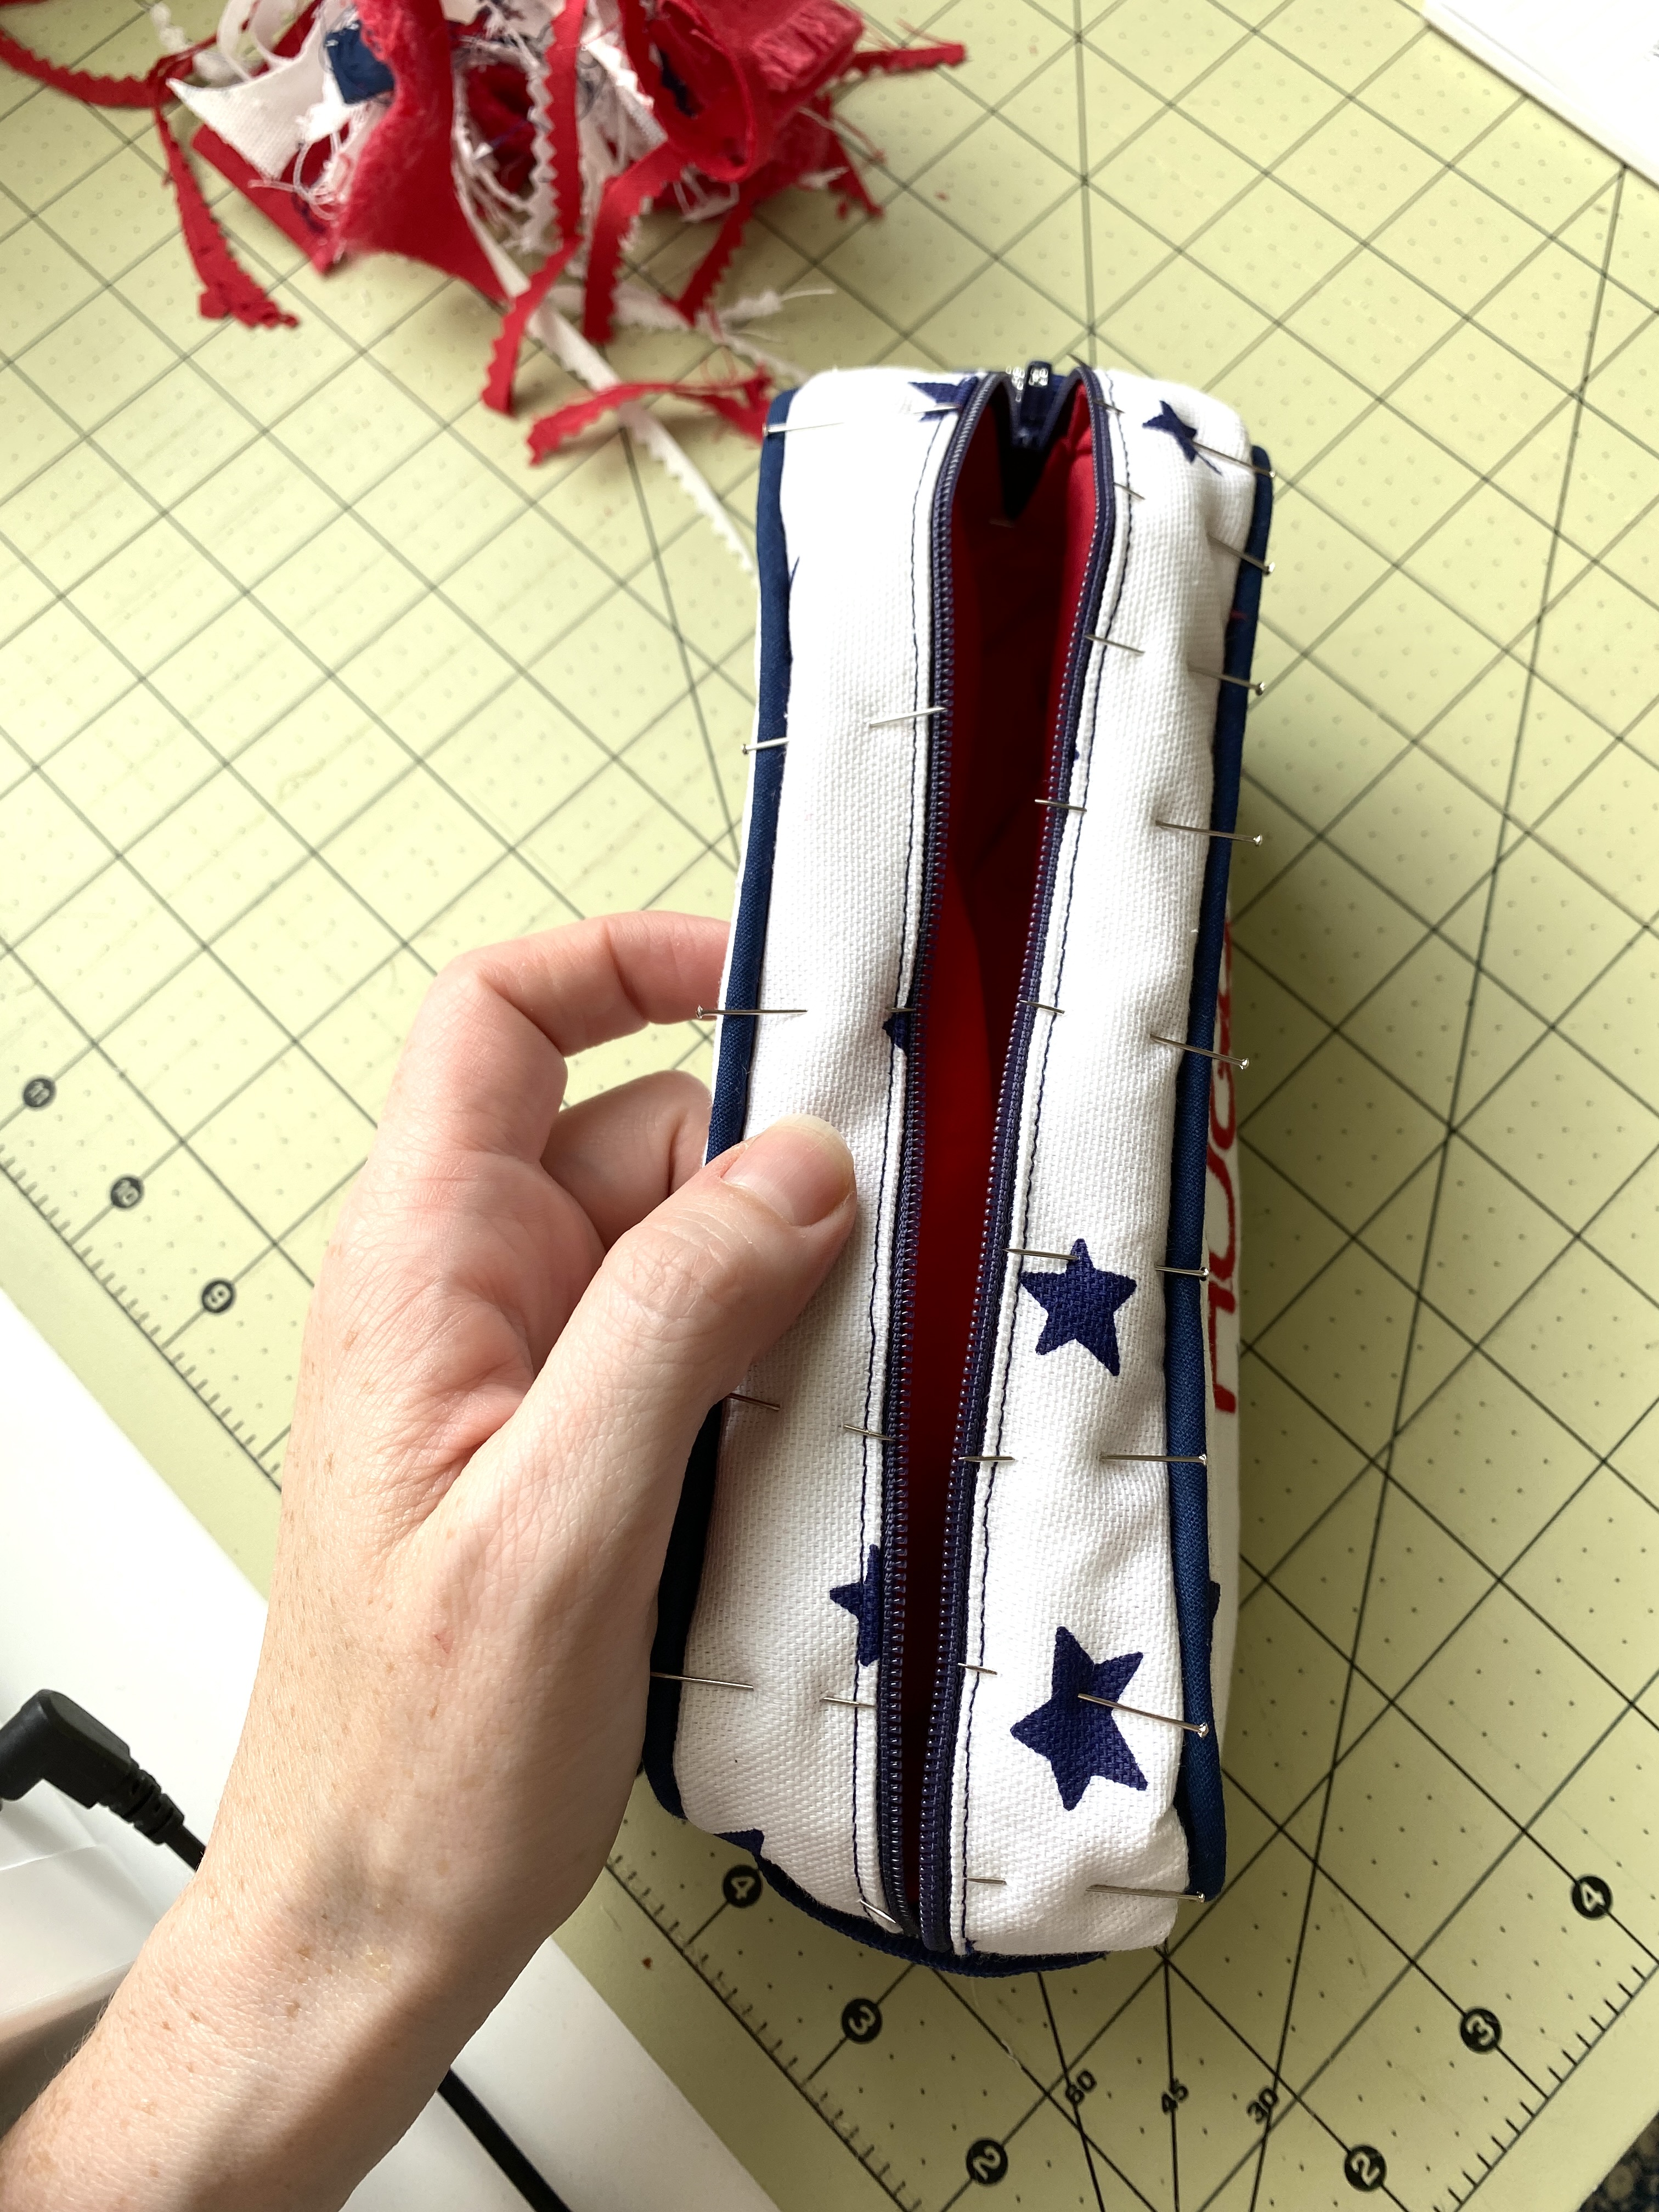
It’s time to attach our sides! Match the middle of the 4.5″ side with seam at the bottom of the zipper, right sides together, and then match the other side, again at the middle. Then pin the rest of the sides.

Step Thirteen.
This part will be a little tricky because we’re attaching curved pieces to a straight edge. Just try your best, and clip the curves within the seam allowance when you start experiencing a lot of tension or fabric bunching.

Step Fourteen.

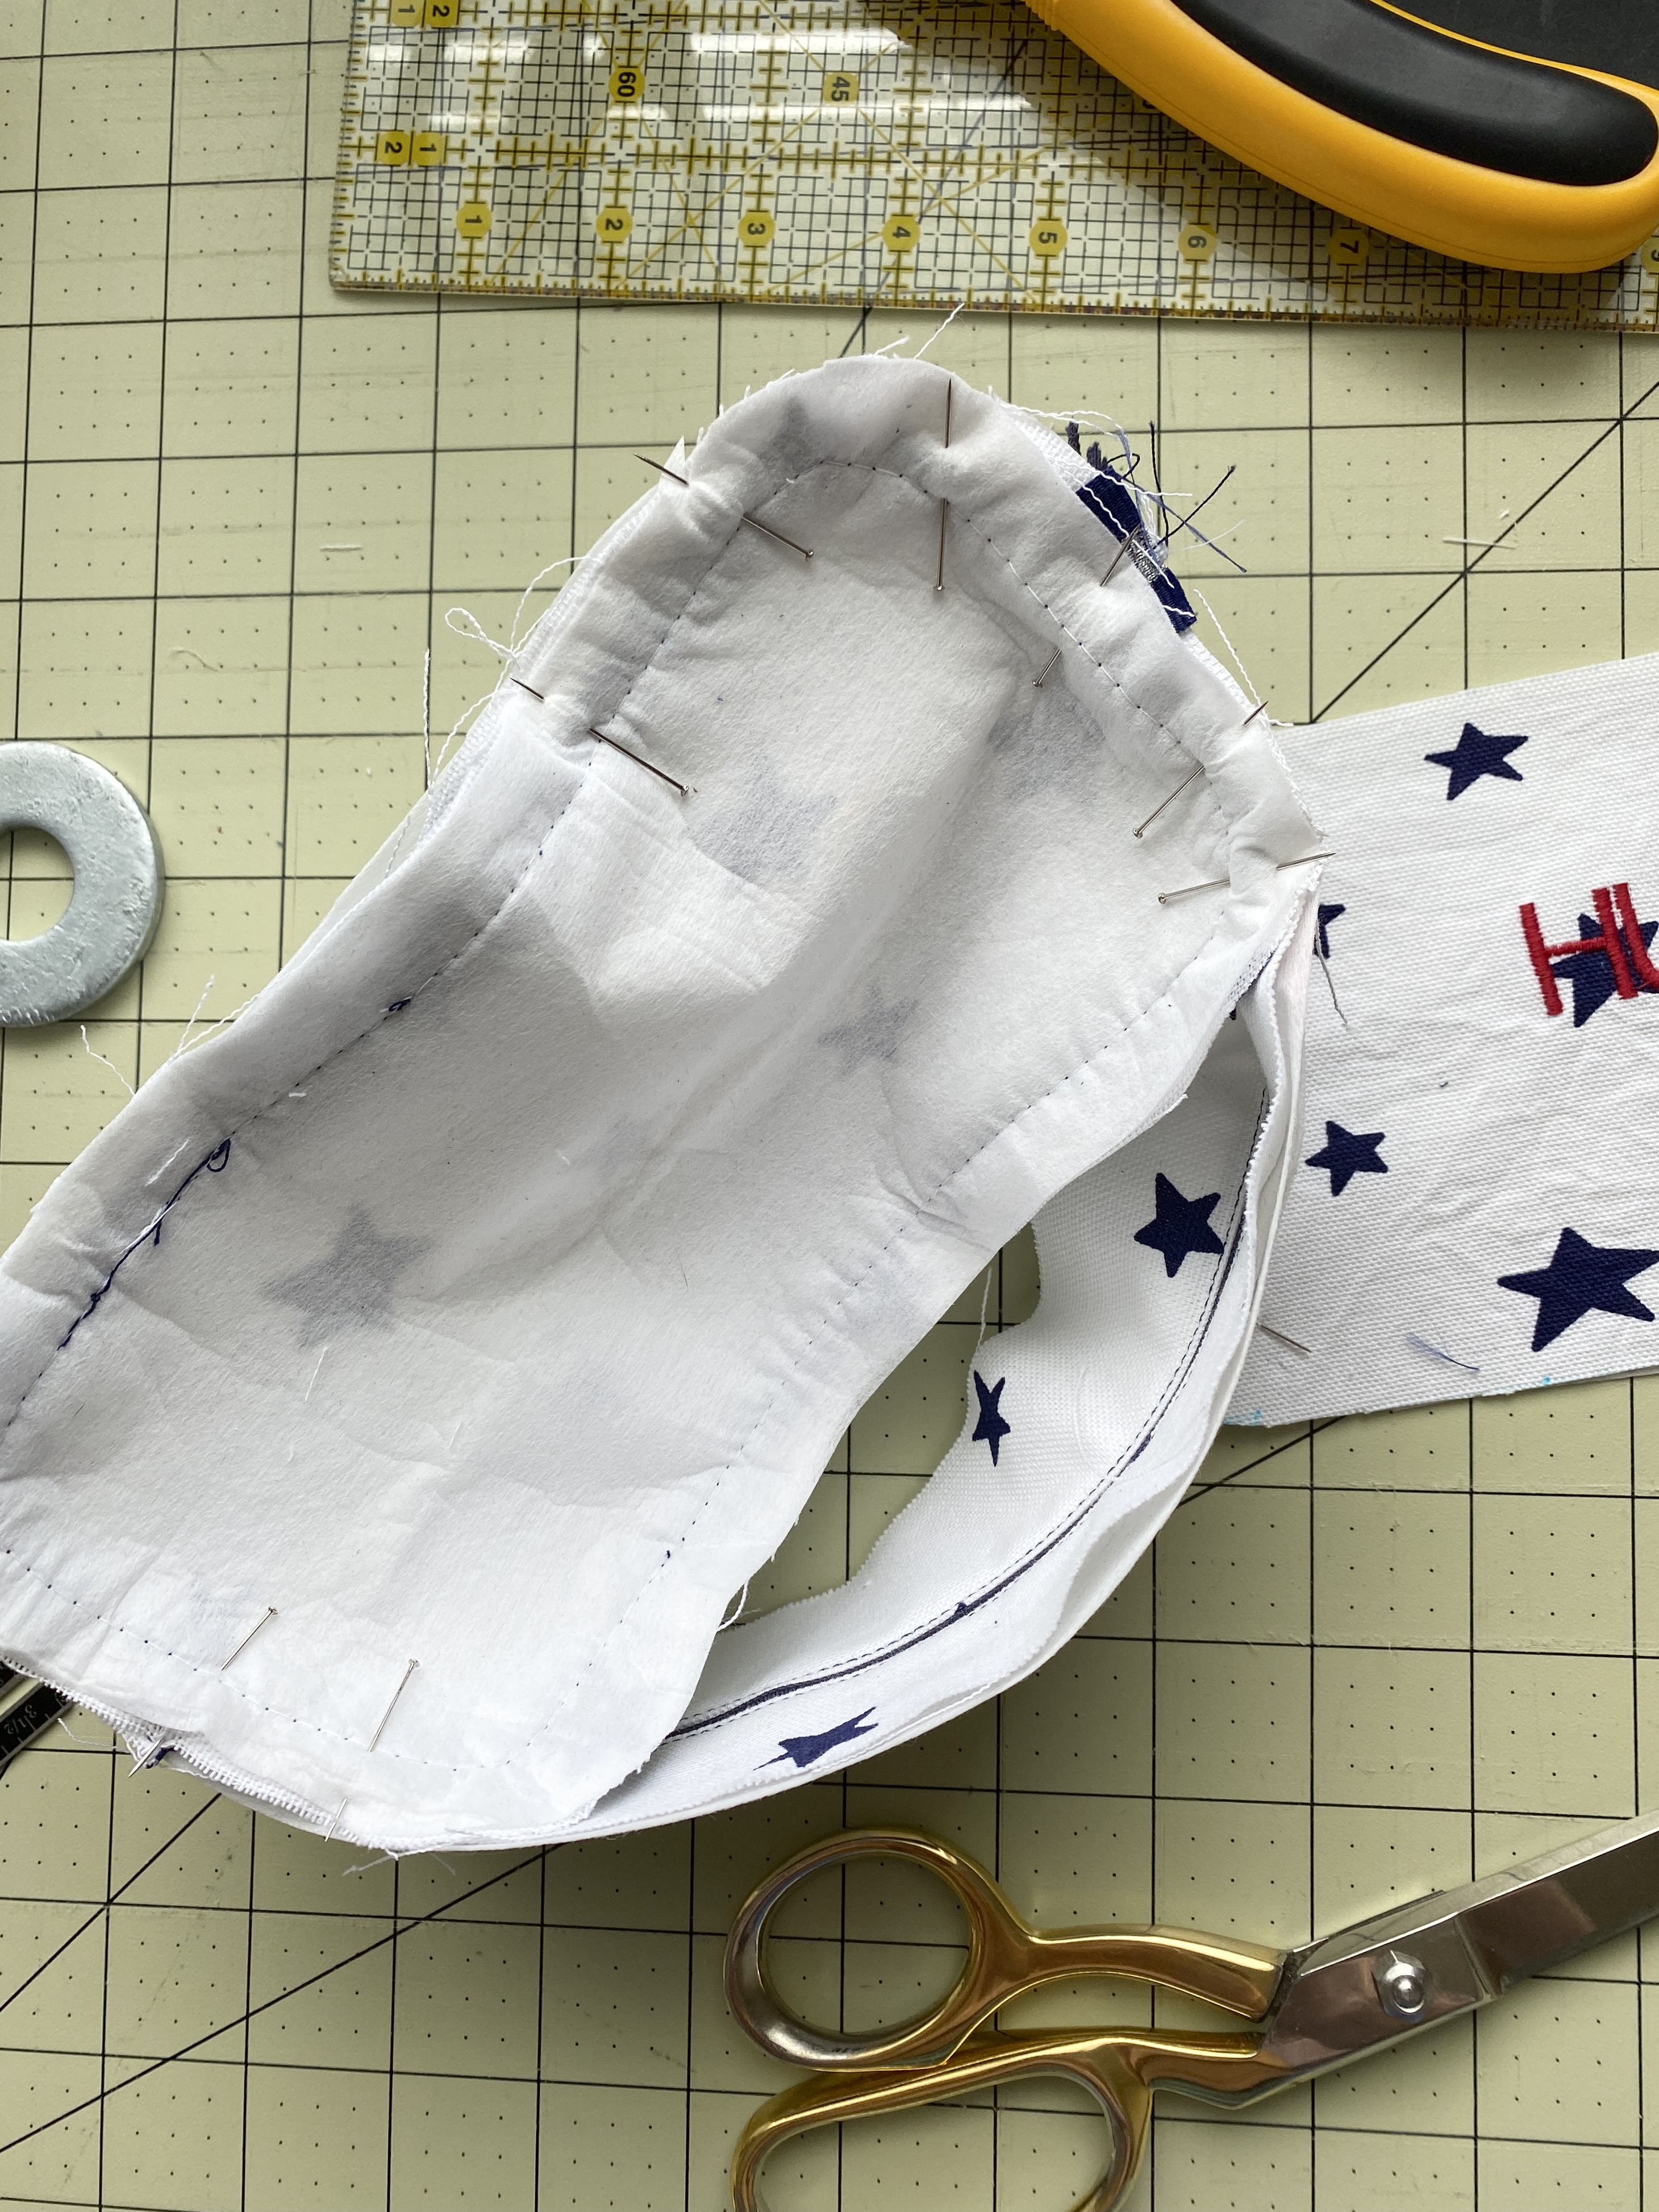
Clip the curves, turn right side out, and iron the seams.
How to Sew the Pouch Lining
If you’re okay with having raw edges inside the pouch you can stop here, or you can keep following along to create a lining for the inside of the pouch.
Step One.
First, we’ll need to cut our pieces. 2 strips of lining fabric 11.5×2″, one strip 11.5×3″ and two side pieces 8.5×4.5 inches. Iron the 11.5×2″ strips .5″ towards the wrong side of the fabric along the length of the strip.
Step Two.
Once your pieces are ready to go, it’s time to start assembling the lining as we did for the pouch. Line up the two strips, right sides together, with the 11×3″ strip. Pin and sew them together. Repeat on the other side. Take the loop to the iron, iron the seams, trim the bulk, and turn right side out. Press the seam away towards the bottom strip.
Step Three.
Now, we’ll sew the sides as we did for the pouch and iron the seams. Once you’ve sewn the sides and pressed, we’ll insert the lining into the pouch and pin in place.
Step Four.
Hand stitch the lining to the back of the zipper. Now you’re all done!

I hope that you’ve enjoyed this tutorial on how to create your own pencil pouch. I would love to see your makes! As always, don’t forget to tag @BERNINAUSA on Instagram and use the #weallsew so we can see all of your beautiful creations!


