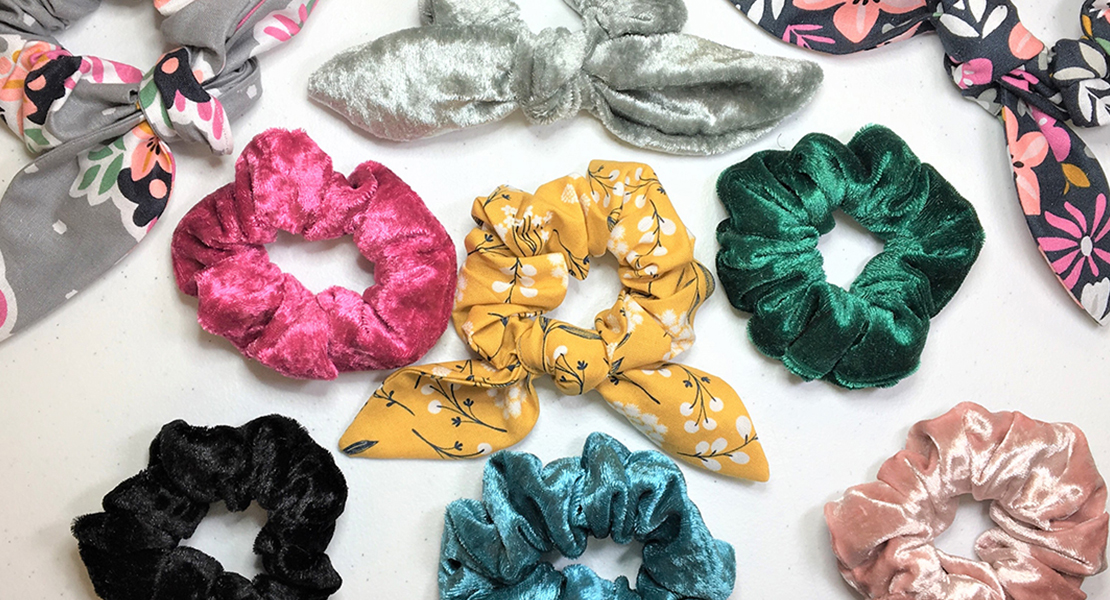
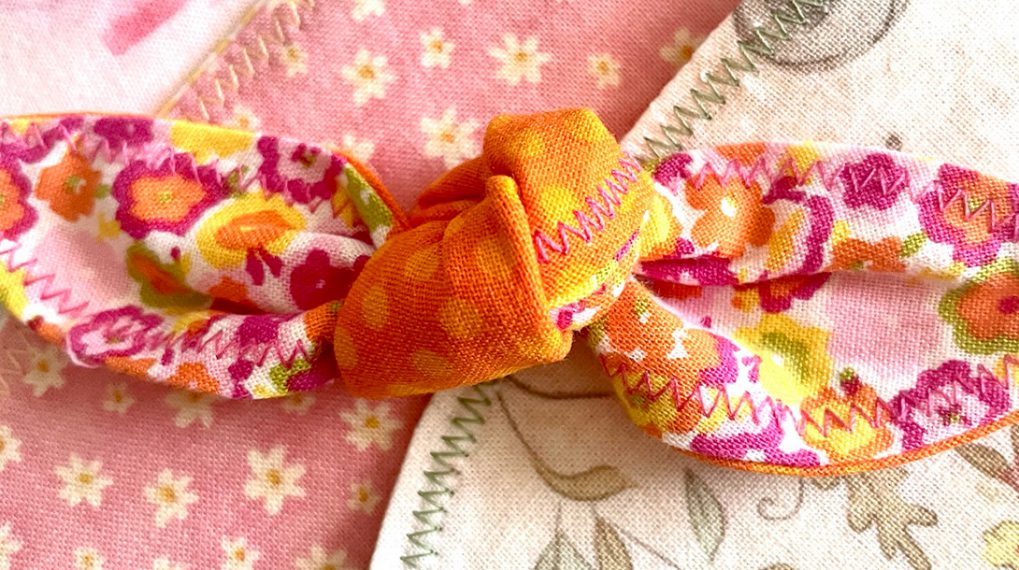
DIY Hair Scrunchie
Sew DIY scrunchies using 5 simple steps!
One of my first introductions to sewing came in middle school when I took a Home Economics class. We made a pair of shorts and this was my first time officially on a sewing machine. I have to say I took to it fairly easy. The shorts I made were white knee length with navy blue polka dots. I was so proud them that I wanted to make a matching accessory to go with it.
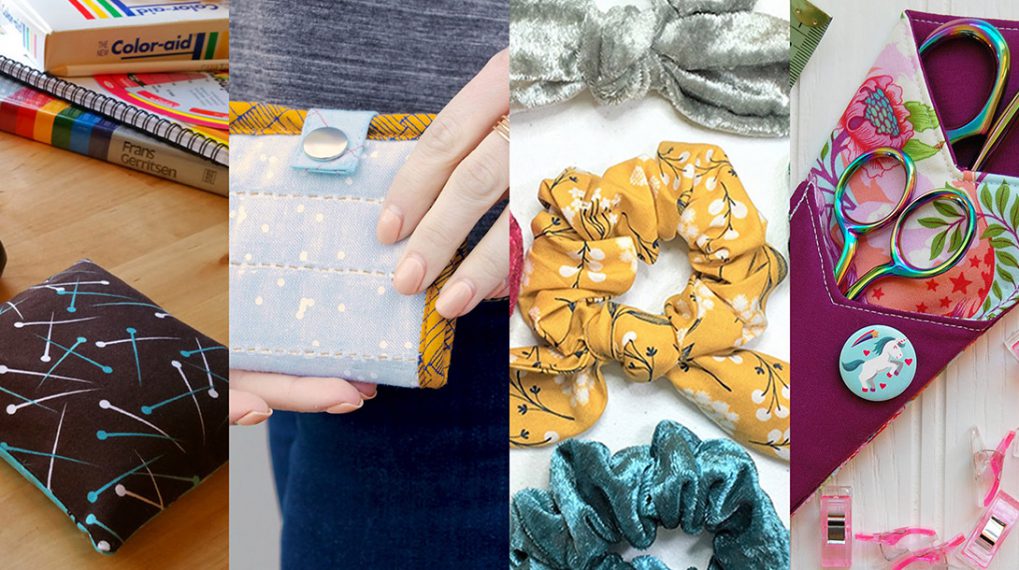
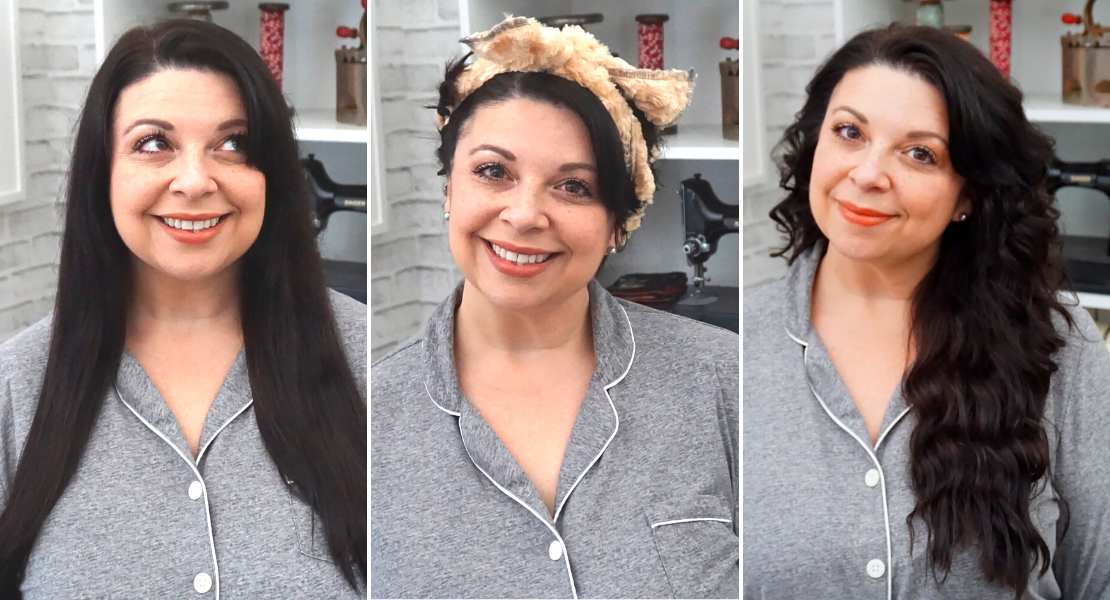
I grew up in the late 80’s early 90s and hair scrunchies were not only a thing they were “the thing”. The larger the scrunchies the cooler you were. I decided to make a scrunchie to match my shorts. The process was so fun and easy that making scrunchies was something that I enjoyed doing in my free time. Fast forward to 2022 the scrunchie style is back in style. We are using all sorts of fabrics, textures & colors.
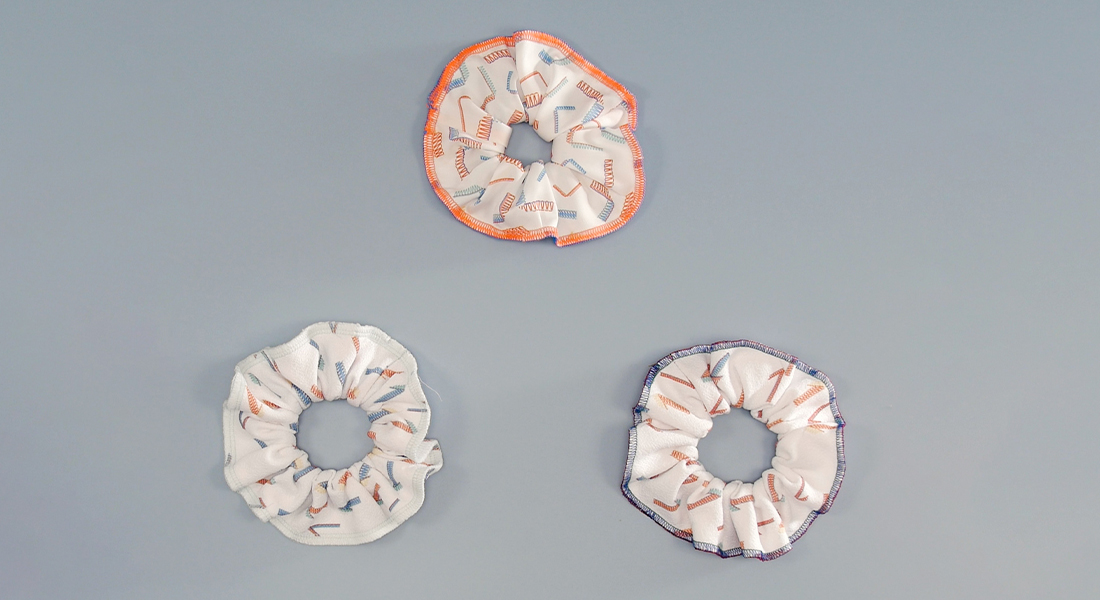
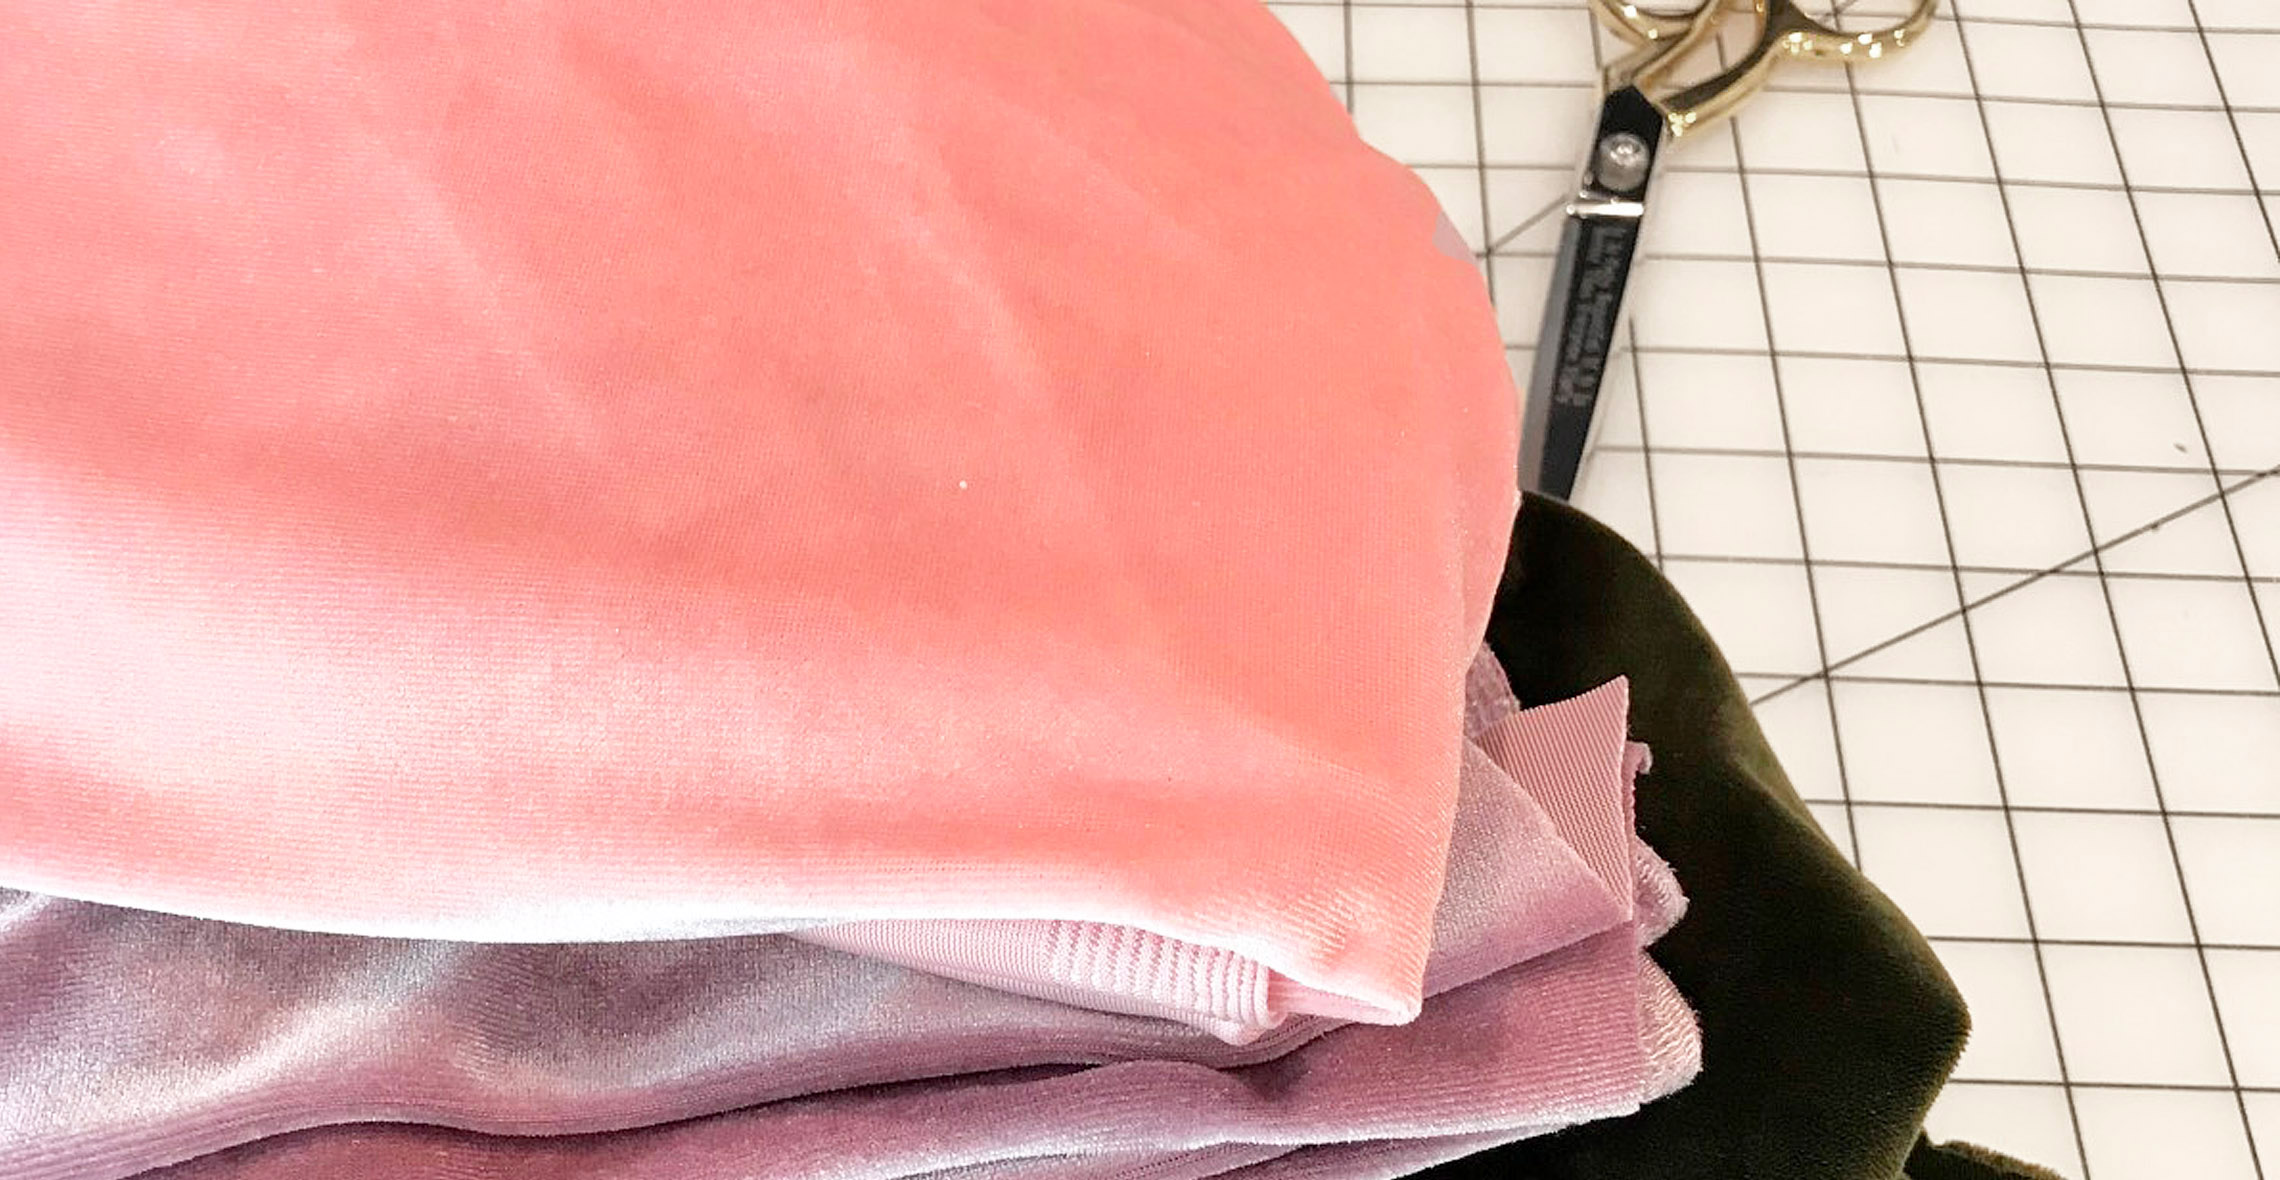
This tutorial gives you step-by-step instructions on sewing a scrunchie. Don’t have a sewing machine? No worries you can hand sew using a backstitch where it says sew on a machine. Want to make your scrunchie larger? Just increase the width. Instead of 3″ use 4 or 5″. I used satin fabric but feel free to use whatever fabric you want. Just remember the softer the fabric the harder it is to sew. So if you are truly a beginner try starting with cotton until you have the hang of it.
Have fun & Happy Sewing 
Supplies to Make a Scrunchie
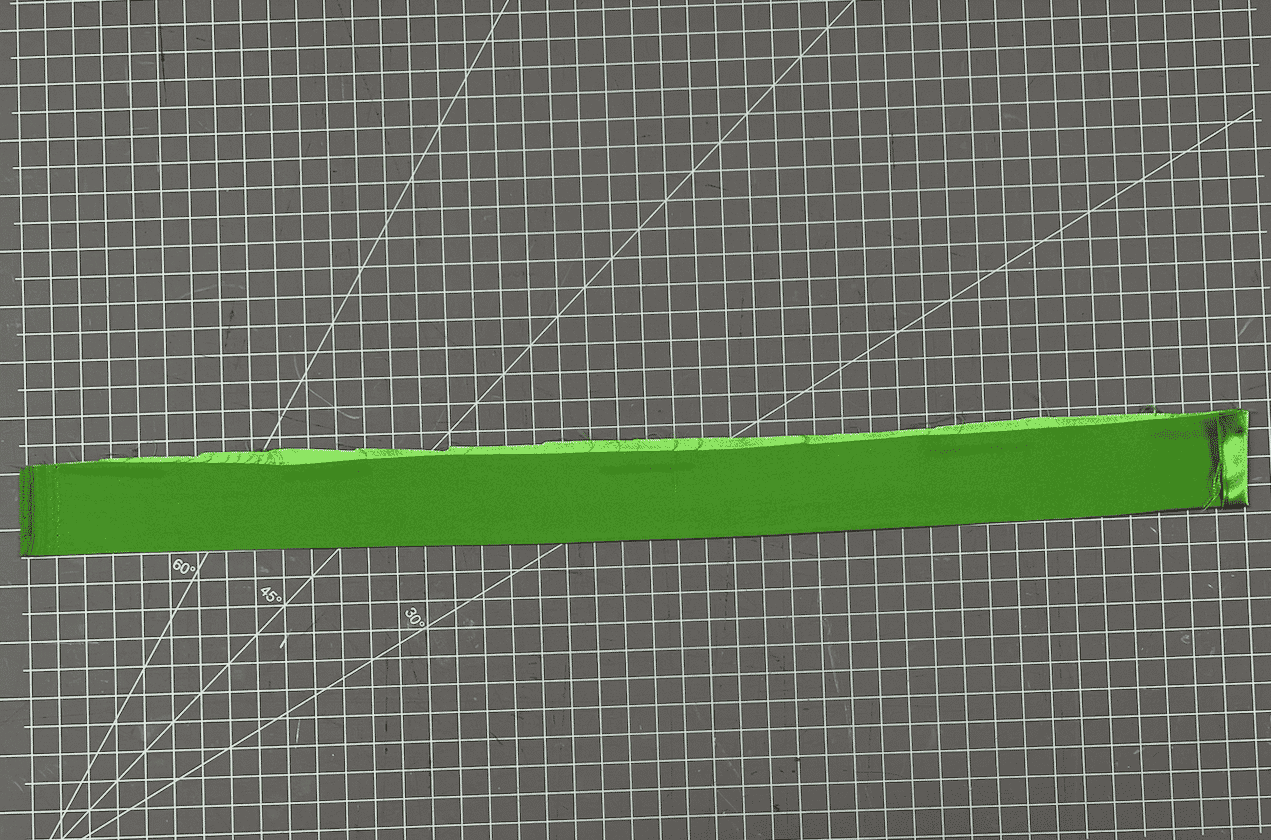
- 22 x 3″ piece of fabric
- Matching thread
- 9″ of 1/4″ elastic
- Scissors
- Safety Pin
- Straight Pins
- Ruler
Steps to Make a Scrunchie
Step 1: Fold the fabric in half right sides together. On one edge fold end back 1/2″ Sew along edge using a 1/4″ seam allowance

Step 2: Using the safety pin flip the fabric tube to the right side. Iron flat
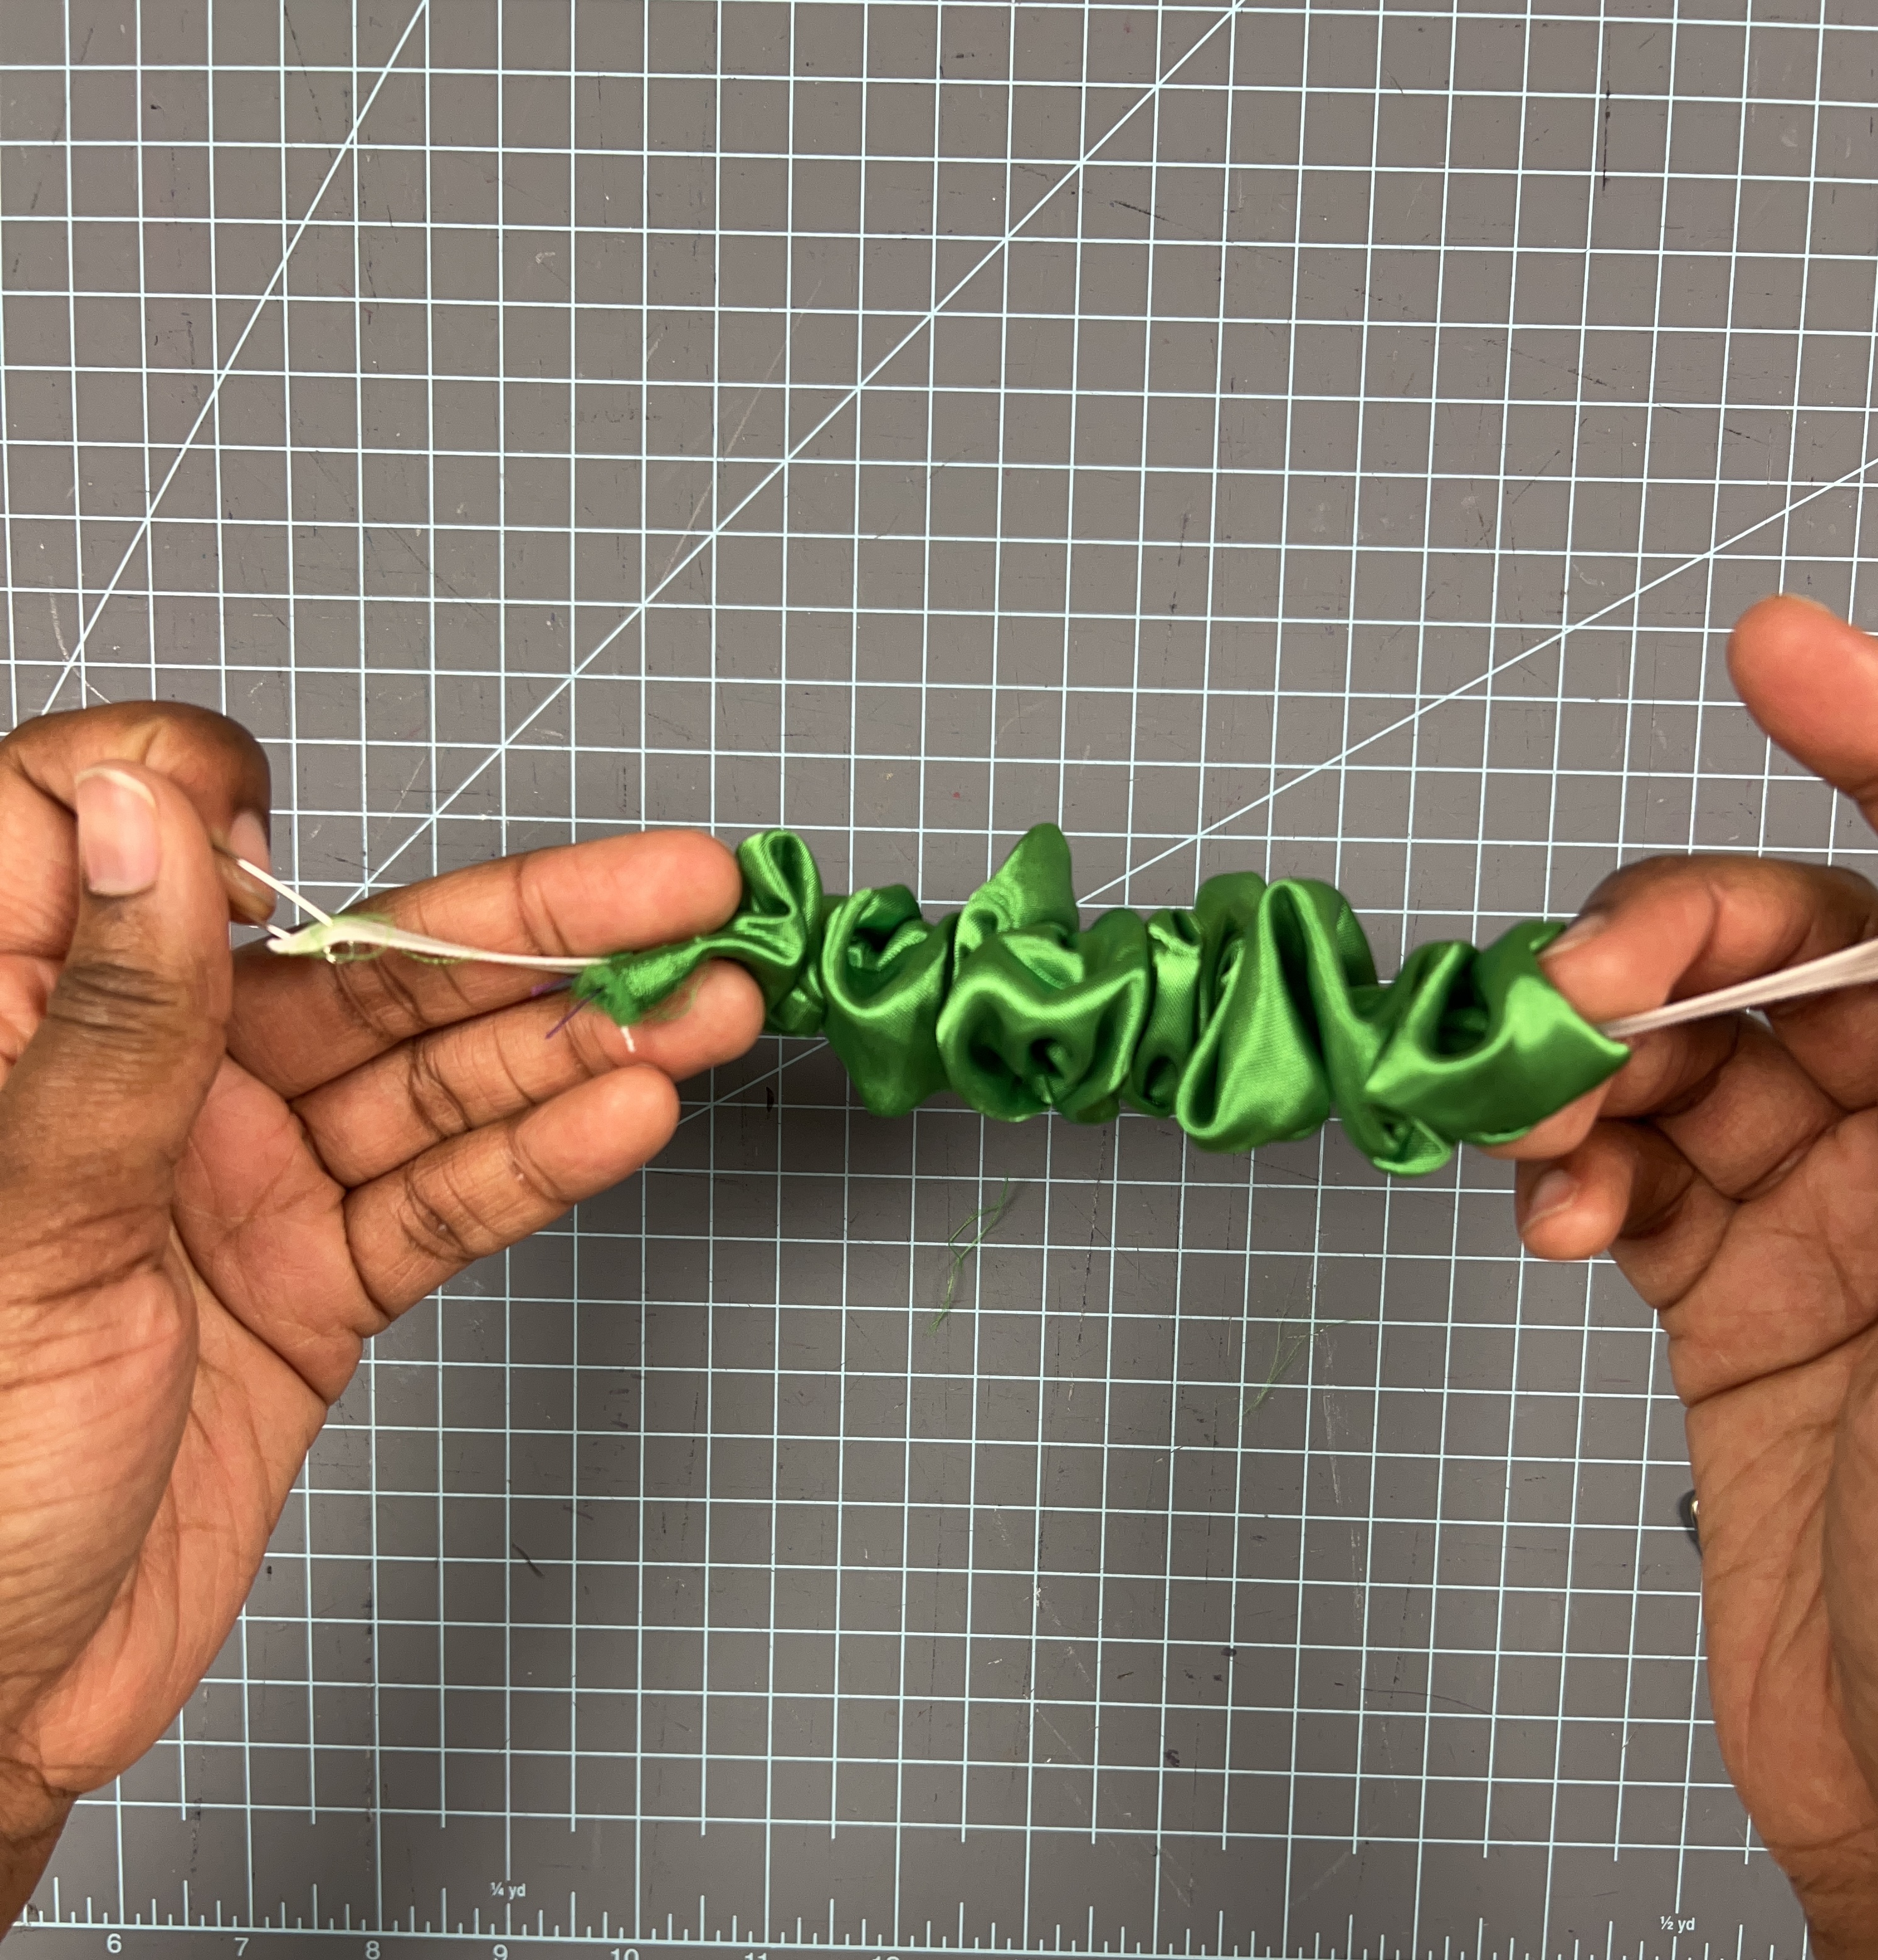
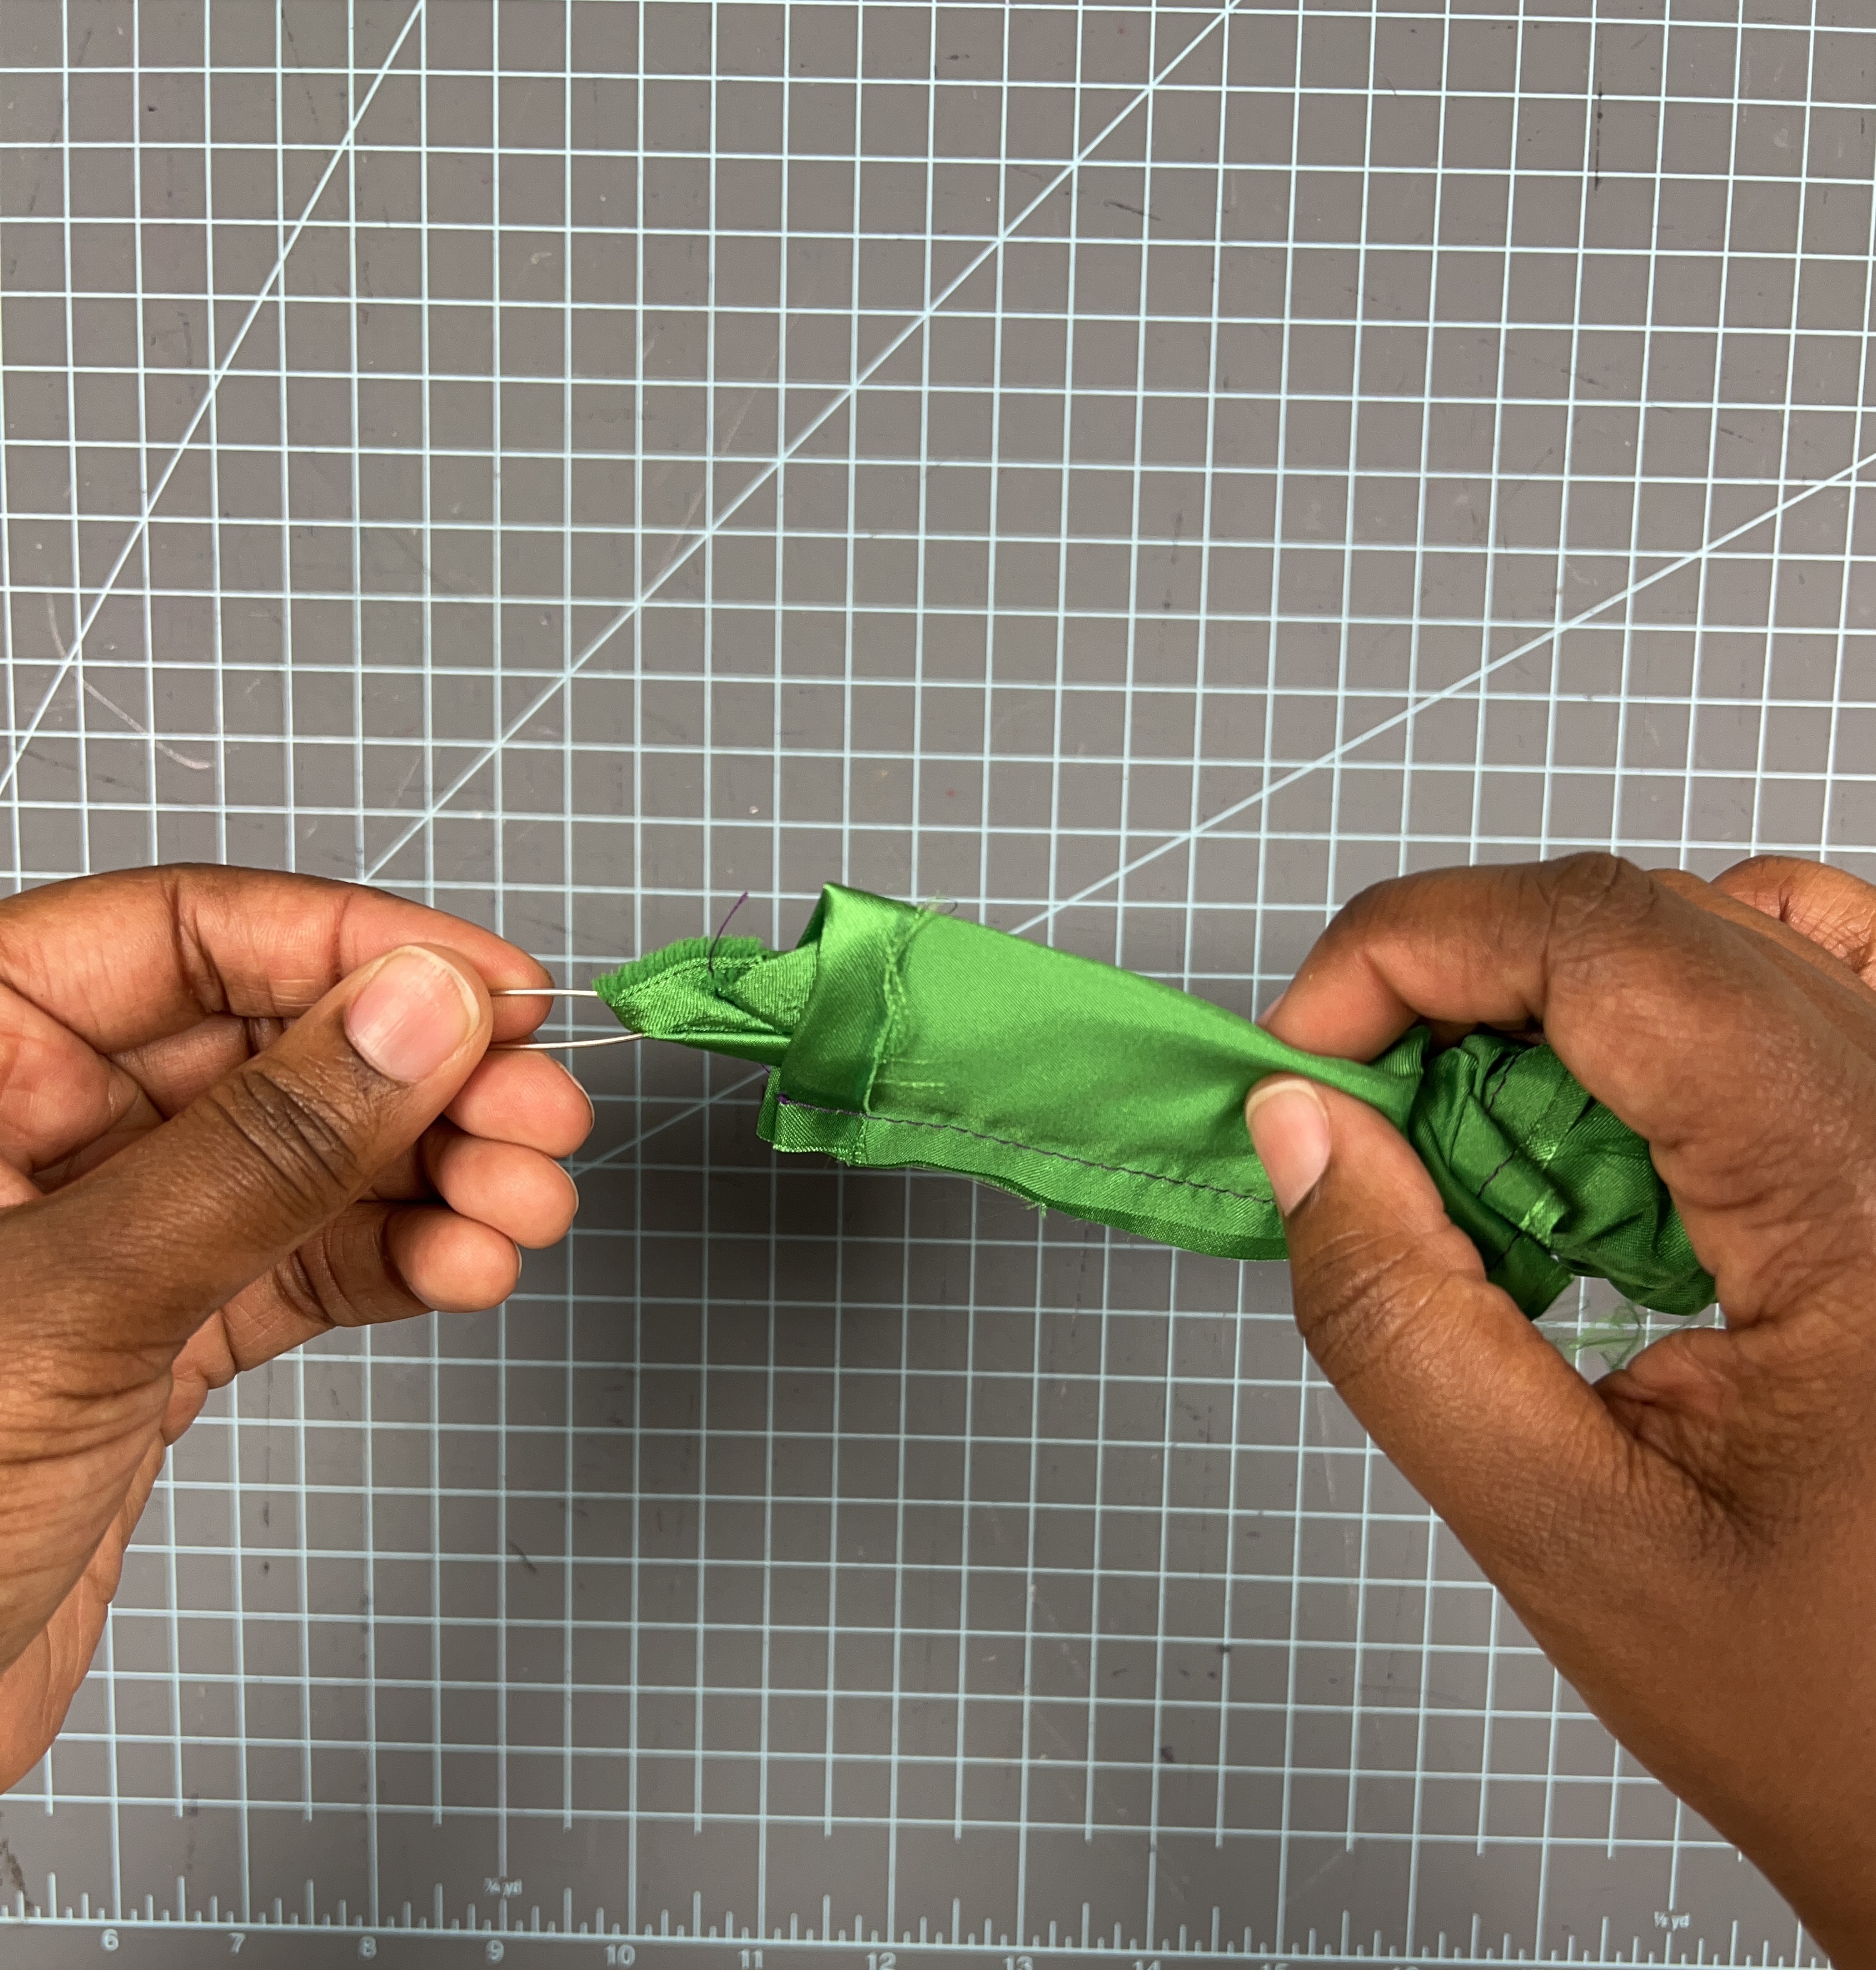
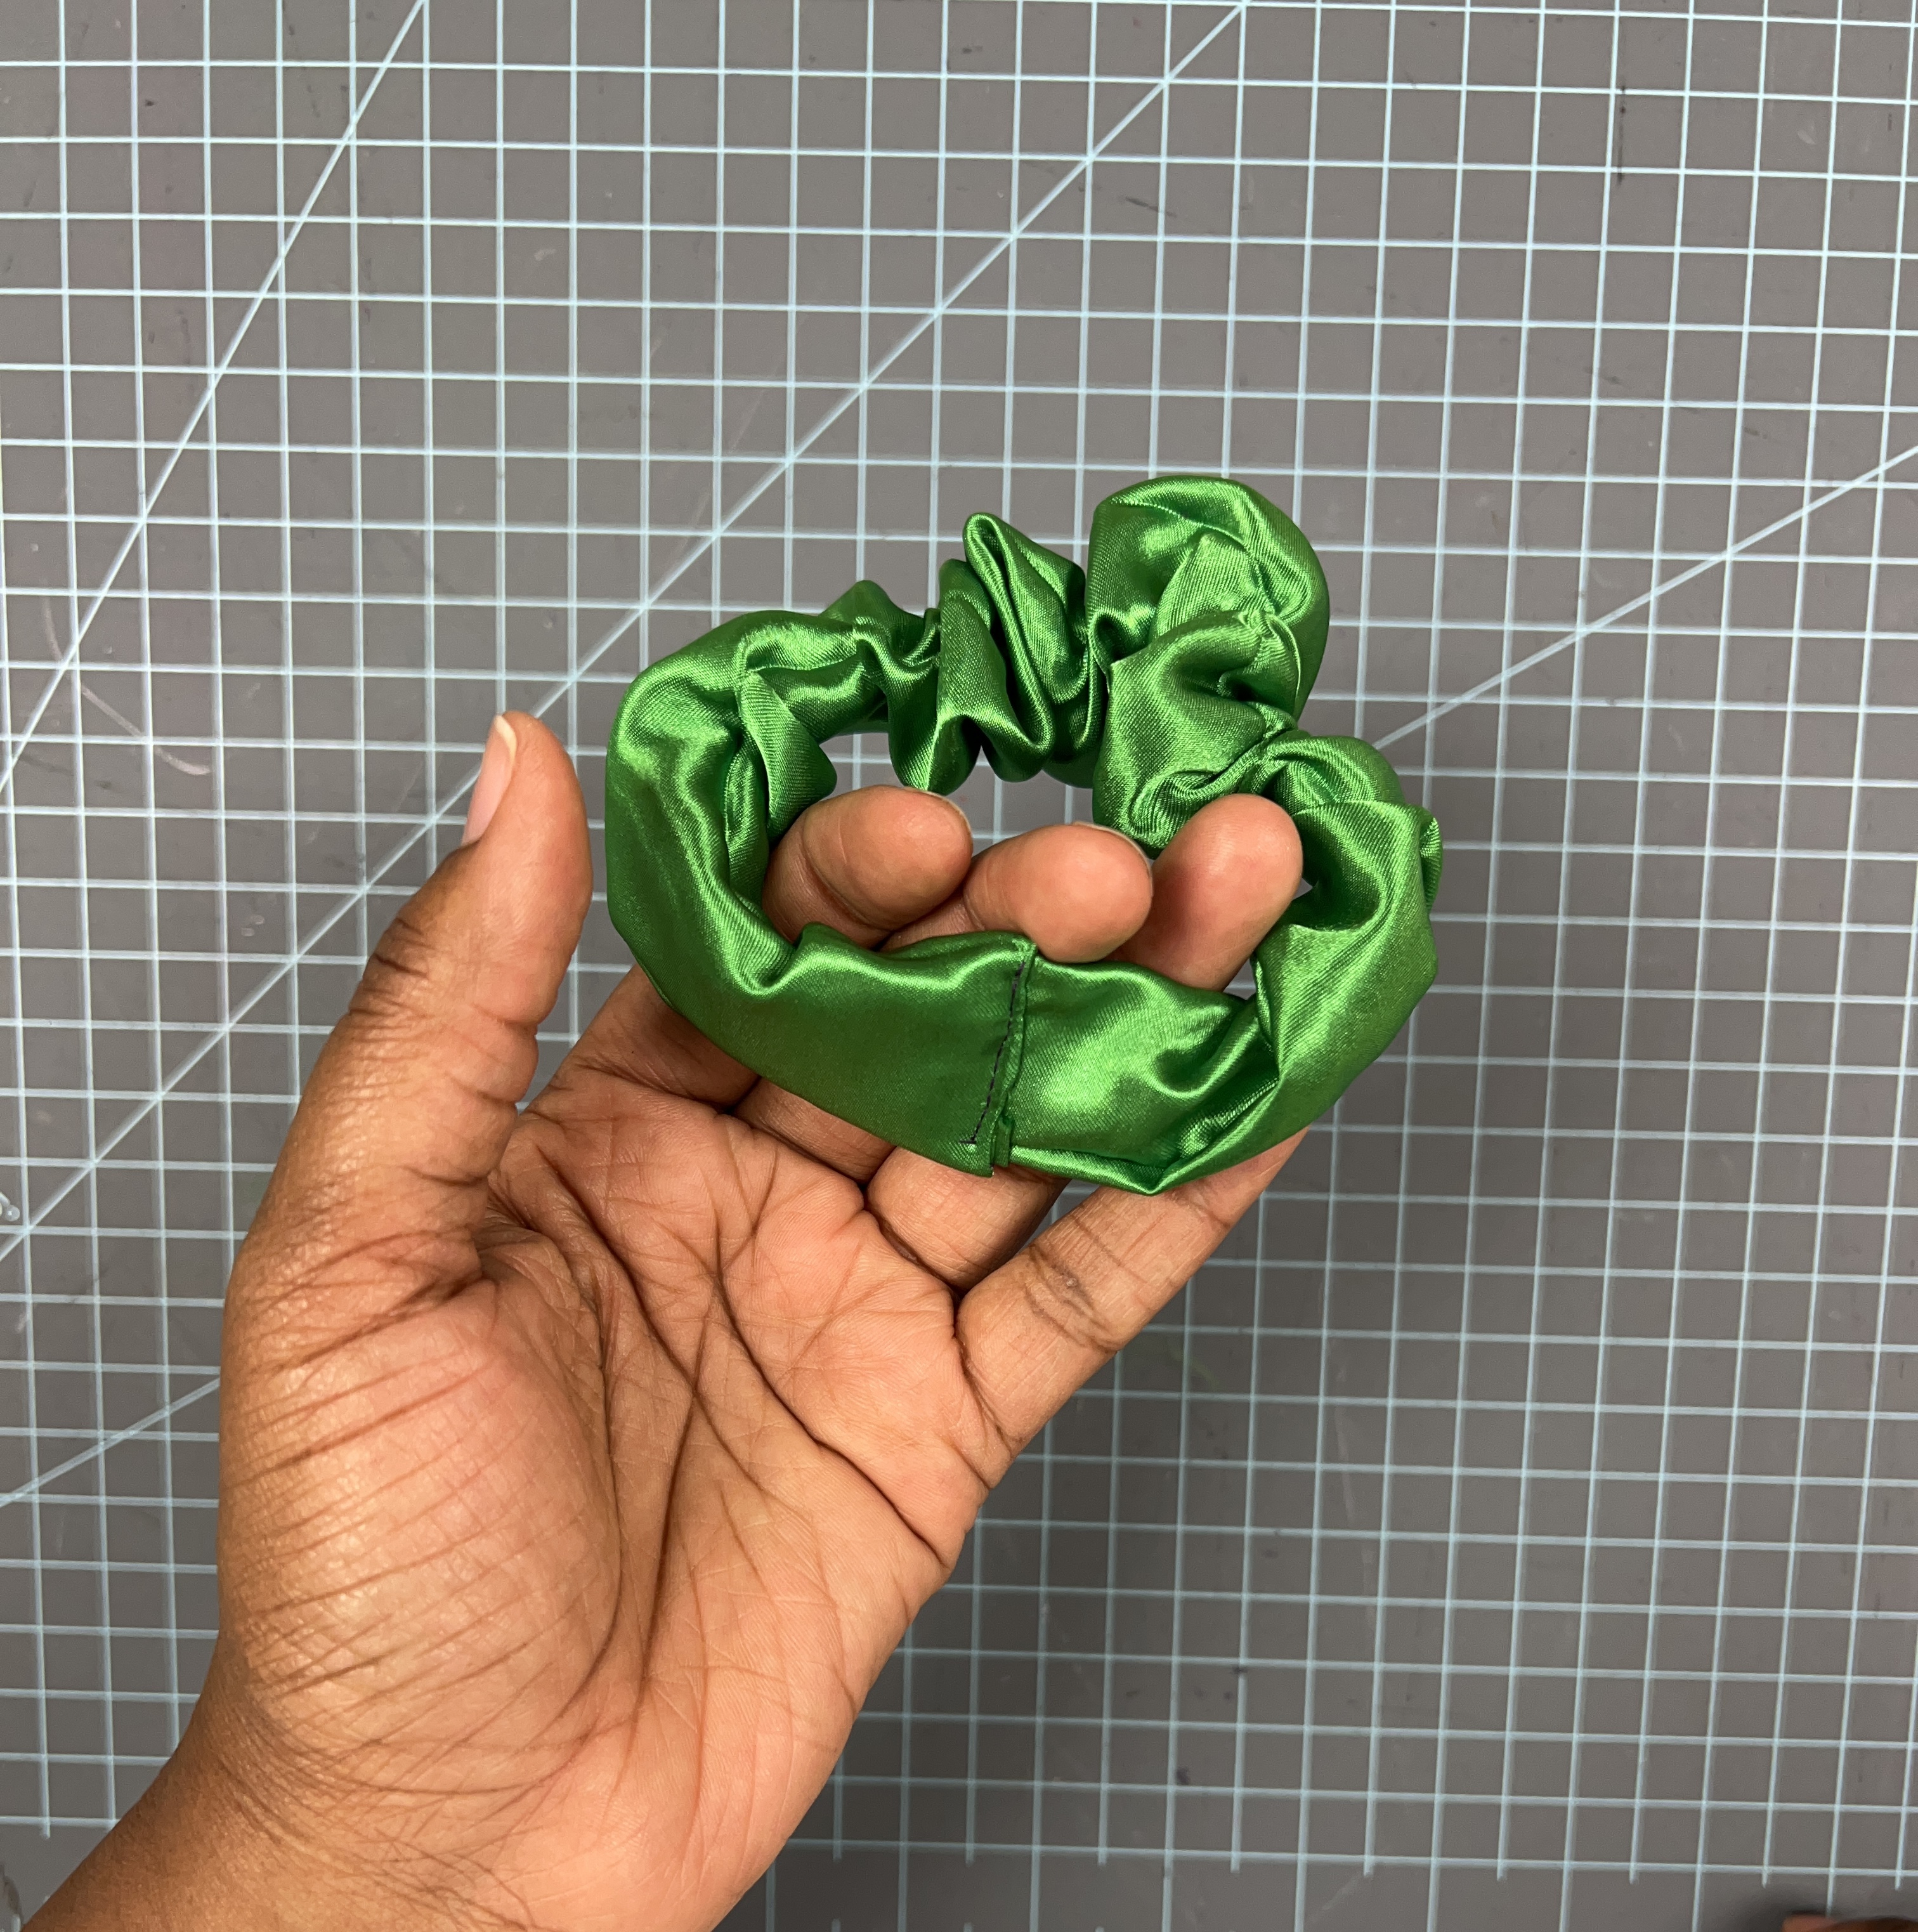
Step 3: Using a safety pin pull the elastic through the tube
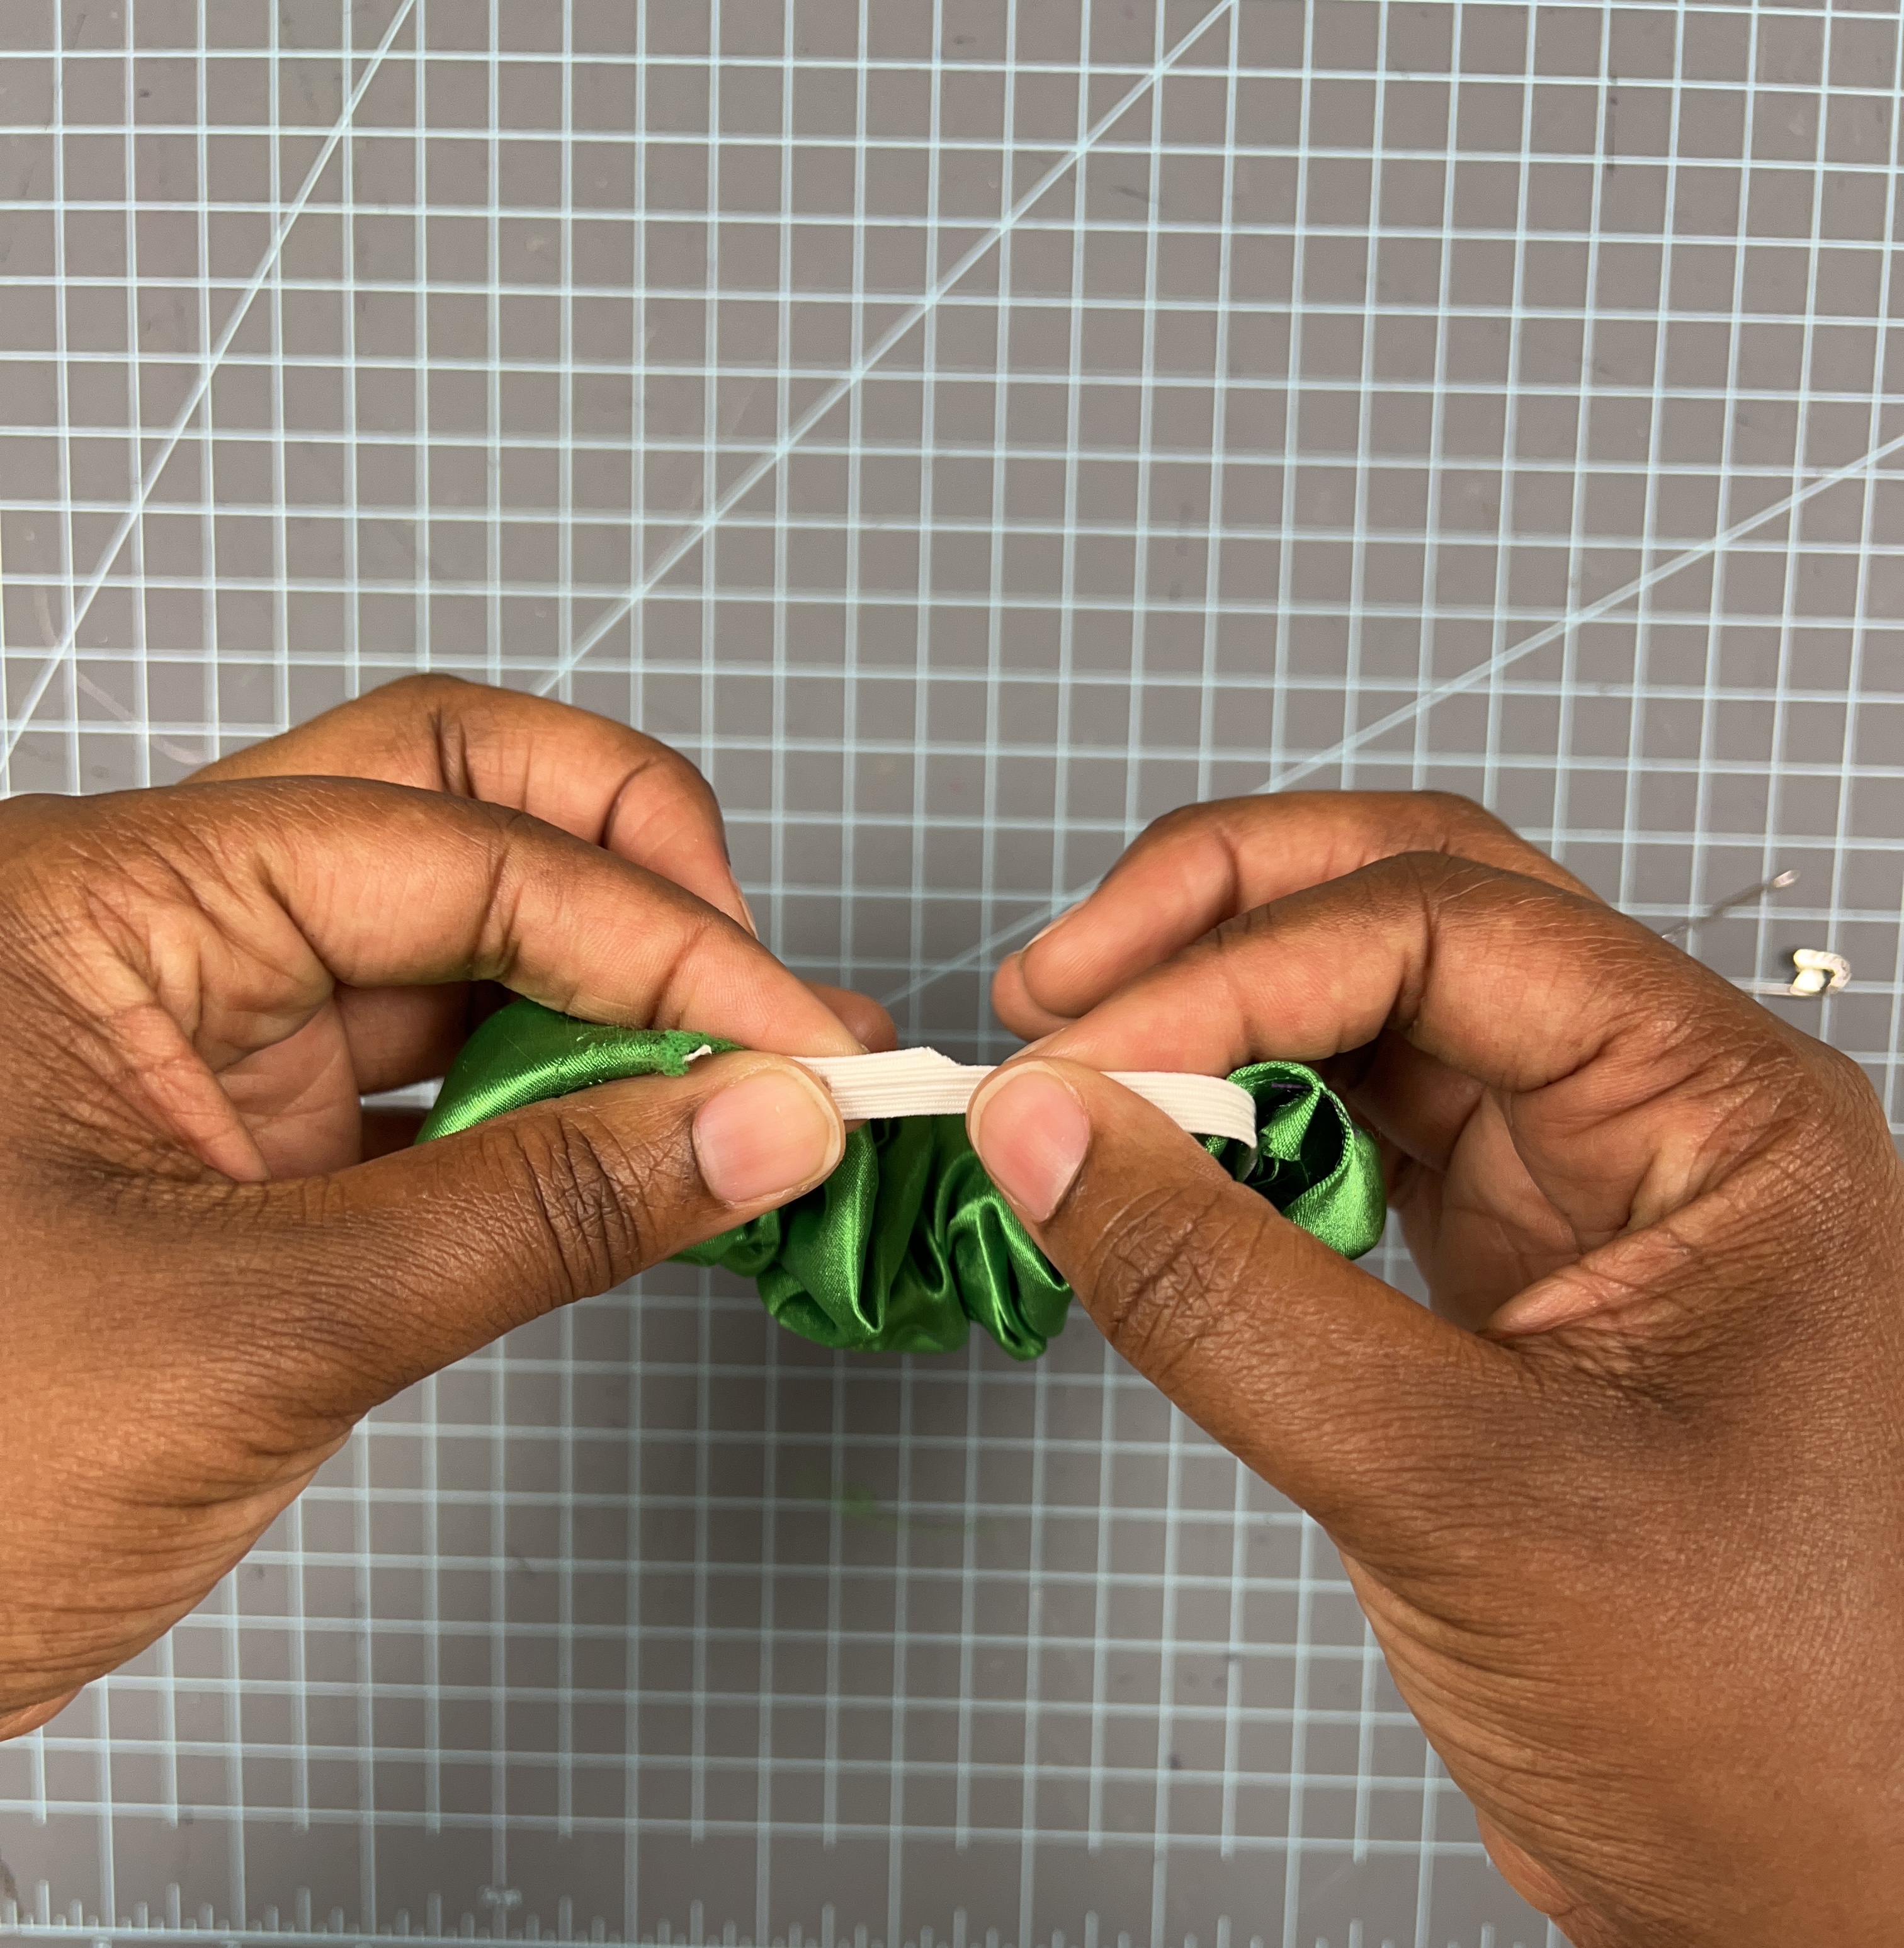
Step 4: Overlap the elastic 1″ & sew
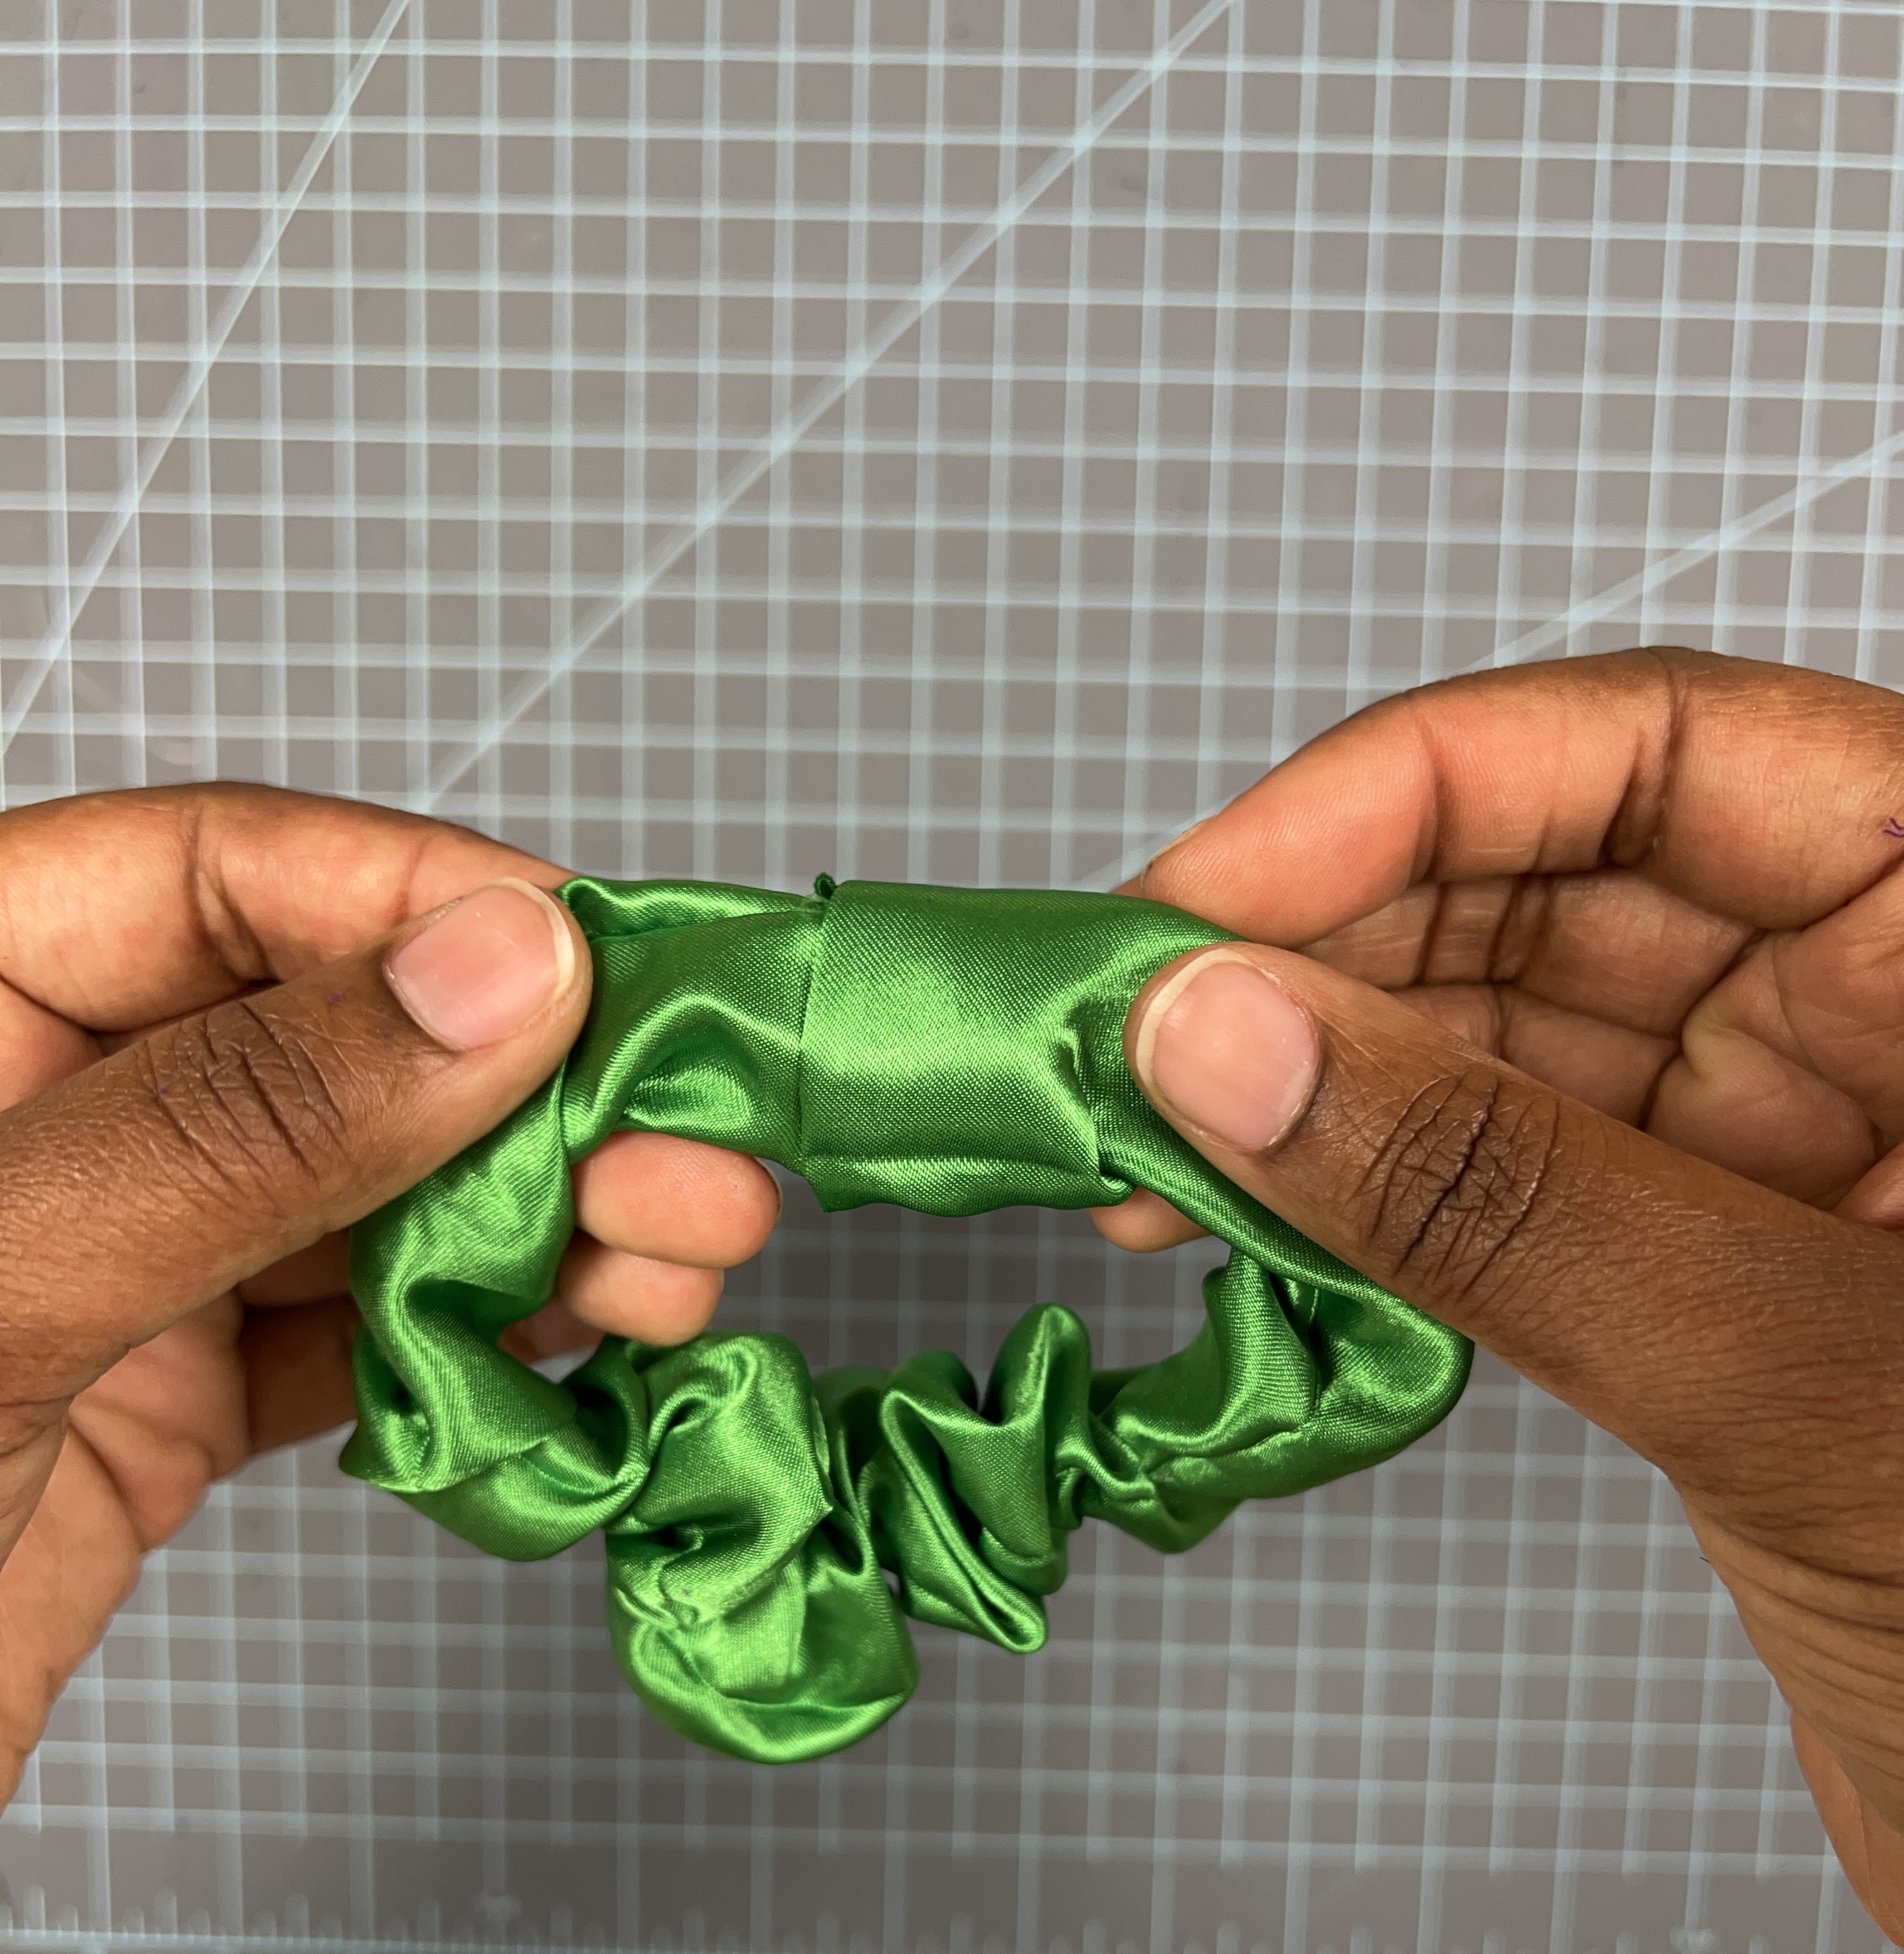
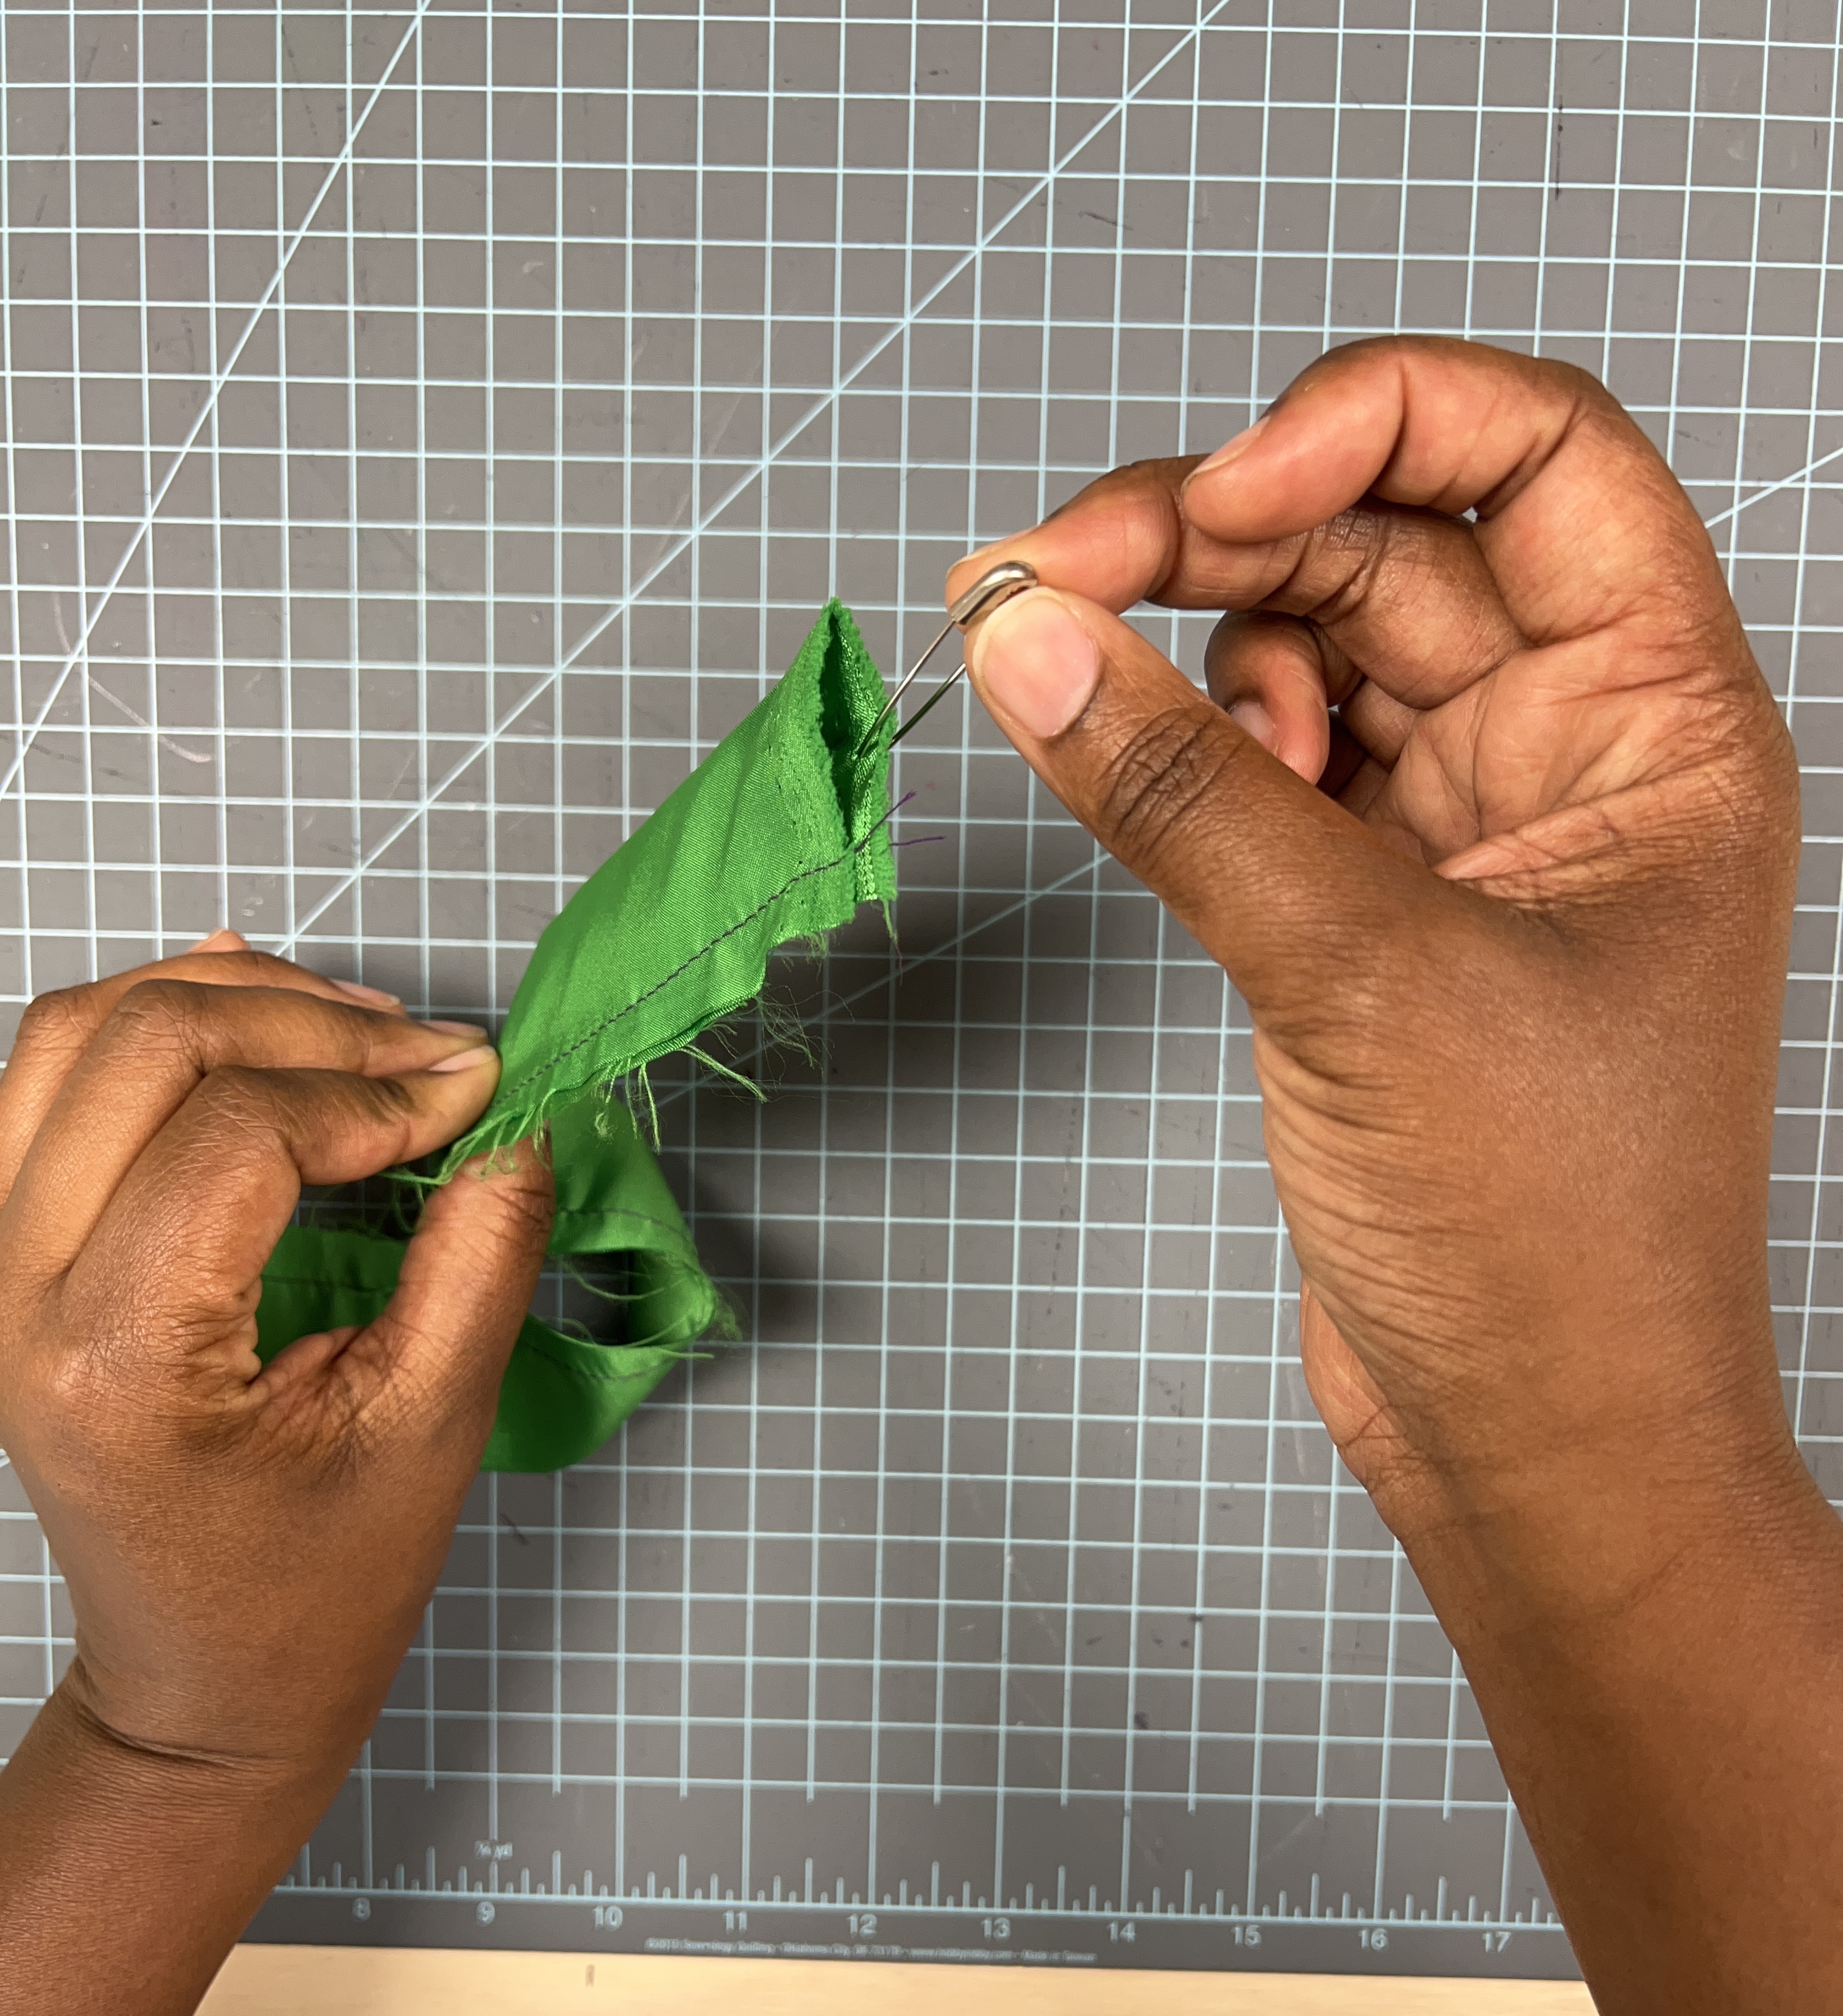
Step 5: Tuck the raw edge of your tube into the folded edge. Topstich closed.