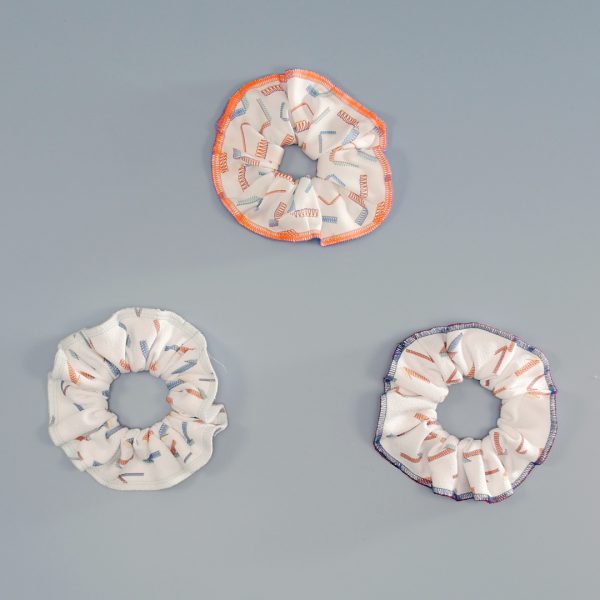
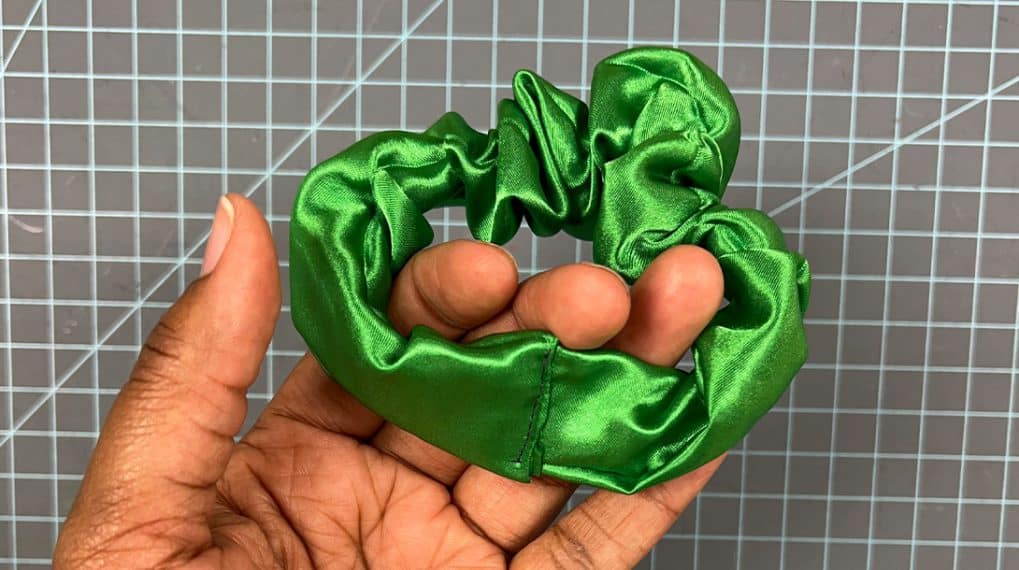
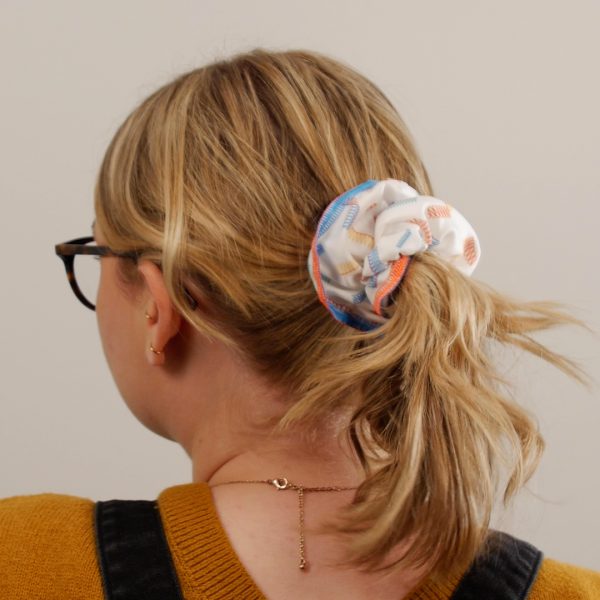
How to Sew a Serger Scrunchie
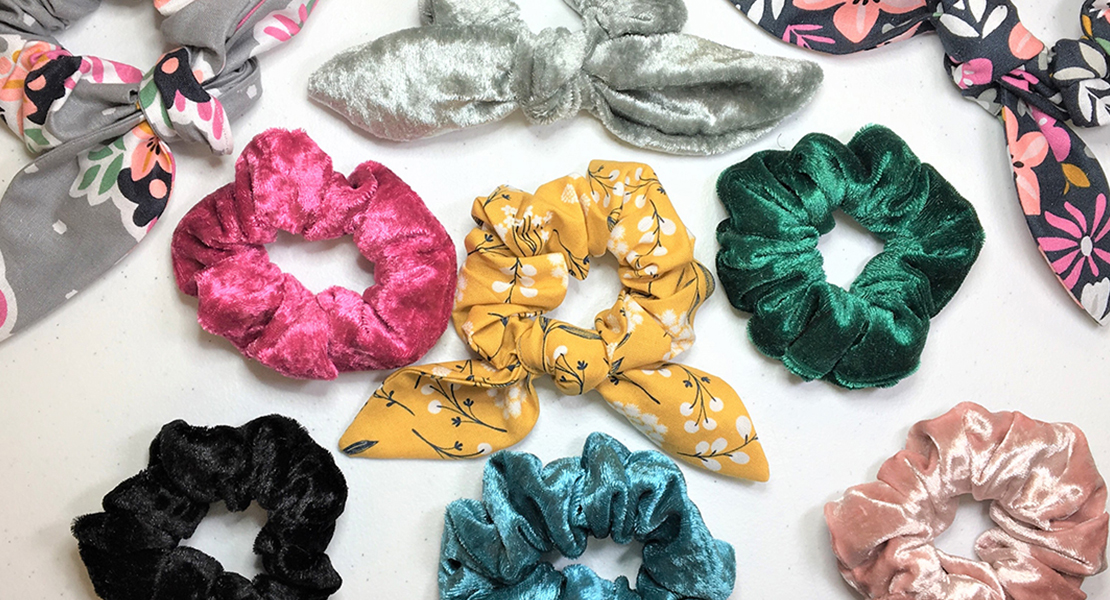
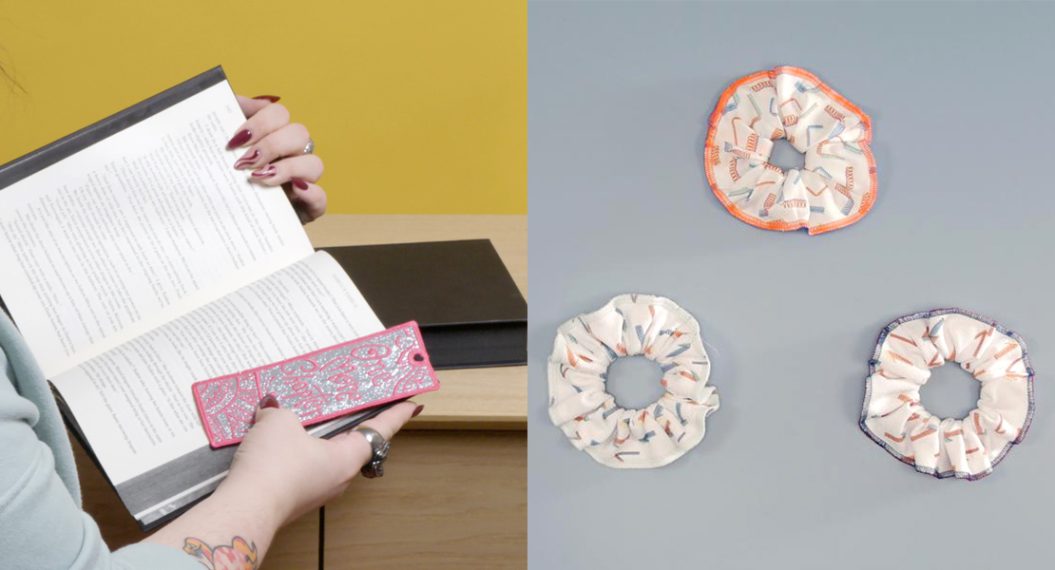
How about a fast fun way to use up your fabric scraps, knit or woven, by turning them into a fun hair scrunchie? A serger can make quick work of this and in no time at all, you can churn out a dozen or more of these. It’s a great way to try different stitches and threads too.
Materials for Sewing a Serger Scrunchie
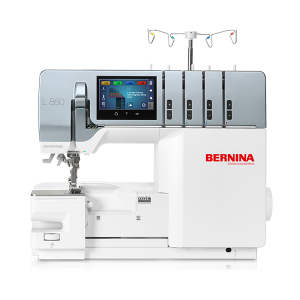
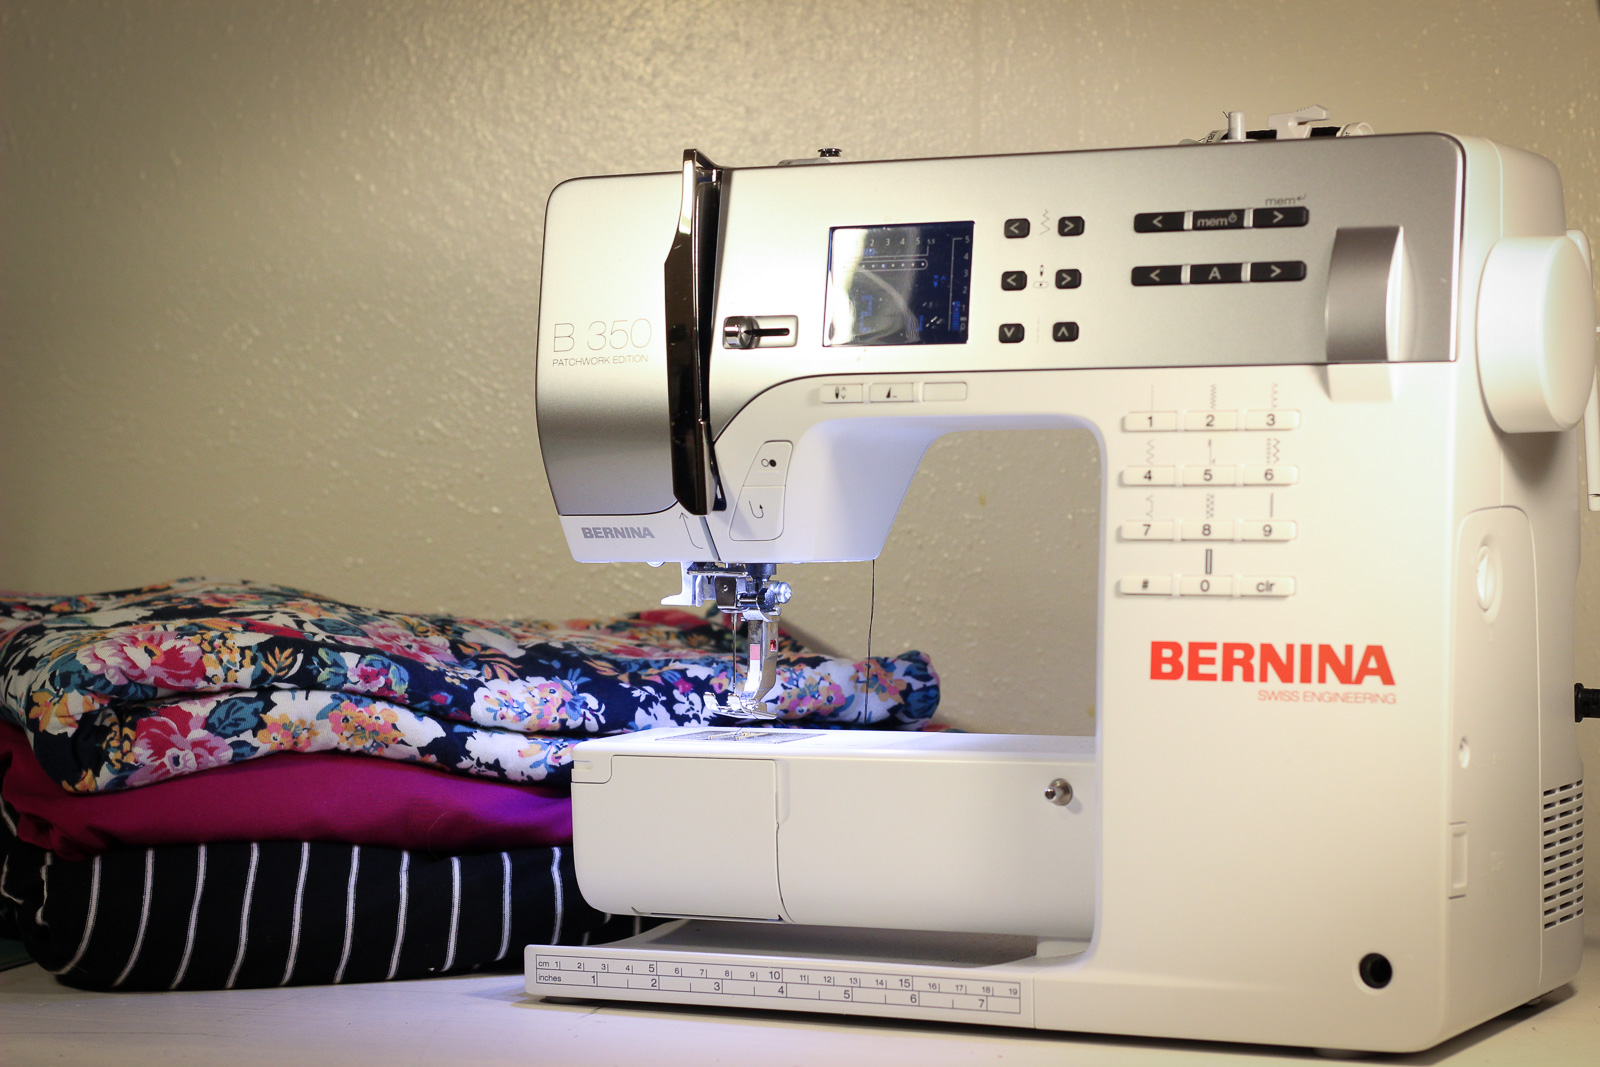
- BERNINA L 860
- Fabric — as many as you wish to make
- Cut 6”x14”
- Seracor serger thread 3-4 spools
- Rotary Cutter, Mat and Ruler
- Clover Wonder Clips
- Hair Ties
- Thread Snips
Steps to Sew a Serger Scrunchie
Step 1. Cut & Prepare Fabric
Using a rotary cutter, ruler and mat you can cut fabric rectangles. I recommend 6” x 14”, but feel free to play around with the size of these—you might find a better fit for your style.
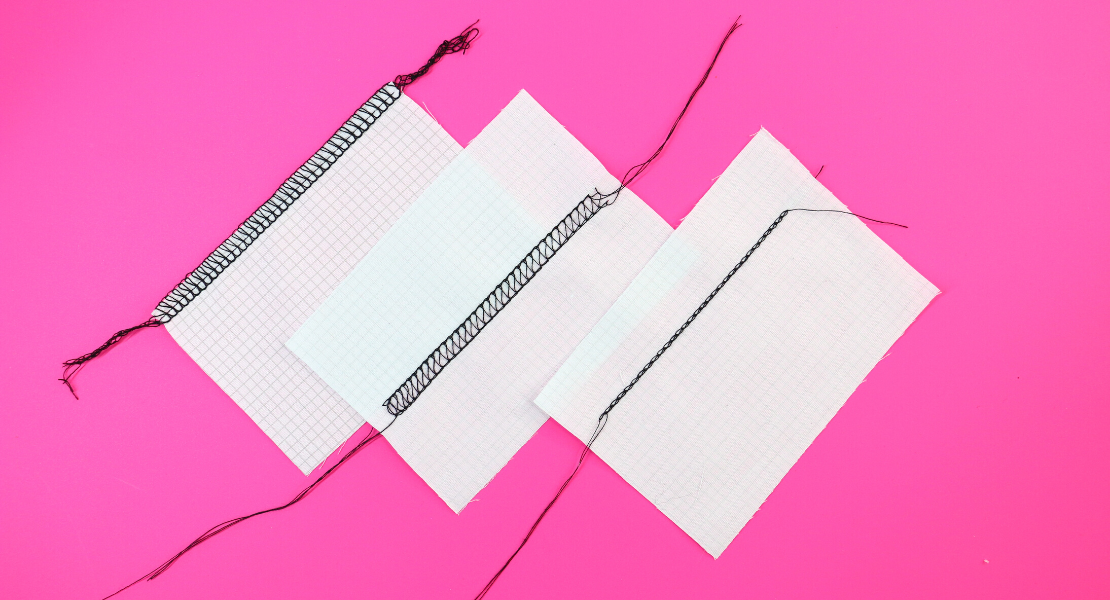
Step 2. Select your Stitch
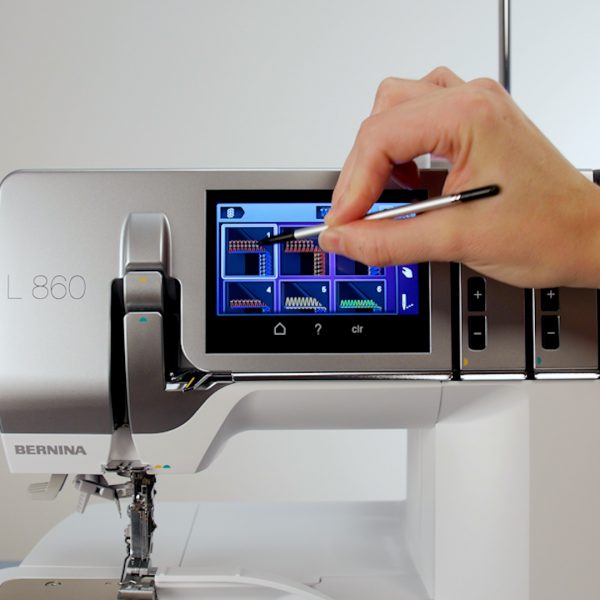
With the BERNINA L 860 and L 890 overlockers, you have touch screen navigation, which makes it extra easy to play around trying out new stitches. For my scrunchies, I used a 4-thread Overlock (Stitch #1) with the standard settings. I encourage you to play around with stitch length and the cutting width, as well as various threads. This is a time for experimentation. With the L 8 Series overlockers, air threading makes threading simple. Changing threads is a great way to become acquainted with your overlocker.
Step 3. L 850: Sew the Short Side
With right sides together, sew the short side seam.
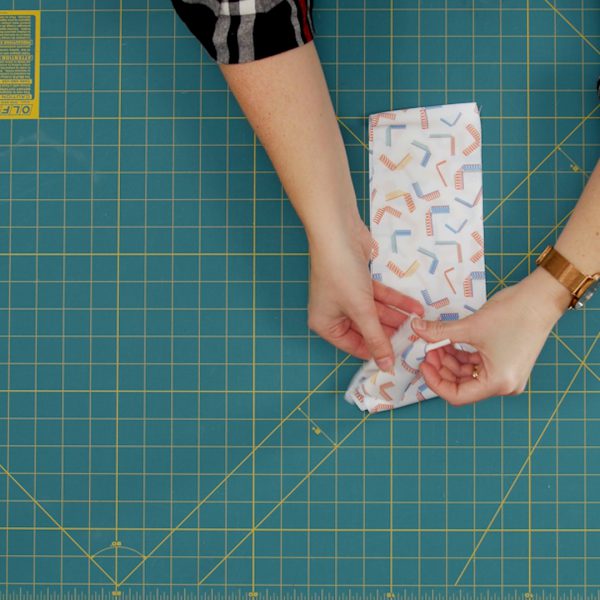
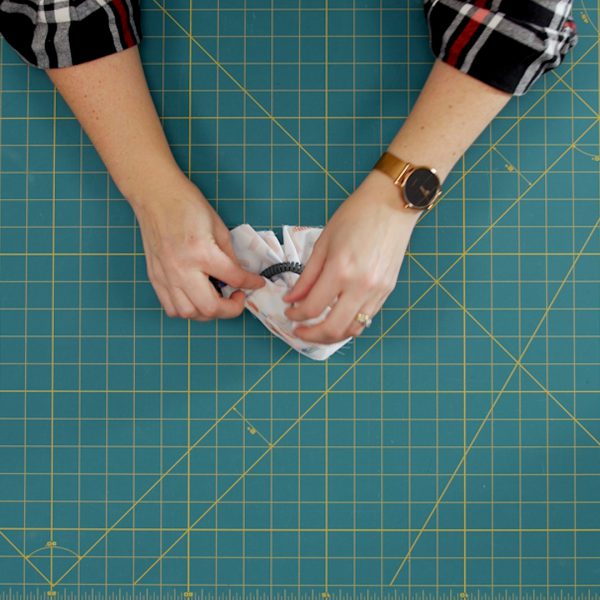
Now wrap the fabric around your hair tie, using the Wonder Clips to hold the long edges together. We are going to sew this final seam on the right side of the fabric- so you will see it.
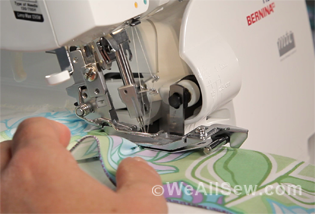
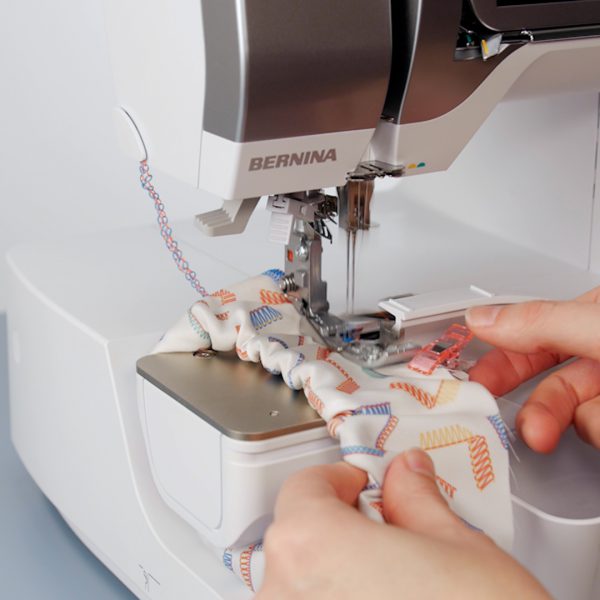
Step 4. Sew the Outer Edge
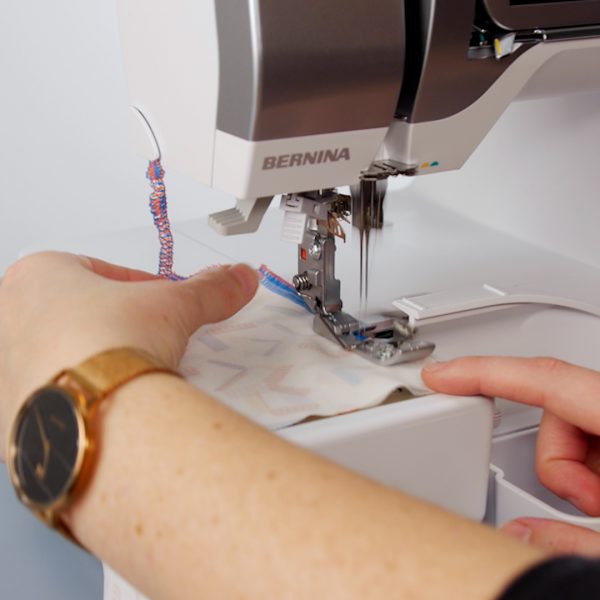
Remove the Freearm Cover (or Slide-on Table) to expose the Freearm of this overlocker. Position the fabric under the foot with the raw edges together at the cutting knife. Sew all the way around until you are at the beginning of the stitch. You can choose to sew over the beginning stitches and then turn off the fabric edge.
Or, if you want to be extra fancy, sew up to the beginning stitches and stop. Using the Back-kick feature of the BERNINA Foot Control, lower the needles into the fabric. Now lower the cutting knife so that it is no longer cutting with the super handy lever on the outside of the machine (Yes- it’s amazing that you can do this without opening the machine!) Sew over the beginning stitches for a few stitches, then stop sewing, raise the presser foot and pull to release the fabric. Trim the threads and tidy up the ends, add a dab of fray check for good measure.
I bet you can’t make just one. Happy Serging!