5 Ways to Secure a Serger Seam
The first time I saw a serger, I fell in love. It was my freshman year in high school and my parents noticed I was taking sewing really seriously and began to discuss a career in fashion design. They took me to a local shop to buy a new sewing machine. As I looked around to find something in my parent’s budget, I noticed this strange machine with lots of threads coming off the top of it. The shop owner saw my interest was strong and he gave my parents a great combo deal and I walked out of the shop a proud owner of a used serger and sewing machine. Within an hour of being home, I had fallen in love with my new serger however, I couldn’t figure out how to backstitch. It seemed silly to me this machine wouldn’t go backward. We drove back to the shop so he could show me how to backstitch. Once we were there the shop owner kindly explained that a serger does many things, but going backward isn’t required. He then showed me a simple solution to securing the serger seam (which is number one in today’s lesson). To this day I think of that sweet shop owner and his serger seam trick. Over the last 30 years, I’ve learned a few other ways to secure a seam and today I’m going to share with you five ways to secure serger seam so it looks clean and professional. Let’s get started.
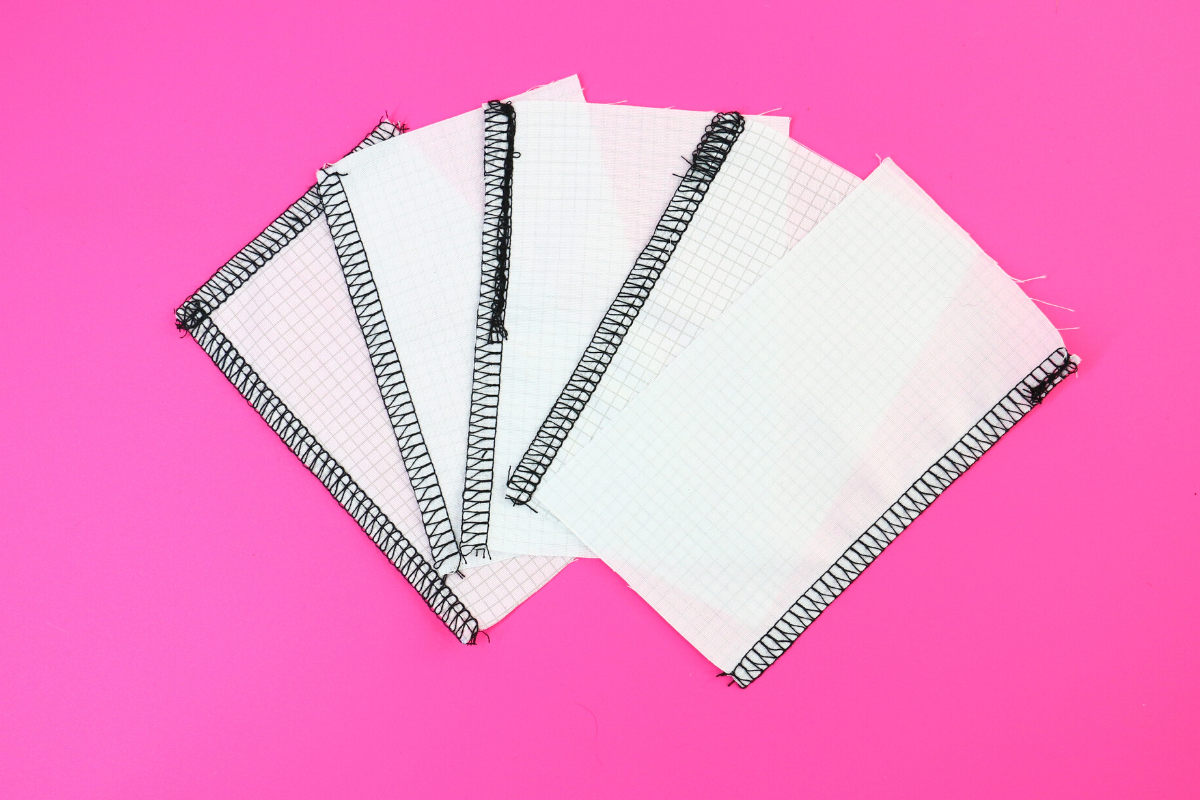
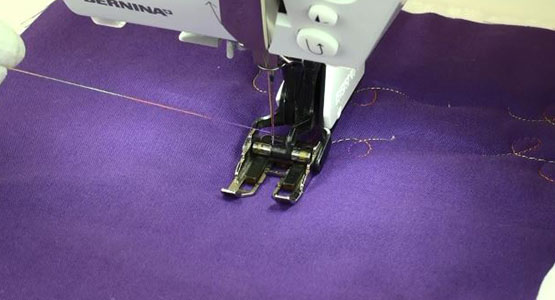
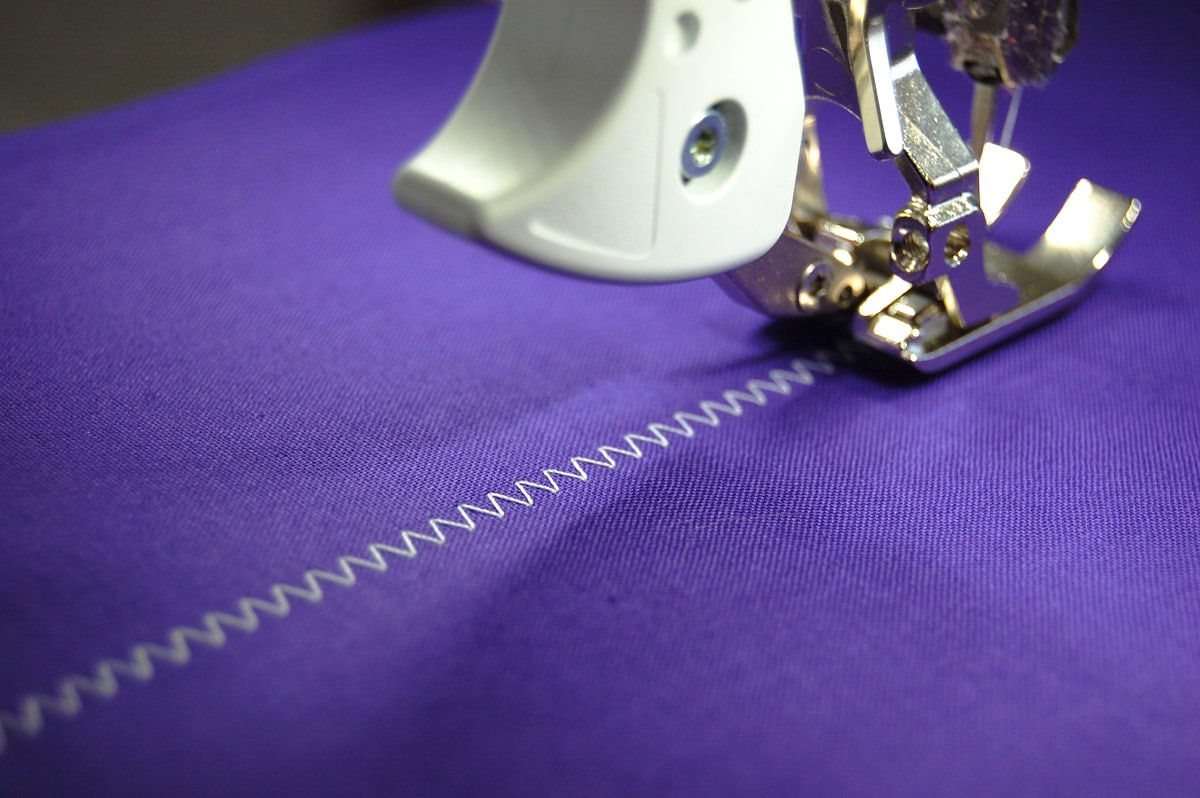
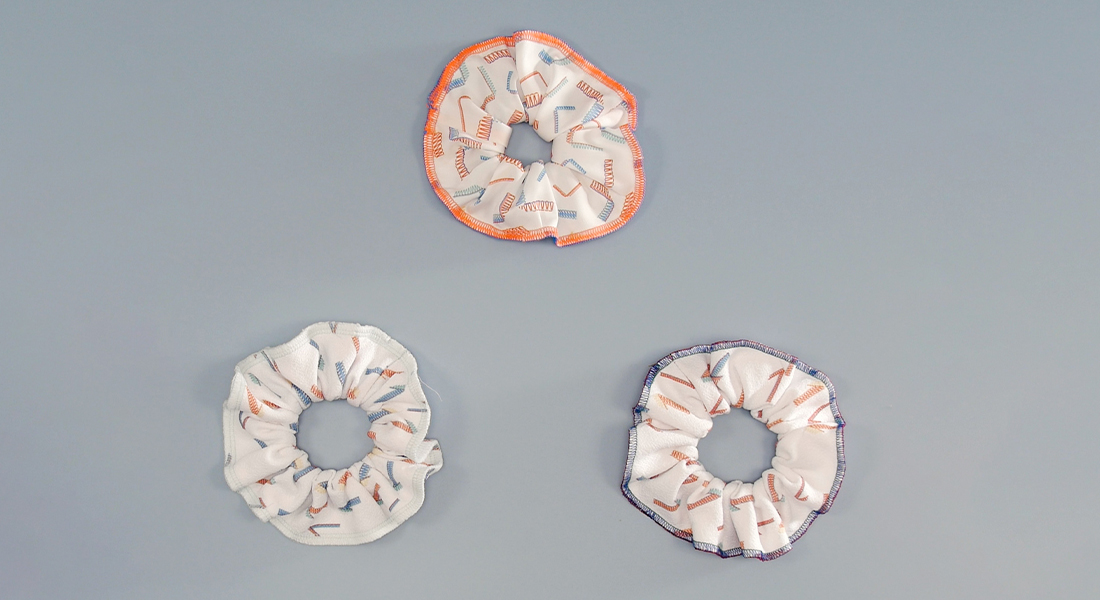
Note: You will notice that today I showcased the 4-thread overlock stitch for all the samples, but most stitches work the same.
1 – Seam Sealant
First up, is the trick my shop owner taught me years ago. Use seam sealant at the end of the serger seam. There are lots of different kinds of seam sealants on the market. My favorite is Fray Block. When you are securing your seam, leave about one inch of a thread tail. Turn your fabric to the wrong side facing up. Place the corner or seam edge over a piece of paper to prevent any damage to your work surface. Place a small dot of seam sealant where the threads meet, if it’s a corner, or covering the threads at the end.
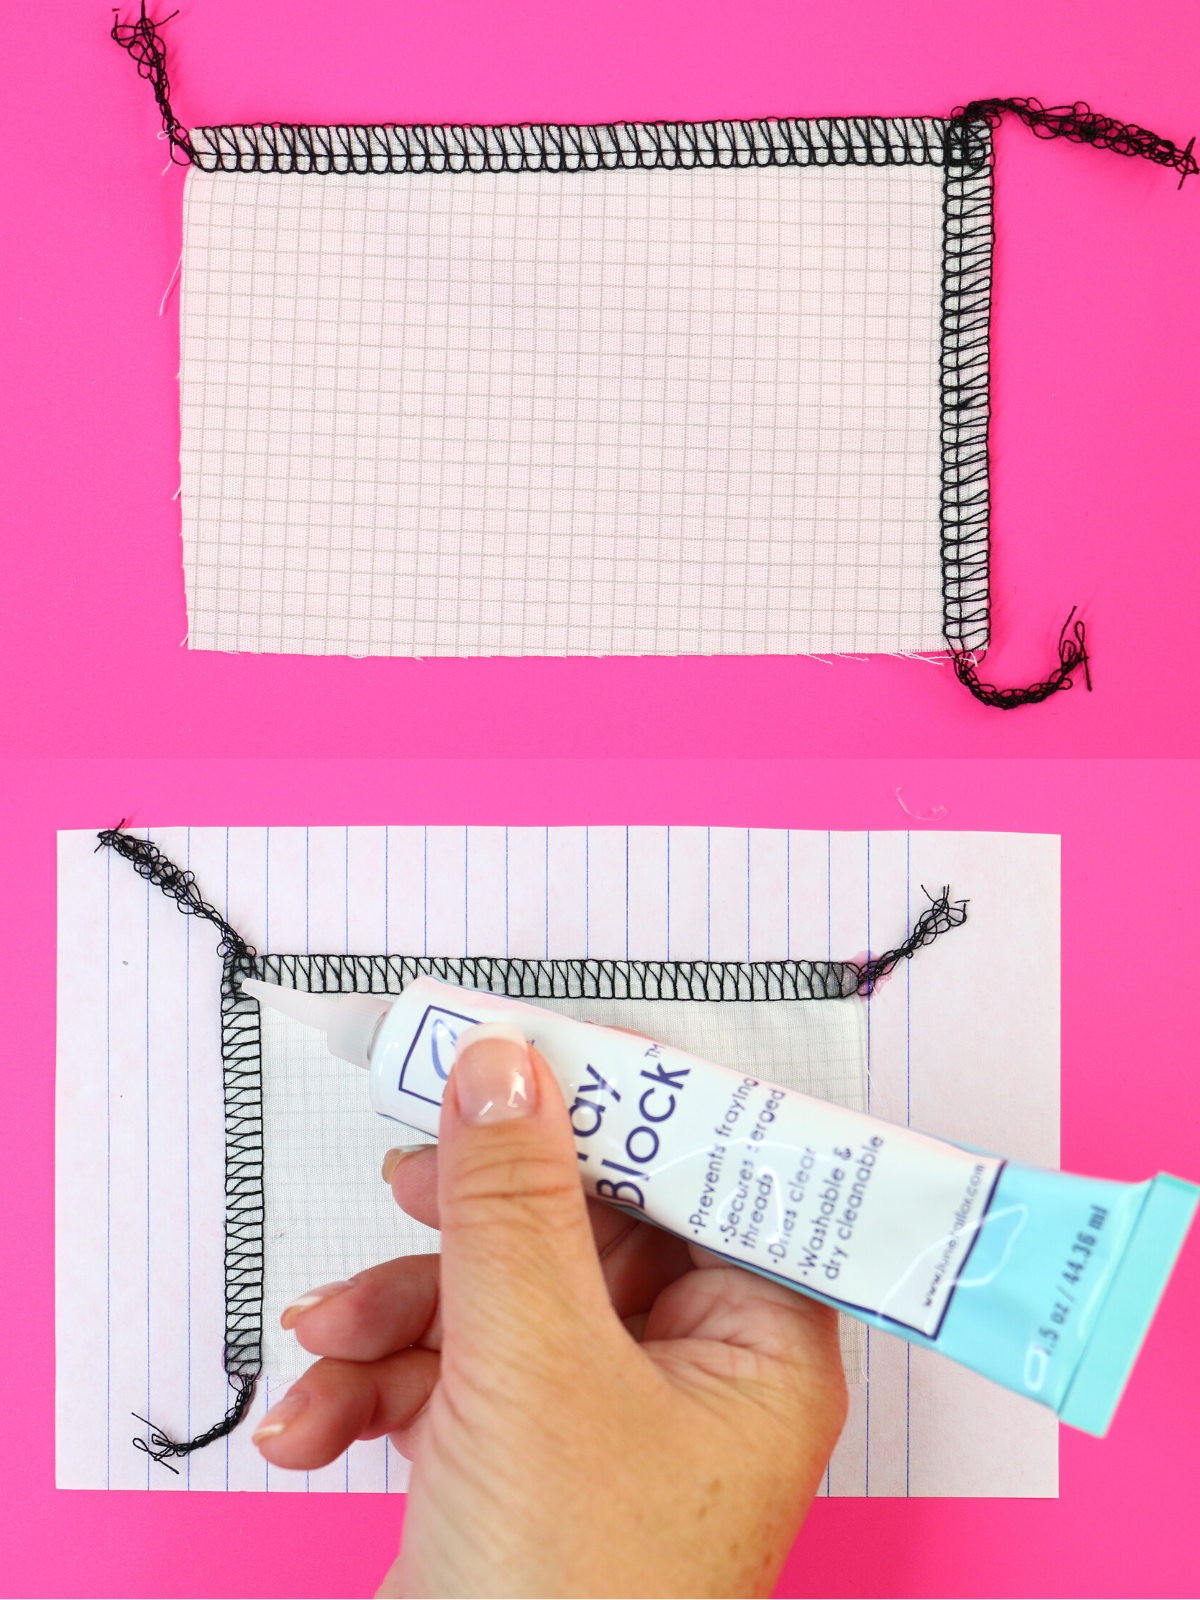
Follow the manufactures instructions for dry time, and then clip the thread to the end of the fabric. The reason I prefer Fray Block, is that it leaves soft edges. Some seam sealants can leave crispy hard ends. This is my go-to serger seam end and it works for most all projects, especially napkin corners.
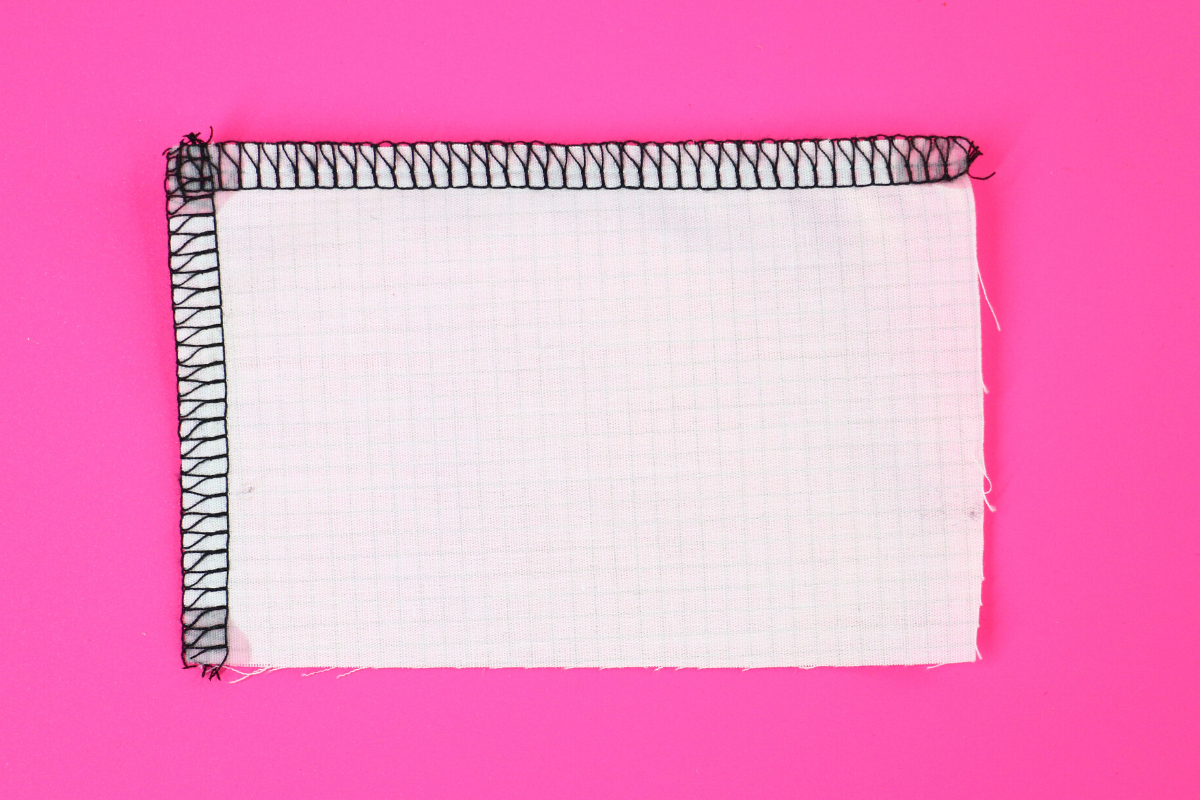
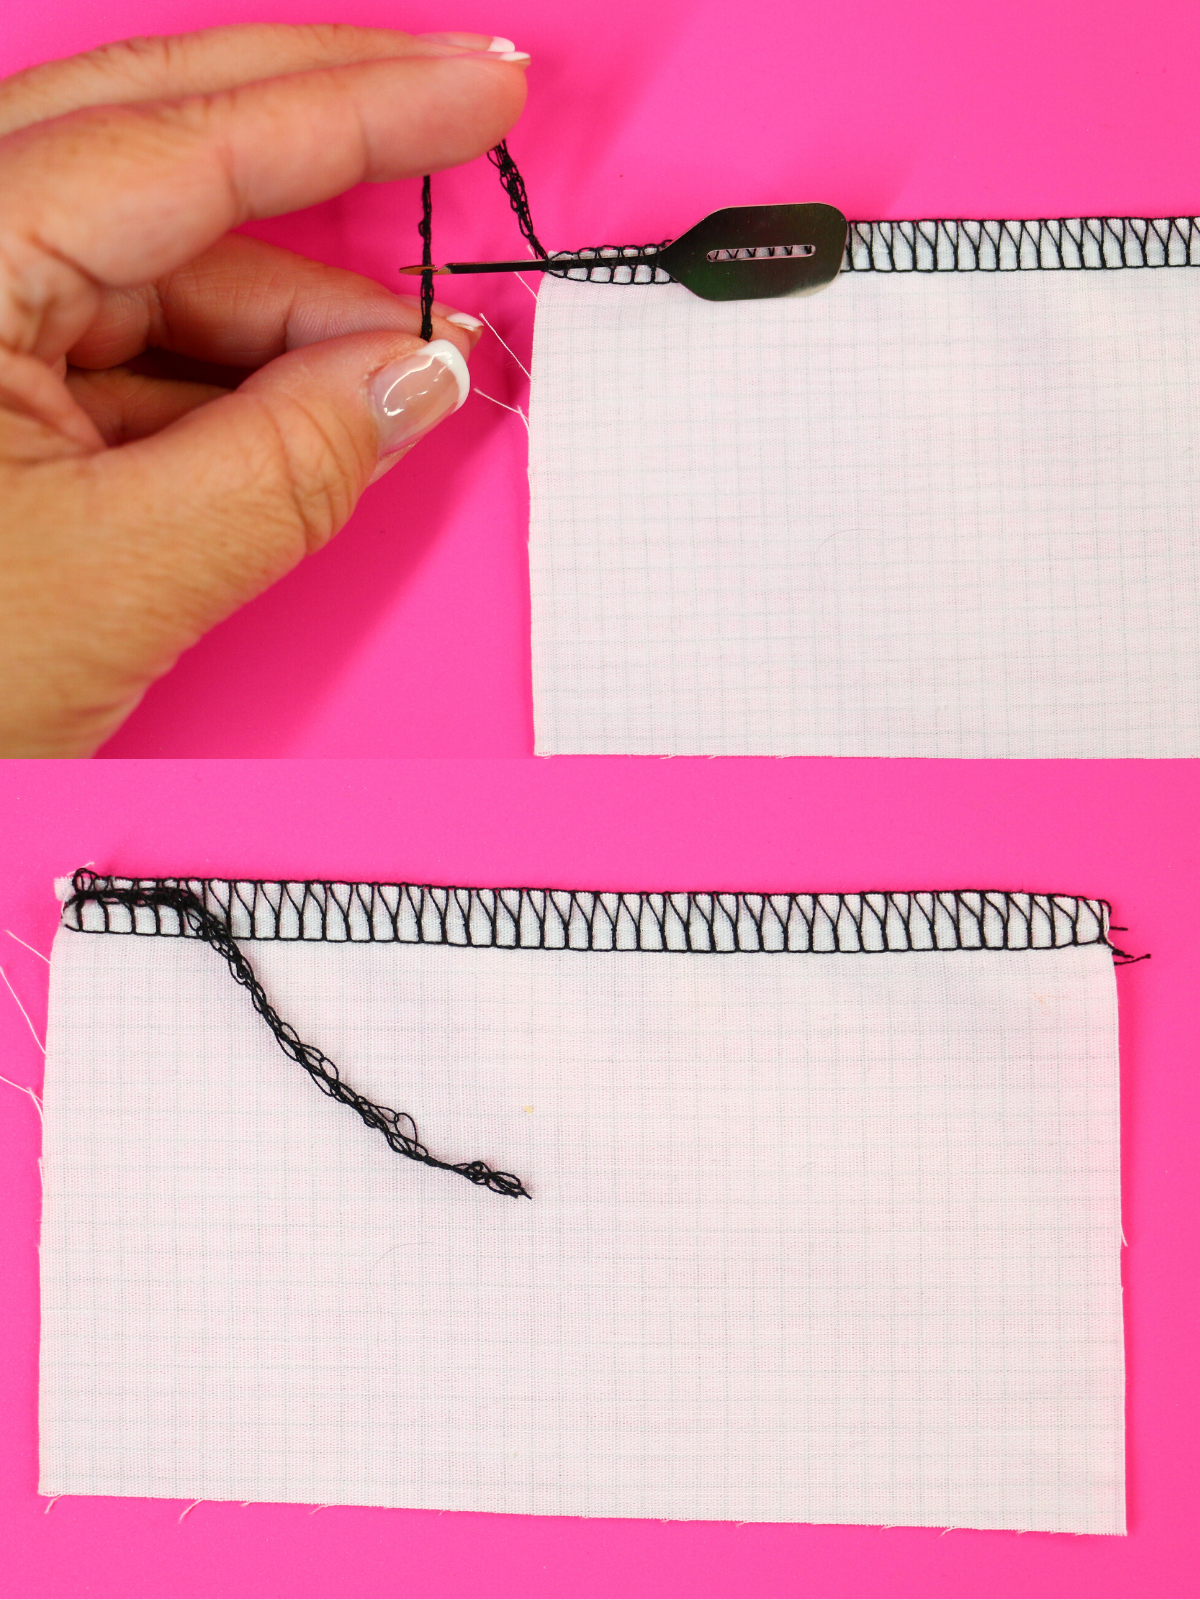
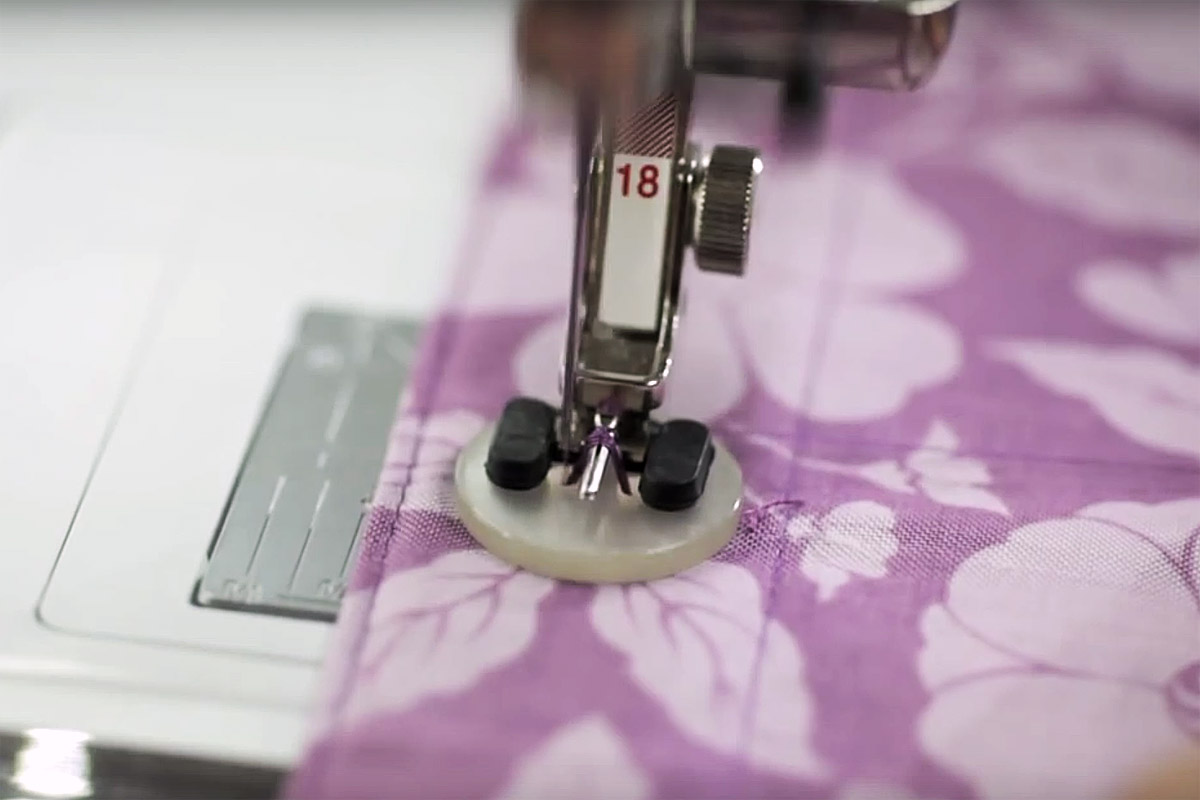
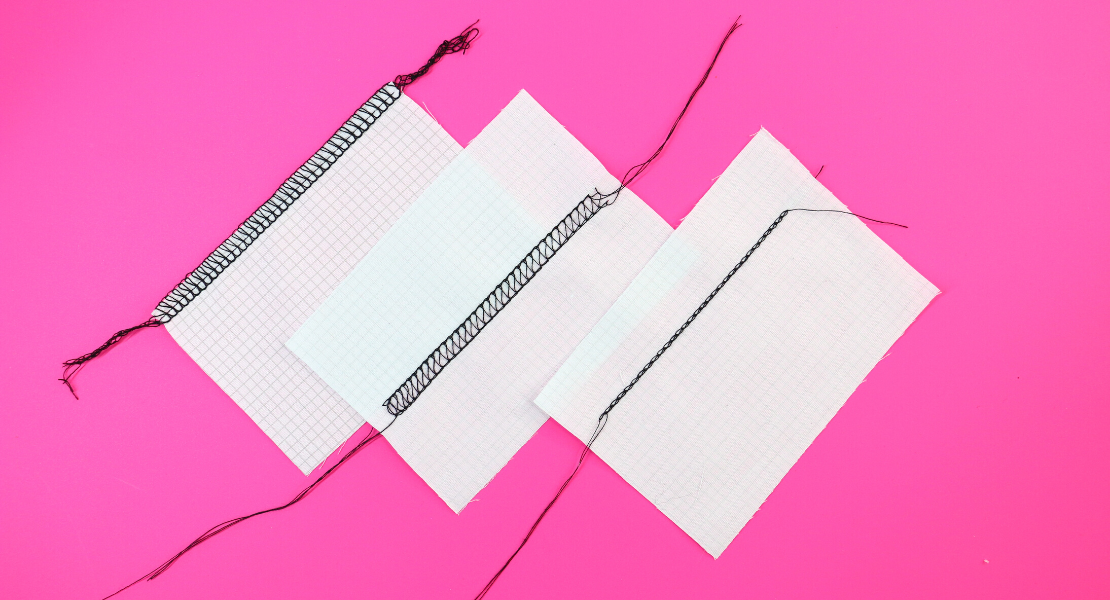
2 – Tie Thread Tails
The second is a pretty simple solution, tying the thread tails. What you will need is a seam ripper or pair of sharp tip scissors, such as the Tula Pink Large Ring Micro Tip scissor, which are my personal favorite scissors these days. They are super sharp, have large rings so getting in and out is easy and they have this skinny tip which makes getting into small areas easy. Unravel the threads to separate the two-needle threads, and the looper threads, see photo below. Once separated, make a double knot and clip the threads at the end of the knot. This is ideal for when using a heavier decorative thread such as Pearl Crown Rayon, on projects where you don’t want a bulky seam ending.


3 – Feed thread tail into the finished serged seam
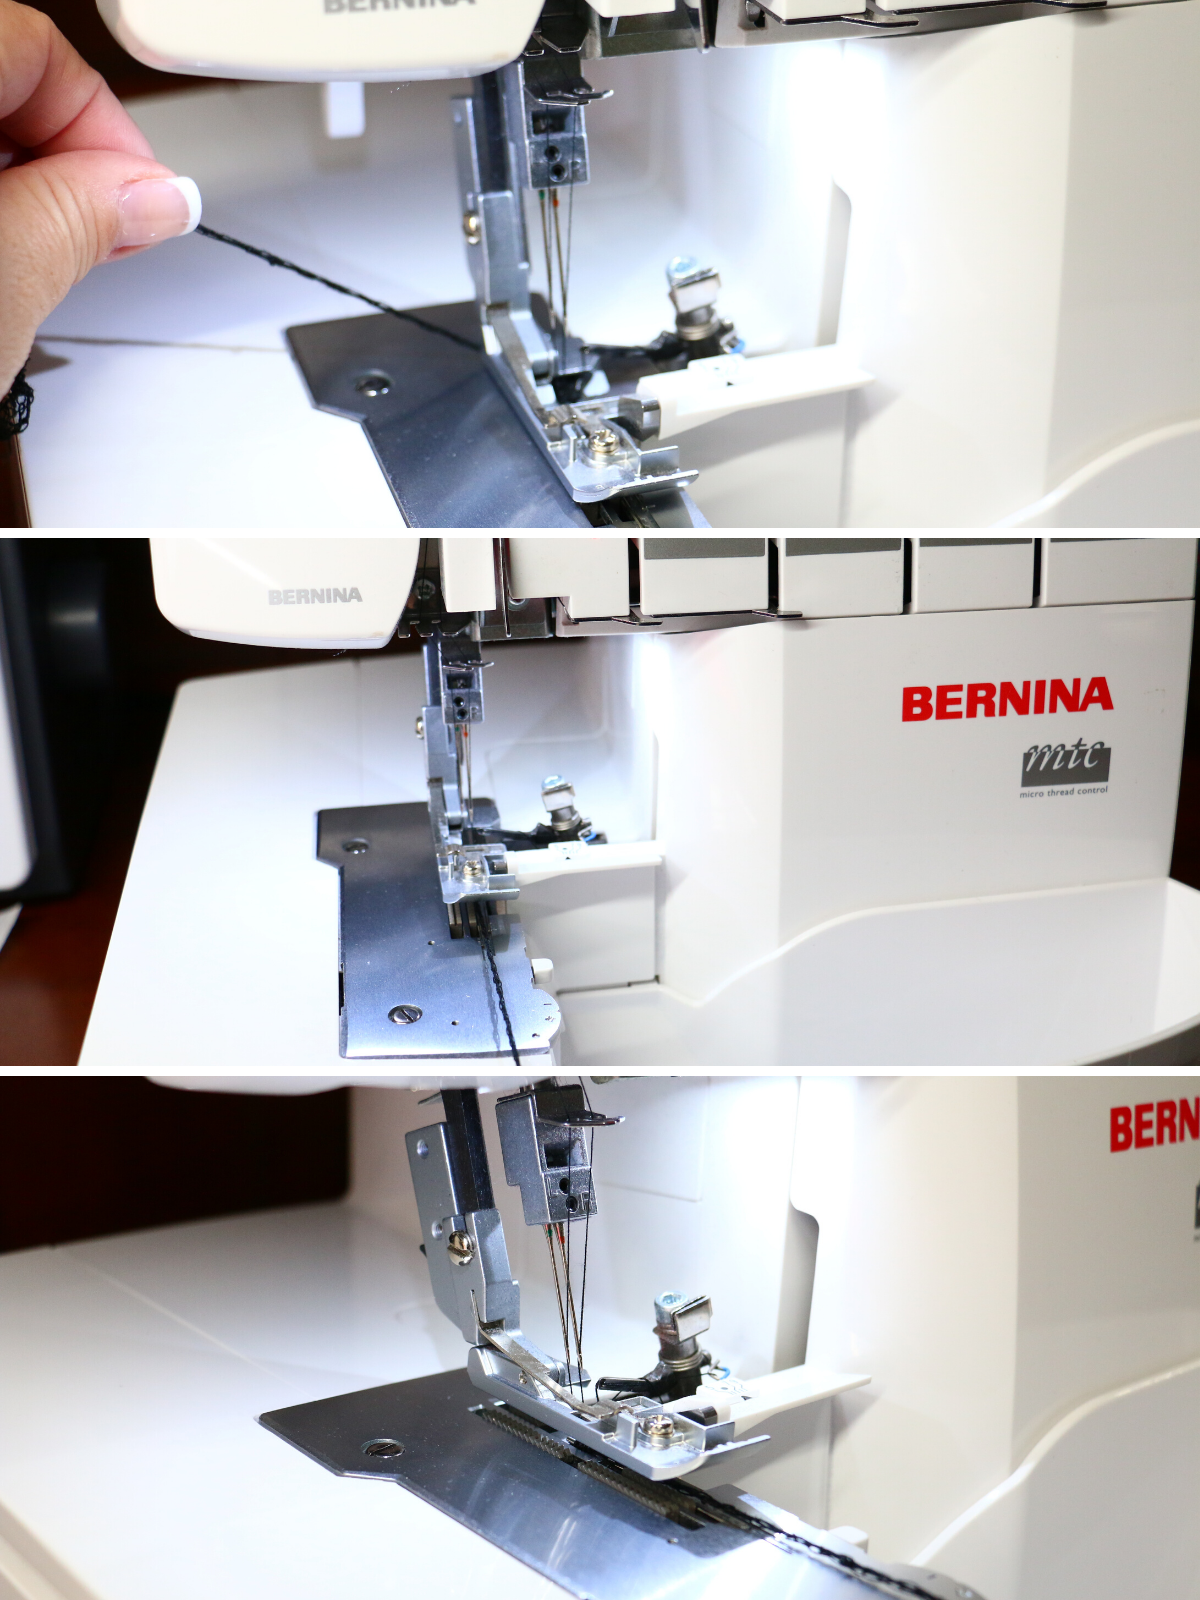
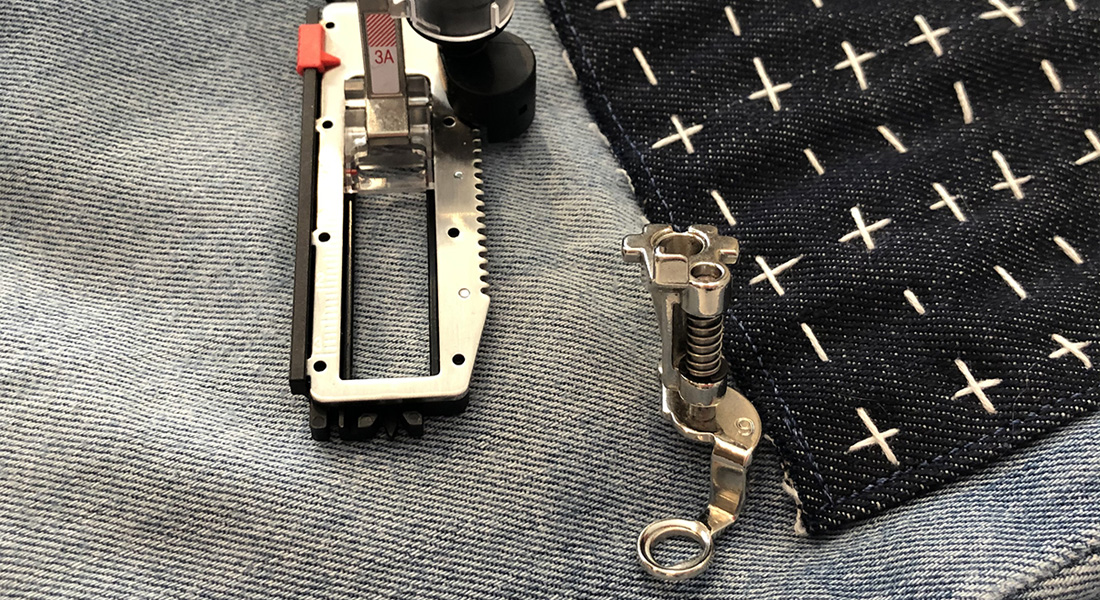
The third is feeding the thread tail into the serged seam. I think this might be the easiest but it does require a notion to help do it. There are a few different notions on the market but my favorite is the Lil’ Hookey Serger Seam Hook. It really is quick and easy to lock serger seams with this tool. It comes with two and I keep mine in the original packaging so I don’t lose these little pieces.
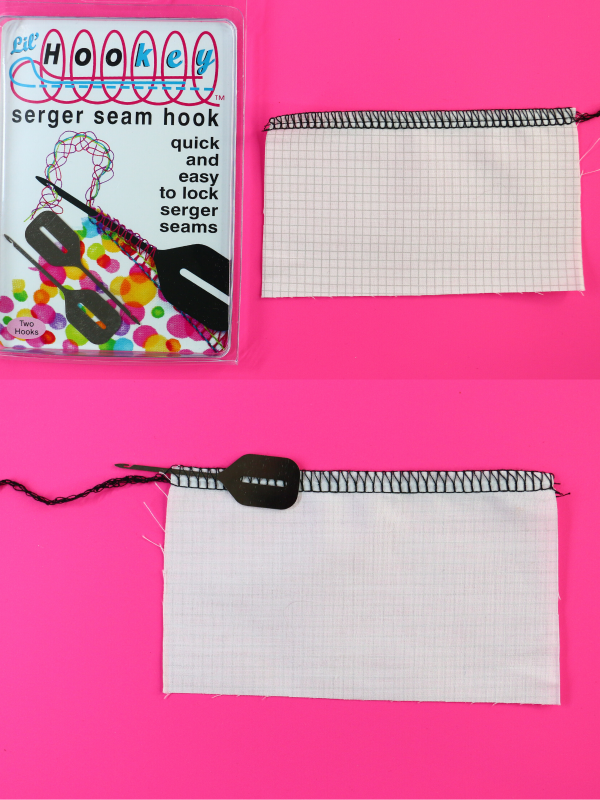
Turn the project to the wrong side. Leave a thread tail about 2″ long. Slip the slim end of the Lil’ Hookey Serger Seam Hook about 1/2″ into the seam with the hook end coming out of the edge. Wrap the serger thread tail around the hook so it catches. Gently pull, avoiding catching the hook onto the serger stitches, into the wrong side of the seam.
Clip the thread tail so only about 1/2″ is inside the seam. This is a great trick for heavier decorative threads where you don’t want the bulk at the end of the seam but want the reassurance that thread isn’t coming out. For added measure put a small dot of Fray Block on the wrong side, making sure it doesn’t go through to the front.

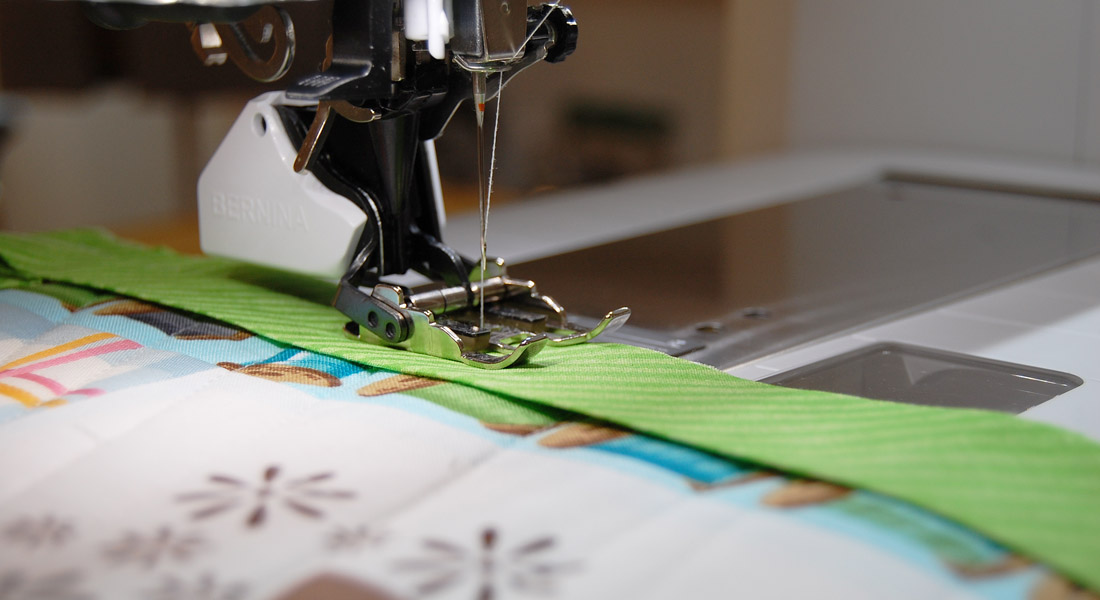
4 – Serge over thread tail
My fourth tip is to serge over the thread tail. This might sound intimidating, but it’s quite simple. The first thing you will need to do is serge an extra 5-6″ thread tail. Next, raise your presser foot and pull the thread tail towards the front of the presser foot.
Slip fabric under the presser foot all the way to just before the needles and directly over the thread tail. Clip thread tail as short as you can.
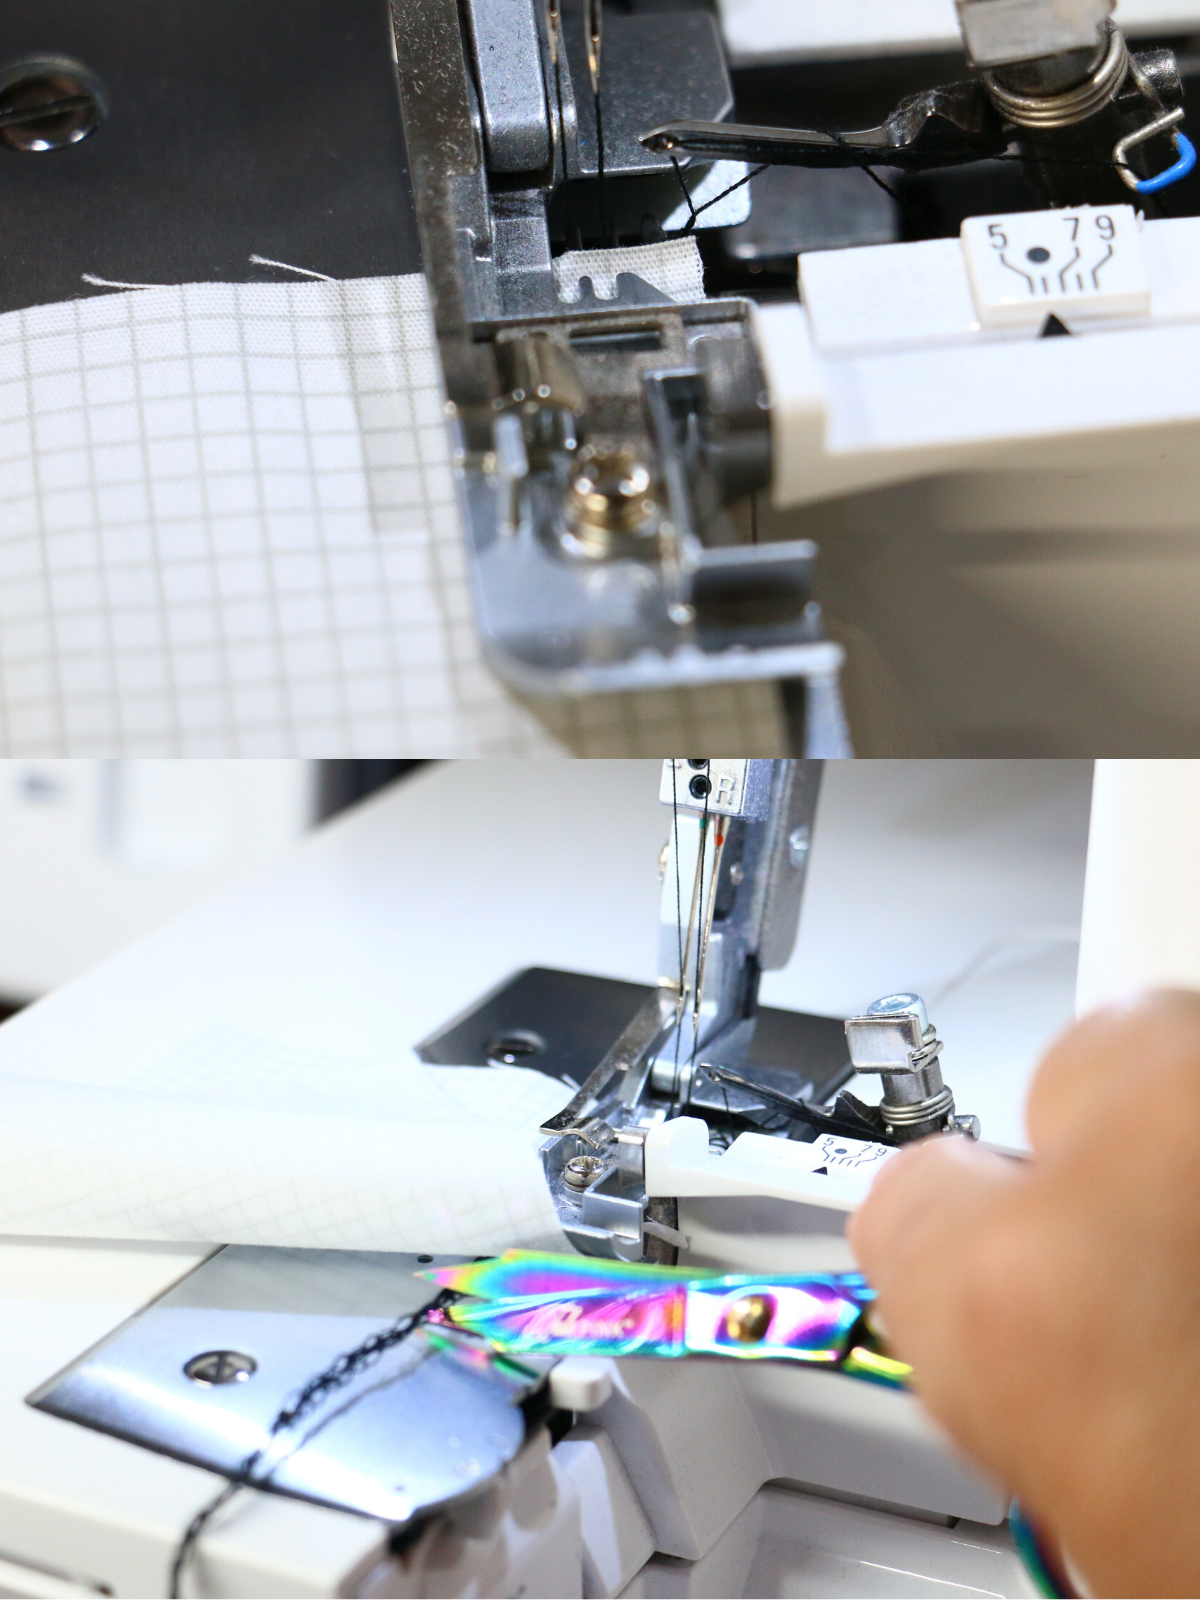
Lower the presser foot and serge seam to the end. This is a nice seam for when the serger stitch will have a lot of use and washings. It’s an old garment industry trick.

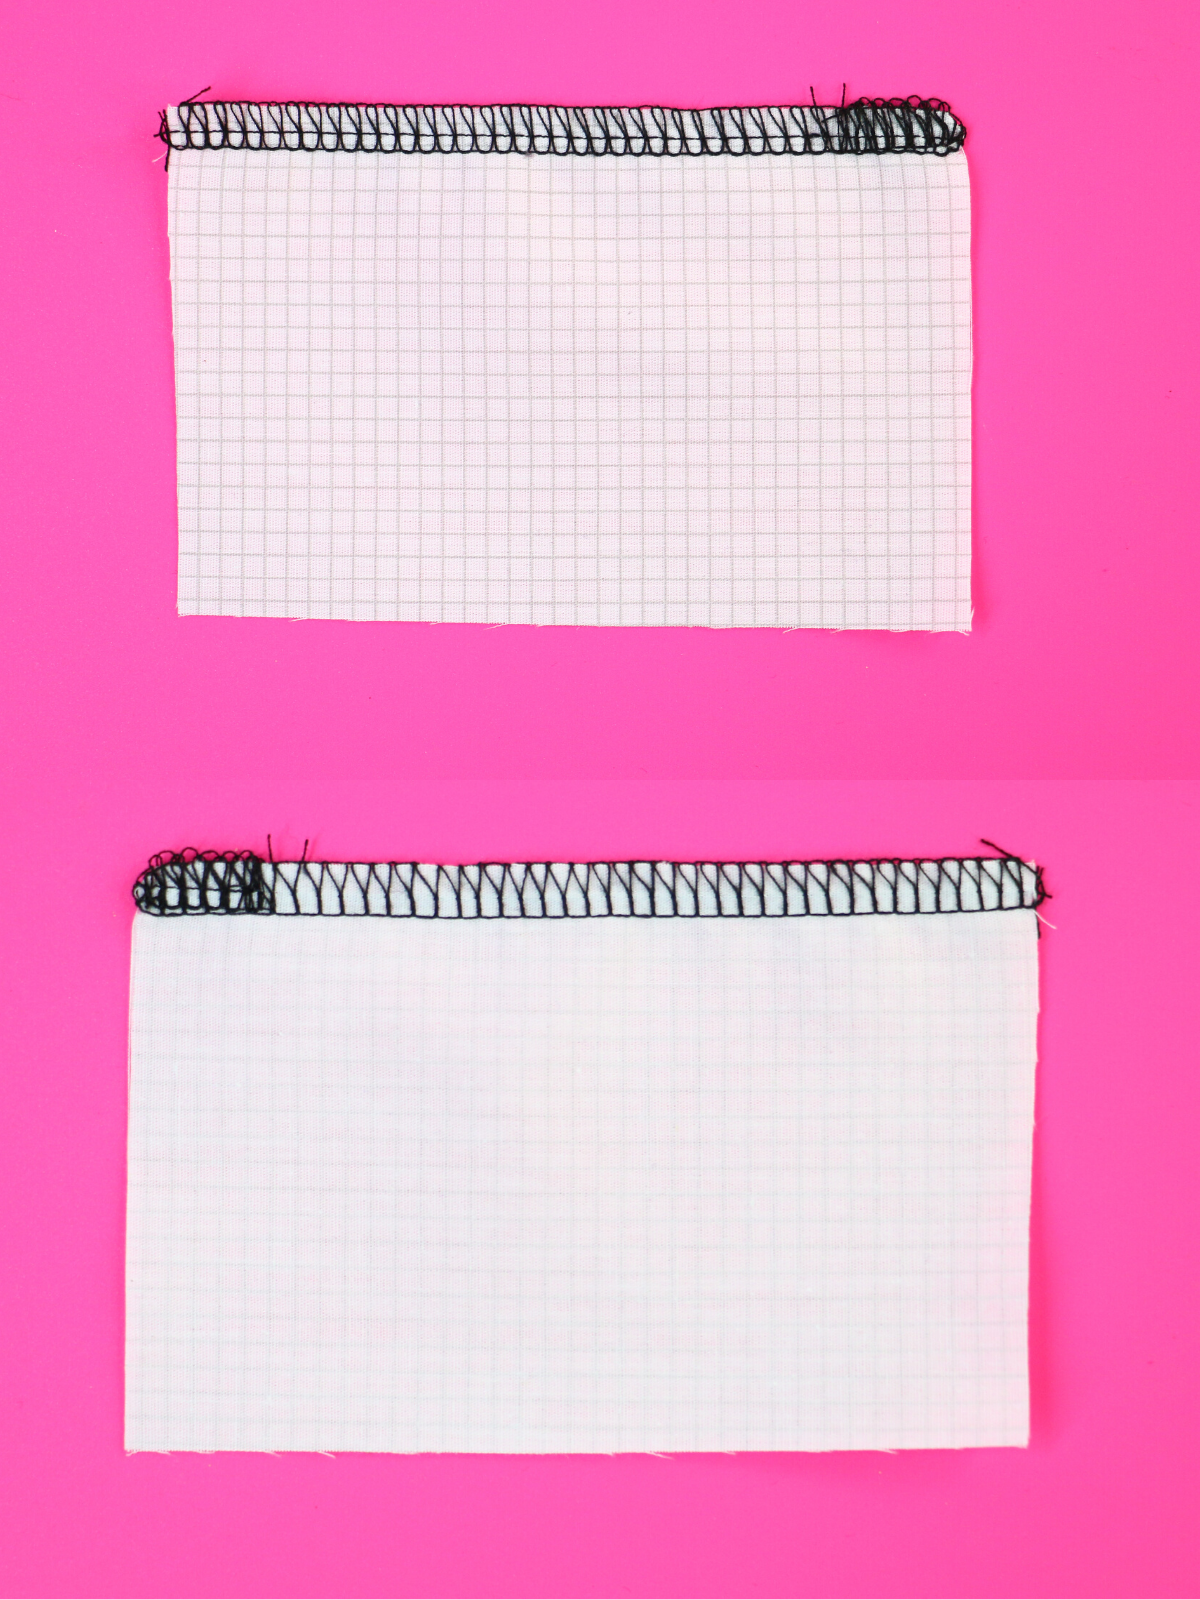
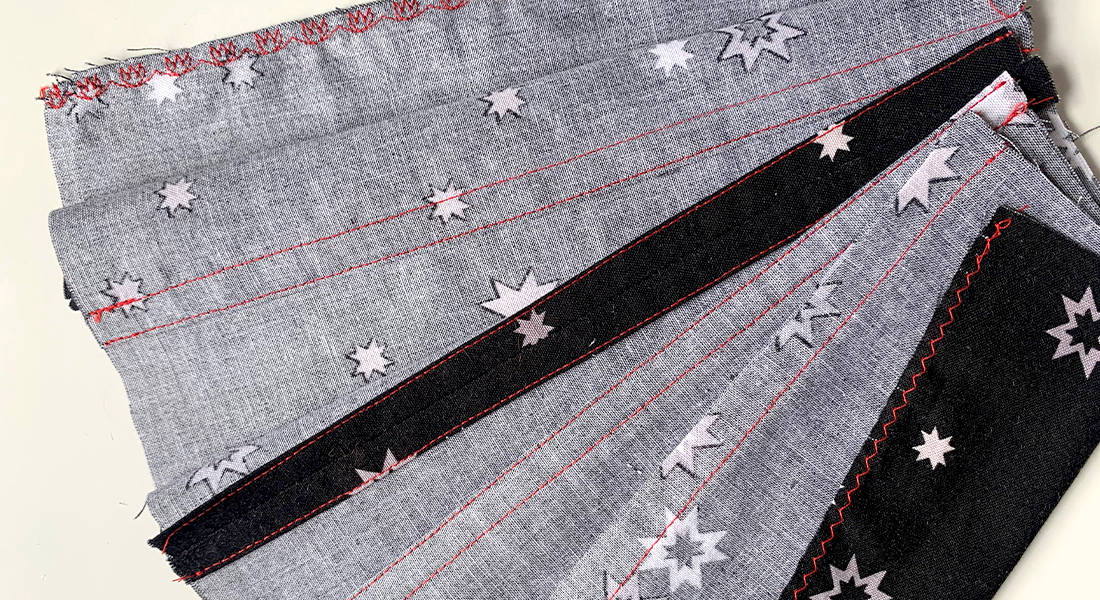
5 – Serge and Flip seam
The fifth and final tip is to flip your finished seam over and serge. It sounds complicated but it really isn’t once you get in there and try it for yourself. Serge the seam right side facing up, stopping at the very edge of the fabric. Raise your needles and raise the presser foot. Gently pull the fabric and stitches off the stitch fingers.
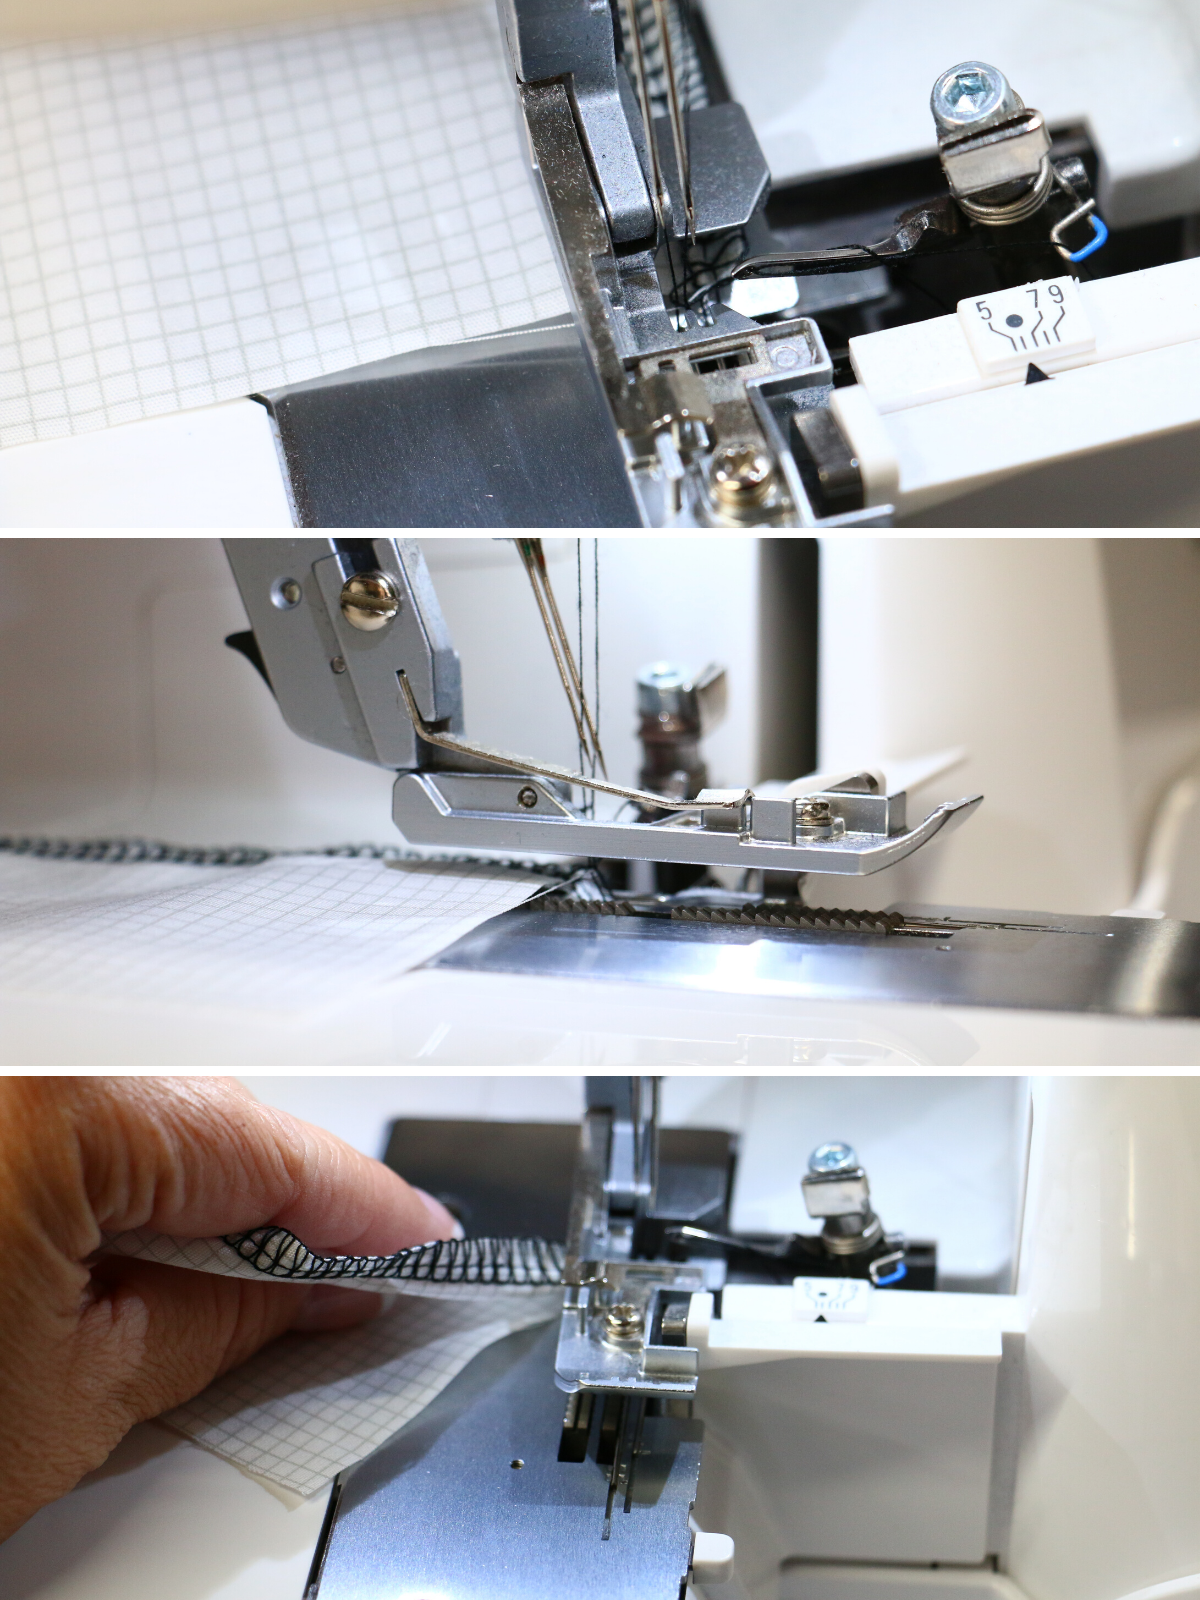
Turn fabric to the wrong side, revealing the wrong side of the stitching. Lower the blade, the blade isn’t needed for this part as you might cut your previous stitches. Lower the presser foot and stitch directly over the previous stitches for about 1/2″- 1″.
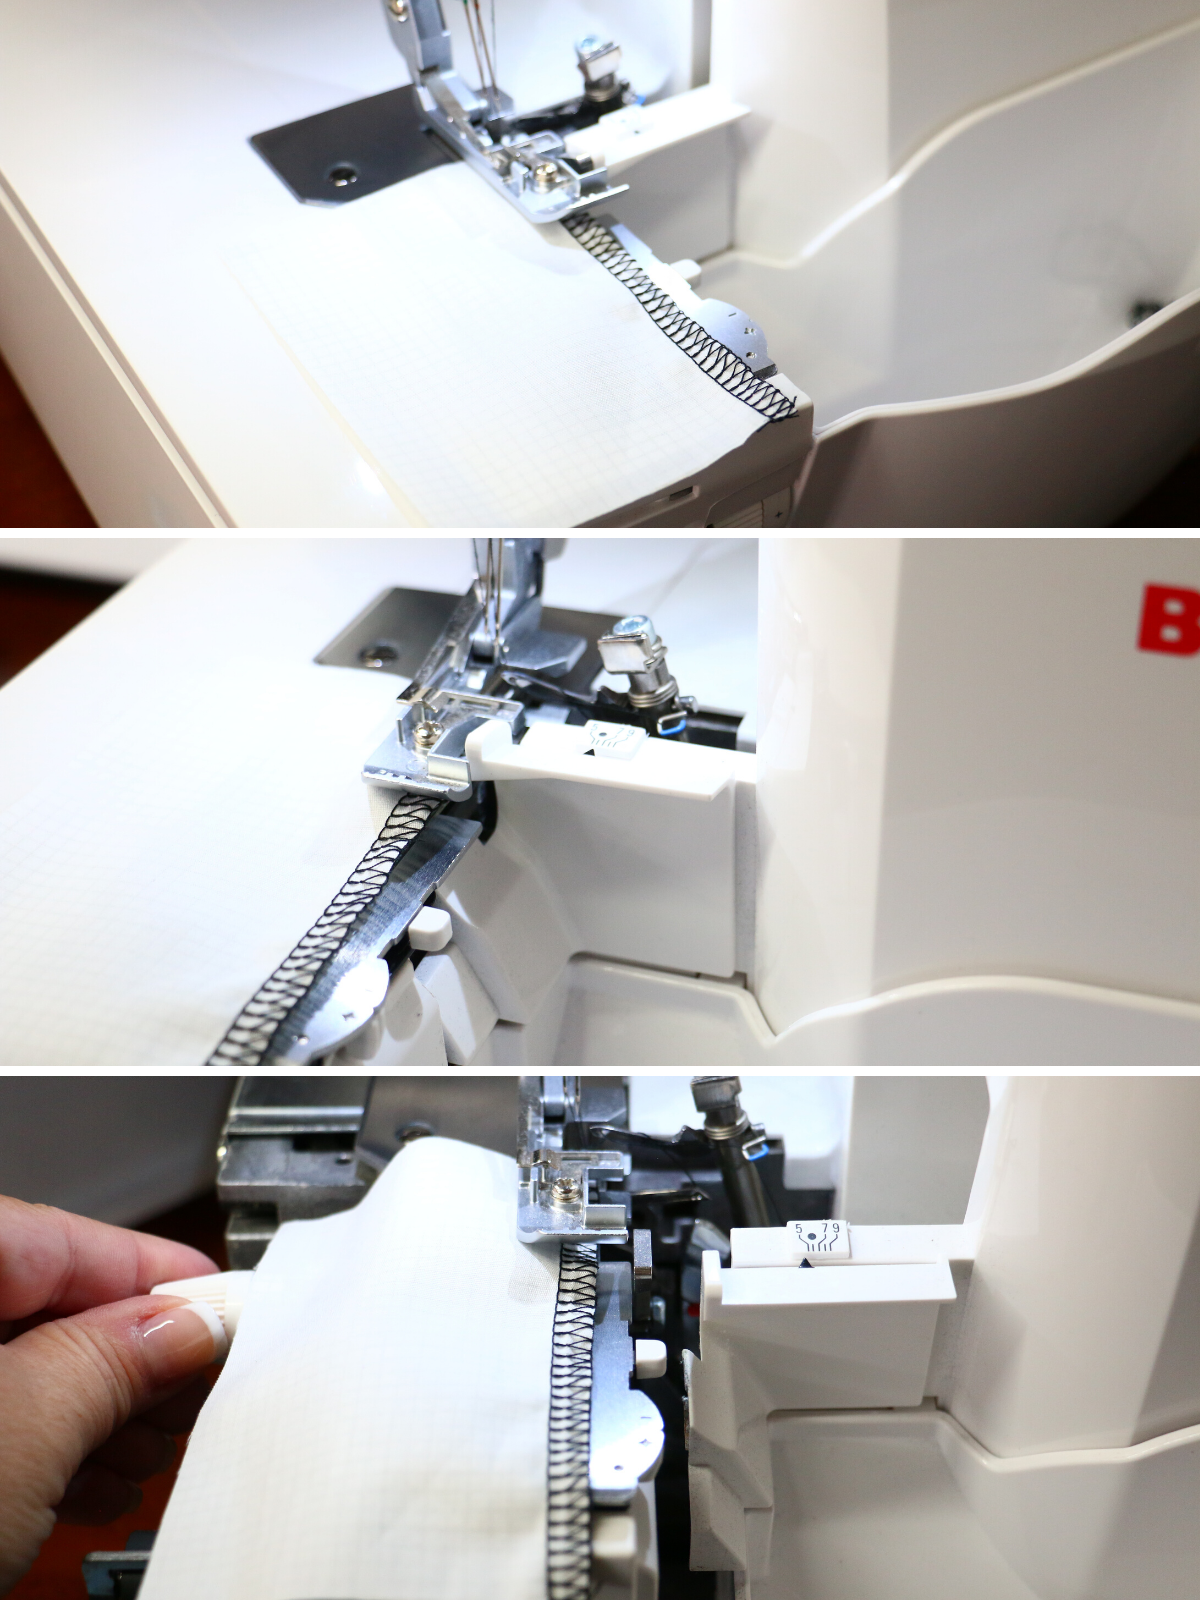
When finished, raise the needle, raise the presser foot and gently remove the stitches from the stitch finger and cut the thread as close to the stitching as possible.

It’s amazing what tricks can be done to secure serger seams. Let me know in the comments below which of the five is your favorite?
Until the next serger blog post, I hope you have a creative day!
Sue
Used Products


What you might also like


8 comments on “5 Ways to Secure a Serger Seam”
-
-
I’m with you!! If we can make it look nice and stitch it up faster, win, win!!
~ Sue
-
-
Great article! I’ve been threading the tails back through the stitches for decades but think I’ll give the serge & flip method. It seems less time consuming. Serge, flip, serge & trim. Finis!
-
Great solutions to what to do with the thread tail! I usually use #3, but have never seen the Lil’ Hookey tool so will be adding that to my toolbox. Thanks!
-
I love discovering new gadgets!
-
-
Thank you for these tips.
I bought a serger a few weeks ago and unpacked it. That’s as far as I’ve gotten so far. Maybe I need to just try something simple. ?-
Congrats on your new serger!!
~Sue
-
-
Let me know how it goes!
~Sue
Leave a Reply
You must be logged in to post a comment.

Wow so awesome !! I love making my projects come to geather fast and Better !!