How to Sew a Perfect Seam
The Perfect Seam—BERNINA Dual Feed with speed adjustment and Presser Foot Pressure
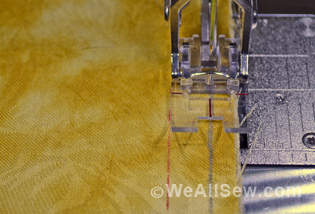
Have you ever seen that bit of fabric pushed off the end of your seam?
Or have you noticed that push of fabric in front of your presser foot as you sew?
Have you tried to make your quilt block points match with not much luck?
Have you ever sewn on the bias and the seam looks wavy or rippled?

Yes, we have all seen this happen.
These are the signs that your fabric is stretching as you sew.
Would you prefer this…
Or this?
BERNINA has the perfect solution for the perfect seam!
Let’s start with the basics and my two very favorite features which I could not sew without! The BERNINA Dual Feed on B 880 PLUS with speed adjustment, and Presser Foot Pressure. Together, they create beautiful seams.
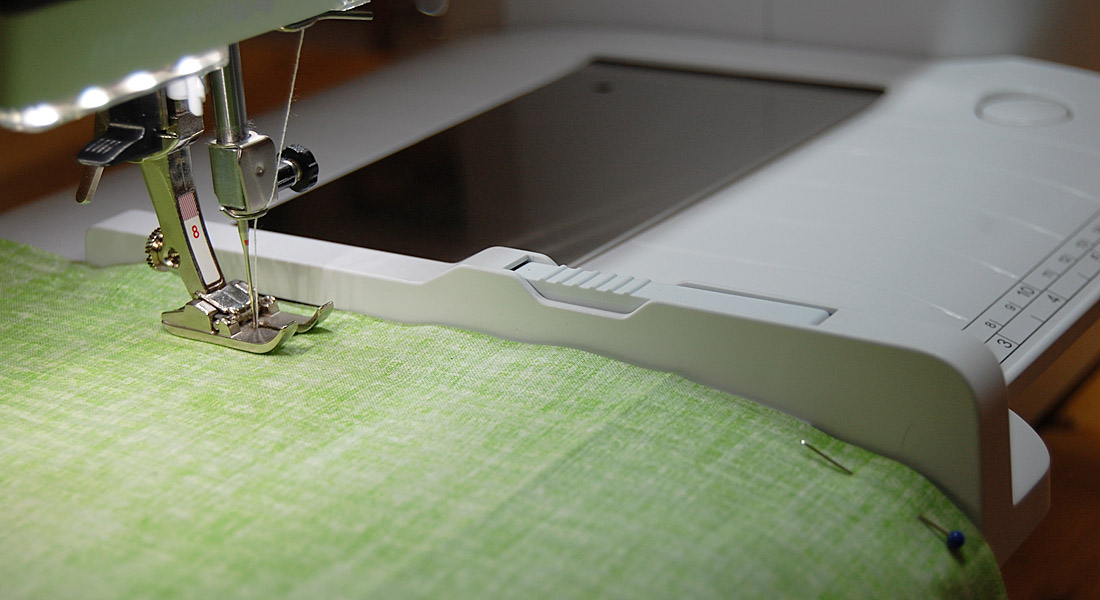
Step 1: BERNINA Dual Feed on B 880 PLUS, with speed adjustment
This one feature is worth a lot! It is my absolute favorite feature and is just, well, magic!
Here are the basics:
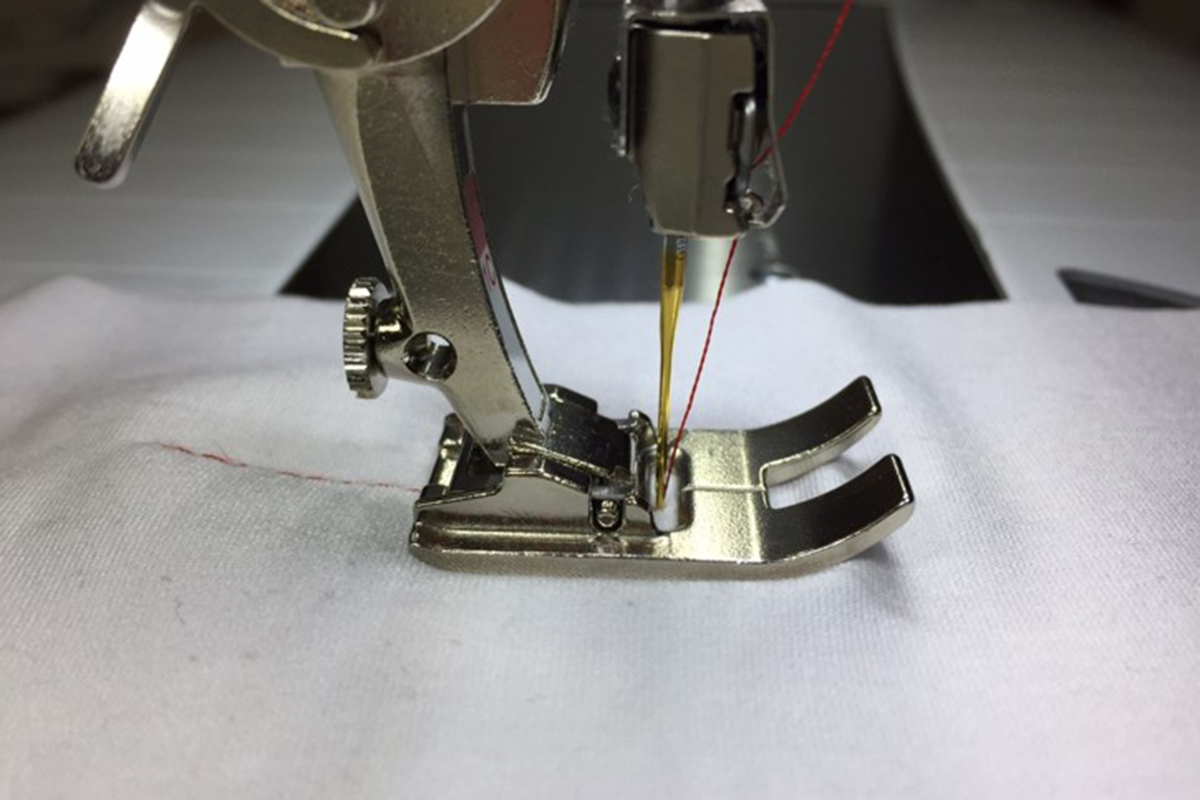
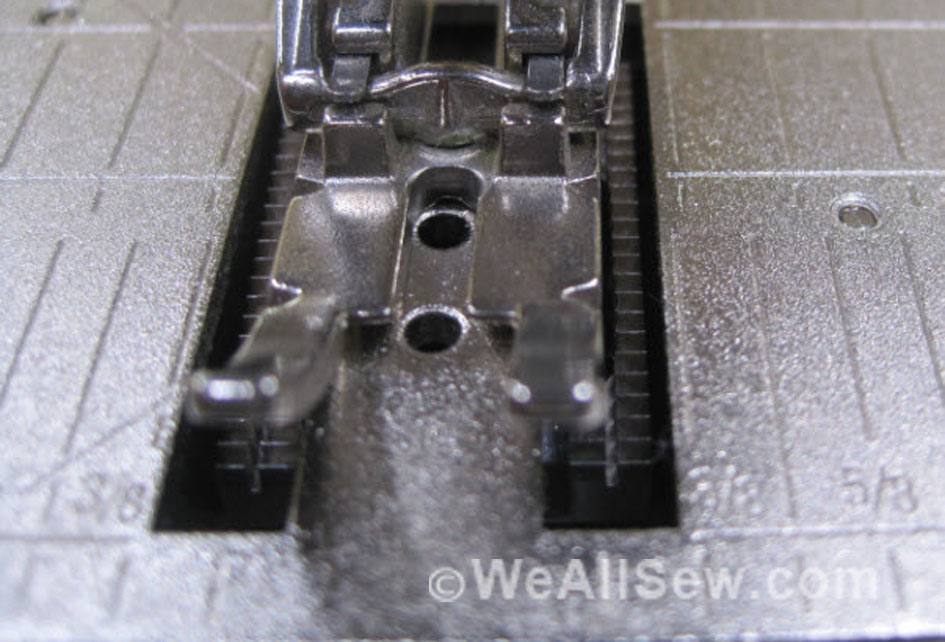
BERNINA Dual Feed pulls down from behind the machine and engages into any Dual Feed presser foot. The Dual Feed foot moves the top fabric as the lower feed dog feeds the lower fabric, hence the term “Dual Feed.” The Dual Feed foot affects mostly the top layer of fabric.
There are a number of BERNINA models with the Dual Feed feature including the B 570QE, B 590, B 740, B 770QE, B 790 PLUS and, of course, the B 880 PLUS.
The speed at which the Dual Feed foot moves is adjustable on the B 880 PLUS, because this model has an additional motor that you can control. This offers additional fine tuning, so that your seam can be even more perfect. Increase the speed to pull the top layer of fabric faster and therefore decrease stretching on that layer. Decrease the speed when the stretched fabric is on the bottom layer. Yes, this is MAGIC!
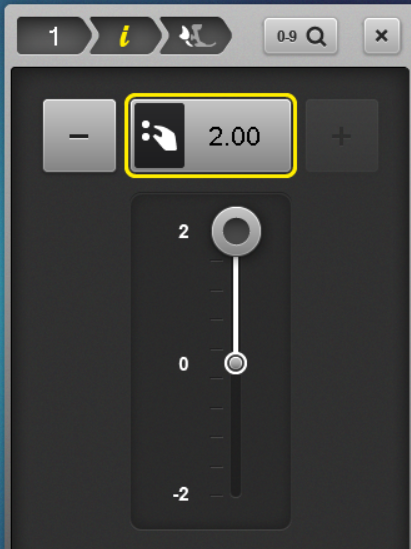
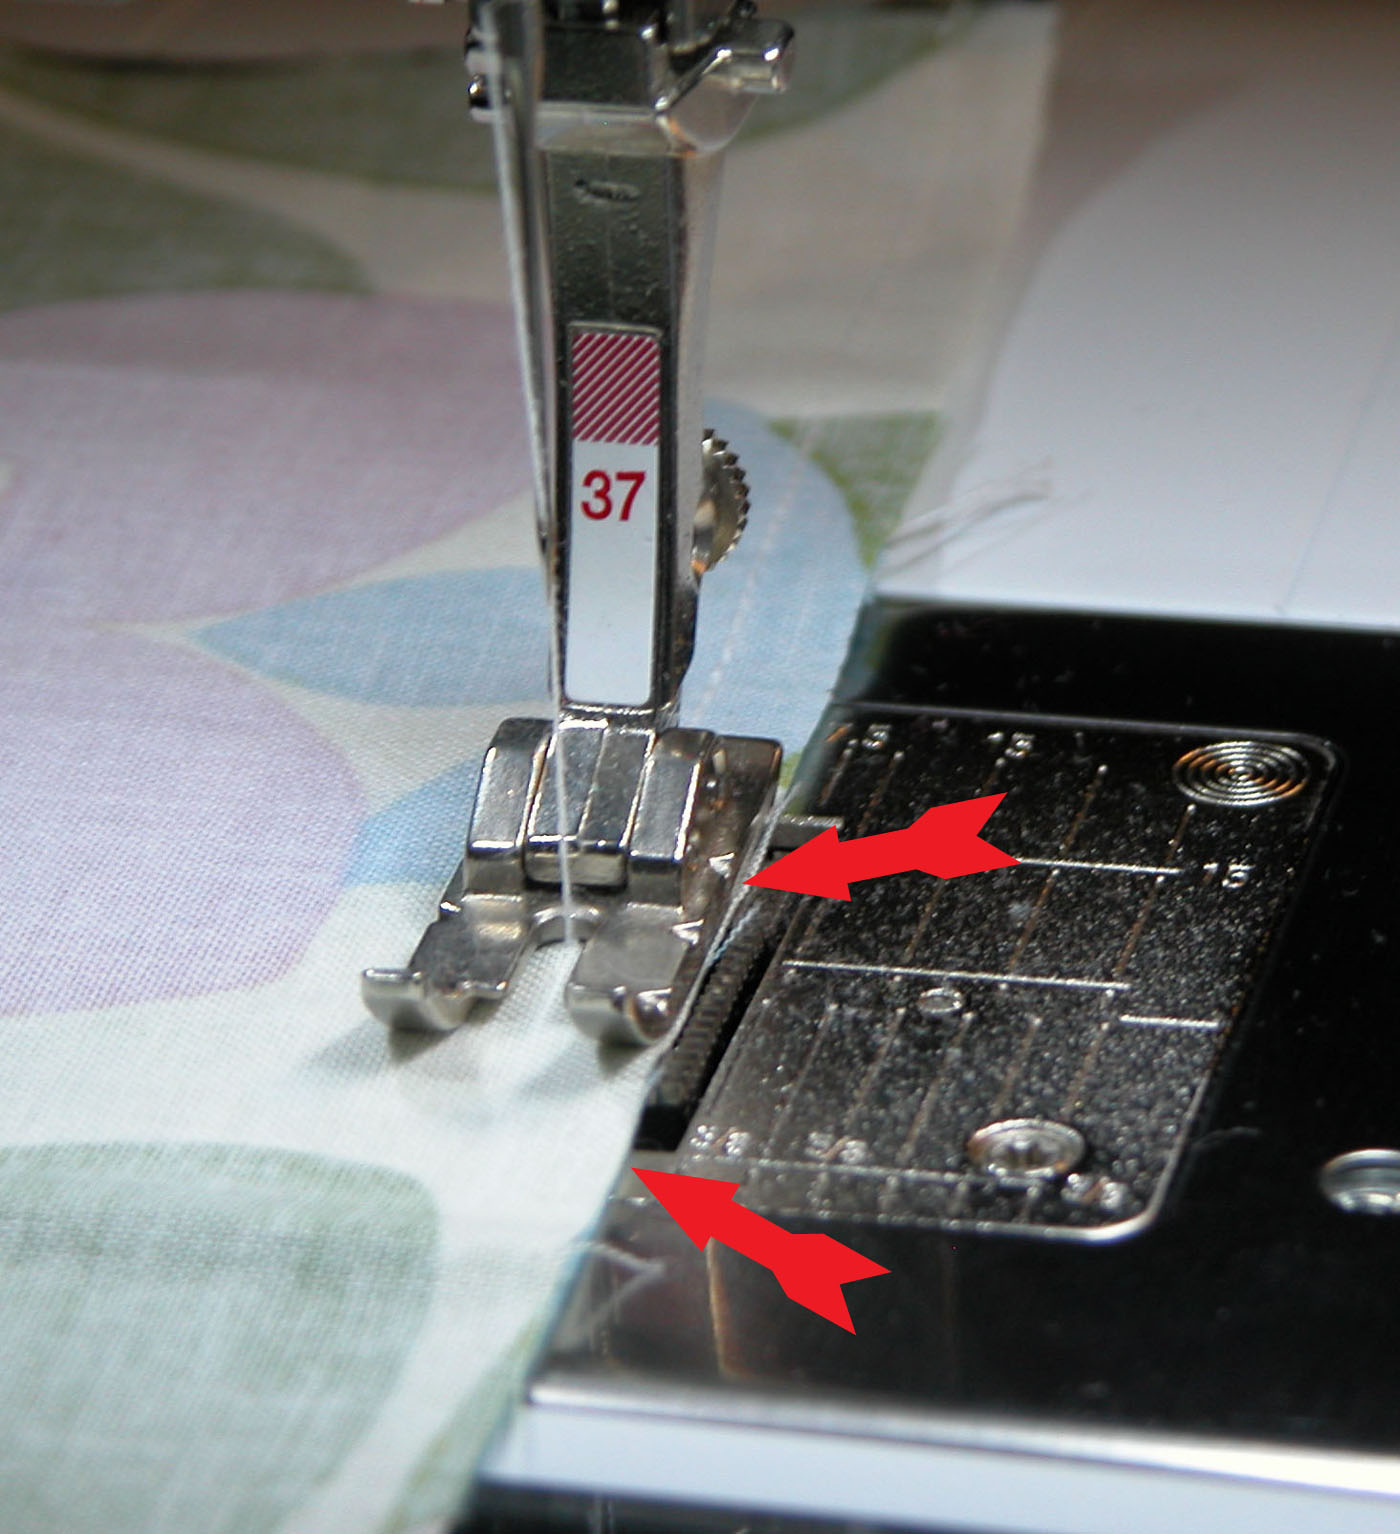
Select the Dual Feed icon from the Information menu.
![]()
Use the Multi-function knobs, the – or + icons or the slider to change the speed.
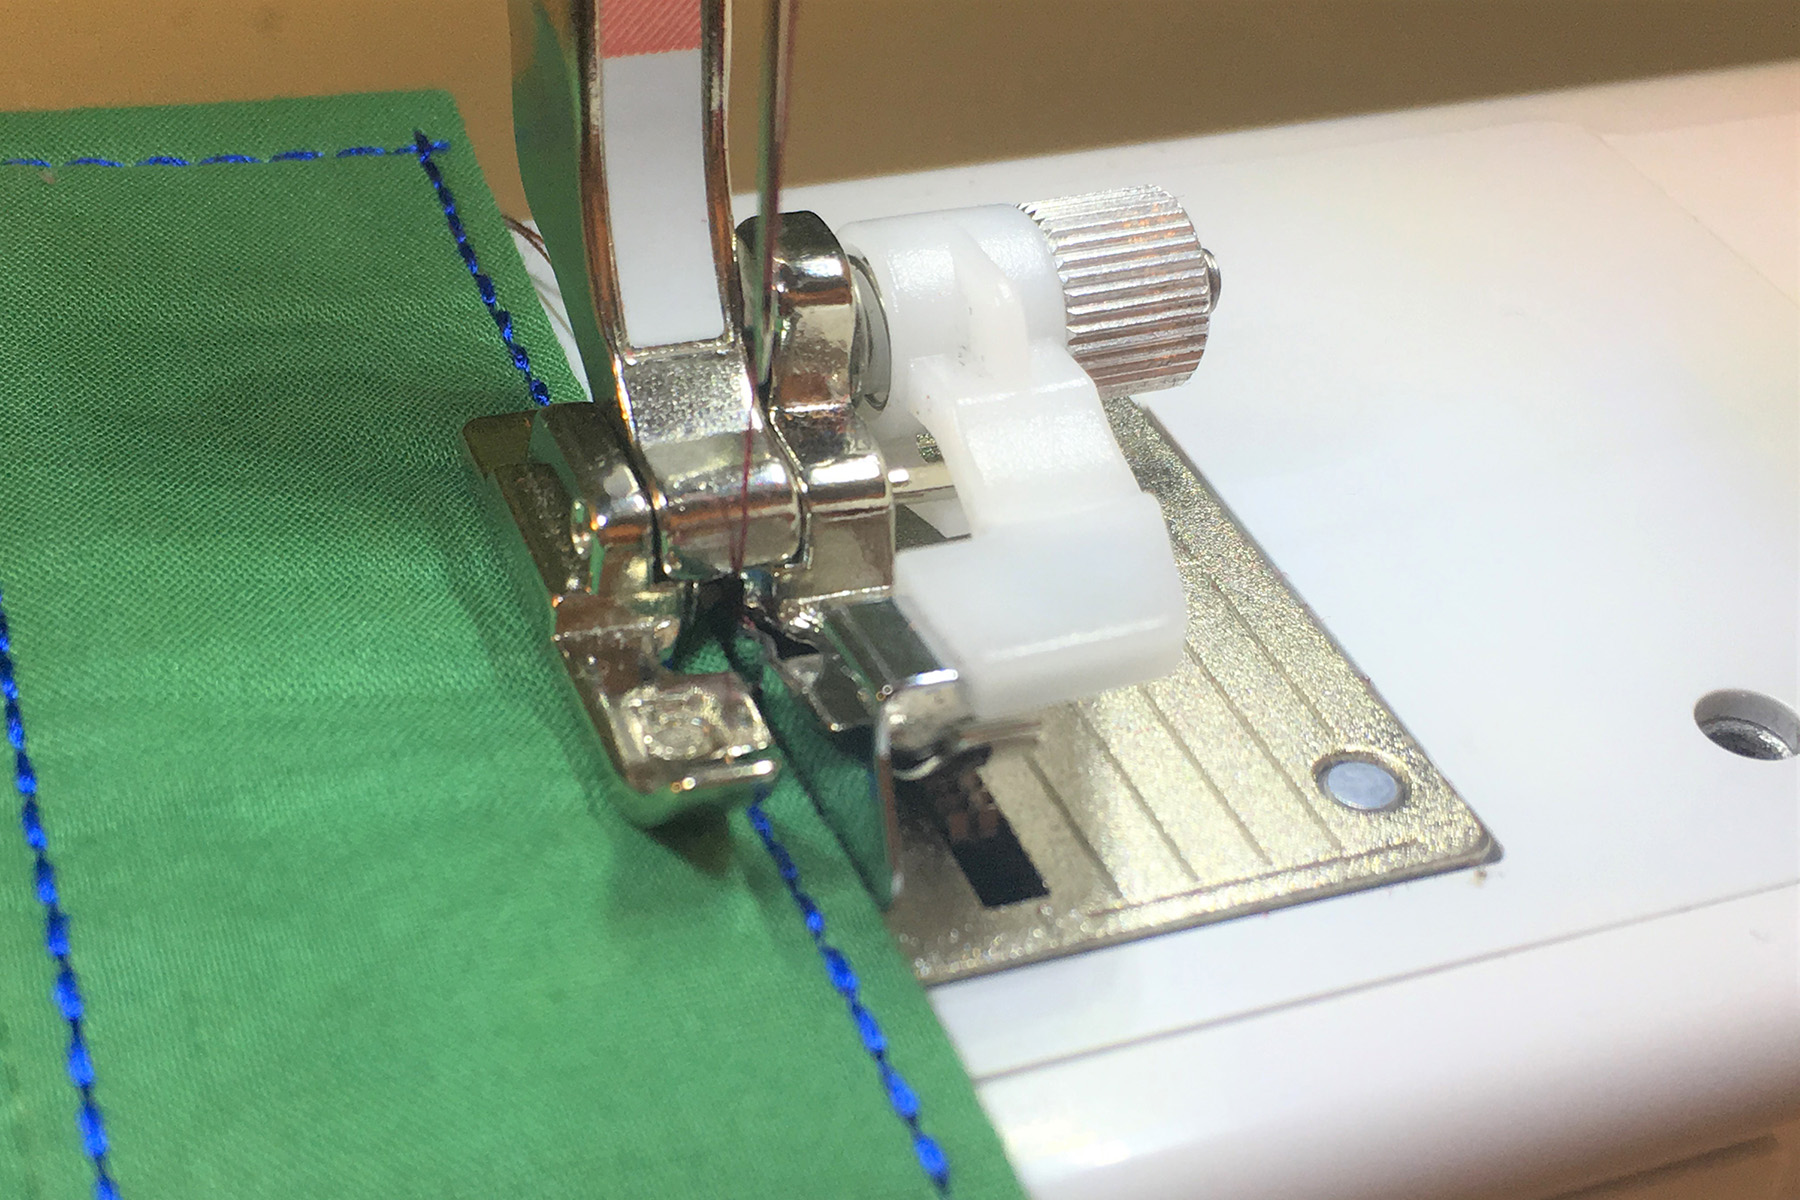
Step 2: Presser Foot Pressure
There are a few things you need to know about Presser Foot Pressure.
- This feature is available on most BERNINA models starting with the Bernina 475.
- It will adjust the amount of pressure pushing down on the fabric by the presser foot.
- You may adjust the presser foot pressure, depending on the type of fabric you are sewing.
Know that almost all fabric stretches. Some fabrics are blends of woven and stretch fibers, which can be challenging. A high presser foot pressure may stretch your fabric, causing wavy seams and points that do not match.
So here is how the feature works. When the presser foot is lowered onto the fabric and you begin to sew, there is a set amount of pressure pushing down to hold the fabric against the feed dog. This pressure is predetermined at the factory and is set at default settings.
You can adjust the amount of pressure you need for your project very easily.
Select the icon and move the pressure to a lower number to decrease the pressure on the fabric, therefore reducing the amount that the fabric stretches. You should test and adjust this pressure before starting each project.
![]()
How do you know at what value to set the presser foot pressure?
- Simply test sew with the fabric, needle and thread you plan to use.
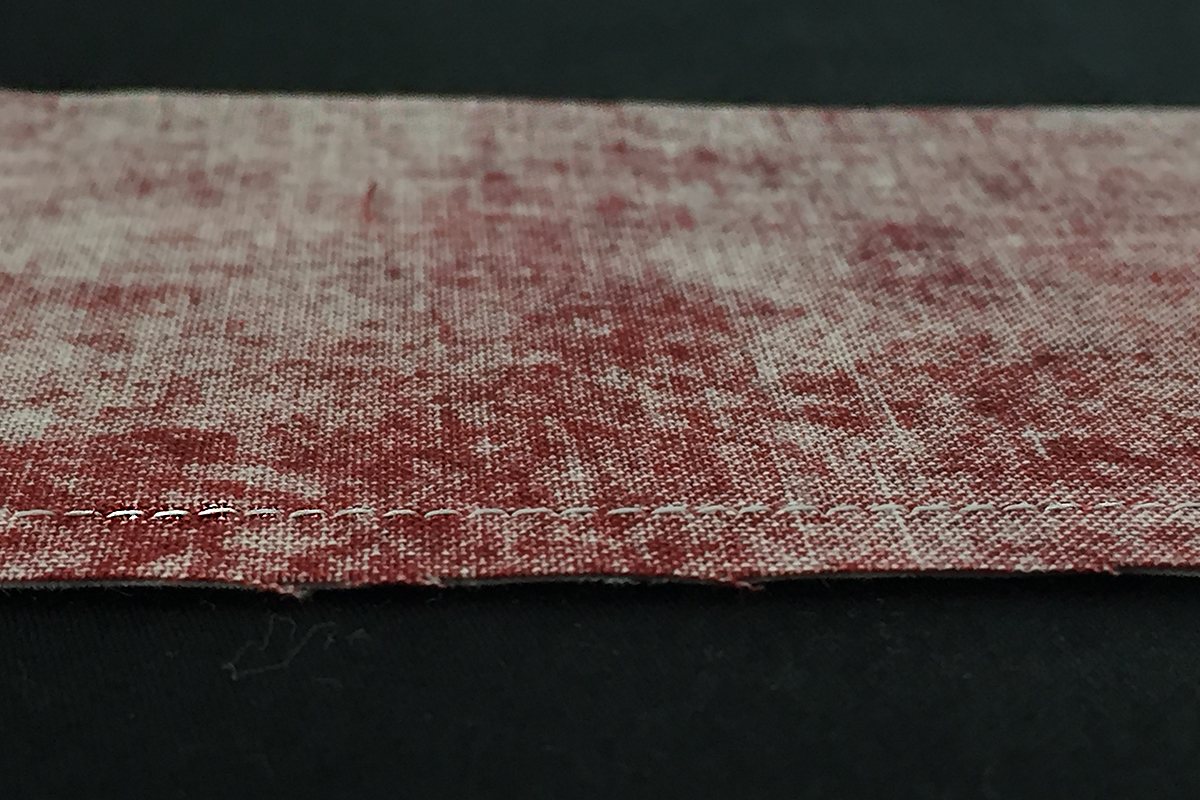
- Look at the seam, especially the bobbin side, which will show a more defined result.
- Change the pressure until the seam stops waving and it is flat and even.
The Process: BERNINA Dual Feed + Presser Foot Pressure = The Perfect Seam
Start by testing before you start a project.
- Use the same fabric, needle and thread that you plan to use for the project.
- Engage the BERNINA Dual Feed.
- Sew a straight stitch without any adjustments.
- Look at the seam… is it wavy, or does it show any other signs of stretching?
- Look at the bobbin side as well.
Next, decrease the presser foot pressure by 10-25 from the default setting. This can be even lower, if needed.
Sew again and inspect the seam. What does it look like? Should you decrease it again? It is all about what you see and what you like!
Now, increase the Dual Feed speed to up to 2.0 on the B 880 PLUS to pull the top layer of fabric a bit faster.
Inspect the seam again. You should see less stretching and a flat, even seam.
That’s it. Magic! The Perfect Seam.
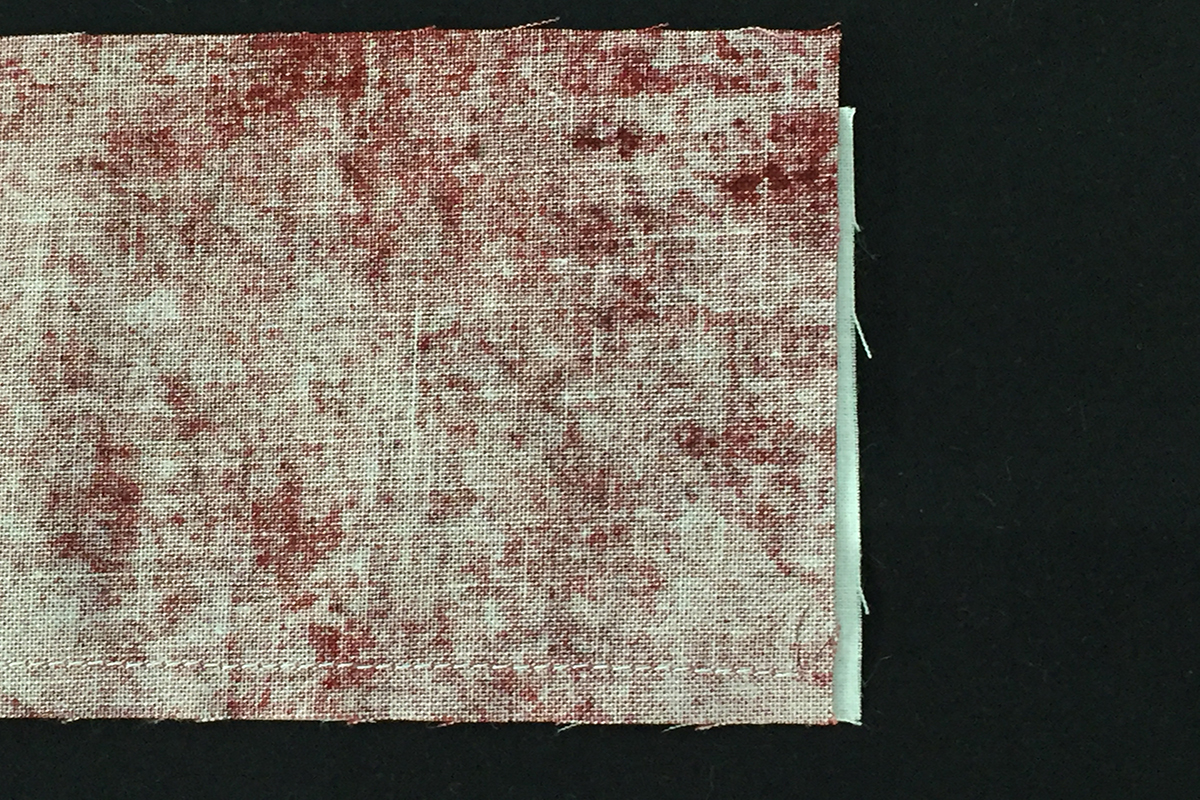
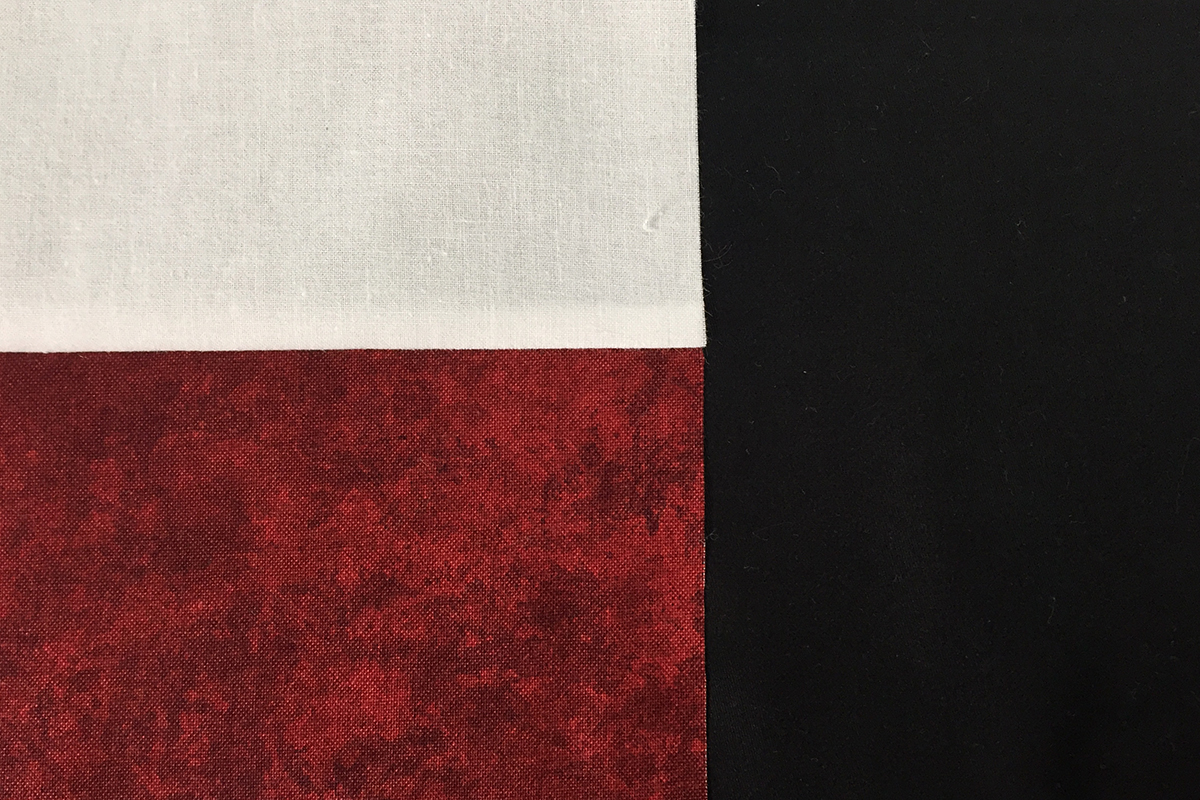
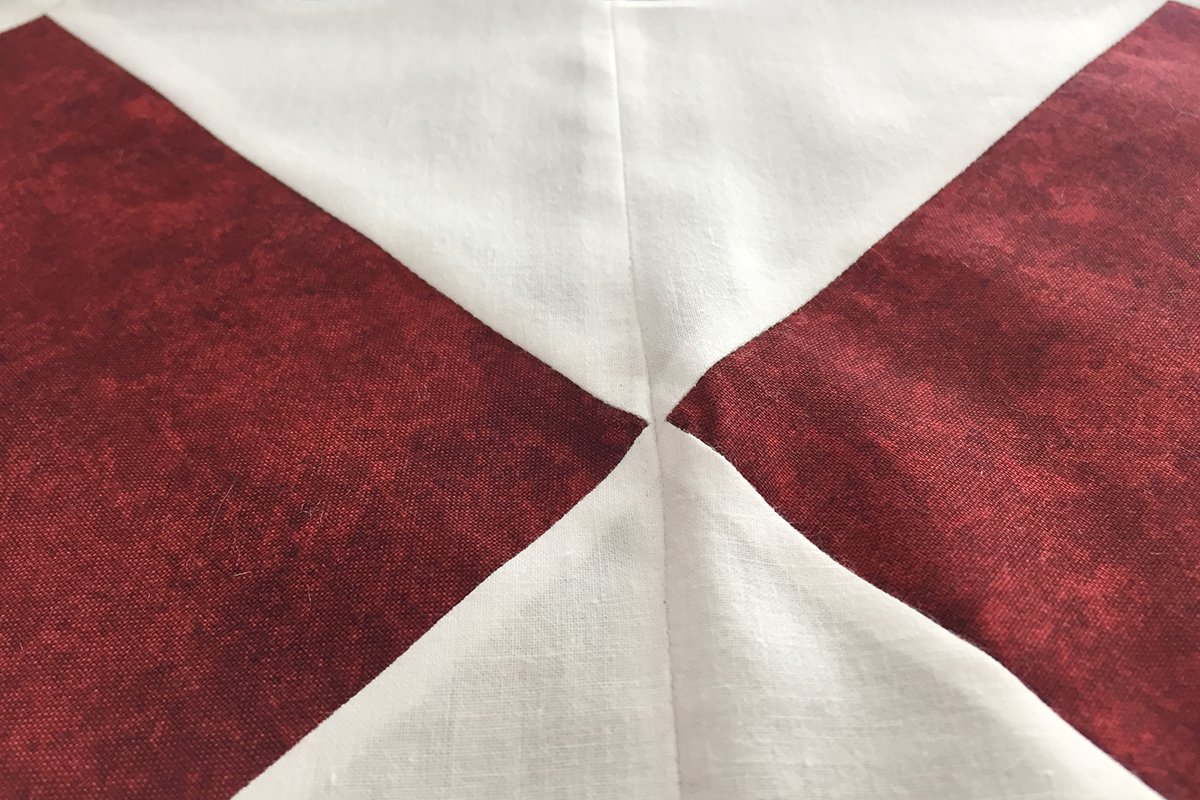
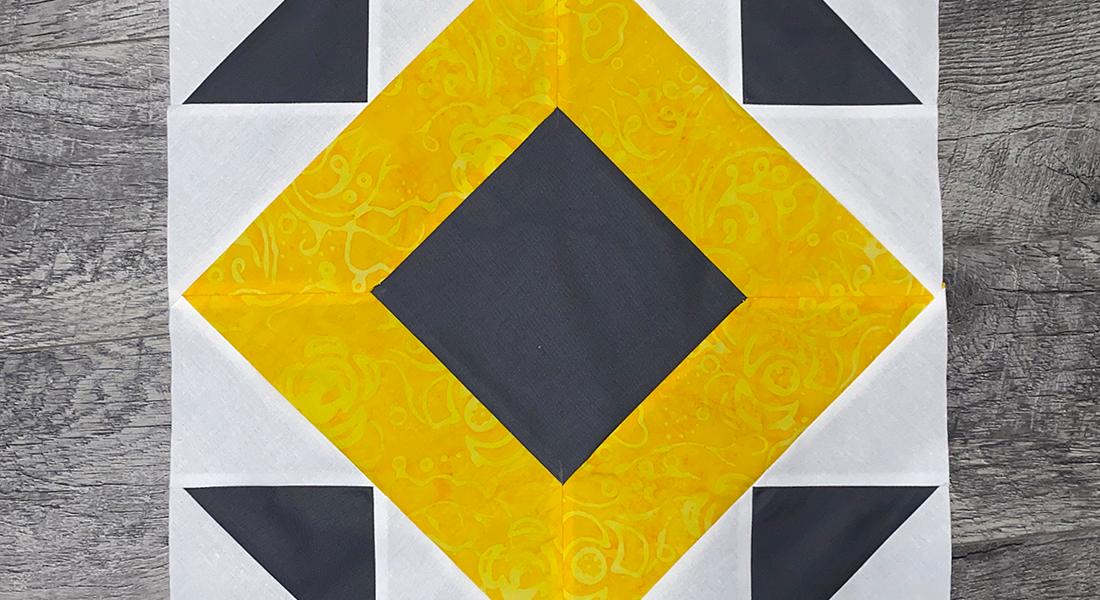
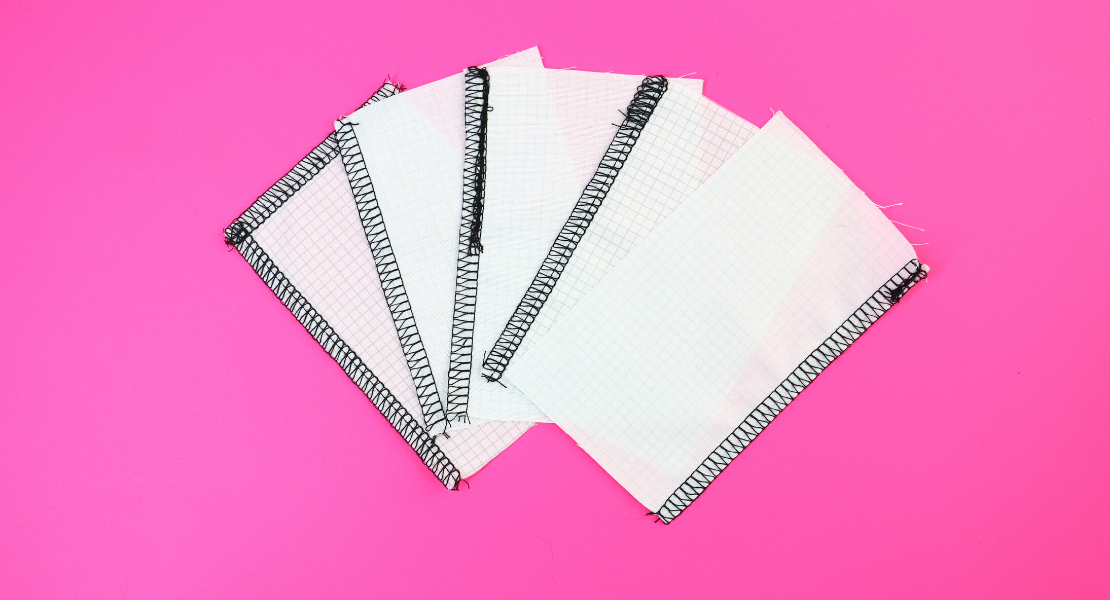
Just to visually make the point, here are a few more pictures of 2 sets of quilt blocks, made and pressed exactly the same way, except the red/white blocks were sewn without these 2 adjustments and the red/gold blocks were sewn with the adjustments. You will notice a very clear difference!
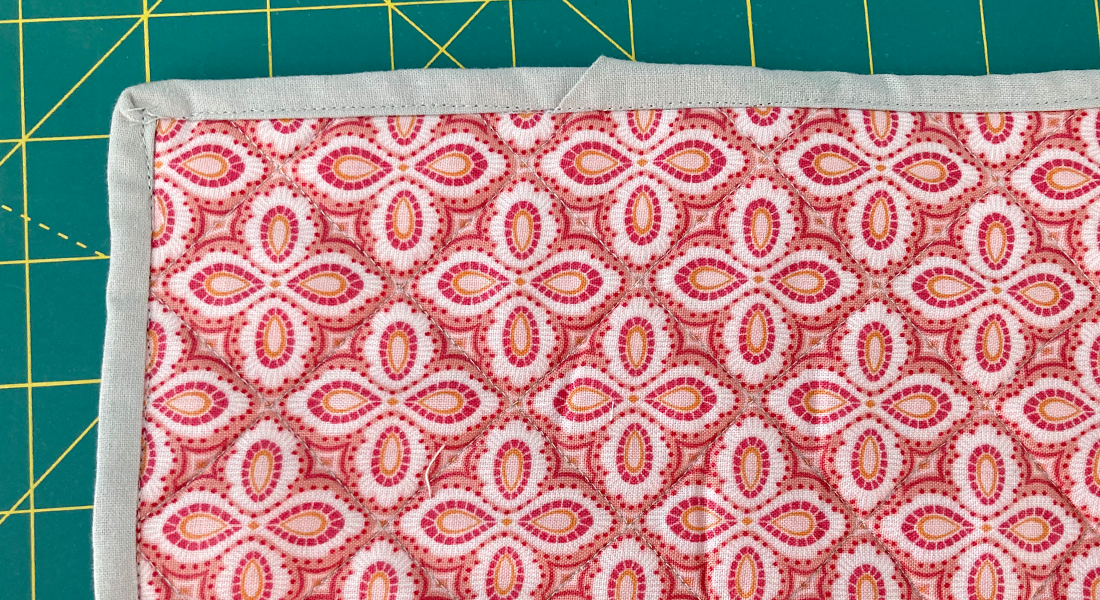
Sewn WITHOUT the adjustments.
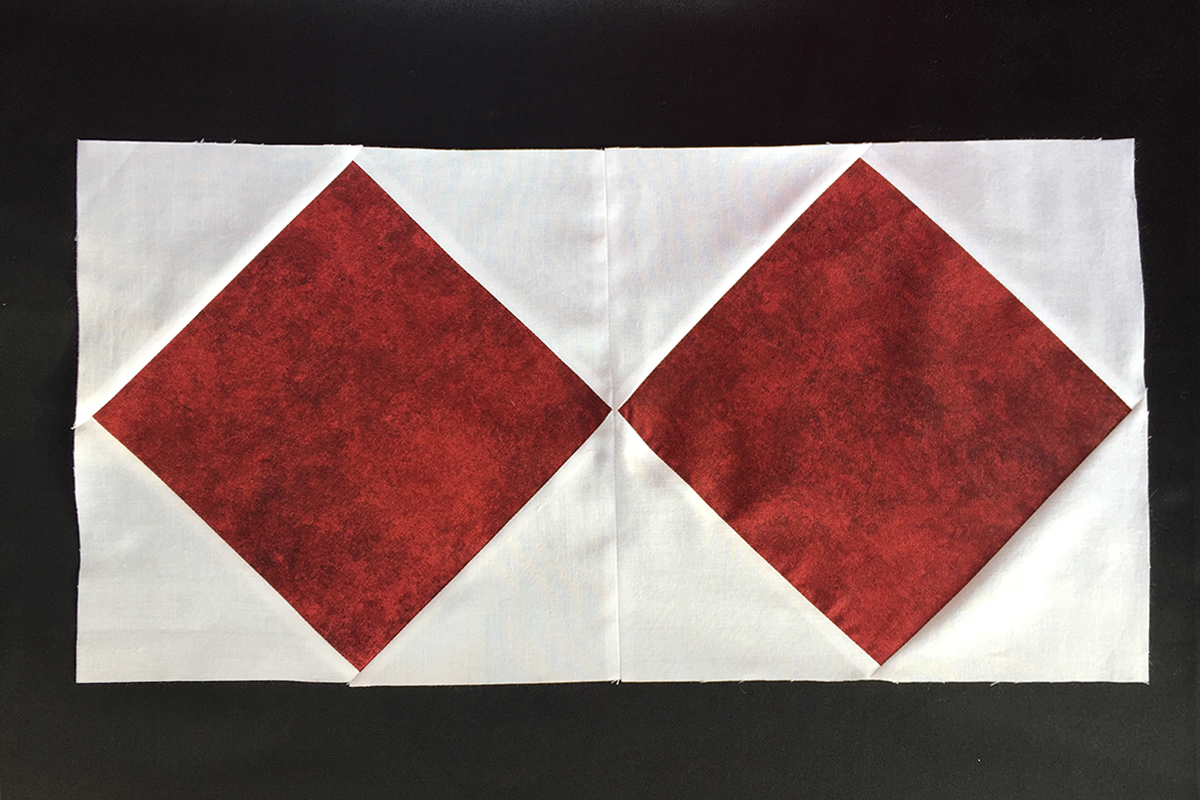
Yes, this block was pressed, but because the fabric stretched, it is wavy and unable to lay flat.
Sewn WITH the adjustments.

Much better! It just feels great when your project looks great!

So, use both Presser Foot Pressure and BERNINA Dual Feed, with B 880 PLUS adjustment, if available, to prevent fabric stretching and to create Your Perfect Seam!
Used Products

What you might also like


6 comments on “How to Sew a Perfect Seam”
-
-
If I understand your process correctly, you are placing the fabric in front of the needle and when you start to sew, the fabric shifts a bit. I know that quilters prefer to start sewing off the edge of the fabric, but if you want those 2 pieces of fabric to line up precisely, then position the fabric so the first stitch will be in the fabric. You may consider starting with the needle down, lift the foot and position the fabric so it just touches the needle, then the first stitch should drop into the fabric. Hope this helps.
-
Thanks for your comment. I started doing what you suggested and it’s working out a LOT better!
-
This is what I have started doing as well. Putting the first stitch in the fabric is not as easy to me when chain piecing, so I raise the foot with the FHS lever and then put the next two pieces directly against the needle. That seems to have the best results!
-
-
-
-
Is it possible to achieve similar results with a walking foot and adjusted presser foot pressure on my B480 model? I am experiencing all of the above issues and would love to conquer the challenge. Thank you
-
The walking foot is mostly for multiple layers of fabric. It reaches in front of the needle and pulls it toward the needle. This does not mean that you cannot use it for 2 layers of fabric. The challenge is that the walking foot has a much larger footprint on the fabric and it may be more difficult to see, but there is a 1/4″ mark on the right toe of the foot. Do some test sewing with the walking foot to decide if you like the process. Decrease the Presser Foot Pressure to different levels. Keep checking the seam for signs of stretching until you find the right combination. Presser Foot Pressure is a big deal and finding the right pressure for the fabric you are using will definitely help your seams be more precise. Enjoy the journey!
-
Leave a Reply
You must be logged in to post a comment.

I thought your post illuminated some good points, however, I’ve always had one issue I’d like you to address. I have a dual-feed enabled Bernina and I typically adjust the presser foot pressure according to the fabrics I’m piecing. How do you manage to feed two perfectly aligned pieces of fabric and keep them from slipping until the dual-feed feature kicks in? I’ve tried various ways to prevent the slipping from occurring until I simply have to pin the fabrics to keep them aligned. Or, I have to manually slide the fabrics and pierce them with the needle to stabilize them and prevent them from slipping until they reach the dual feed foot. Any ideas?