How to Sew French (and Almost French) Seams
Seam-stitching tips from Debbie Cacciamani, BERNINA Educator. Watch for more sewing tips from Debbie in the coming months!
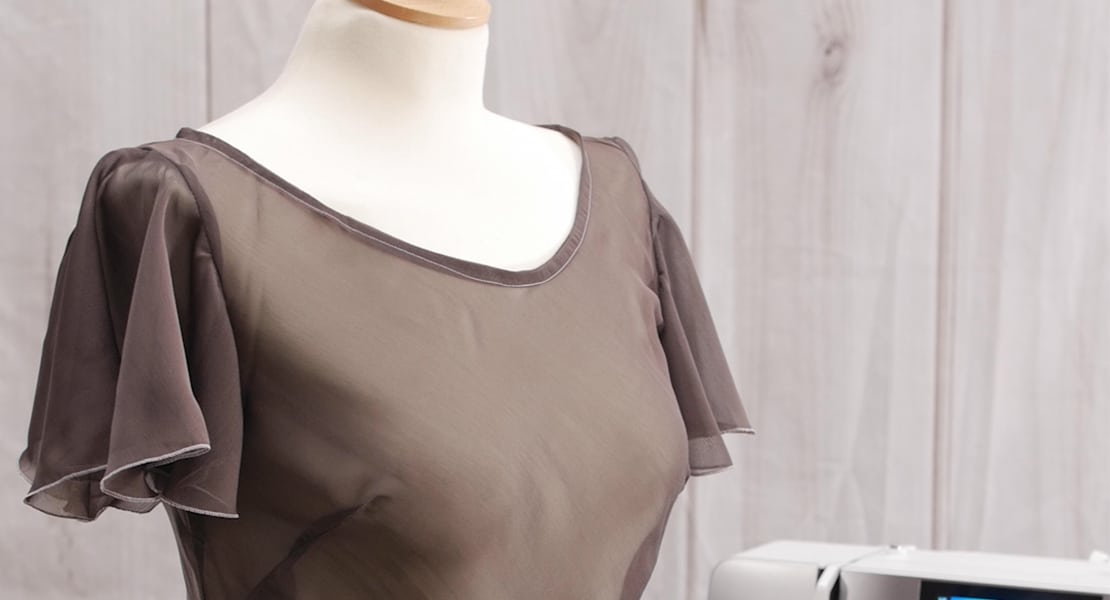
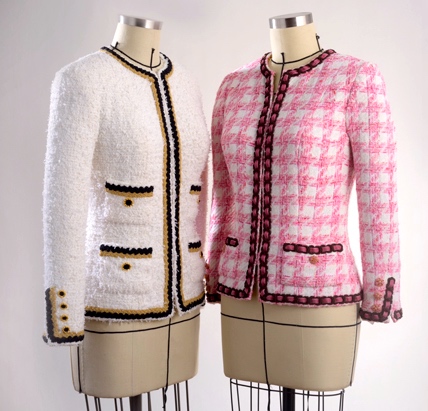
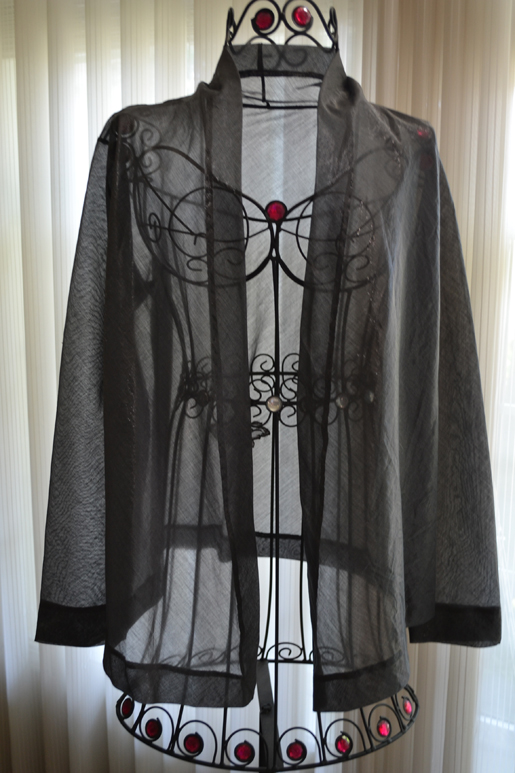
When sewing with sheer and/or very lightweight fabrics, the seam finish is particularly important. You don’t want a messy or bulky finish on the inside to spoil the look of your lovely garment. In French seams all of the raw edges are encased in fabric, creating a very narrow, smooth, unobtrusive finished seam.
Here’s how to sew a French seam:
Place the fabrics WRONG sides together (yes, I mean the wrong sides, NOT the right sides).
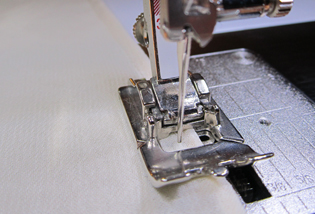
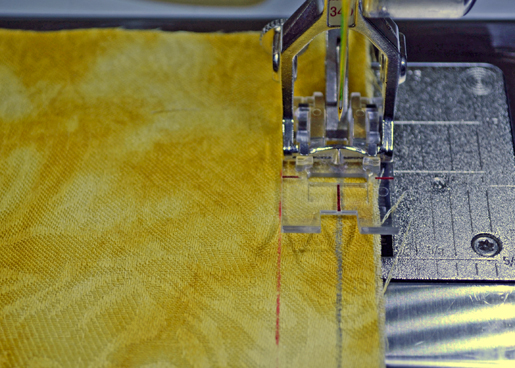
Sew the seam 3/8″ from the marked seam line, within the seam allowance. For a pattern calling for 5/8″-wide seam allowances, 3/8″ from the seam line = 1/4″ from the raw edge.
Press the seam allowances open and trim to a scant 1/8″ wide.
Turn and fold the fabric along the seam line, RIGHT sides together.
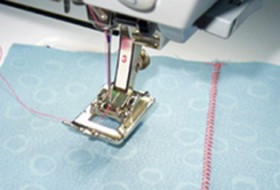
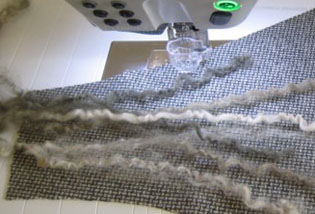
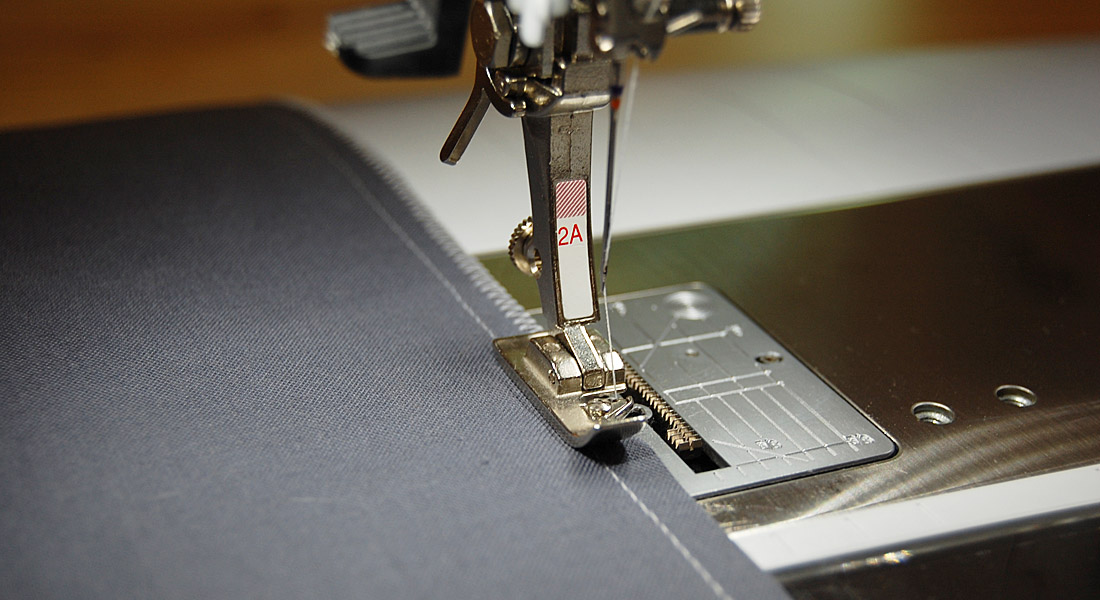
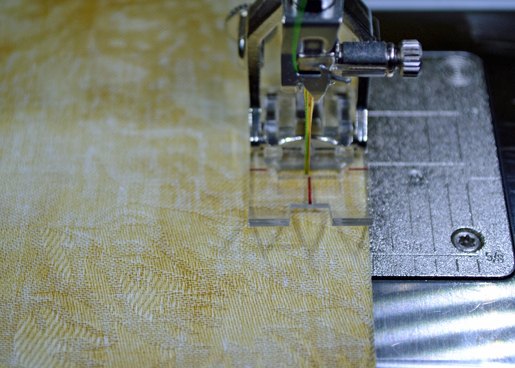
Stitch on the marked seam line, encasing the raw edges.
Press.
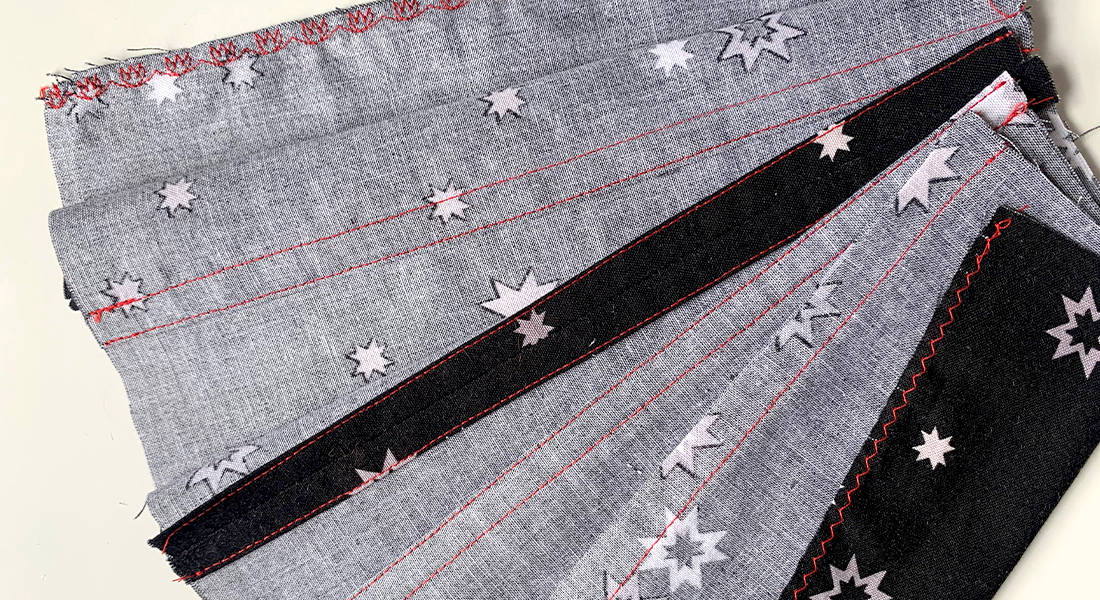
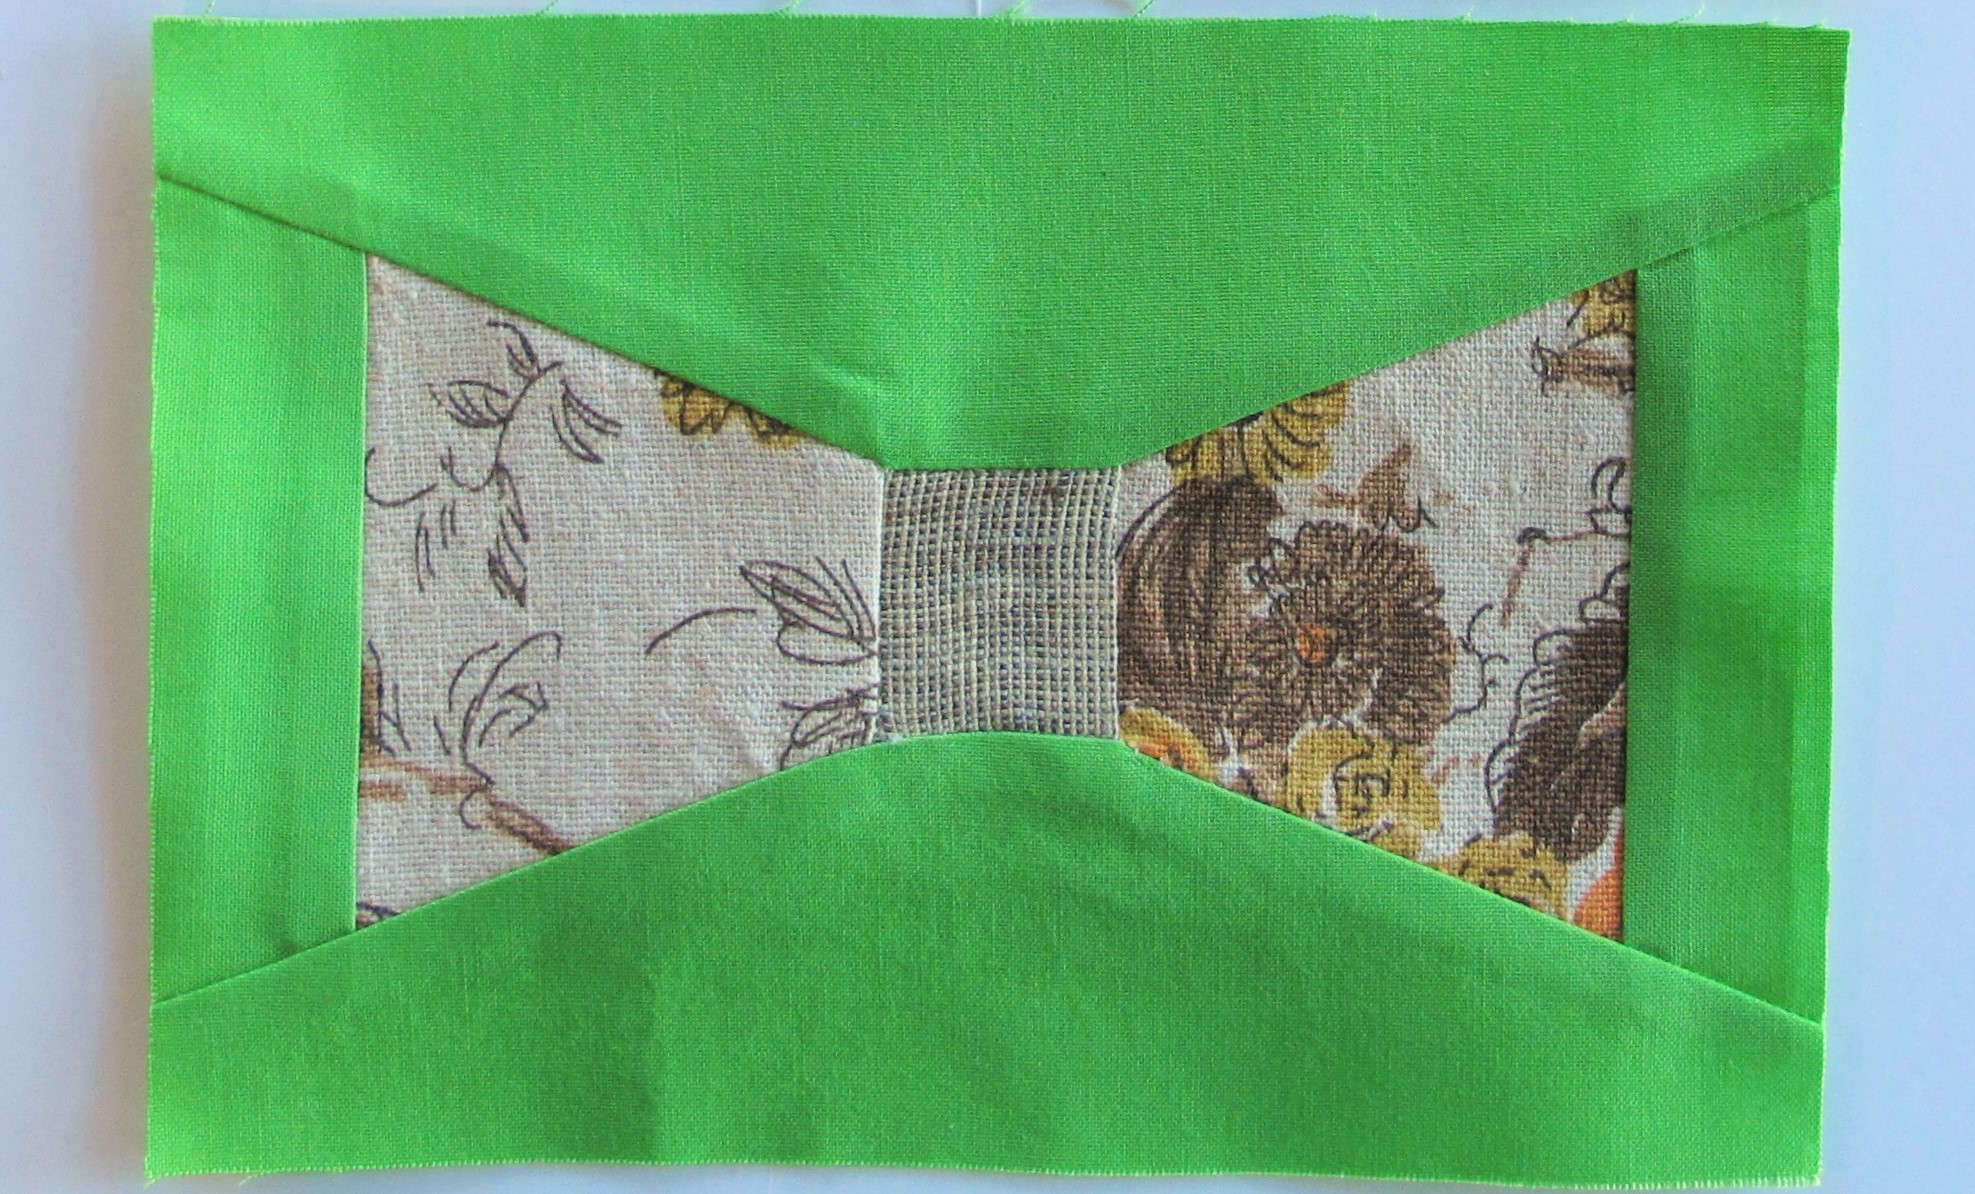
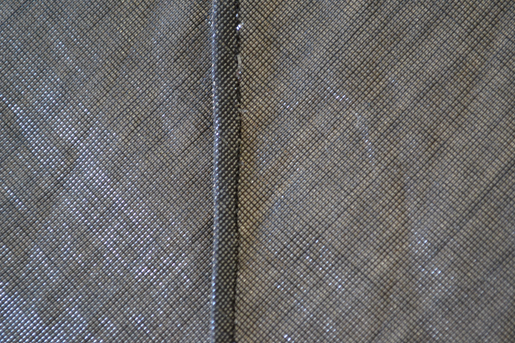
The finished French seam:
The Simulated French Seam can be used as an alternative to a true French seam:
Place the fabrics RIGHT sides together and sew along the marked seam line.
Fold both seam allowances to the center, toward each other, and press.
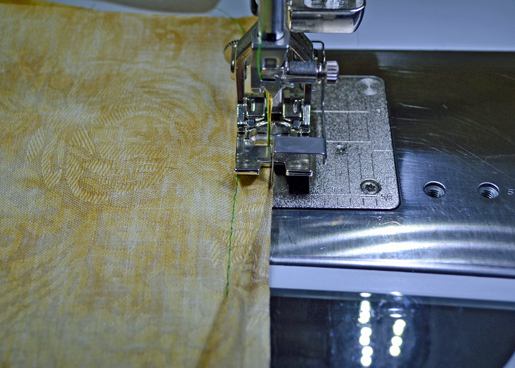
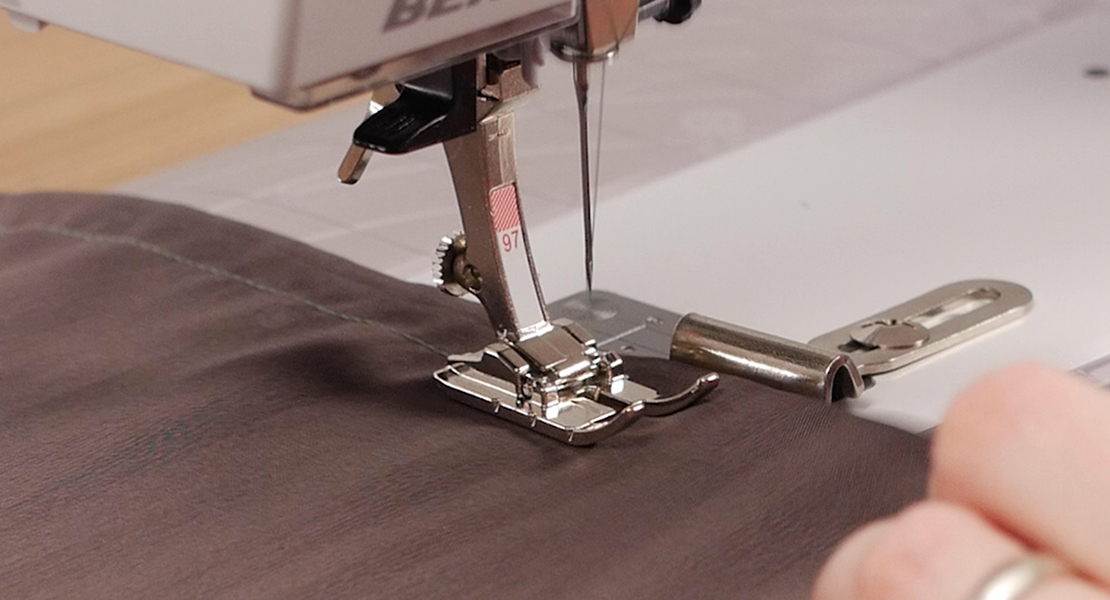
Using an edgestitch foot, such as BERNINA Edgestitch Foot #10/10C/10D, set the needle 1-2 steps toward the fabric and sew very close to the folded edges. The raw edges are encased, producing a neat finish.