Garment Sew Along Part 5: Sleeves and Side Seams
Are you ready for more construction on the Grainline Studios Archer Button Up? Quite a bit has been accomplished so far, but there is more to be done before we have a wearable top. In part 4, the front button bands were completed, the box pleat was set in the back, and the yokes were attached. If you have not worked through the steps for these pieces, you will want to do that before reading any further. Information about how to do all those things can be found in this post.
The next pieces to be added to the existing garment shell are the sleeves! I will first discuss the different types of sleeves seen in garments, then we will work through how to attach the plackets, set-in the sleeves, and sew up the side seams.
SUPPLIES
Refer back to part one of the garment sew-along for all the supplies needed for sewing and construction. Those listed below are additional tools that will help with the sleeves and sides seams.
- Pressing ham
- Pattern pieces 9 and 14 (You should have two of each)
TYPES OF SLEEVES
Every pattern uses its own type of sleeve. Each one has its own application process, some more difficult than others, but each creating a unique look.
- Set-in sleeve – The set-in sleeve is one of the most difficult to do, but is also the most traditional. In this case, the sleeve seam and side seam of the garment is already sewn. Because of this, the ease stitches have to evenly distribute all the fabric of the sleeve into the completed armhole, without gathers or tucks. With the freearm on the BERNINA 480, this task is simple because the circular shape slides right onto the machine arm.
- Shirt sleeve – The Archer Button Up utilizes a shirt sleeve. This sleeve is a variation of the set-in sleeve because the seams on both the sleeve and shirt are not sewn first. The upper part of the sleeve has ease stitches that help to line up the notches, like that of the set-in sleeve. After that upper part is sewn in, the sleeve seam and side seam is sewn all at one time. This type of sleeve is easier to construct than the set-in sleeve.
- Raglan sleeve – One of the easiest types of sleeves to create is the raglan sleeve. This style creates a lot of ease and comfort because it is not a traditional circular armhole. Rather the sleeves are connected to the front and back with long diagonal seams that extend from the neckline to the underarm. The sleeves and sides are completed with one seam.
- Cap sleeve – A cap sleeve is pretty small. The rounded part of the sleeve is sewn to the armhole, but the sides of the sleeve do not reach all the way to the side seam. The rest of the armhole in the underarm area is often finished with bias tape or narrow facing.
- Dolman sleeve – Another sleeve with comfort in mind, a dolman sleeve is created with only one seam that connects the front and back pieces on upper part of the arm. The pattern pieces for the garment are cut out with a sleeve and curved underarm.
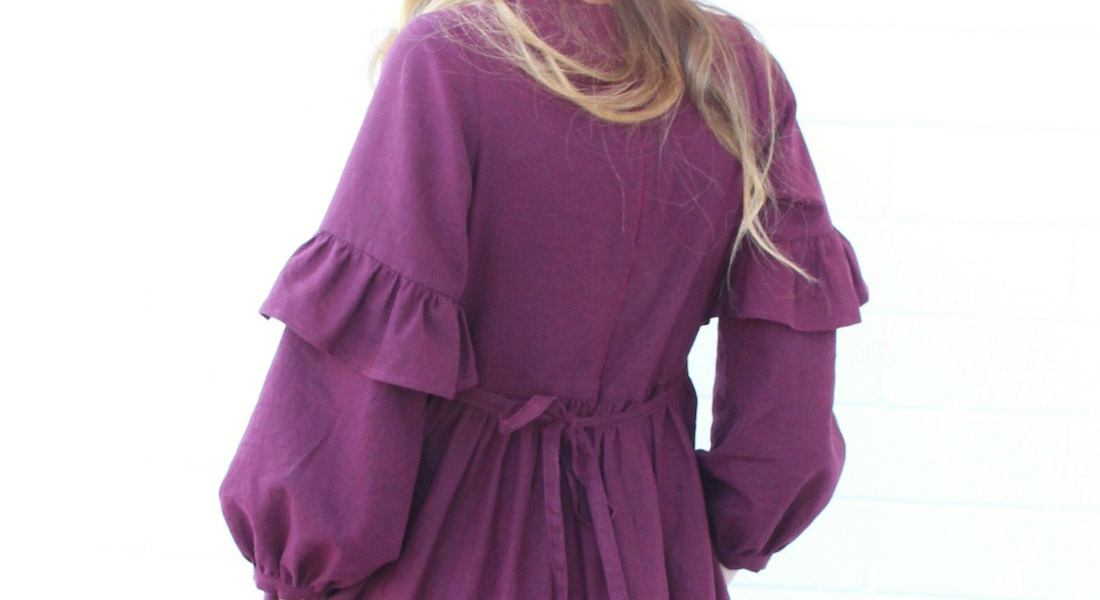
- Bishop sleeve – Frequently used with lightweight, flowy fabrics, the bishop sleeve has a lot of volume because of its size. It is set-in to the armhole, like a traditional sleeve, but the sleeve widens down towards the cuff. Gathers are created and closed in the cuff to create more drama throughout the sleeve.
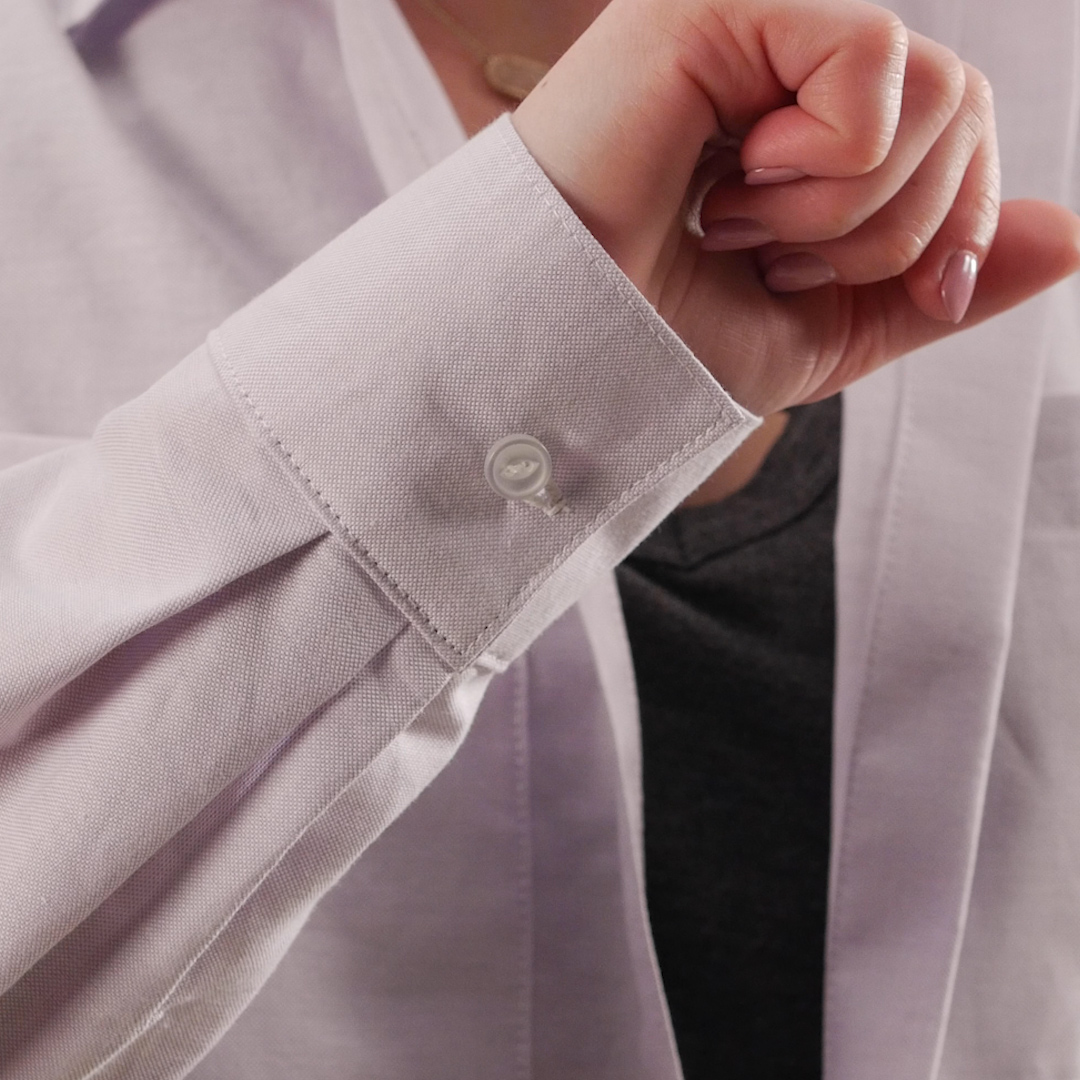
PLACKETS
For our sleeve, we will start at the bottom, and work up towards the armhole. The first task is to attach the plackets. With the different types of sleeves come different types of plackets. Plackets are used to help finish the sleeves before cuffs are attached, and provide stability around cut-out sleeve openings. This shirt uses continuous sleeve plackets. This type is not visible on the outside of the garment because it is a separate piece that is attached, folded, and stitched down. Once completed, the placket causes the split in the sleeve to overlap, which creates a seamless finish once the cuff is attached.
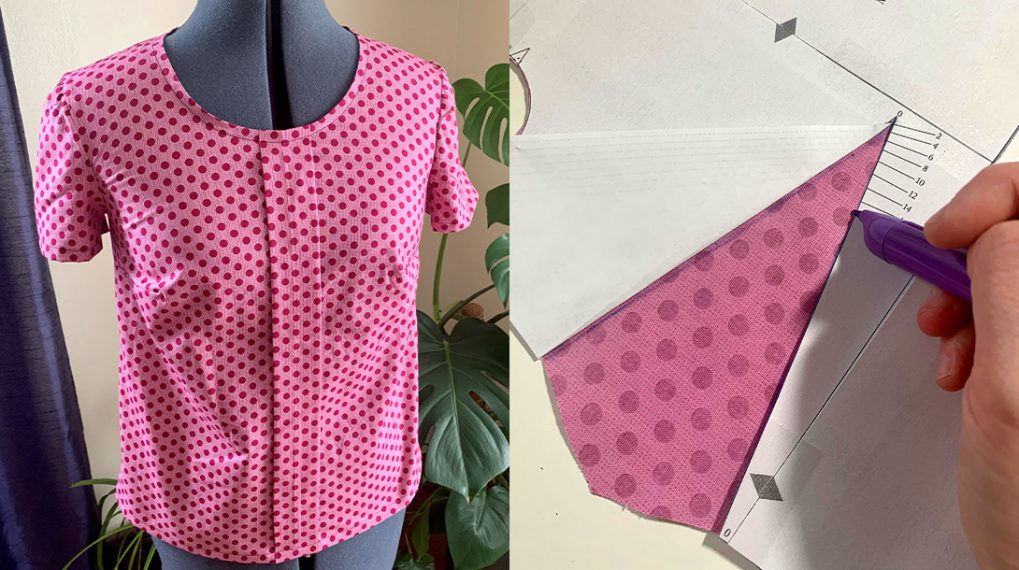
Start by marking the cut line on both sleeves. It is important to mark the sleeves opposite of each other, otherwise you will end up with two sleeves that look the same, and the notches on one will not match up with those on the garment shell. Align the sleeve pattern piece with the fabric pieces to make the mark on the right side of the fabric. Feel free to mark the notches.
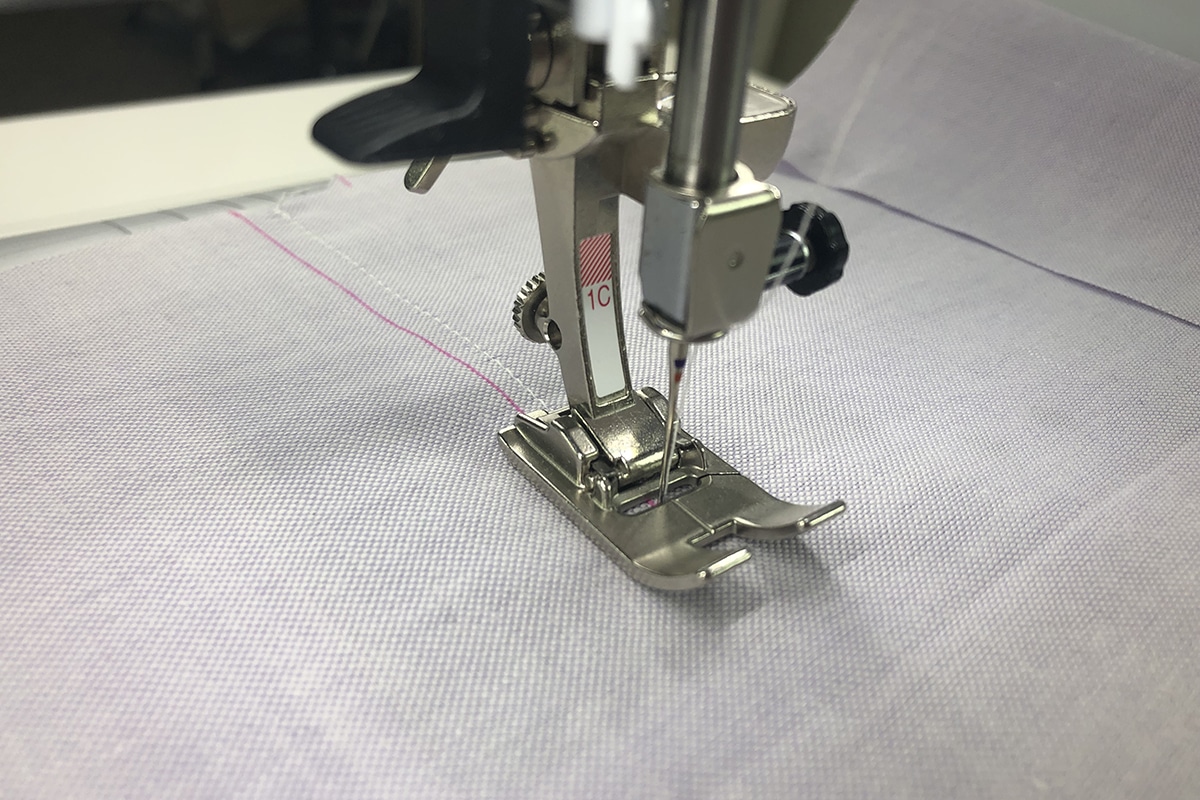
The pattern directions say to start stitching 1/4” away from the cut line, stitch up to the top point, stop, pivot, and stitch back down to the raw edge while widening back out to 1/4”. This stitching line will act as a securing feature to keep the weave of the fabric from shifting too much, as well as a guiding tool when the placket is sewn on.
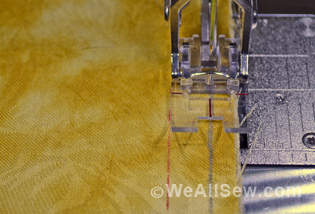
When using Reverse-Pattern Foot #1C, align the cut line with the center of the left toe. The stitching should begin to narrow pretty quickly once you begin sewing. Stop with the needle down at the top of the cut line. Pivot using the BERNINA Free Hand System. Continuing sewing, while widening the stitching. Once you get back down to the raw edge, the cut line should again be in the middle of the left toe. Be sure to narrow your stitching pretty quickly, otherwise it will show on the outside of the sleeve even after the placket is attached.
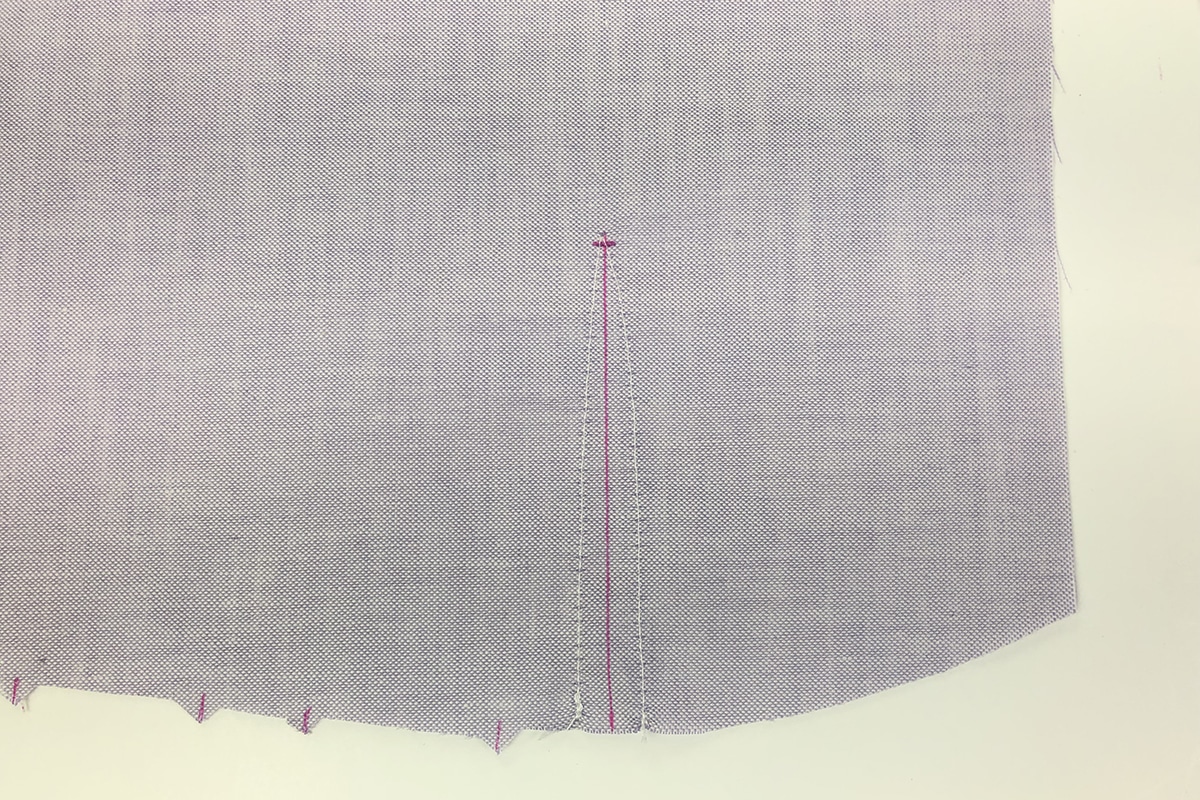
Use scissors or shears to cut along the cut line.
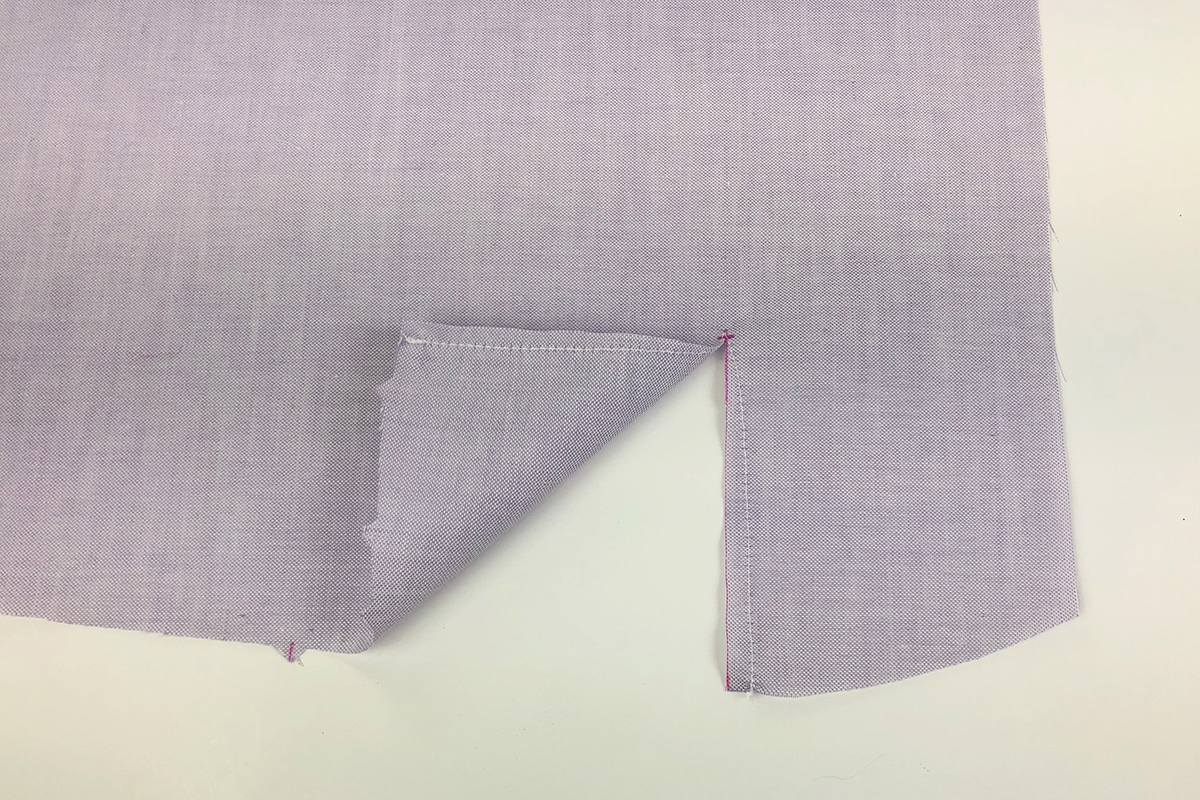
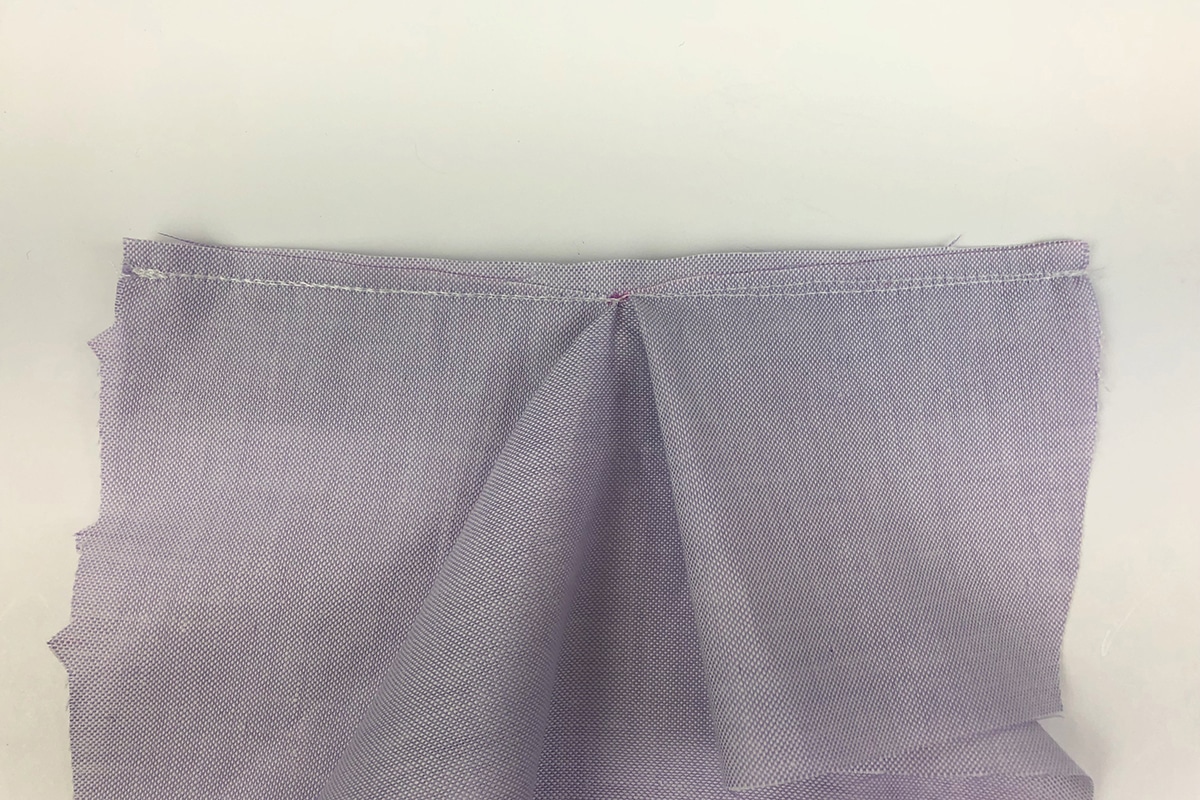
Spread open the sleeve opening that was just cut. With right sides together, pin the sleeve placket (piece 14) to this raw edge. The placket will be sewn on with a ¼” seam allowance, so the stitching on the raw edges of the sleeve opening will match up with the beginning and the end of the allowance that is about to be stitched. The pivot point in the middle should be just shy of ¼” away from the edge of the placket. You will notice that there is excess fabric and bunching in the middle, but you will want to shift the fabric as you are sewing to avoid getting any tucks or folds.
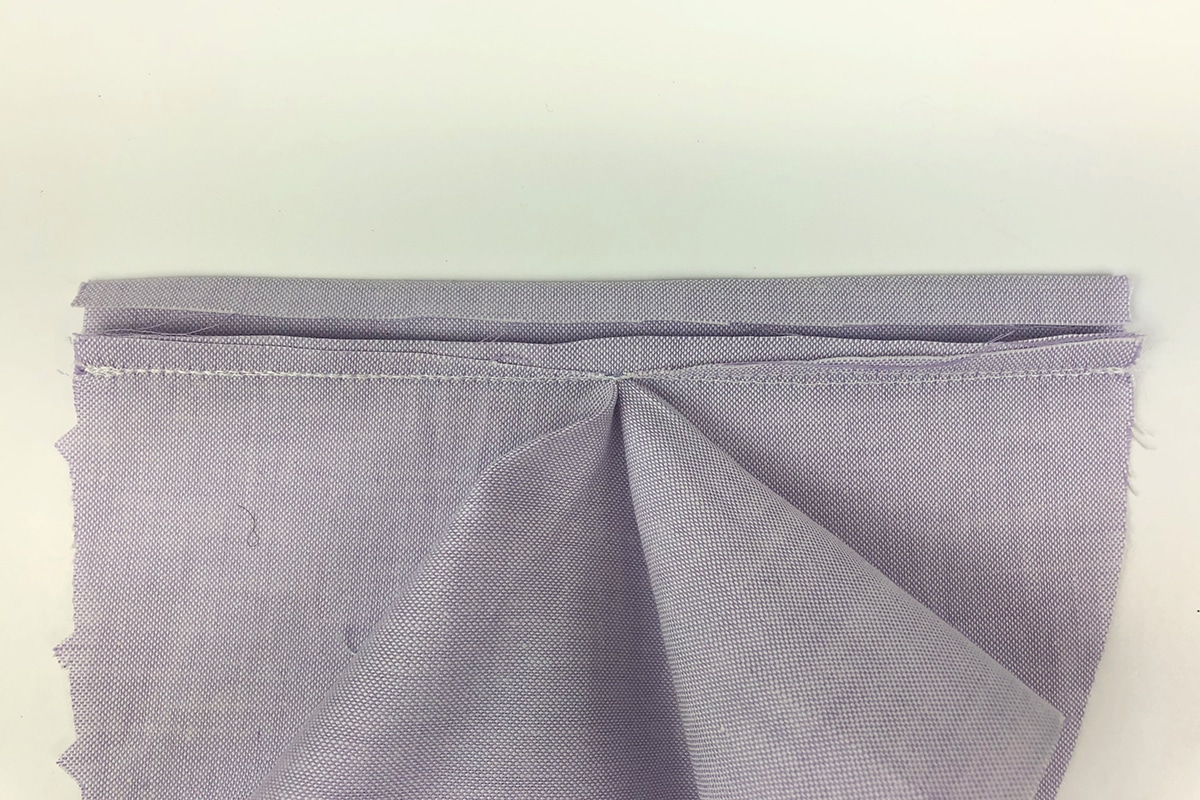
Press the newly-created seam and placket away from the sleeve. To encase the raw edges, iron the raw edge of the placket up 1/4” to the wrong side. I ironed mine up about 3/8” because I did not want excess room within the placket casing.
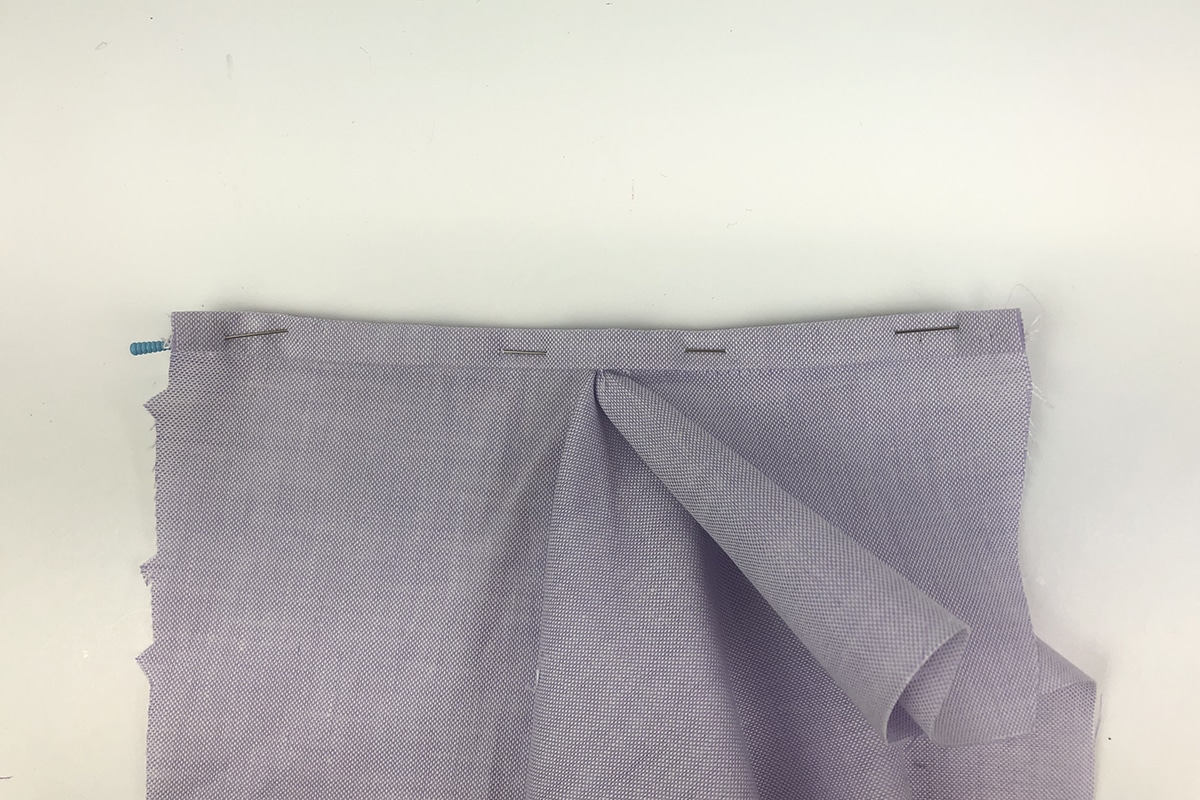
Fold the ironed edge over the previous line of stitching and pin in place. In the picture below, you will see that I pinned mine on the right side because I prefer to edgestitch on the top where I know the stitching needs to be straight. Stitch on whichever side you prefer.
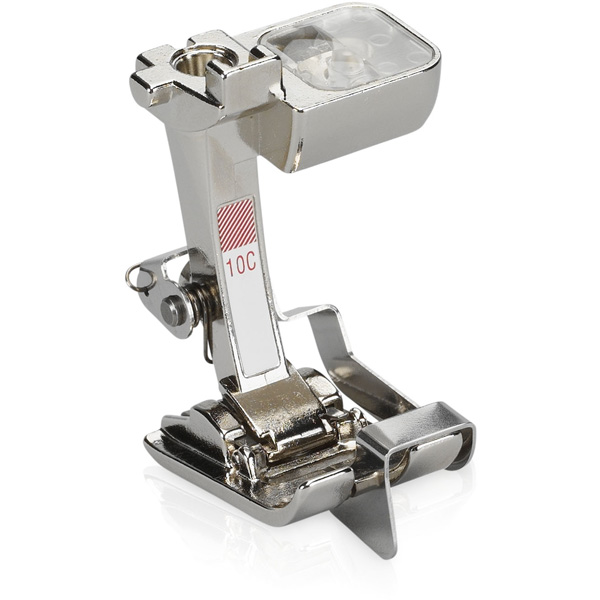
I find it easiest to attach Edgestitch Foot #10C and move my needle 2 positions to the right of center when edgestitching the plackets. Again, the excess fabric to the left of the fabric may need to be manipulated to avoid puckers. Repeat the steps for the placket on the other sleeve.

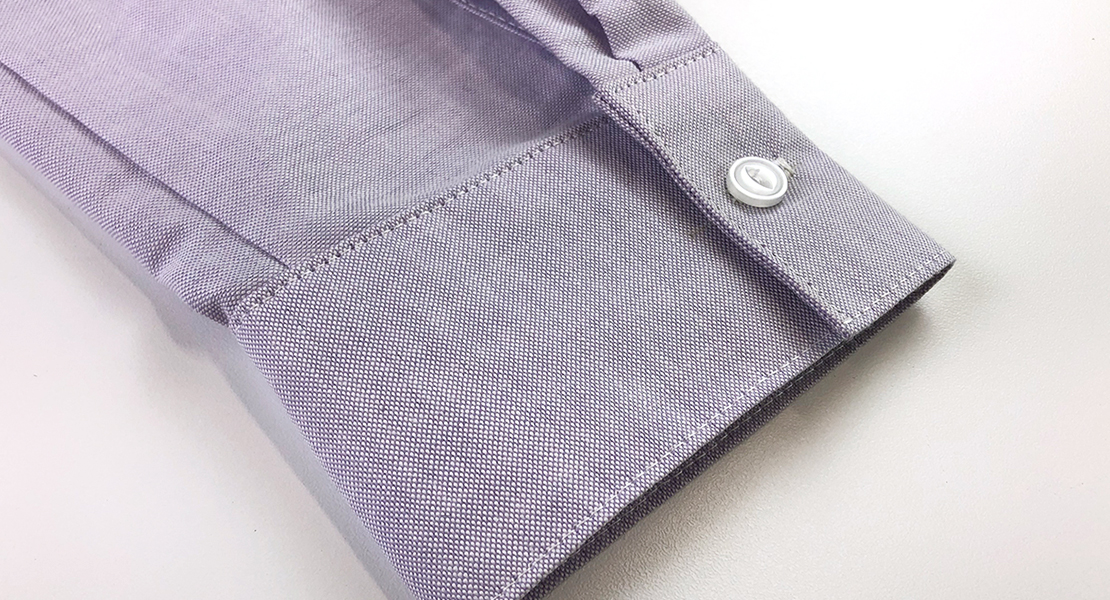
Fold the placket in half so that the sleeve is right sides together. To keep the edges overlapped when wearing the shirt, a diagonal line of stitching needs to be added to the placket. I held the edges together with Wonder Clips, then marked out the stitching line. I then stitched over this line a few times to reinforce it, considering the amount of use the placket will get.

The last step of the placket is to press it towards the notches.

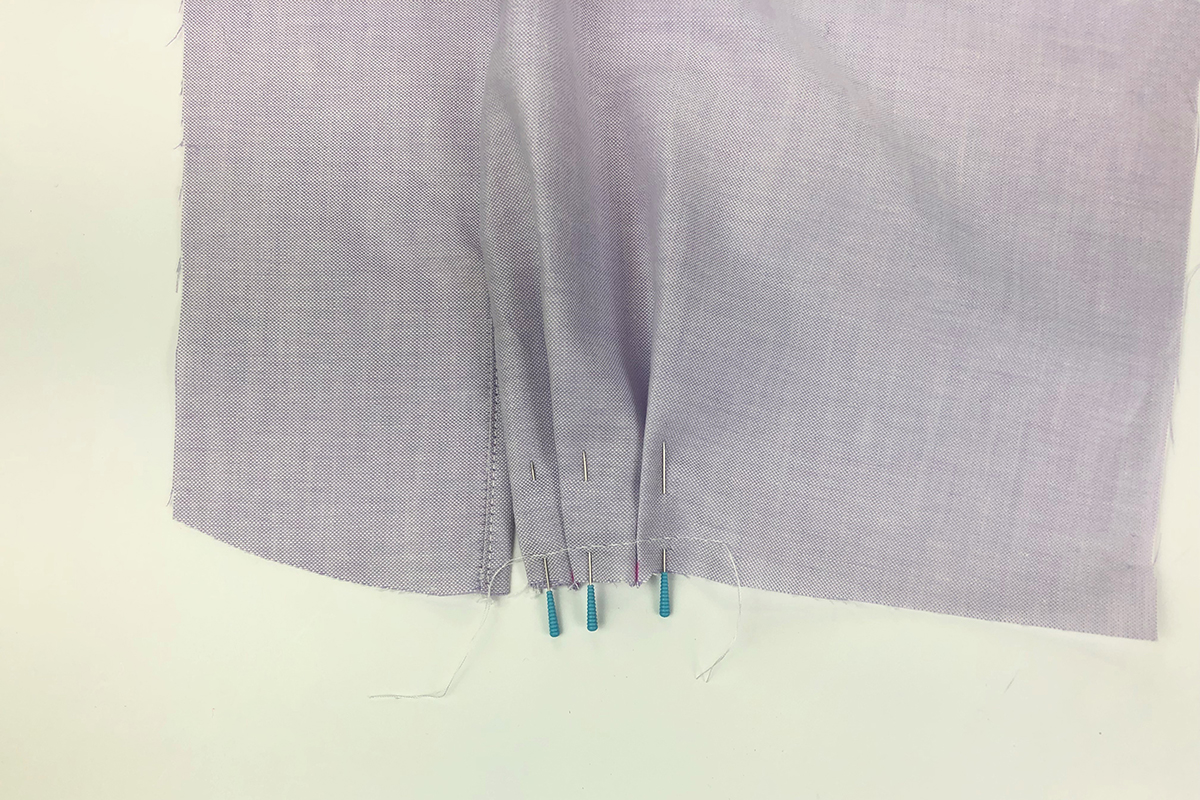
To prepare for attaching the cuff (which will come in the Post 6), pin the pleats in place. The direction the pleats should be folded is on the pattern piece. Pin both pleats in place, as well as the placket, and baste with a 3/8” seam allowance and the stitch length increased to 5.0 mm. I prefer to reinsert my pins after basting.
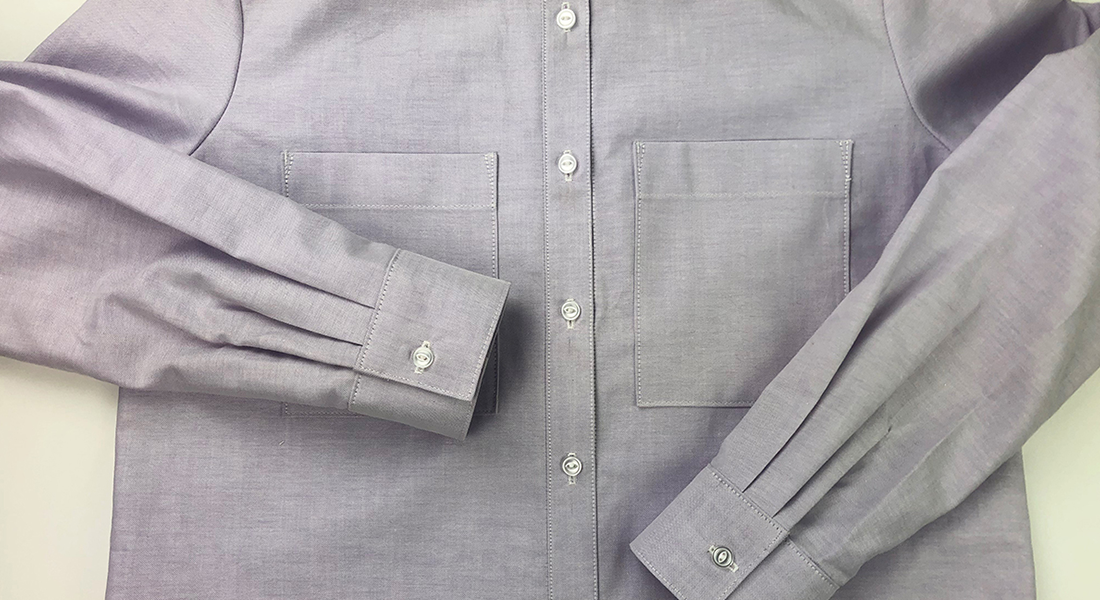
NEXT STEP: SLEEVES
Now that the plackets are completed, setting in the sleeve will be a breeze.
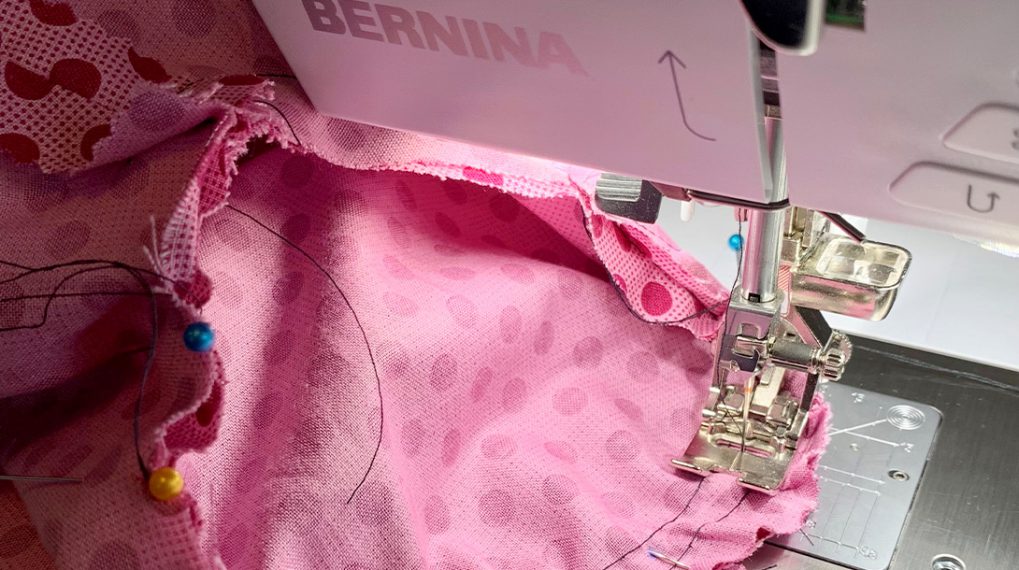
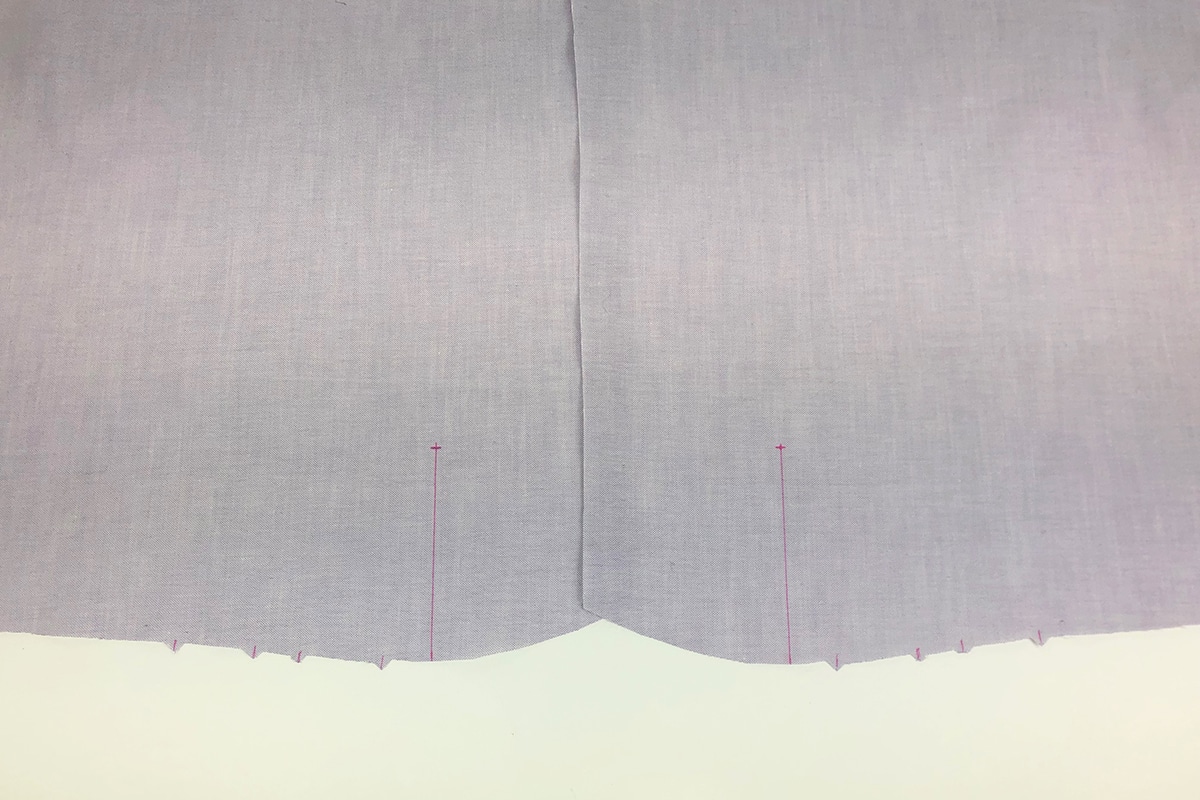
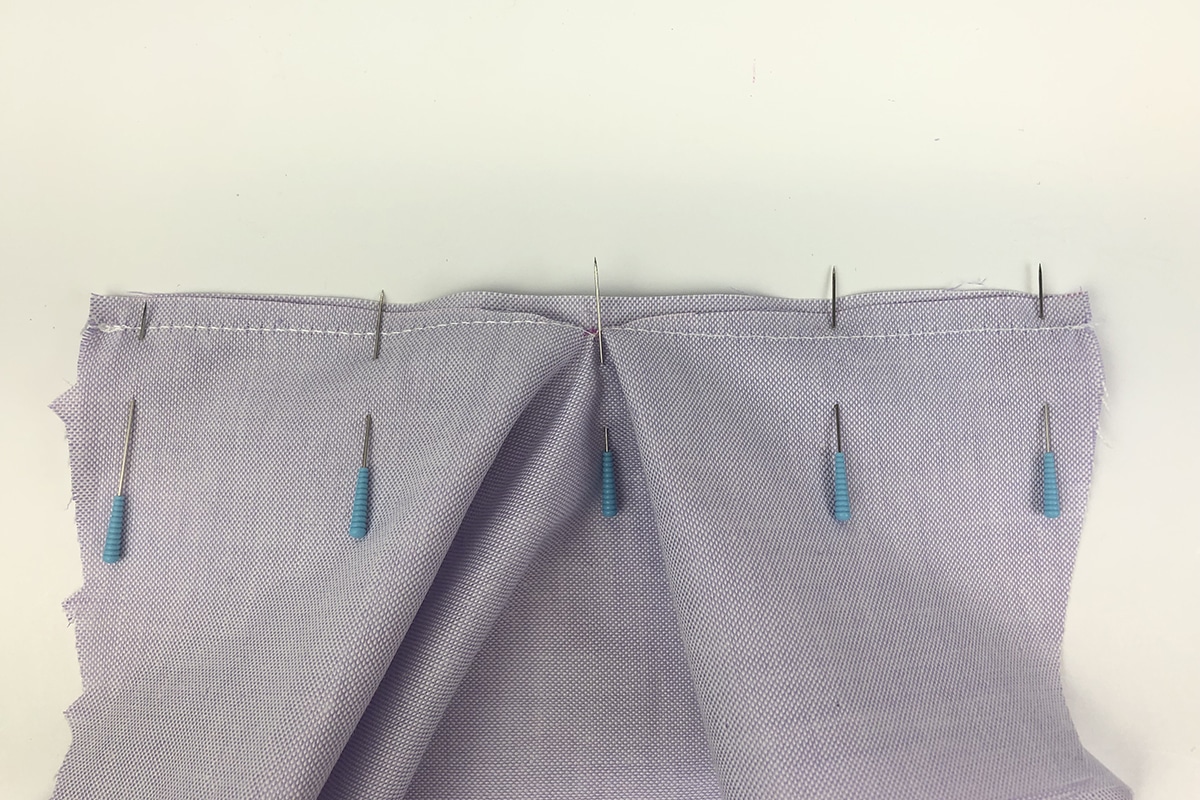
Hopefully you left the stitch length increased after you basted the pleats in place. If not, increase the stitch length to 5.0 mm. We will use basting stitches to create two rows of ease stitching between the front and back notches on the sleeve. One row should be on the inside of the seam allowance, and one should be on the outside. The sleeve will be sewn to the garment shell with a ½” seam allowance, so the rows should be stitched at 3/8” and 5/8”. Leave the thread tails long at the beginning and end.
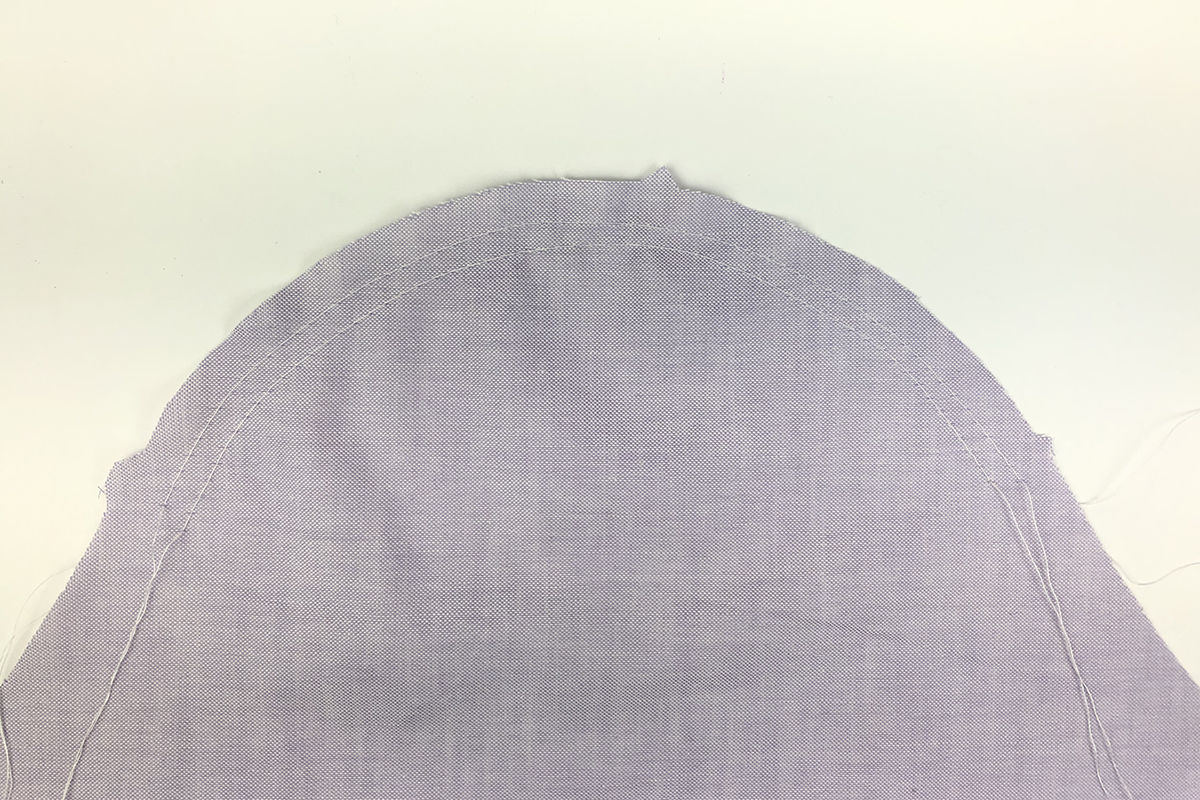
Since this pattern uses a variation of the set-in sleeve, the fabric does not need to be gathered up very much to match up with the notches of the armhole. Pull the thread tails evenly on both ends to create small ruffles in the curved part of the sleeve. Do not pull so much that small pleats or gathers are formed.

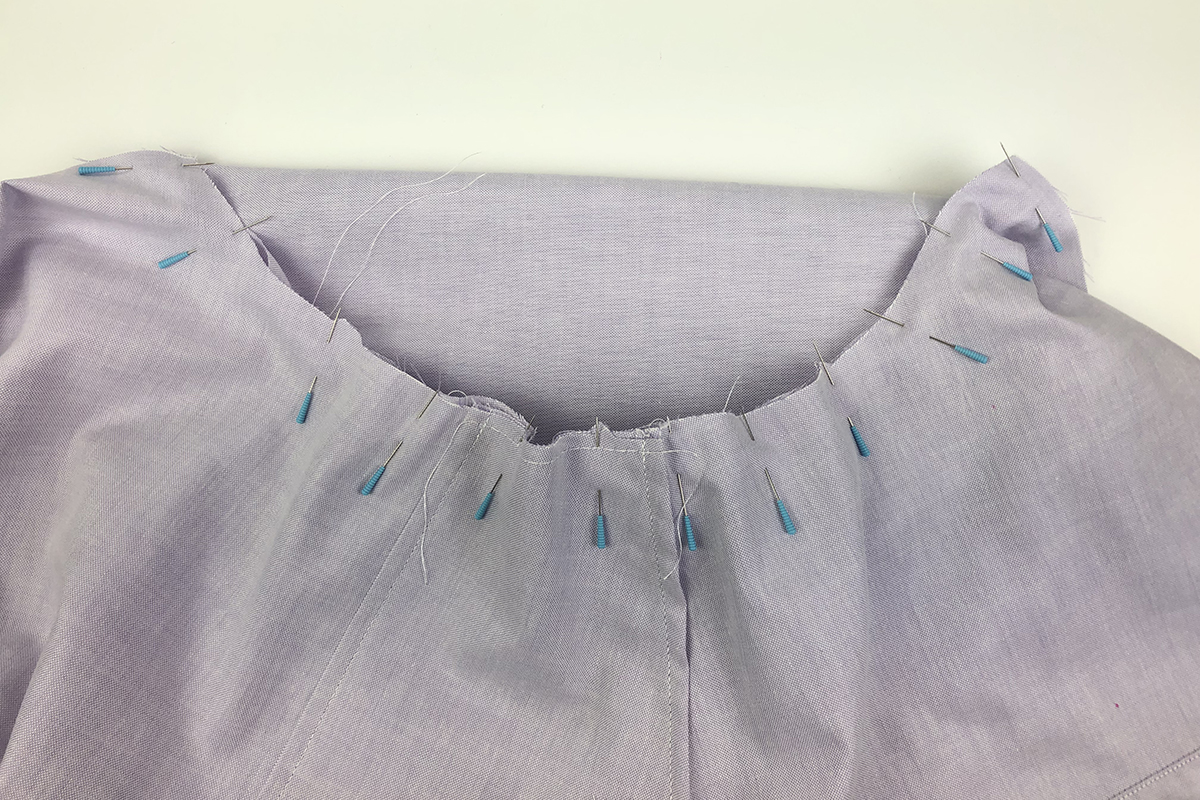
To ensure that the sleeve pieces match up correctly, the double notch on the rounded part of the sleeve should match the double notch on the shirt when right sides are together. When I pin these pieces together, I find it easiest to lay the sleeve down first, right side up, then lay the shirt out wrong side up. Match and pin the notches first, making sure that the excess fabric is evenly spread out. Then pin all the way down to the ends of the sleeve.
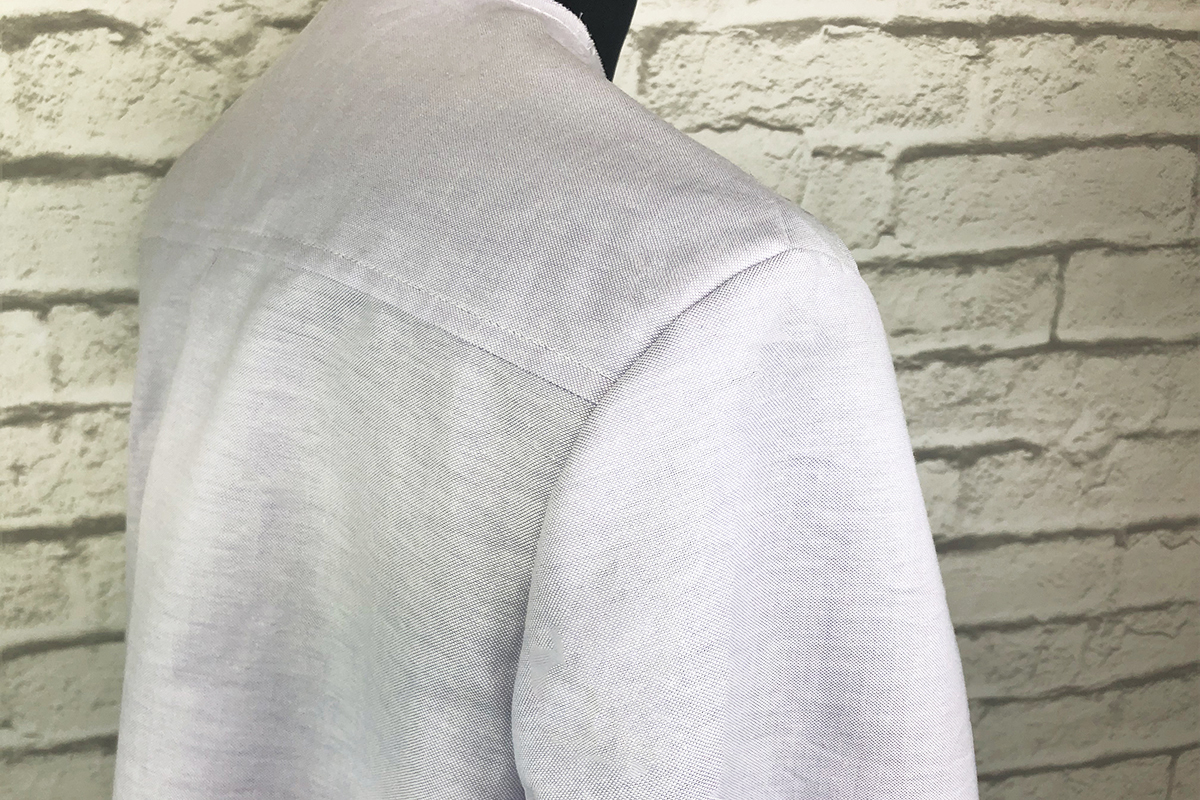
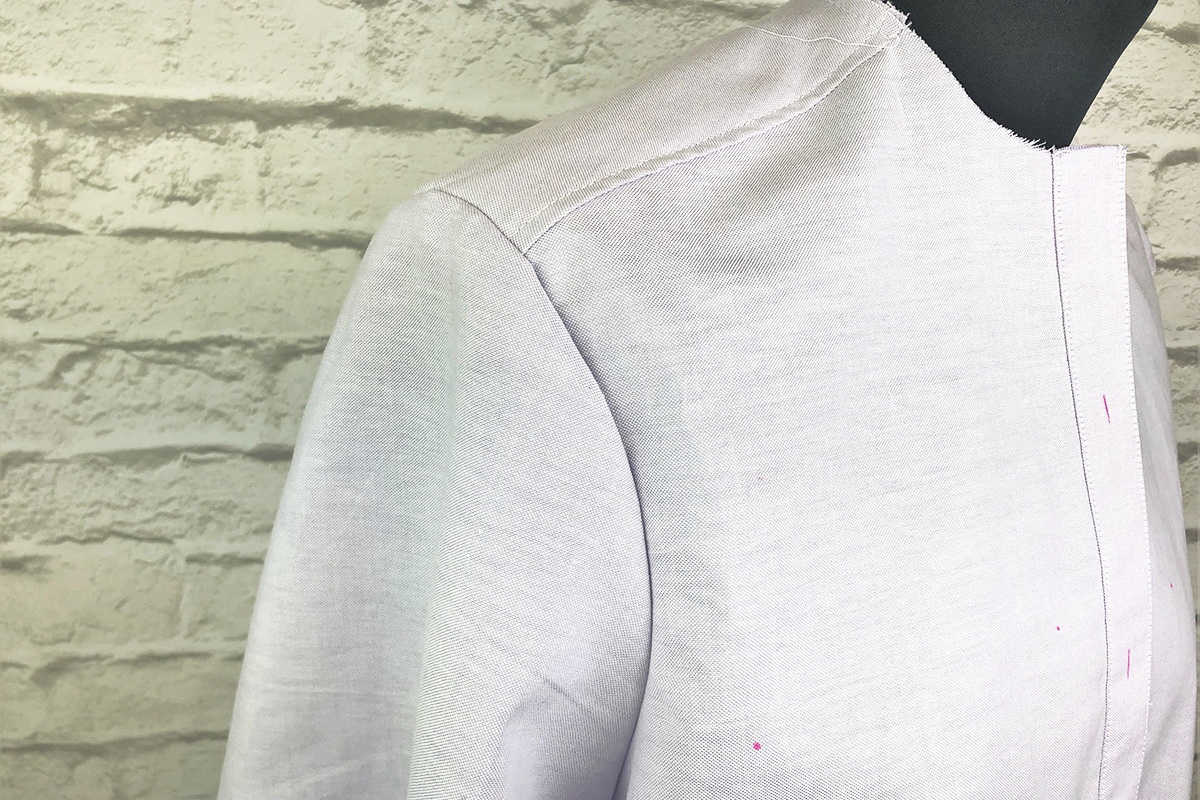
Before sewing, check that the stitch settings have been reverted back to a regular straight stitch with the stitch length at 2.5 mm. Sew the sleeve to the armhole with a ½” seam allowance. Continuously check that there are no puckers or tucks getting caught or sewn in on the top or bottom. The seam will almost naturally falls towards the sleeve.
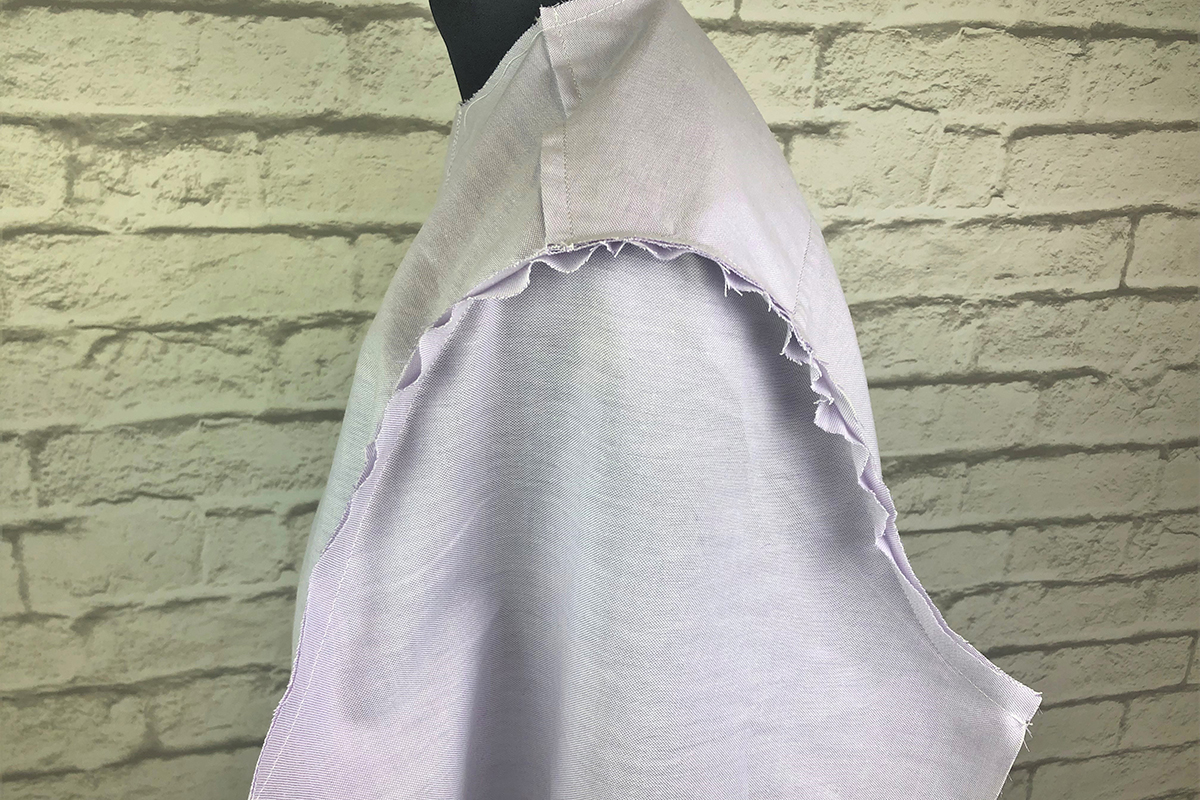
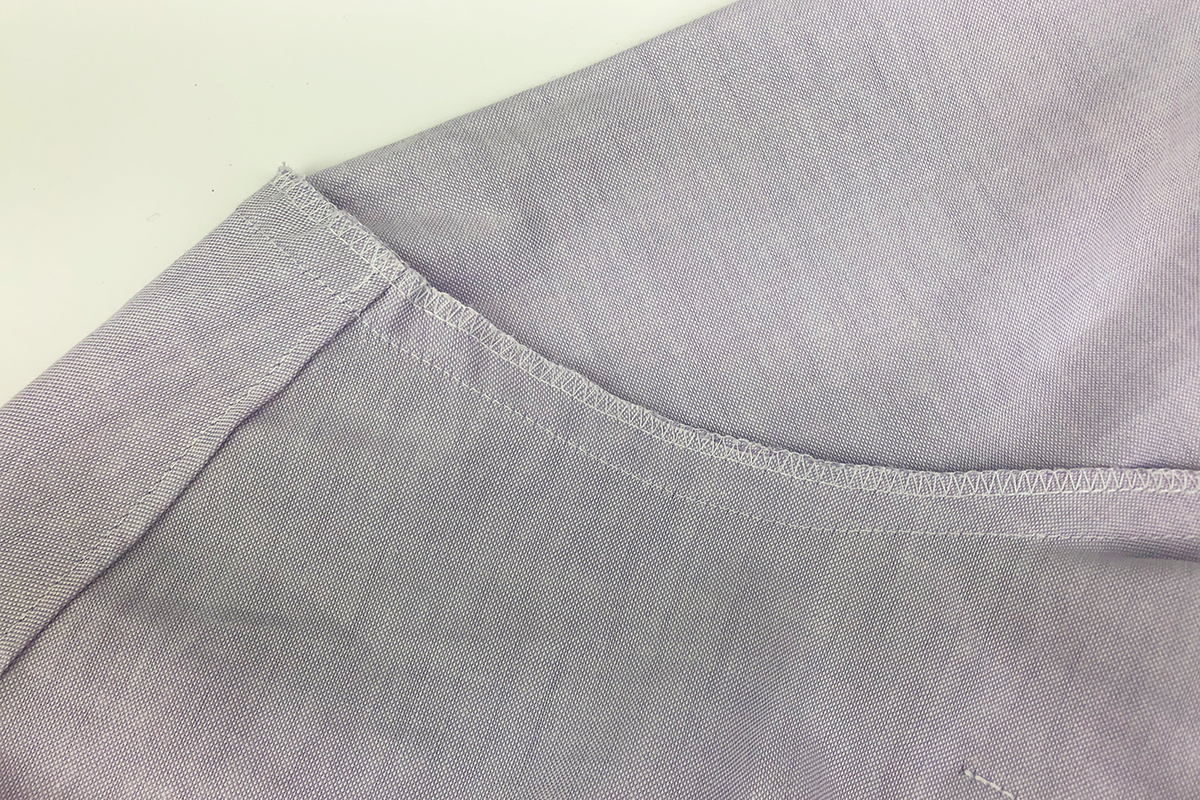
After stitching, you will want to finish off the shoulder seam before the side seam is sewn. This is easily accomplished using the BERNINA L 460 Overlocker. Use the 3-thread overlock stitch to hold both sides of the seams allowance together, while encasing the raw edges. If desired, you may choose to trim the seam allowance slightly using the knife on the machine, but it is not entirely necessary. I like to keep the ½” seam allowance as it is because it adds a look of fullness to the shoulder. After the seam allowance is finished off, press it towards the sleeve. Use a pressing ham to avoid smashing the fabric on the other side of the curve. Be sure to do both sleeves!
THE SIDE SEAMS
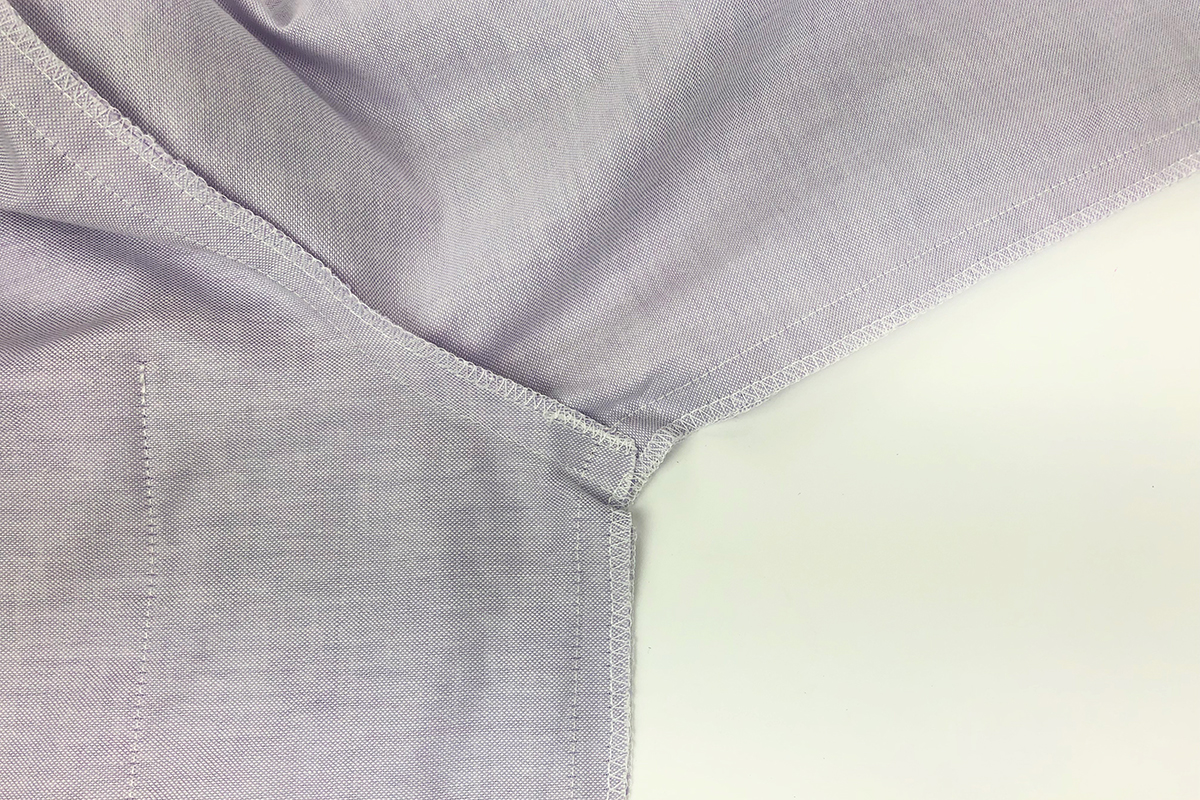
The final step of this post is to sew up the side seams! To sew the seams in the direction that the pattern calls for, the shirt will have to be pinned on opposite sides. Start by laying the shirt flat on the back, with the right side facing up. Lay the front down on top so the right sides are together. Extend the sleeve outwards, and fold in half. Pin on the far right side, all the way from the end of the sleeve to the hem of the shirt. Pay close attention to both ends of the seam allowance that was just pressed towards the sleeve. Match it up so the ends will meet perfectly in the underarm when sewn. Flip the shirt over and pin the same way on the other side.
This seam will need to be sewn with a 1/2” seam allowance. Start sewing from the hem, and stitch towards the end of the sleeve. Carefully maneuver the around the seams in the underarm, making sure they stay flat and even. The width of the seam allowance needs to stay the same throughout, especially around the curve of the underarm.
If you know that this shirt is going to get a lot of extra wear and the seams will be put under large amounts of stress, it might be a good idea to reinforce the seams, particularly in the underarm. It is as simple as sewing a second row of stitching over the already-sewn side seam 2” to 3” on both sides of the curve of the underarm. Finish off the seam allowance with the 3-thread overlock, locking both sides together. Press towards the back.
FITTING TIPS
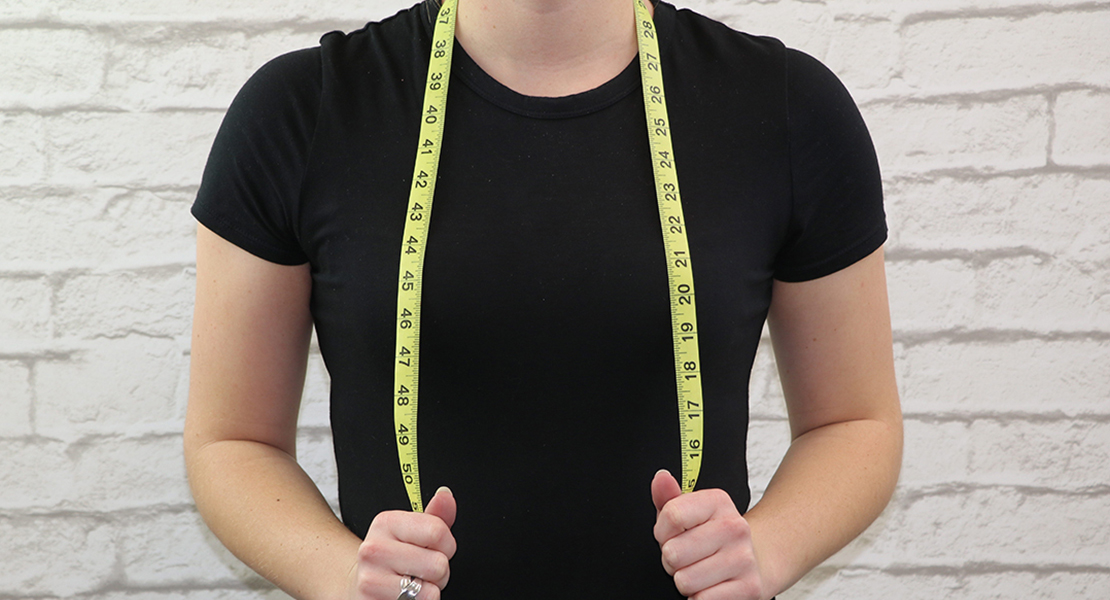
Most of the fitting tricks for the sleeves occurred during the cutting process. For example, there was the option to lengthen or shorten the sleeve. At the cutting stage, you would have also wanted to check the circumference of the sleeve and made sure that would fit around your arm.
Something that you can do at this stage is increase or decrease the width of the seam allowance throughout the sides, as well as the sleeves. The side seams just sewn can first be done with basting stitches to see how the garment will really fit. If changes need to be made, then the stitches are easily removed and the seam allowance can be adjusted for a tighter or looser fit. If you decide to change the allowance on the sleeves, just know that adjustments will need to be made when the cuffs are attached.
UNTIL NEXT TIME
Remember that all the components of the garment are your personal preference. If you do not like something about it, change it up! This garment is something that is going into your wardrobe. If you want a shorter, narrower sleeve length, make that change. If you want more fit throughout the torso, that can be accomplished. Do not be afraid to venture out and try something different than what the pattern calls for – that is why they made the seam ripper!
Information in the next post will include how to construct and attach the collar and collar stand, along with how to attach the cuffs to the sleeves.
Garment Sew-along
Part 1: Garment Sizing and Fabric Selection
Part 2: Pattern Cutting, Markings and Fitting
Part 3: Different Stitches in Garment Sewing
Part 4: Fronts, Yokes and Seams
Part 5: Sleeves and Side Seams