Sorbetto Top Sew Along, Part 3: Inserting Sleeves
Have you been following along with the Seamwork Sorbetto sew along? In part 1, we cut and prepared our patterns, in part 2, we started sewing our bodice, and in this post, we’ll insert the sleeves. This method for inserting sleeves will work for any set-in sleeve. Remember to share your progress in the We All Sew Community and on Instagram (make sure to use the hashtag #weallsewsorbetto and tag me (@thelilacelk) and @BERNINAusa so we can see what you make!)

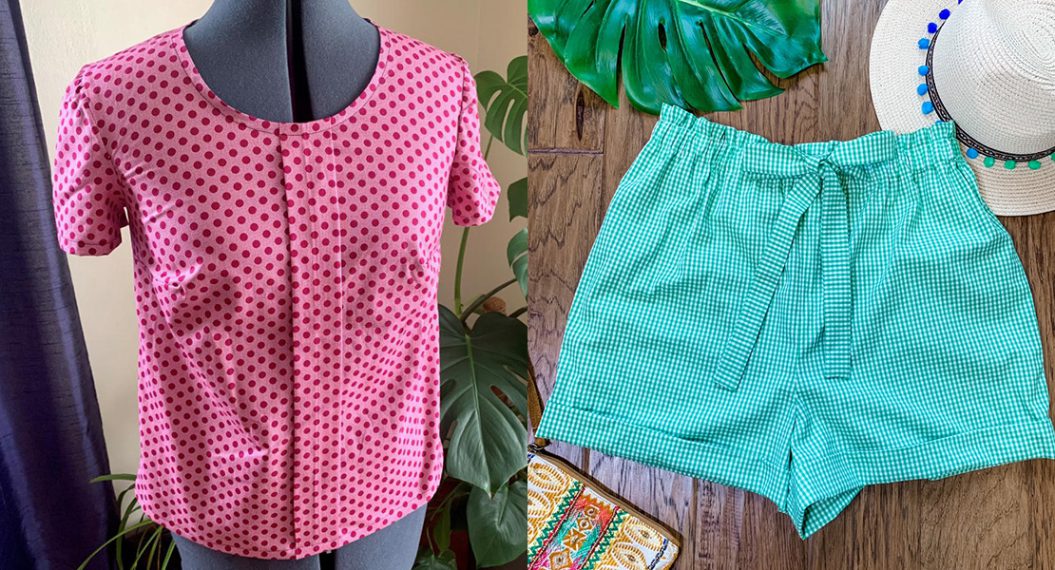
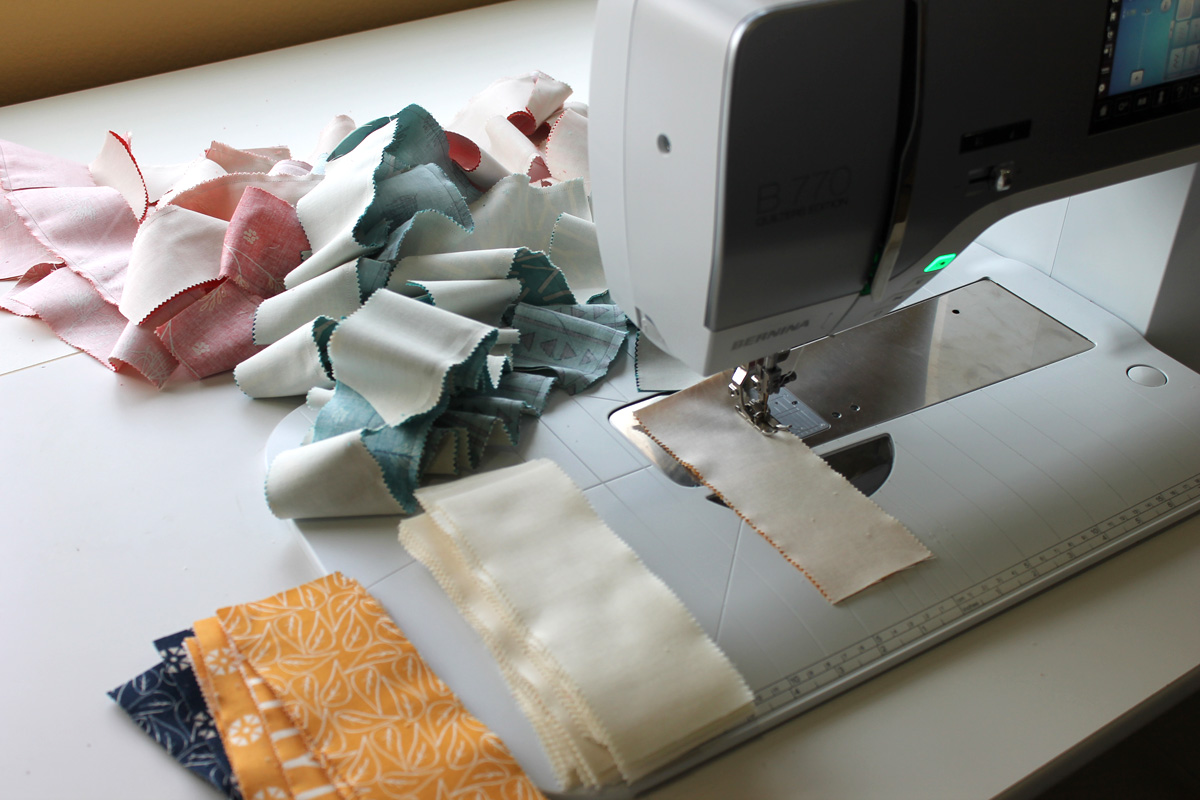
The polka dot fabric I used in the post was so kindly provided by Brewer. It’s a quilting cotton that works well for garments too!
1. The Anatomy of a Sleeve
Before we get sewing, let’s talk about how a sleeve is constructed. The sleeve pattern piece has three different notches, a single notch on one side and a double notch on the other side. There’s also a circle near the top (some patterns will have a notch here instead). I’ve marked each of these points below with a pin so that you can easily see them in a photo.
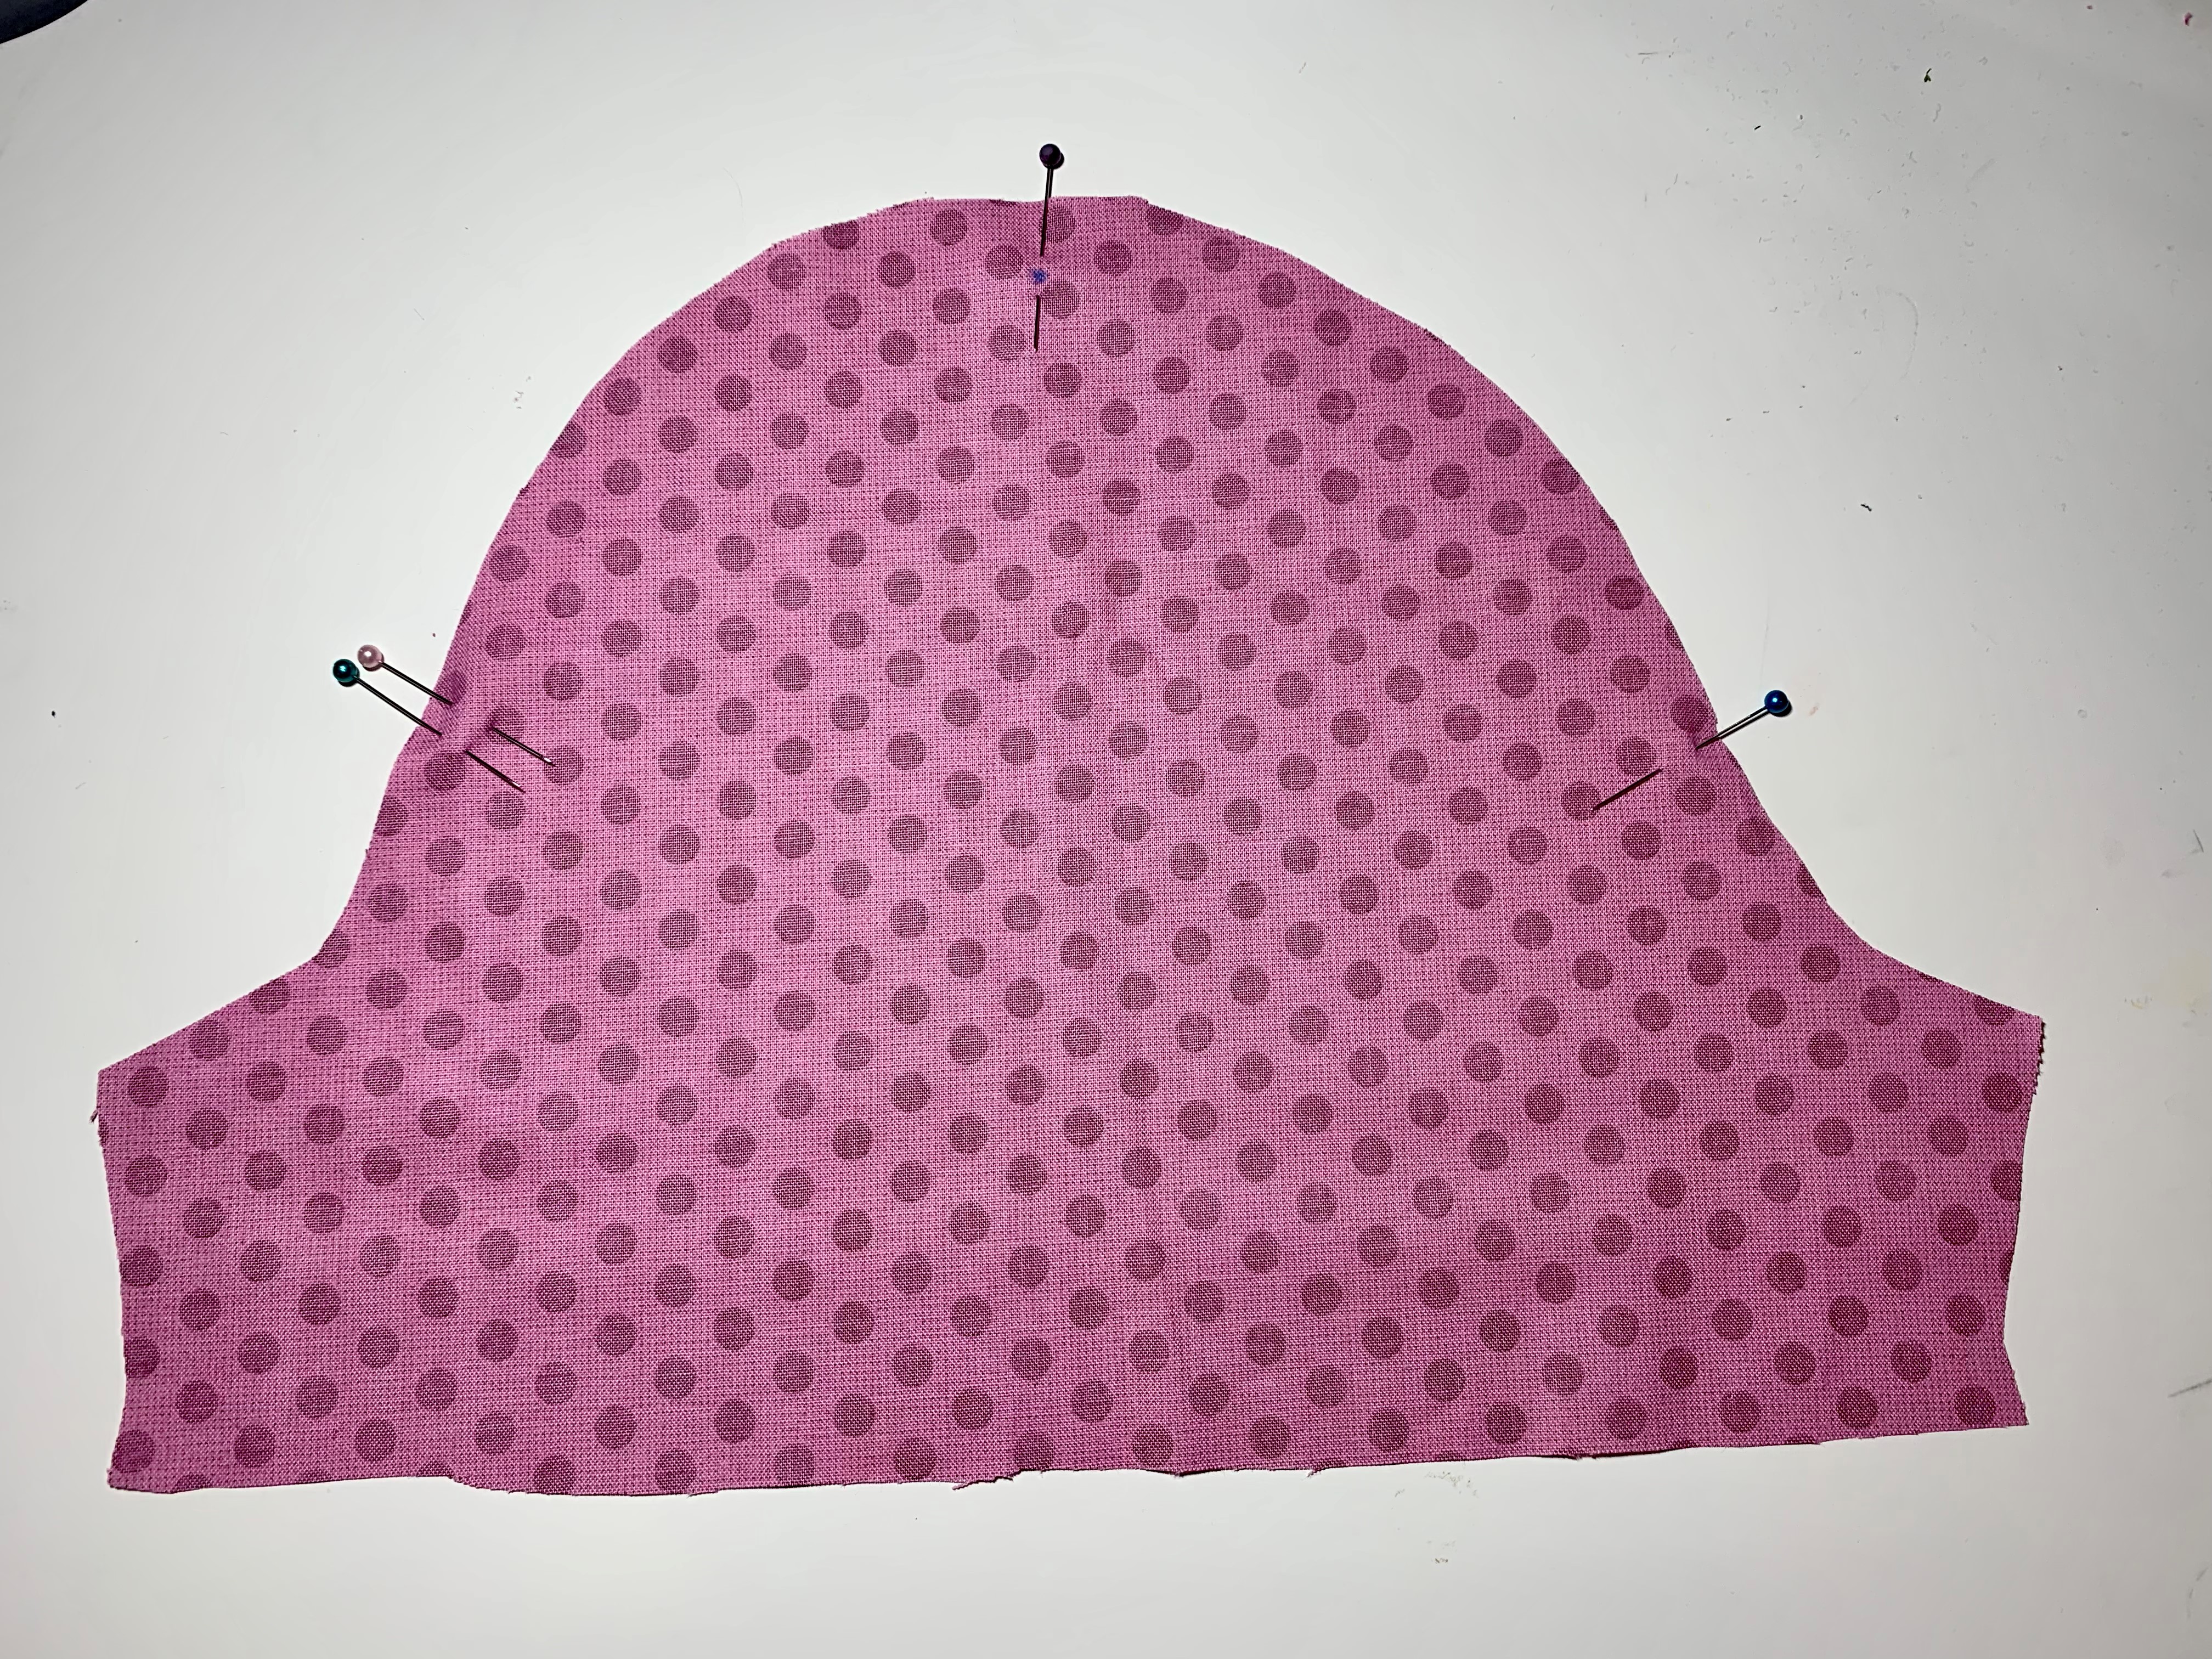
The single notch will line up with the front of your shirt, the double notch will line up with the back or your shirt, and the circle at the top will line up with your shoulder seam. You should have two sleeves that are mirror images of each other. One of these is your left sleeve and one is your right sleeve. The sleeves can only be inserted one way into your garment, otherwise, those notches won’t line up.
Sleeves have a curved edge at the top. This will be sewn into the arm opening (AKA armscye), but those curves go in opposite directions. We’ll have to ease these edges together and we’ll use some gathering stitches to help us do that.
2. Sewing Gathering Stitches
Start by pulling long thread tails from both your sewing machine needle and bobbin.
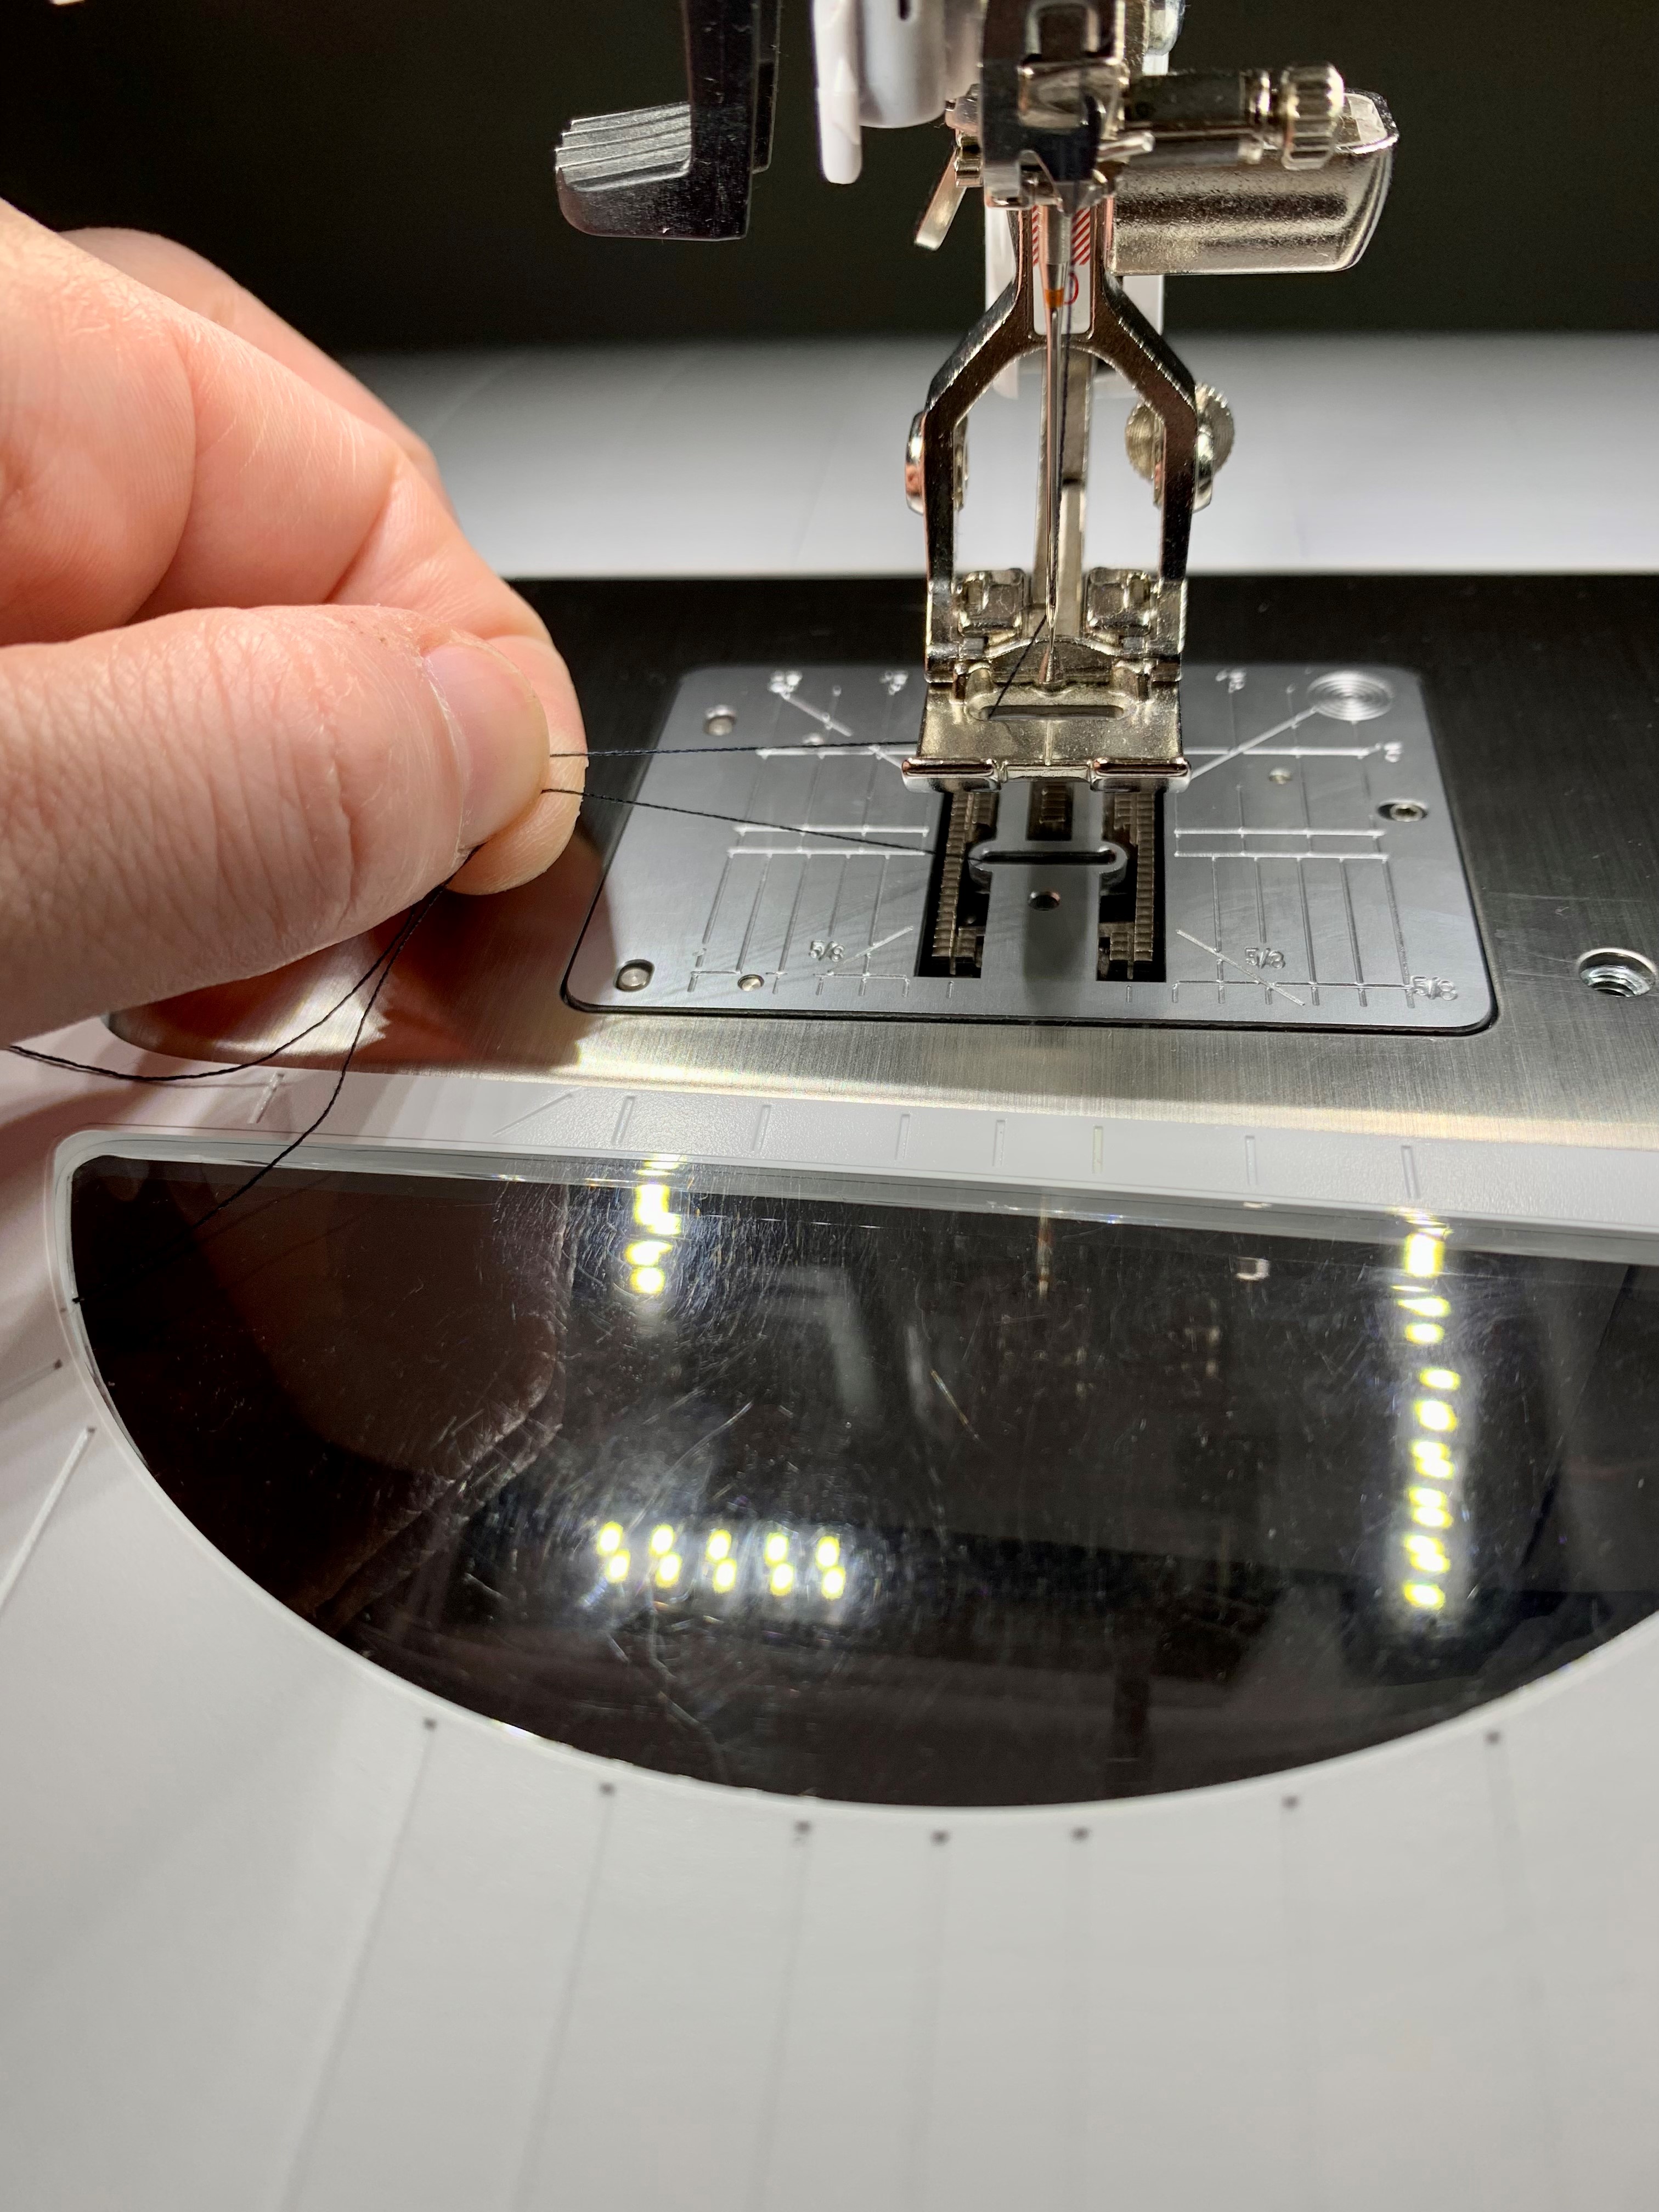
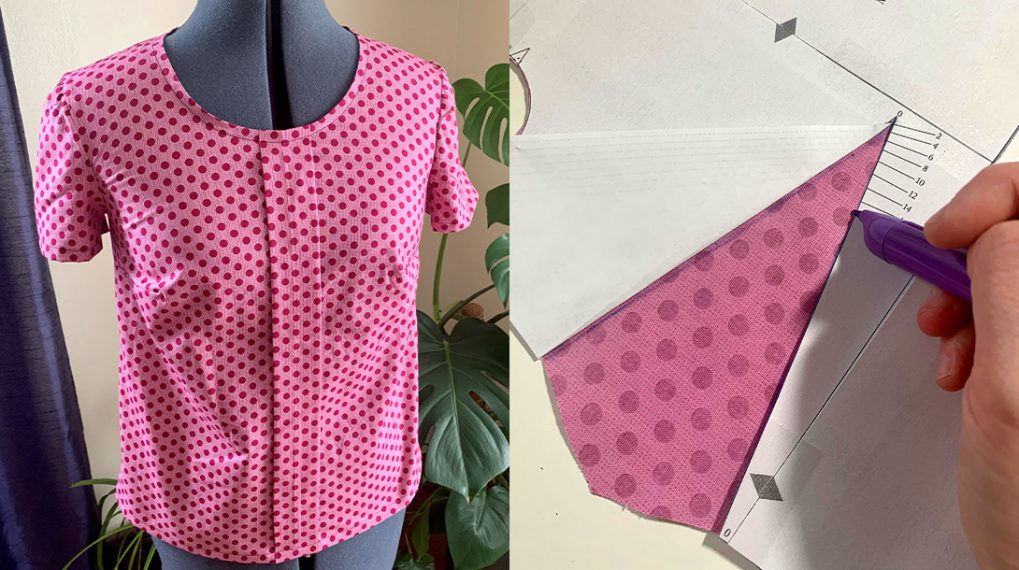
Set your sewing machine to a long stitch length (5 – 6 mm). Keeping those long thread tails, stitch 3/8″ from the edge of your sleeve, from the double notch to the single notch. Do not back stitch here. At the end of your stitching, keep long thread tails. Repeat this using 3/4″ seam allowance. You’ll have two rows of parallel stitching from the double notch to the single notch.
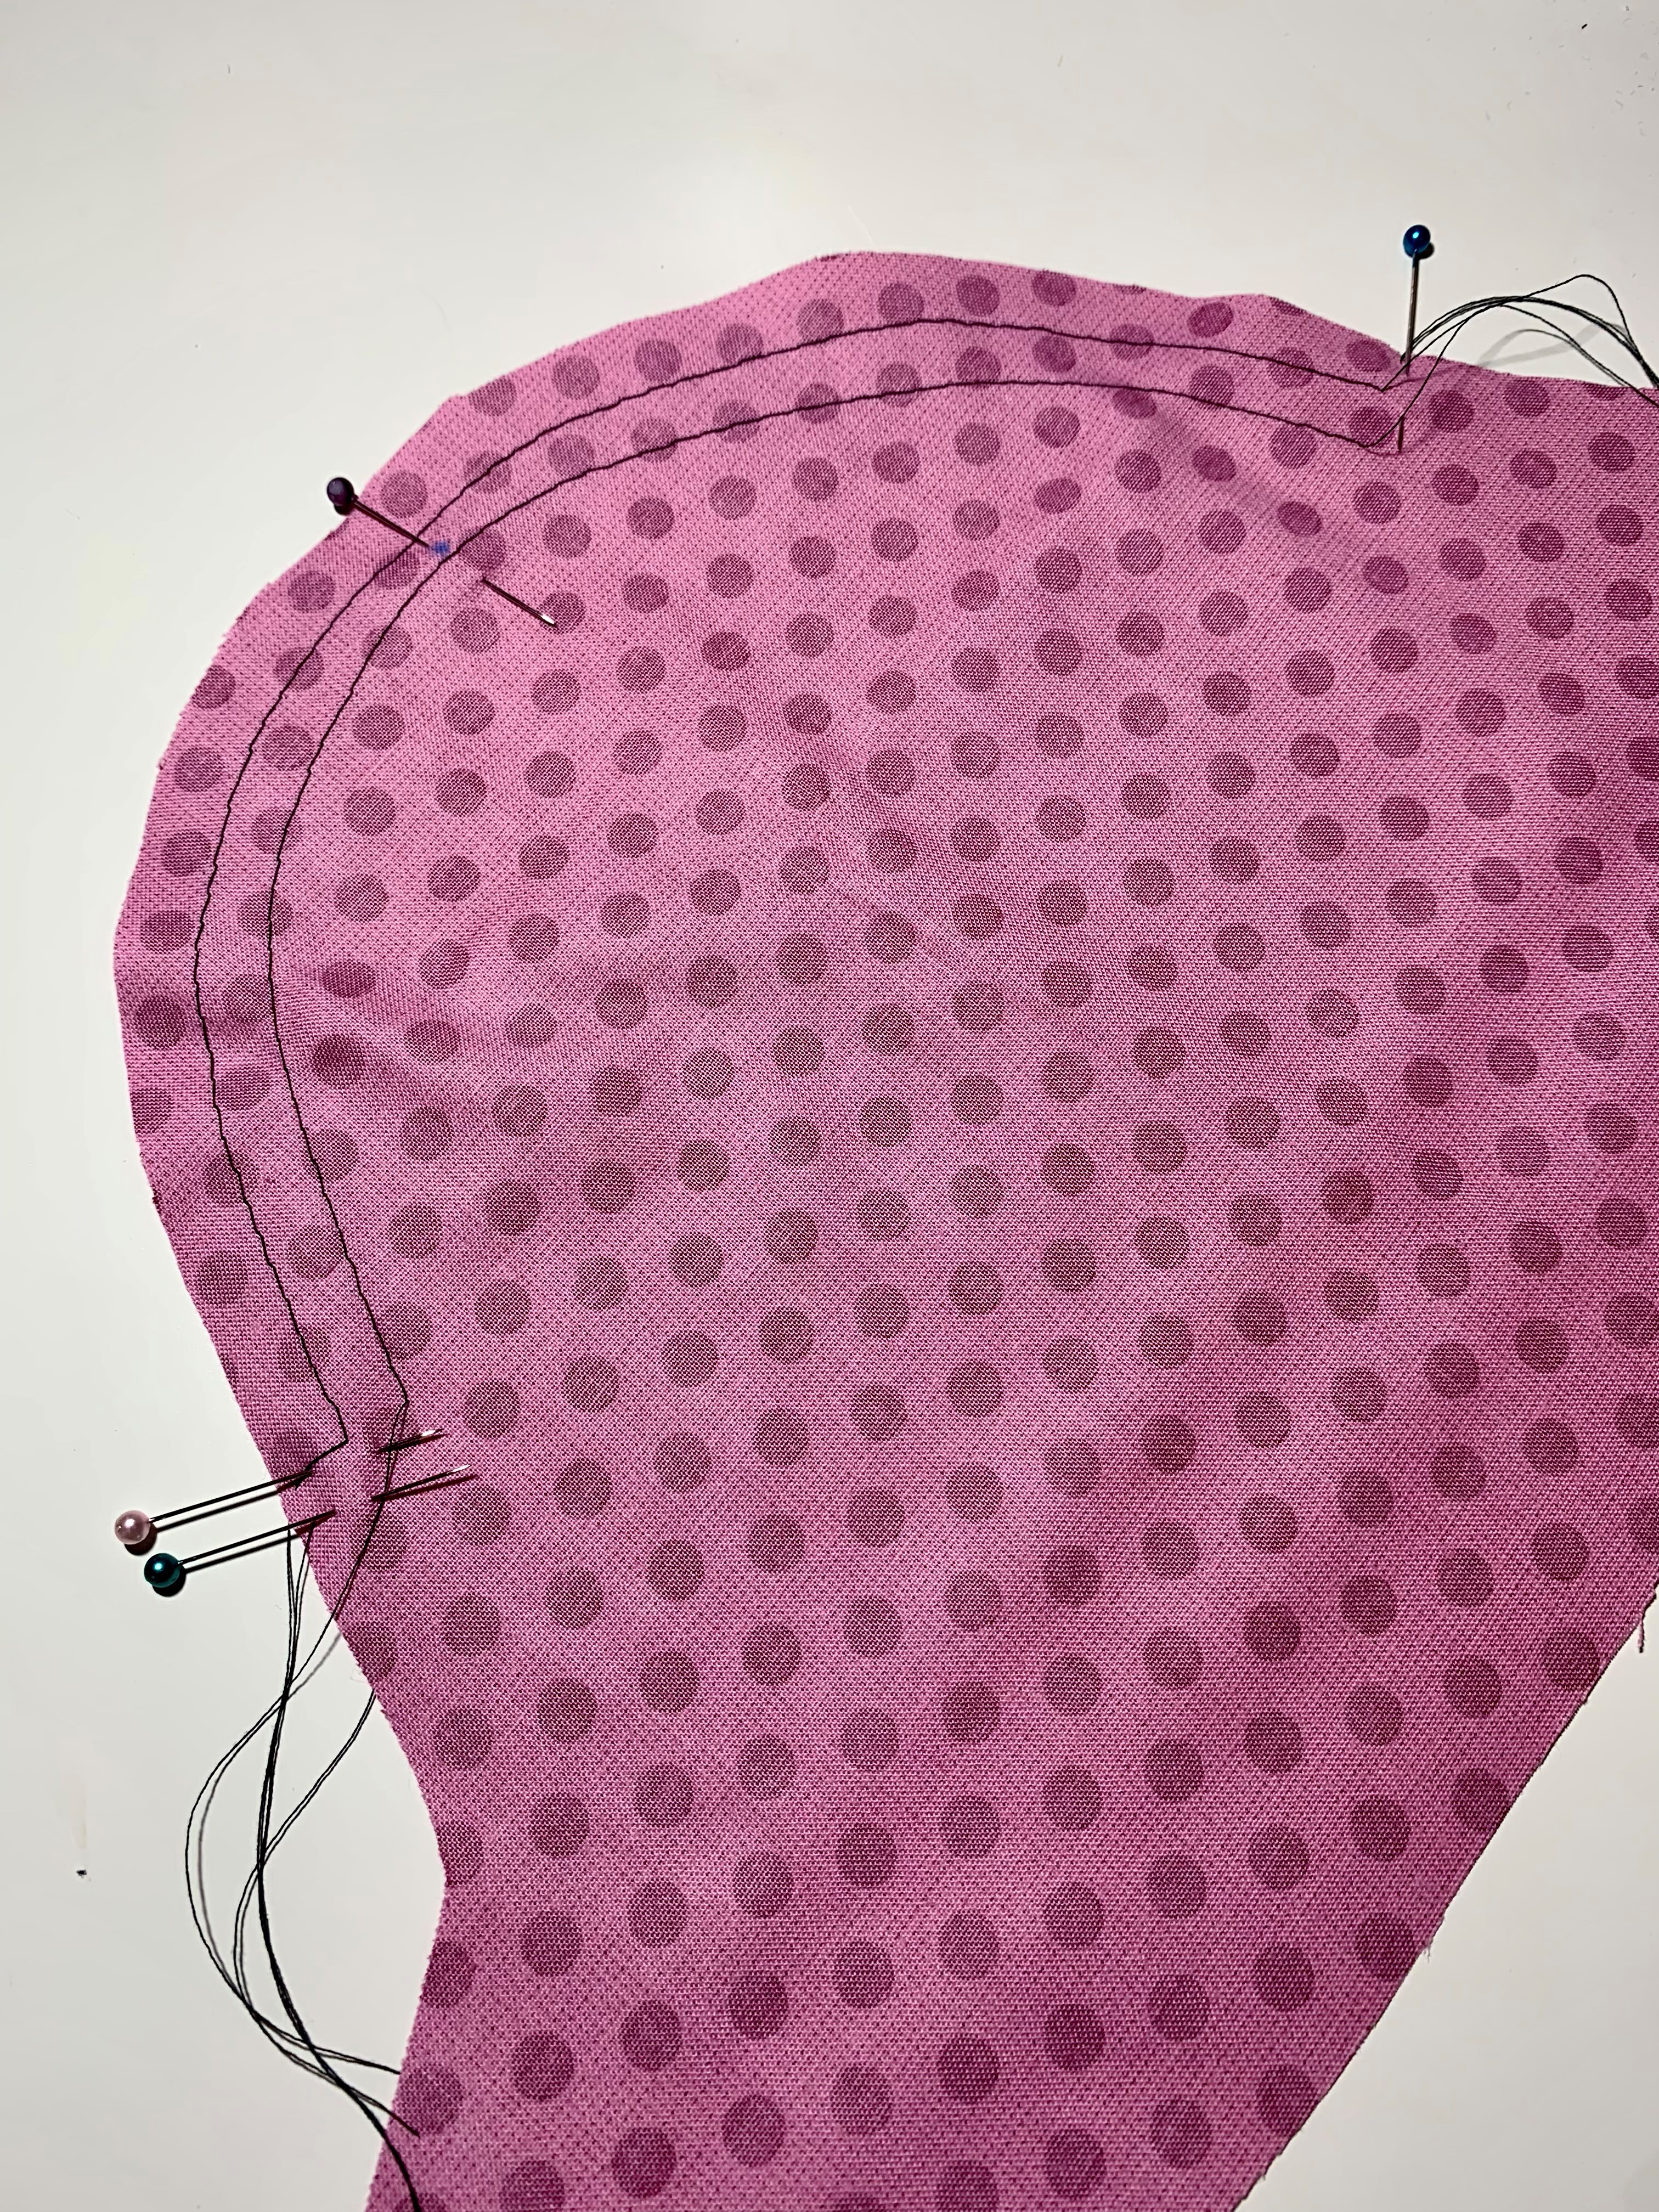
Repeat this with the other sleeve.
3. Sew the Under Arm Seam
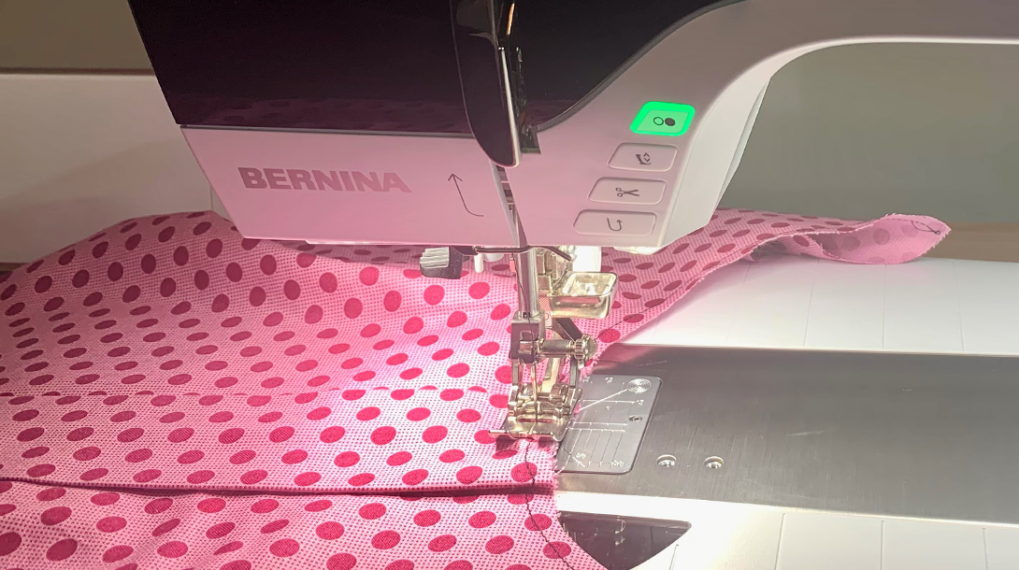
Fold your sleeve in half, right sides together, matching up the under arm seam. Sew this using a 5/8″ seam allowance.
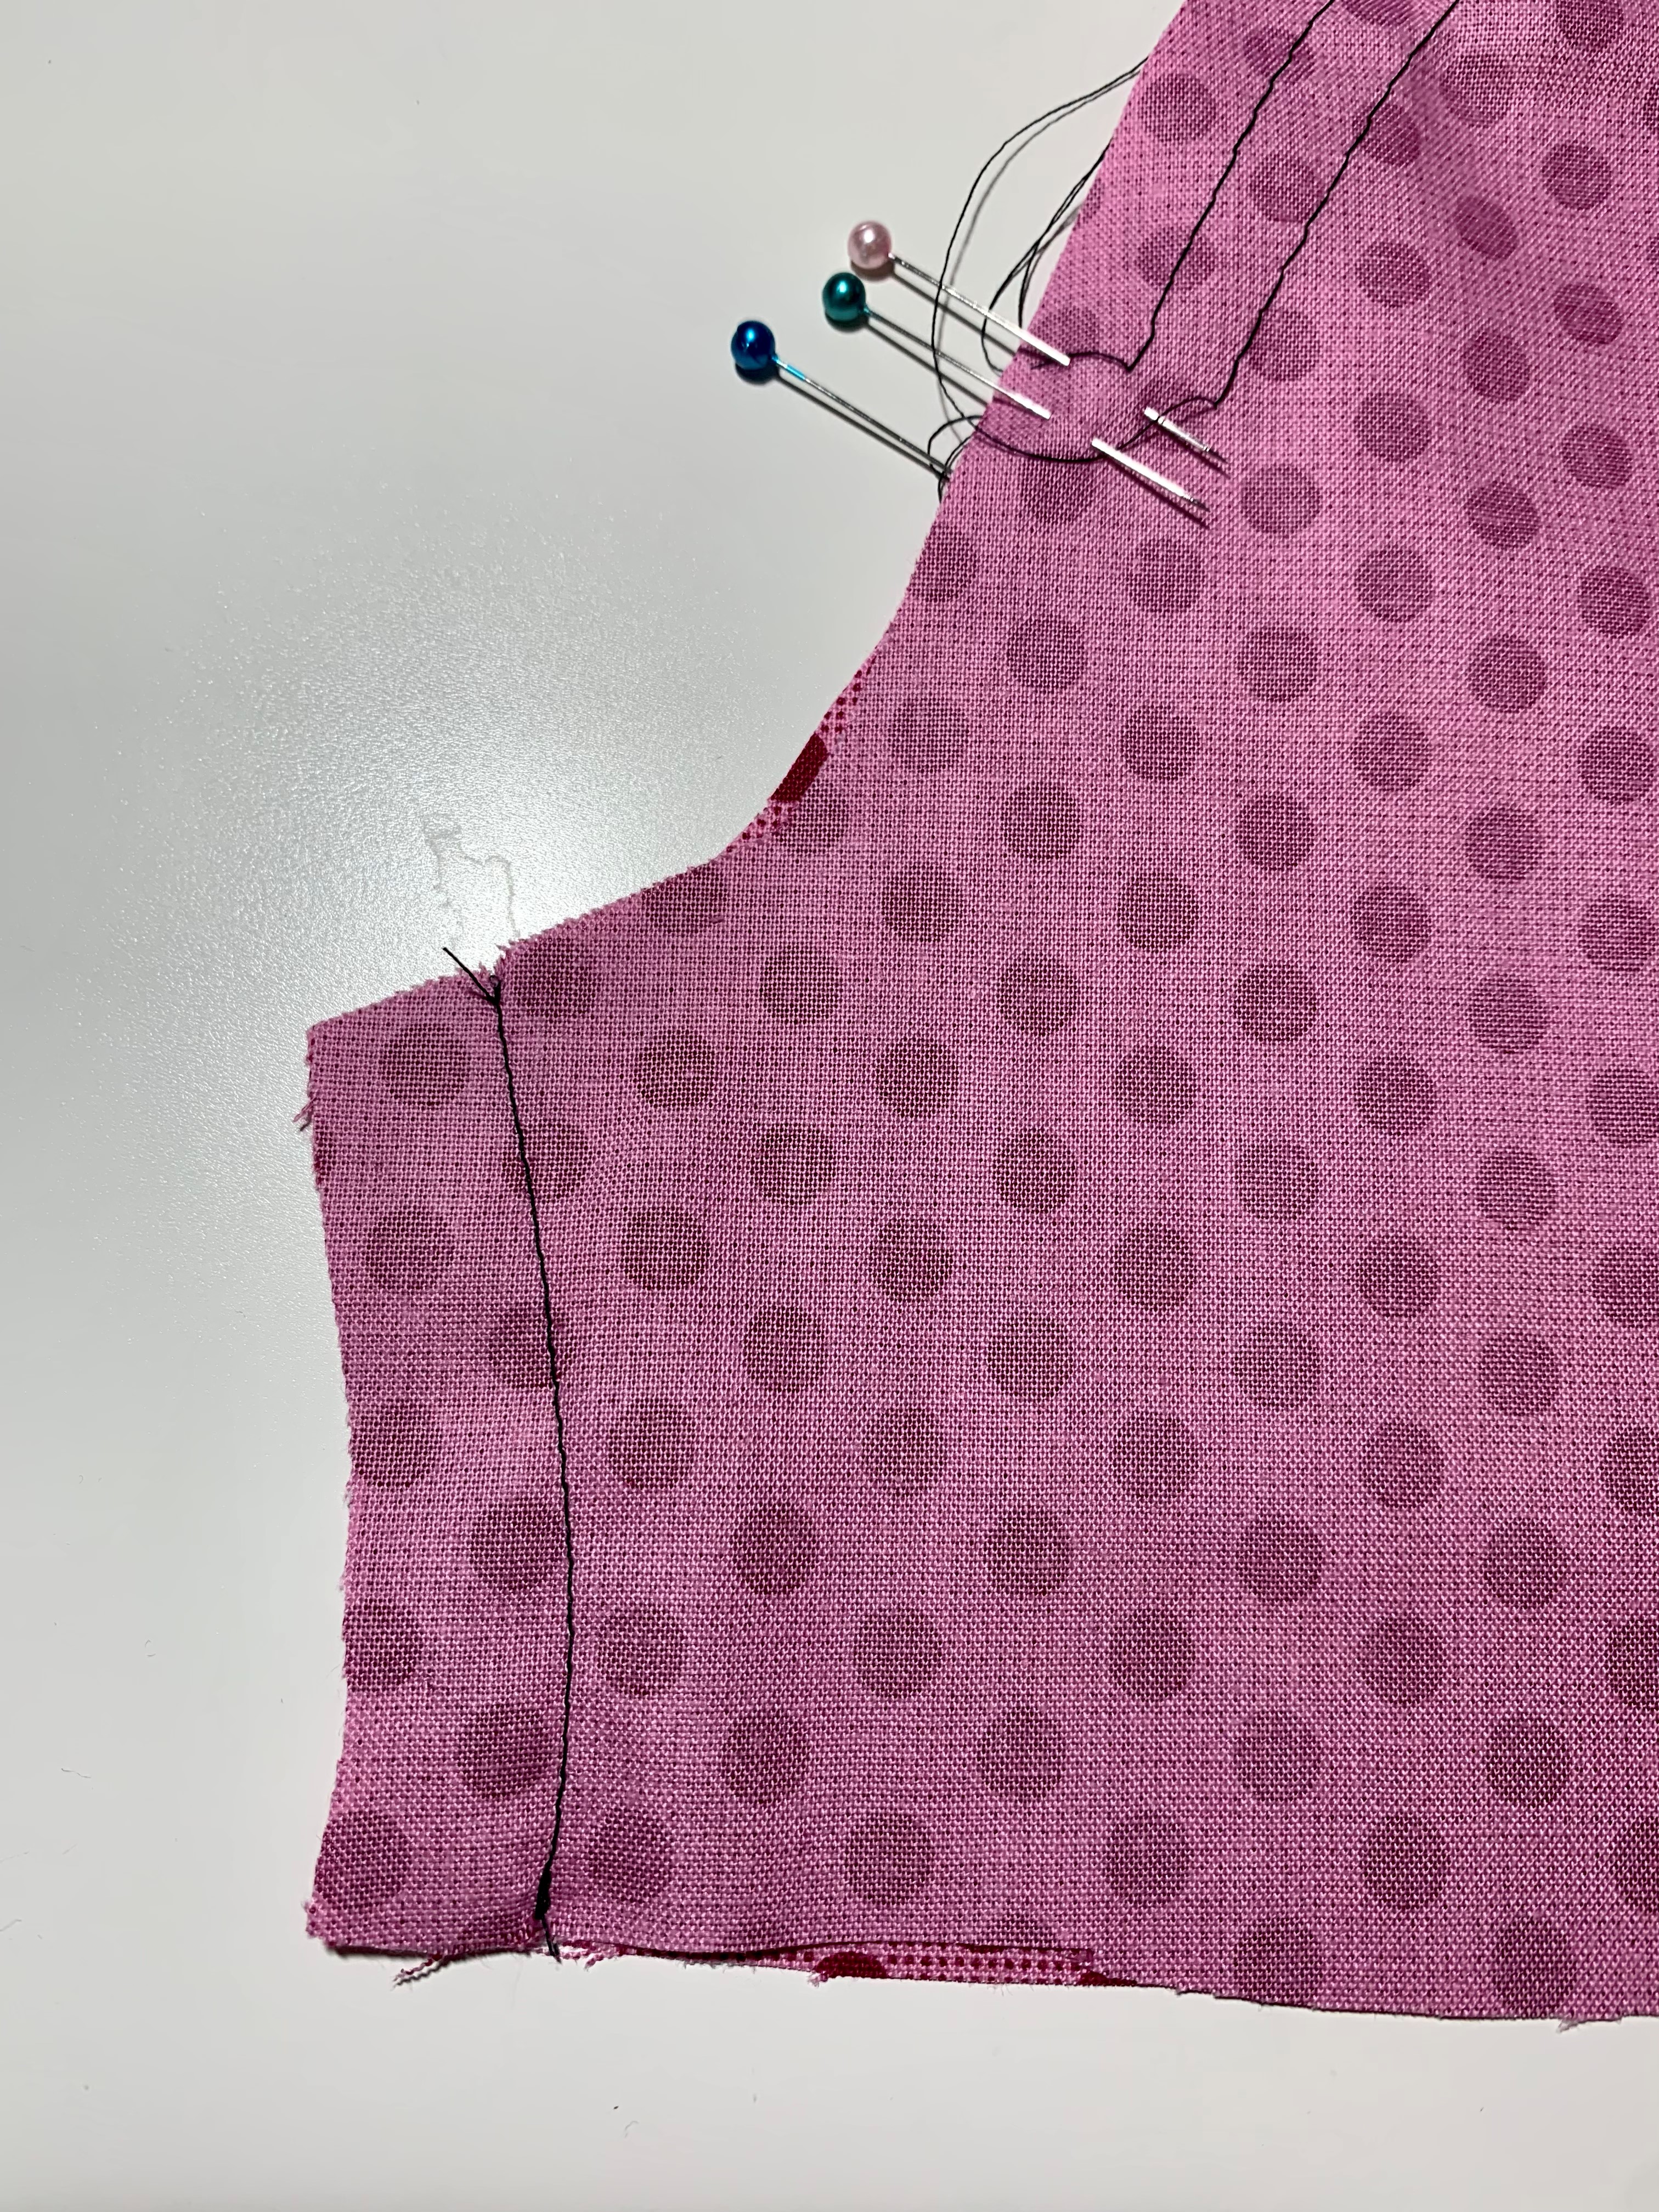
Finish this seam allowance like you did the shoulder and side seams in part 2. Press this seam open or to one side.
4. Insert the Sleeve Into The Bodice
Now we need to insert the sleeve into the bodice, right sides together, matching up the raw edges and the notches. To do this, turn your sleeve right side out and the bodice wrong side out. Insert the sleeve into the arm opening so that the double notch is on the back side and the single notch is on the front side.
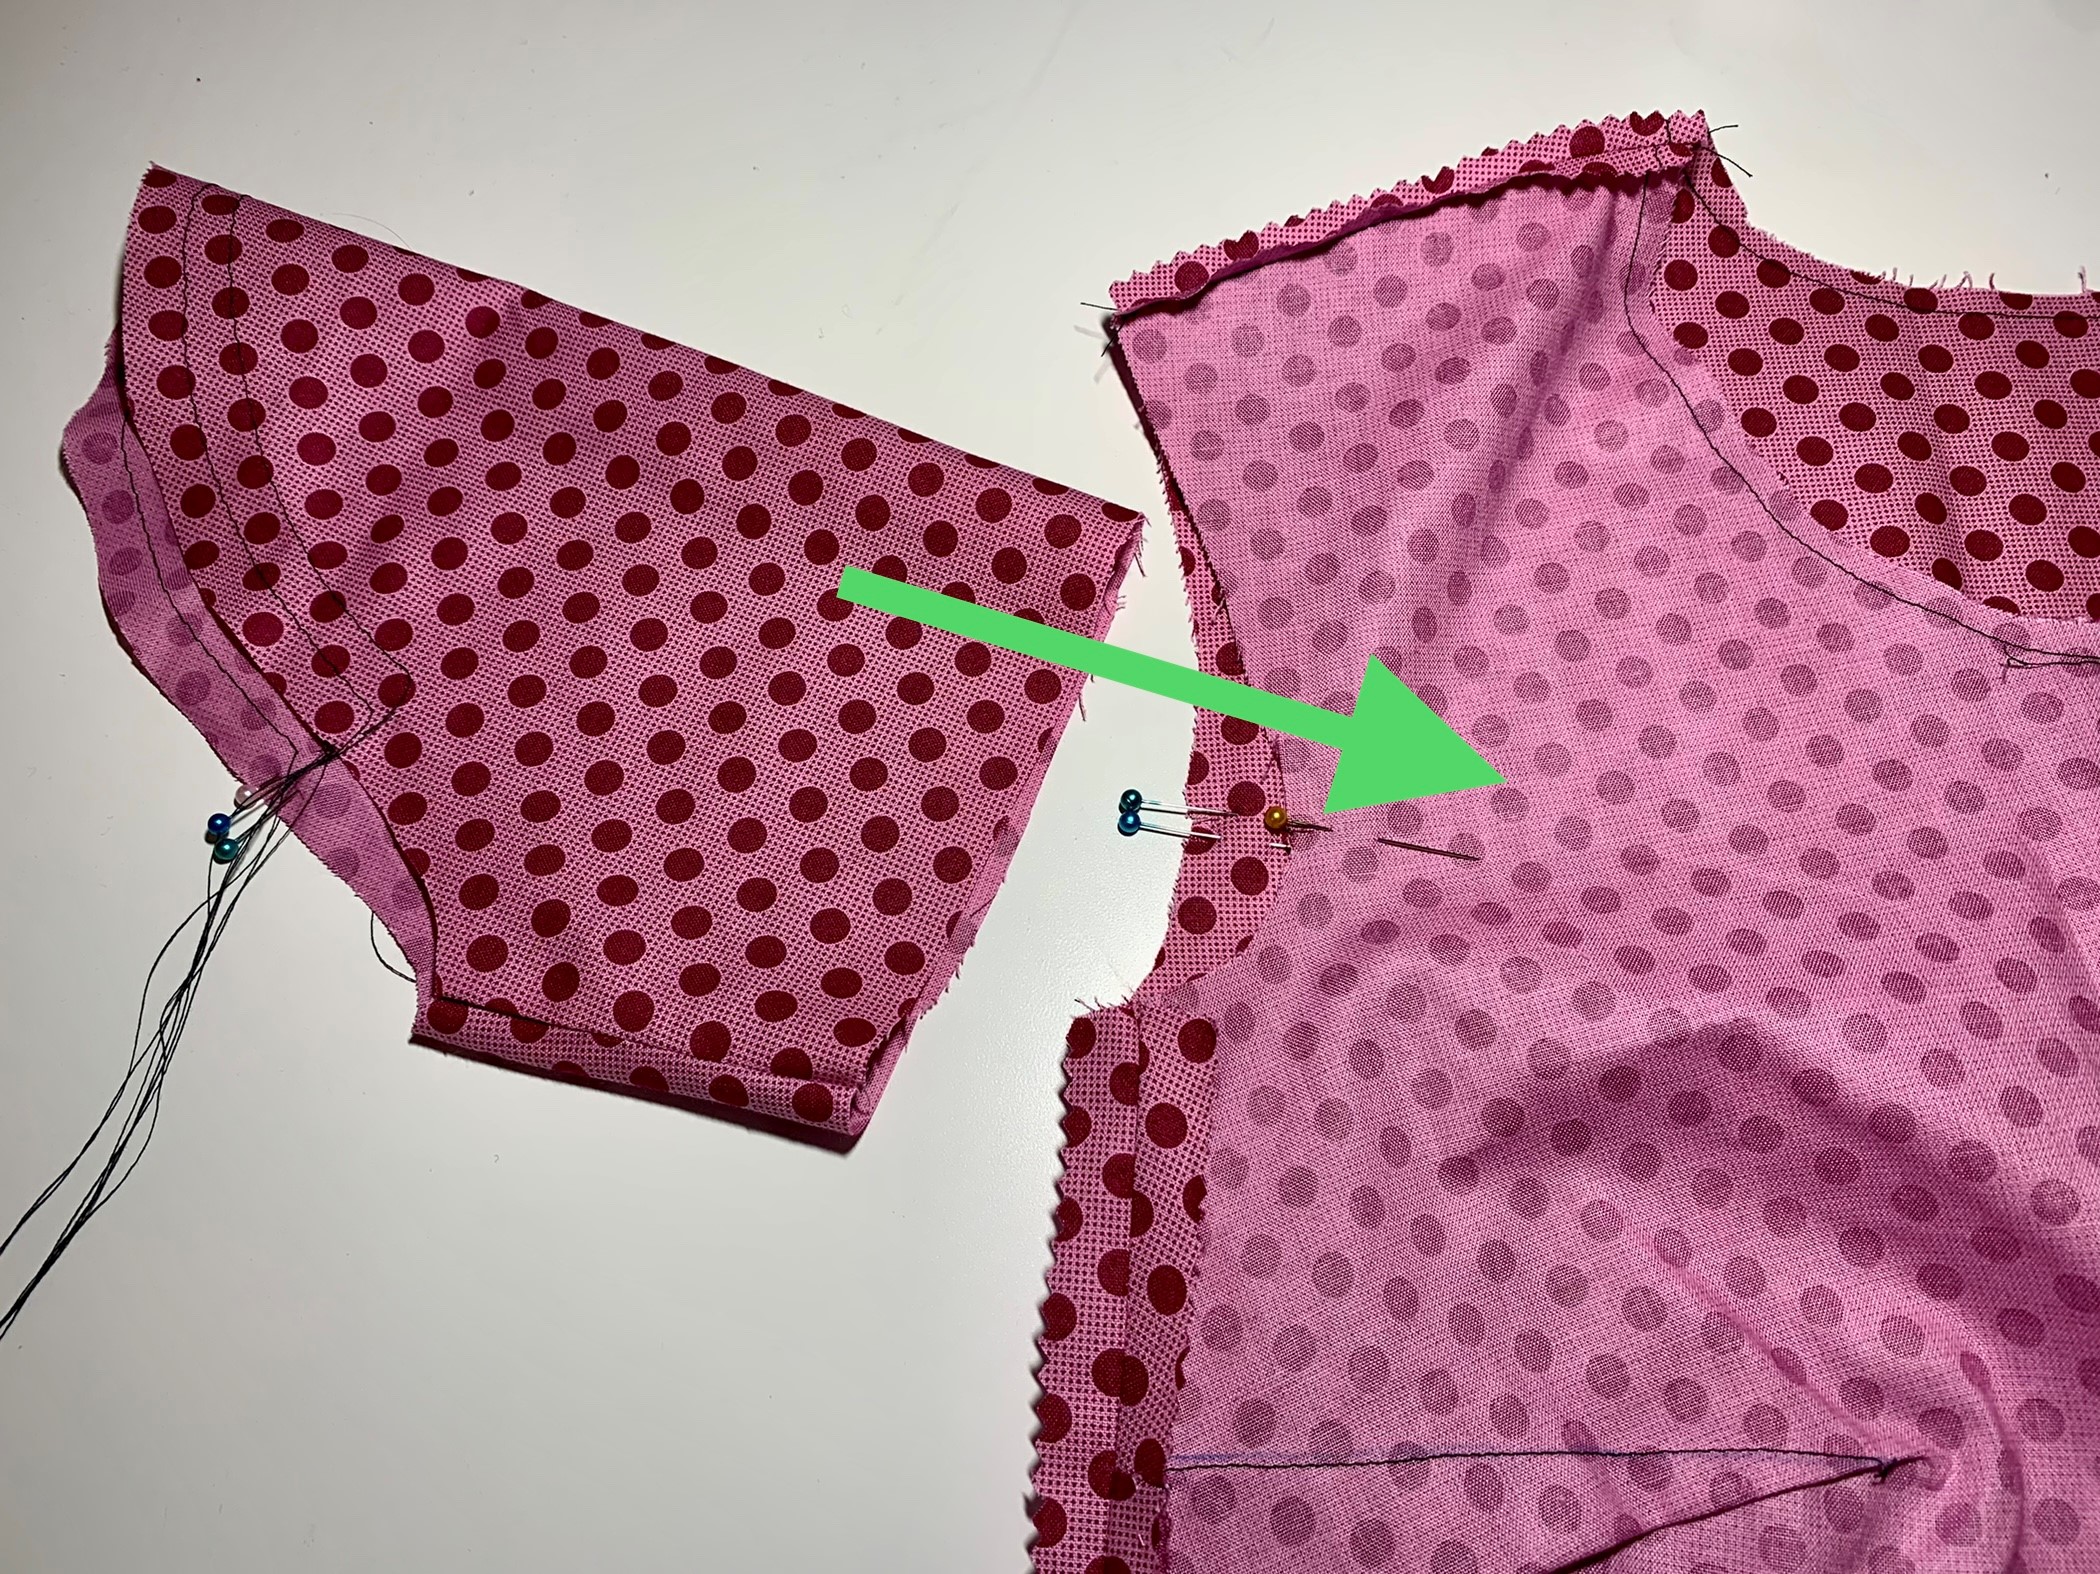
Pin the underarm seam of the sleeve to the side seam of the bodice, the single notch on the sleeve to the single notch on the bodice, the double notch on the sleeve to the double notch on the bodice, and the circle on the sleeve to the shoulder seam.

Pin the raw edges together between these points. The lower half of the sleeve will line up easily, but you’ll have to use the gathering stitching to ease in the top of the sleeve cap. Hold the thread tails from the gathering stitches on one side of the fabric and pull them to gather the sleeve between the notch and the shoulder seam. Gather enough so that you can match the raw edges of the sleeve and the bodice.
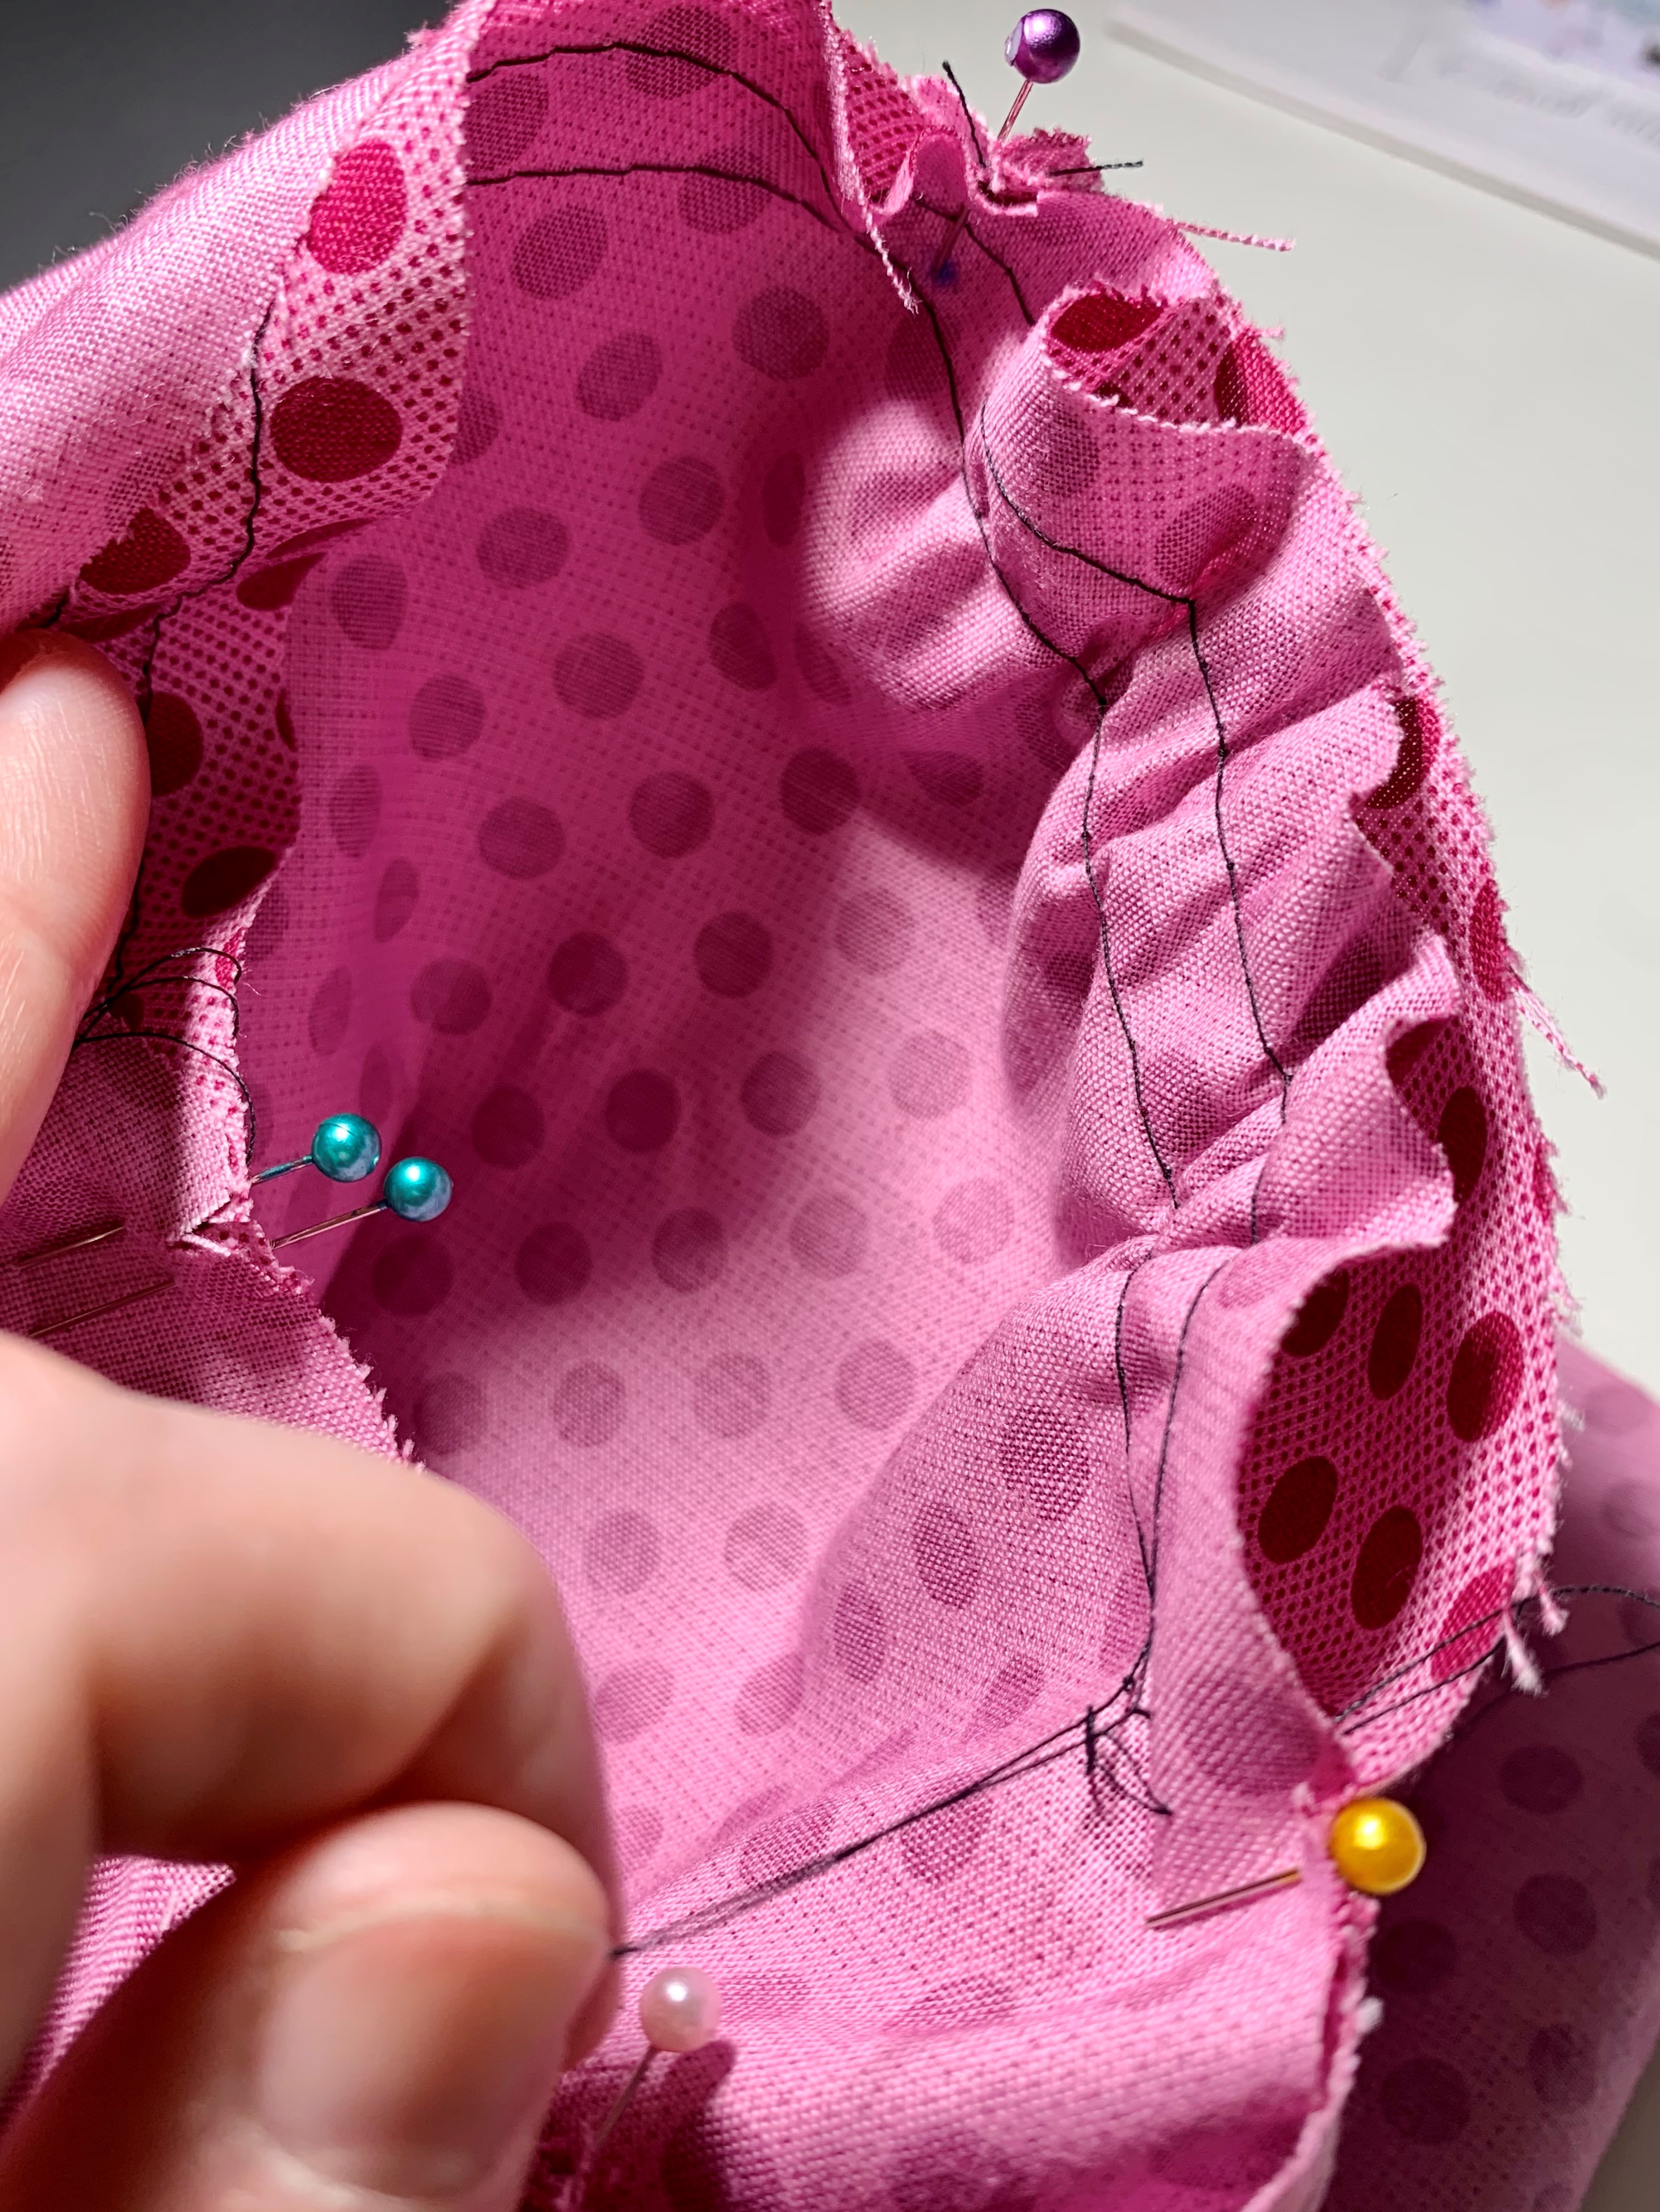
Add as many pins as you need to in order to get all those raw edges to line up.

5. Sew the Sleeve
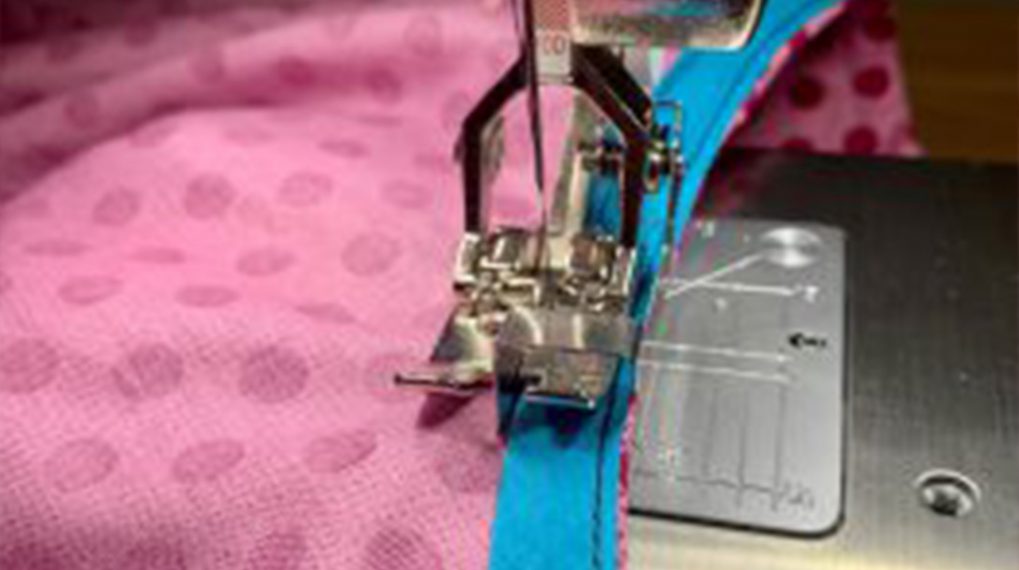
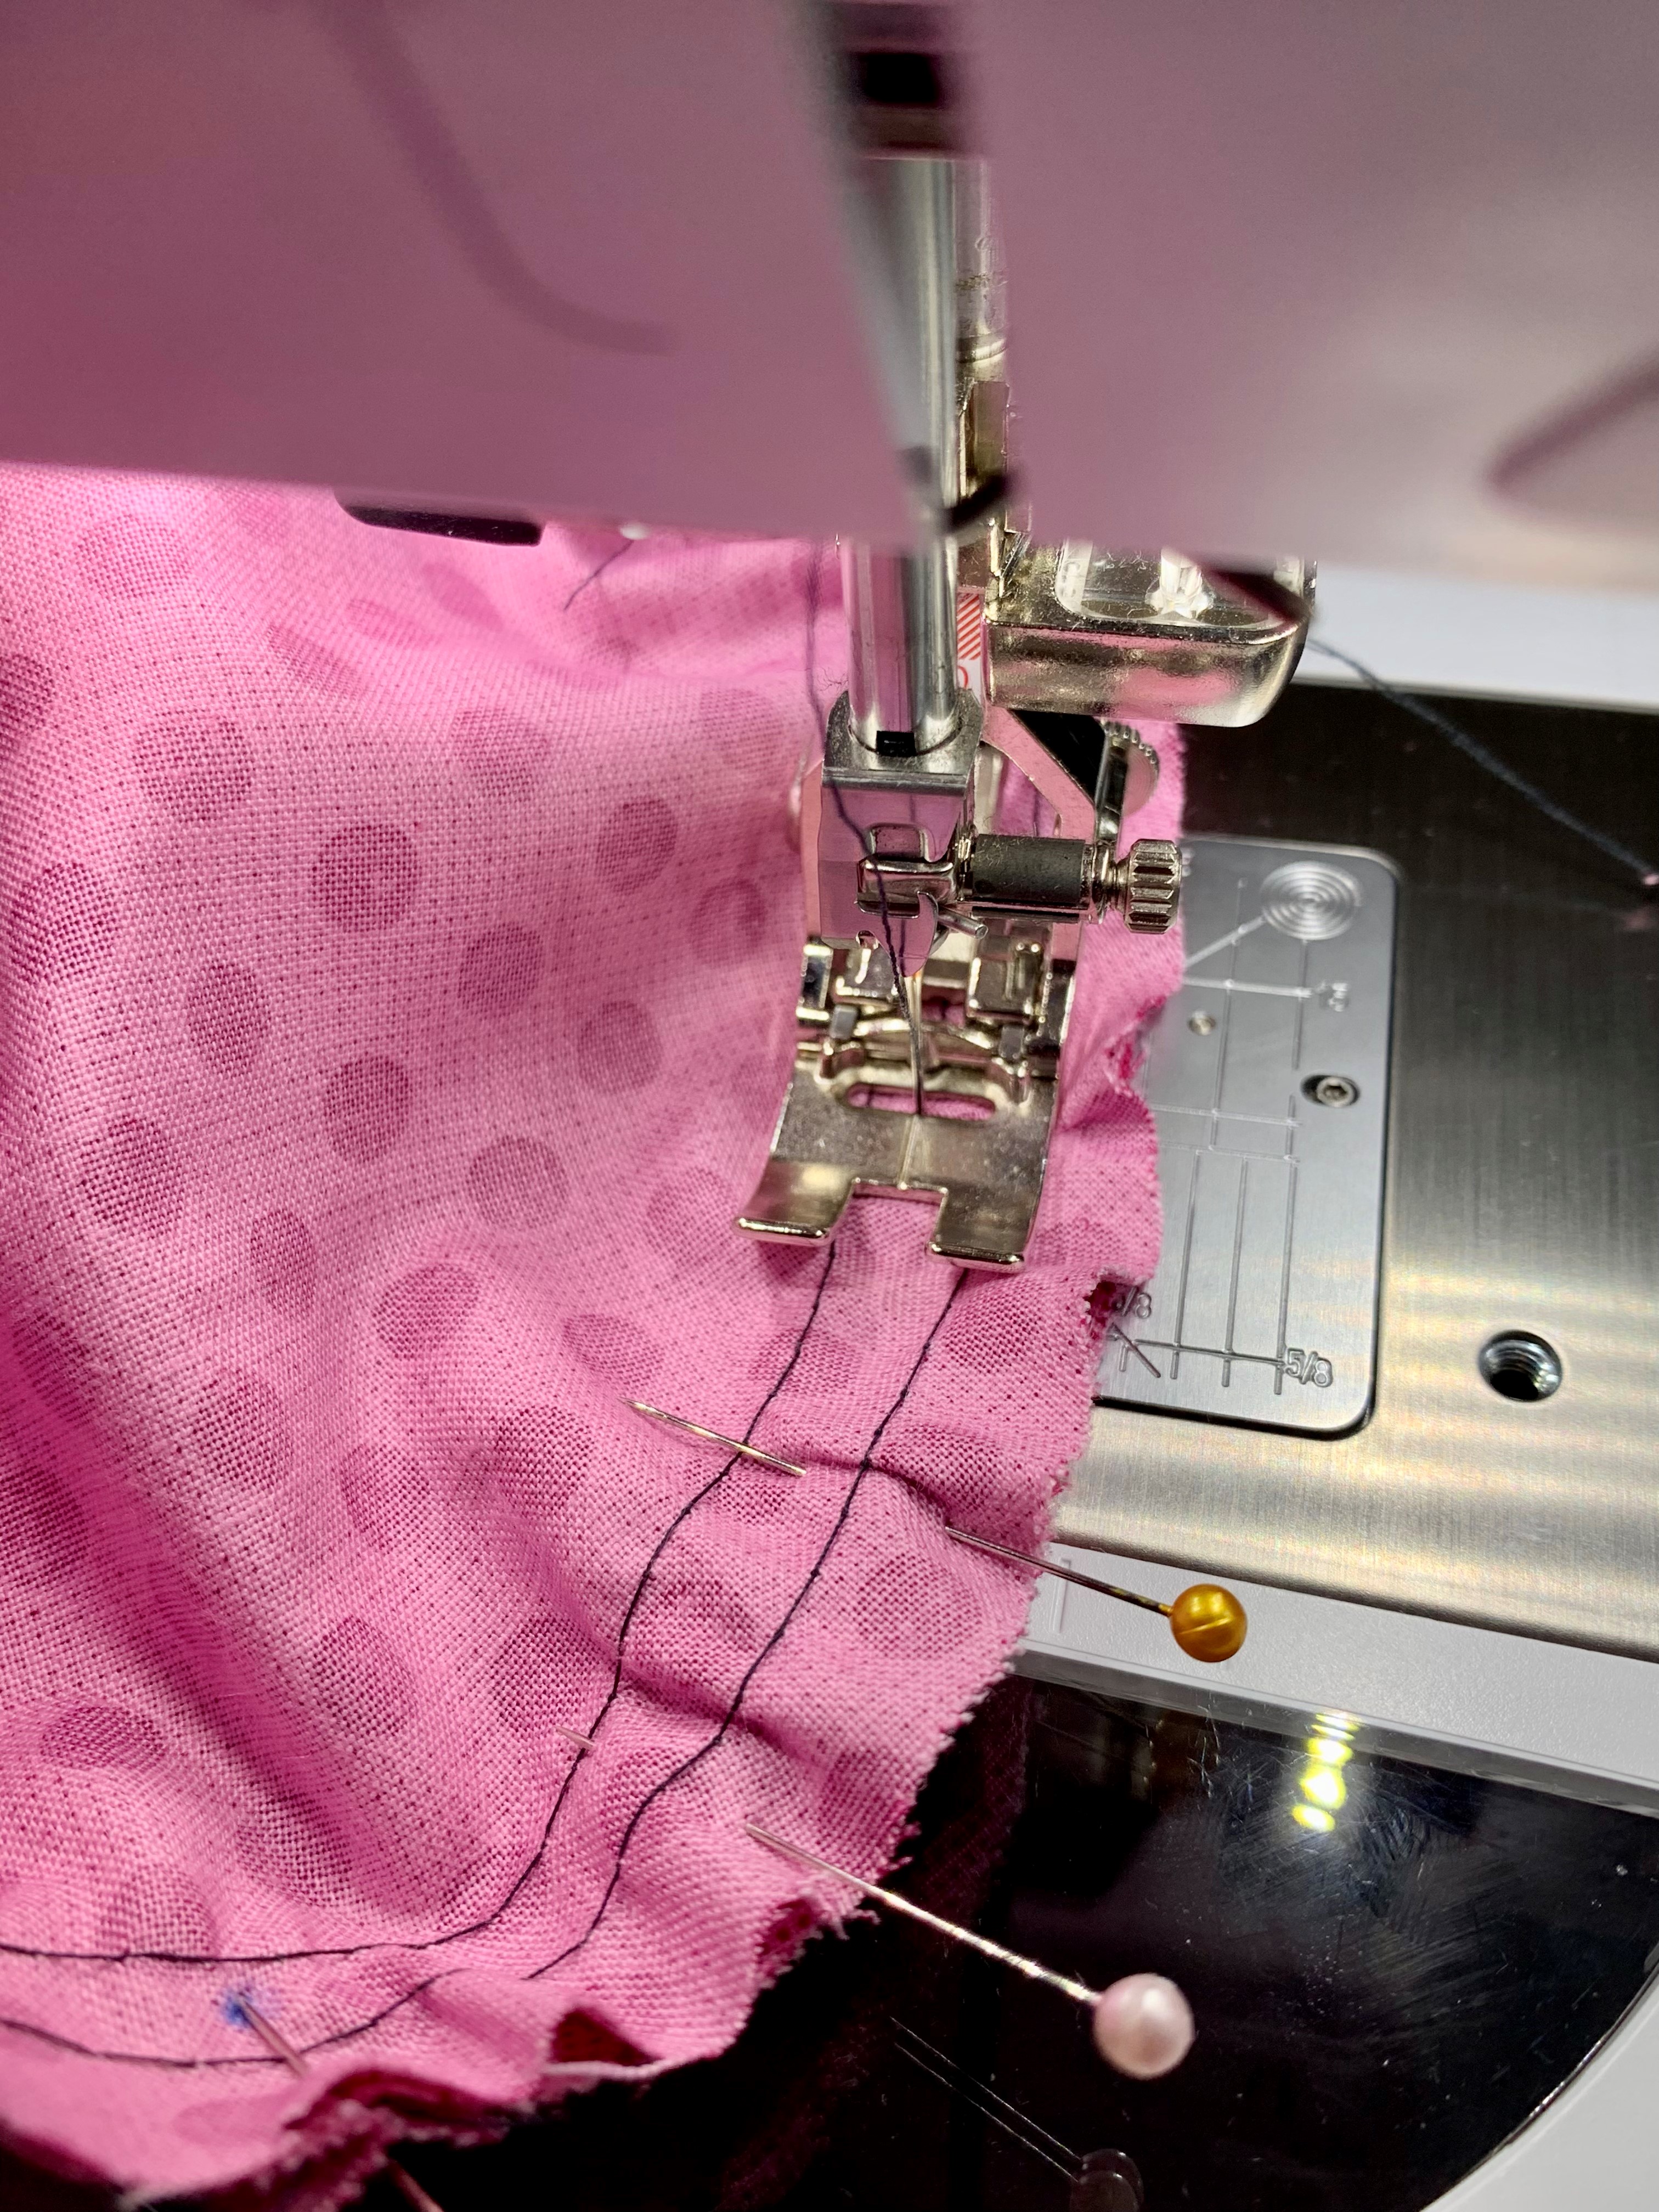
After you’ve pinned, sew the sleeve to the bodice, with a 5/8″ seam allowance, starting at the underarm seam. Sew all the way around, backstitching at the beginning and the end. I find it easiest to sew with the sleeve facing up and with the bulk of the fabric above your machine rather than around the free arm.
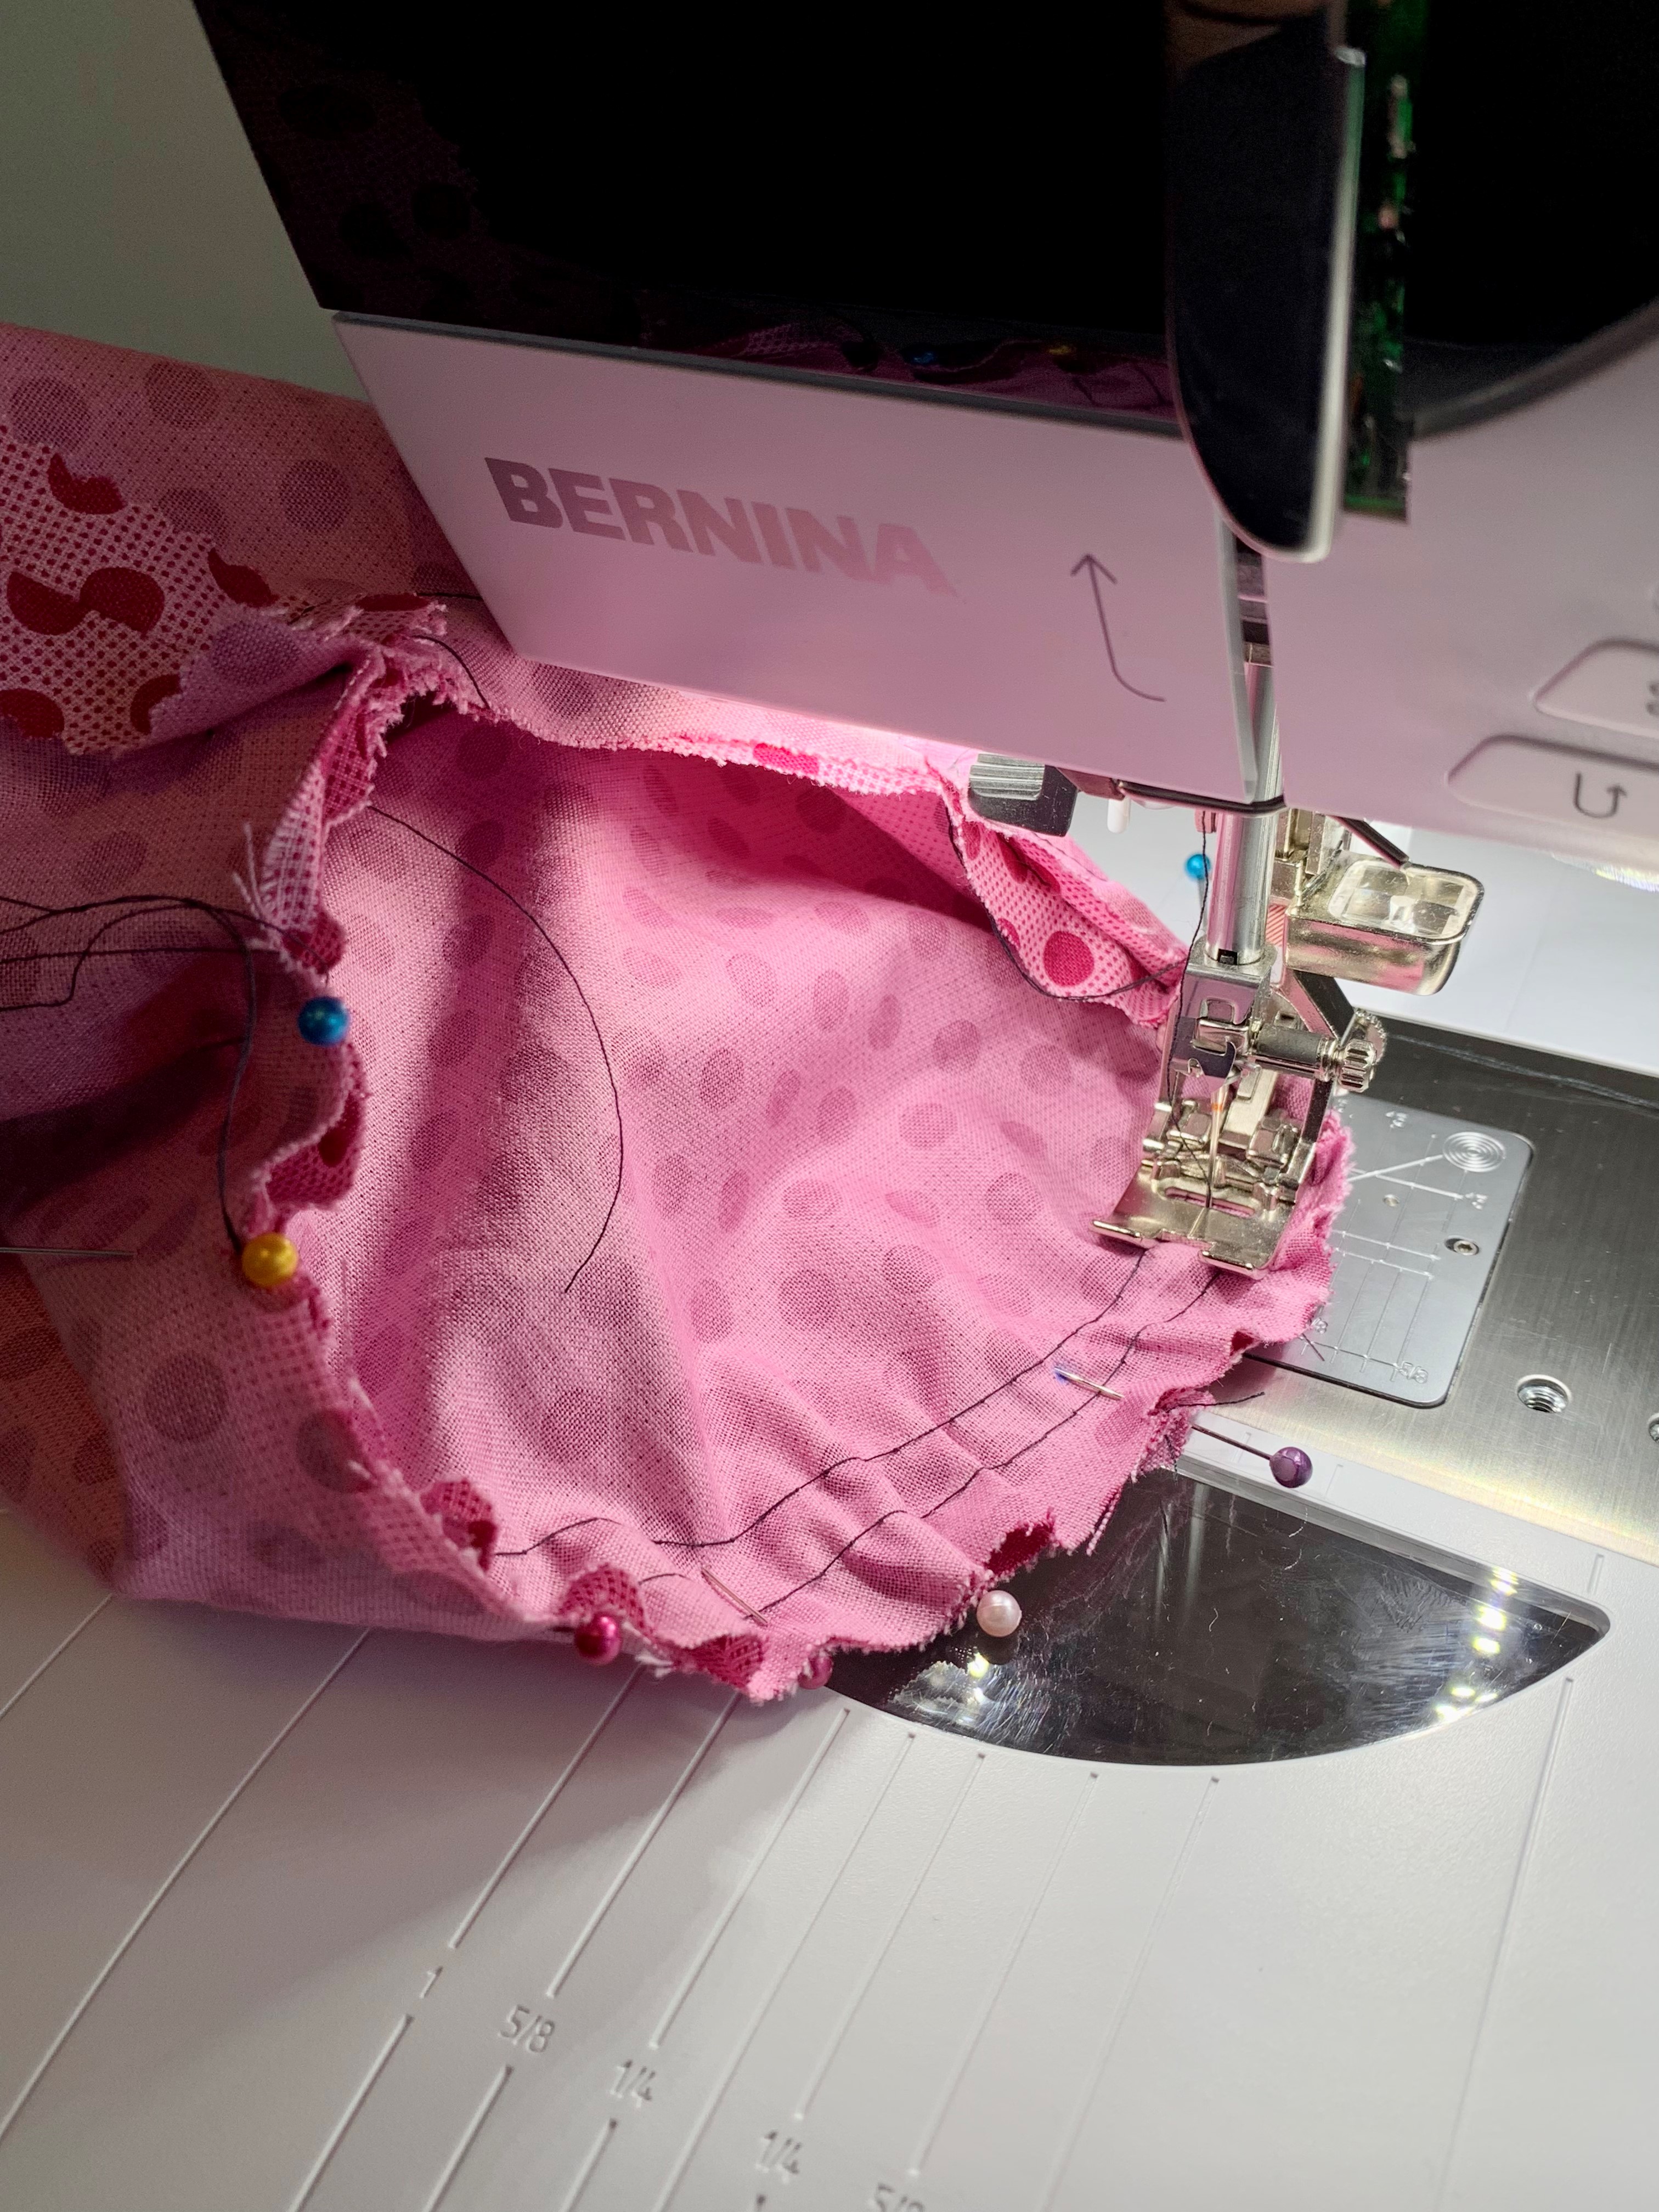
When you sew around the top of the sleeve, you’ll be sewing between the rows of basting stitches.
When you make it all the way around, check to make sure you don’t have any puckers in your fabric. If you are happy with your stitching, you can remove the basting stitches (they should just pull out, but you may need to use a seam ripper if they got tacked down). Finish the seam allowance in your preferred method and press the seams toward the sleeve.
Repeat the process for the other sleeve and you’re all done for today’s post! How amazing that you’ve just sewn sleeves! In the next post (Part 4) we’ll go over hemming the neckline, sleeves, and bottom of the shirt! If you have questions, please feel free to post them in the comments. Remember to share your progress in the WeAllSew Community and on Instagram (make sure to use the hashtag #weallsewsorbetto and tag me (@thelilacelk) and @BERNINAusa so we can see what you make!)