Sensory Blanket Sew Along, Part Four
Hi! It’s Jen Belnap from The Smitten Chicken. We are nearing the finish line with our Sensory Blanket Sew- Along. Today we will be making the Zipper Block. Zippers can be intimidating! But not to worry, you will be able to conquer these by the end of this post!

If you missed the beginning of the Sew Along, make sure you check out Part one Couching, Part two Leather and Part three Buttons!

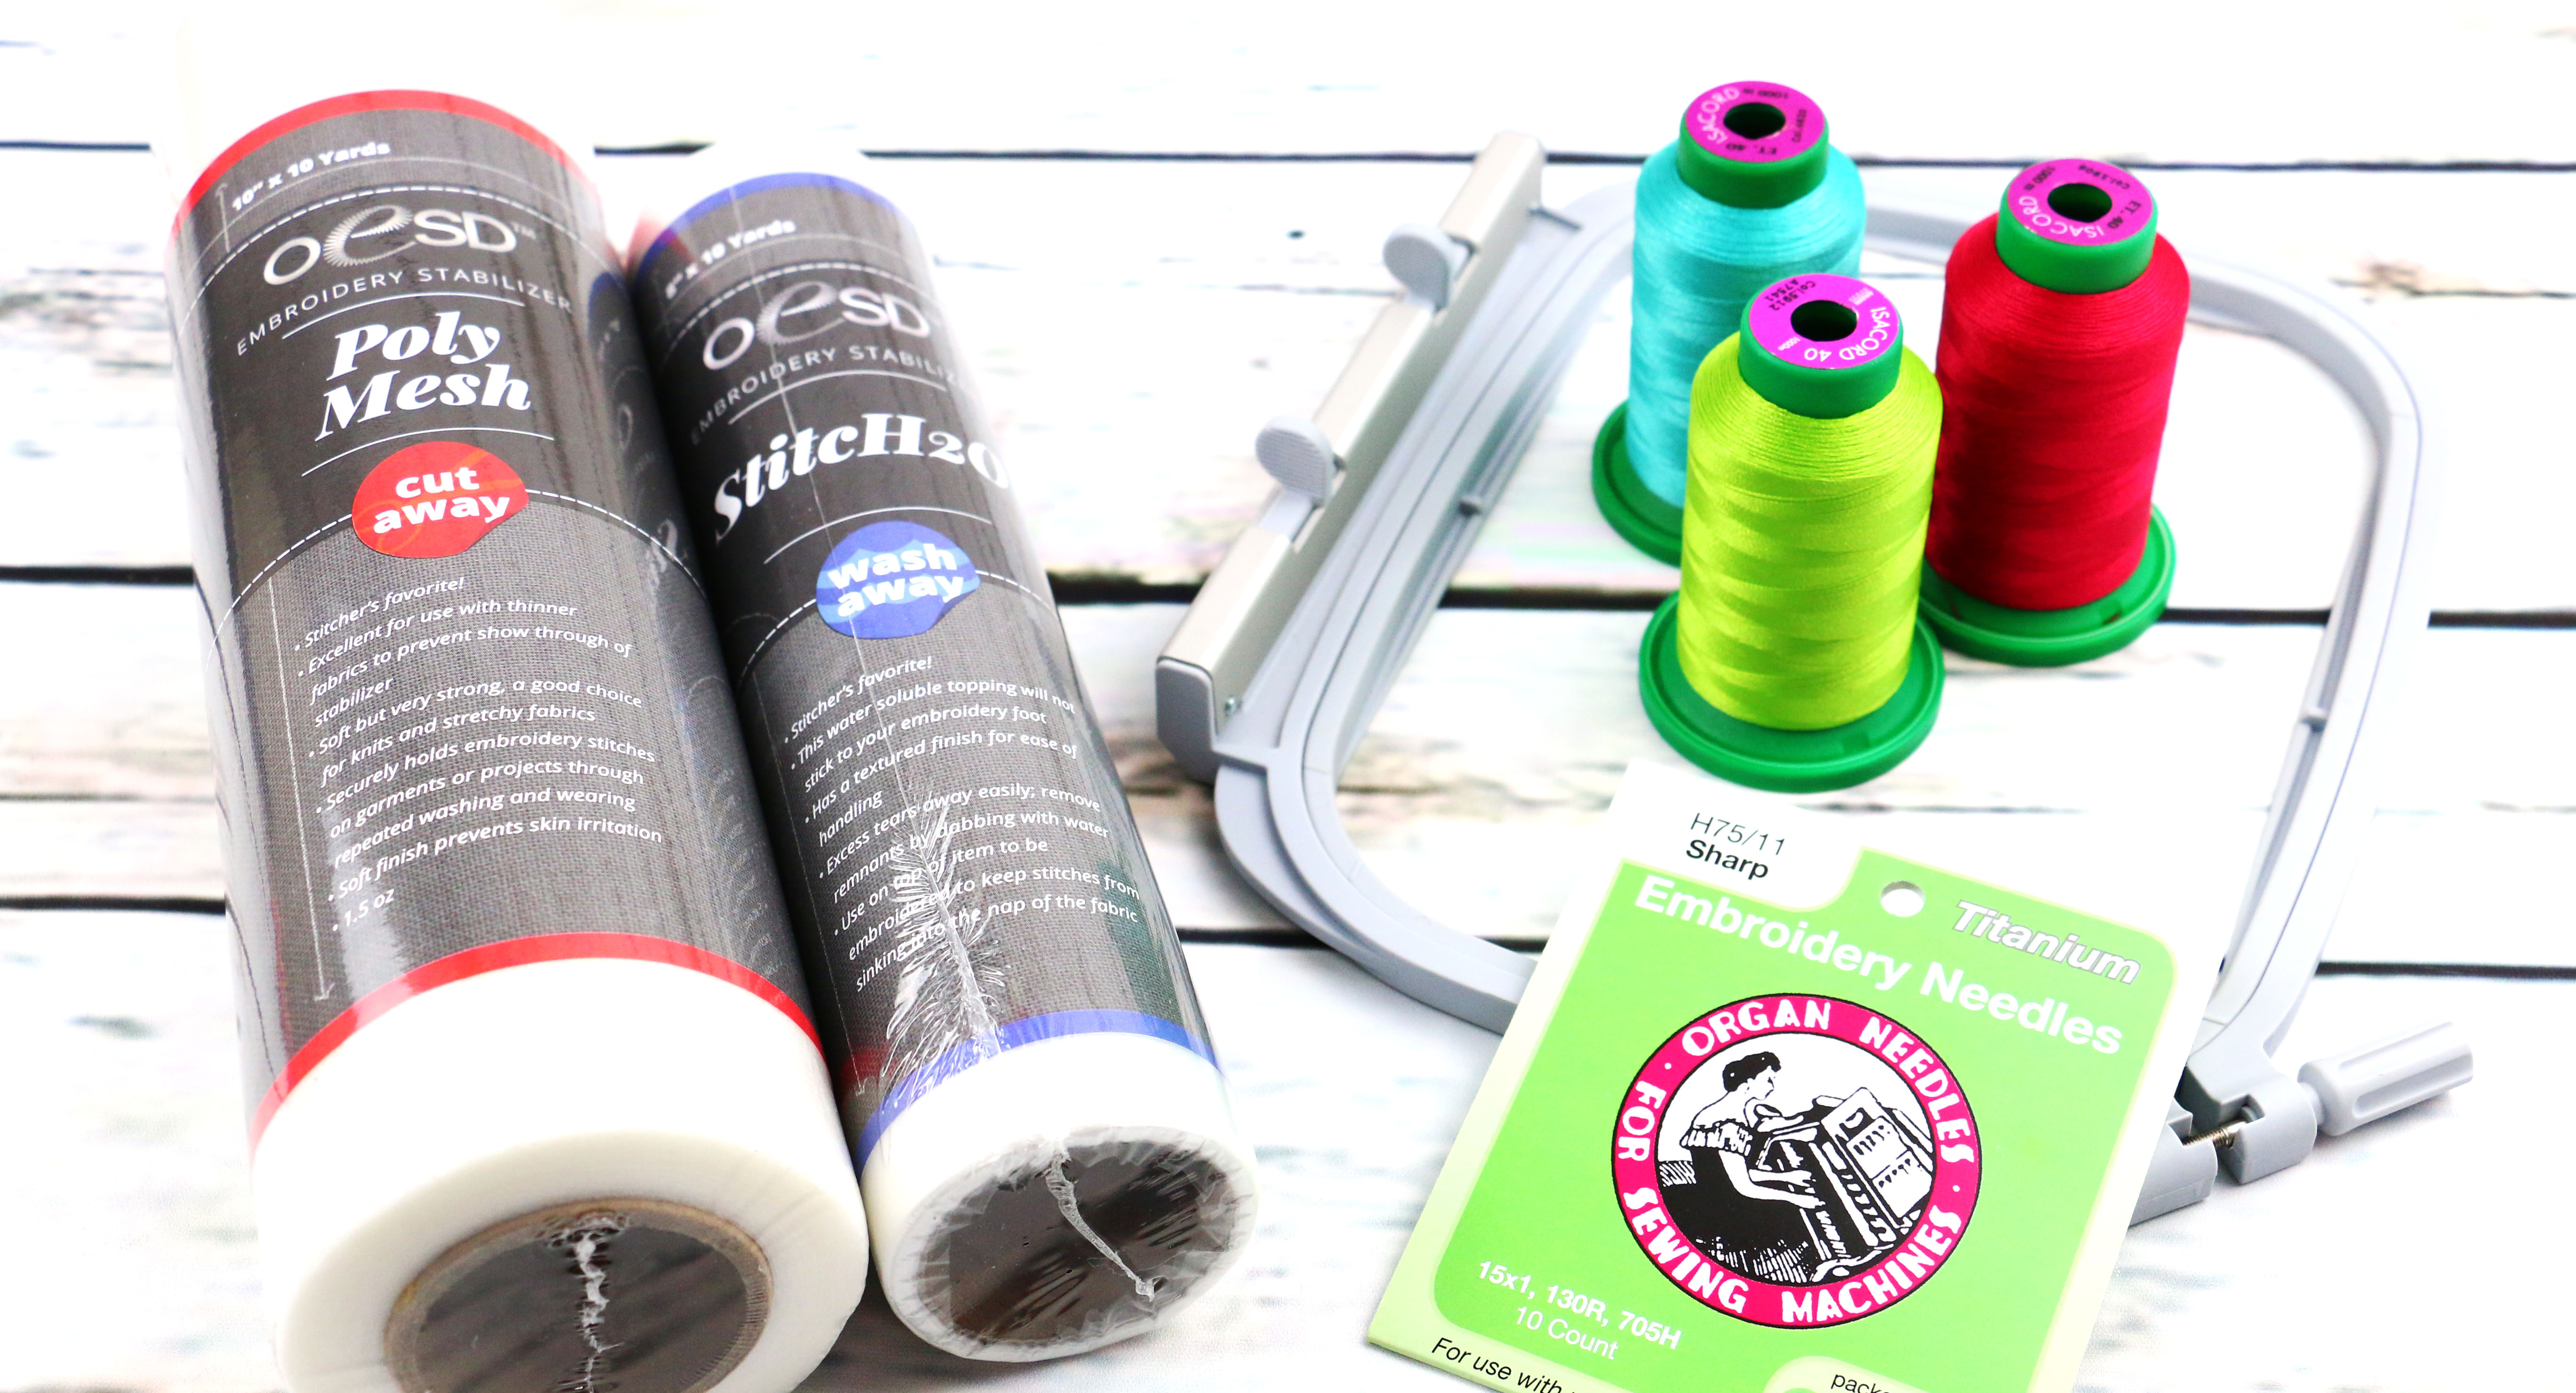
Part 4: Zipper Block Supplies
What you will need:
- Fabric (I am using this beautiful fat quarter bundle of Chambray Basics by Tilda)
- Zippers (I had some vintage ones laying around…did you see how much they sold for??? $0.80!)
- BERNINA Invisible Zipper Foot #35
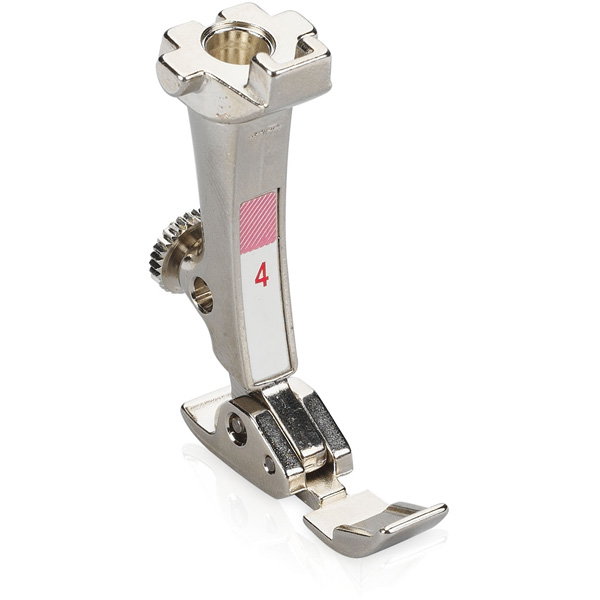
- BERNINA Zipper Foot #4
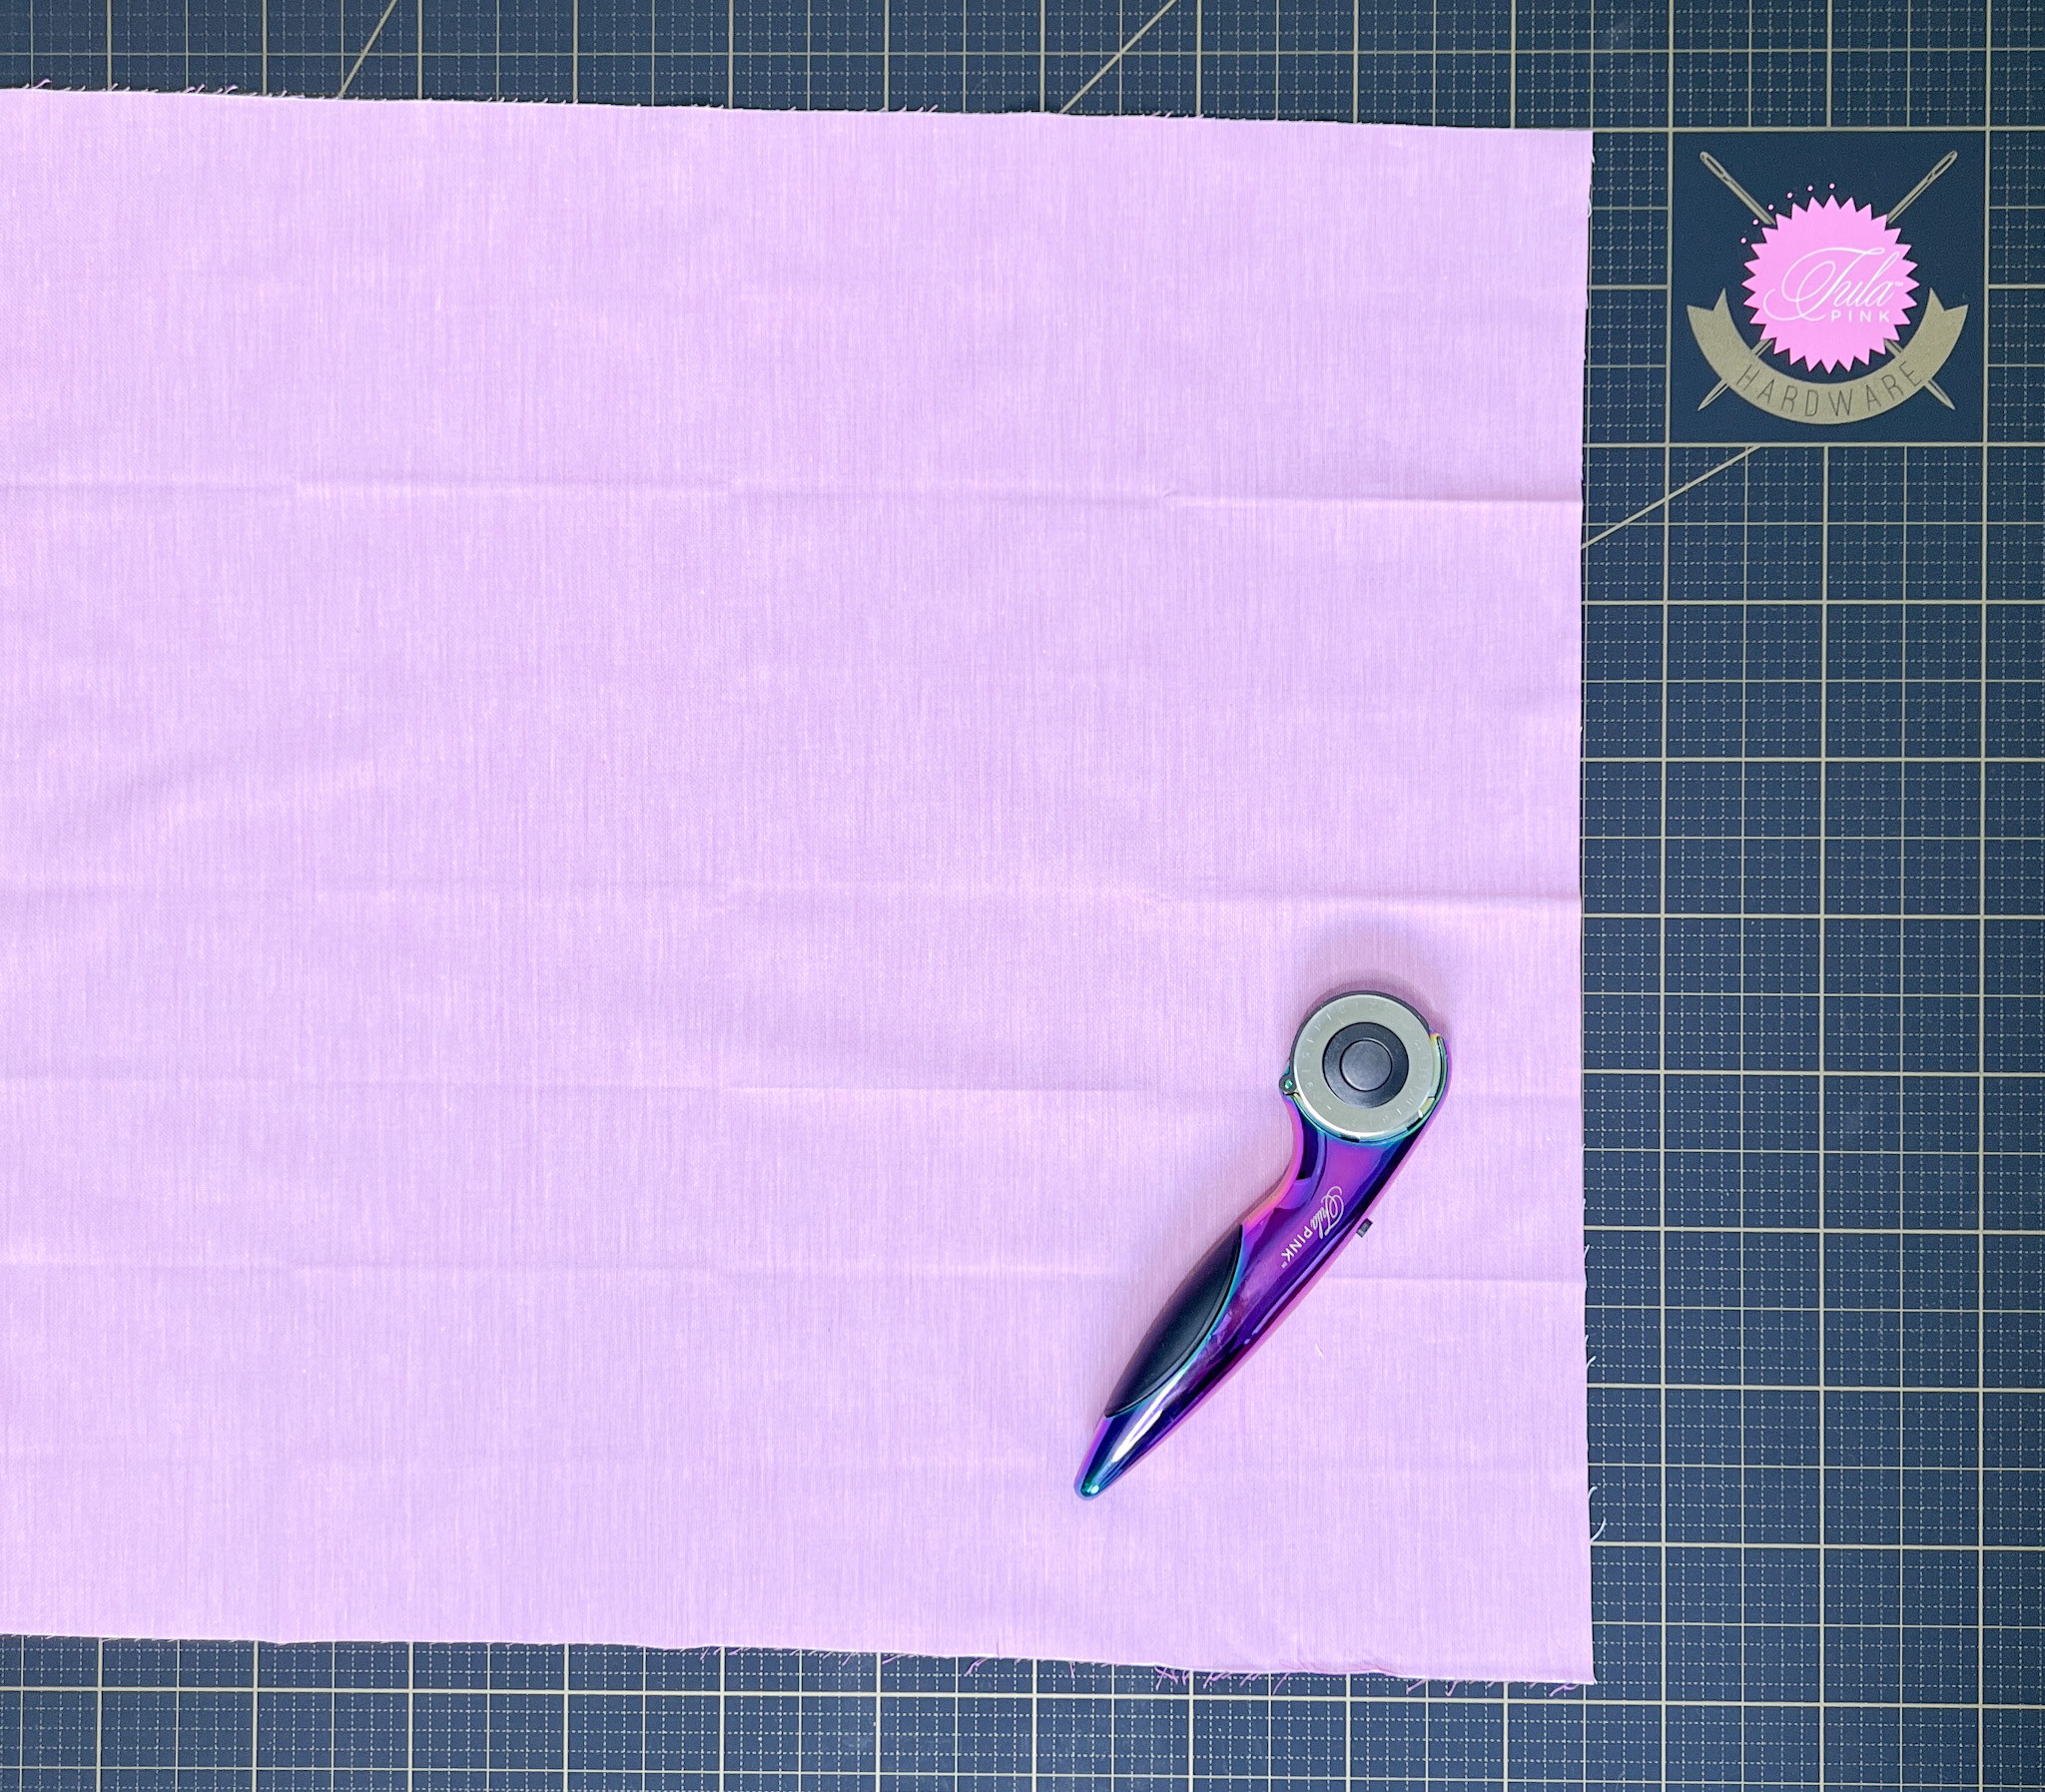
Cutting Fabric
Start by cutting out a 9 1/2″ by 9 1/2″ block from your fat quarter. You will also need some small rectangles for the zippers.
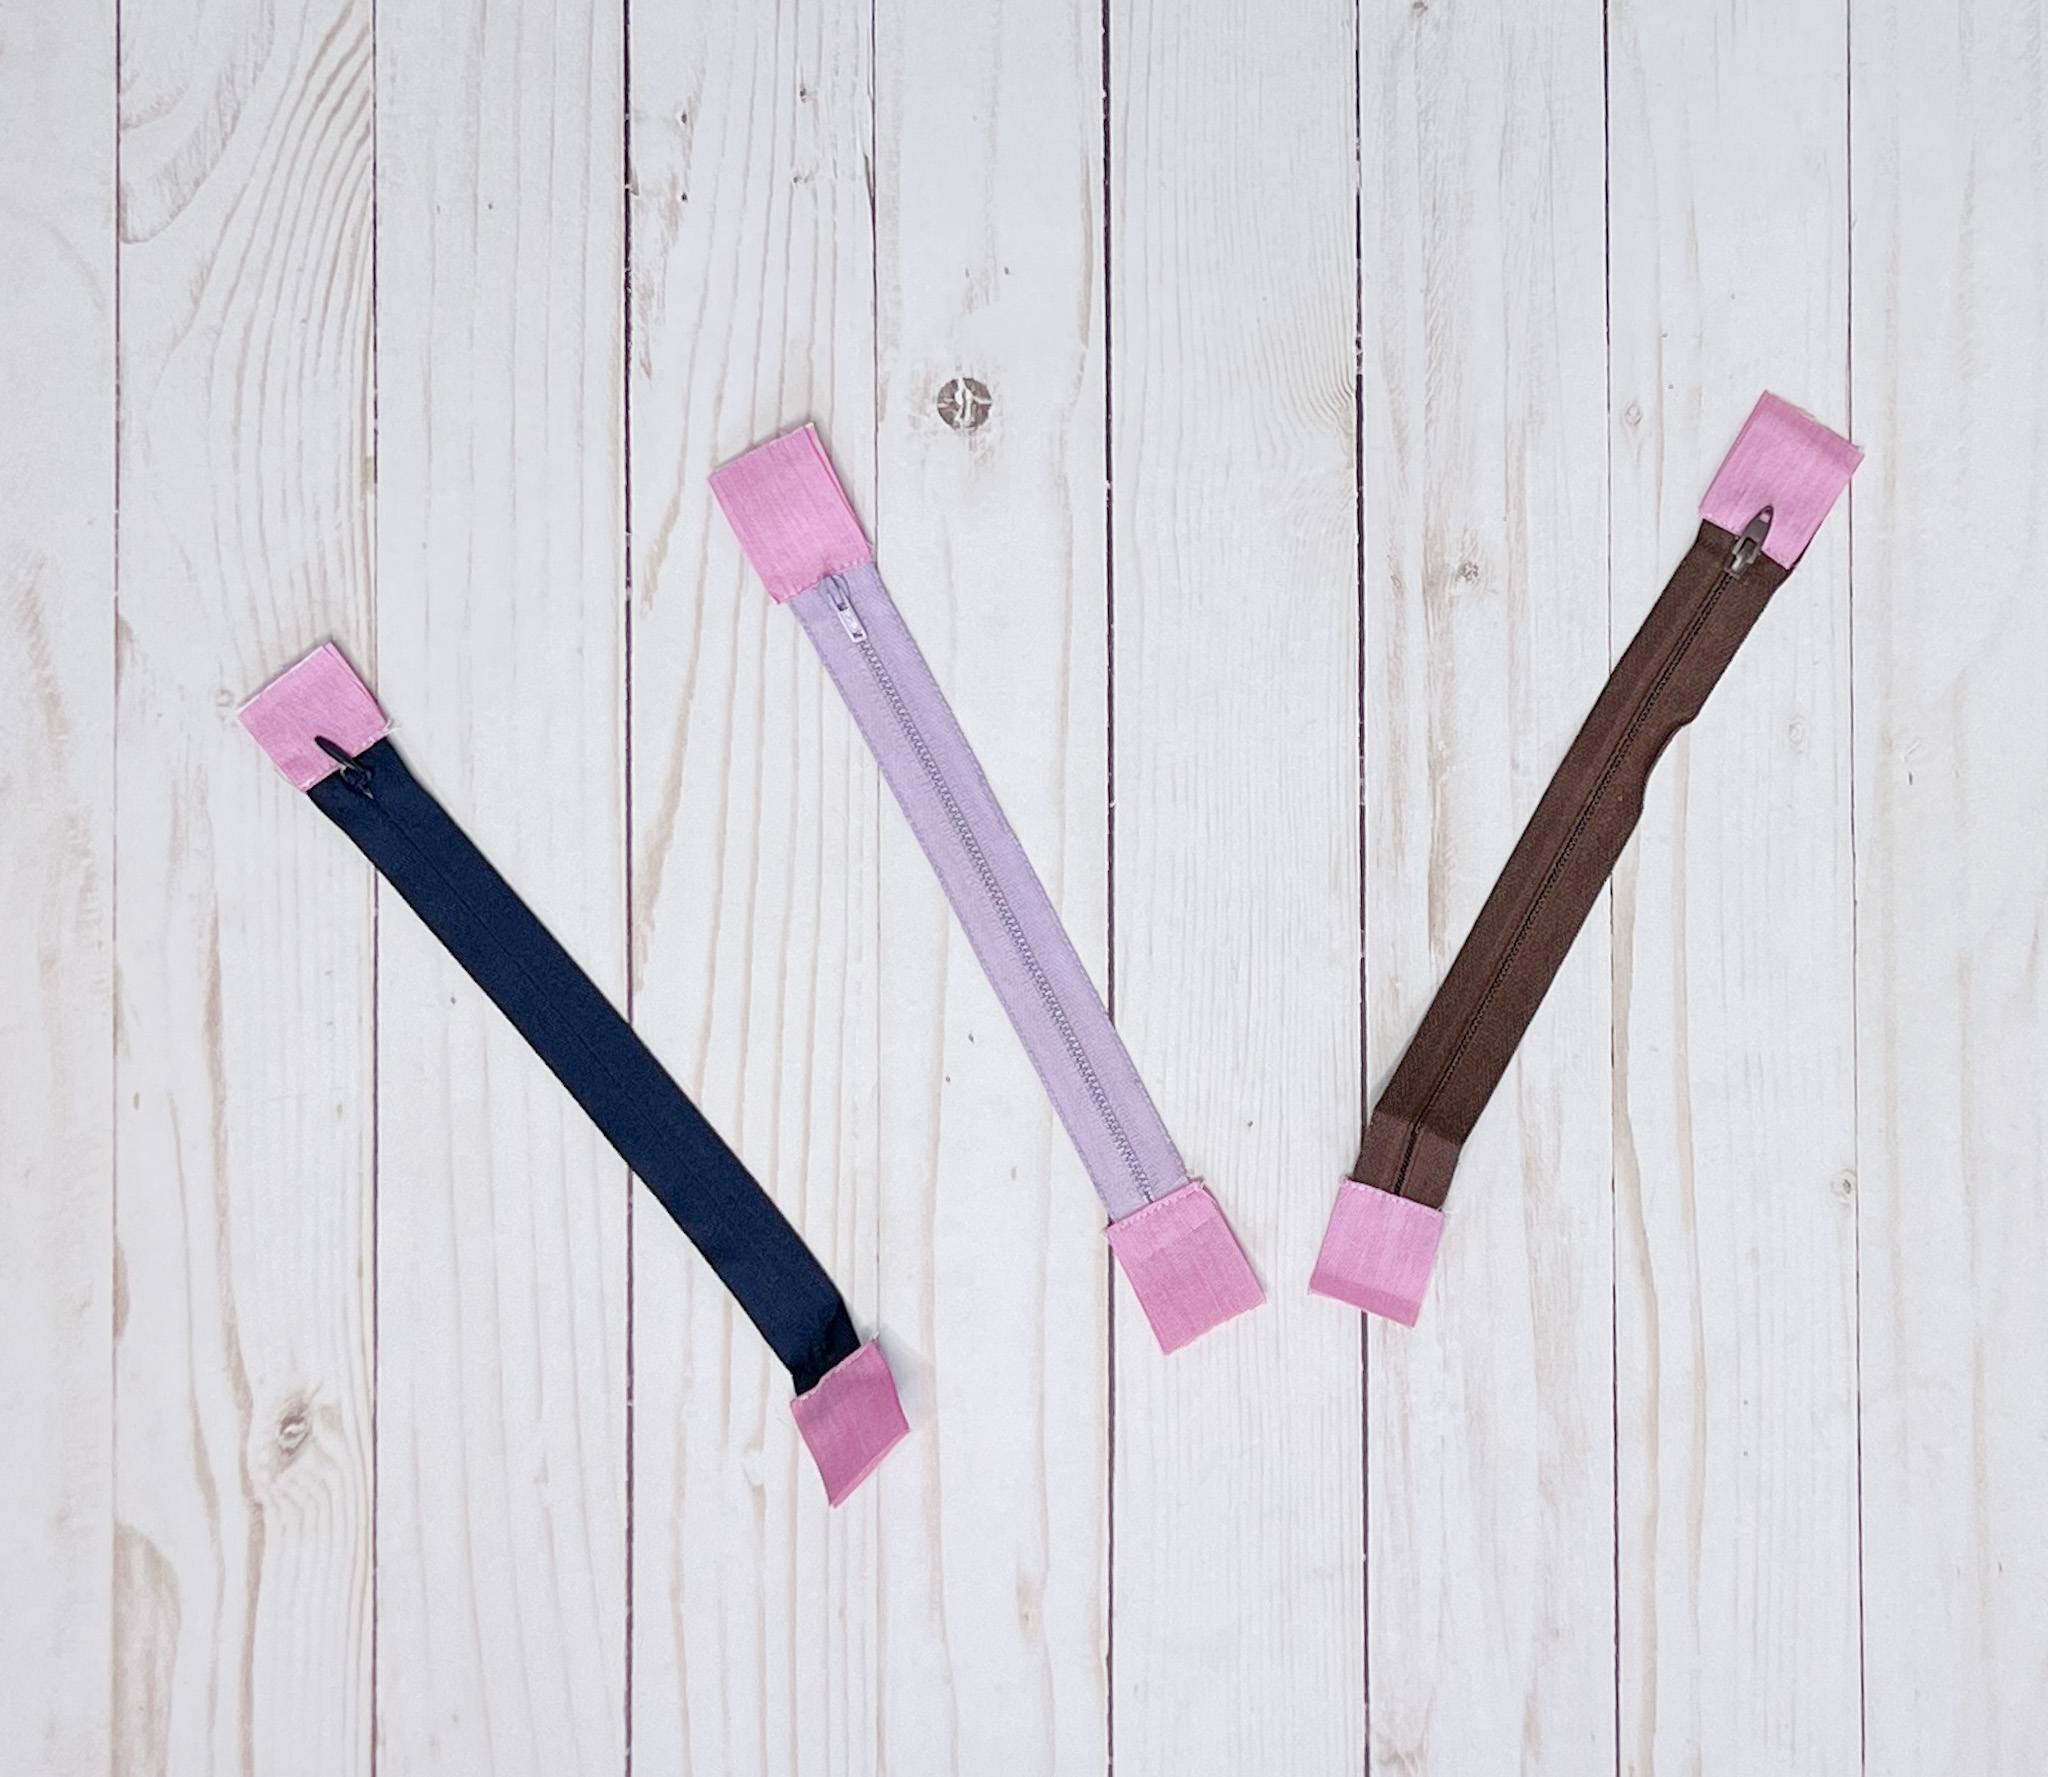
Zipper Tabs
When sewing with zippers, I like to create what I call a zipper tab. This creates a clean finish to the zippers. Take a rectangle about the width of the zipper and fold it in half. Then sew a tab to the top and bottom of the zipper.
Tip: Sew close to the bottom of the zipper and the top, but NOT on the zipper teeth (you will break a needle…don’t ask me how I know this!)
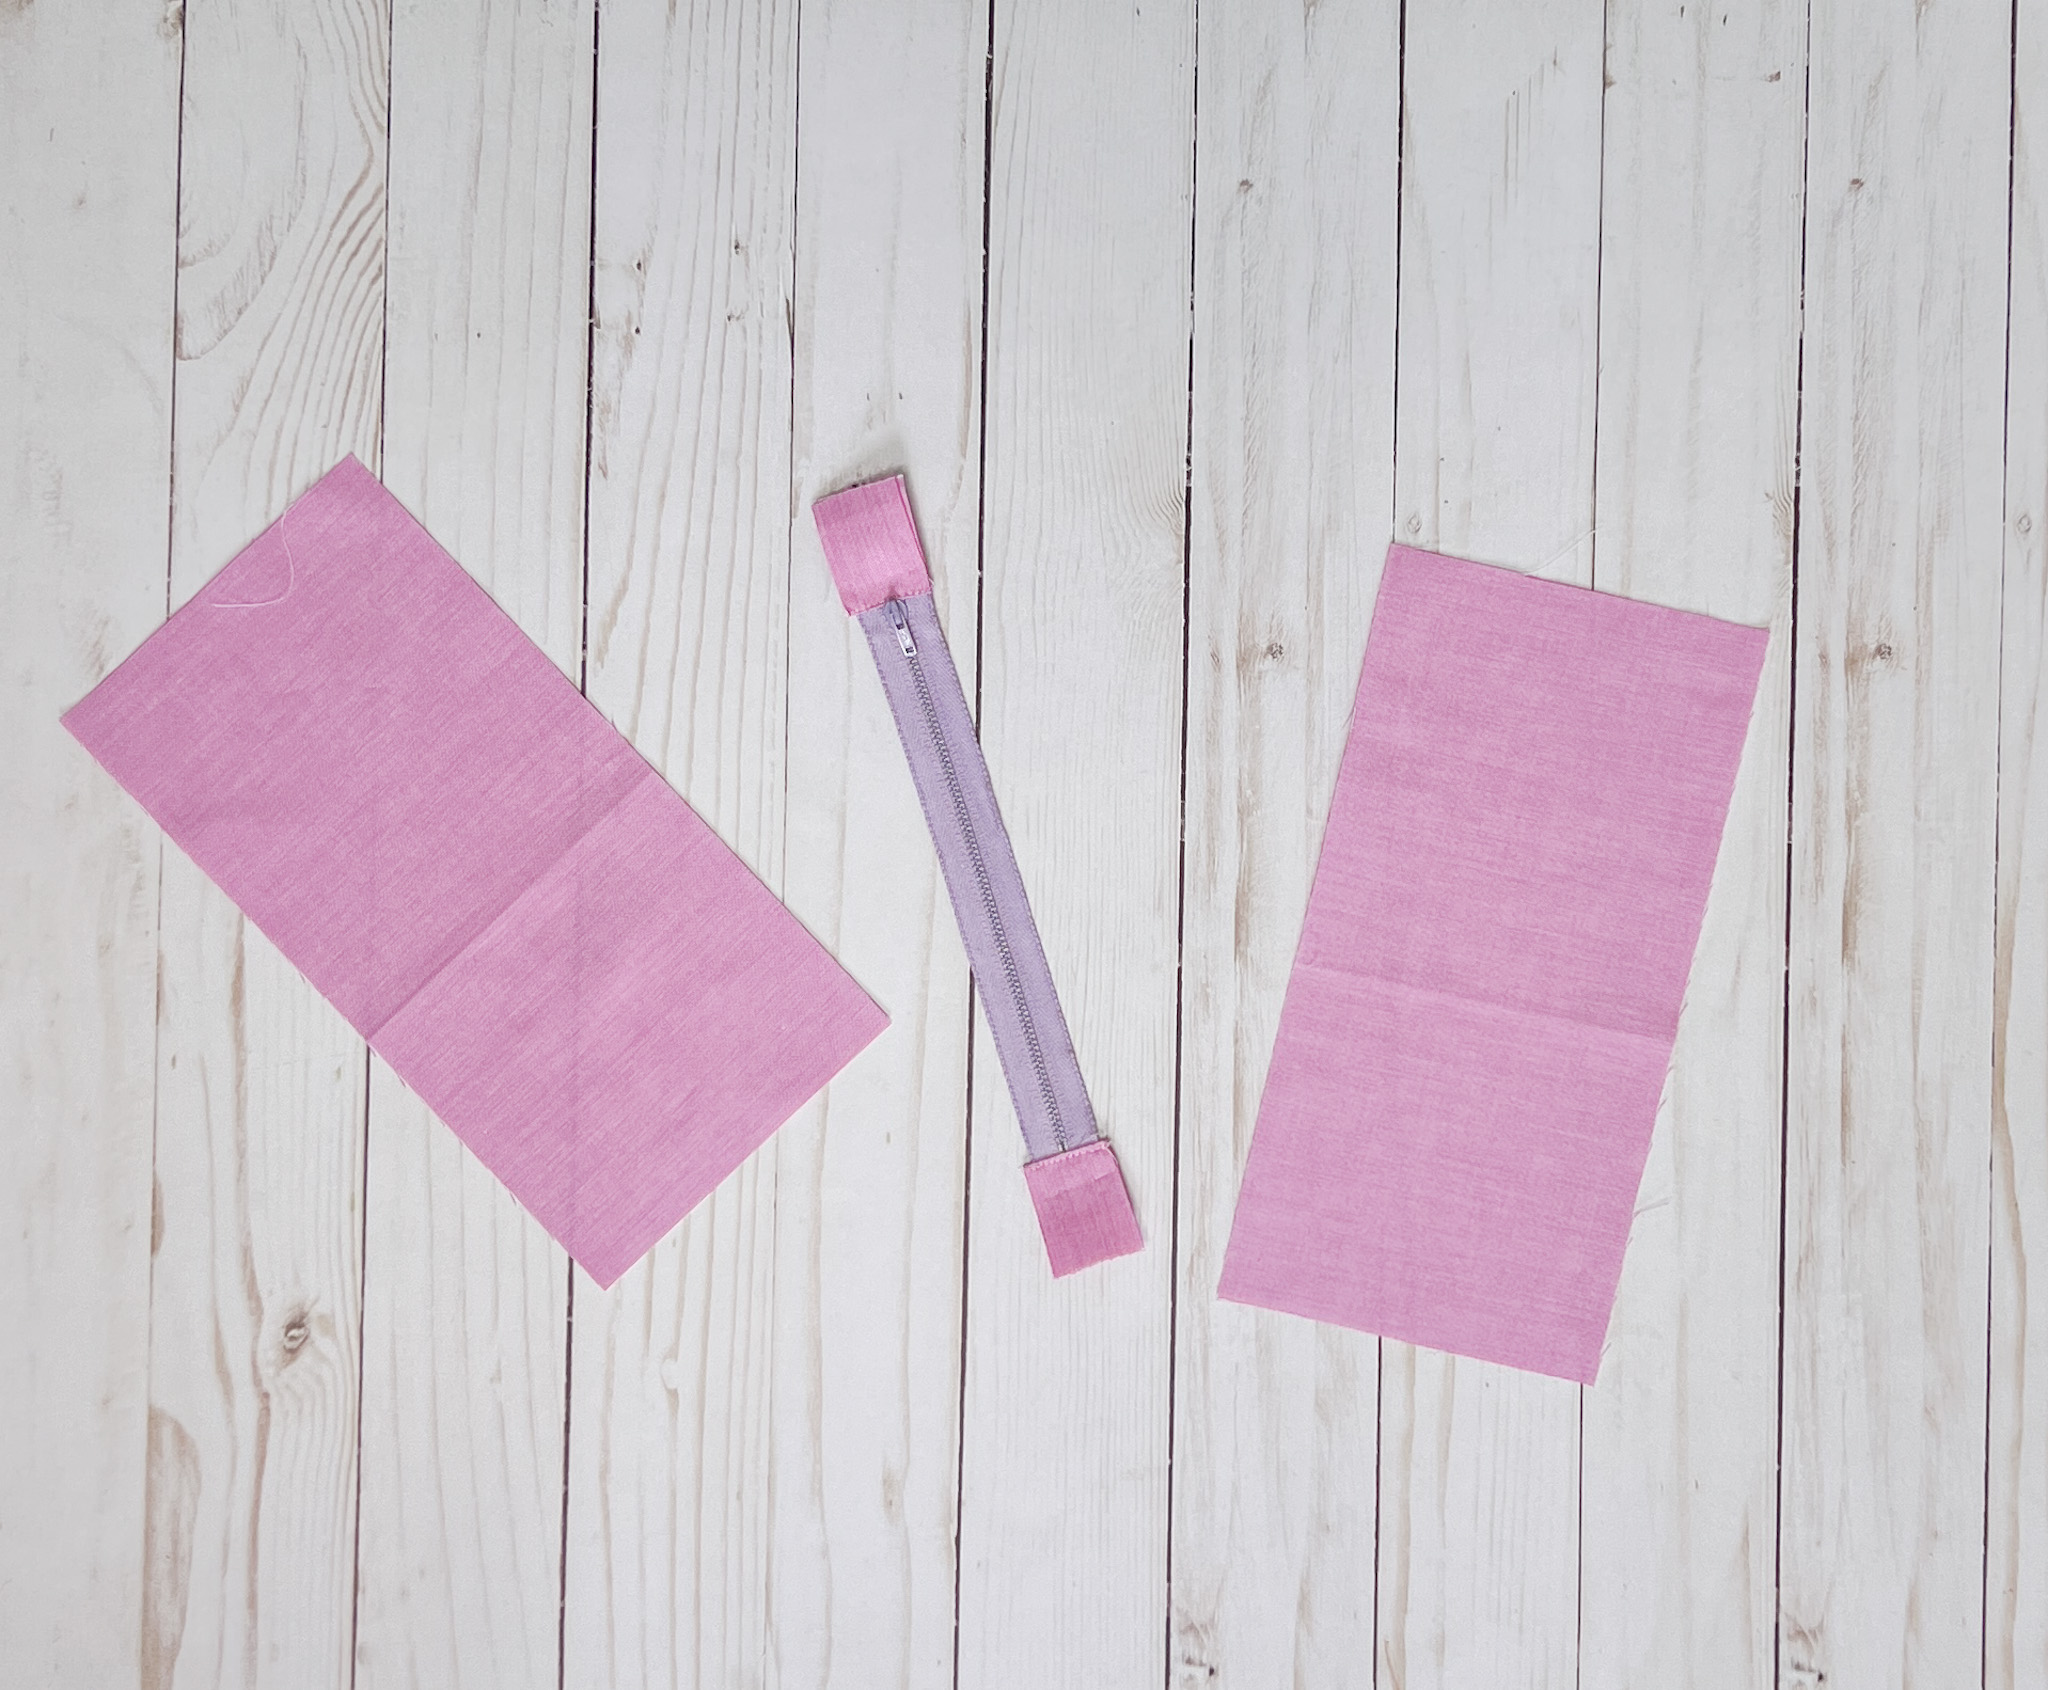
After the tabs are sewn on, cut the 9 1/2″ by 9 1/2″ block in half. This is so the zipper can be centered in our block.
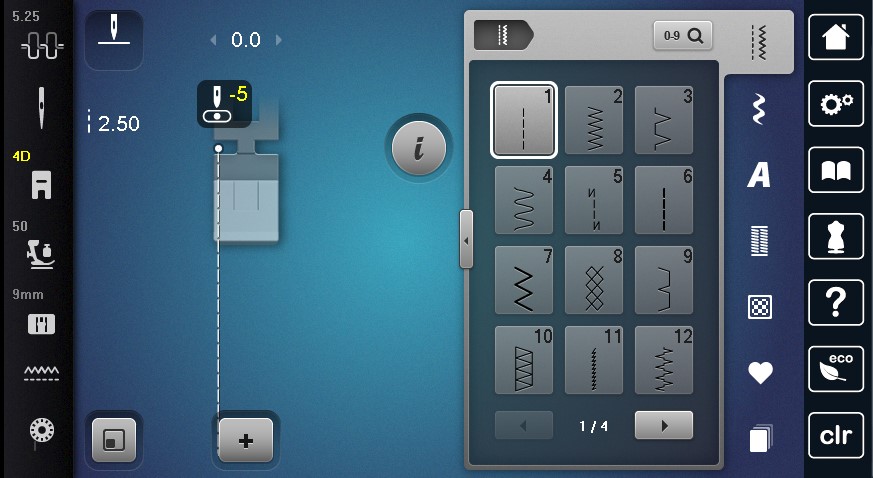
Set your machine to a straight stitch. Make sure to position your needle to the far left.
Sewing
Place the zipper face down on your fabric so right sides are together. Stitch the zipper to the fabric. Repeat for the other side of the zipper with the other half of the block. Tip: Make sure the zipper is at least 1/2″ away from the top or bottom of the block. This will make sewing the blocks together easier.
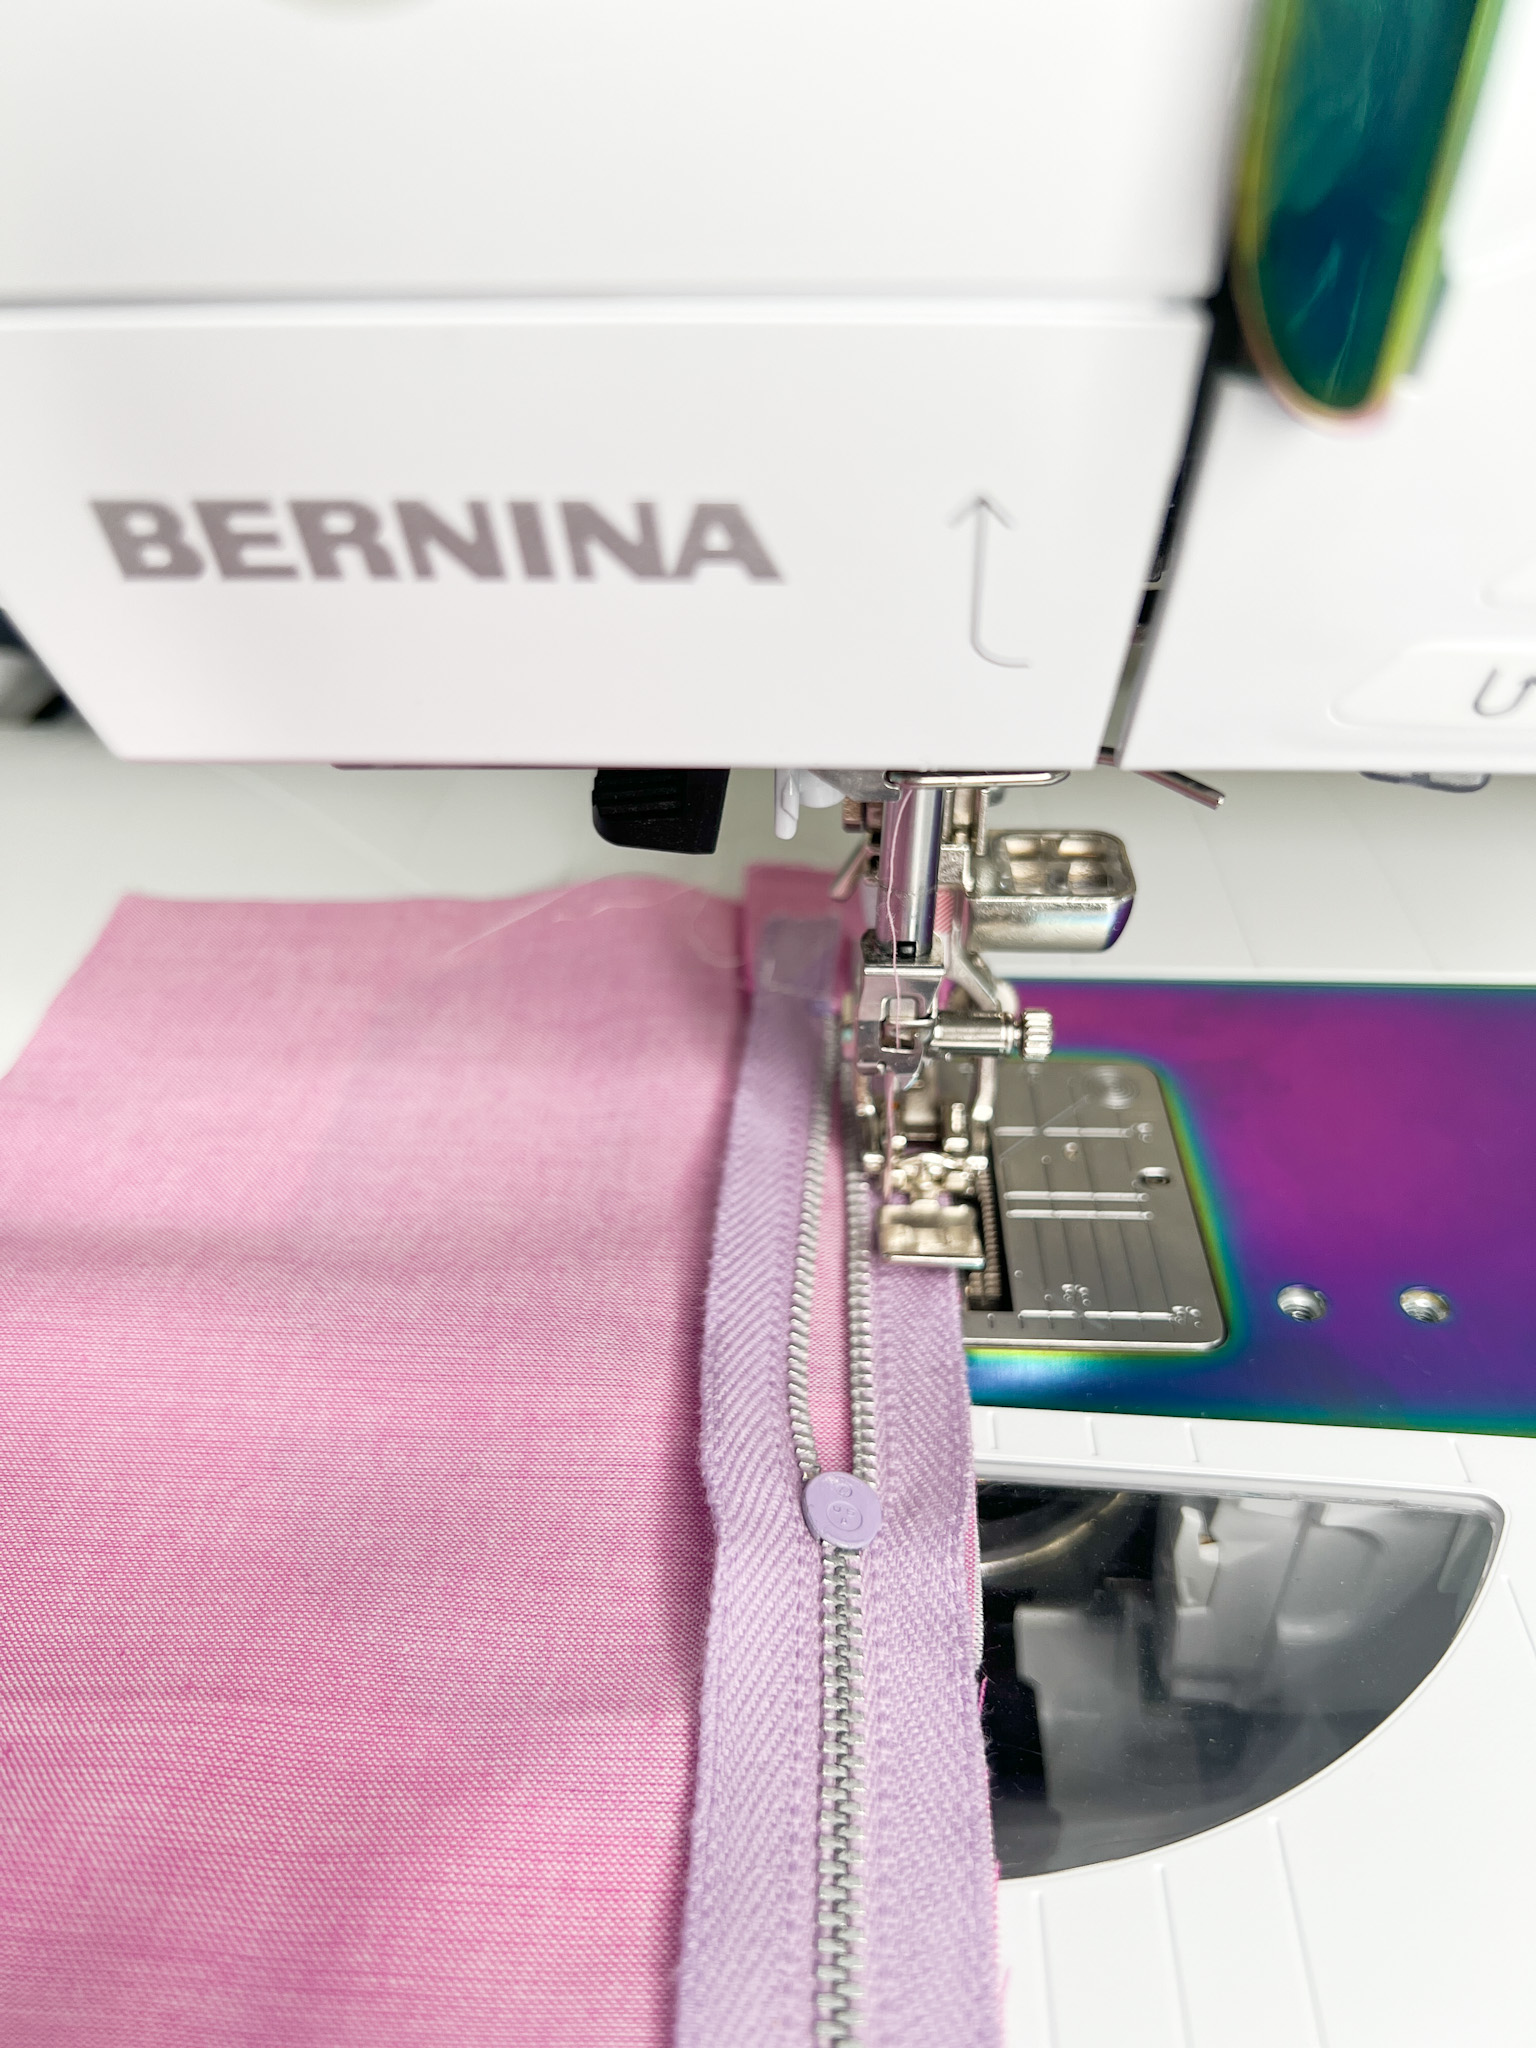
Select the Invisible Zipper Foot #35. Select a straight stitch. I use a 2.5 seam length.
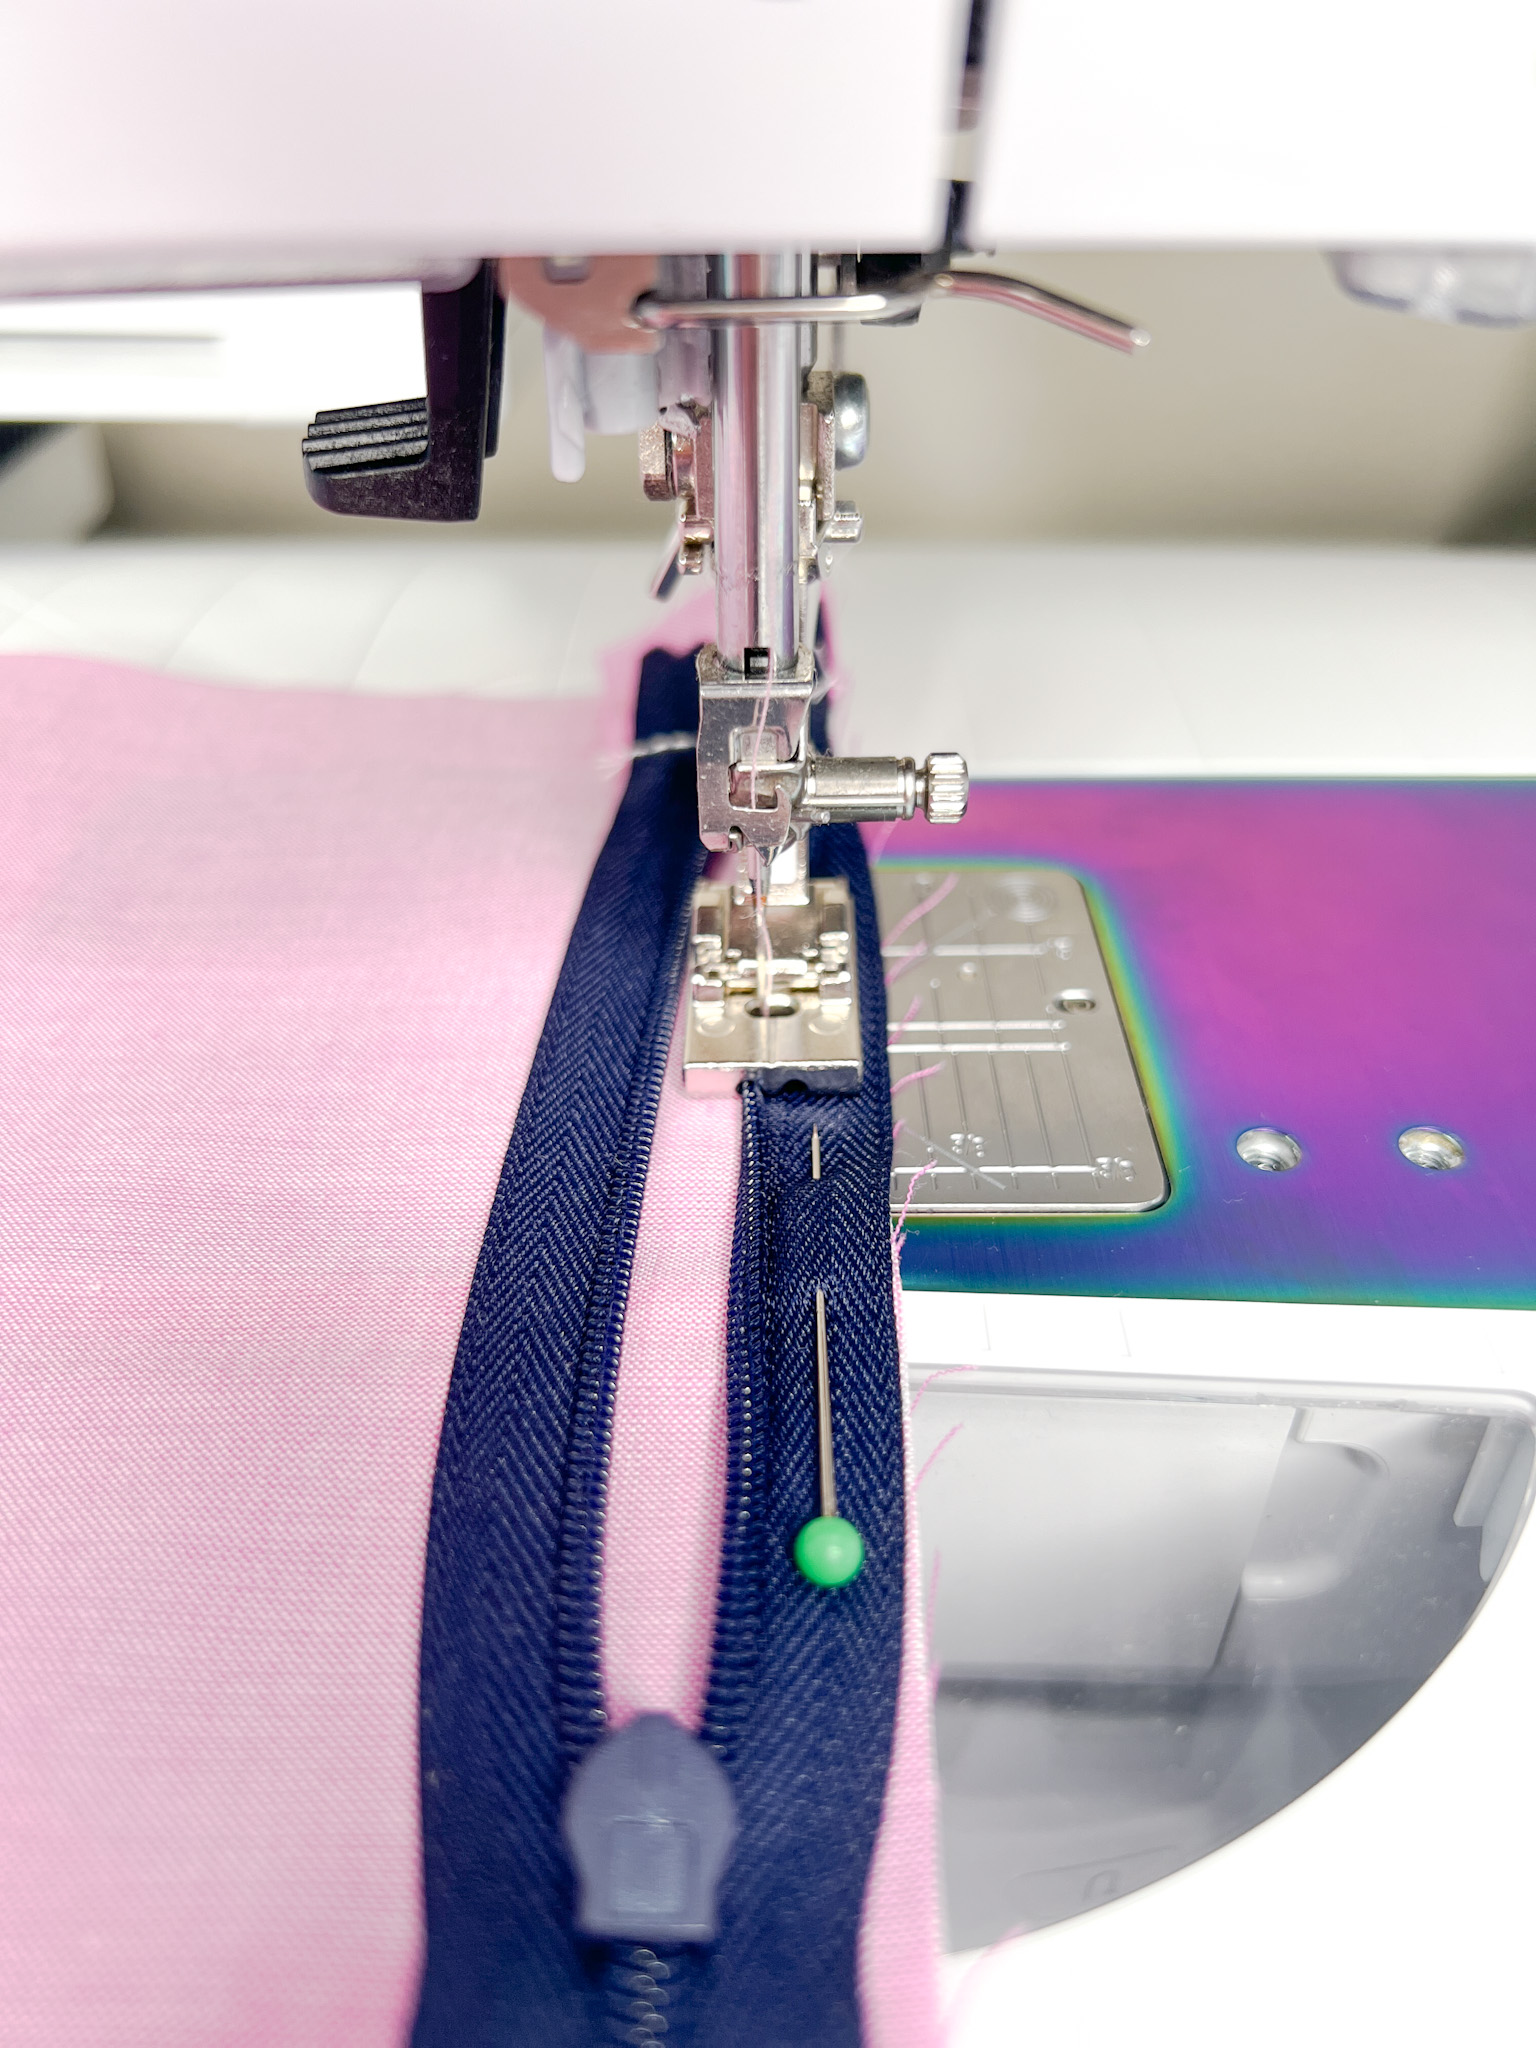
Place the invisible zipper facedown on the fabric. Right sides should be touching. Stitch the zipper using a straight stitch.
Tip: Tilt the zipper slightly to the left so the zipper teeth engage in the grooves. Repeat for the other side of the zipper.
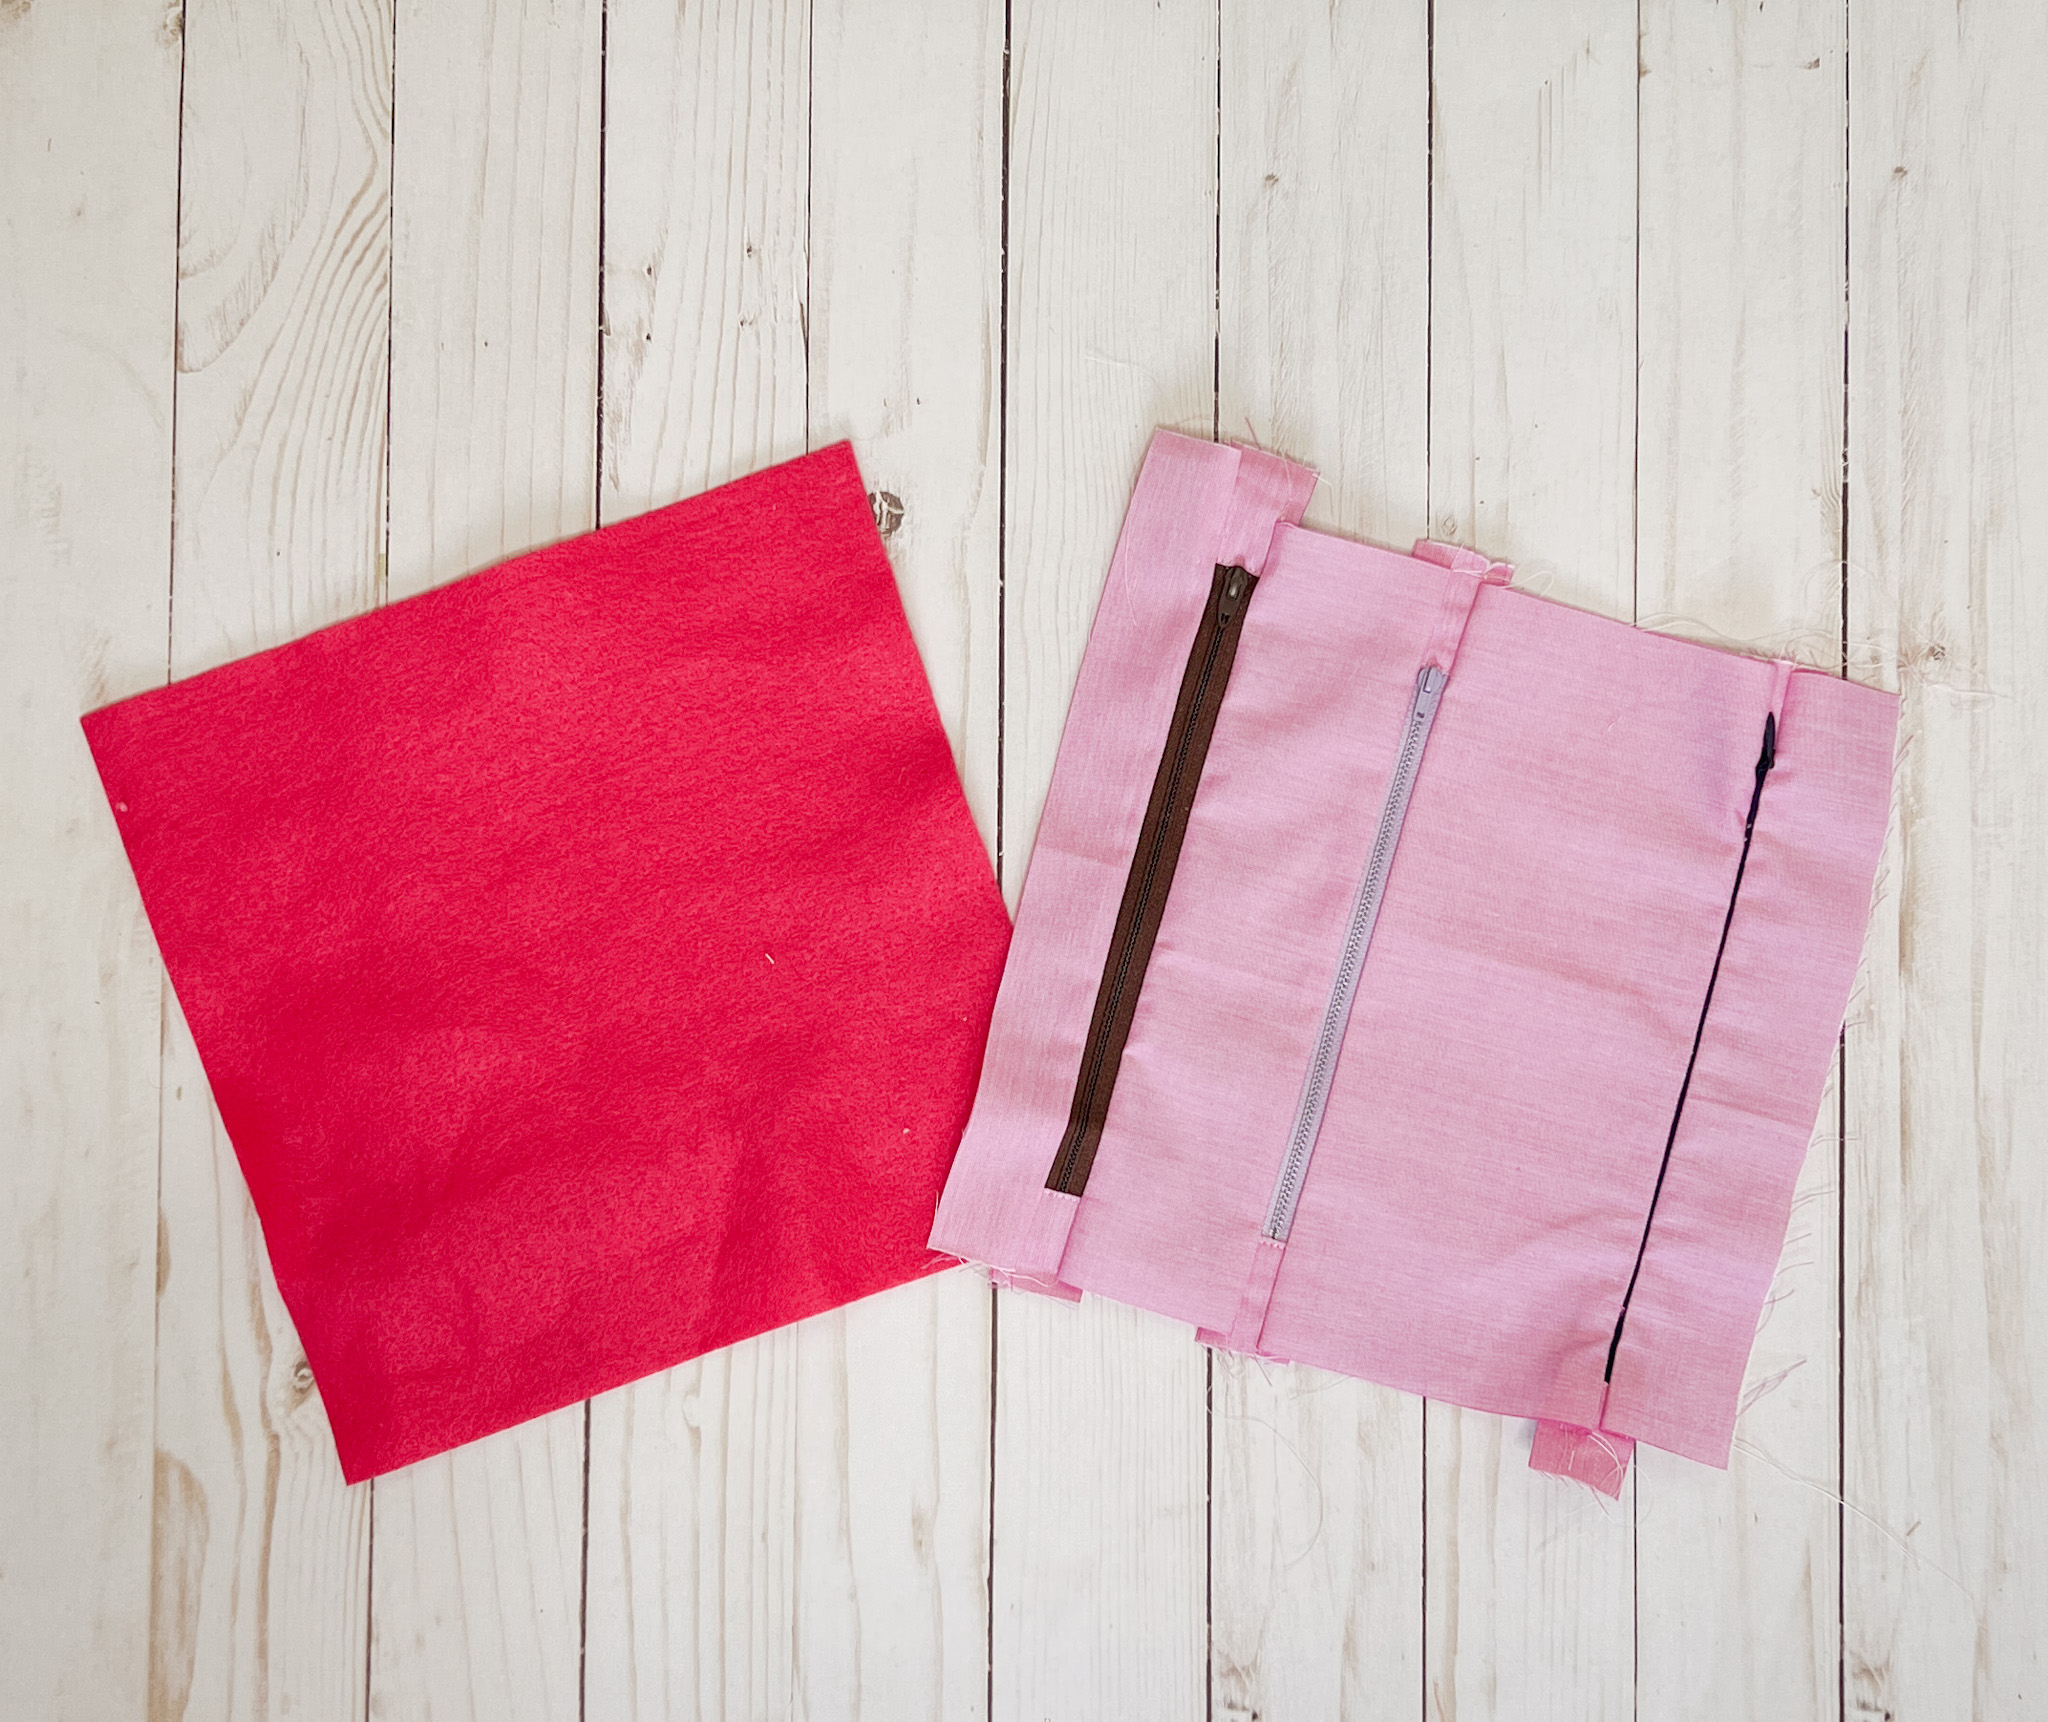
I wanted the zippers randomly spaced. So I cut part of the block and then attached a strip to either side. You can space your zippers however you would like. Just make sure your finished block measures 9 1/2″ square. As you can see my block needed trimming! Trim off the zipper tabs and any extra fabric. I also cut a piece of felt 9 1/2″ by 9 1/2″ to sew behind the zipper block. This will keep any treasures stowed away in the zipper block and not floating around the rest of the blanket.
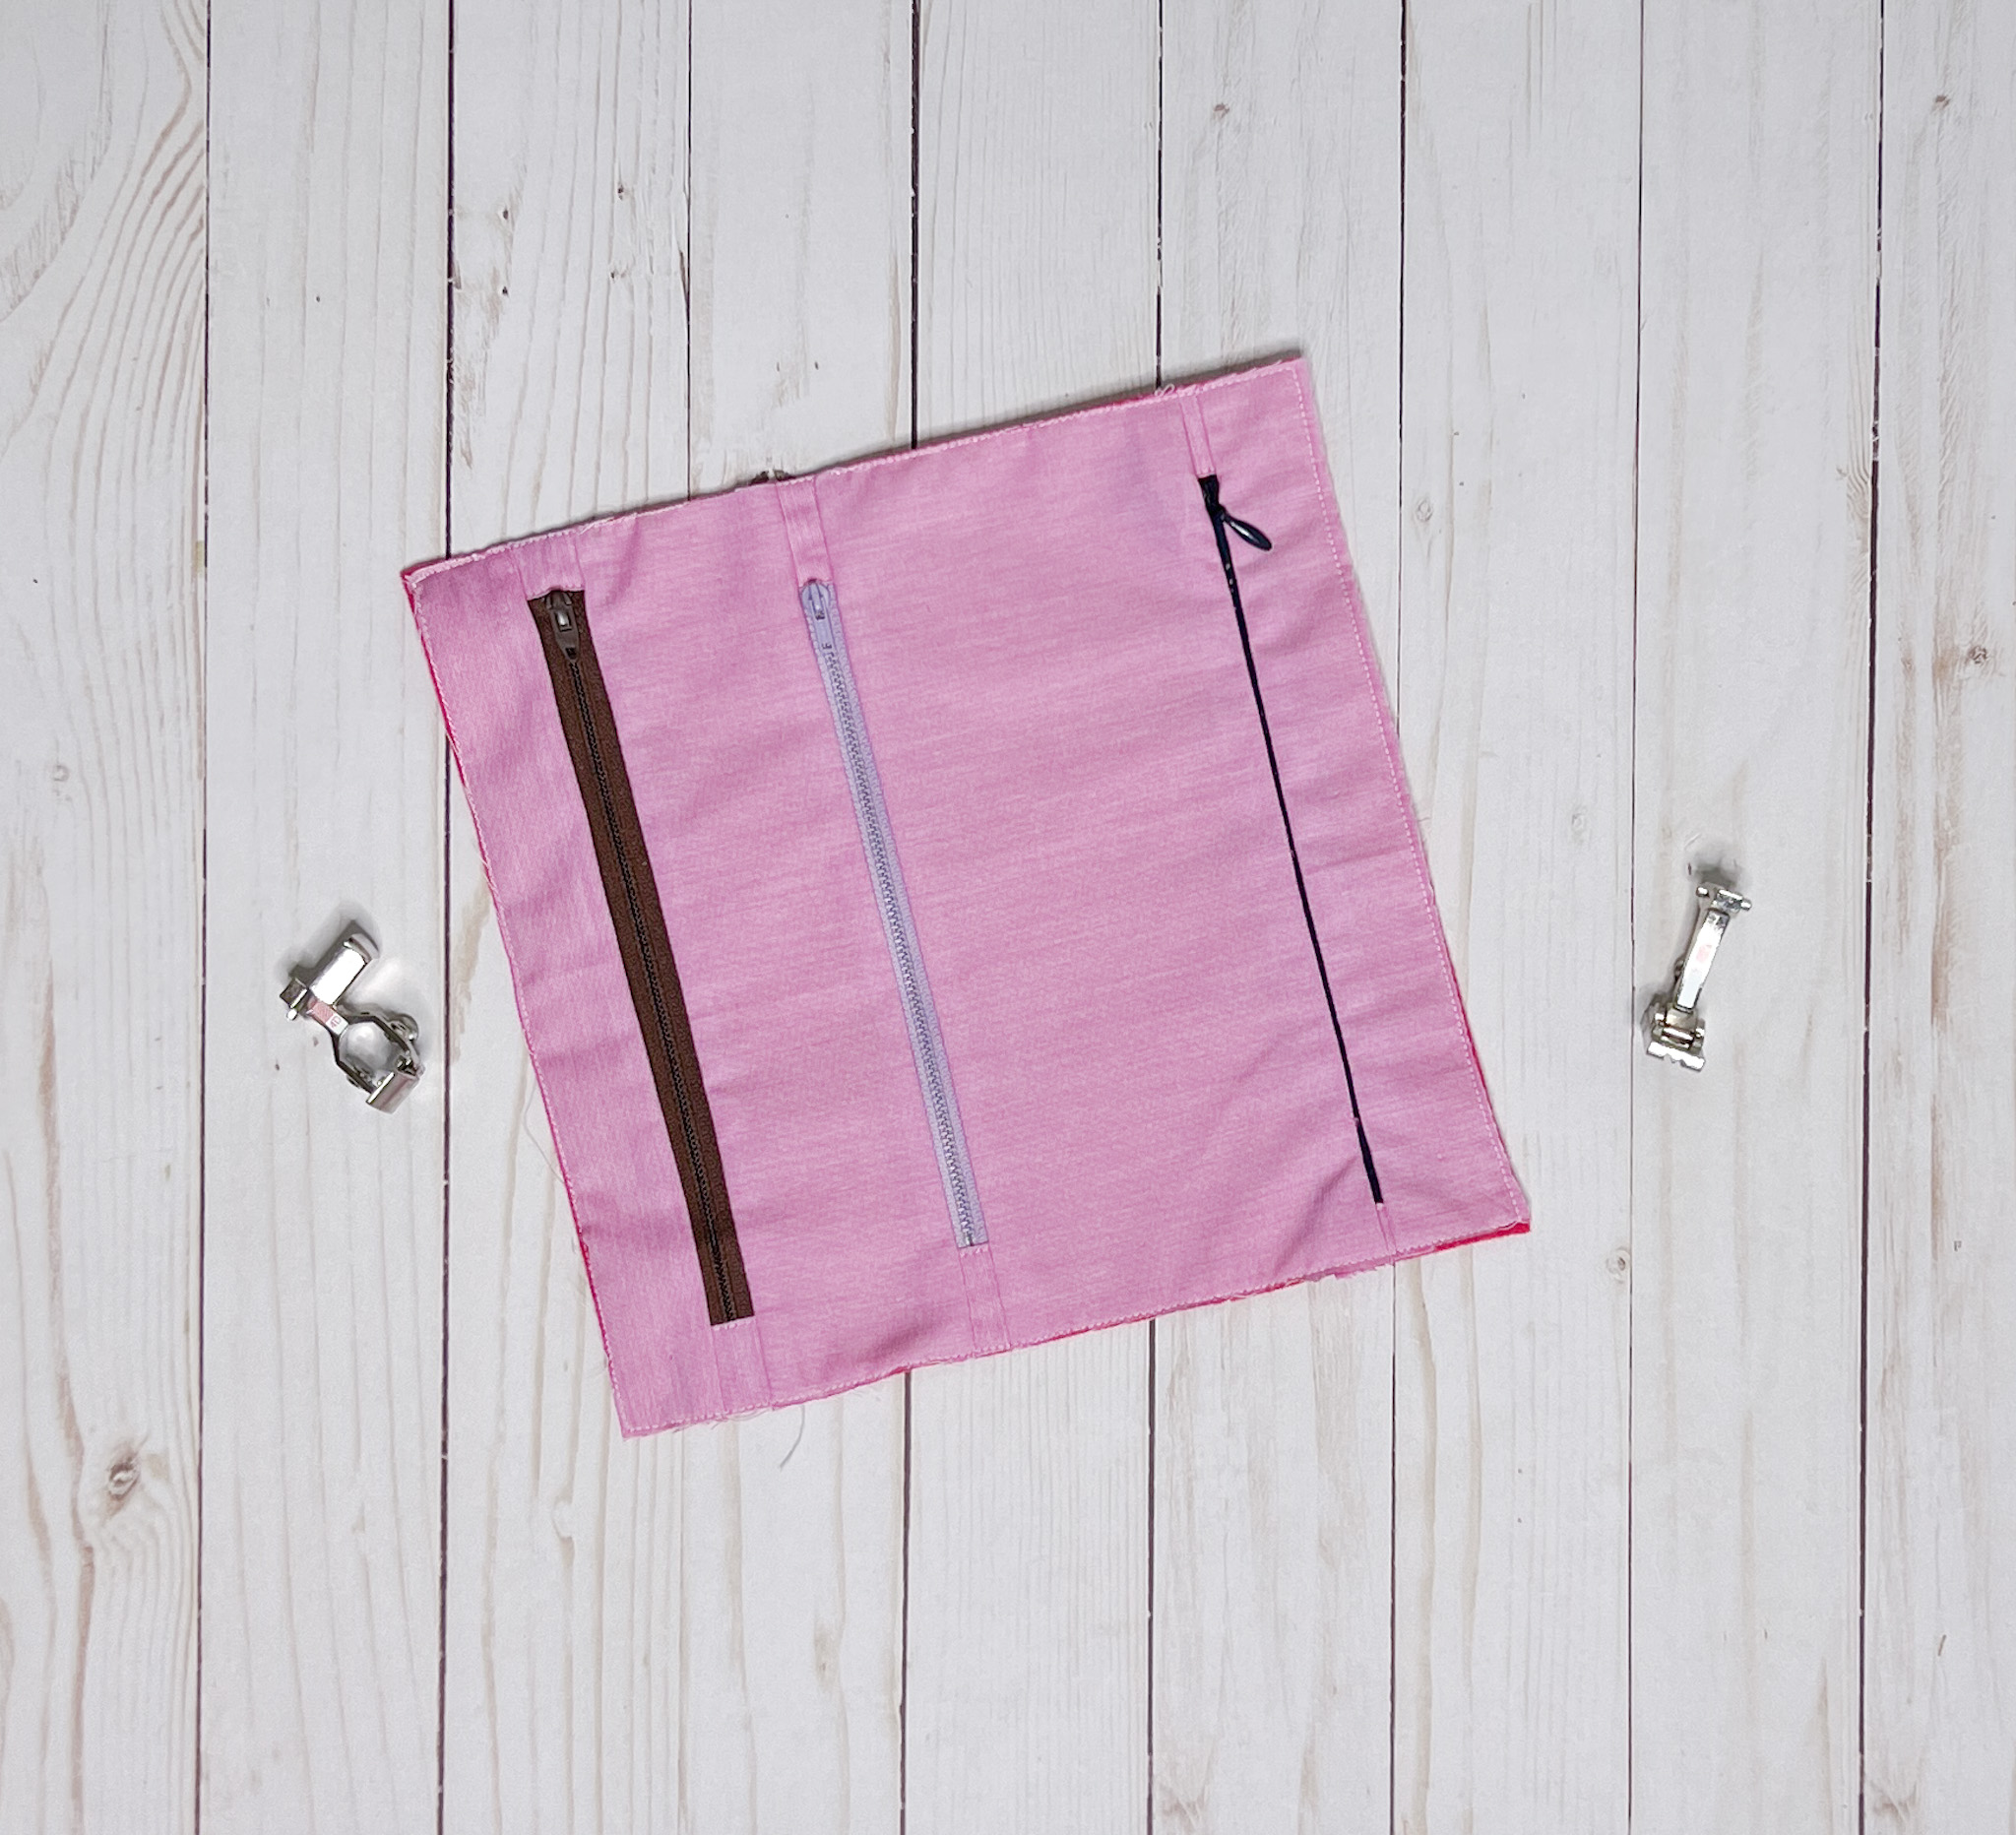
Finished Part 4
You made it through the zippers! Great job! I love how these turned out. These zippers will add such a fun block to our Sensory Blanket. Next, we will assemble the Sensory Blanket in Part 5.
If you would like to see more of what I am up to, you can follow me on my blog, Instagram, Facebook, Pinterest and subscribe to my YouTube channel!
Chirp Out!
Jen