Sensory Blanket Sew Along, Part Five
Hi! It’s Jen Belnap from The Smitten Chicken. Today is our final post for our Sensory Blanket! We will be going over how to finish this blanket.

If you missed Part 1 Couching, Part 2 Leather, Part 3 Buttons or Part 4 Zippers – make sure to check out those posts.
Part 5: Finishing supplies
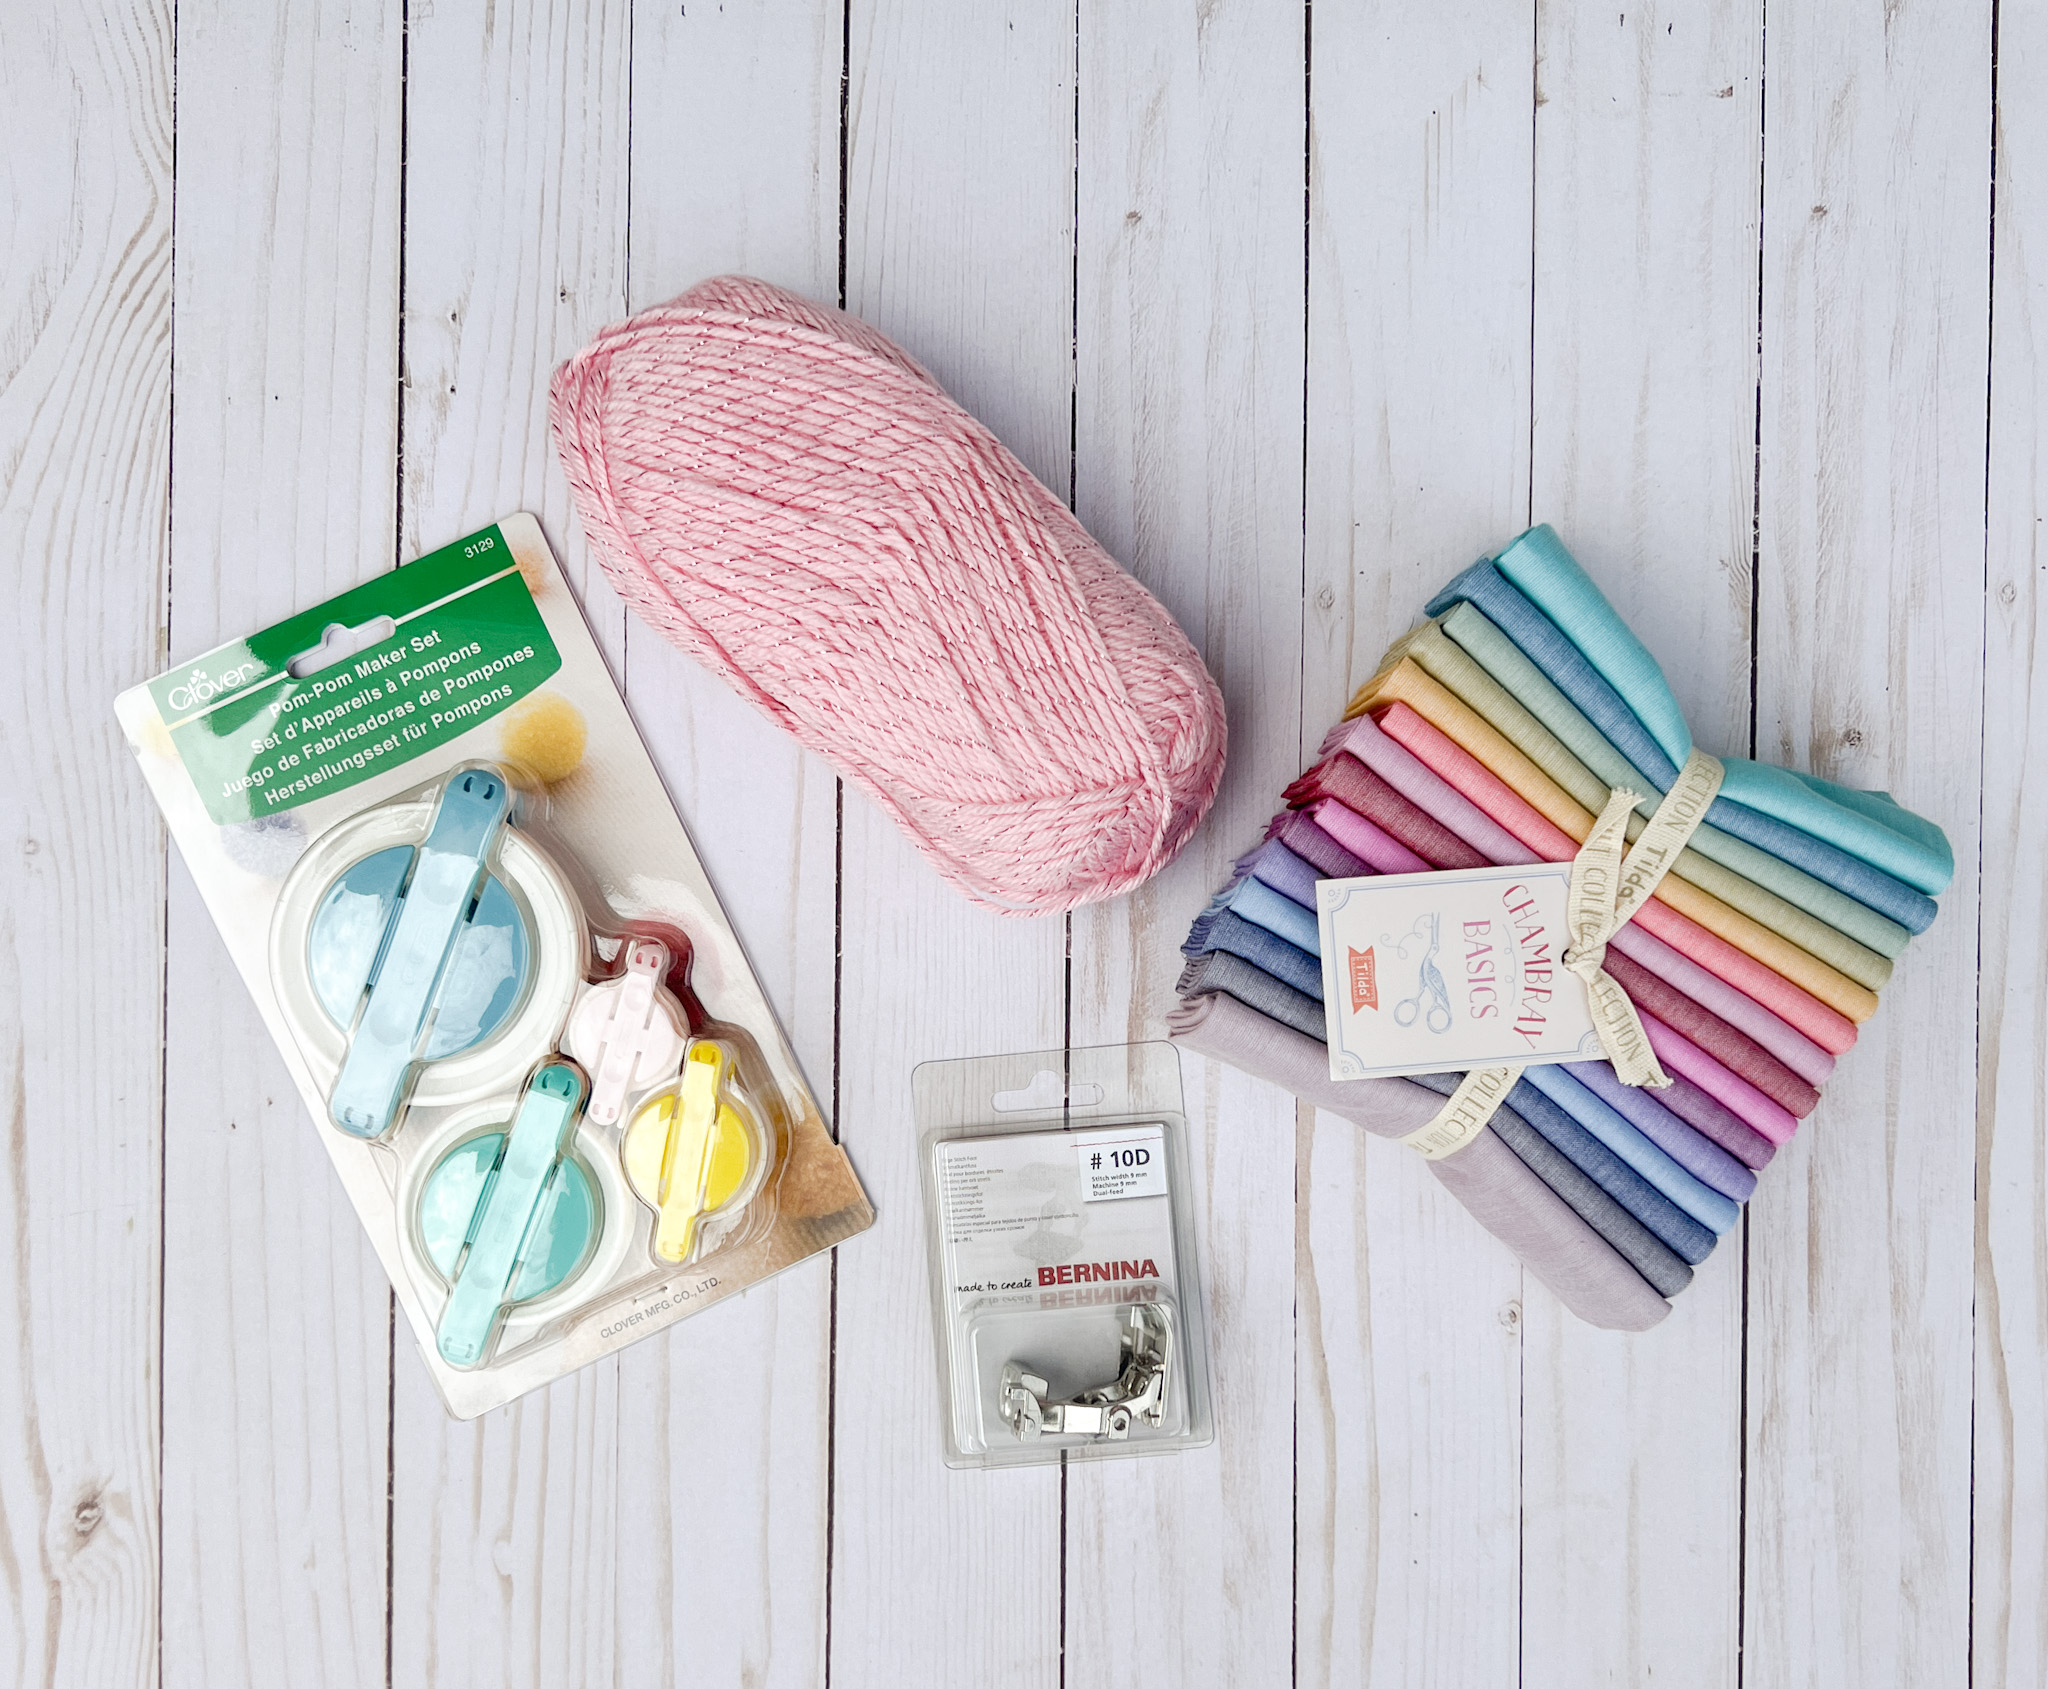
To finish our Sensory Blanket you will need:
- Fabric (I am using this fat quarter bundle of Chambray Basics by Tilda)
- Pom-pom maker set
- Yarn
- BERNINA Edgestitch Foot #10
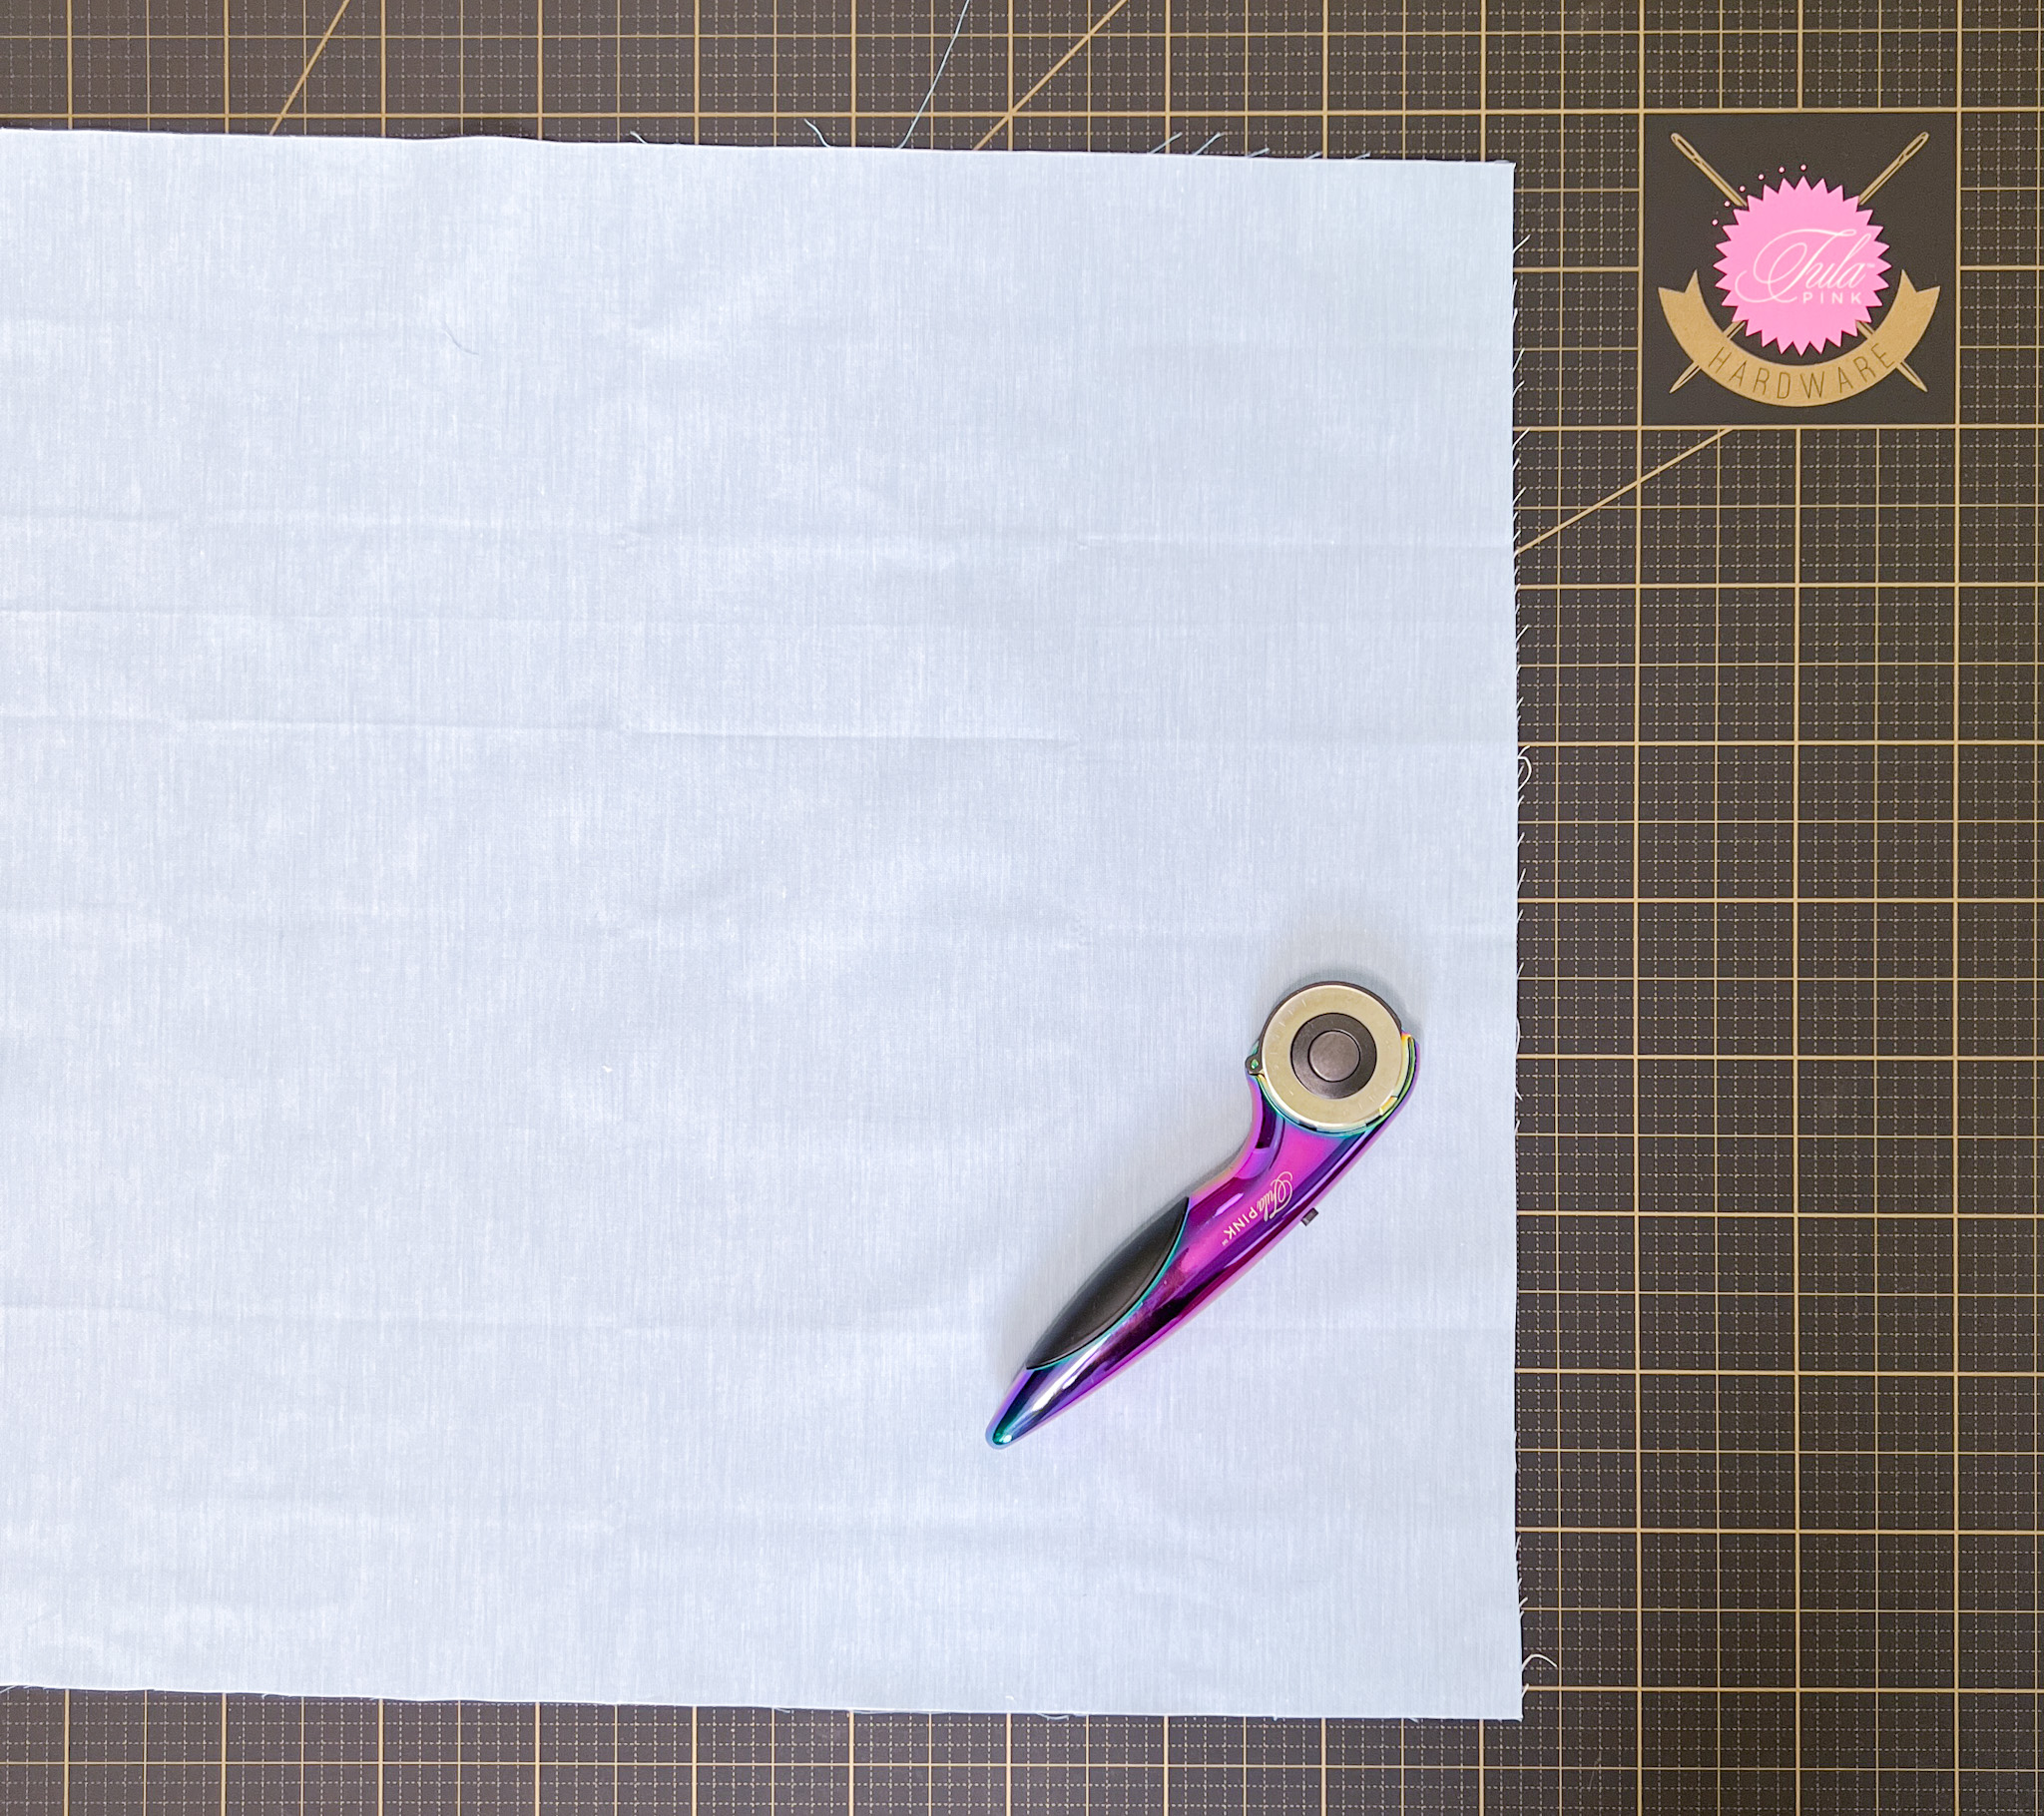
Cutting Fabric
From your fat quarter, cut 18 1/2″ by 18 1/2″ square. Set aside until assembly.
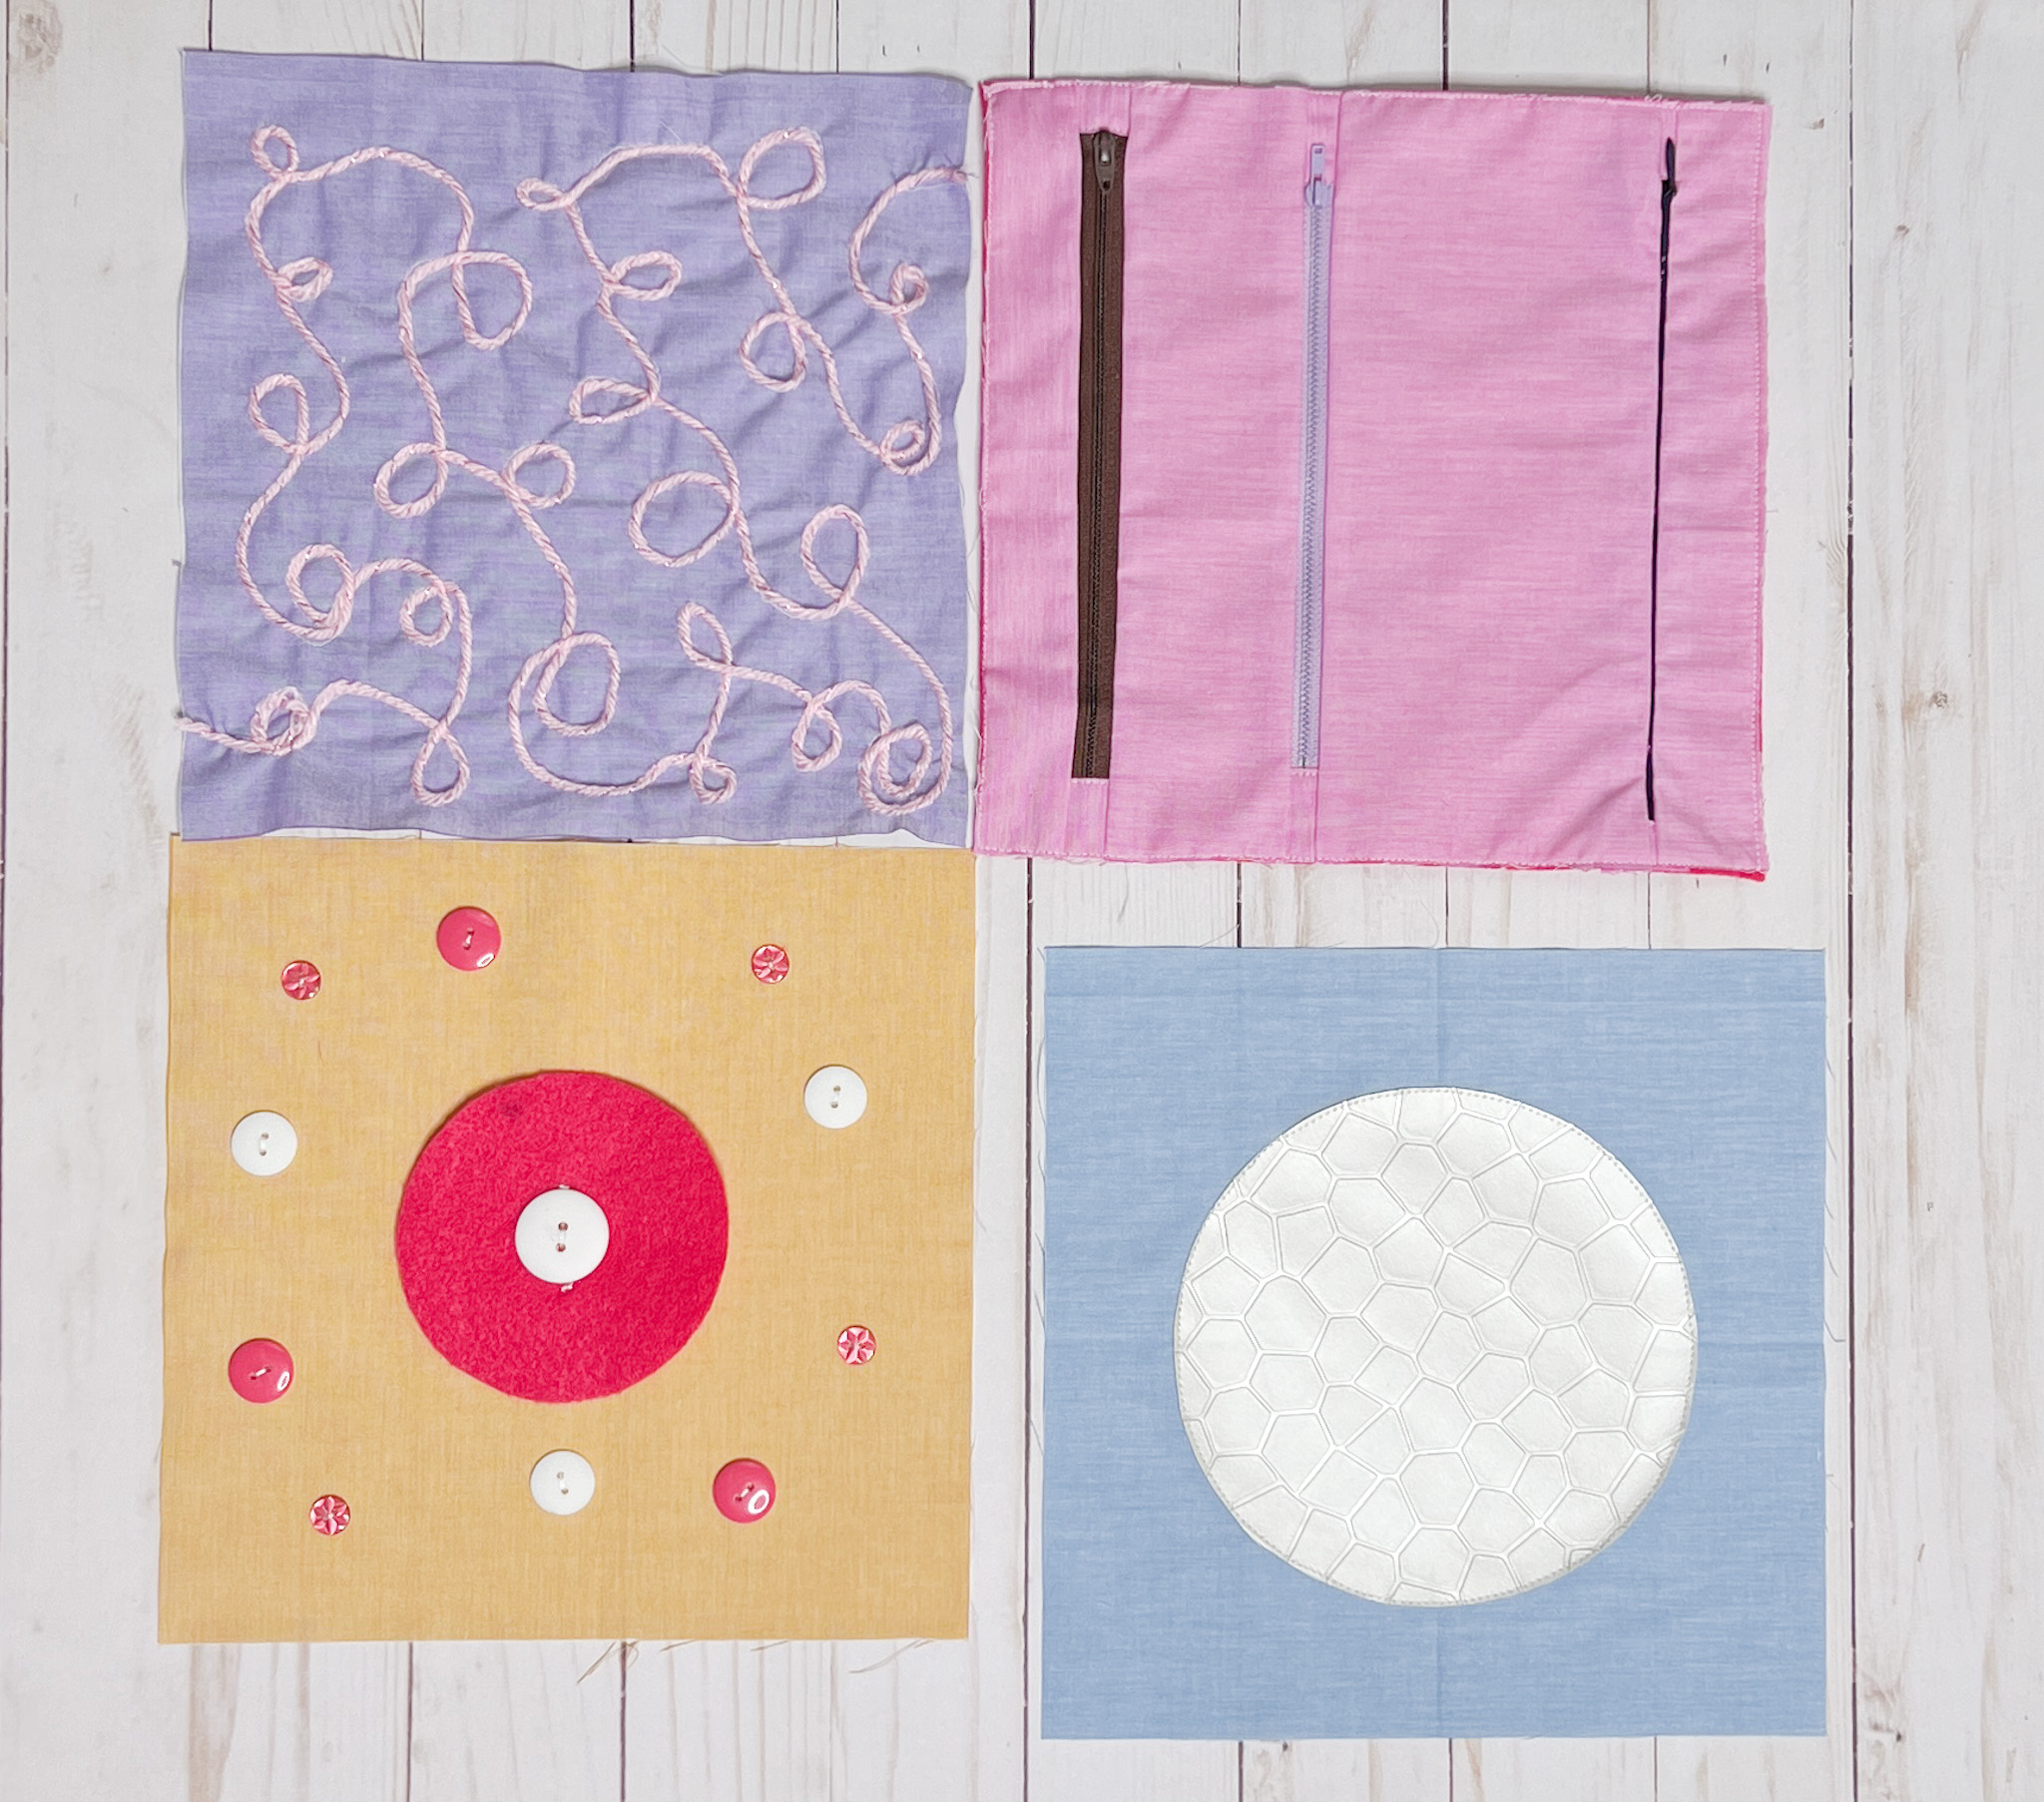
Sewing
Using 1/4″ seam, sew all of the blocks together. This is really starting to come together! Look at all those fun blocks!
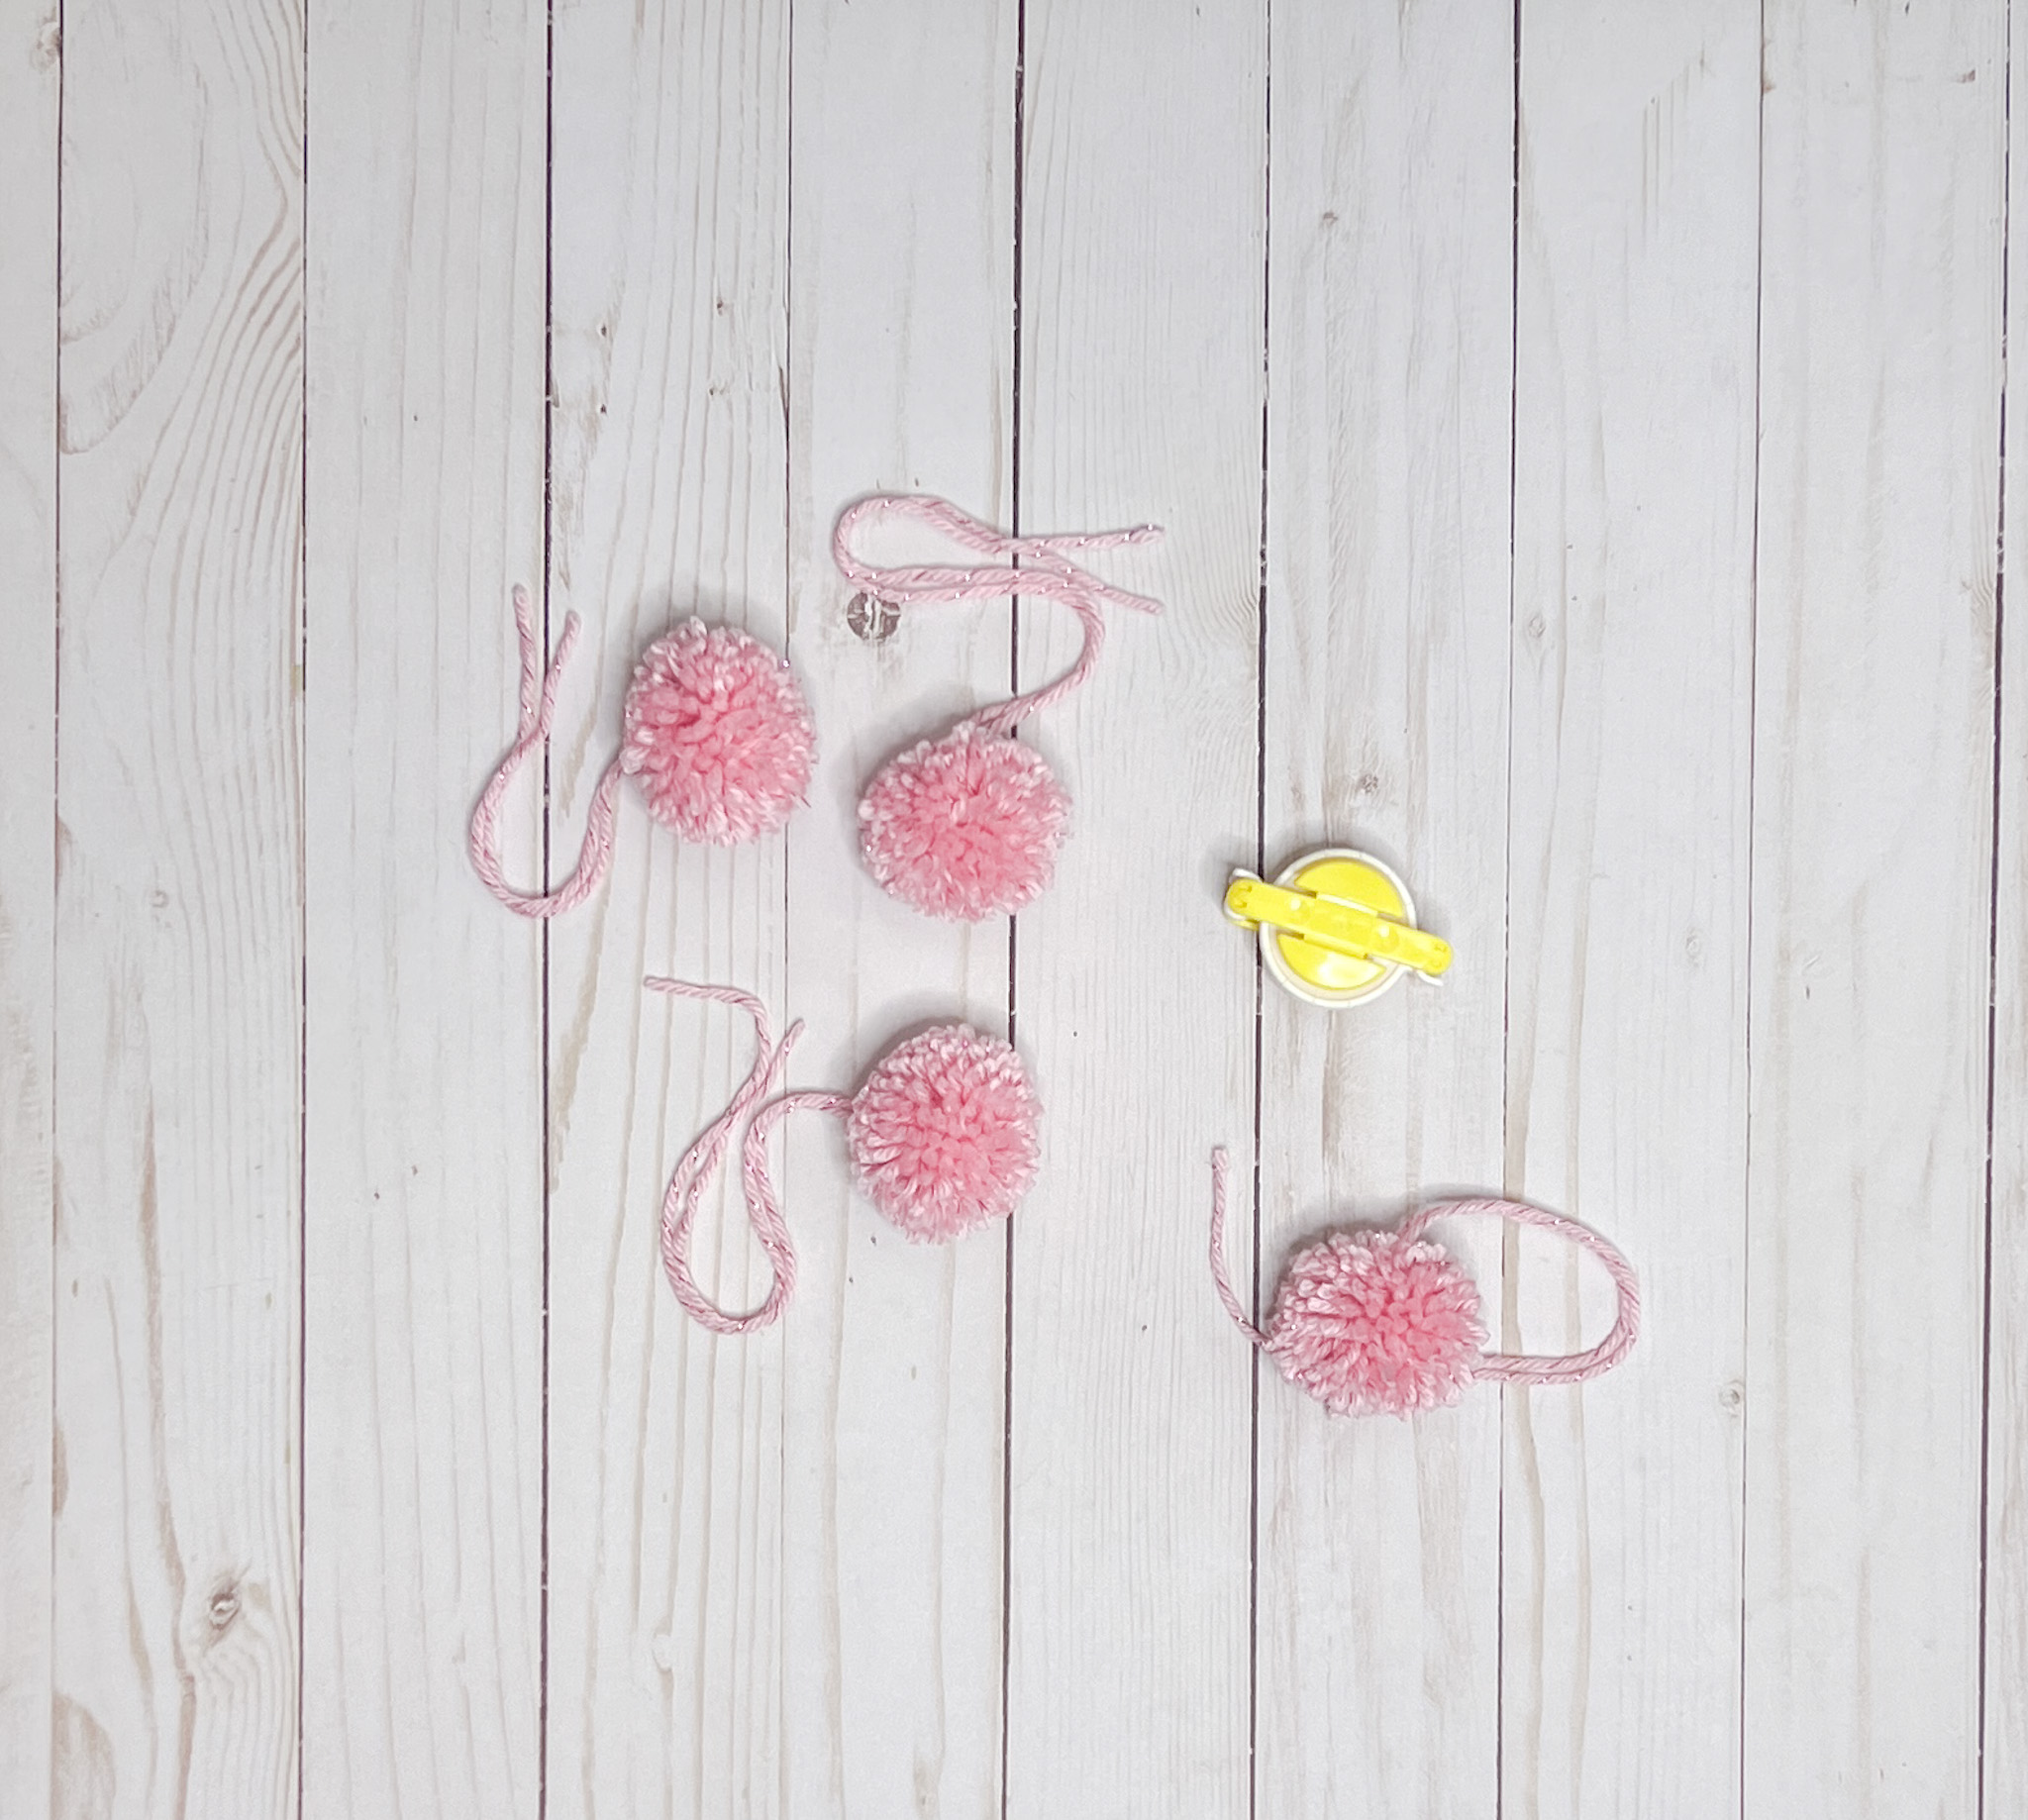
Follow the directions on the package and make 4 pom-poms. I used the 1 5/8″ size of pom-poms.

Assembly
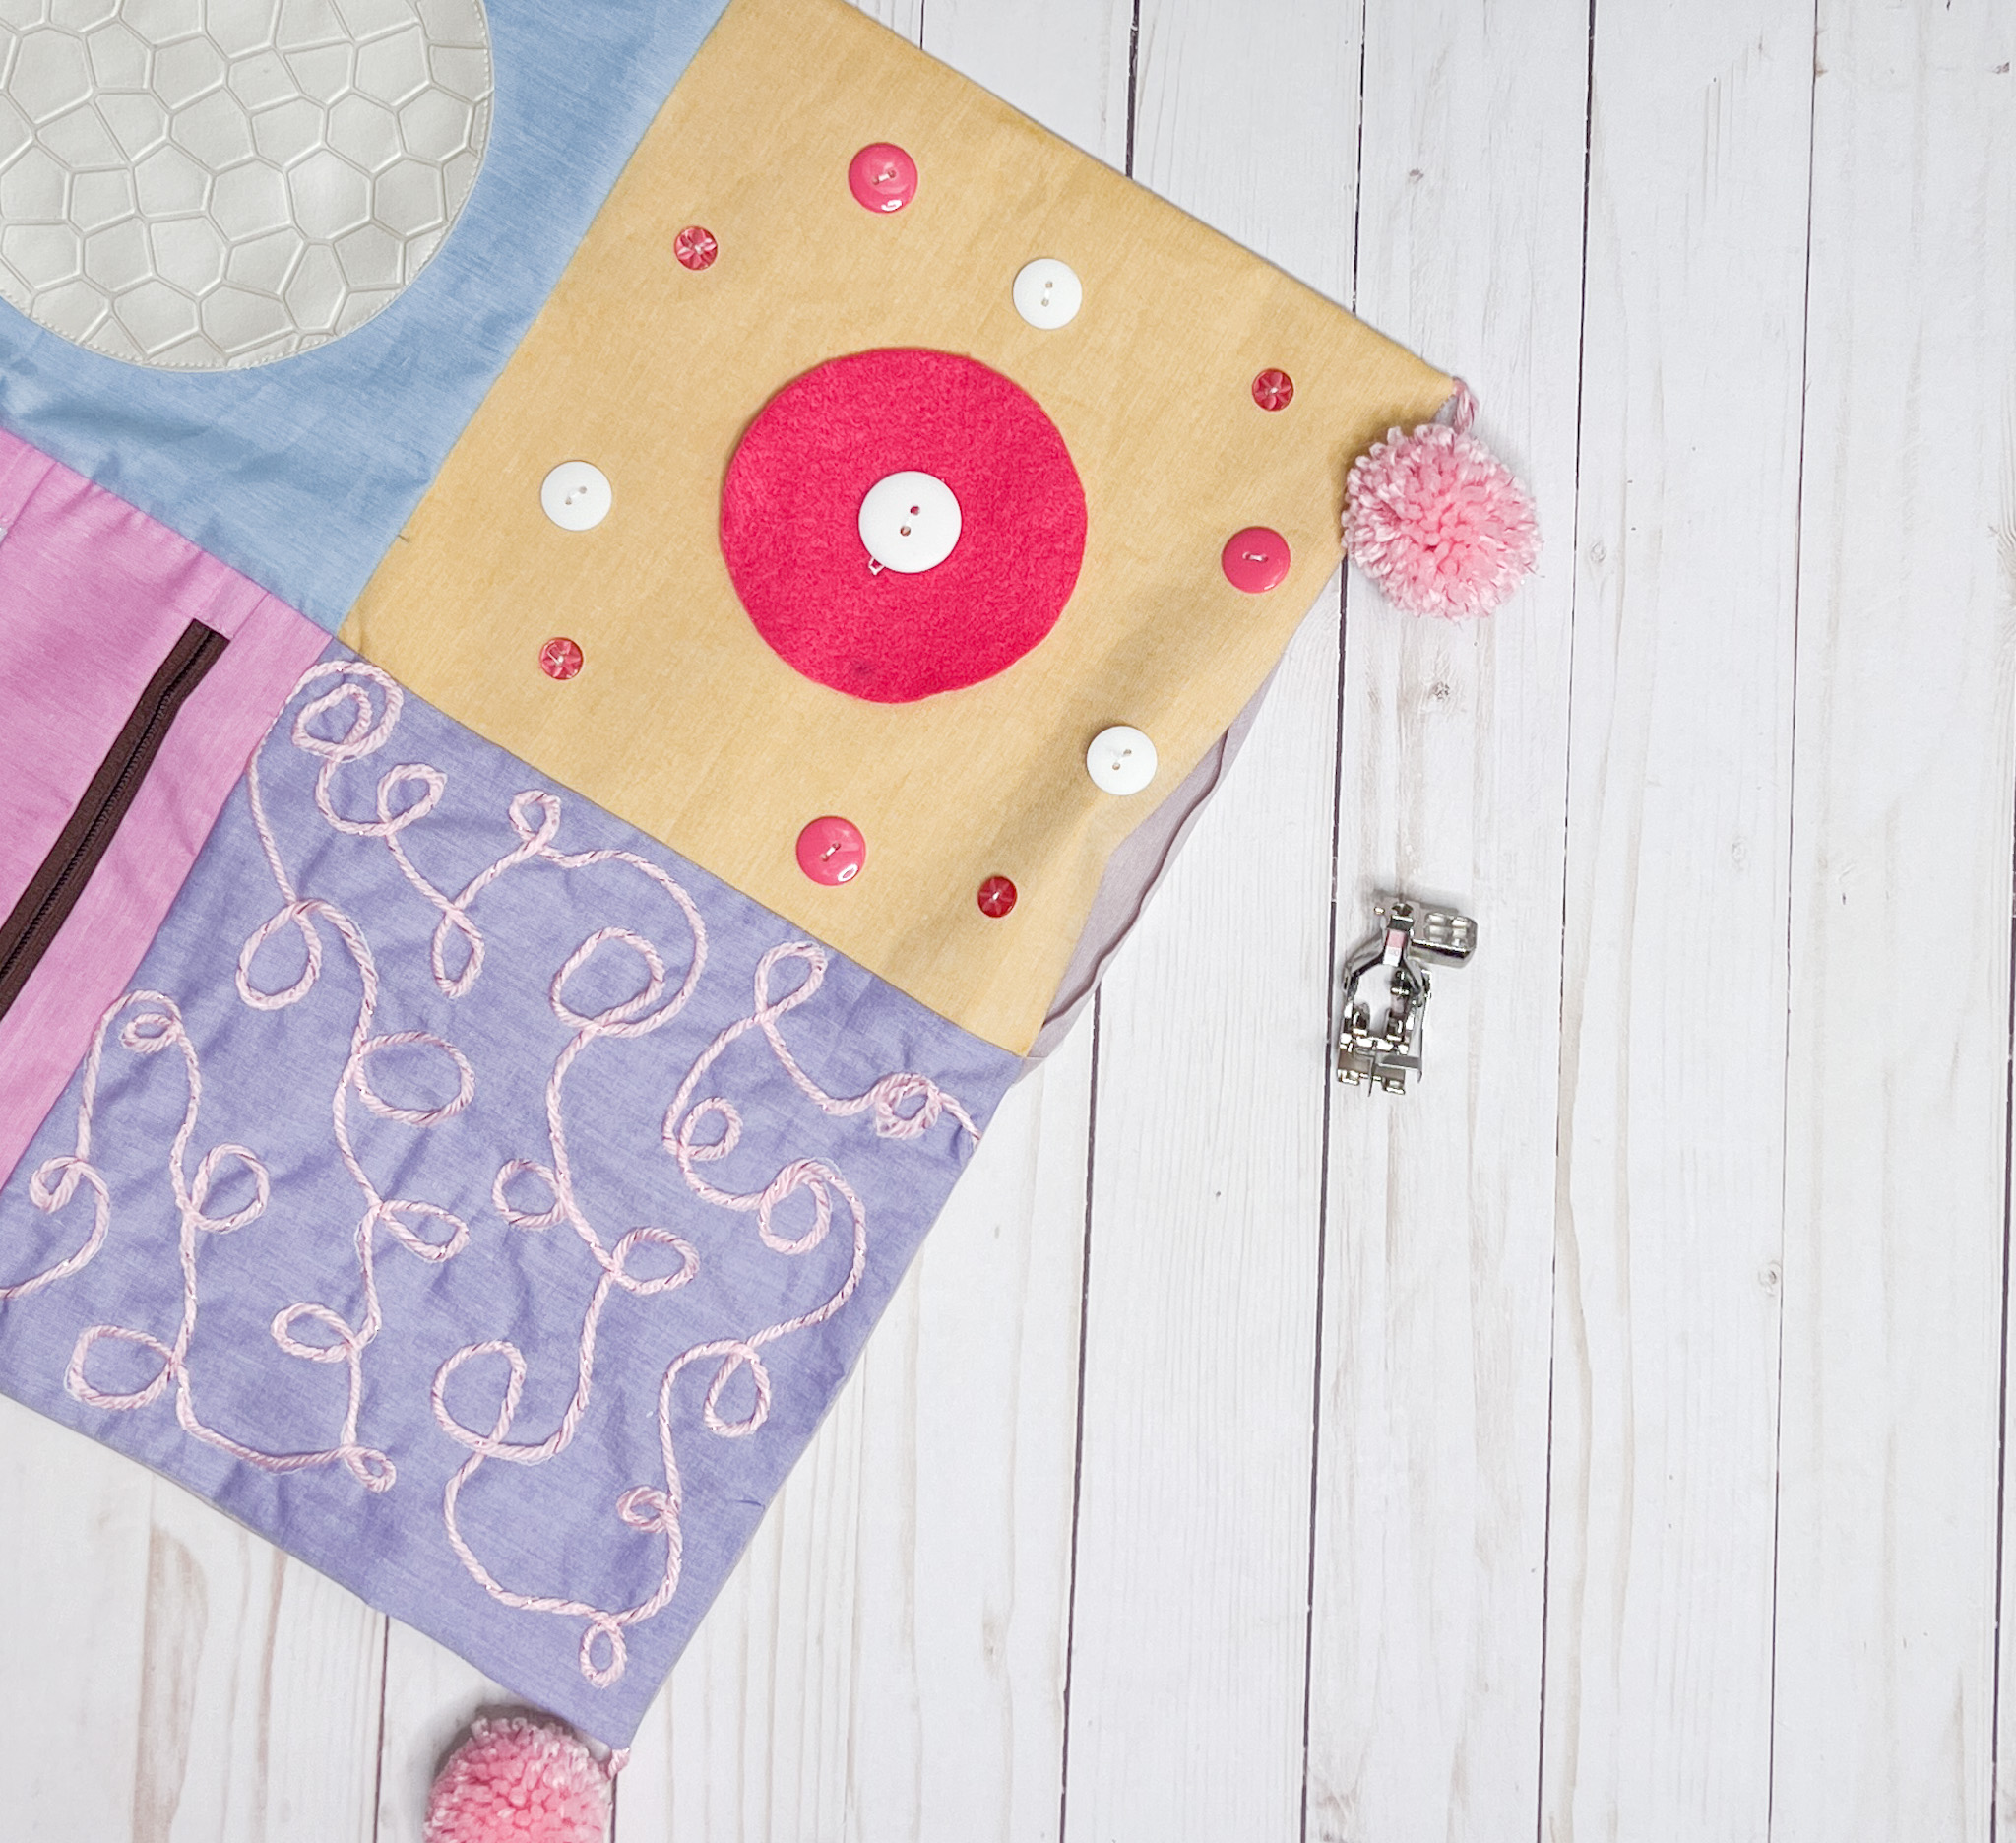
Now for the assembly. Place each pom-pom in one of the four corners of the blanket. With right sides together, sew the back to the front using a 1/4″ seam. The pom-poms will be sandwiched in the blanket. They create a bit of bulk, but you can still sew around them. Tip: Leave about a 5-inch gap so you can turn the blanket right side out.
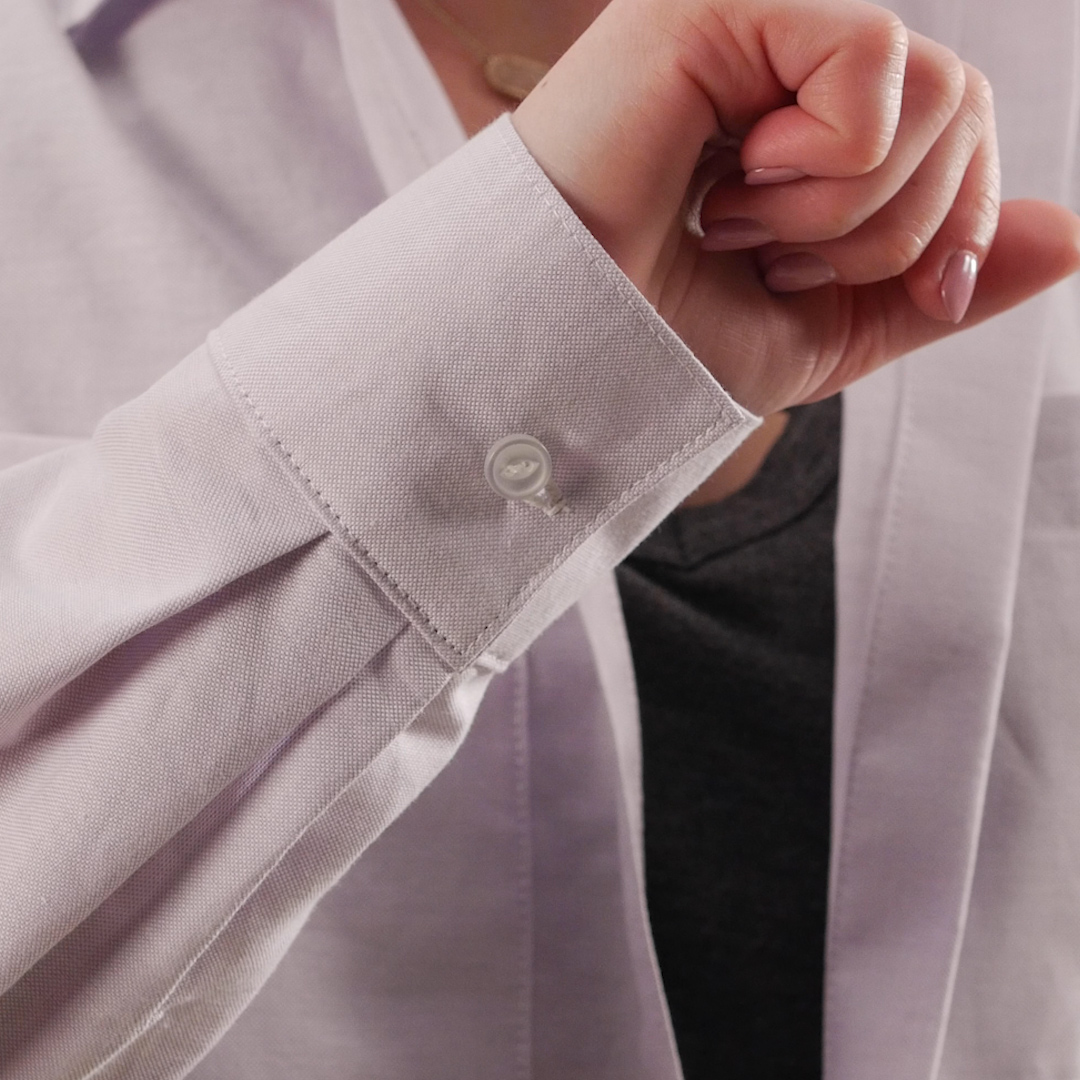
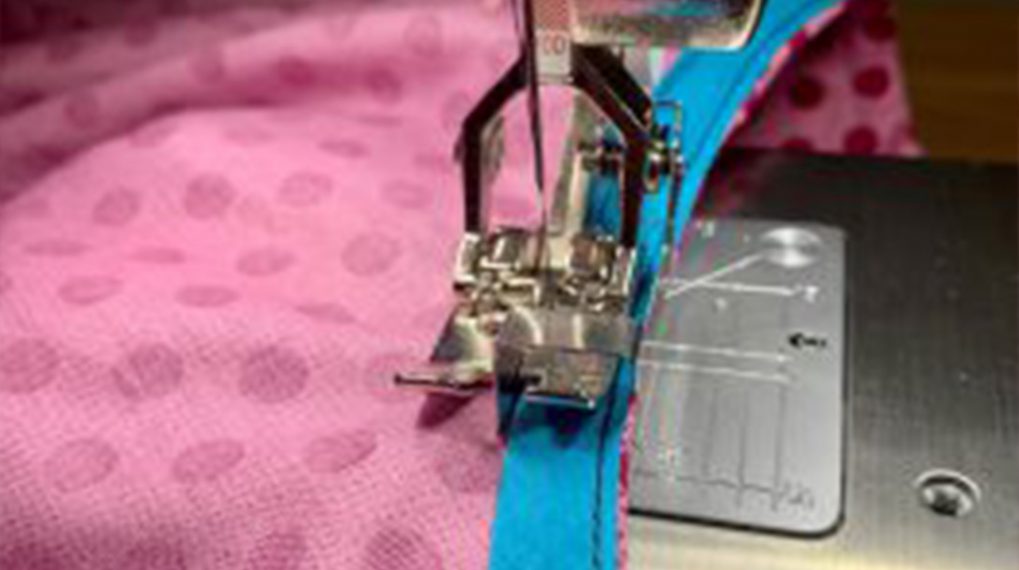
Next, turn the blanket right side out. Do you see the open gap? We will use the Edgestitch foot #10D to sew around the whole blanket and sew this opening shut.
![]()
I used a straight stitch with a 2.5 seam length. You can adjust the needle to the left depending on where you want your stitches to be.
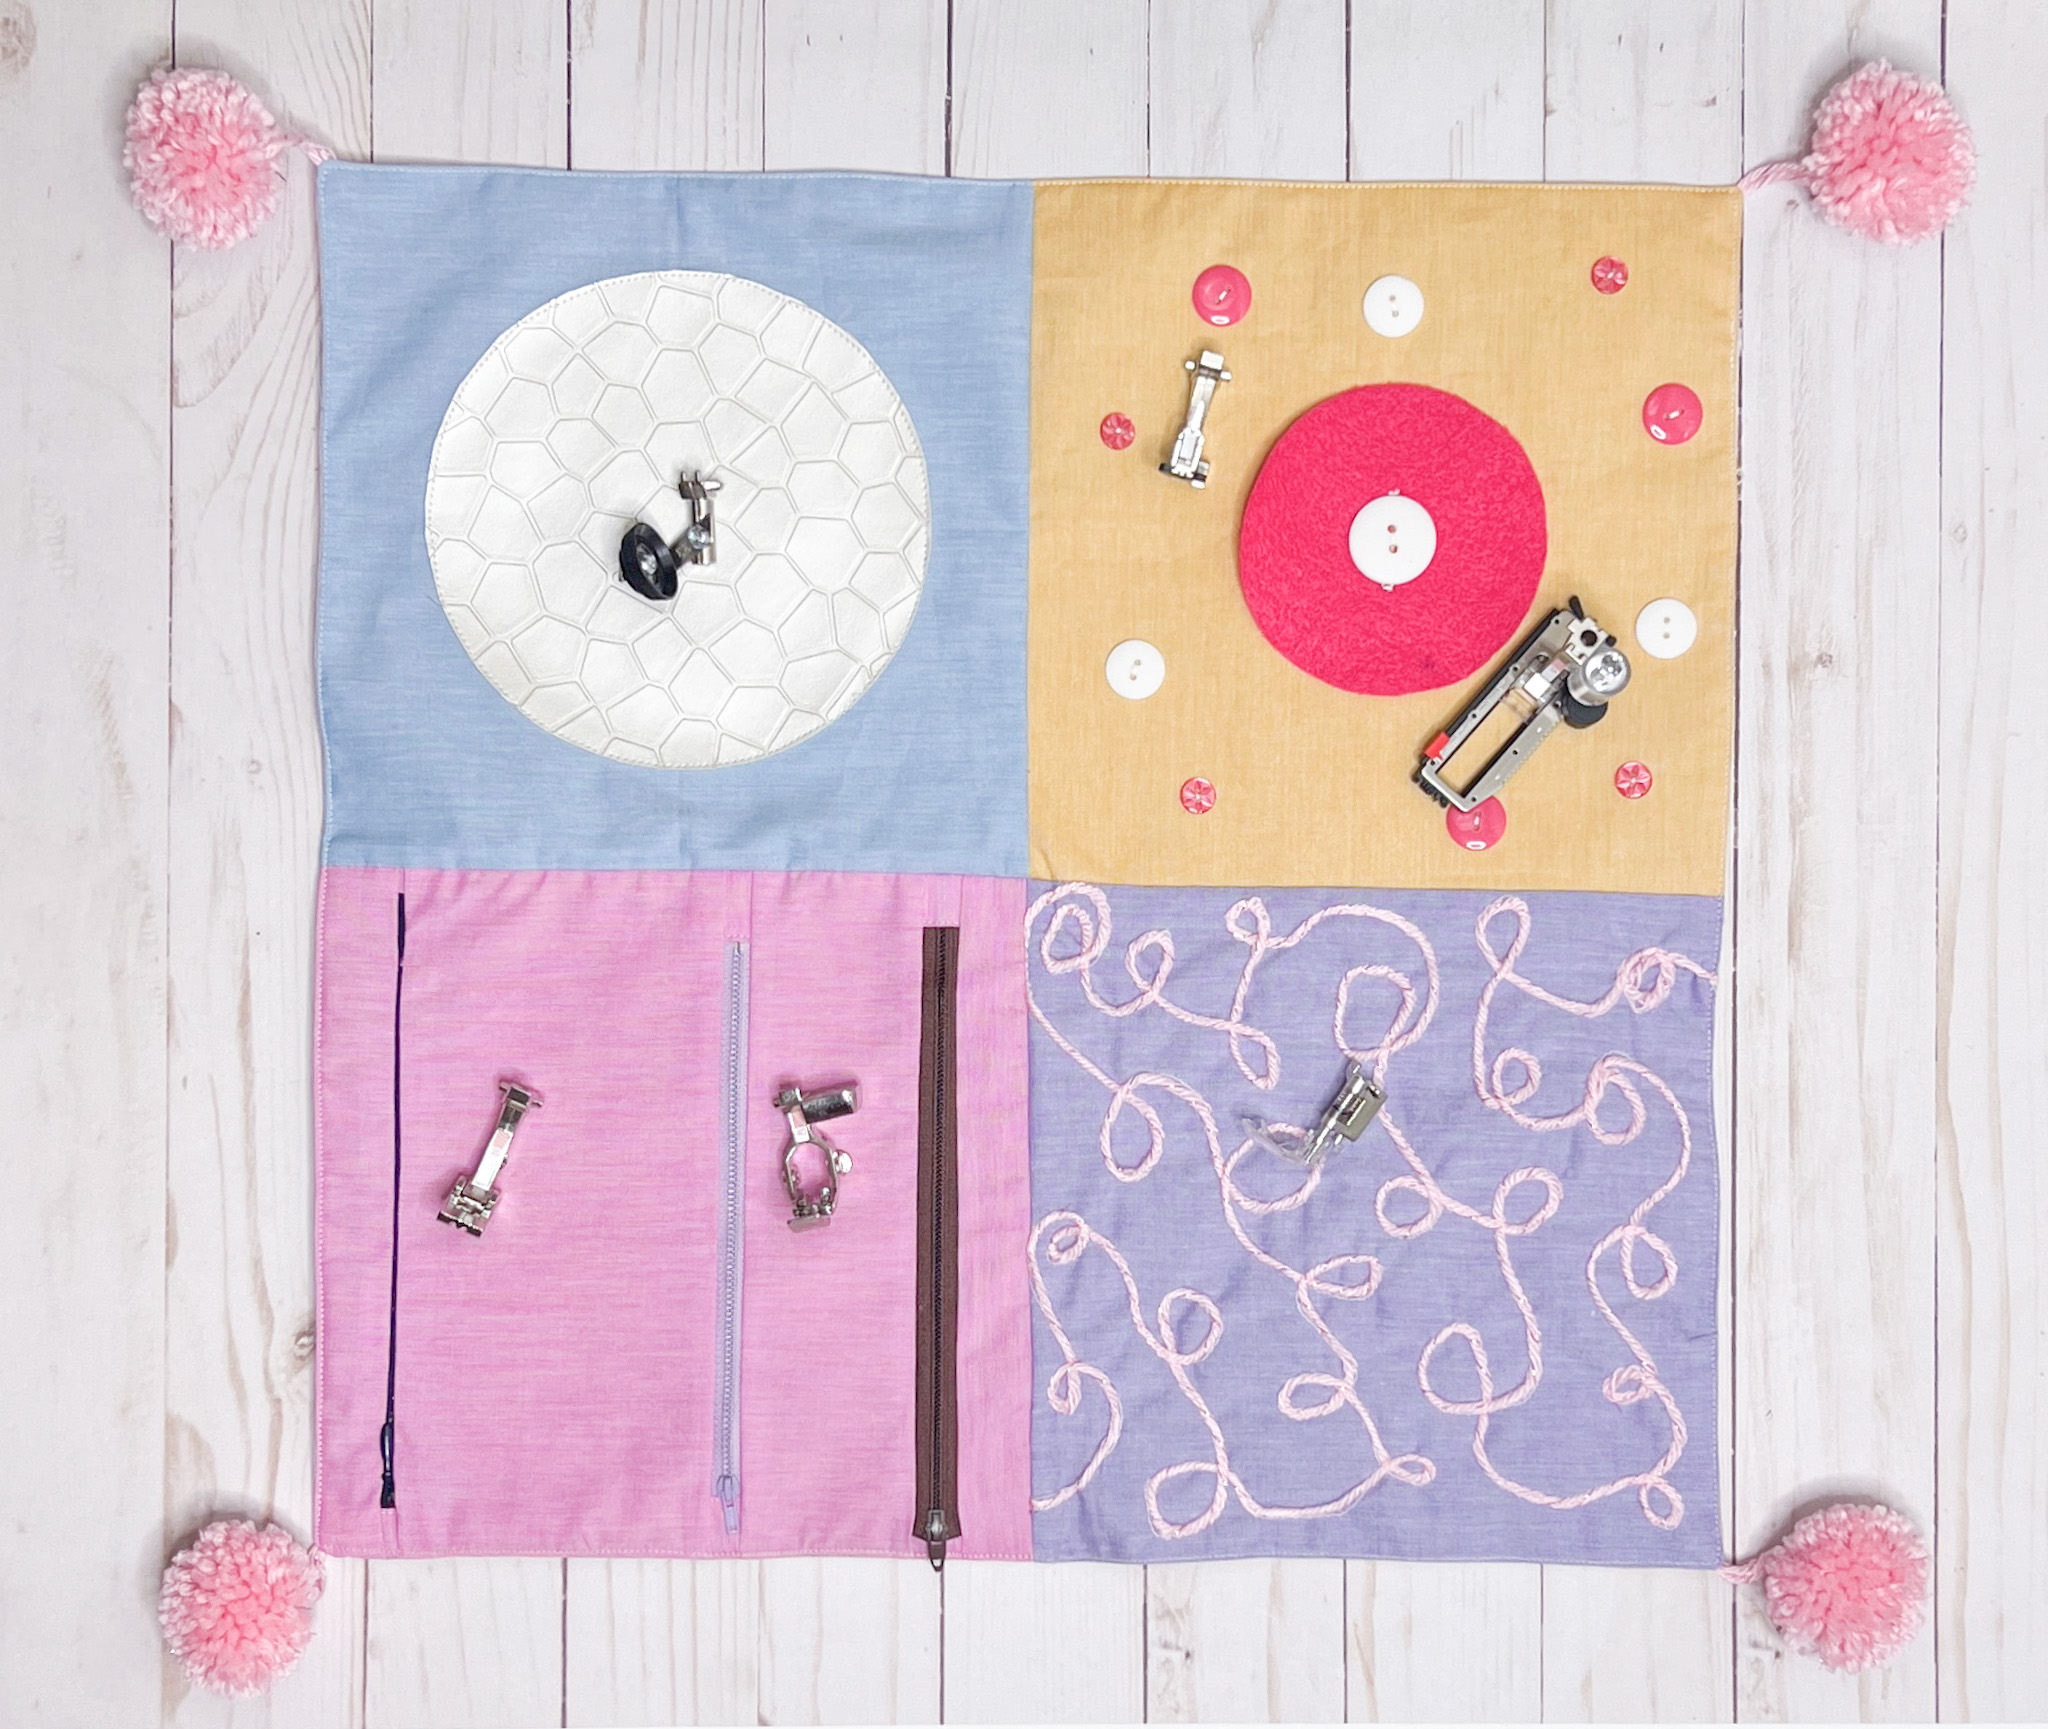
And we are DONE!!! Look at all these BERNINA feet you mastered with this Sensory Blanket Sew- Along! Now you have a fun Sensory Blanket to share with those you love!
Thanks for following along with me! If you would like to see more of what I am up to, you can follow me on my blog, Instagram, Facebook, Pinterest and subscribe to my YouTube channel!
Chirp Out!
Jen