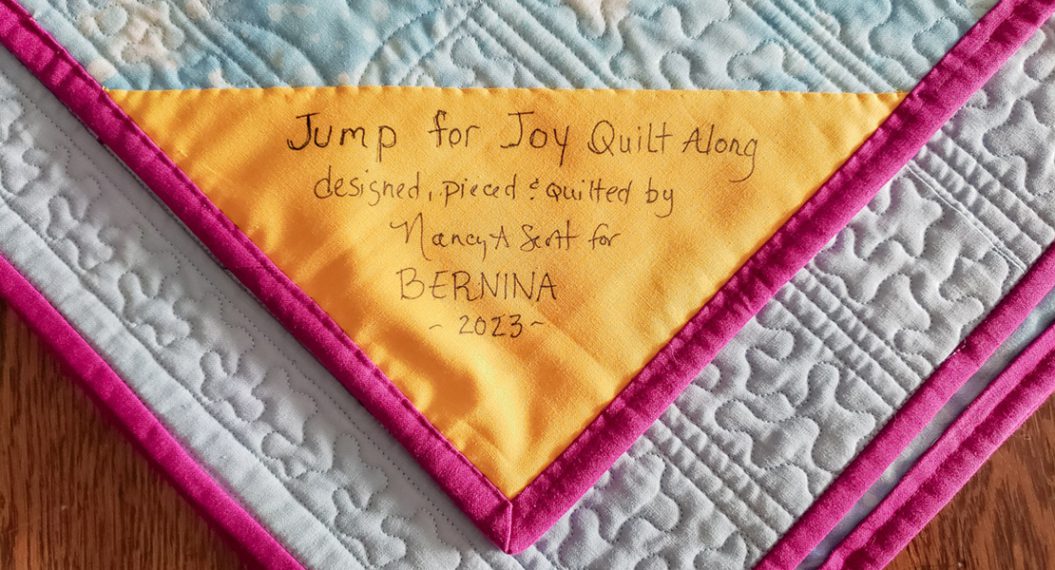
Jump for Joy Quilt Along, Part Five: Assembly
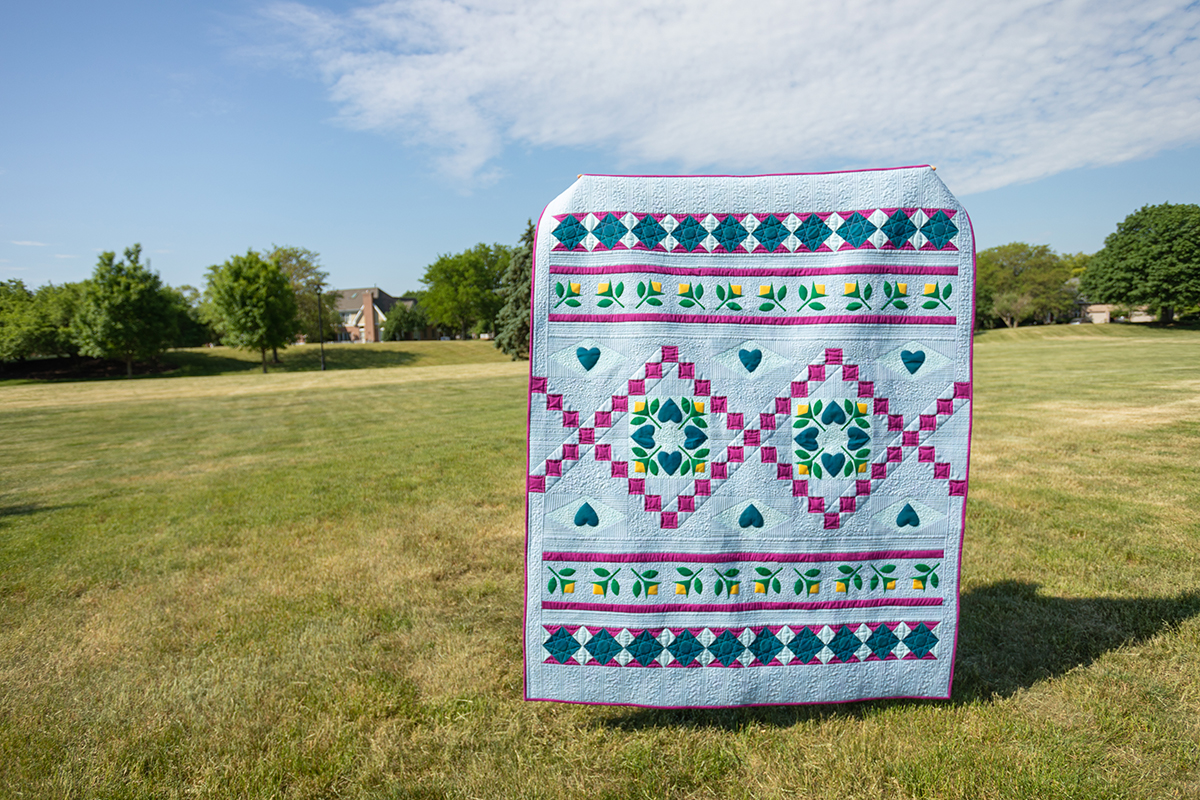
Welcome back to the Jump for Joy Quilt Along. We’ve had a busy four months cutting out and making all the blocks for the Jump for Joy quilt. This month we are assembling all the blocks into rows and joining the rows together to complete the quilt top. For me, this is one of the most satisfying parts of making a quilt as I get to see all of my hard work come together. This post focuses on the assembly process.
If you are finding the Jump for Joy Quilt Along for the first time, it’s not too late to join. I’d love to have you be part of it. Here are the direct links to the previous posts which includes the fabric requirements and cutting instructions as well as piecing instructions.
Here is the link to the first post Jump for Joy Quilt Along, Part One which includes the fabric requirements and cutting instructions.
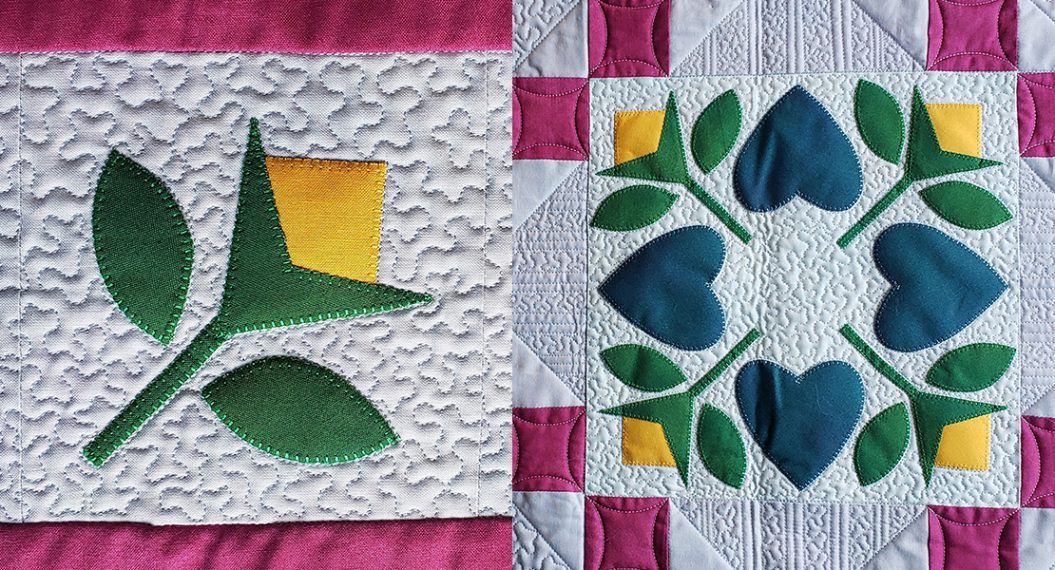
Jump for Joy Quilt Along, Part Two: Raw Edge Fusible Applique focuses on raw edge fusible applique. Jump for Joy Quilt Along, Part Three: Chain Block
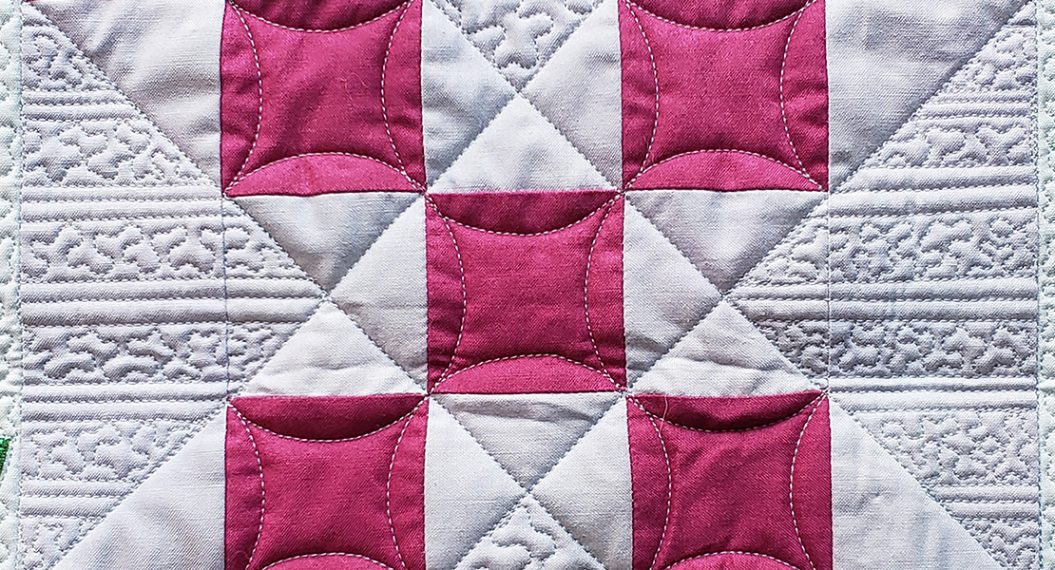
Jump for Joy Quilt Along, Part Three: Chain Block contains information about the popular Chain block and perfecting the quarter inch seam.
This month you will be using the following pieces: I squares, K strips, O strips, P strips, Q strips and R strips to complete the quilt top.
Materials Needed
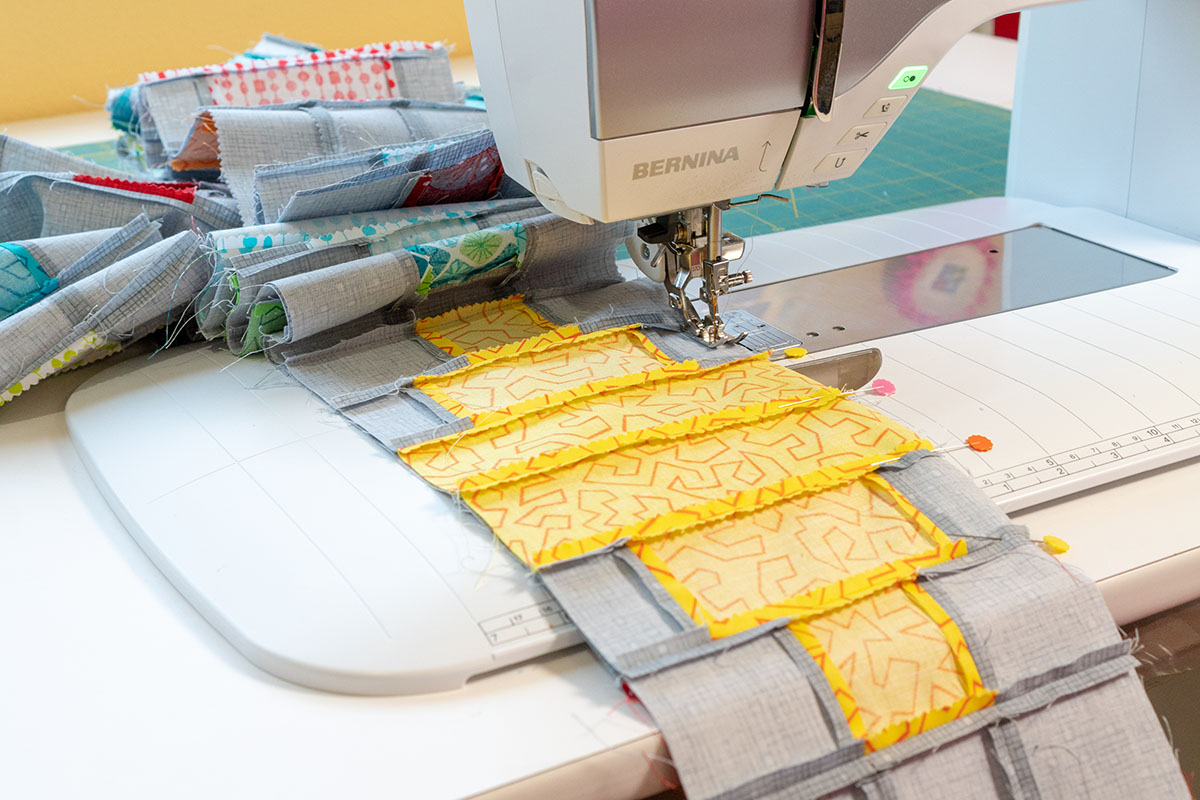
- BERNINA 790 PRO
- BERNINA Patchwork Feet #37/37D, #57/57D or #97/97D
- Piecing Quilt Top Pattern Download
- Piecing thread – Mettler Silk Finish Cotton 1081
Many BERNINA dealers have everything you need to make the quilt; the fabric, the supplies as well as the machines, available for you to purchase. If you don’t already shop there, here is a link to the dealer locator to find the closest one to you.
Find a Dealer – easily find your nearest BERNINA dealer. – BERNINA
Here is the download for this month’s block.

In the assembly process, the accurate quarter inch seam allowance is critically important. If your blocks aren’t the same size or the correct size, when you join them together they won’t align with the other pieces. Now is a great time to press all your blocks again to make sure all the wrinkles are out and they are lying flat. You can also double check the sizes and trim, if needed, to the correct size.
Sewing the Blocks into Rows
There are four block rows that you will be making, the Center Row, the Heart Chain Row, the Flower Row and the Diamond Block row.
Let’s start with the Center Row.

To complete this row, you alternately stitch the three Chain blocks and the two Heart & Flower Applique blocks that you made earlier.
When joining the blocks into row, position them right sides together, and I like to align the raw edges at each end and pin into place. Then bring the center together and pin, as needed. This method will insure that the ends will be even and any extra fullness will be eased into the center of the seam.
Next is the Heart Chain Row.

To make this row, alternately arrange and stitch together three Diamond Heart units and two Partial Chain blocks. You need to make sure that each piece is oriented in the correct direction before joining. Once you finish this row, you will make a second identical row.
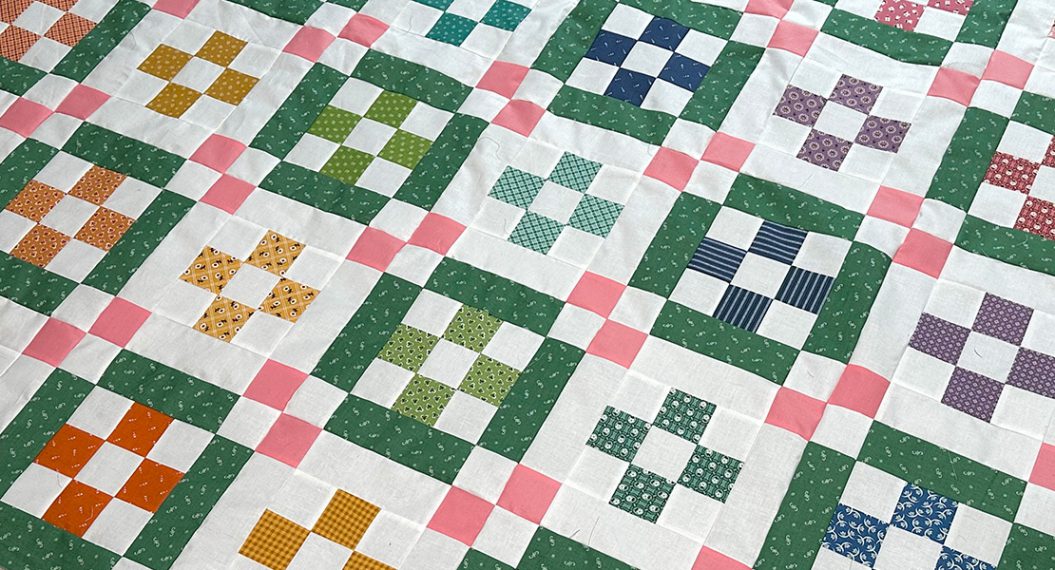
Now you will make the Flower Row

Select ten of the Flower blocks and arrange them as shown in the photo, stitch together. I found it easier to join the blocks in groups of two and then join the smaller groups together to make the long strip. Once you finish the first row, you will make an identical second row.
If you have a design wall or a large table, bed or even the floor, it is helpful to layout all the blocks in advance to make sure the orientation is correct. Of course, if you have any four-legged quilting assistants then you need to make sure they don’t re-arrange any of the blocks for you!
Finally, the Diamond Block Row

Making sure the orientation is correct, join the ten diamond blocks to make one row. When finished with the first row, make an identical second row.
After assembling all of the rows, be sure to press them thoroughly. It is easier to press an individual row as opposed to the entire quilt.
Next, you will make the Side Sashing Row.
![]()
This row is simple to make by joining I squares with O and K strips. When finished with the first one, make a second. This row will be sewn last onto the outer sides of the quilt top but I find it easier to go ahead and make it now.
Once all the rows are assembled and pressed, you will bring it all together with the P, Q and R strips as sashing between the pieced rows.
Refer to the Assembly Diagram for placement.
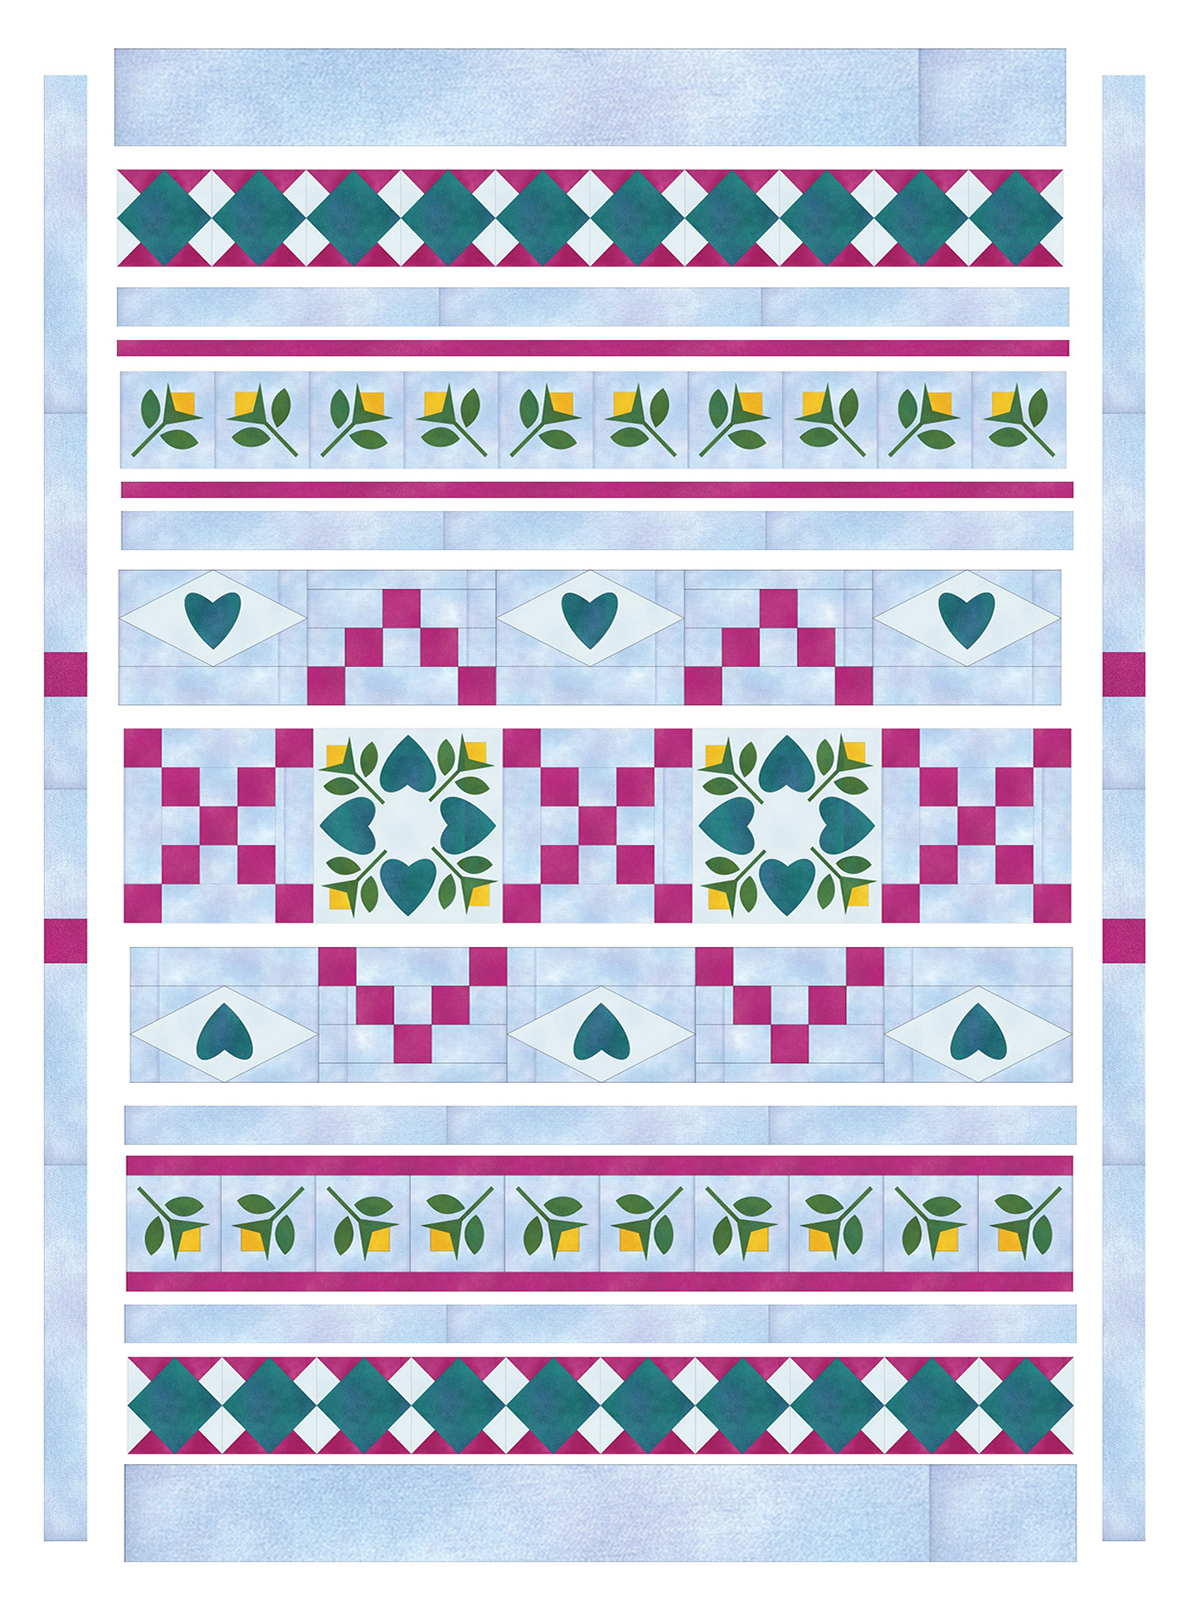
When joining long rows, I like to use the same method of aligning and pinning the ends first, then placing pins along the center. When joining the Center Row and the Heart Chain Row, you can use the seams as aligning points, making sure the chain design flows continuously from one row to the next.
After joining the pieced rows and sashing strips, add the Side Sashing Rows to complete the quilt top. As you join the Side Sashing Rows, make sure to align the I squares so the chain pattern extends to the edge of the quilt.
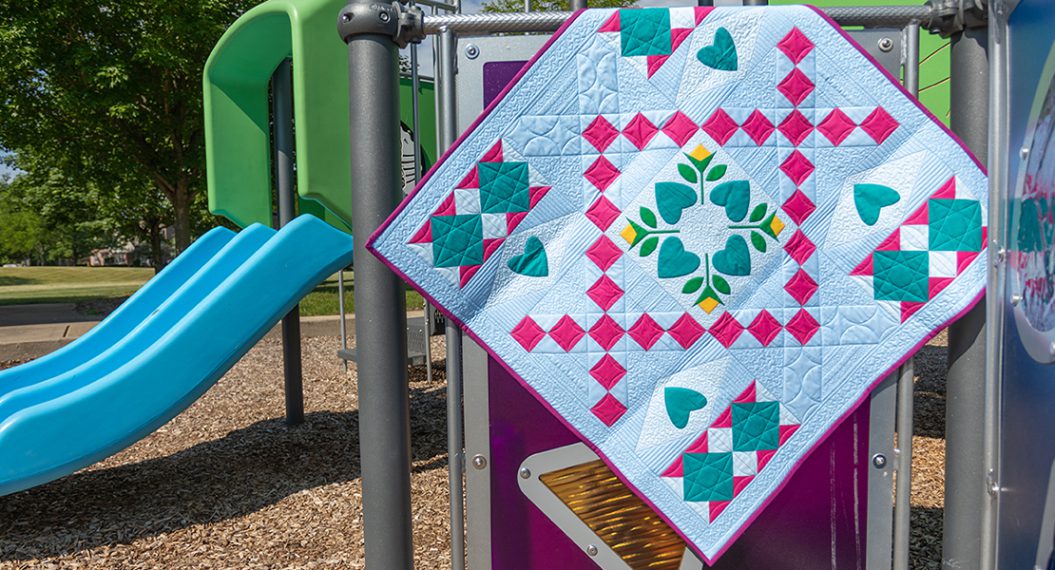
And now, your Jump for Joy quilt top is complete! Congratulations! Take a moment or two or three and admire your work. I’m so proud of you, especially if this is your first quilt top or you have tried techniques you have never used before.
If you struggle with stitching an accurate ¼” seam or your patchwork skills aren’t where you want them to be, reach out to your local BERNINA dealer and ask about quilting classes that they offer. If you don’t already shop there, here is a link to the dealer locator to find the closest one to you.
Find a Dealer – easily find your nearest BERNINA dealer. – BERNINA
That’s it for today! This is a quilt along that you will definitely want to participate in and be sure to share it with all your quilting friends and quilt guilds. Quilting is always better with a friend.
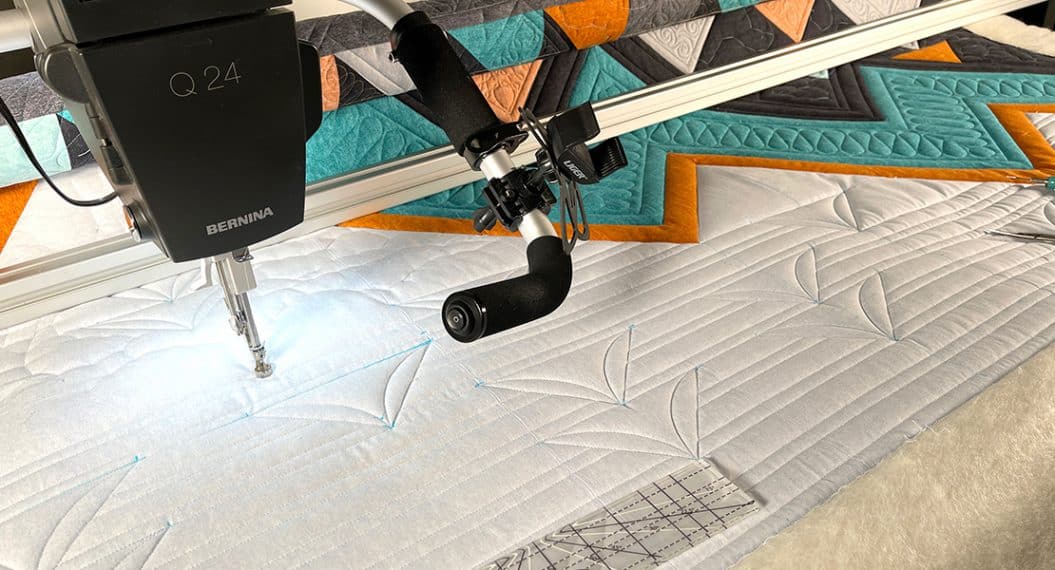
Next month, we will start talking about the quilting plan and how to prepare the backing, layer and quilt your quilt. See you then!
Used Products

What you might also like


One comment on “Jump for Joy Quilt Along, Part Five: Assembly”
Leave a Reply
You must be logged in to post a comment.

I’m looking forward to learning your tips & tricks for quilting your project.