Beaded Lanterns Quilt Along Week 3 – Quilt Top Assembly
Hi all – it’s Christa Watson here. Are you having a great time following the quilt along so far? I sure am enjoying all of the gorgeous Beaded Lanterns quilts that are starting to pop up online. Check out the hashtag #beadedlanternsqal on Instagram to see everyone’s progress so far. You can also upload your images to the We All Sew community site.

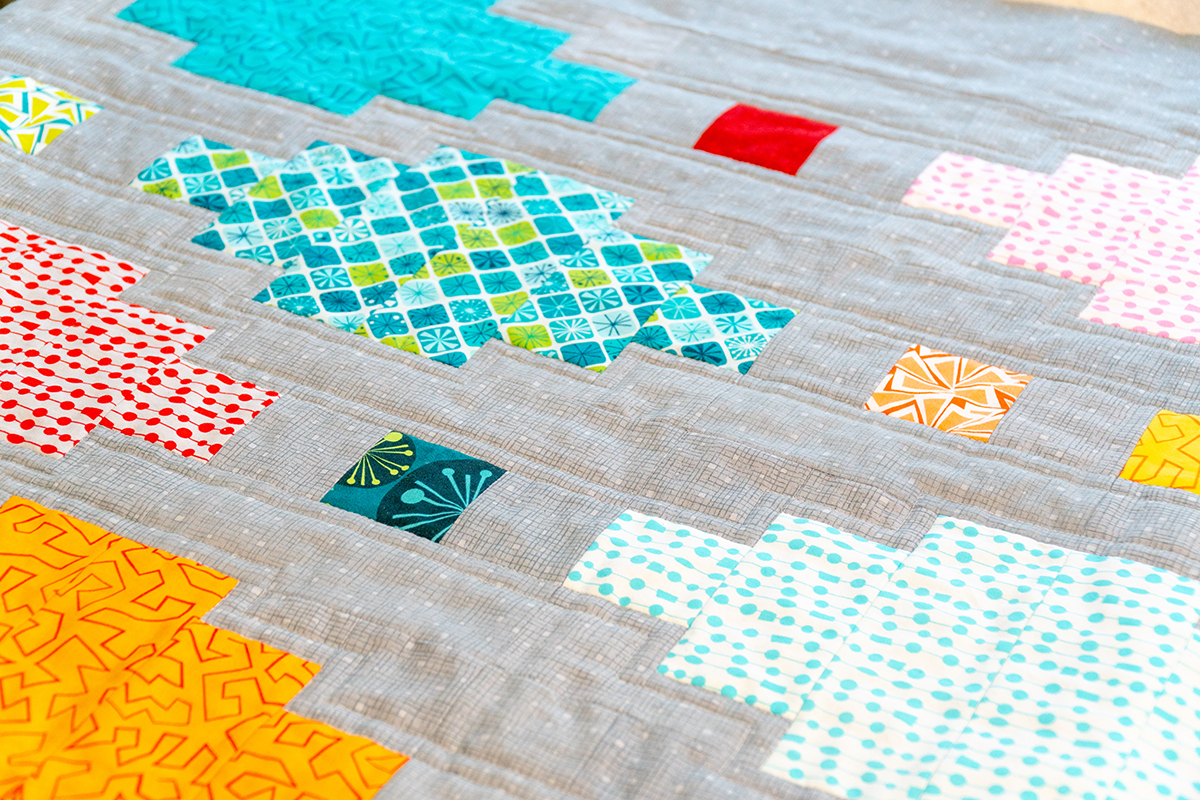
This week, we will take the blocks that we completed last week and sew them together to complete the Beaded Lanterns quilt top. I’ve been making my quilt using my newest fabric line Fandangle from Benartex Contempo Studio, but this design works fabulous with any precut strips as long as there’s good contrast between the prints and the background.

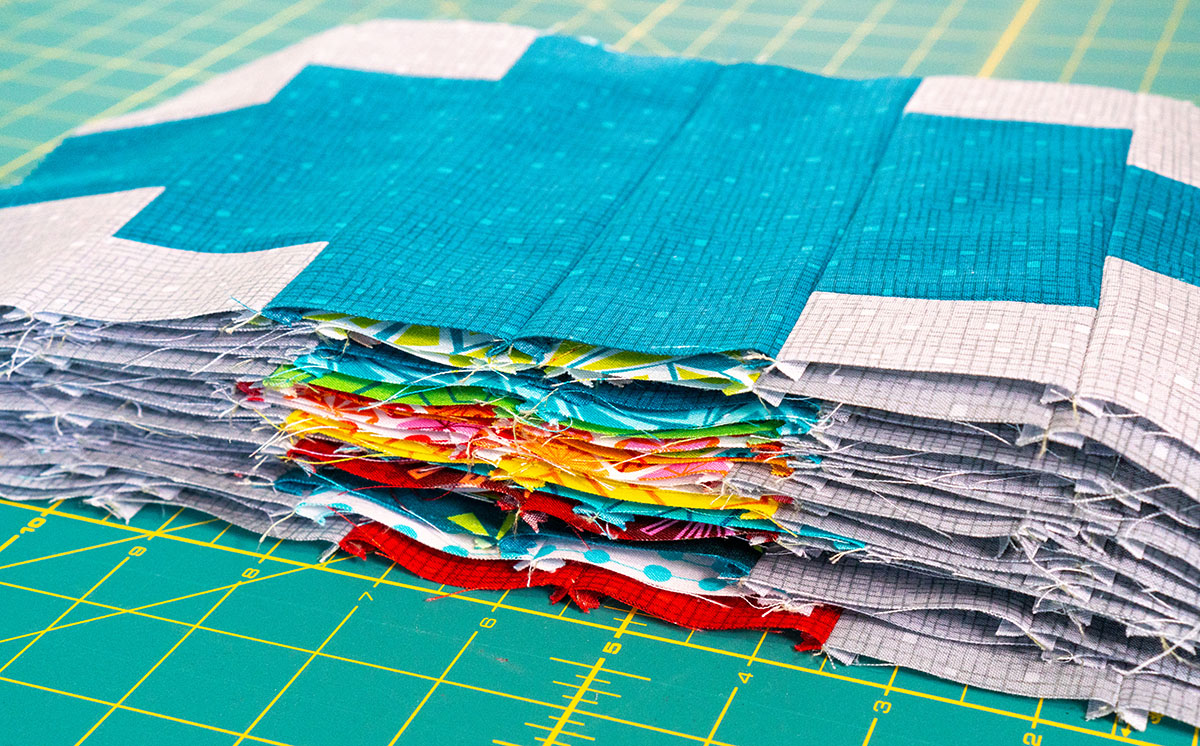
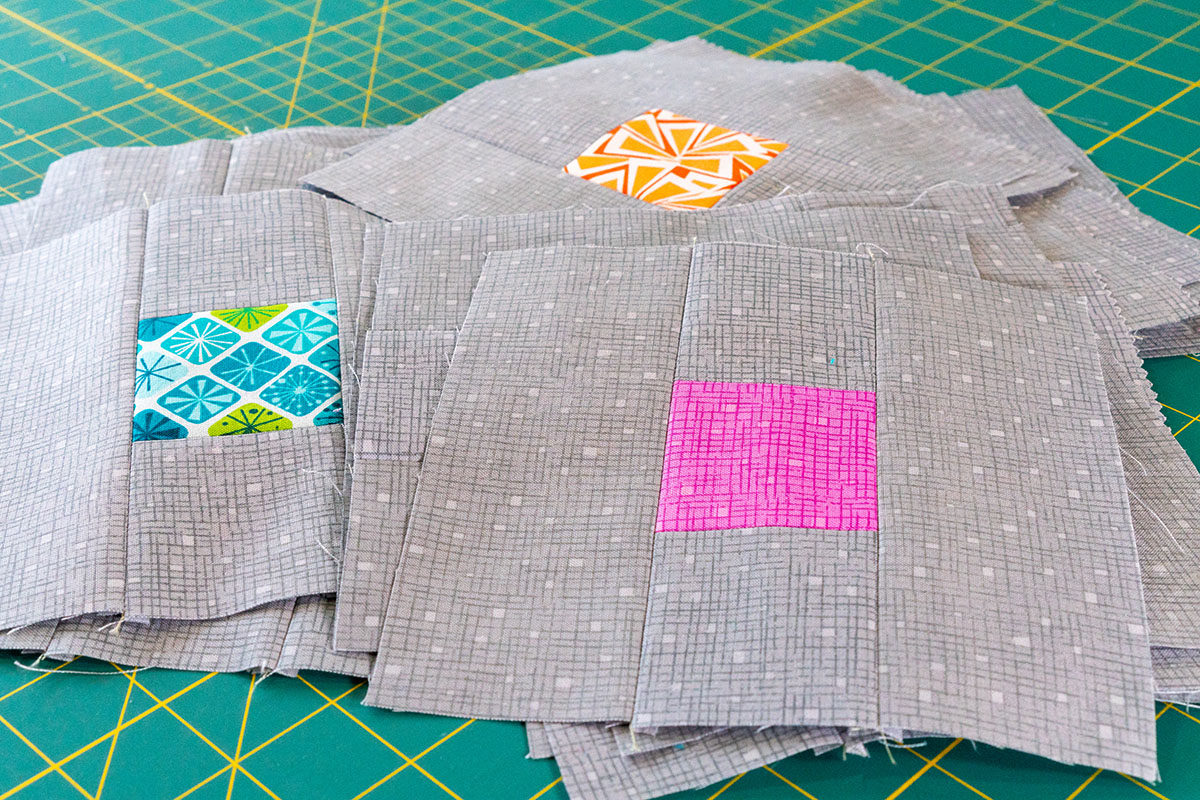
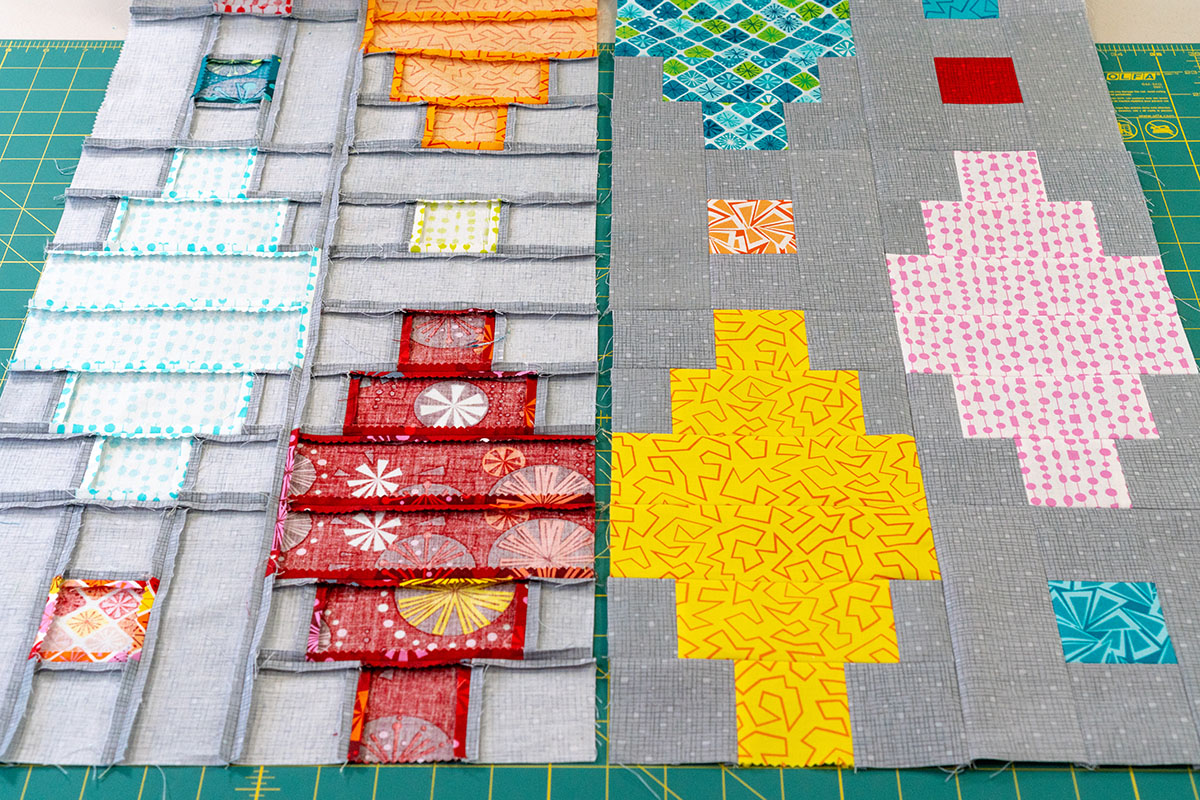
Step 1 – Separate the Blocks into Lantern blocks and Bead blocks
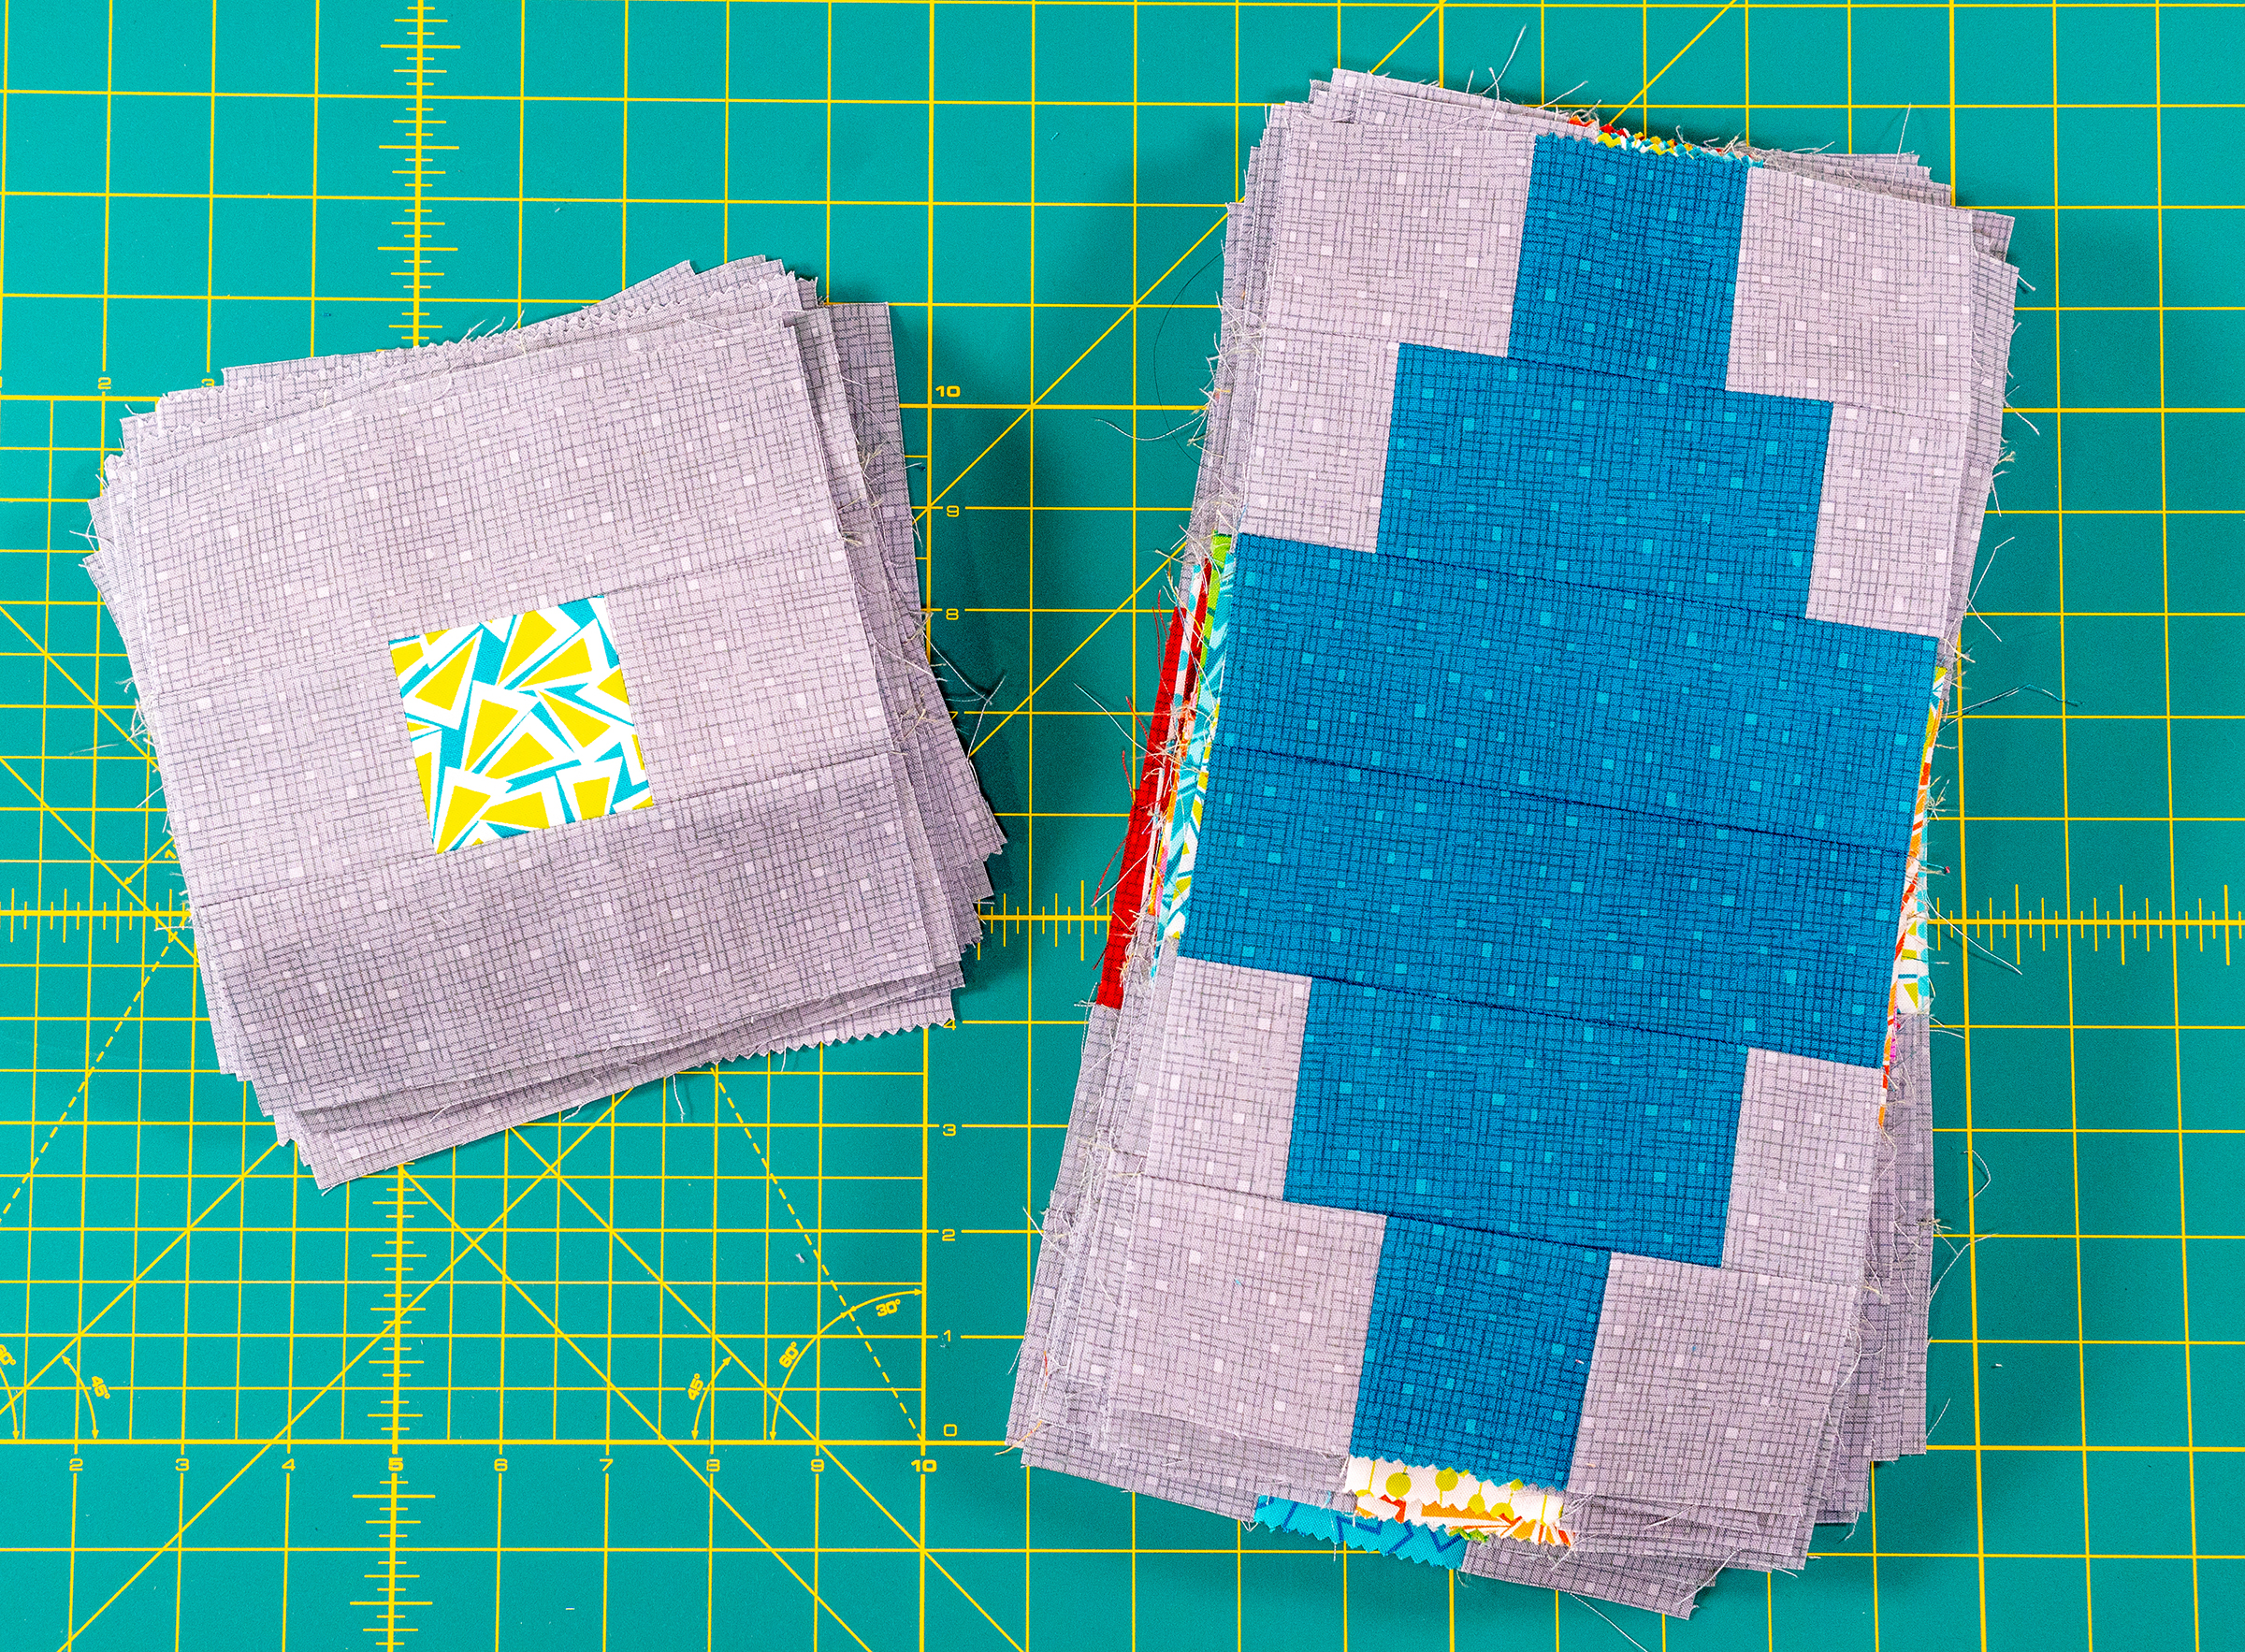
The Lantern blocks should measure 6 1/2″ x 12 1/2″ unfinished and the Bead blocks should measure 6 1/2″ x 6 1/2″ unfinished. If your blocks are not this exact measurement, that’s ok. As long as they are all a consistent size, it will still work. If any of the blocks are off, trim them all down to the same measurement for each type of block.
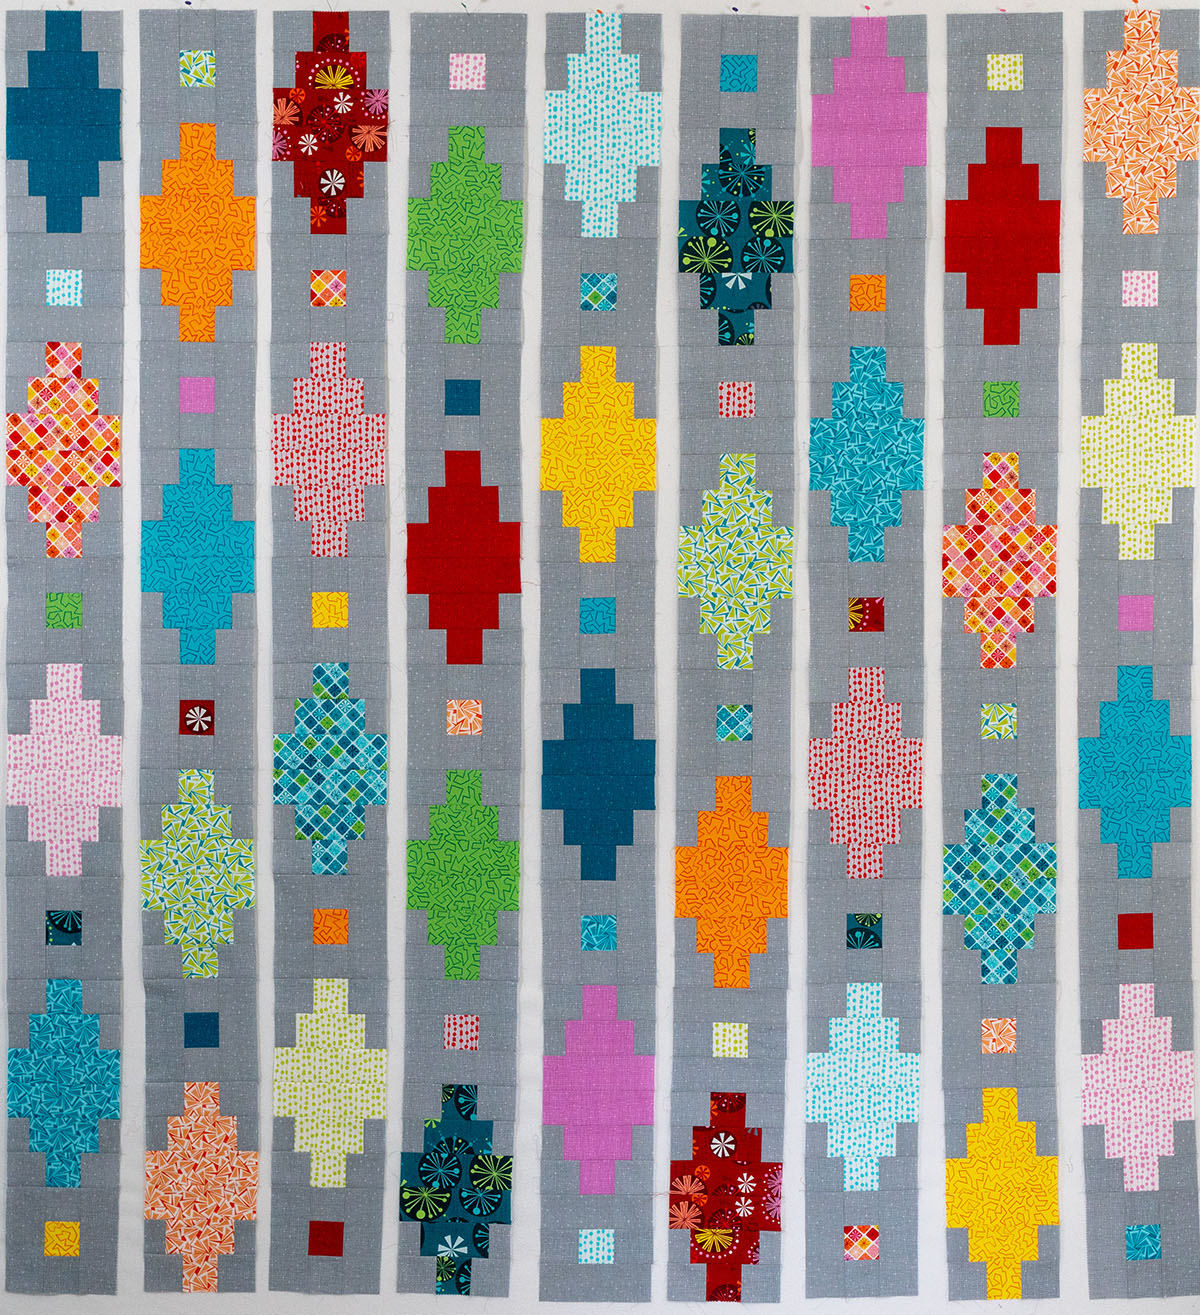
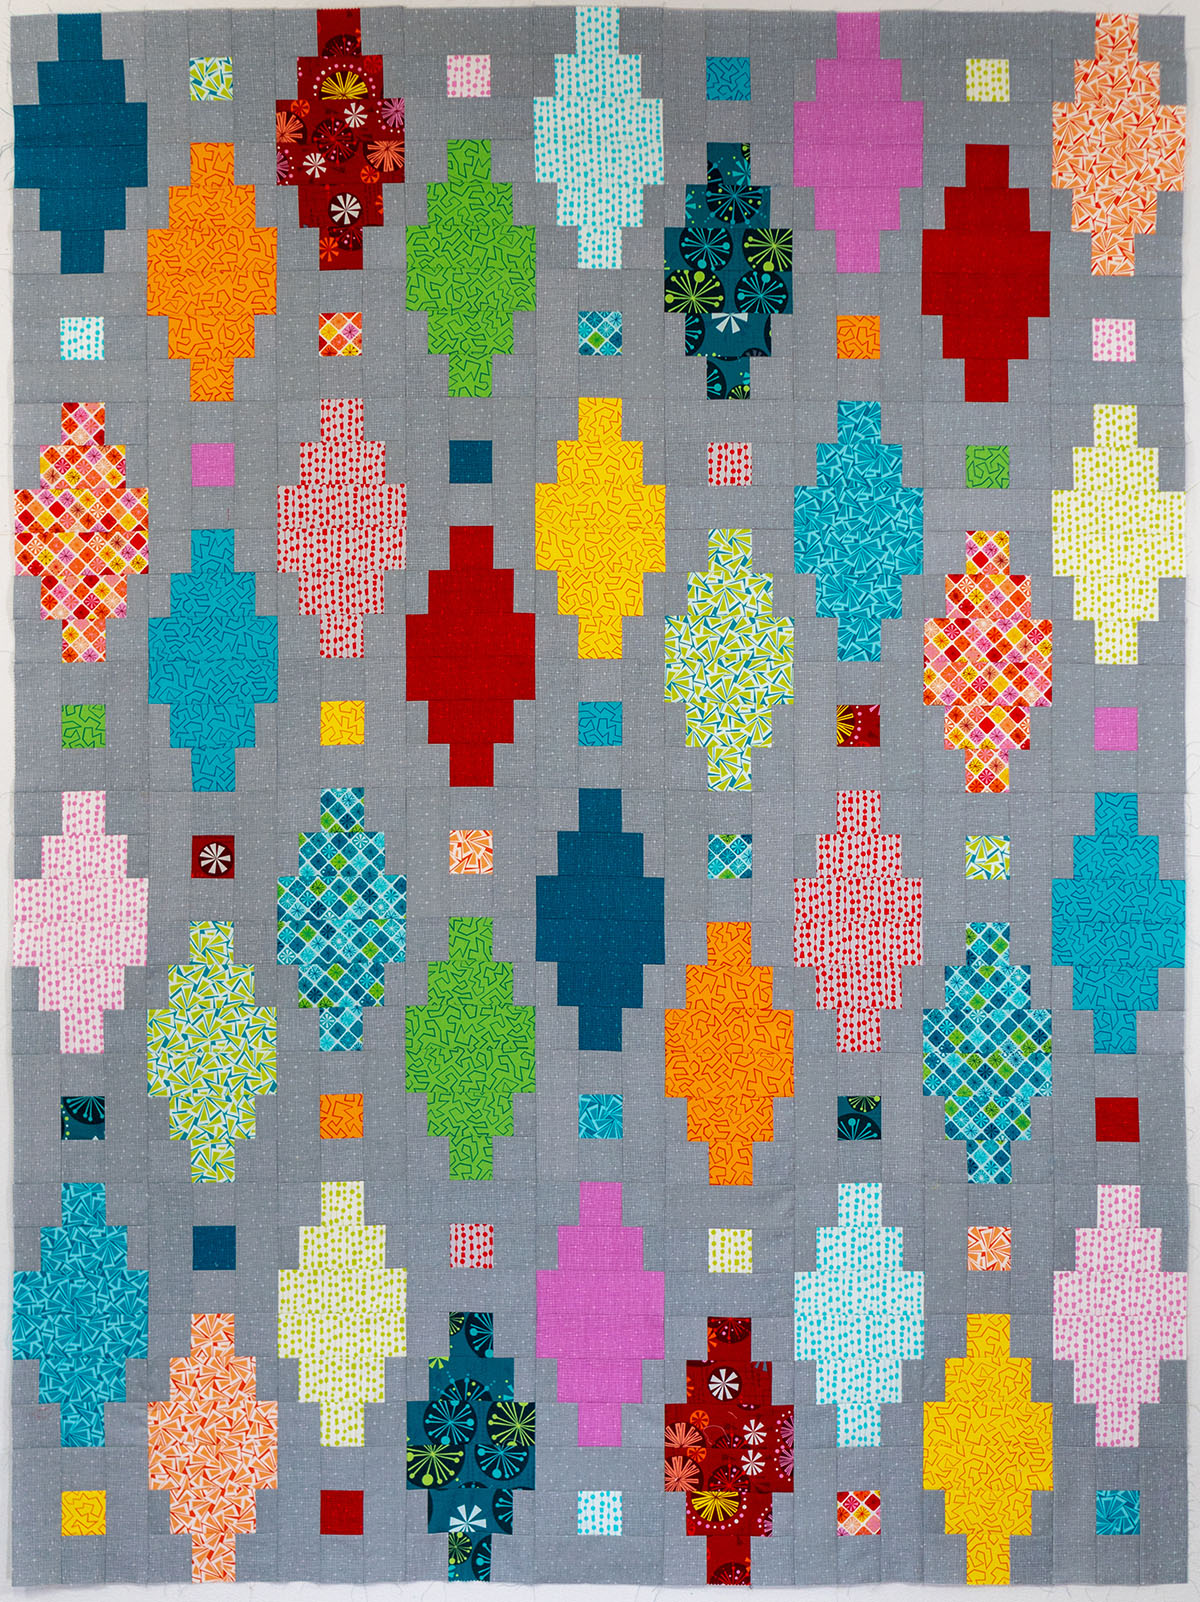
Step 2 – Lay Out the Blocks in a Pleasing Color Arrangement
Follow the diagrams in the Beaded Lanterns Quilt Pattern to lay out all 72 blocks (36 of each) into 9 vertical rows of 8 blocks each. Start the odd rows (from left to right in the image below) with a Lantern block and end with a Bead block. Start the odd rows with a Bead block and end with a Lantern block. Arrange the blocks on a design wall or other large surface. Once you are happy with the color placement, take a picture with your camera phone to refer to as you sew them together so you can keep the blocks in order.
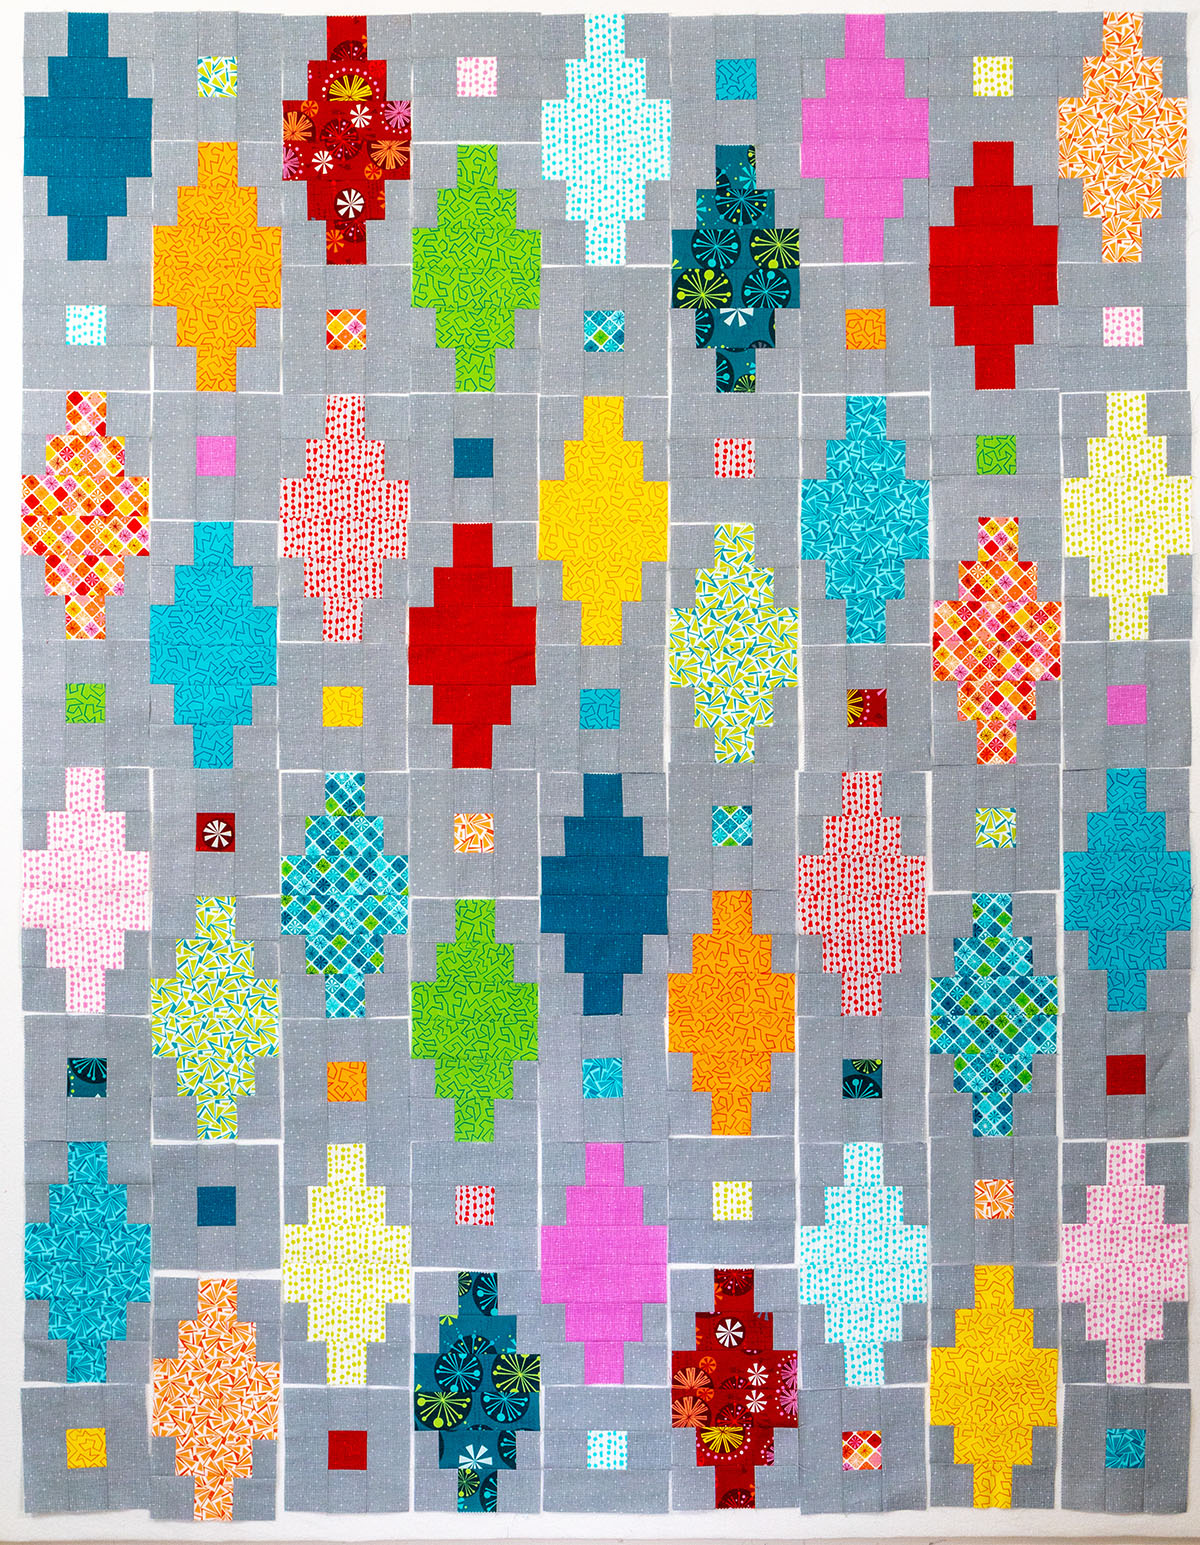
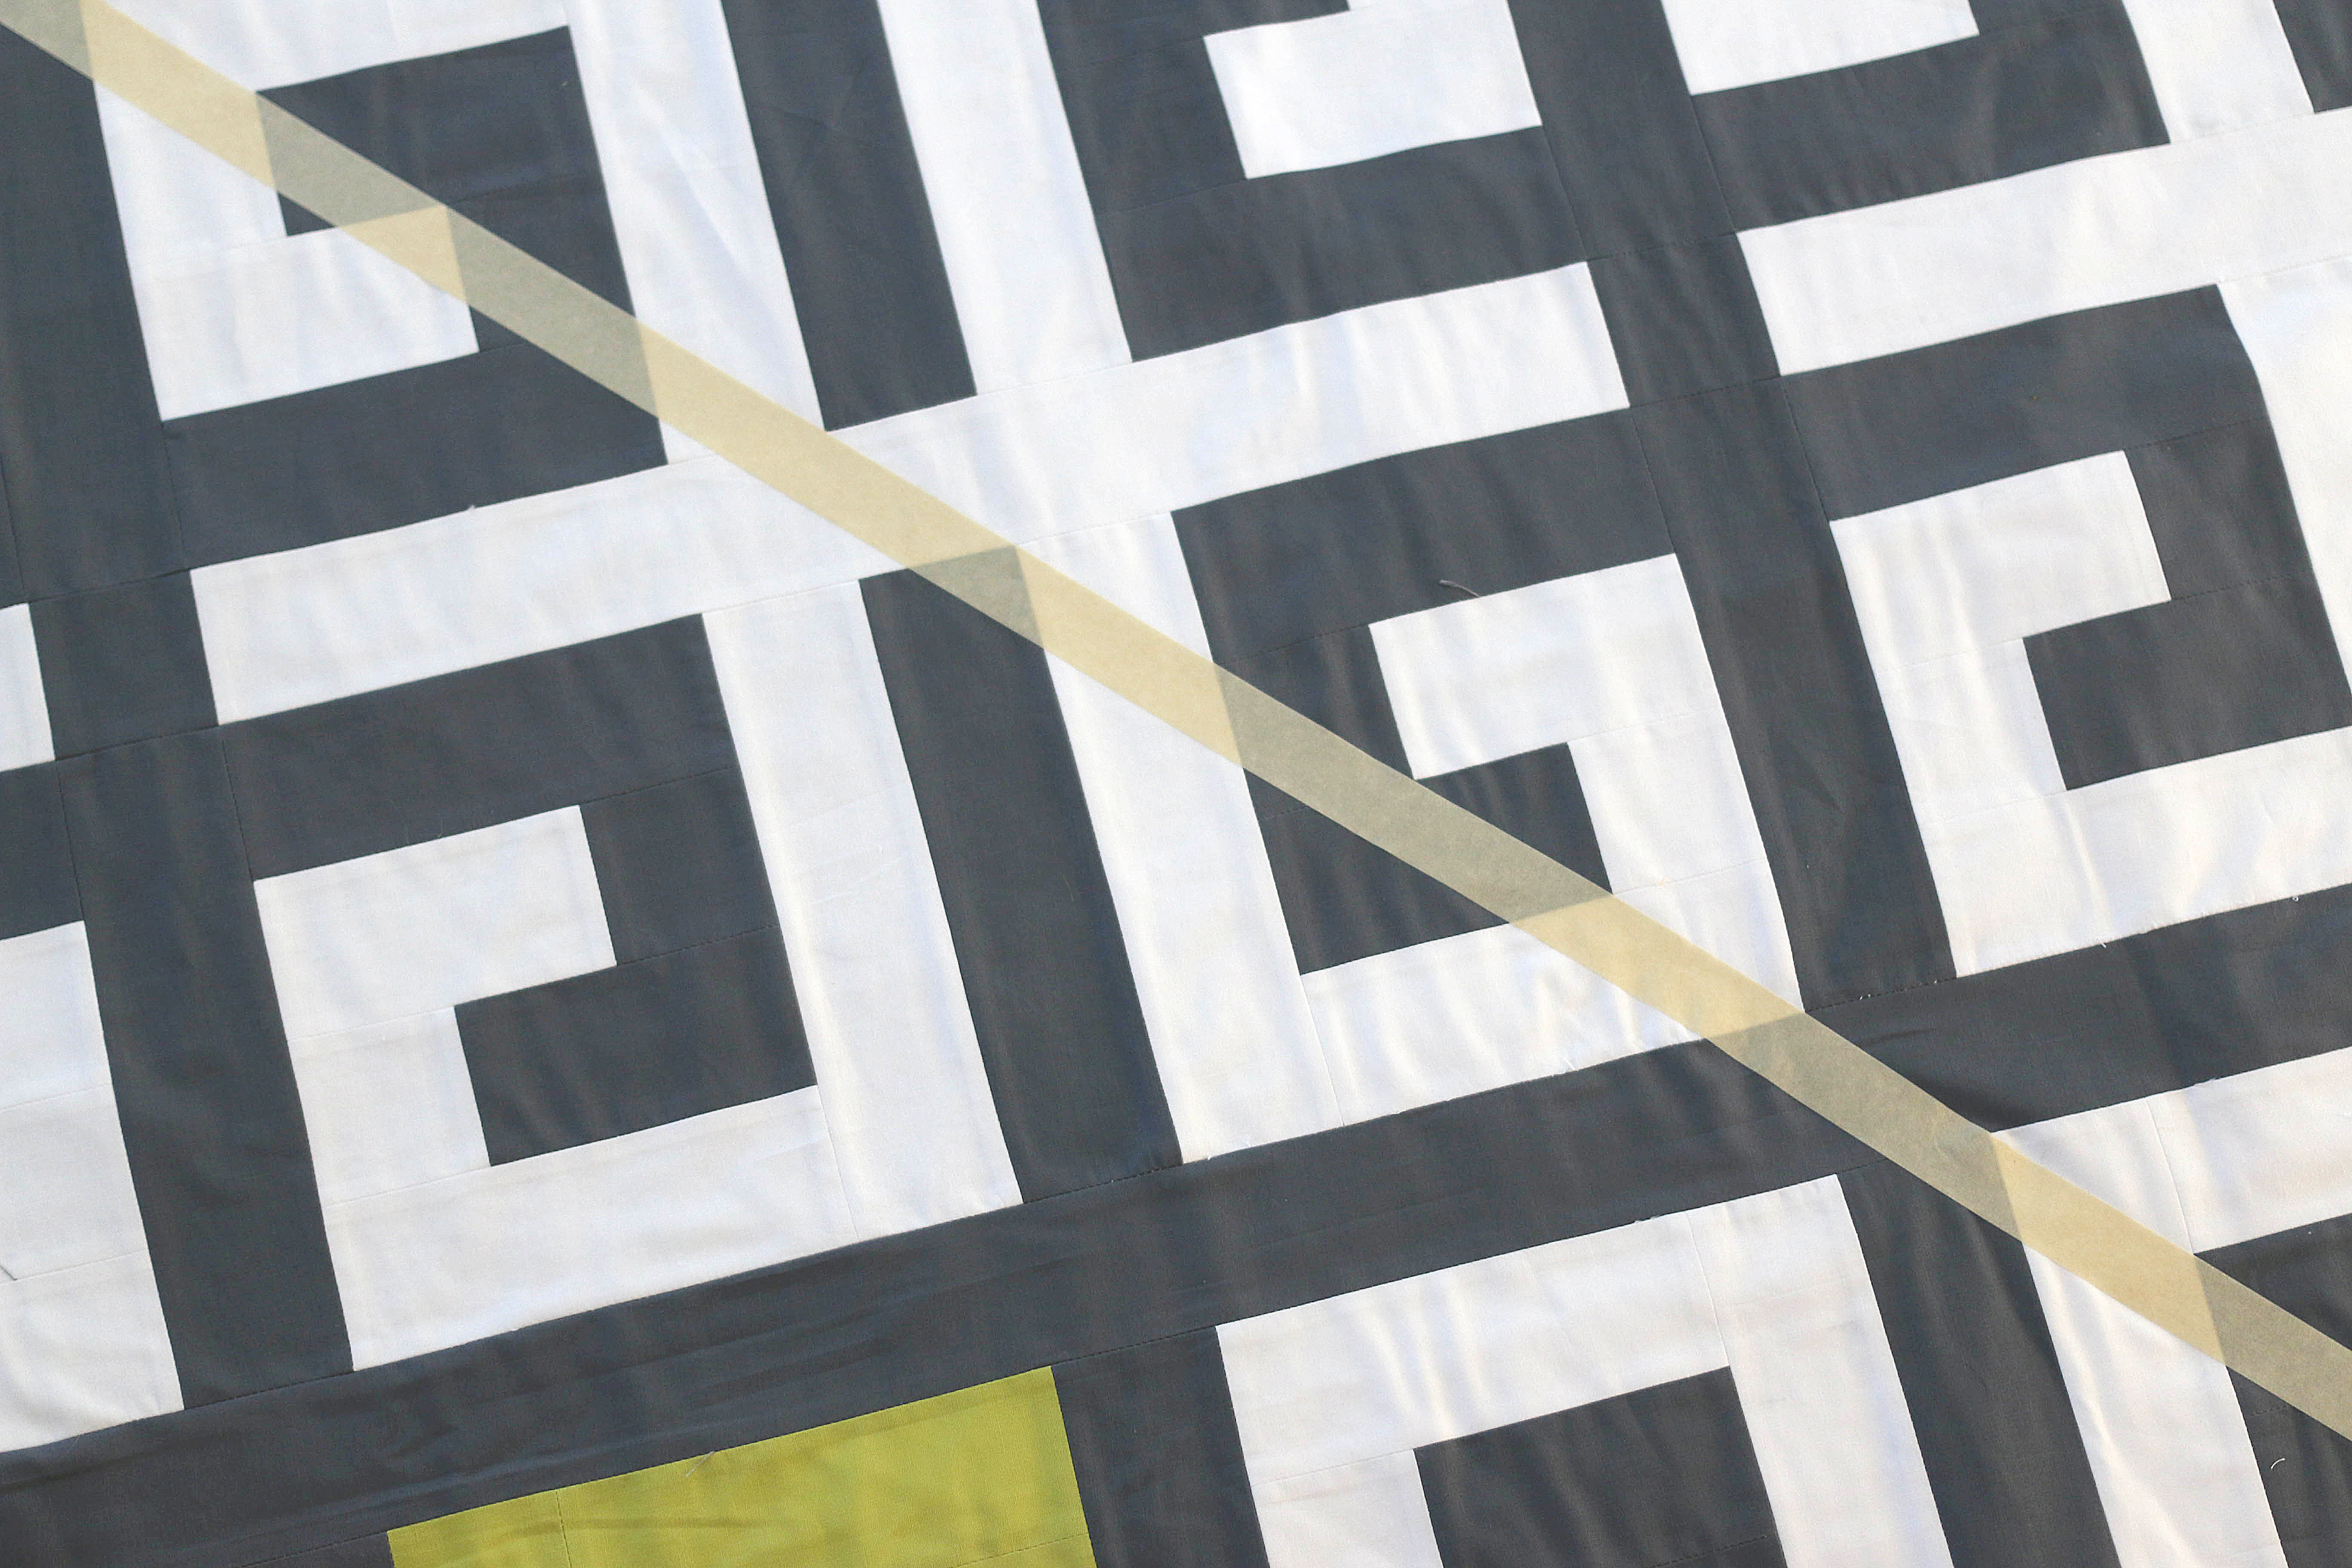
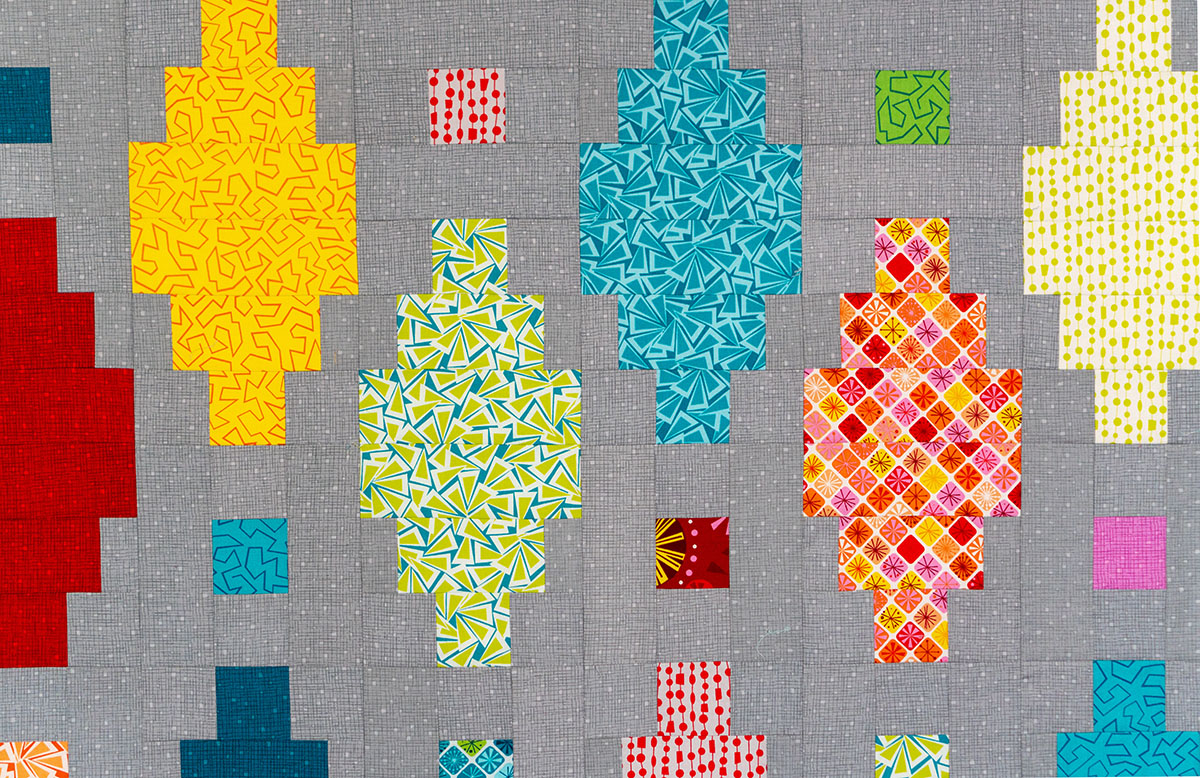
If you are working with directional prints, such as the “Beaded Curtain” print shown below (in red/gray and lime/white), you may wish to rotate the Bead blocks so that the pattern all goes the same direction.
Step 3 – Join the Blocks into Rows
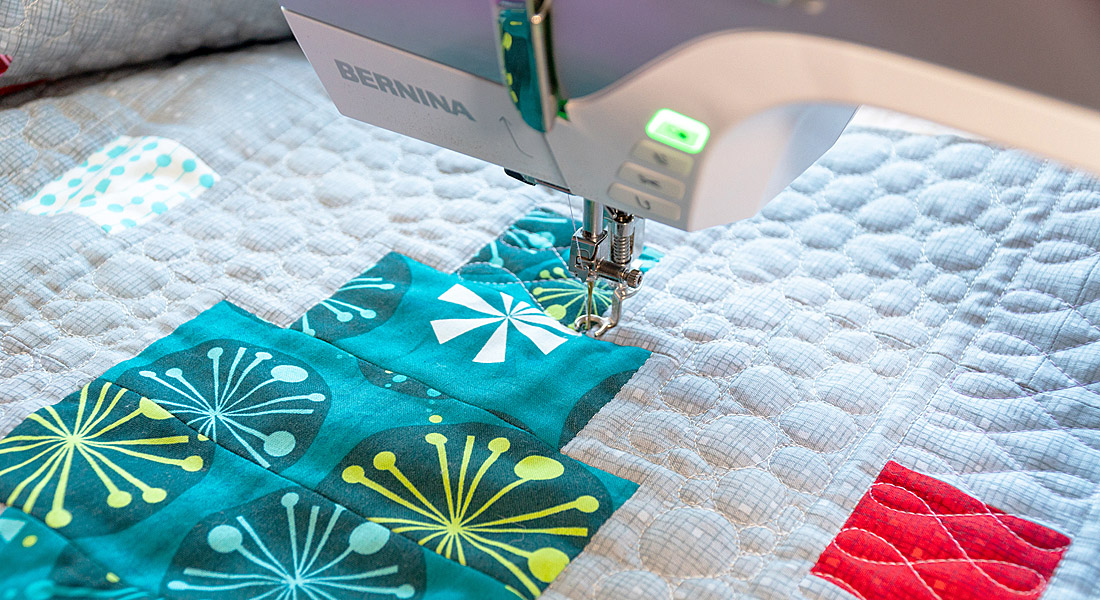
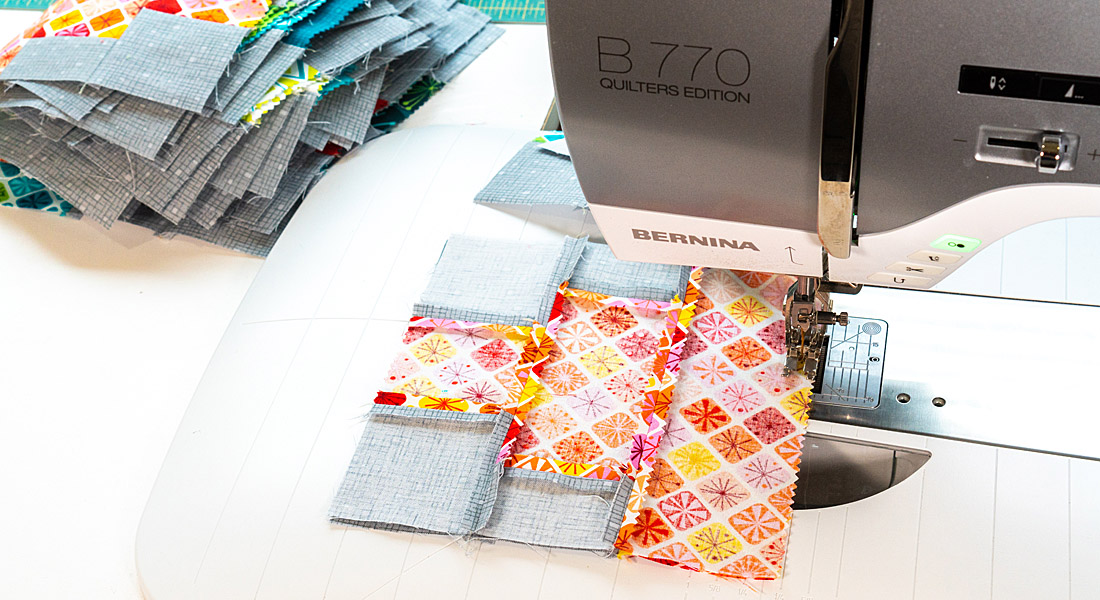
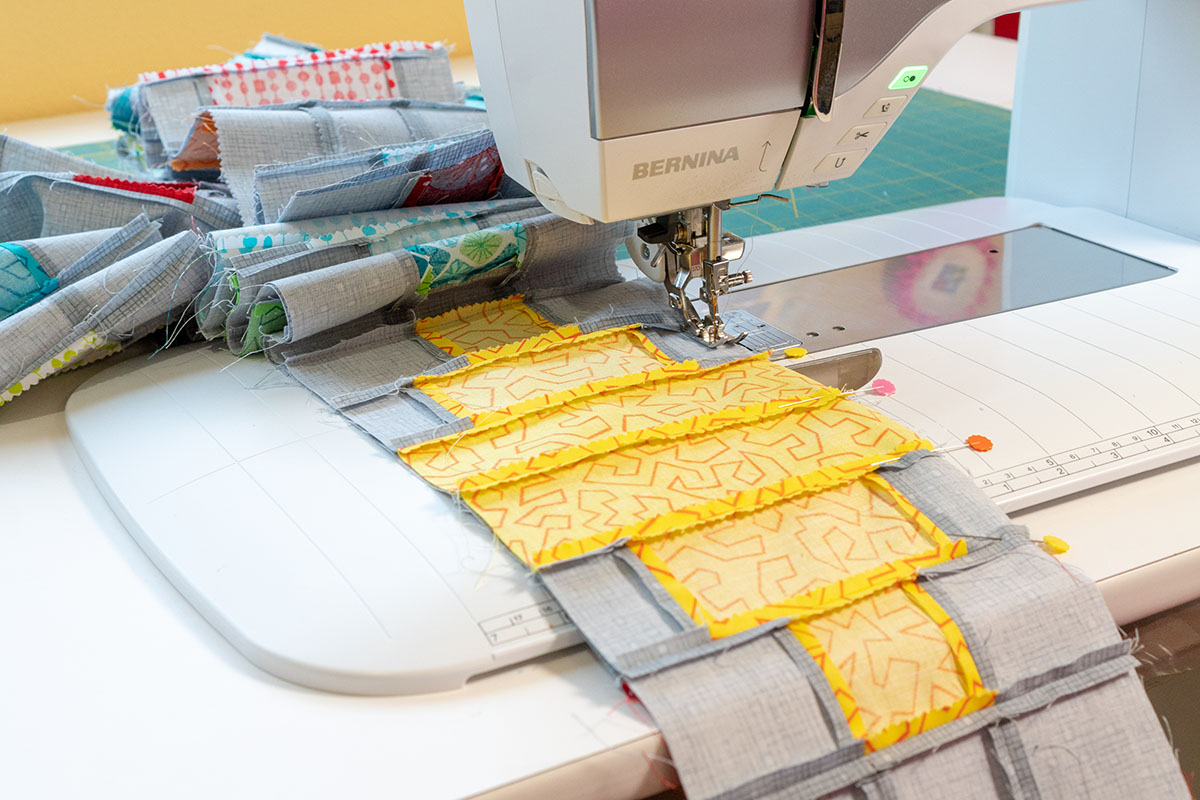
Stack the blocks into pairs of two next to your sewing machine for easy access. Continue to sew with a shorter stitch length (for example 2.0 instead of 2.5) so that the seams will be nice and tight with less chance of them splitting open. This also helps prevent the thread from peeking through the seams.
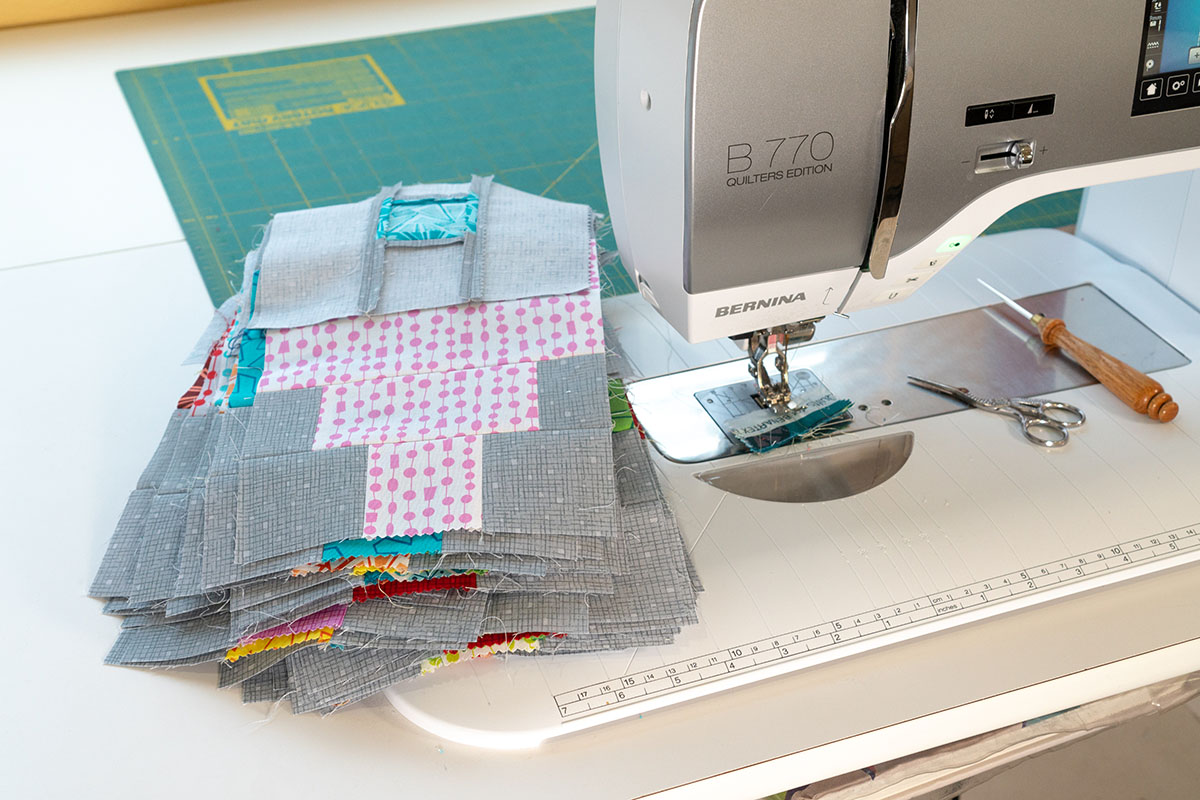
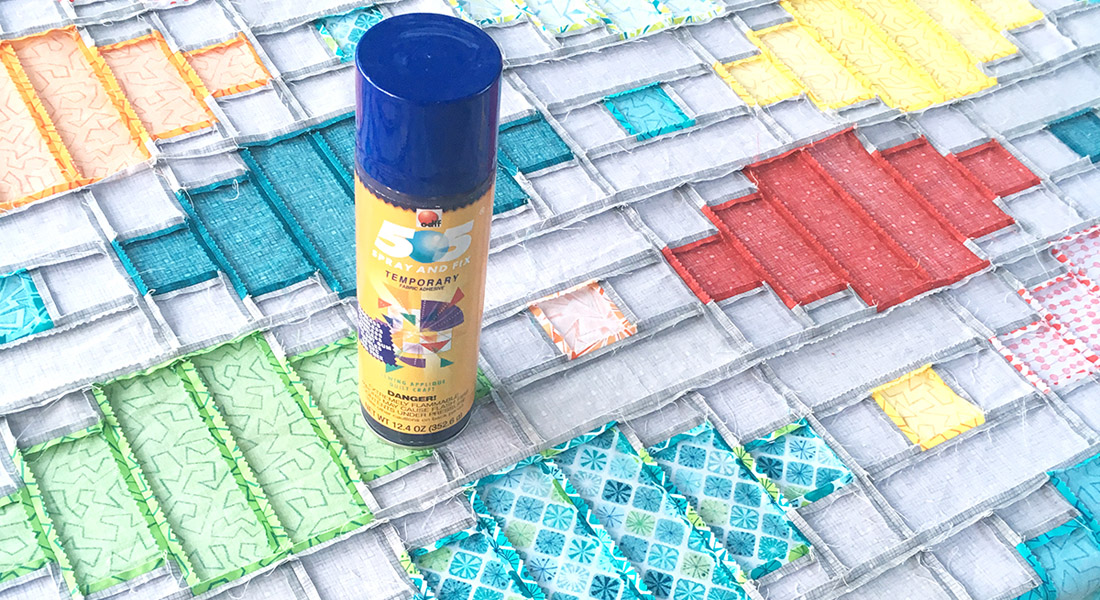
Sew the pairs of 2 blocks into sets of 4 and then join 2 sets of 4 blocks into one long row of 8 blocks. Repeat for all 9 vertical rows. Press the seams in each row open to ensure the rows will lie nice and flat for domestic machine quilting. (Tip – use a hot dry iron, with no steam, and use your fingers to open up the seams before pressing with the iron.)
Step 4 – Complete the Inner Quilt Top
Sew 2 rows together at a time. To ensure that all seams line up properly, pin at each of the intersections. Pinning and pressing at each step of the process ensures accuracy and keeps everything square and flat.
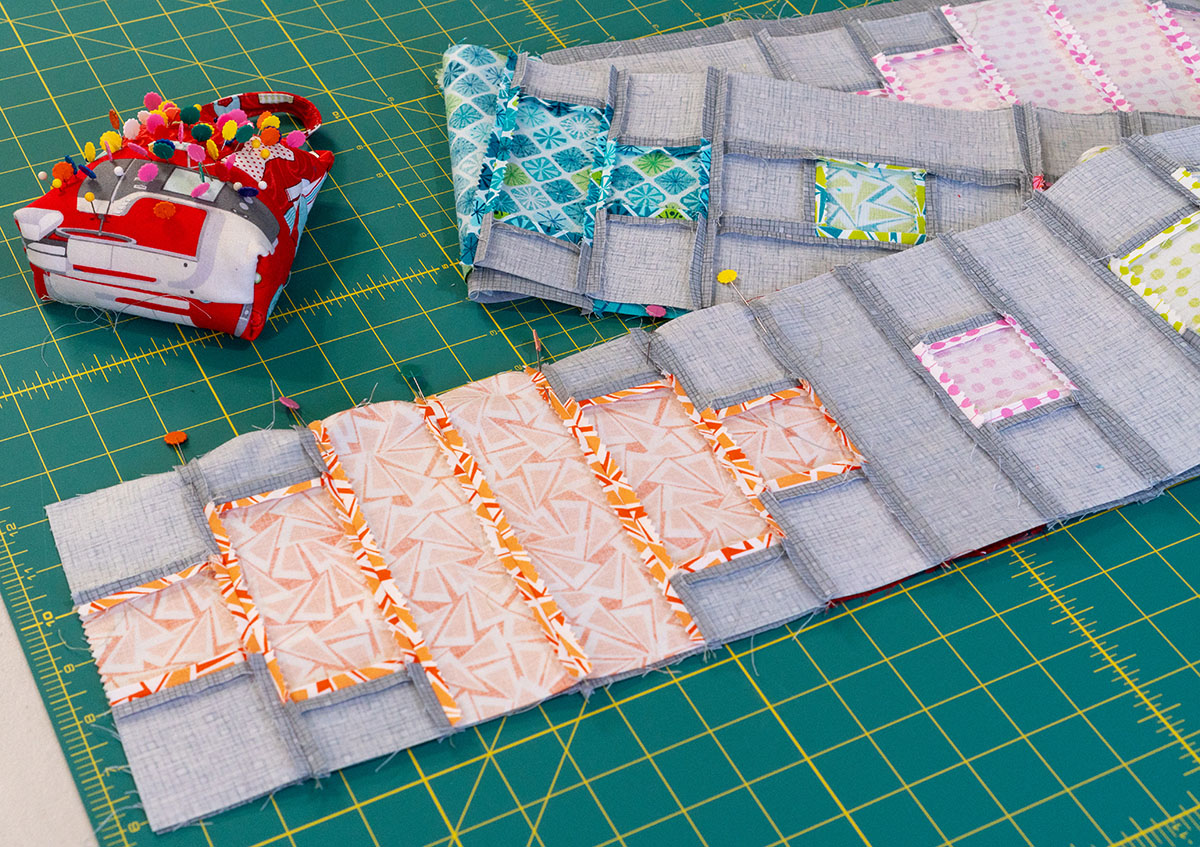
I prefer to place my pins perpendicular to the side I’m sewing so that I can easily remove them as I sew. I’m using the Patchwork foot #37D with the dual feed engaged to get accurate 1/4″ seams with no shifting as I sew. If you sew each pair of block rows together with the even row on top (row 2 on top of row 1, row 4 on top of row 2, etc.) it will ensure that you change stitching directions as you join the long rows together. This will prevent the quilt from warping out of shape.
Rather than waiting until the entire quilt top is finished, I like to press each pair of newly joined rows as I go. This ensures that there’s not as much bulk to handle under the iron at one time.
Continue sewing and pressing the rows until you’ve completed the inner quilt top, before borders.
Step 5 – Add the Borders
Join the 4 1/2″ wide border strips end to end and press seams open. Measure across the length of the quilt and trim two side borders this length. For example, the quilt should mathematically measure 72 1/2″ long. If yours is a different measurement, that’s OK; just trim the borders accordingly. Sew the two side borders on (pin generously) and press seams.
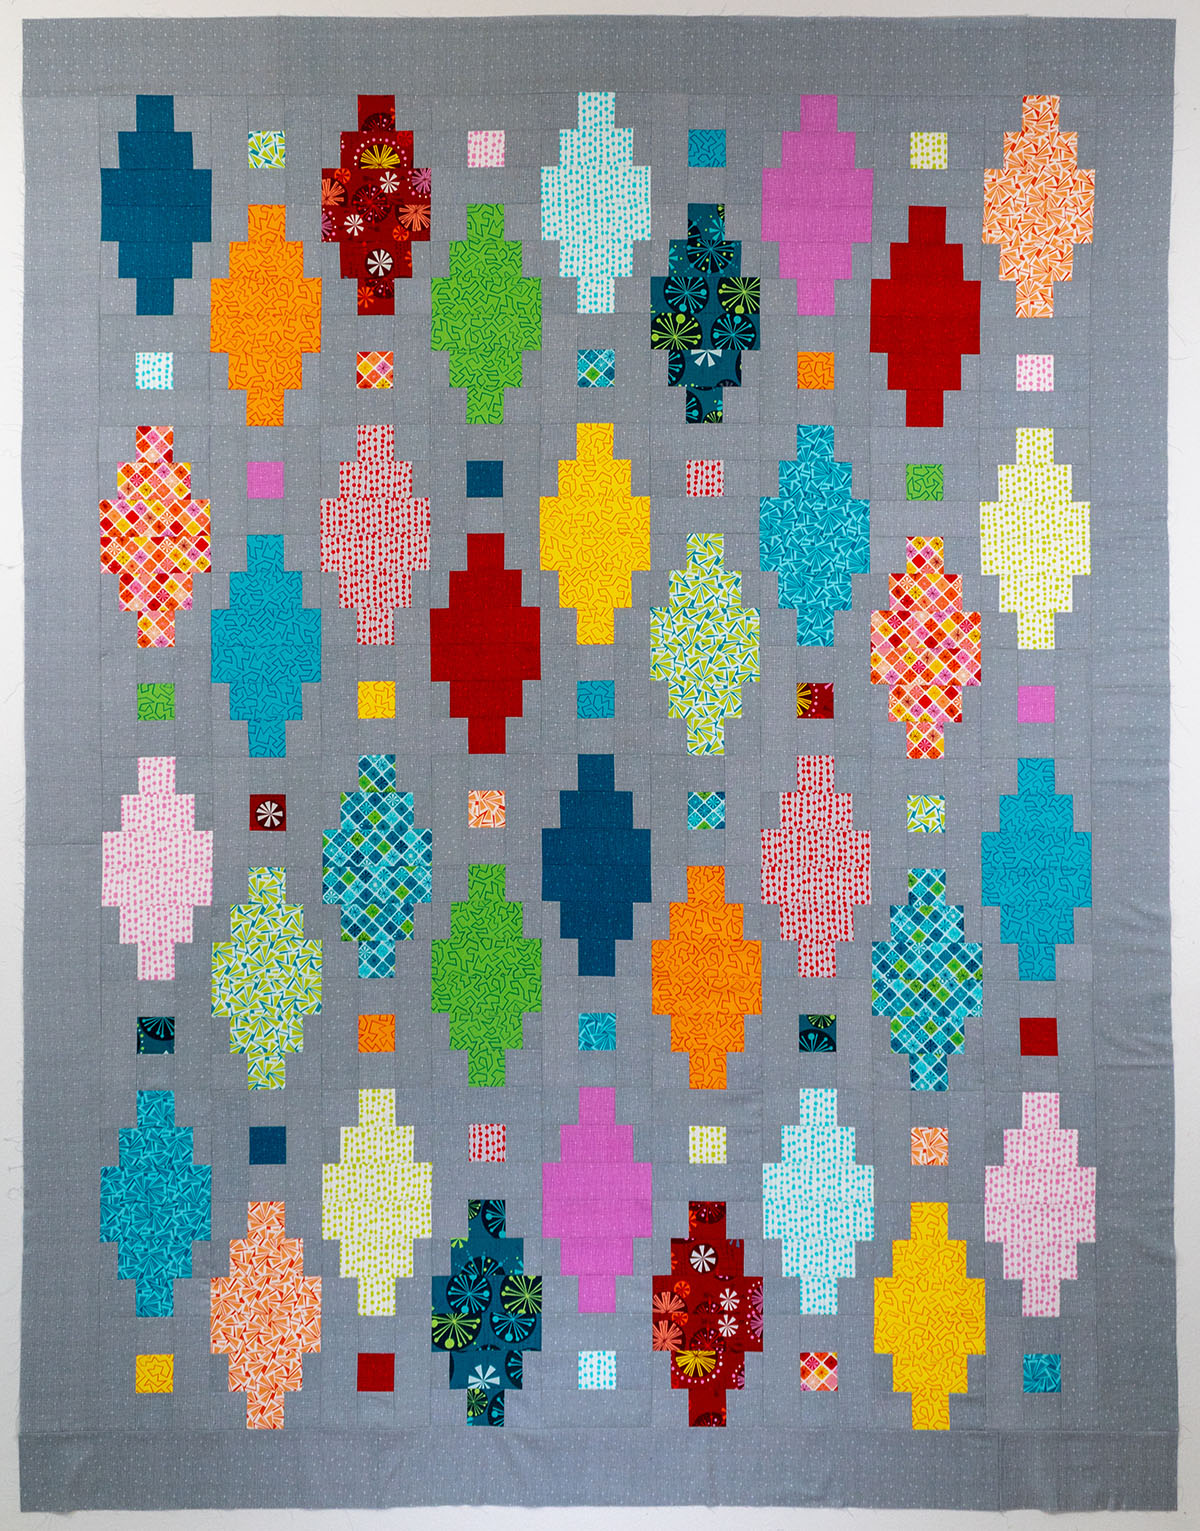
Add the top and bottom borders in the same manner. Measure the width. It should measure approximately 62 1/2″. Cut two borders this length. Pin to top and bottoms and sew. Press seams to finish the top!
Next week we will sew the backing and baste the quilt in preparation for machine quilting the following week!
Quick Links
Week 1: Supply List
Week 2: Making the Blocks
Beaded Lanterns Quilt Pattern (free)
List of US shops that carry Fandangle fabric