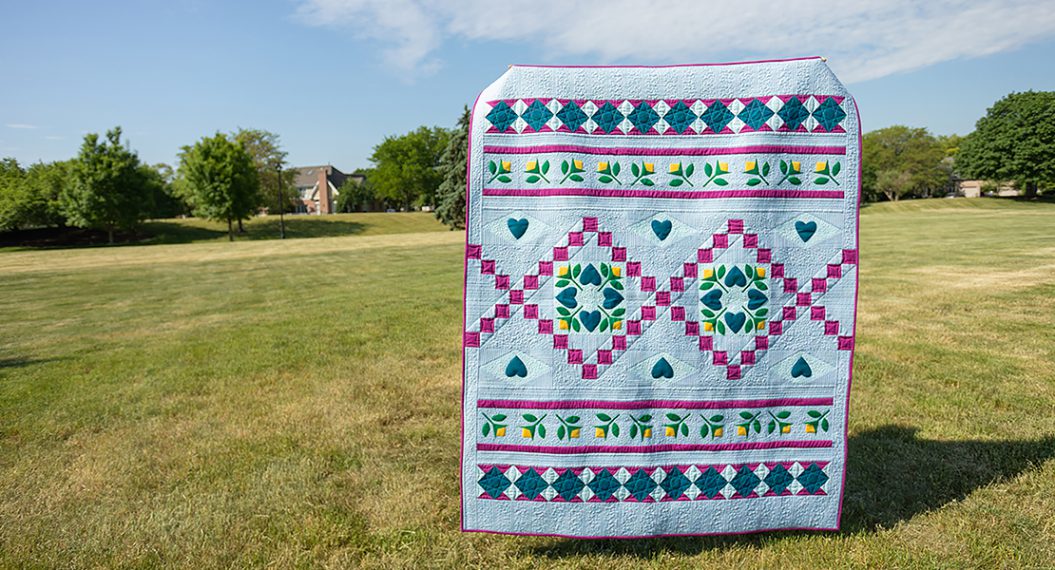
Jump for Joy Quilt Along, Part Six: Planning
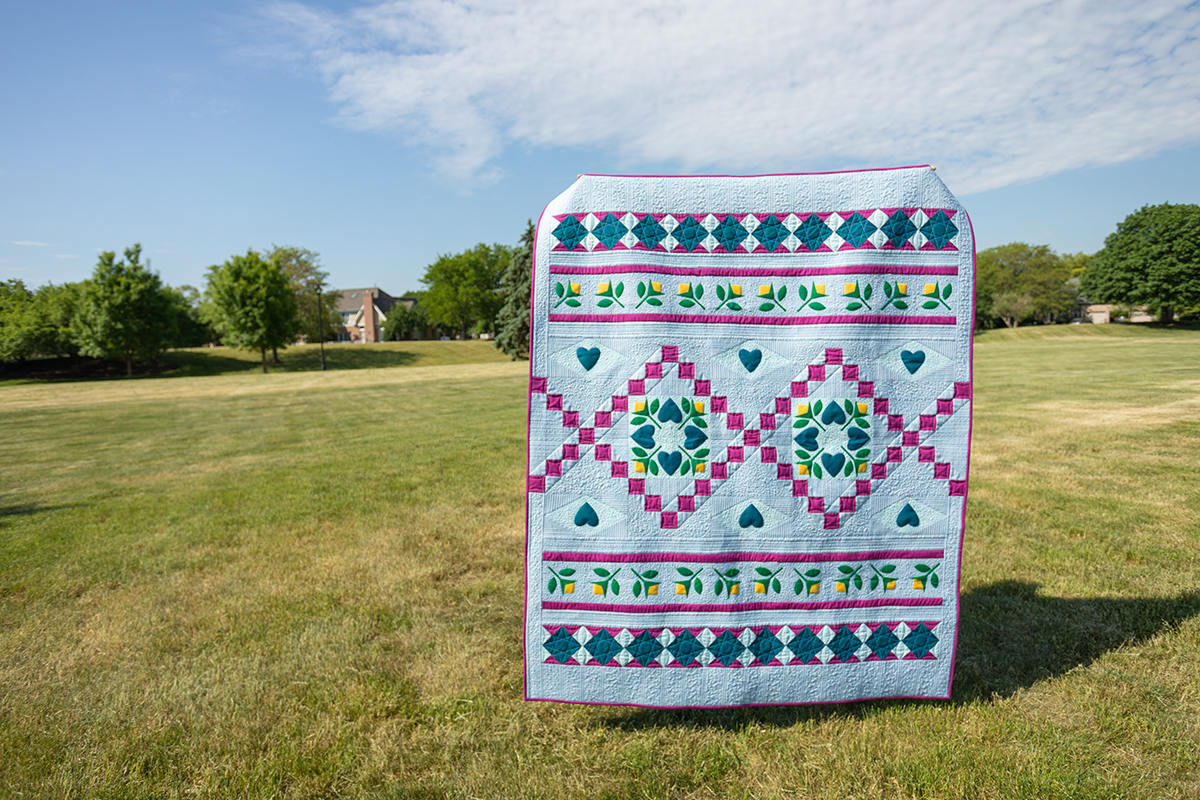
Welcome back to the Jump for Joy Quilt Along. We’ve had a busy five months cutting out, piecing blocks and assembling the quilt top. At this stage, hopefully, you have your quilt top pieced together, pressed and any loose threads secured and trimmed. If you aren’t quite to that stage, it’s perfectly okay. Keep making progress on the parts that still need completed and when you are ready for quilting, know that this post is ready and waiting for you.
This month we are preparing for and planning our quilting. We need to prepare the backing and batting as well as come up with a quilting plan. Sometimes creating the plan can be the hardest part. I’ll share the plan I used when I quilted the Jump for Joy quilt. You can follow my plan in its entirety, you can follow parts of it or you can create your own plan – the option is yours.
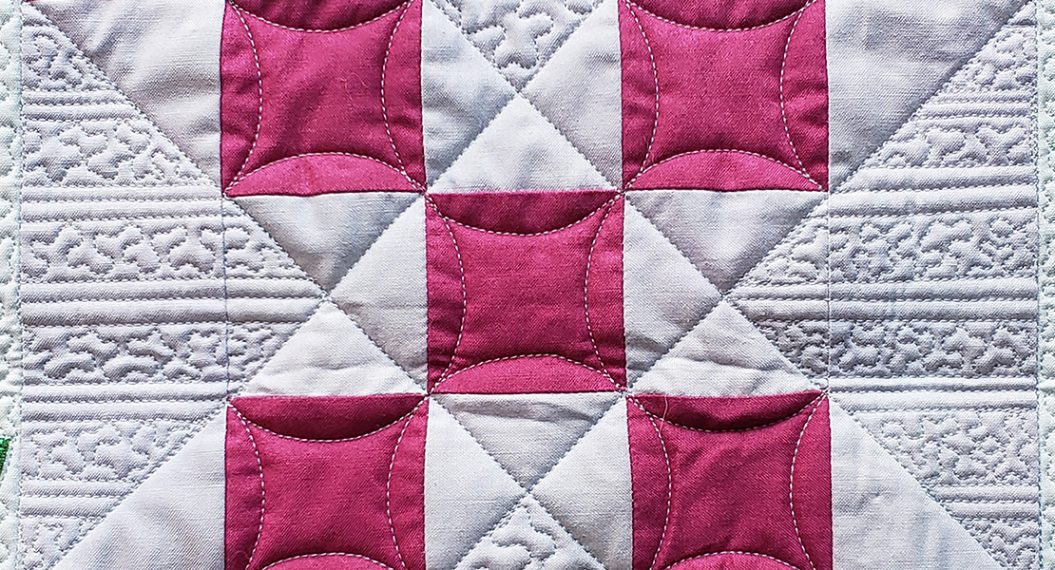
I’m a “quilter” … so creating the quilting plan and executing all those stitches is what I love best. Yes, piecing is part of the process too, but the actual quilting, stitching through those three layers, creating dimension and texture and pattern with the quilting designs is what makes my heart happy.
If you are finding the Jump for Joy Quilt Along for the first time, it is never too late to join. I’d love to have you be part of it. Here are the direct links to the previous posts which include the fabric requirements and cutting instructions as well as piecing and assembly instructions for the quilt top.
- Jump for Joy Quilt Along, Part One
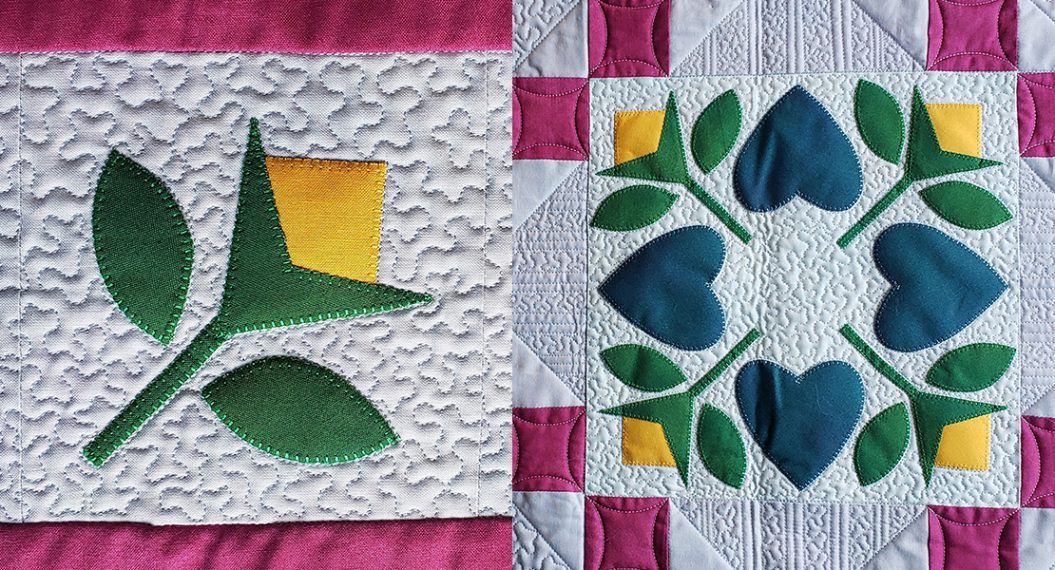
- Jump for Joy Quilt Along, Part Two: Raw Edge Fusible Applique
- Jump for Joy Quilt Along, Part Three: Classic Chain Blocks
- Jump for Joy Quilt Along, Part Four: Diamond Block
- Jump for Joy Quilt Along, Part Five: Assembly
Materials Needed
- BERNINA 790 PRO
- BERNINA Patchwork Feet #37/37D, #57/57D or #97/97D
- BERNINA Quilting Feet for ruler work and free-motion quilting. My favorites are the Adjustable Ruler Foot with Slit #72S and the Adjustable Stippling Foot #73
- BERNINA Stitch Regulator
- Month 6 Pattern Download
- Quilting thread – Mettler Seracor 0271
- Essentials Quilting Ruler Set
- Spray Basting Adhesive
- Curved Quilt Basting Safety Pins

Many BERNINA dealers have everything you need to make the quilt; the fabric, the supplies as well as the machines, available for you to purchase. If you don’t already shop there, here is a link to the dealer locator to find the closest one to you.
Find a Dealer – easily find your nearest BERNINA dealer. – BERNINA
Preparing Backing, Batting & Layering the Quilt Sandwich
The first step is to prepare the backing. You can either use a whole piece of fabric, known as a wide back, for the quilt backing or you can seam smaller sections of fabric together to make a backing large enough. The quilt back should be approximately 2 inches larger on all four sides than the quilt top. Note: If your quilt is being finished on a longarm frame system, then the quilt back will need to be 4” larger on all four sides.
If you prewashed the fabrics for the top of your quilt, then you will want to prewash the backing fabric also. Next press the fabric to remove all wrinkles and bolt folds.
If you are using a wide back, then you are ready to go as soon as it is trimmed to size.
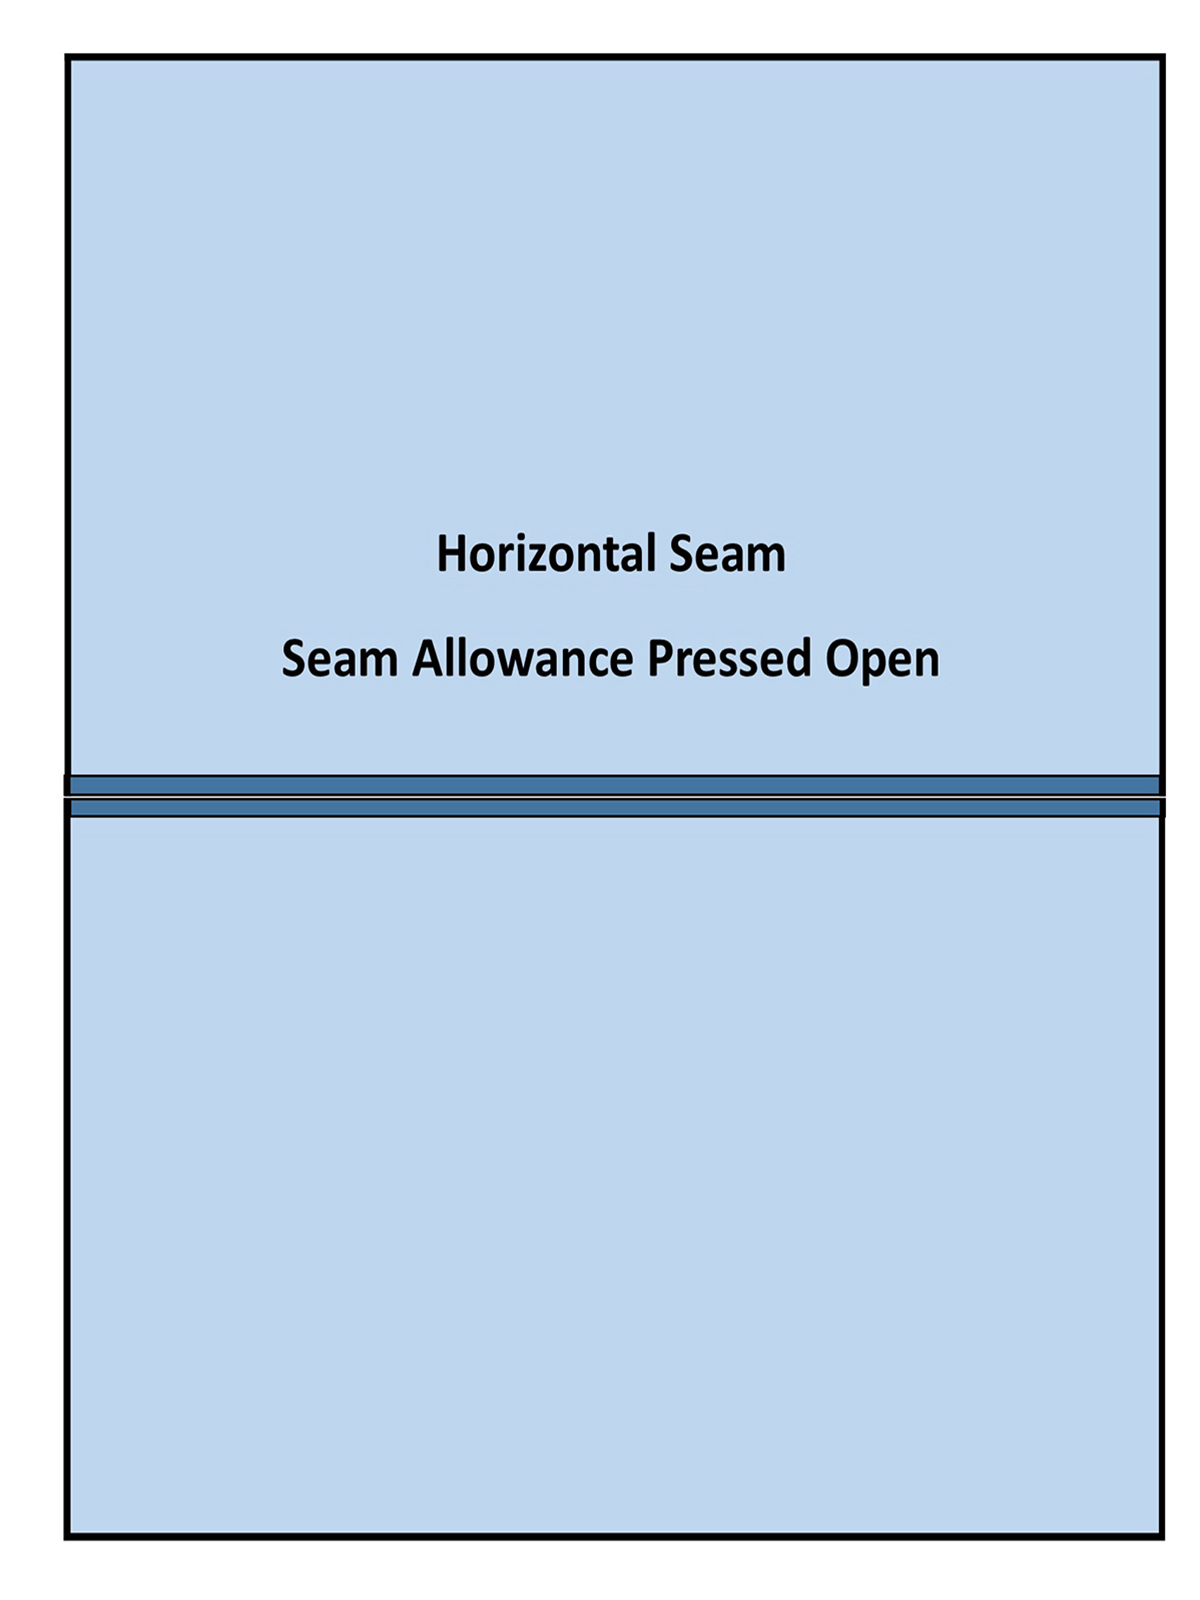
If you are seaming fabric pieces for the backing, remove the selvedge edges first. Stitch right sides together using a ½” wide seam positioned so the seam runs in a horizontal orientation to the quilt top. Press the seam allowances open to minimize bulk. Trim, if needed, any excess fabric to result in the proper size backing.
There are a wide range of options available for batting and the one you select is truly a personal preference. My go-to batting is an 80% cotton / 20% polyester blend that is thinner to keep the project from being too bulky under the needle.
If you are using bagged batting, open up the batting to allow it to rest and for the wrinkles to relax. If needed, the batting can be lightly pressed with a warm iron to help release any fold creases. Avoid the temptation to use a hot iron on any batting that contains polyester fibers. If needed, trim the batting to the same size as the quilt backing which is 2 inches larger than the quilt top on all four sides.
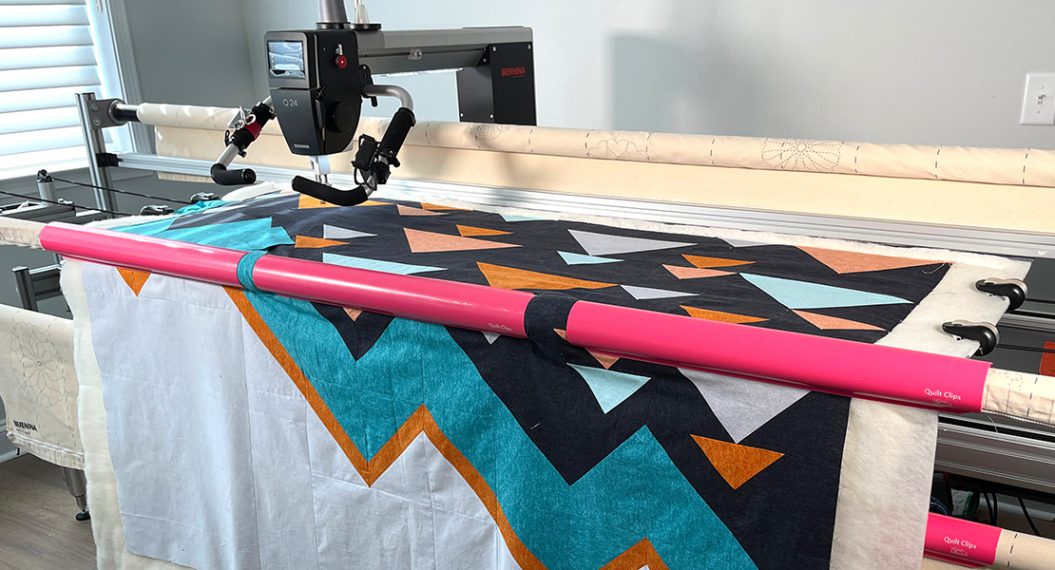
Now you are ready to layer the quilting sandwich for sit-down quilting on either a domestic or stationary longarm. If you are quilting using a longarm frame system, the sandwich will layer as it is loaded into the frame. Two popular ways to secure the layers together include spray basting and pinning. I actually like to use a combination of both.
Start with the backing, right side down, on a flat surface. Following manufacturer’s directions, spray with temporary adhesive spray. Next carefully position the batting and smooth in place. Next, spray the batting with the temporary adhesive and position the quilt top, wrong side down over the batting. At this time, you should have the three layers adhered together.
Along the horizontal rows and the outer edges, I like to place safety pins to hold everything together while handling the quilt sandwich.
Now you are ready for quilting!
Go ahead and select the thread you will use for quilting and wind several bobbins in advance. I used matching thread for the top and bobbin.
The Quilting Plan
Sometimes one of the hardest parts of making a quilt is figuring out the quilting plan.
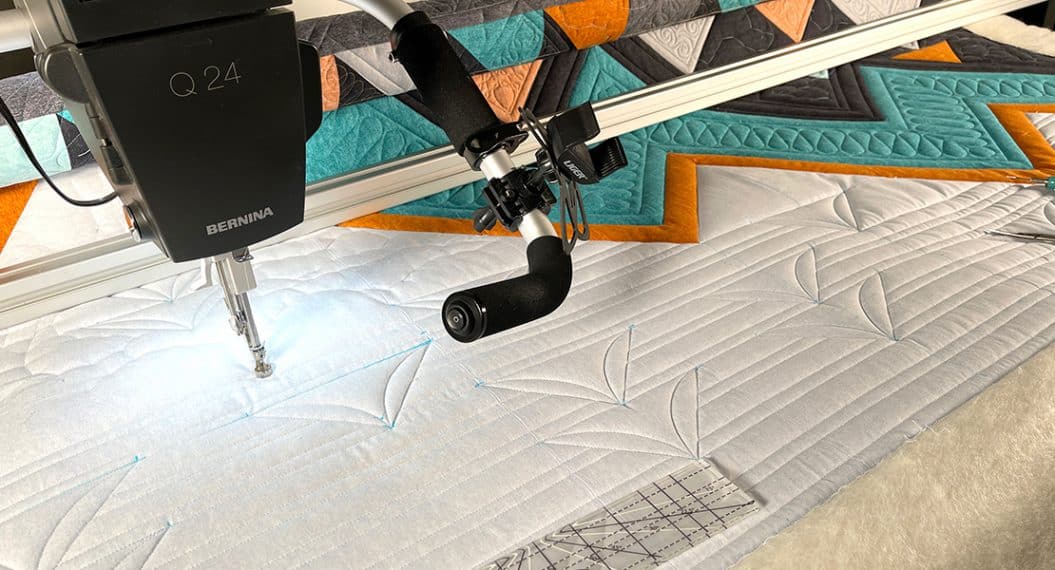
This plan is written as we go along so it can be used for sit-down quilting, either domestic or stationary longarm, or for frame quilting. The only difference is the order you complete the quilting. When sit-down quilting, you start near the center and anchor the different sections of the quilt first. If quilting on a frame, you can follow the same plan, but work the stitching from the top of the quilt to the bottom.
The first quilting we will do is straight line stitches “in-the-ditch” to anchor the quilt sandwich together. These lines are noted in red in the diagram below.
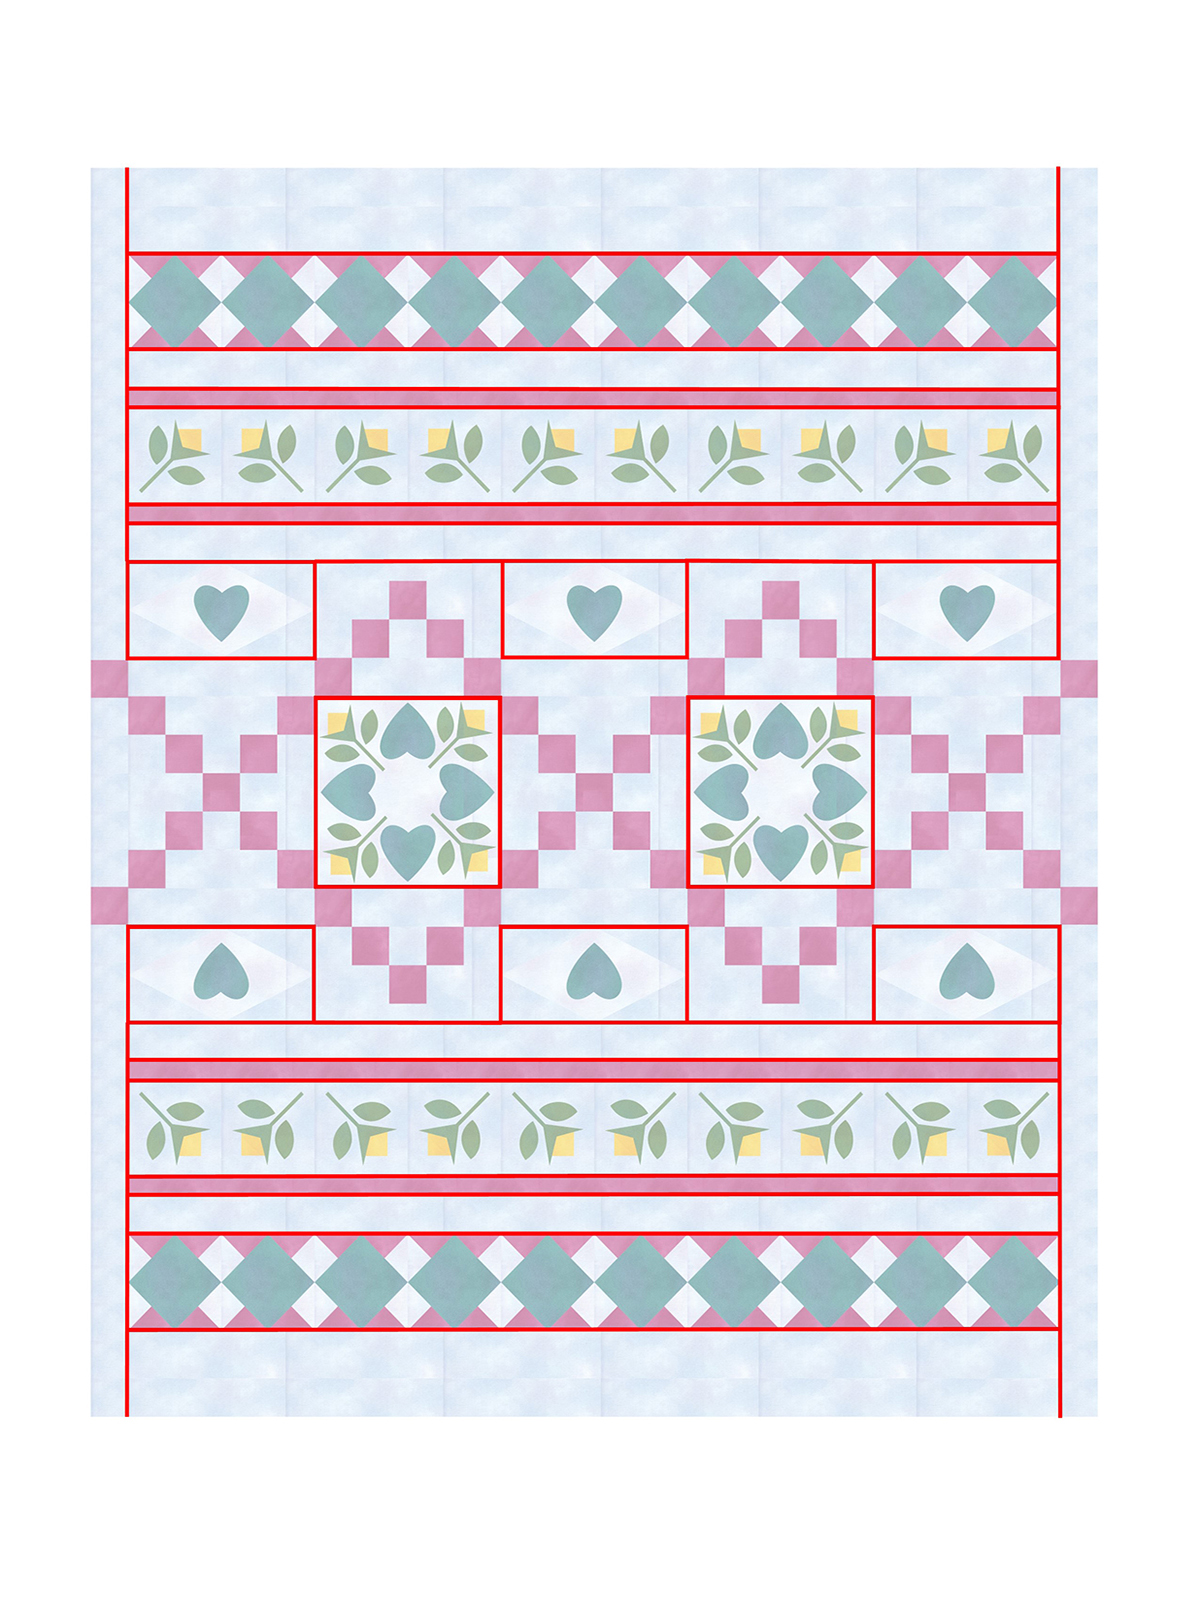
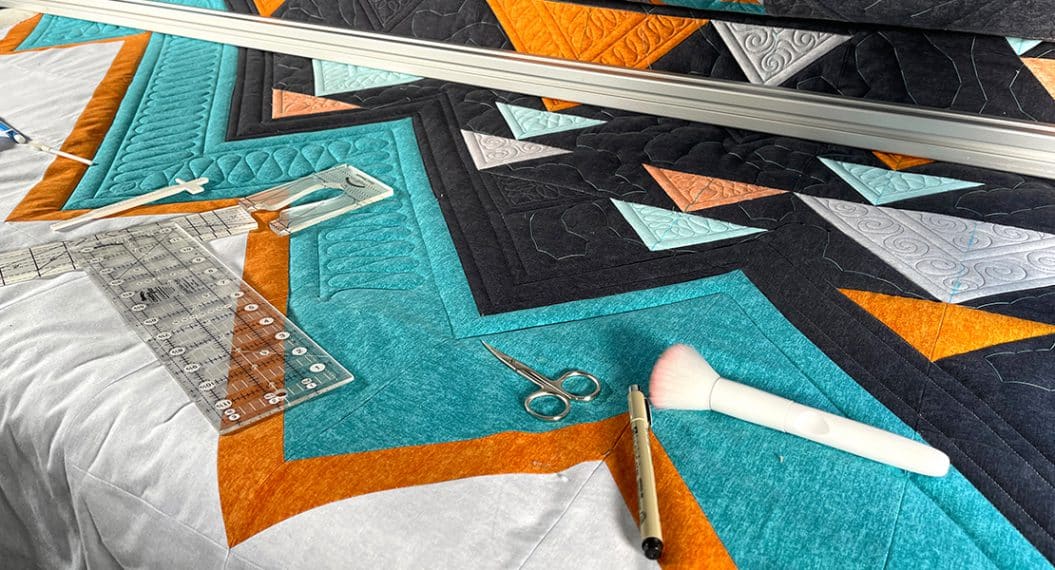
Use the Adjustable Ruler Foot with Slit #72S and the Mini Straight Line Tool from the Essentials Ruler Kit to stitch “in” or near the ditch of the seam line following the piecing of the quilt top. The Mini Straight Line Tool is a ¼” thick ruler that has fabric-gripping technology to help keep it in place while you stitch. The marked guidelines make it easy to align your ruler for repeating motifs.
If you struggle with quilting with a ruler or knowing how to set up your machine for quilting, reach out to your local BERNINA dealer and ask about quilting classes that they offer. If you don’t already shop there, here is a link to the dealer locator to find the closest one to you.
Find a Dealer – easily find your nearest BERNINA dealer. – BERNINA>
That’s it for today! This is a quilt along that you will definitely want to participate in and be sure to share it with all your quilting friends and quilt guilds. Quilting is always better with a friend.
Next month, we will continue with the quilting plan for each section of the quilt. See you then!
Used Products

What you might also like


2 comments on “Jump for Joy Quilt Along, Part Six: Planning”
-
-
It would be great to have a file to import into my Bernina Quilter software to play around recoloring this!
Thanks for all you do!
-
Leave a Reply
You must be logged in to post a comment.

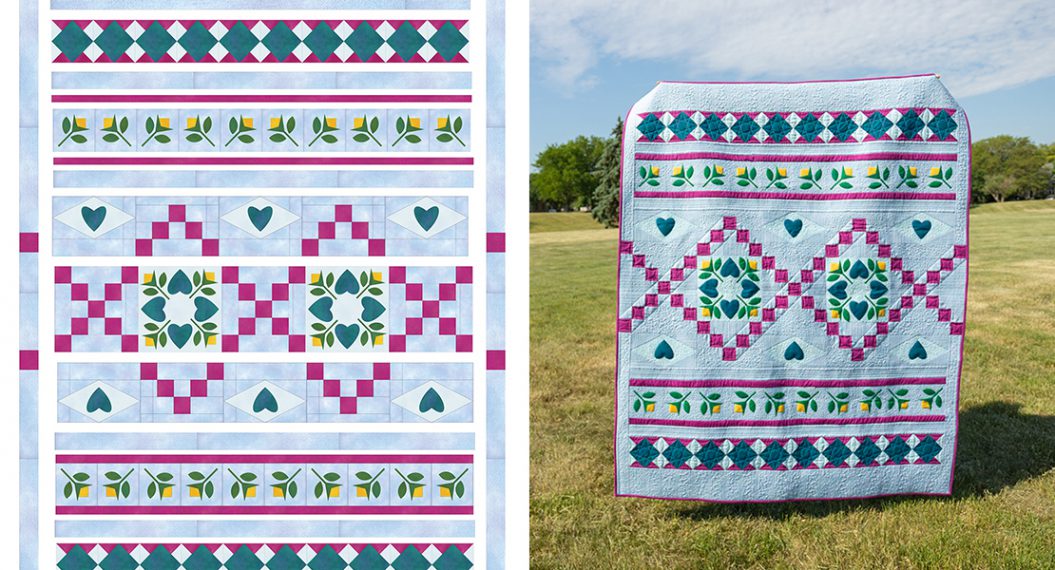
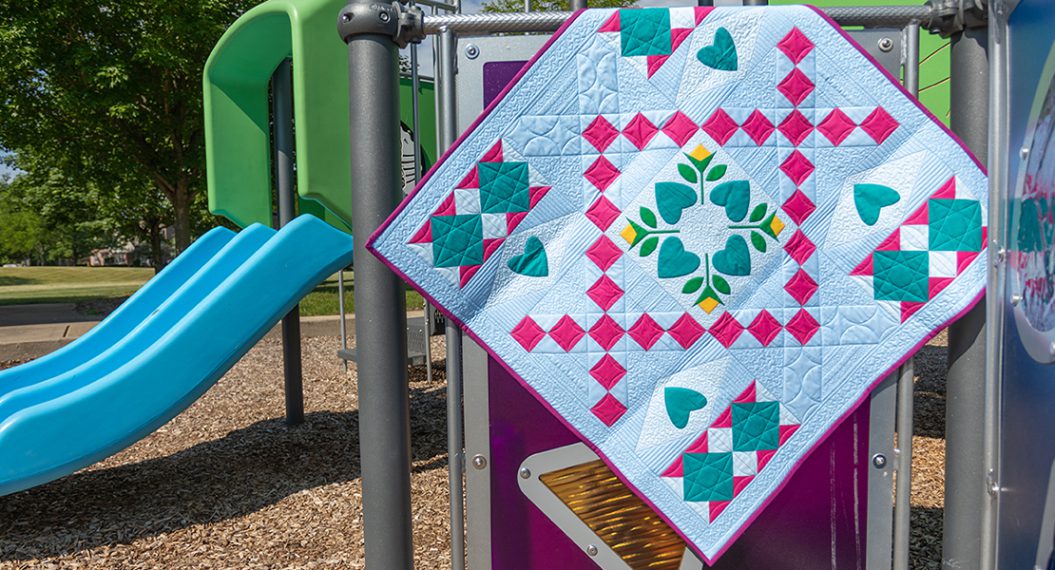
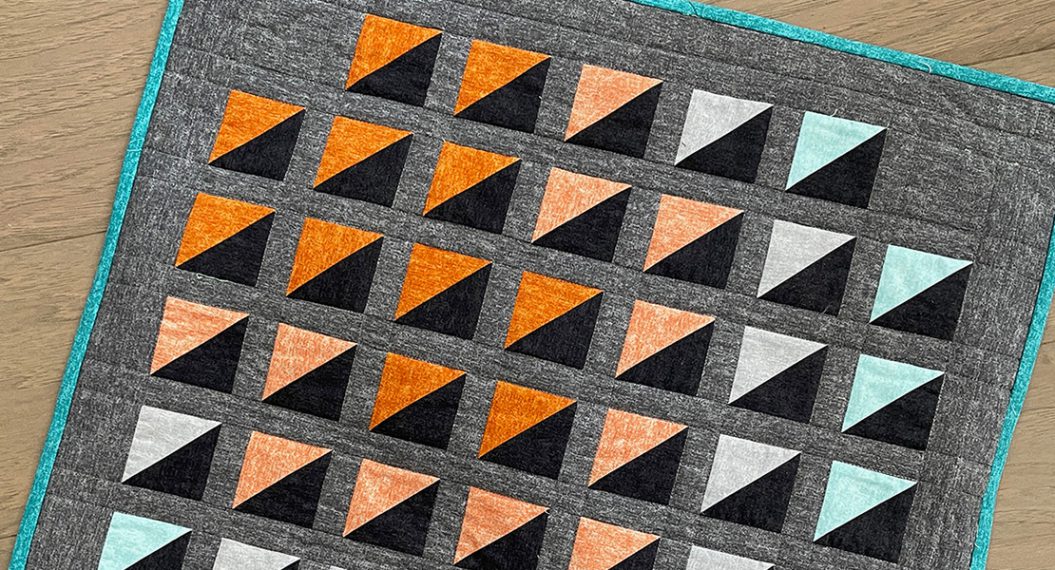
I just discovered this quilt along, picked up my Pro in December. I printed out the lesson one instructions on cutting, but almost gave up on doing all that catch up work because what I am really interested in is the quilting part with my Pro. But then I saw this smaller version at the beginning of the blog, and thought, ‘I could do that one!’ Are there any alternative instructions for that one? I could probably come up with something in my stash for a project that size and wouldn’t have to wait until I made a trip to the fabric store..
Linda in DE