Fast Forward Quilt Along, Part Six
Fast Forward
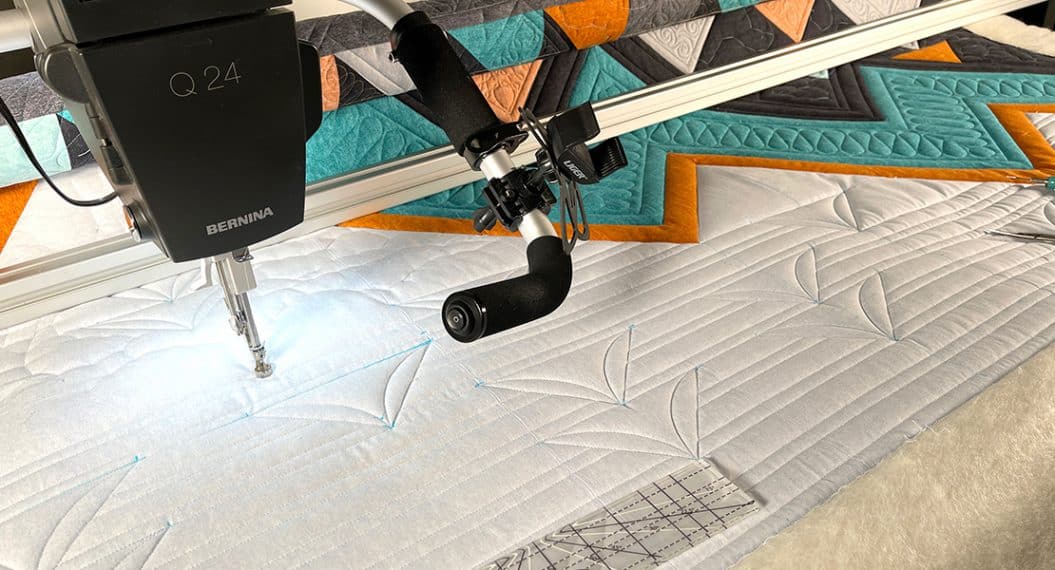
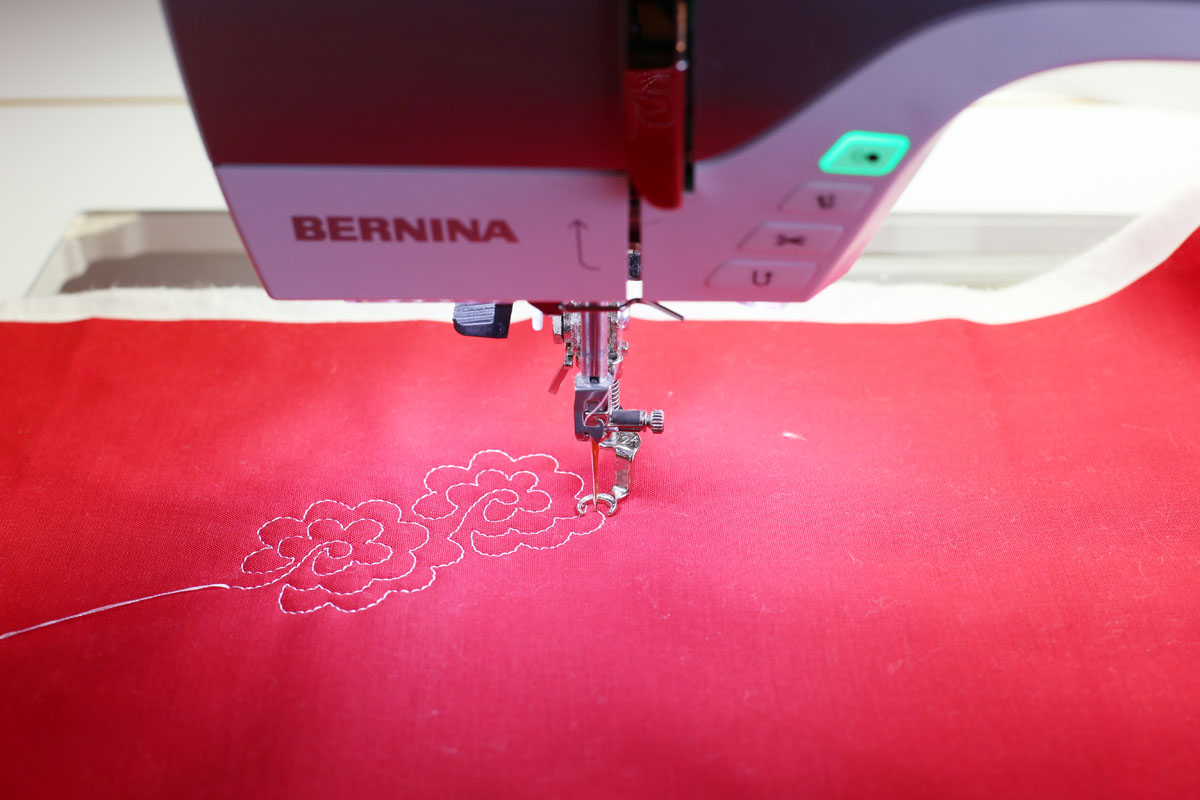
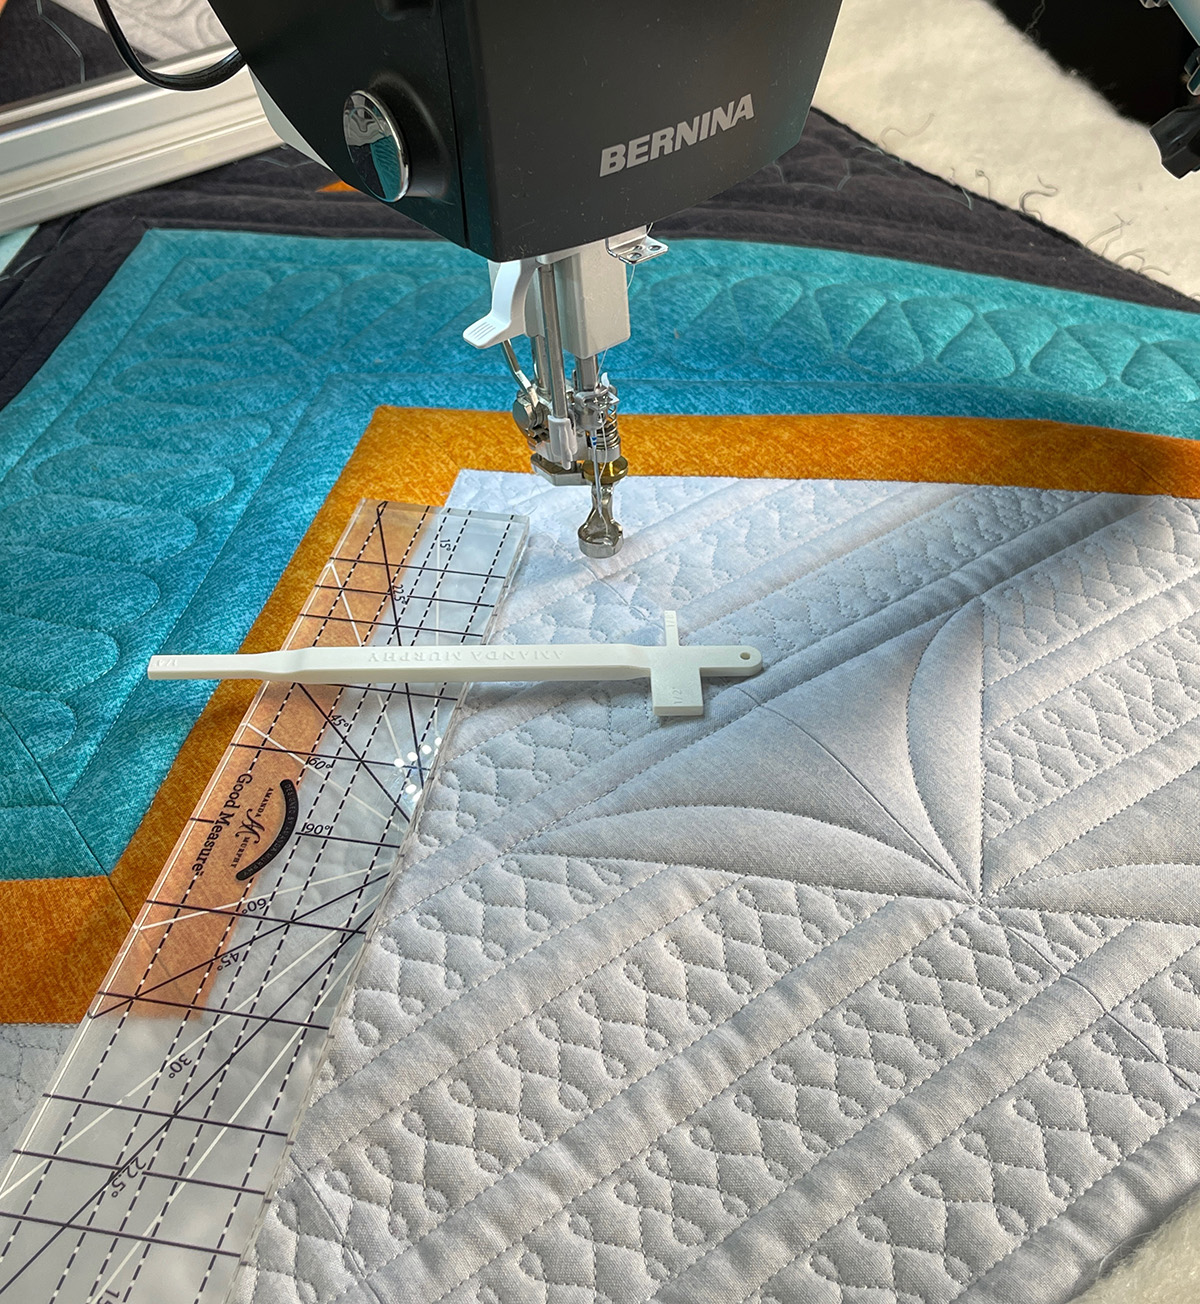
Time to add texture to our quilt with free-motion! (On a frame, remount the backing onto the lower front bar you usually use for the quilt top as you work back up the piece. This will ensure the quite top remains a consistent distance from the bed of the machine.)
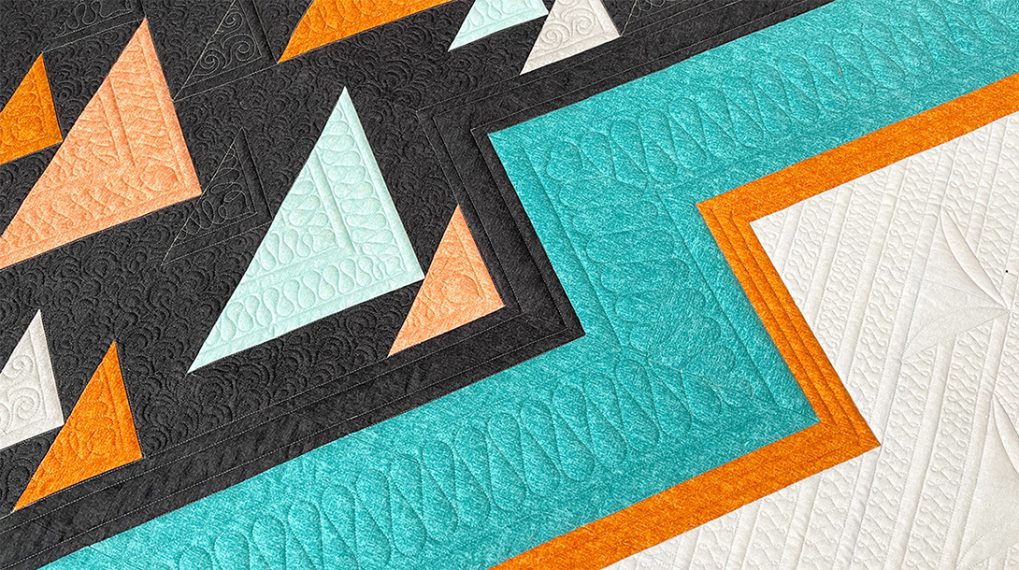
Free-motion detail from the left side of the quilt.
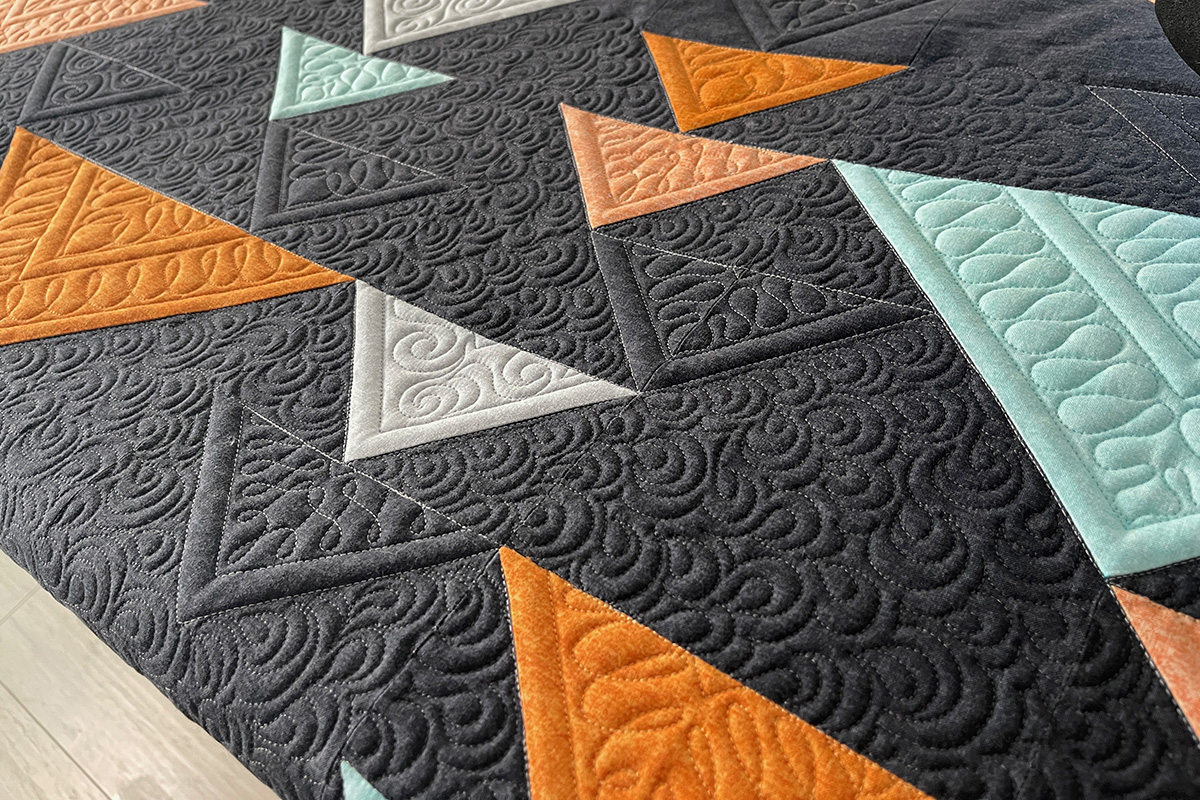
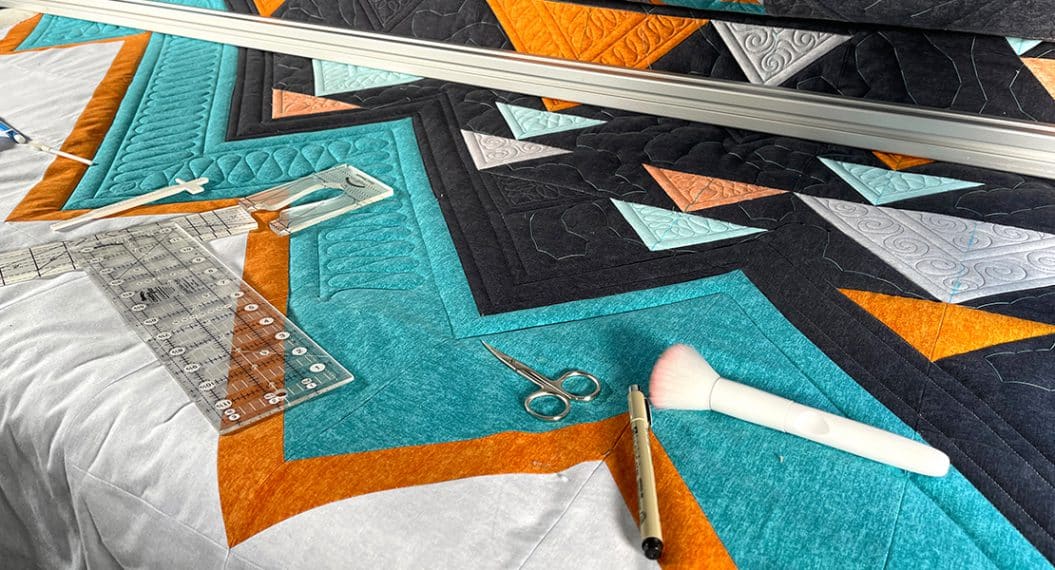
Free-motion quilting on the right side of the quilt.

Watch this video to see me add texture with free-motion quilting.
If you don’t like one of the patterns that I used, you can really use any curved free-motion design with a similar quilting density in these areas.
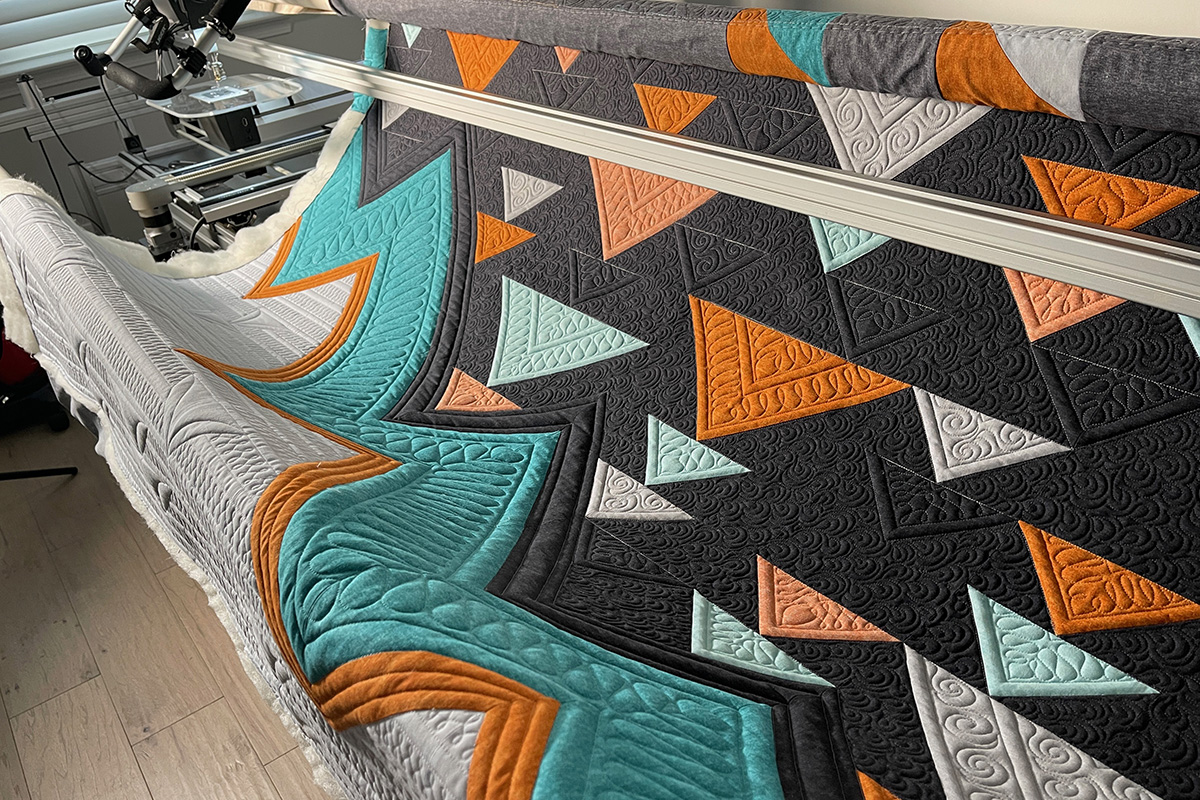
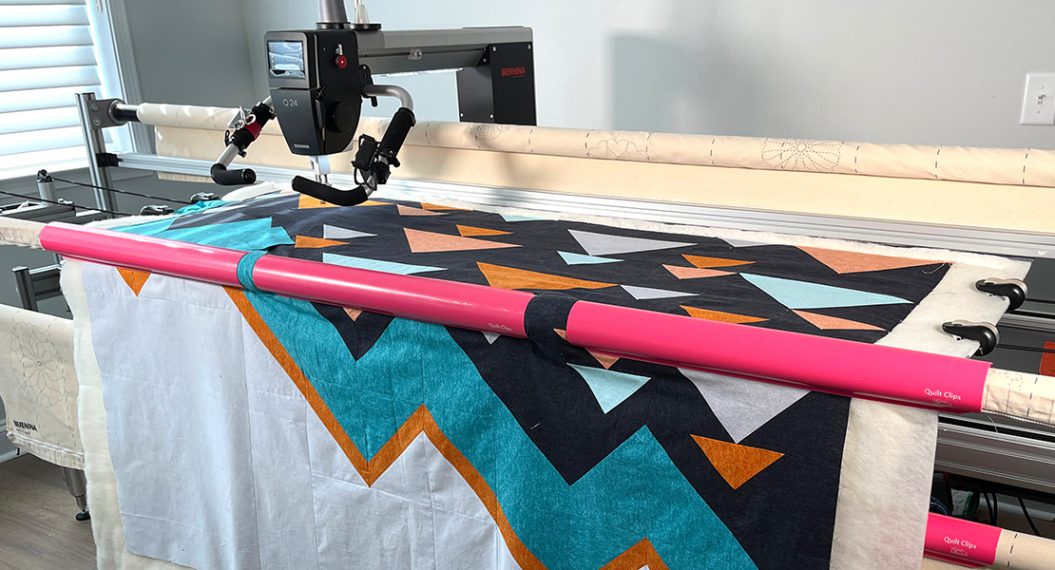
The Fast Forward Quilt before it is taken off the frame.
Trim the quilt, add binding, and you are done!
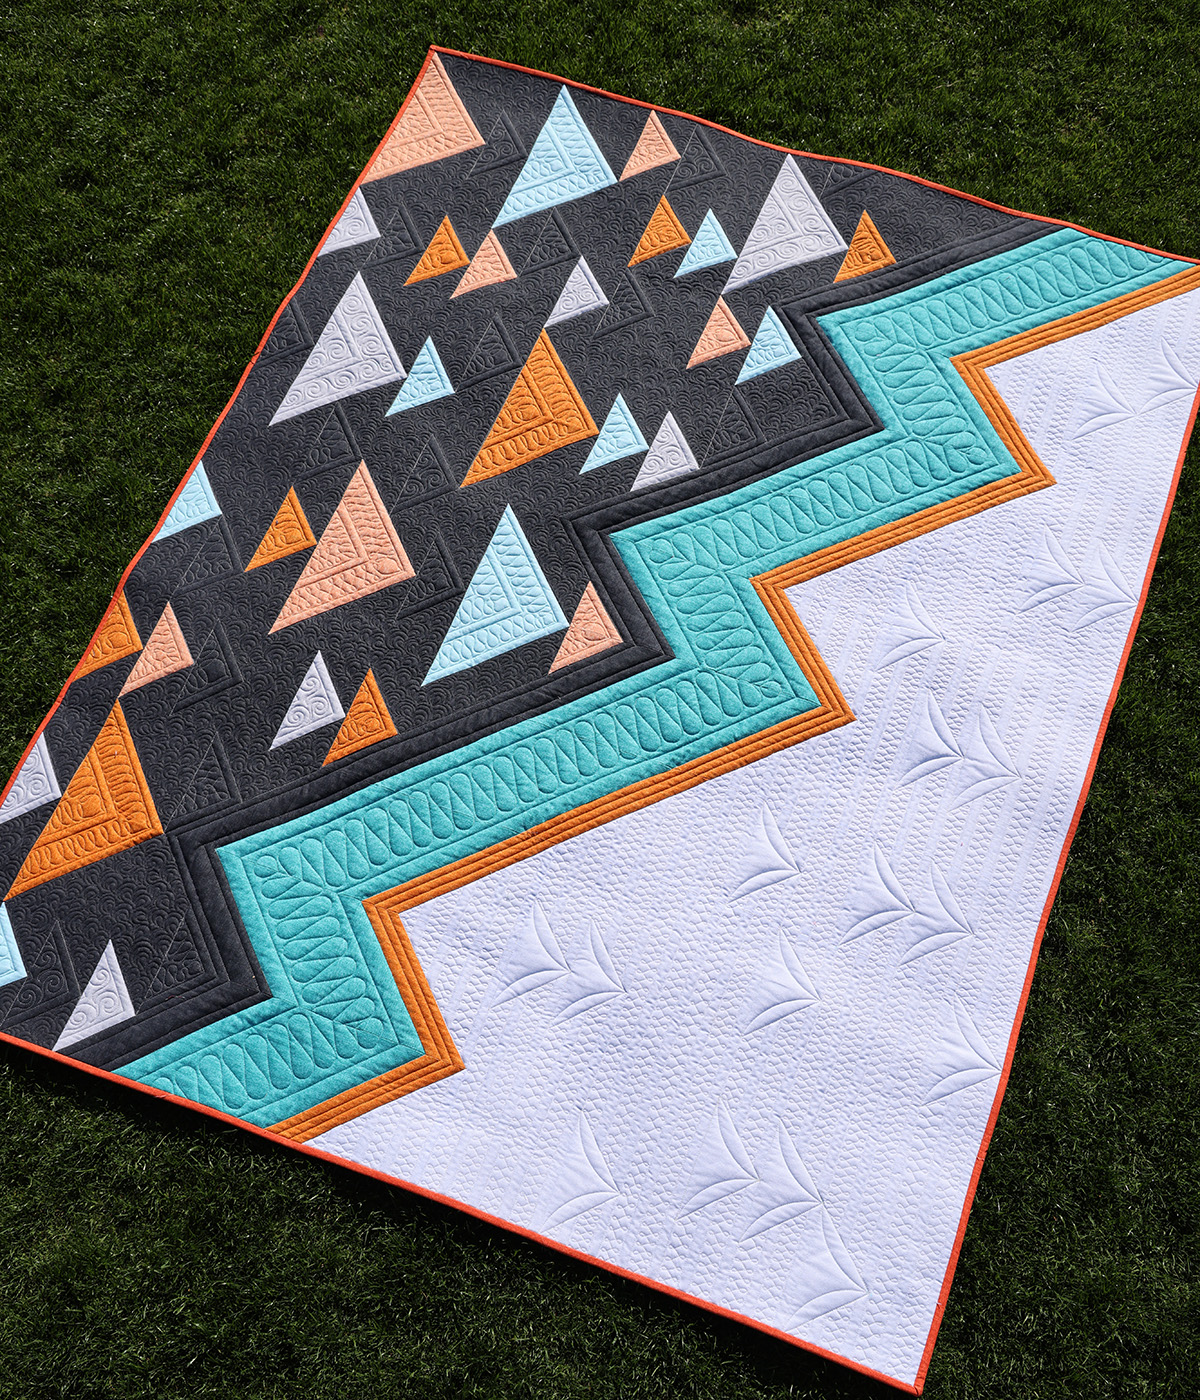
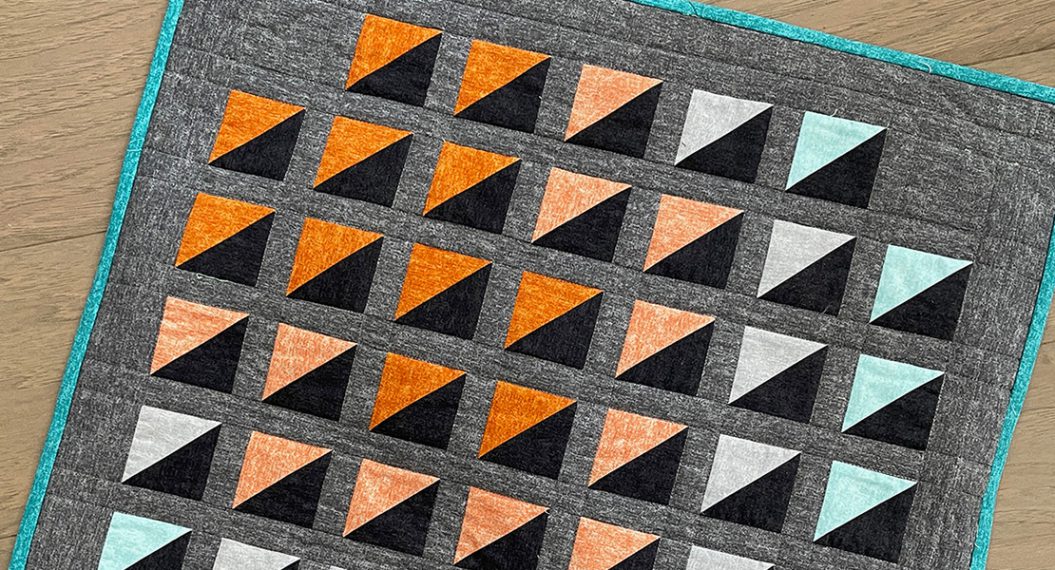
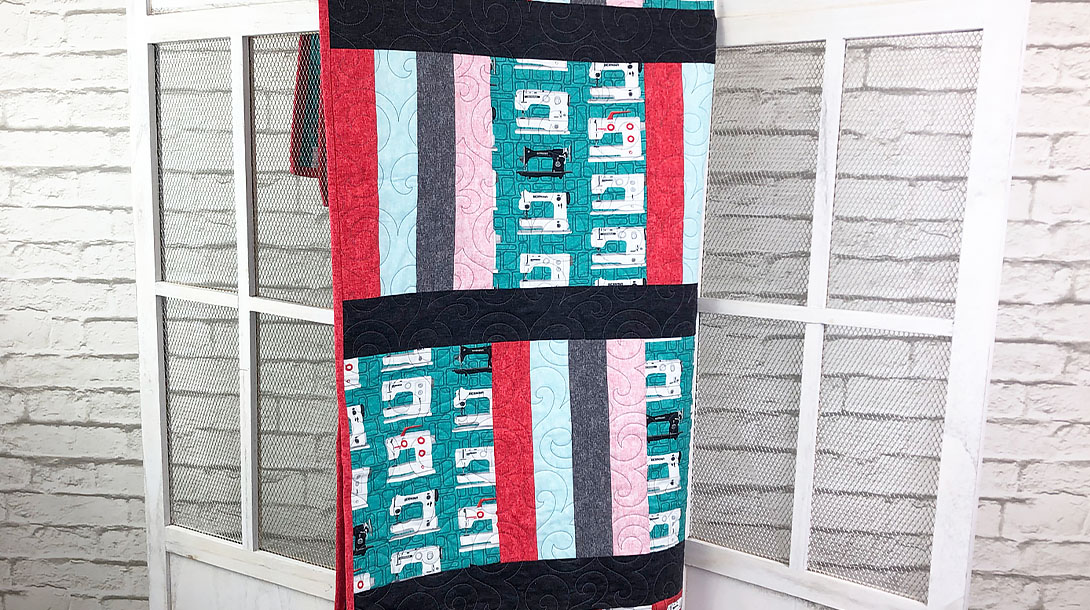
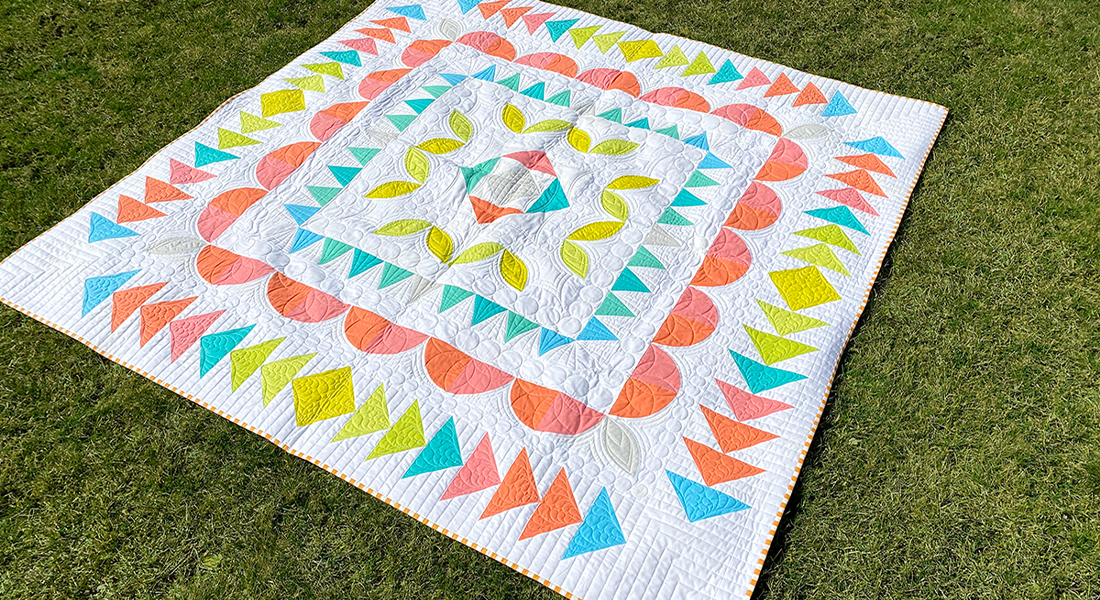
The front of the Fast Forward Quilt.
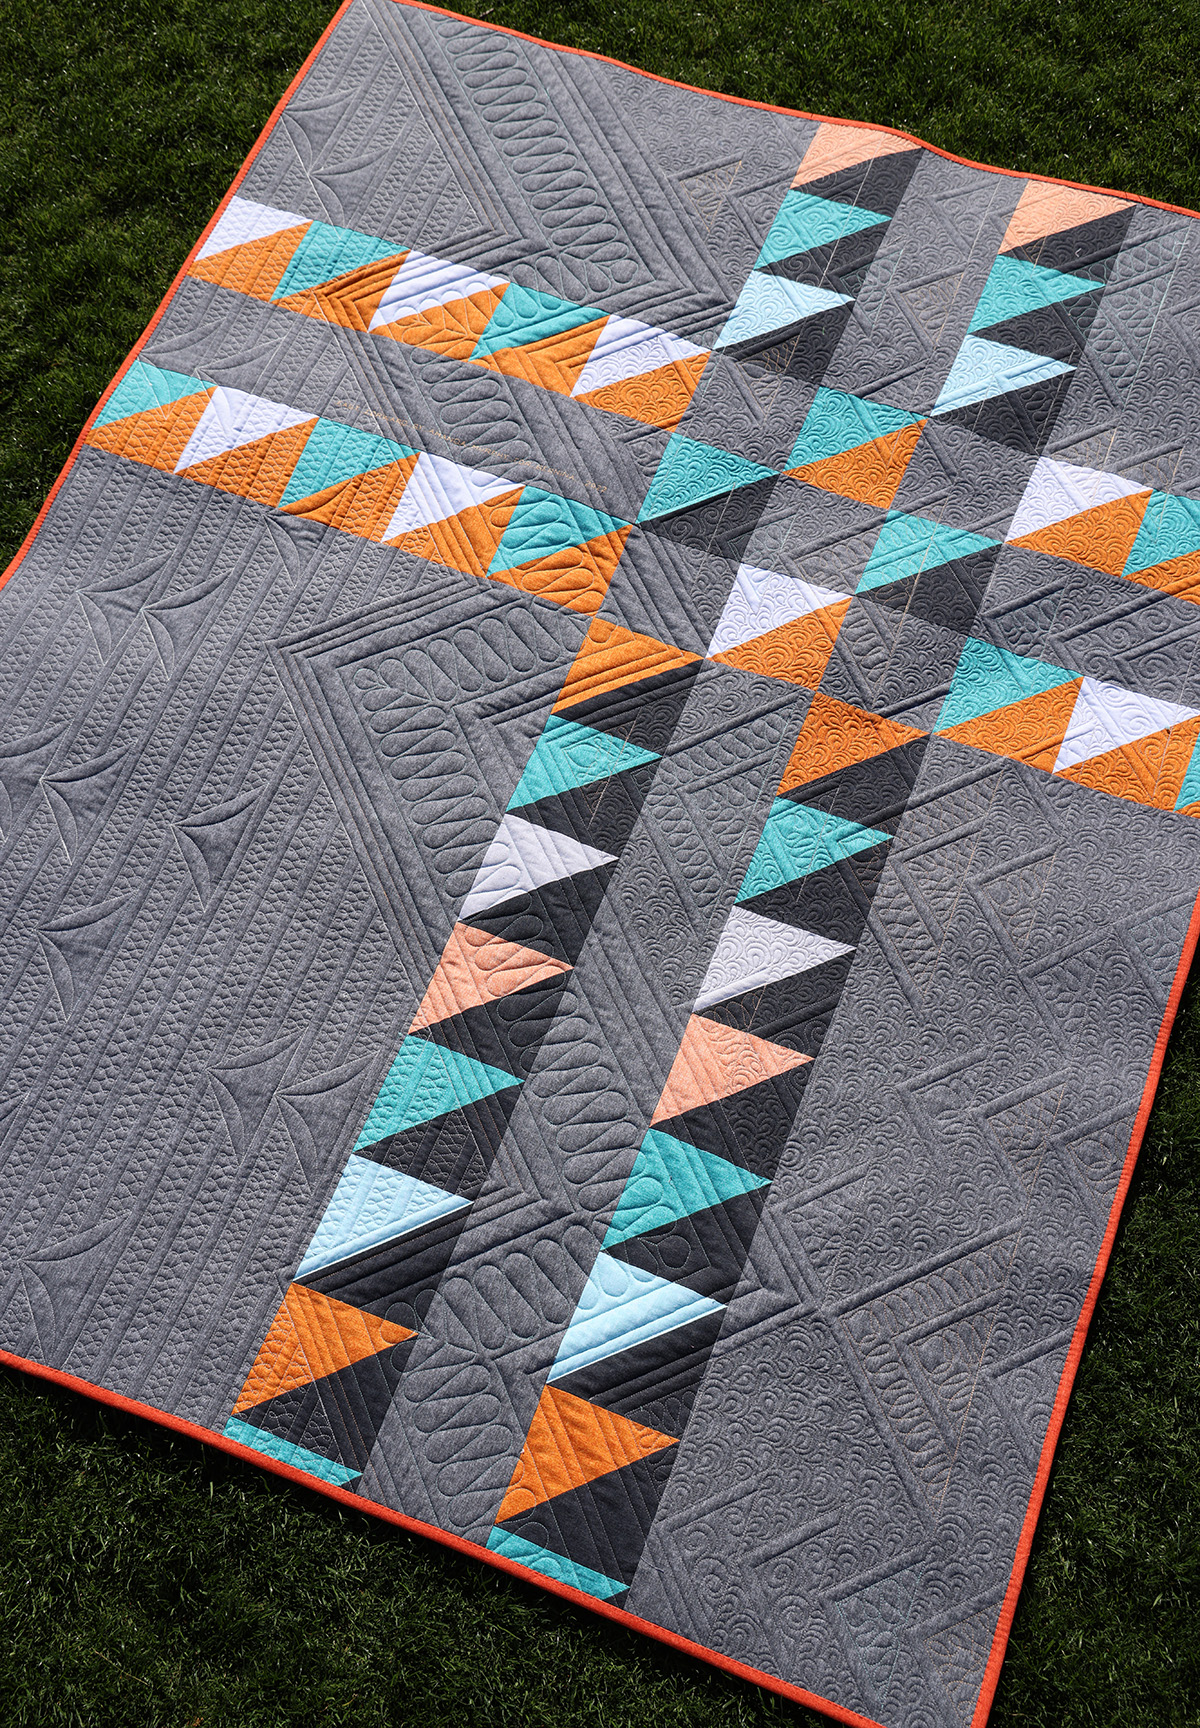
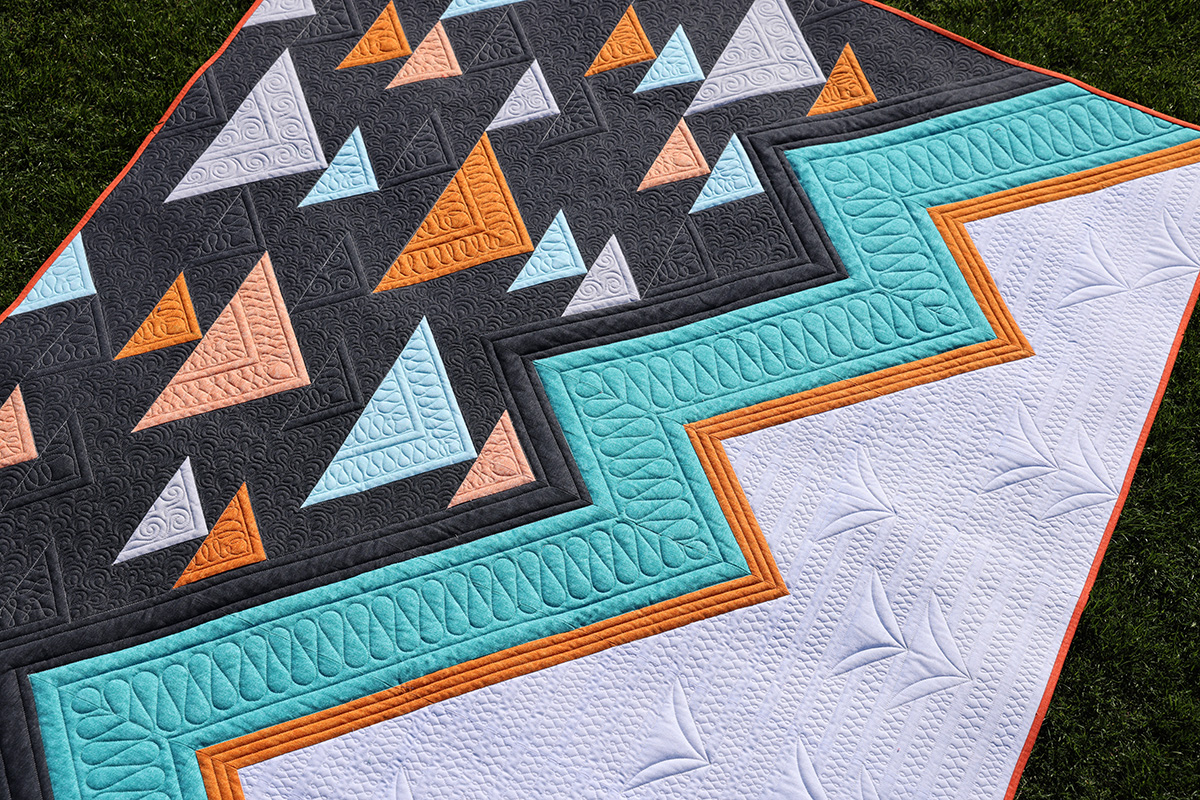
The back of the Fast Forward Quilt.
Just a reminder, if you missed the previous posts you can find them here:
- Fast Forward Announcement and Yardage Requirements
- Fast Forward Post 1
- Fast Forward Post 2
- Fast Forward Post 3
- Fast Forward Post 4
- Fast Forward Post 5
I’ll be back next month with a pattern for a coordinating pillow that uses up all those little half-square triangles you made while piecing.
For more quilting tips, JOIN MY FACEBOOK GROUP, Quilting with Amanda Murphy and FOLLOW ME ON YOUTUBE!
Post your progress on social media and don’t forget to take @berninausa and @amandamurphydesign because we can’t wait to see what you make!
Happy quilting to all of you!
Amanda