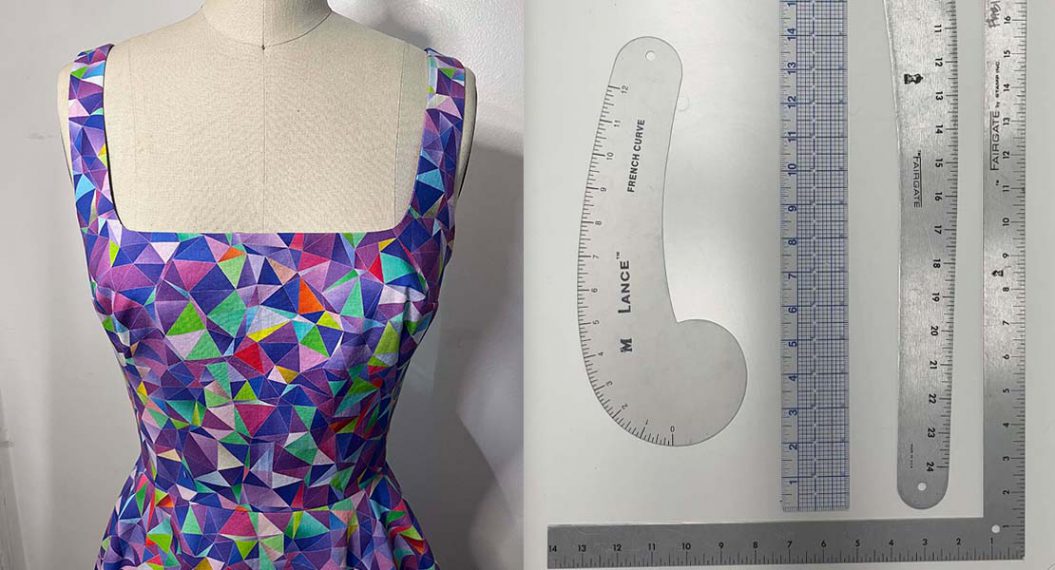
Draping a Custom Dress, Part Four: Prototyping
Prototyping is one of the most important parts of Draping on a Dress Form. At this point, we have already developed our patterns for our bodice and skirt. This stage is all about testing. We want to make sure the patterns can be stitched together nicely. This stage is also used for fitting the design onto a body. Since we do not have a live model for me to showcase this on; my Dress Form is the next best thing.
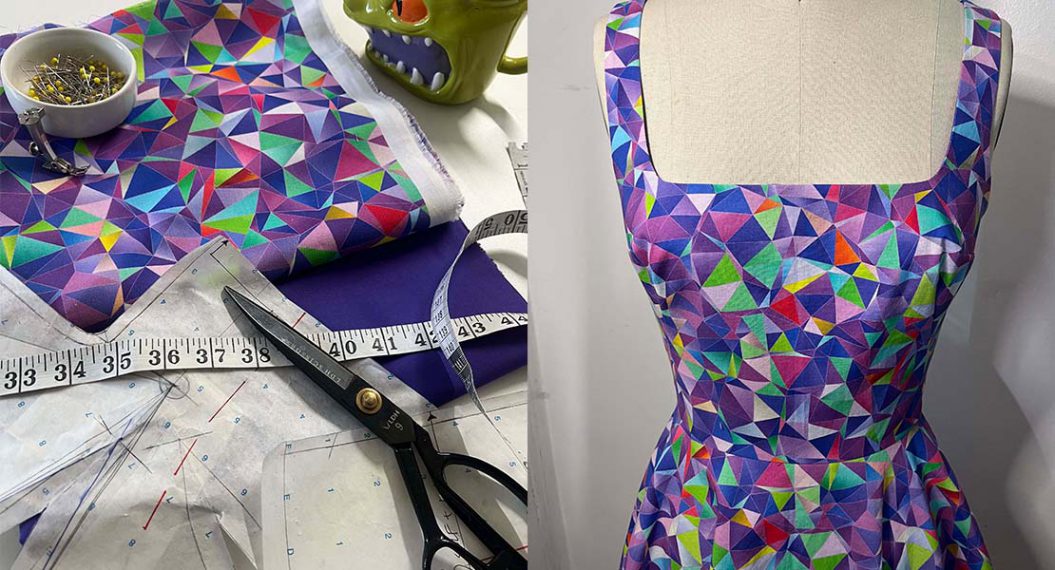
The Fit Sample from Draping on Dress Form
Pictured below is the front view of my fit sample on my Dress Form. I have assessed all of my key fit areas like the bust and waist to be sure that my dress is not too snug in these areas. Since I am only working with one layer for my skirt, I can leave the waist measurement alone. If I wanted to create a layered skirt that is lined, I would need to add to the circumference measurement of my waistline. This also creates additional ease so that the extra layers of my skirt can be included. You may also need to add ease depending on the final fabric you intend to use.
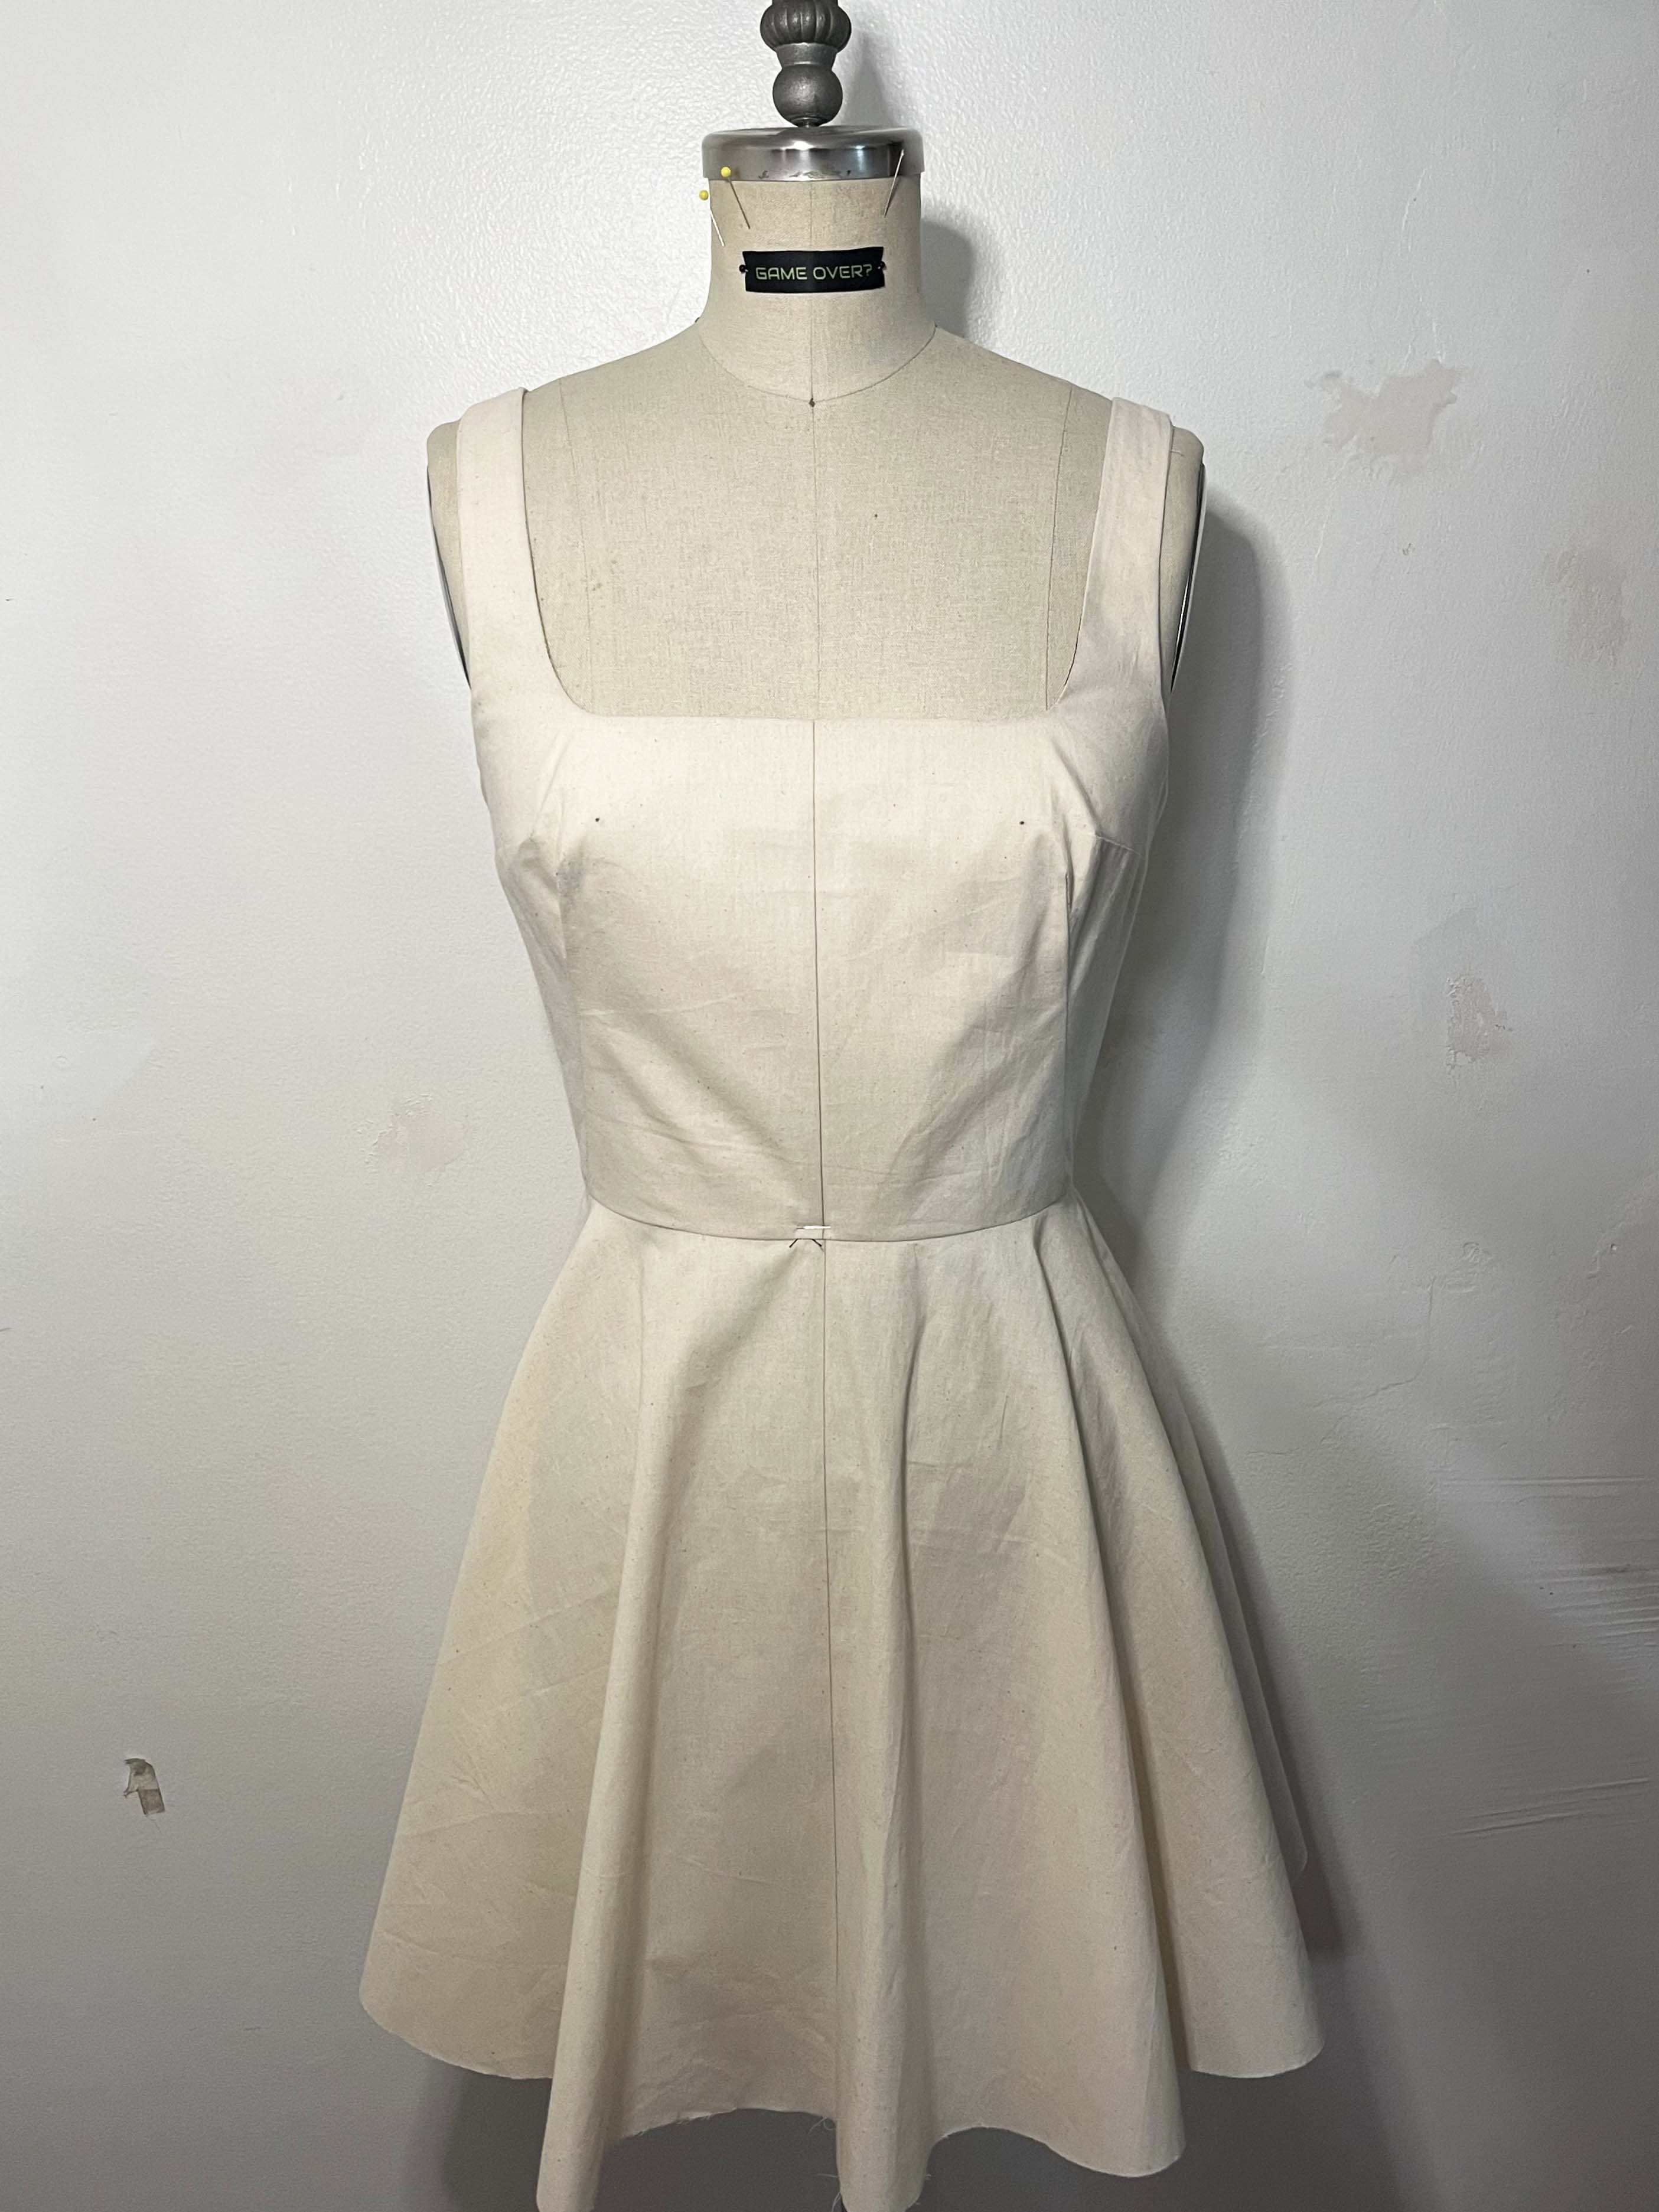
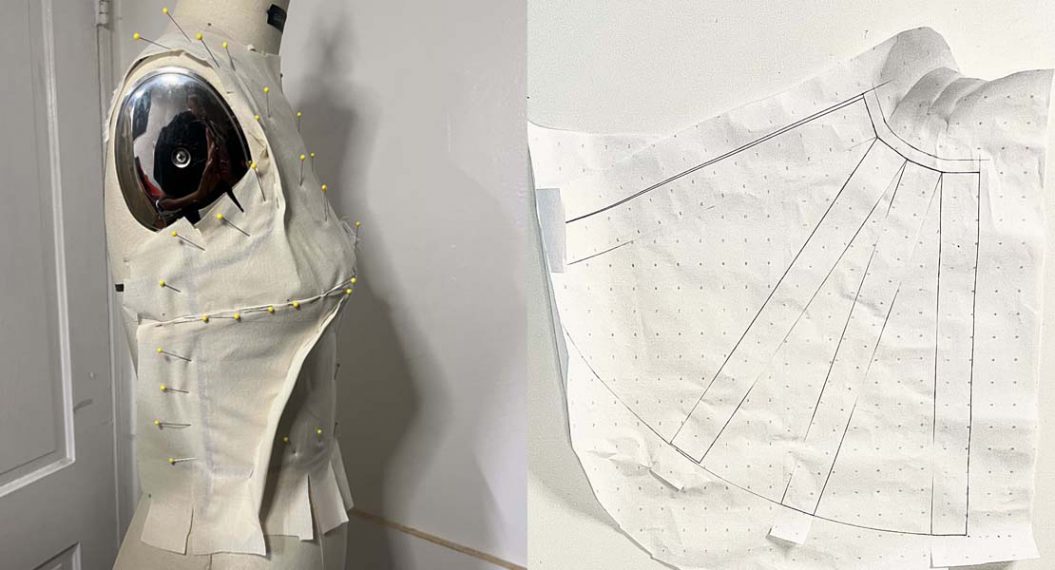
My darts are another key fit area that needs special attention. You will see what I mean once you watch the video tutorial. If you are draping princess seams, these are just as important and you must make sure they lay smoothly on the body with no buckling. Darts are an easy shaping mechanism to start draping with because I find that adjusting them is not extremely intimidating.
The excess fabric and gaping I started with are no longer present in my front neck and armhole. If there were to be more gaping in these areas, I would simply repeat the process over again. Pinch and pin the excess and then take it over to my paper pattern and transfer the additional excess into one or both of my darts. Gaping necklines and armholes are a for sure tell tell sign of a homemade garment.
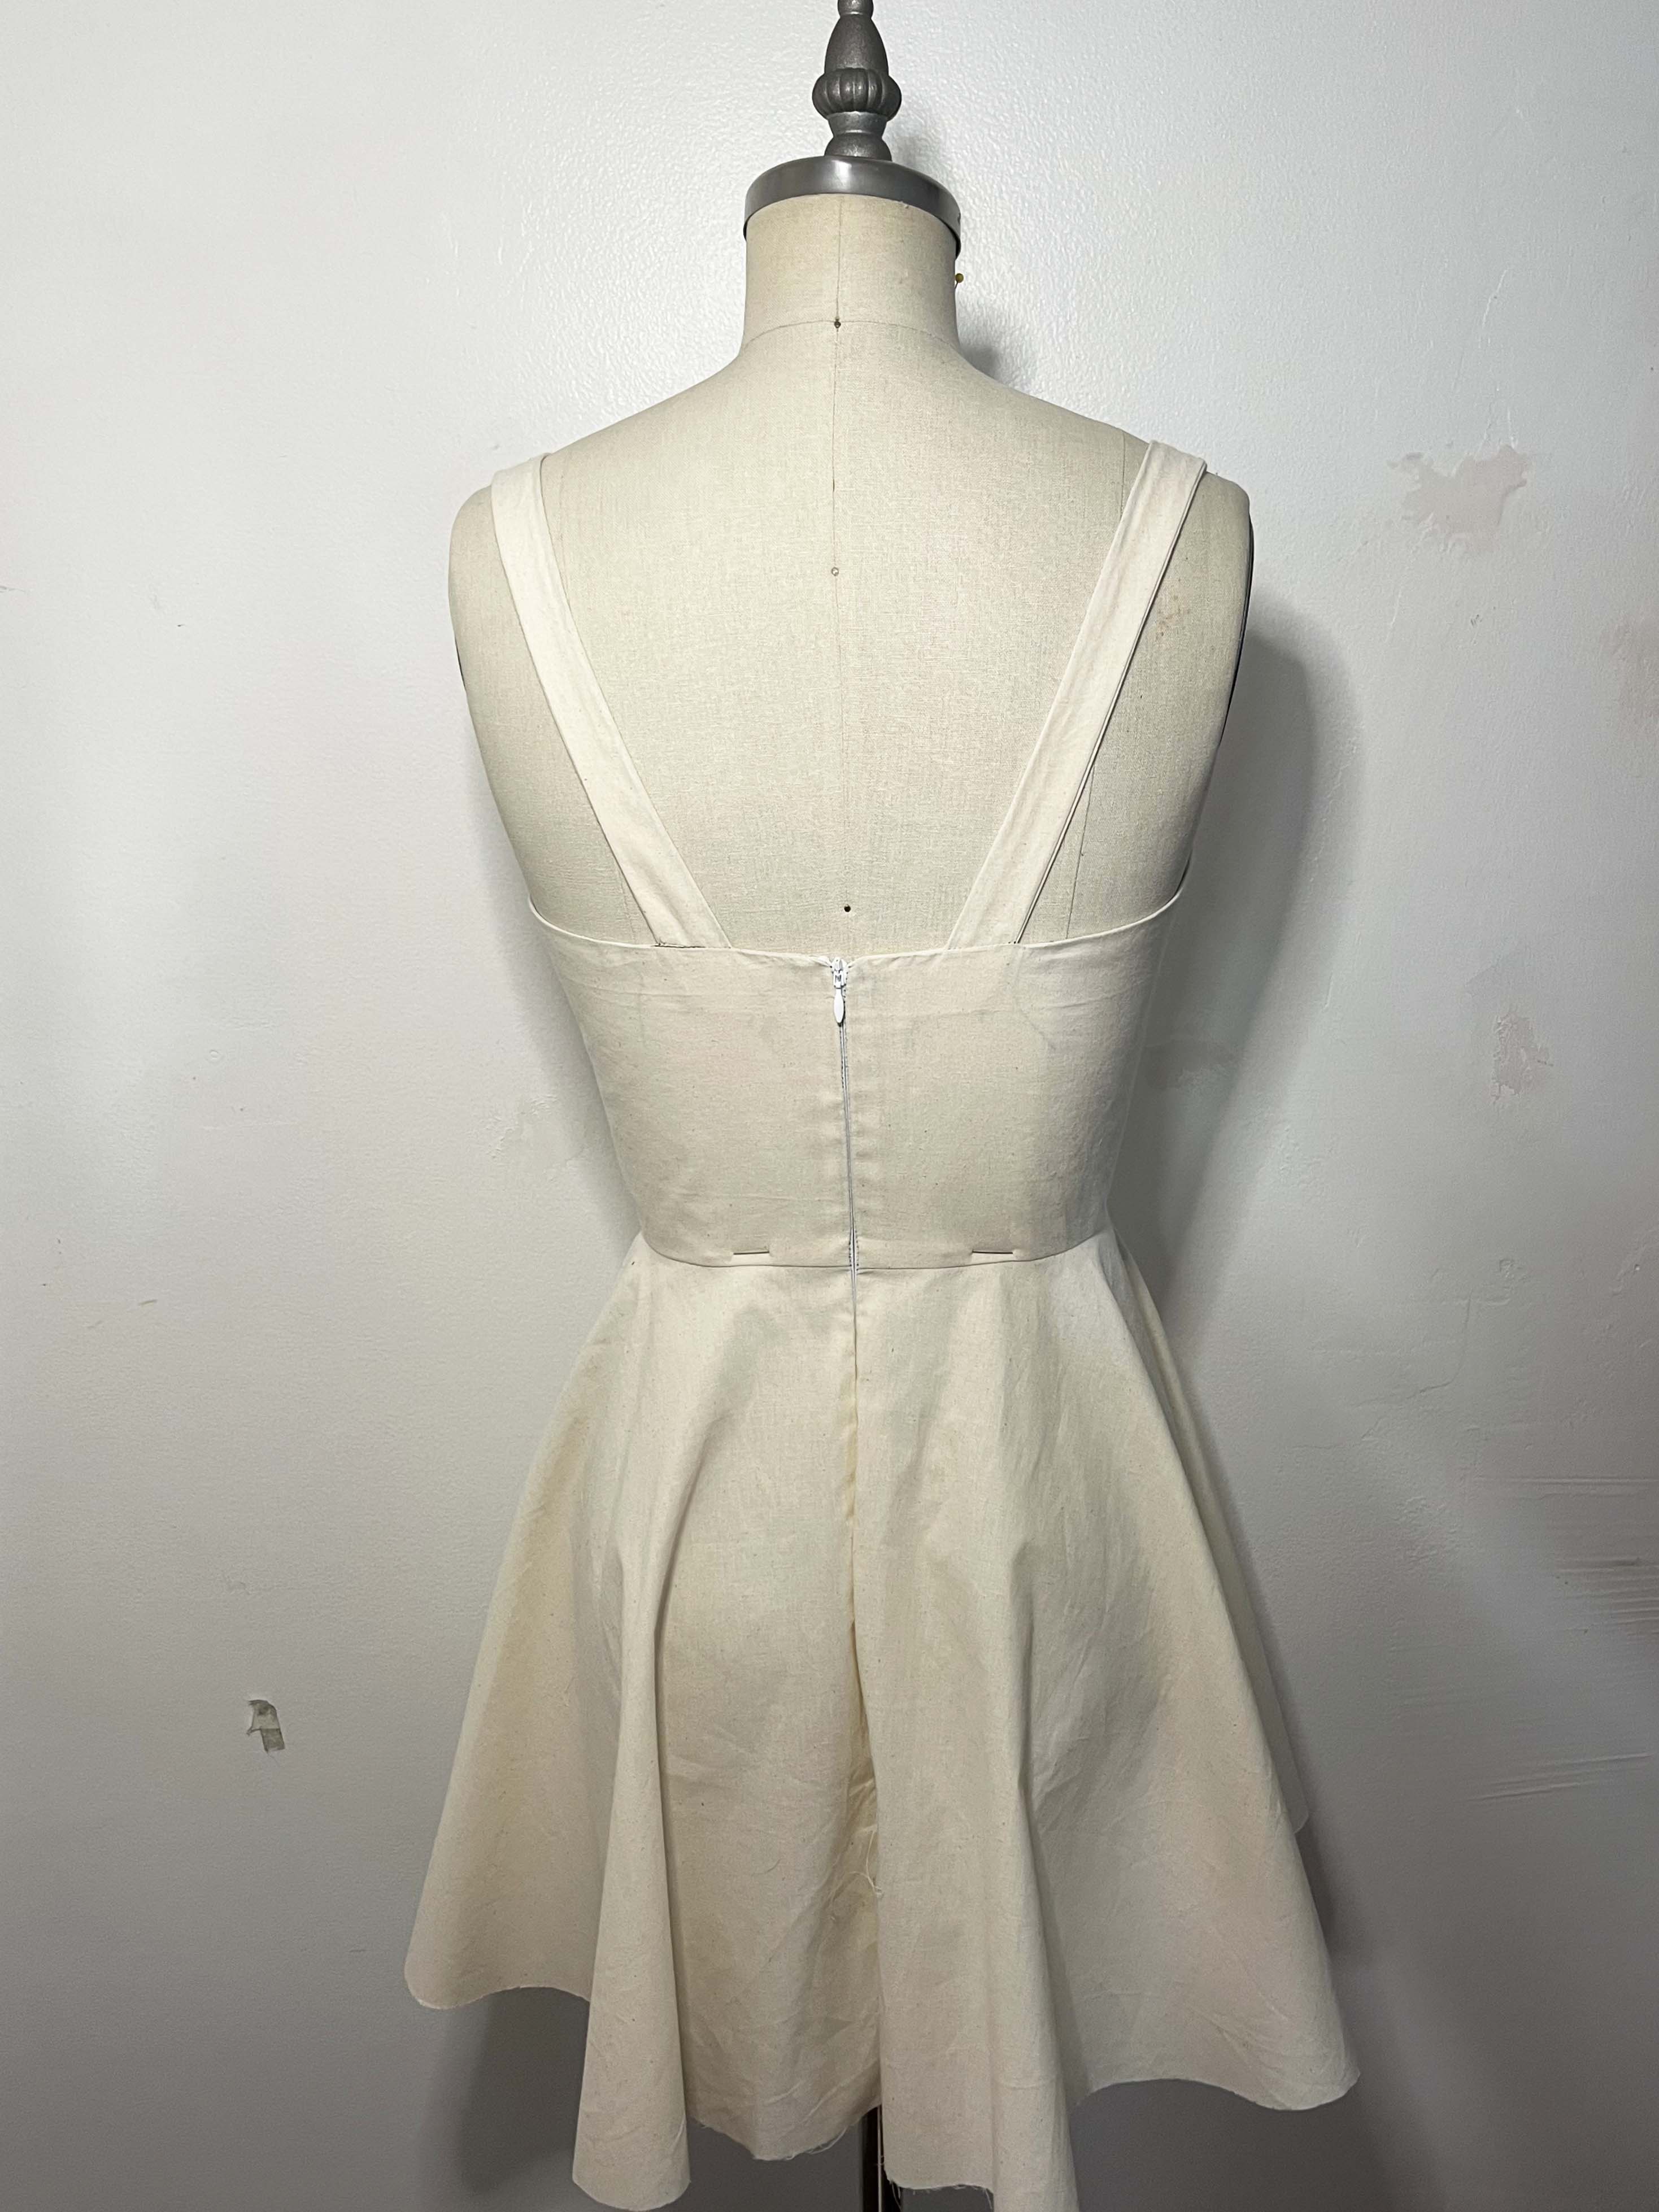
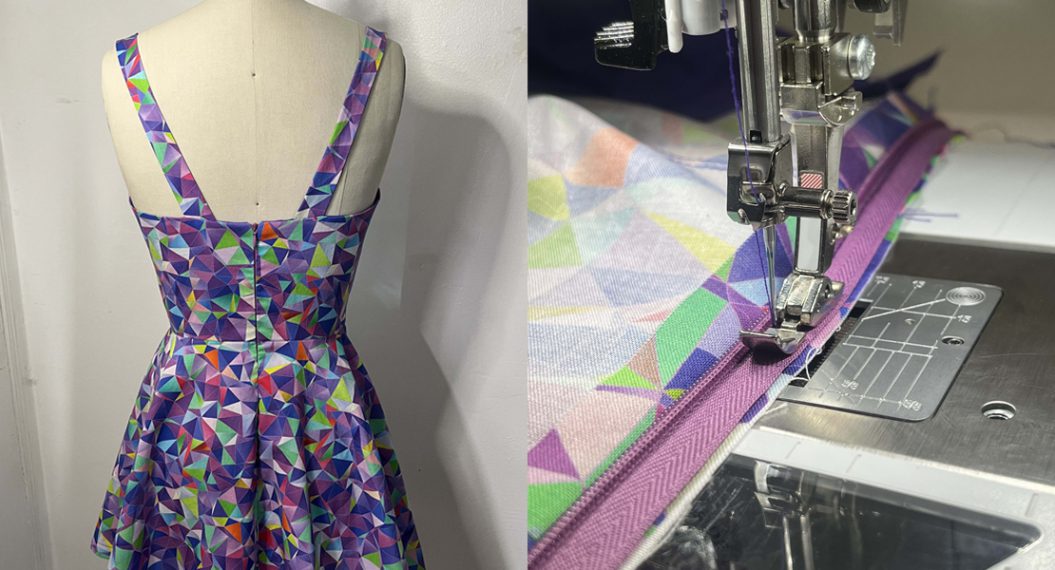
The back of my dress is fitting quite nicely. Not nearly as difficult to fit as the front; the back neckline is laying nice and flat against the body. Most importantly, there is zero gaping in this area.
Pattern Layout for Draped Pattern Pieces
Once you have all the pattern pieces required for your design, think carefully about the layout for your patterns. My design is not complicated so the layout is very straightforward. All pieces will be cut two except for my Front Bodice and Front Skirt. These pieces are both cut on the Fold. Since I am going to have a bodice lining, I will need to cut a separate set of bodice pieces. This will leave me with two sets of all bodice patterns cut in muslin.
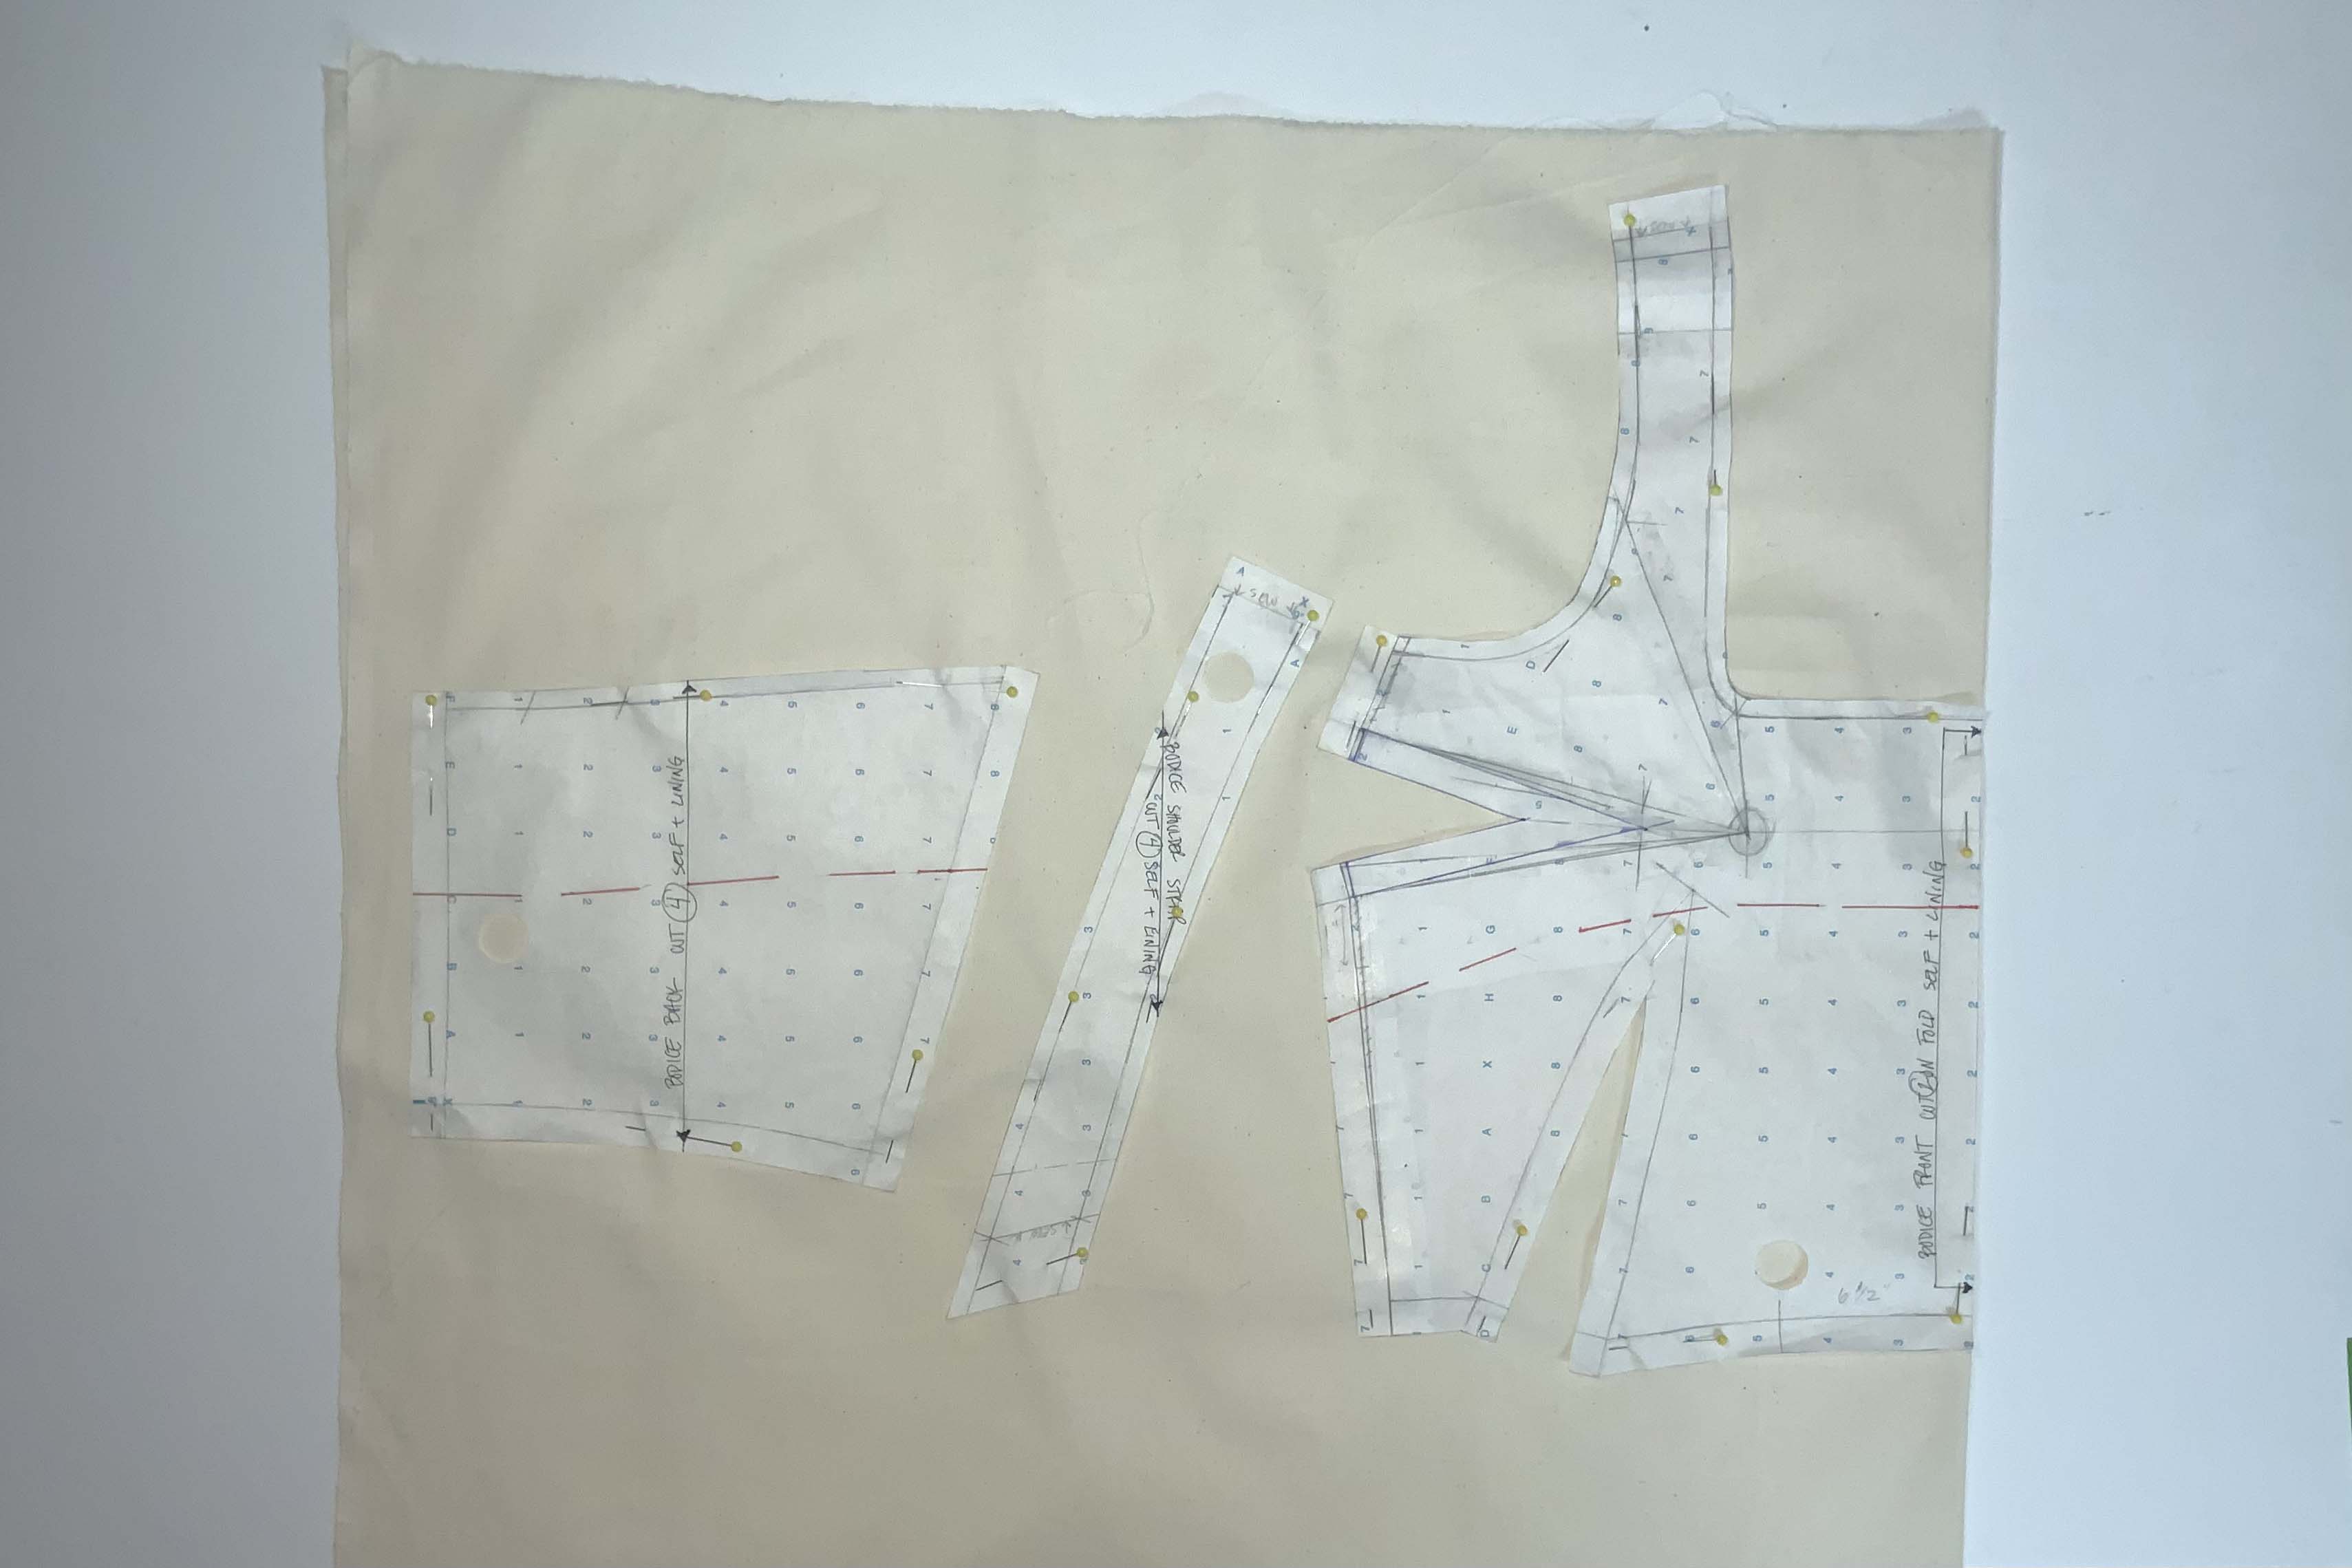
Cutting on the correct grainline is extremely important. This goes hand in hand with being sure you are draping on the correct grainline from the start. Marking your grainlines will allow you to not forget on what grainline these pieces were draped. Draping on a dress form also means staying consistent with the grain of the fabric.
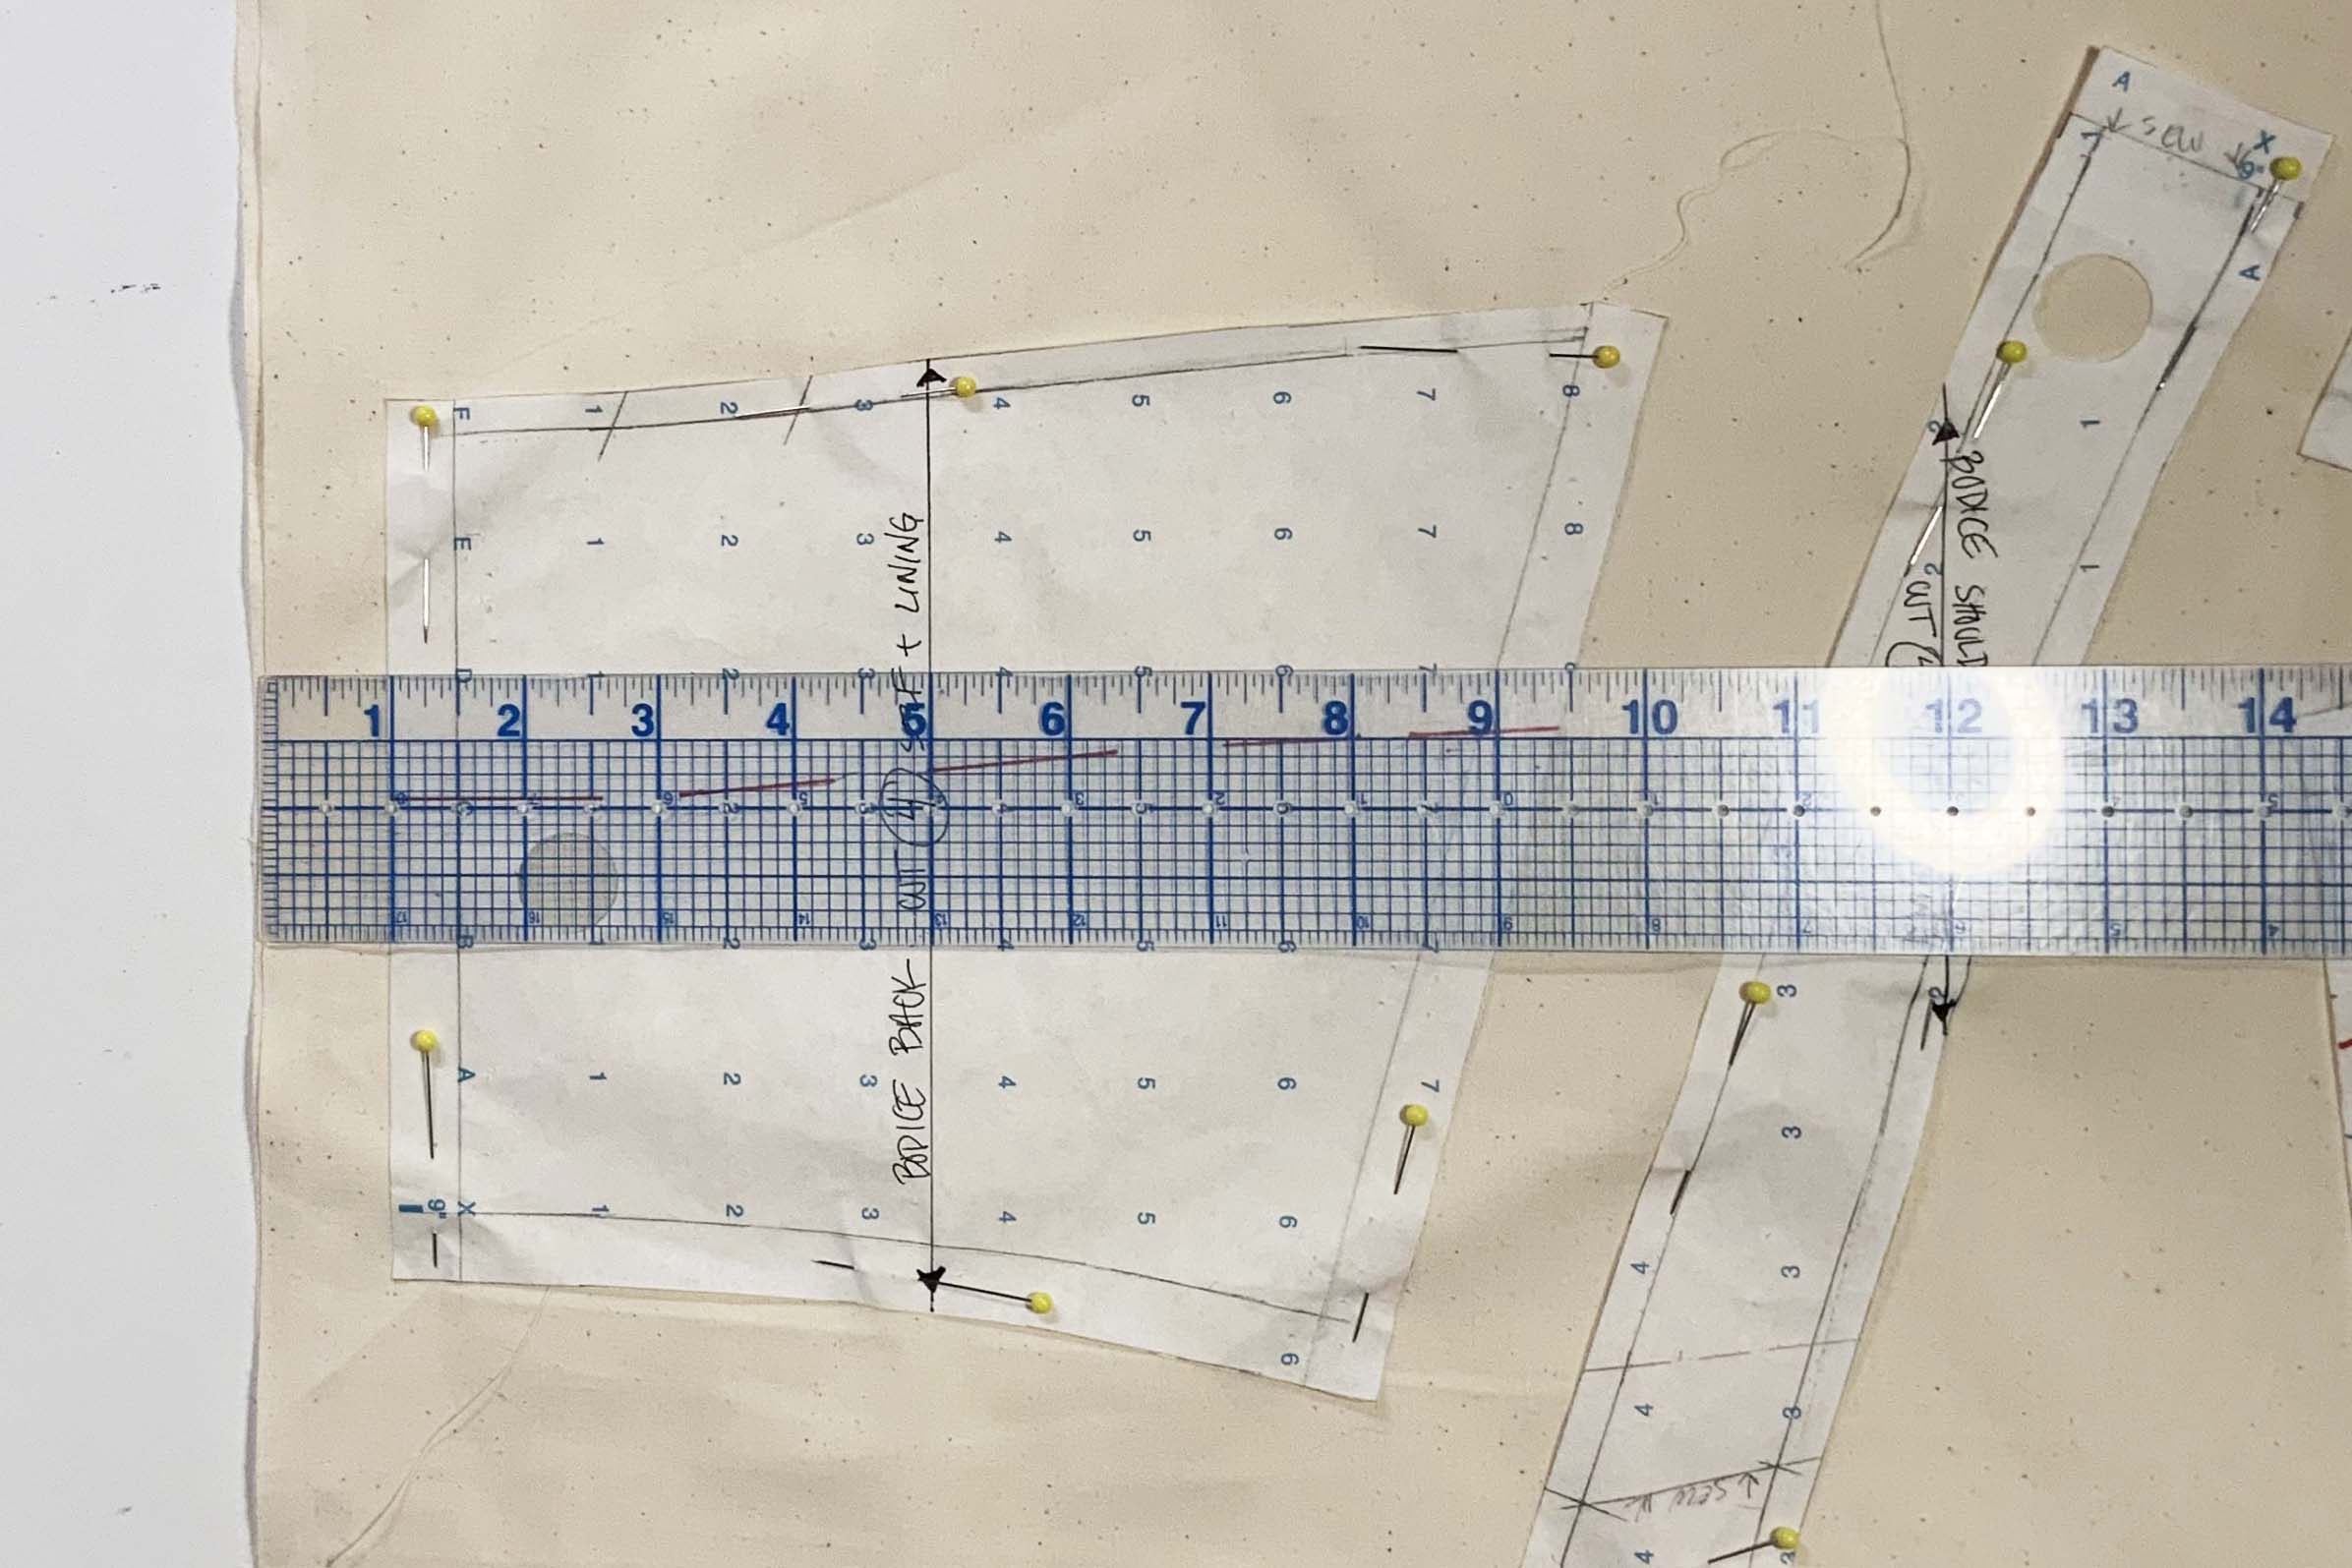
Do not get sloppy with cutting during this stage. You are sewing this sample like it is your final product. You will not get an accurate fit if you do not pay close attention to cutting and sewing during this part of the process. Make sure you are transferring all markings and reference lines. You want to make certain all of these markings are aligned with their corresponding body parts.
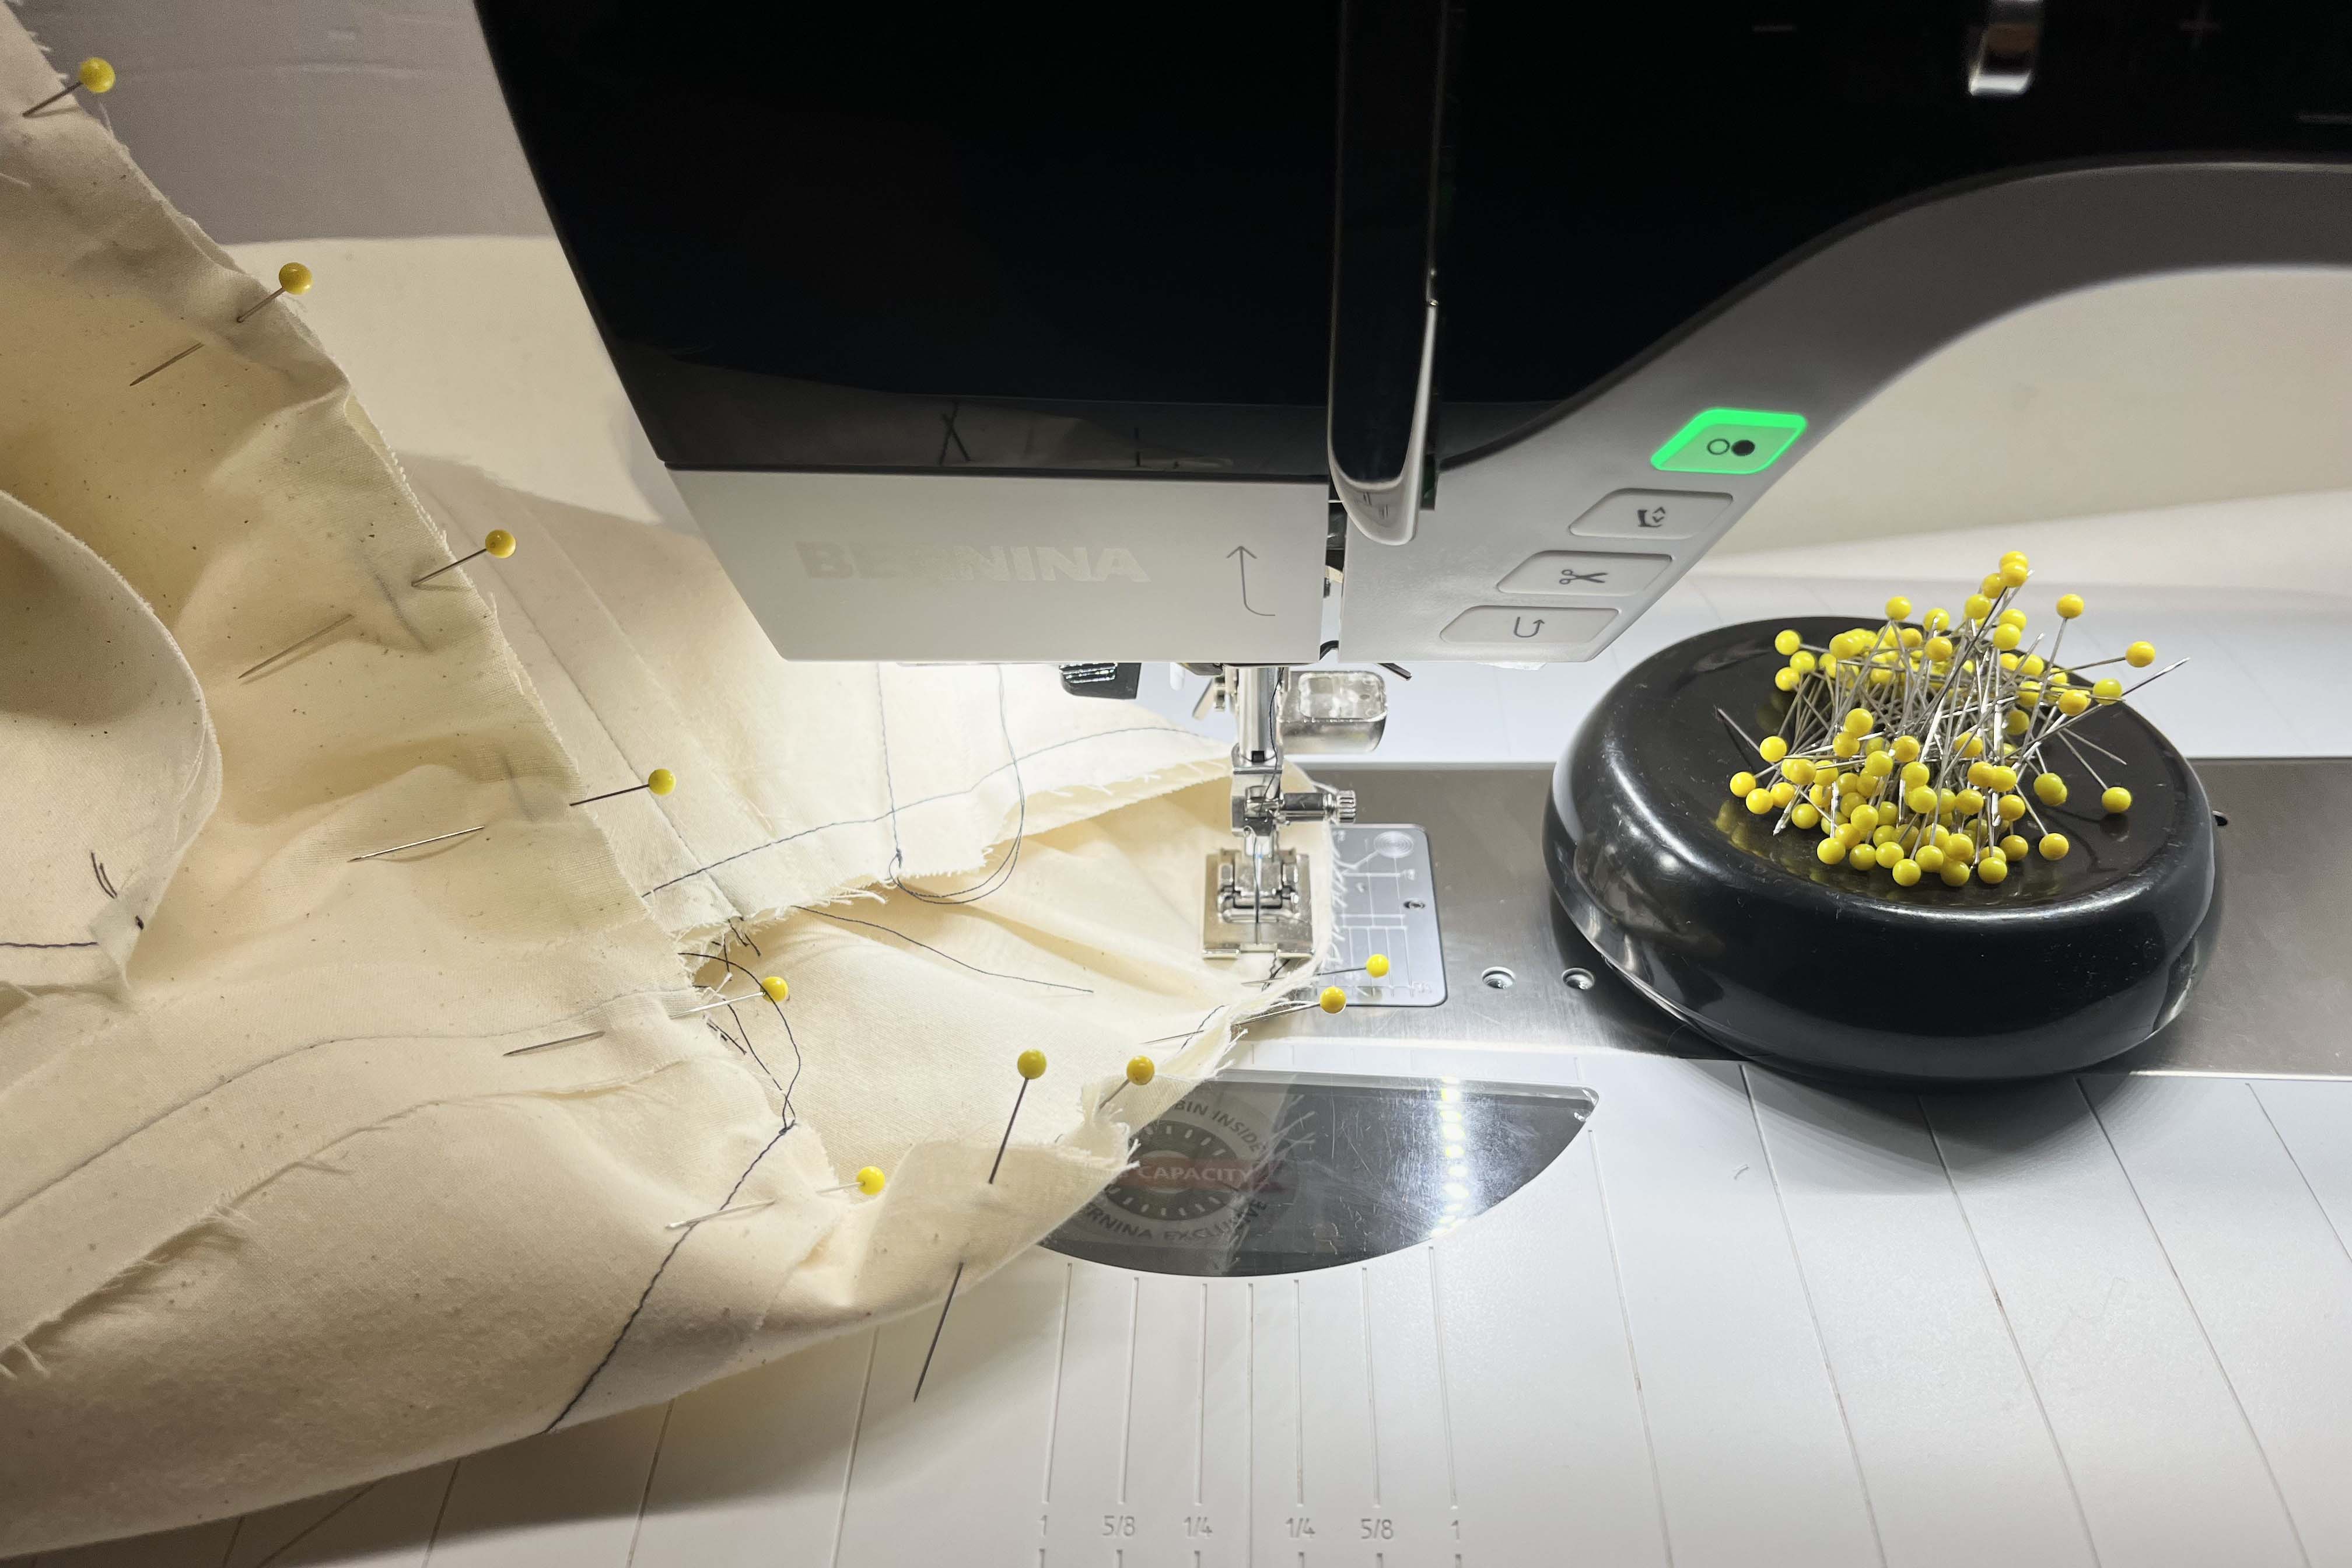
Sewing Your Prototype
Now is the time to consider your options for constructing your design. Draping on a Dress Form allows you to think about this well in advance. Knowing the techniques and order of constructing your garment will save you lots of time. BUT on the other hand, the prototyping stage is exactly for figuring these things out! If you want to experiment with a certain technique that is new to you, Now is the time to do it!
My design allows me to finish off my bodice before or after stitching it to my skirt. In the tutorial, I constructed my fit sample and finished off my bodice after attaching it to my skirt and inserting my zipper. Pay close attention to how I finish off my lining on the zipper edges. This is completely free from any hand sewing and looks very polished.
I must also tell you that it does not always take just one fit sample. You may need to make several fit samples before you reach the final version of your design. I once made a jacket that needed 6 prototypes before I had perfected the fit. It is all part of the process of learning.