Sew a Custom Quilted Tamarack Jacket, Part Two
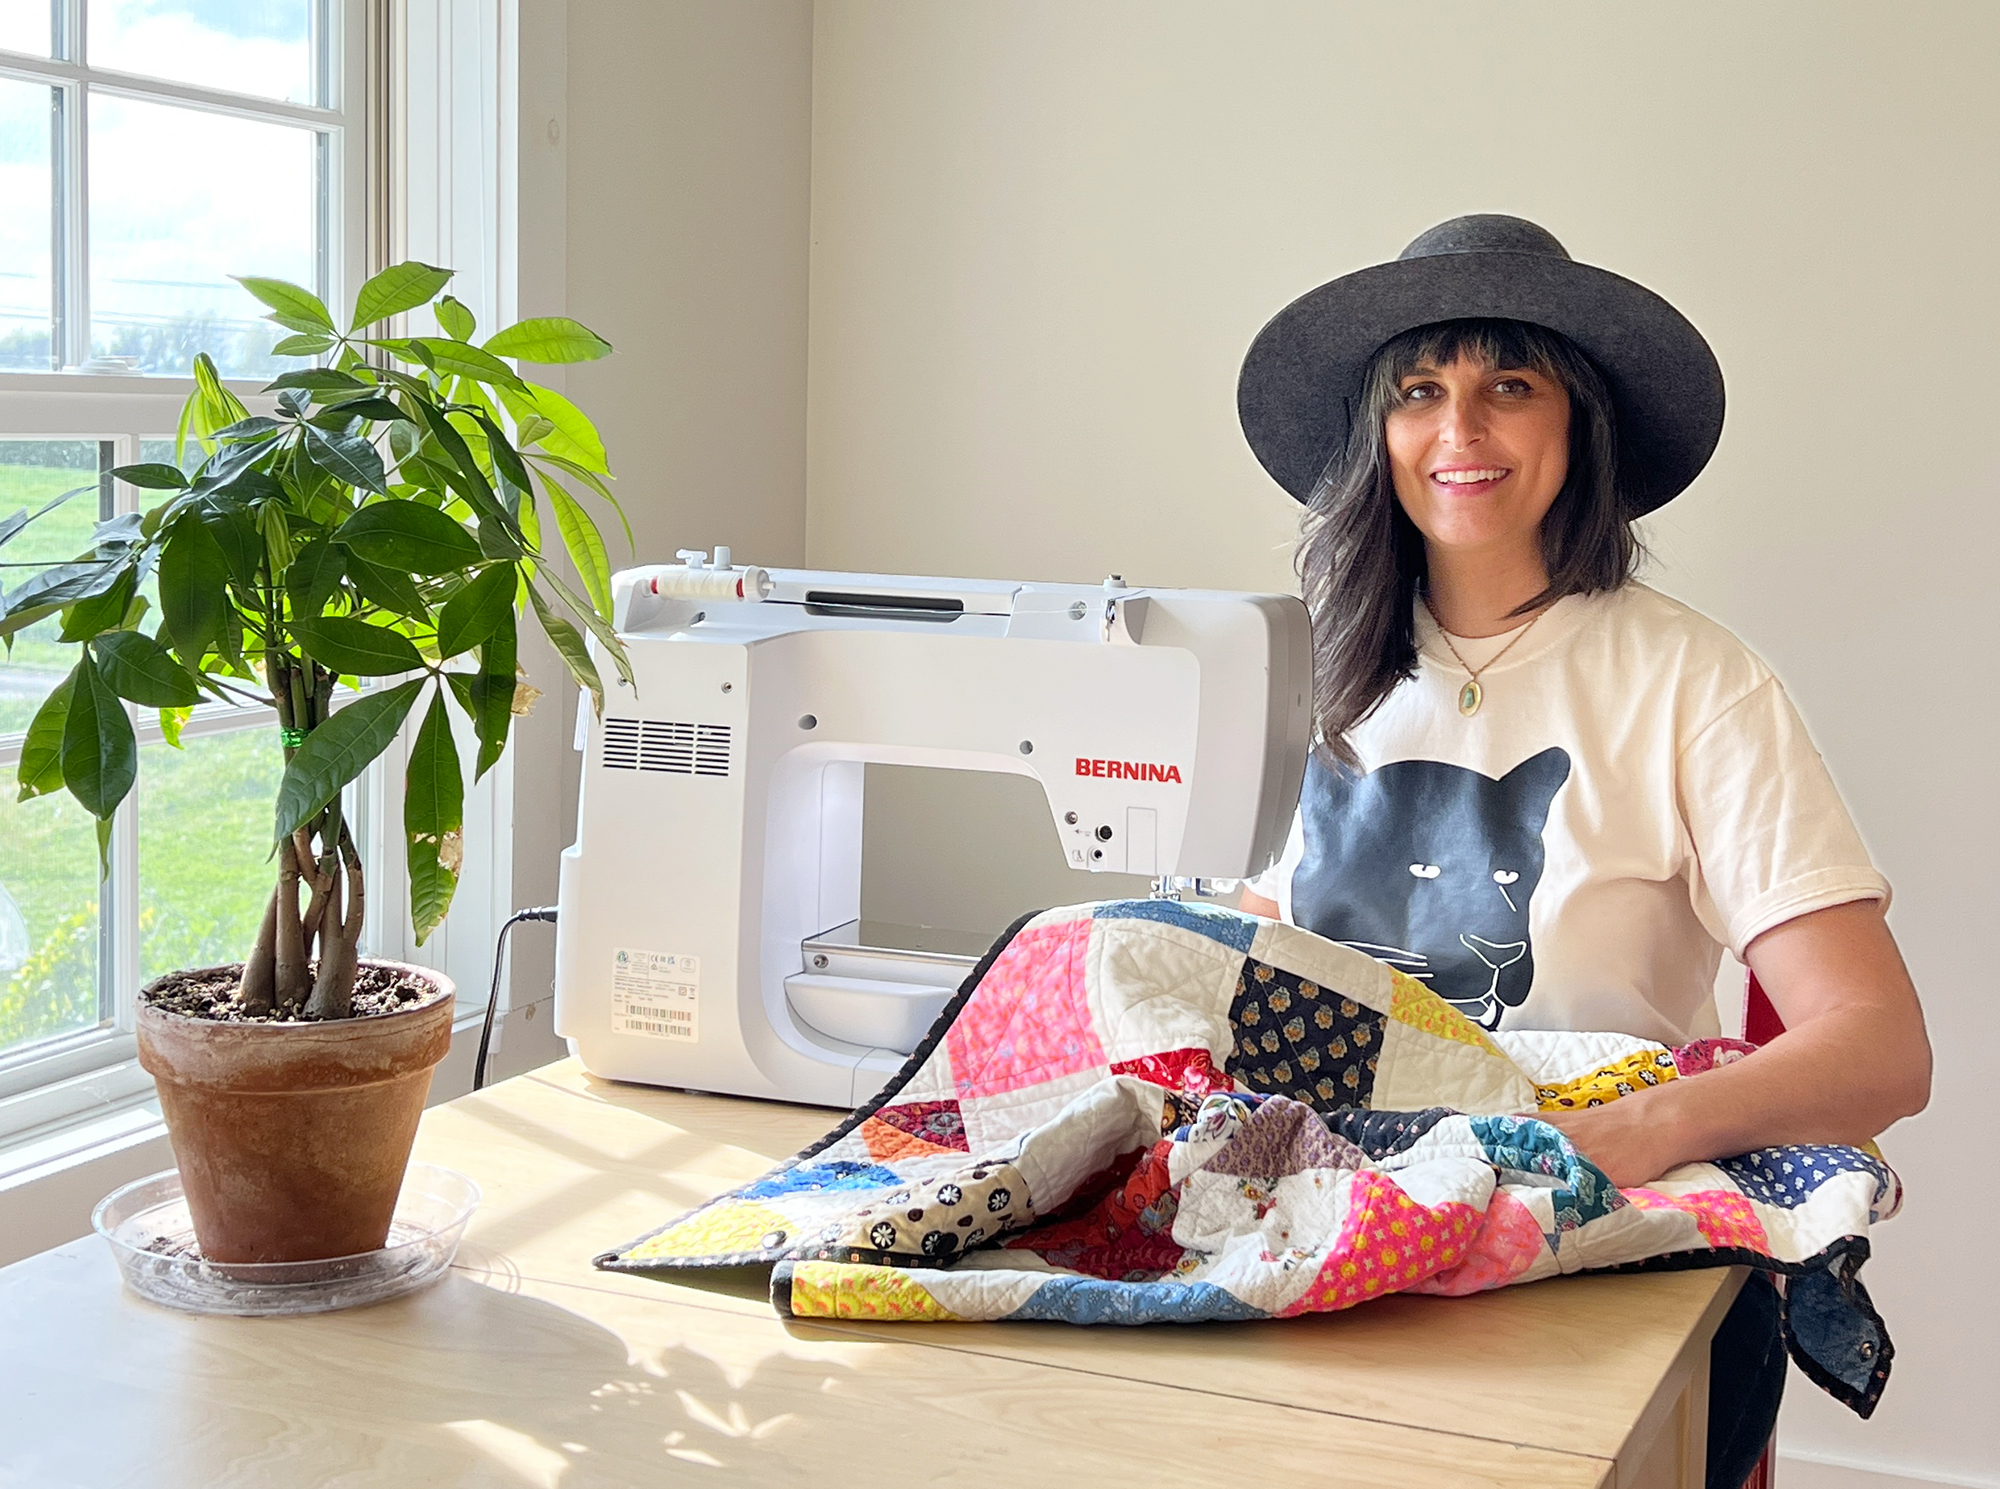
Hi everyone, it’s Martha from Buried Diamond, and I’m back for the second installment of sewing your own custom quilted Tamarack Jacket! If you missed last week’s post, you can check that out and get caught up. If you are joining me again, you should have your patchwork complete, as well as batting and lining cut out. So let’s go over what supplies you’ll need this week, and then dive in where we left off!
Supplies
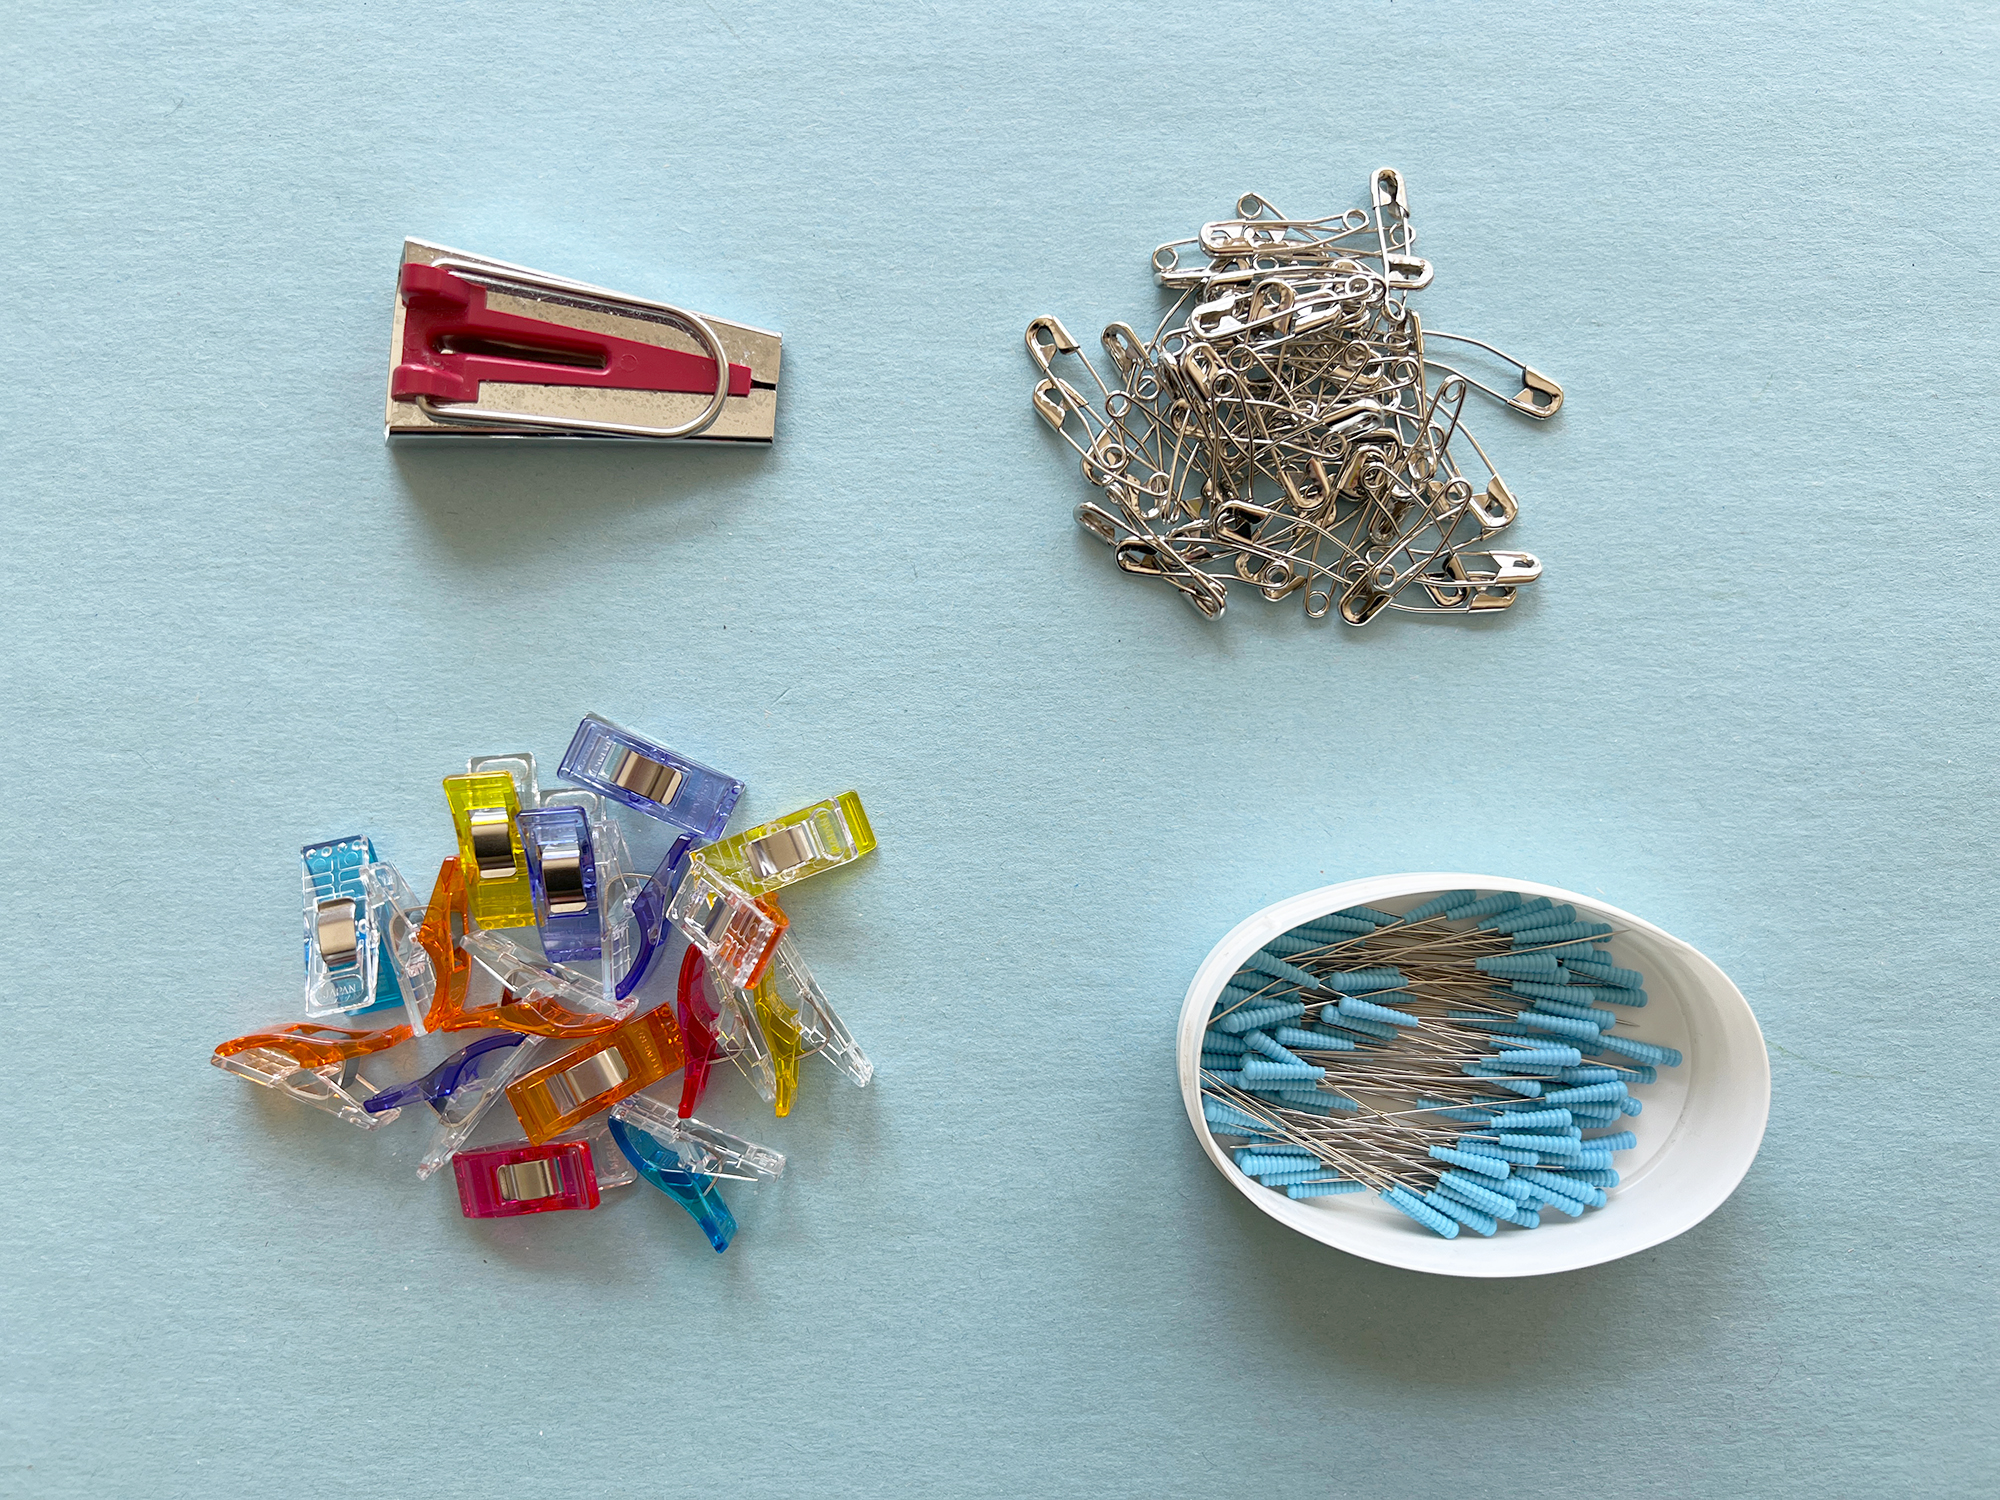
In addition to your favorite sewing room supplies like scissors and rulers, here are some more specialty notions I am using this week to make things easier. Linked supplies were kindly supplied to me by Brewer Sewing:
- Curved quilter’s safety pins
- Chalk or other non-permanent marking tool
- 1-3/4″ Magic Pins (the blue pins in the photo)
- Wonder clips
- Bias binding maker
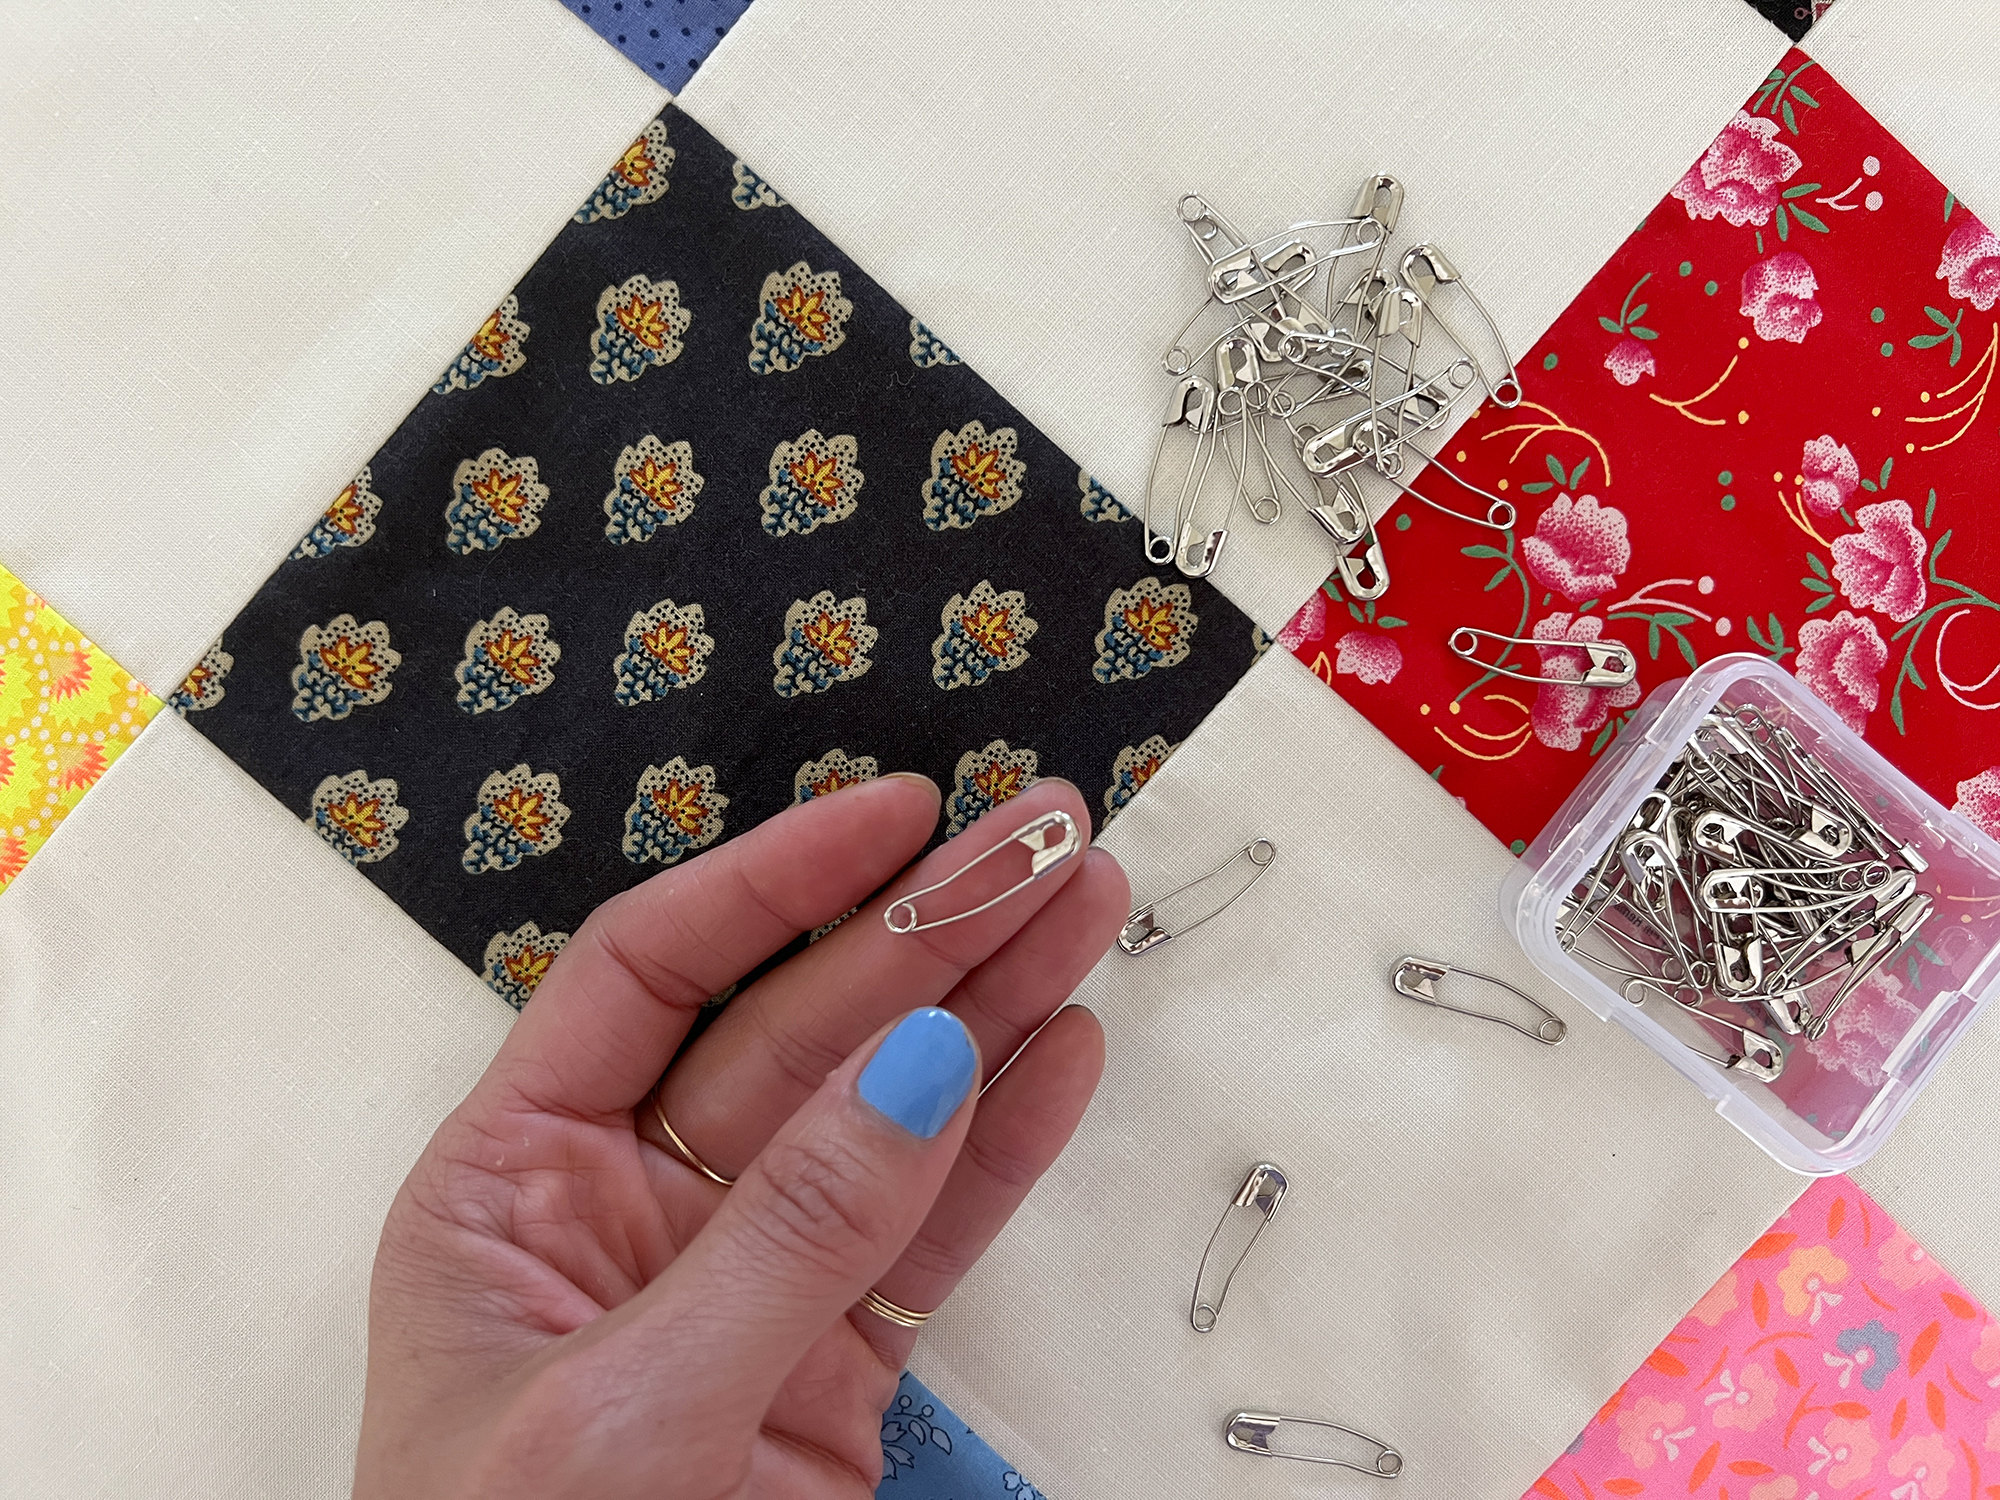
Pin Your Sandwich
Using quilter’s curved safety pins, pin your sandwich. Pin in an arrangement that won’t interfere with your quilting design. I am pinning in the center of each square, and will remove the pins once I begin quilting within the squares.
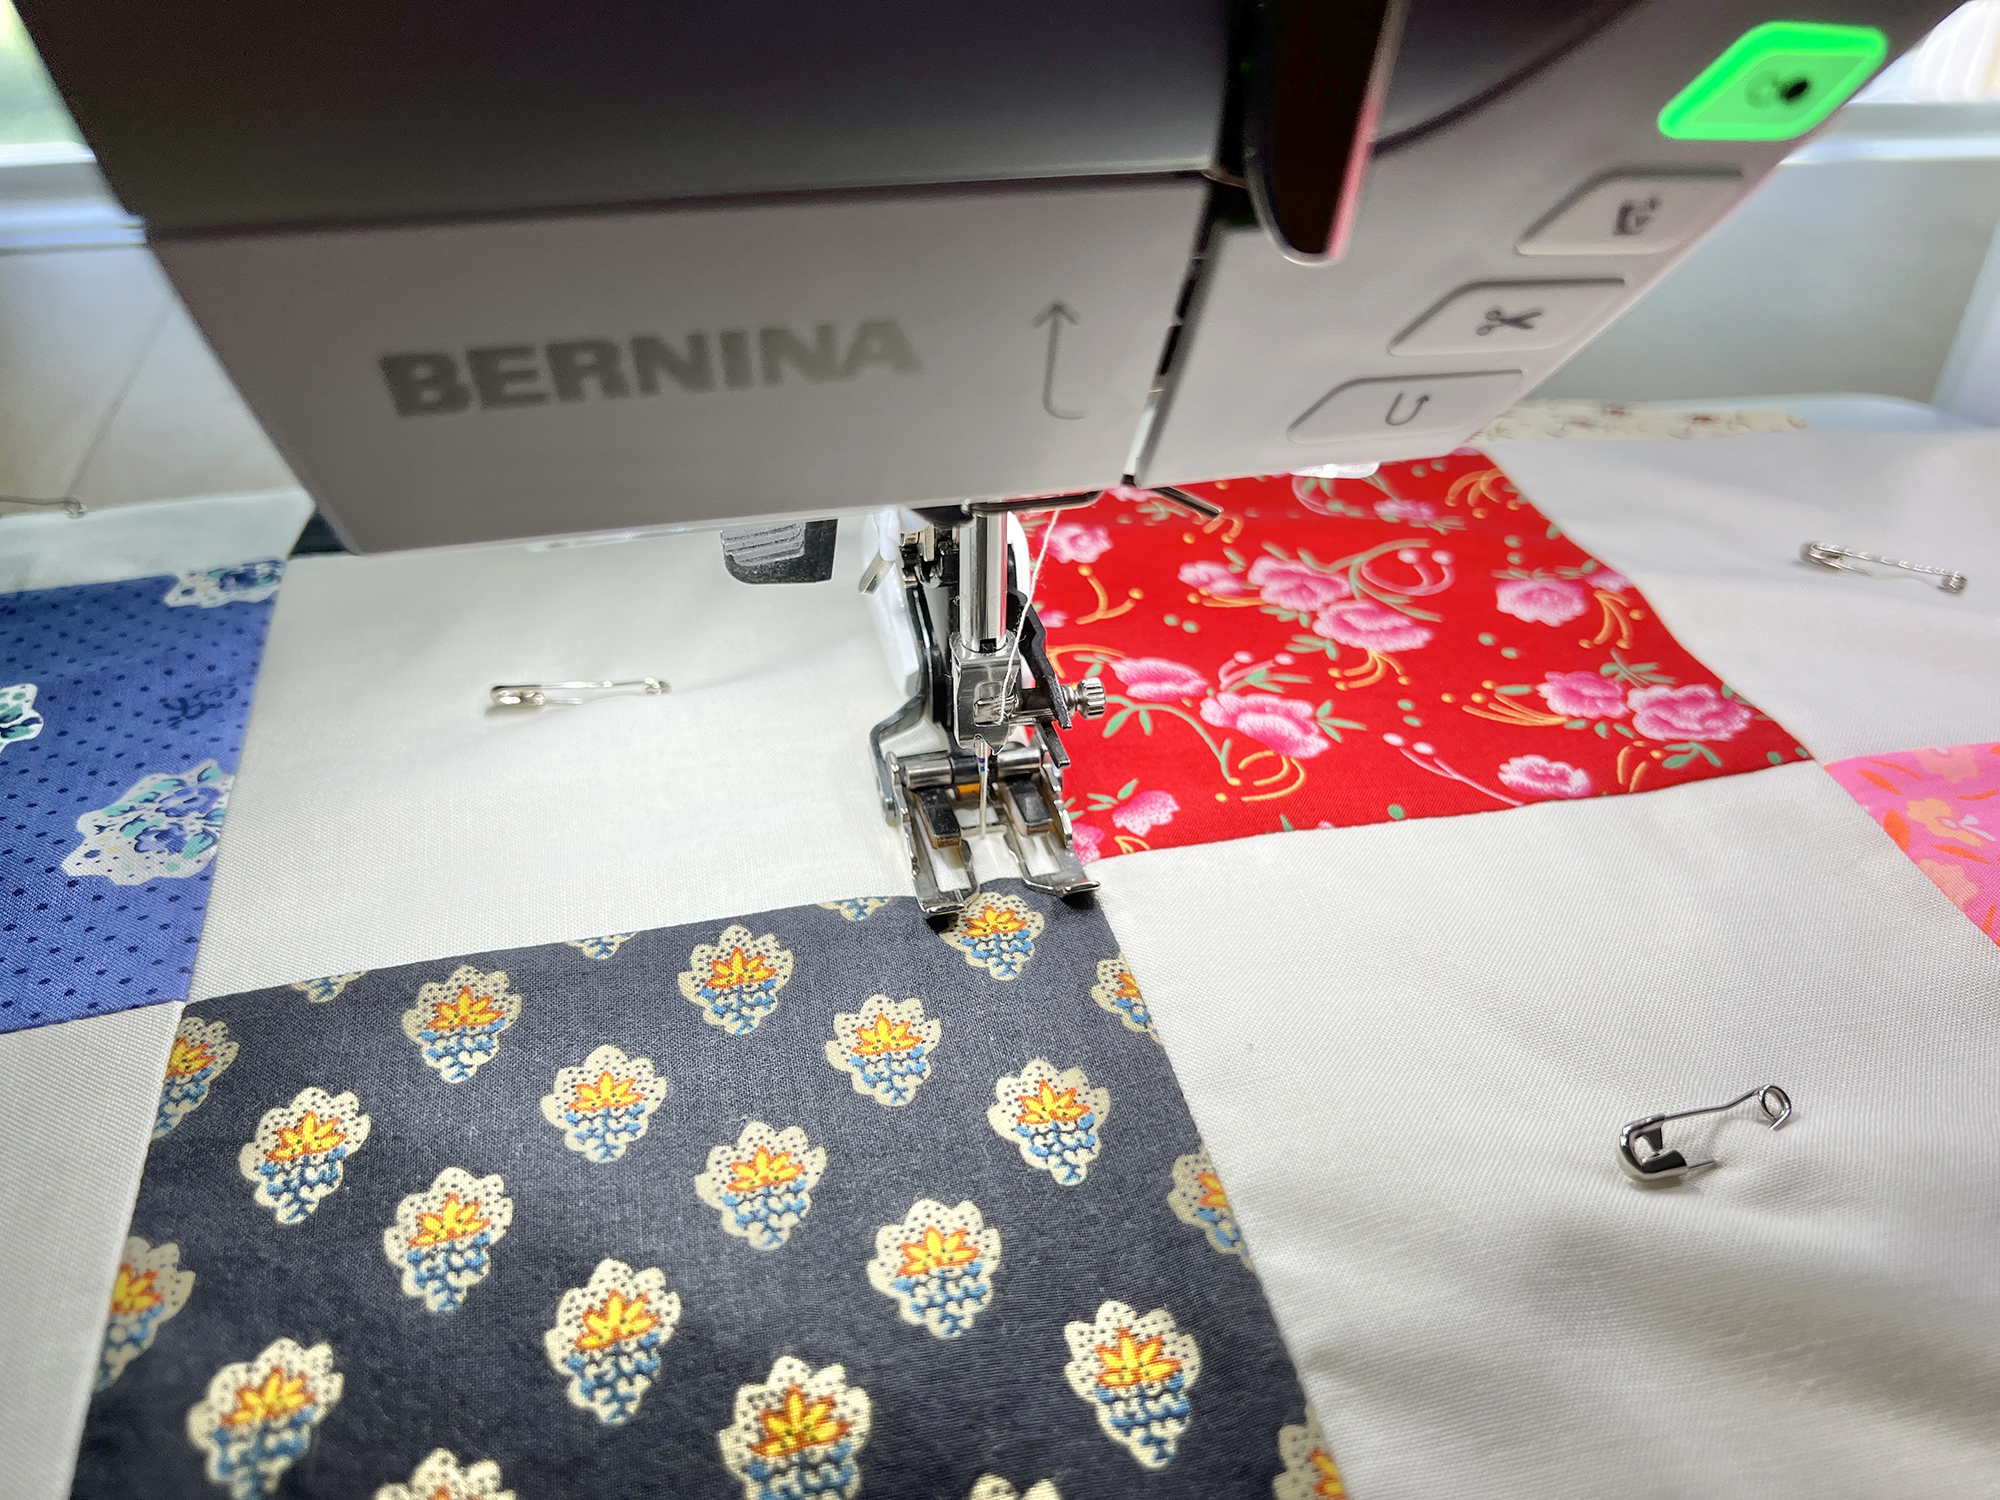
Time to Quilt!
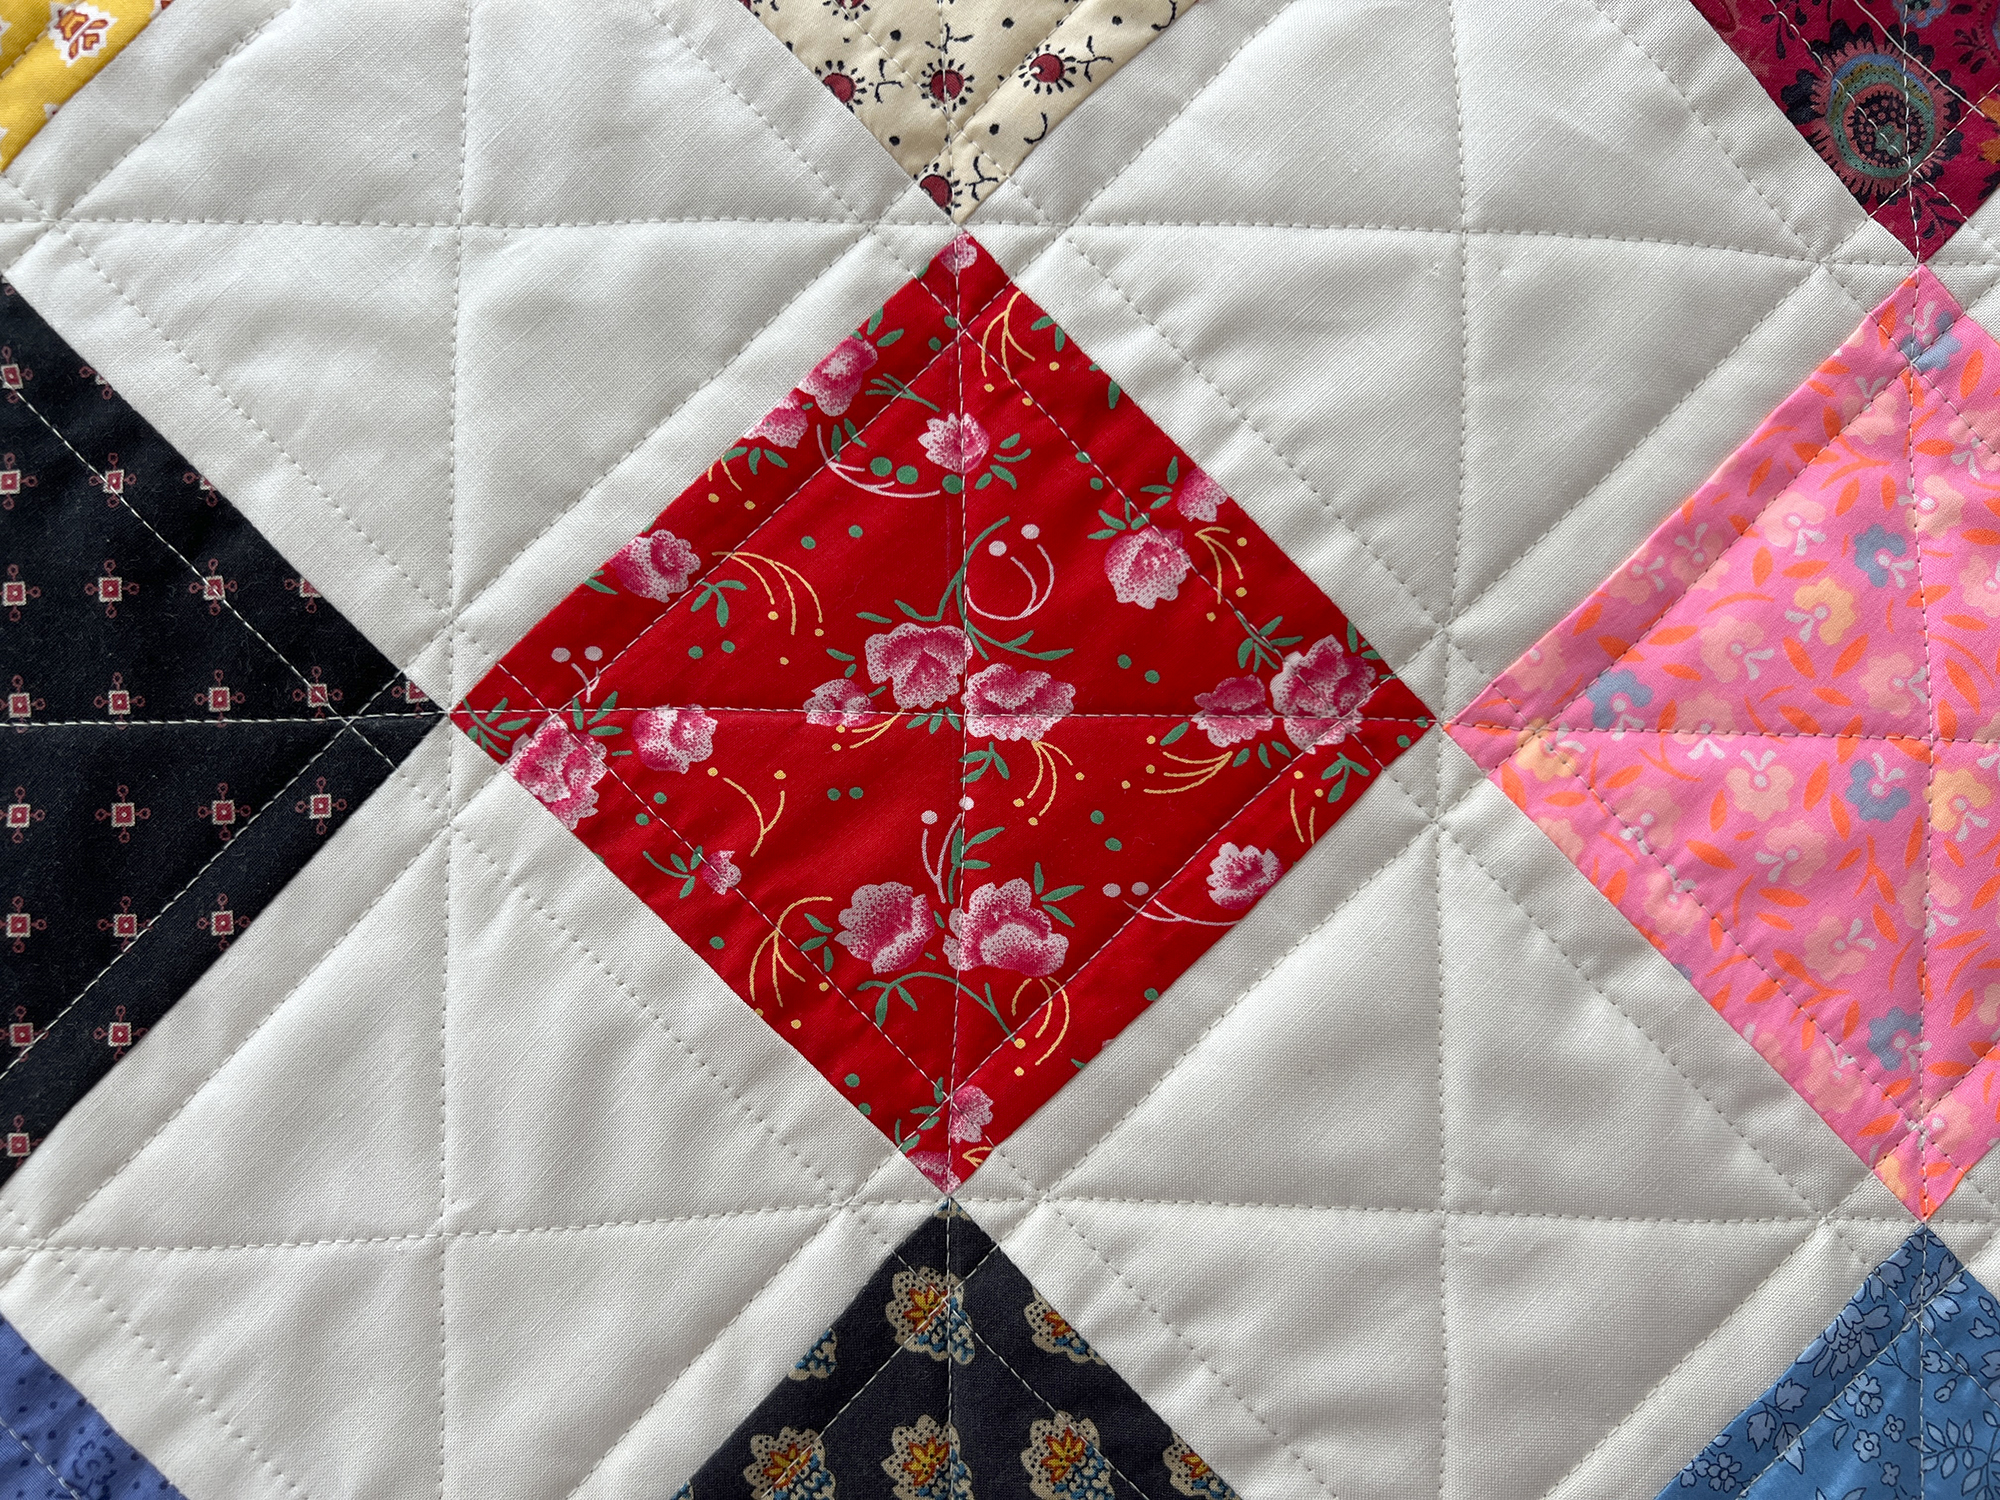
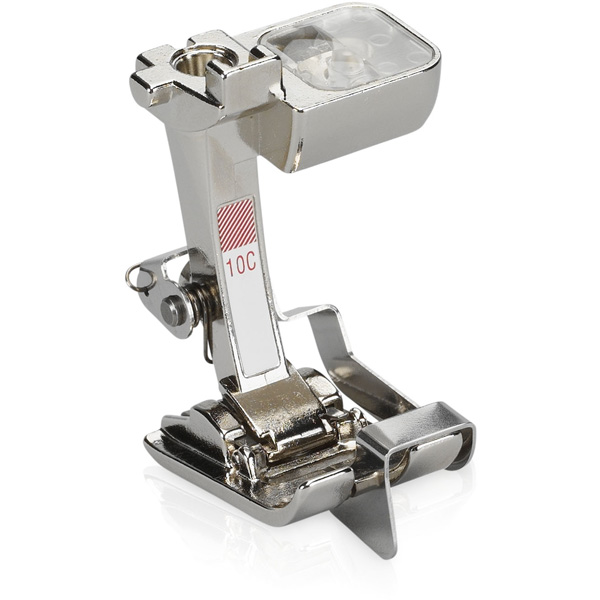
Using Walking Foot #50, stitch parallel rows of stitching. Using the edge of the foot along the seam in the patchwork ensures straight, evenly spaced lines of quilting. As you work, I recommend using the Free Hand System (FHS) to keep both hands available to hold and turn your work. If you don’t usually use the FHS, this is a great project to try it out!
I am using a simple quilting design with straight lines, but feel free to get creative and quilt in any design your heart desires! This is a great way to customize.
For the vertical and horizontal lines of stitching that I added, I marked the fabric using a ruler and white chalk as needed for a temporary sewing guide.
Trim Pattern Pieces & Mark Notches
Now that everything is quilted, let’s compare the pieces to our pattern tissue again, and do one final check that the fabric pieces are the correct size and patchwork placement is correct. Because we have 3 layers of fabric, things can shift around and get a little distorted, so a final trim will ensure accuracy during construction. You should only be trimming slivers of fabric and batting away.
I like to use a combination of the rotary cutter and mat (great for curves) and sharp scissors (I prefer these for long, straight seams). Use whatever cutting tools you feel most comfortable with.
Now is also the time to mark all notches – I will do so with chalk on the lining side of my pieces. You can use the marking tool of your choice, just make sure it is washable. Take extra care when marking the sleeve that you have the correct left/right sleeve and corresponding notch placement.
Constructing Patch Pockets
- Start with your pocket patchwork, batting, and lining pieces already cut out.
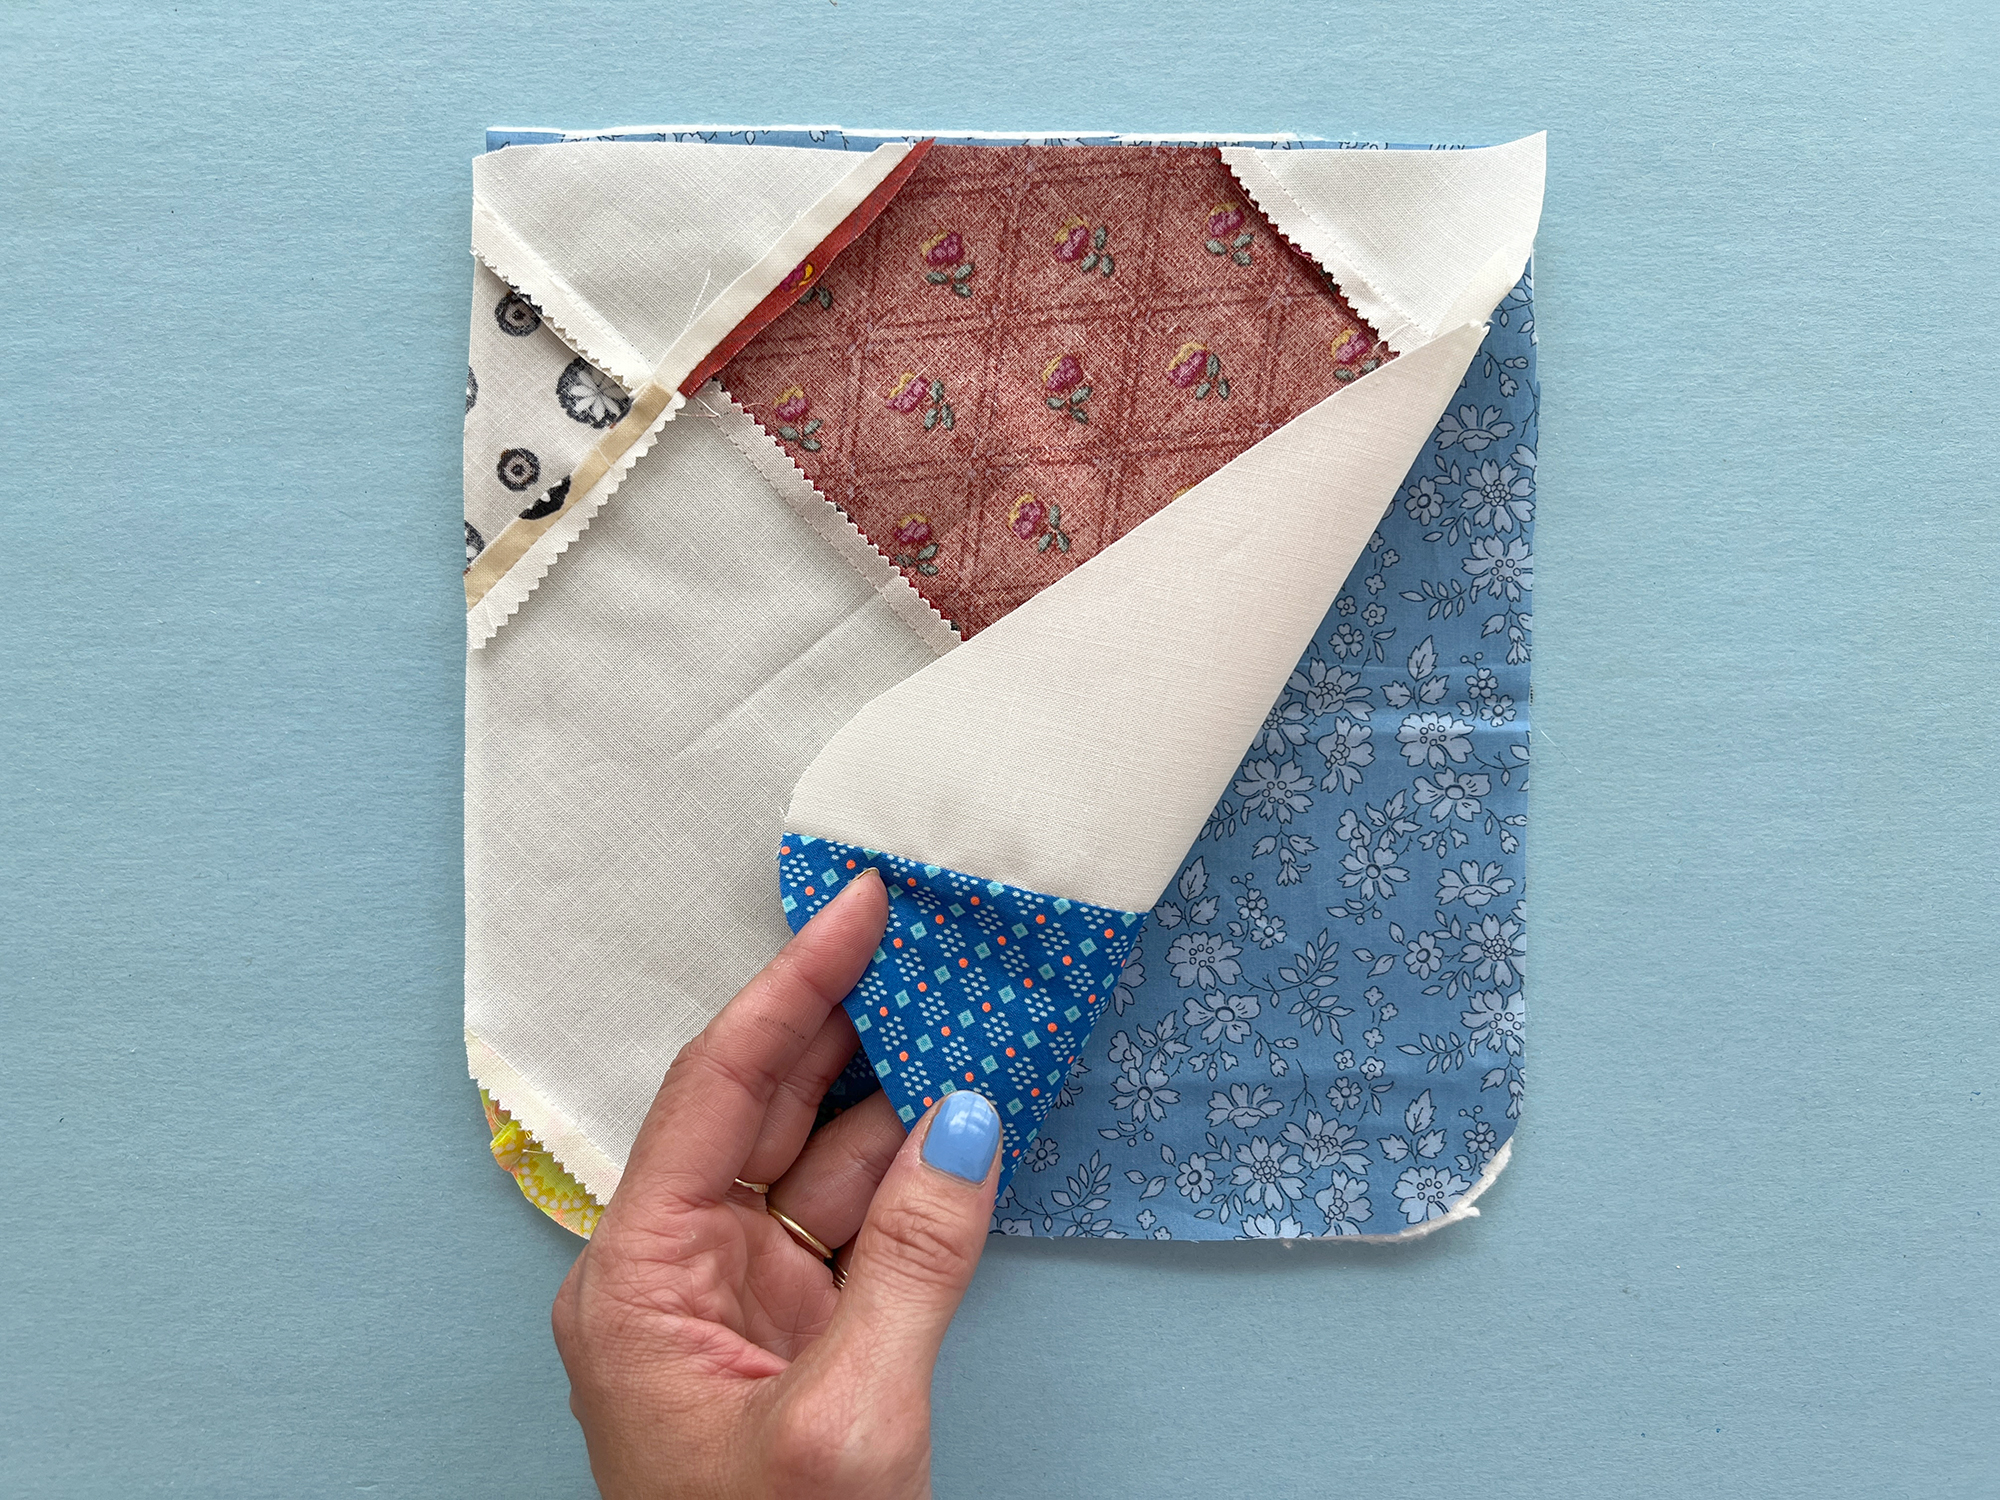
- Layer your materials as follows: batting, lining right side up, patchwork right side down.
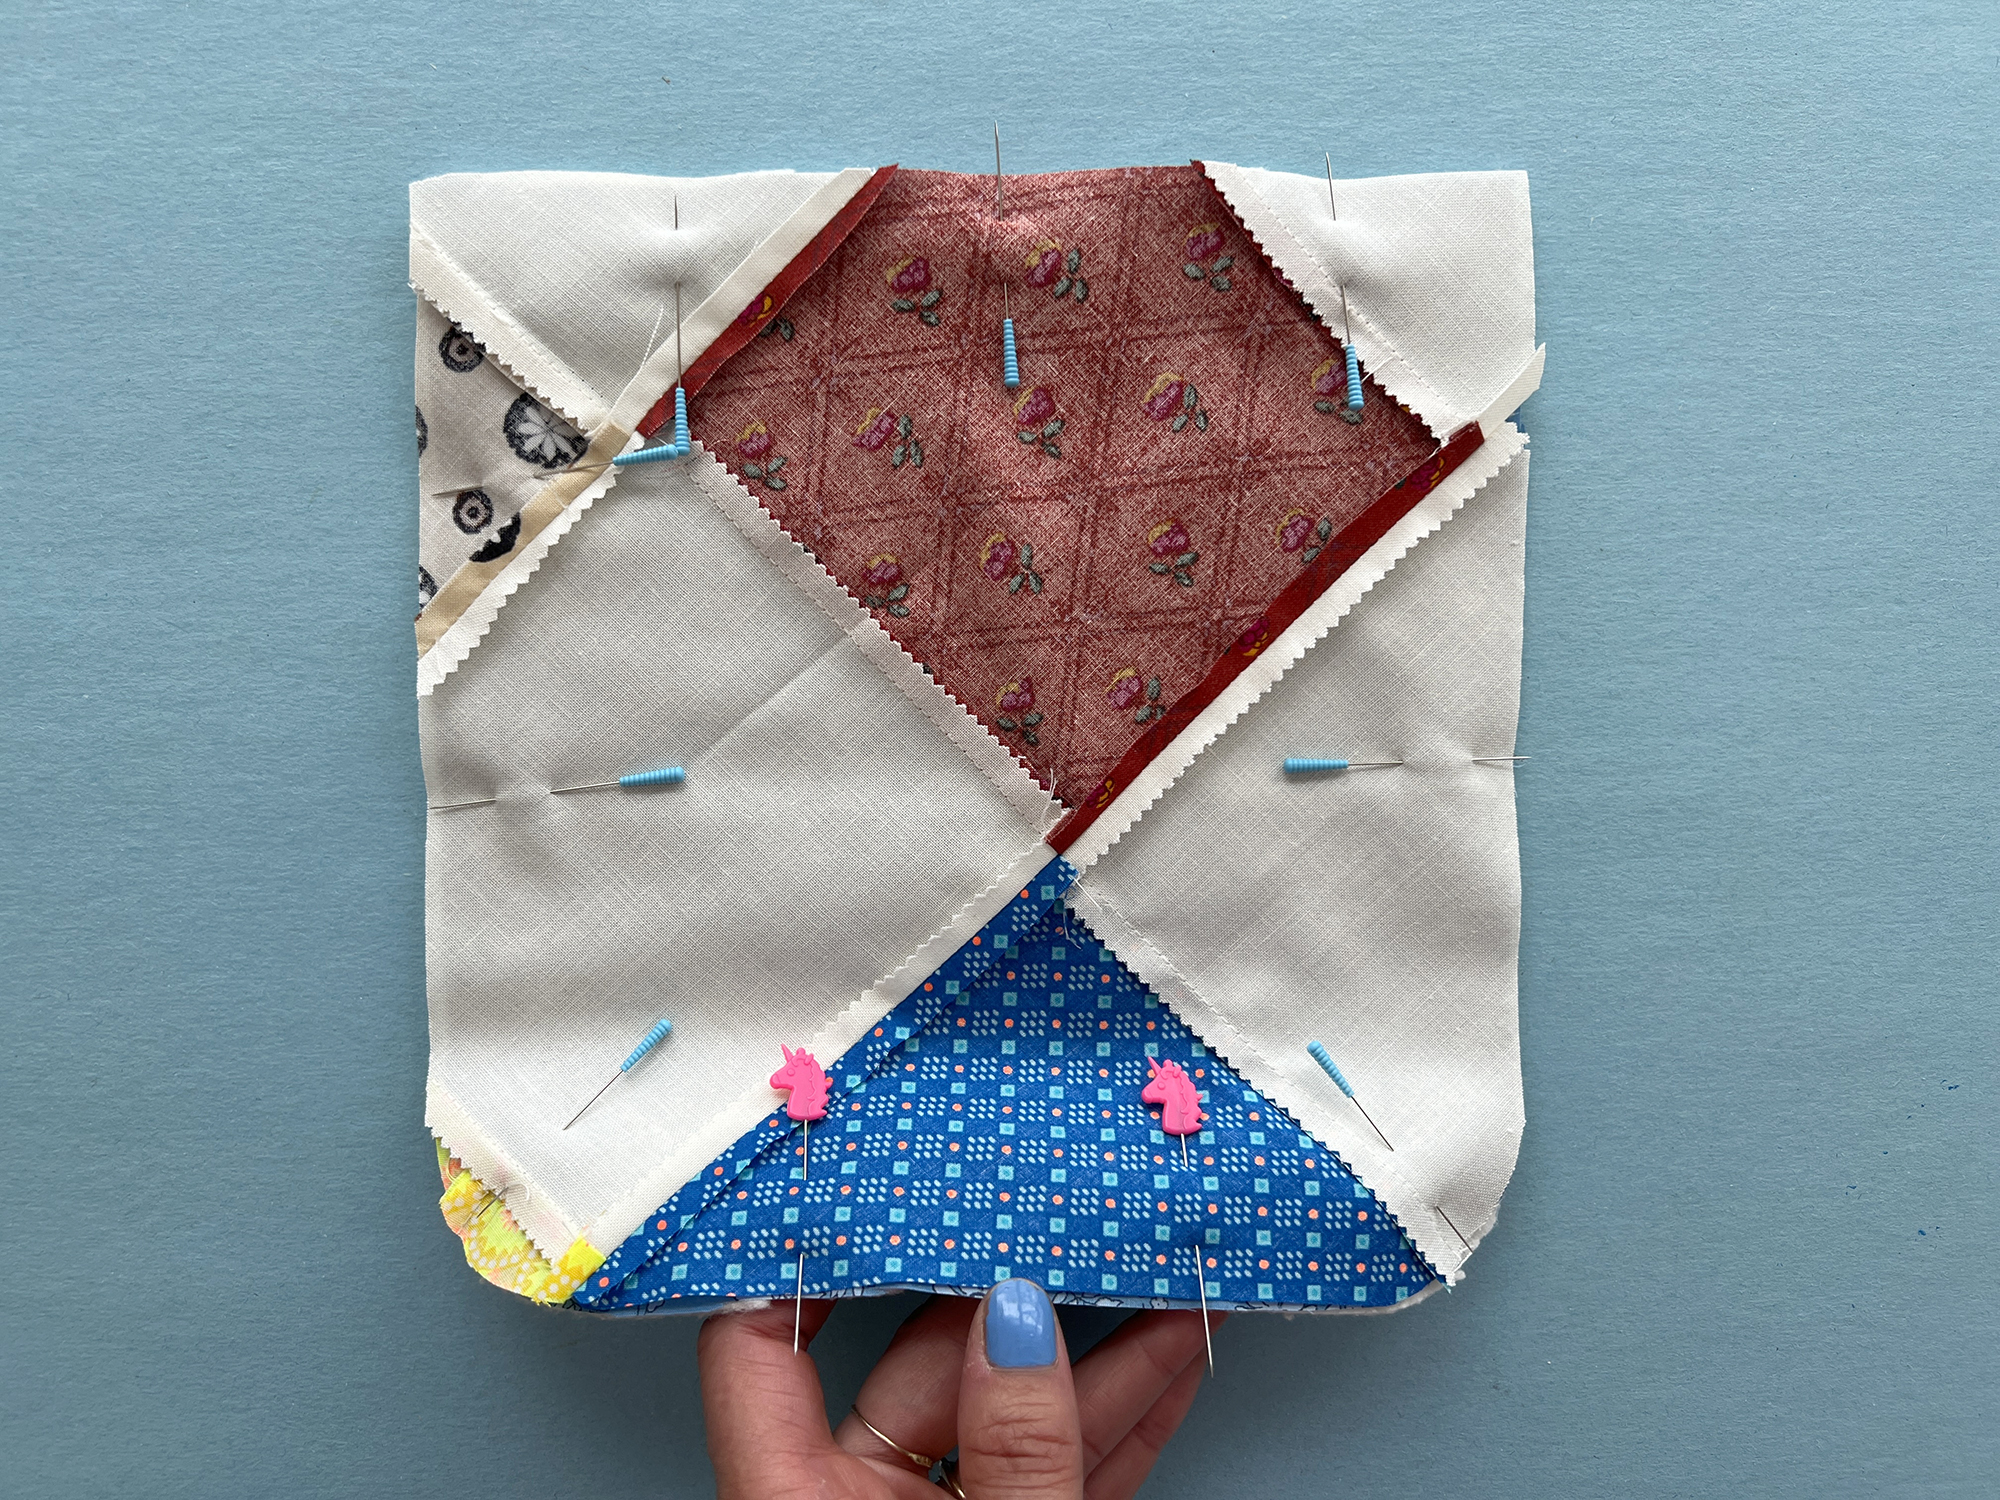
- Pin layers together. I use the pink unicorn pins to remind myself not to sew the area between them!
- Sew around the edge of the pocket, leaving a 2.5″ opening at the bottom for turning it right side out.
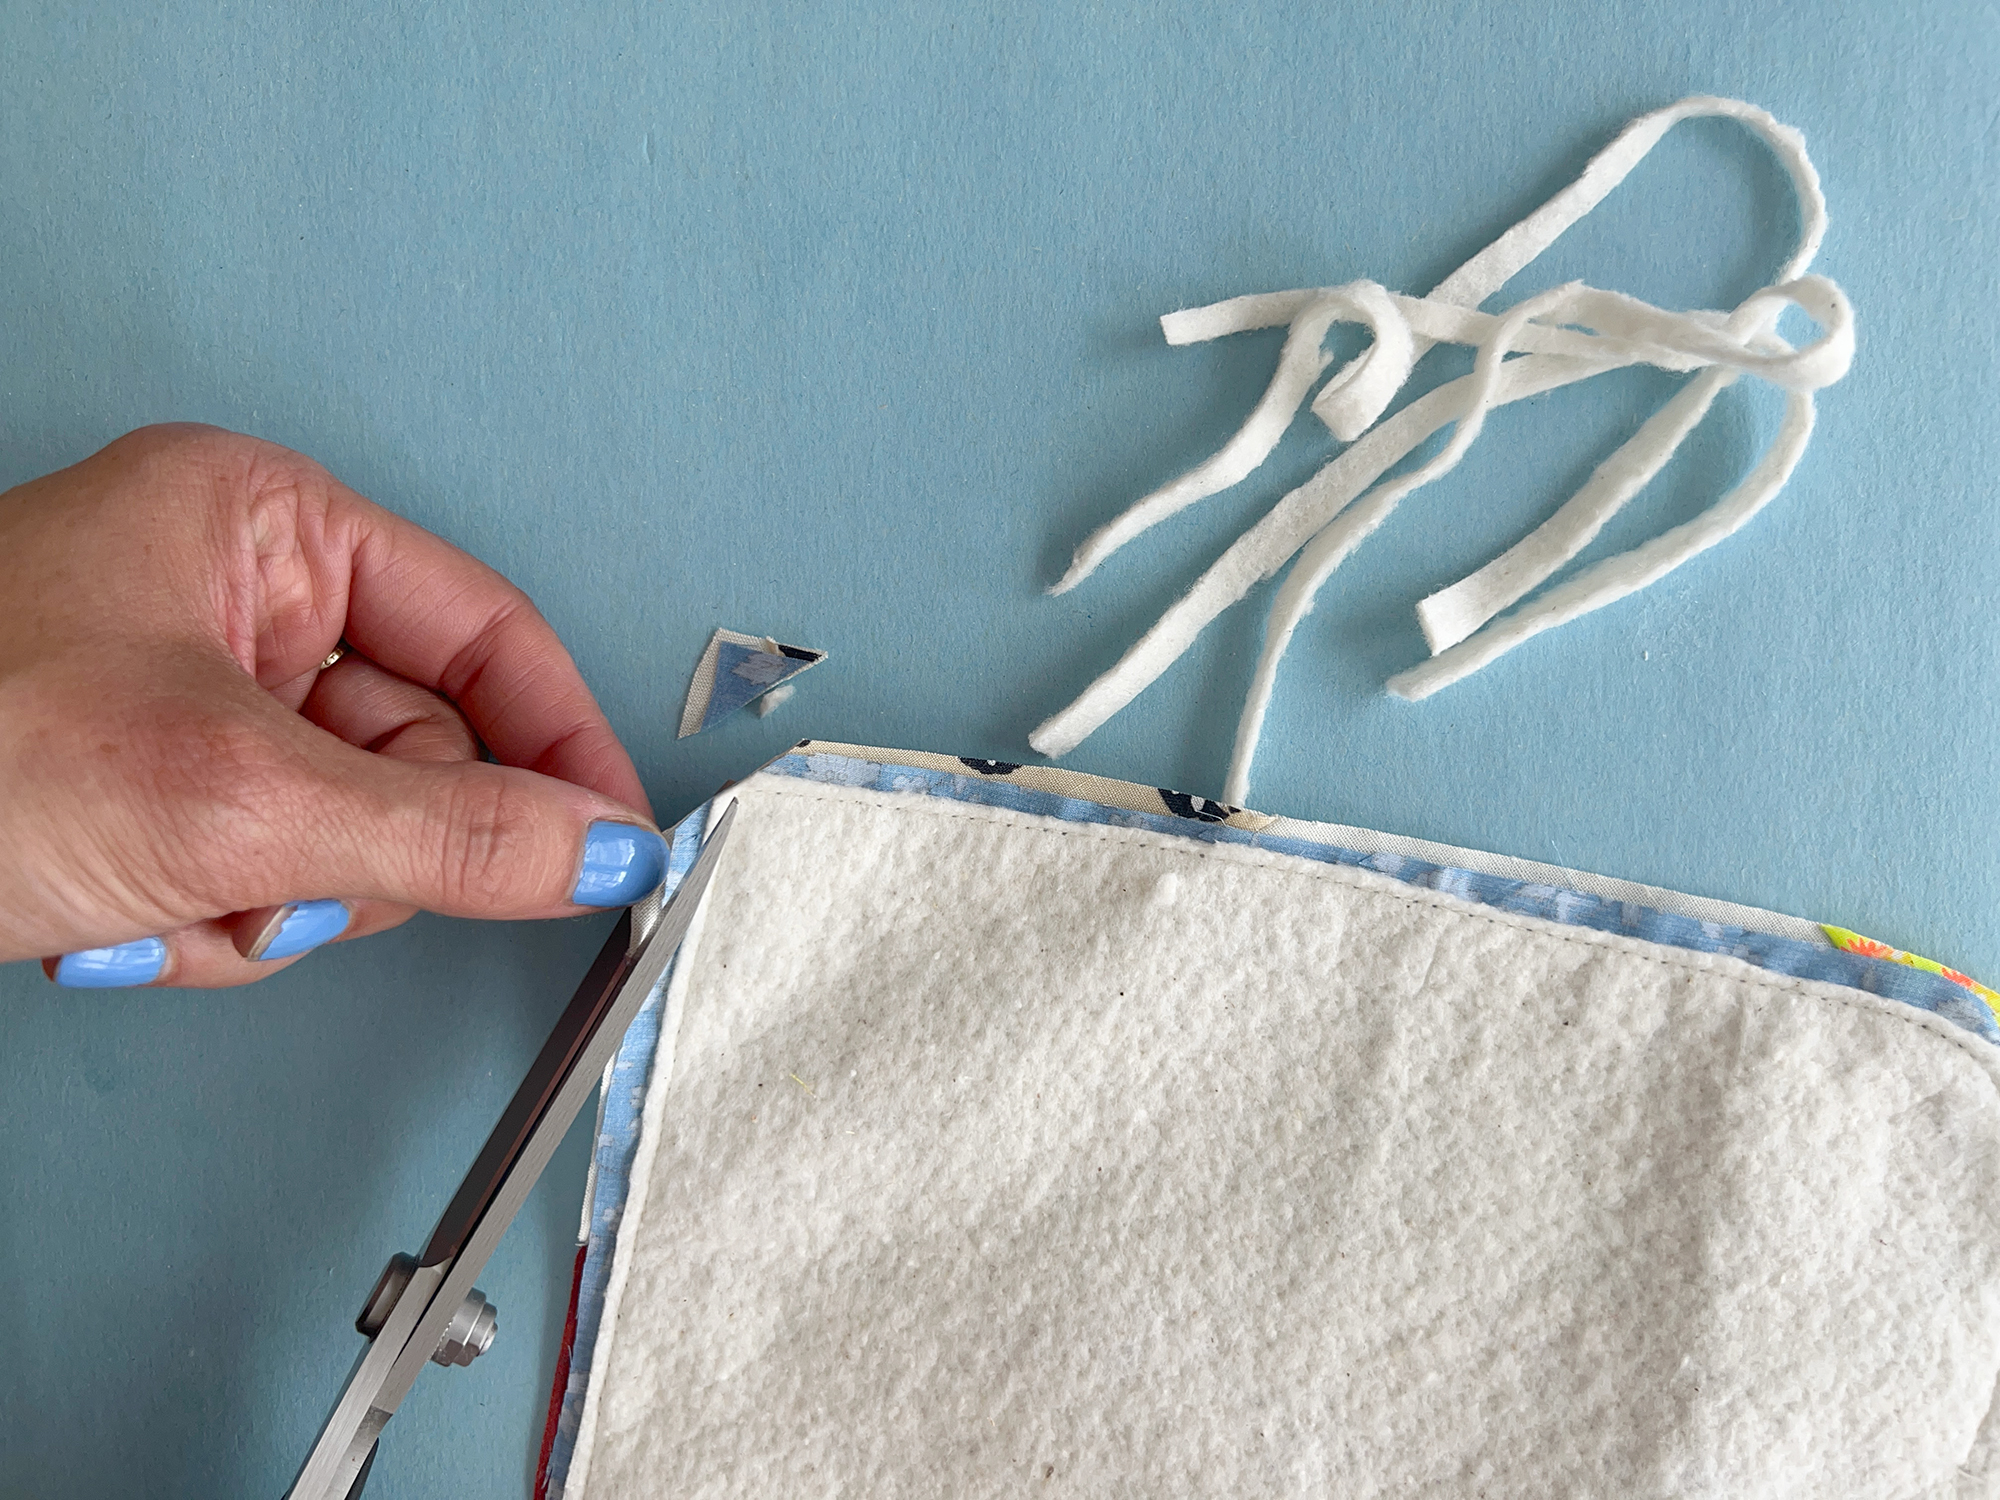
- Trim seam allowances out of all corners, and trim batting back to 1/8″ on all sides except near the opening.
- Turn pocket right side out and press.
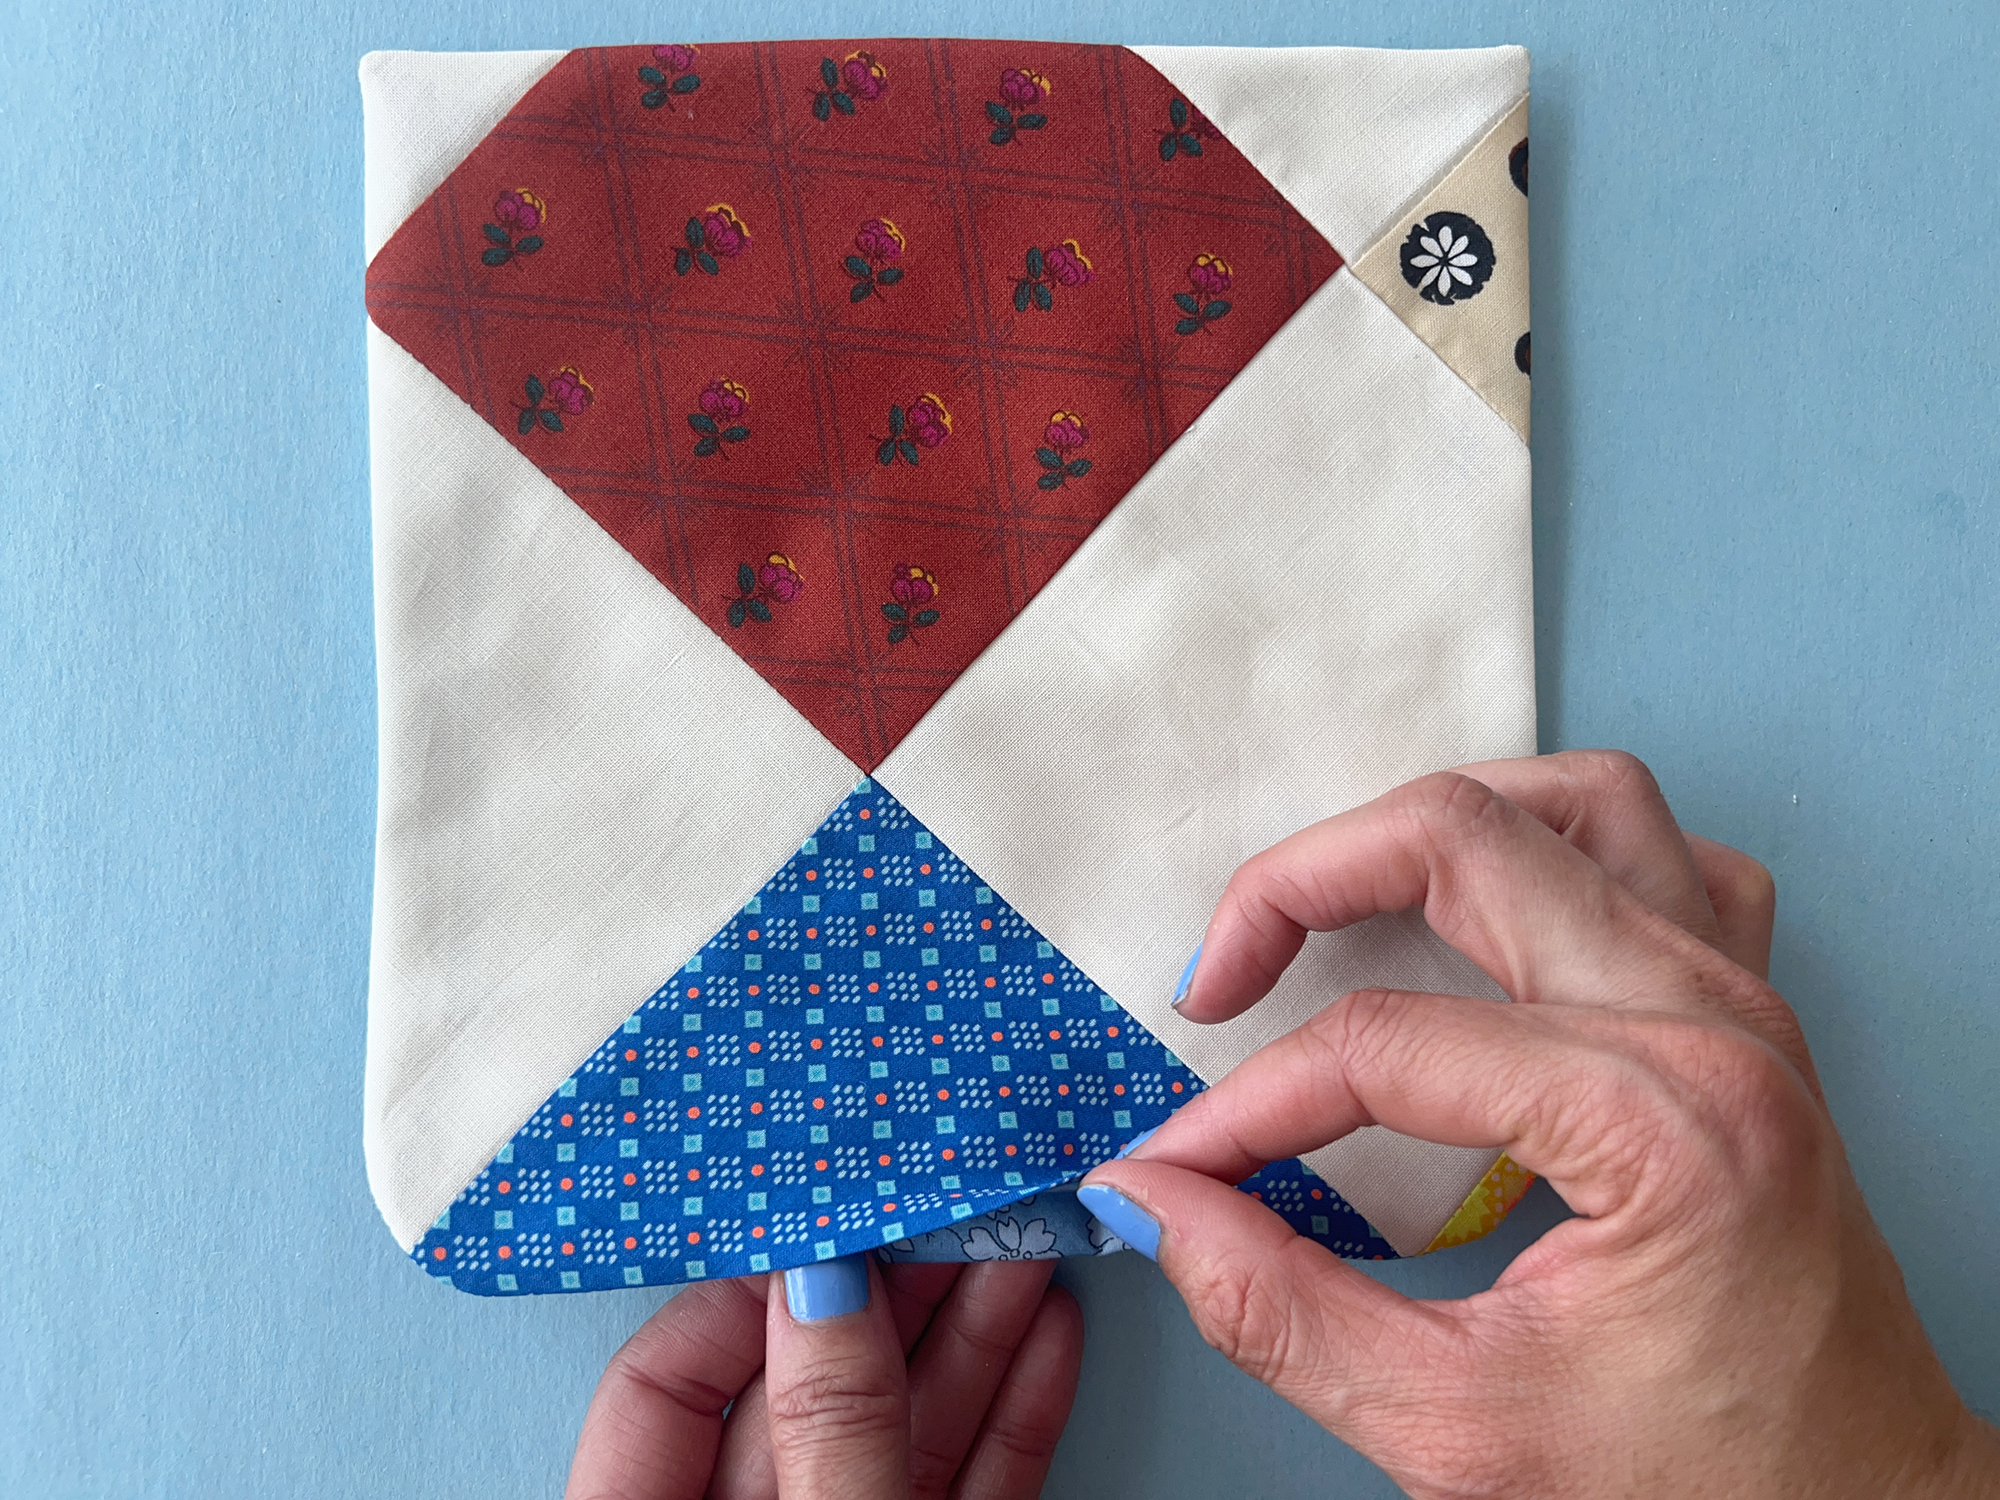
- Slip stitch bottom edge of pocket closed by hand.
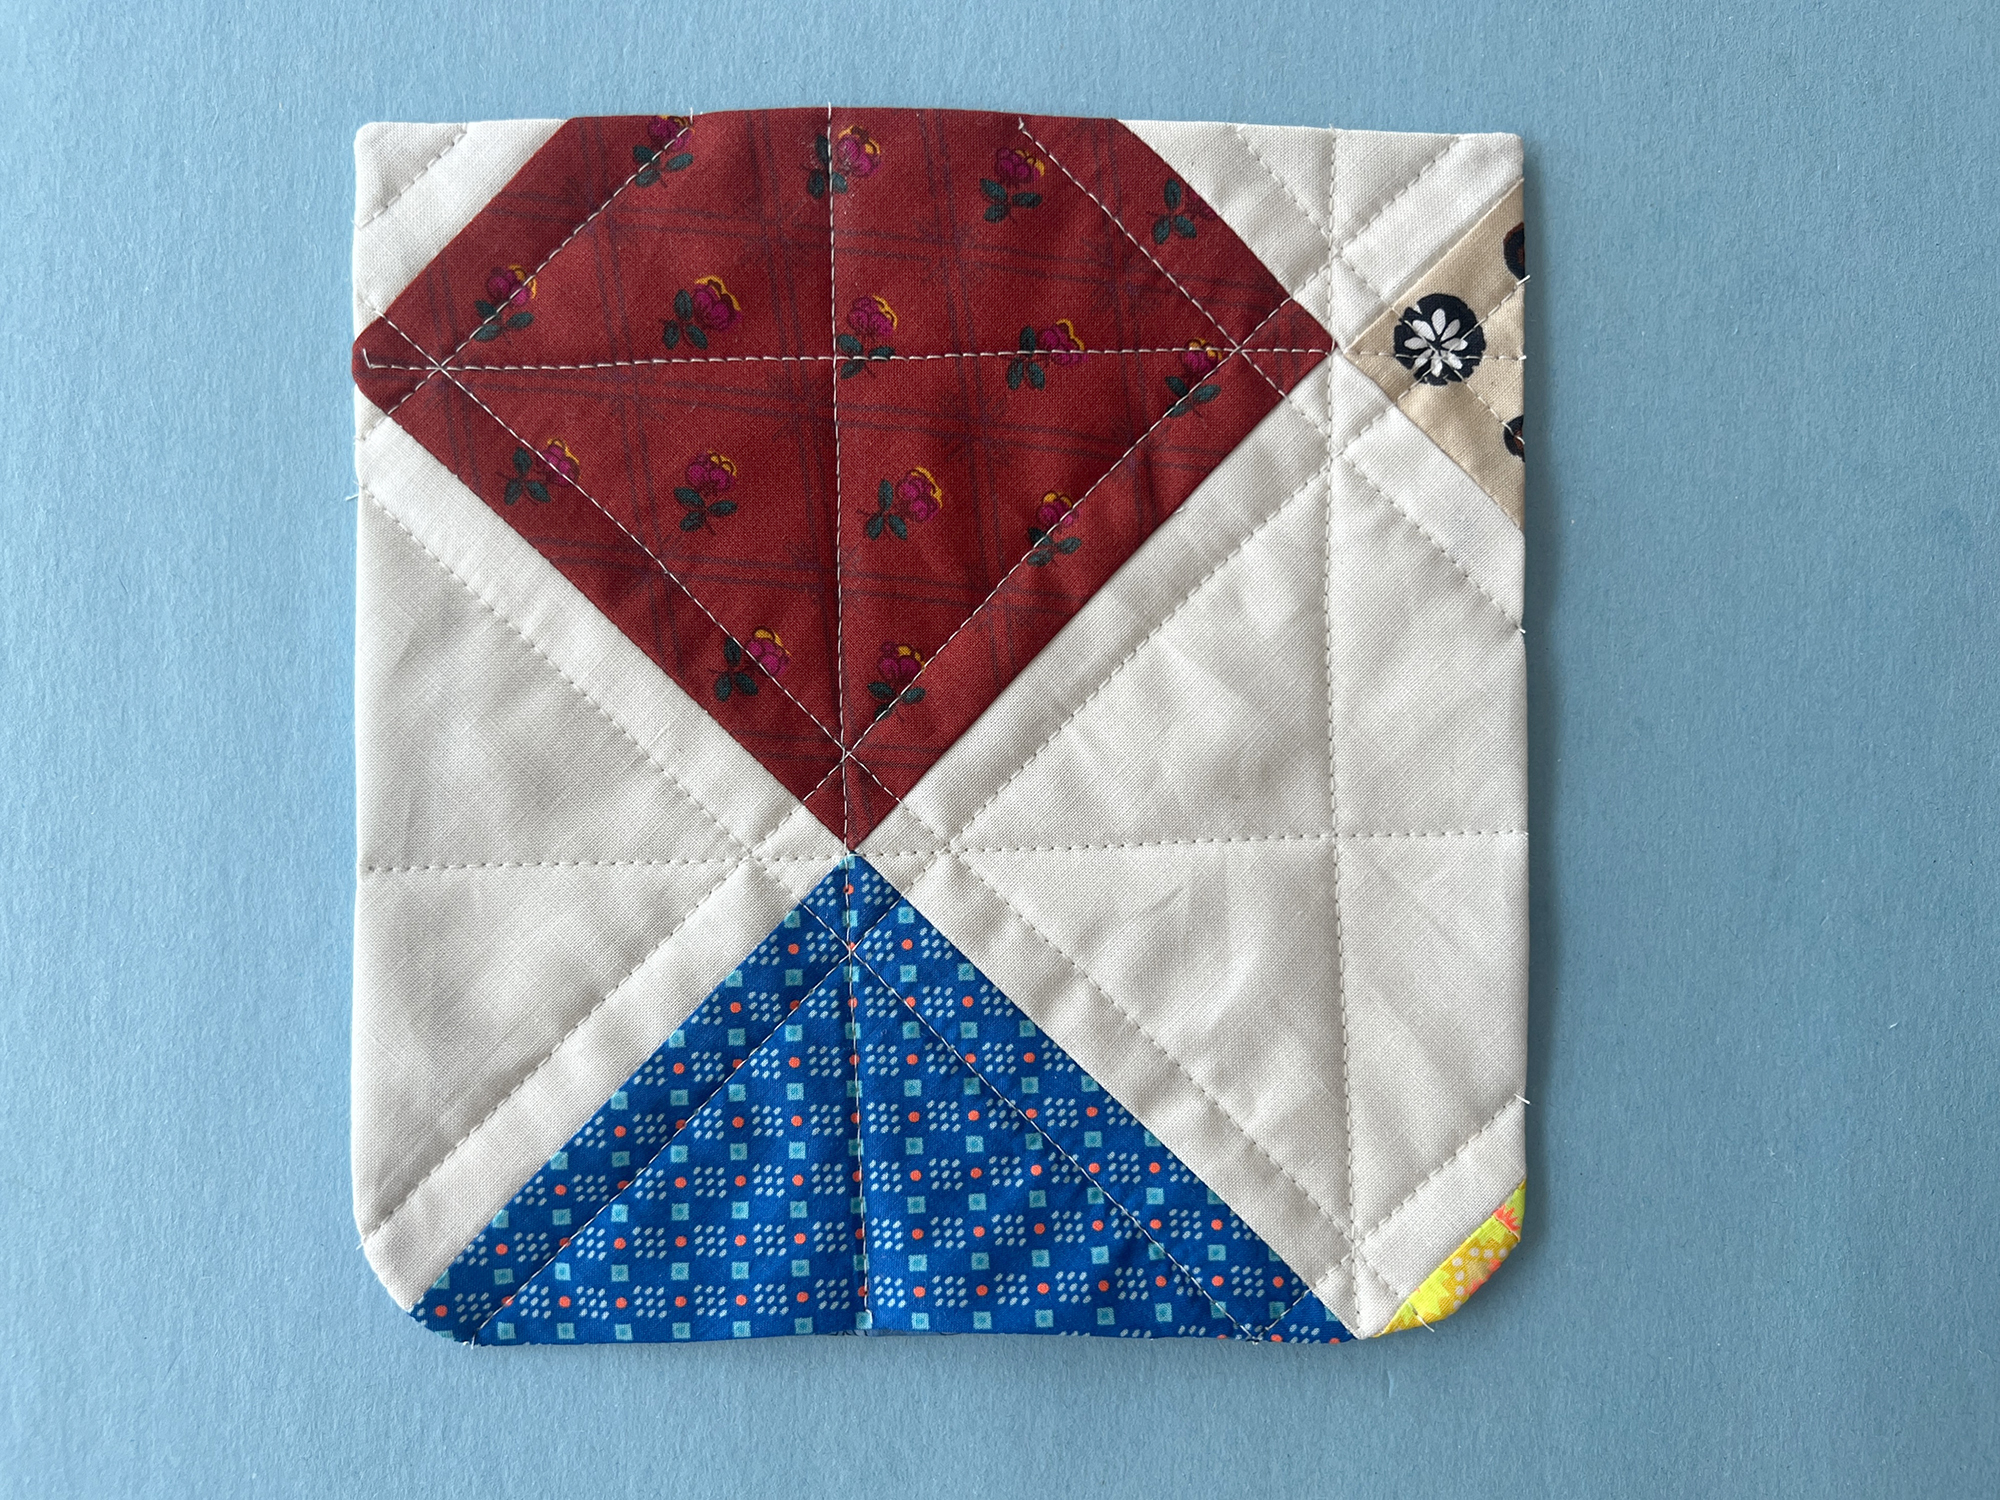
- Quilt the pocket following the same design as the body of the jacket.
Attach Pockets to Jacket
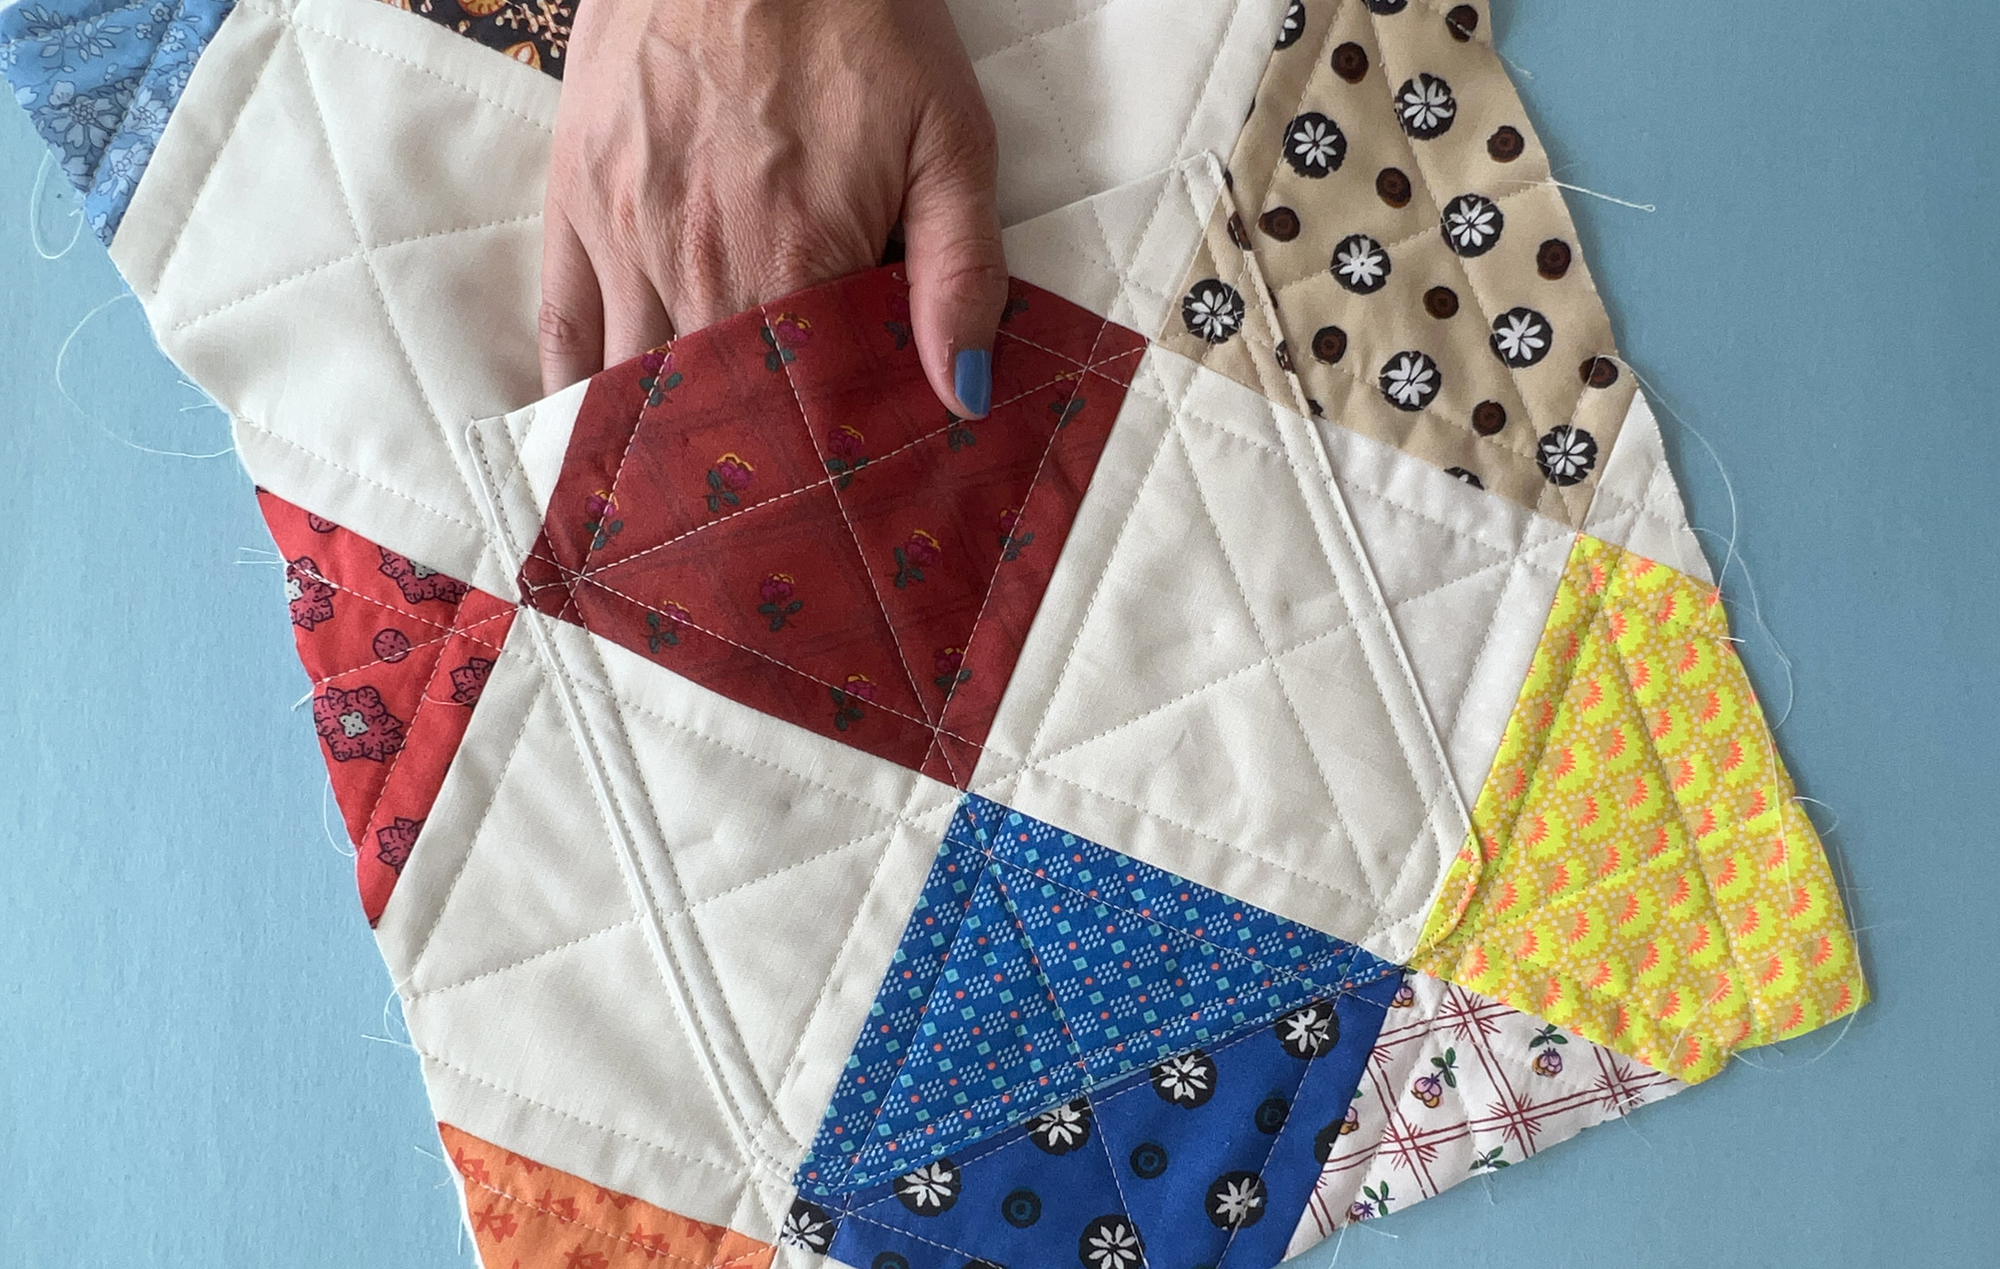
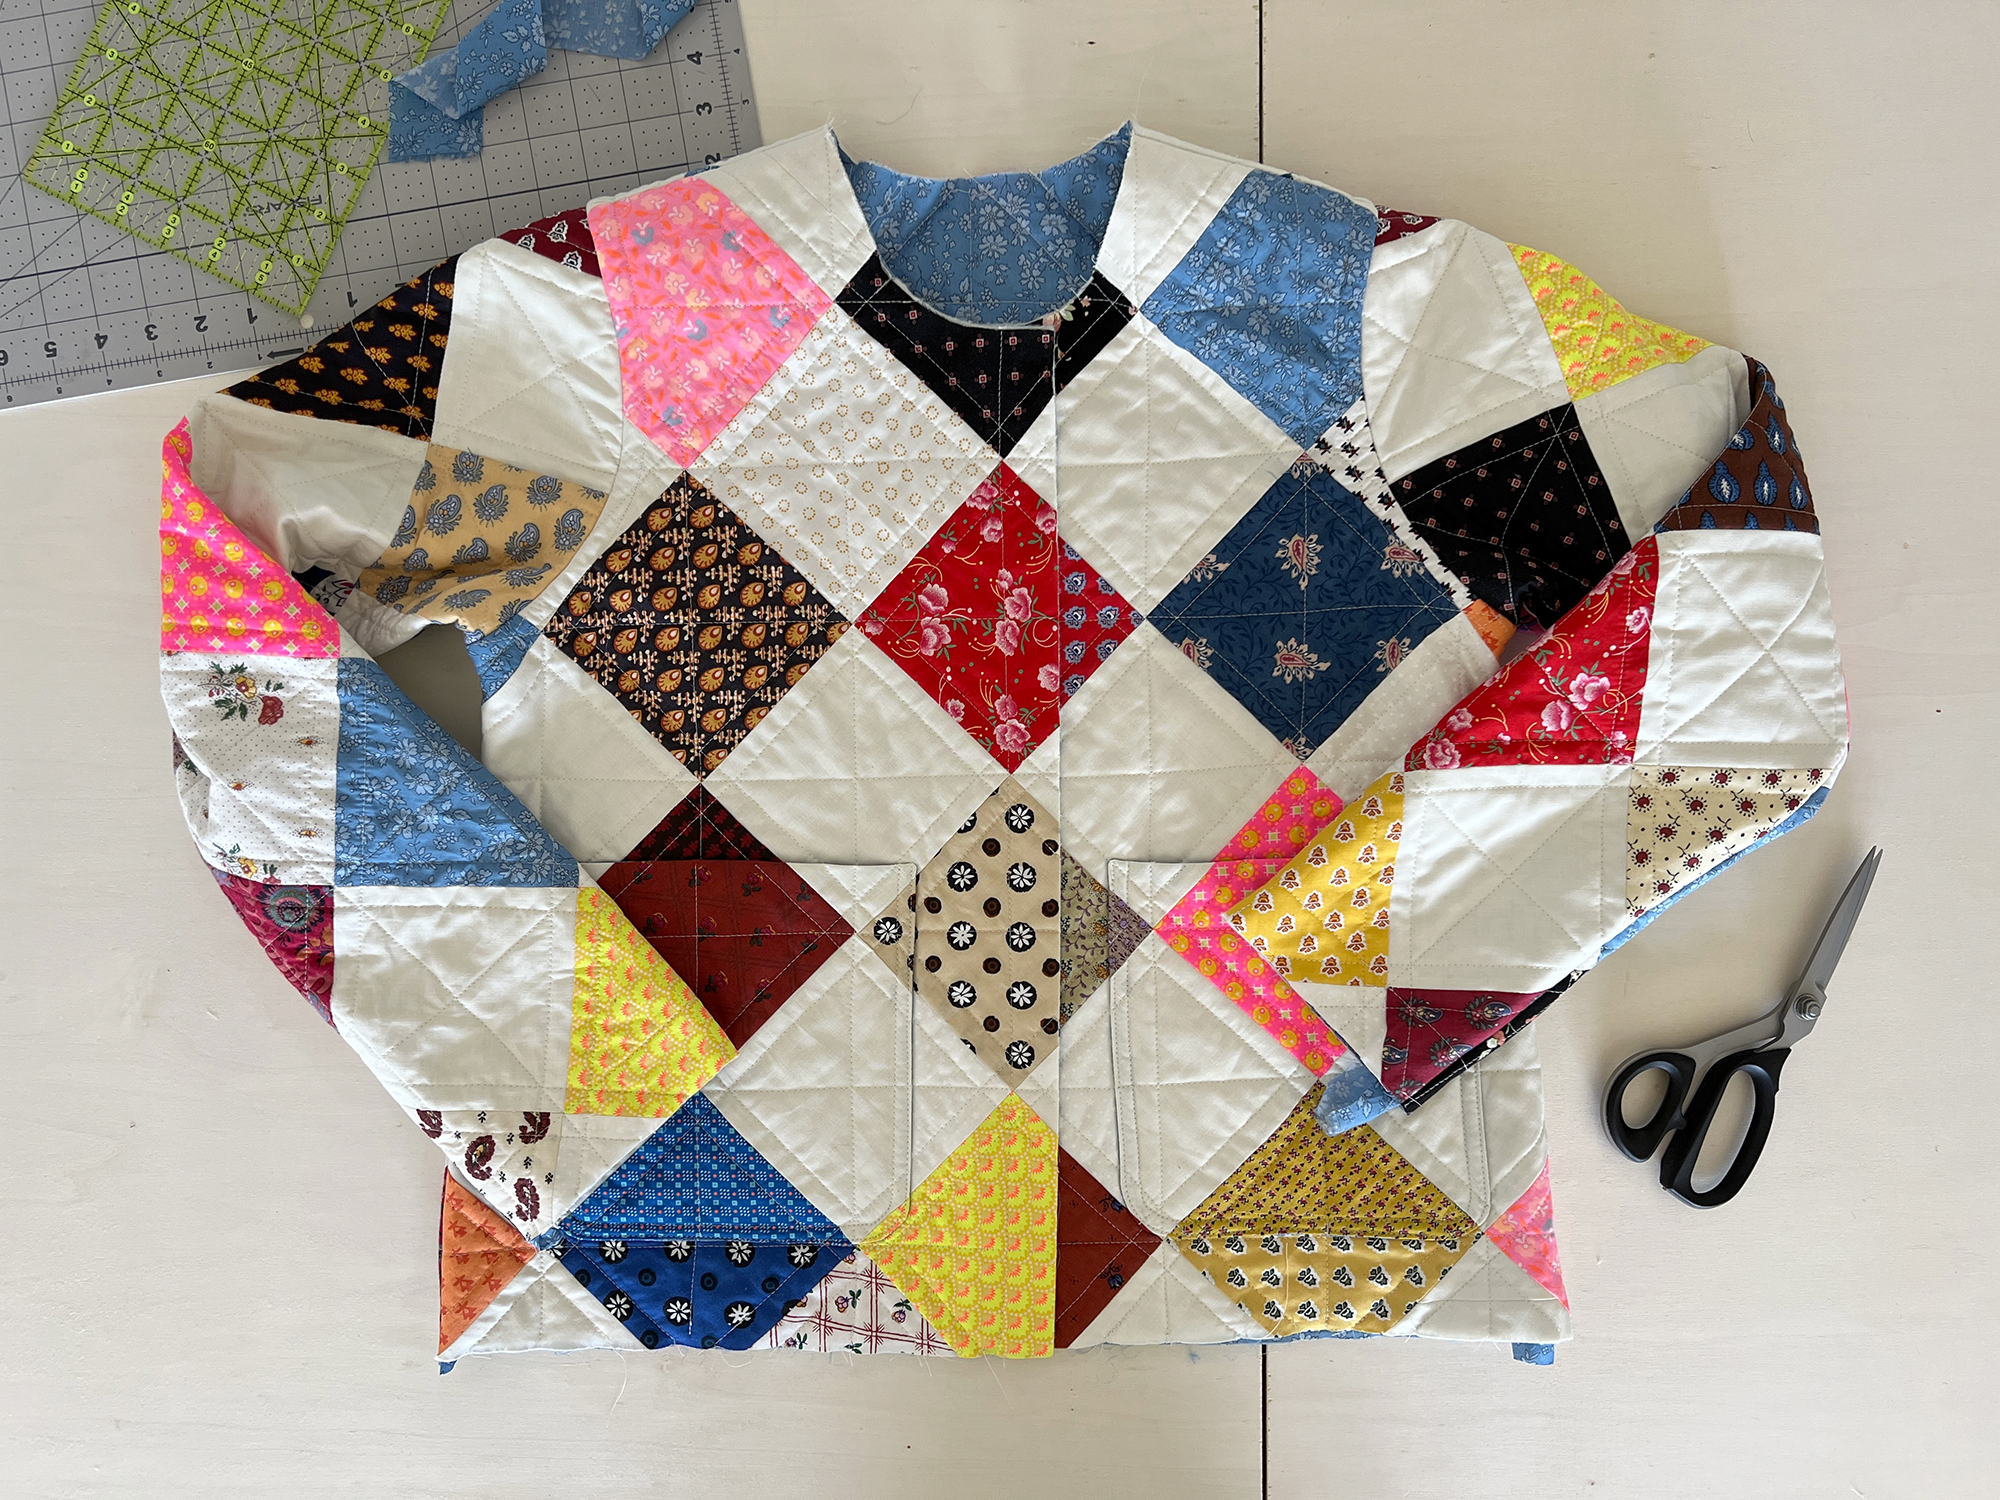
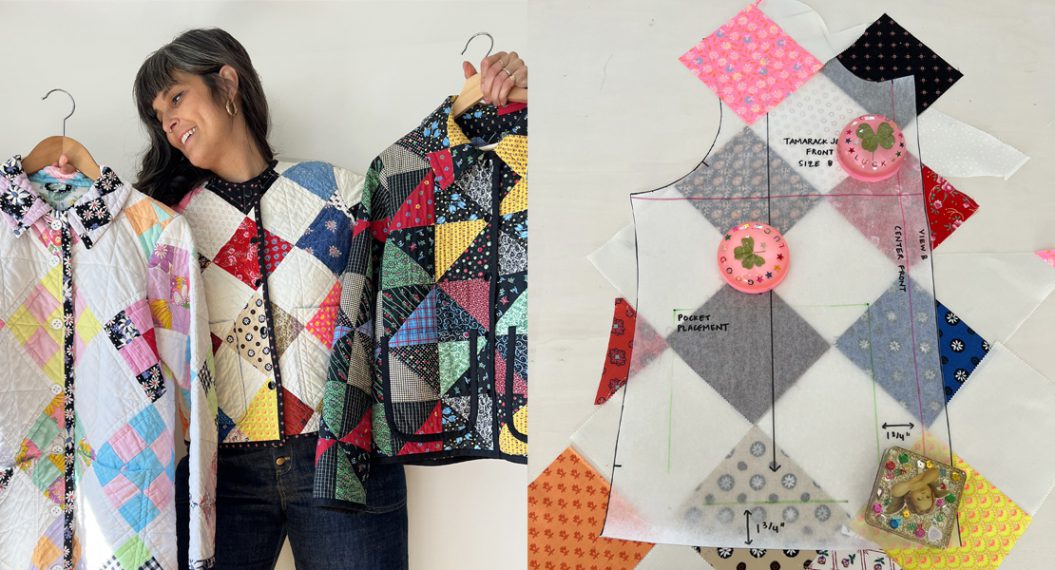
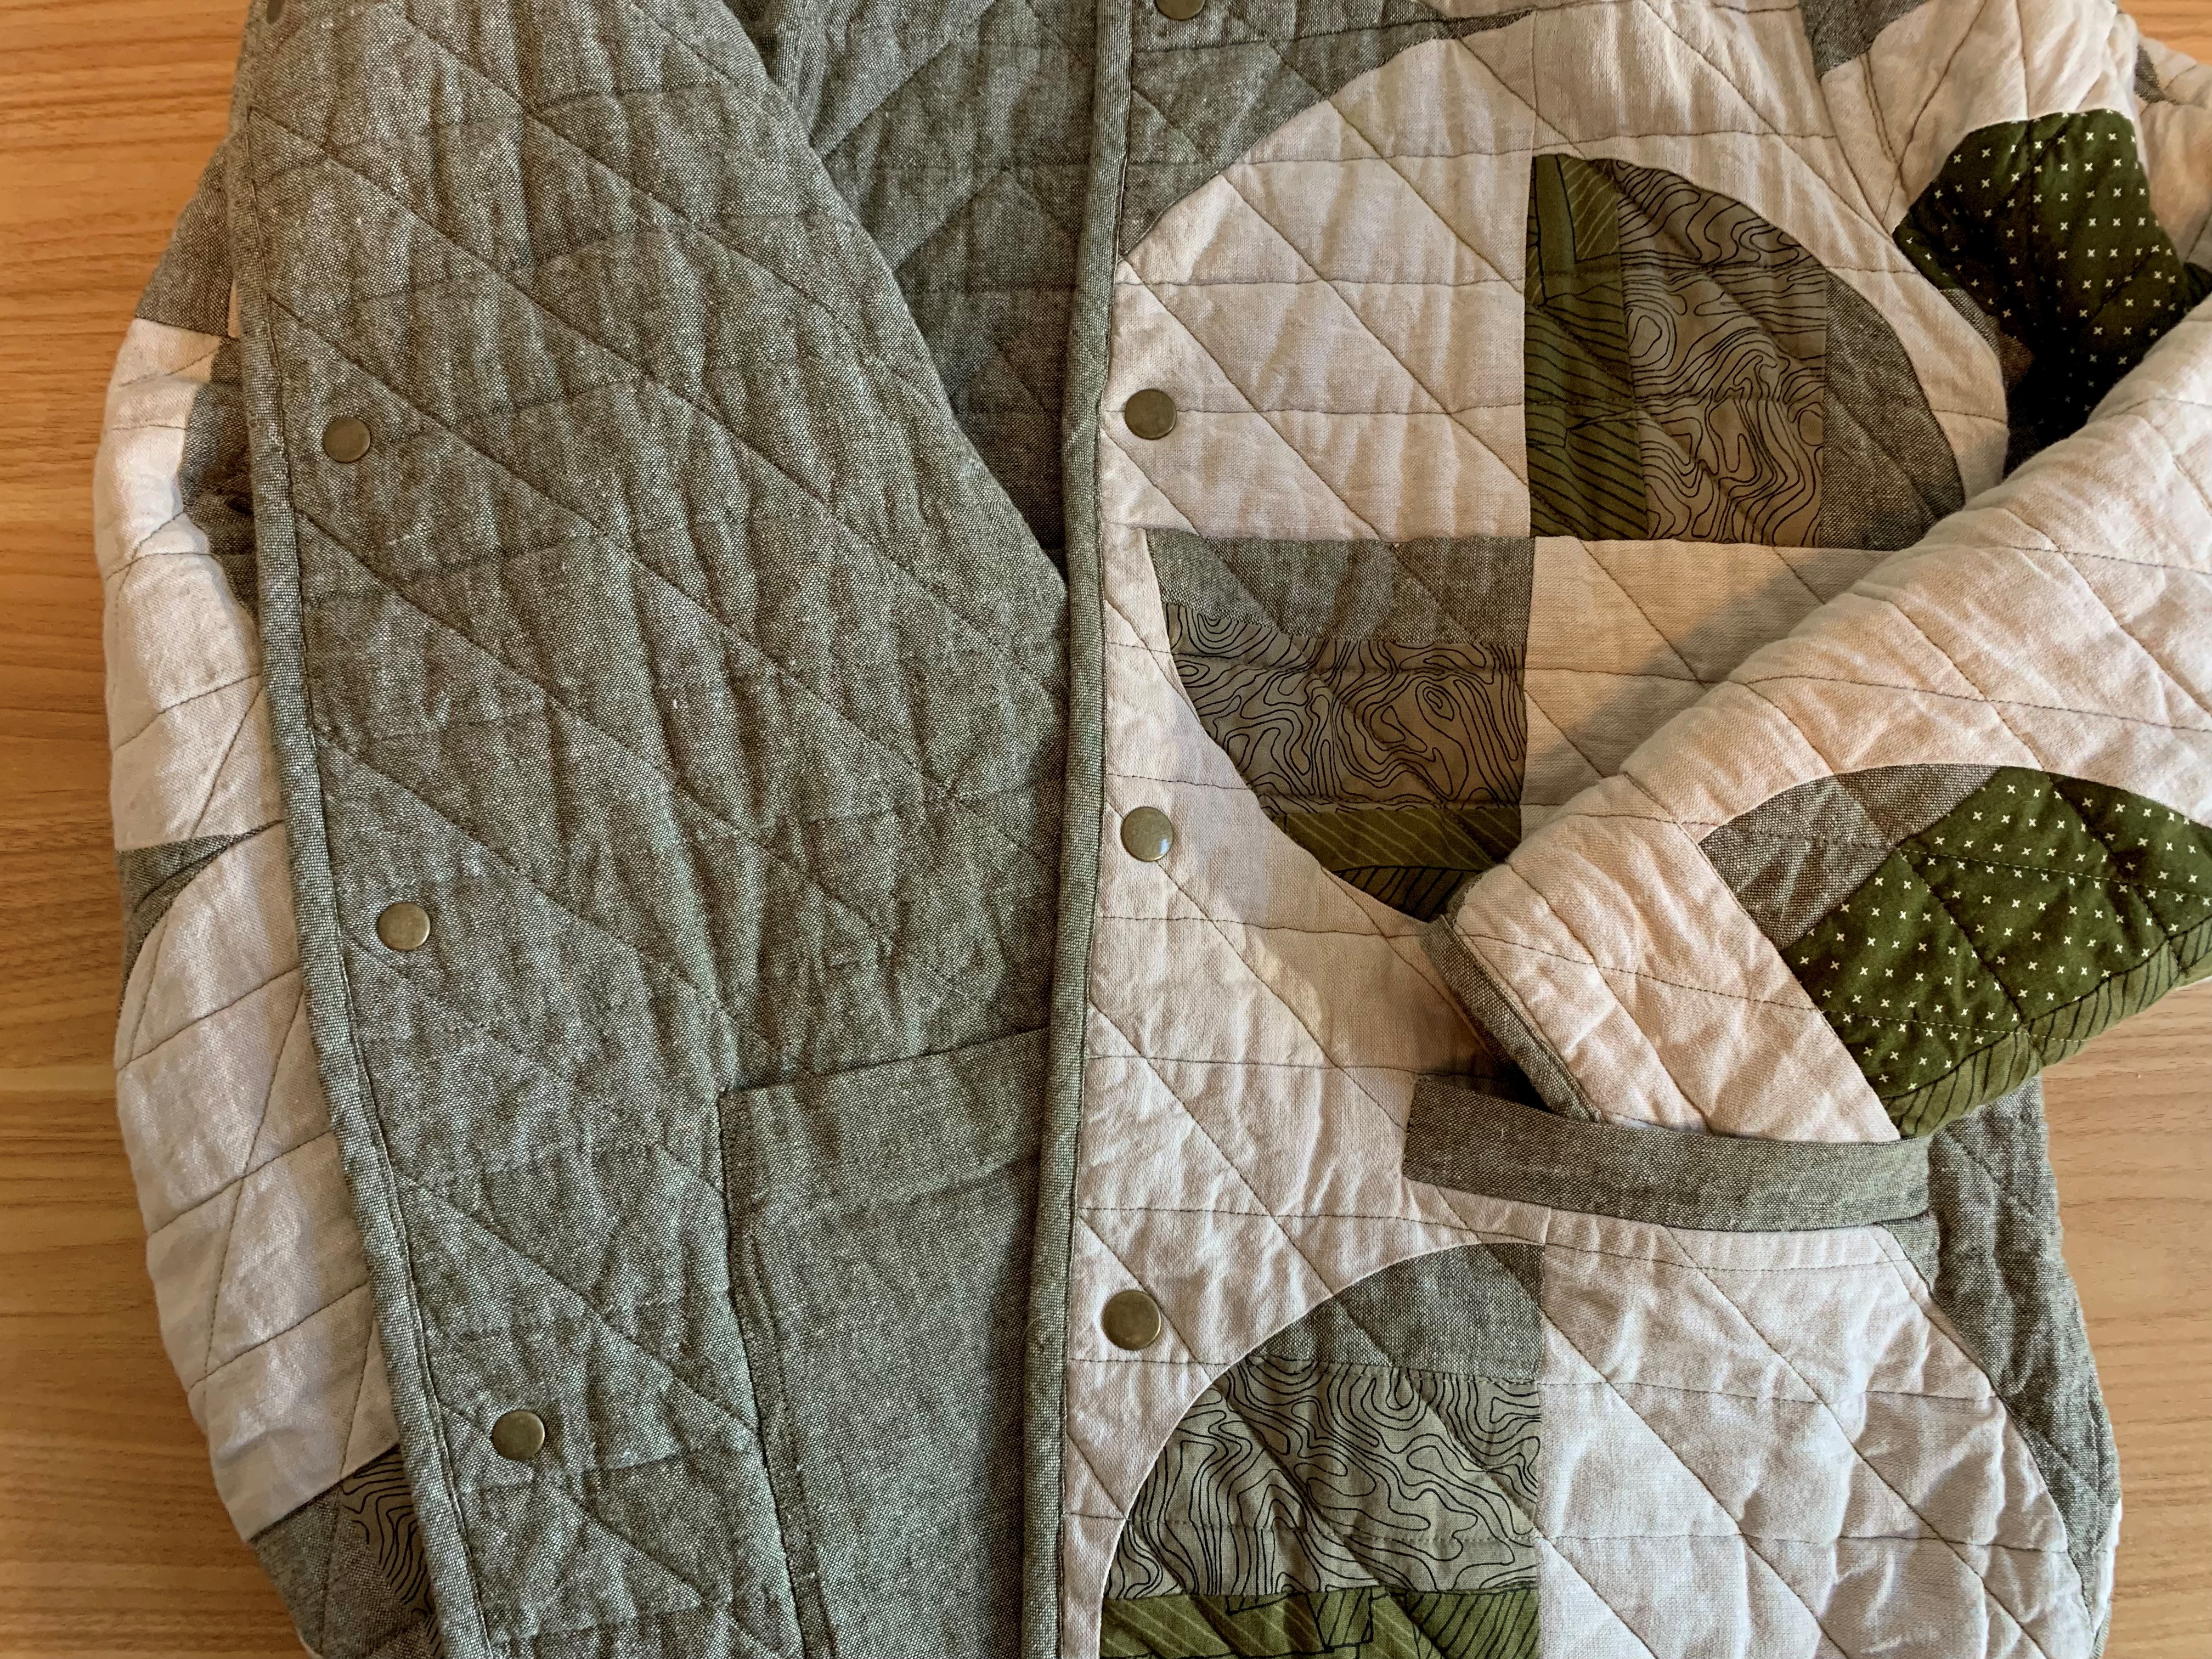
Place your pockets on the jacket fronts. If you have matched your patchwork like I did, it’s easy to wiggle the pockets into the exact placement you want.
Pin pockets into place. I love using 1-3/4″ Magic Pins for this because they will not bend or distort even with thick, quilted fabrics. Keep the pins out of the areas you will add stitching, and you can keep them in while you sew, ensuring your pockets won’t wiggle out of place.
Sew down your pockets with Walking Foot #50. I use the edge of the foot as a guide. Be sure to back stitch at the beginning and end of your stitching, as the top edge of pockets can be a stress point. In addition to the top stitching, I am edge stitching the pockets down, 1/8″ from the edge of the pockets.
Jacket Construction
It is time to begin jacket construction. This is where bulk can build up, making a jacket less flexible. We will deviate slightly from the instructions inside the pattern envelope for the interior finishing of this jacket.
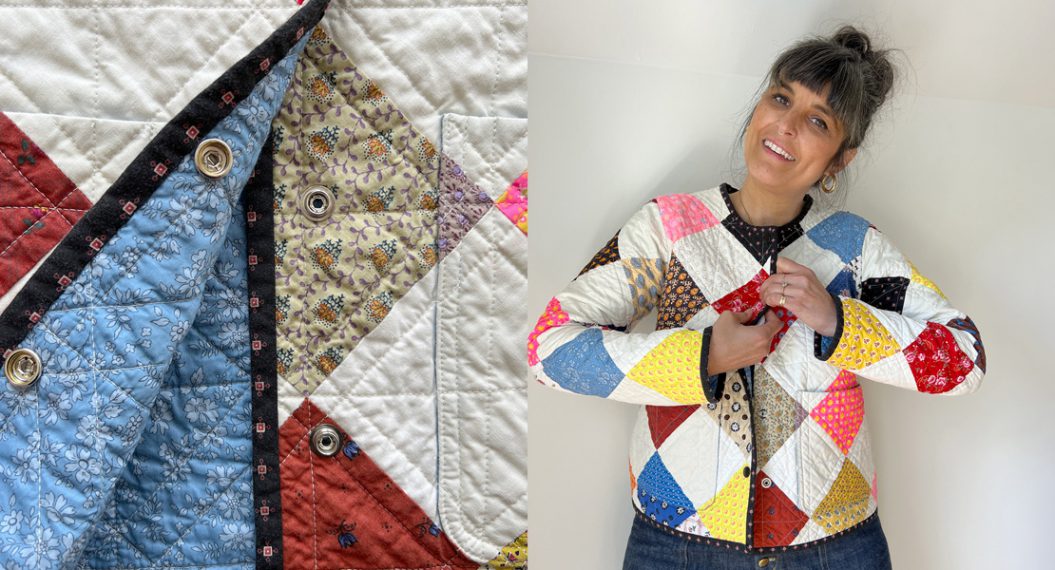
I’m showing you my favorite, slightly unconventional way to cover seams inside a quilted jacket. This method gives a clean finish both inside and out of the garment, and the seams lay flat.
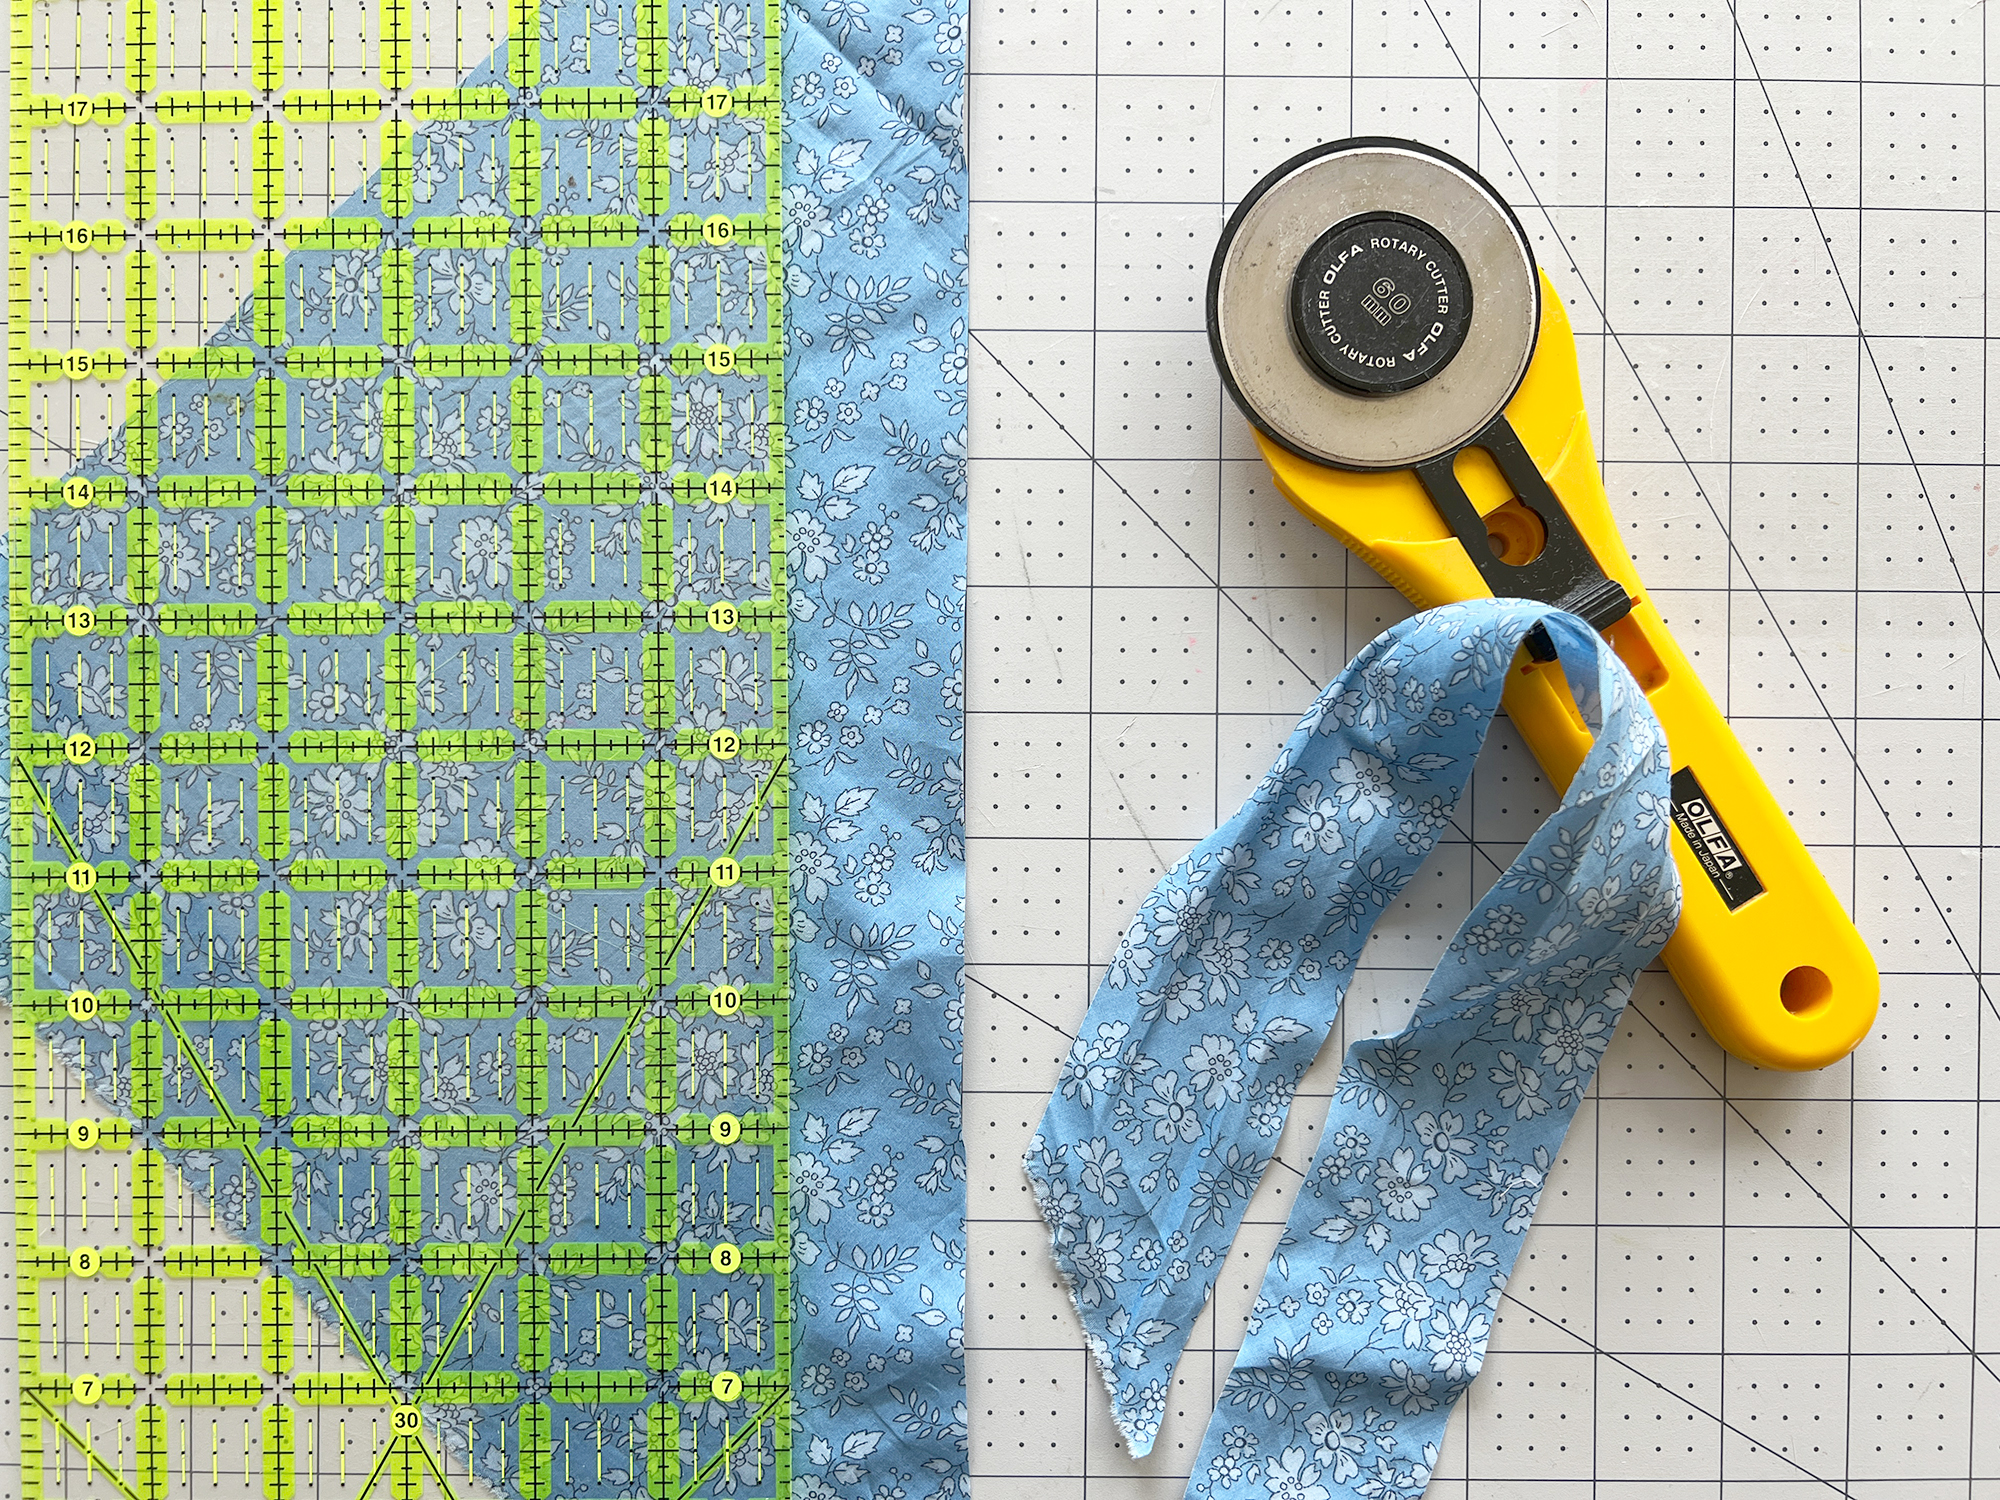
For this method, you will need a 1.5” strip of fabric a little bit longer than each of the shoulder seams, and each of the side seams (this includes the length of the sleeve and the bodice). These strips can be cut on the straight grain since the shoulder seam and side seams are not curved, but you may also use bias strips if you prefer to cut your fabric that way.
We will use bias strips a bit longer than the length of the armscye sleeves to bind that seam, because of the curved shape of those seams. Again, I have cut my strips at 1.5″ wide and I have run them through my bias tape maker. You can use unpressed strips as well, but the pressing provides a guide when folding the fabric later.
Shoulder Seams
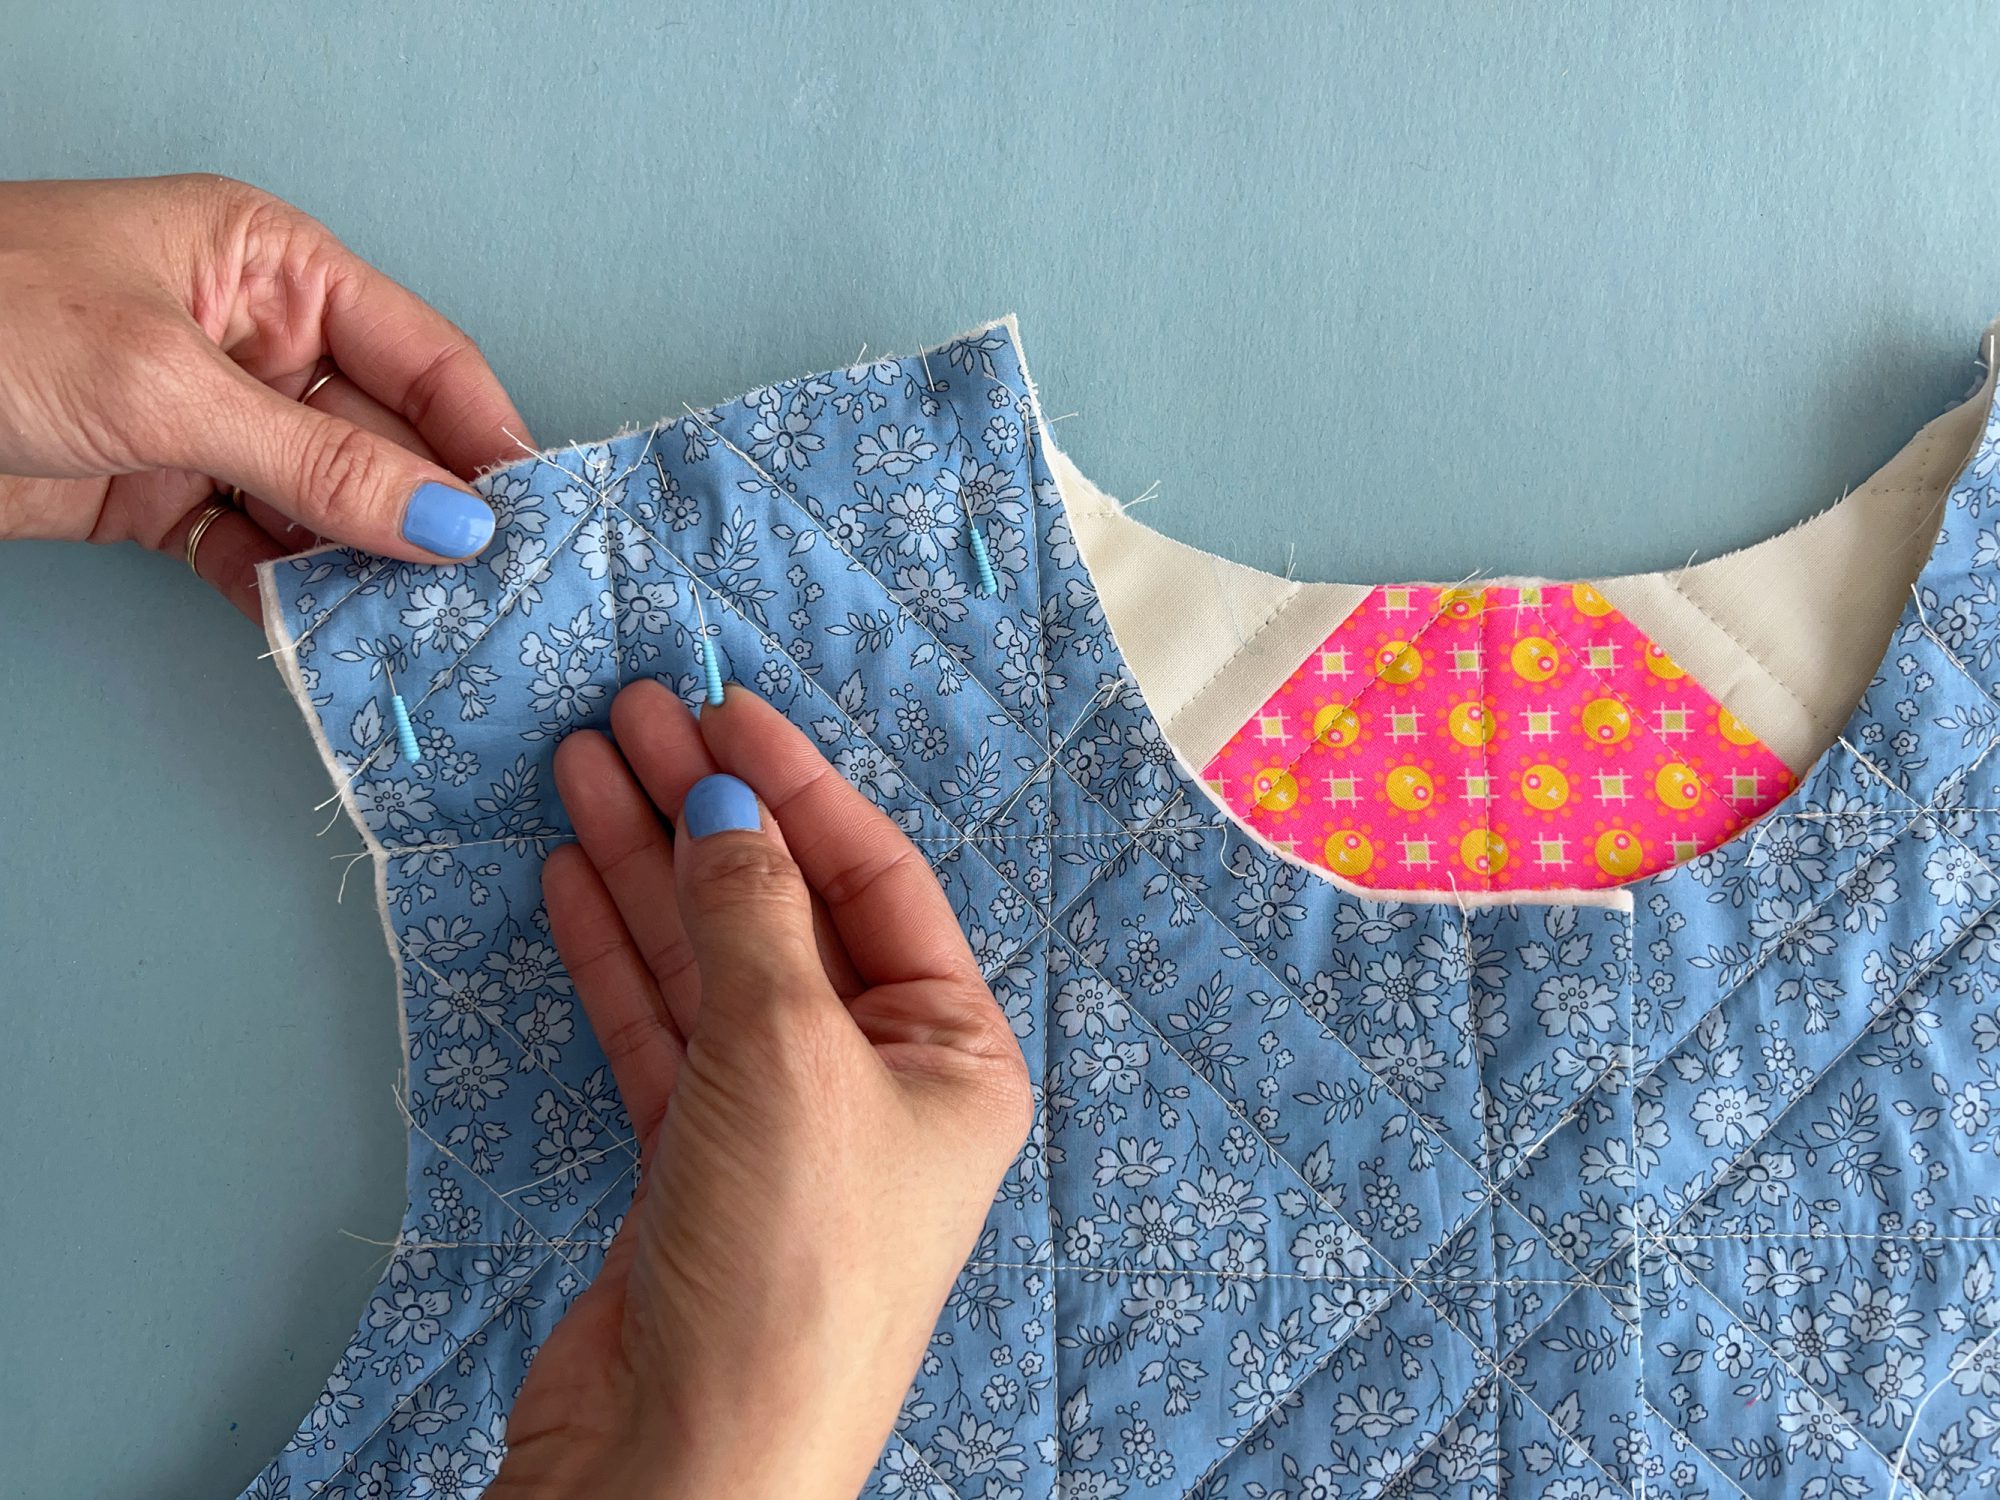
- Pin your jacket Fronts to the the jacket Back at the shoulder seams, Right Sides together. Sew with a ½” seam allowance using Walking Foot #50. Press seam allowances towards the Back.
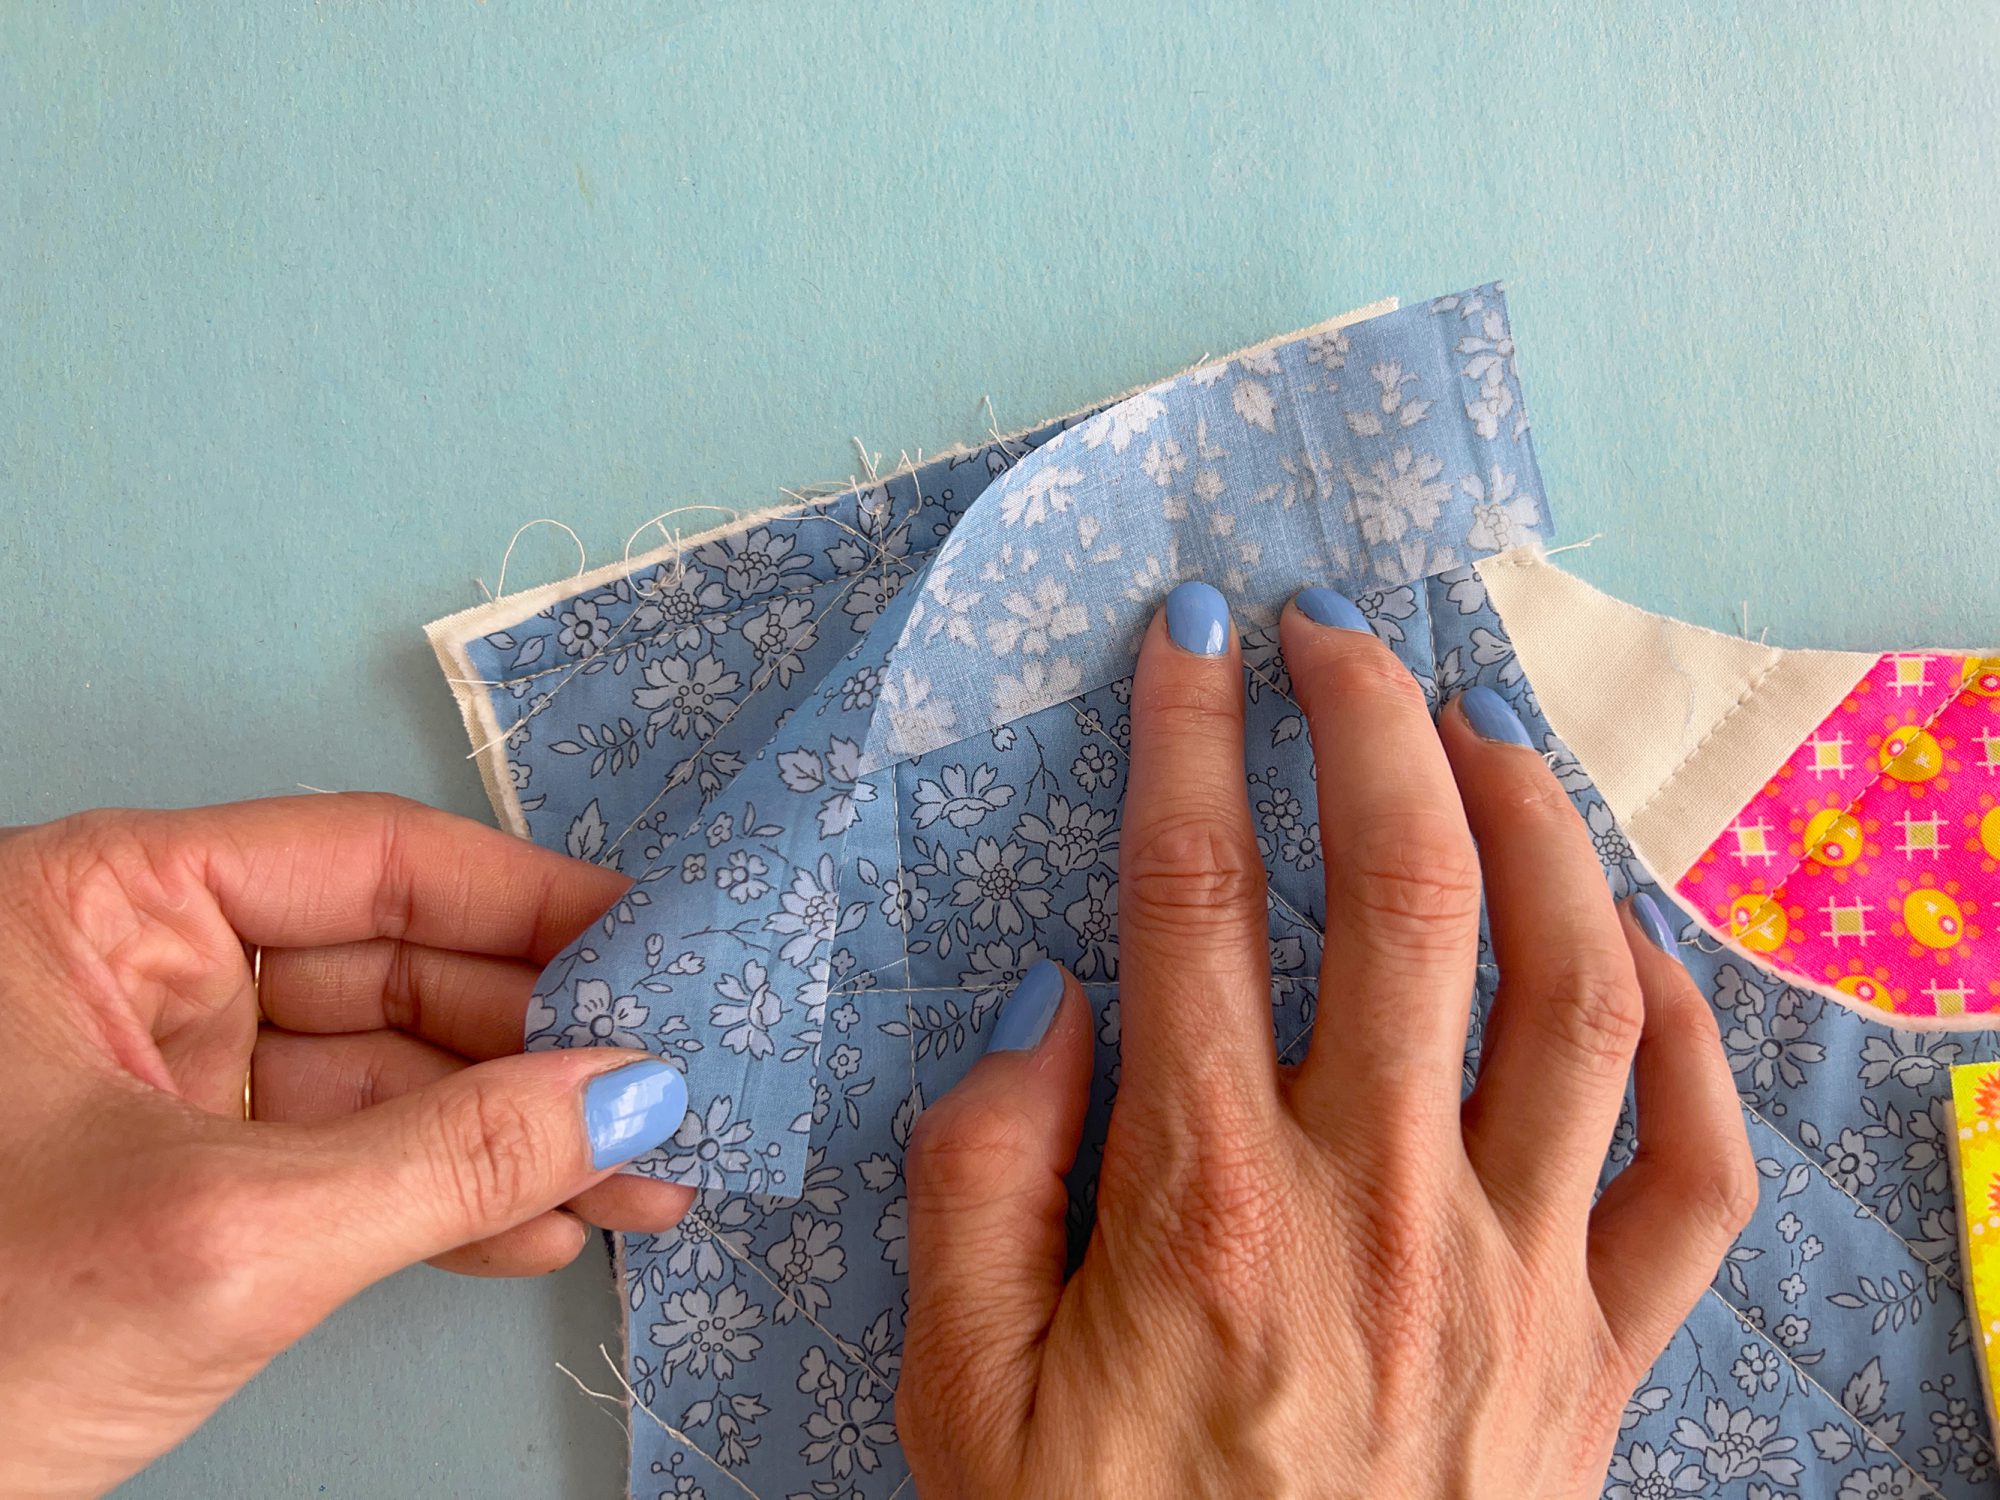
- Working on the inside of your jacket, pin a strip of lining fabric along your stitching line, matching cut edges. Sew through all layers to attach the strip – basically sew the seam again, but also attach the strip.
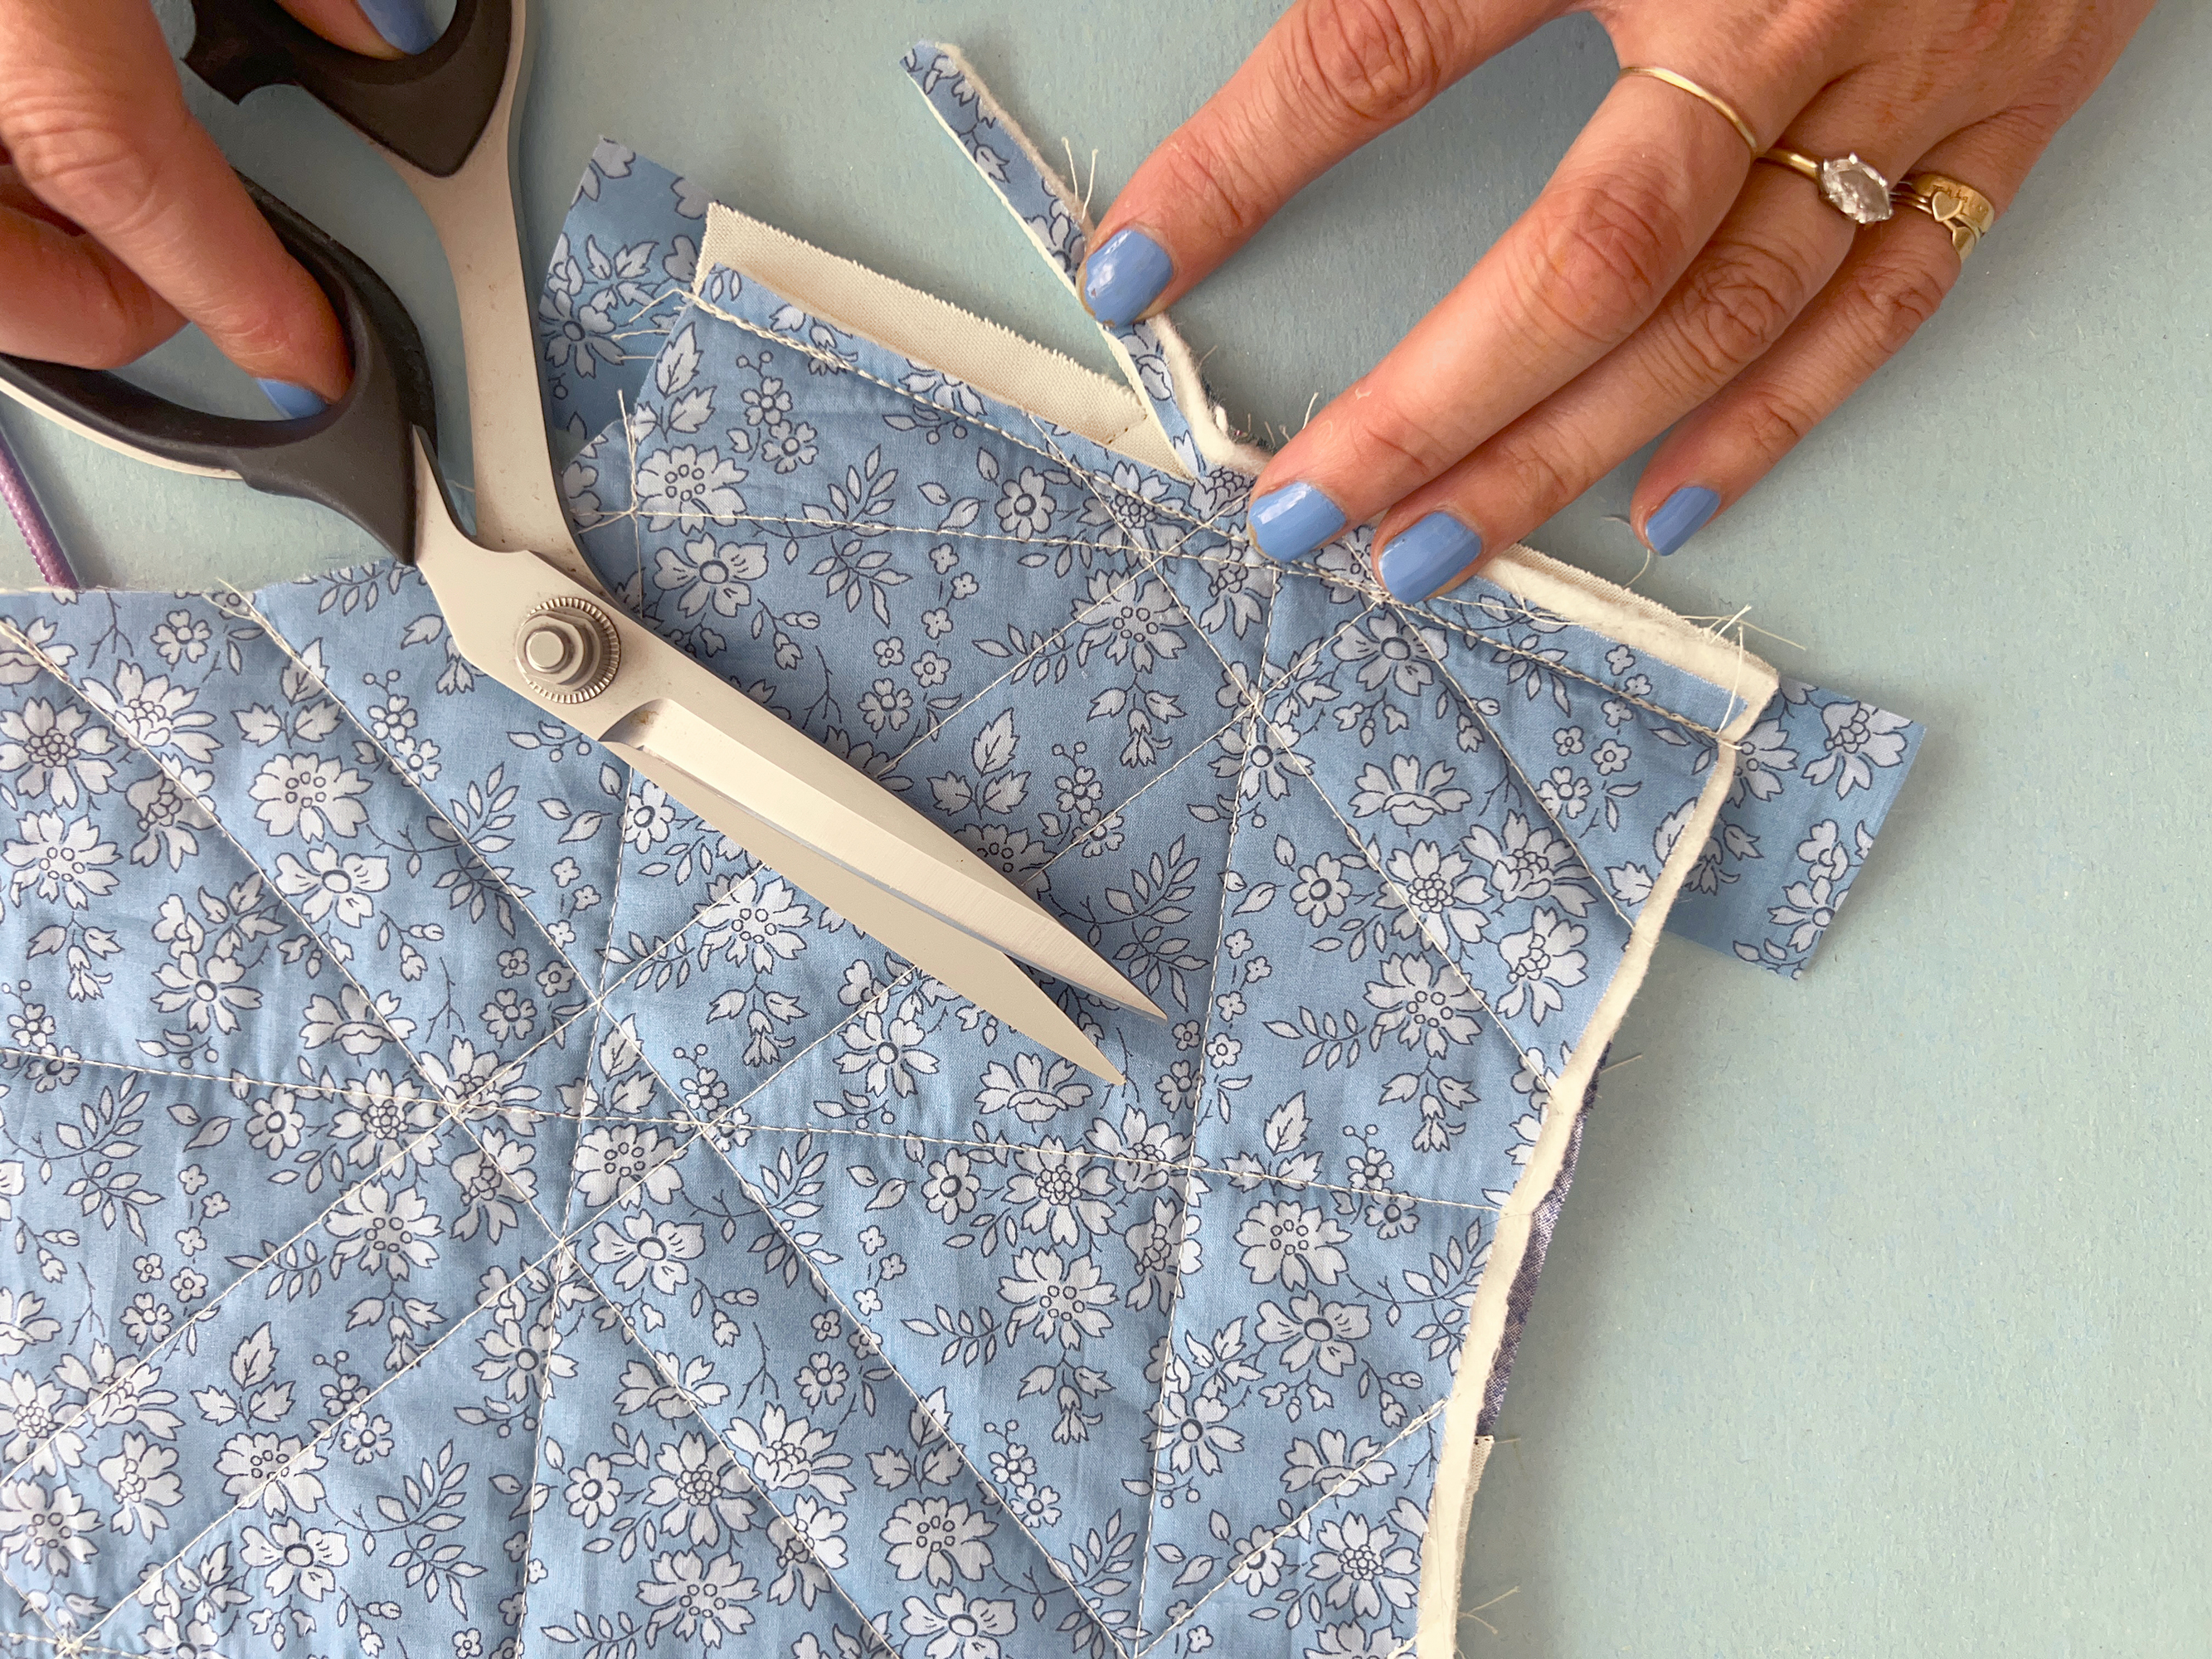
- Press seam allowances toward Back. To reduce bulk, grade the seam allowance: trim the Back seam allowance to ¼”.
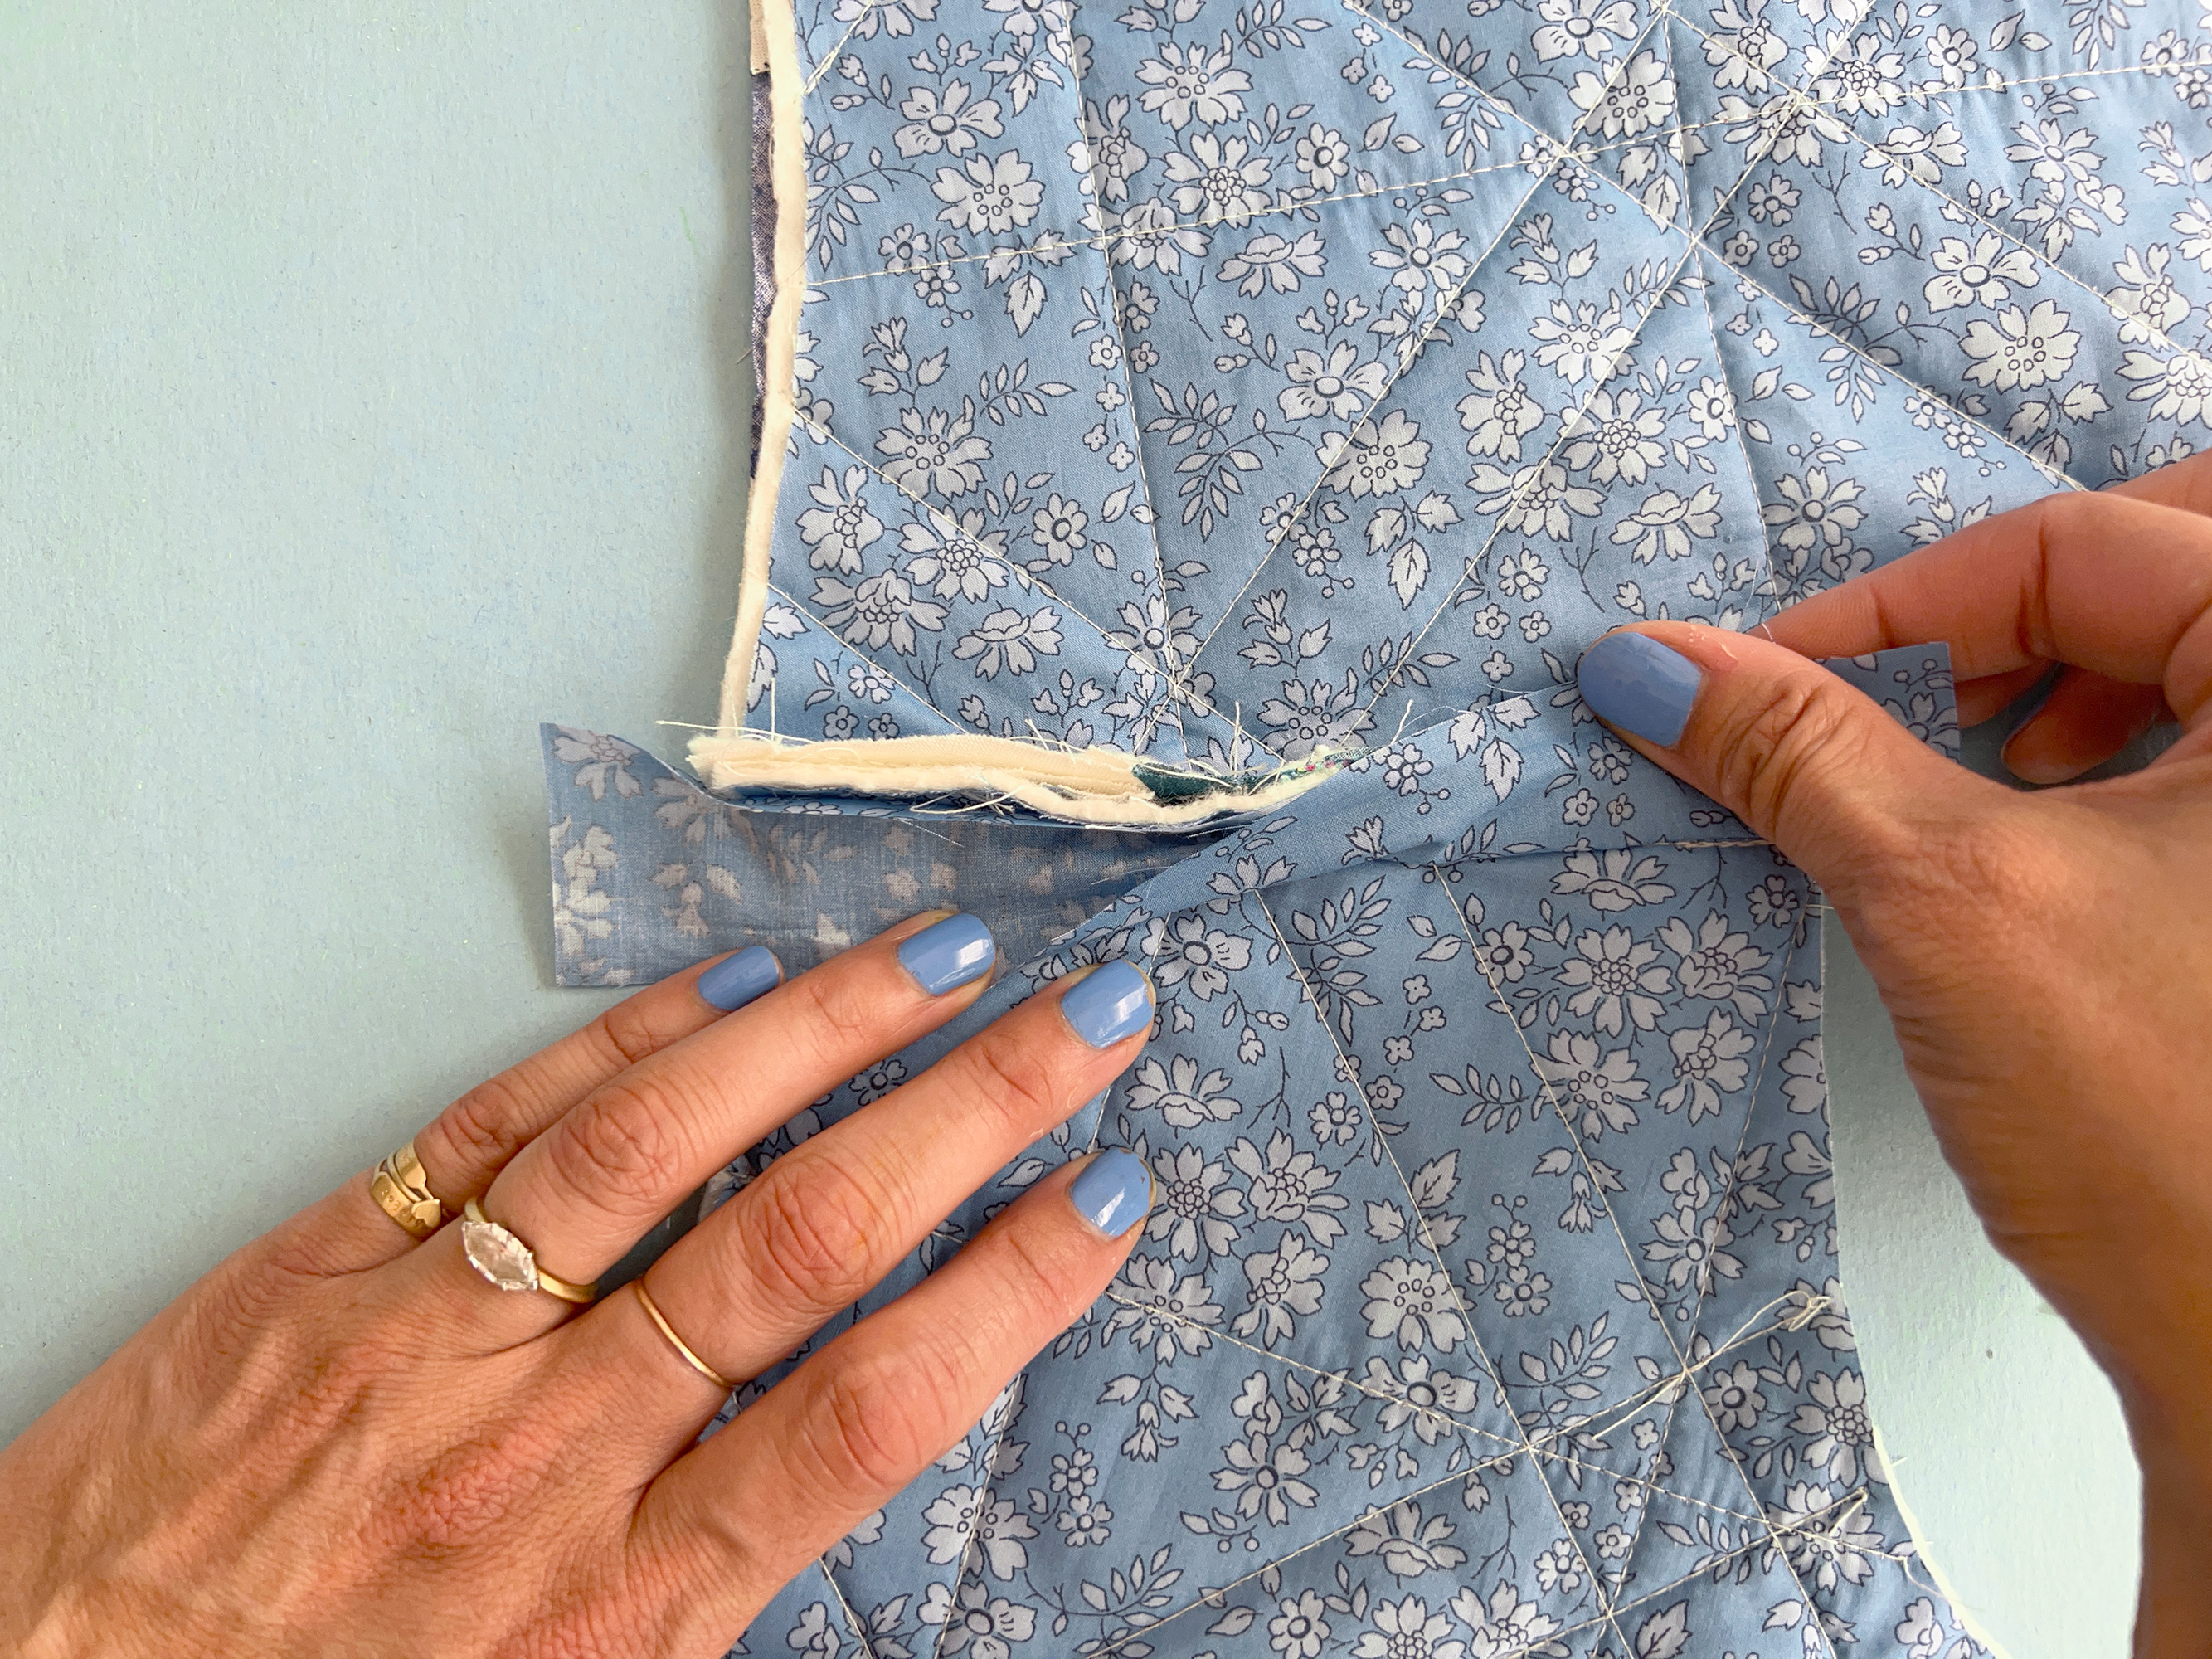
- Wrap the fabric strip around the seam allowances.
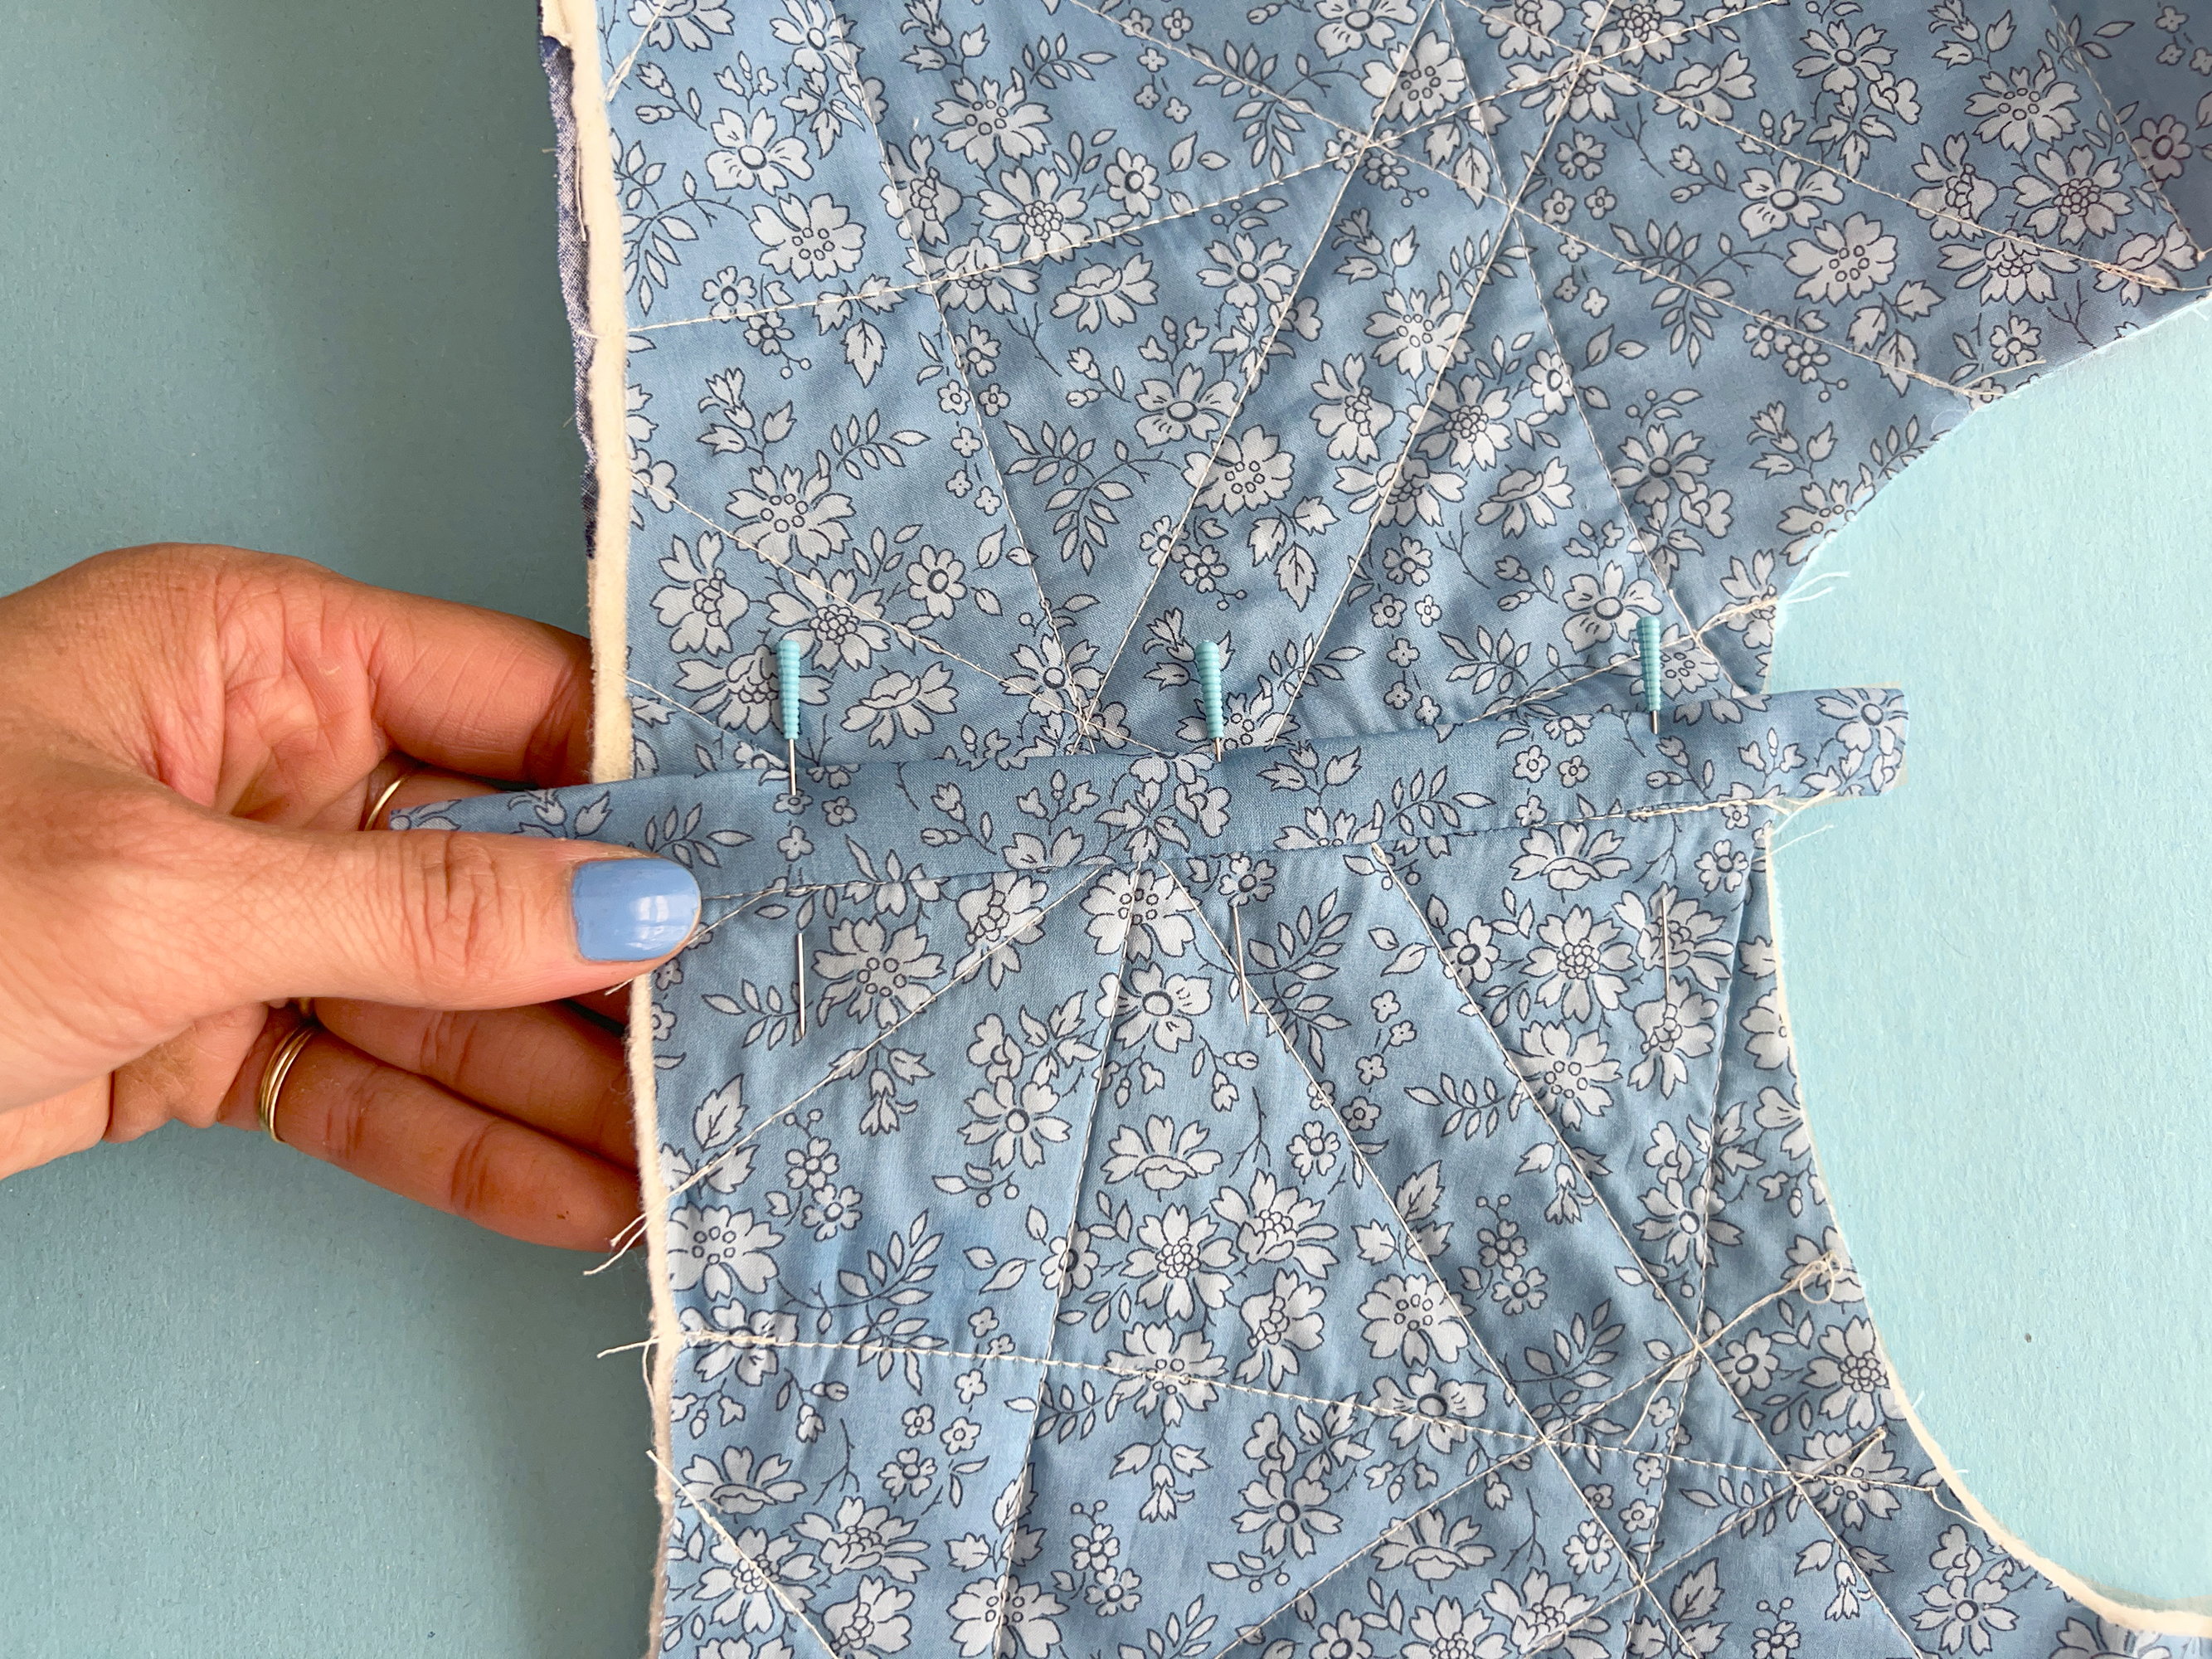
- Press, and pin into place.
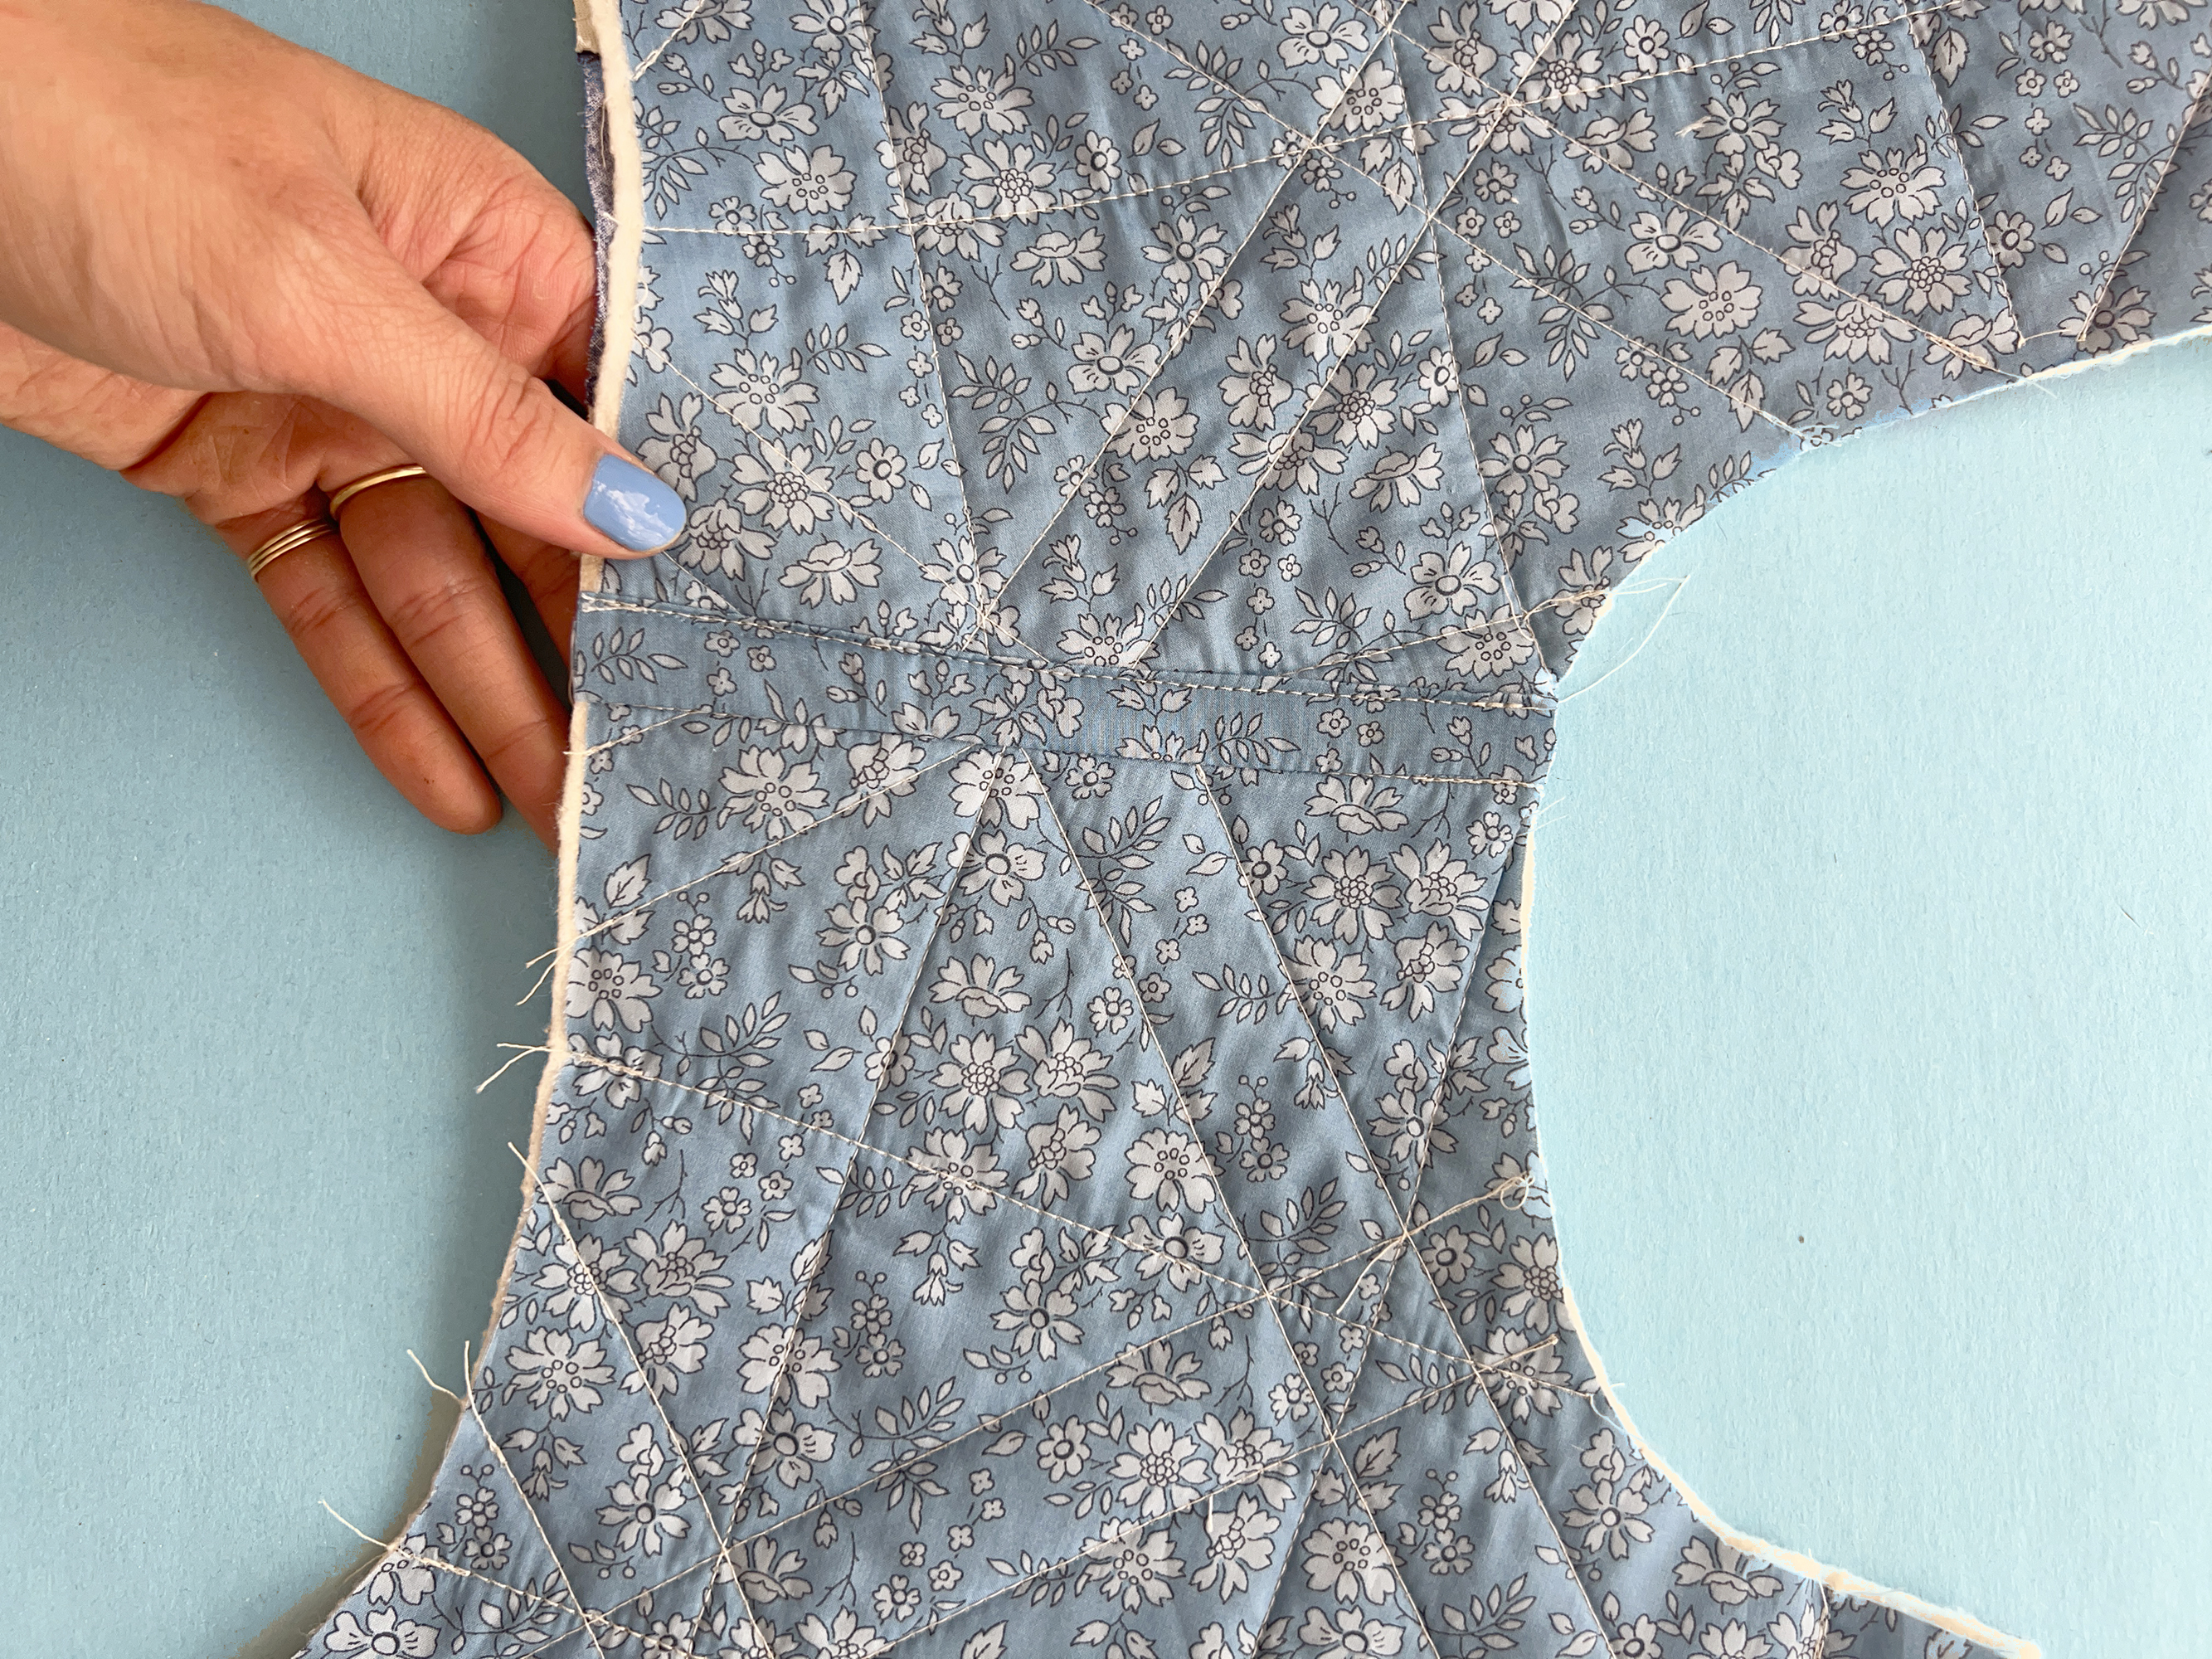
- Edge stitch. Trim ends. You now have a flat, fully enclosed seam.
Setting Sleeves
Attaching sleeves can be intimidating, especially if you’re not a garment sewer. But fear not, this is a gentle curve, and we are setting the sleeve flat instead of in the round.
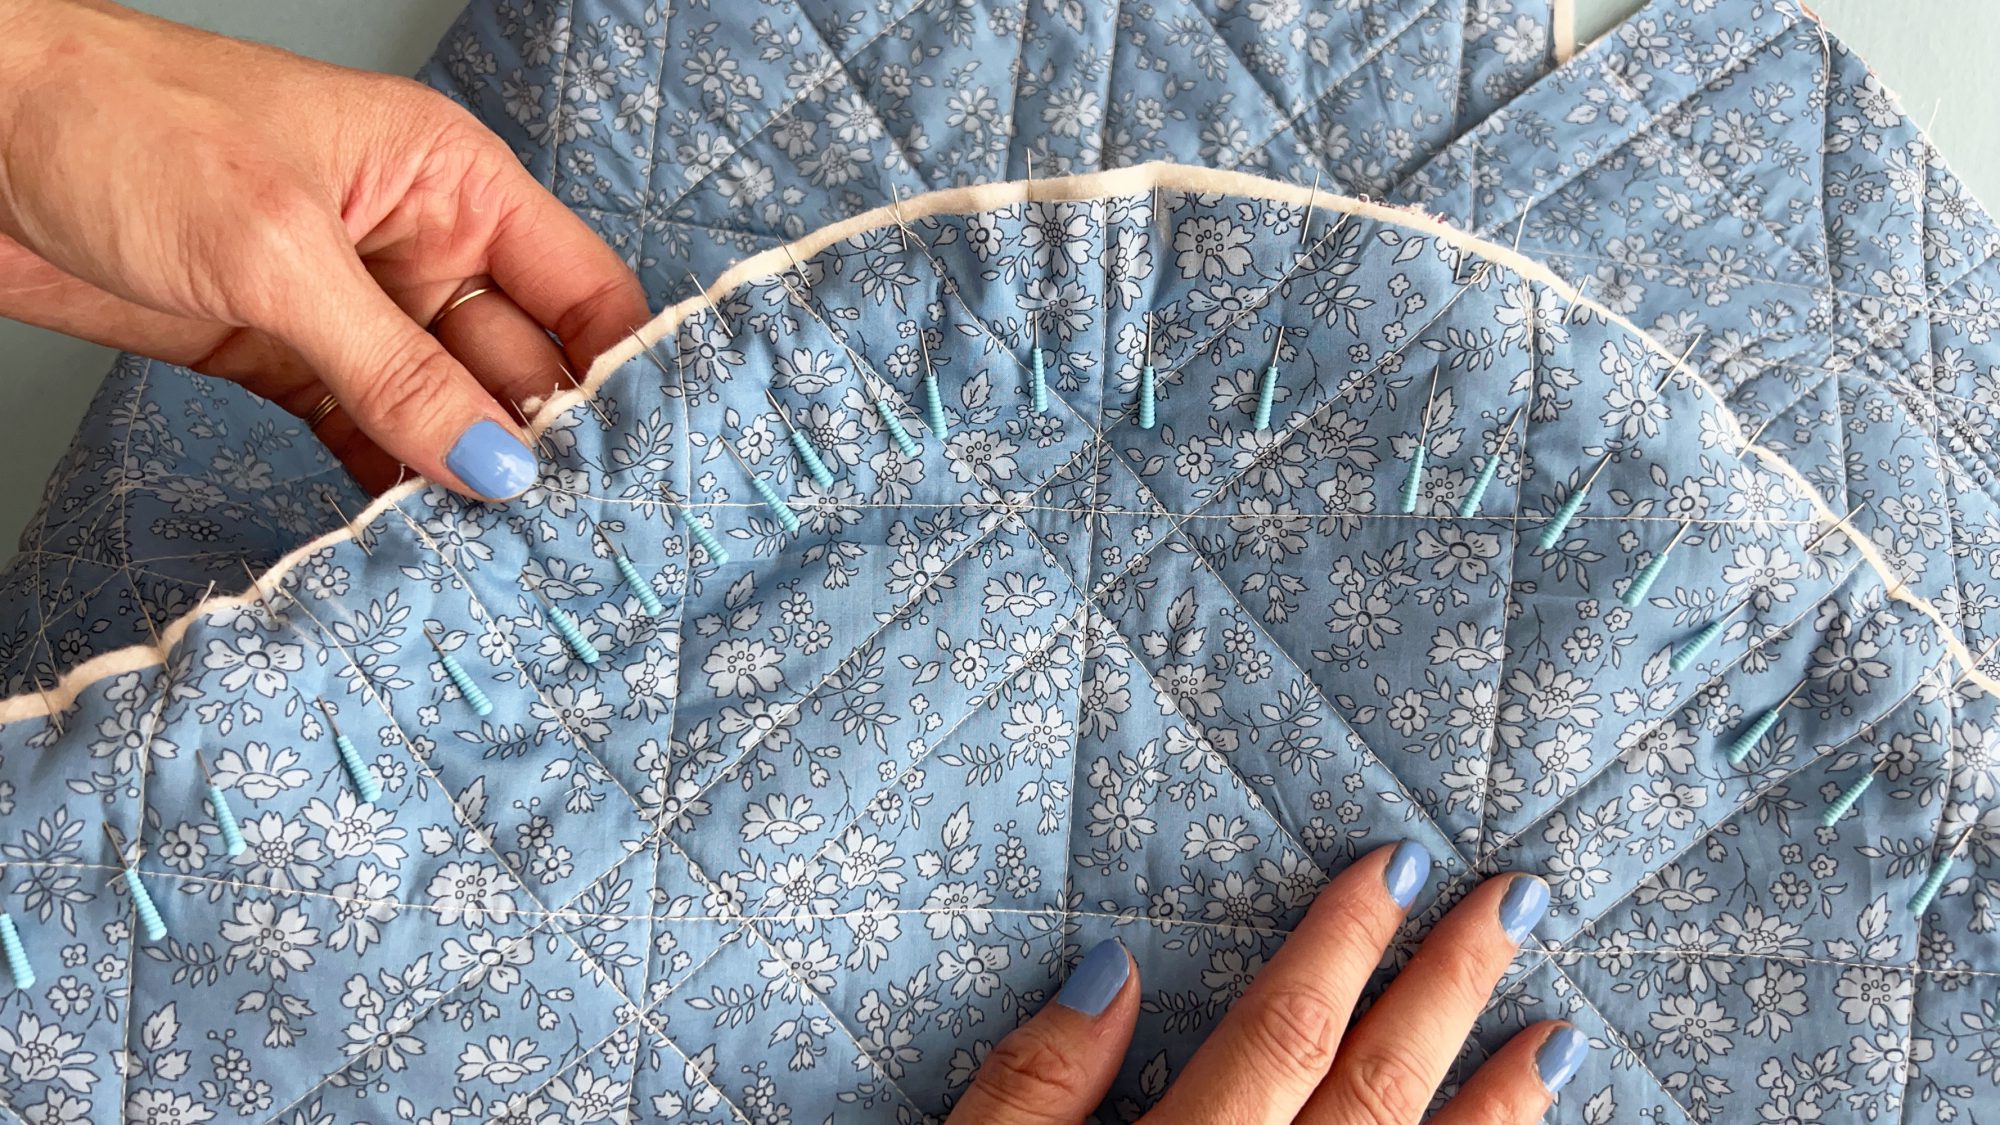
- Matching notches, pin the sleeve into place. Use as many pins as you need, and work on one sleeve at a time. Stitch seam with 1/2″ seam allowance.
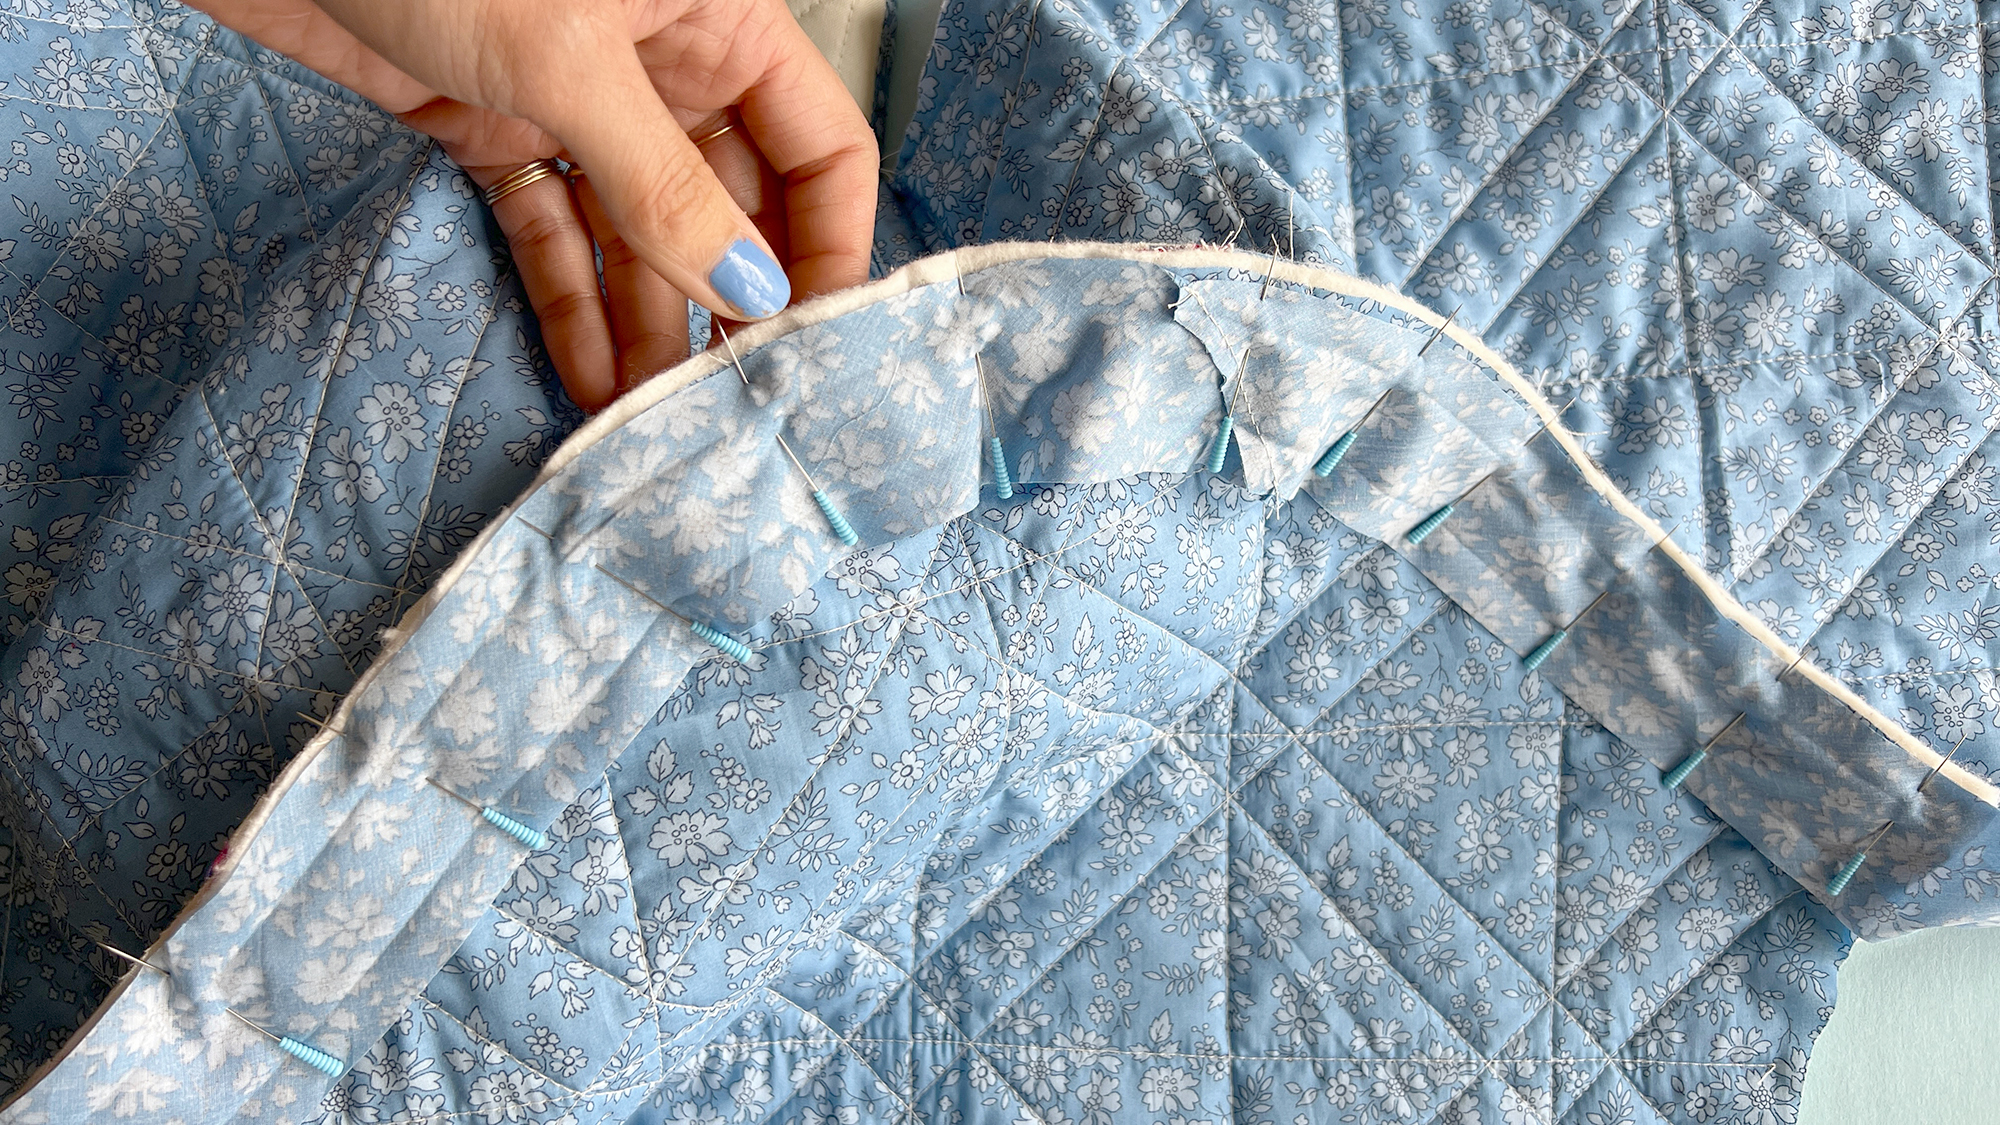
- Using a 1.75″ wide bias strip of fabric, pin in along the armscye seam, on the sleeve side. We will press all seam allowances towards the center of the jacket.
- Sew the bias strip down, following the seam you just sewed.
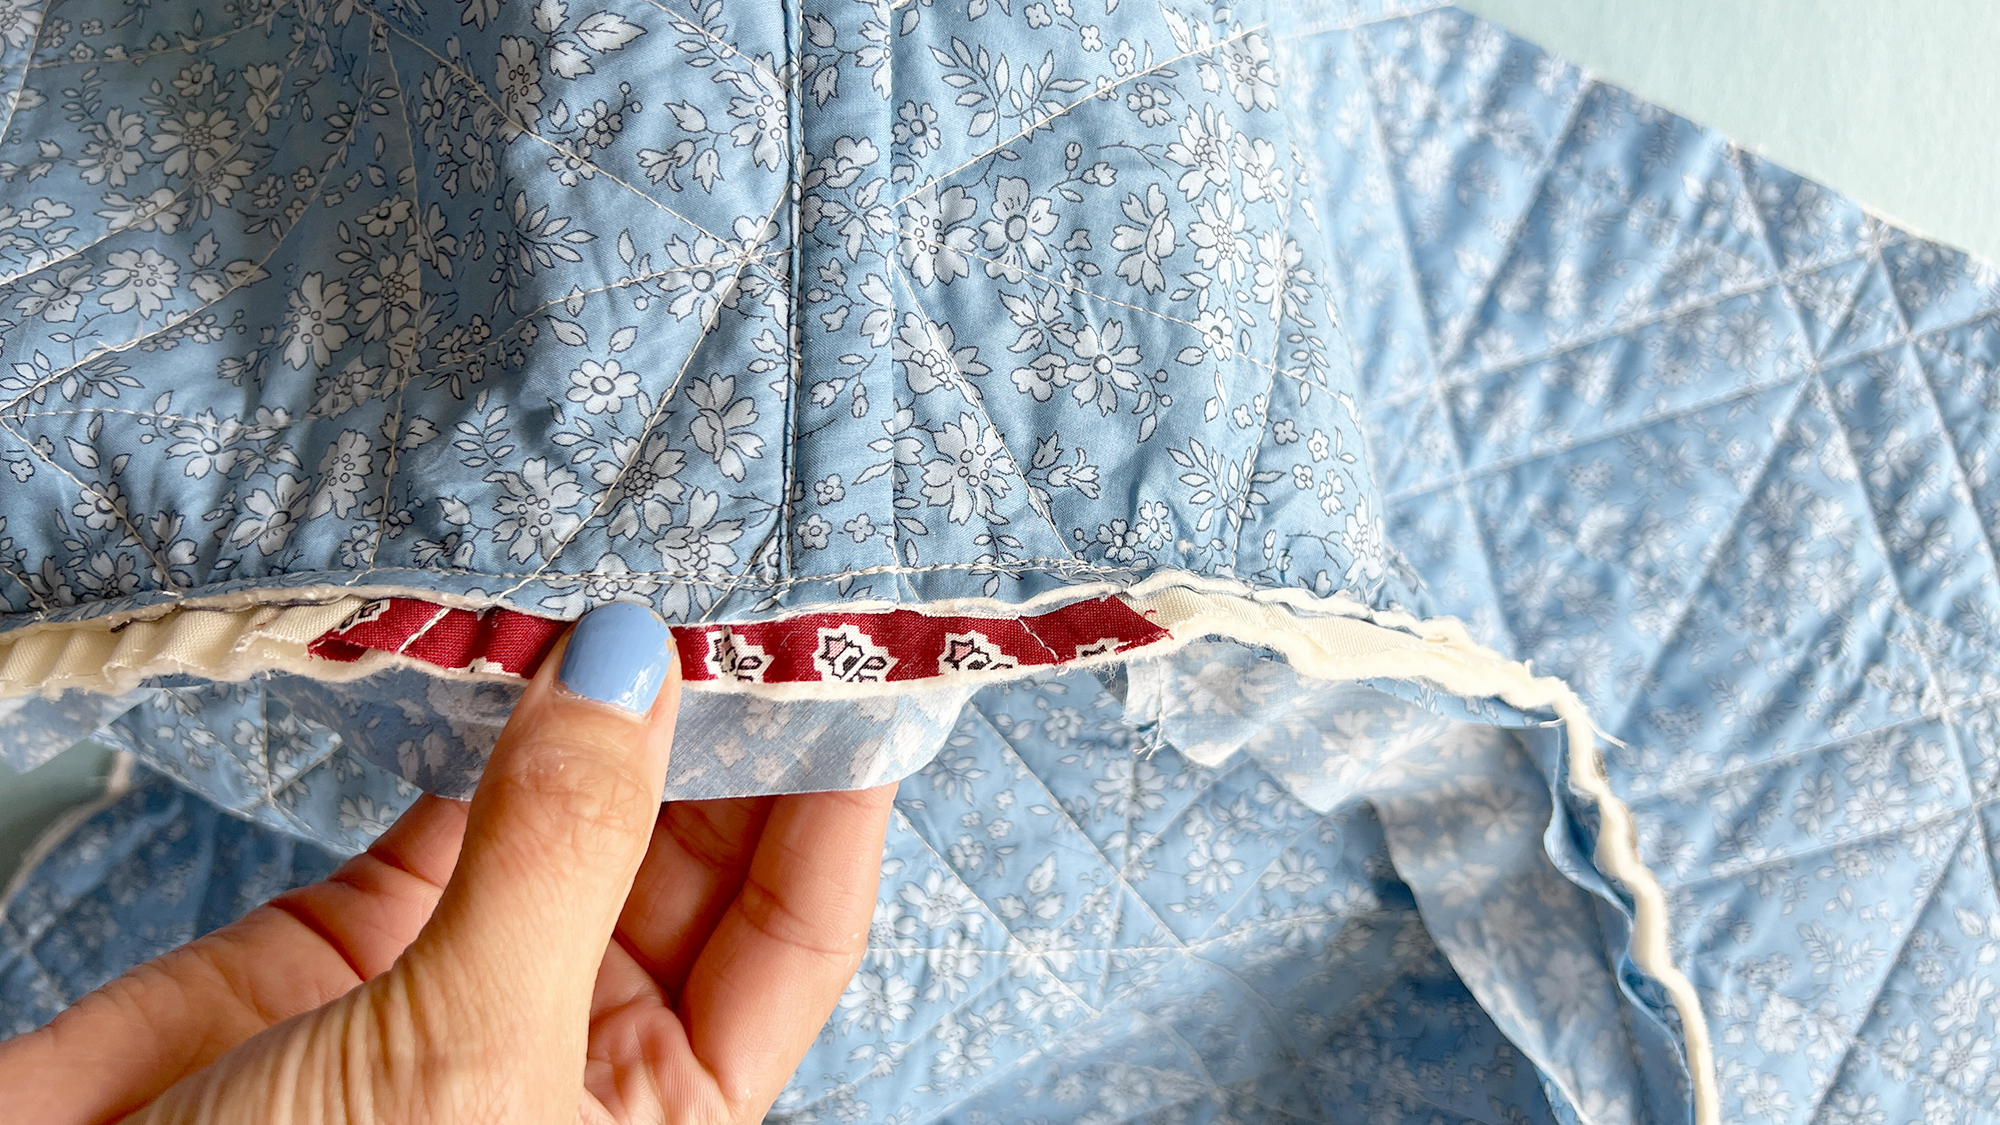
- Again, grade the seam allowance by removing 1/4″ of seam allowance from the jacket Front and Back layer (the bodice).
- Press seam allowances towards center of the jacket.
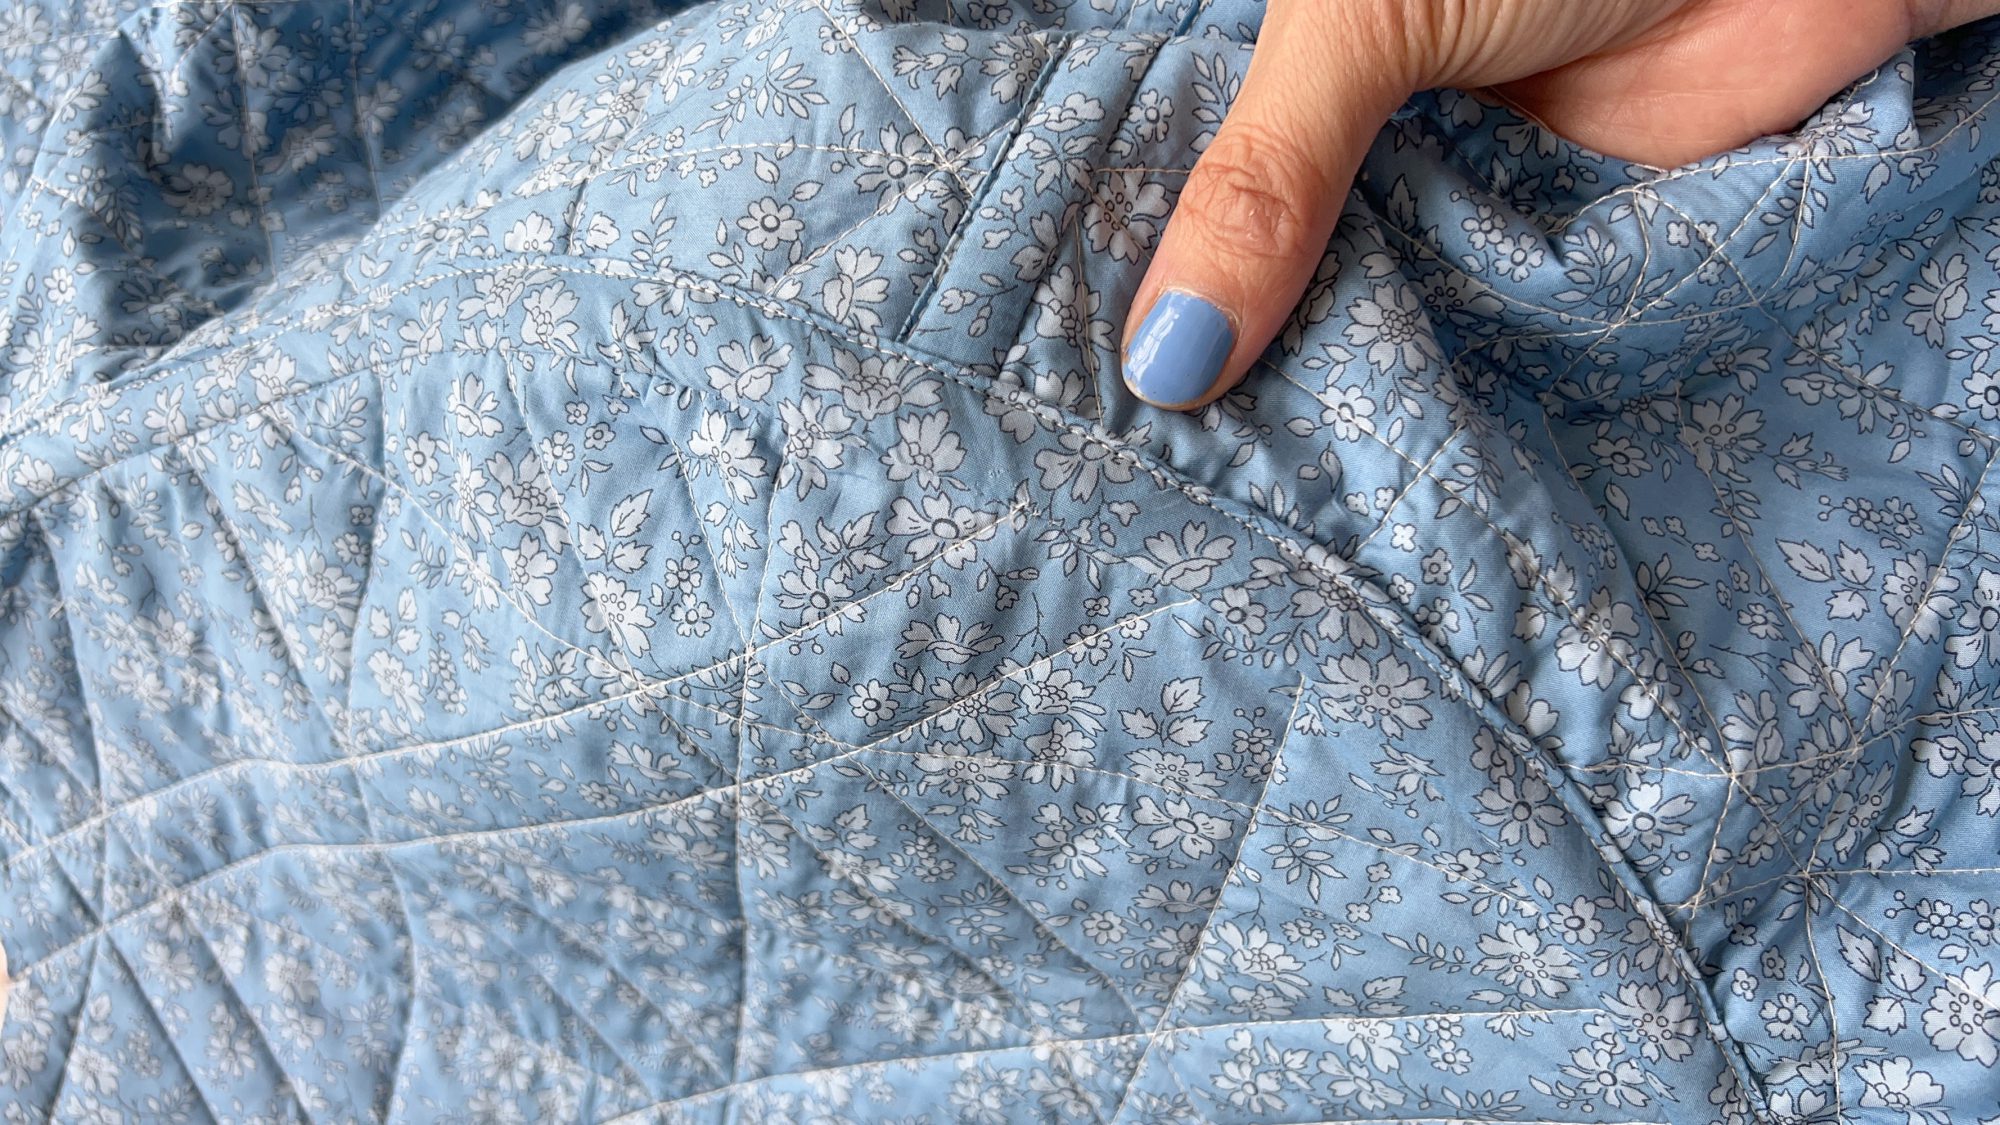
- Evenly wrap the bias strip over the layers, pin, and edgestitch into place.
Sleeve & Slide Seams
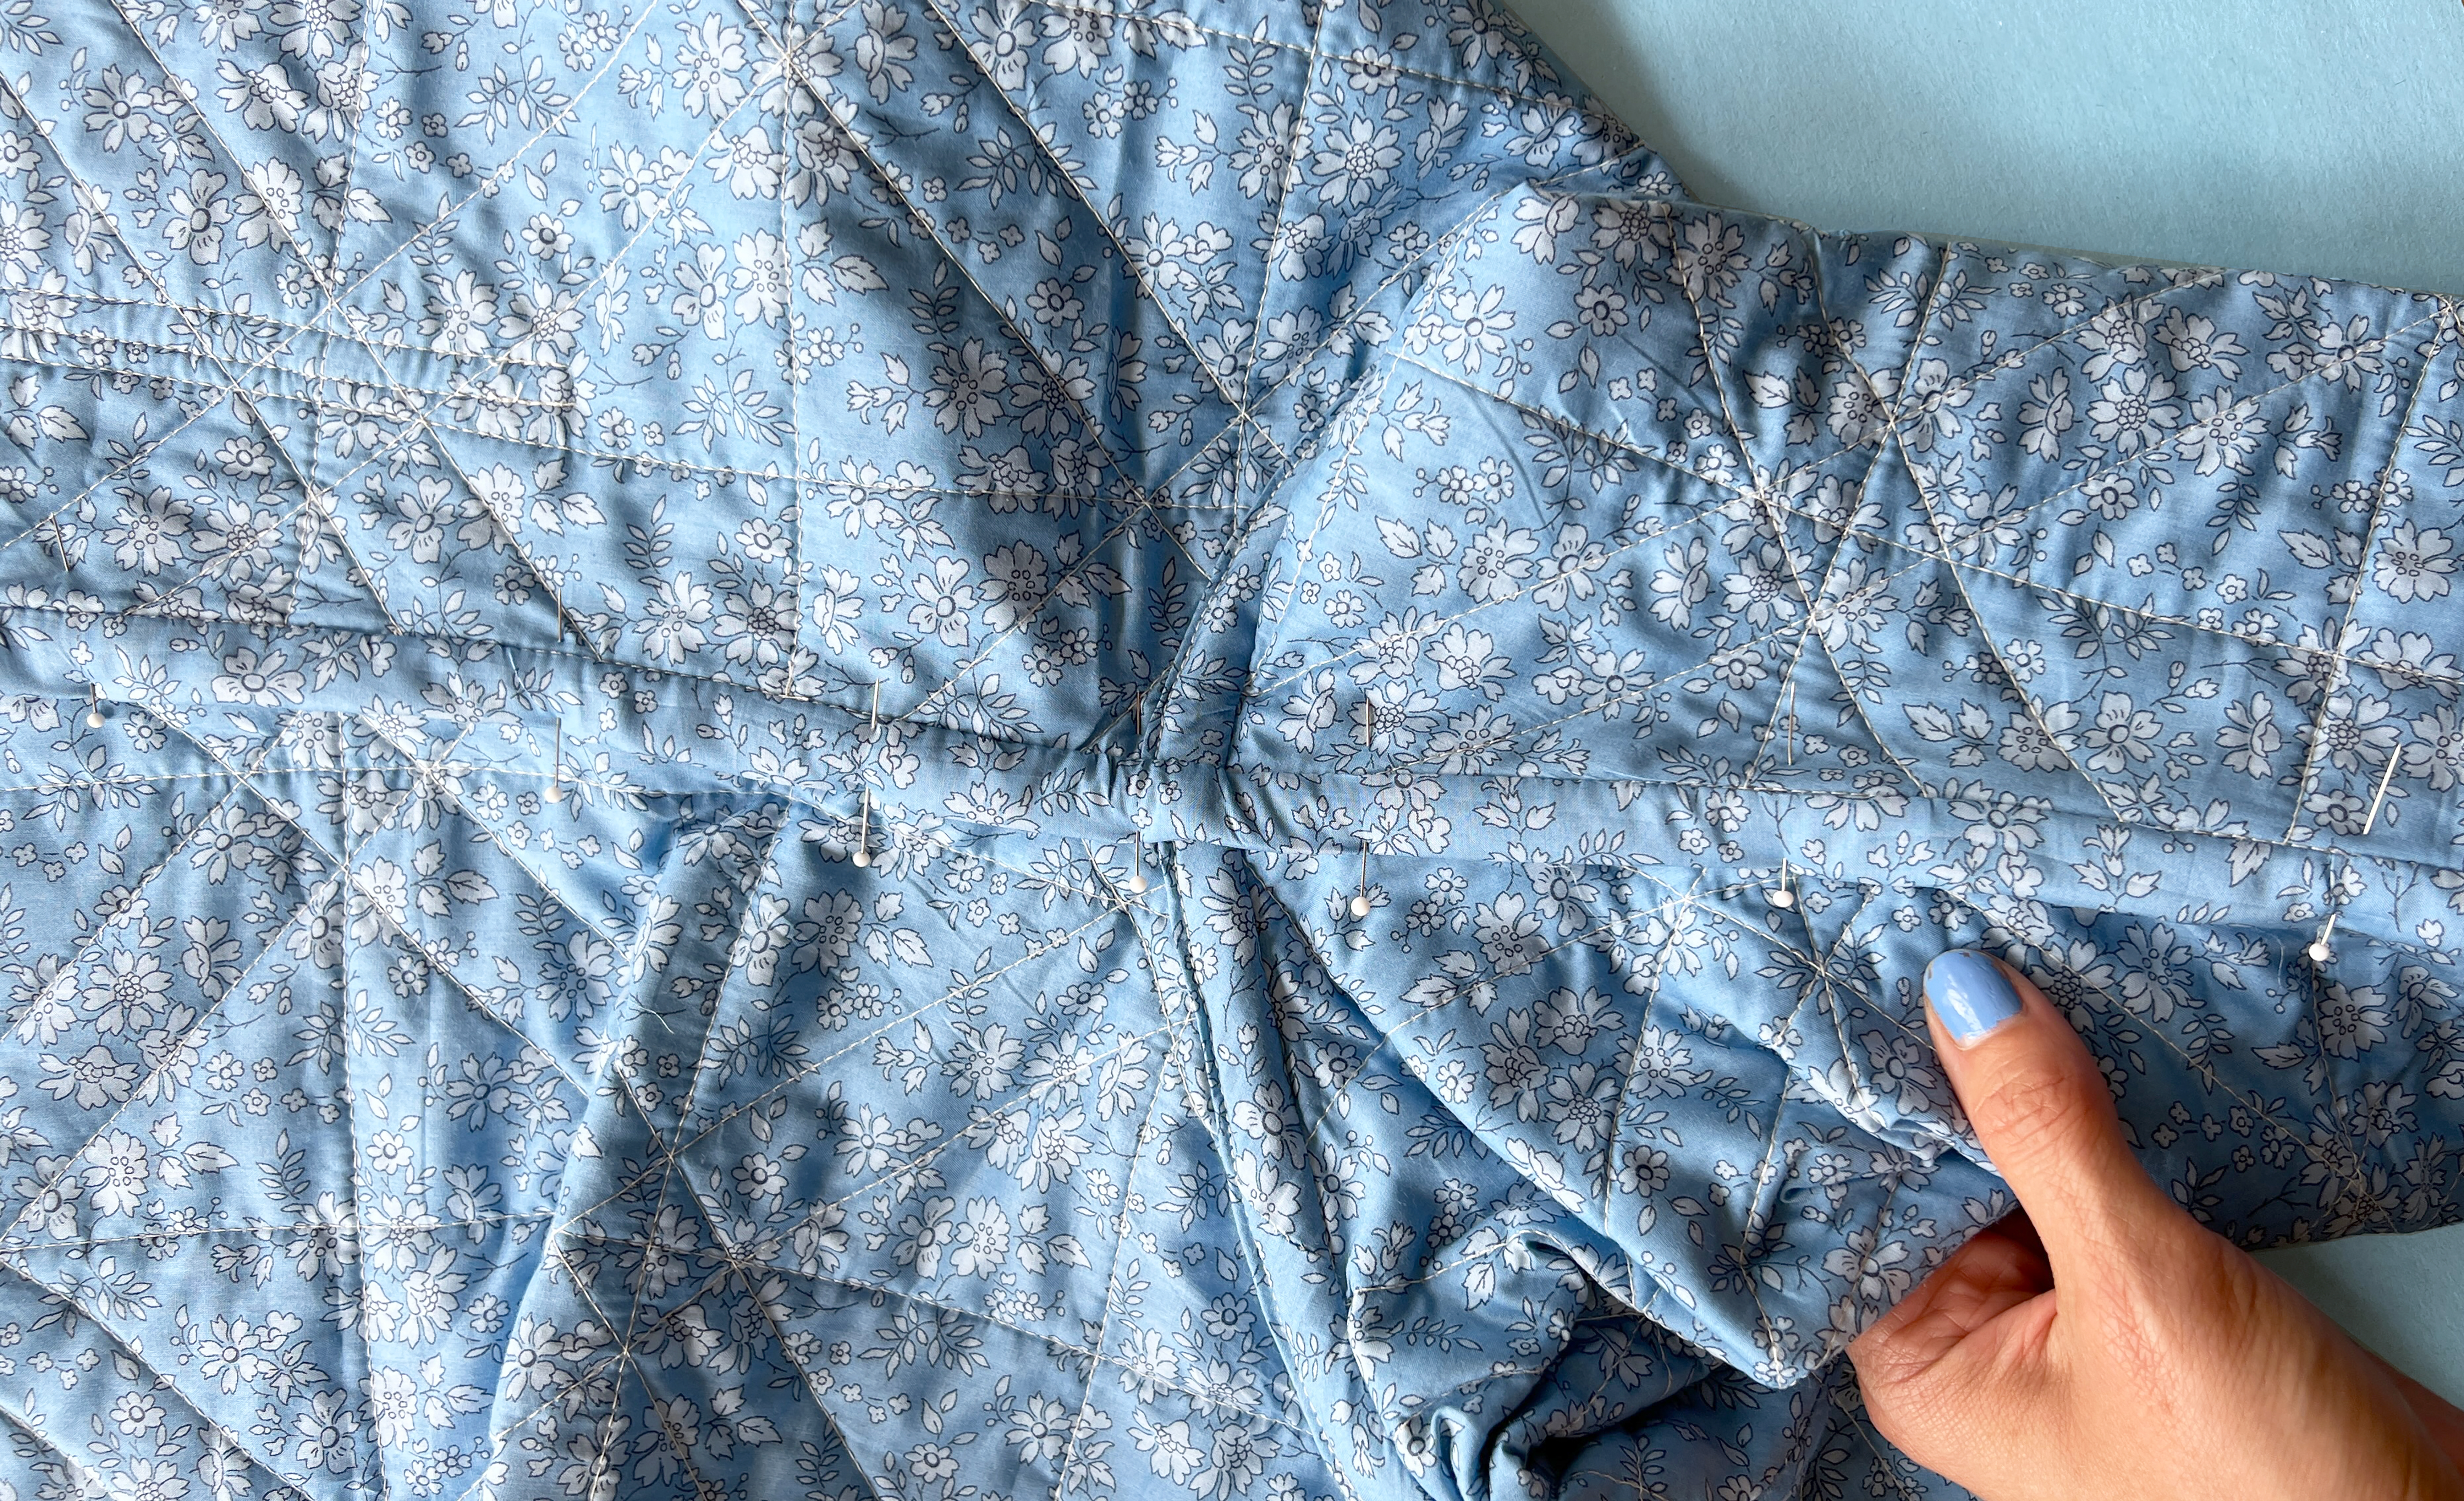
The Sleeve and Side Seams will be sewn in one long pass! Repeat the same method as used for the shoulder seams.
When grading seams, take extra care where the body and sleeve meet at the underarm – this area can be bulky. Trim this part slowly, and don’t remove more seam allowance than necessary, but trim it enough that the seam has some flexibility to it.
Completing the Covered Underarm Seam
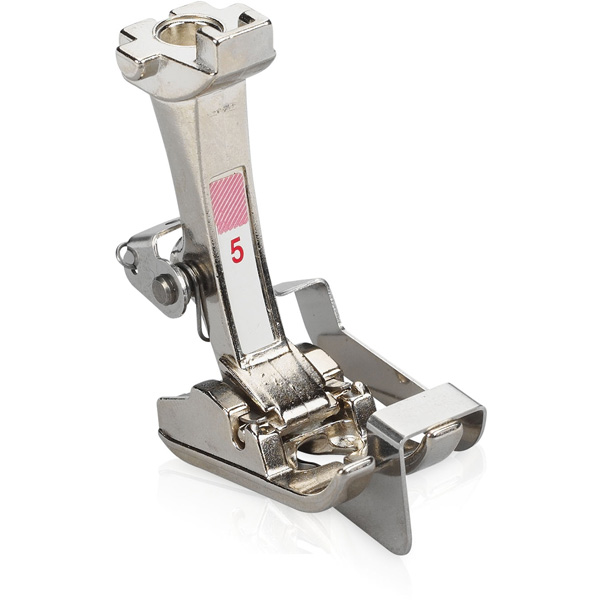
If you choose to edgestitch this seam binding down, note that it will be difficult (but possible!!) to do so inside the narrowest part of the sleeve. You will need a smaller foot than the Walking Foot, I recommend Edgestitch Foot #5. I edgestitched the body and 2/3 of the sleeve in one pass, then ended my seam, rotated my work, and completed the edgestitching from the other side.
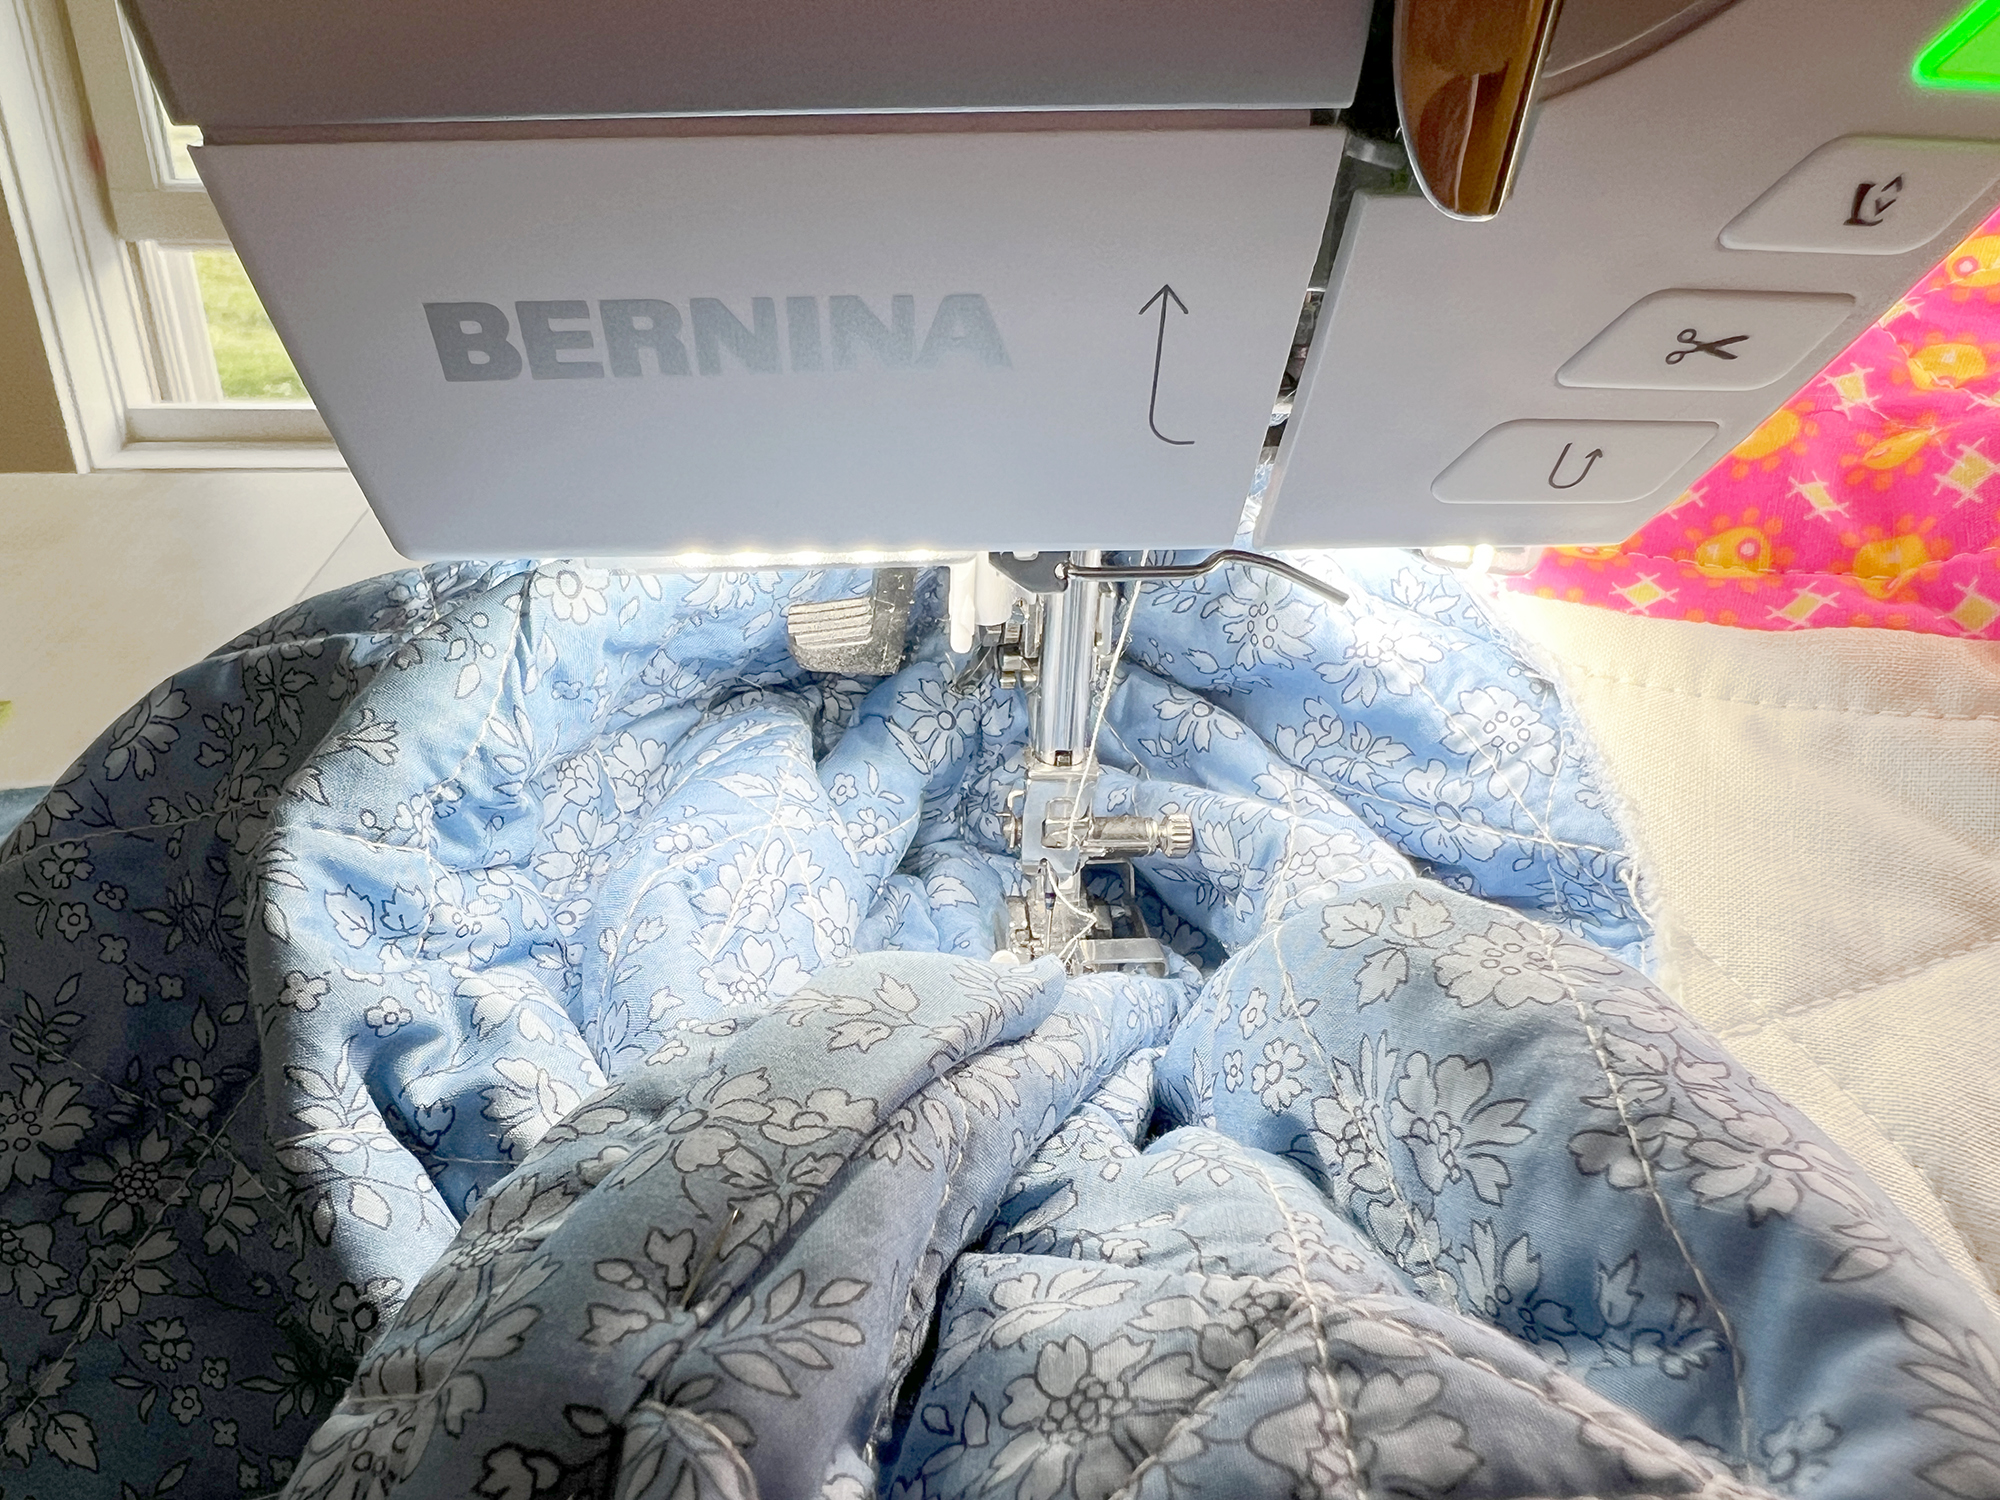
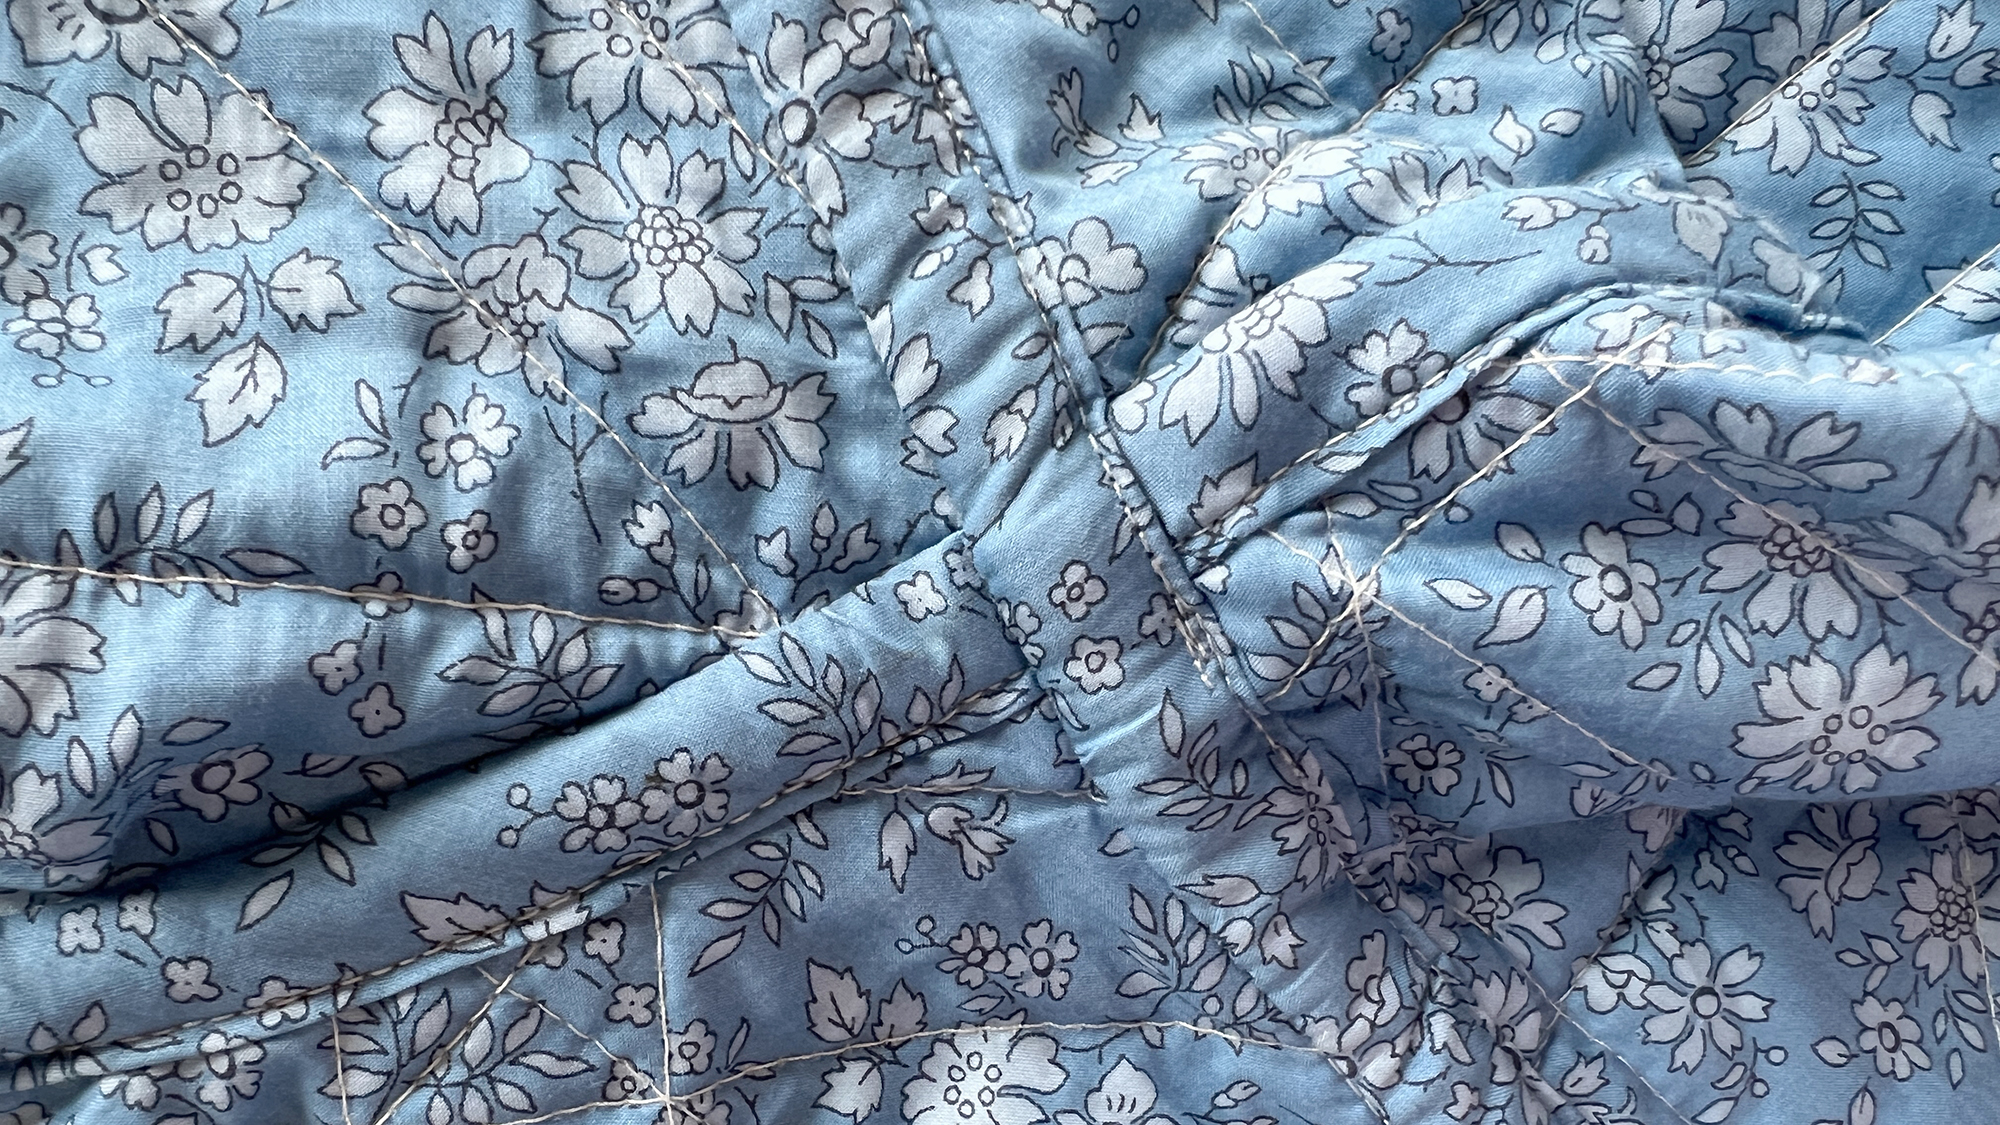
NOTE: You may prefer another option! You may hand slip stitch the seam down instead of edge stitching. This is my personal preference because it is super clean looking and the seam is still flat.
Or, you may bind this seam in the same method describe inside the pattern envelope. Sew the binding down as above, and then wrap the untrimmed seam allowances. Stitch again, securing the binding around the seam allowances.
By now, your project should feel like it’s coming to life. This is starting to look like a jacket! My favorite moment in creating a quilted jacket is when I can gently try it on and imagine the finished garment. If you try on your jacket, take special care not to stretch the neckline.
Prep for Next Week
Next week we will bind the jacket edges and add closures. We’ll also discuss crinkles! Next week you will need to make or purchase double fold bias binding, and either buttons or snaps. I will be using Dritz Heavy Duty Snaps for my jacket, but buttons can work, too.
I’m super excited to see your work, so please share and tag me on Instagram if you’re sewing along. As always, ask any questions you may have in the comments below. I’m here to help!
See you next week!
Martha
What you might also like
2 comments on “Sew a Custom Quilted Tamarack Jacket, Part Two”
-
-
Hi Pam, what a great problem to have! 🙂 I would try to use the existing edges of the quilt for things like the hem. I would also follow the tips here for viewing your quilt design through the pattern tissue, so you can place it in a way that shows off your hard work of making a beautiful quilt! I like to make sure the front and back of the jacket have the design centered. You’ll make a wonderful jacket!
-
Leave a Reply
You must be logged in to post a comment.




I plan to use a quilt I made previously (I have more quilts than I need). Any suggestions or things to watch out for?