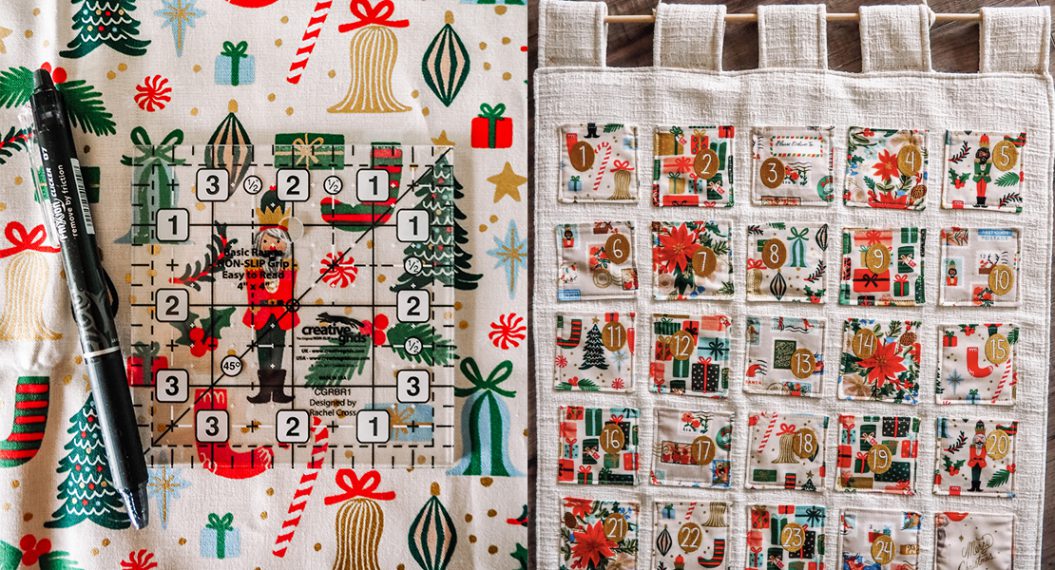
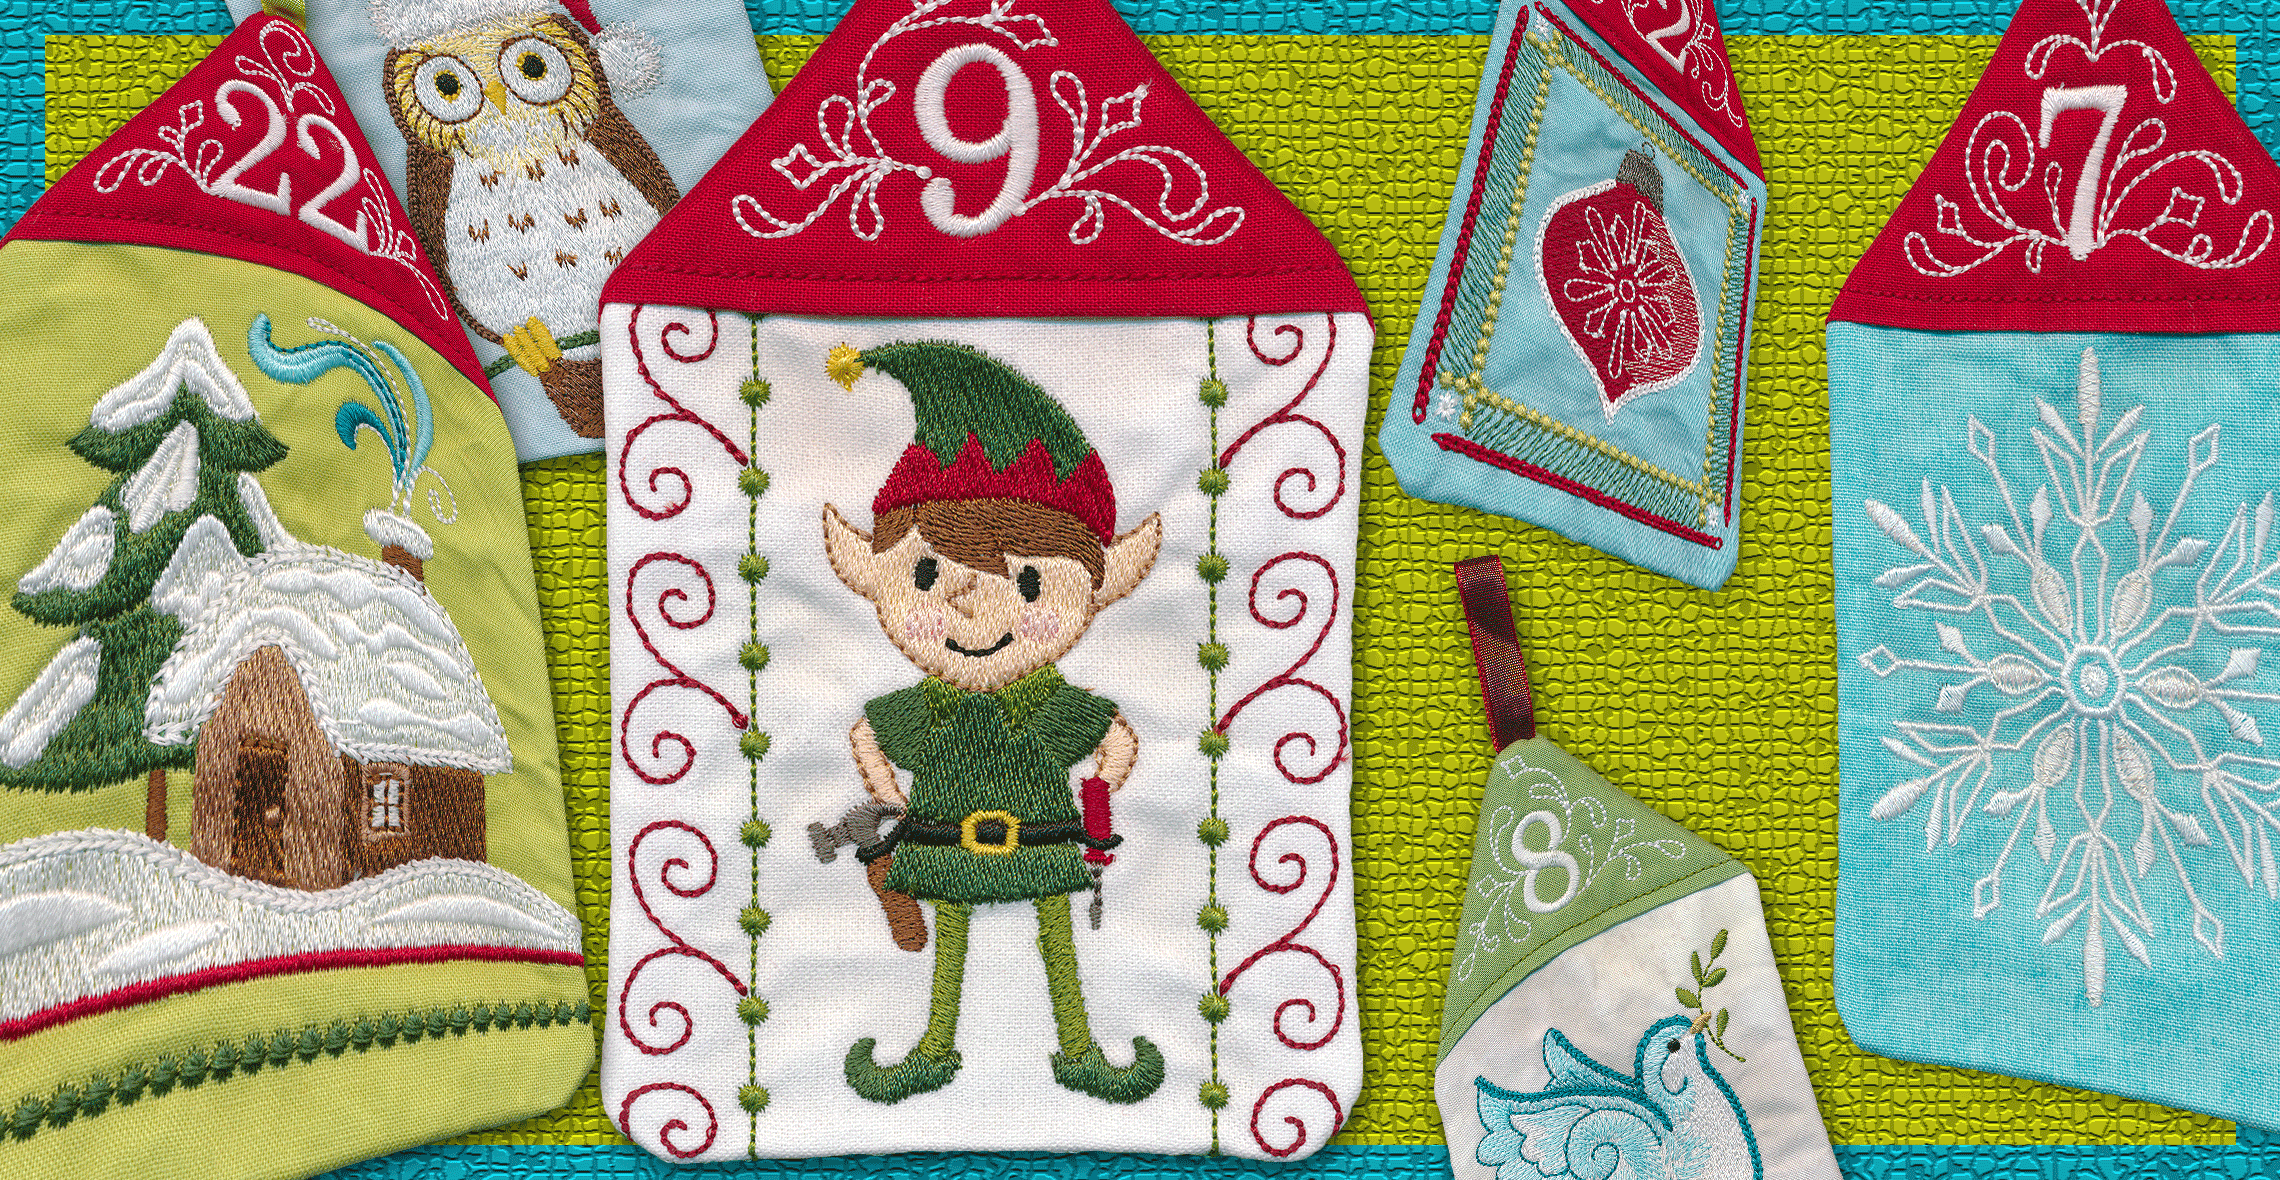
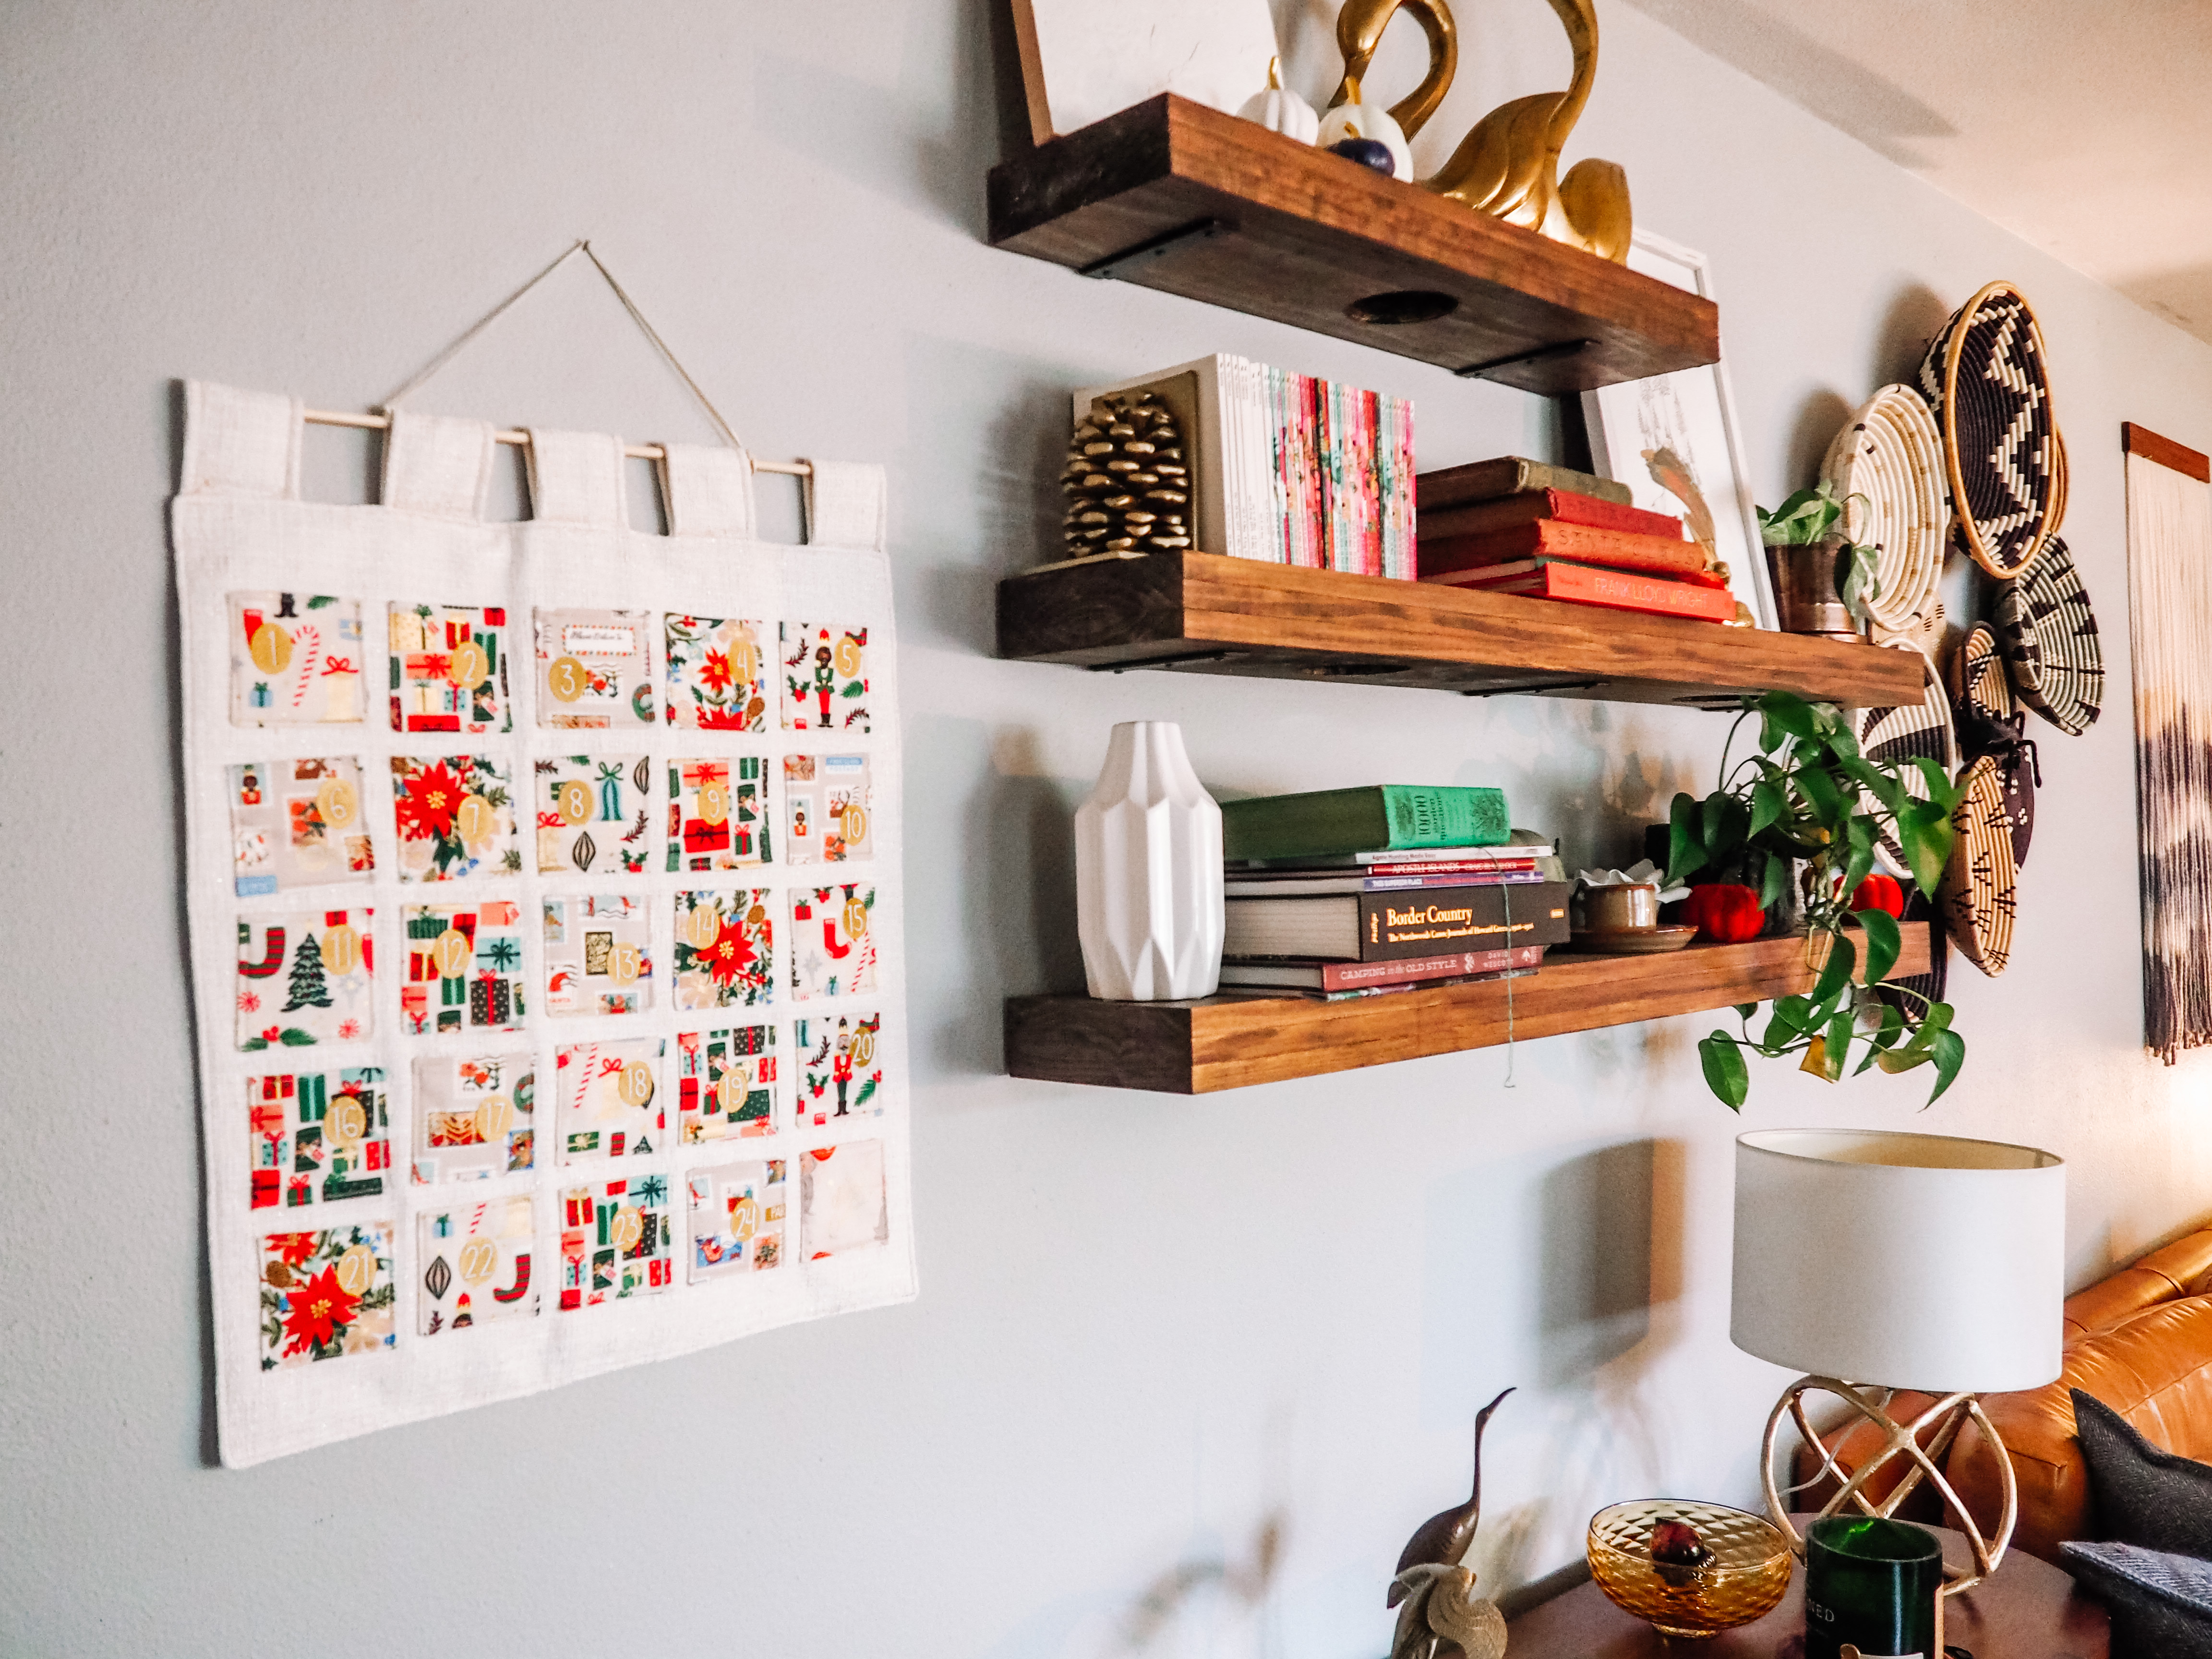
Christmas Countdown Wall Hanging, Part Three
Hello friends! Candice here from A+CO. I’m excited to share the final post for this three-part series, making this Christmas Countdown Wall Hanging. We spent time planning our project in part one and part two had us embroidering the numbers onto the pocket squares. If you missed either post, be sure to click back and start there.
In this post, we are going to put it all together. Construction is straightforward and includes lining all pieces for a beautiful, finished look. A couple of notes before we get started:
- Be sure to read through all of the instructions before diving in
- Use 1/4″ seam allowance throughout
- I recommend 50wt thread for all parts of construction
Let’s dive in!
Materials
- Pieces cut in Part One:
- 25 – 3.5″ x 3.5″ Pocket lining squares
- 1 – 23″ x 21″ Main fabric piece
- 1 – 21″ x 21″ Lining fabric piece
- 5 – 5.5″ x 3″ Main fabric hanging tab pieces
- 5 – 5.5″ x 3″ Lining fabric hanging tab pieces
- 1 – 23″ x 21″ Fusible fleece piece for the background
- 5 – 5.5″ x 3″ Fusible fleece pieces for the hanging tabs
- 25 – embroidered pocket squares from Part Two
- Sewing notions (clover clips, pins, scissors, etc.)
Instructions to Sew a Christmas Countdown Wall Hanging
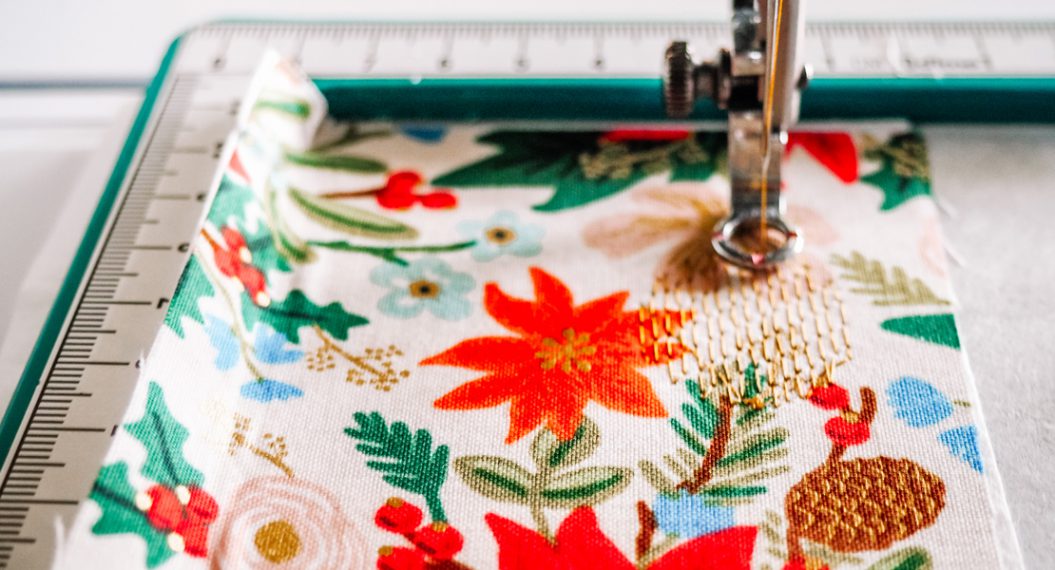
Step 1: Pocket Squares

Each pocket square will be lined and then top stitched. At the end, we will sew the pockets directly onto the background fabric, leaving the top open for treats.
If you haven’t already, carefully remove the stabilizer from the back of each pocket square. Since we will be lining them, if there is a small amount of stabilizer let it is totally ok. Once your squares are ready, follow the steps below:
- Take one pocket square and one lining square and place them right sides together (the patterned/front sides of the fabric should be facing each other
- Sew a 1/4″ seam around three sides, leaving one side open to turn the squares right side out
- Careful not to cut into the seam, trim the corners off of the two sewn corners. This will help reduce bulk when you turn them right side out
- Turn the squares right side out through the side left unsewn
- On the open side, fold each fabric inwards 1/4″, press them in place and press the pocket flat
- Top stitch 1/4″ around all four edges
- Repeat for all 25 pocket squares


Step 2: Construct Hanging Tabs
If you’ve chosen to use a hanging sleeve, corner pockets, or to use the Christmas Countdown as a pillow cover, you can skip this step.
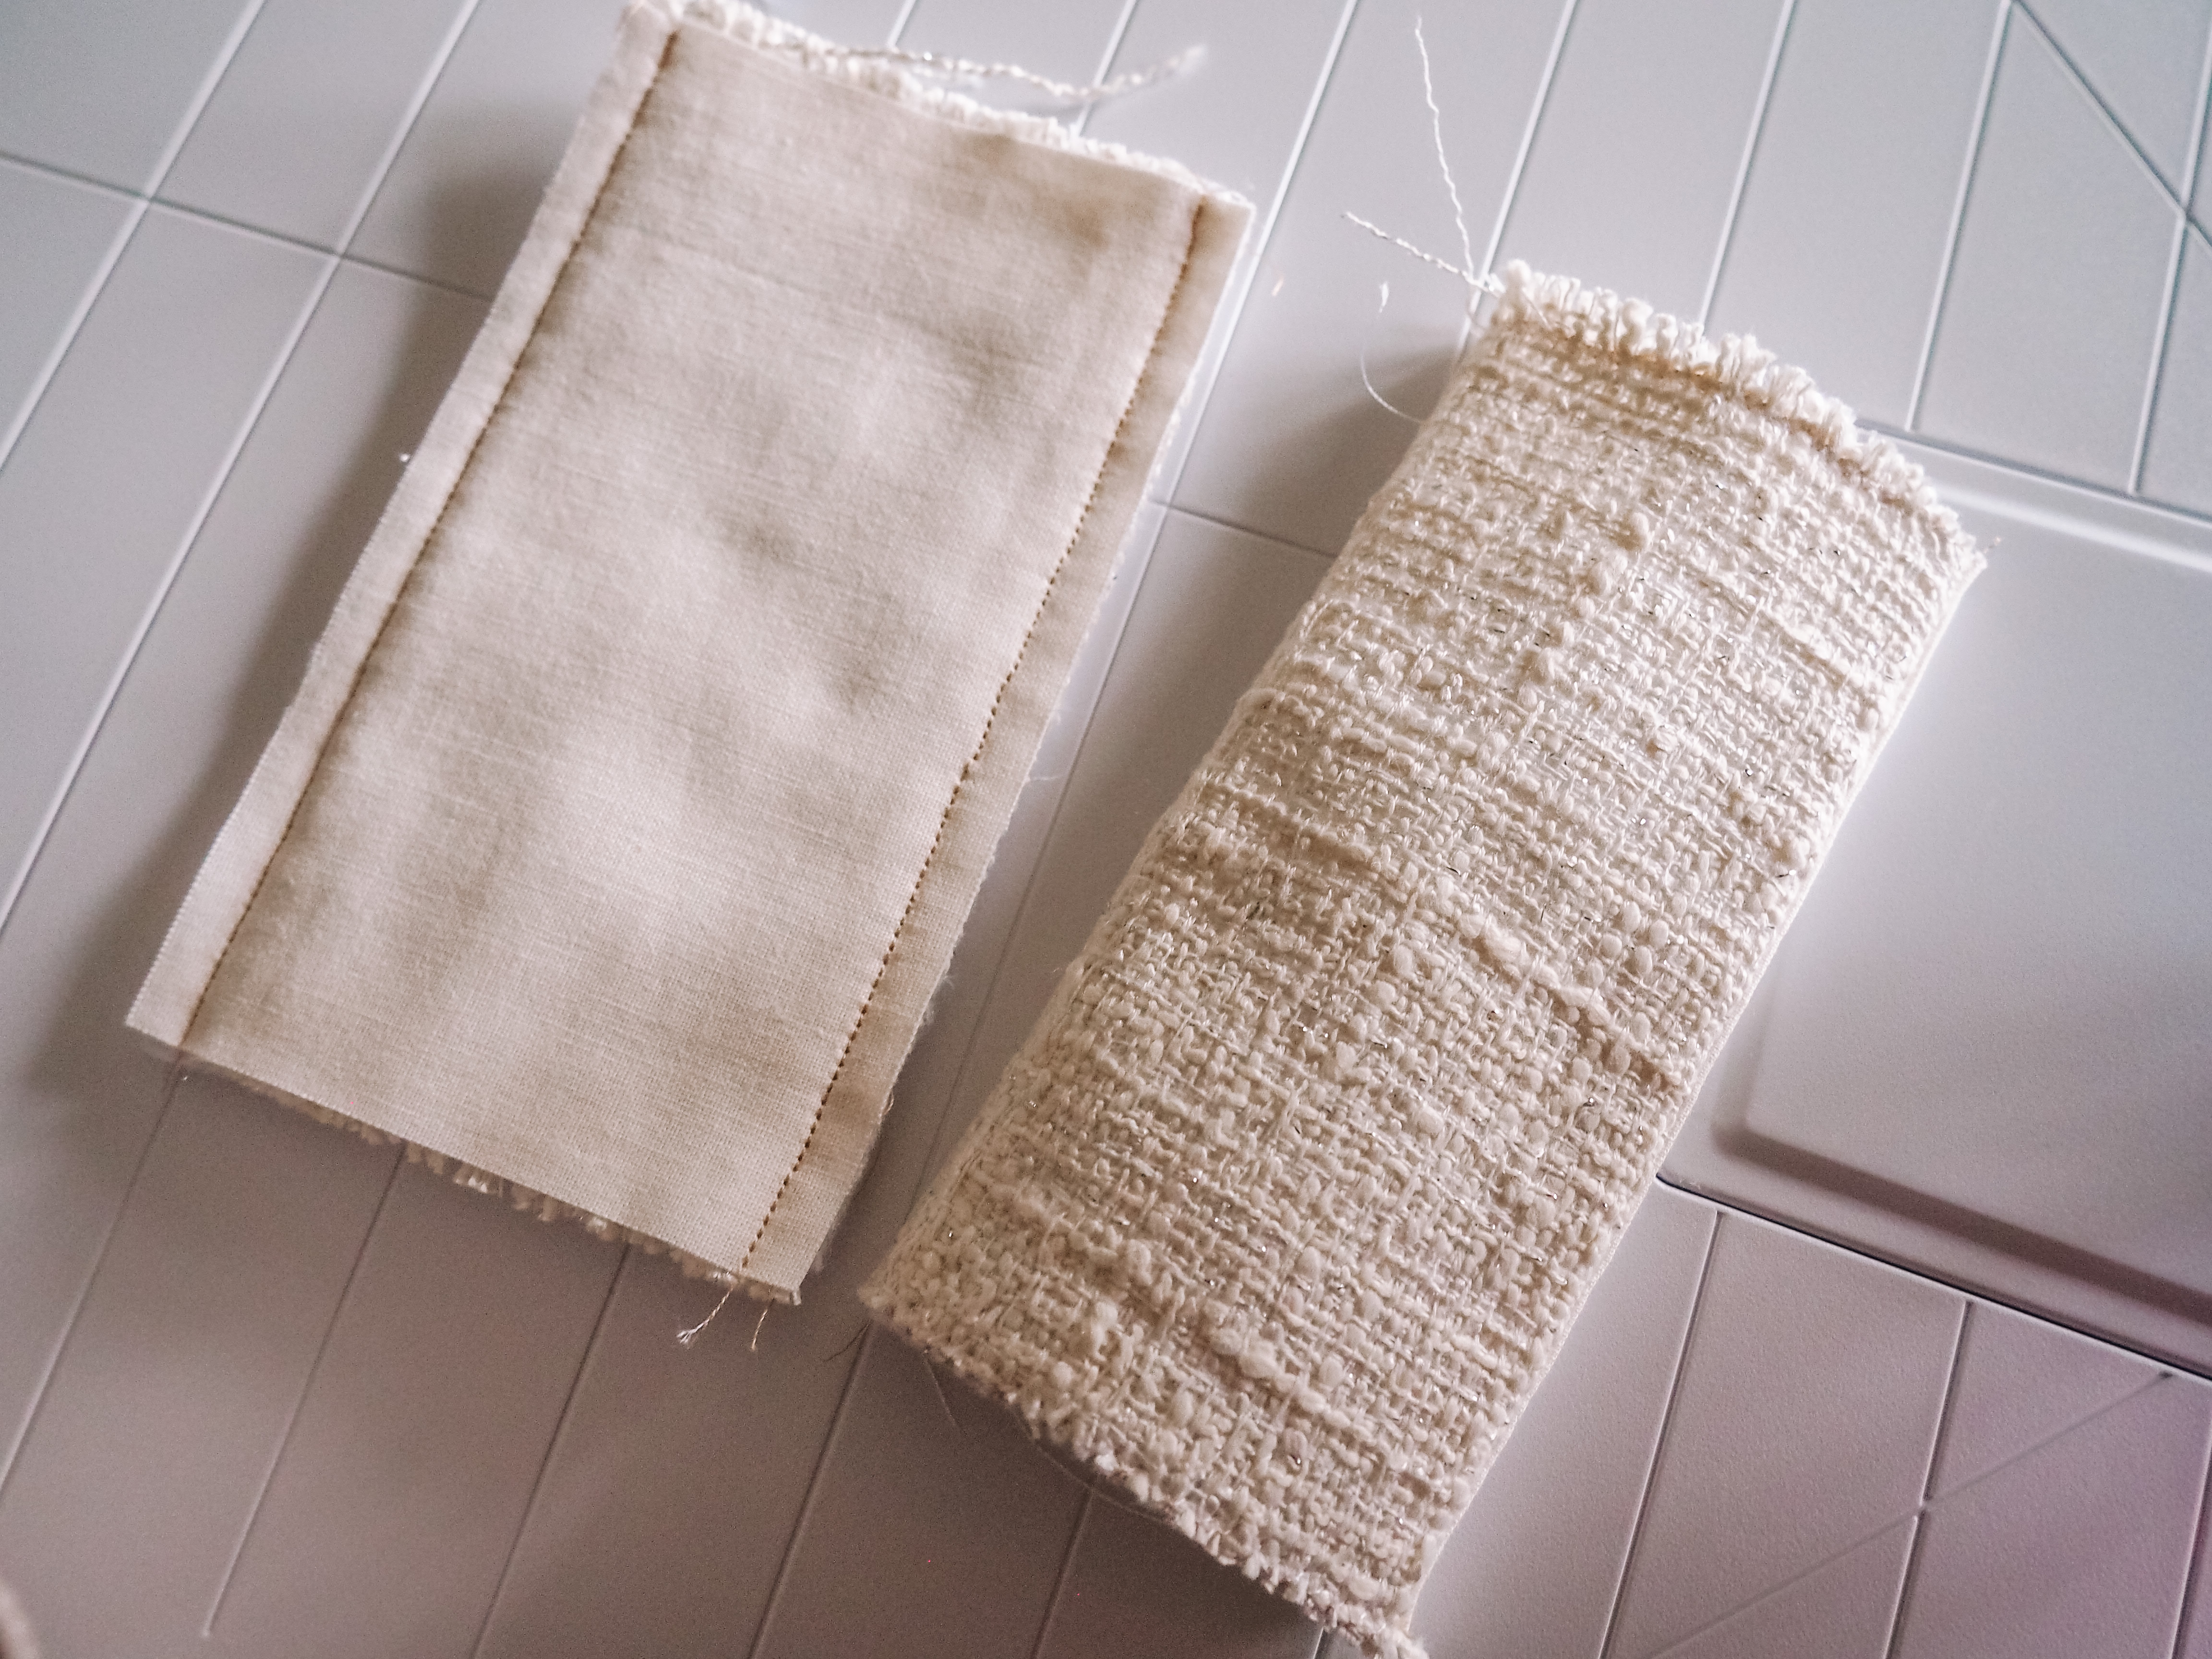
- Take one 5.5″ x 3″ main fabric piece and place it face down on your ironing surface
- Place one 5.5″ x 3″ fusible fleece piece on top of the wrong side of the main fabric piece, adhesive side down
- Use your iron to heat set the adhesive, following the manufacturer’s instructions
- Pair up the fleece/main fabric piece with a 5.5″ x 3″ lining fabric piece, right sides together.
- Sew along the two long ends, leaving the two short ends open
- Turn the hanging tab right side out and press flat
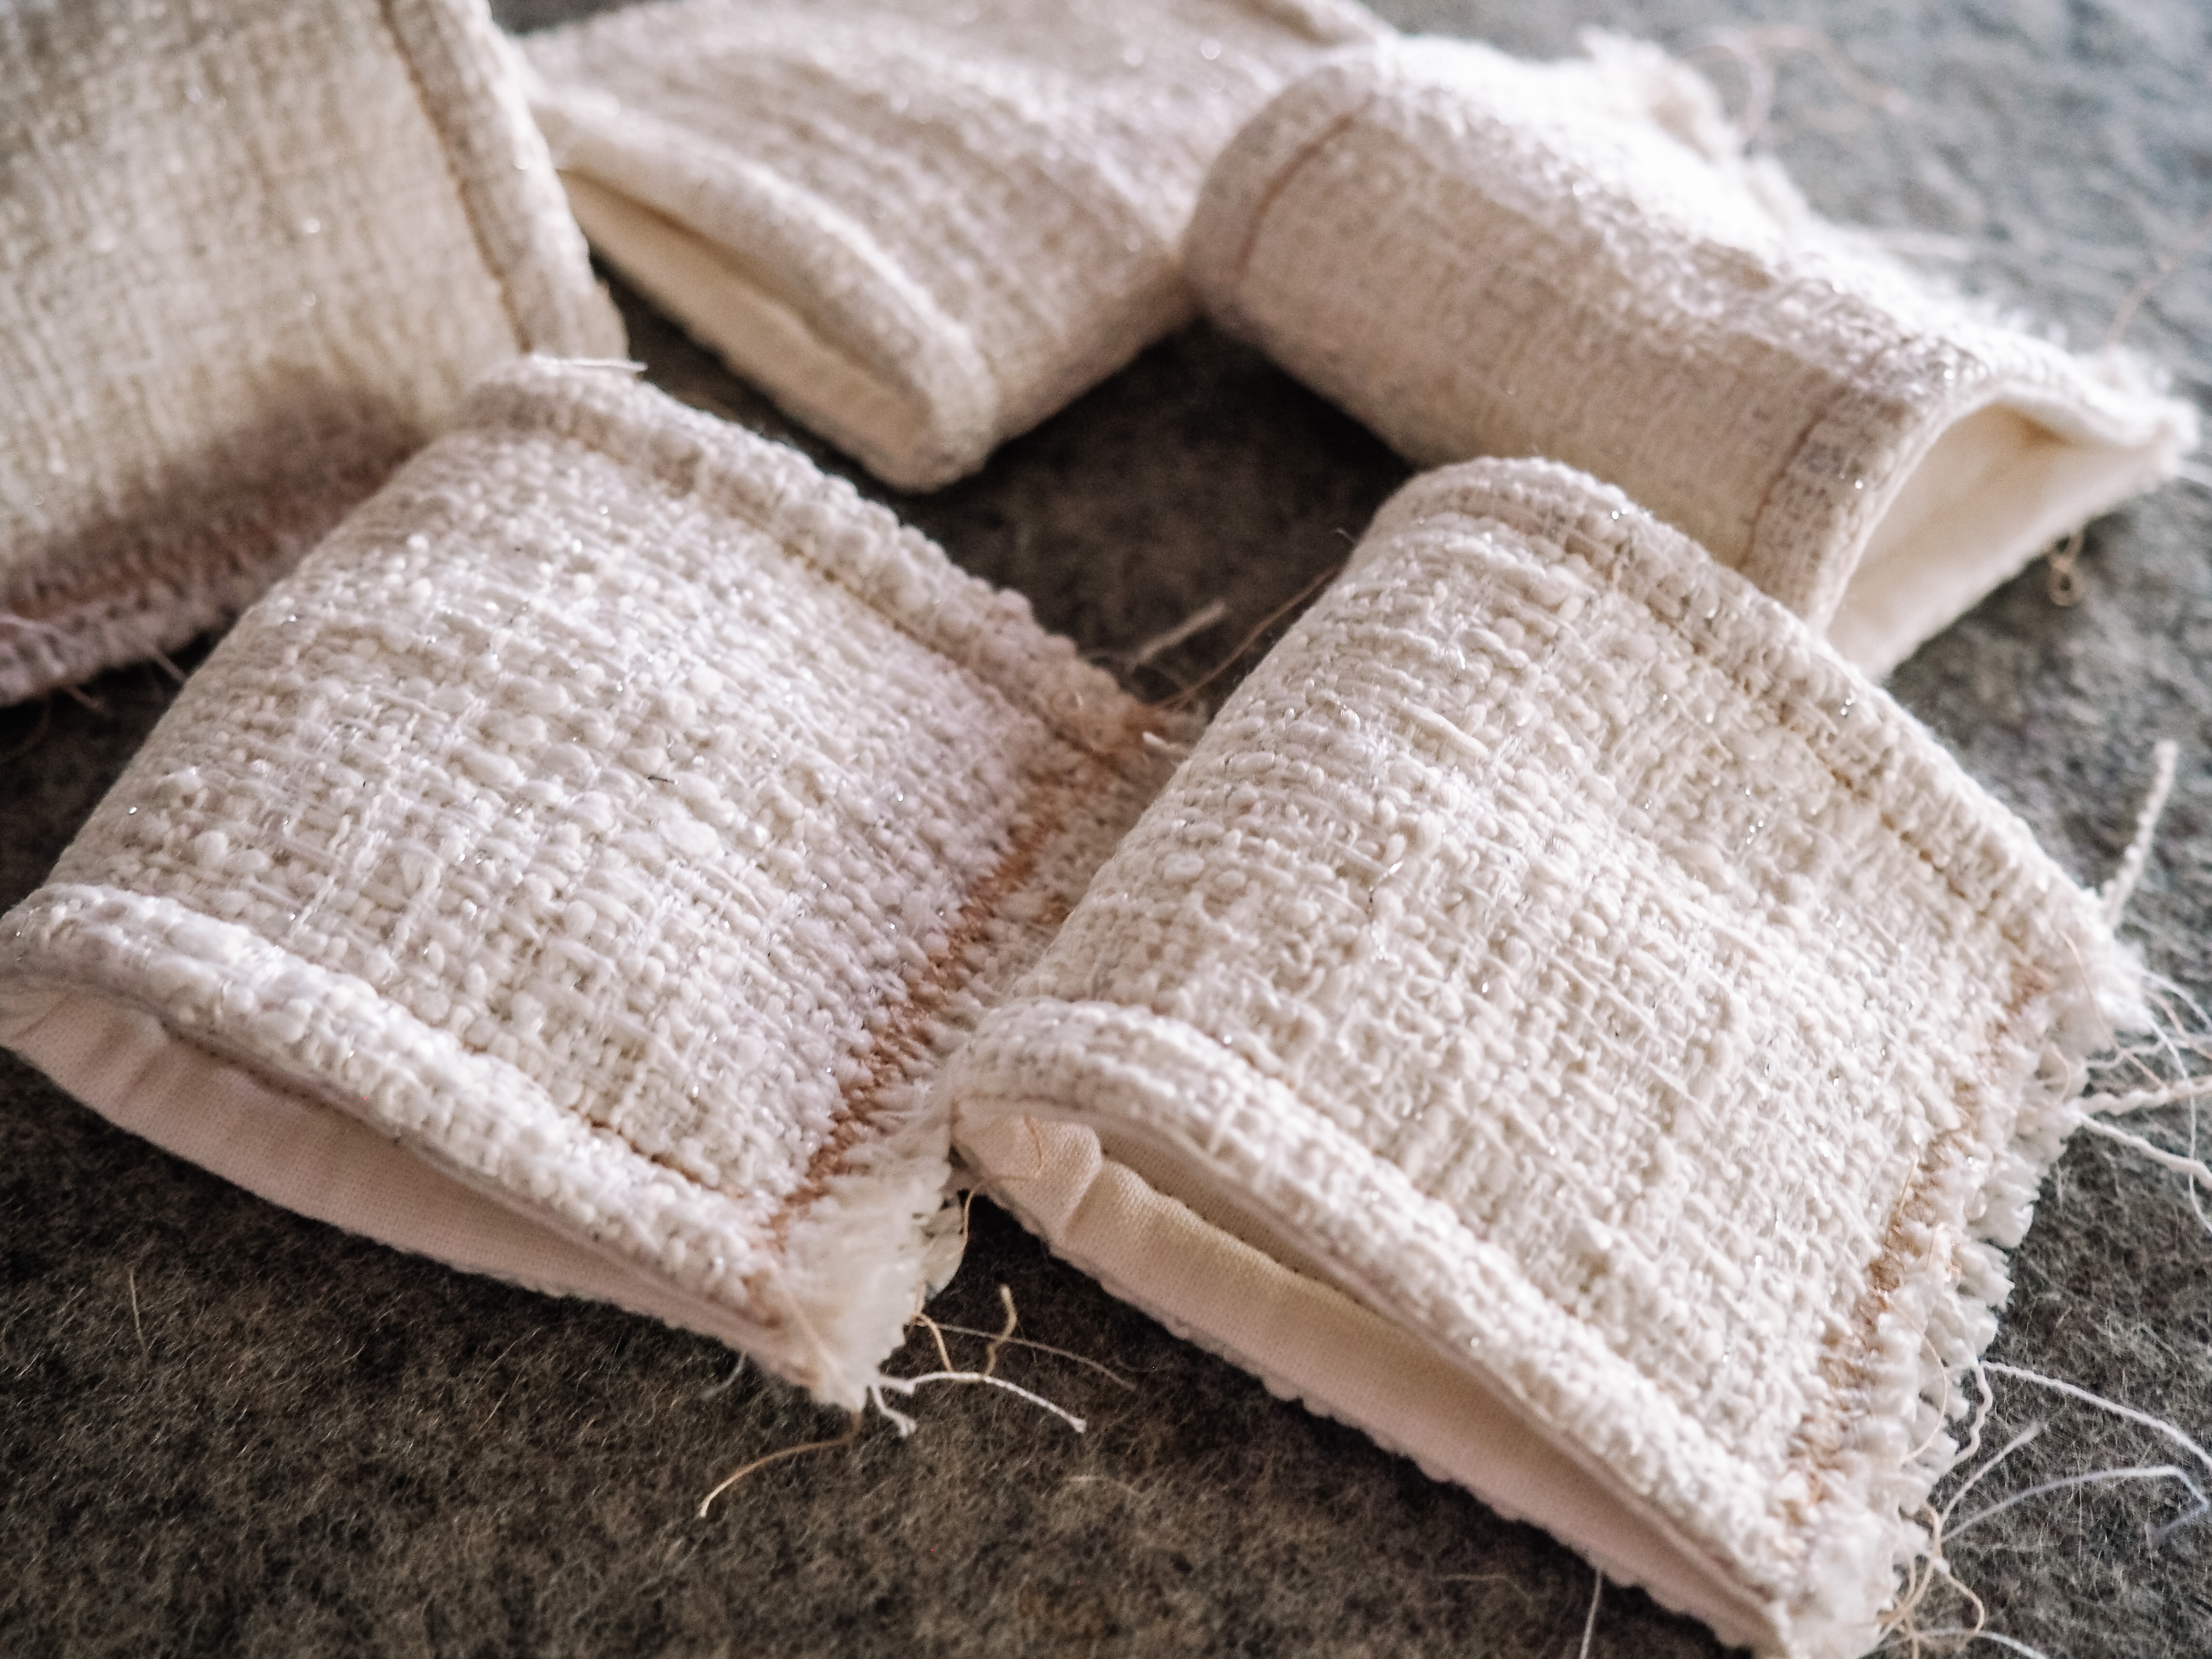
- Stitch a 1/4″ top stitch along the edges.
- Fold the tab in half, matching up the two short ends, with the main fabric on the outside
- Sew a 1/4″ seam along the two short ends to baste them together
- Repeat for the remaining four hanging tabs
Step 3: Prepare the Background
The background piece will finish at 21″ tall and 19″ wide but we’ve cut a bit extra for squaring things up. We are going to stabilize the main fabric with fusible fleece and if you want to add quilting, that is when you’ll want to do it. We are going to attach the lining with the pieces wrong side out and then turn it so the raw edges are encased inside. This eliminates the need to add binding but also makes it a bit more difficult to add quilting to all three layers.
- Take the 23″ x 21″ main fabric piece and place it face down on your ironing surface
- Place the 23″ x 21″ fusible fleece piece on top of the wrong side of the main fabric piece, adhesive side down
- Use your iron to heat set the adhesive, following the manufacturer’s instructions
- Add quilting if desired
- Trim the main fabric piece (with the fusible fleece attached) down to 21.5″ x 19.5″
Step 4: Baste Hanging Tabs
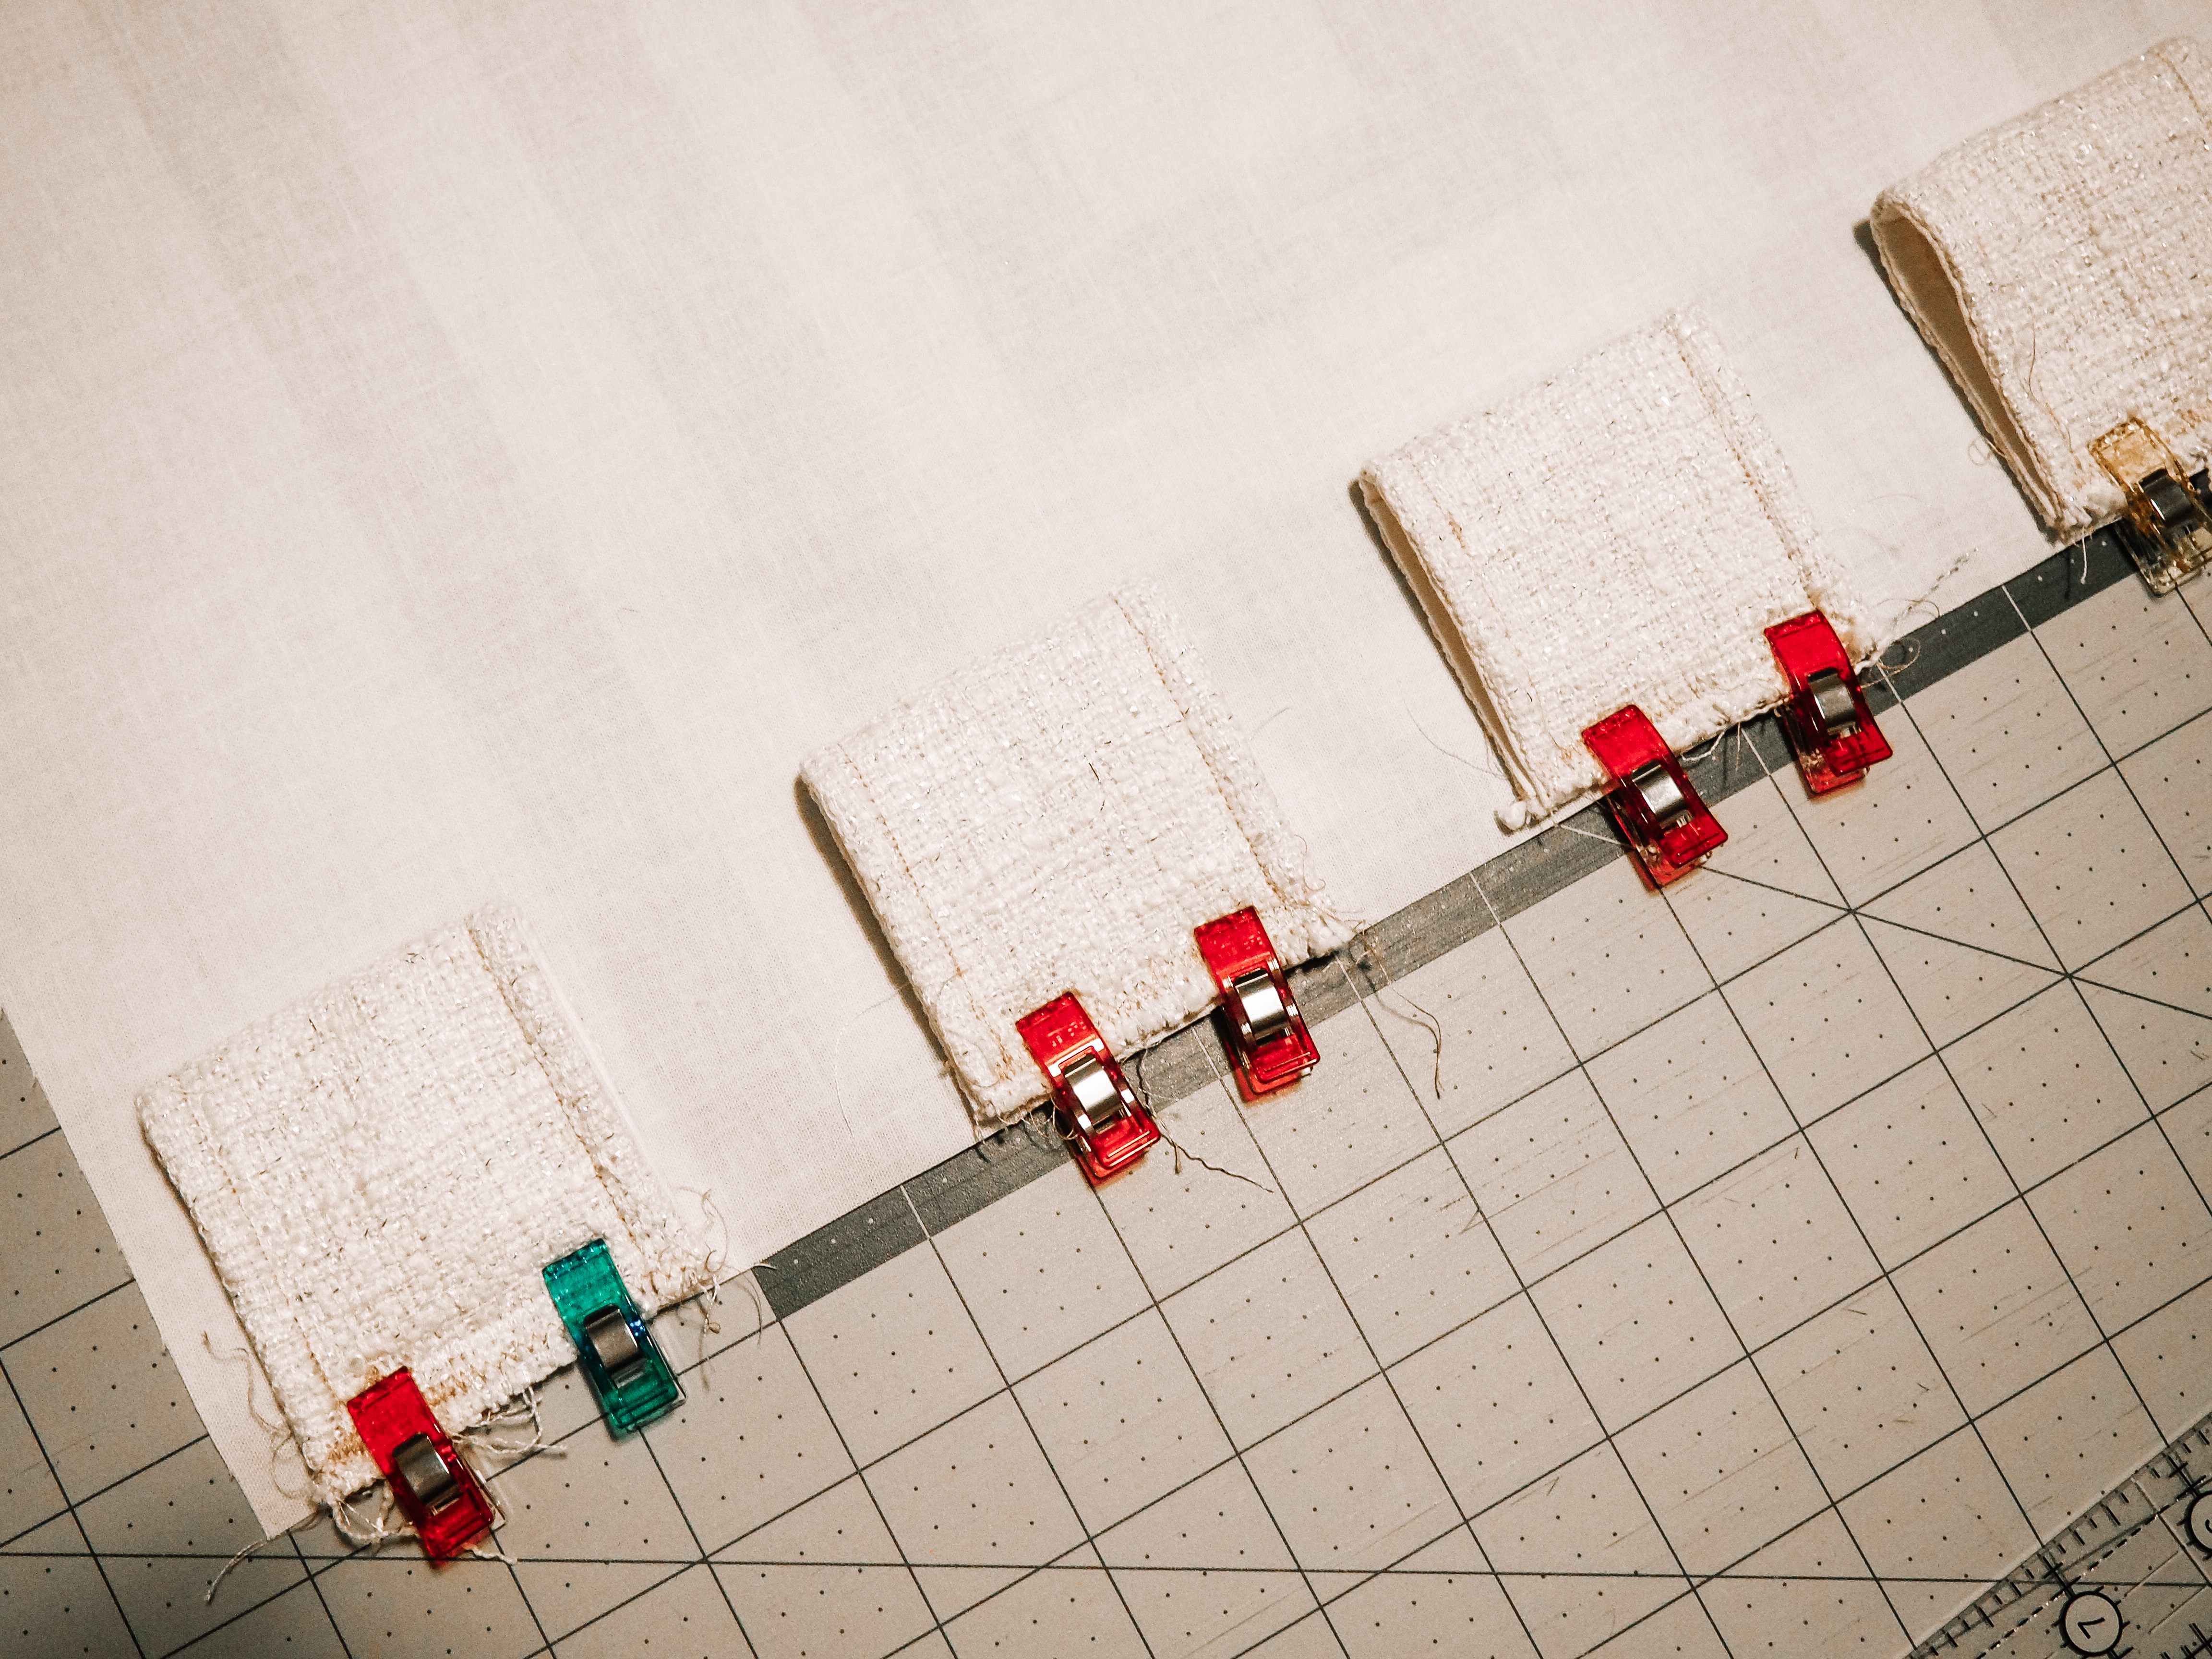
- Begin with the main hanging piece in front of you vertically. Be sure the fabric is face up, with the fusible fleece facing down
- Along the top edge, measure 1 1/2″ in from the left. Place your first hanging loop with the raw edges aligned to the top. Pin or clip in place. The left side of the loop should be 1 1/2″ from the left side of the main piece.
- Starting from the right edge of the first hanging loop, measure 1 1/2″ to the right and pin your second hanging loop in place.
- Repeat with the remaining three hanging loops, measuring 1 1/2″ between each loop.
- Measure again to check that the two outer loops are 1 1/2″ from the edges and that there is 1 1/2″ between all loops.
- Baste the loops in place by sewing a 1/4″ straight seam across the top edge of the main piece
Step 5: Background Lining

- Lay the 23″ x 21″ background lining fabric piece vertically, right side up in front of you
- Take the now trimmed main background piece and lay it face down on the lining fabric, centered. The hanging tabs should be sandwiched in between the main fabric and the lining fabric. Note: There is extra background fabric to allow for shifting while sewing. We will trim that in a later step.
- On the bottom edge, use pins or a fabric-friendly marking tool to mark two lines in the center, approximately 6″ apart. These marks indicate where a gap will be left in the seam to turn the background right side out.
- Starting at one of the marks you made in step 3, sew a 1/4″ seam along all sides, leaving the 6″ gap open for turning. Back stitch at the beginning and the end to secure your seam. Tip: When sewing over the top edge, go slowly as you move over the hanging tabs, the fabric sandwich will be quite thick here
- Using a ruler and rotary cutter, trim the lining fabric to match the edge of the main fabric
- Taking care to not cut into the stitches, snip off the sewn corners to reduce bulk
- Carefully turn the background piece right side out through the 6″ hole at the bottom. The hanging tabs should now be on the outside with the raw edges encased between the layers
- Use a point turner, hera marker, or other blunt object (I grabbed one of my daughter’s wooden knitting needles) to push the corners out and press the edges with the iron
- Top stitch a 1/4″ seam along the perimeter, folding in the raw edges from the opening as you go
Step 6: Attach Pockets
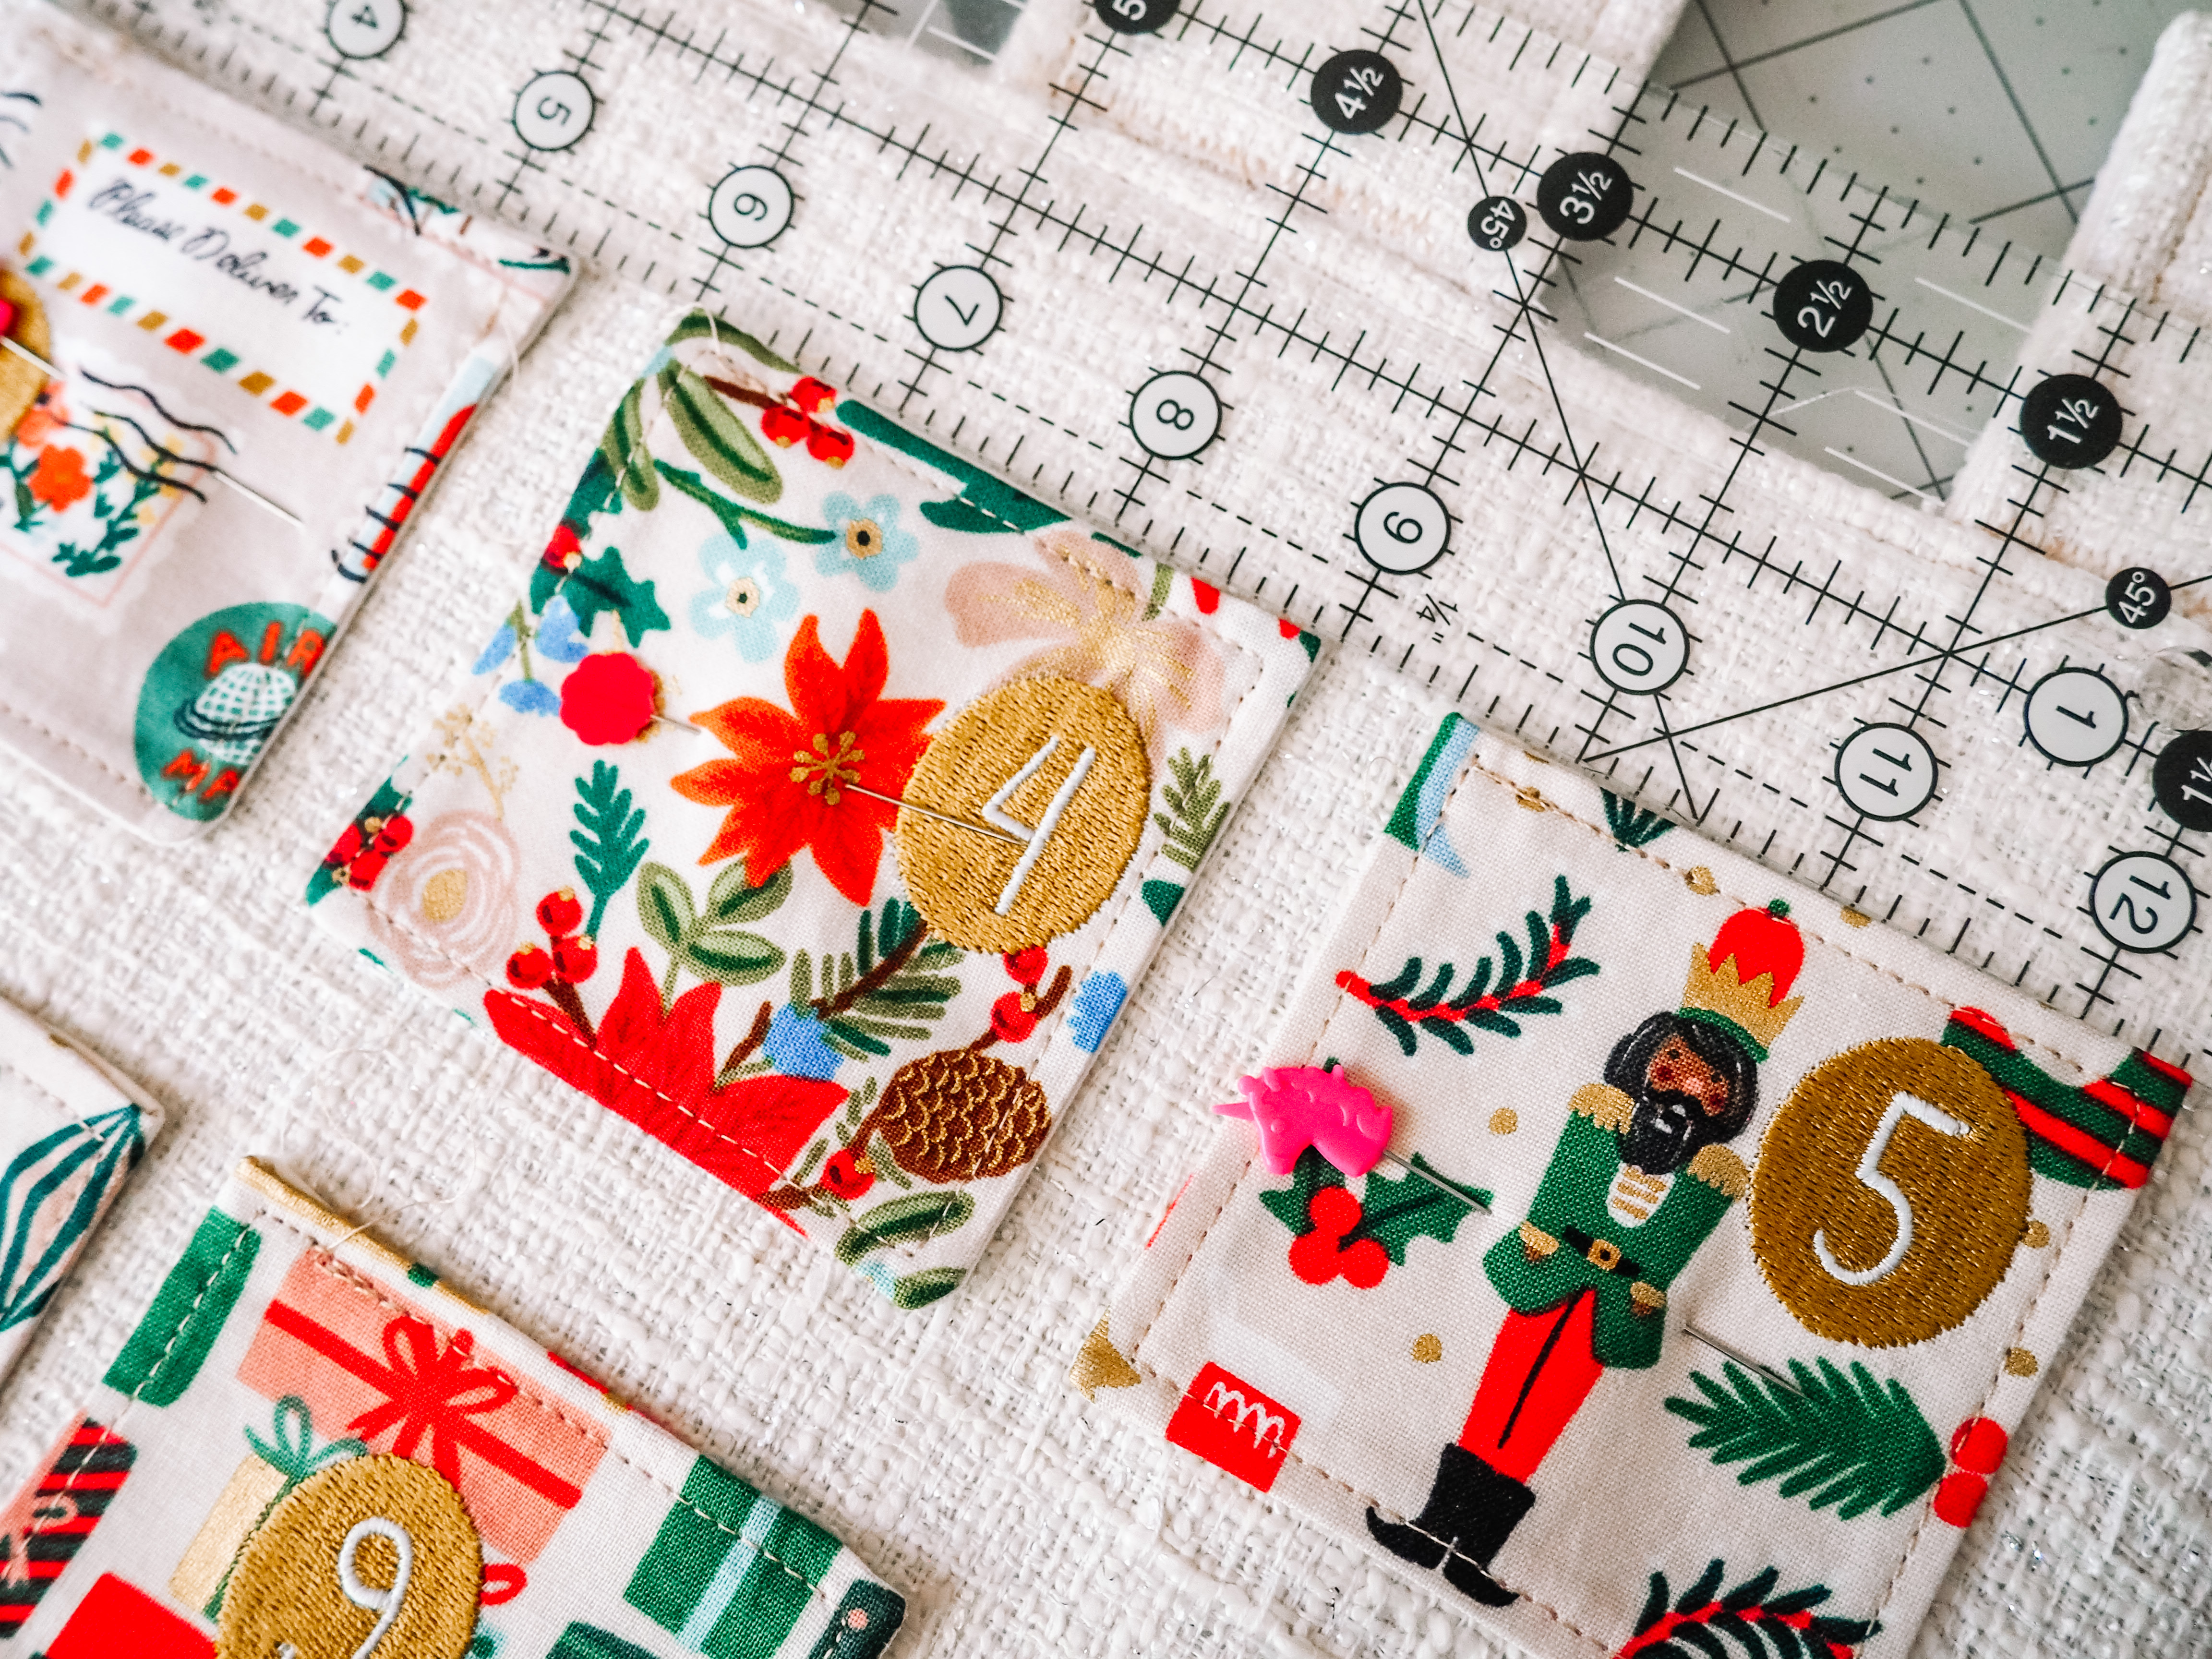
- Using your ruler and a fabric-friendly marking tool (hera marker, heat erasable pen, etc.), measure 2″ down from the top of the background and 1″ in from the left side. Make a small mark
- Grab your first pocket and align the top left corner with the mark made in step 1. Pin in place
- Starting from the right edge of pocket 1, measure 1/2″ to the right and pin pocket 2, with the top edges aligned.
- Continue placing pockets 3-5 in the top row with 1/2″ between them. The top edge of each of the pockets should measure 2″ down from the top edge. The right side of pocket 5 should be 1″ from the right side
- Moving back to the left side of the background, measure 1/2″ down from pocket 1 and 1″ in from the left side. Place pocket 6 with the top left corner at this point. Continue with pockets 6-10, following the measurements in steps 3 and 4. Measure often to ensure rows and columns stay straight
- Continue with the remaining rows, pinning pockets in place as you go and measuring often
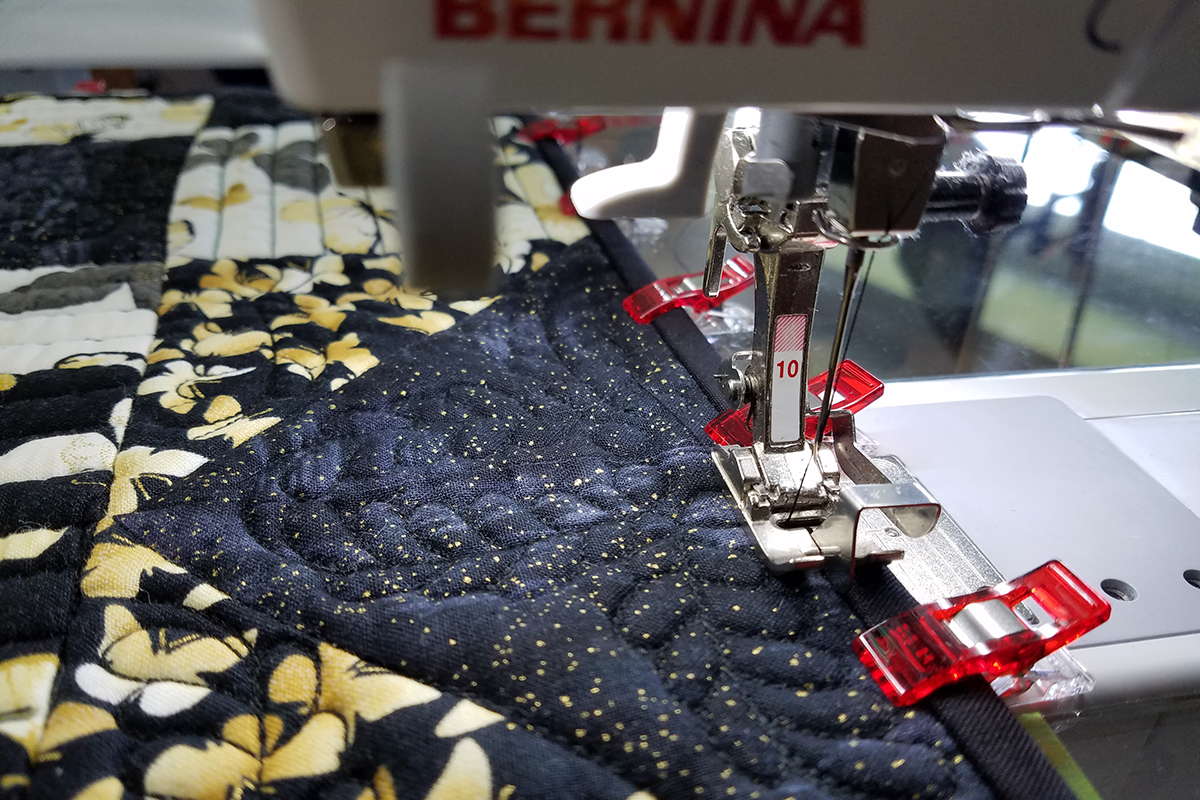
- Once all pockets are pinned, top stitch each pocket in place using 1/4″ seam (this will go right over your top stitching) and leaving the top edge open
- Trim stray threads and give yourself a huge pat on the back!

That’s it, friends! Slide a dowel into those beautiful hanging tabs, hang up your countdown and step back to enjoy. I recommend sneaking some of that chocolate you got for the pockets after all of that hard work, you can always get more!