Christmas Countdown Wall Hanging, Part Two
Hello and welcome back to the Christmas Countdown Wall Hanging series! This is Candice from A+CO and I’m excited to dive into part two of this project with you.
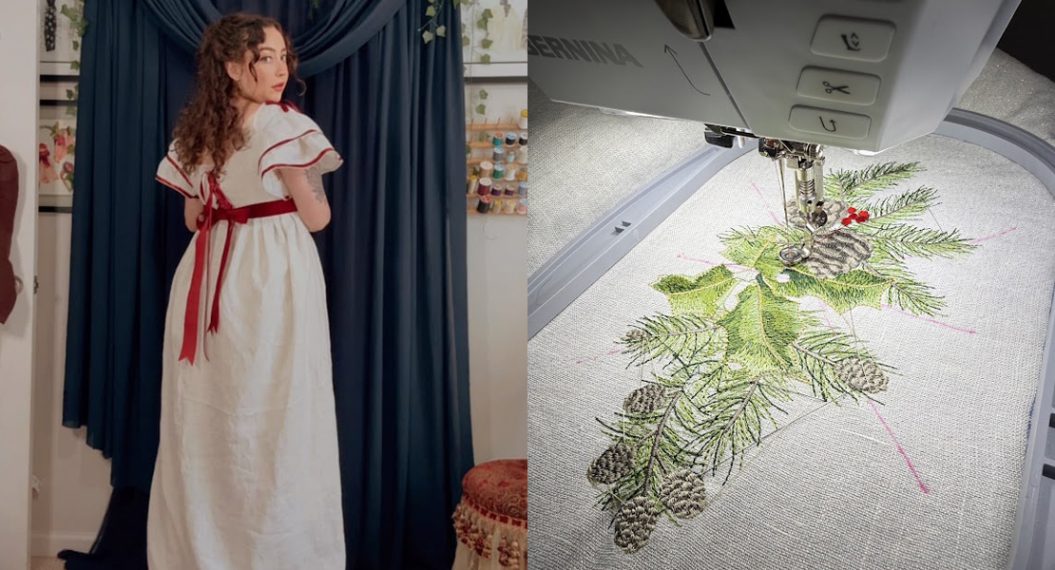
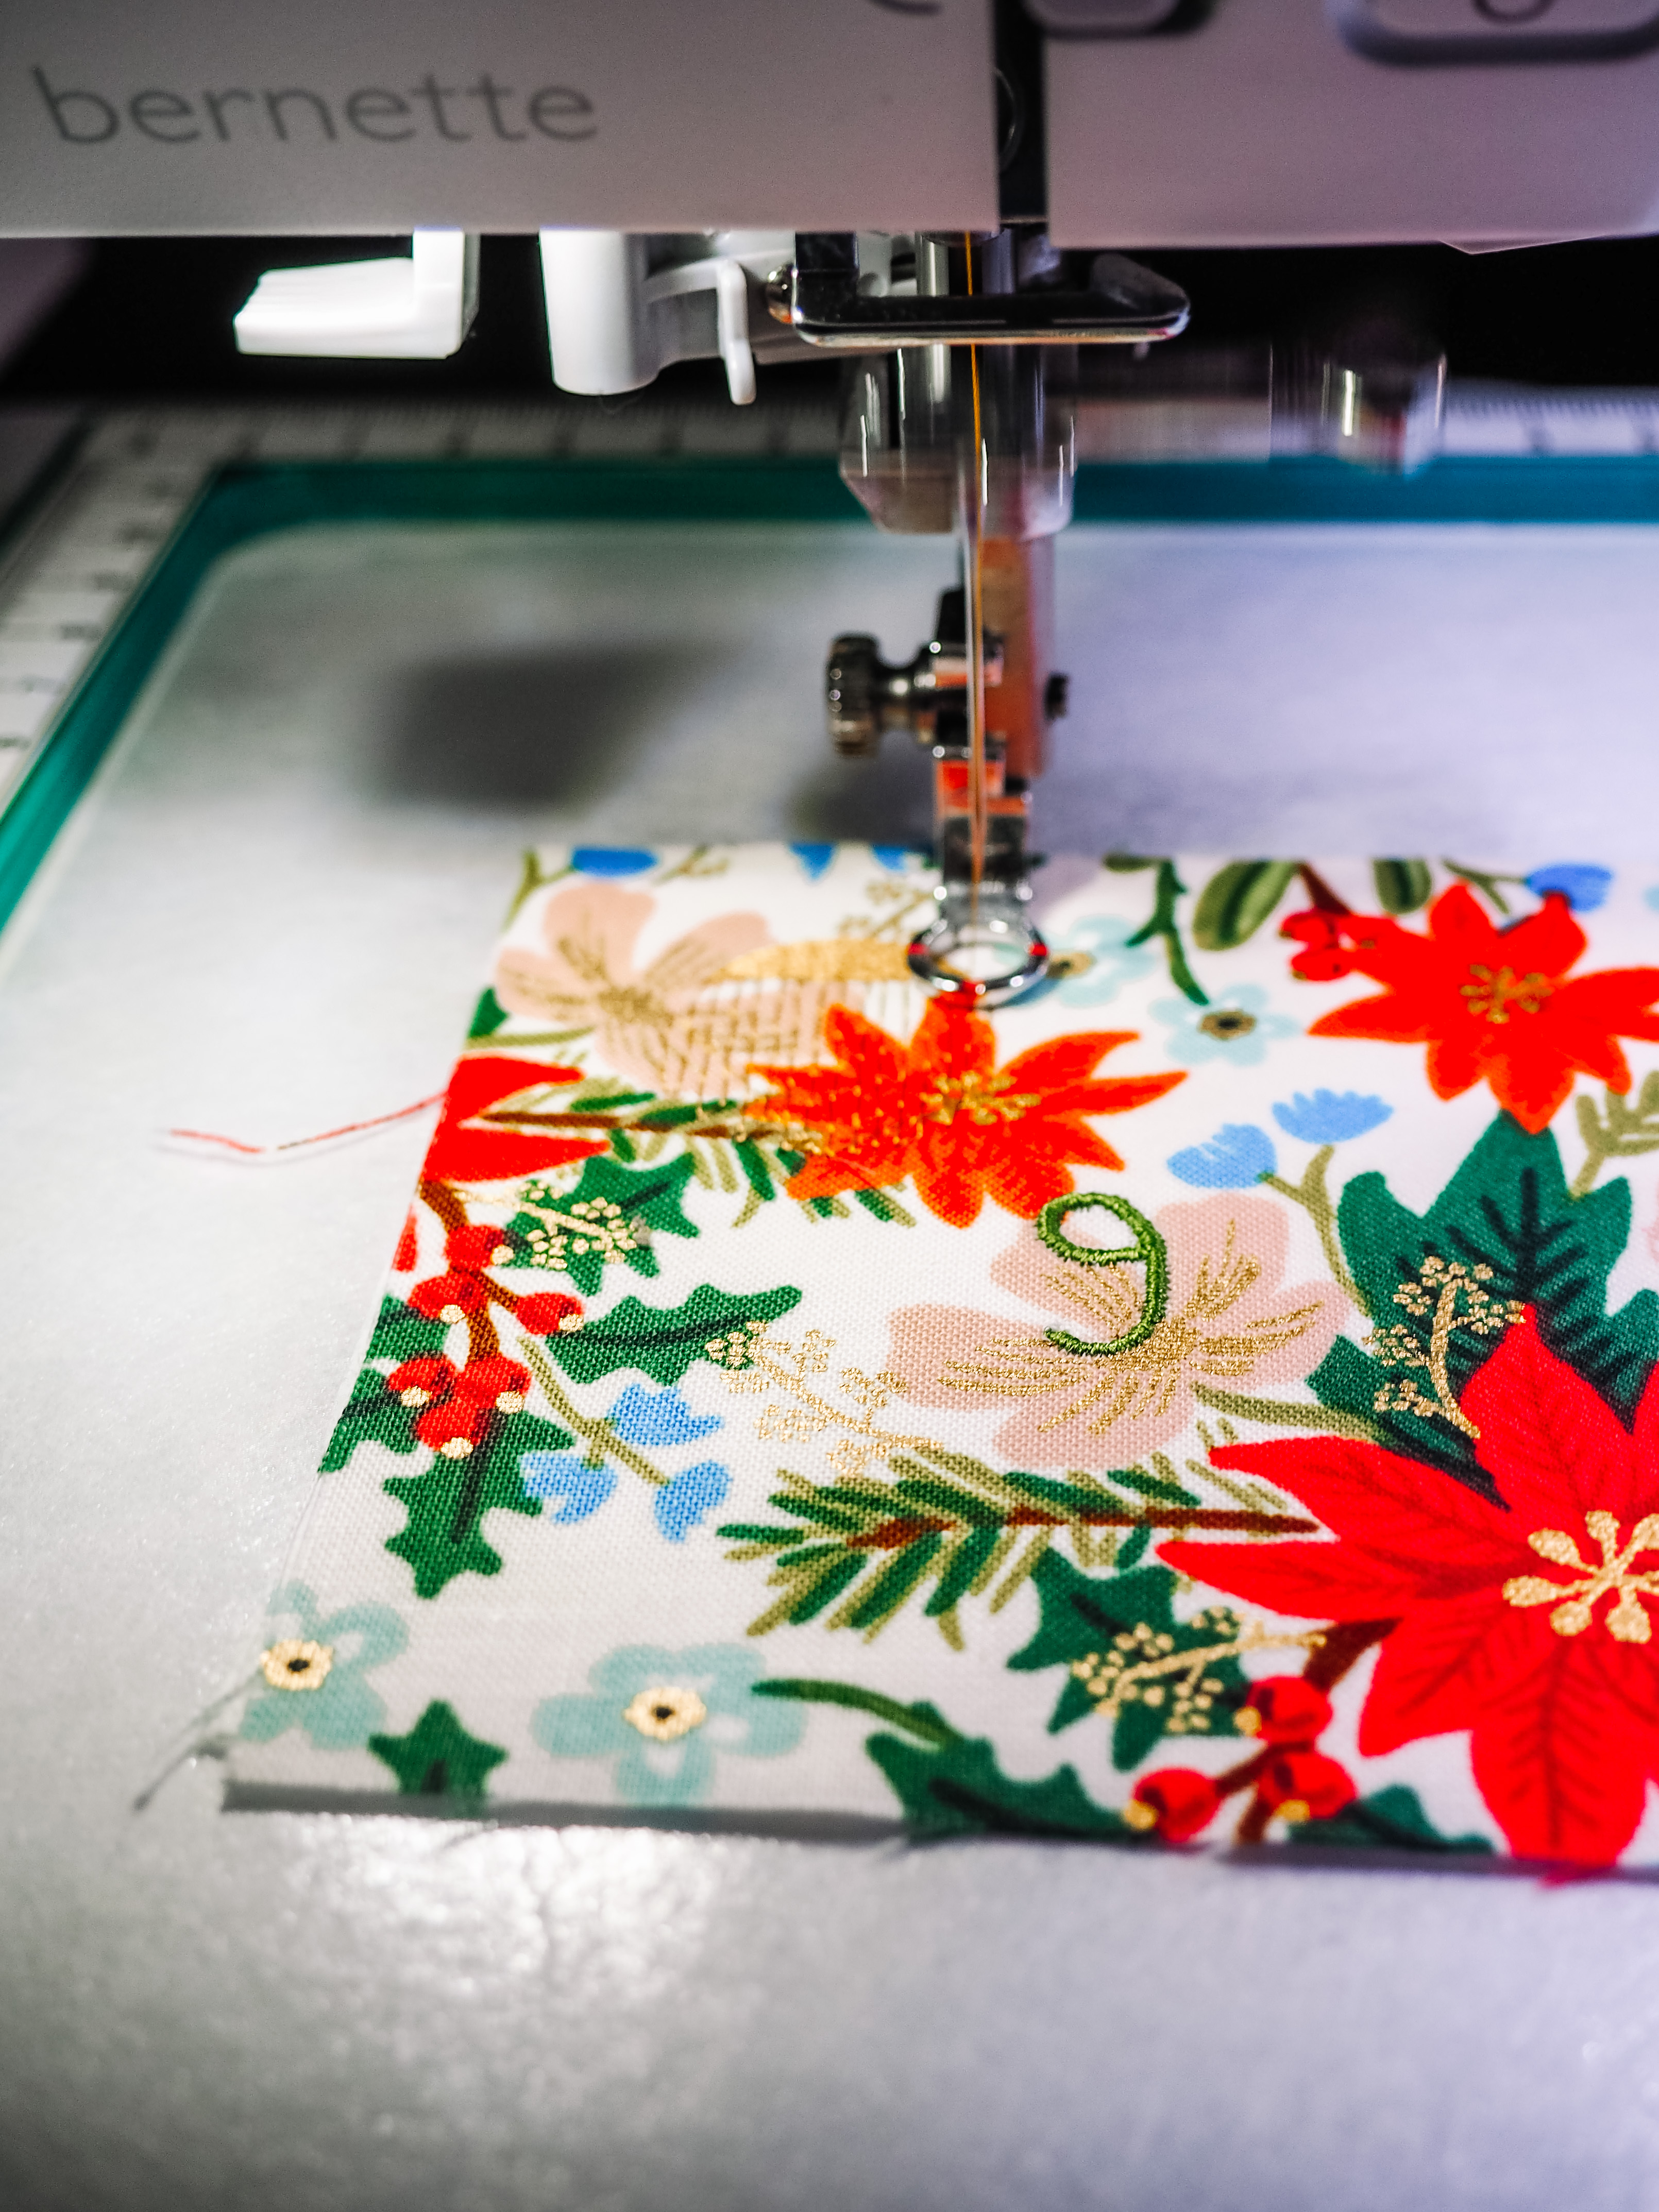
Today we are going to work on the embroidered parts of the wall hanging. As part of my BERNINA and bernette ambassadorship, I get to use the bernette 79 and just love that I can use the embroidery module to add a custom touch to my projects. If I’m being honest, I started a hand embroidered advent calendar about 6 years ago and never finished it because of how long the stitching took. Once I got the b79 and started diving into machine embroidery, I just knew this project needed to be on my list for Christmas.
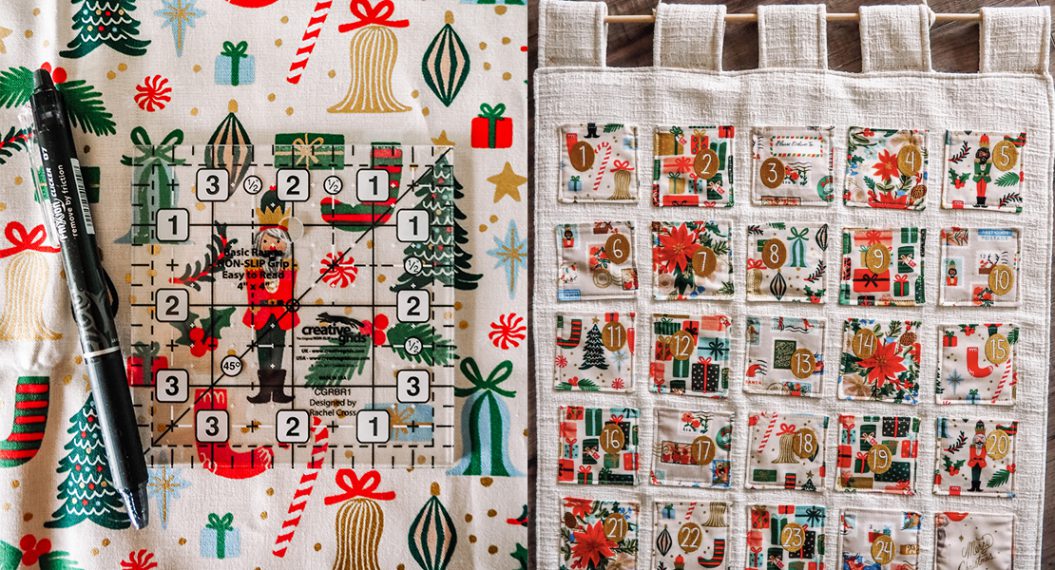
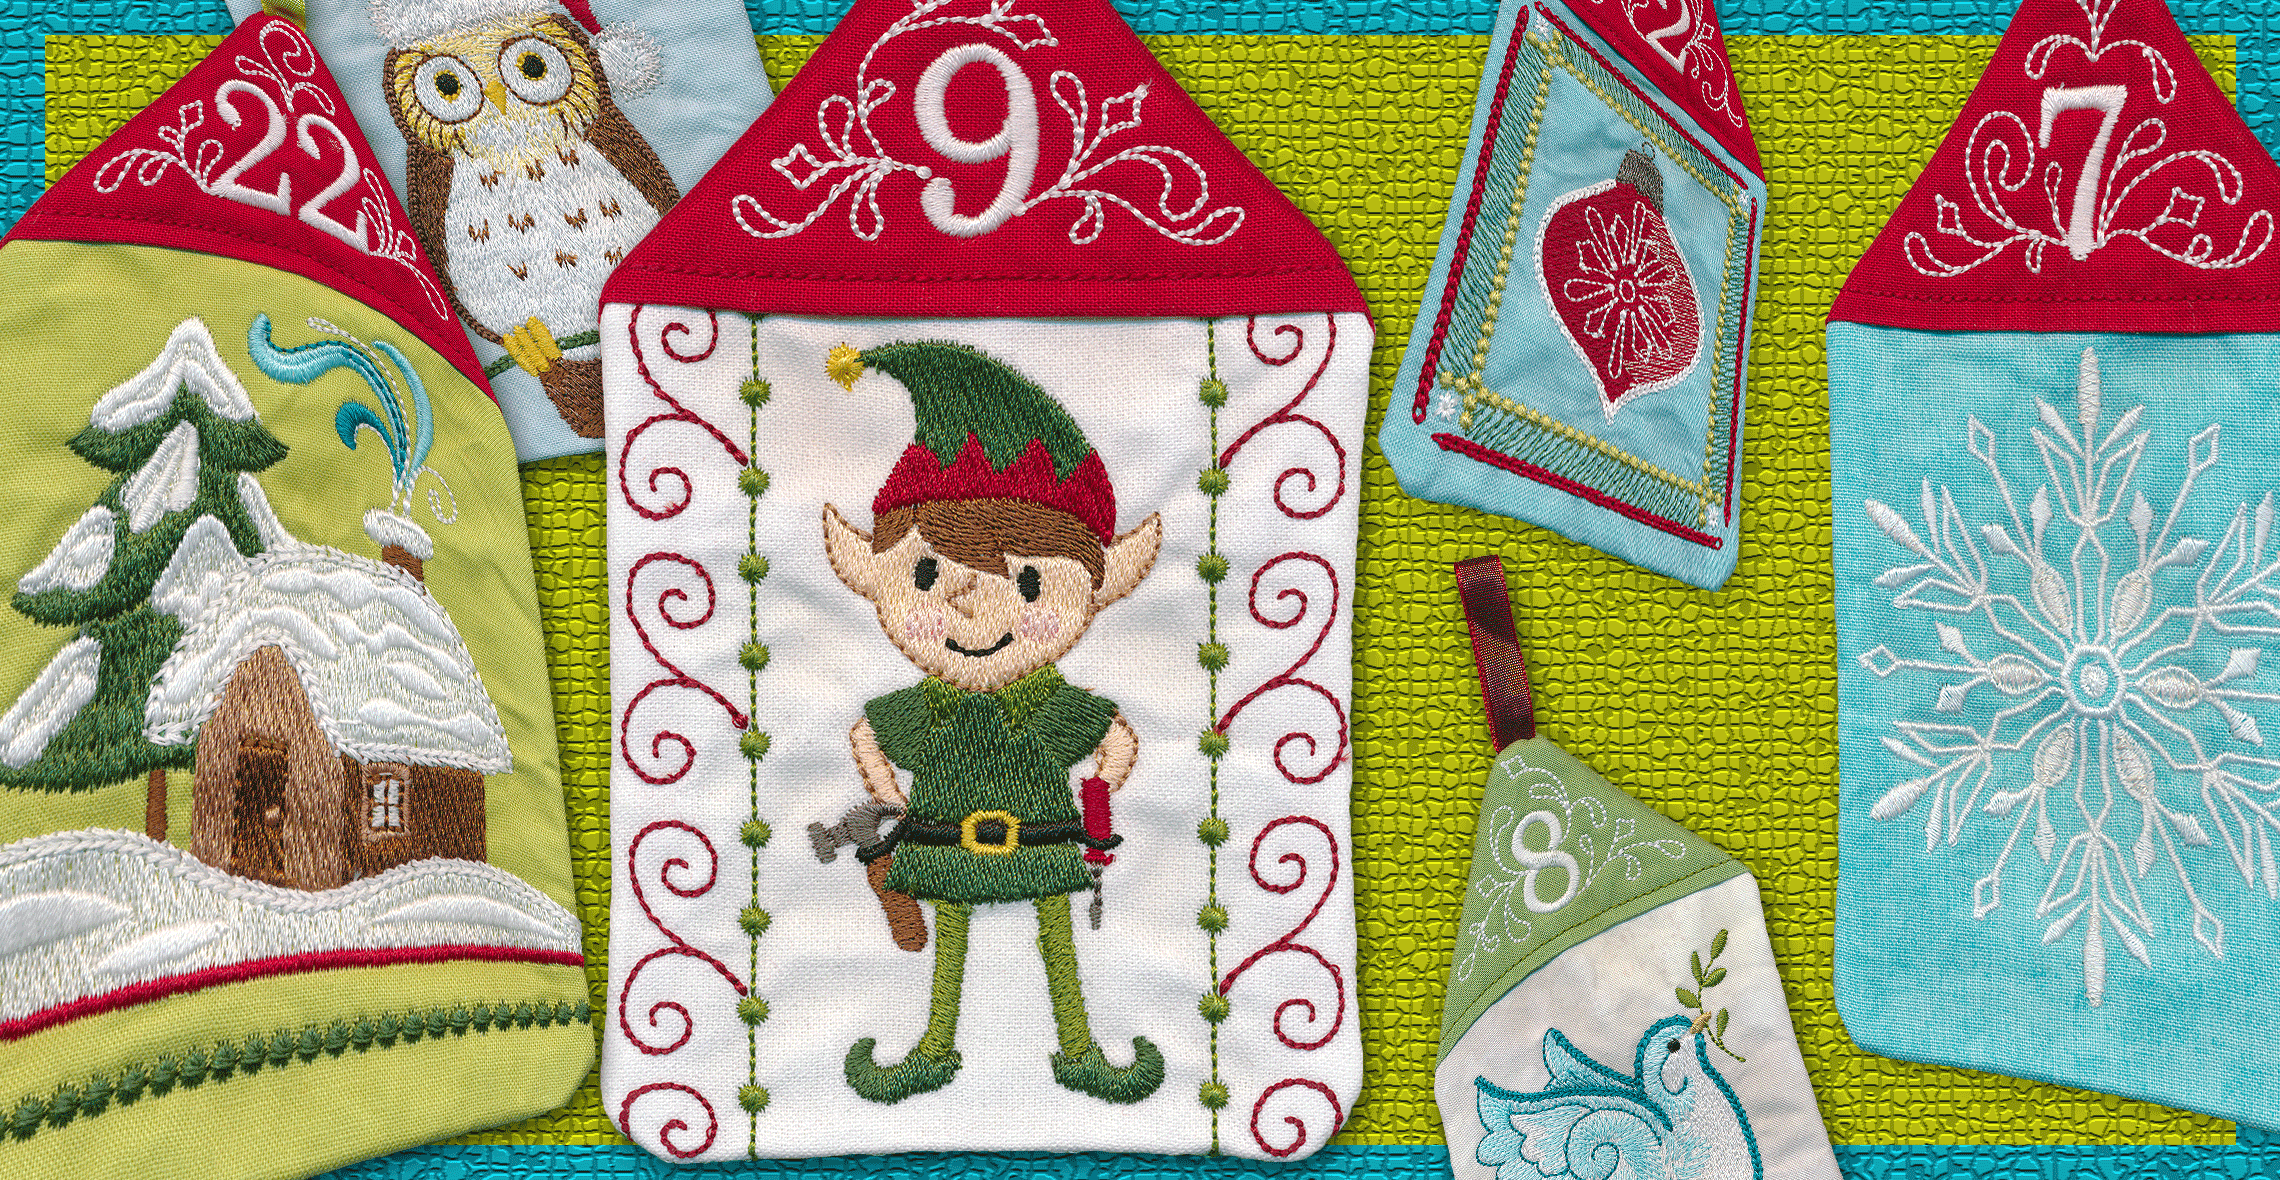
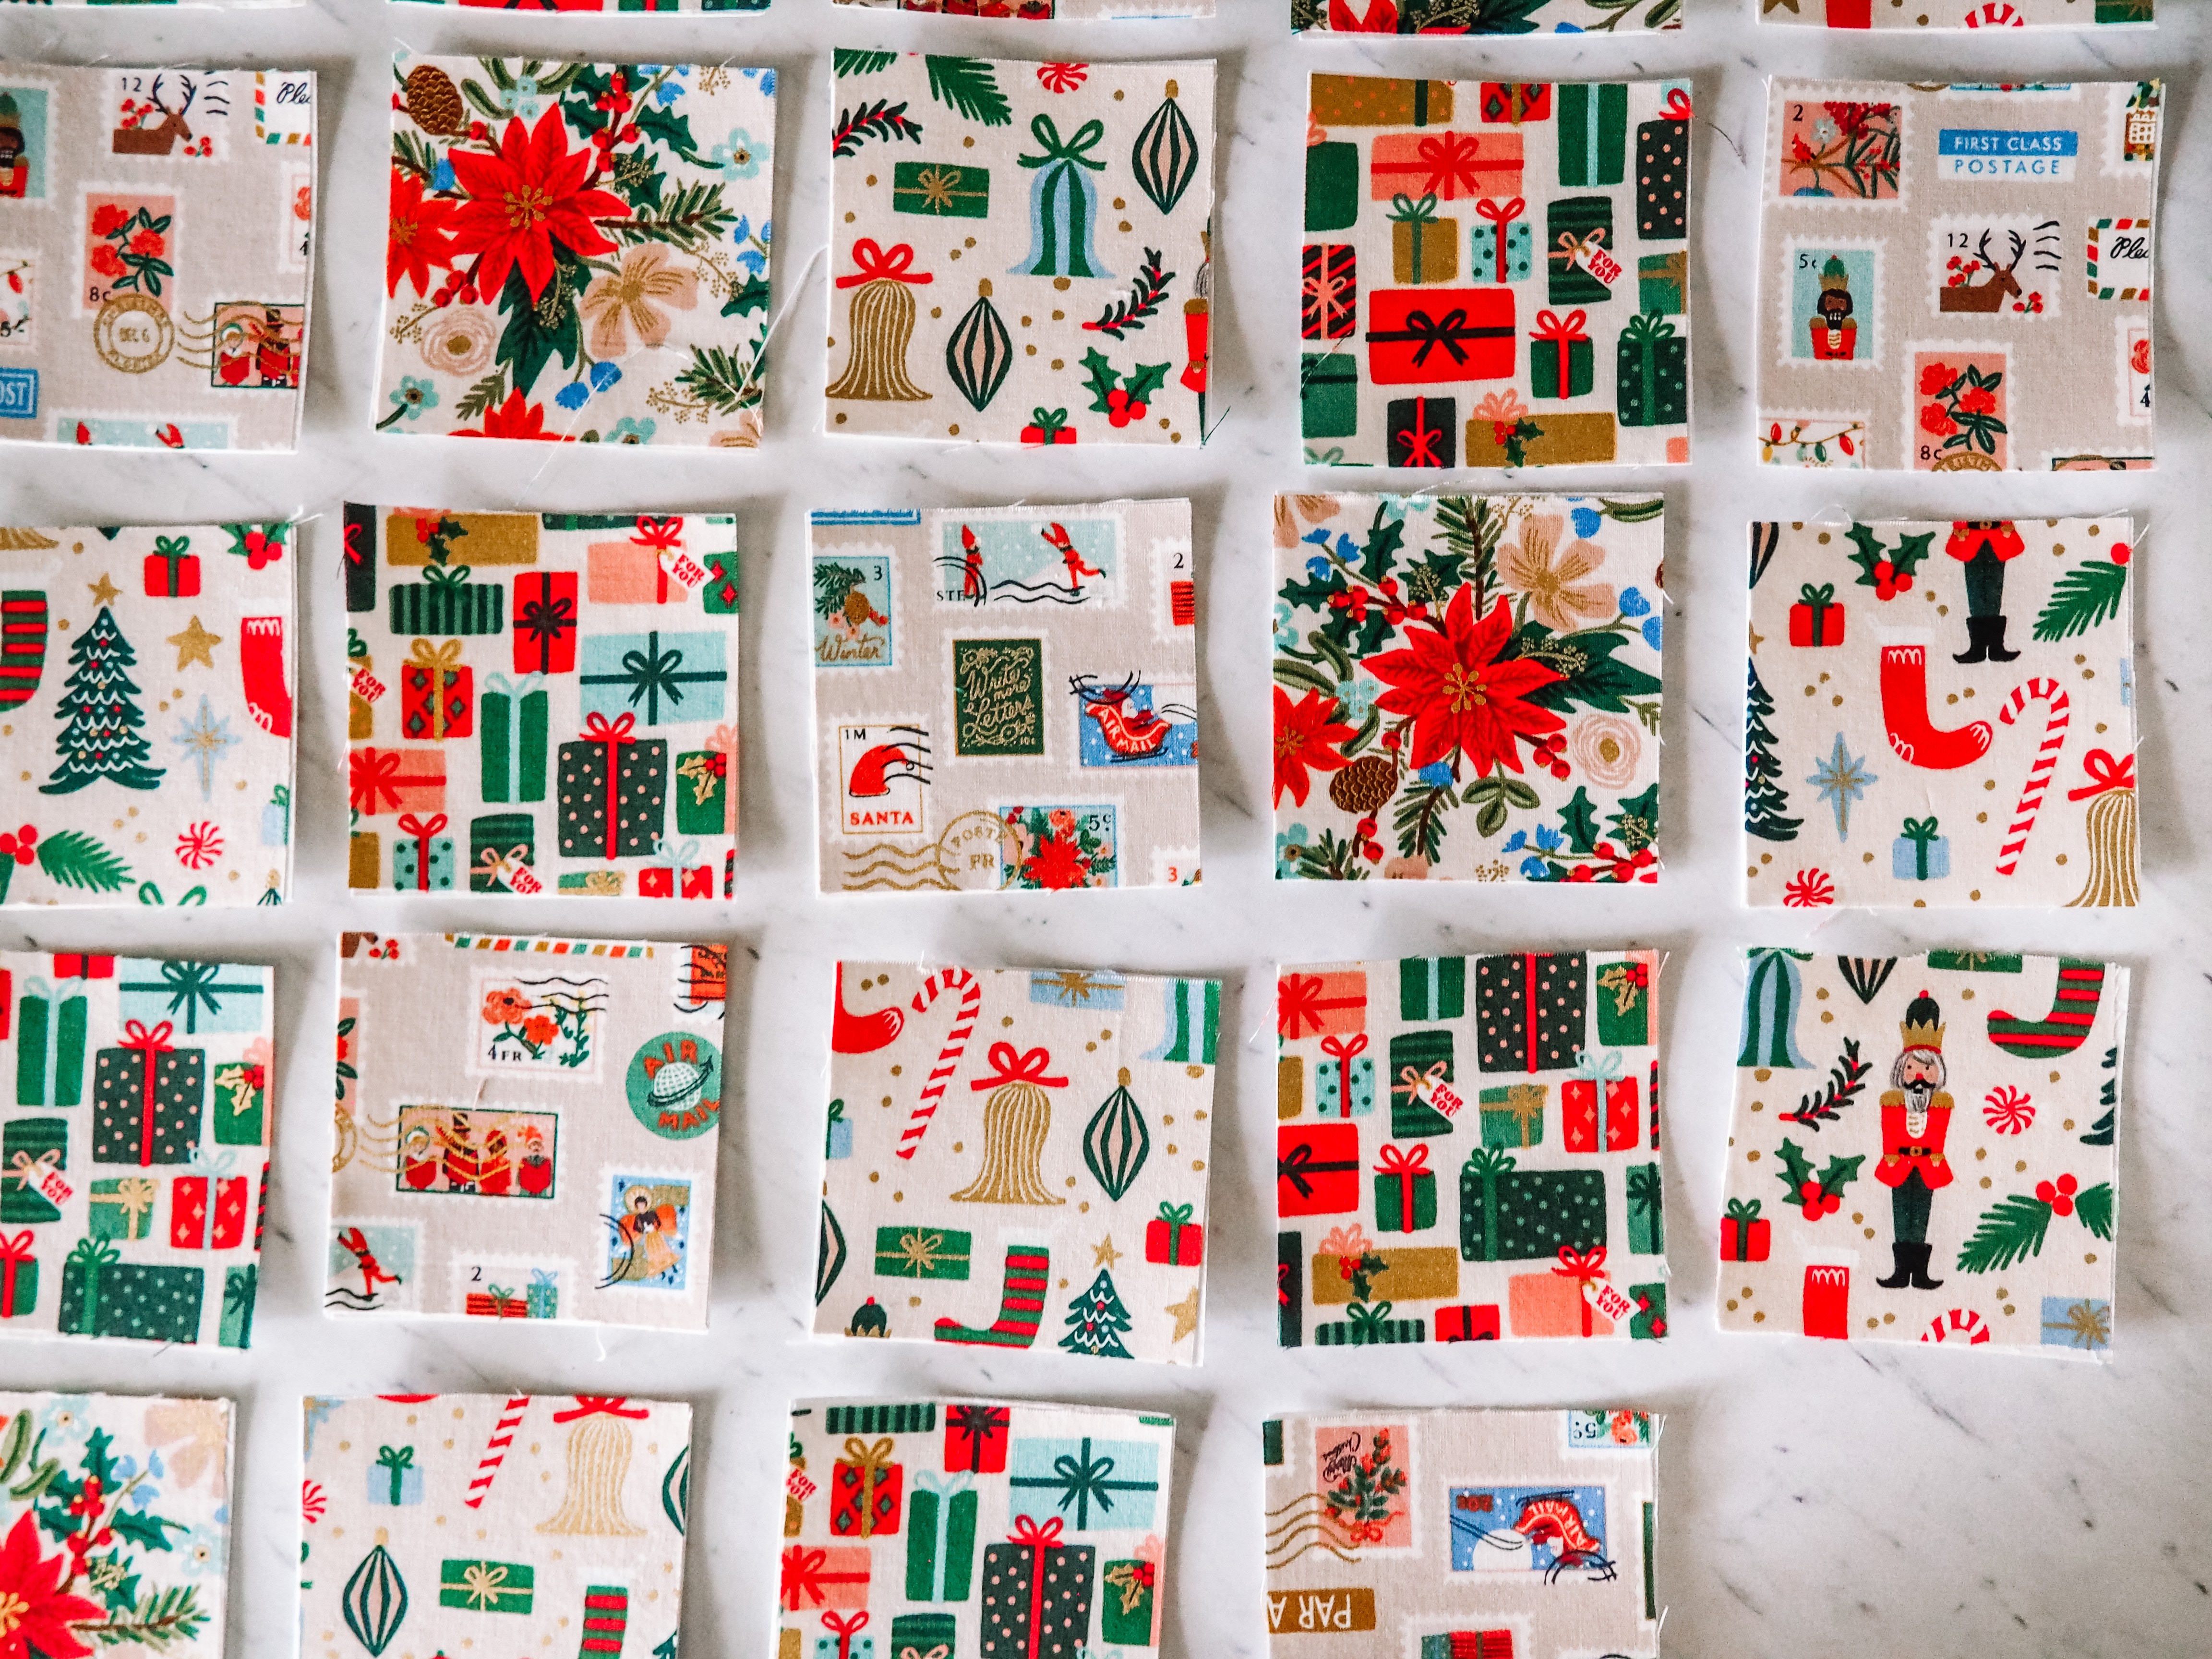
While making the prototype for this project, the embroidery was the longest step. I chose to stitch out each pocket individually, rather than stitching multiple numbers on a larger fabric cut and then trimming. I wanted to use multiple fabrics and also to fussy cut the pocket squares based on the fabric design. The other reason I stitched each pocket one at a time is because I changed the placement of the numbers, based on the imagery on each square. I didn’t want to cover up an adorable nutcracker with the number or have a candy cane broken up with stitches.
Let’s dive in and you’ll see all the ways that you can customize your wall hanging, just like I did.
Materials
- bernette 79
- Stabilizer – I used both StabilStick Tear Away and Ultra Clean and Tear Fusible stabilizers for this project
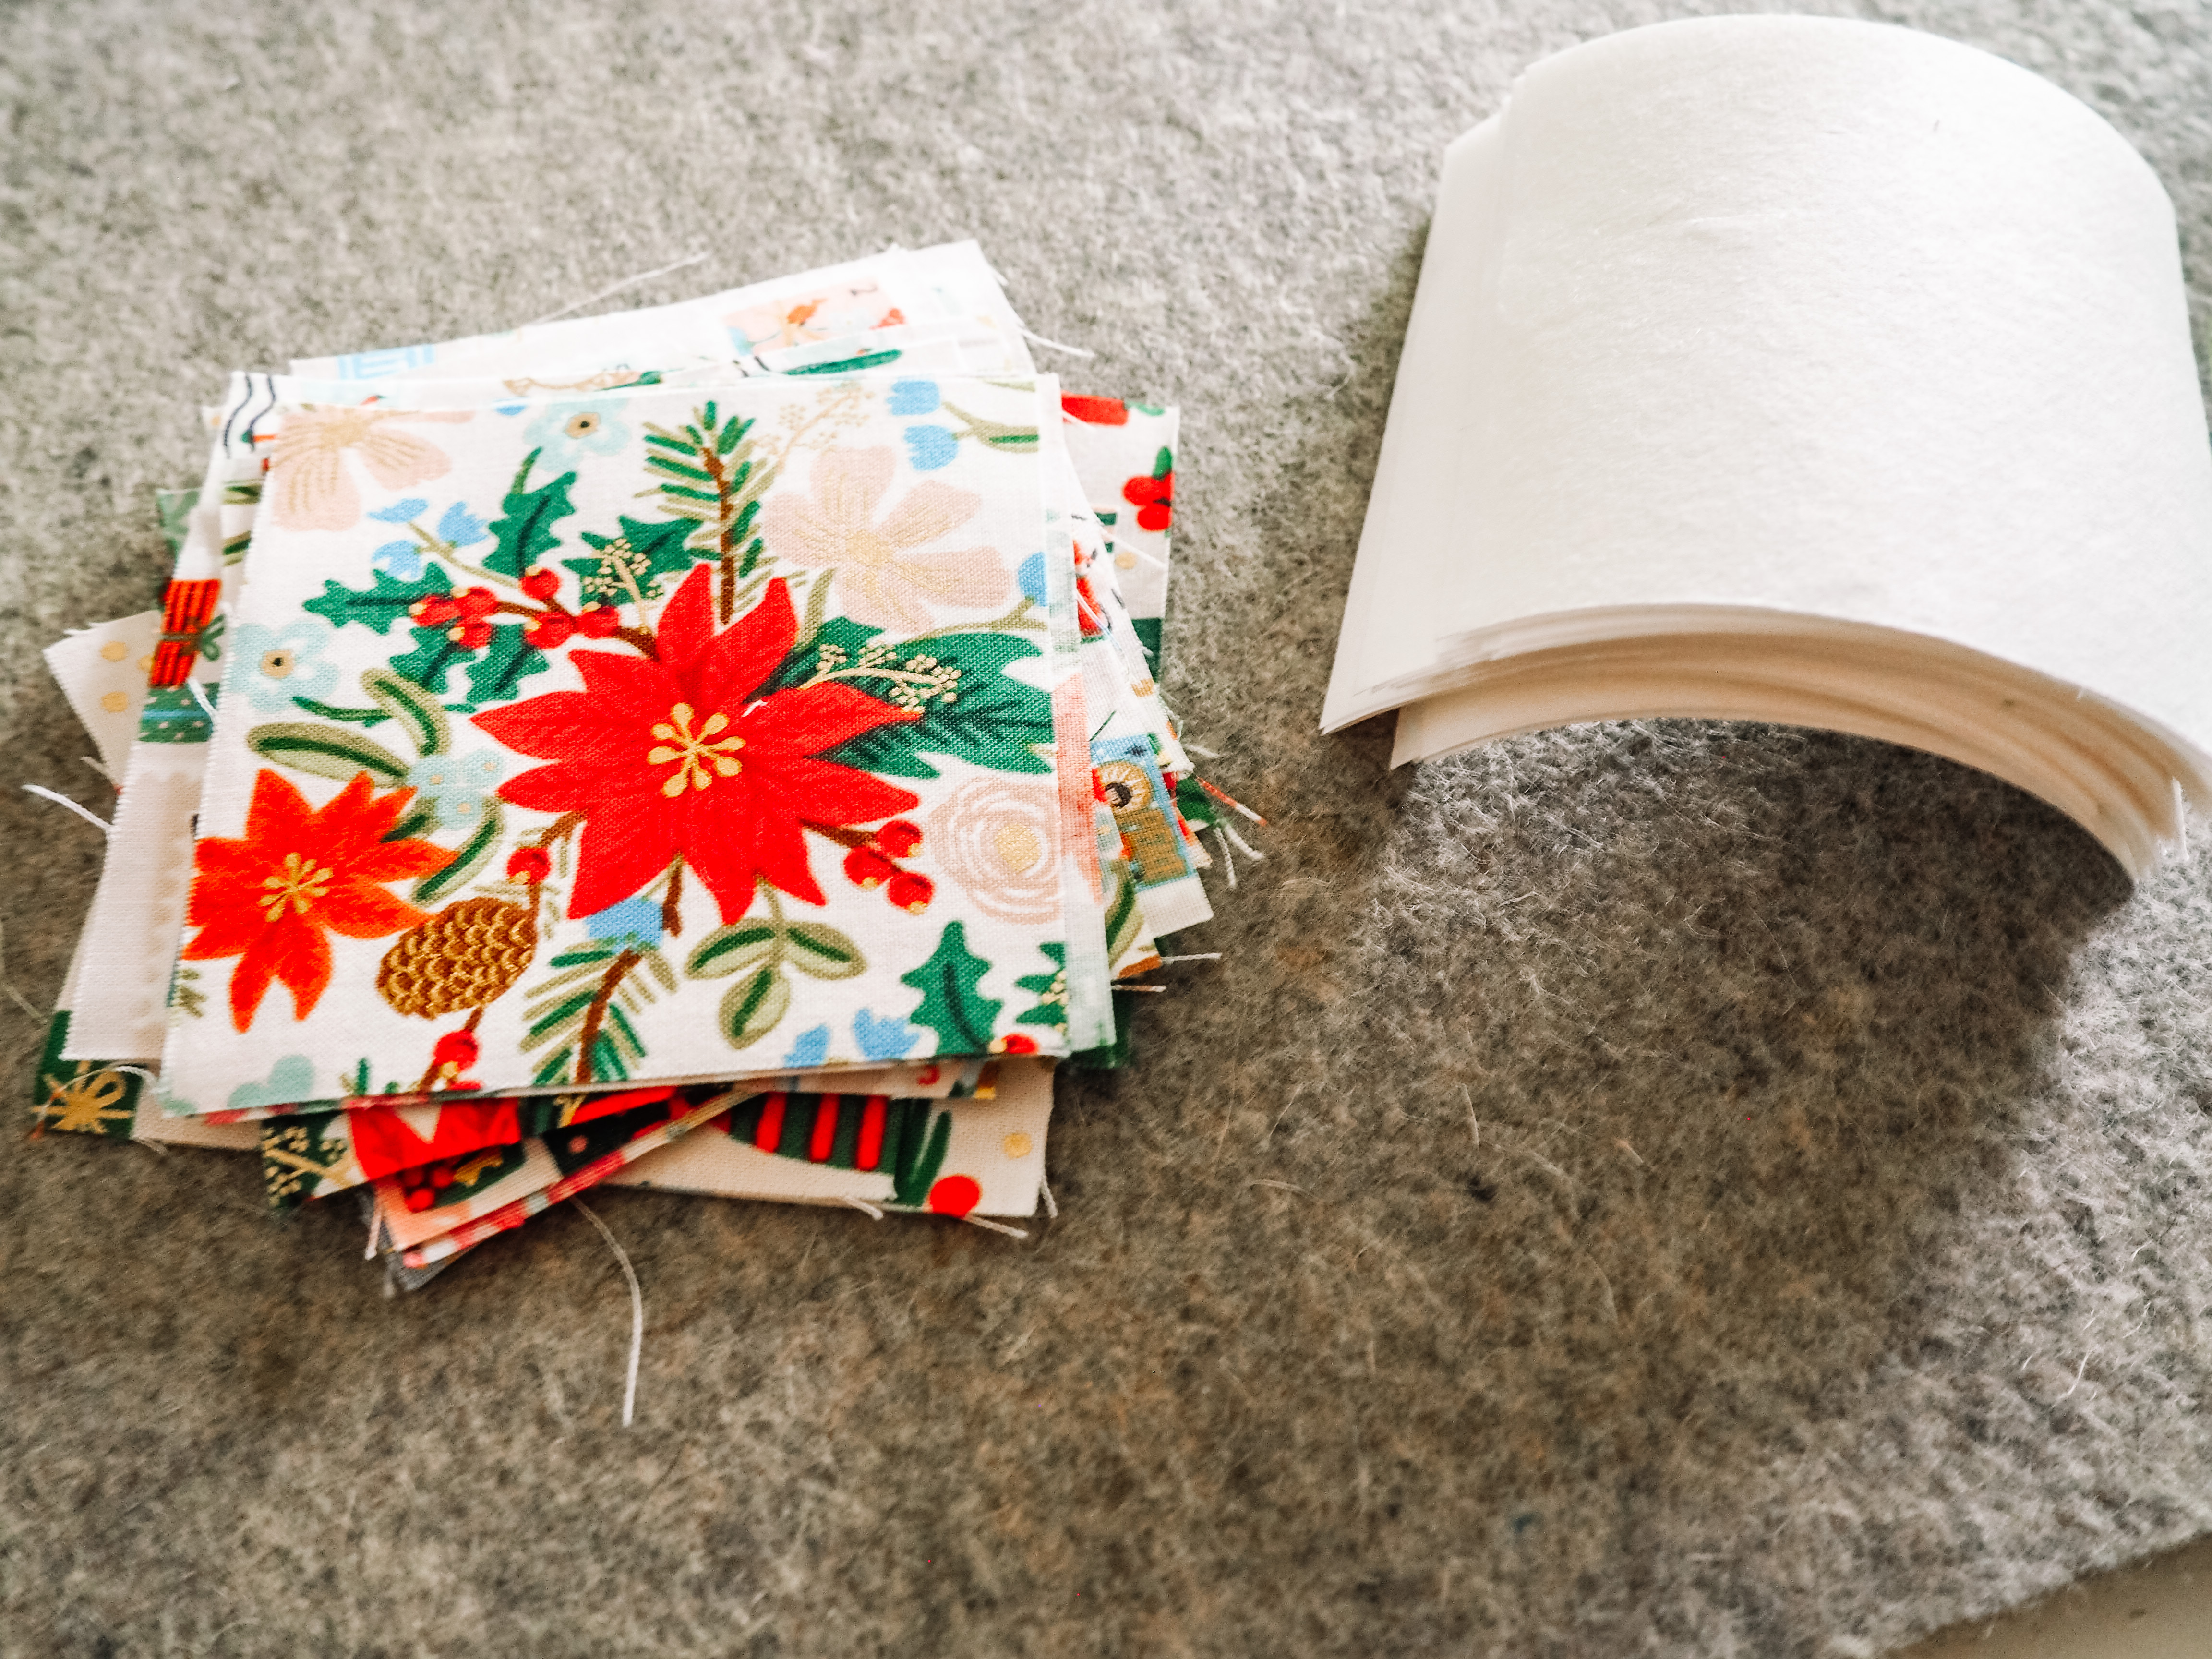
- 25 – 3.5″ x 3.5″ pocket squares cut from part one
- 50 – 3.5″ x 3.5″ Ultra Clean and Tear Fusible squares
- Embroidery hoop
- Embroidery thread
- Optional: scrap fabric and stabilizer for a test stitch out of your design
Design
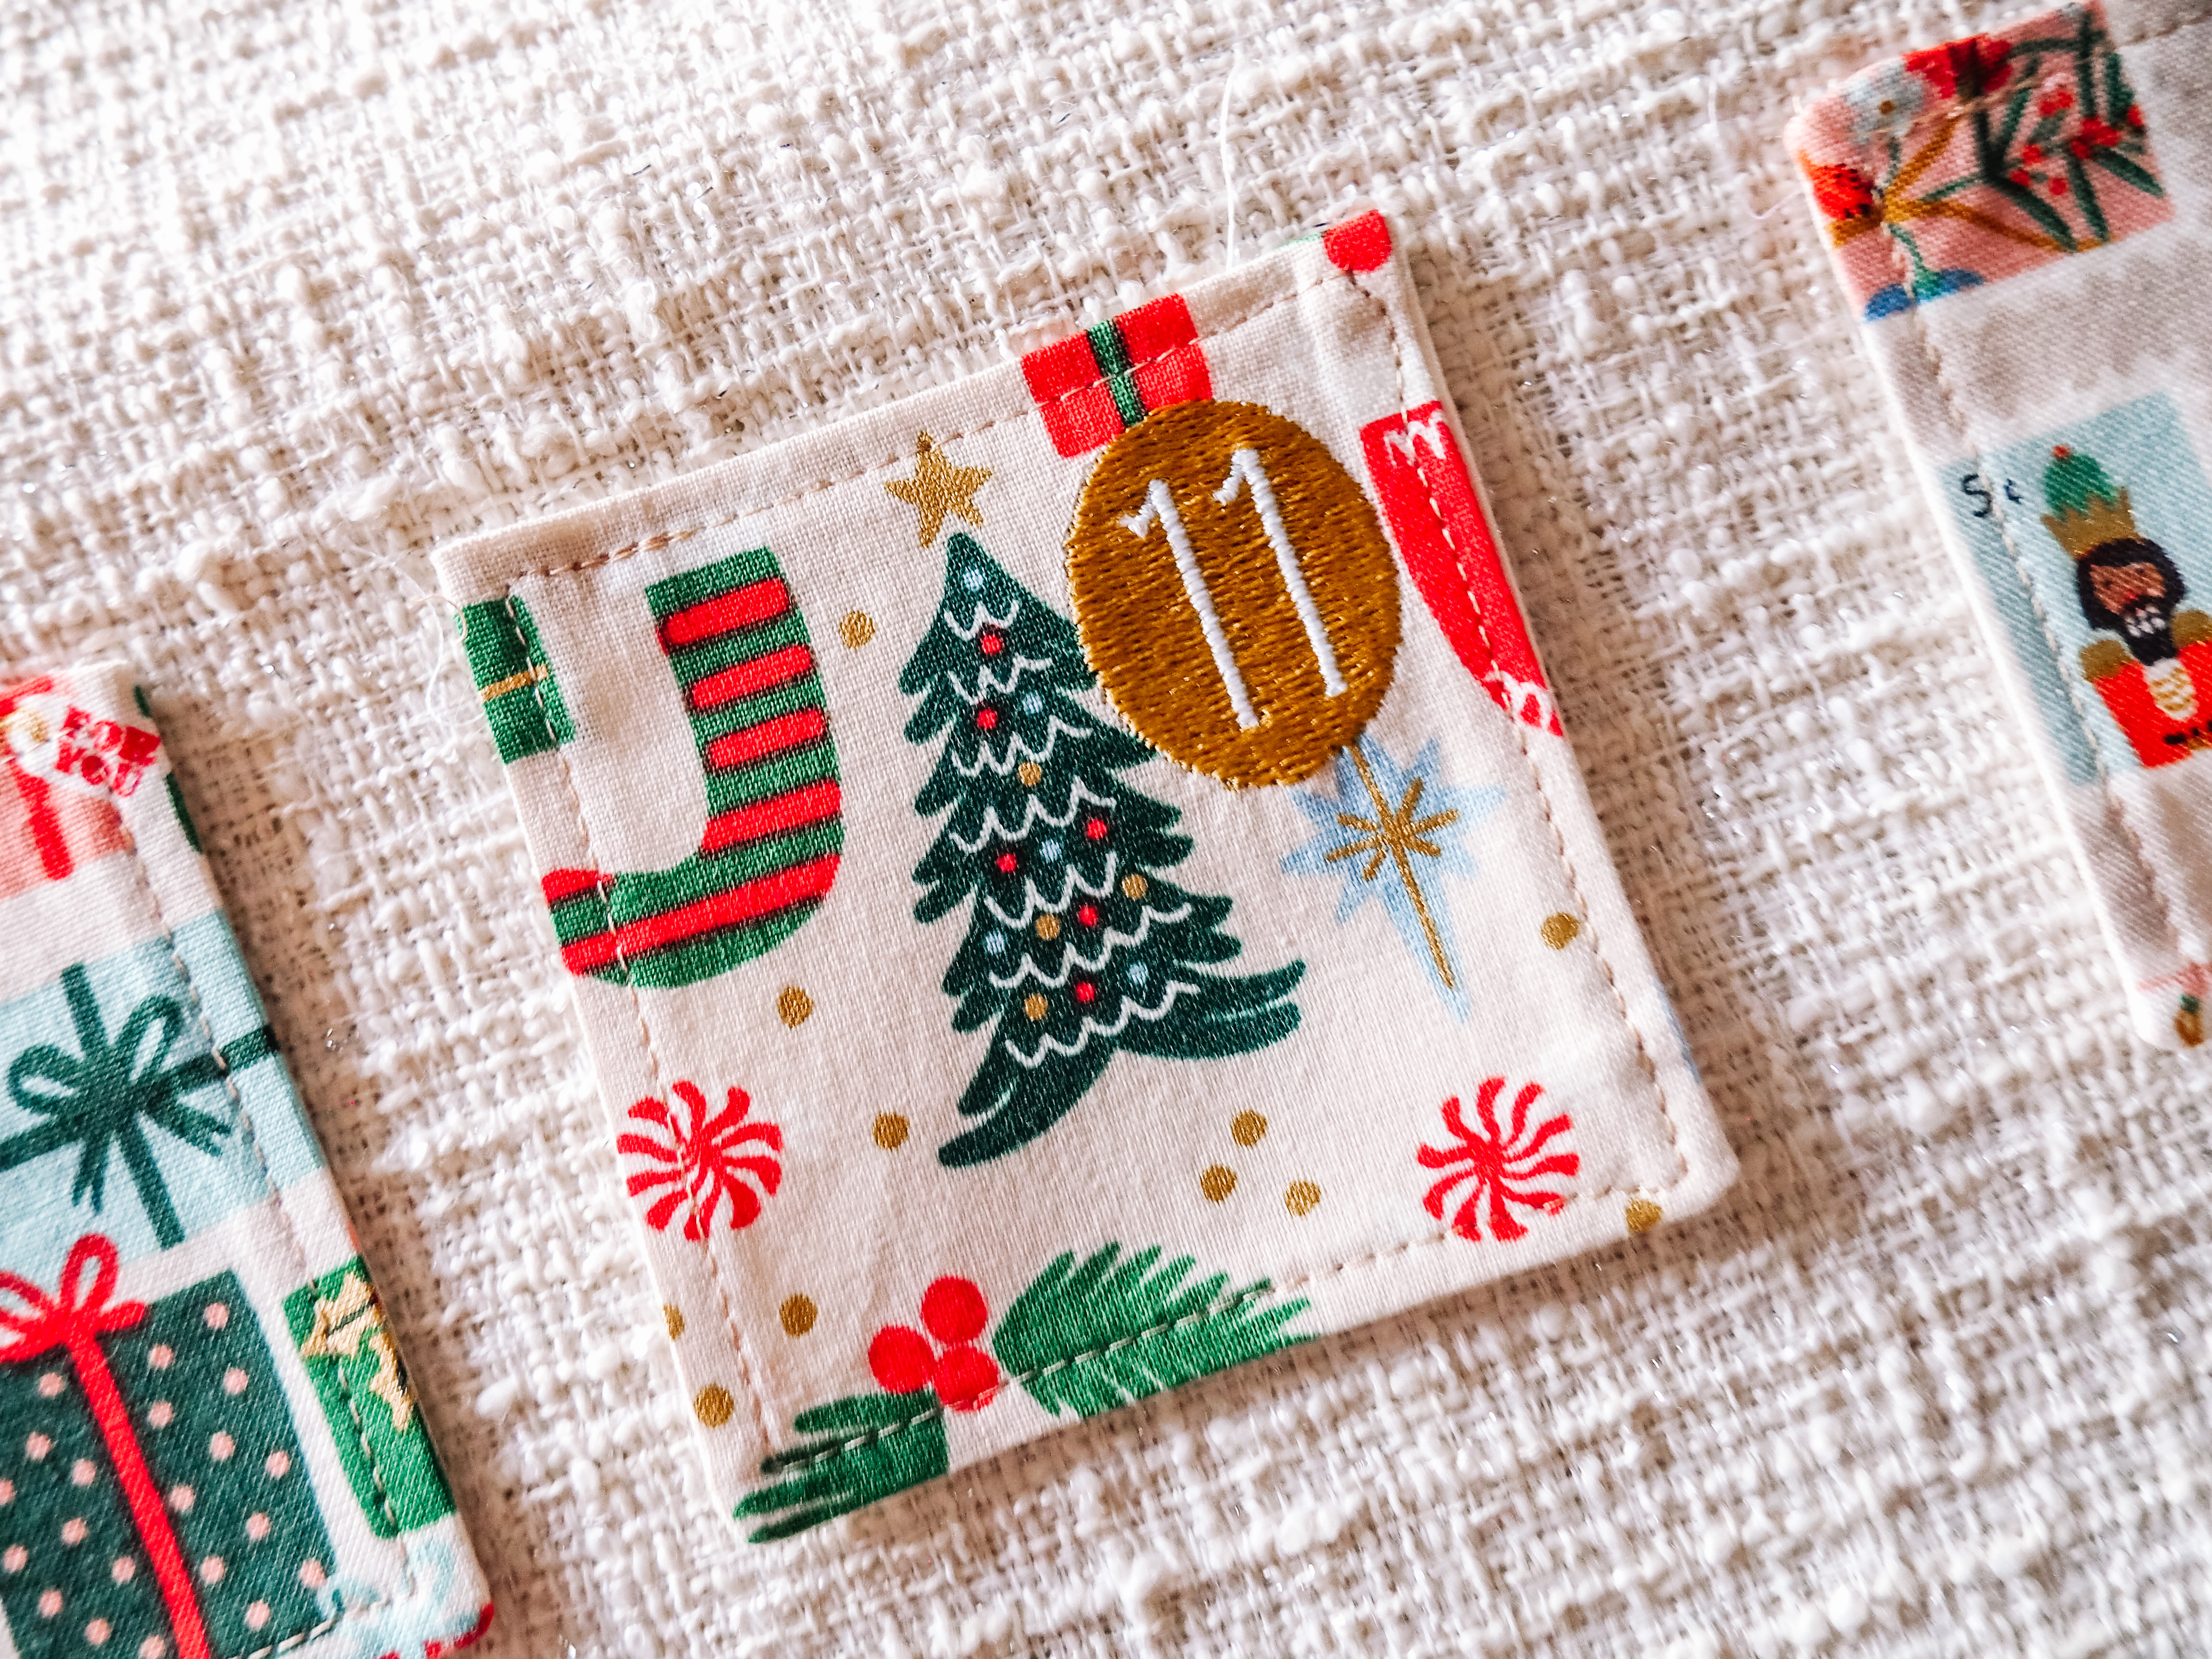
On each of the pocket squares we will be stitching out the numbers 1-25. There are several amazing fonts included in your machine but I used the “Sugar Cookie” font that I purchased from Etsy.
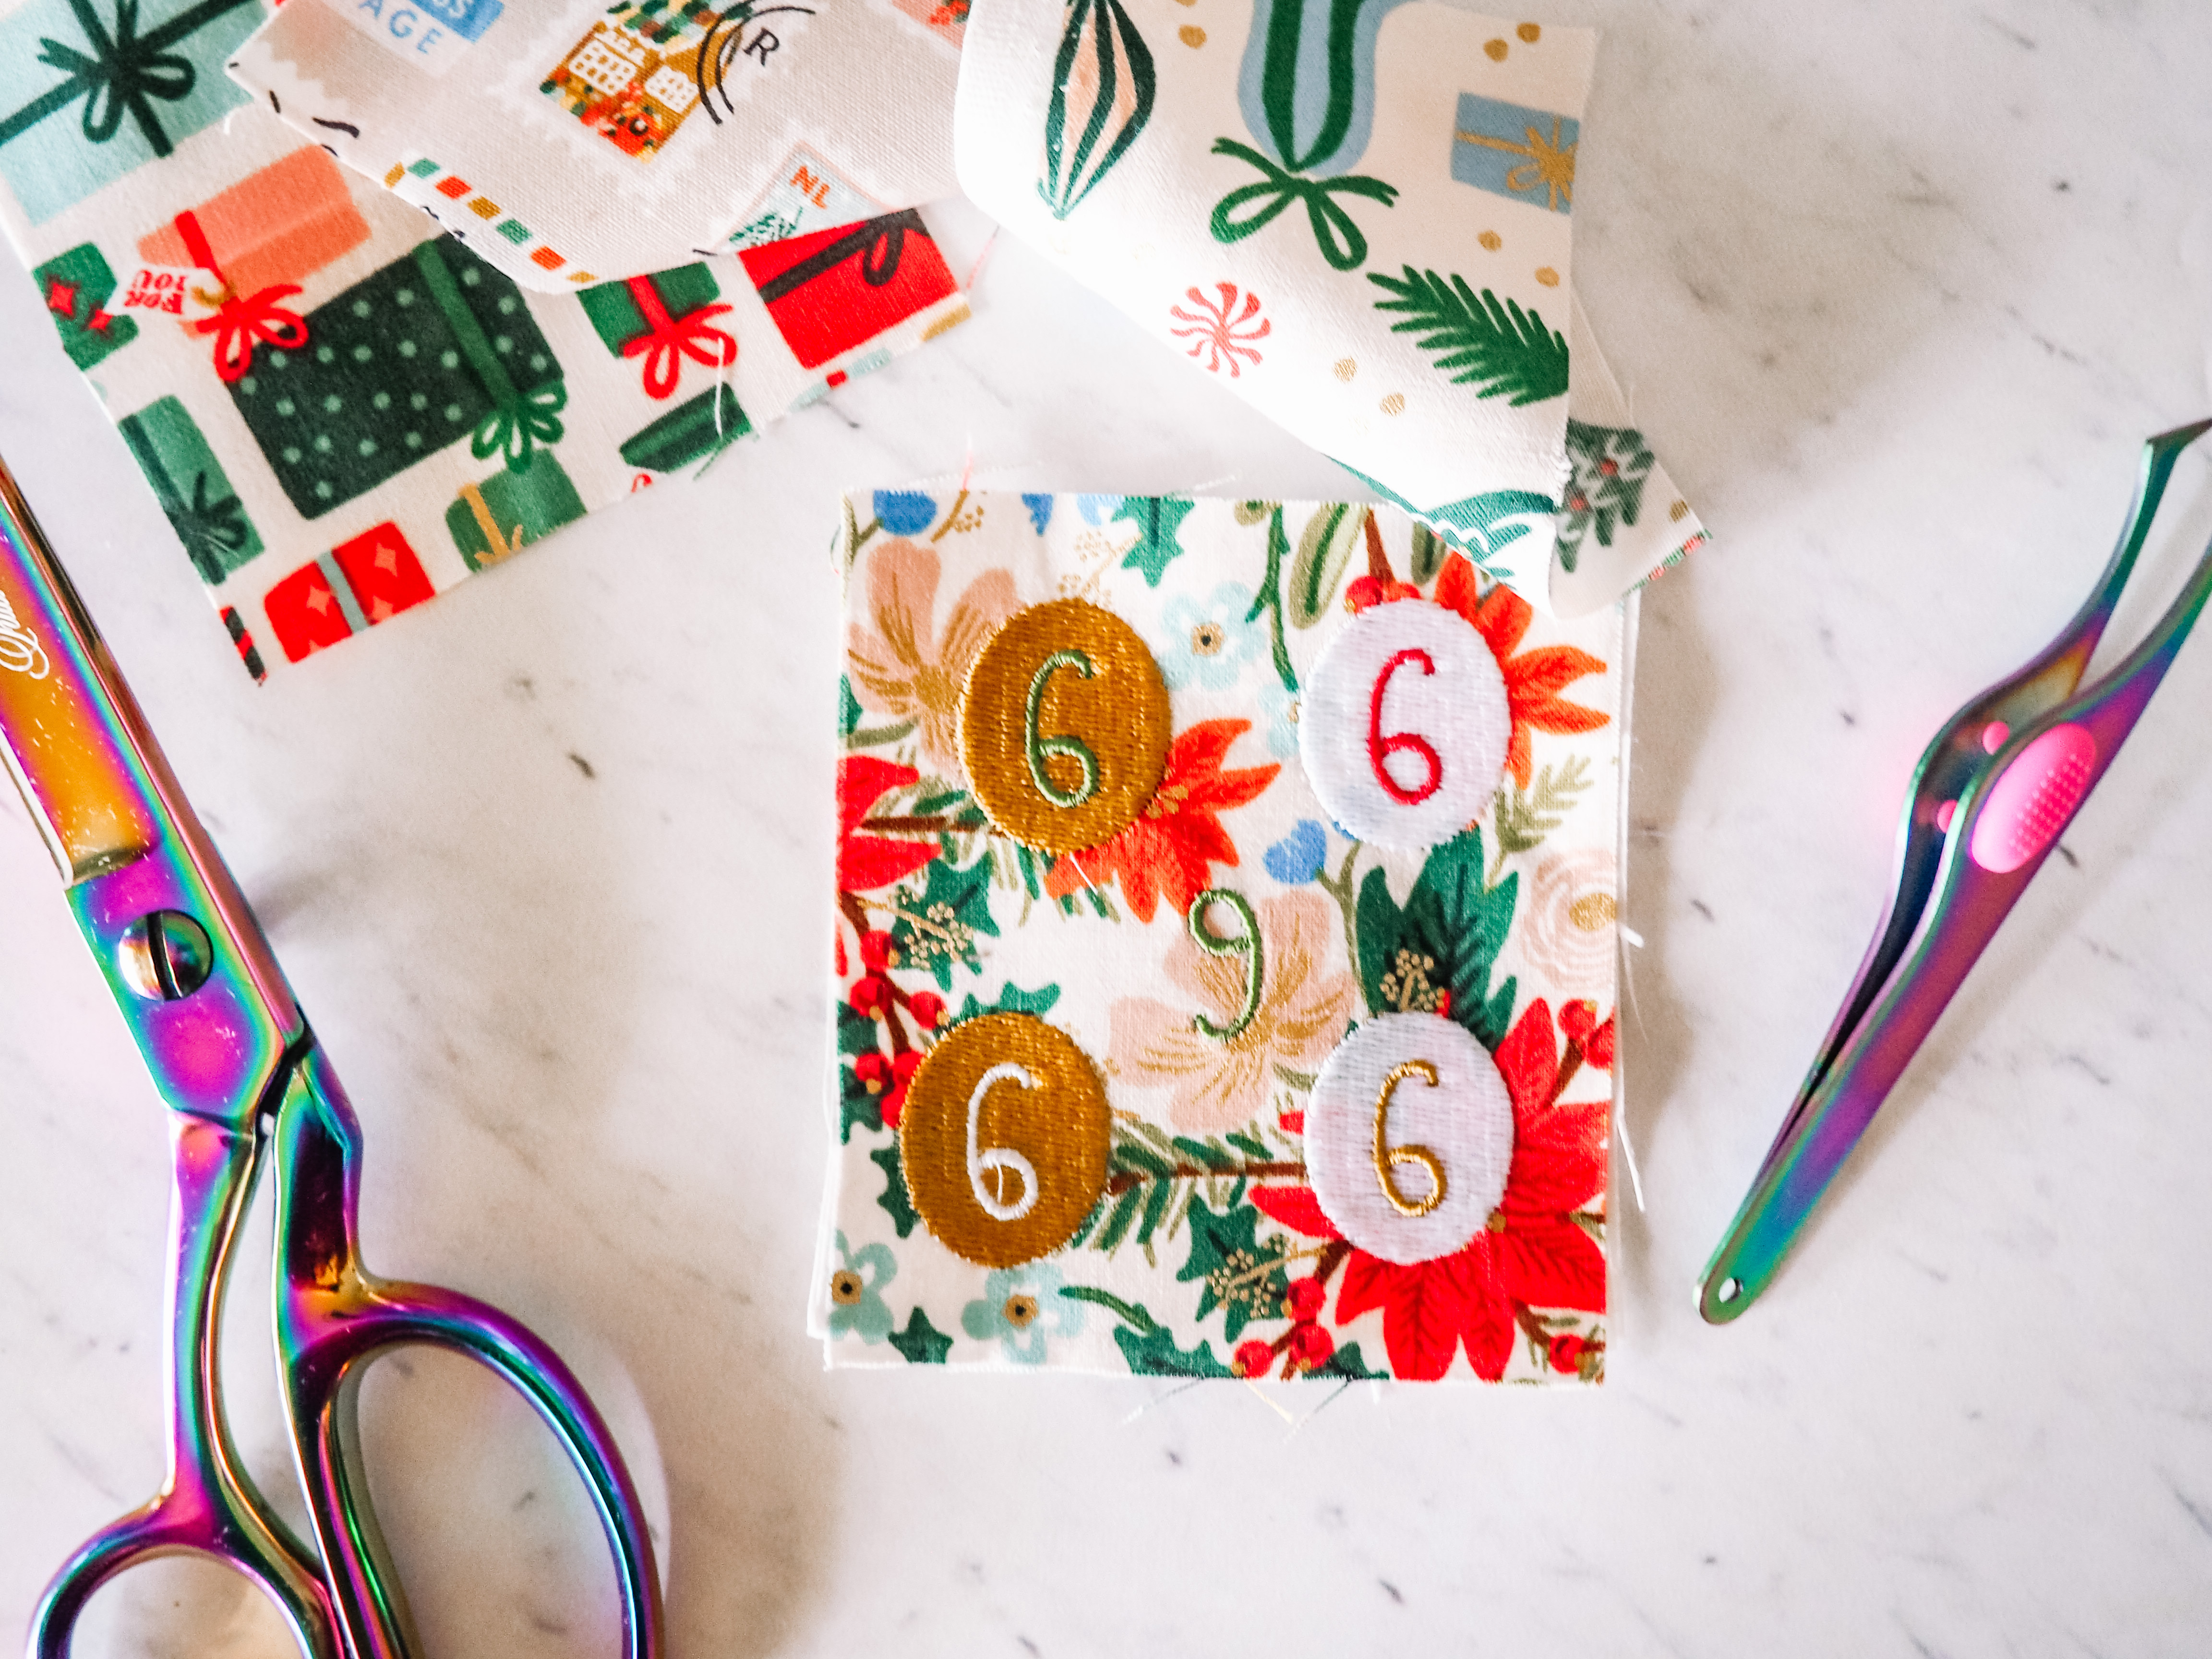
Because I used fabric that has a high volume print, I also used the BERNINA Embroidery Software 9 DesignerPlus to add a solid oval in the background. This solid background helped the number be more visible amongst the busier fabric.
Instructions to embroider a Christmas Countdown Wall Hanging
Step 1: Stabilize
For each of the 25 pocket squares, attach two layers of Ultra Clean and Tear Fusible squares. I find that having two layers ensures there is no puckering once embroidered.
- Place one of the pocket squares on your ironing surface, right side (design) down, so that the wrong side (back) is face up.
- Place one stabilizer square on top of the pocket square, with the adhesive side down, facing the wrong side of the fabric
- Press with your iron to activate the adhesive and adhere it to the fabric
- Grab a second stabilizer square and adhere it, adhesive side down, to the pocket square.
Turn the square over and you should have your fabric right side up, with two layers of stabilizer adhered to the back.
Repeat for the remaining squares.
Step 2: Complete a Test Stitch Out
I am a big fan of completing a test stitch out and you can see why with this project. I initially stitched the number alone and realized it was hard to see with the surface design on the fabric. Once I added the oval behind the number, I tested several color options to decide which one to use on the project.
I also find that by doing a test stitch out, you can make sure your stabilizer fits the needs of the design and make adjustments as necessary. If you choose to do a test stitch out, follow the instructions in Step 1 to stabilize and then continue on through the remaining steps with your scrap fabric piece.
Step 3: Float Your Fabric in the Hoop
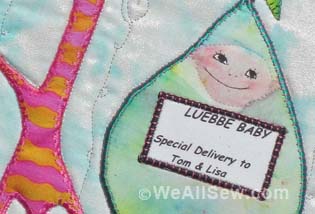
My preferred method of hooping my fabric is floating it. Floating means that you only hoop a piece of StabilStick Tear Away, removing the paper, and then placing your fabric on the adhesive top. This allows you to hoop items that may not fit well in the hoop (like baby onesies), delicate fabrics that would get crushed by the hoop (think velvet), or in this case pieces that are too small for the hoop.
Note: If you are using different prints for each pocket, lay them out to determine the order you’d like the prints to be in before starting to embroider. This will help you stay organized as you stitch out 1-25.
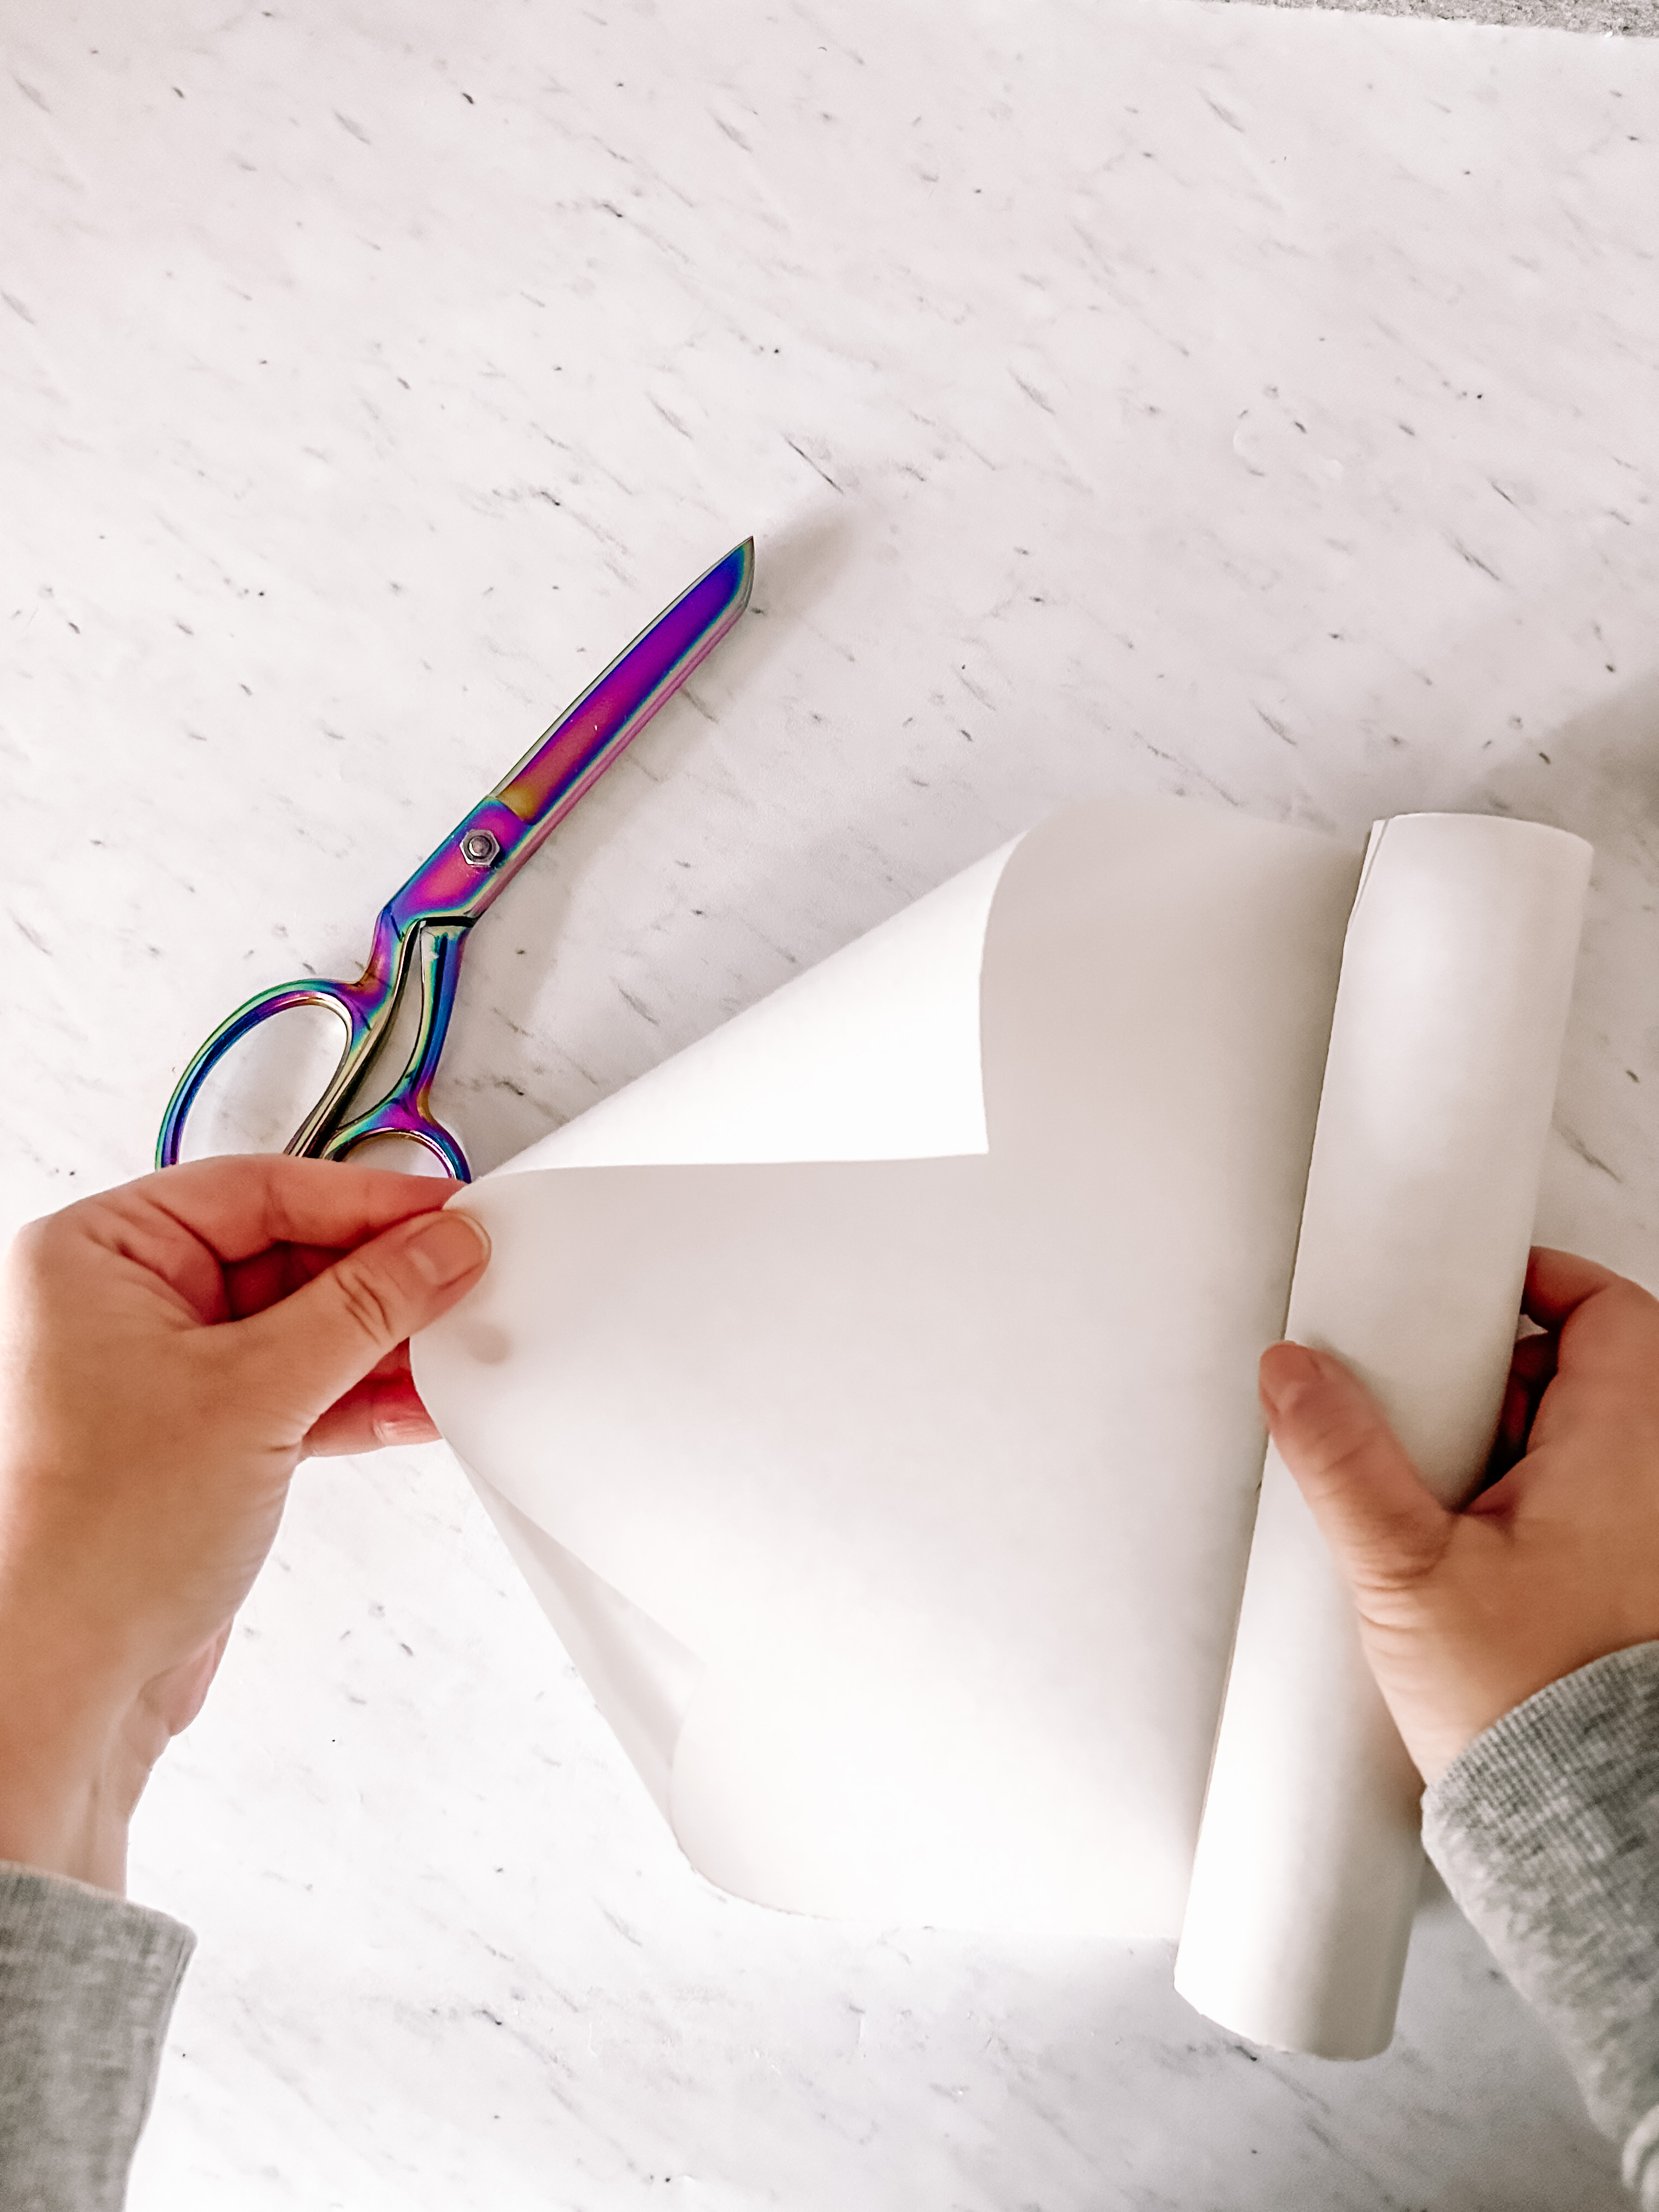
- Cut a piece of StabilStick and place it securely in your hoop with the paper covered side facing up
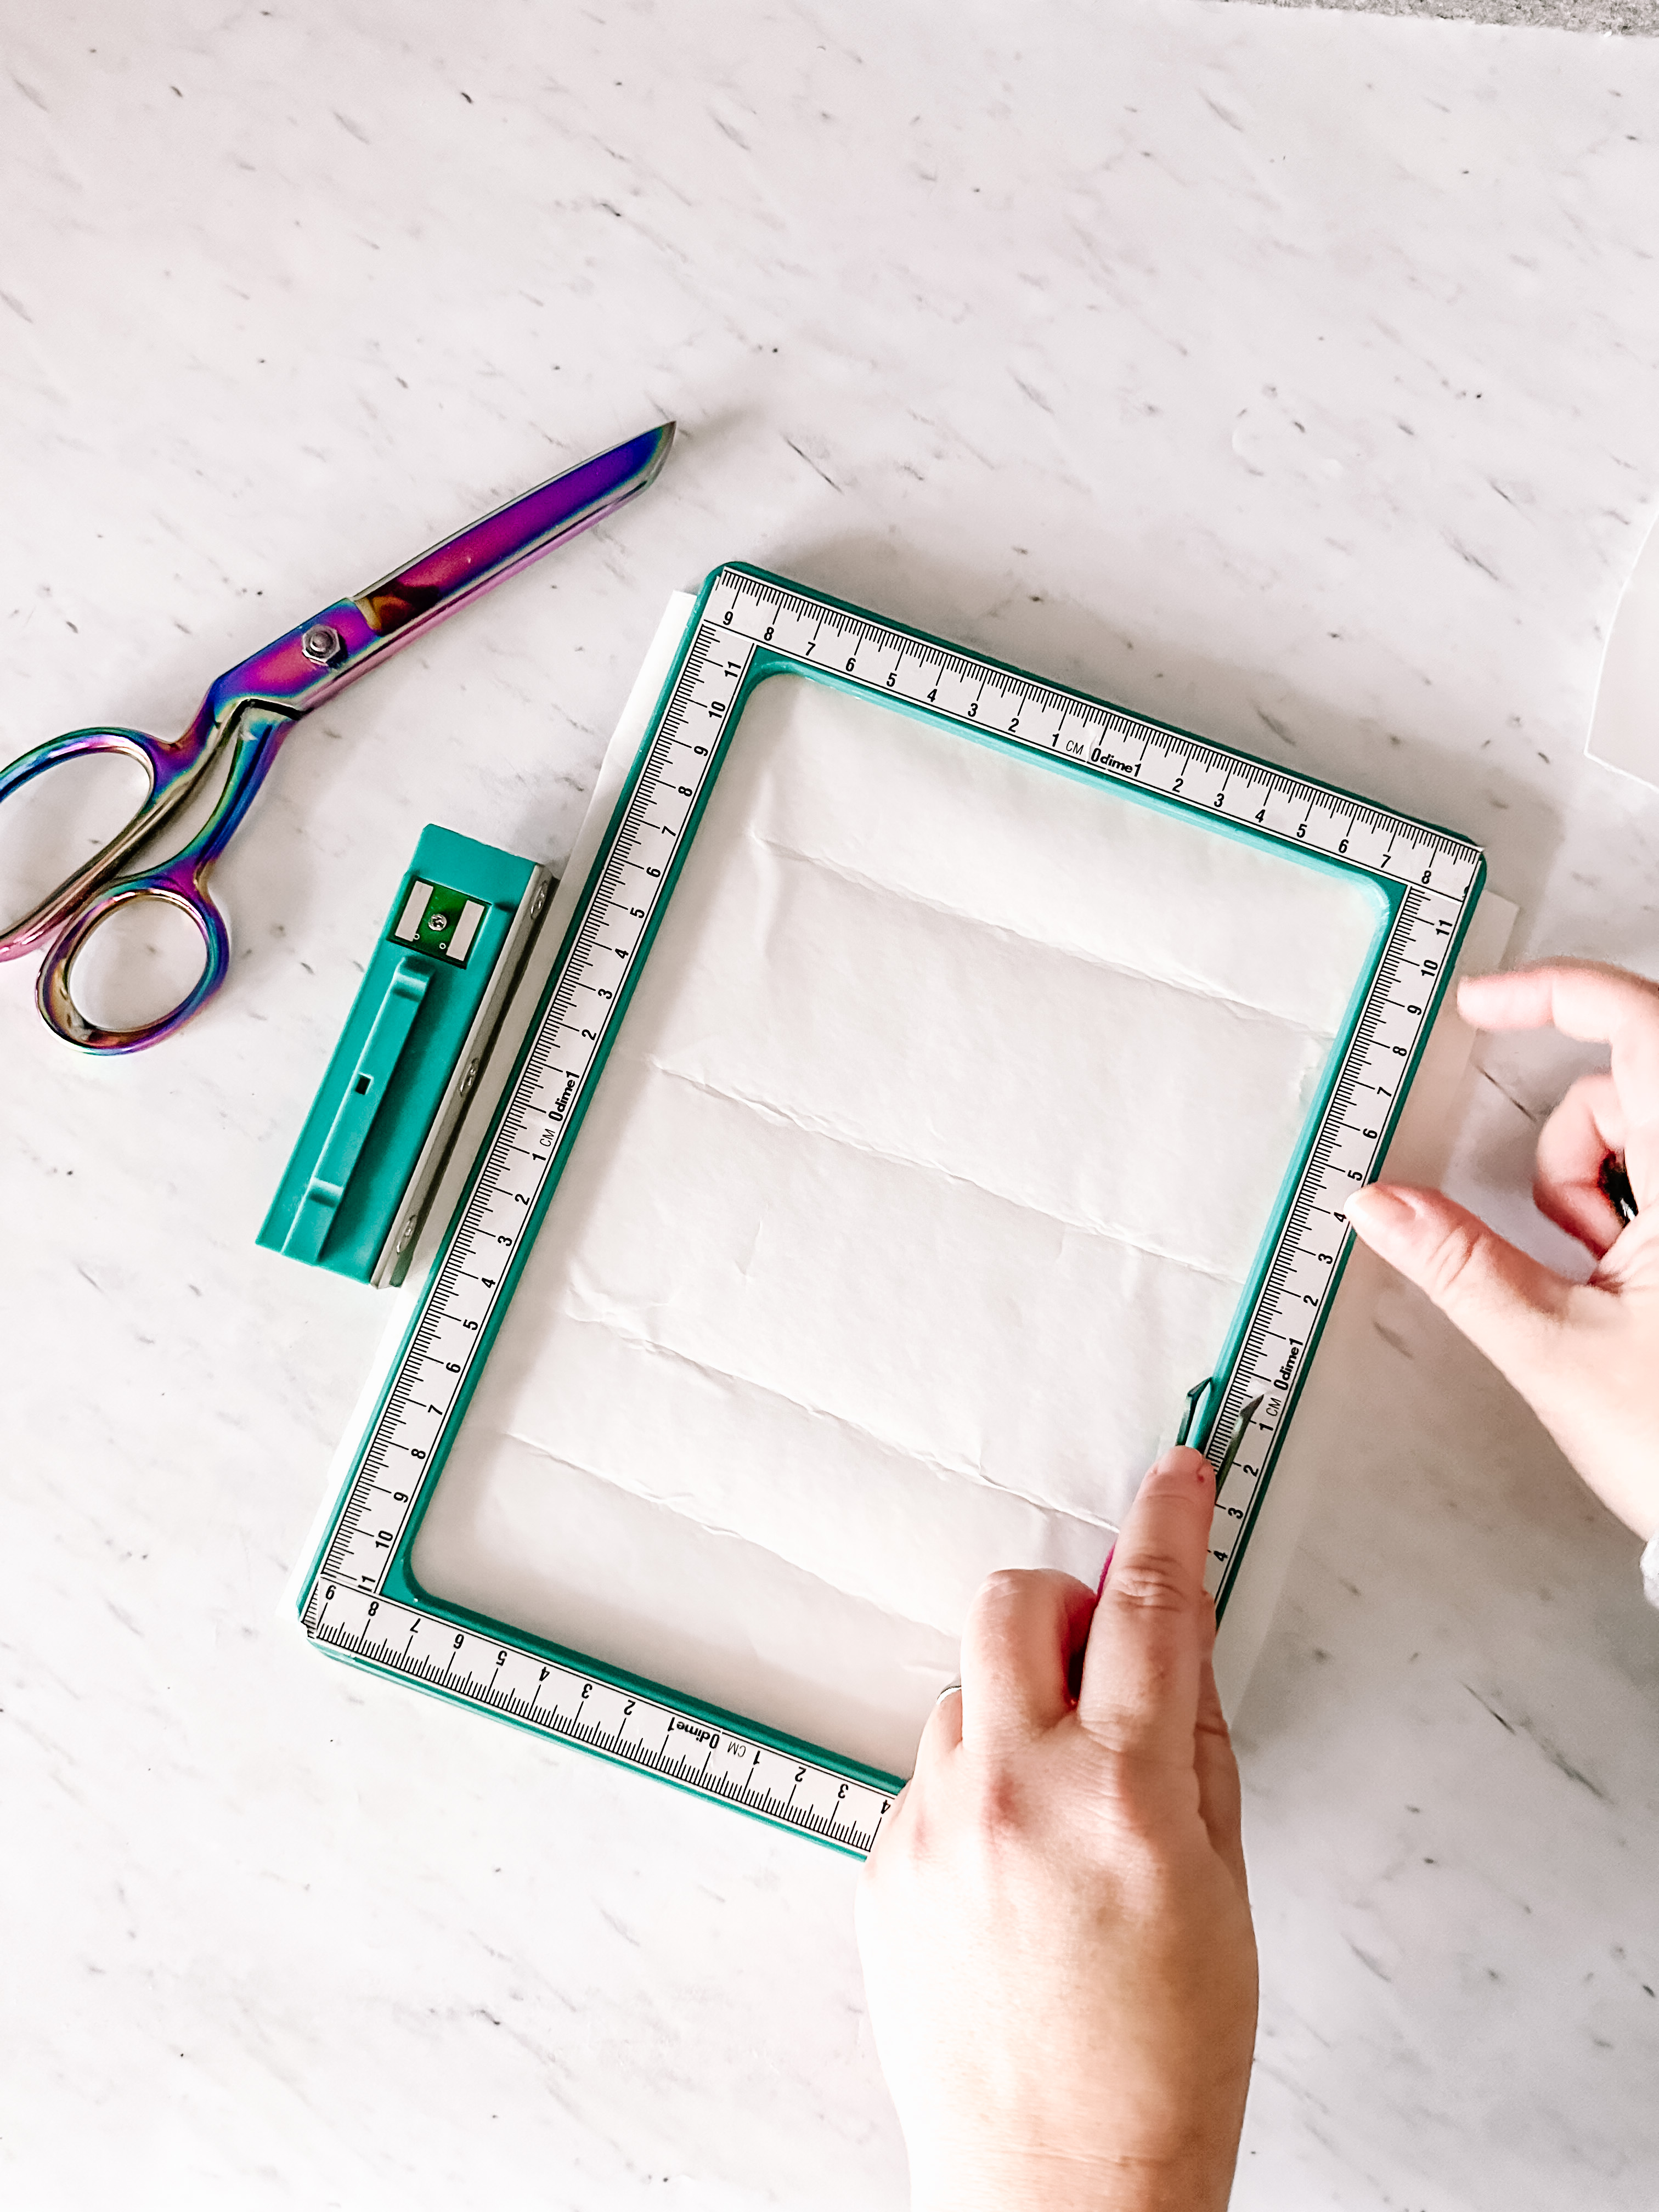
- Using a needle or the blade of a scissors, carefully score along the edges of the hoop, cutting only through the paper
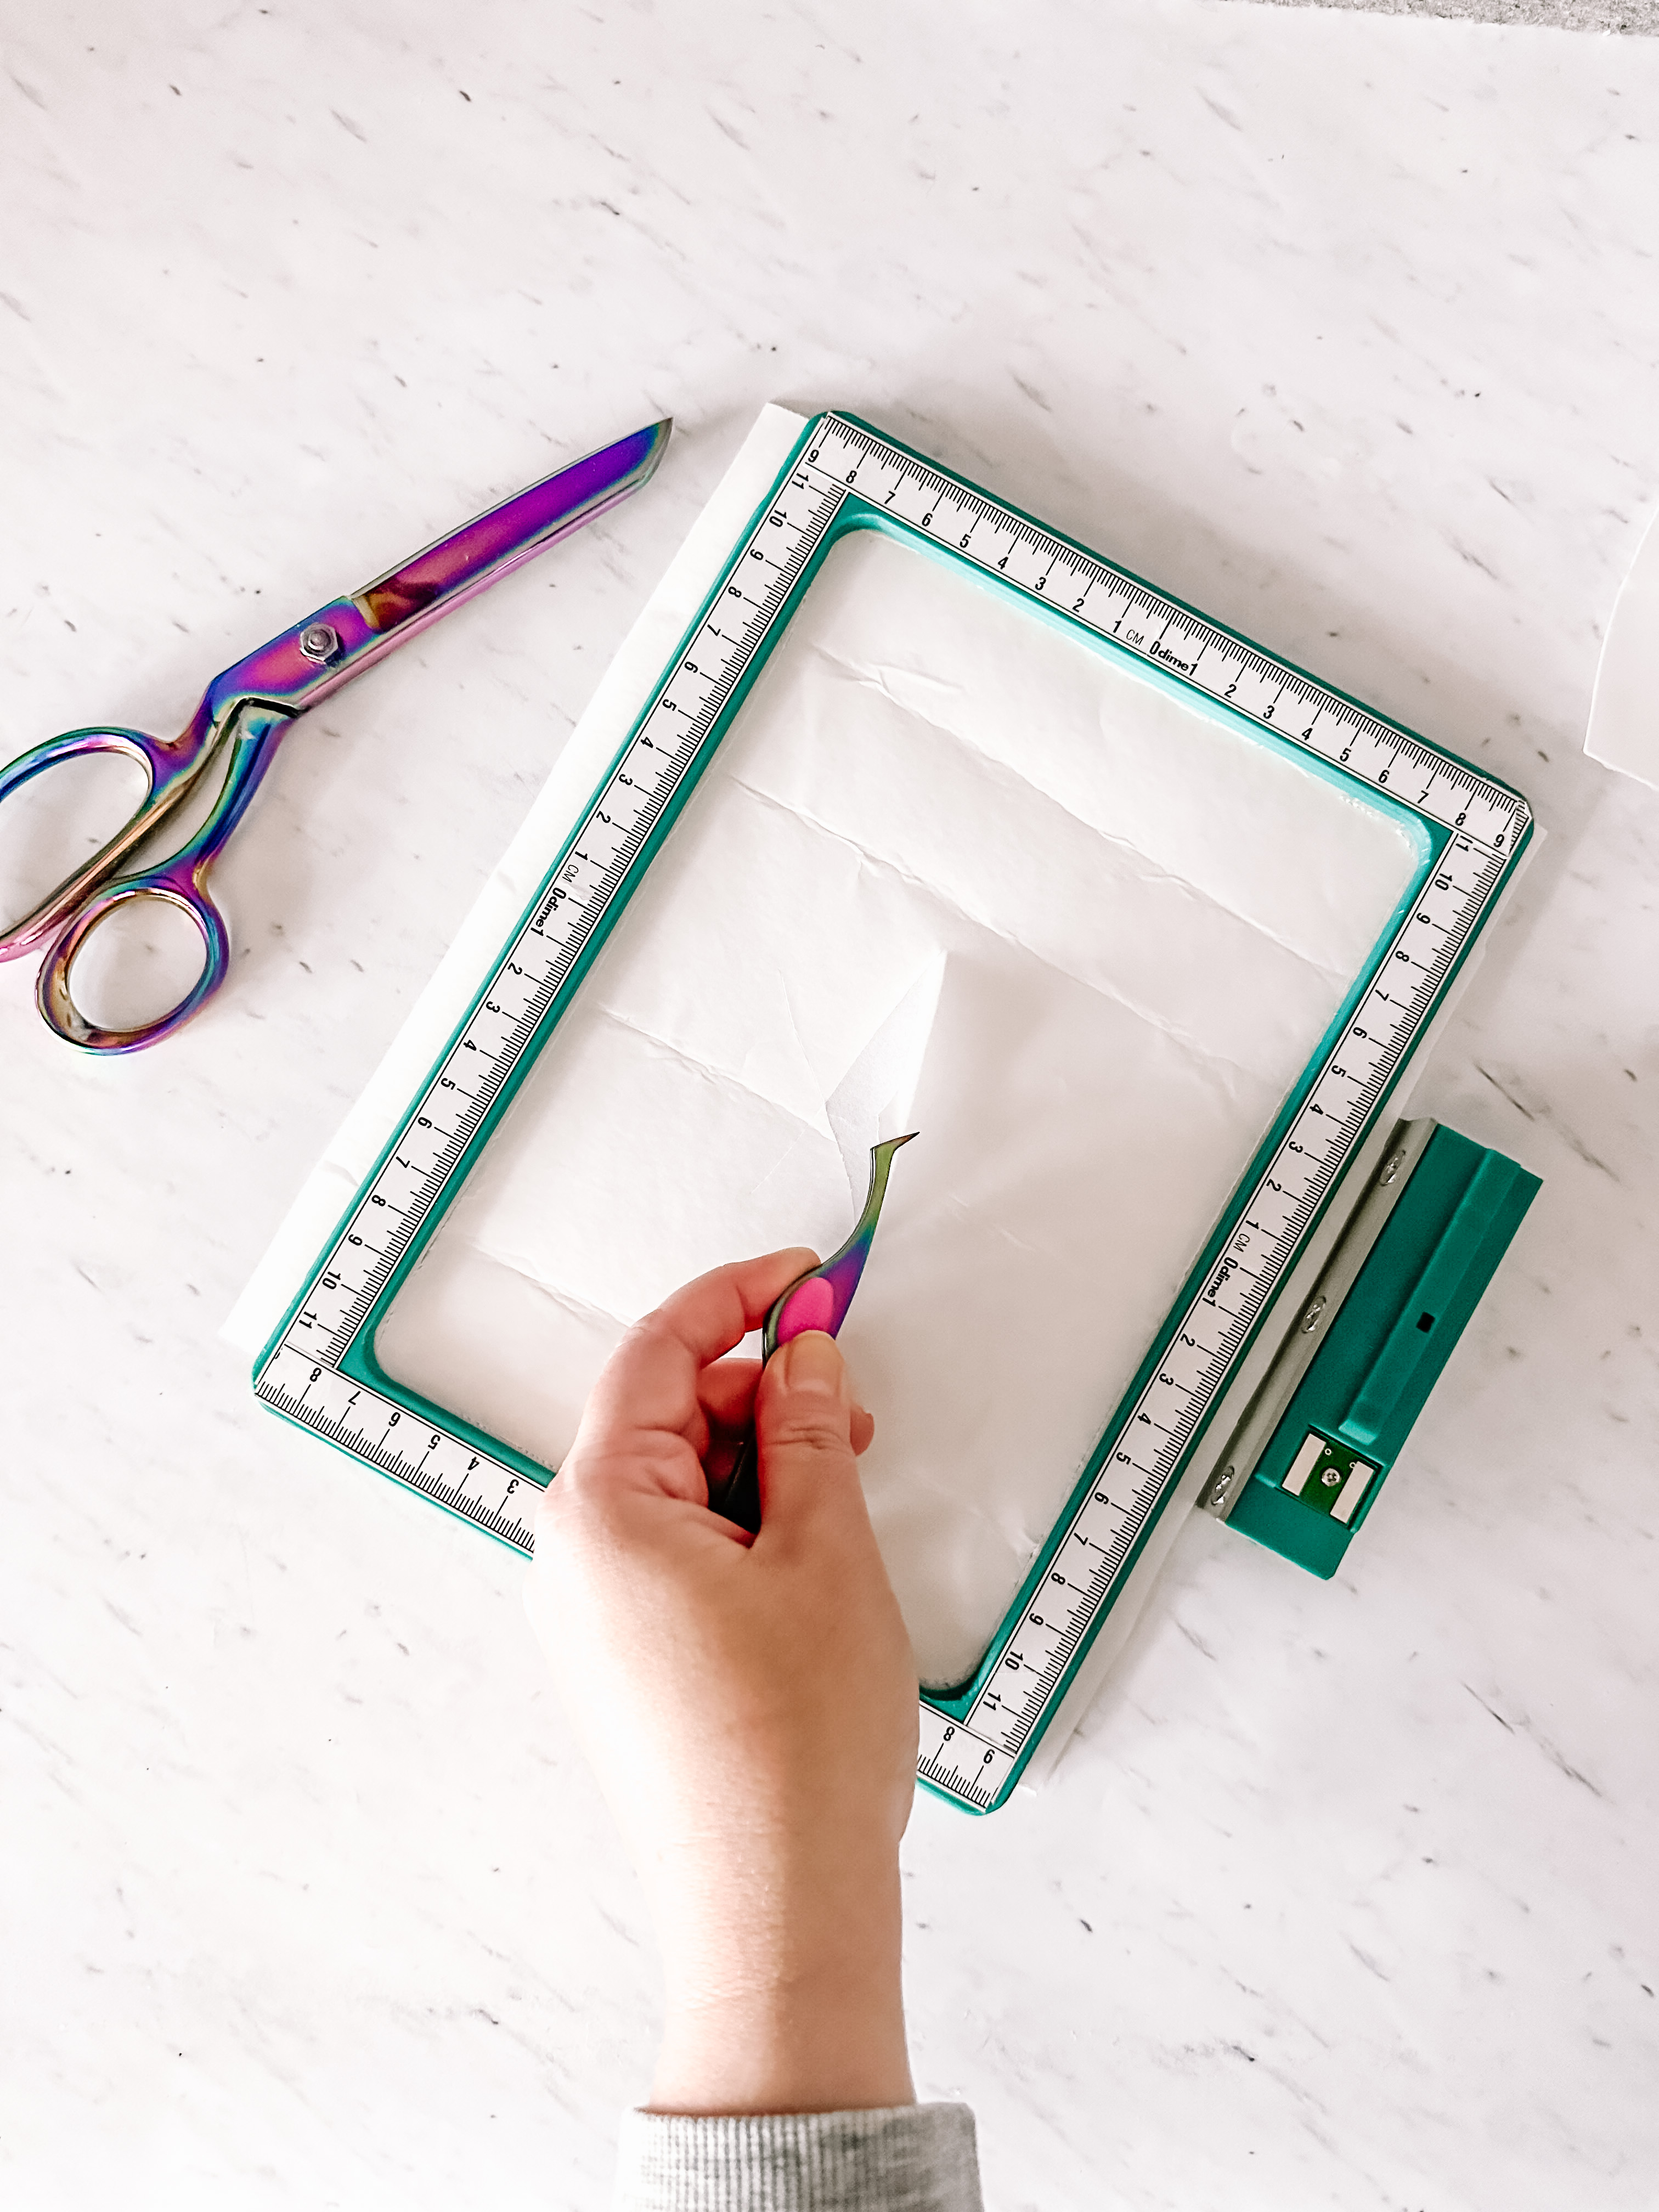
- Score an X in the middle of the stabilizer, again cutting only through the paper
- Using a tweezers (or needle), pull the paper up from the X in the middle. Remove the paper from the top of the stabilizer, tearing it away along the lines you scored
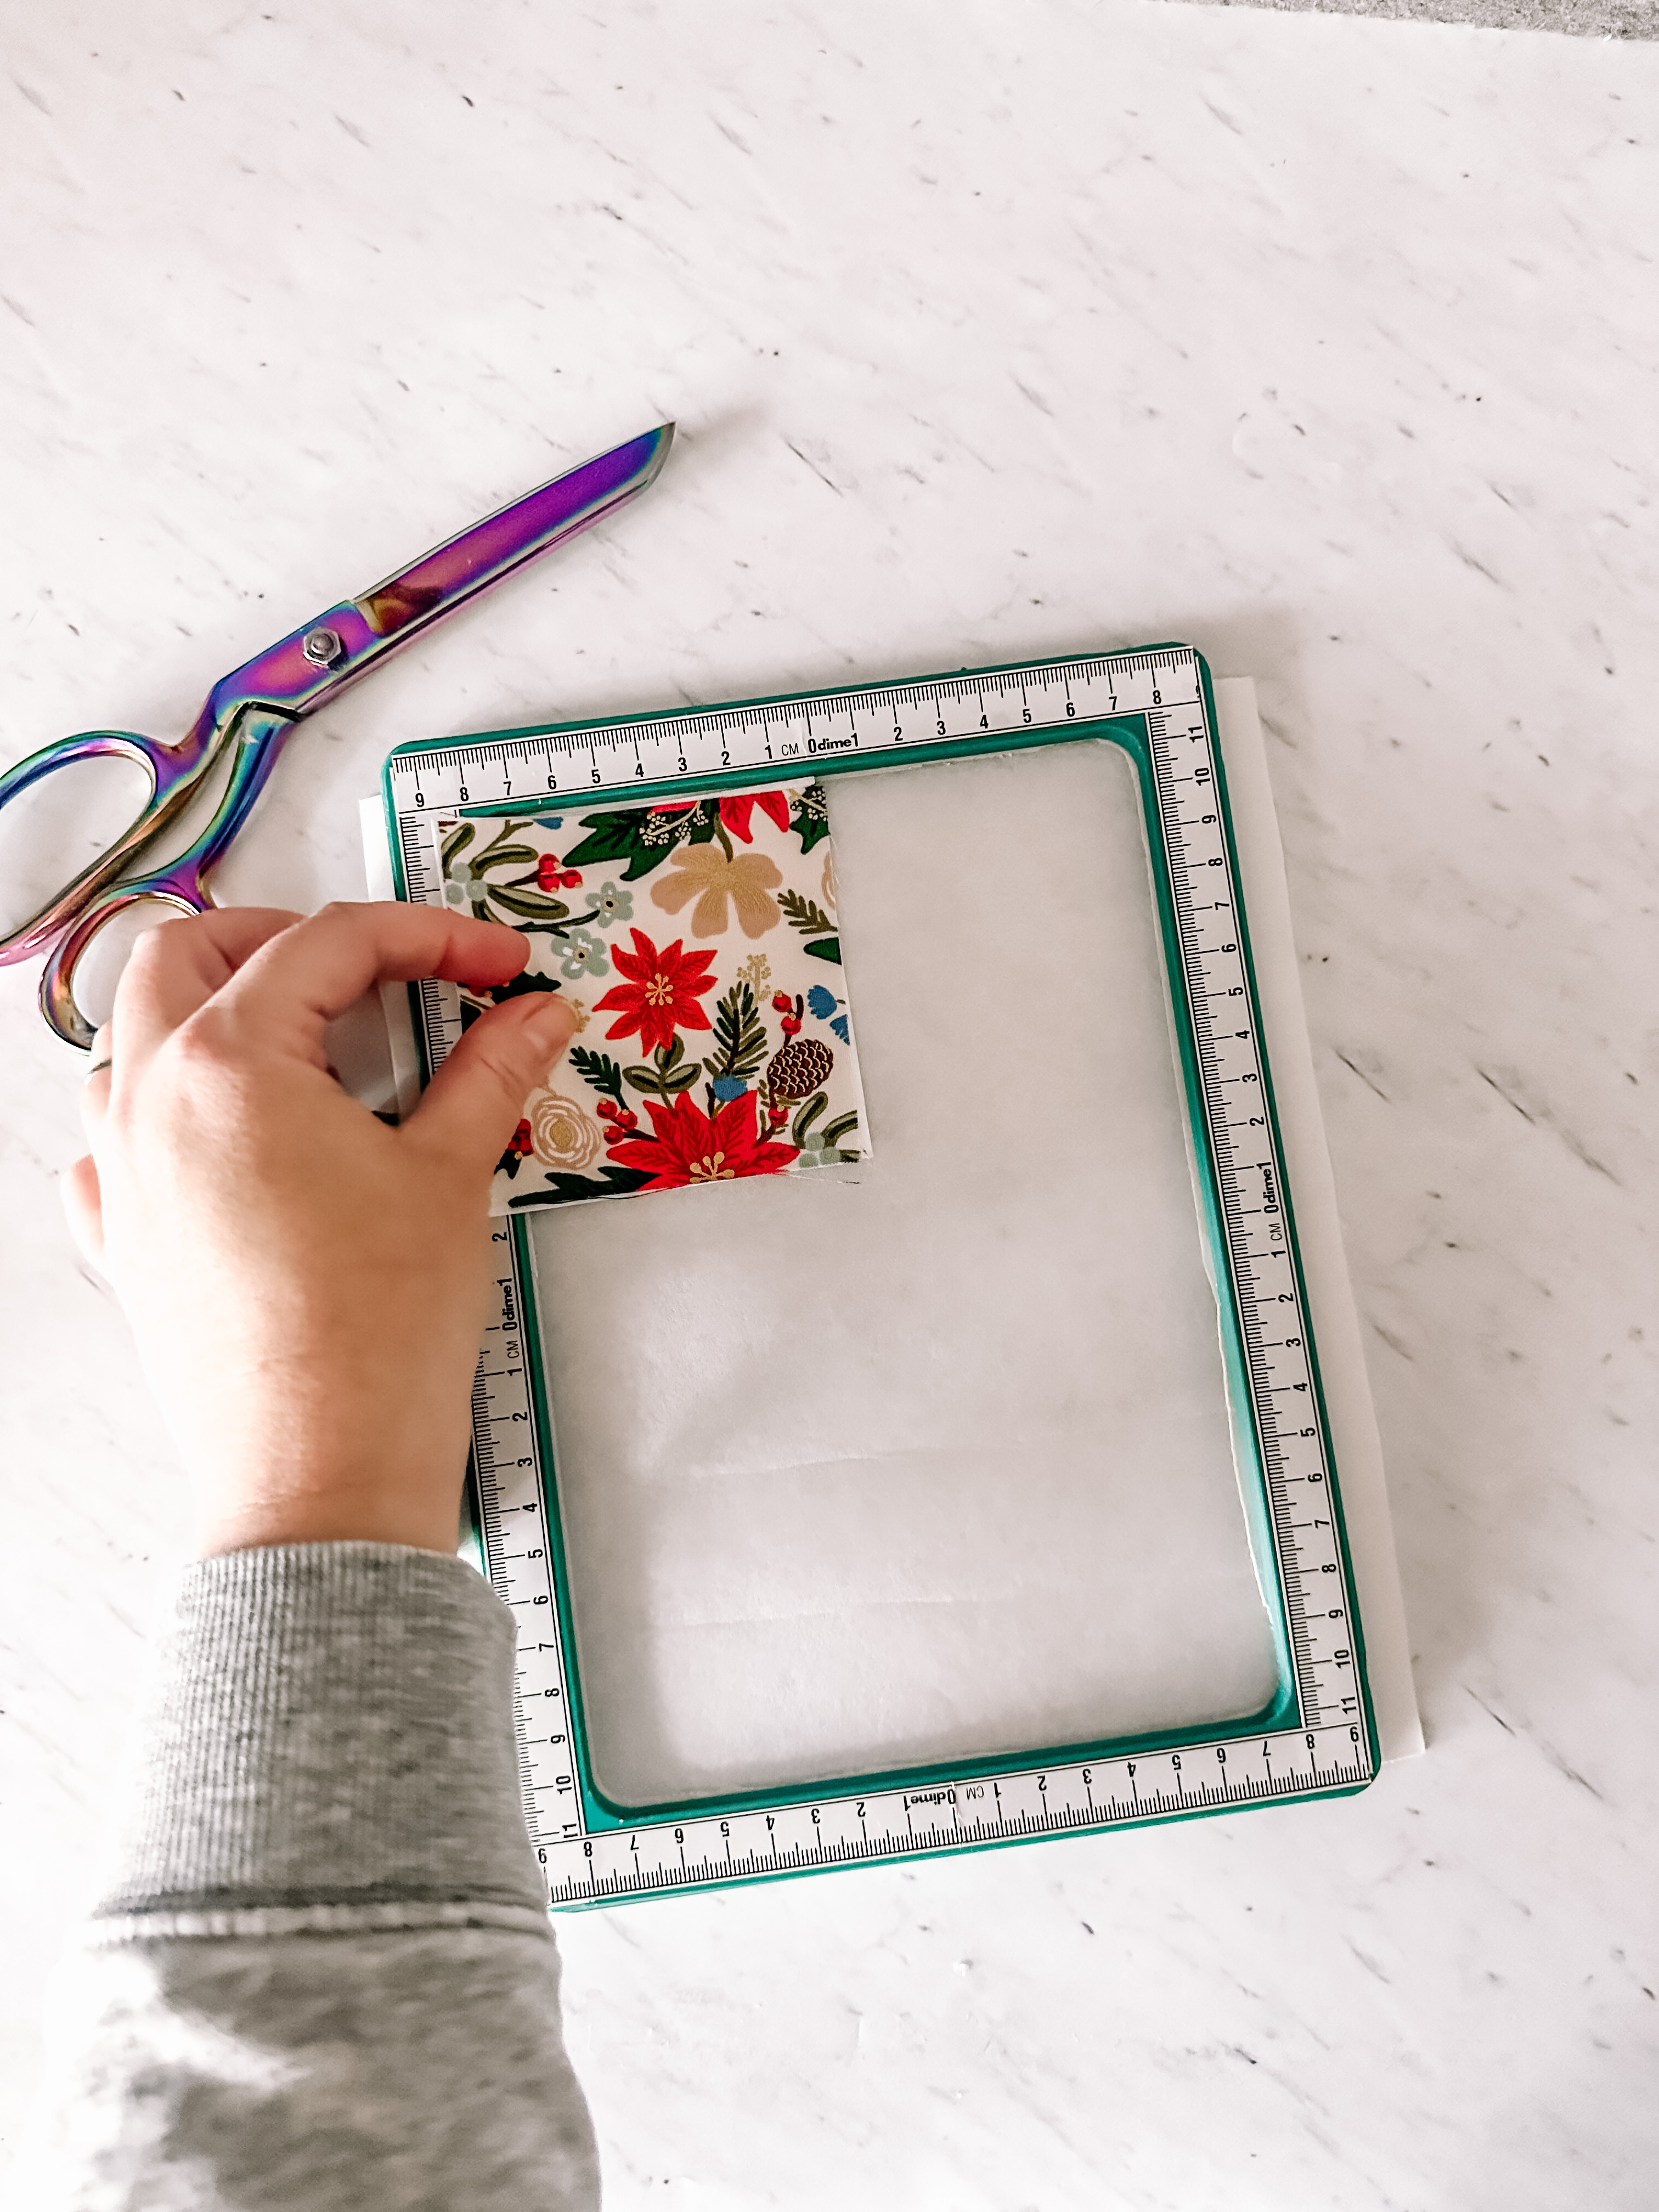
- Gently press your first pocket square to the now exposed sticky side of the stabilizer to adhere.
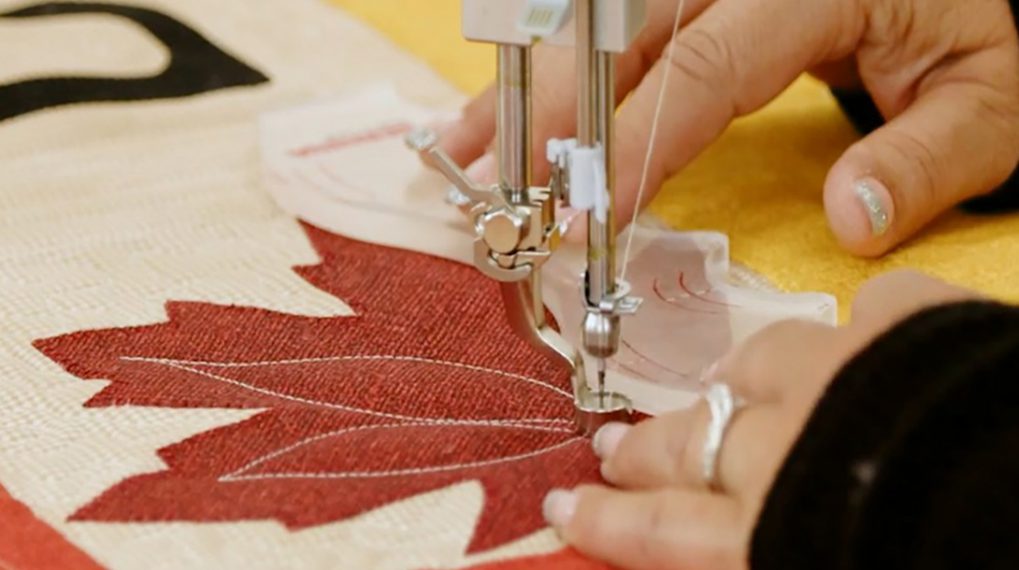
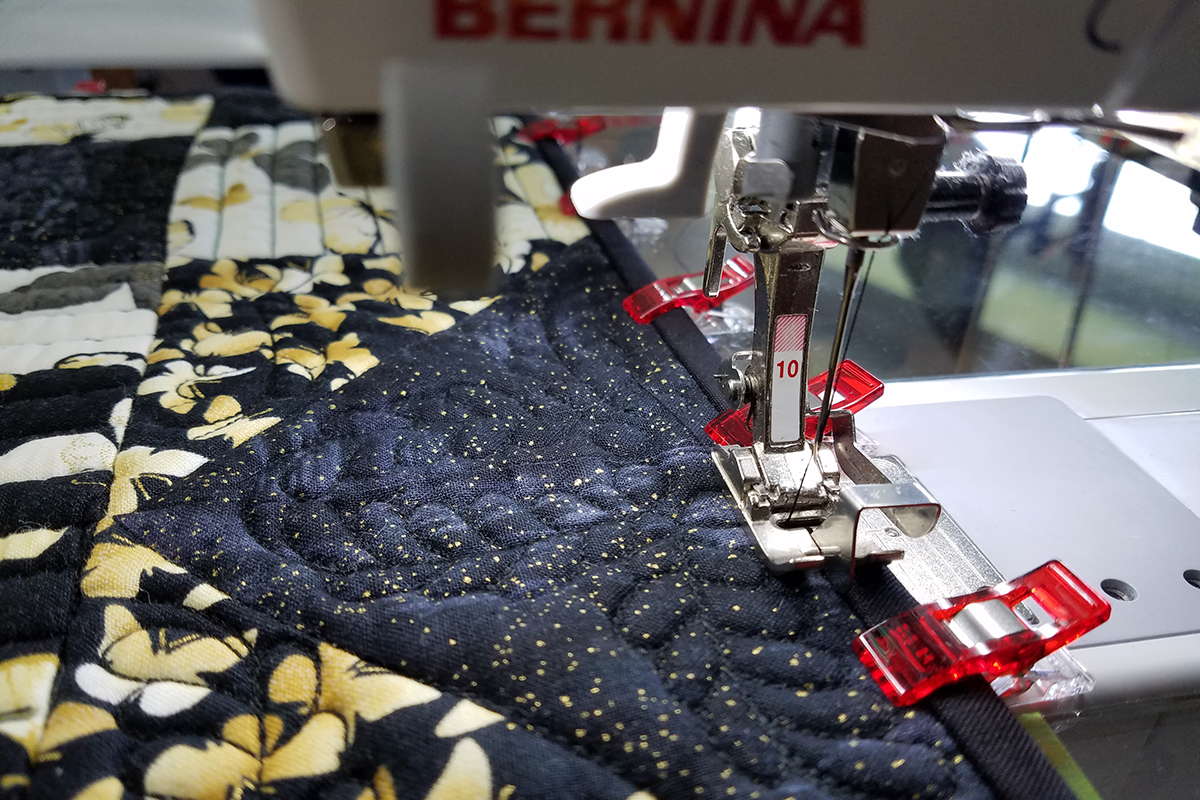
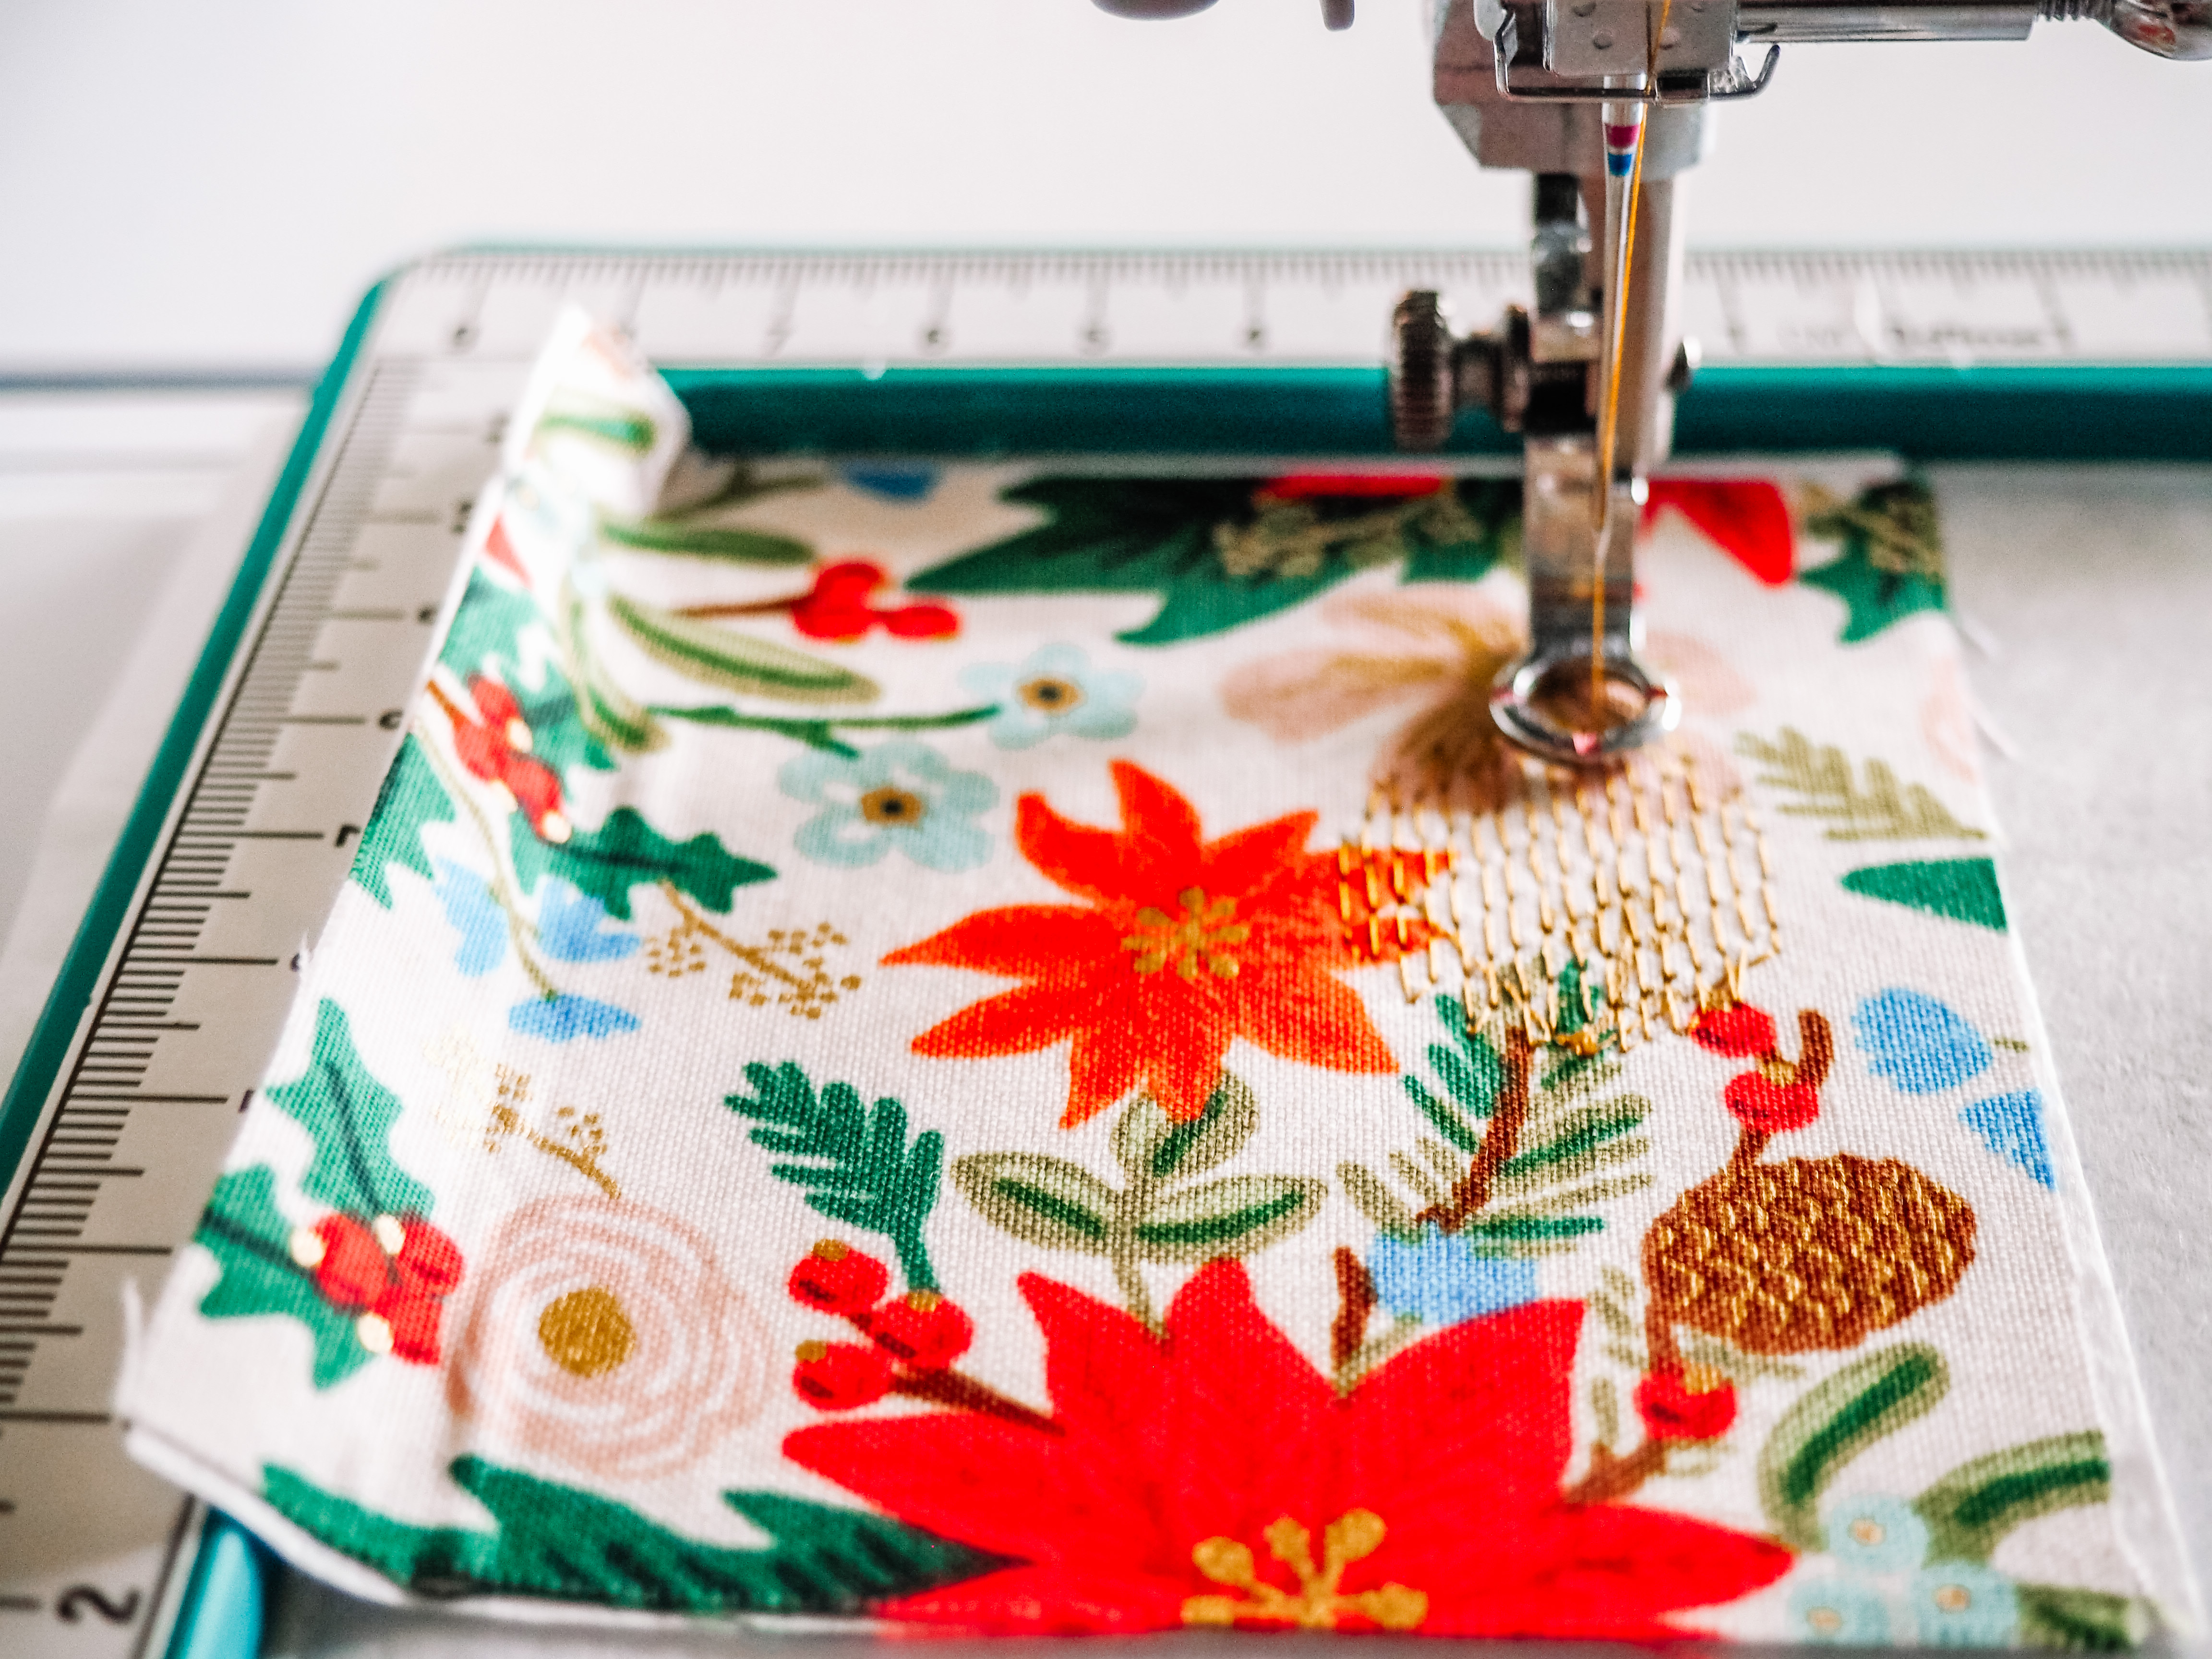
Step 4: Stitch Out the Design
Depending on the size of your embroidery hoop, you can stitch multiple pocket squares with one piece of stabilizer by then adjusting the position of the design on your machine. To do this, adhere your pockets on the stabilizer, taking care to not overlap them. Stitch out each design individually, following the steps below.
- Open the design on your machine, starting with the number 1
- Adjust the position of the design by selecting the “i” button on the screen
- Press “Moving the Embroidery Design” button (it looks like a plus sign with arrows coming off of each of the four sides)
- Turn the top knob on your machine to move the design horizontally and the bottom knob to move the design vertically
- When moving the design, be sure to allow for .5″ on each side of the pocket square for the seam allowance. I often would lower the needle to get a better idea of where the design would land
- Stitch the number onto the pocket square
- Repeat for the rest of the pocket squares, replacing the stabilizer as needed
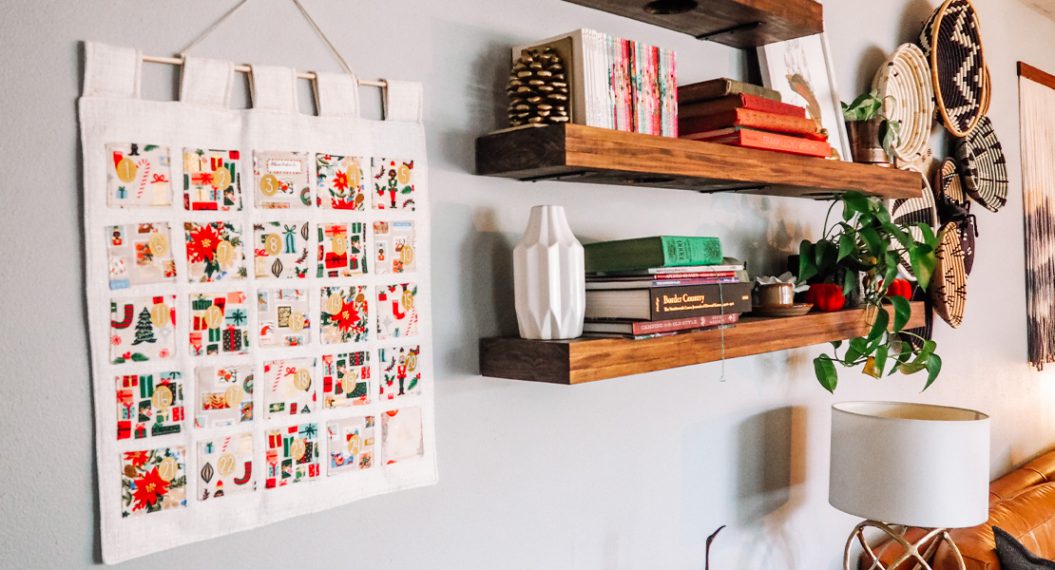
Give yourself a pat on the back, friend! The embroidery felt like the longest part of the project but in our next post, we get to put it all together. It is so fun to see the final product take shape, I can’t wait to work on it with you.