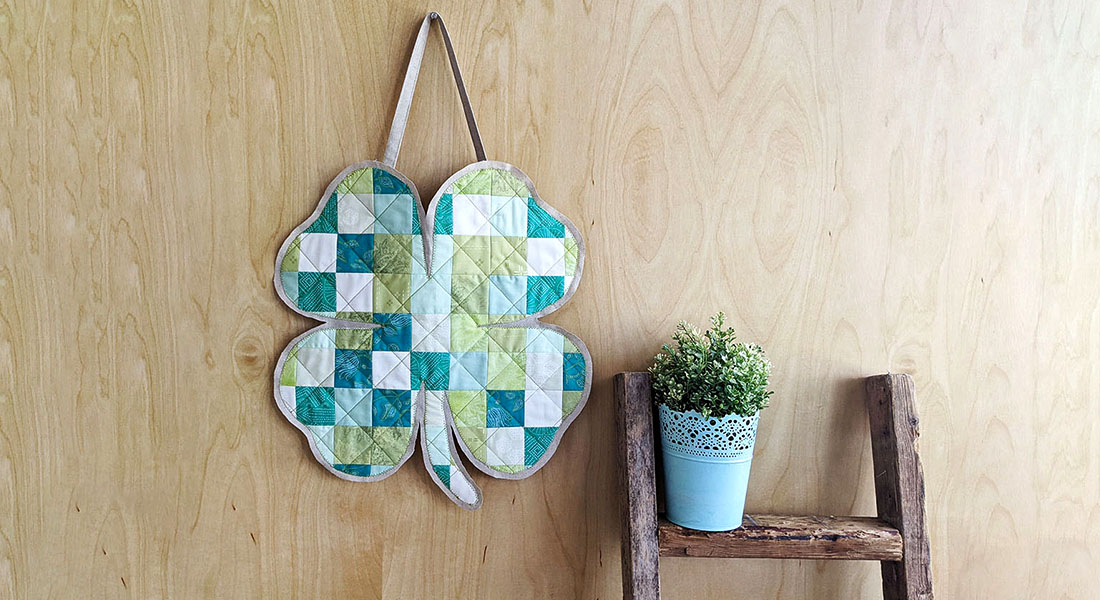
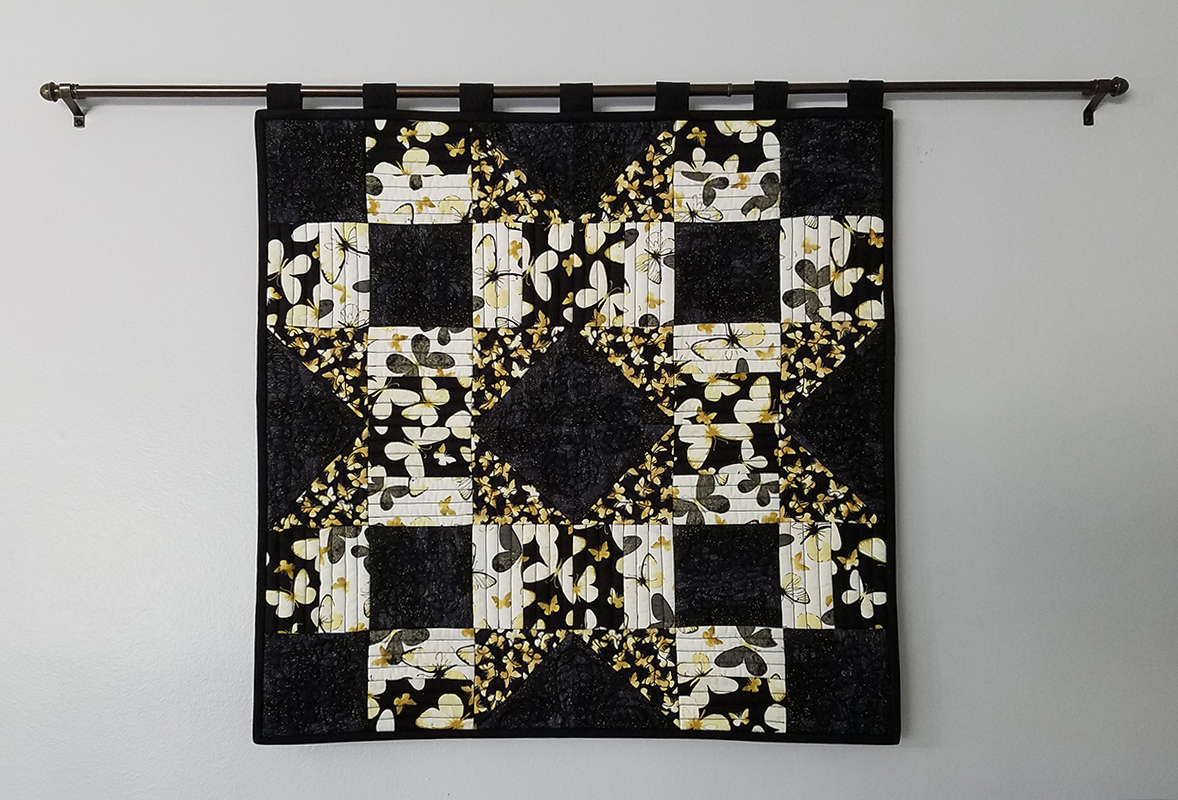
Grecian Square-Wall Hanging with Tabs
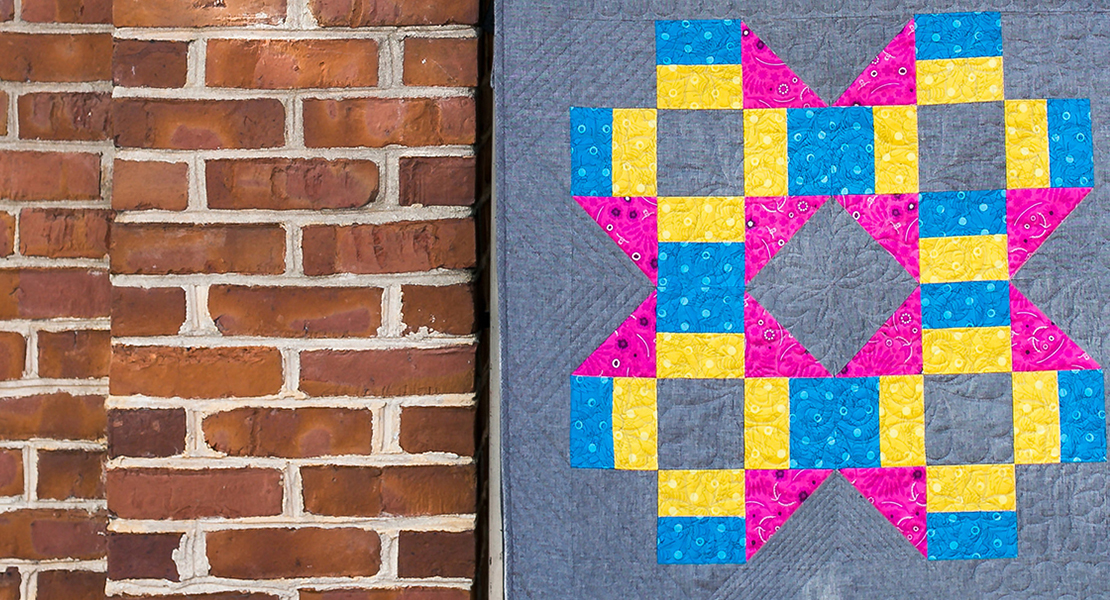
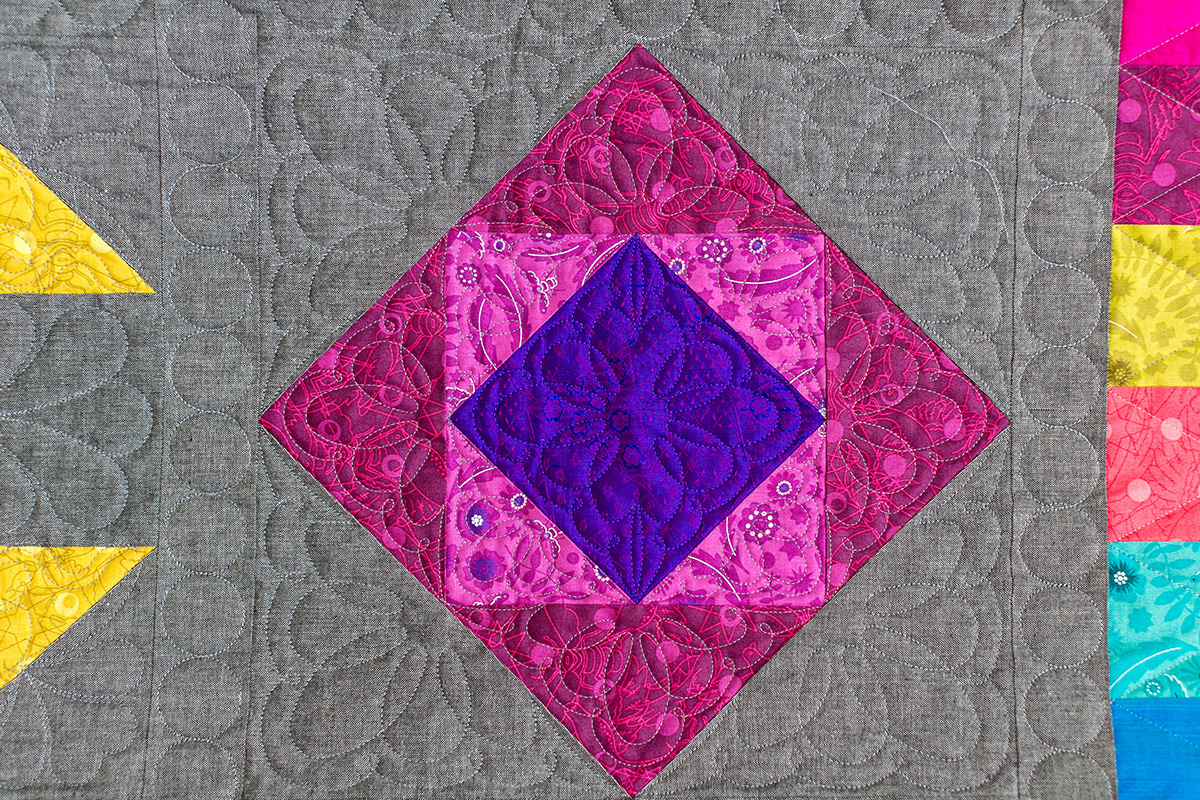
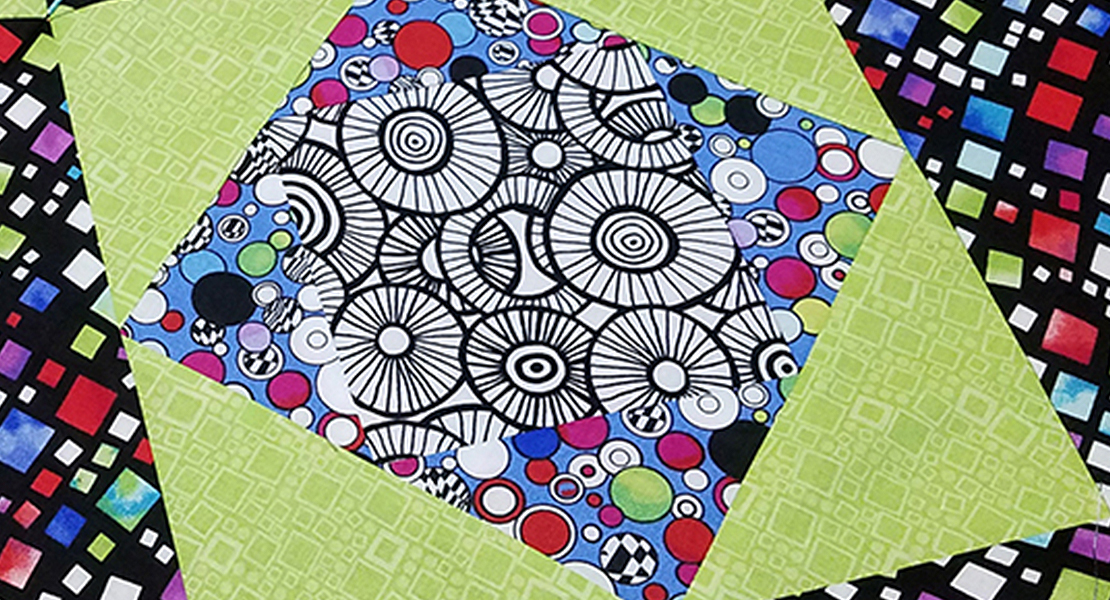
This large 24 inch Grecian Square block from the BERNINA Block of the Month will make a great wall hanging. Add tabs for hanging on a decorative rod to add an extra nice touch. The size will look great on most any wall. Adding the tabs for hanging while stitching on the binding will make this a quick and easy project to finish.
Materials to Create a Grecian Square Wall Hanging
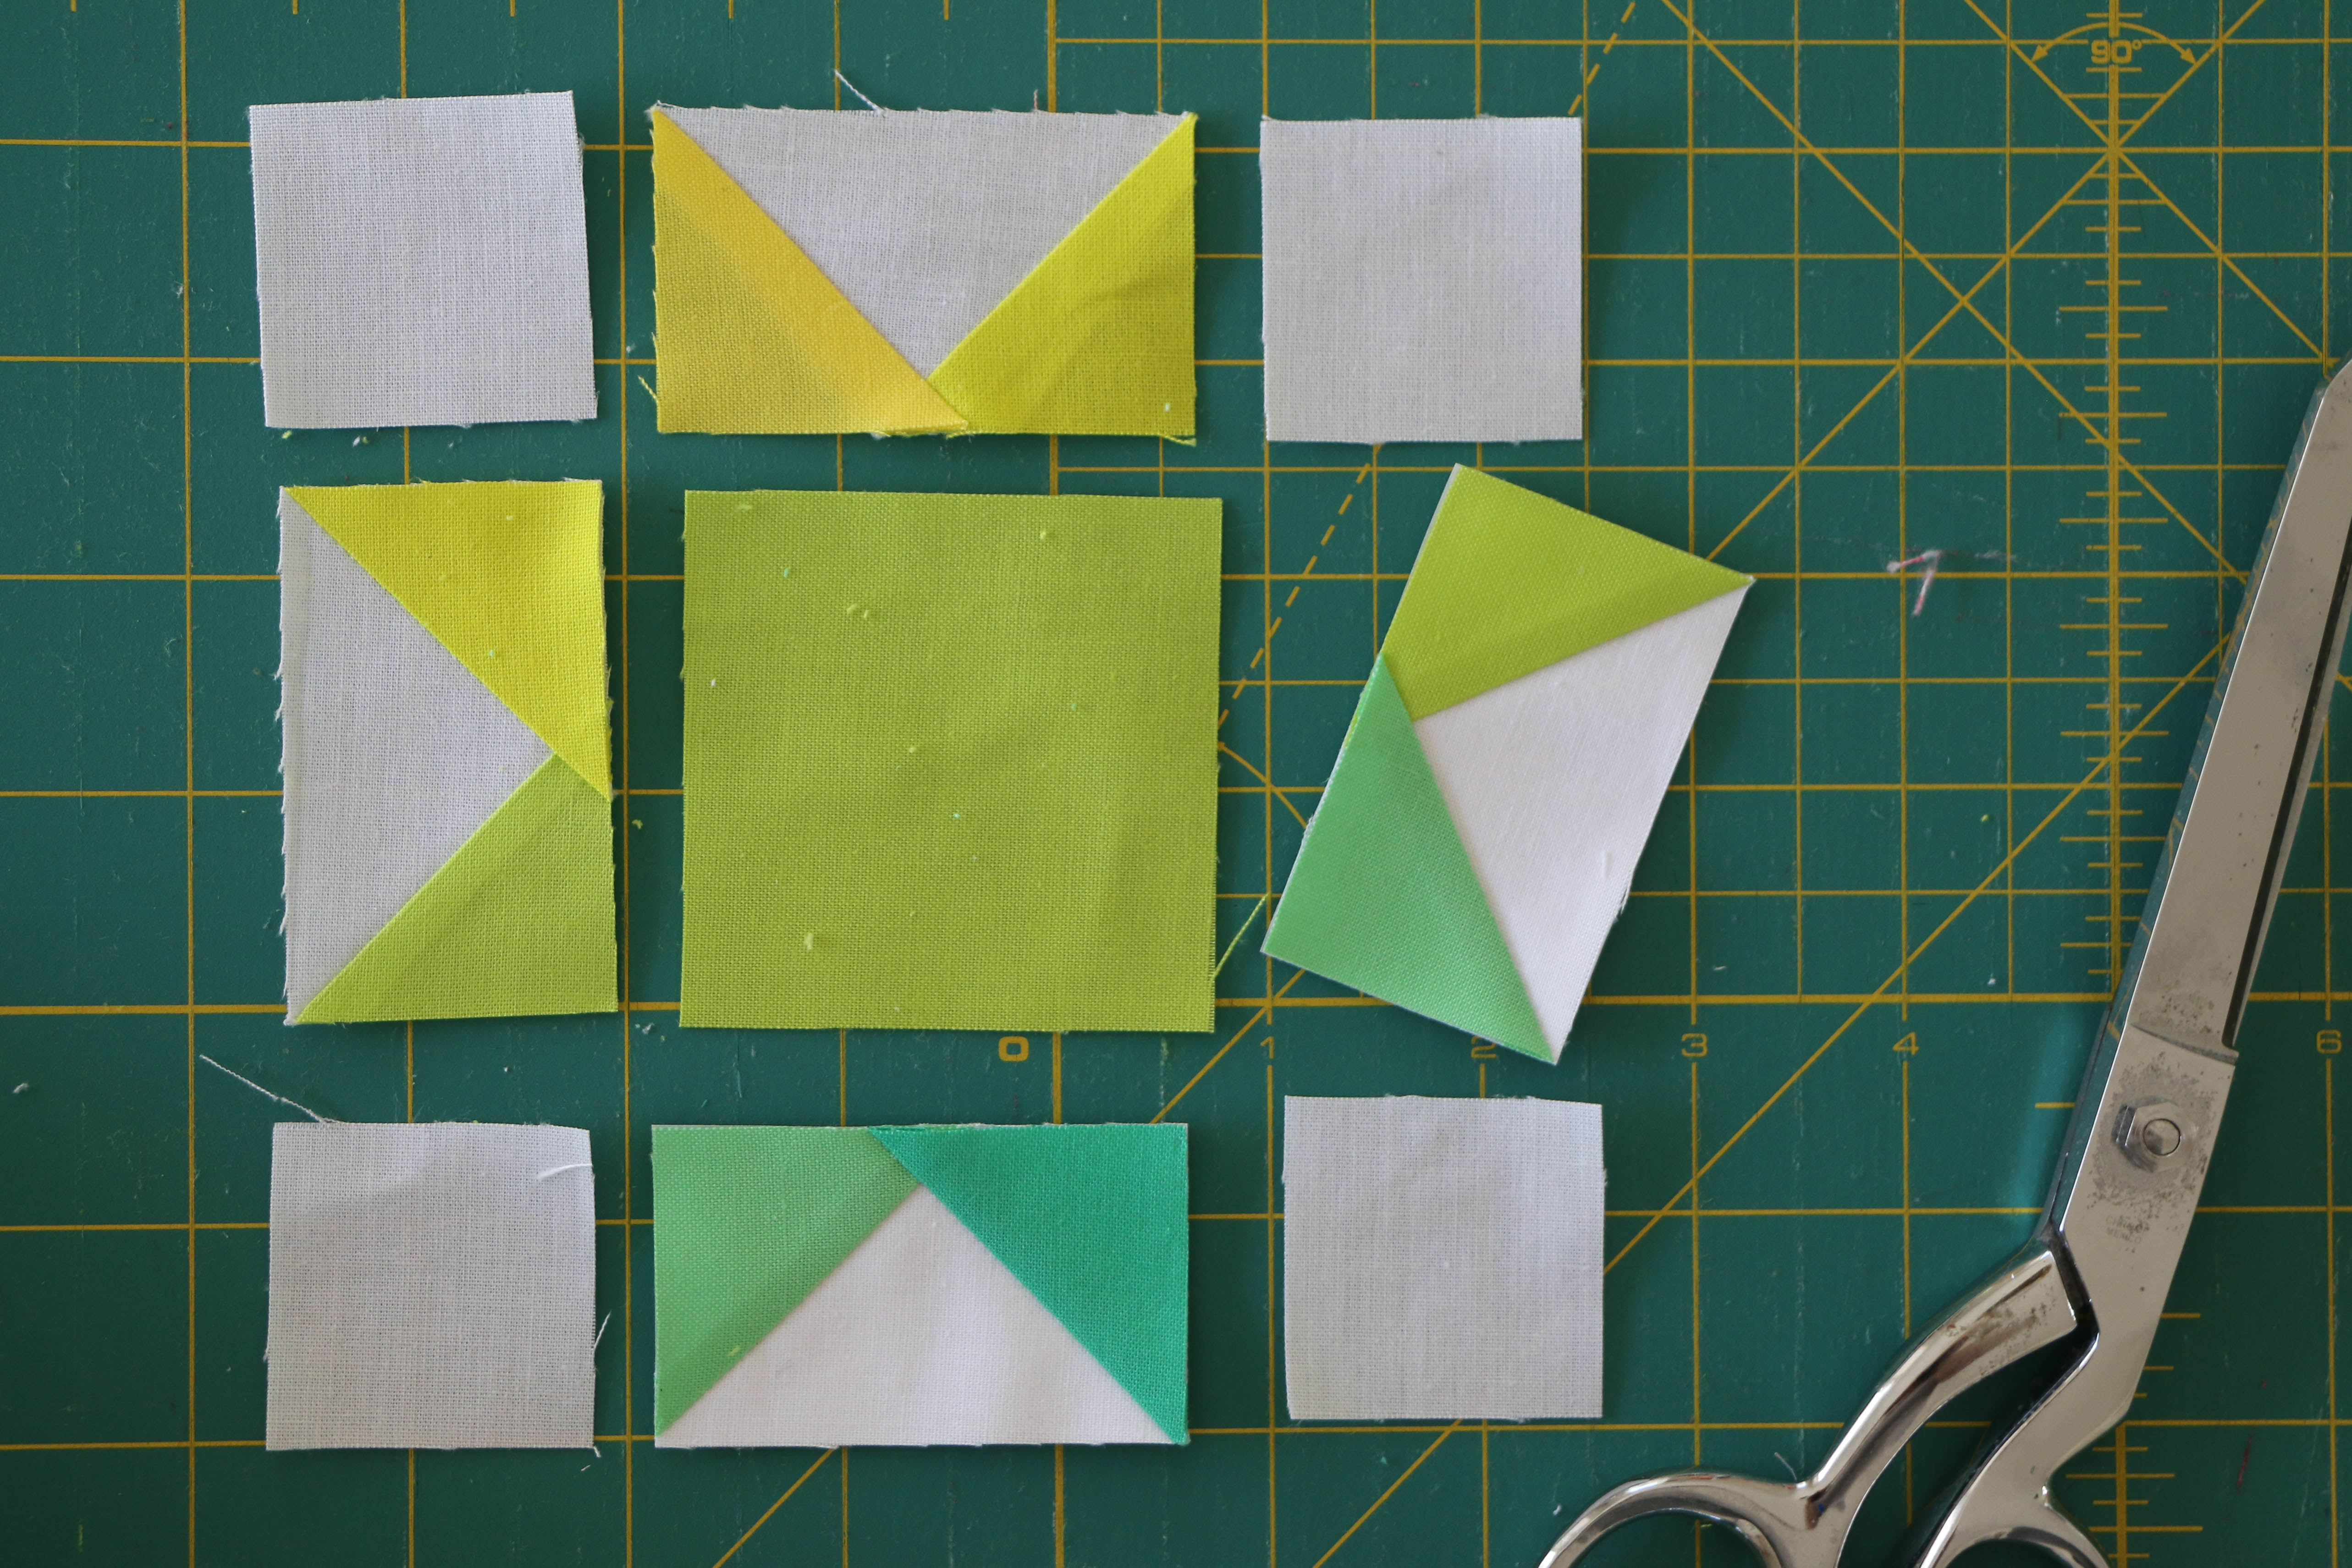
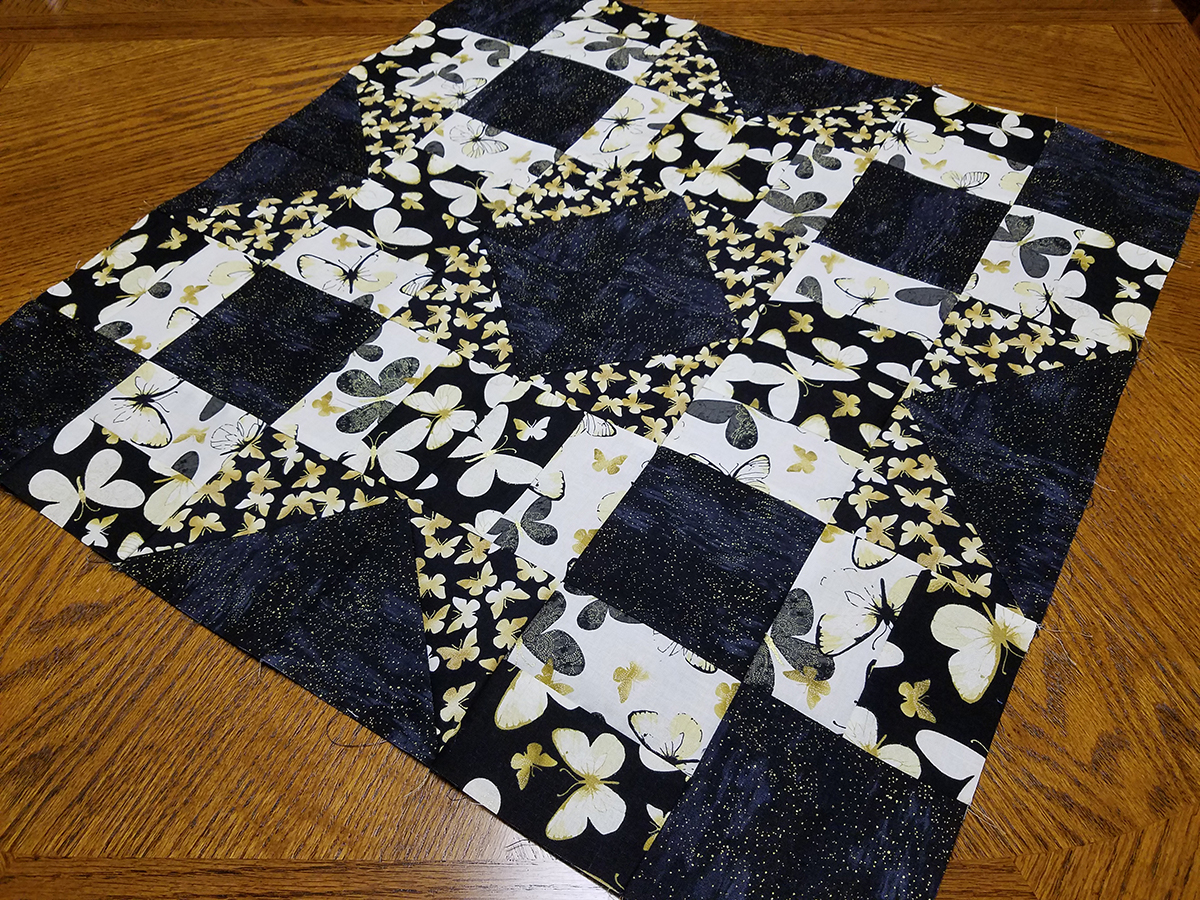
4 fat quarters to construct Block 8 (I used New Traditions fabric collection by Benartex)
Batting: Cut to 27″ x 27″
Backing: Cut to 28″ x 28″
Binding: Cut 3 strips 2 ¼″ by width of fabric (44″)
Tabs: Cut 1 strip 3″ by width of fabric (44″)
Optional: Clover Wonder Clips
Instructions to Create a Grecian Square Wall Hanging
Start by piecing the top following the directions from the Grecian Block from the BERNINA Block Party. I used fabrics from the New Traditions fabric collection by Benartex. I love the way it turned out!
Create the quilt sandwich by layering the backing right side down, the batting, and the pieced block right side up.
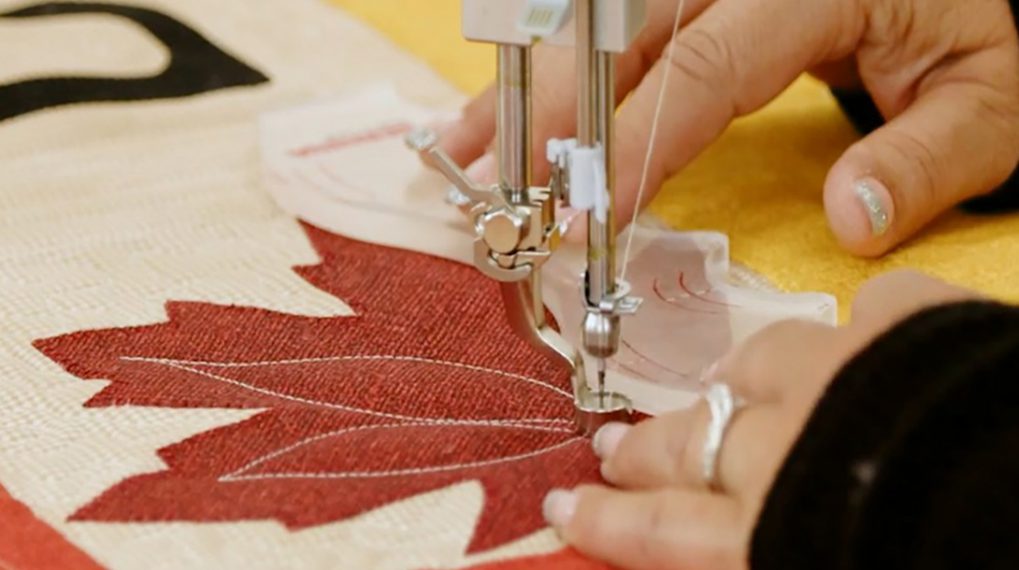
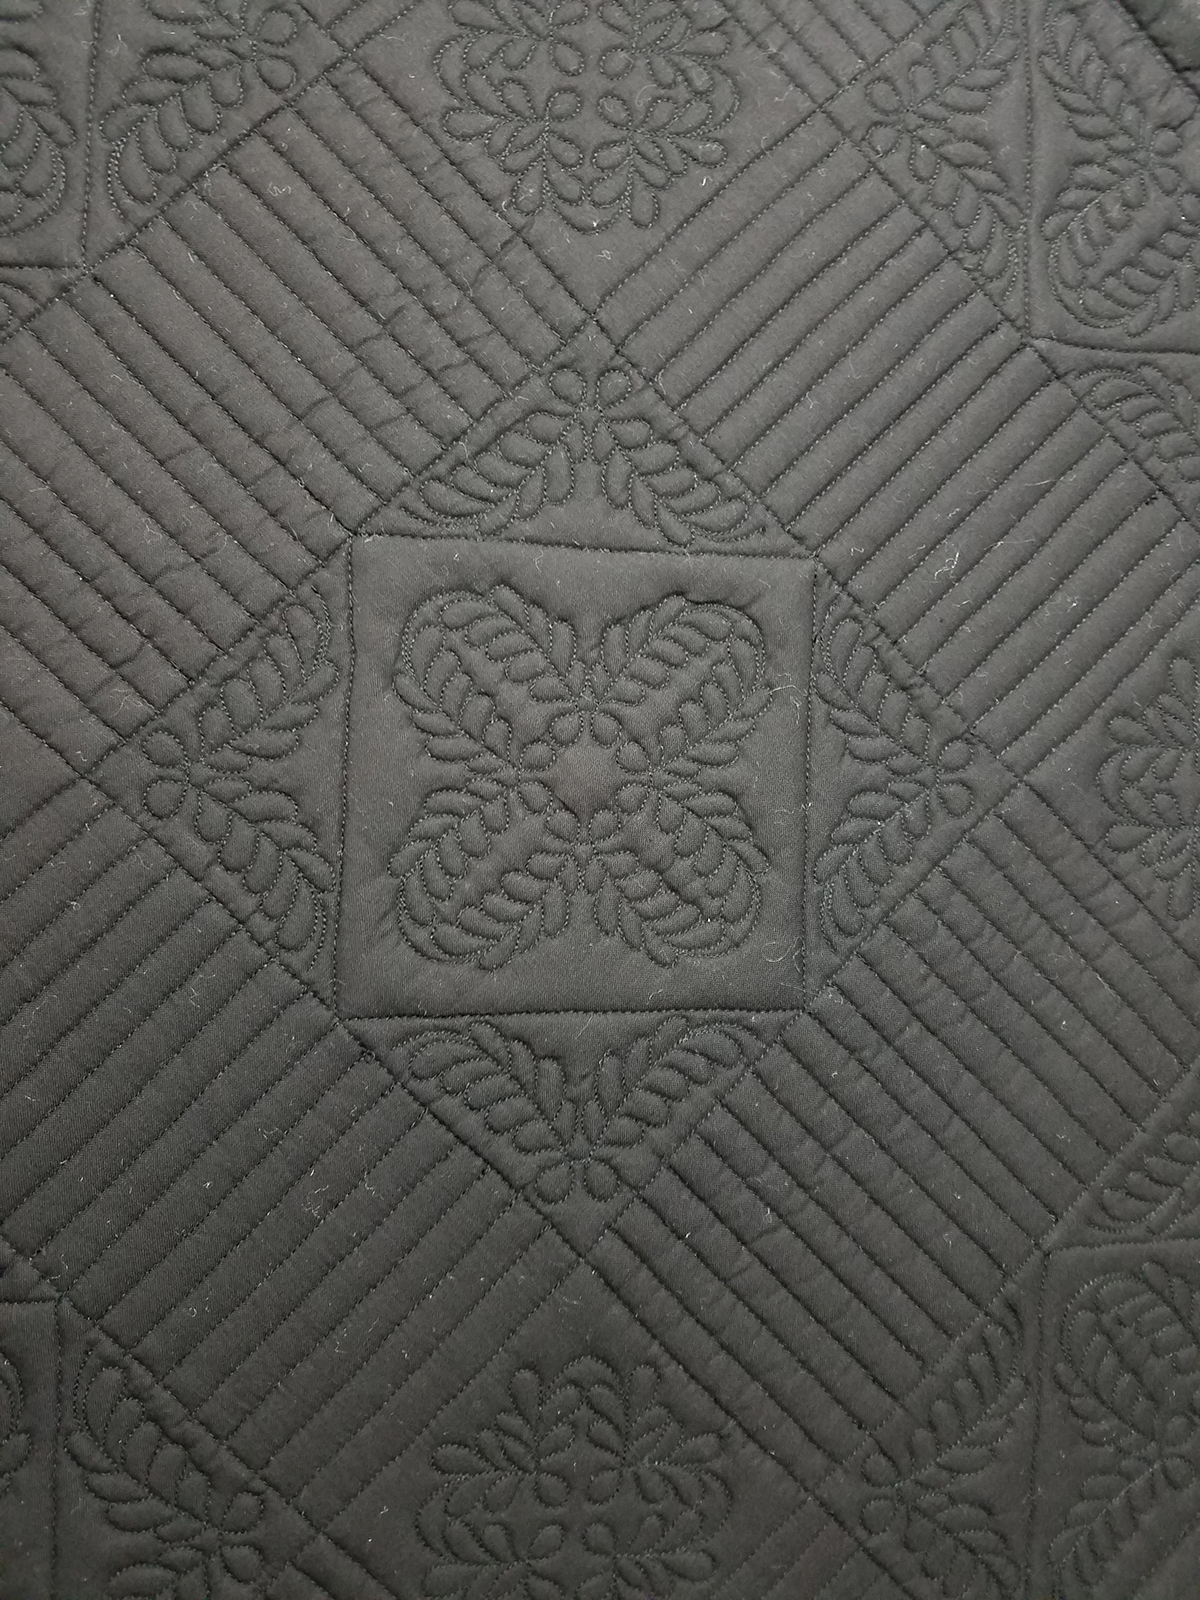
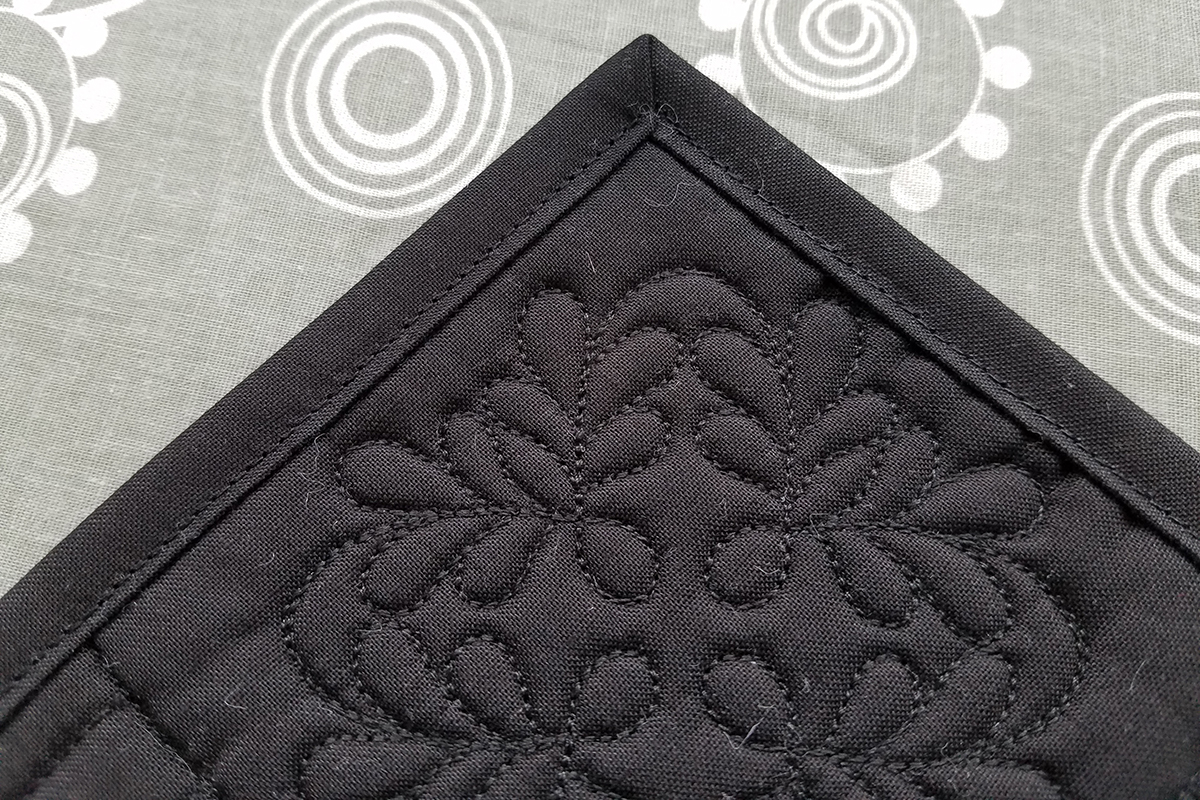
Quilt the block as desired. I quilted this block using a combination of Q-matic for block designs and Ruler Work for the straight lines.
After the block is quilted, trim the batting and backing to square it up.

Stitch around the perimeter of the block with a zigzag stitch.
Fold the 3″ wide strip for the tabs in half lengthwise with right sides together. Stitch a quarter inch seam down the length of the fabric forming a tube. Turn the tube right side out using your favorite turning method.

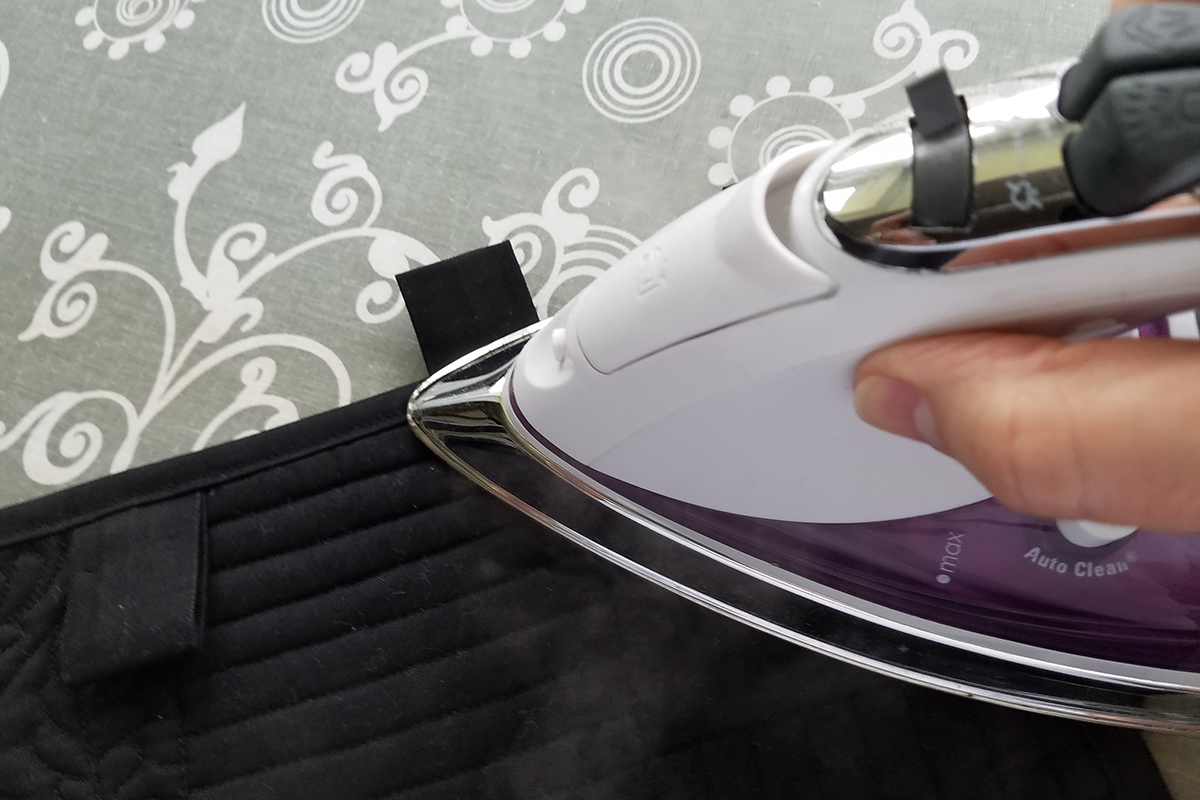
Press tube flat with seam in the middle of the back side.

Cut the tube into 7 – 4″ pieces.

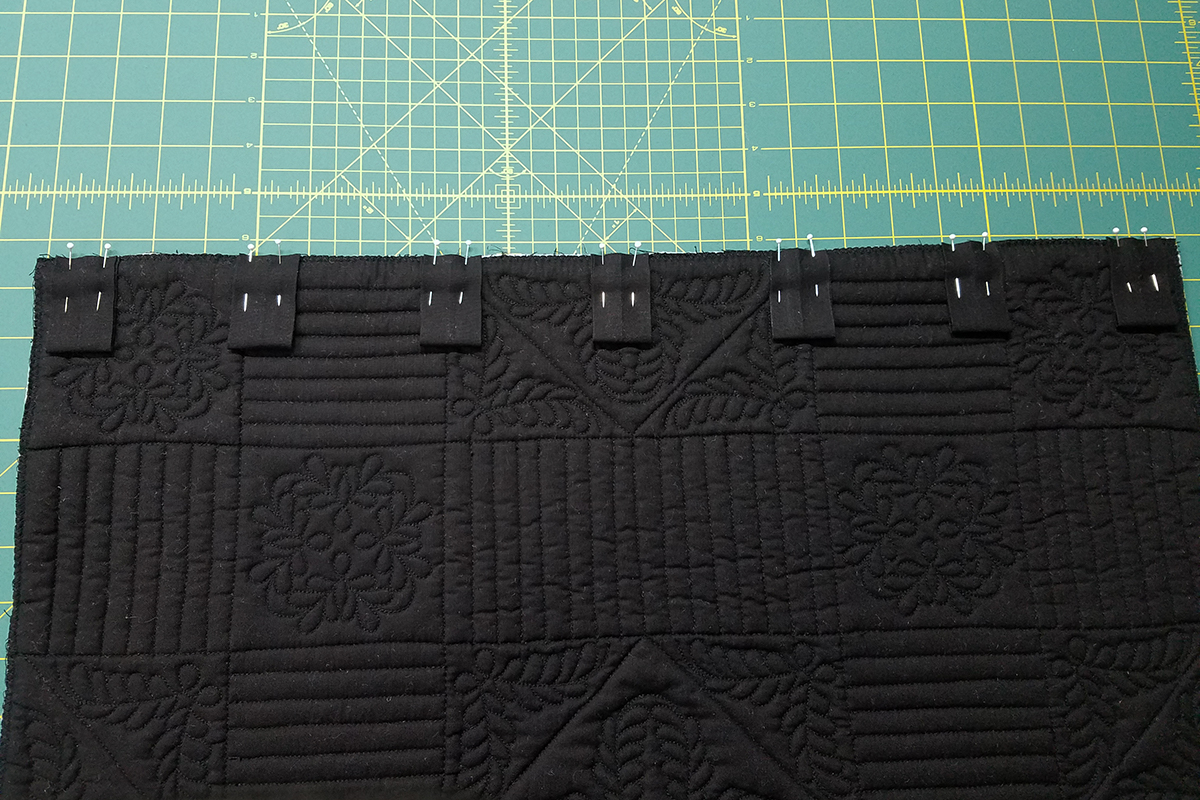
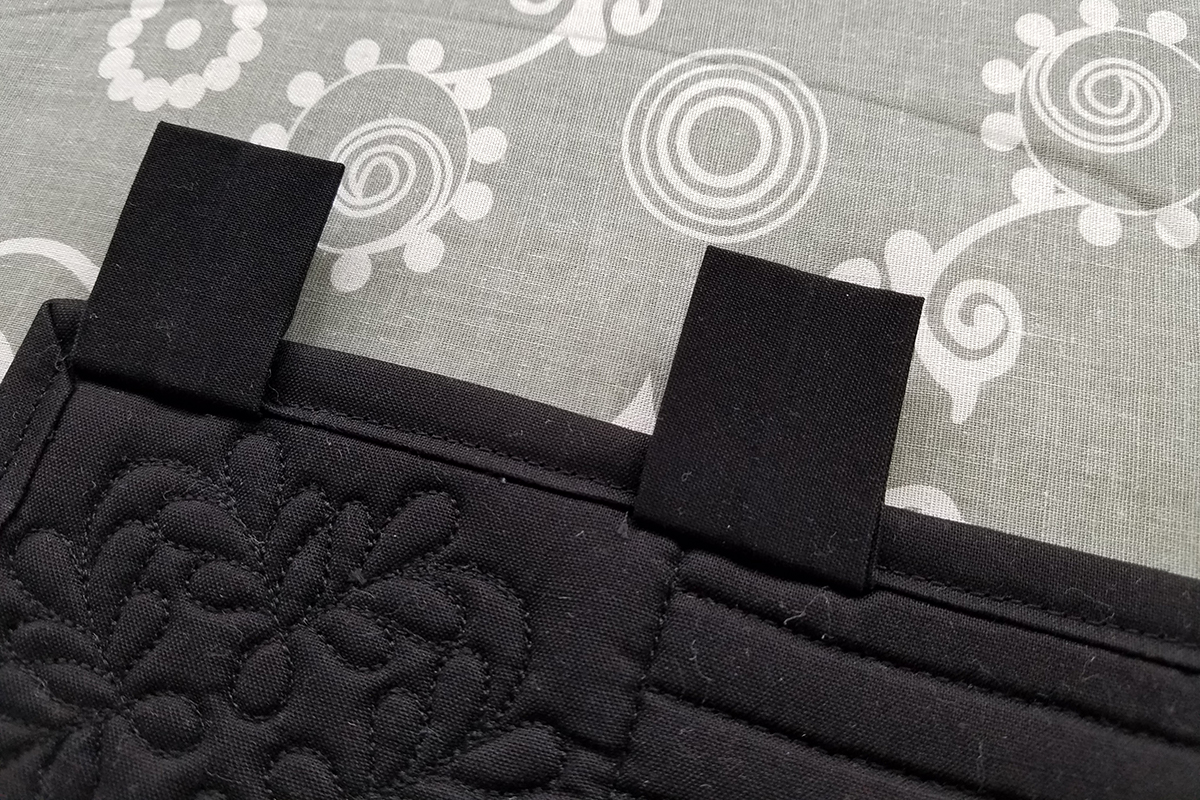
Fold each tab in half with the raw edges even and aligned with the top of your wall hanging. Take care to make the spacing of the tabs equal distance apart.
Start by pinning the two side tabs at the corners. Don’t forget when pinning tabs on to leave a space at the corners for the binding to be stitched on. About a ¼″ to 3/8″ will work nicely.

Pin a tab at the center back of the quilted piece, and then pin two tabs between the center tab and the corner tabs spacing them equidistance apart. The raw edges of all tabs should be even with the zigzagged edge of the block. Stitch in place with a straight stitch or zigzag stitch close to the raw edge.
Fold the first and last tab over and pin them out of the way to make sure you don’t catch when stitching on binding.
We will stitch the binding onto the front of the block just as we did when we made the Shoofly Block Placemats for the Block 2 project. Refer back to those instructions for added details.
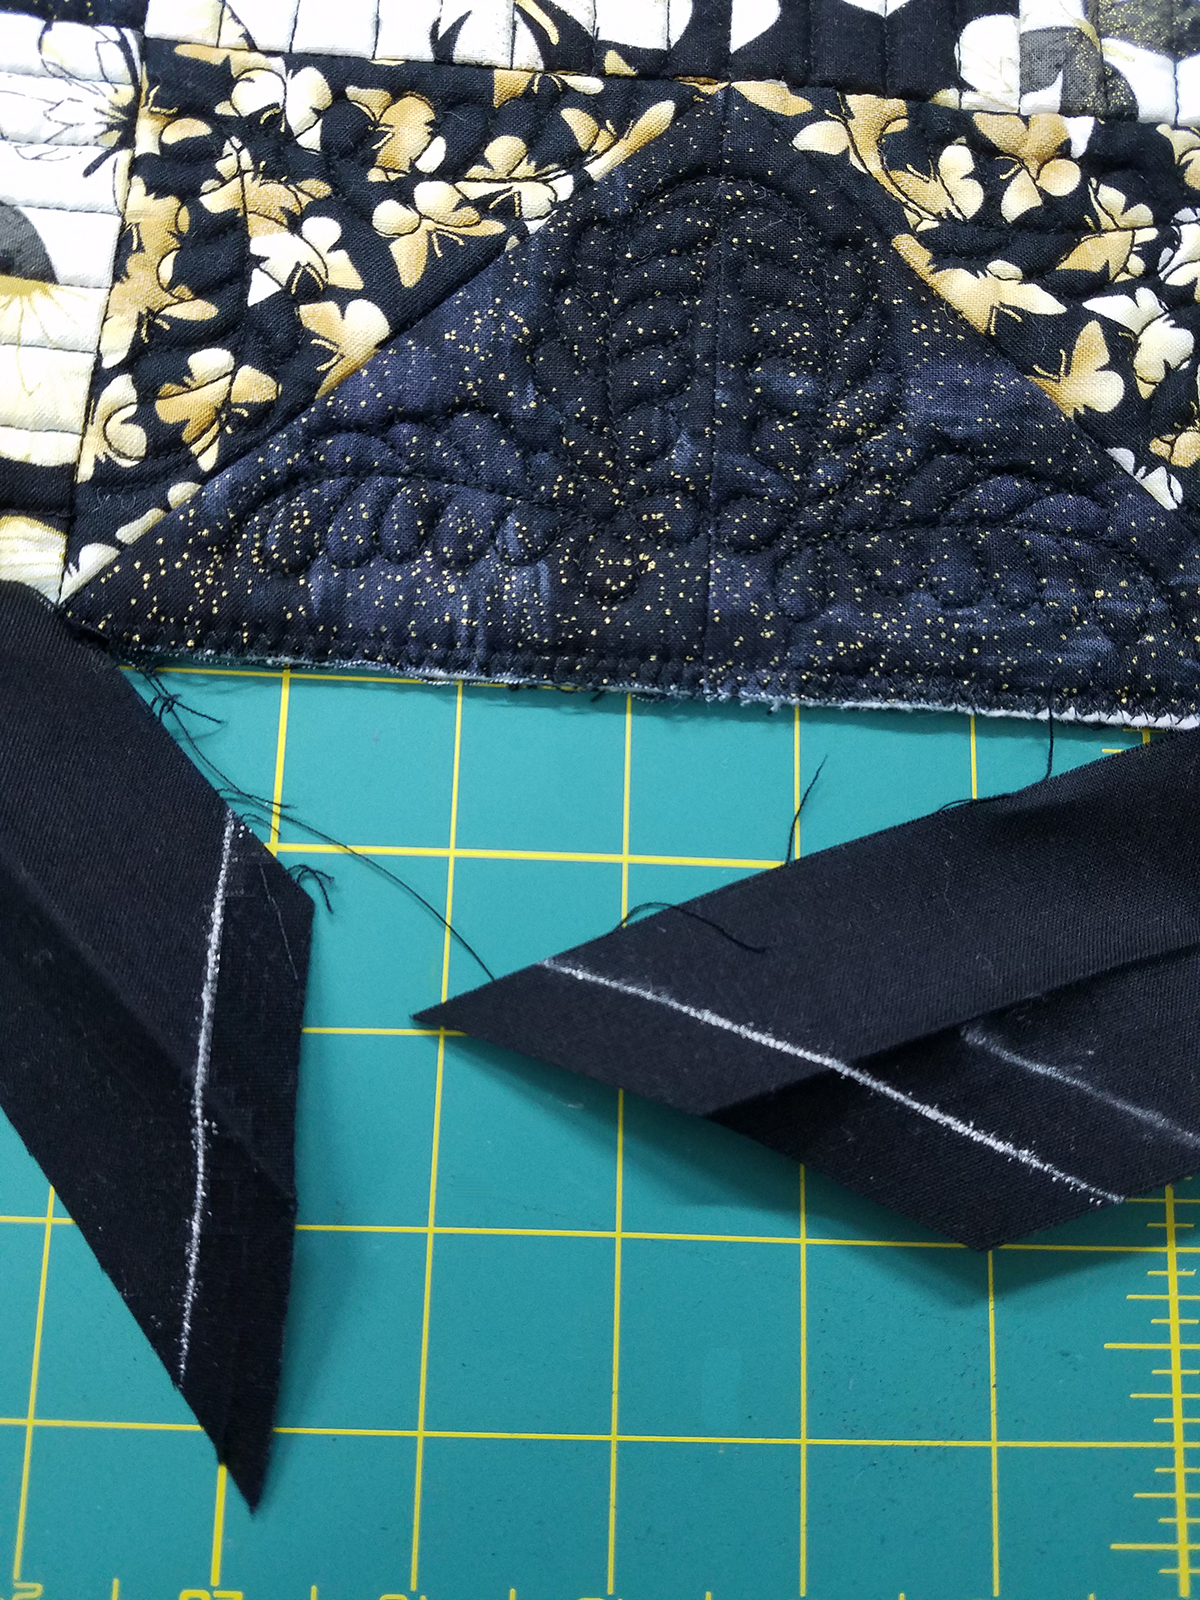
Stitch the three binding strips together with diagonal seams to form one long strip. Cut a 45-degree angle at the end where you will start stitching. Fold the binding in half with wrong sides together and press.
Stitch the binding to the right side of the block starting approximately in the center of one side of the quilted piece. Leave about 5 or 6 inches unstitched. Use a quarter inch seam allowance.
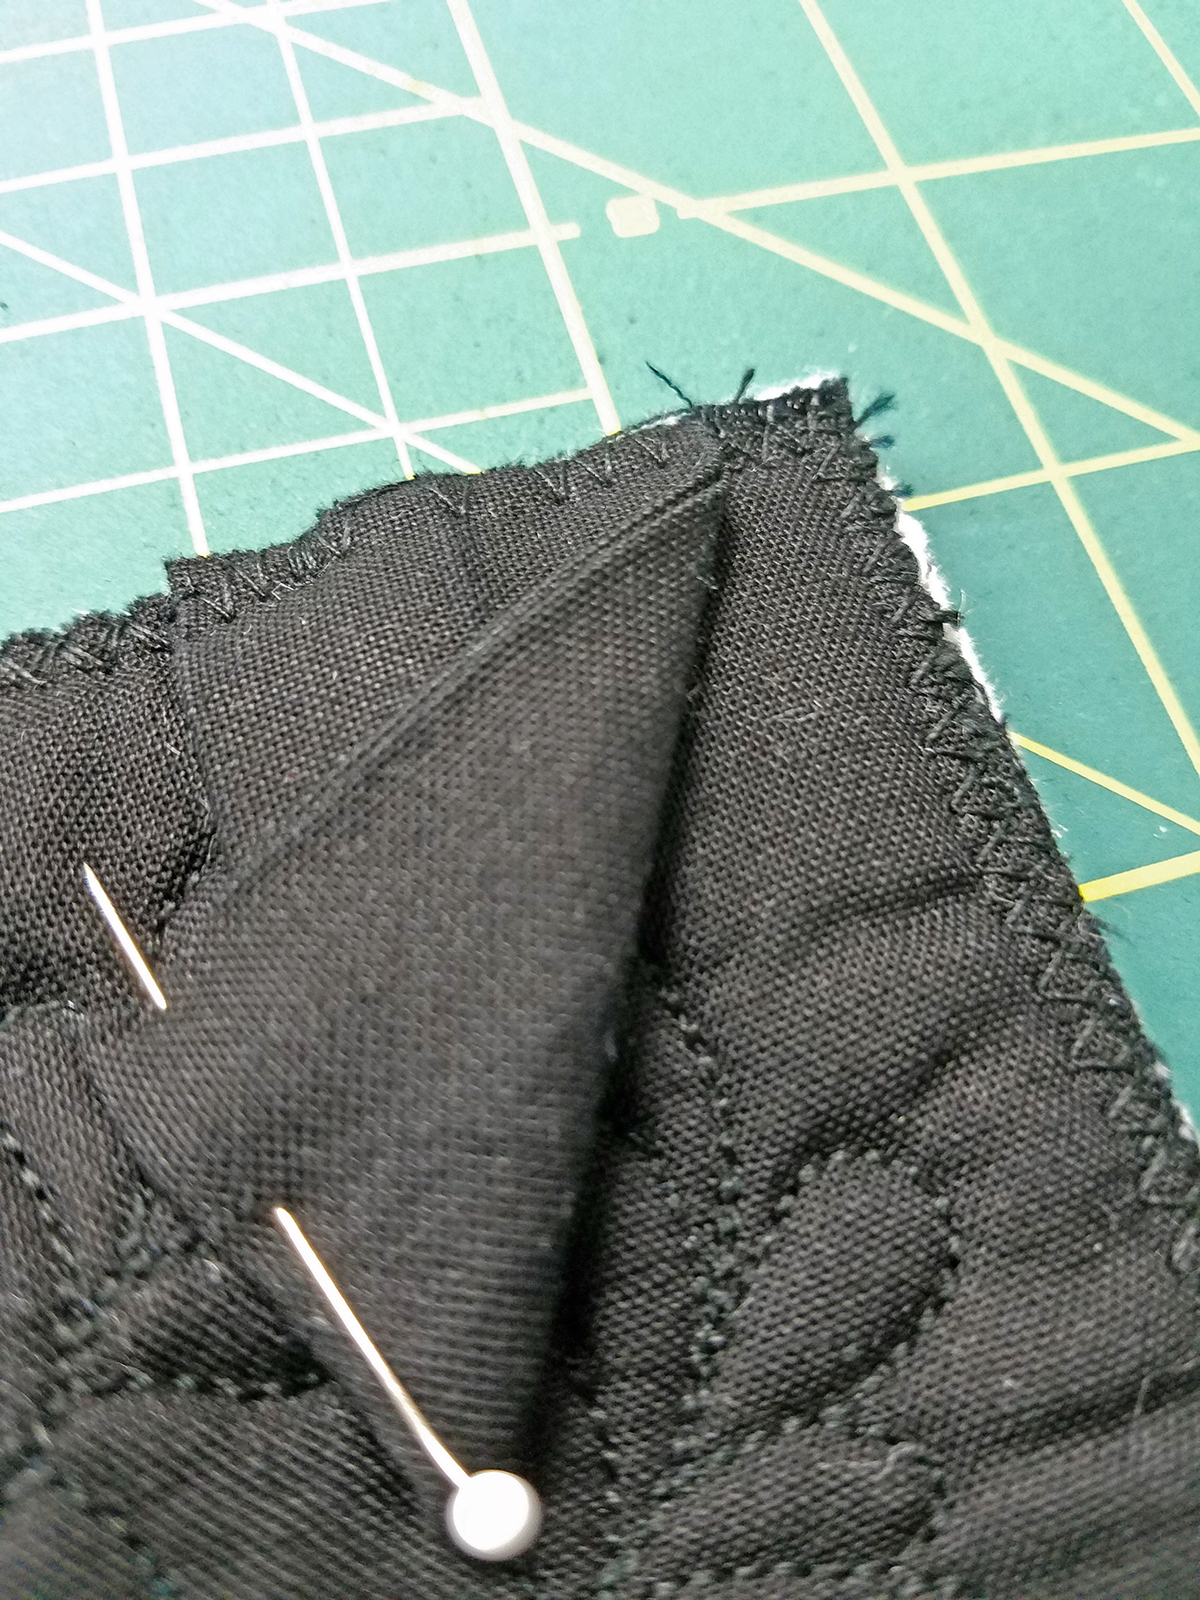
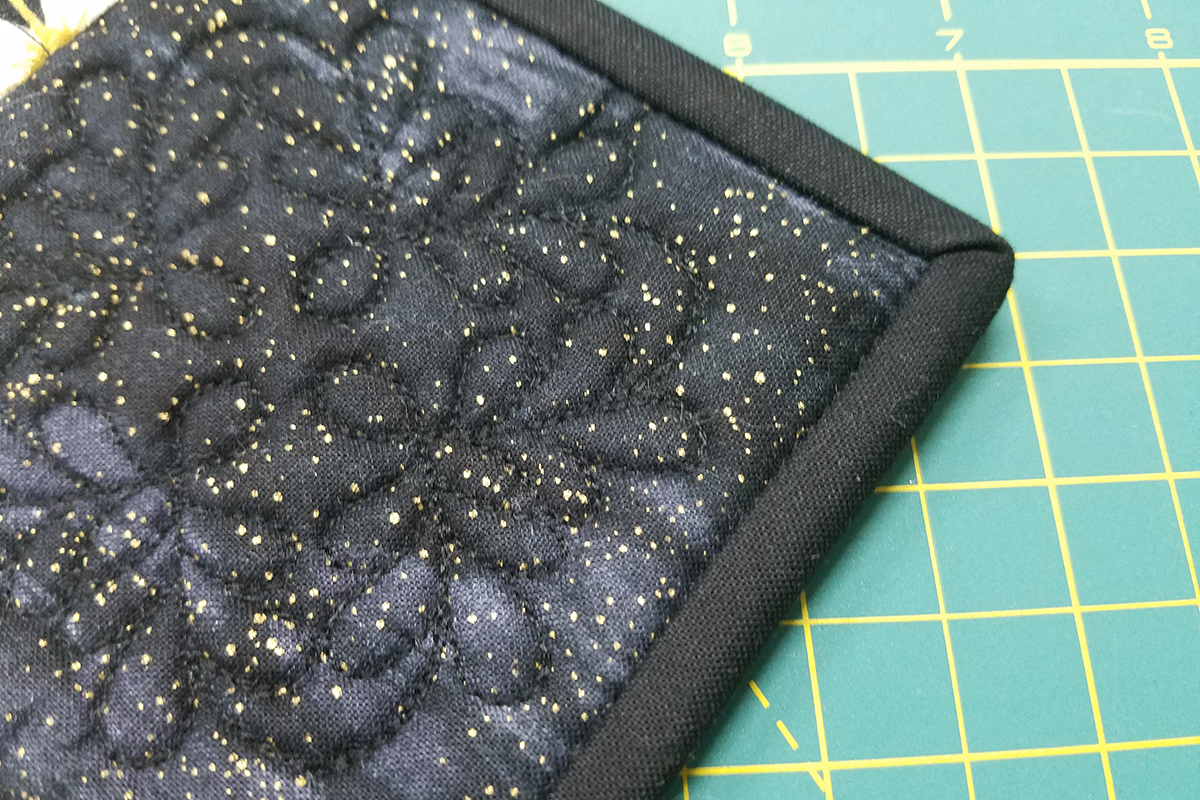
Stop stitching ¼” away from the first corner and stitch off the corner at a 45-degree angle. Fold the binding up to make the mitered corner, and then fold the binding back down so that the fold is along the previously stitched side and the raw edges are even with the next side. Start stitching at the fold. Continue to stitch each of the four corners. Refer to the Shoofly Block Placemats instructions for detailed pictures of these steps.
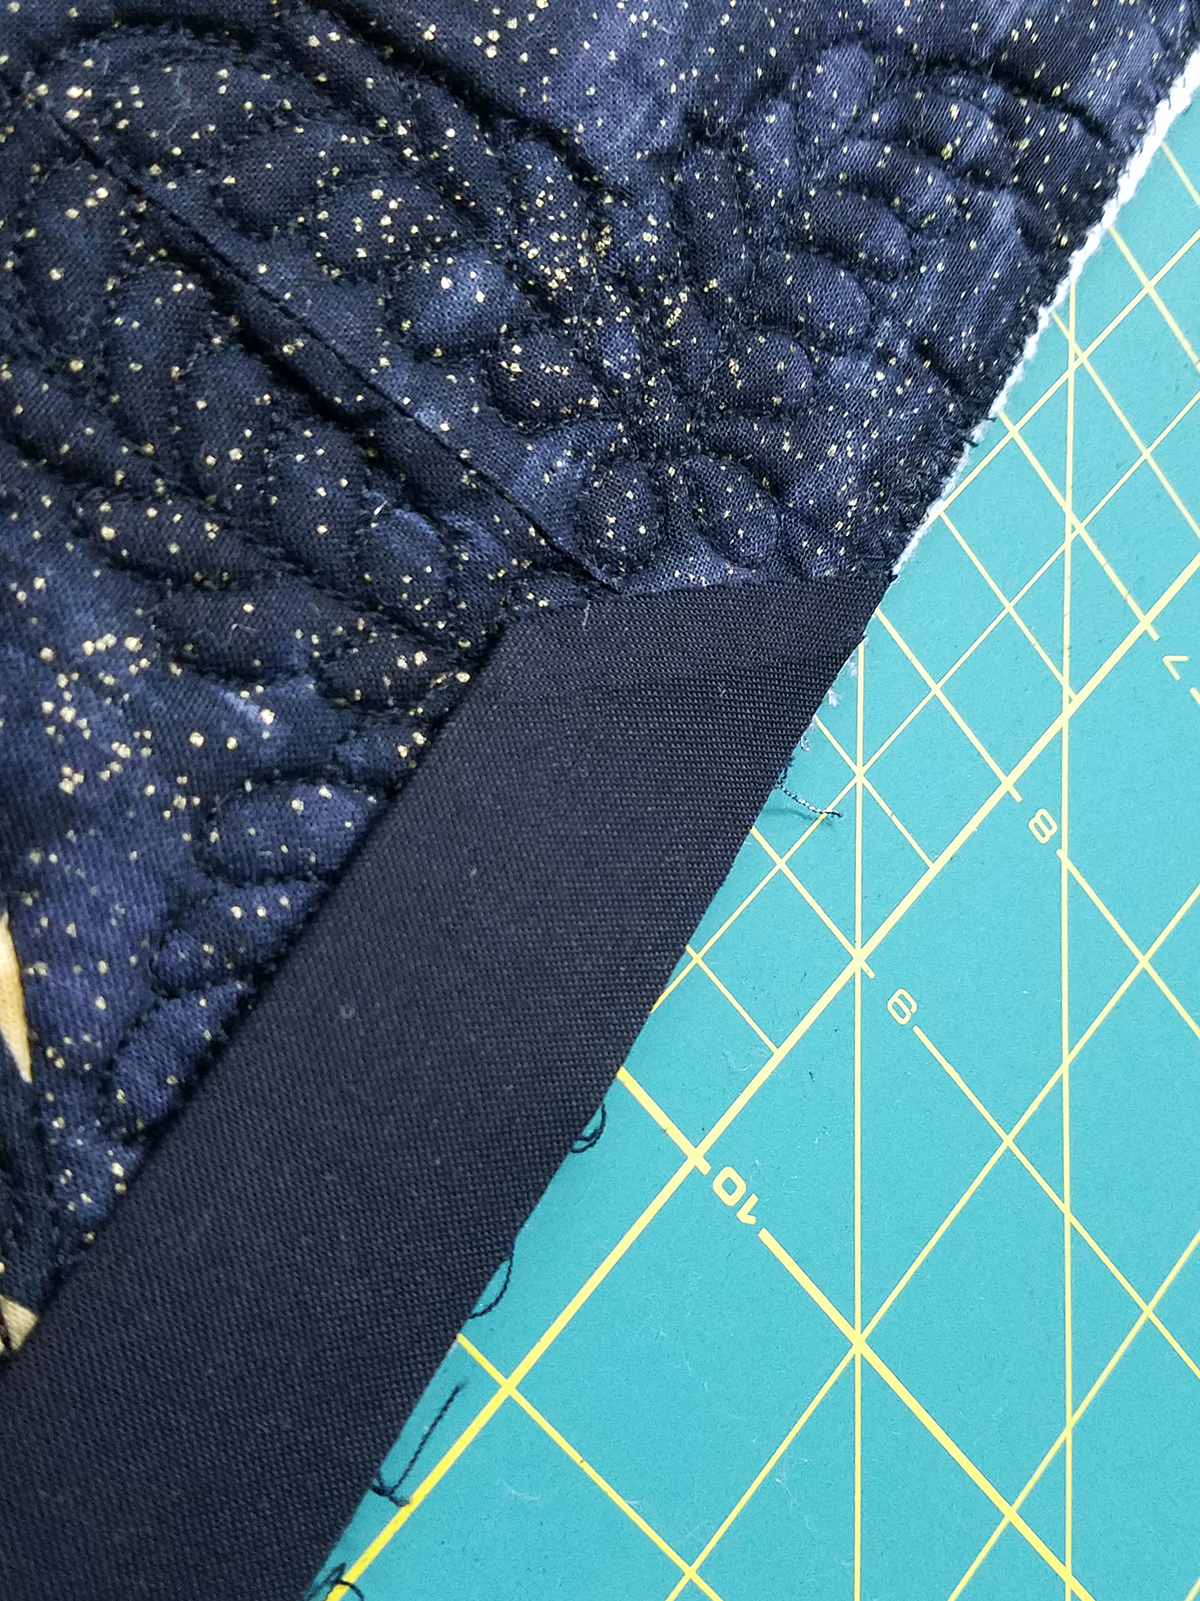
Stop stitching about 5 or 6 inches from the starting tail. Tuck the ending tail into the angle of the beginning tail with a chalk marker.
Trim the ending tail 1 inch beyond this marked line.
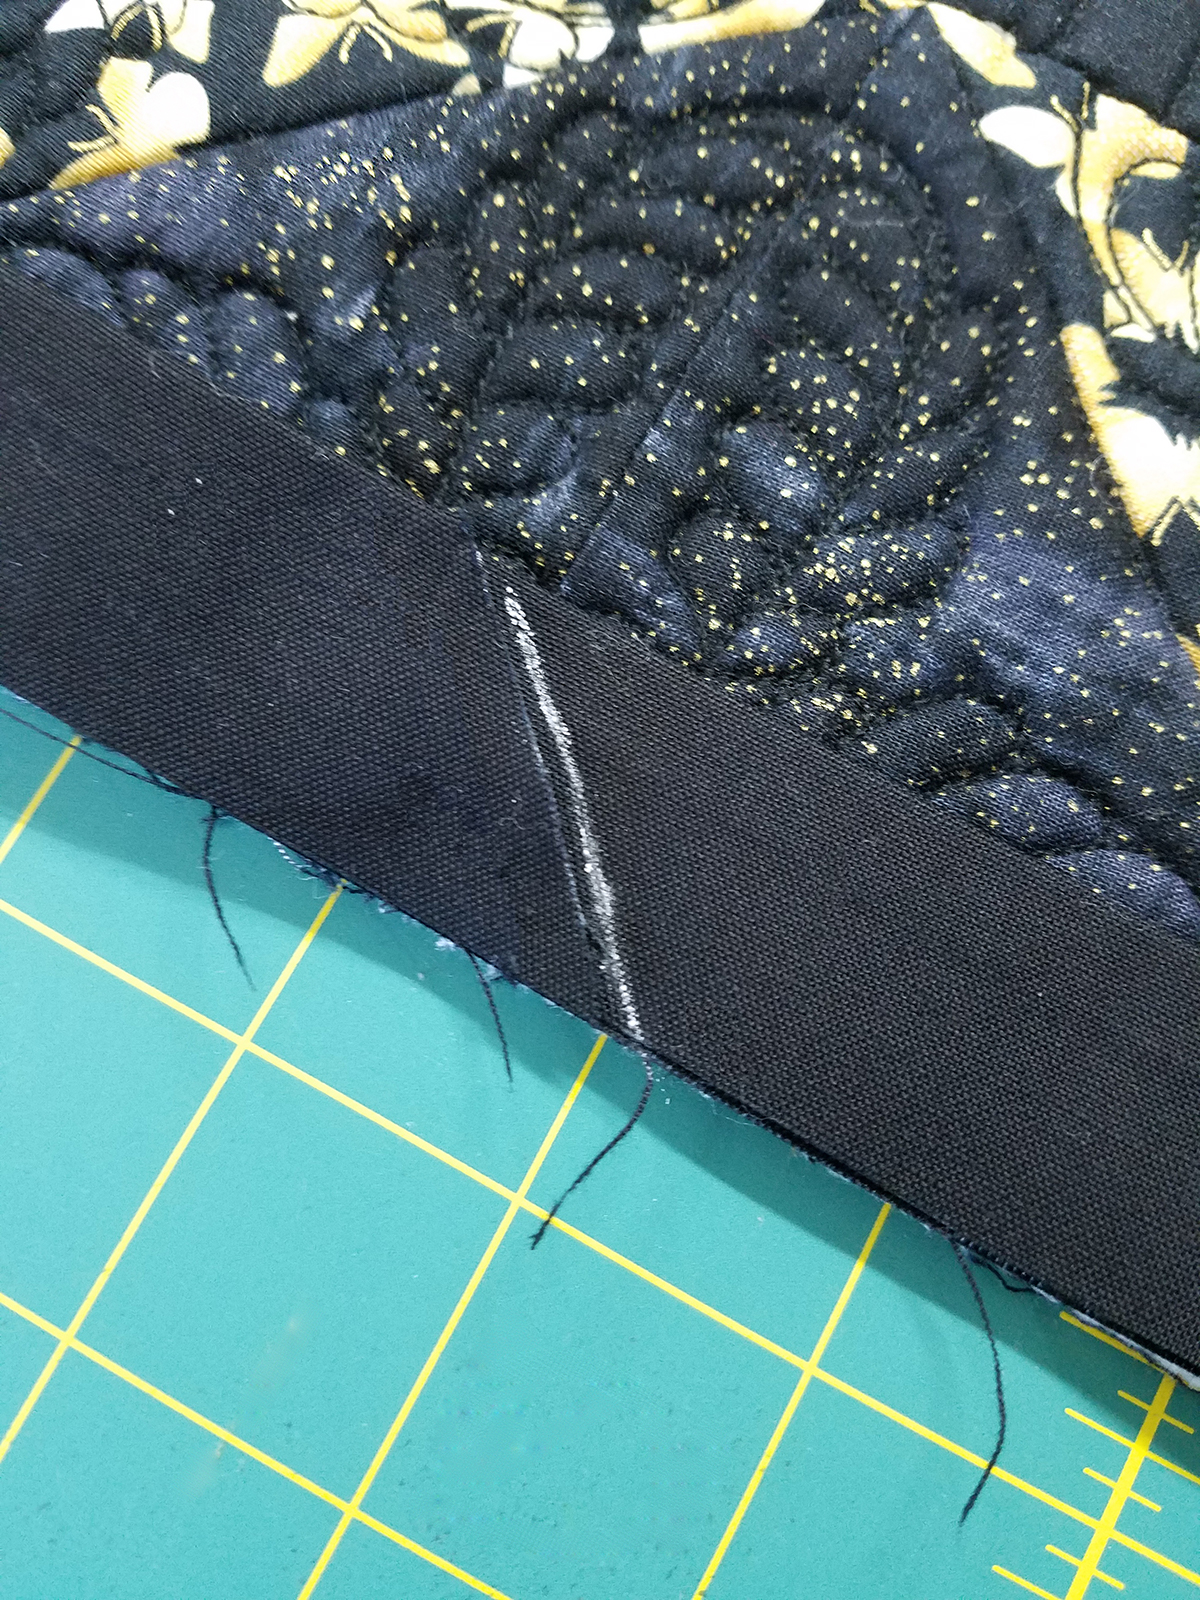
Draw a line ½” seam away from the cut ends. This will be the seam lines.
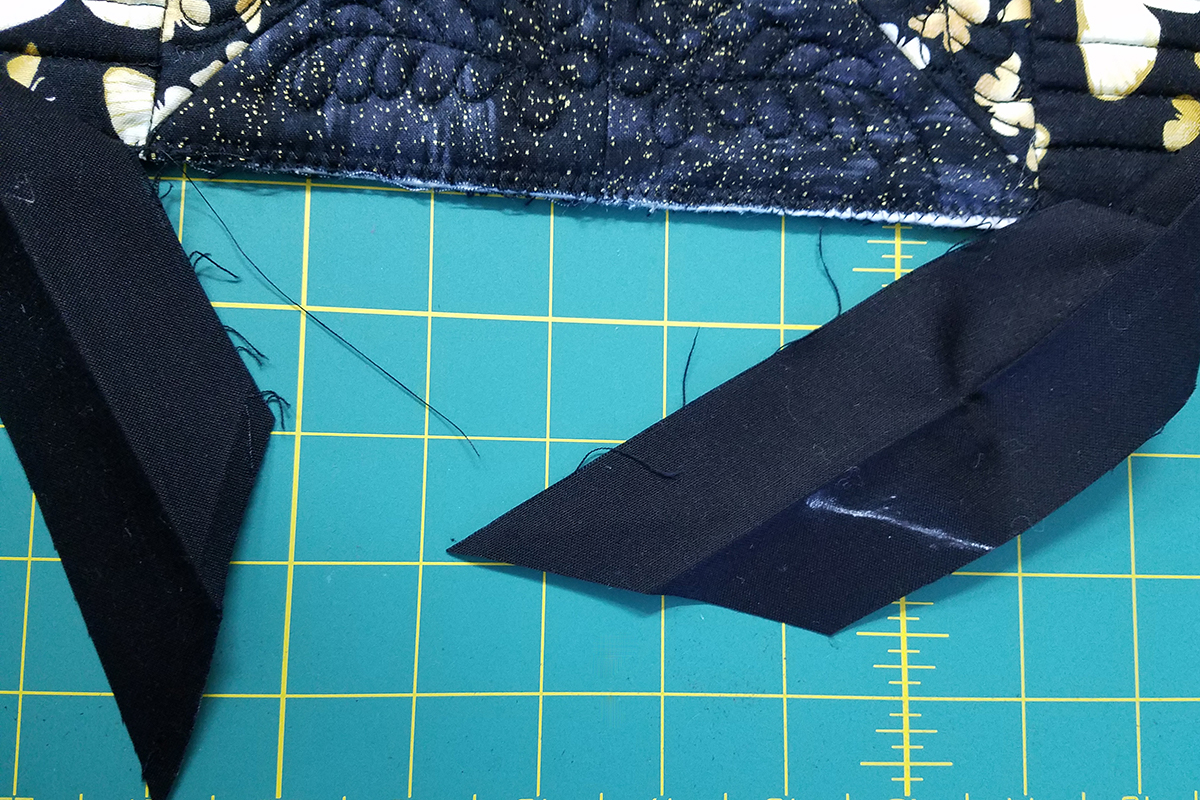
Pin the ends together matching up marked lines.

Stitch and then finger press open the seam. Fold the binding back in half with wrong sides together. Line up the raw edges of the binding with the quilted piece and stitch.
Wrap binding to the back and pin or clip in place.
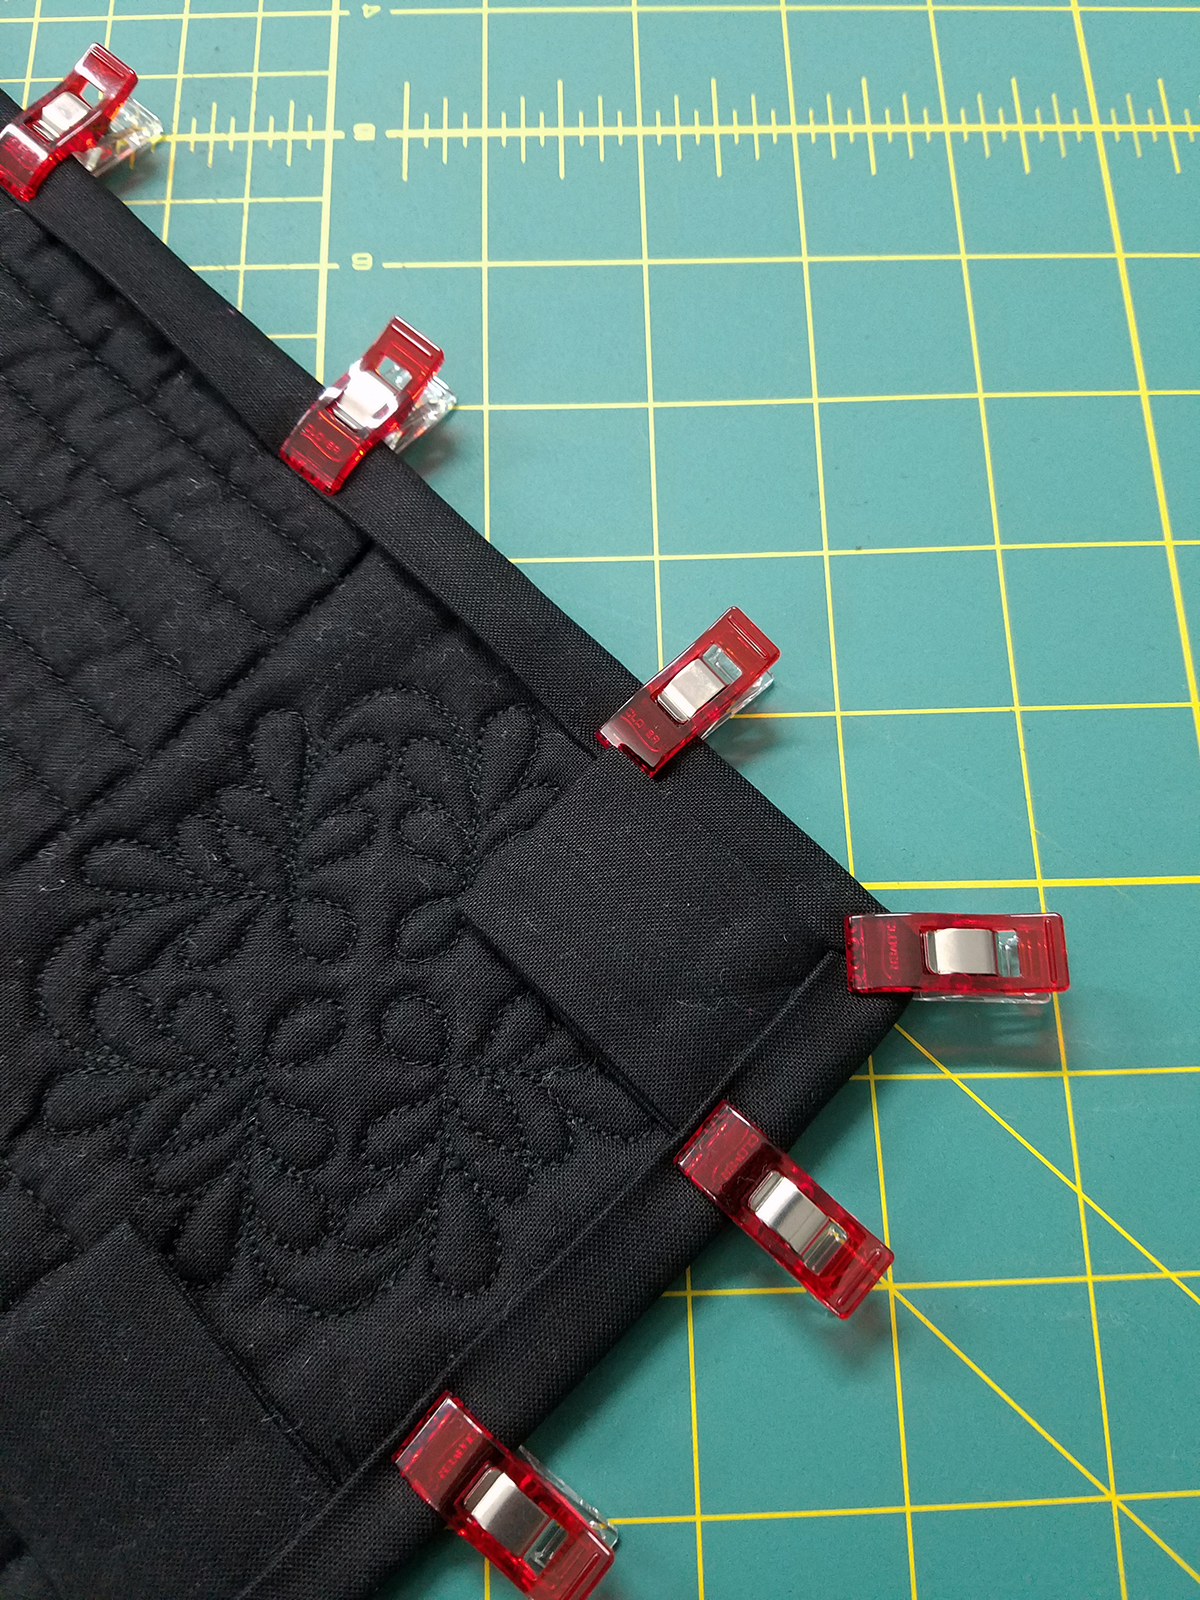
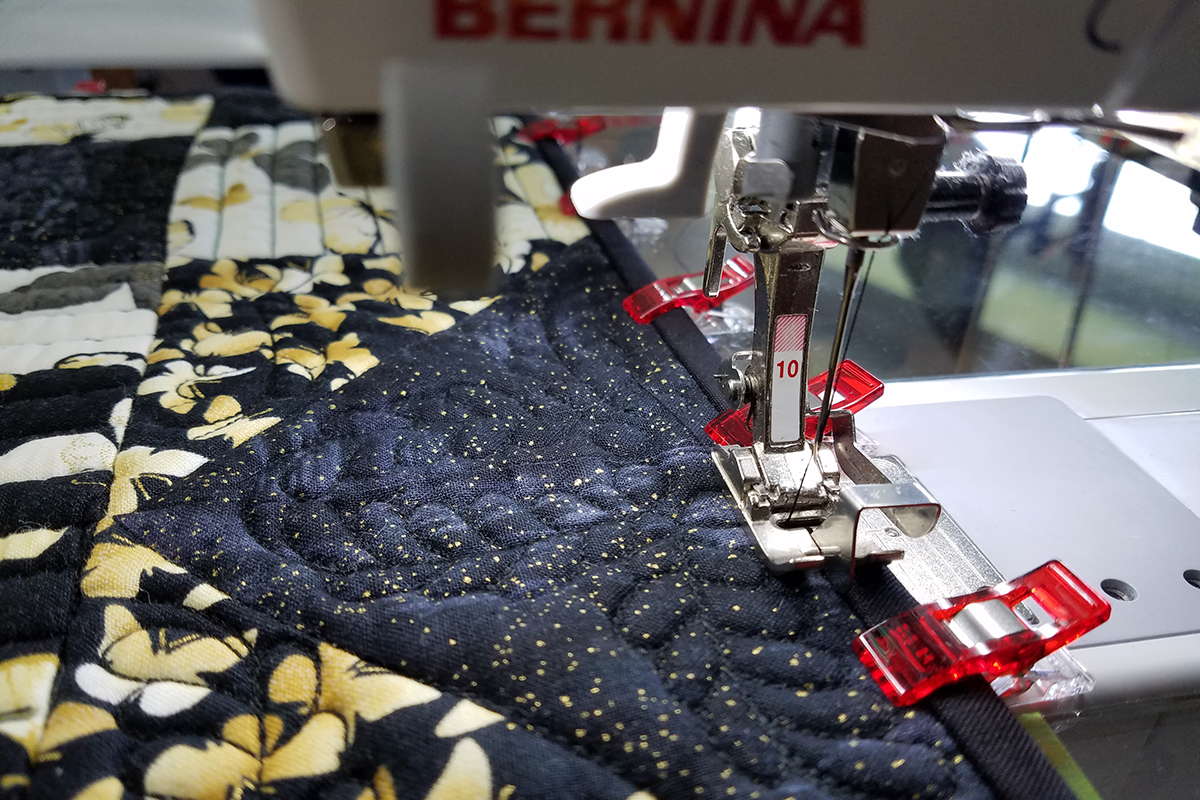
Turn quilted piece over (right side up) and attach Edgestitch Foot #10/10C/10D to the machine. Edgestitch binding in the ditch between the binding and quilted piece.
You will want to make sure the flat side of the clip is on the bed of the machine as it is much easier to remove the clips by just pressing down and moving the clip to the side as you stitch.
Using the #10 Foot helps to make the stitching look good on the back side as it does on the front!
Press the tabs up. Simple pressing here worked well for me. But if this does not hold the tab up for you, you may want to put a stitch by hand or machine on each side to keep the tab up.
Congratulations! It is now time to hang your new Wall Hanging up on your decorative rod and admire your quilting skills.