How to Sew a Custom Half Slip
Slips are a such a wonderful basic to have as part of your lingerie wardrobe and they are a great project to start with if you are new to working with silk charmeuse. In this blog post, I will show you how to draft, cut and sew your own custom half slip.
Let’s start by defining what we mean by a half slip. A half slip is a slip that is worn underneath a skirt to allow the garment to remain fluid over the body. The half slip typically sits at the waist, but you can adjust the wearing position to suit your comfort preferences. The length of the slips extends to a length that is less than the skirt you will be wearing over the top of it.
A great example of the utility of the half slip is when you want to wear tights underneath an unlined skirt made from a fabric such as a denim or cotton. Without a slip the tights will tend to “stick” to the skirt making for an unpleasant wearing experience. With a slip your skirt and tights will remain smoothly separated.
We will be working on this project in the following order:
Drafting the pattern
Gathering the materials, notions and tools
Cutting the fabric
Sewing the slip
Let’s dive right in by drafting the slip!
Drafting Tools:
- Measuring tape
- Ruler
- Tracing or other pattern paper
- Pencil or other marker for drawing pattern
- Paper scissors
How to Draft a Half Slip Pattern
For this sample, I will be drafting a slip to sit at the waist and to a length that will work under a variety of skirts. The simplest slip is drafted to the hips measured at the widest point, plus 3” ease. Since the slip needs to fit over the hips, the hip measurement plus the ease is used for the entire width of the garment. Elastic will be added to the waist to bring the garment in to fit the body.
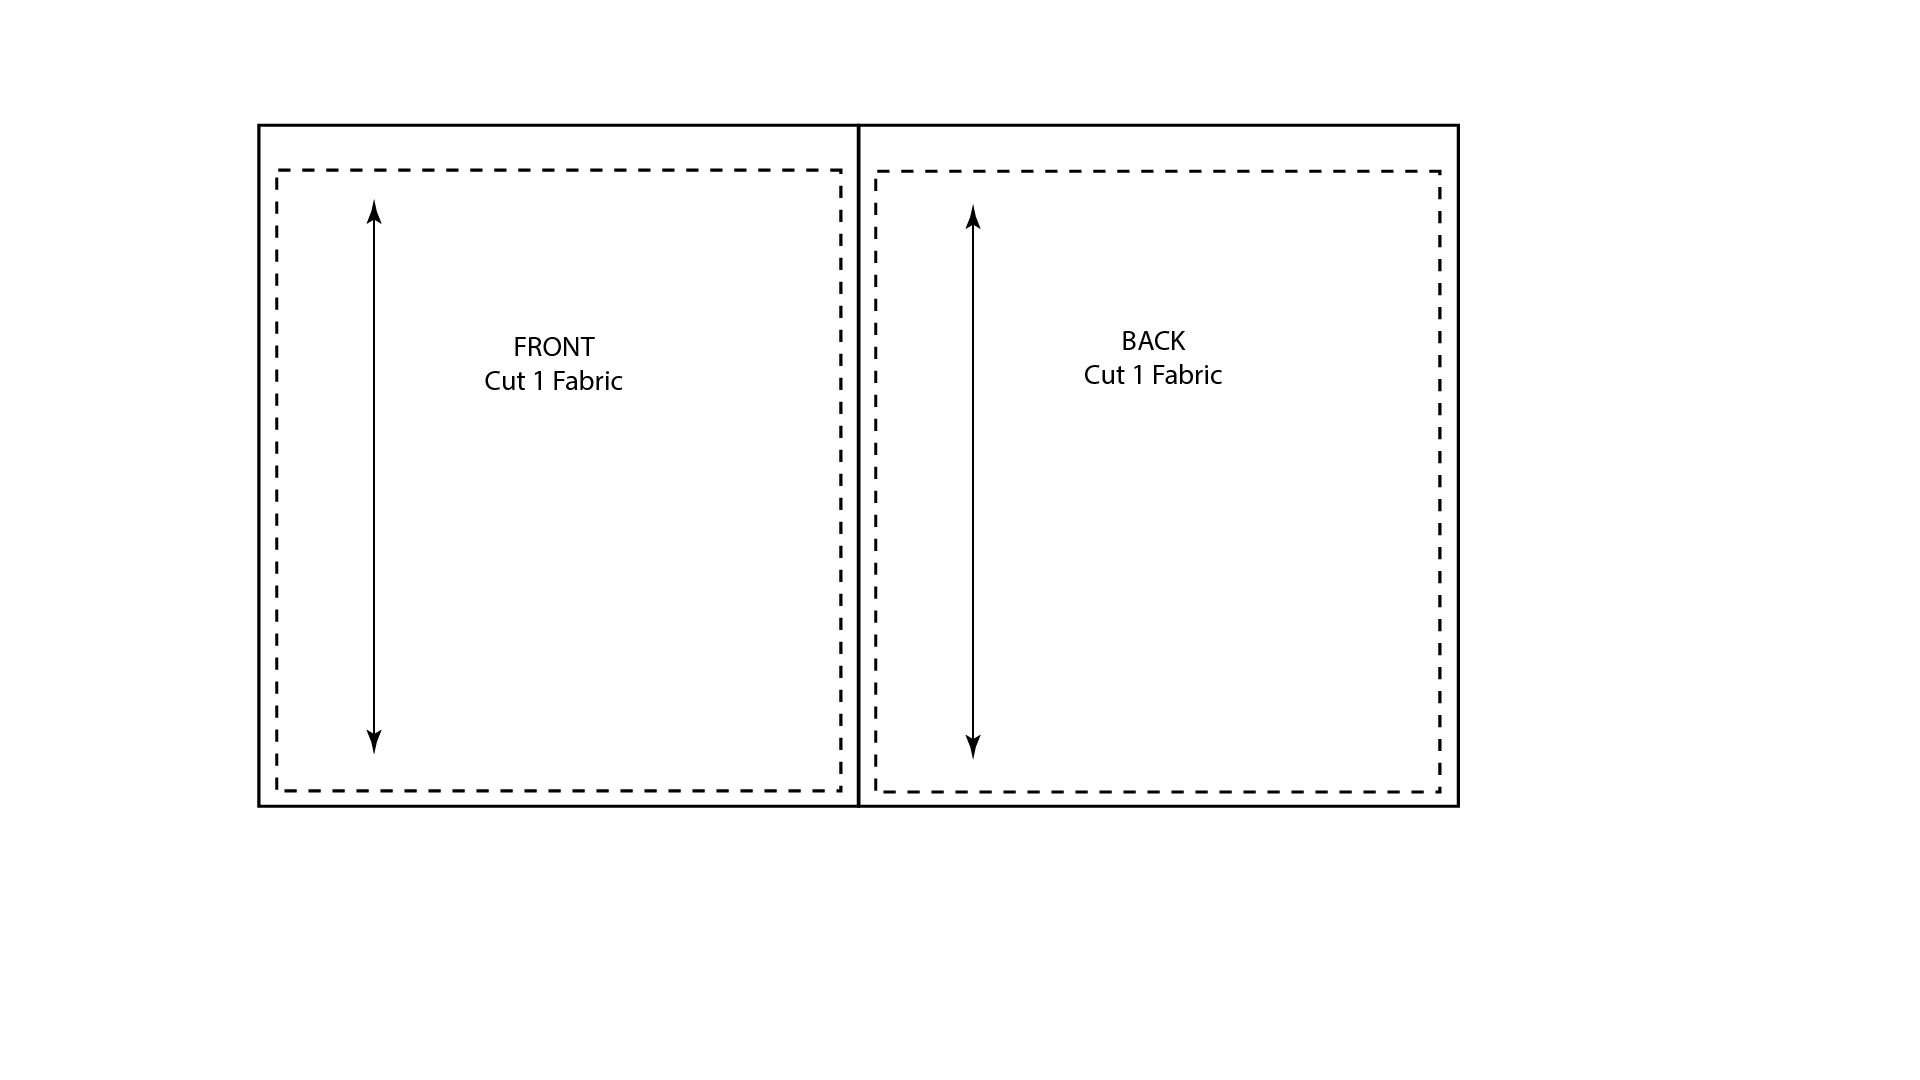
For this draft I am using a hip measurement of 37”. Adding 3” of ease brings the total finished hip to 40”. This means my slip front and slip back will each be 20” wide (40” ÷ 2 = 20”).
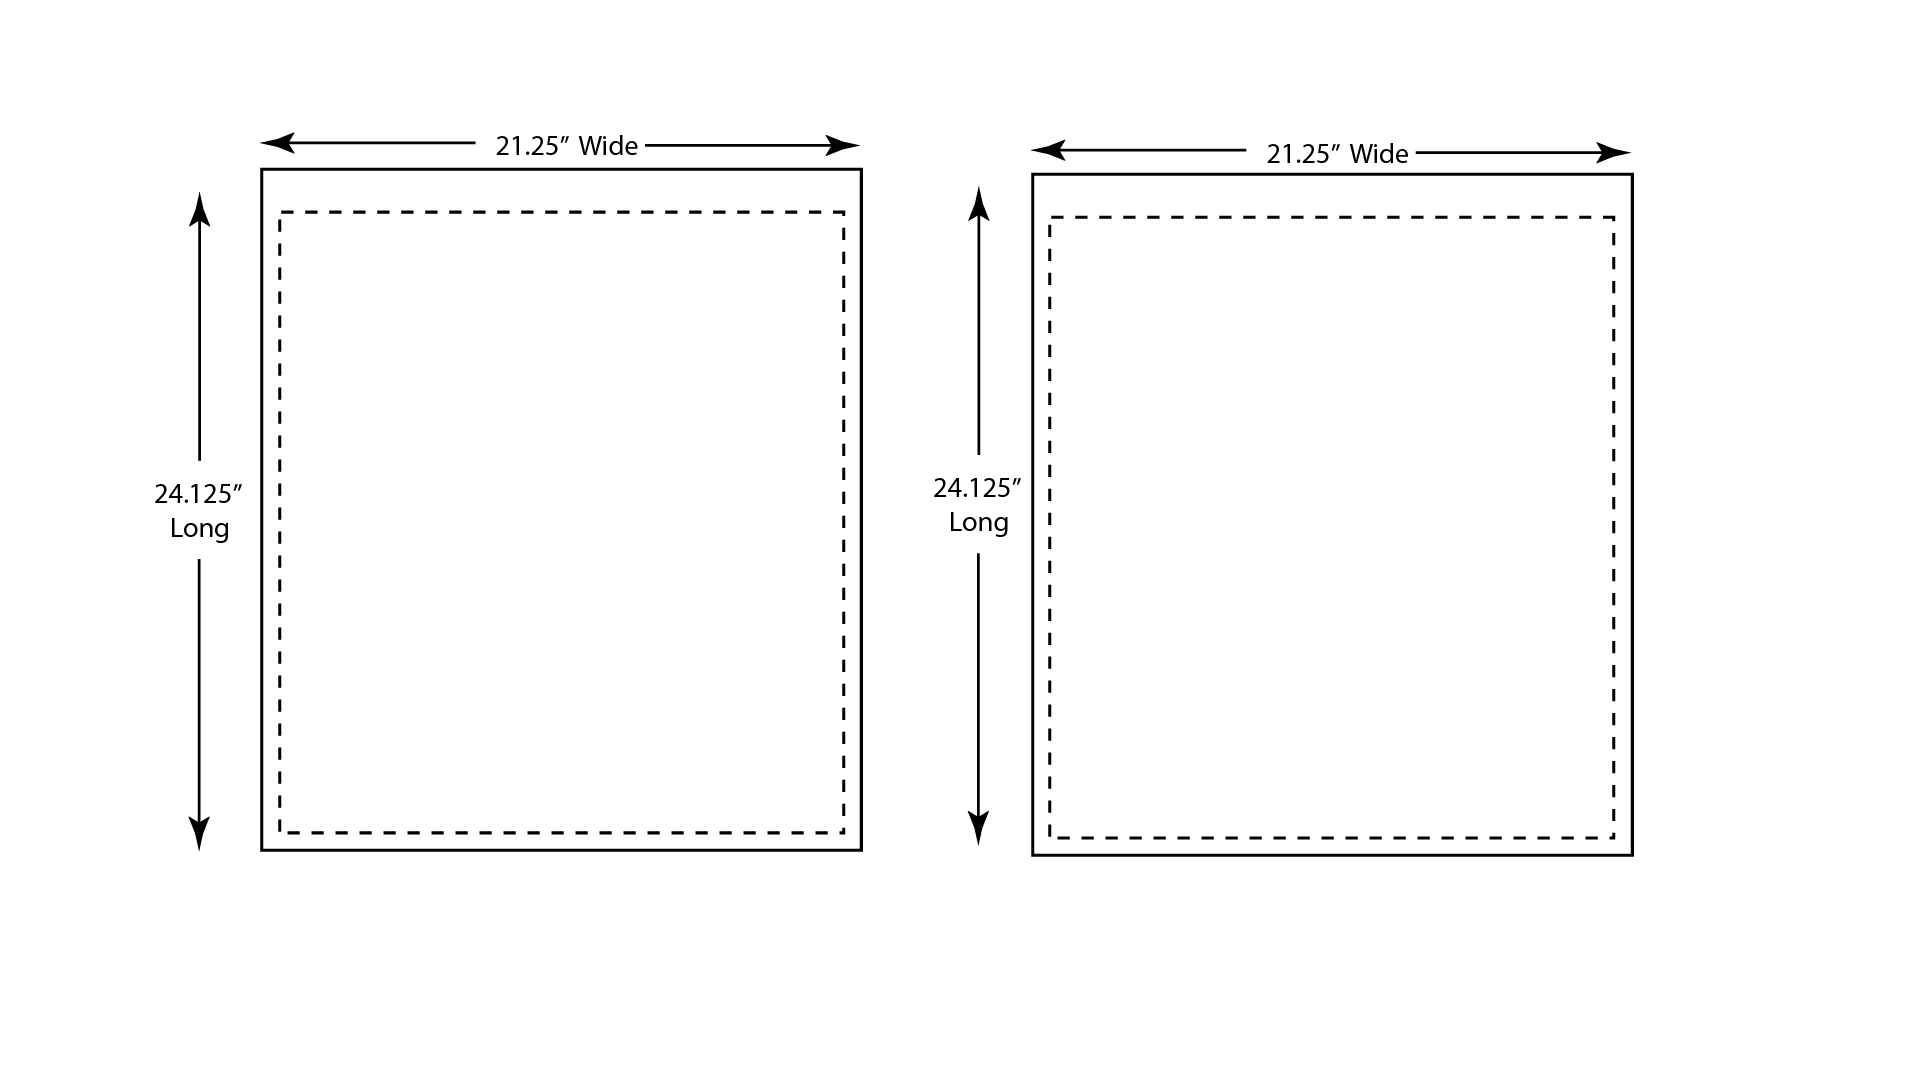
The length of the slip depends on the garments that you want to wear on top of it. For this slip I chose a length of 22” which works well under a variety of skirts. A slip at this length has the added benefit of not requiring a slit for walking ease, something you need to consider if you want to make a longer slip that extends below the knees. Below are the finished measurements of the sample slip.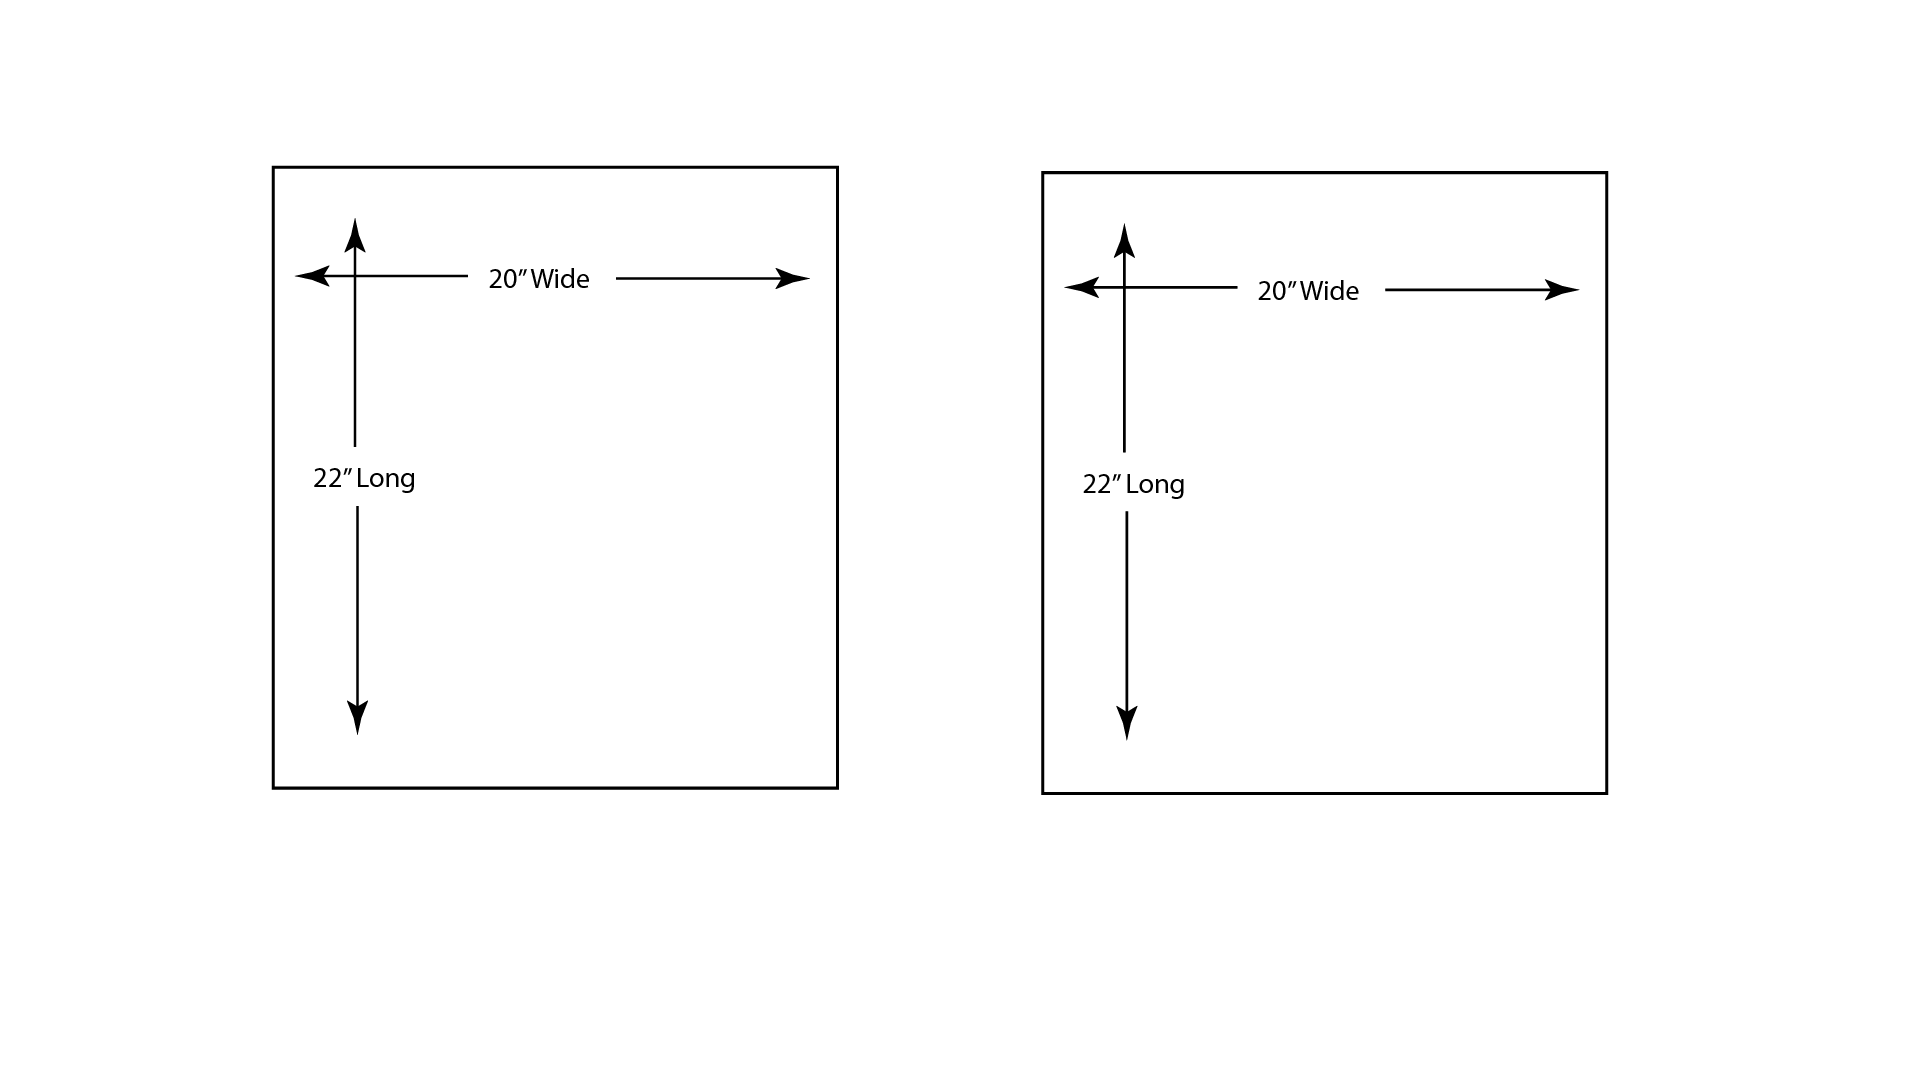 In terms of sewing allowances, add your preferred seam allowance to the sides achieve French seams, an allowance for a narrow hem at the bottom and an allowance to attach elastic at the waist. Here I am using ⅝” for French seams, 1 ⅜” for the waist elastic and ¾” for a narrow hem. Below is what the pattern draft looks like with the allowances added.
Summary of the Half Slip Pattern Draft
Total Finished Width = Hips at widest point + 3” = 37” + 3” = 40
Front Width = (Total Width ÷ 2) + (2* side seam allowances) = (40 ÷ 2) + (2 x ⅝”) = 21 ¼”
Back Width = (Total Width ÷ 2) + (2* side seam allowances) = (40 ÷ 2) + (2 x ⅝”) = 21 ¼”
Length = Desired length + Allowance for elastic at waist + Allowance for hem = 22” + 1 ⅜” + ¾” = 24 ⅛”
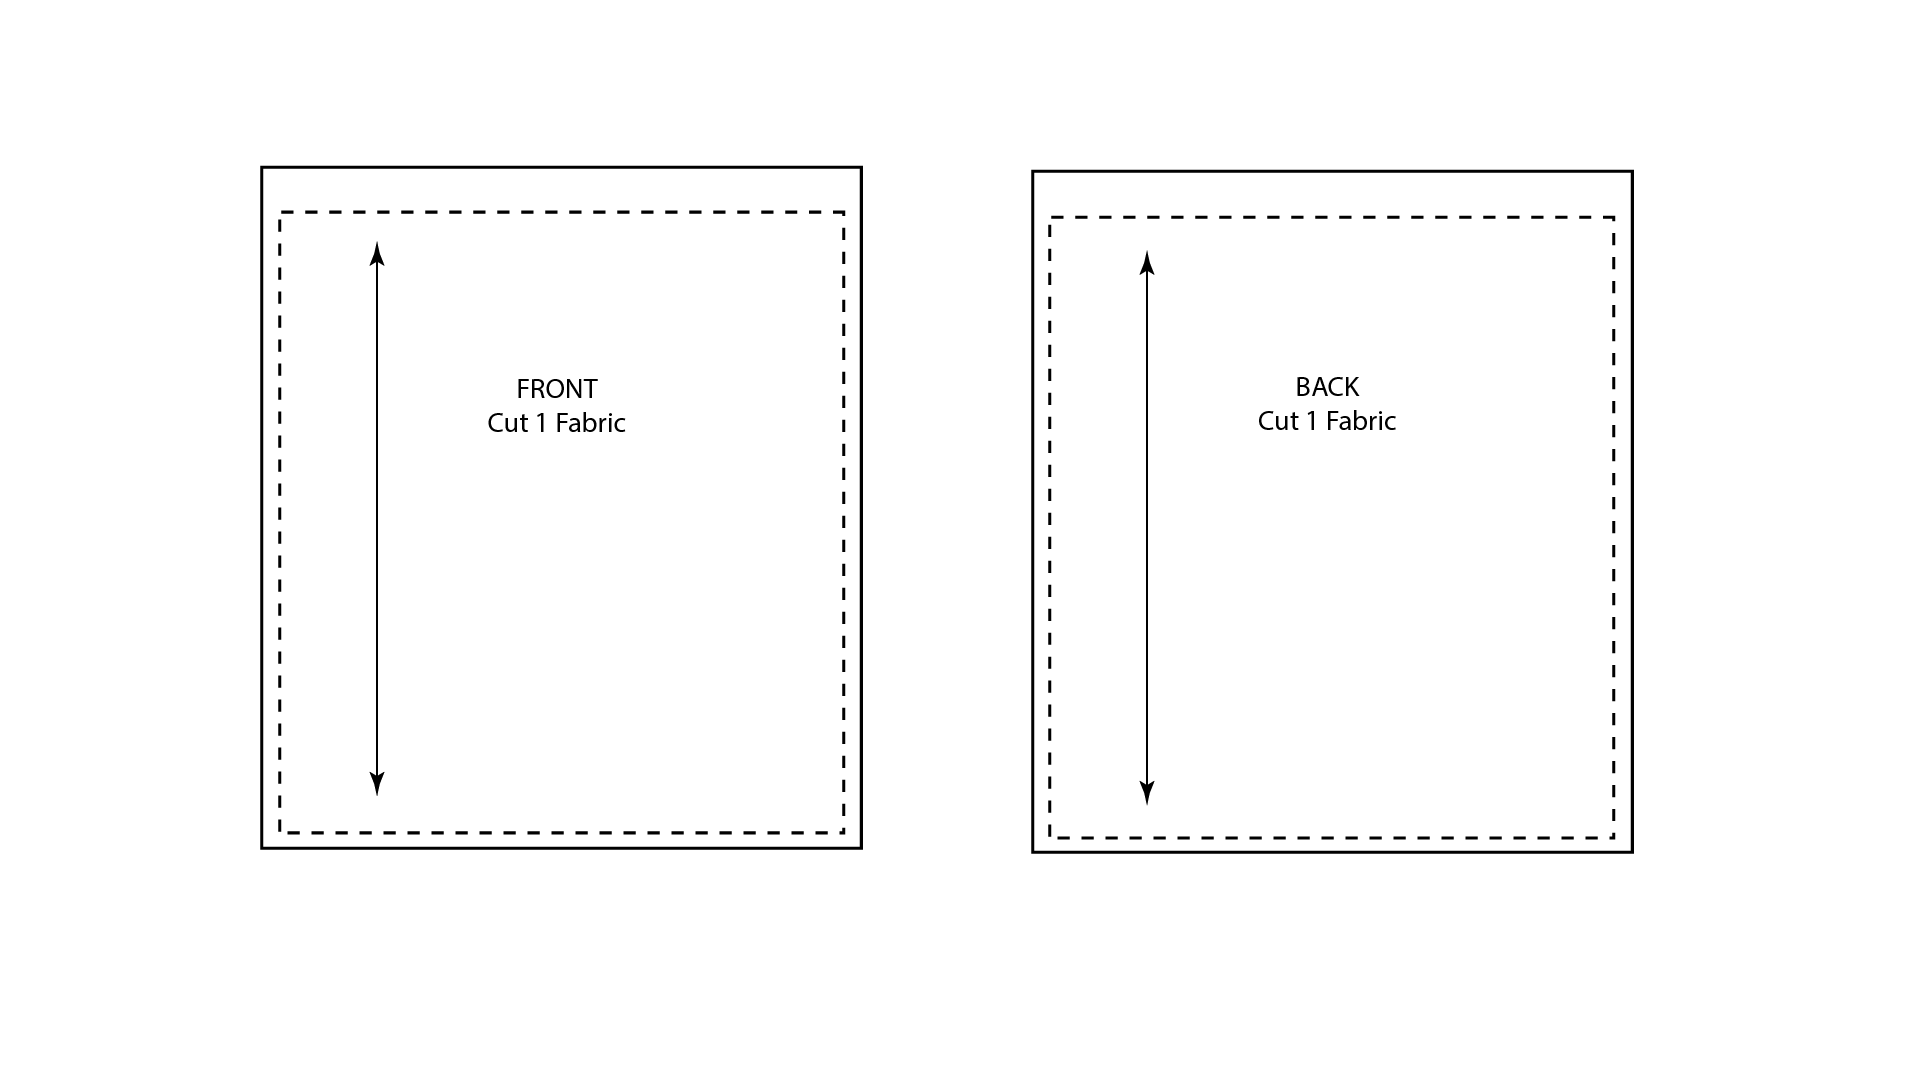
Below are the final pattern pieces labelled with “Front” and “Back” along with the grain line and cutting instructions.
 With the draft complete, the fabric needs sewing notions and tools can all be considered.
Fabric, Notions and Sewing Tools
Fabric
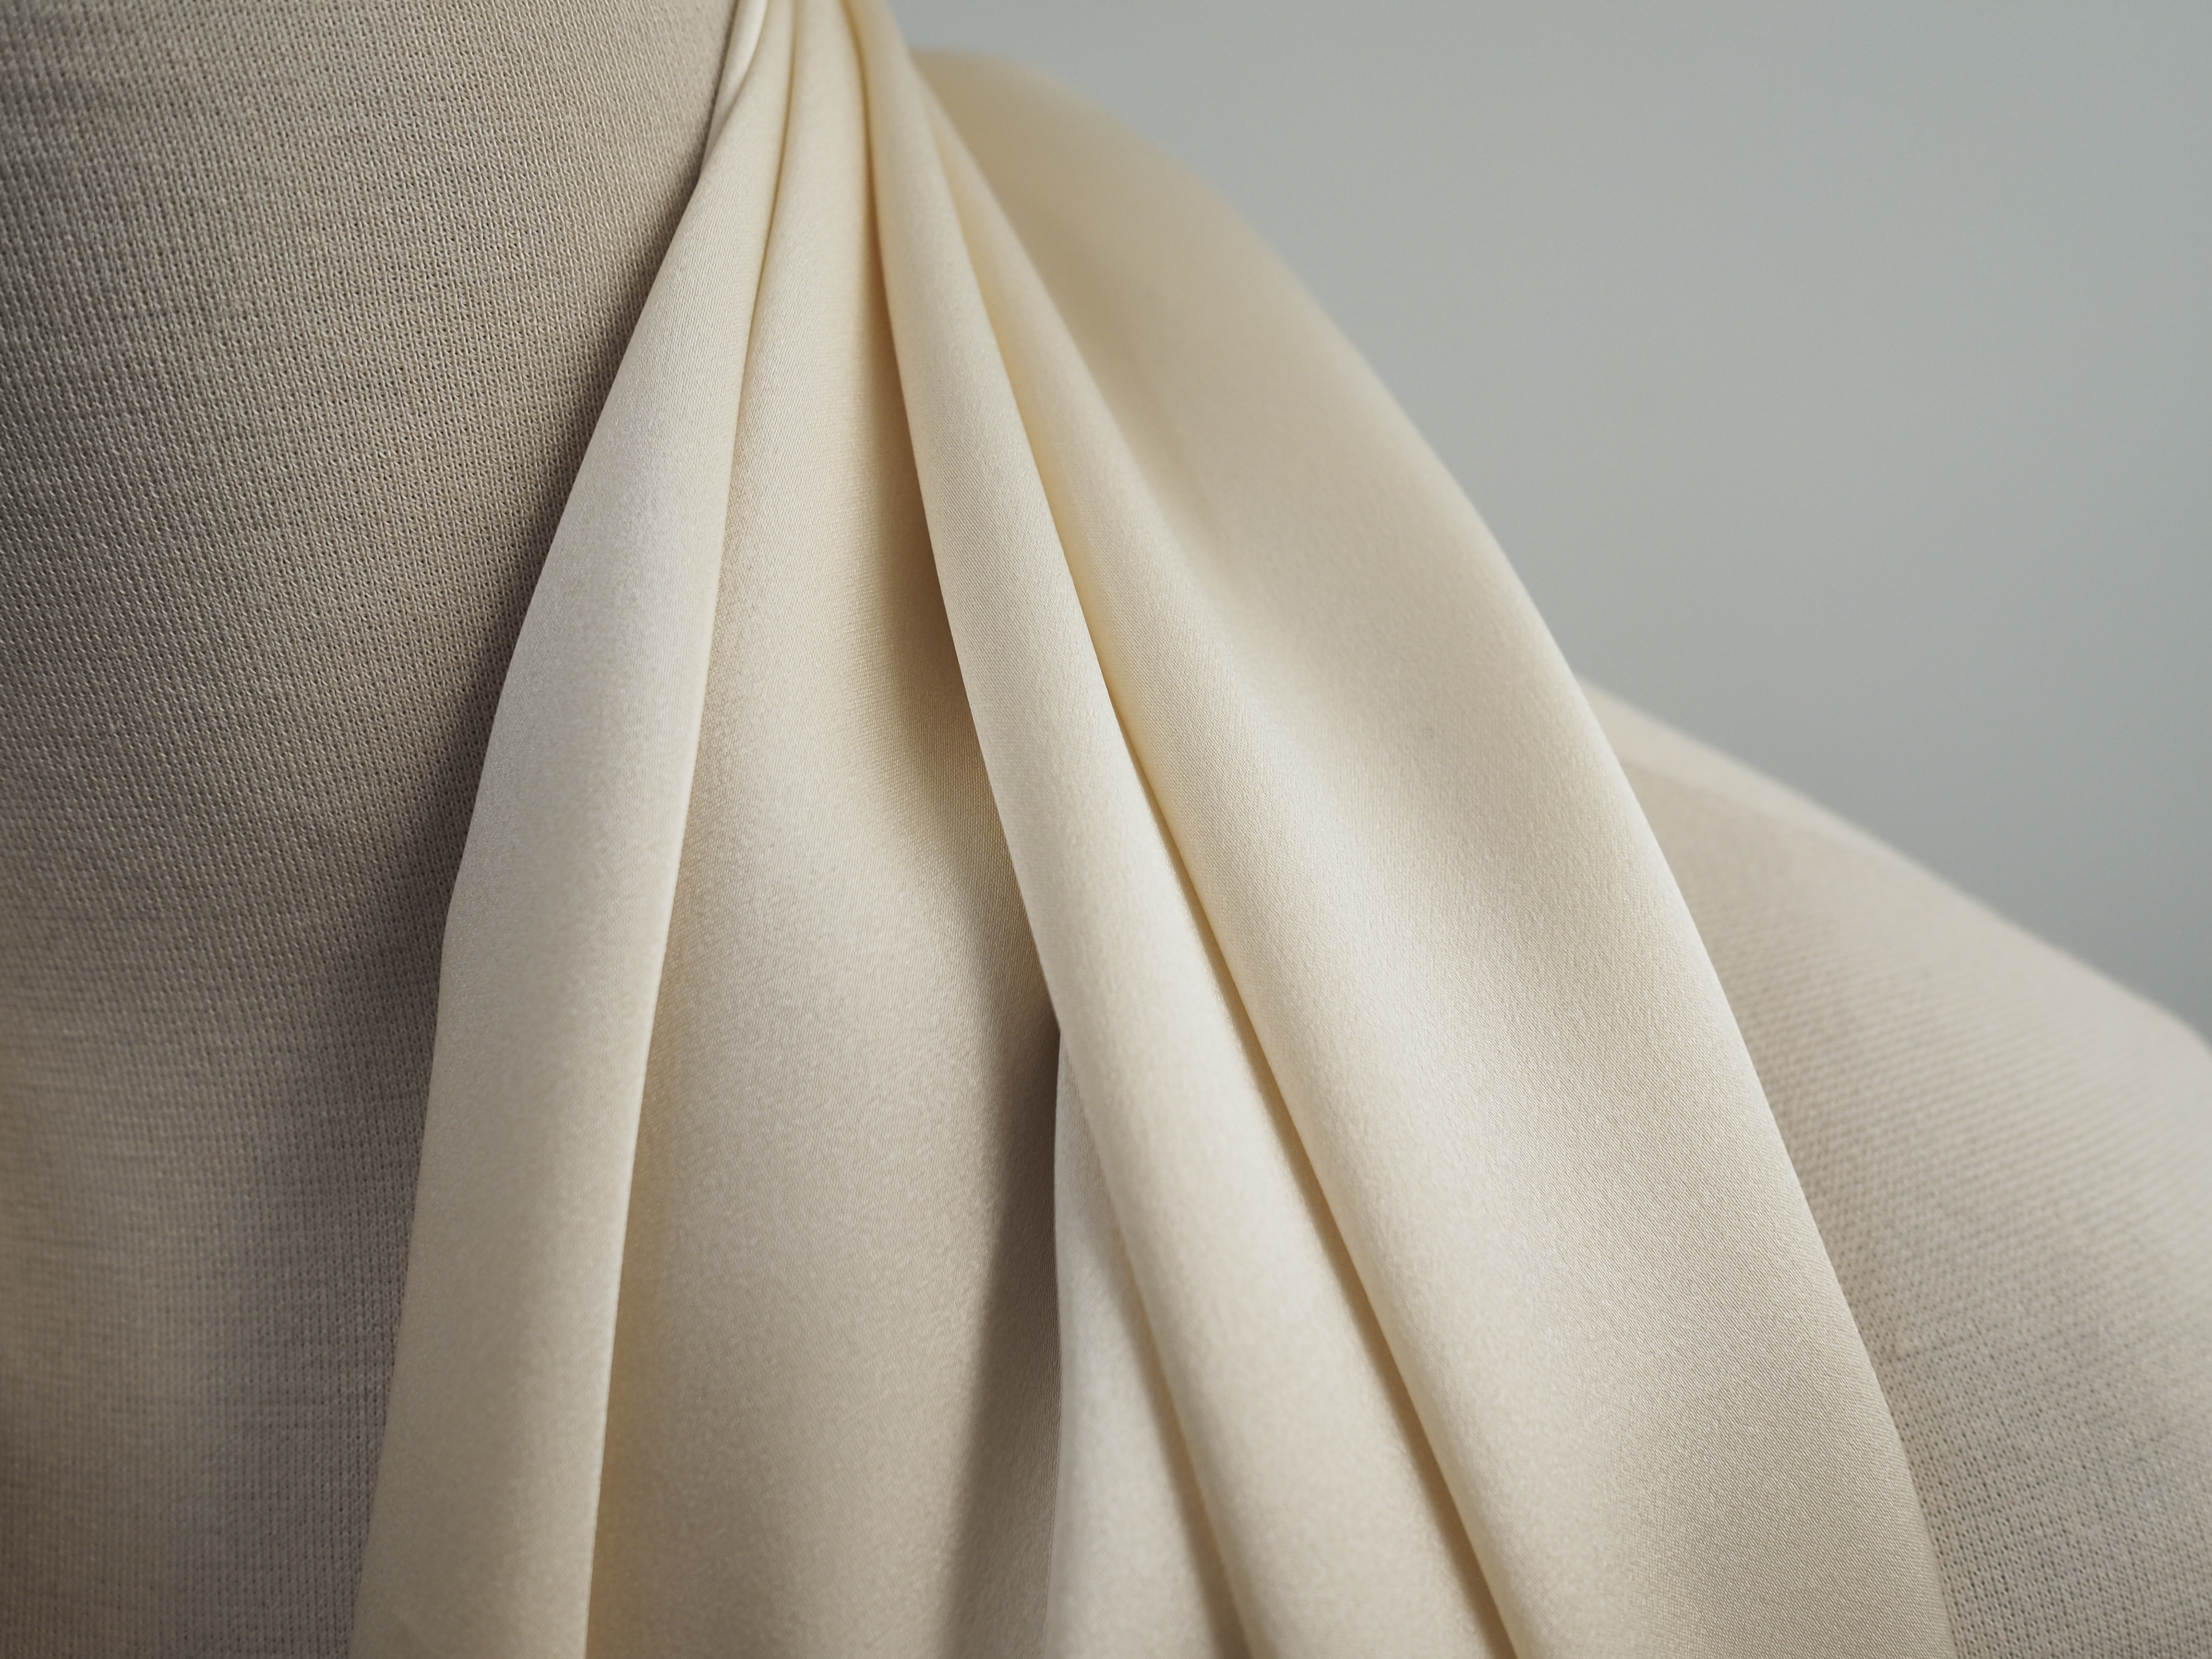
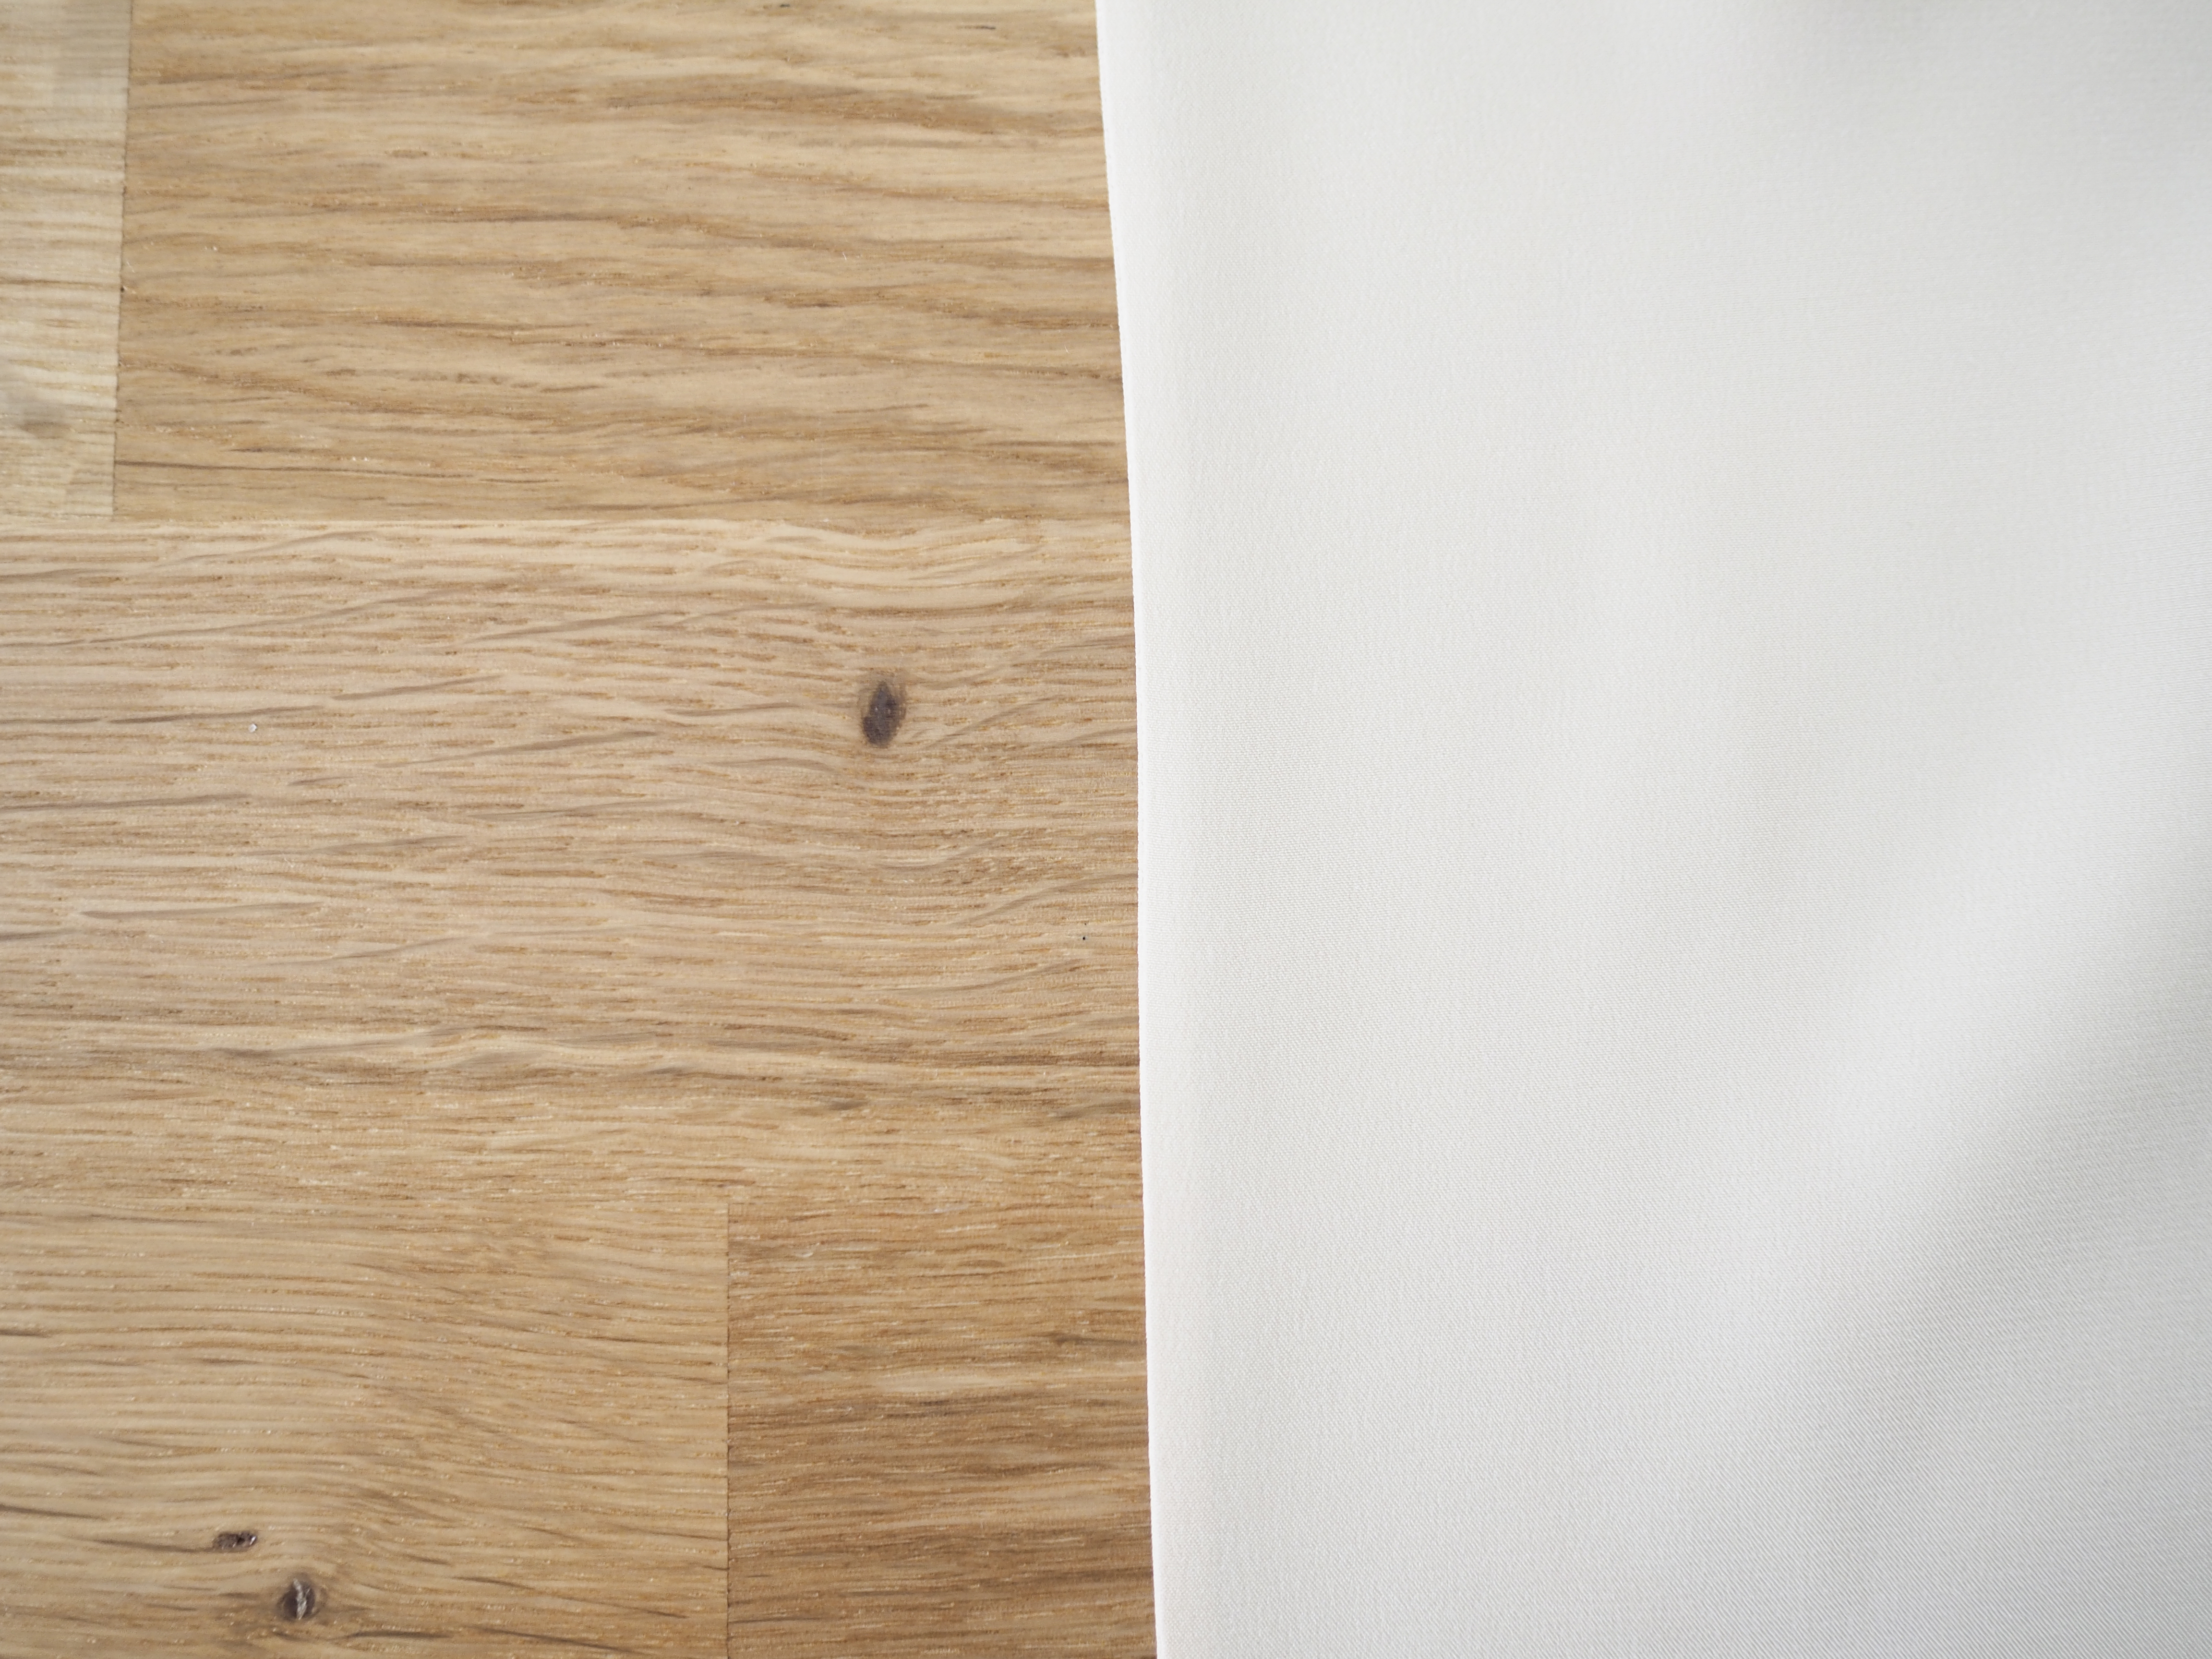
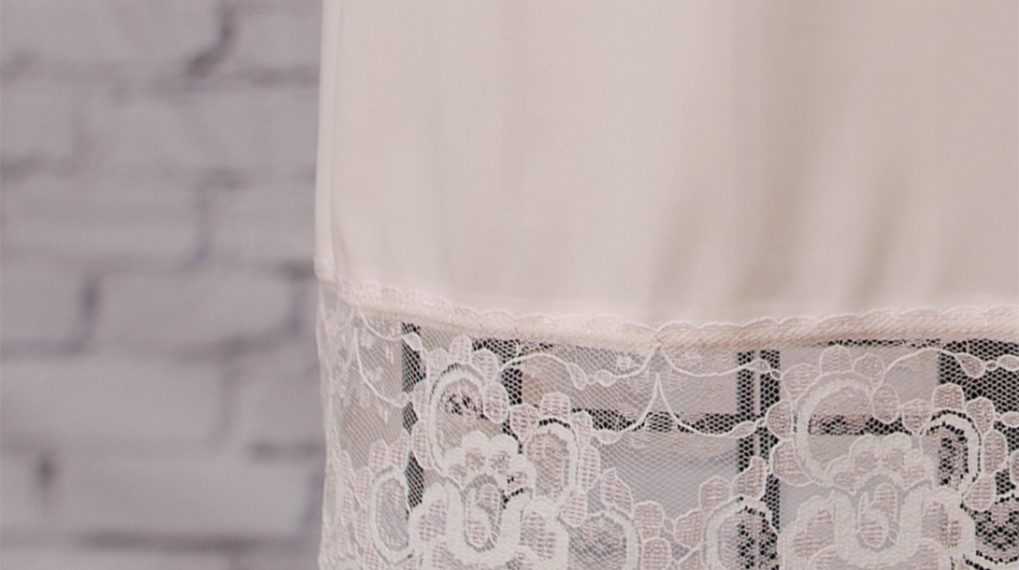
My favorite material for making lingerie is silk charmeuse and this fabric is the perfect choice for a slip. The smooth, satin side of the charmeuse allows materials to glide over the top and it is also very lightweight and comfortable against the body. For this sample I chose a light champagne color.
To determine how much fabric is needed, refer to the garment width and length. In this example, my draft measures 21 ¼” wide and I need to cut 2 pieces. Ideally the cuttable width of the fabric is greater than 42 ½” (21 ¼” x 2) to allow for cutting the two pieces side-by-side as shown below.
 The solid silk charmeuse I most commonly work with is 45” total width with about 1” consumed by the selvedges making the cuttable width close to 44” (45” – 1”). This means that I will be able to cut the front and back of the slip next to each other so the amount of fabric I need is driven purely by the length of the slip.
With a sample slip length of 24 ⅛”, I calculate that I need ¾ yard of material (24 ⅛” ÷ 36” = .67 and ¾ in decimal form is .75). To allow for cutting variation it is safest to order an even yard of fabric. There are many great ways to use silk scraps!
If the slip pieces will not fit side by side into the width of the fabric, two slip lengths of fabric will be required. For example, if the slip pieces each measure 25” wide and the fabric has less than 50” (25” x 2) cuttable width, two slip lengths of fabric will be needed. With a slip length of 24 ⅛”, a minimum of 1 ⅜” yards of fabric will be needed (2 x 24 ⅛”) ÷ 36 = 1.34 and 1 ⅜ in decimal form is 1.375). Again, to allow for cutting variation it best to order at least 1 ¾ yards. In this scenario, the cutting layout will look like the following: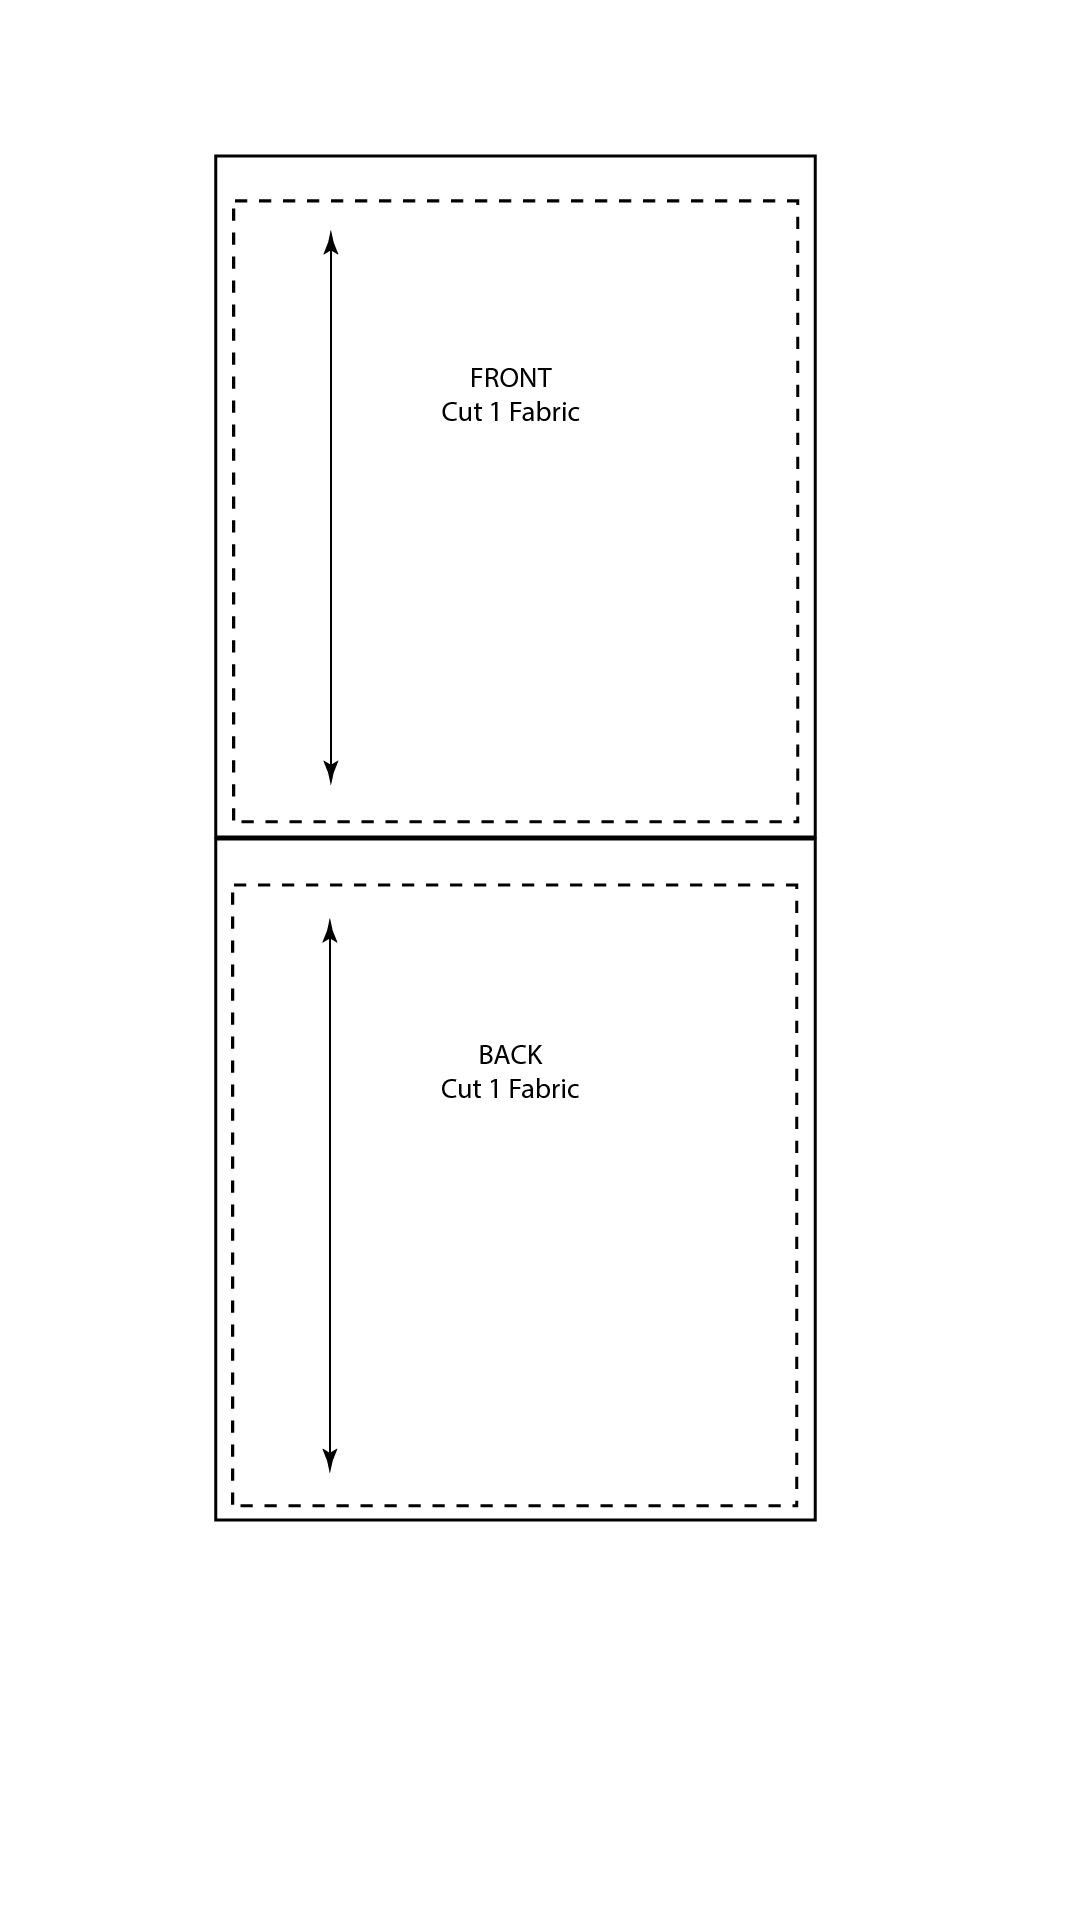
Notions
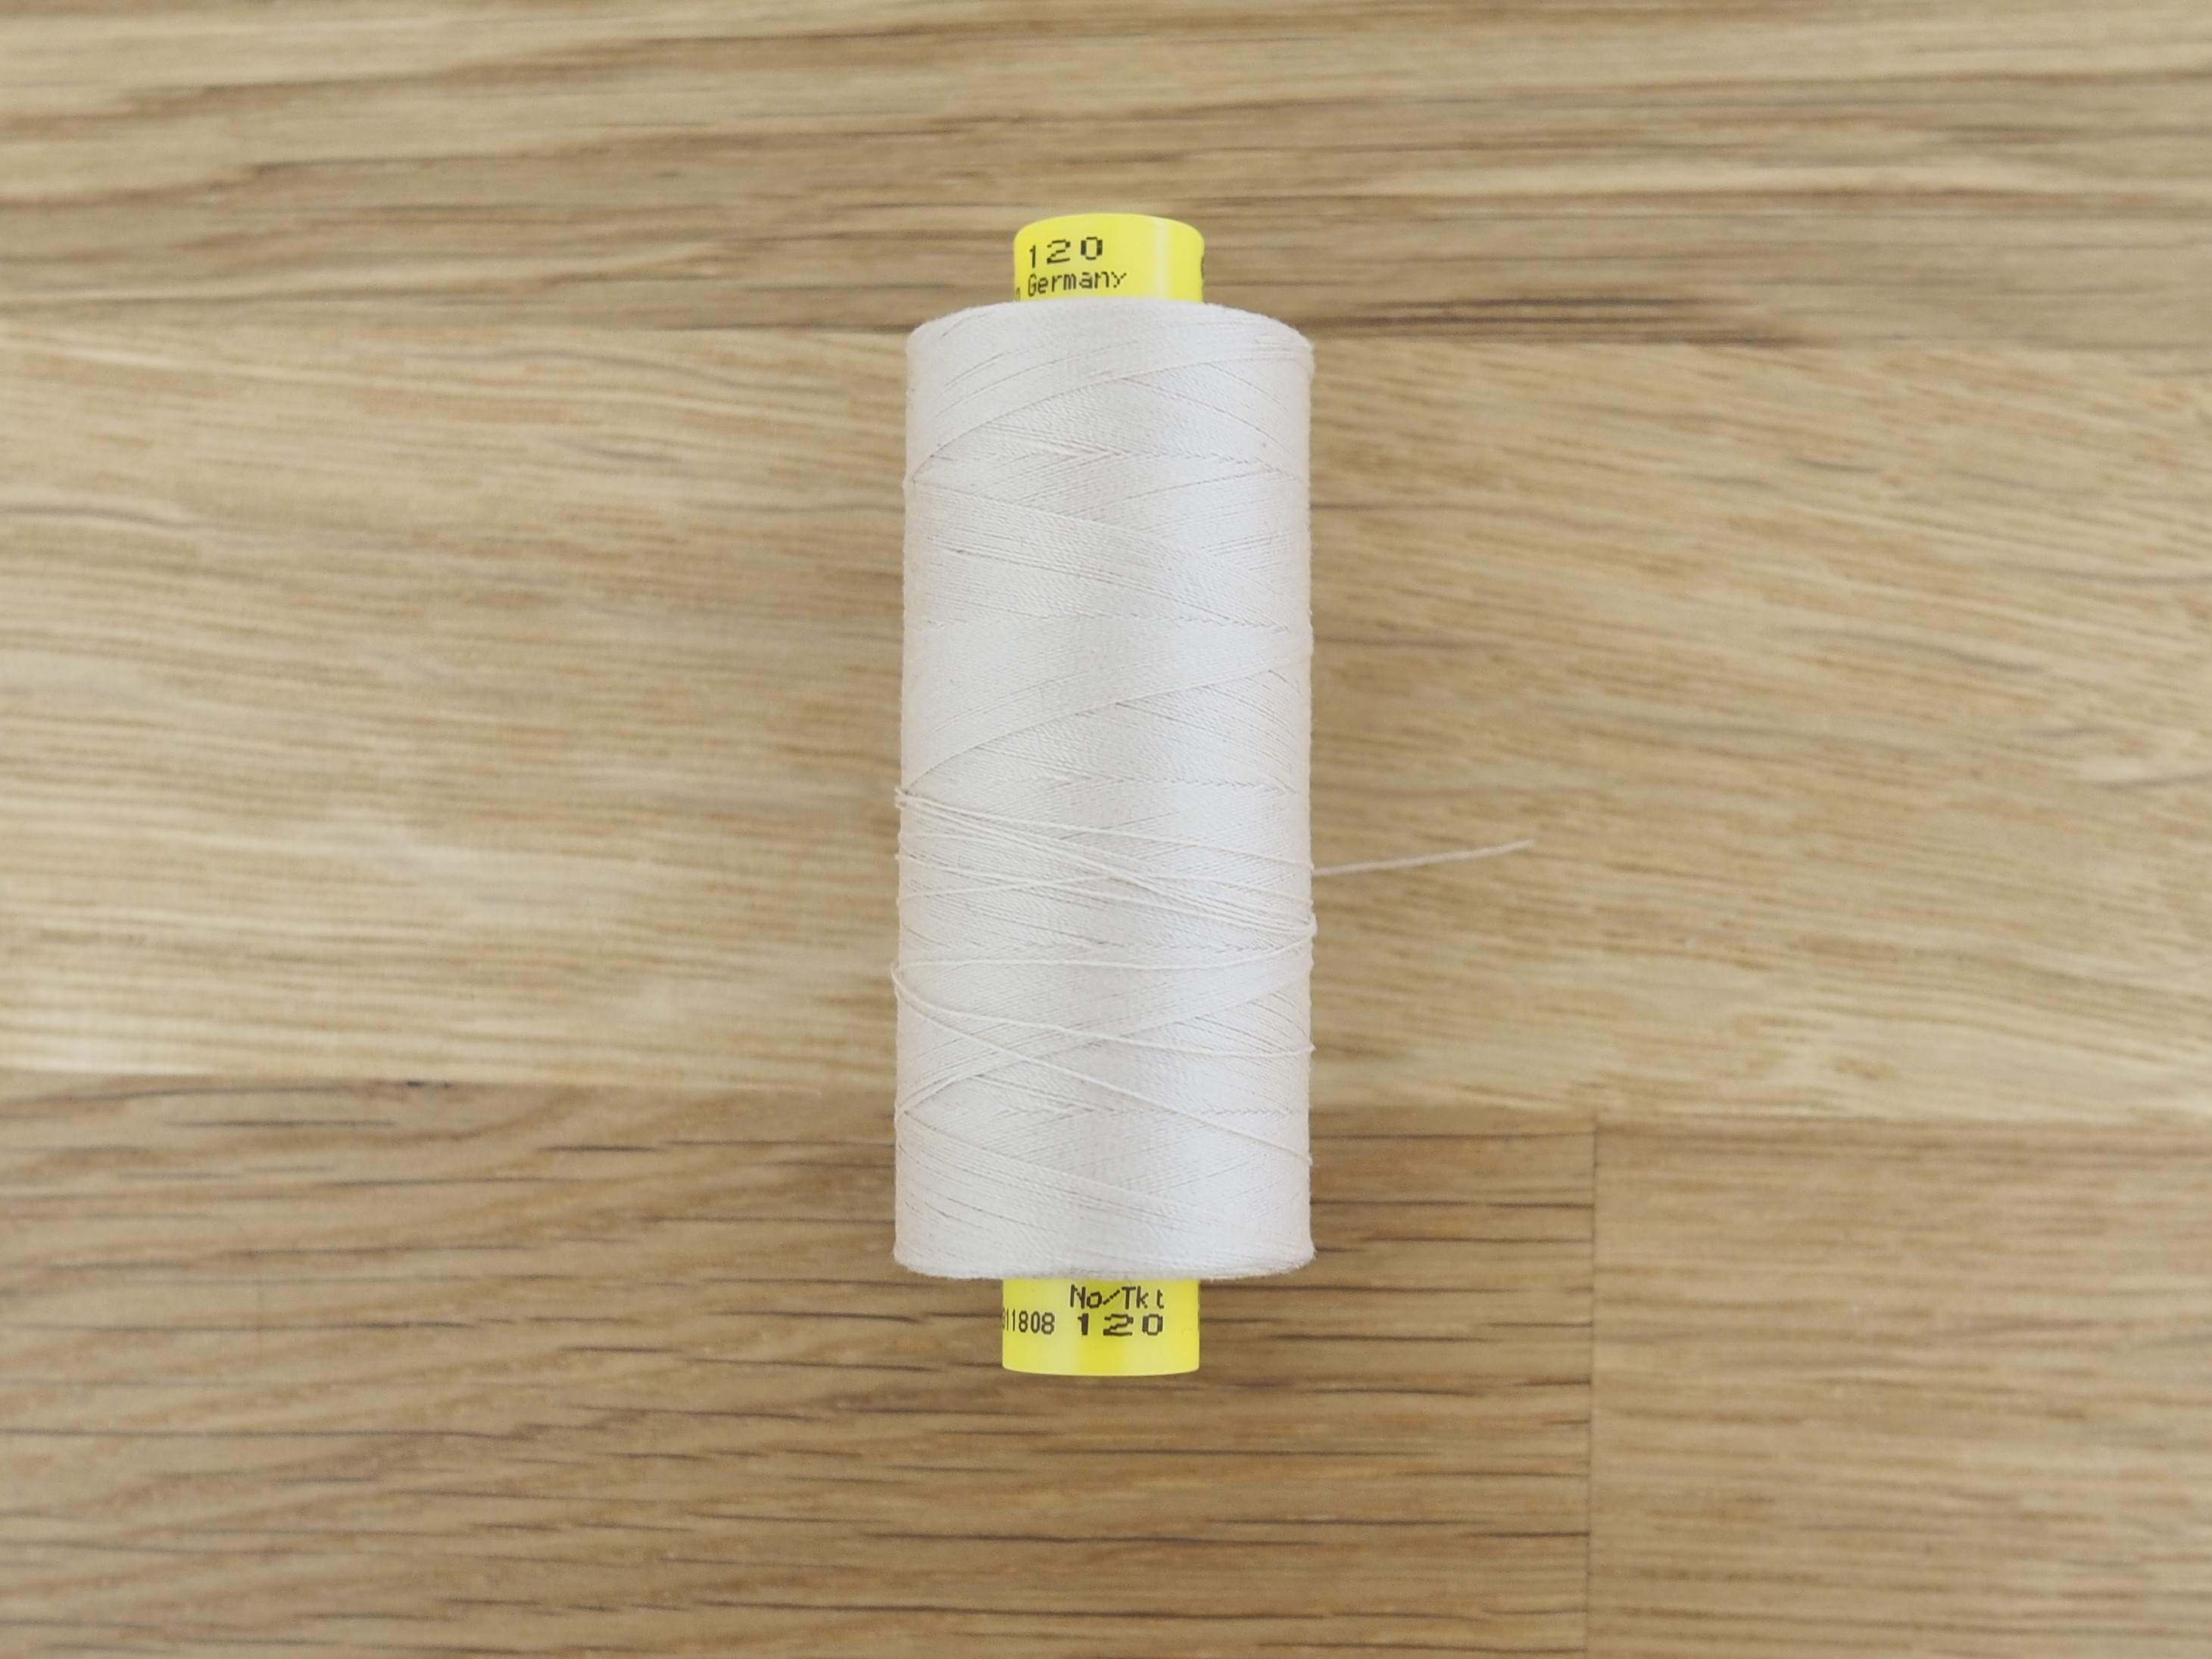
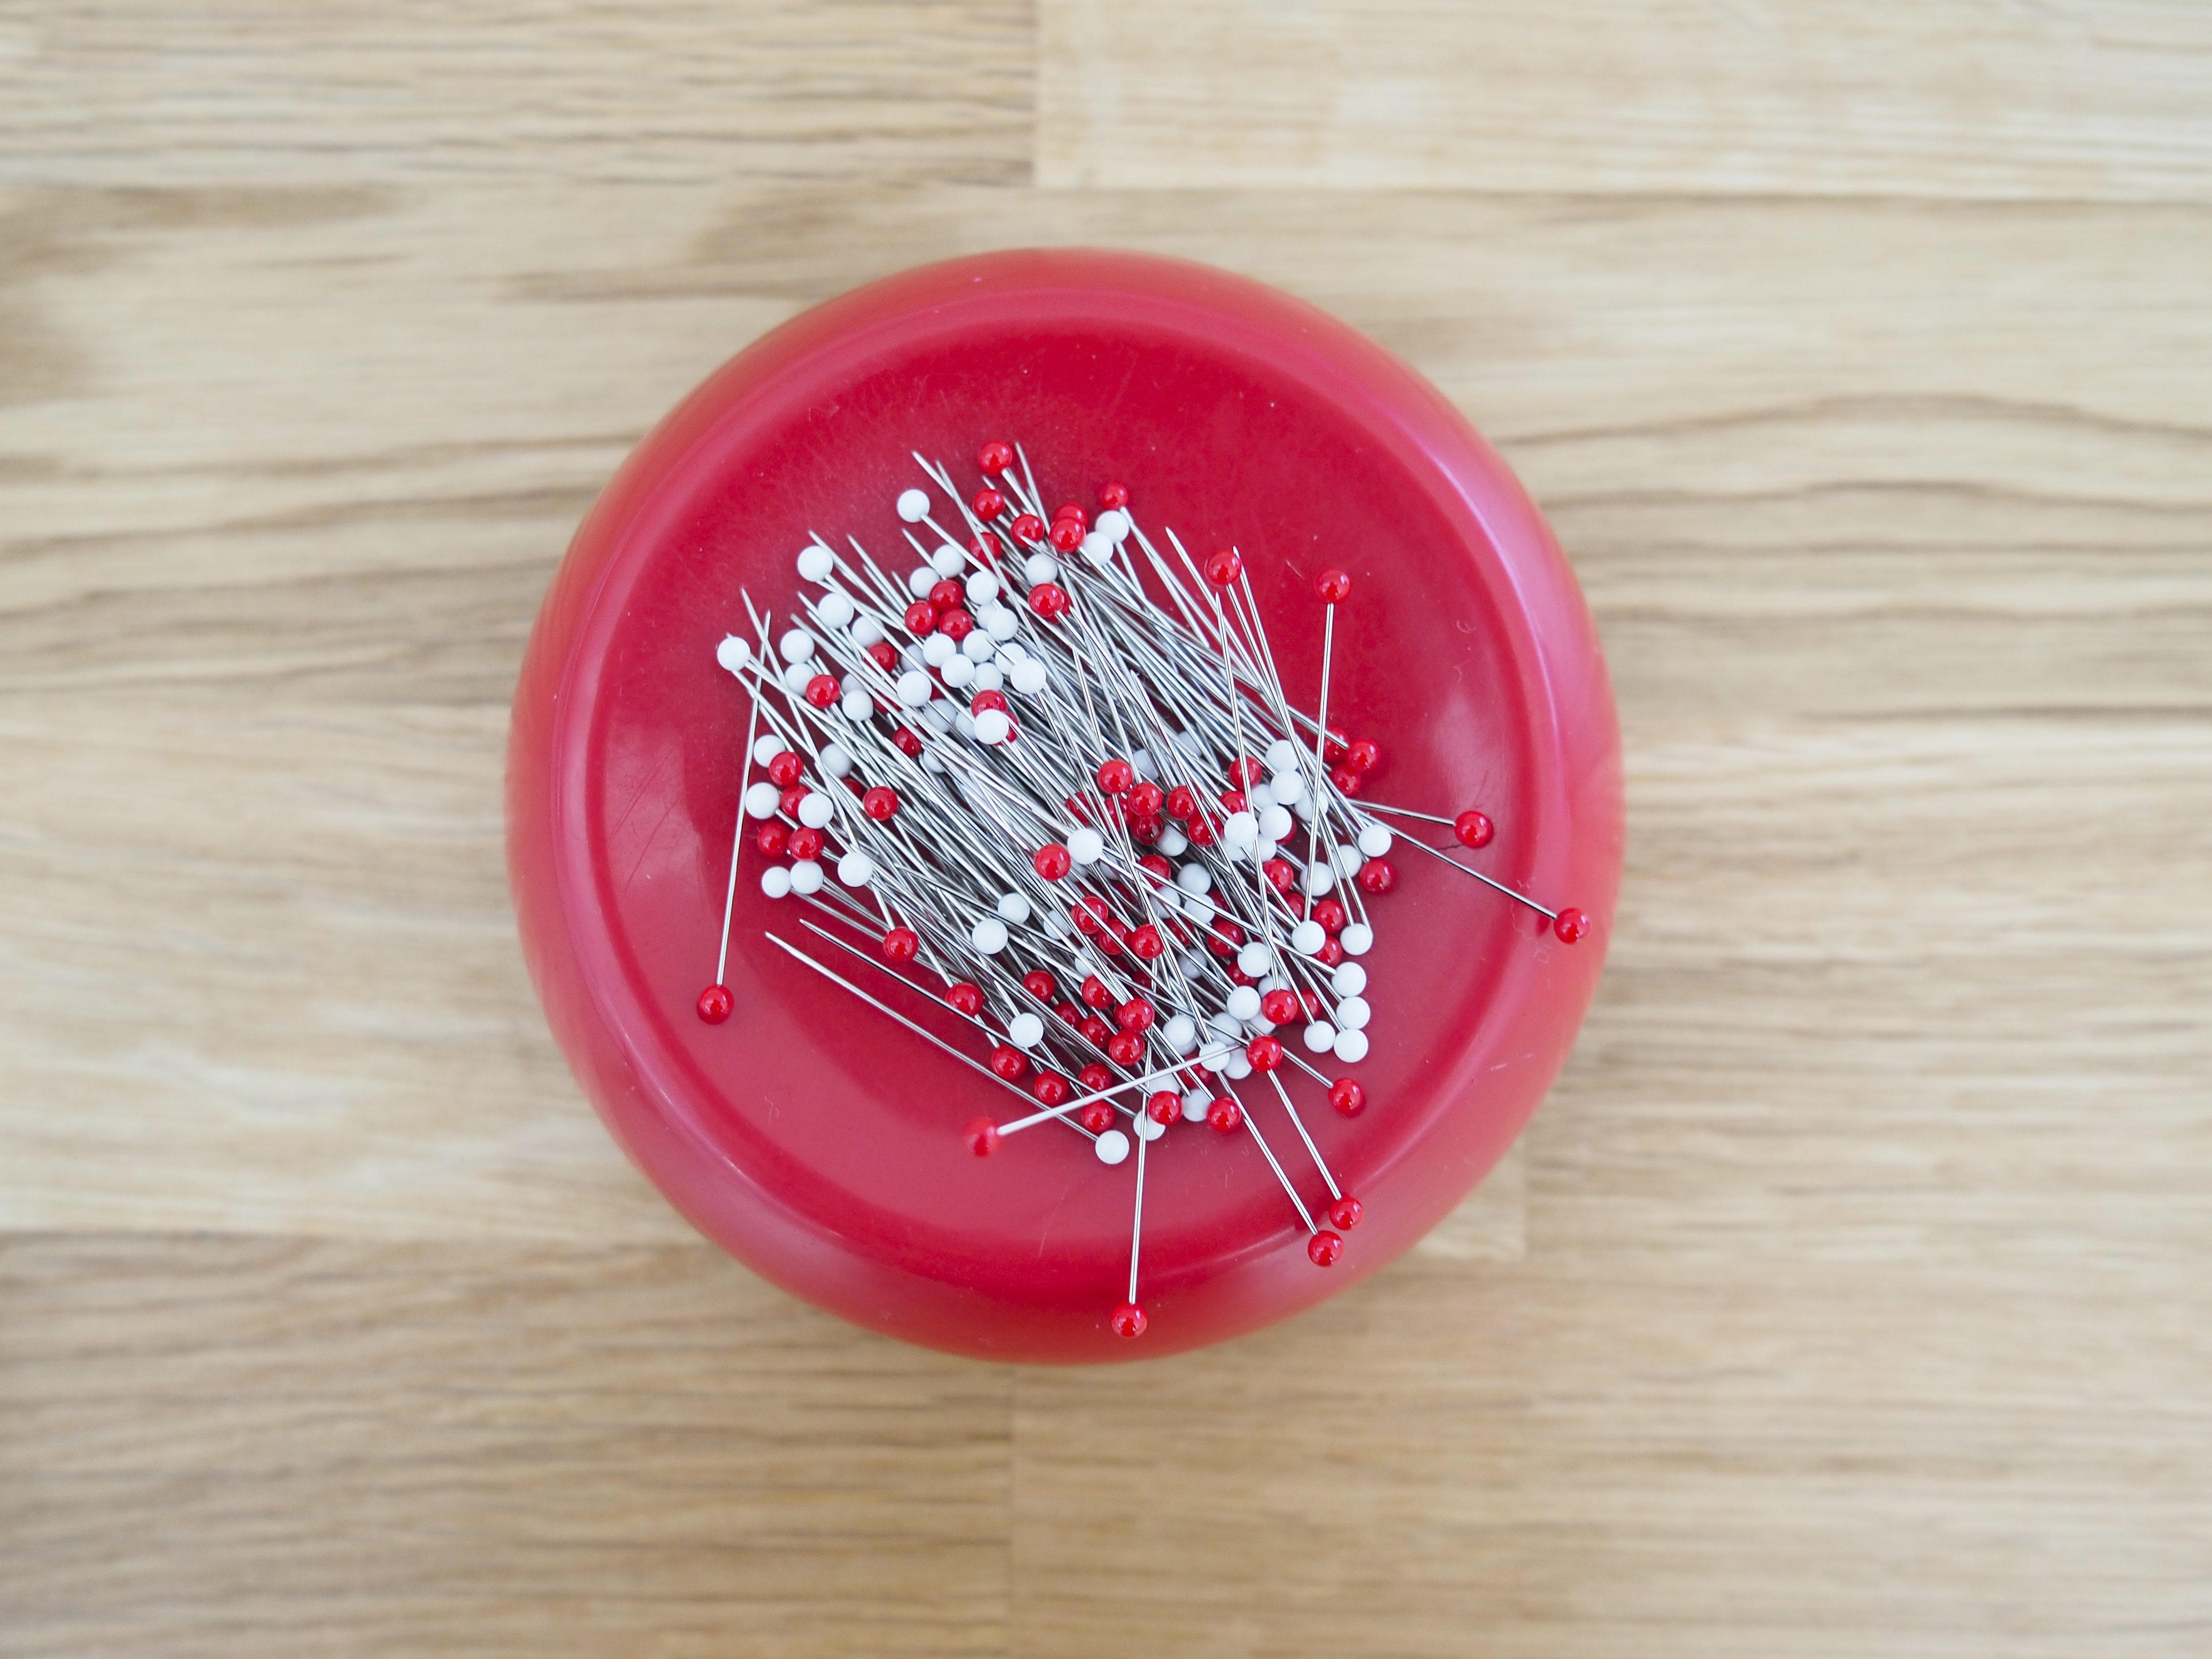
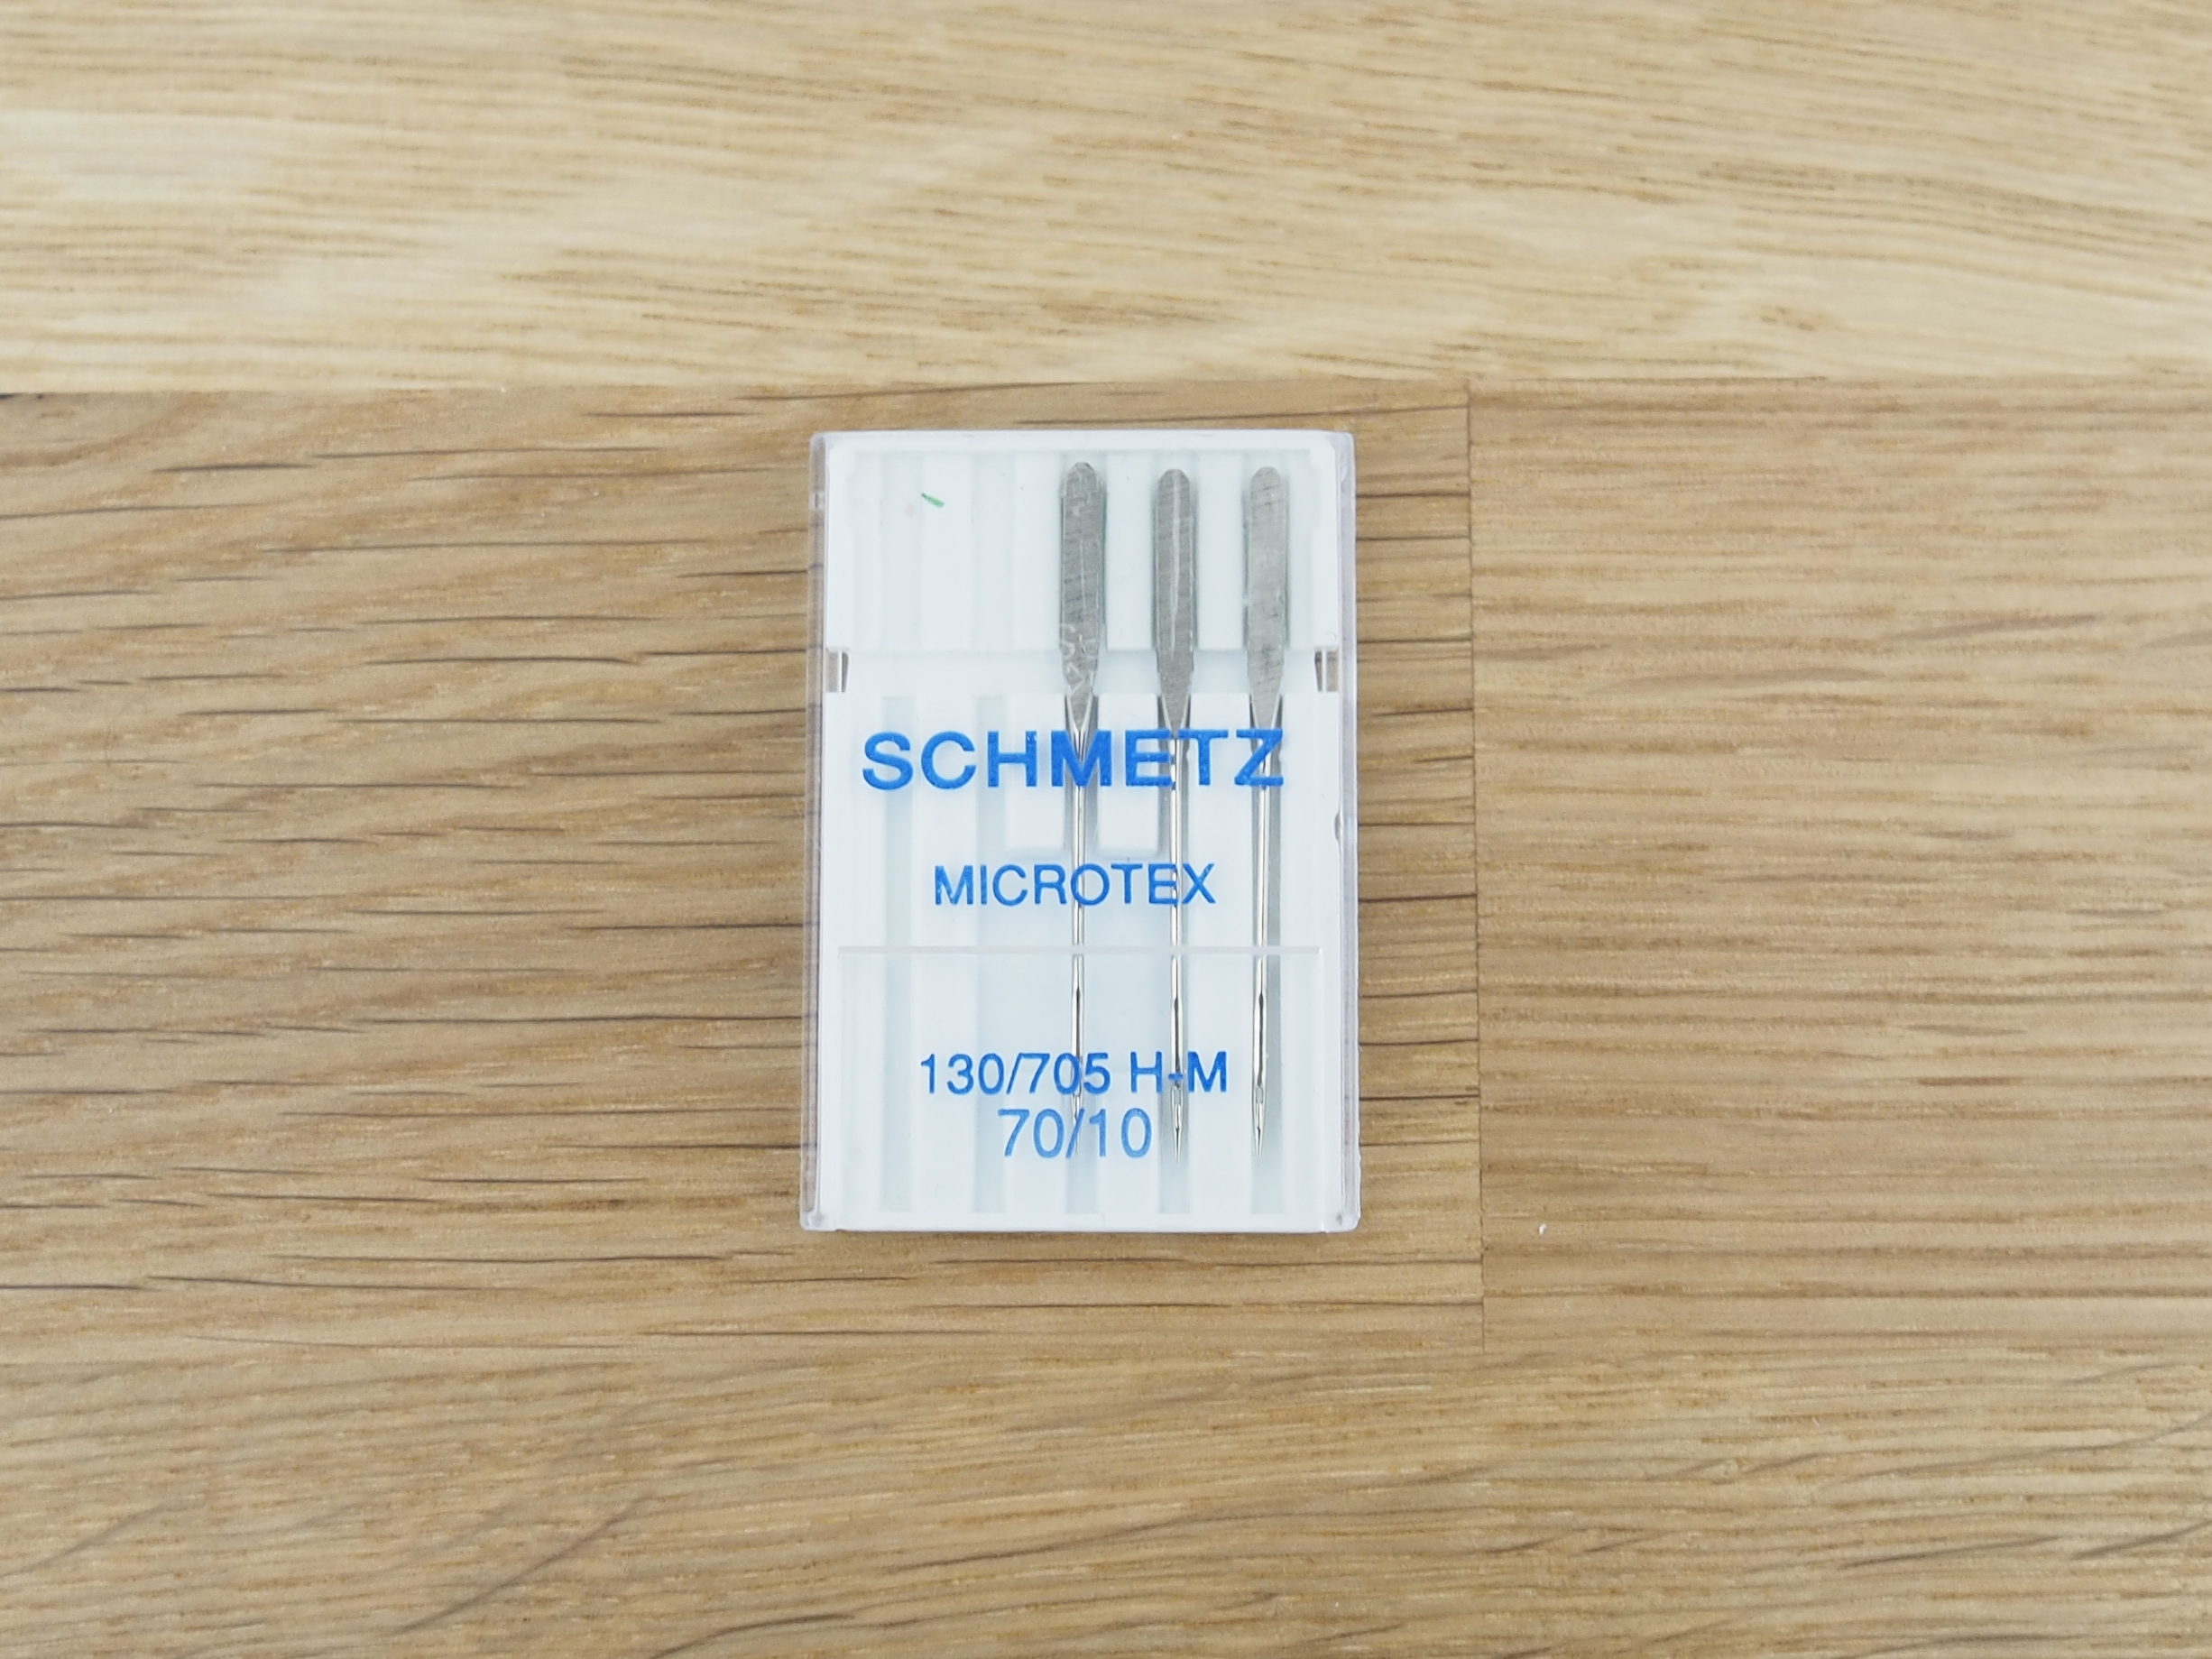
To sew the slip you will need thread in a color to match your silk. I prefer Gütermann Mara 120 thread for sewing lingerie, but the more commonly available Gütermann Mara 100 is fine. You also need to the right sewing machine needle and for silk charmeuse I prefer to use a new size 70 Microtex needle. These needles have slim accurate points that pierce the silk precisely. And if you plan to use pins, be sure to get silk pins.
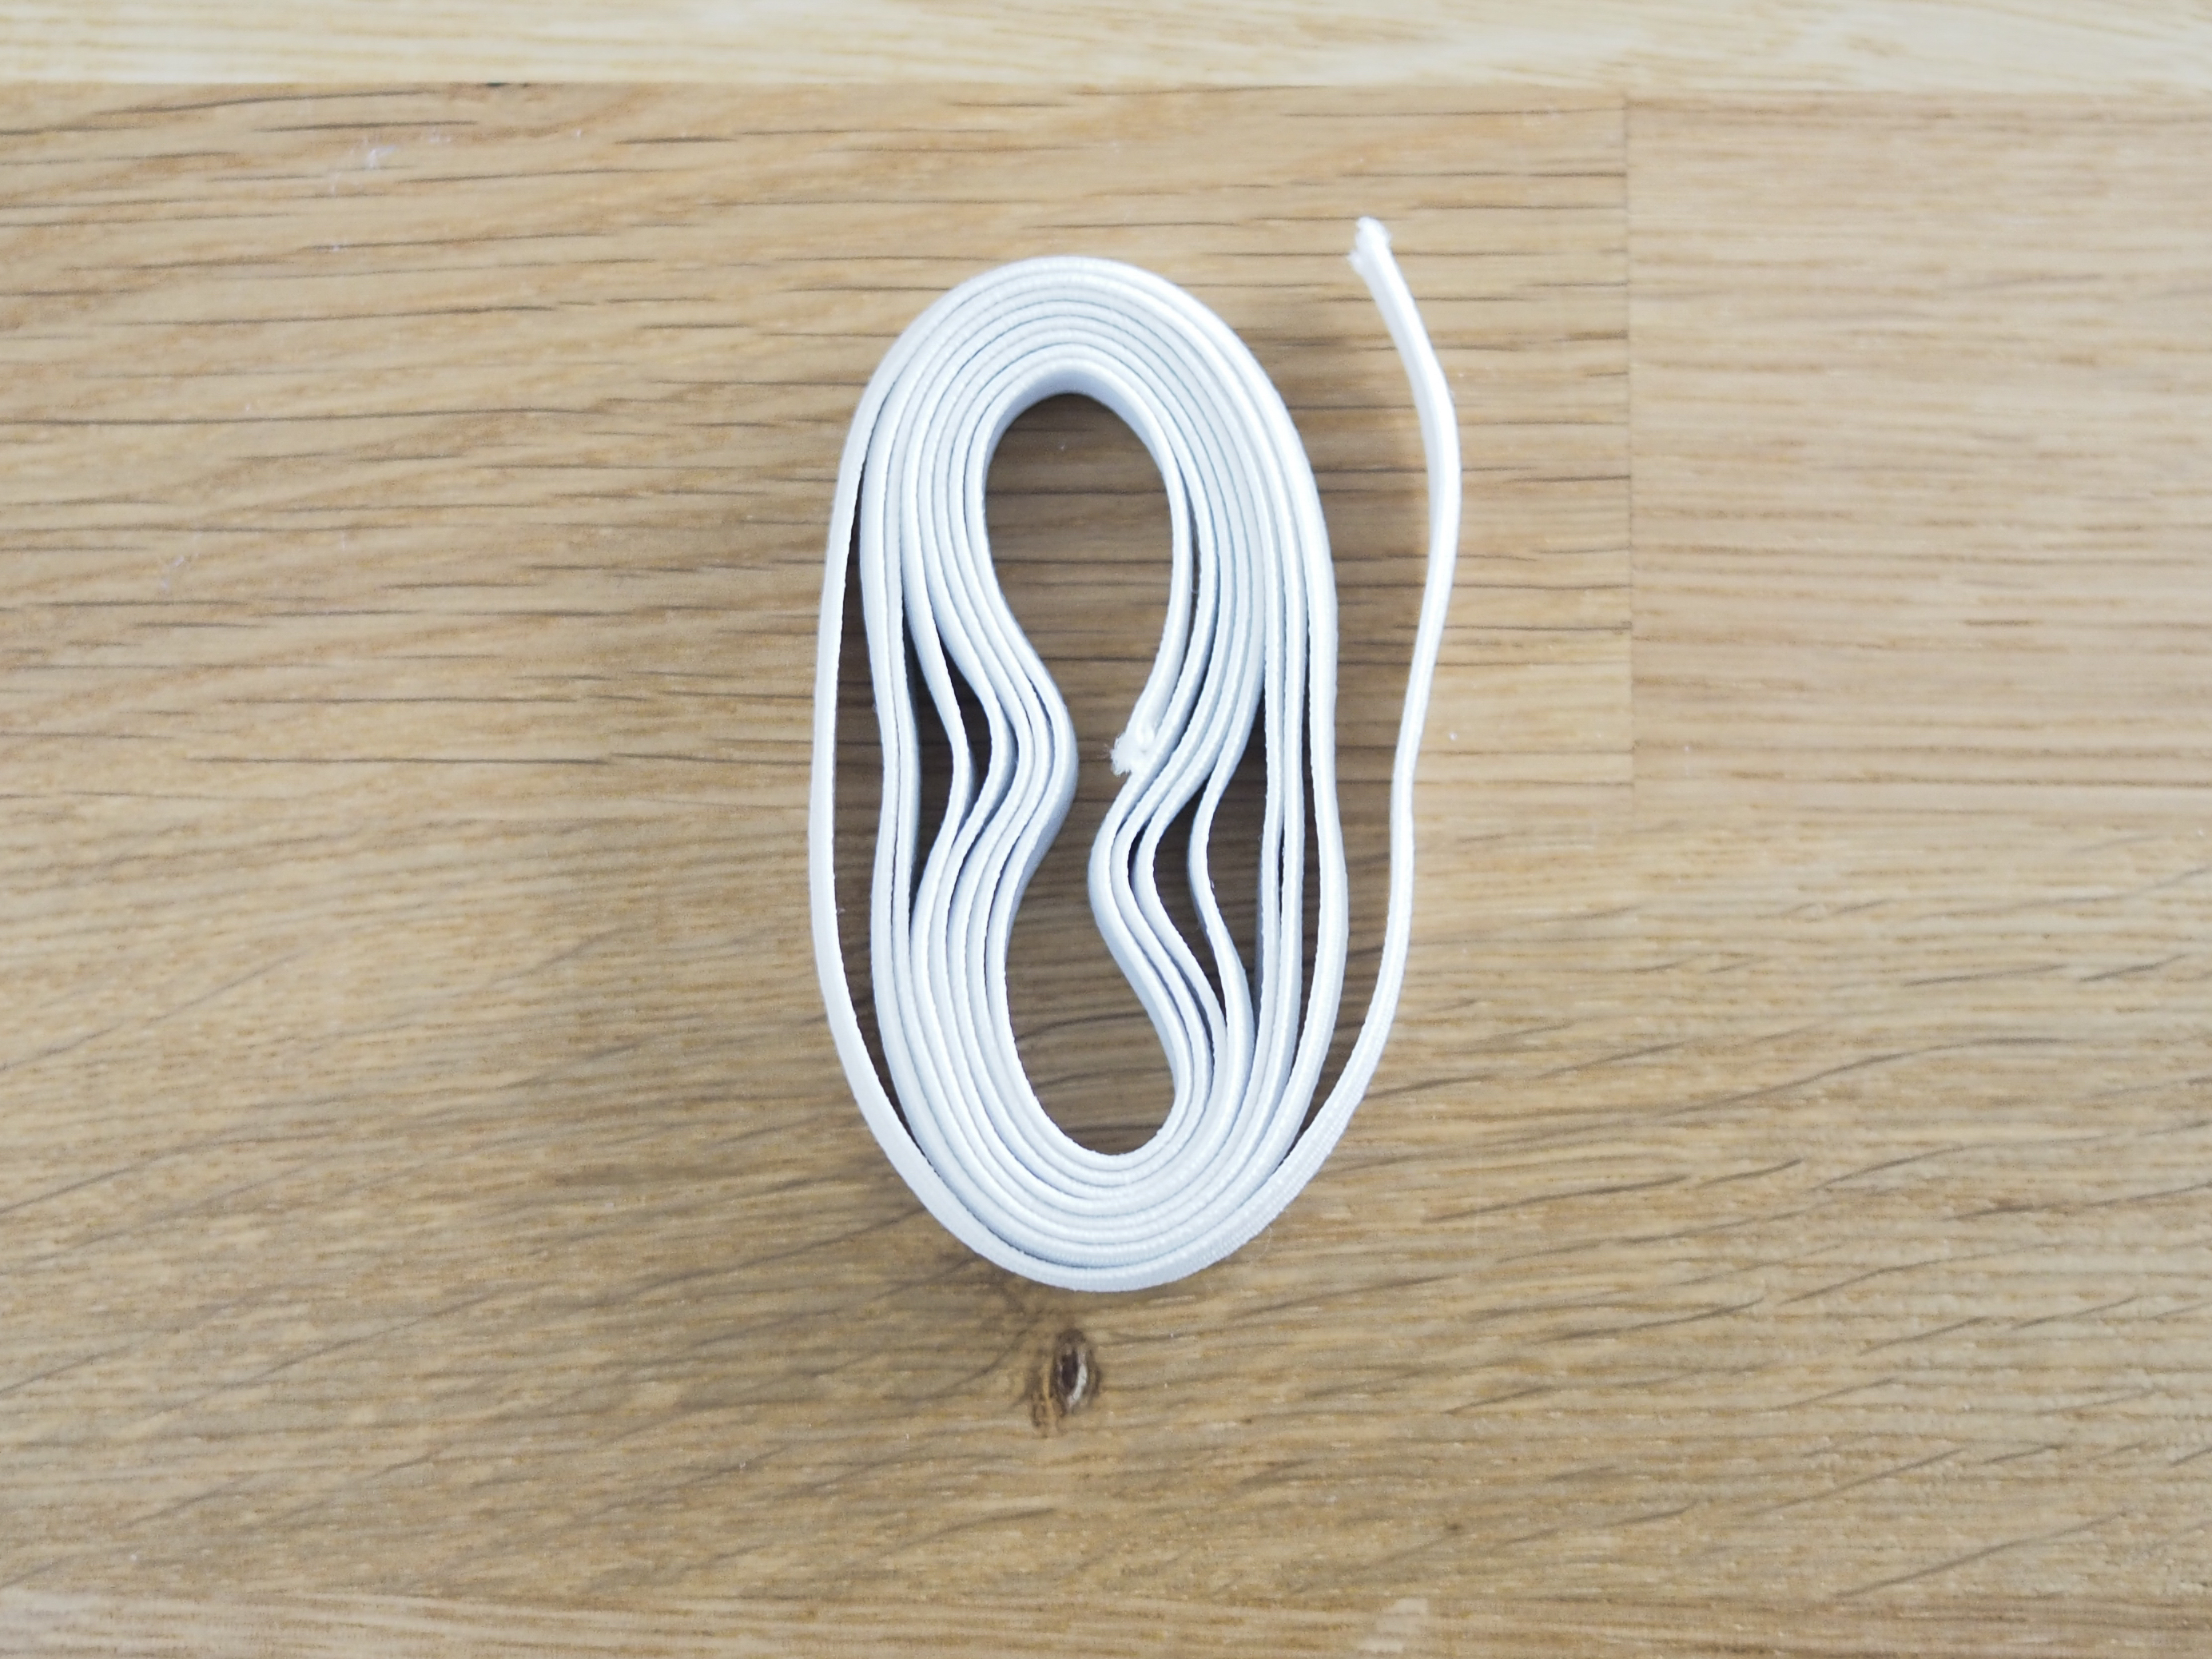
Elastic is also needed for the waist and for this type of slip I prefer to use a ⅜” wide knit elastic. The minimum amount of elastic required is equal to the waist measurement. For this sample, that will be 28” or ⅞ yard of elastic (28” ÷ 36″ = .8 and ⅞ in decimal form is .875).
Summary of the fabric and notions requirements for this sample
Fabric = one slip length when both slip pieces fit into cuttable fabric width = total slip length ÷ 36” = 24 ⅛” ÷ 36” = .67 plus extra to allow for cutting variation = 1 yard
Thread = Gütermann Mara 120 in a color to match the silk
Sewing machine needle = Size 70 Microtex
Pins = Silk Pins
⅜” wide knit elastic = Waist measurement = 28”
Sewing Tools
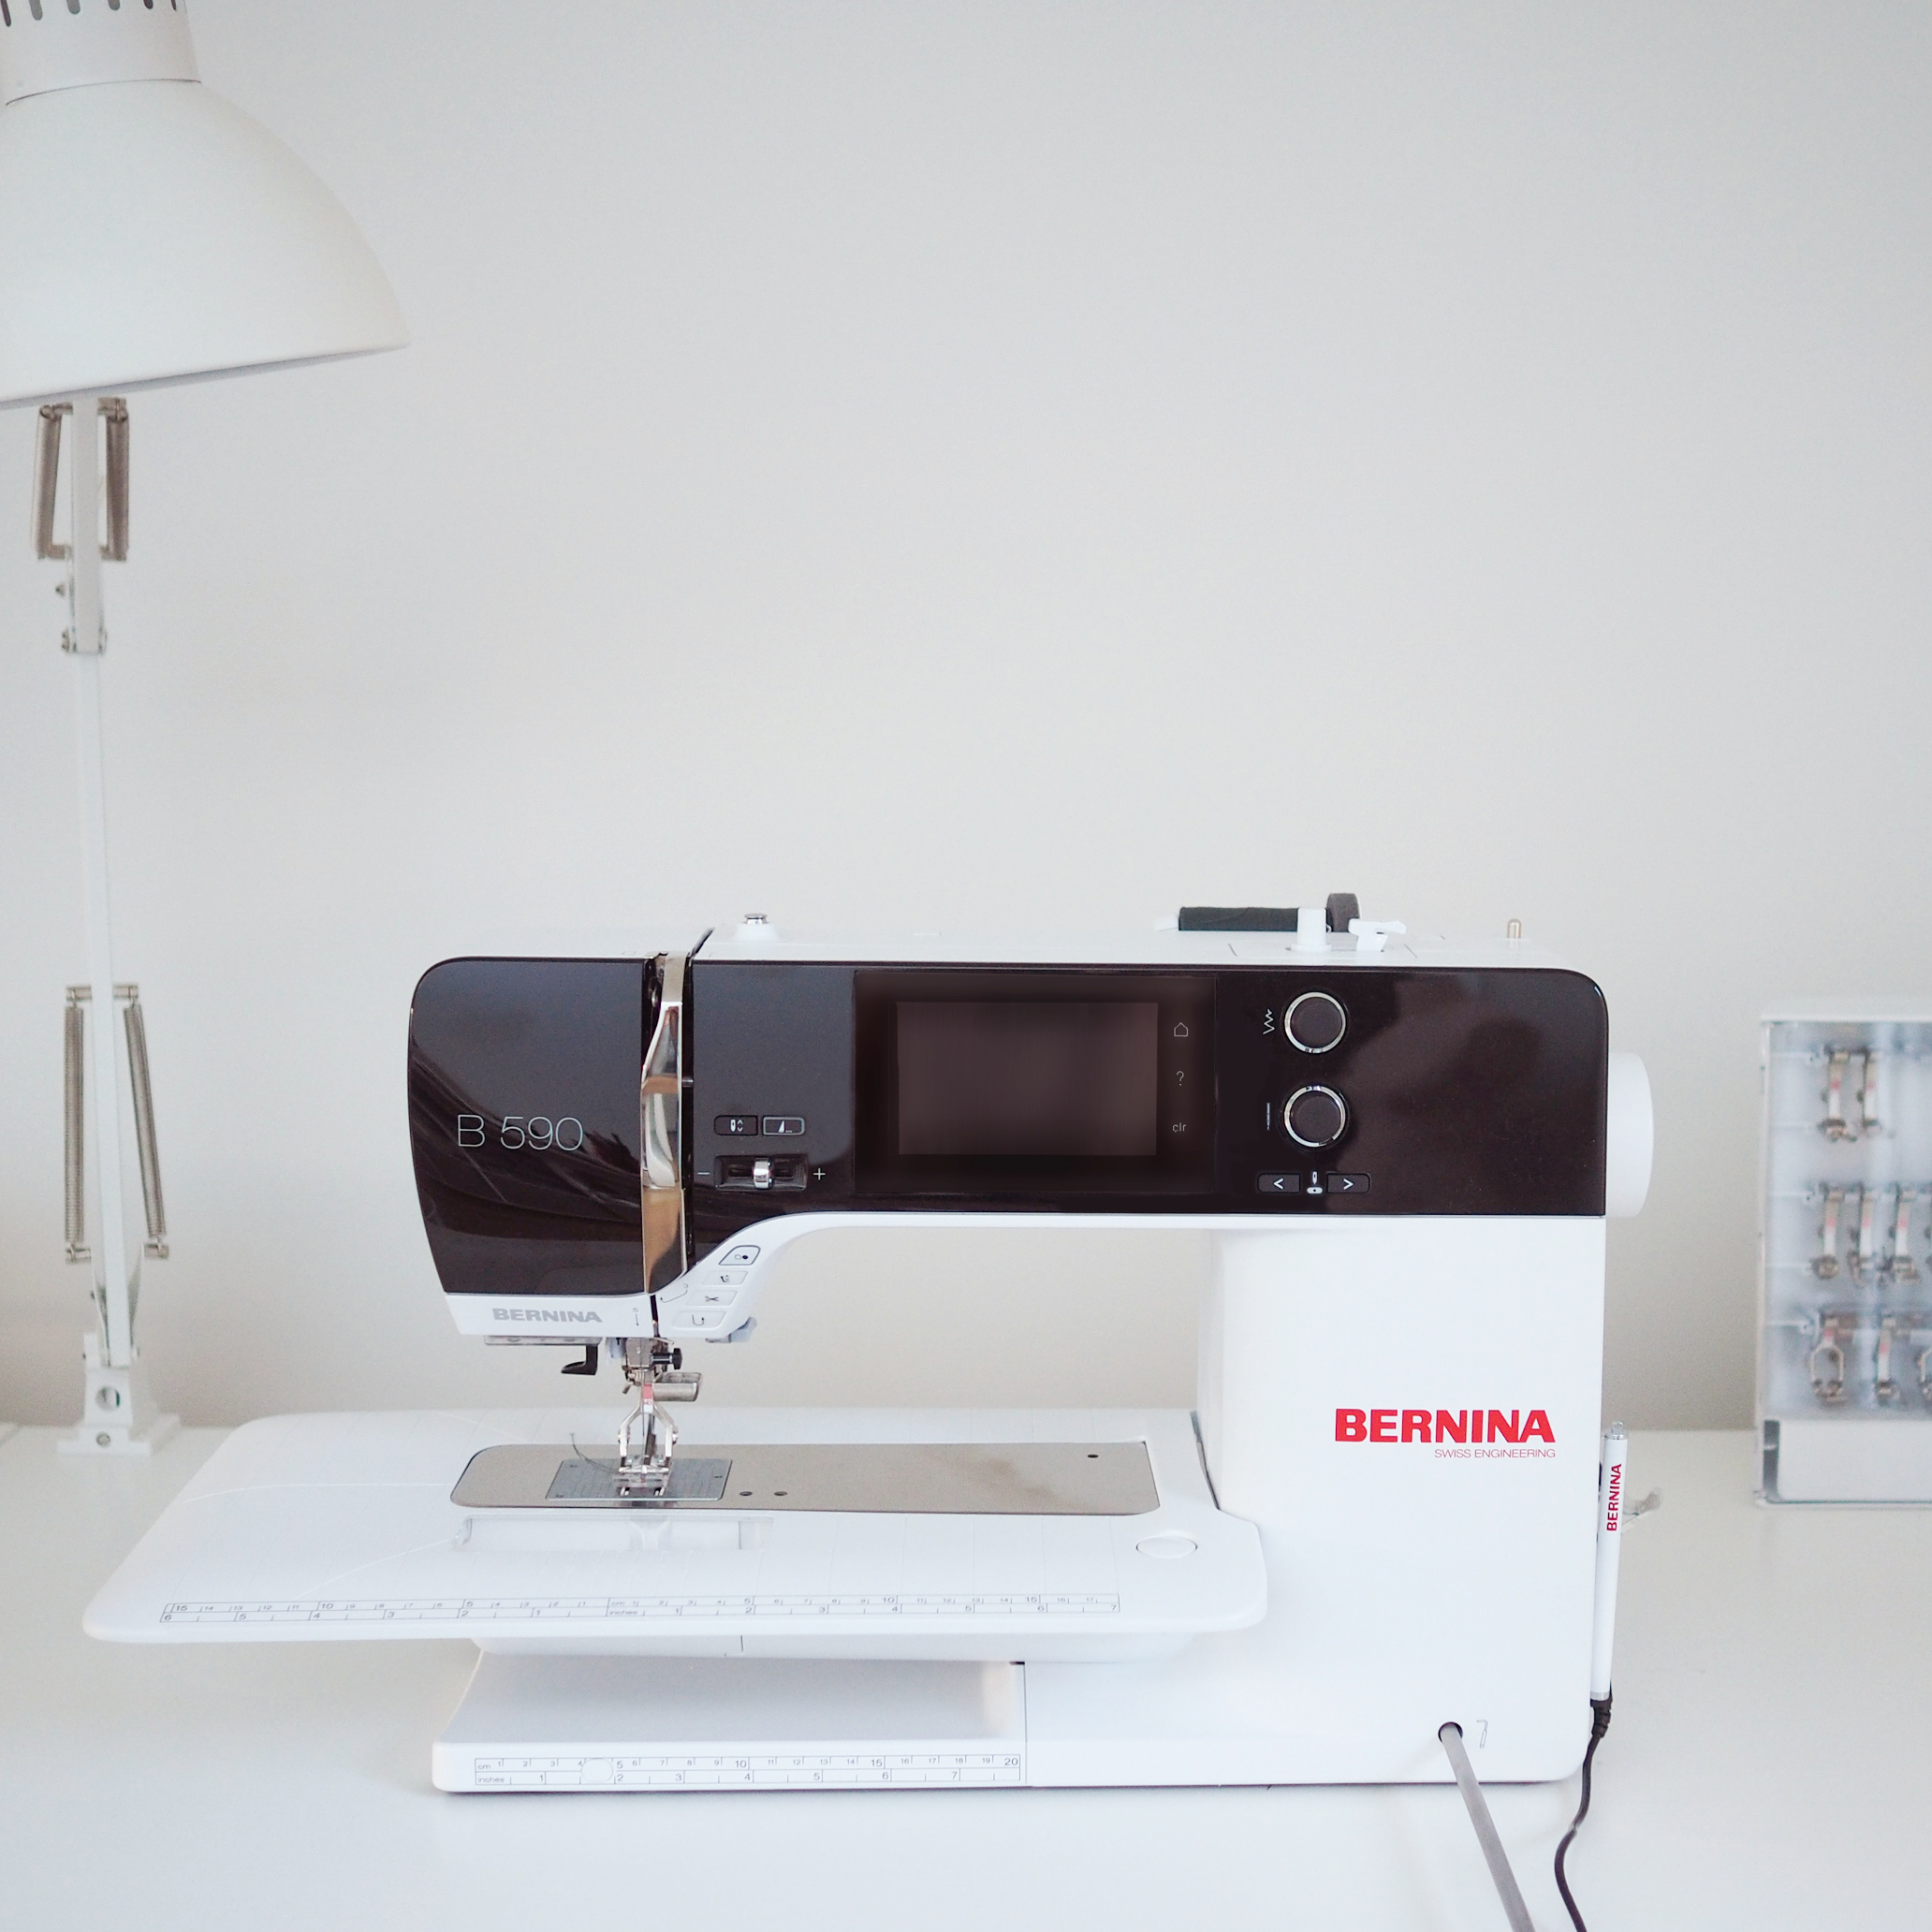
To simplify the sewing I am going to use my BERNINA 590 with dual feed with the Reverse-pattern foot with clear sole #34D. These tools provide for smooth and even feeding of the material which is particularly useful when sewing a slippery material such as silk. The clear foot also provides a nice view of my stitching which I find helpful.
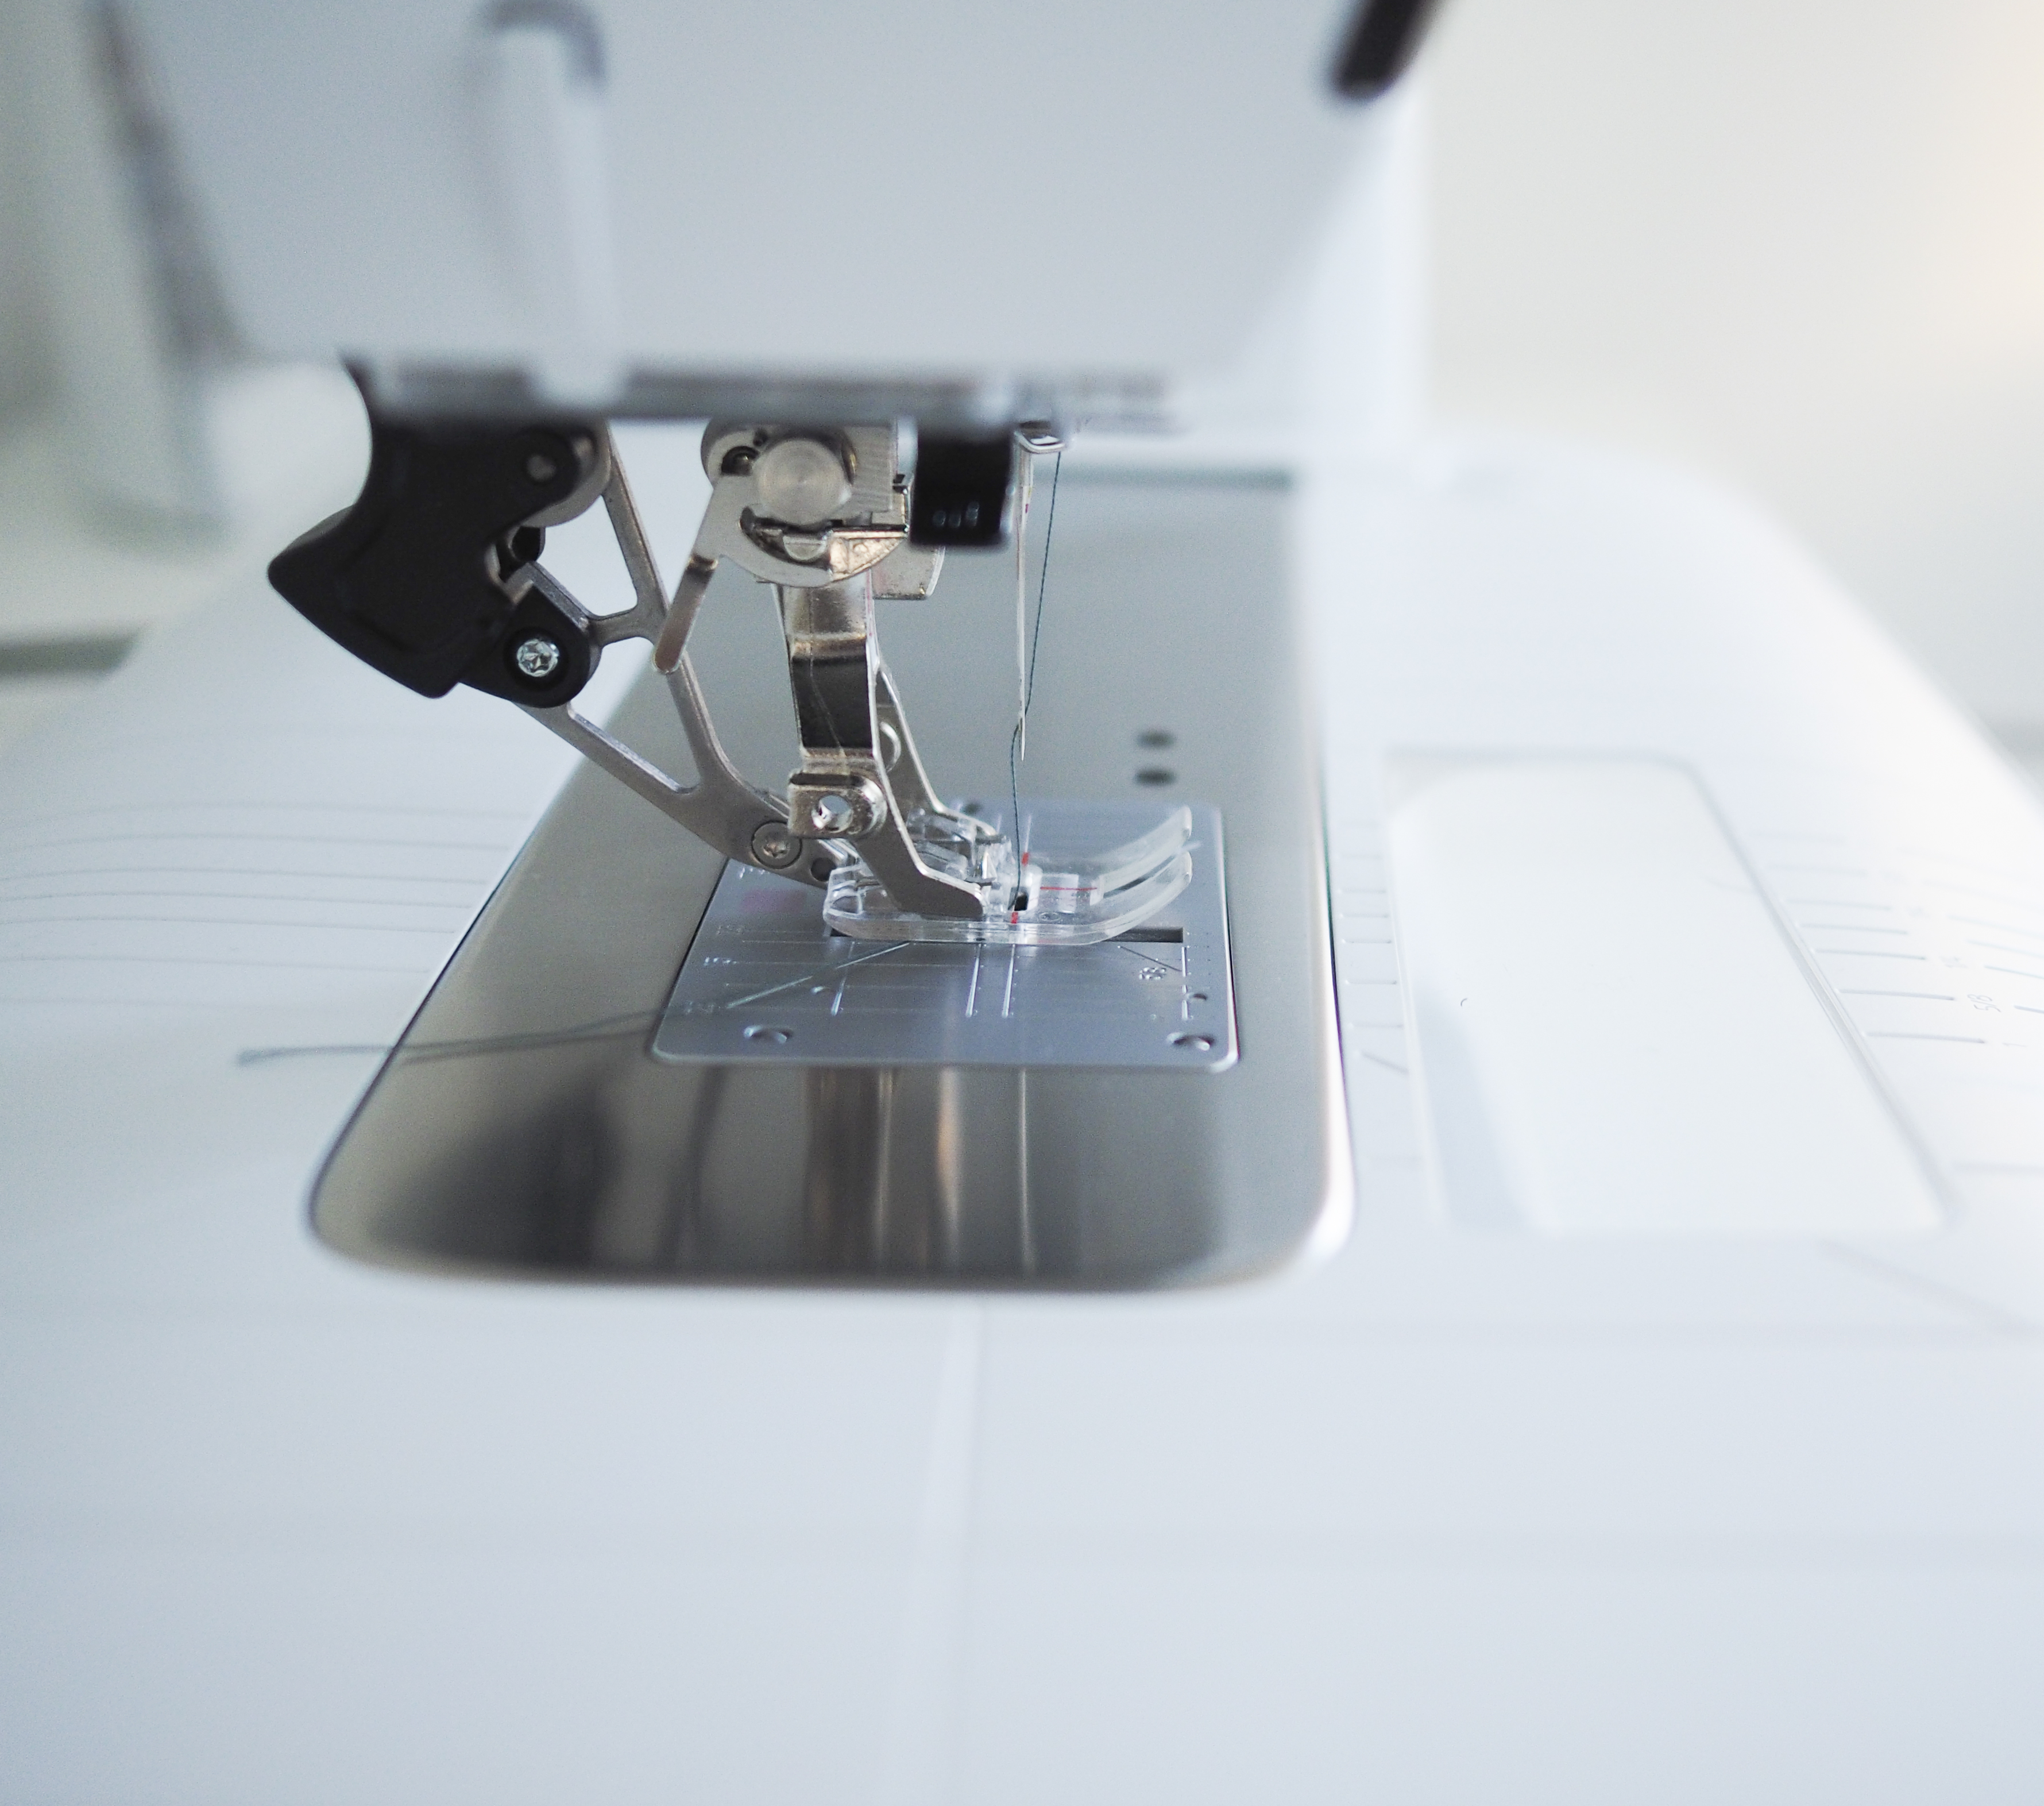
Summary of sewing tools
BERNINA 590 sewing machine with dual feed feature
Reverse-pattern foot with clear sole #34D
Don’t forget your cutting tools! You need sharp shears or a rotary cutter with a fresh blade and your choice of pattern weights or pins. Of course, the pattern is really just two large rectangles so you could also chalk the pattern measurements directly on to the silk!
Summary of cutting tools
Your choice of fabric cutting tool, fabric shears or rotary cutter
Pattern weights or pins, your preference
Chalk (optional)
Now that we have the pattern drafted and all the materials assembled, we are ready to cut and sew our half-slip!
Cutting
Before you cut your fabric, be sure to pre-treat it by washing and drying in the same way you plan to treat the final garment. I am partial to hand washing and air-drying silk fabrics, but ultimately it comes down to your personal preference for garment maintenance.
Once pre-treated, I start the cutting process by smoothing the entire piece of fabric in a single, on grain layer onto my rotary cutting mats. These mats have just the right amount of “stickiness” and the printed grid helps get the fabric and pattern pieces set on grain.
I always advise my students to cut and mark fabric in the way that they feel most comfortable and gives them the best results. The only requirement is that the cutting and marking be accurate, and the grainline of pattern pieces be aligned with the grainline of the fabric.
Now that the patterns pieces are cut out, we are ready to get sewing!
Slip Sewing Instructions
The sewing process can be summarized as; sew side seams, add elastic to waist, hem. Let’s look at the details of each step.
Sew side seams
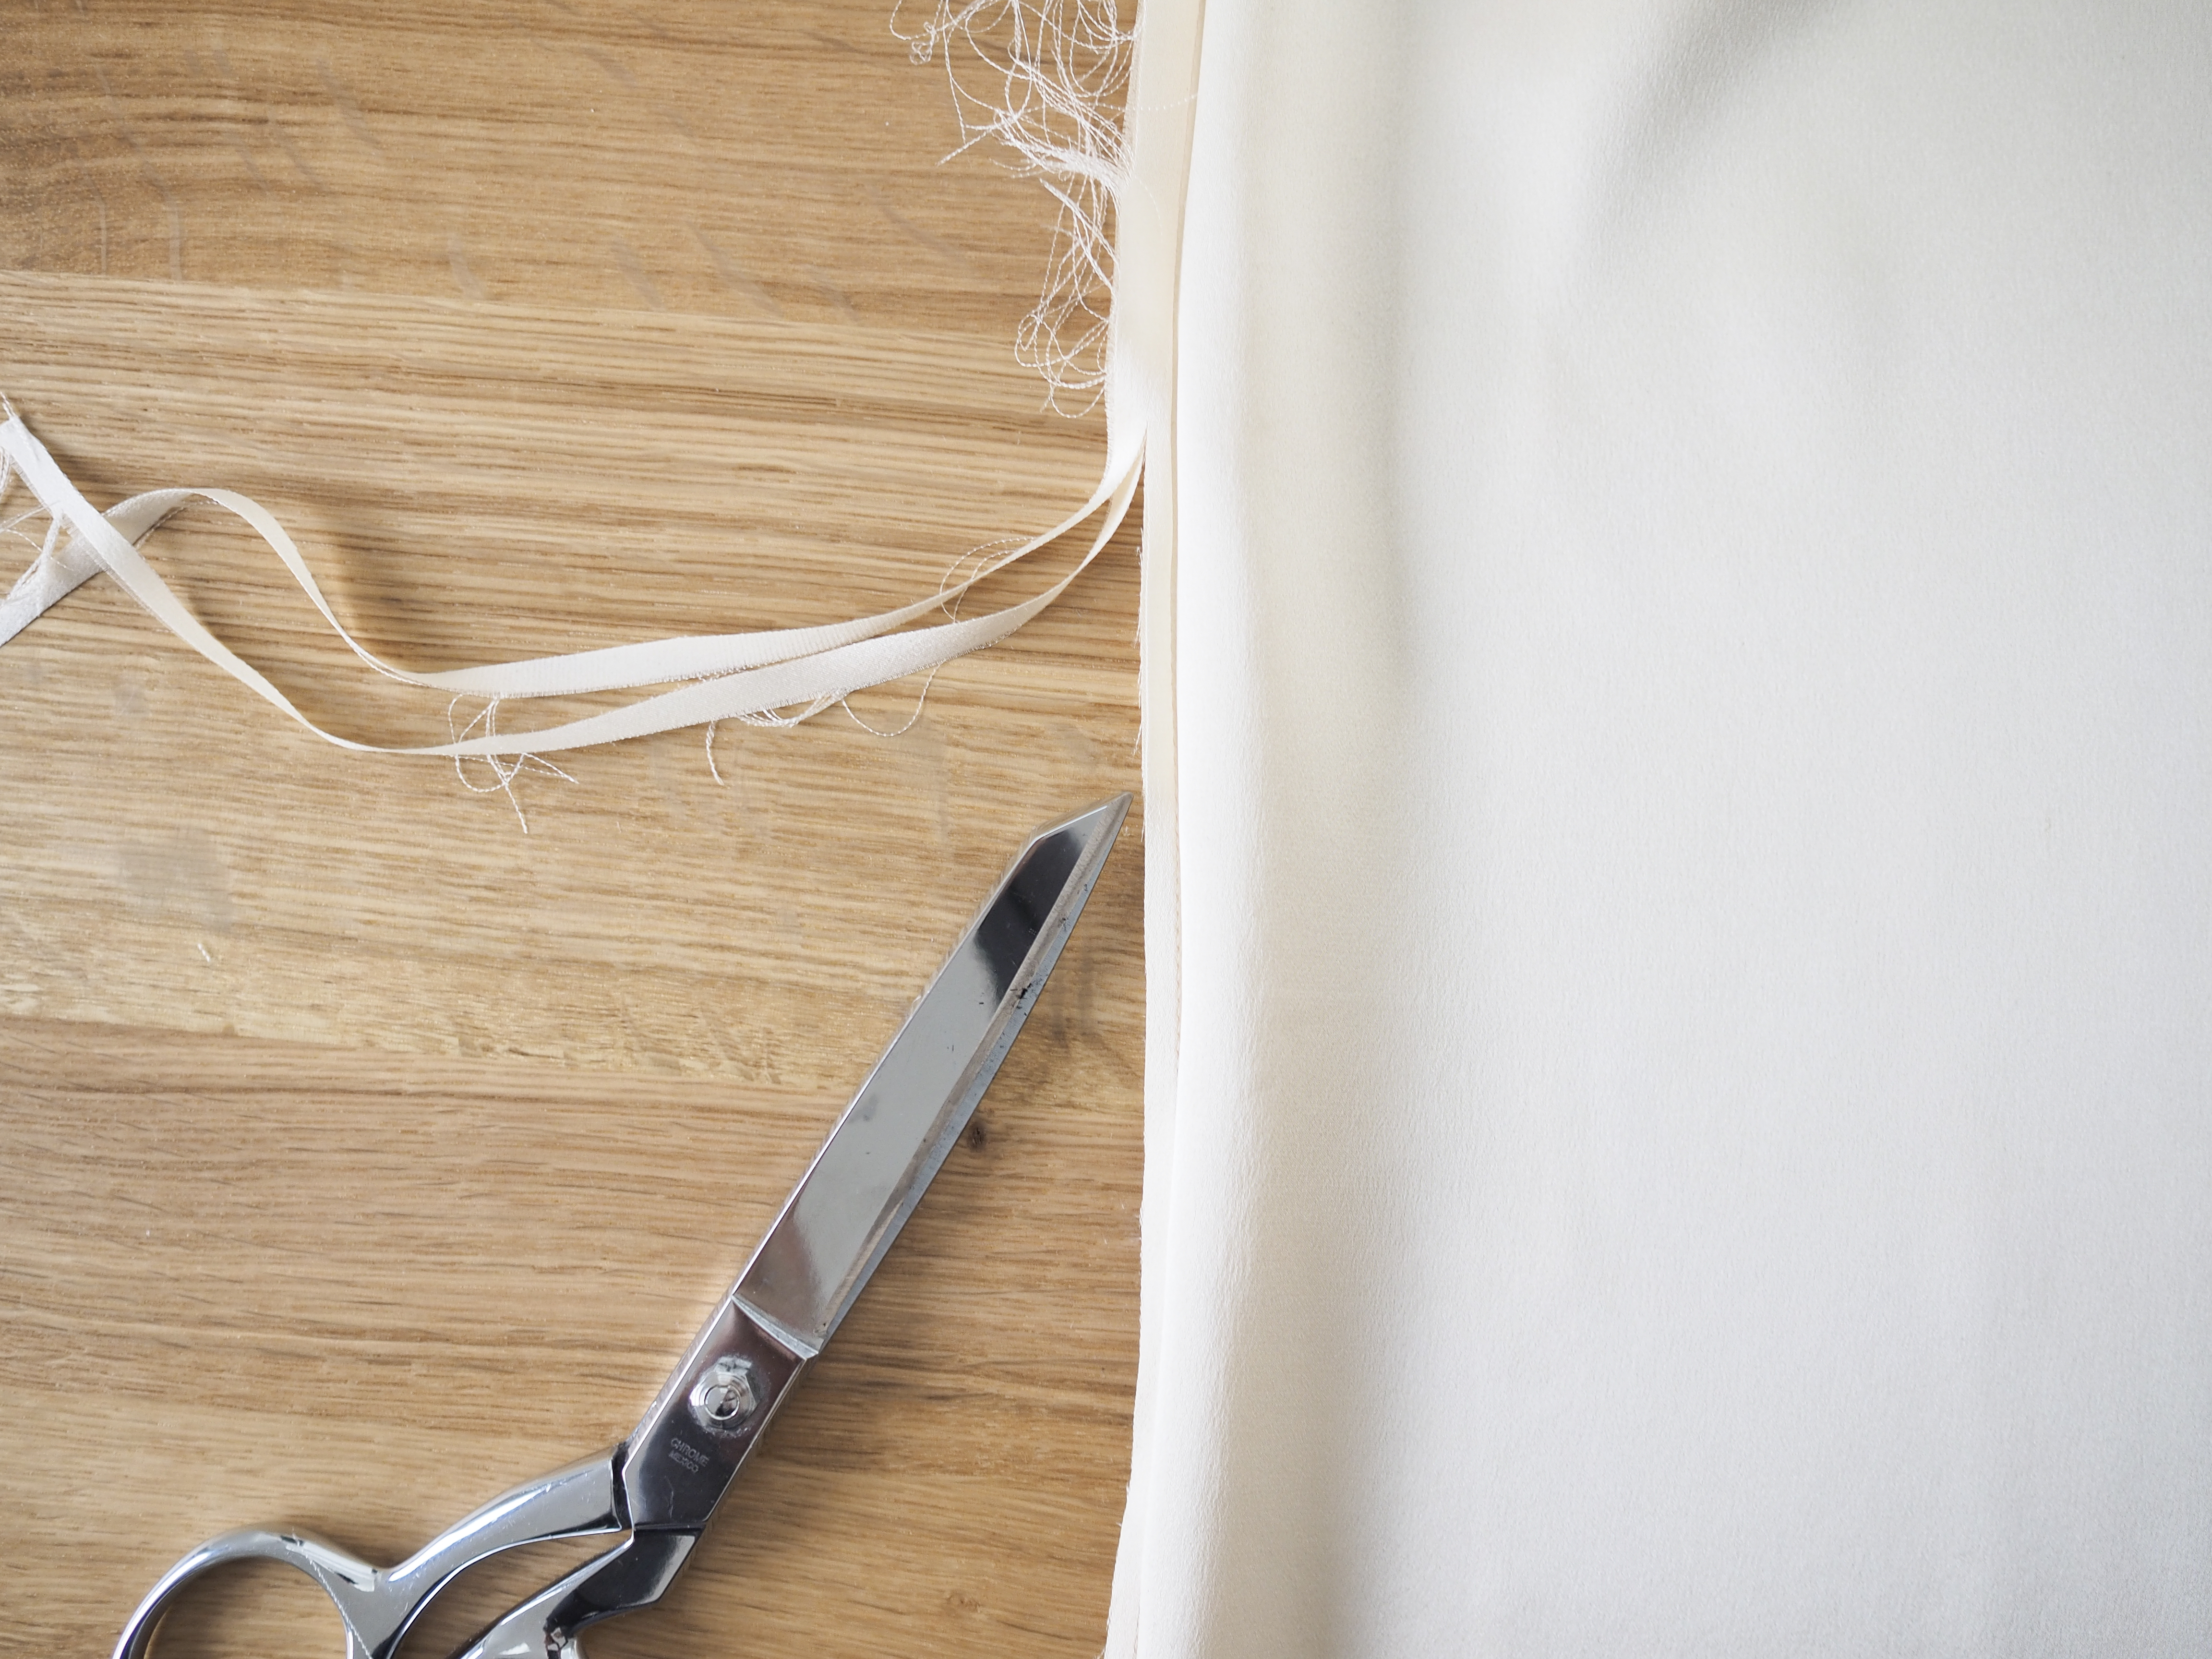
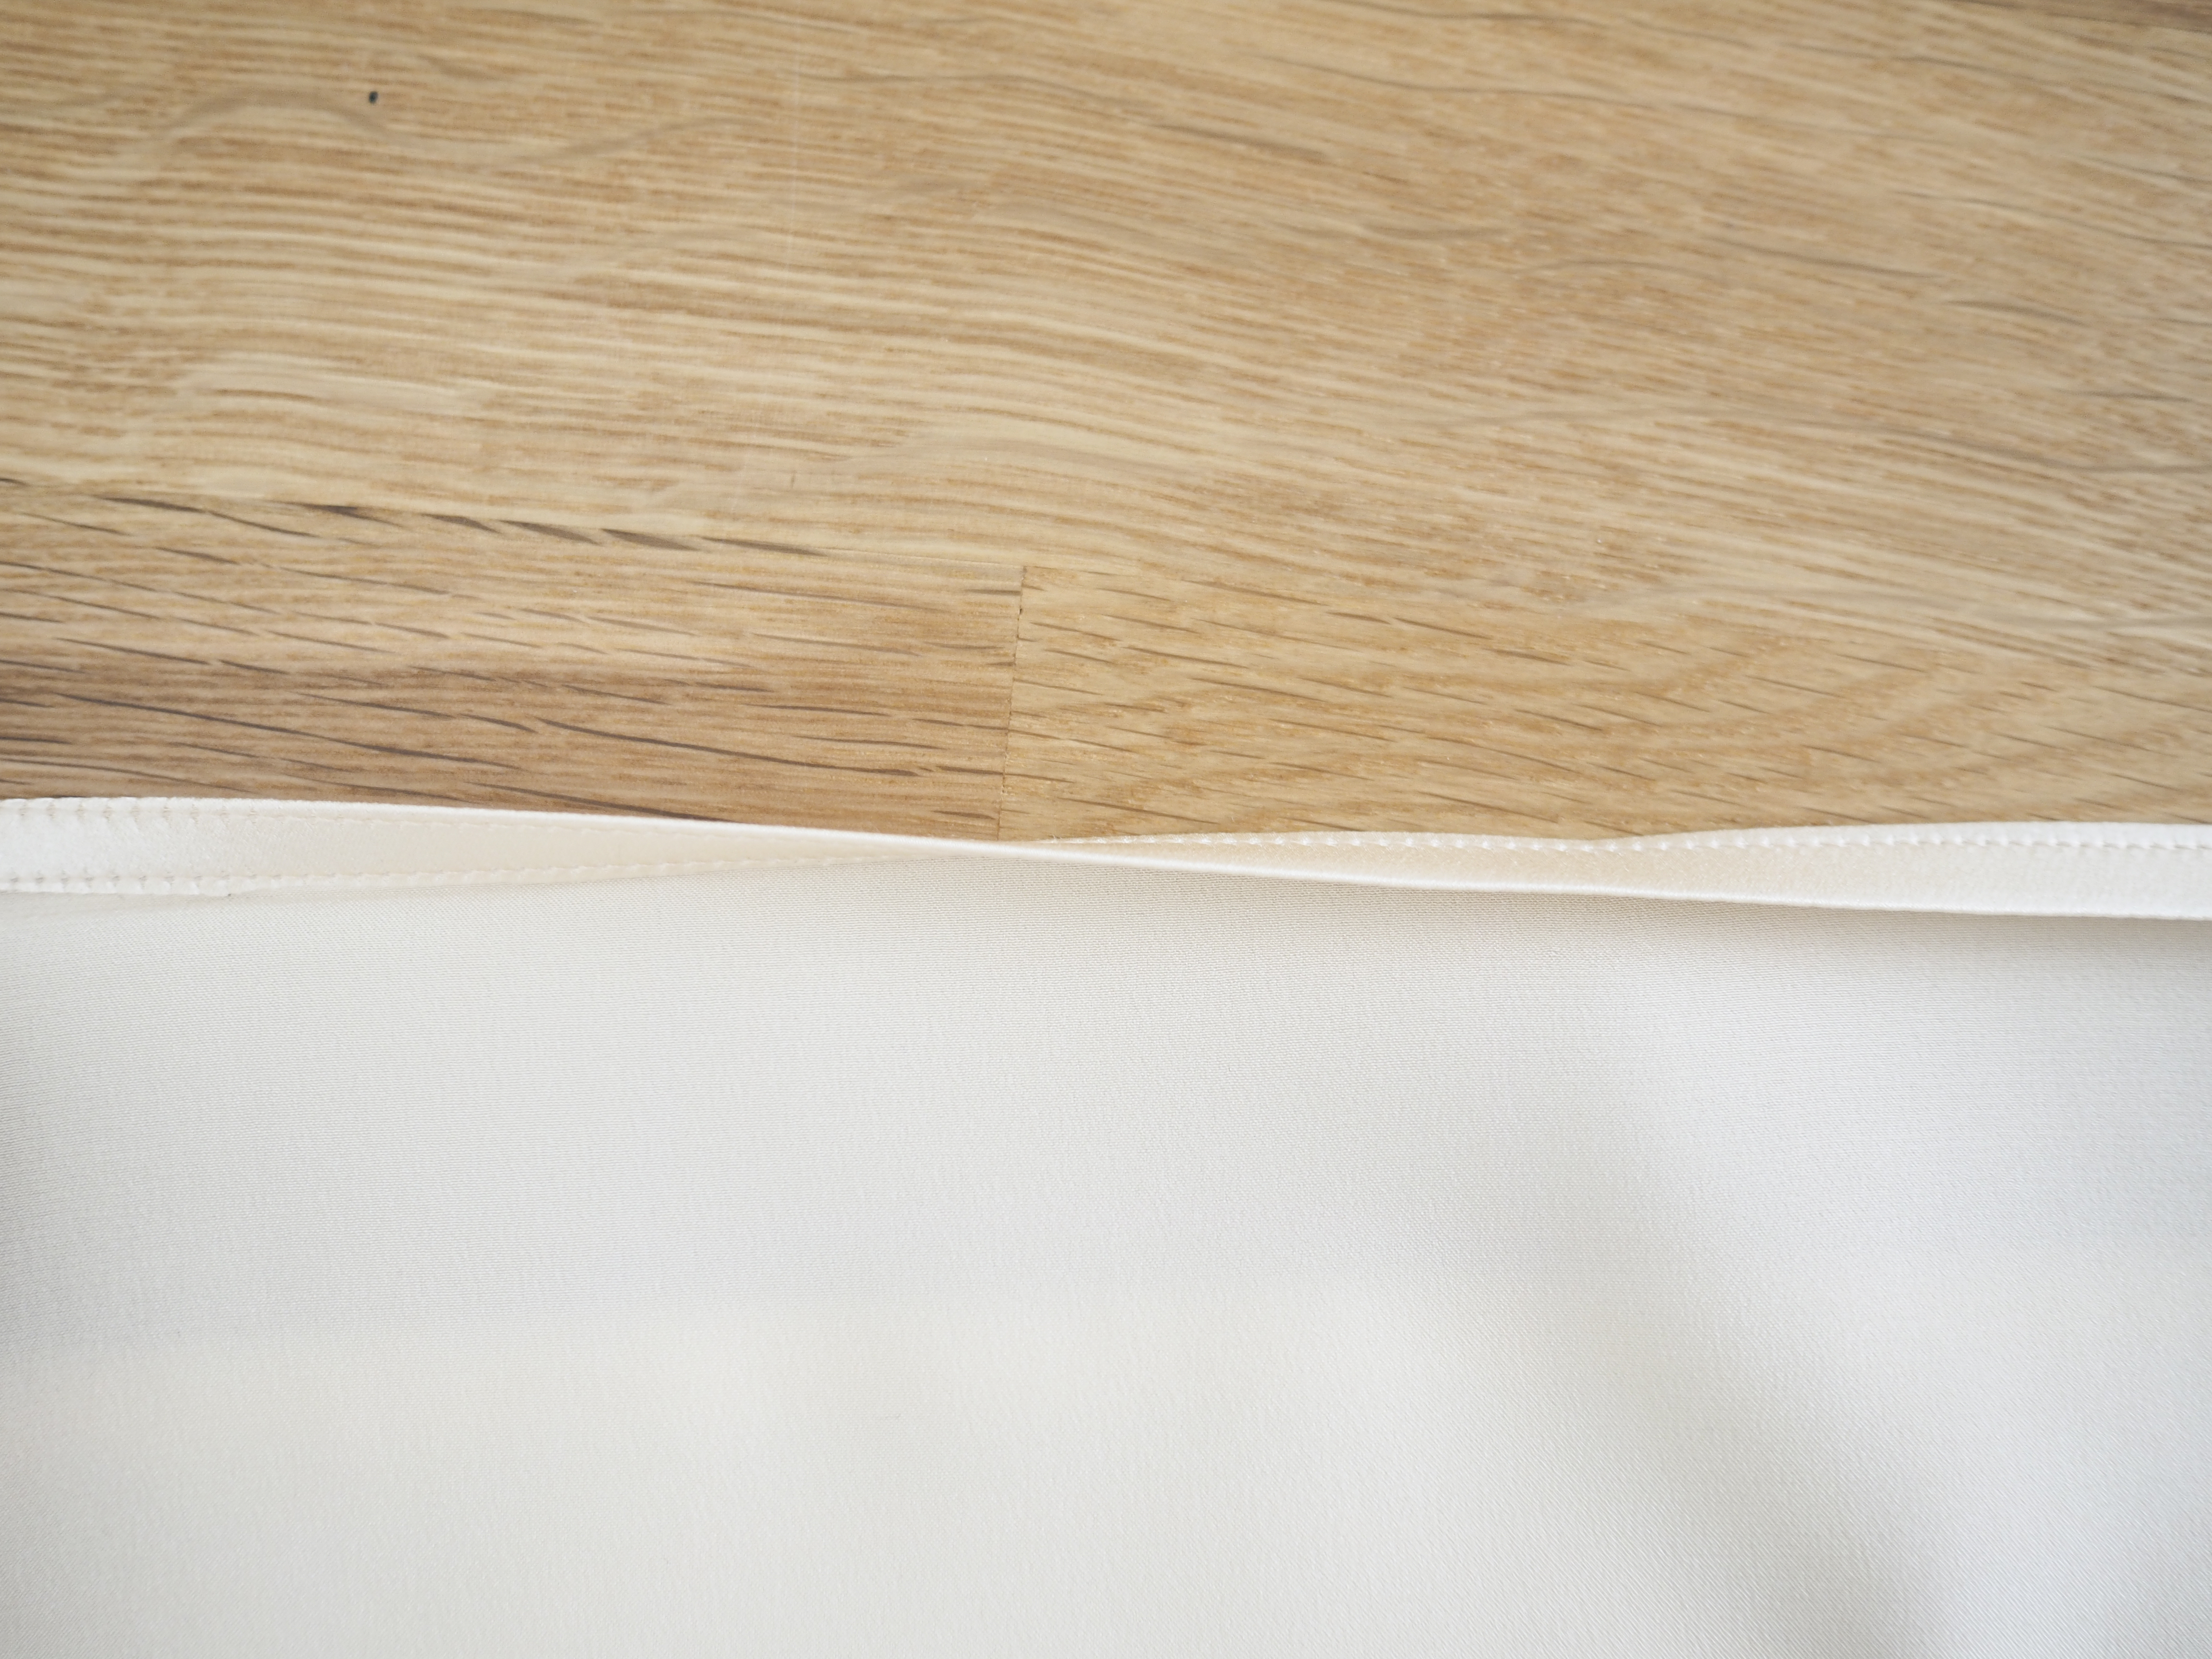
Sew the front and back sides together using French seams. Start by placing wrong sides together and starting at the hem, sew the side seams using a ⅜” seam allowance. I like a stitch length of 2.3mm. Follow by pressing the seams flat as sewn.
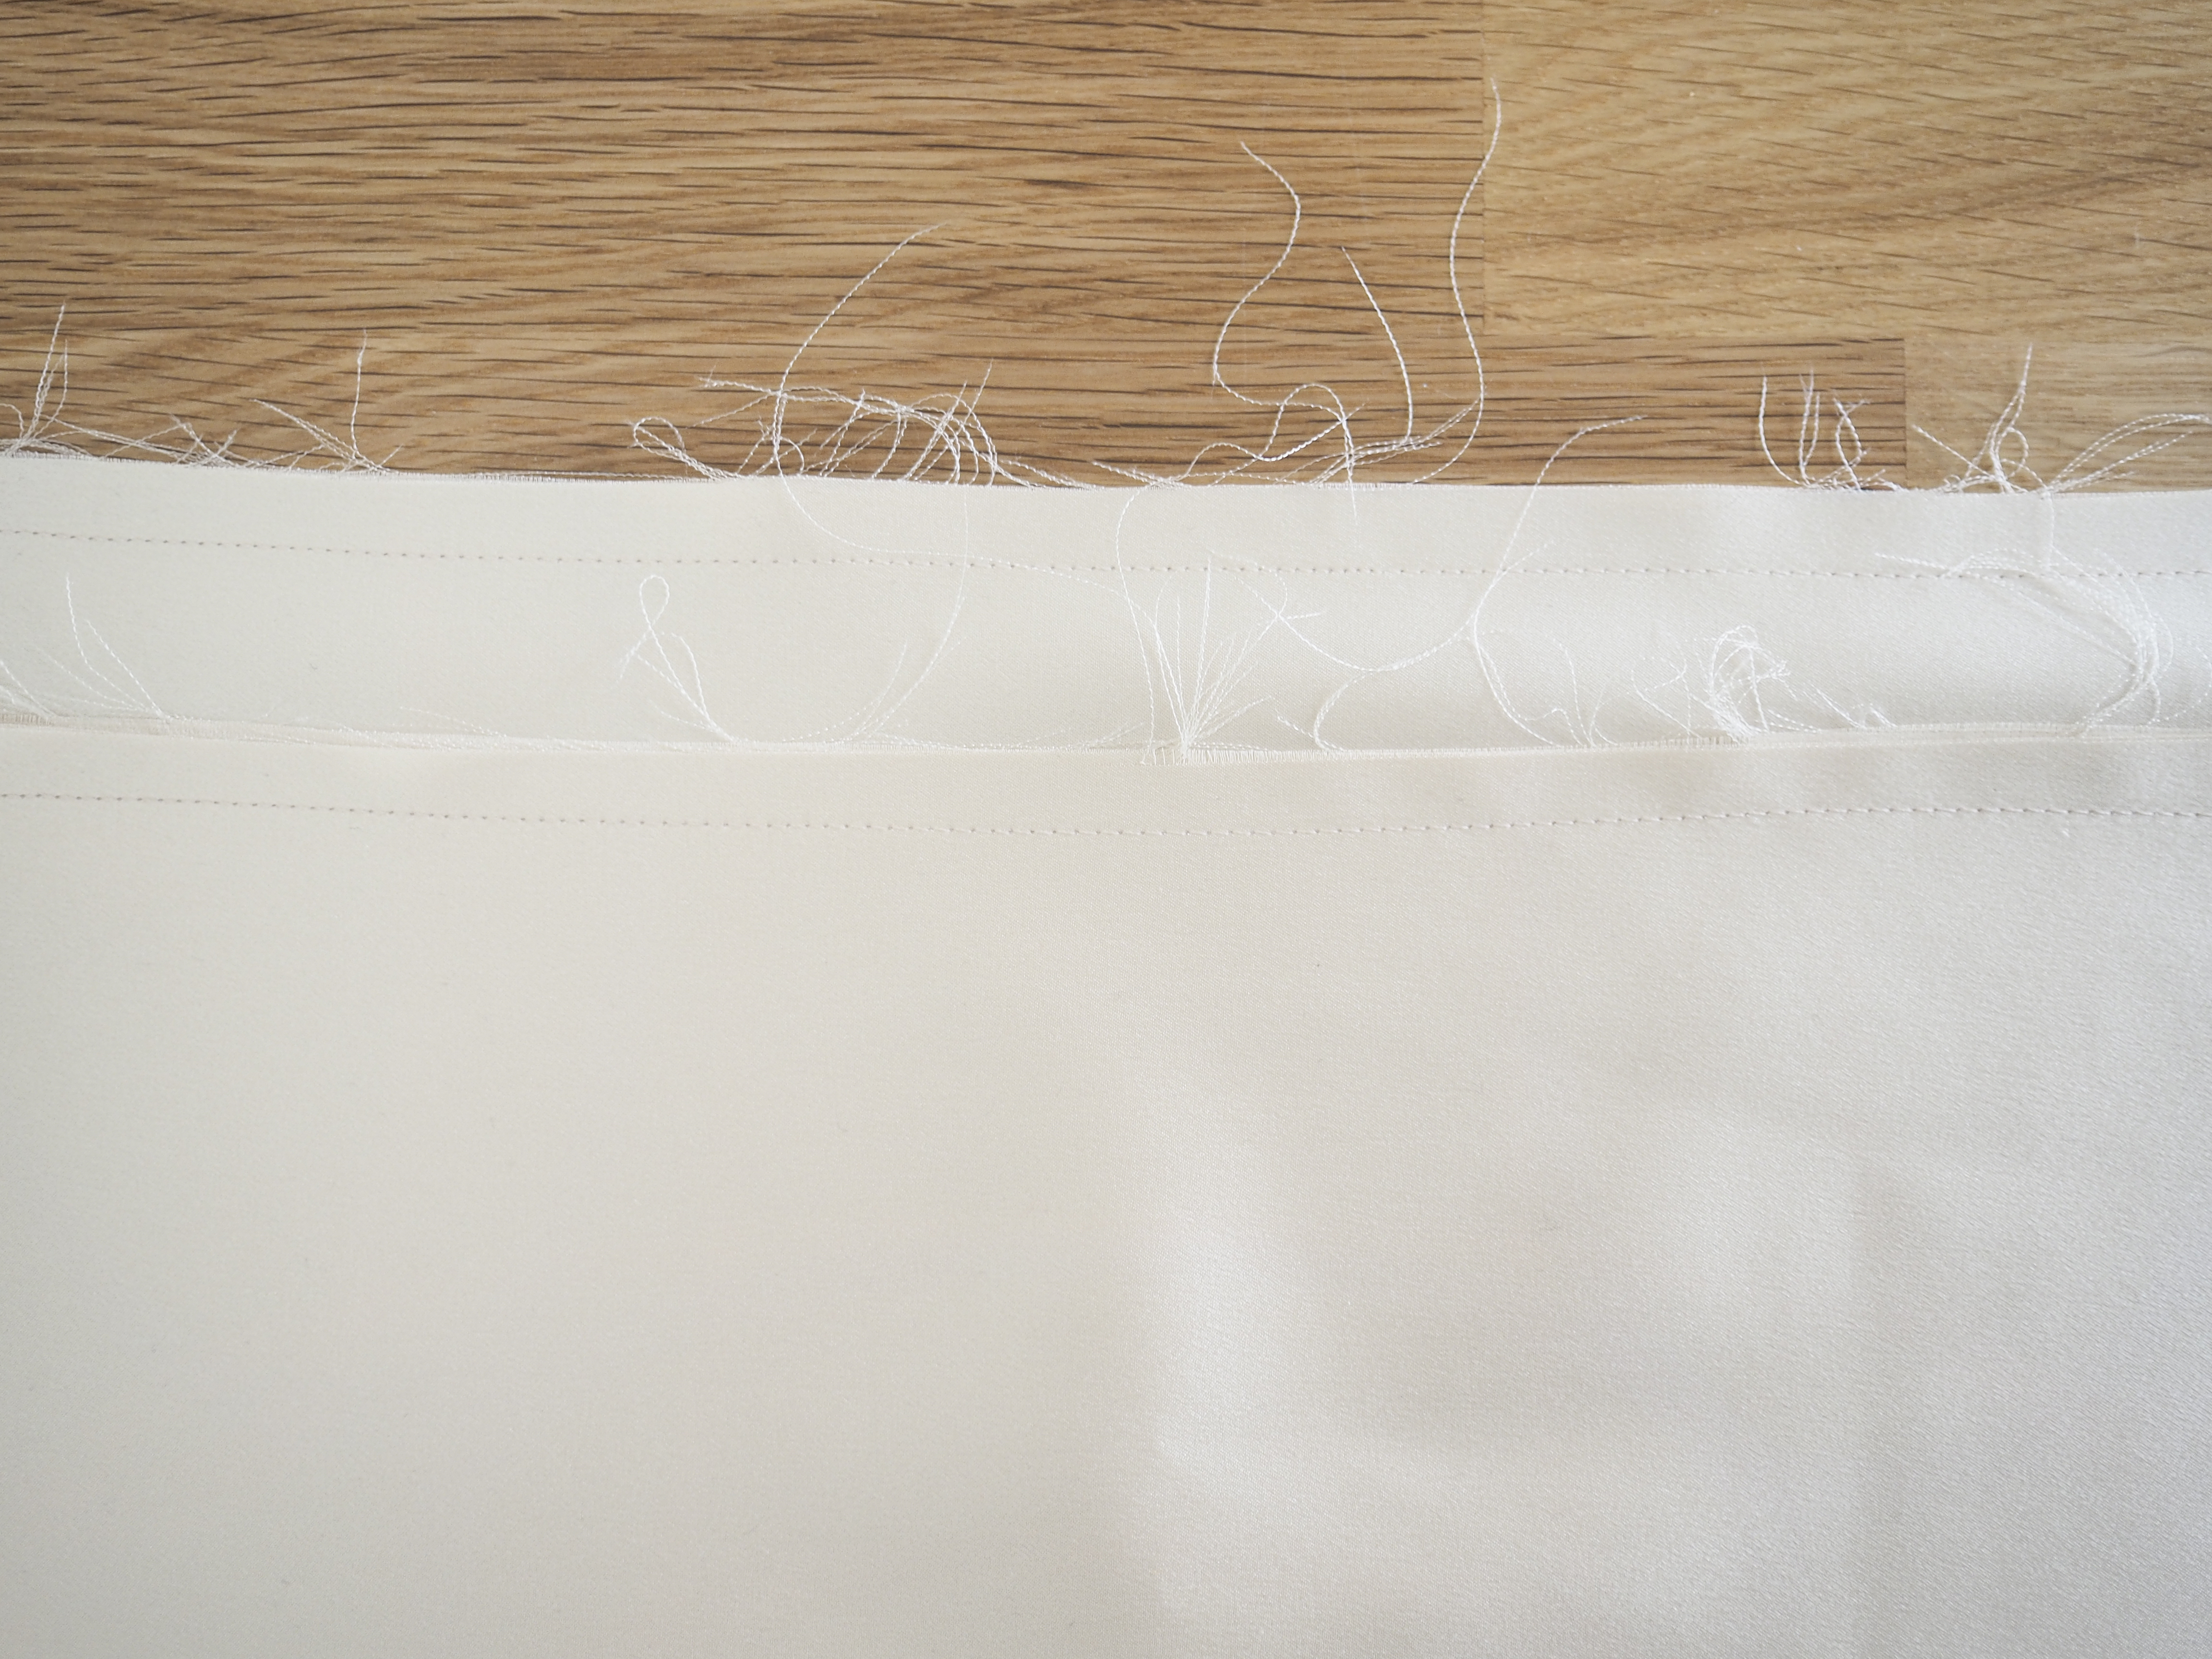
Then press the seams open.
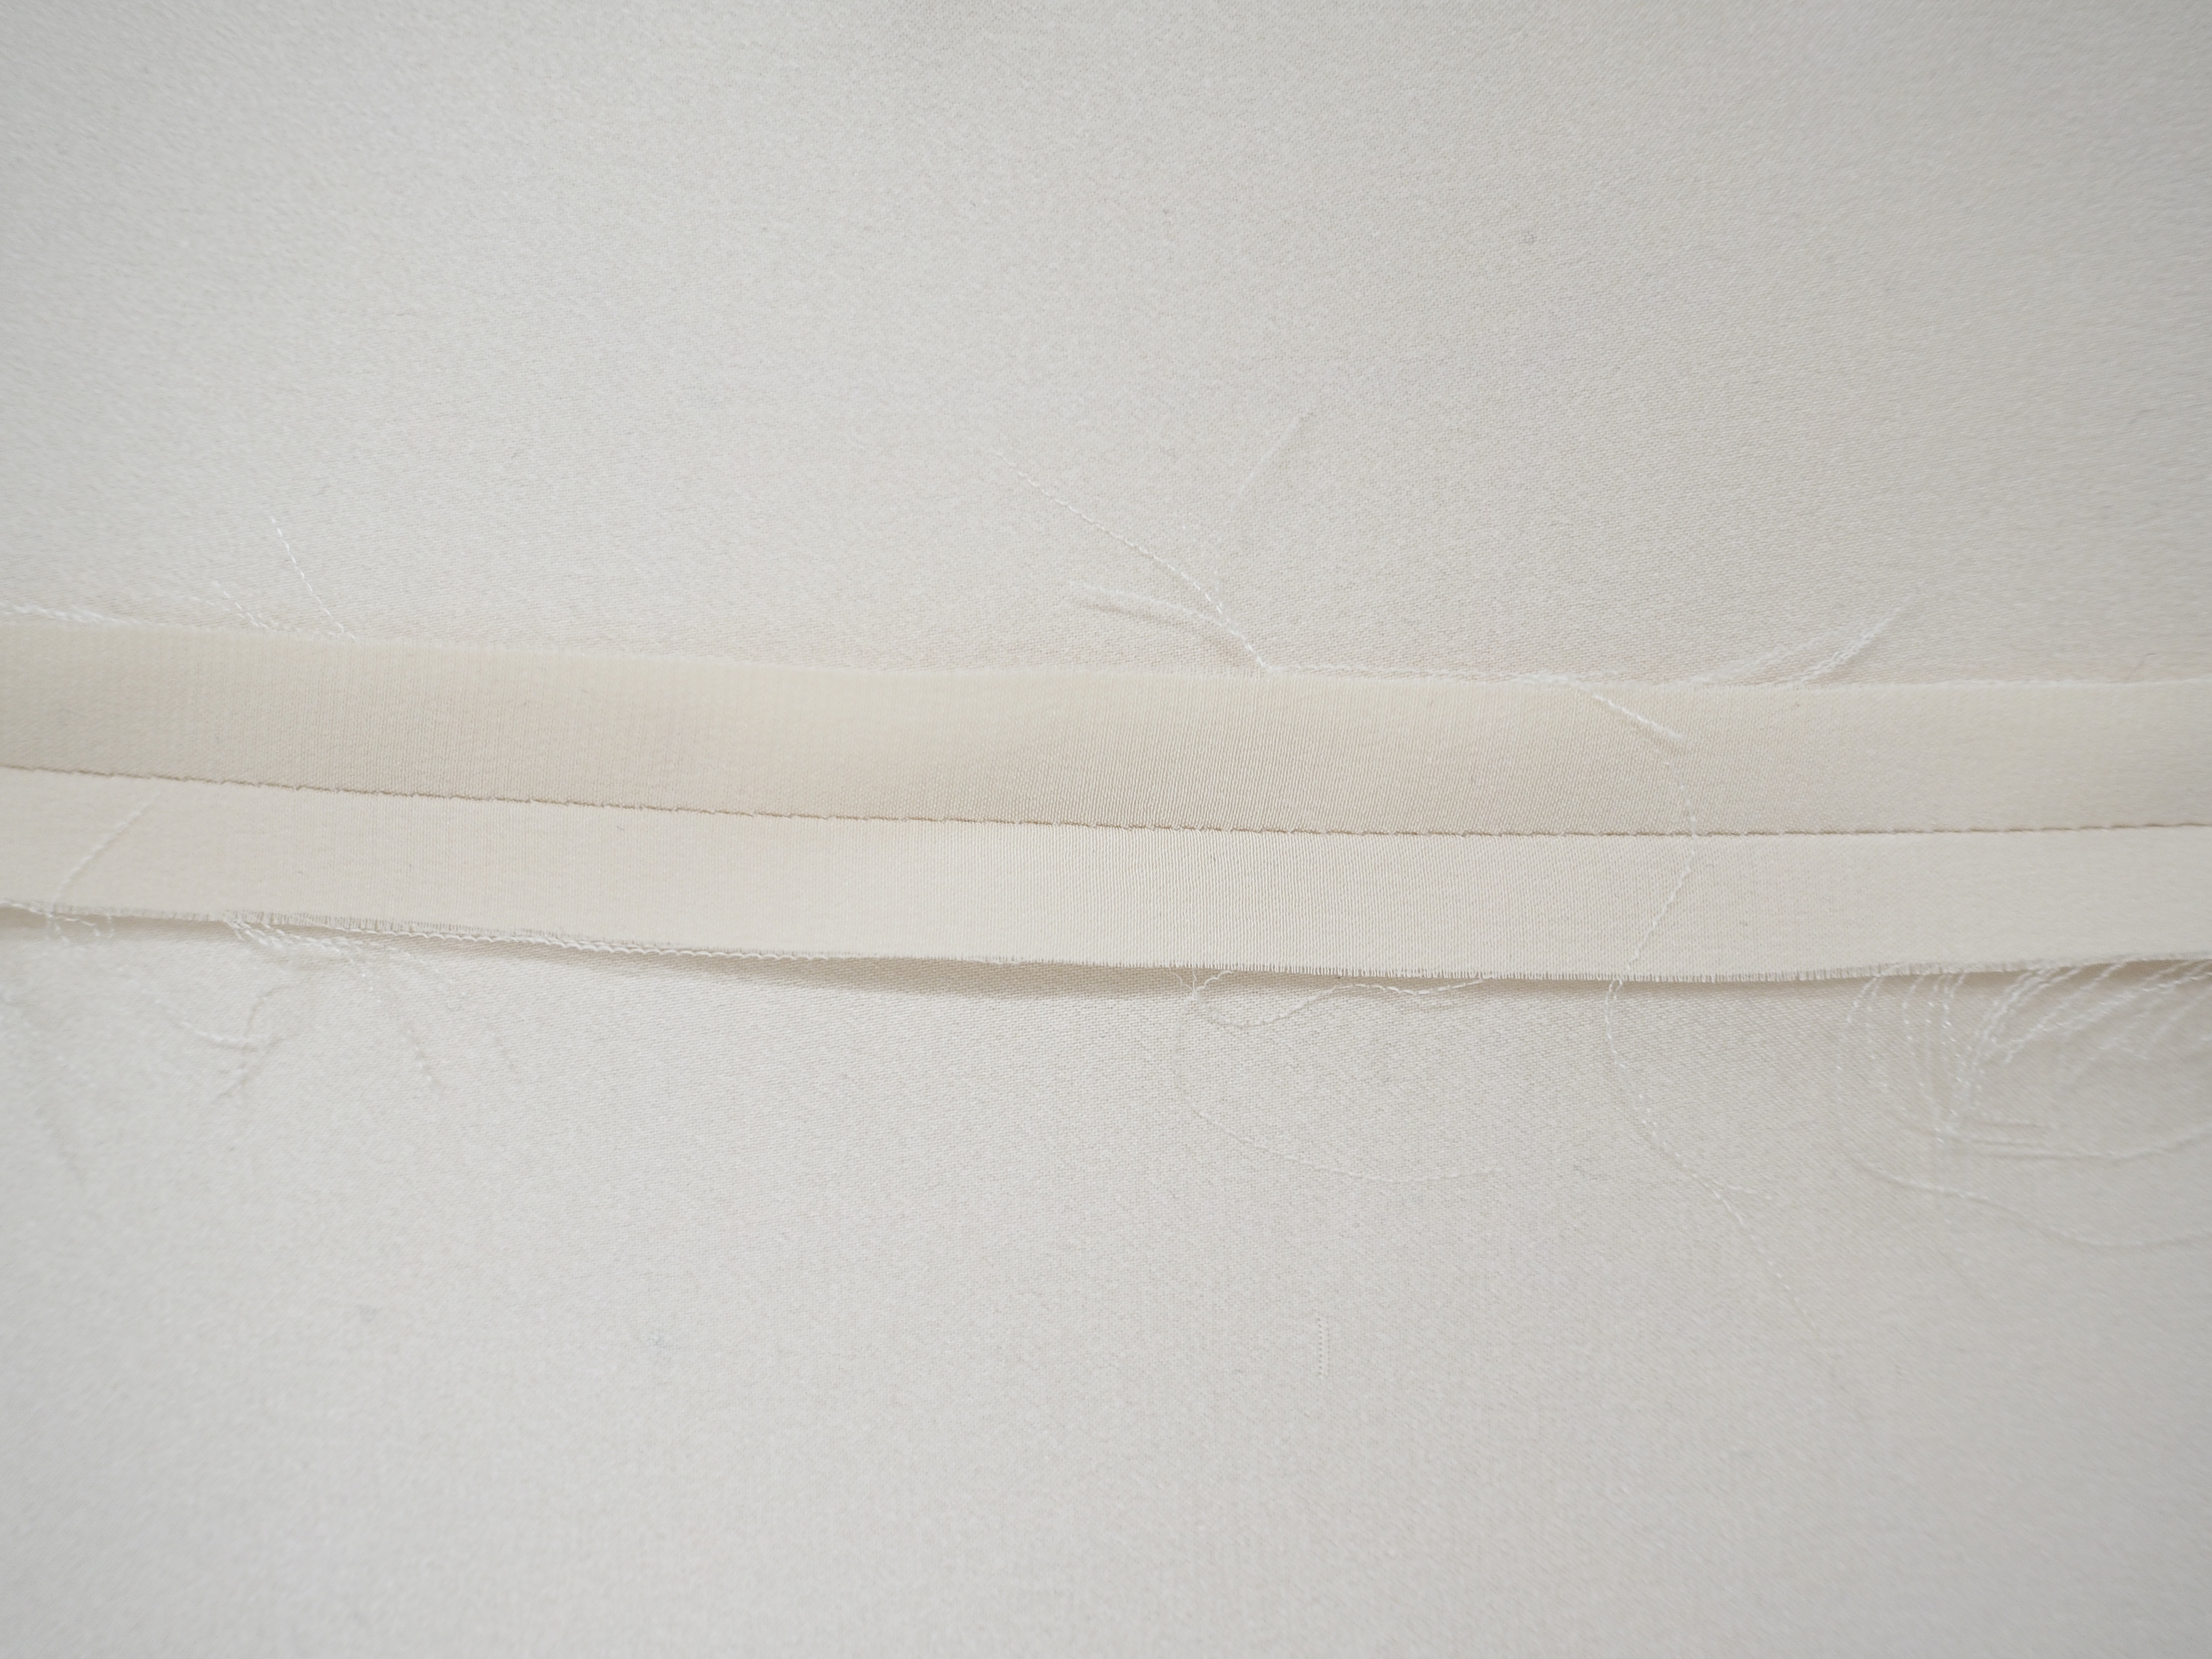
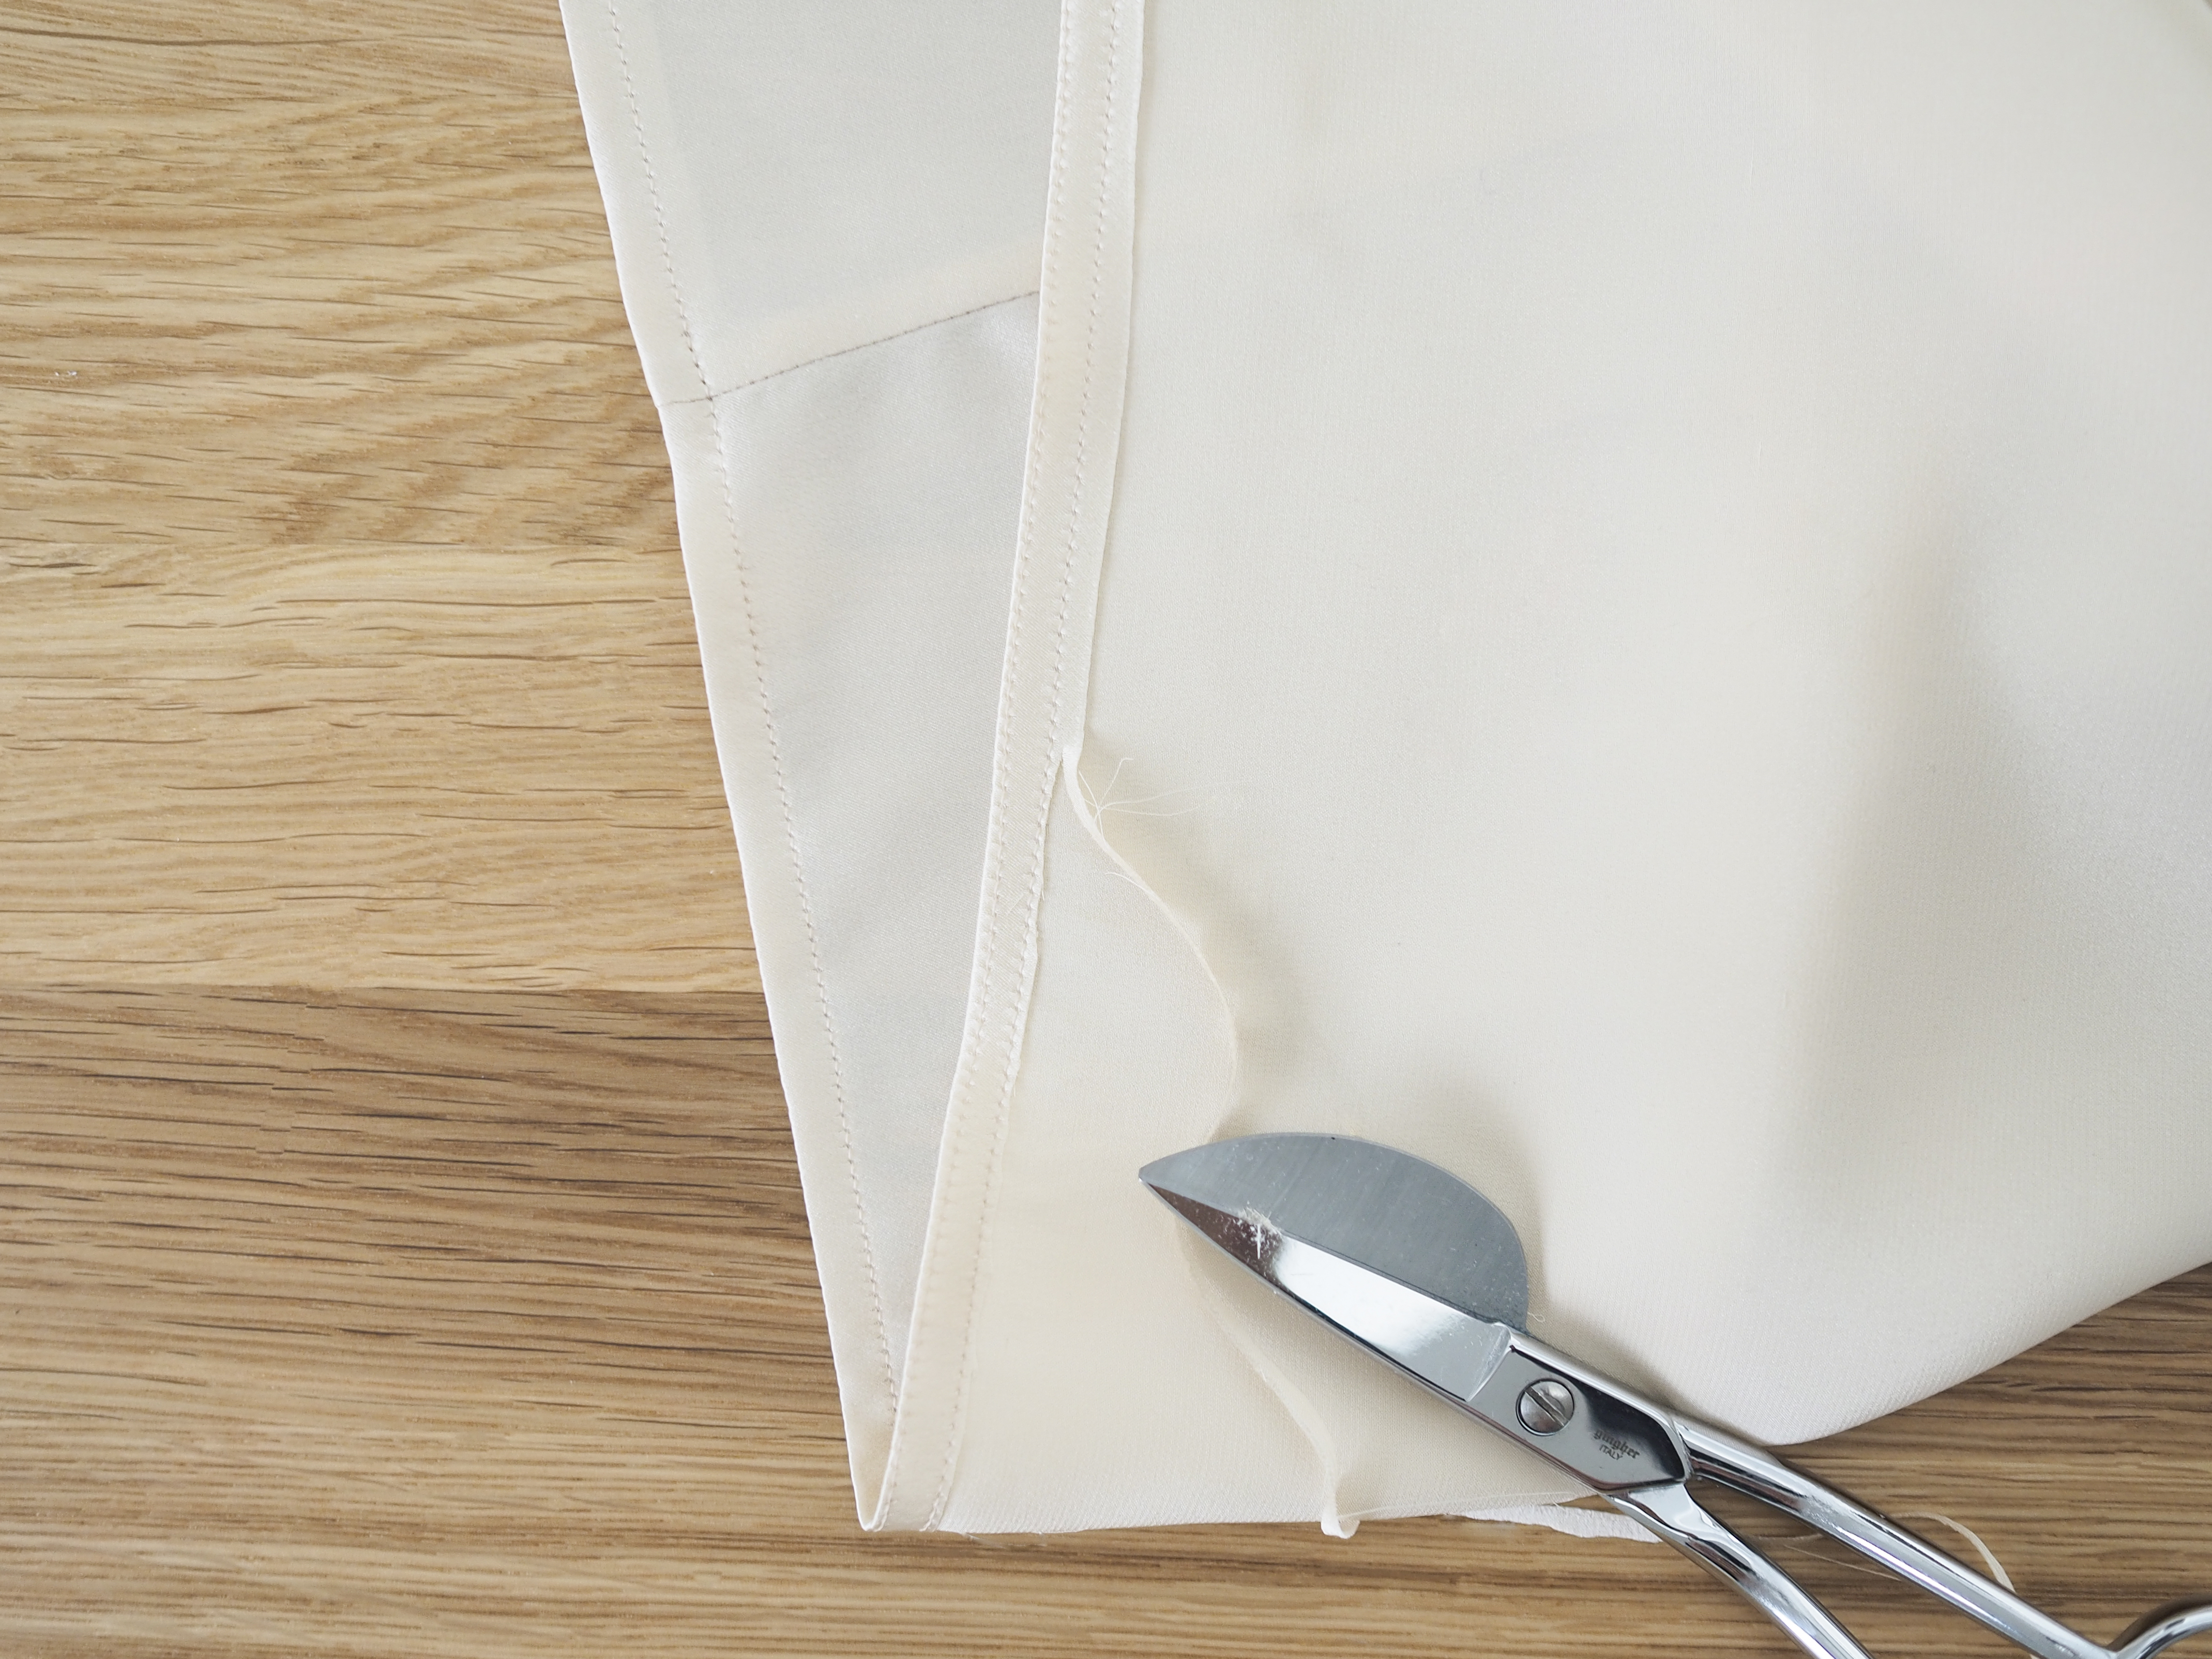
Next, trim the seam allowance down to around ⅛”.
Now open the pieces so that the right sides are facing each other and the seam allowance is sandwiched in between the front and back. Press the seam with the right sides of the front and back facing each other. Be sure any silk wisps will be contained in the seam allowance.
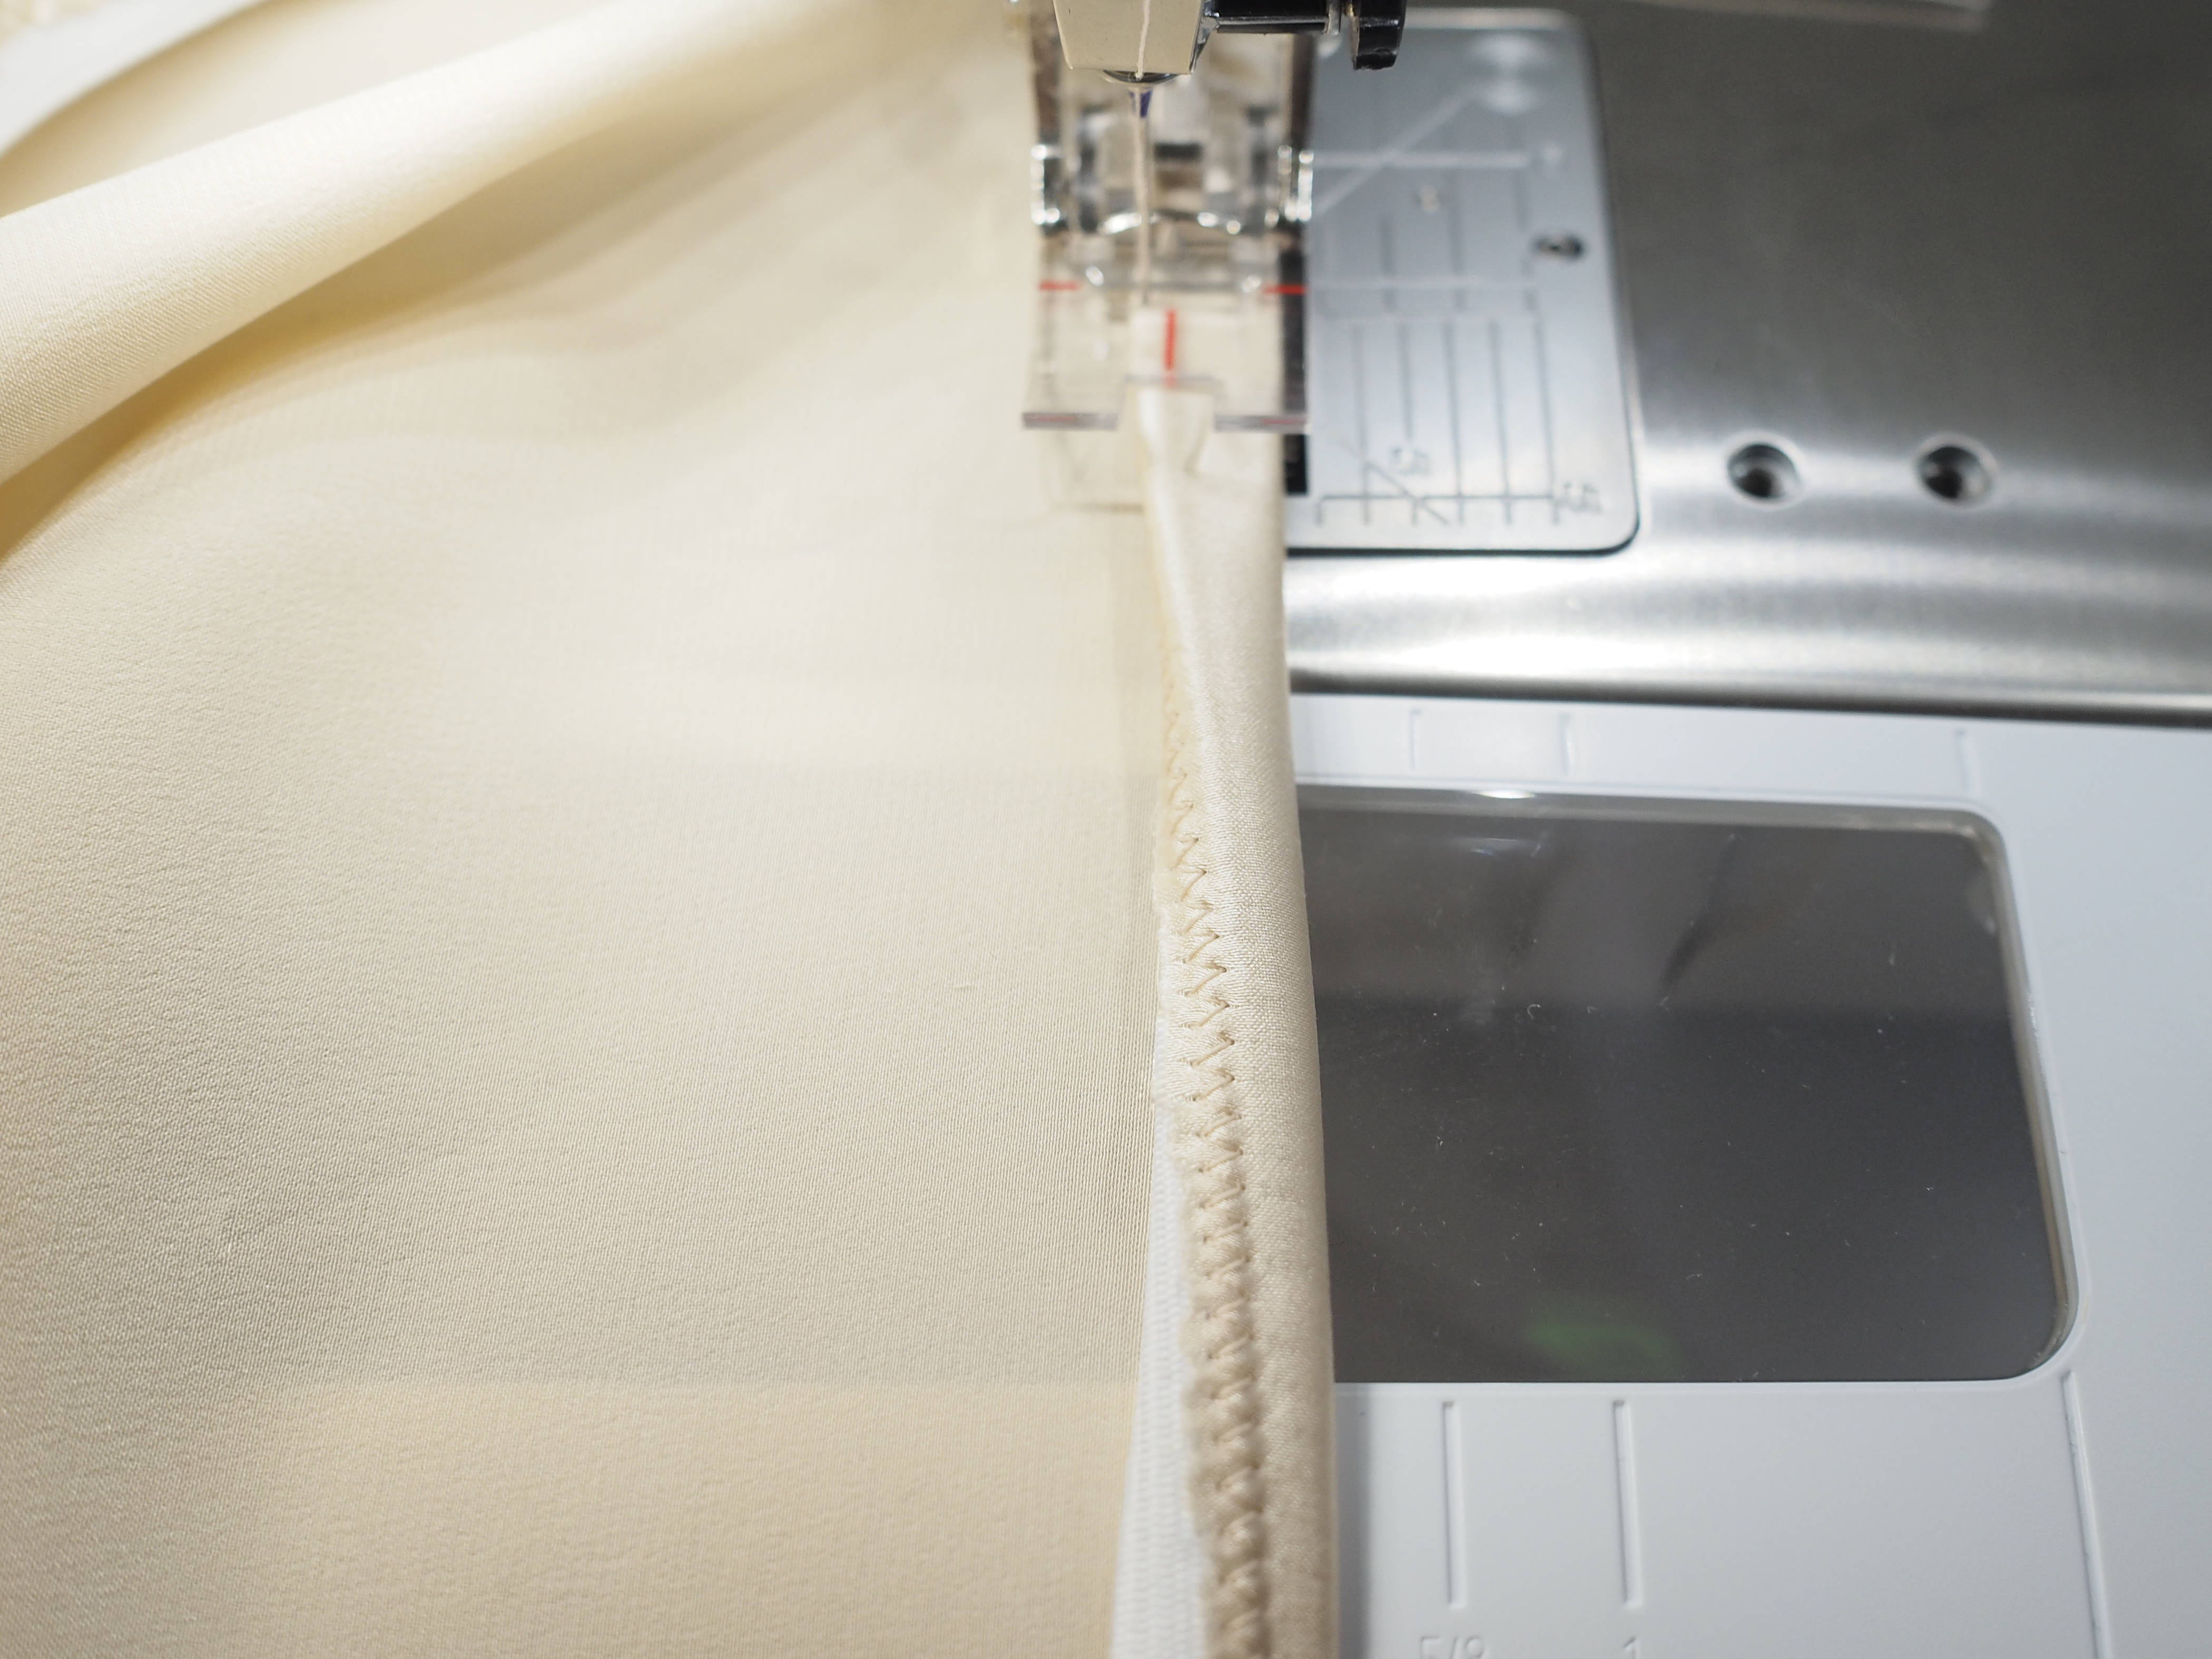
With right sides together and starting at the hem, sew the side seams at ¼”, enclosing the raw edge of the fabric in the seam. Press flat as sewn then press the finished seams toward the back.
Add elastic to waist
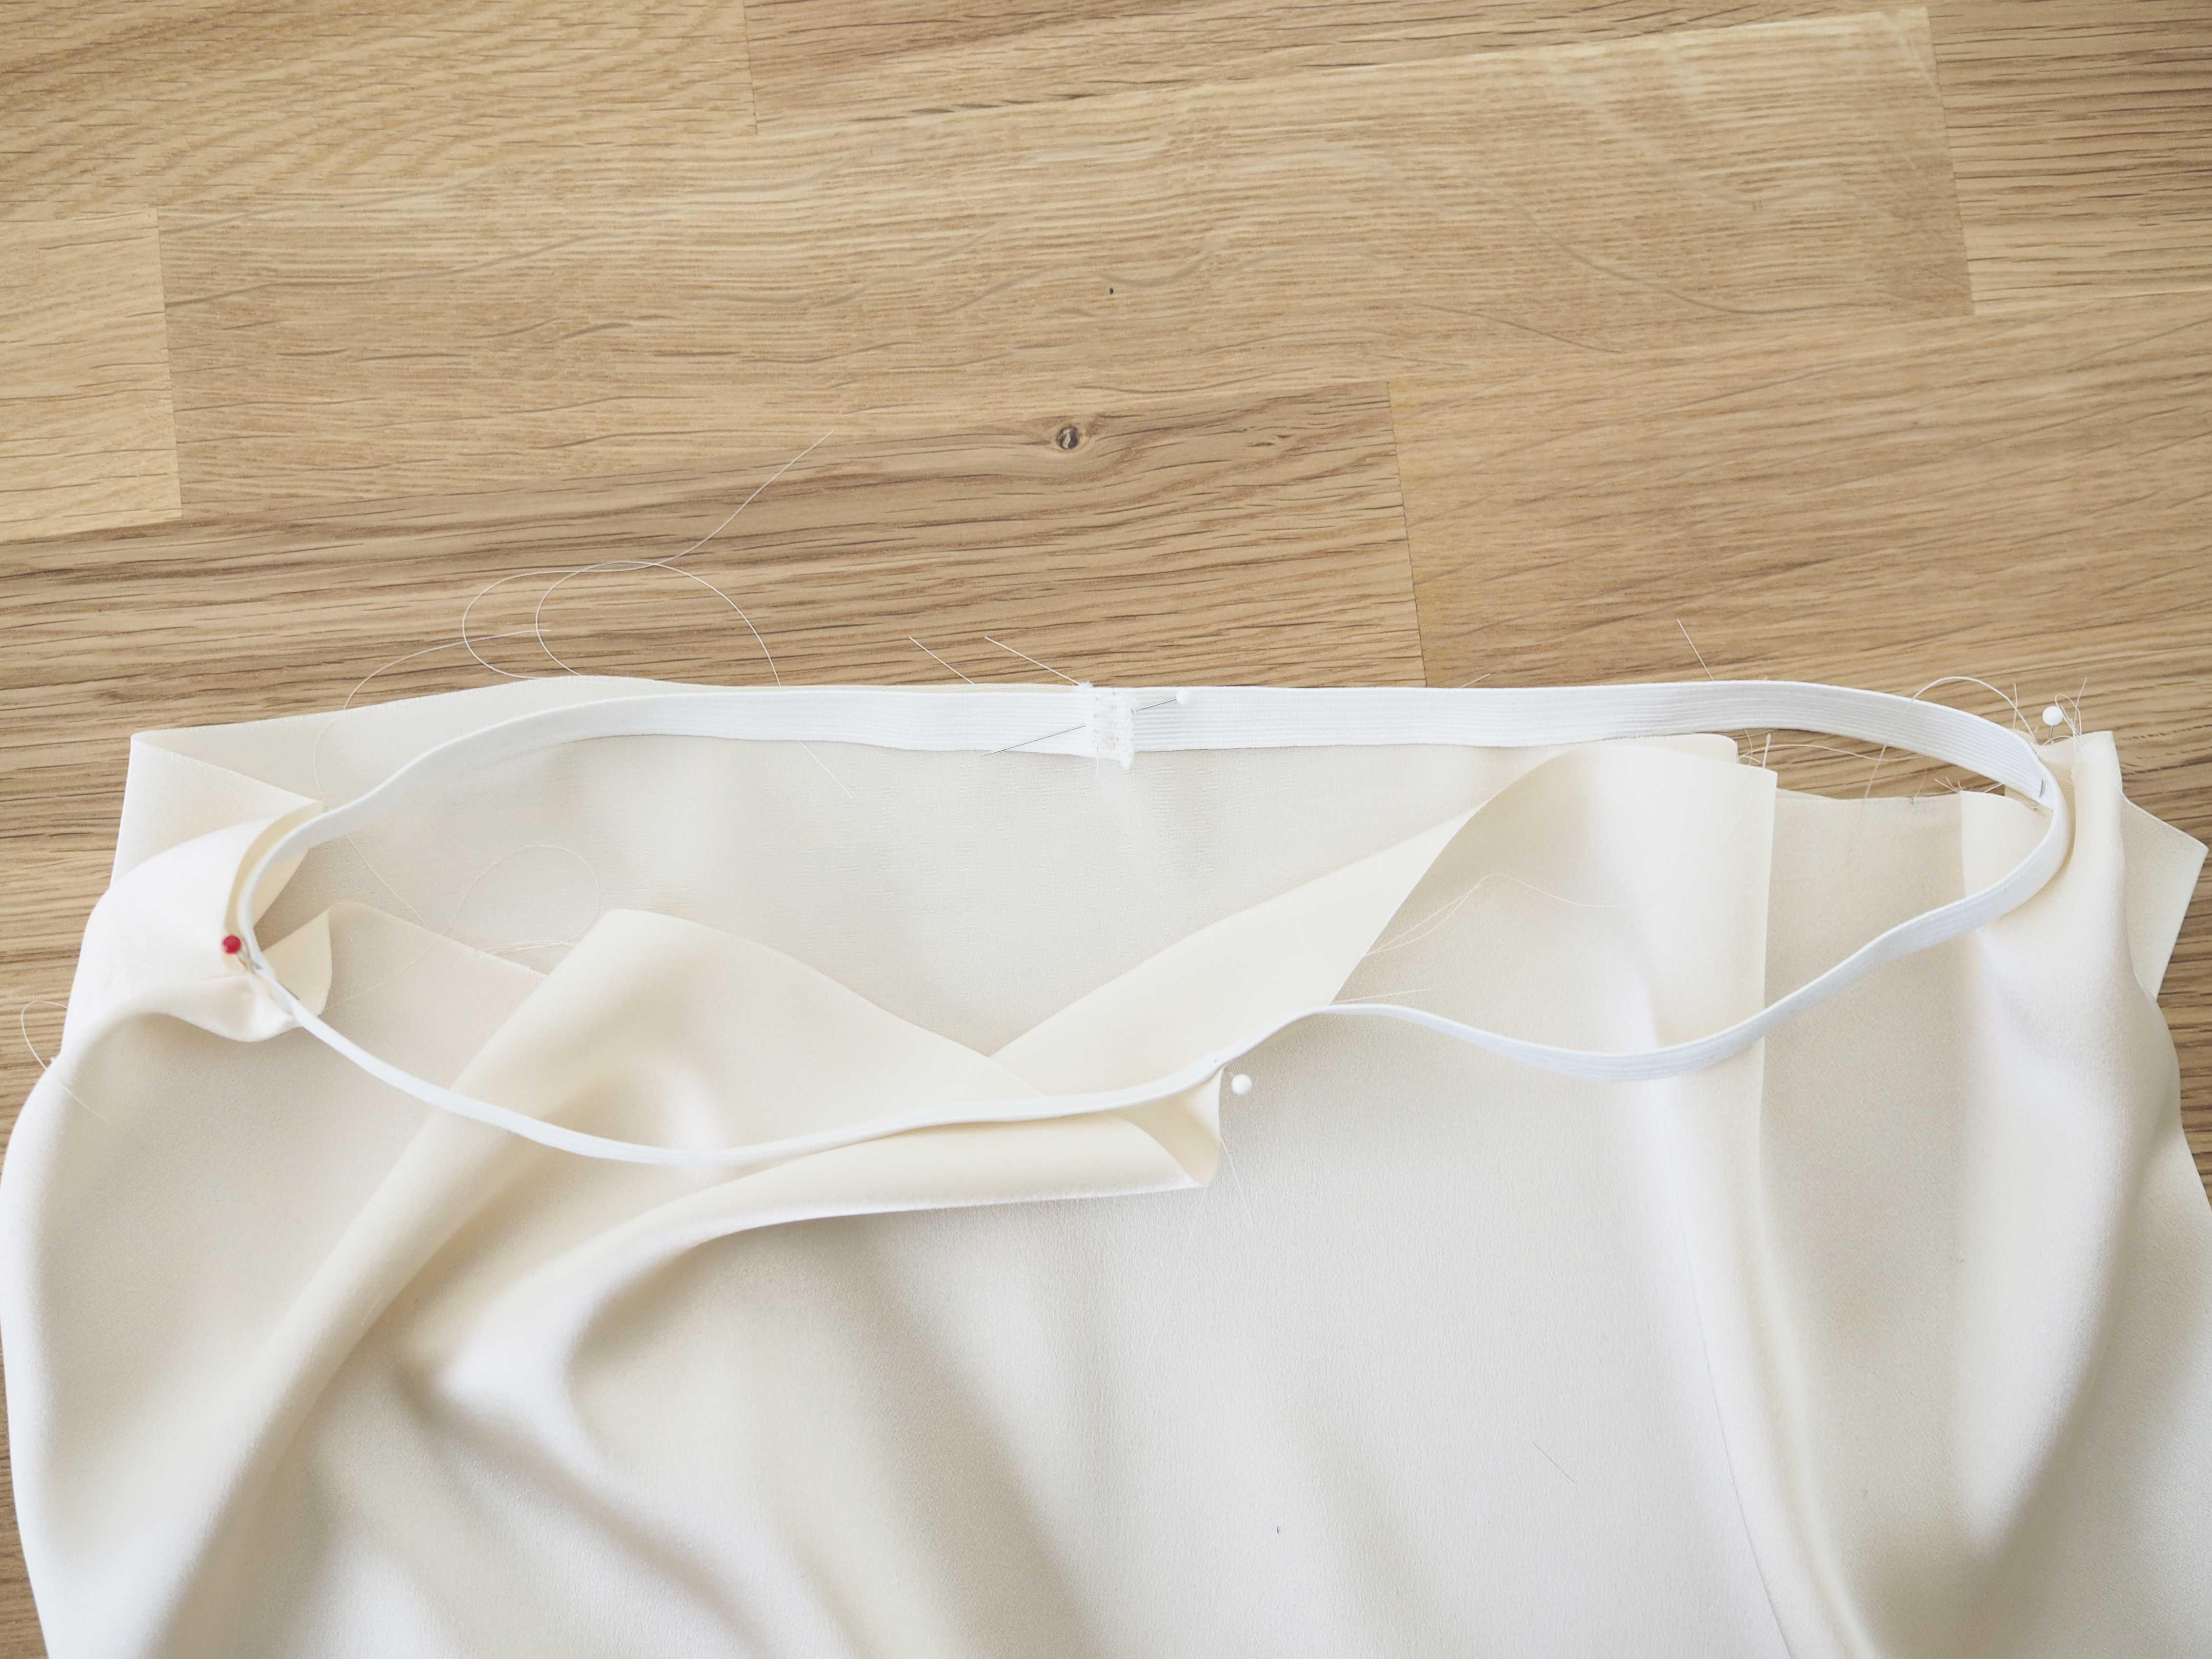
Determine the amount of waist elastic that you find comfortable. I like to start with a length equal to my waist then tighten as necessary. Once you have decided on your preferred length of elastic add ½” then overlap the cut ends of the elastic by ¼” and zigzag over the overlap to secure.
Mark the quarter points of the elastic. Start by folding the elastic in half at the closure and marking the midpoint. To find the quarter points, fold the elastic with the closure against the midpoint mark. Mark those points, which will be at the folded ends, as well.
Mark the quarter points of the skirt waist. In this sample, that will be the center front, center back and the side seams. Then with the elastic aligned with the top edge of the slip, place the elastic on the wrong side of the waist, matching up the quarter points of the elastic to the quarter points at the waist of the skirt and placing the elastic “join” at the center back.
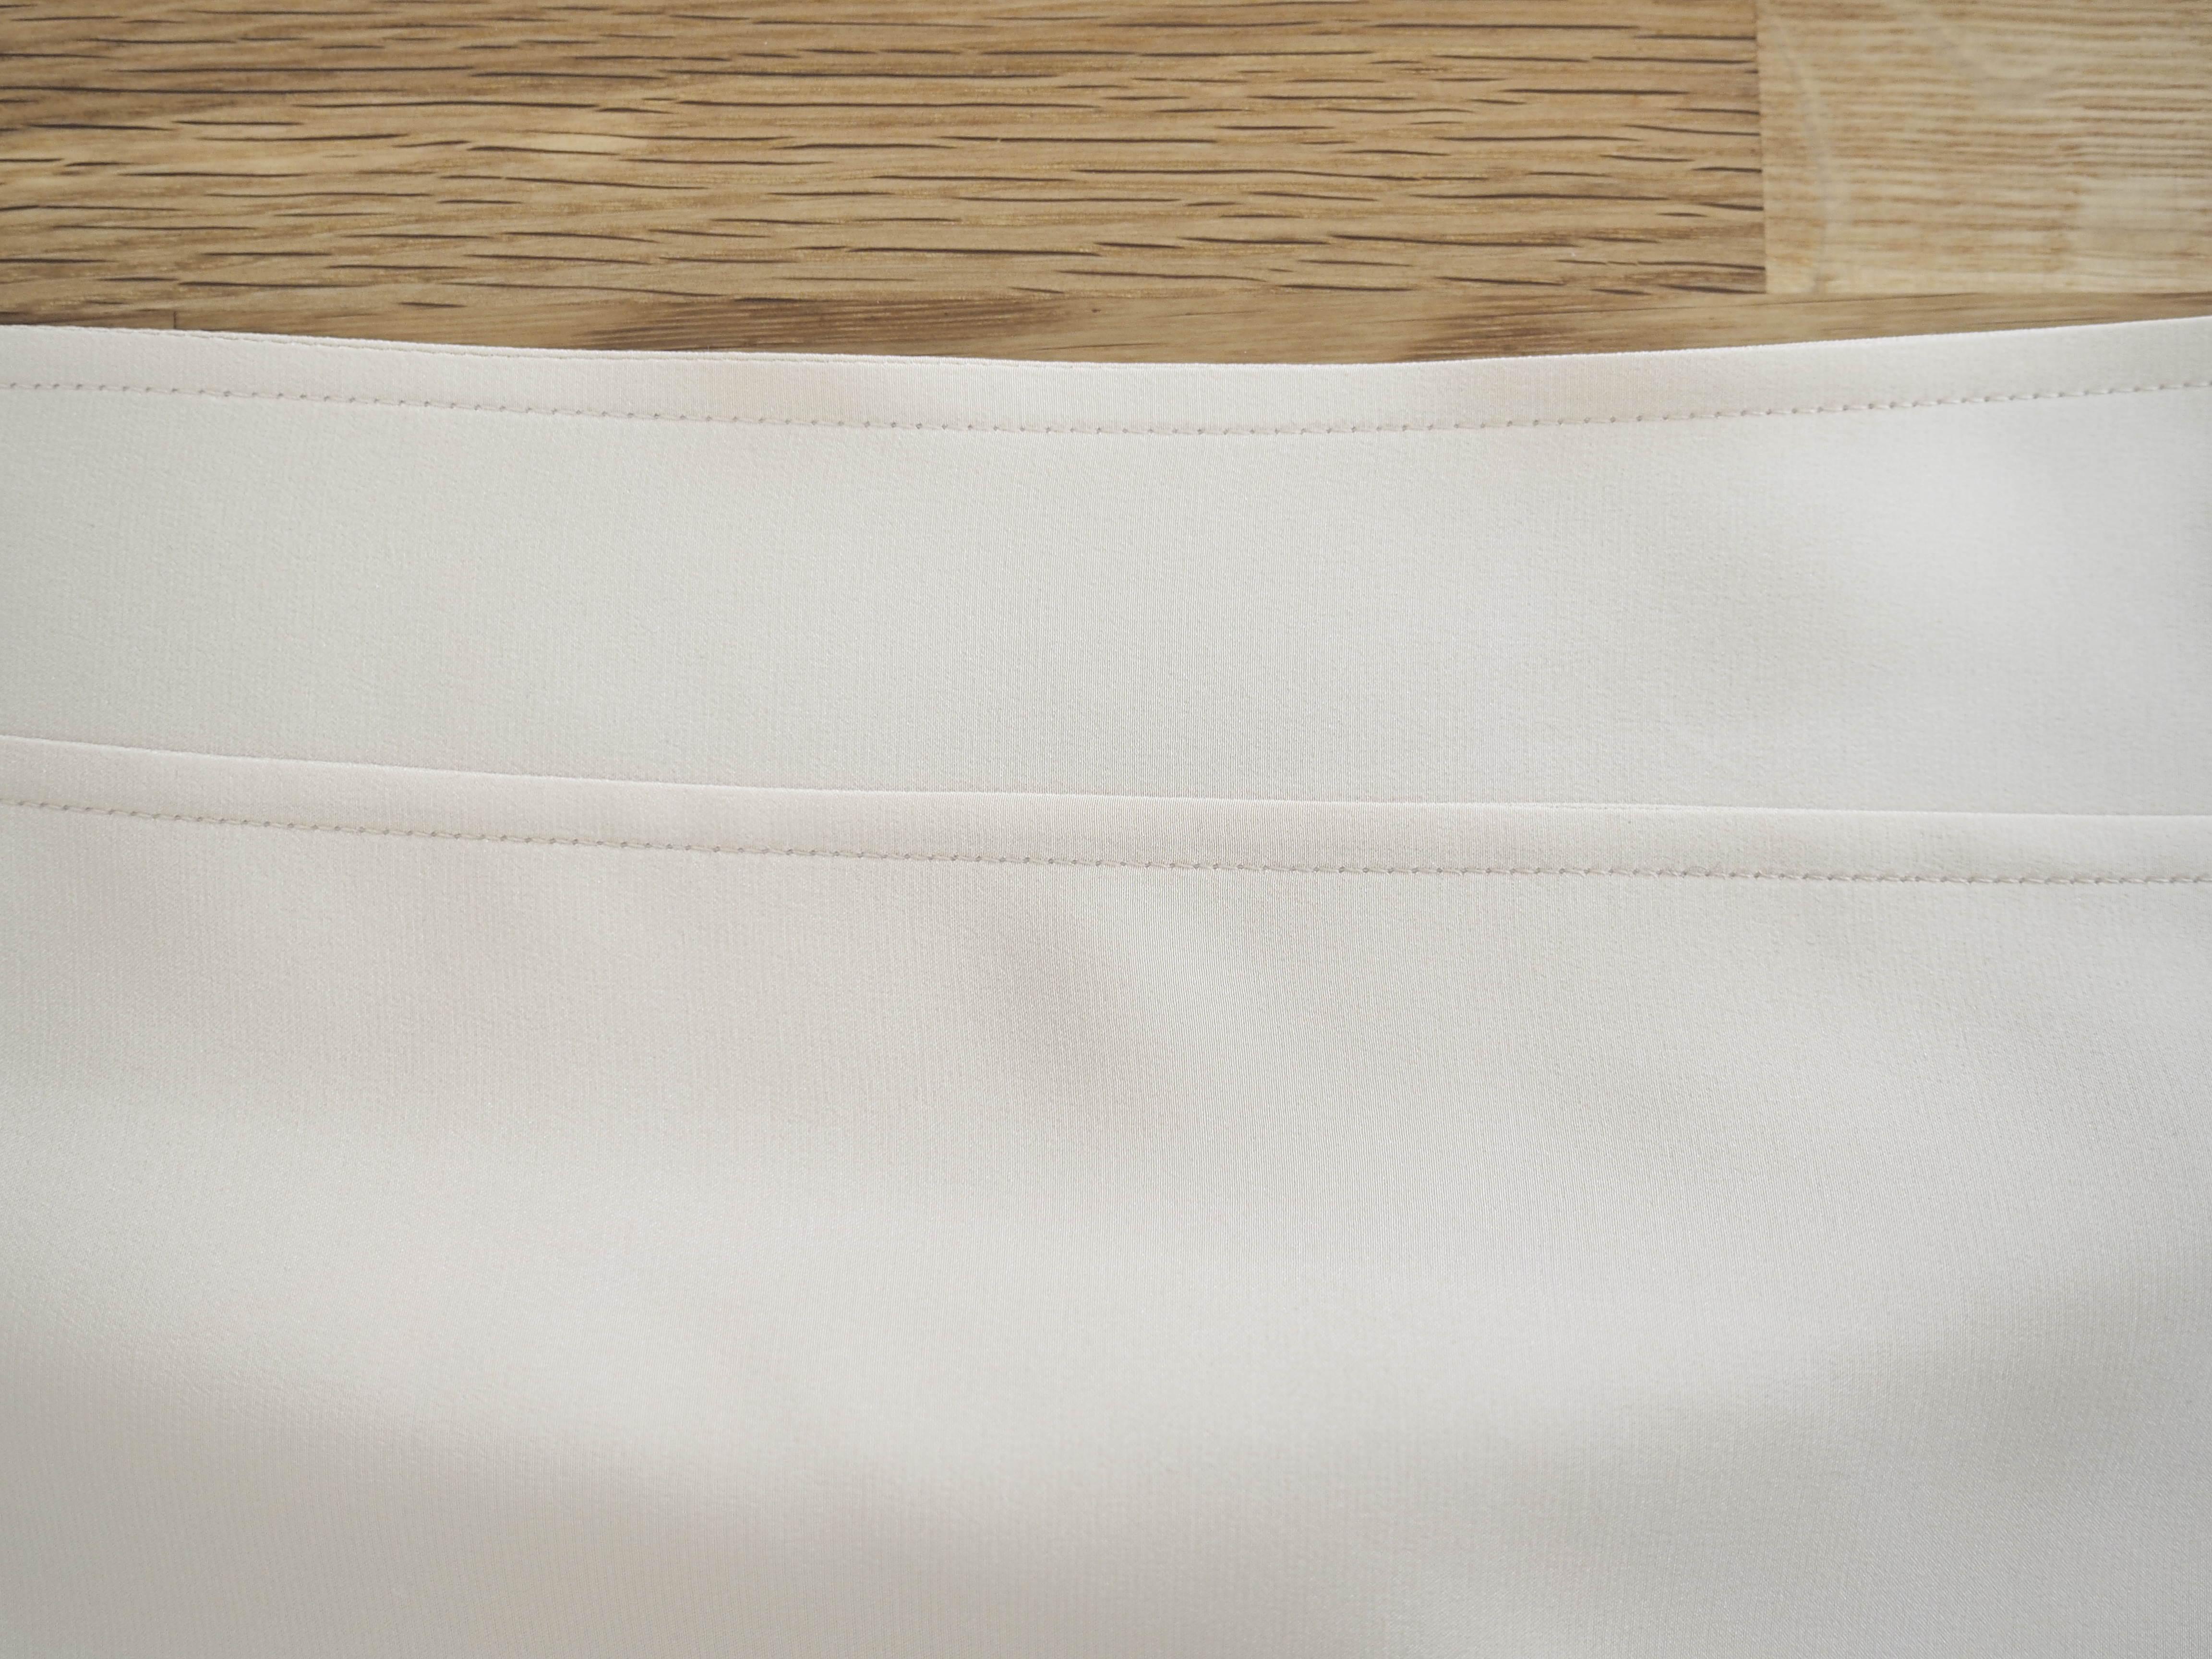
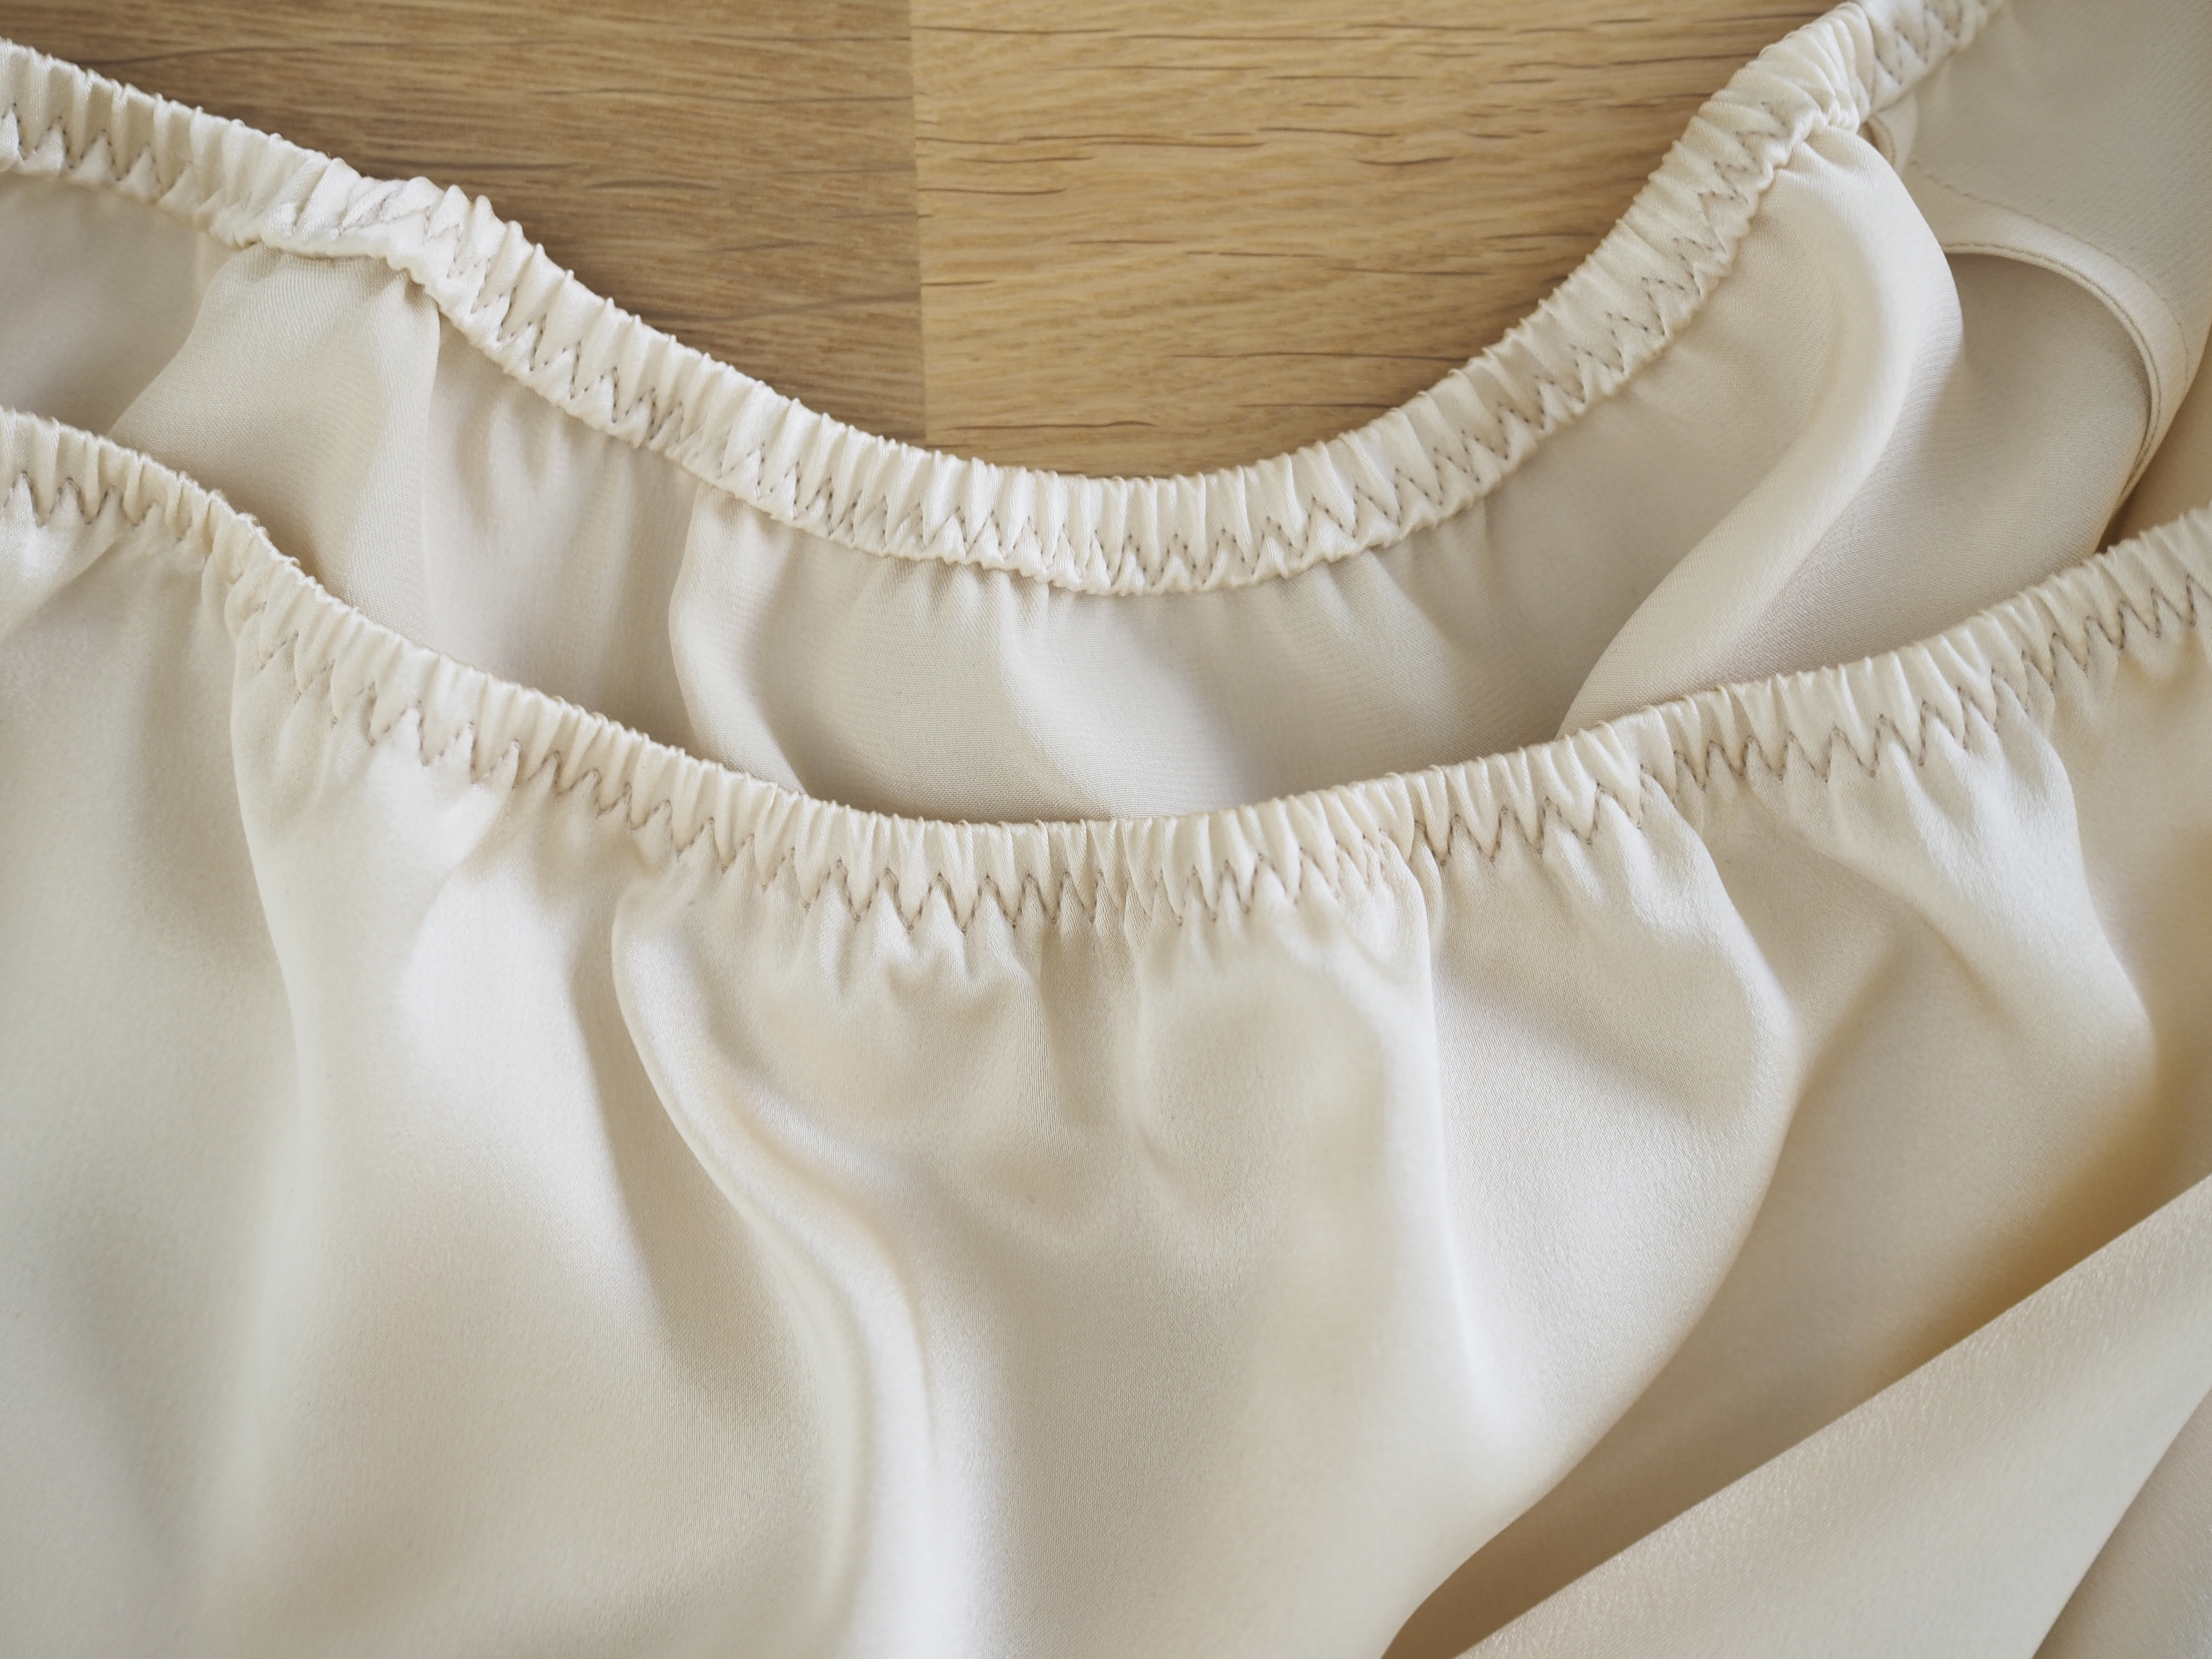
Stretching the elastic to the garment (do not stretch the garment) use a zigzag stitch to sew along the inside edge of the elastic. I like a 1.5mm stitch length by a 3.0mm stitch width setting. Then, trim excess fabric that lies beyond the stitching.
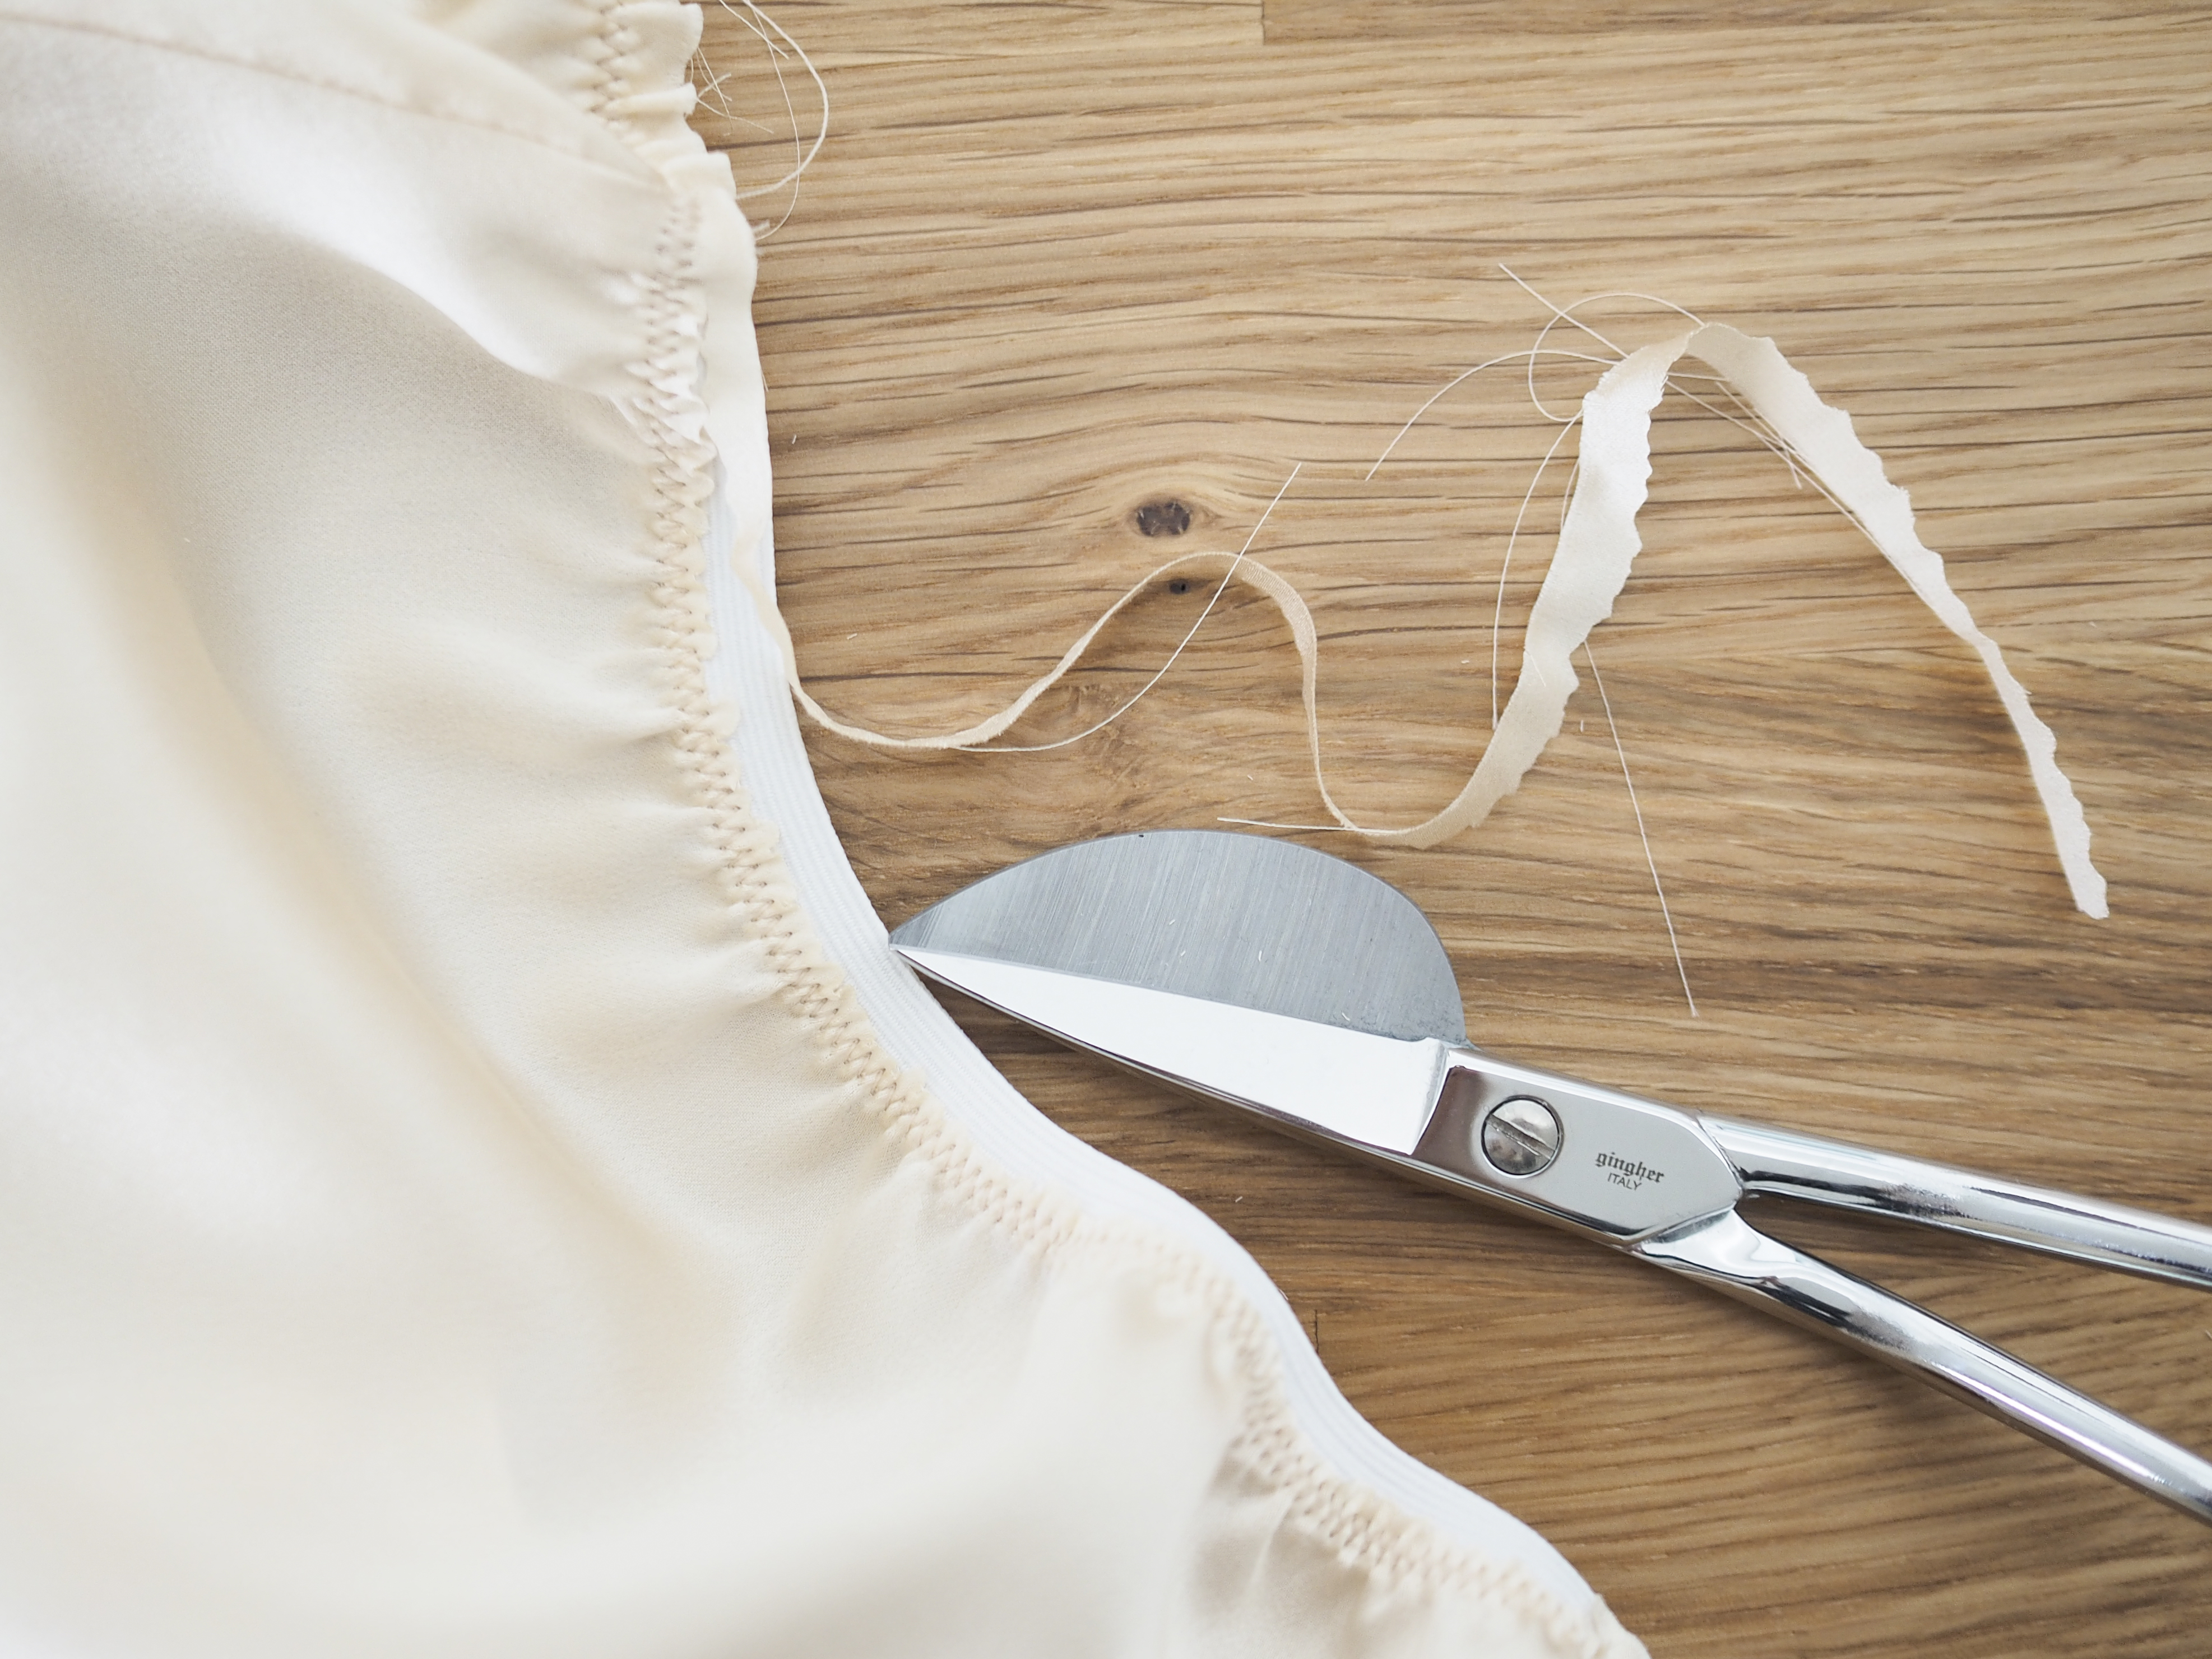
Now turn the elastic to the inside of the garment twice so the elastic is completely concealed and sew using a 3-step zigzag stitch (I like a 1.5 stitch length by a 5.5 stitch width setting), stretching the fabric smooth as you go around the waist. It is easiest sew this from the wrong side of the garment.
Hem
Stitch 3/8” from the raw edge of the hem.
Press ⅜” toward to wrong side of the slip and use the stitch line as a pressing guide to press the hem to the wrong side of the slip.

Stitch down the hem near your guide stitch line, then trim hem fabric back to that stitch line.
Now turn hem to wrong side again along the trimmed edge and press.
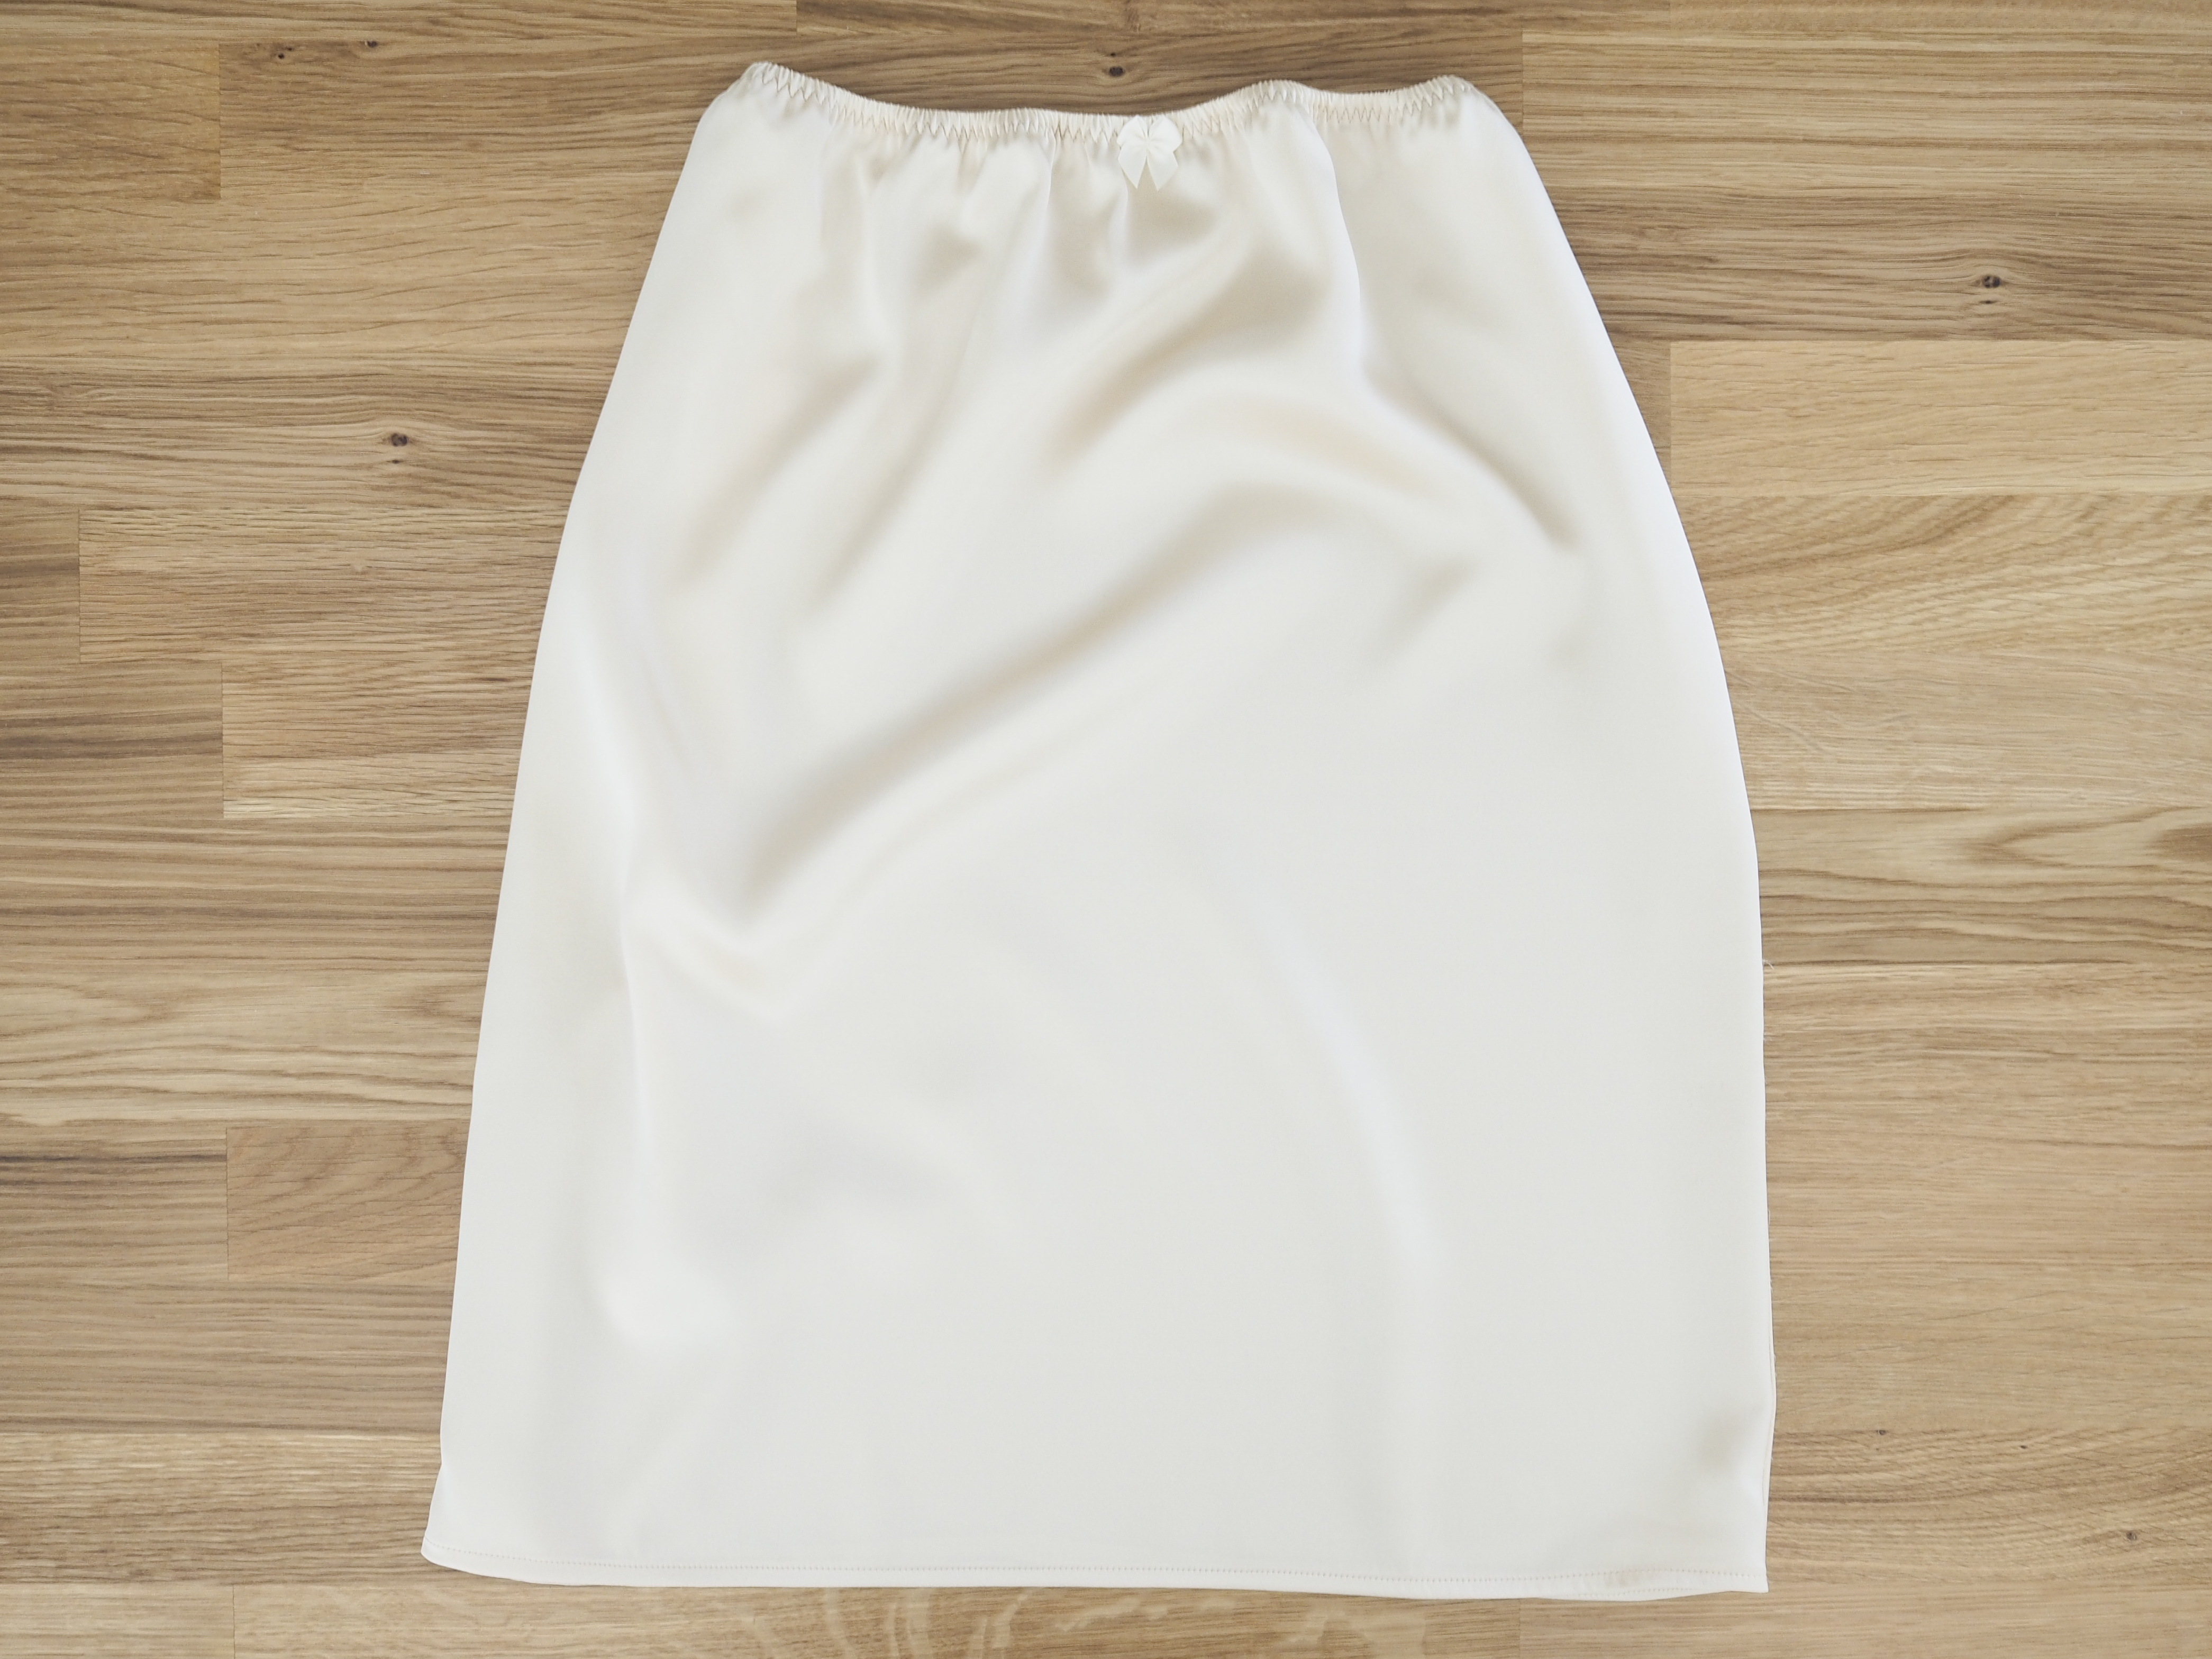
Finally stitch down the hem and press as sewn. If you wish, sew a bow onto the slip at the center front. Not only does this add a nice touch, it also makes it clear which side is the front!
Enjoy your lovely and versatile half-slip! Be sure to tag your makes with #orangelingeriehalfslip and #weallsew so I can find them all!

Used Products


What you might also like


One comment on “How to Sew a Custom Half Slip”
Leave a Reply
You must be logged in to post a comment.

This is a great little project and it was completed in just a couple of hours. However, the elastic lost a lot of stretch in this method of making the waist. Next time, I will just try a simple casing for the elastic. Love the French seams!