How to Customize Buttonholes
Buttonholes are a basic technique that everyone with a sewing machine has to tackle eventually. It’s amazing to me how many folks dread (or fear and avoid completely) stitching out buttonholes. For me, it’s one of the most satisfying finishing touches. As a garment sewist, the beauty of a BERNINA buttonhole is a shining example of the machine’s impeccable stitch quality.
Not only do BERNINA buttonholes stitch beautifully, but they’re also so versatile and customizable! You have the ability to make your buttonhole suit your fabric, project, and button perfectly. On a BERNINA, you can change the width and density of the beads as well as how far apart they are. Your buttonhole can be rounded, keyhole, pointed, or a simple straight bartack, or any combination of those. Fine tune your buttonhole until it is absolutely perfect for the project you’re working on.
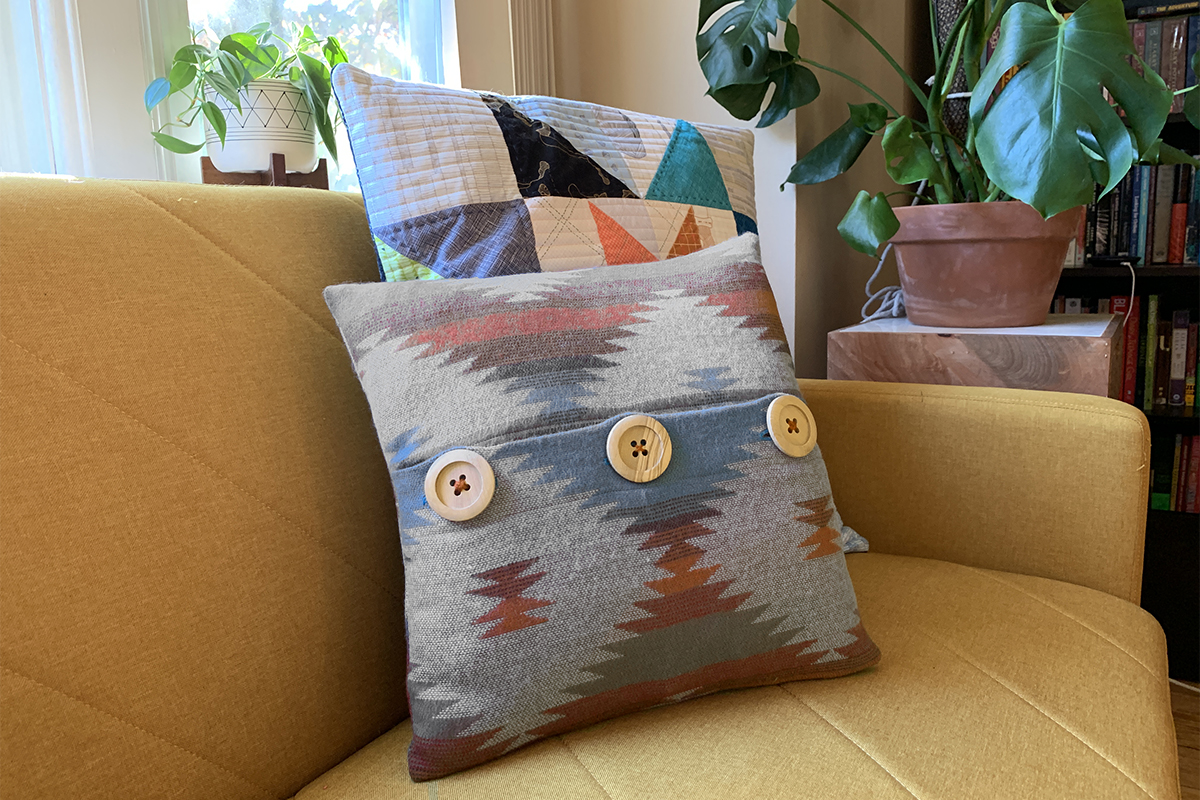
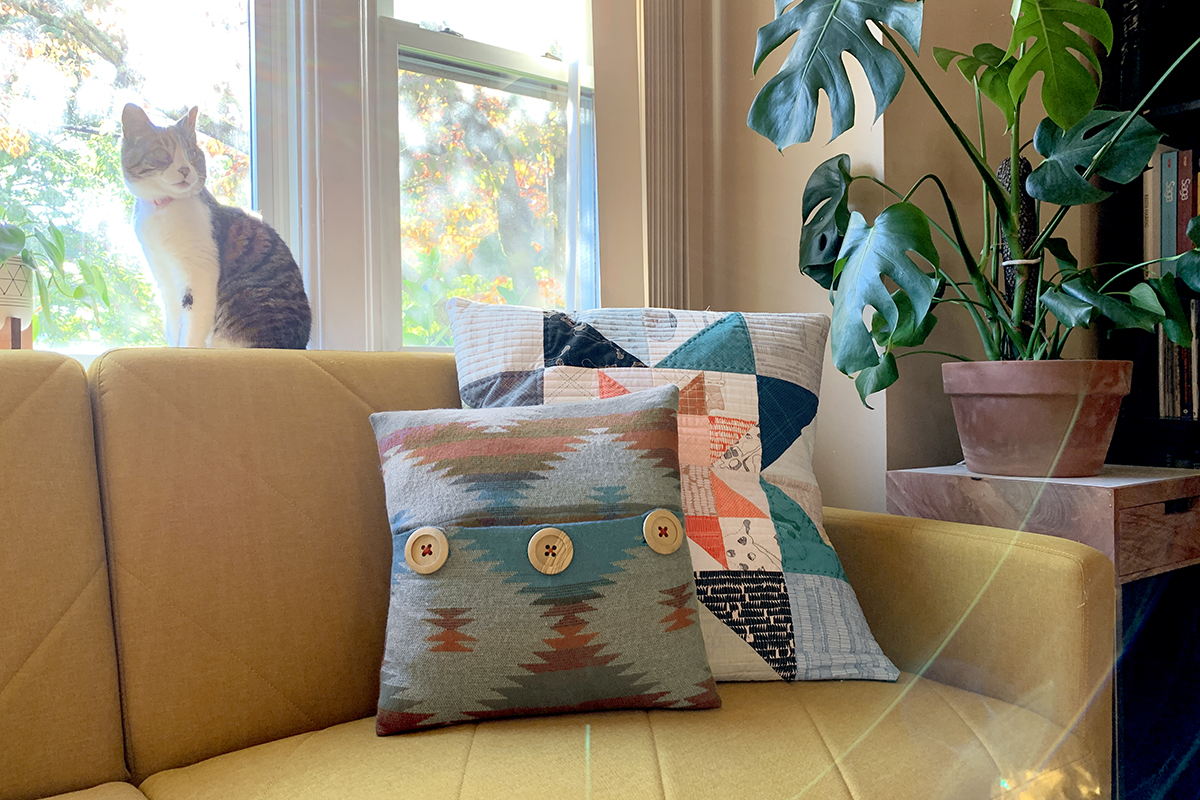
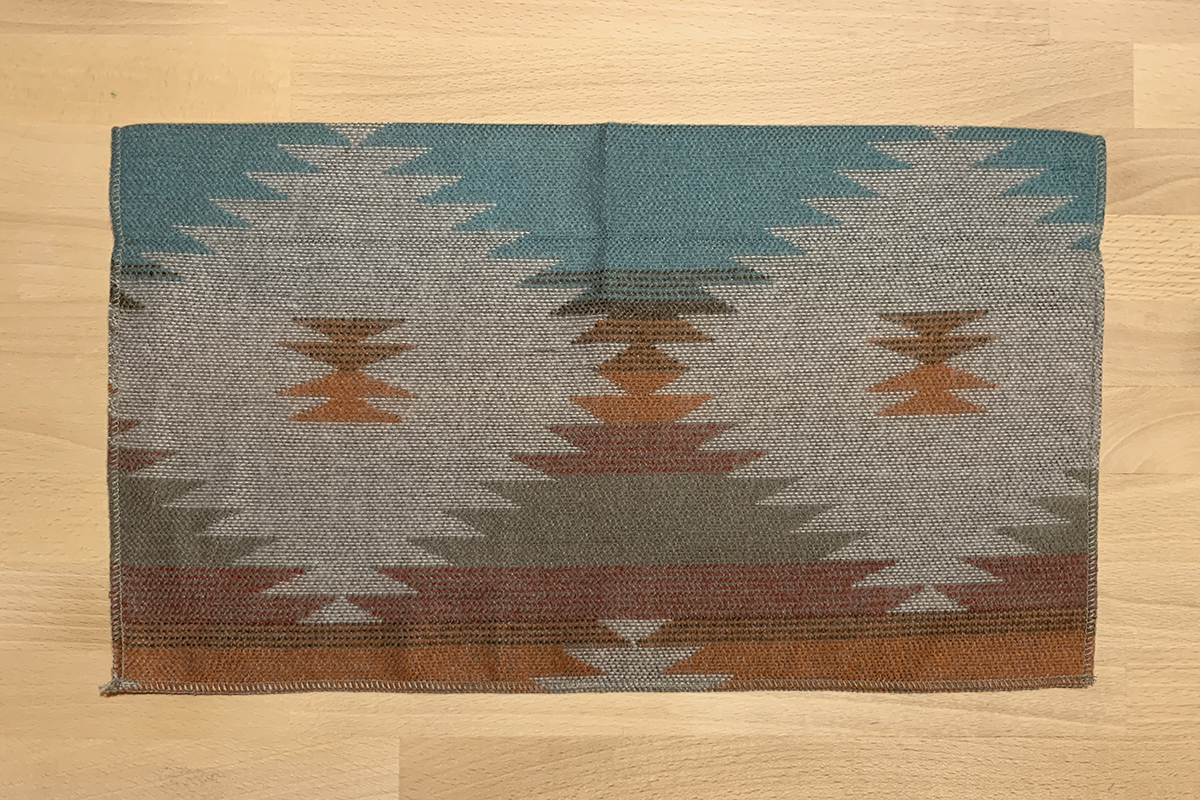
One of the best cases for this comes up when stitching buttonholes for very large buttons. Let’s look at all the ways we can design buttonholes while creating a simple throw pillow with this majorly oversized buttons.
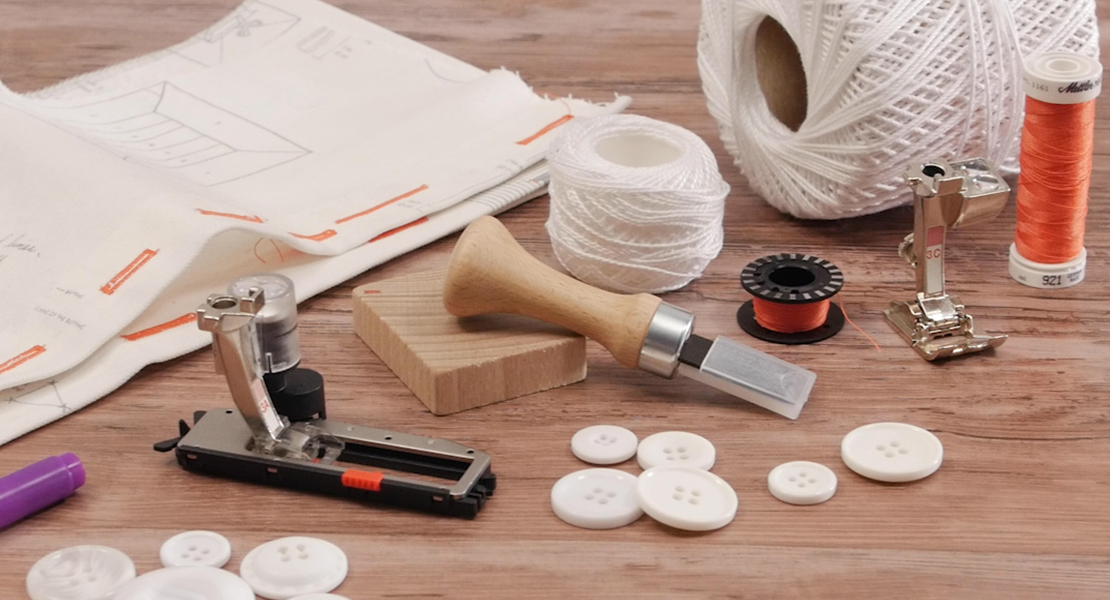
Supplies to Create a Customized Buttonhole with a Jumbo Button Pillow
- 1 yard of heavy weight woven fabric
- 3 jumbo buttons (50 mm)
- Tailor’s chalk
- Rotary cutter
- Cutting mat
- Acrylic ruler
- Coordinating polyester thread
- OESD Ultra Clean and Tear Stabilizer
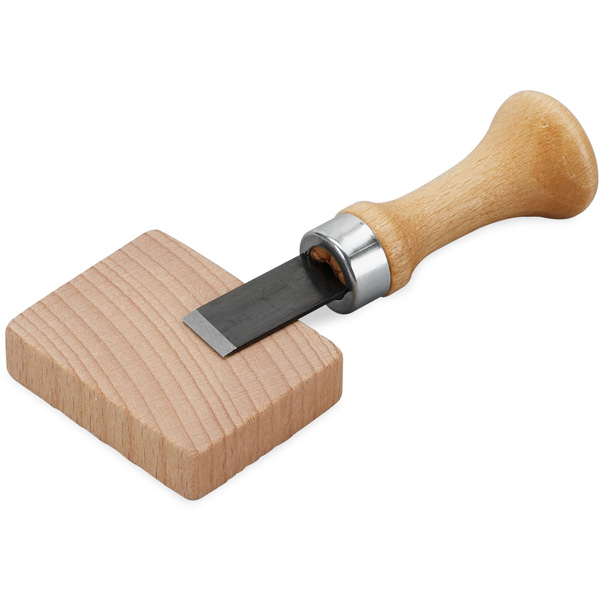
- BERNINA Buttonhole Cutter
- Reverse Pattern Foot #1D
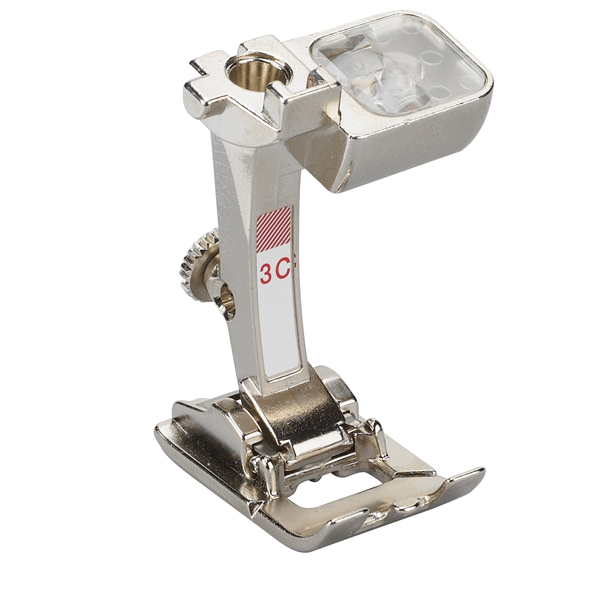
- Manual Buttonhole Foot #3C
- BERNINA 790 PLUS
- BERNINA L 460 Overlocker
Step 1. Prepare fabric
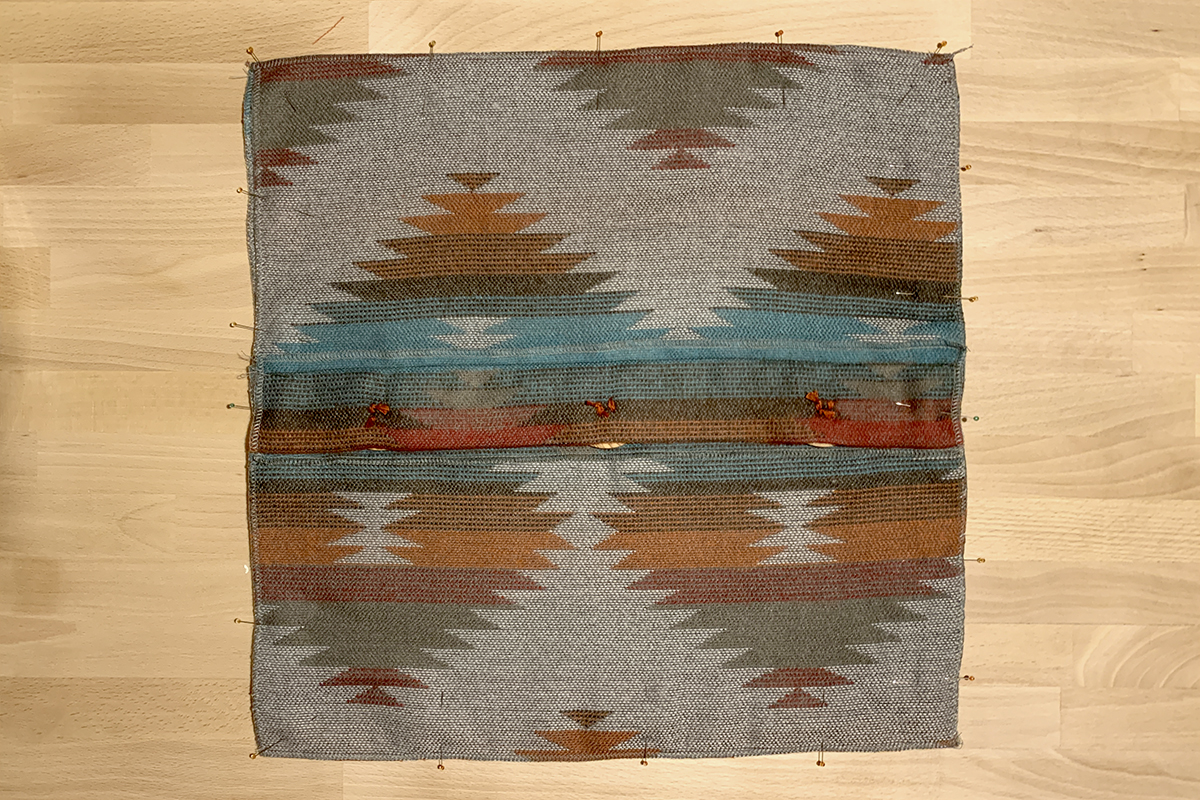
Cut one square of the heavy woven fabric to 17” x 17”. Cut two rectangles of this fabric to 17” x 12”.
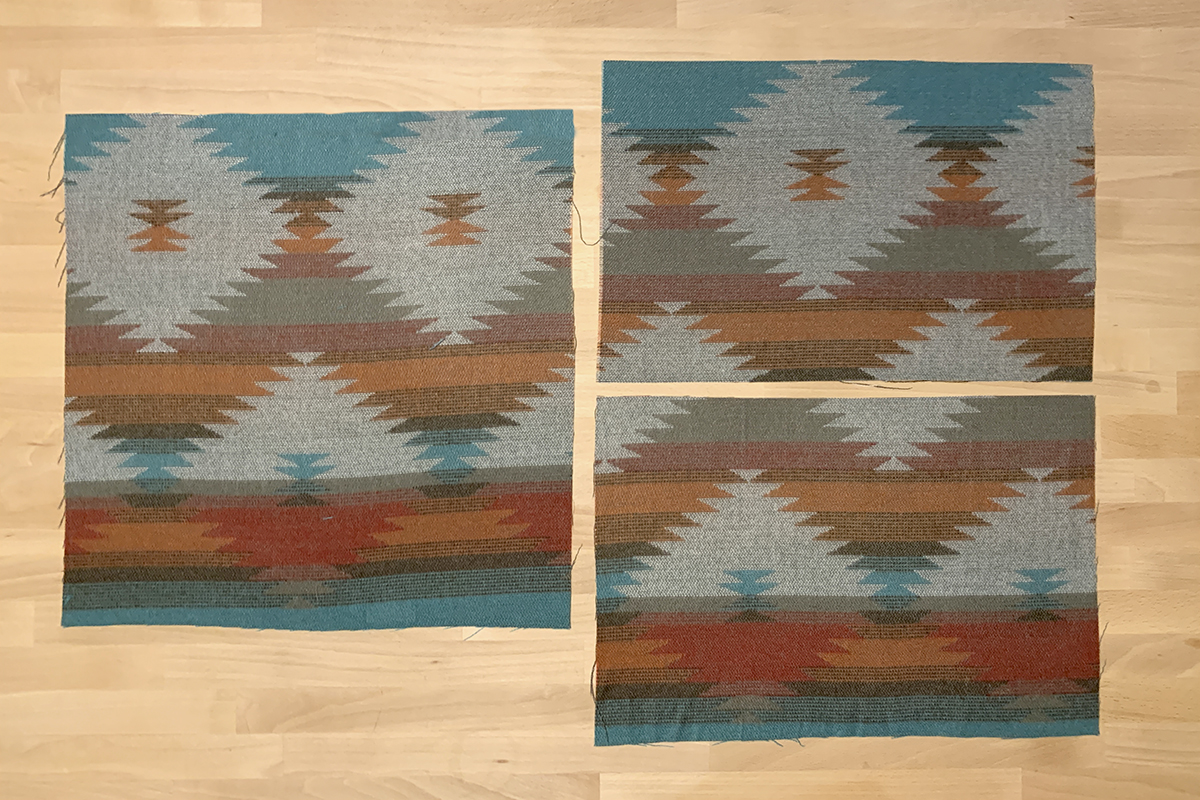
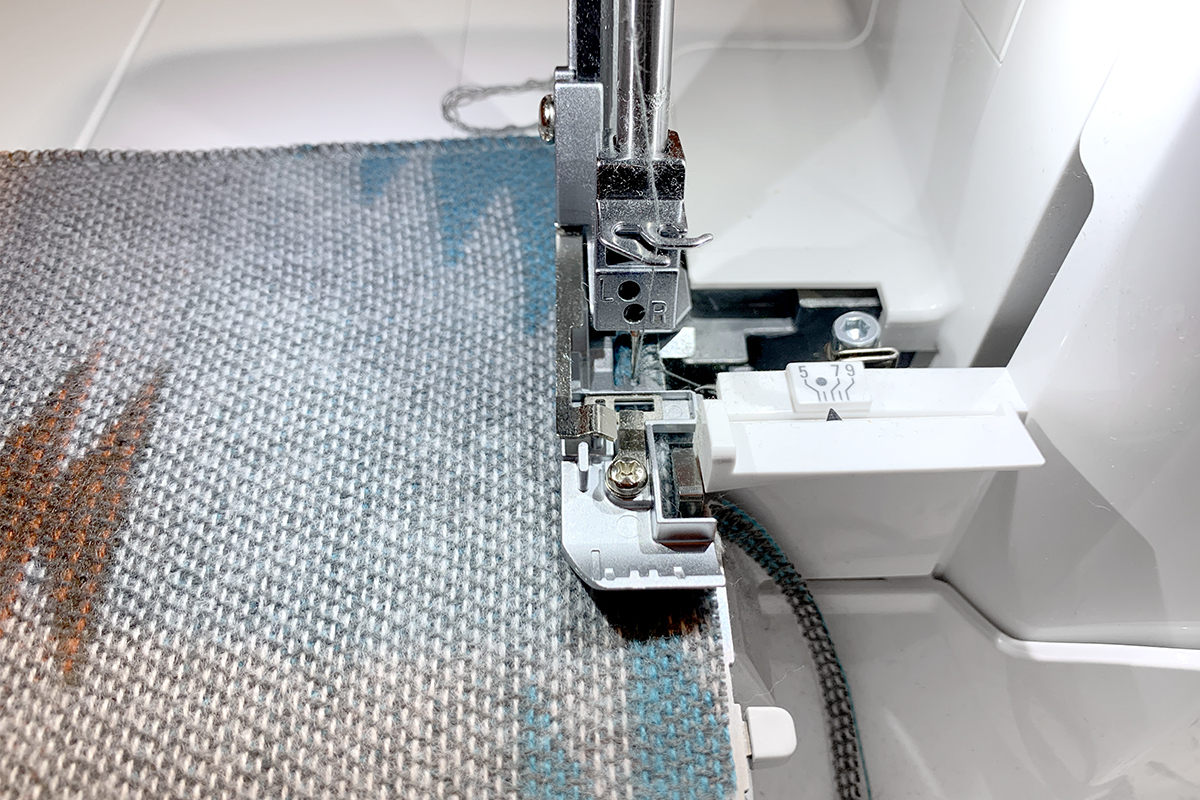
Using the L 460 Overlocker, serge the raw edges all the way around all three pieces of fabric with a 3-thread overlock to keep the fabric from fraying.
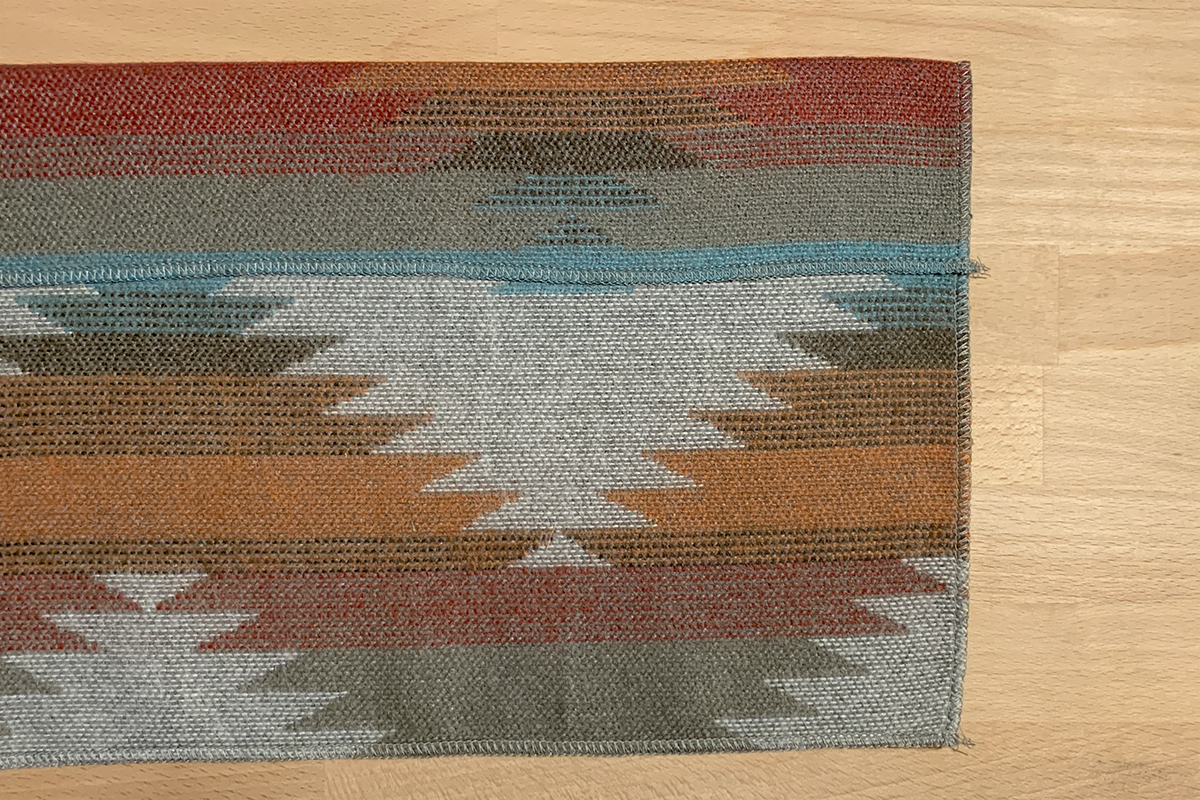
On one of the rectangle pieces, fold the long edge over to the wrong side of the fabric by 2 1/2″. Gently press the fold with a warm iron. You may want to use a pressing cloth, depending on the fiber content of your fabric. Pin folded edge to hold in place. Repeat on second rectangle piece.
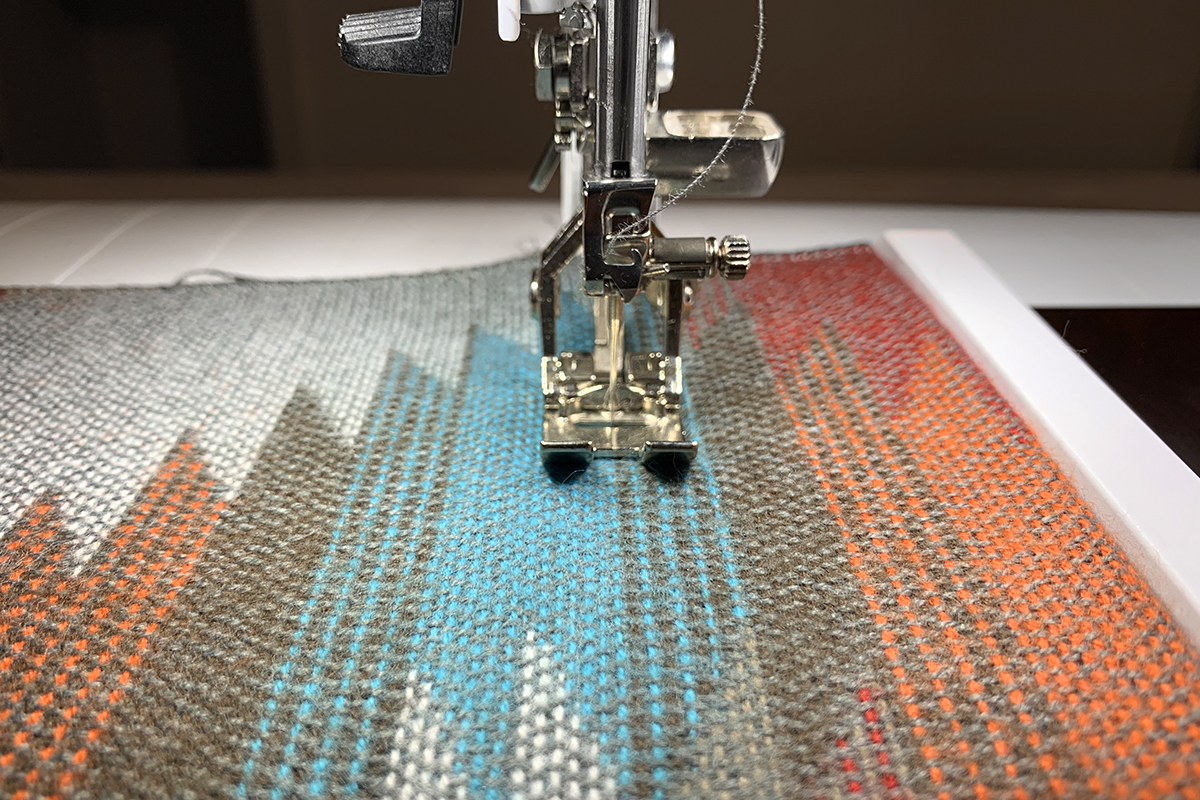
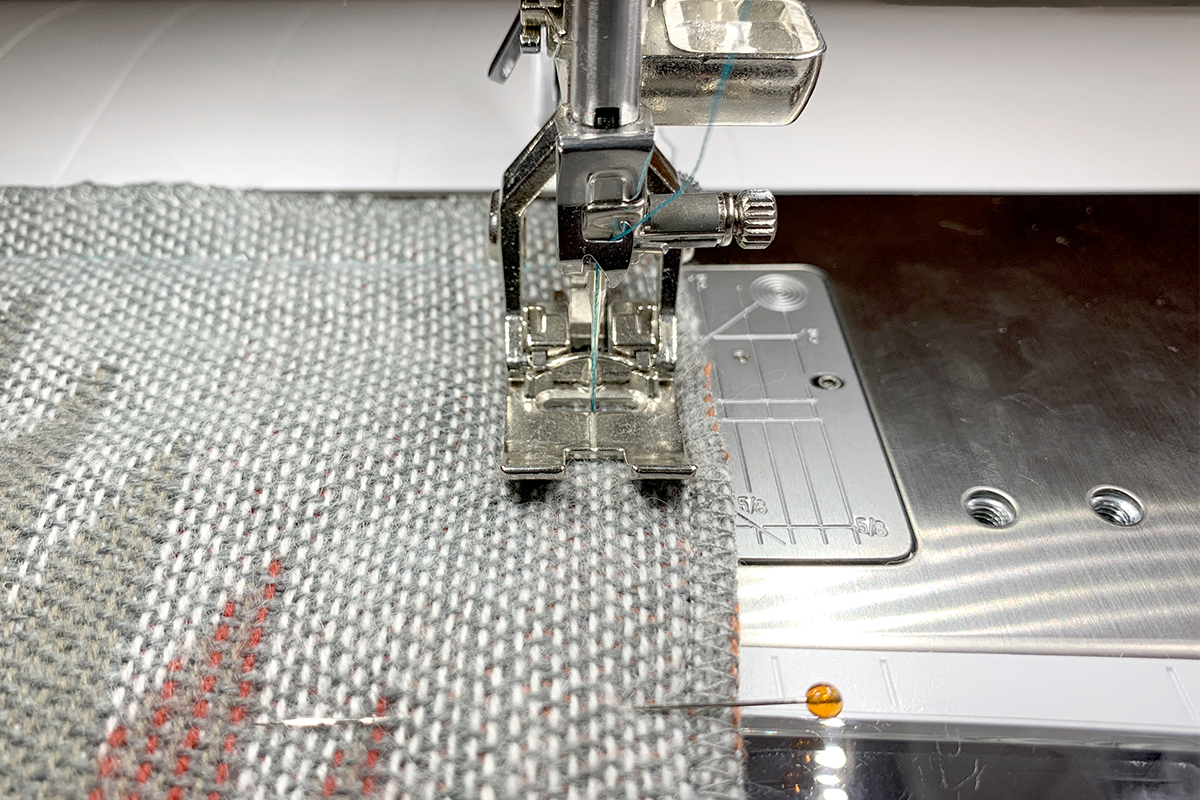
Using the Reverse Pattern Foot #1D, stitch the fold down 2” away from the folded edge on both pieces.
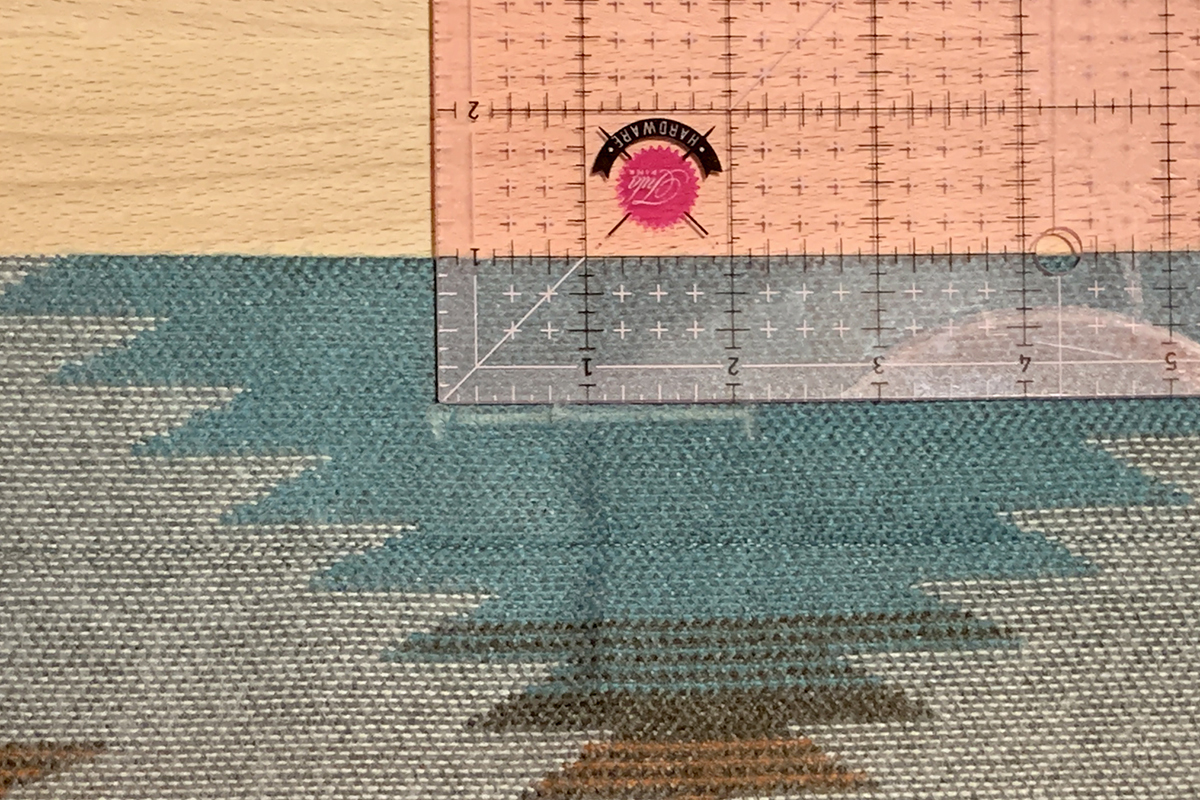
Step 2. Measure and mark buttonhole placement
First, we need to determine the size of our buttonholes. The oversized buttons I’m using measure 50 mm in diameter. For standard buttons, 2 mm is added to accommodate for the thickness of the button and give room for the button to move through the hole. Because this button is quite thick, I will add 4 mm. This totals 54 mm for our buttonhole length, or for easier measuring, 2 1/8”.

Next let’s see where our buttonholes should be stitched out. Fold one of the rectangle pieces in half and press with a warm iron to find the center point.
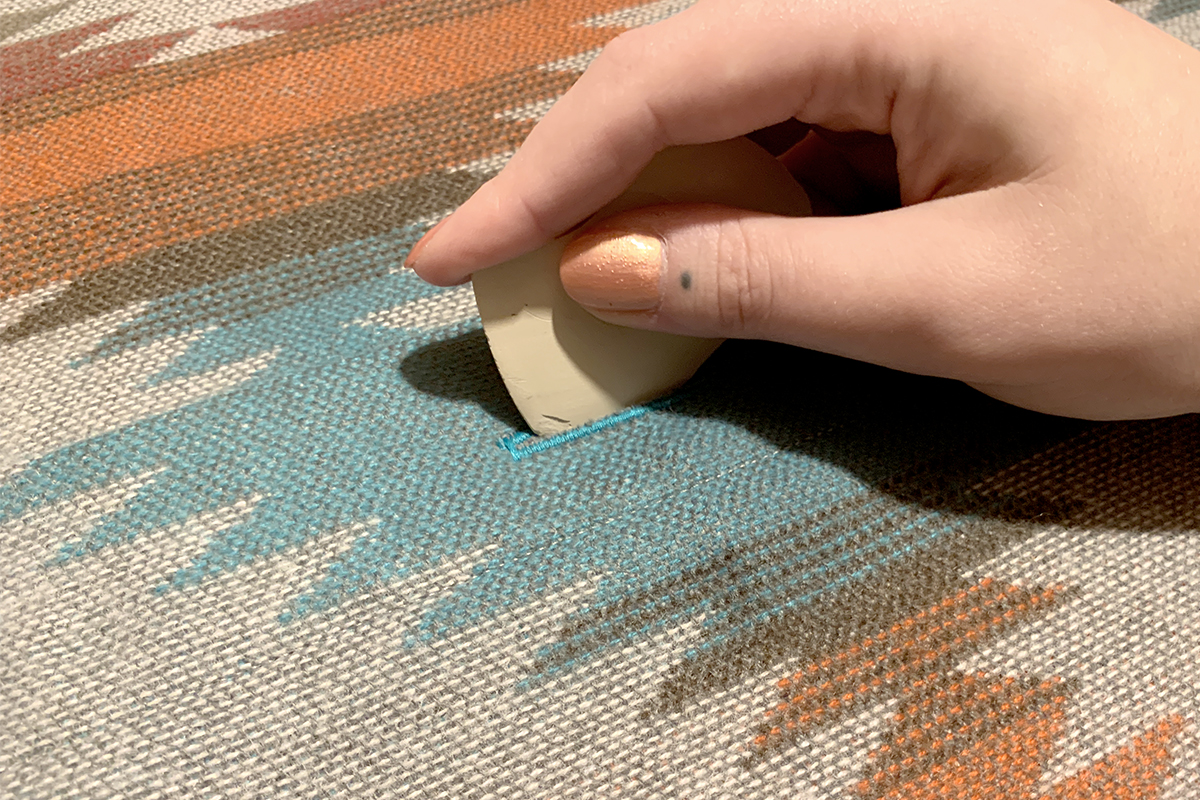
One inch away from and parallel to the pressed edge, measure 2 1/8” centered on the pressed center crease and mark with tailor’s chalk. This will be where the center buttonhole gets stitched out.
Next, measure 5 ¼” to the left of the center crease and mark with tailor’s chalk. One inch away from and parallel to the pressed edge, measure 2 1/8” centered on the marked point.
Repeat the process for the third buttonhole, 5 1/4″ now to the right of the center crease. You should have three sequential lines marked in chalk.

Step 3. Setup the buttonhole
Moving to the sewing machine, we will prepare to stitch our three buttonholes. Begin by selecting the buttonhole menu.
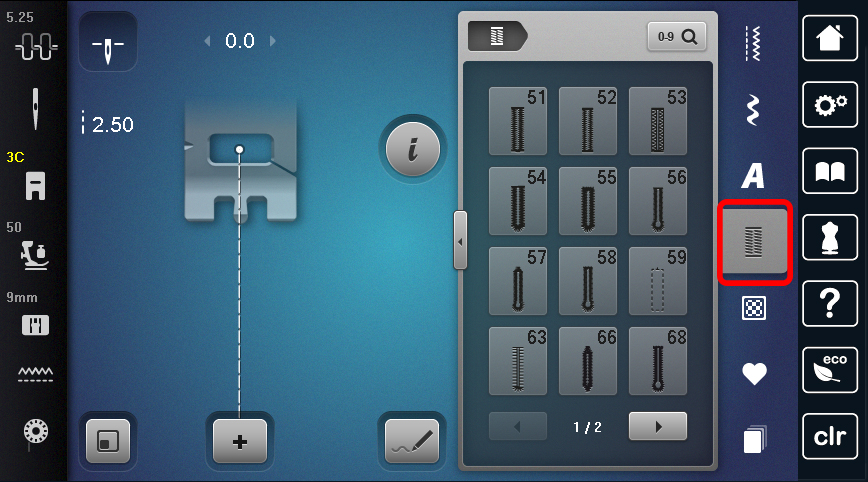
Next, choose the desired buttonhole. Different materials and uses may call for certain styles of buttonholes. If you’re unsure which one is best for your project, use the Help icon or Creative Consultant to sort out the best fit.
For our pillow which serves purely for decoration, we’ll keep things simple with a basic bar tack buttonhole, Buttonhole Program #51.
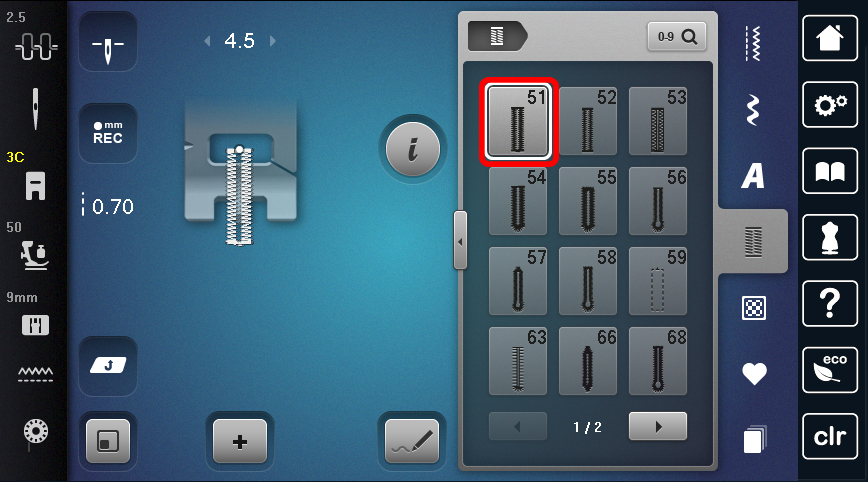
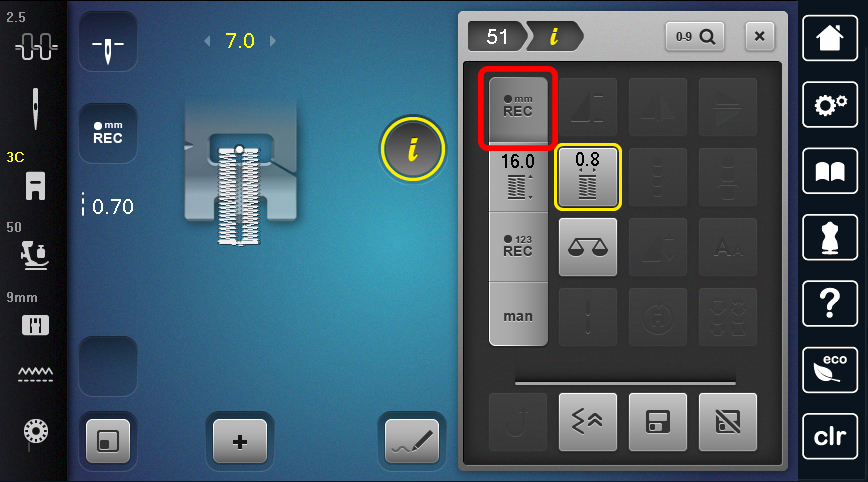
Because both the button and fabric I’ve selected are thick and bulky, I want to increase the slit width on my buttonhole. To do this, select the Information (“i”) menu. Then select the icon for Buttonhole Slit Width Adjustment. NOTE: The Buttonhole Slit Width Adjustment is available on the B 880 PLUS, 790 PLUS, 770 QE, 740, 590, 570 QE, 535, and 480.
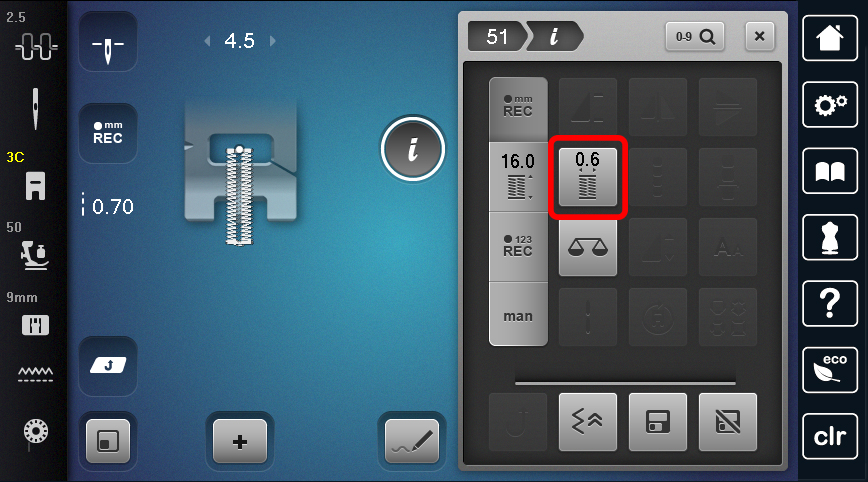
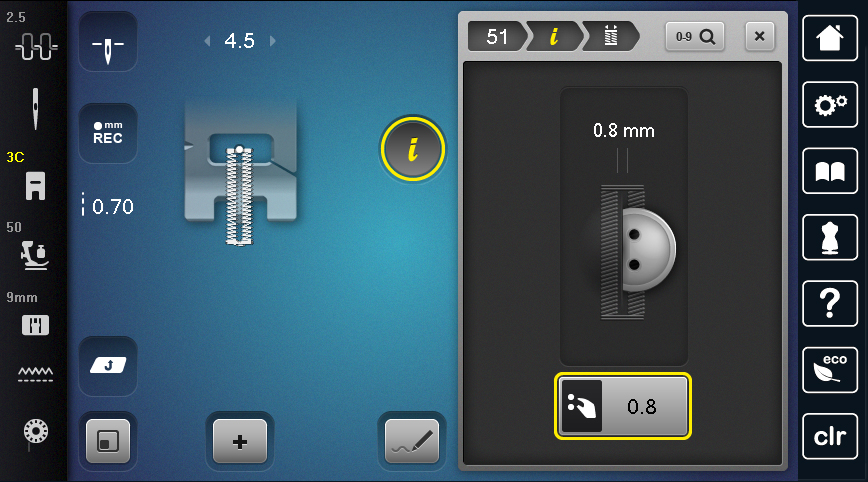
The default slit width is just 0.6 mm. On finer fabrics or for tiny, delicate buttons, you could decrease this. But for our project, use the Multi-function knobs to increase the width to 0.8 mm.
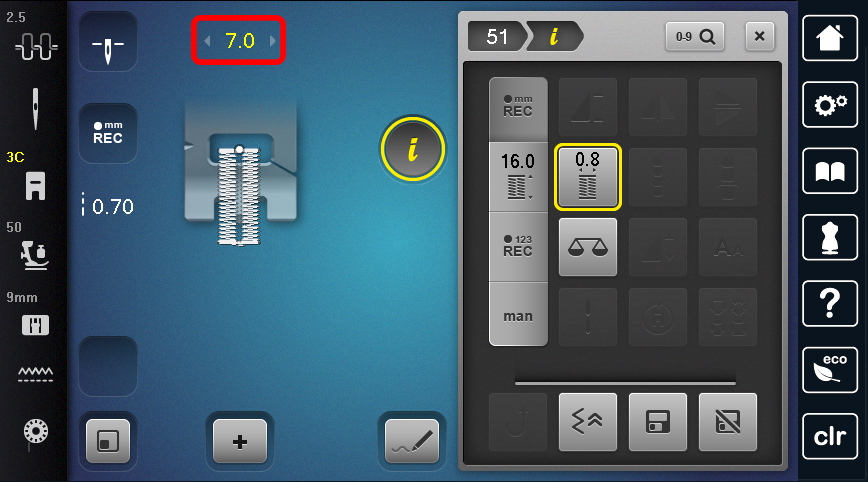
Use the breadcrumb navigation to return to the Information menu. Next, let’s adjust the width and density of the beads on our buttonhole. Use the upper Multi-function knob to increase the width to 7.5 mm. This will make our beads wider.
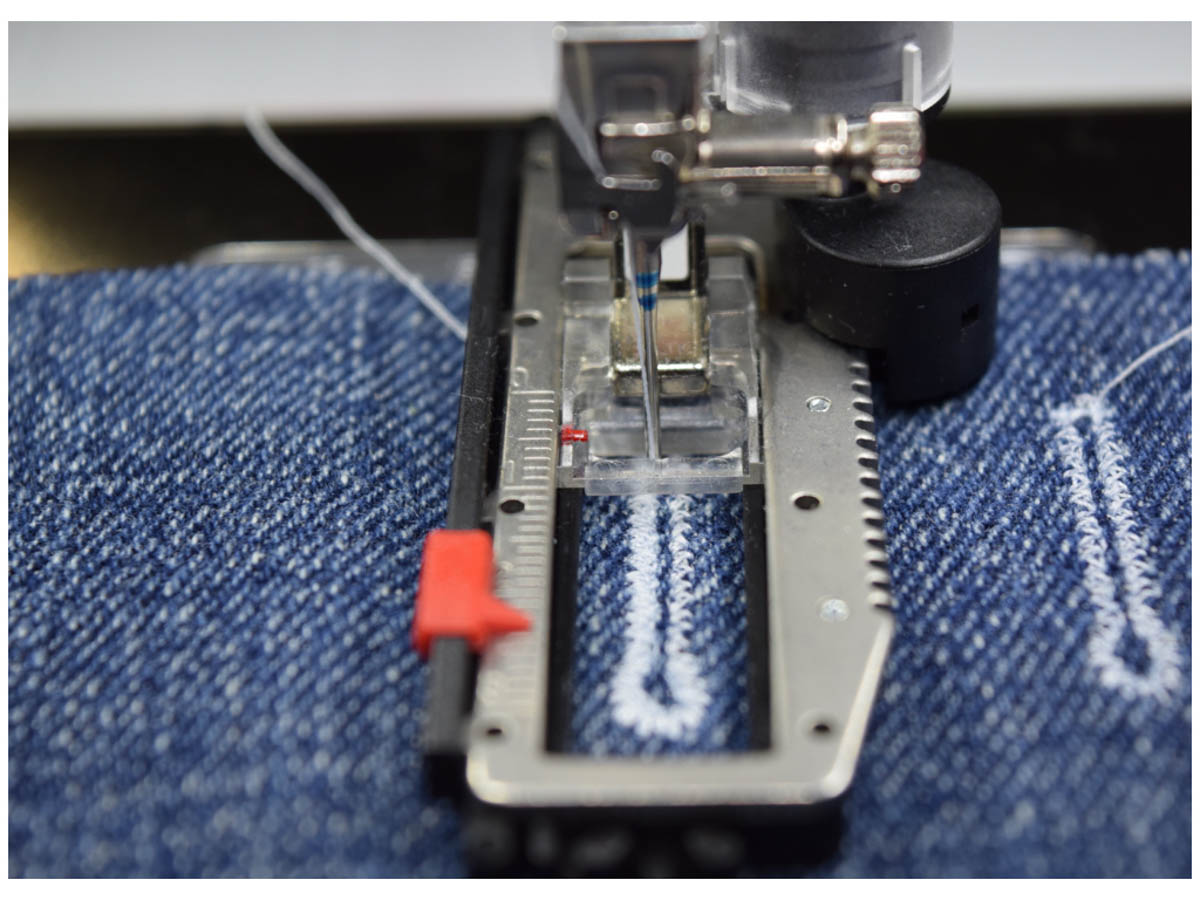
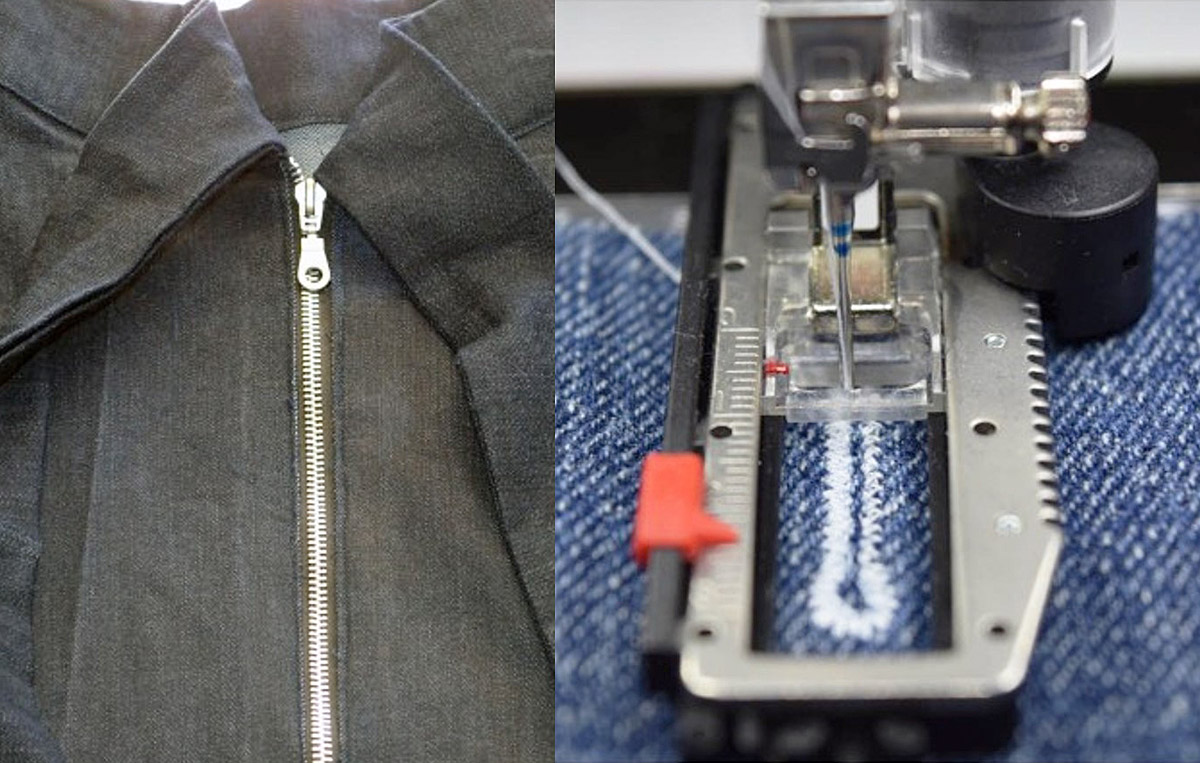
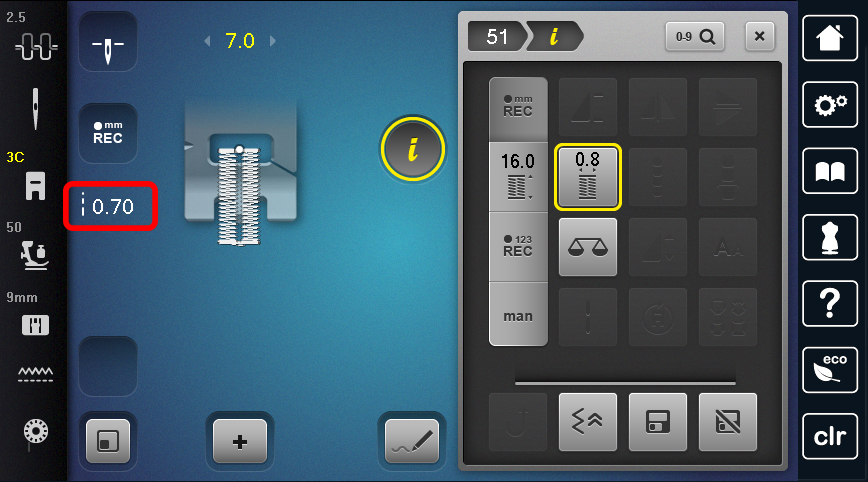
Next, the Lower Multi-function knob can be used to increase or decrease the density of the stitching on the beads of the buttonhole. On a lightweight fabric, you may want to decrease this. On something heavy duty, like a buttonhole on jeans, you may want to increase this. For our project, we’ll leave it at the default setting.
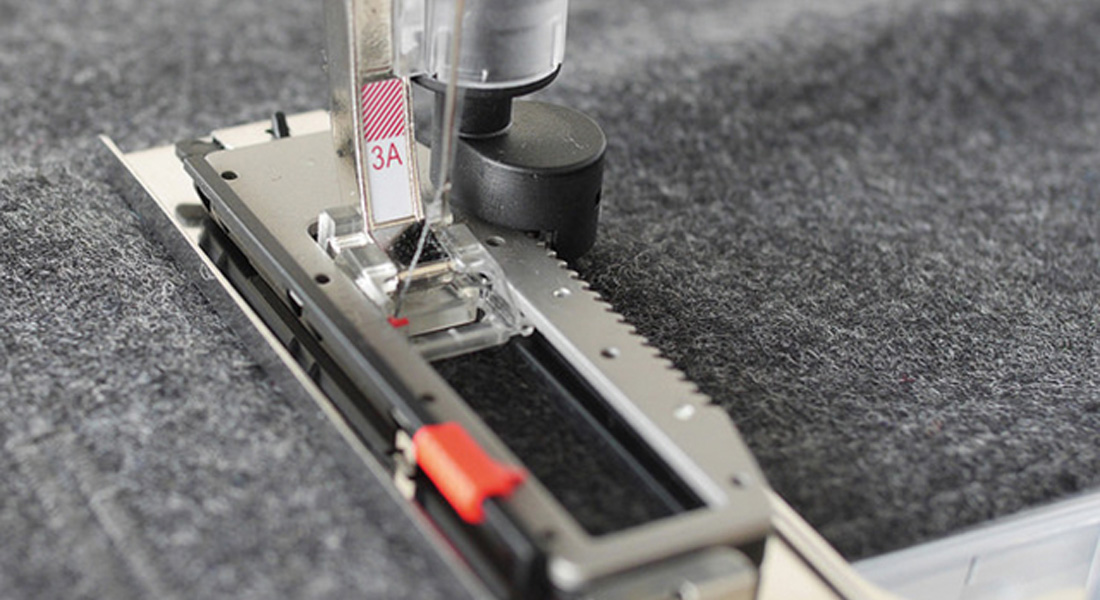
Now there are four different options for stitching buttonholes. The first one listed is Recording Buttonhole Length Measurement. When this option is used, the machine uses a sensor on the Automatic Buttonhole Foot #3A to measure the physical distance sewn in millimeters. Once set, the programmed button can be stitched out automatically over and over again. The #3A Buttonhole Foot is necessary for this and has a limit of 28.5 mm long buttonholes.
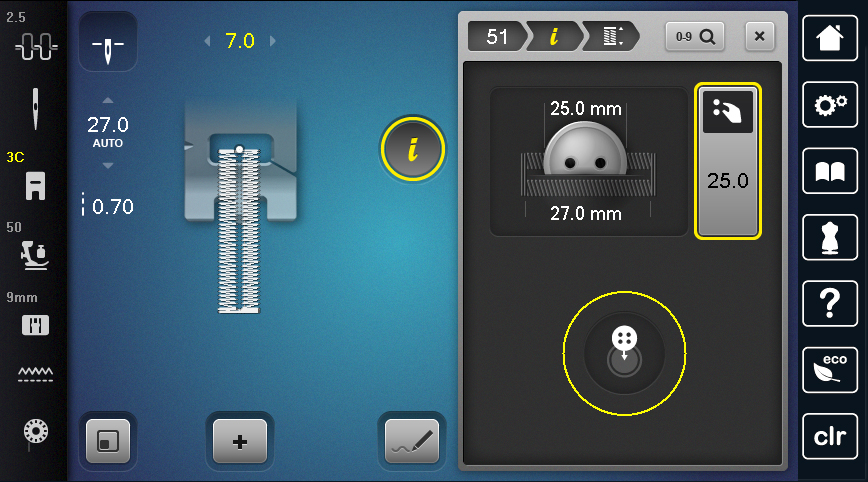
The second option, which is my favorite for smaller (regular) sized buttons is on-screen button measuring. This one is pretty self-explanatory—you hold your button to the screen then use the Multi-function knobs to measure its diameter. The machine then calculates the proper length buttonhole to fit that button and it will stitch out automatically.
The third option may seem similar to the first but performs a bit differently. The Stitch Counter Function will count the number of stitches taken to sew the first bead of the buttonhole. Then, for the other side (and any subsequent buttonholes) the machine will automatically take the same amount of stitches to create the buttonhole. This option is best used with a very stable (or firm) fabric and can be incredibly precise.

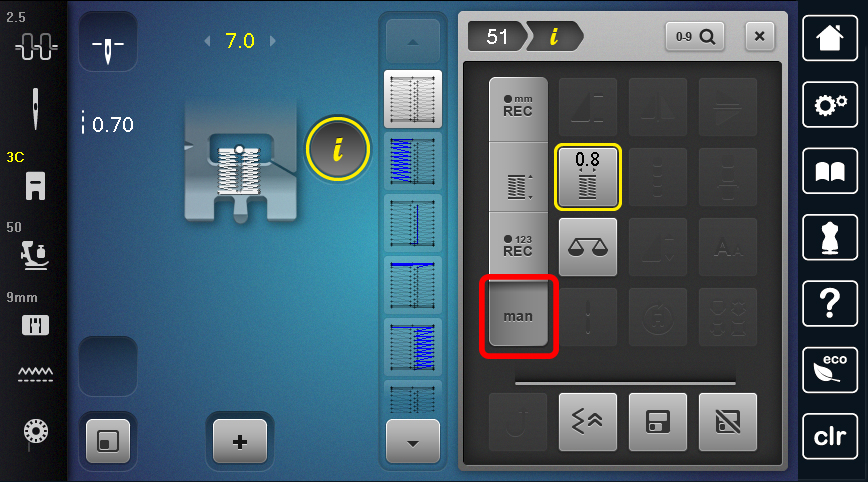
The final option is the one we’ll be using for this project, Manual mode. Because the buttonhole we’re stitching is so large, this is the mode for us. Manual is really the old fashioned way—you tell the machine when to move from one step of the buttonhole to the next. It allows for full control of your buttonhole every step of the way. Select this mode, indicated by the “man” icon.
Step 4. Set and stitch
With the buttonhole set up, it’s time to get it stitched out! Before sewing on your project, I always recommend test sewing one buttonhole on a scrap of the fabric you will be using to make sure the size is right.
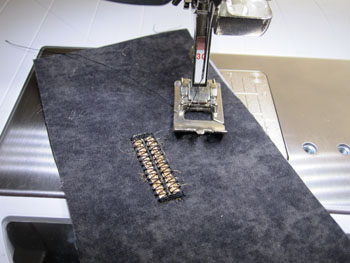
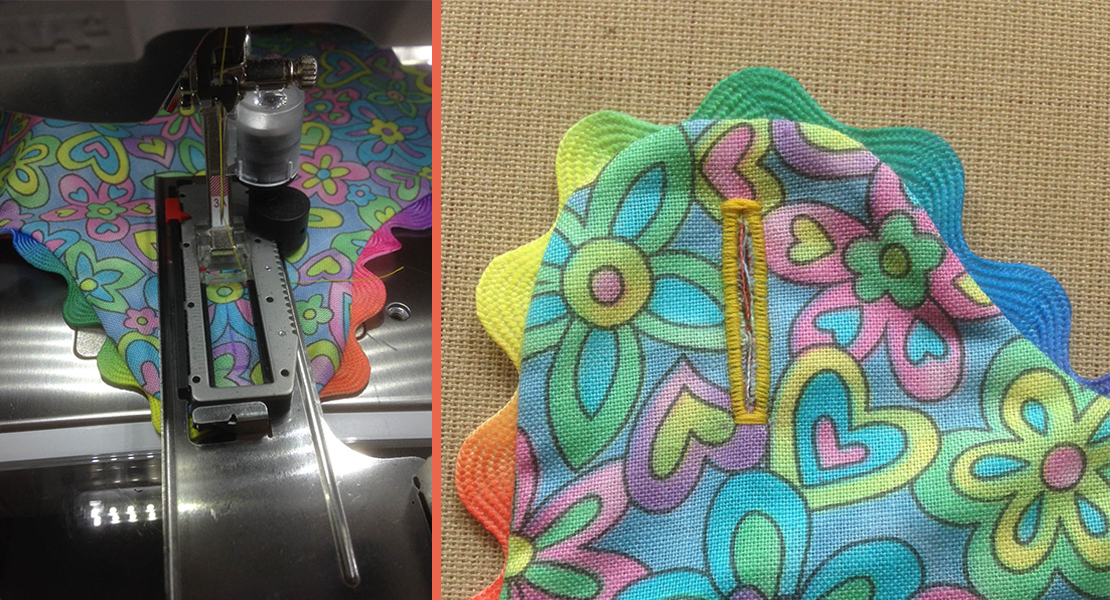
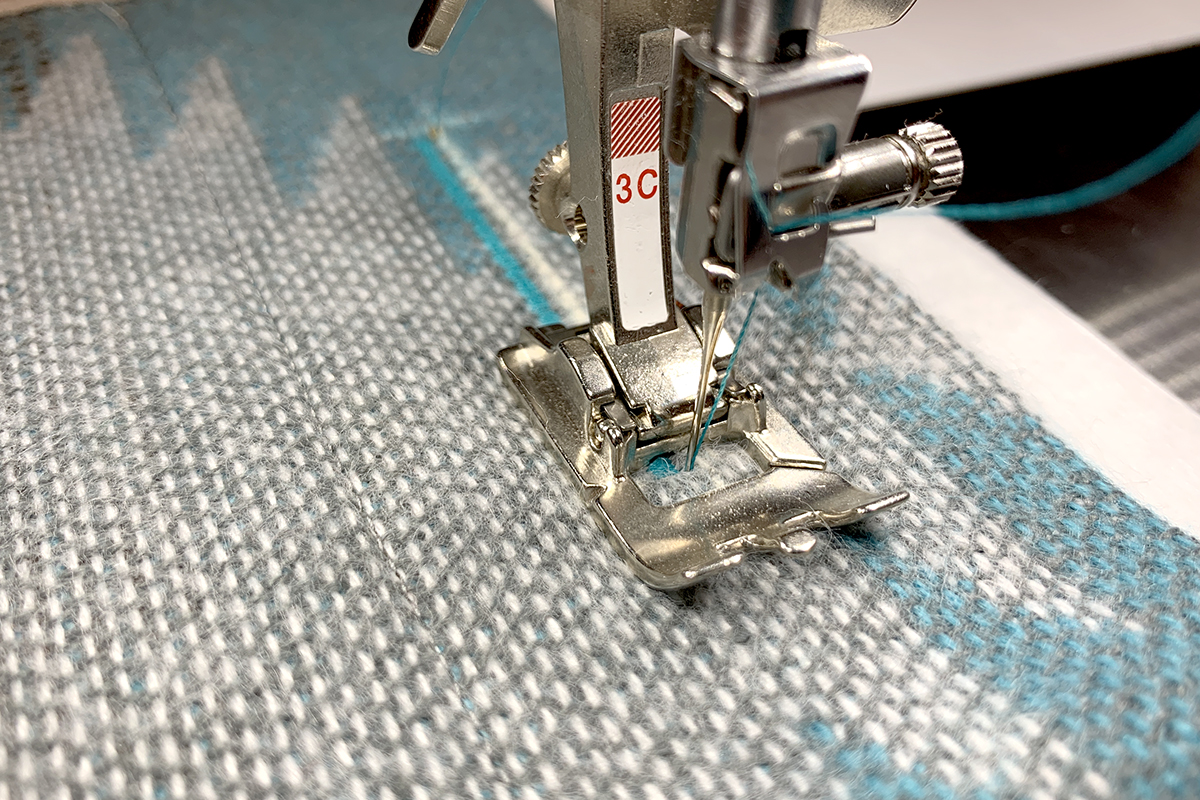
Place a piece of OESD Ultra Clean and Tear Stabilizer behind your fabric. Attach Manual Buttonhole Foot #3C to the machine. Line up the chalk line for the buttonhole in front of the needle and lower the presser foot.
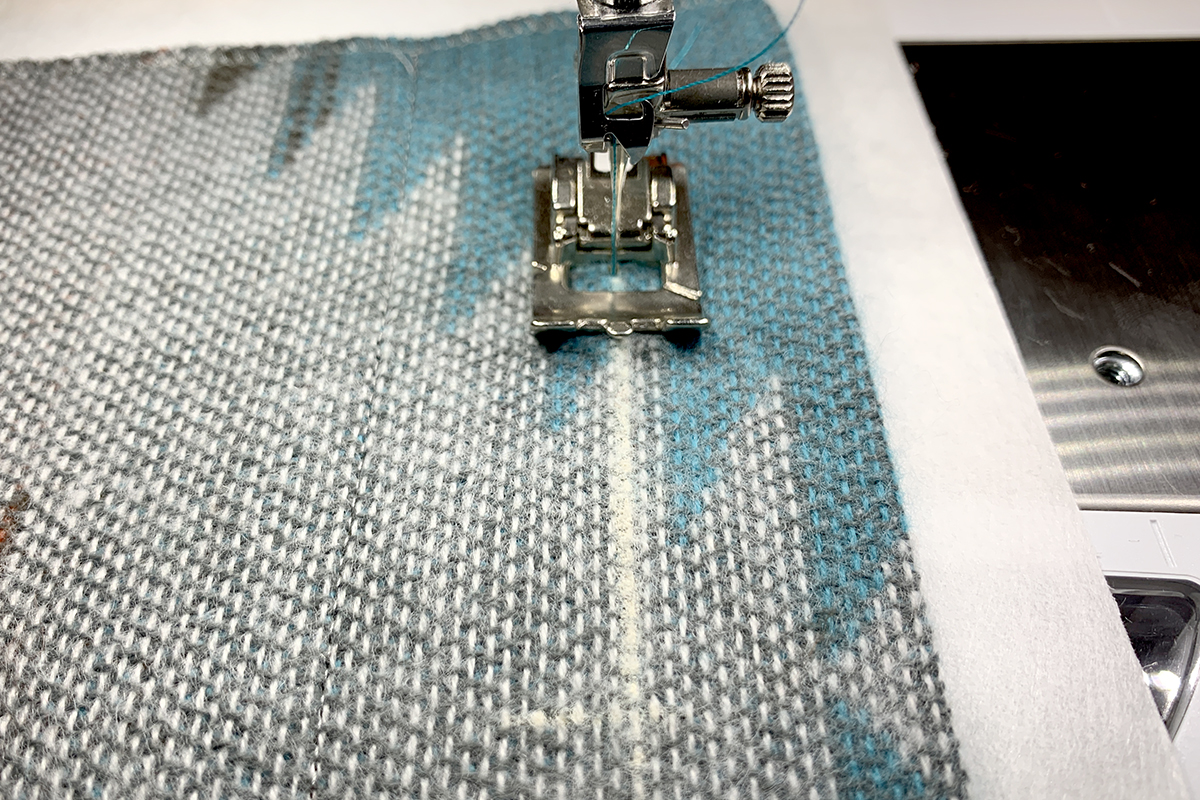
Use the foot control to begin stitching the first bead of the presser foot. You can sew this with the Start/Stop button as well but I prefer the control and precision you have with the foot control. Stitch down until you reach the end of the chalk marked line and stop.
Press the Quick Reverse button. The machine will move on to the next step of the buttonhole. Use the foot control or Start/Stop button to stitch back up to your starting point and stop.
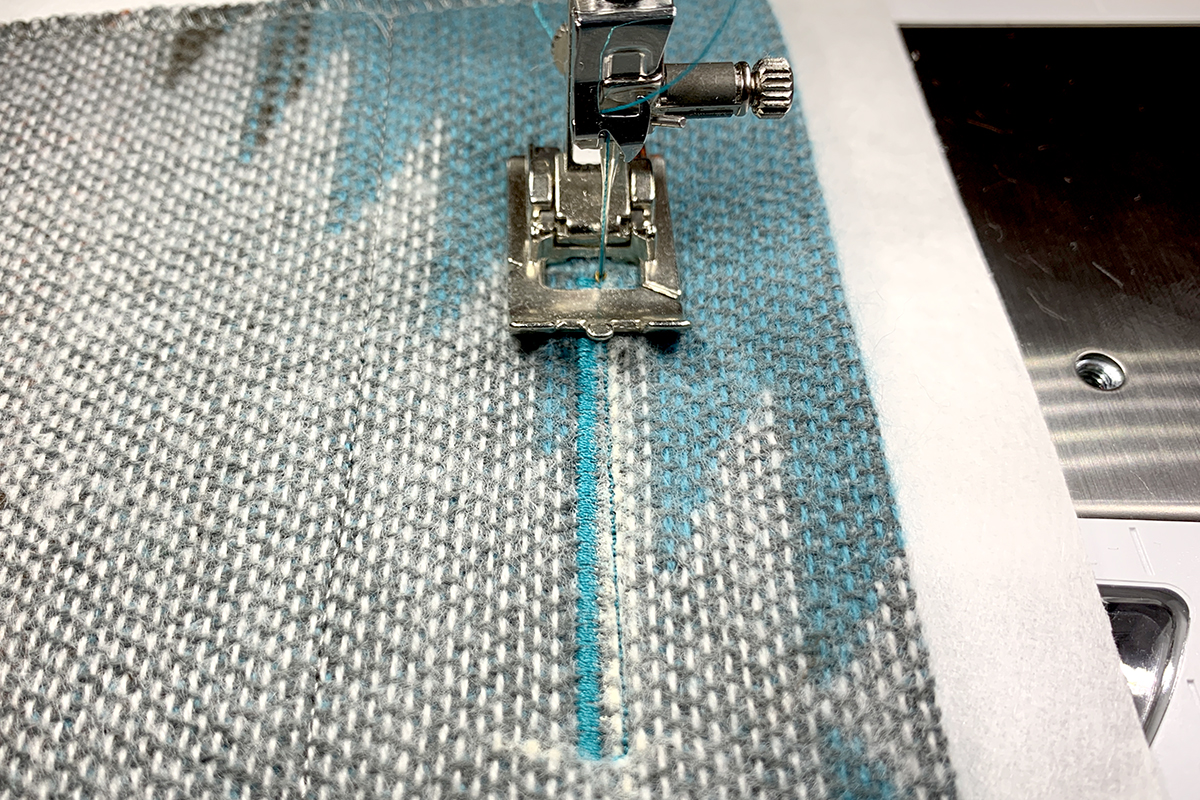
Press the Quick Reverse button again. Next the machine will stitch the top bar tack. Sew out the remainder of the buttonhole, pressing the Quick Reverse to advance from one step to the next.
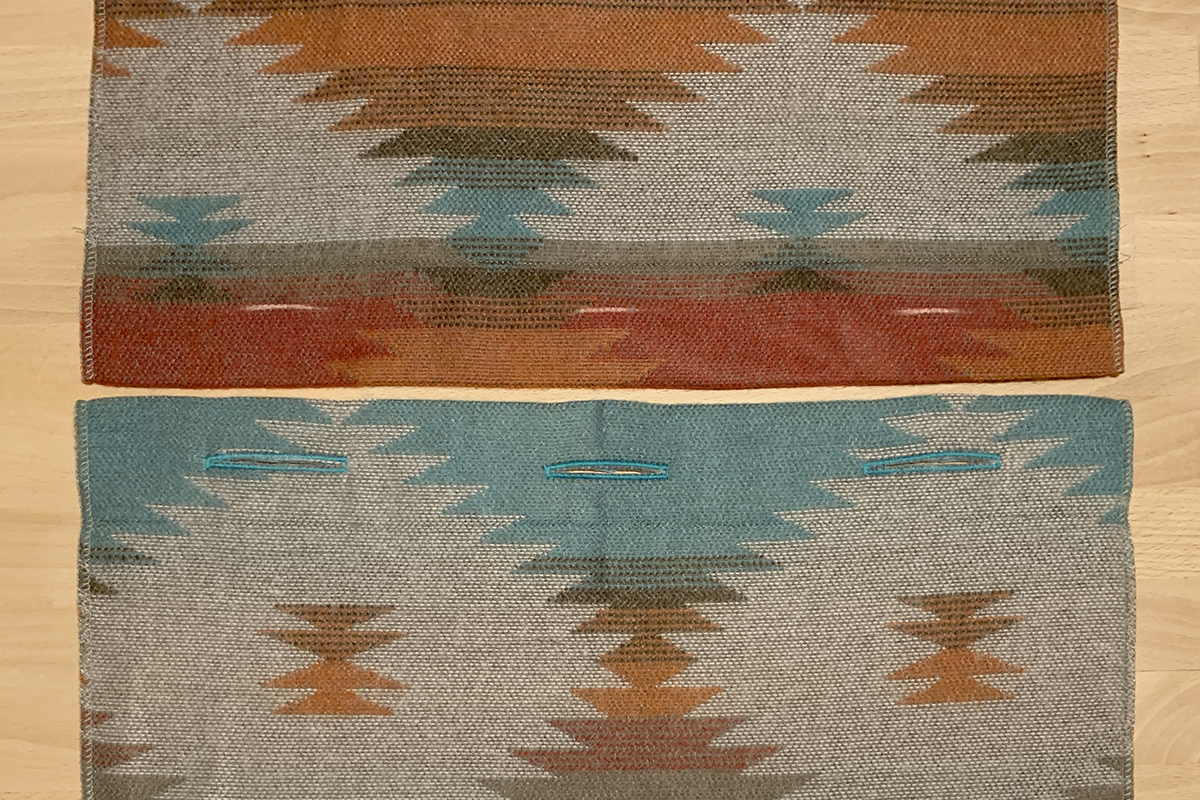
When the buttonhole is finished stitching, raise the presser foot and cut the threads manually, leaving long thread tails.
Move to the next marked buttonhole. Again, align the chalk mark straight in front of the needle. Repeat this process for the remaining two buttonholes. Pull the thread tails to the back of the fabric and hand tie off. Tear away stabilizer. Cut the buttonholes open using the BERNINA Buttonhole Cutter.

Step 5. Sew buttons on
Overlap the hemmed edges of the rectangle pieces by 2” with right sides up. The piece with the buttonholes should be on top.
Use tailor’s chalk to mark through the buttonholes onto the bottom rectangle.
Position the buttons on the chalk markings. Use Button Sew-on Foot #18 to attach the buttons to the fabric, if possible. If the spacing of the holes on your button do not fit with the #18 foot, simply stitch on by hand.

Step 6. Finish pillow
Place the buttonhole panel and the solid square right sides together, centering the button band. Next place the button panel on top, with right sides together, aligning buttons to buttonholes. Pin all the way around.
Sew the perimeter of the pillow with a 1/2” seam allowance.
Unbutton the pillow and turn right side out. Stuff with a 16” pillow form and button closed.