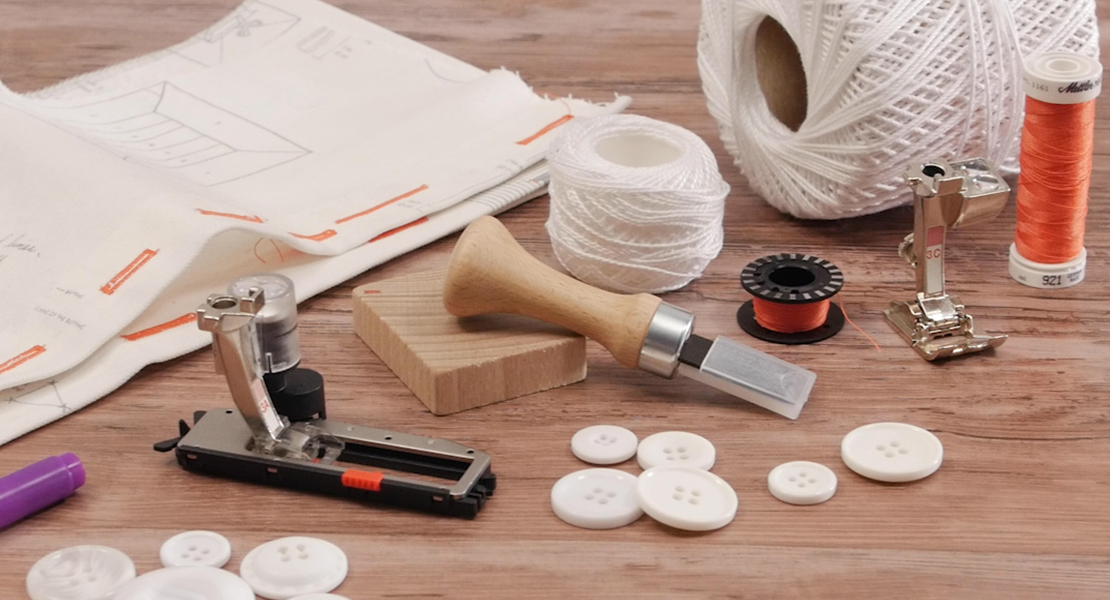
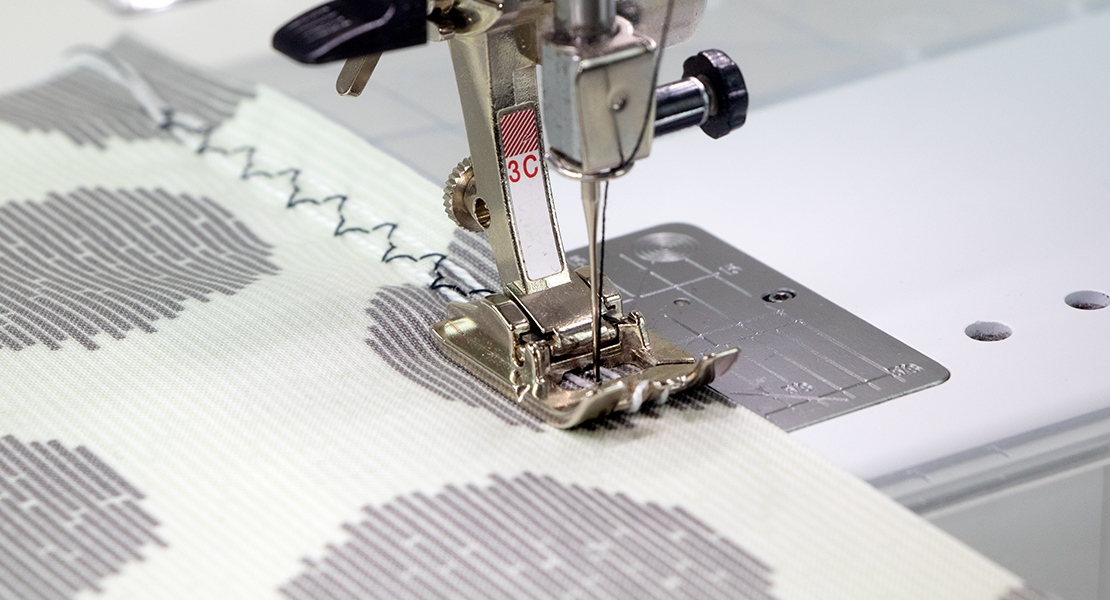
Manual Buttonholes with Buttonhole Foot #3/3C
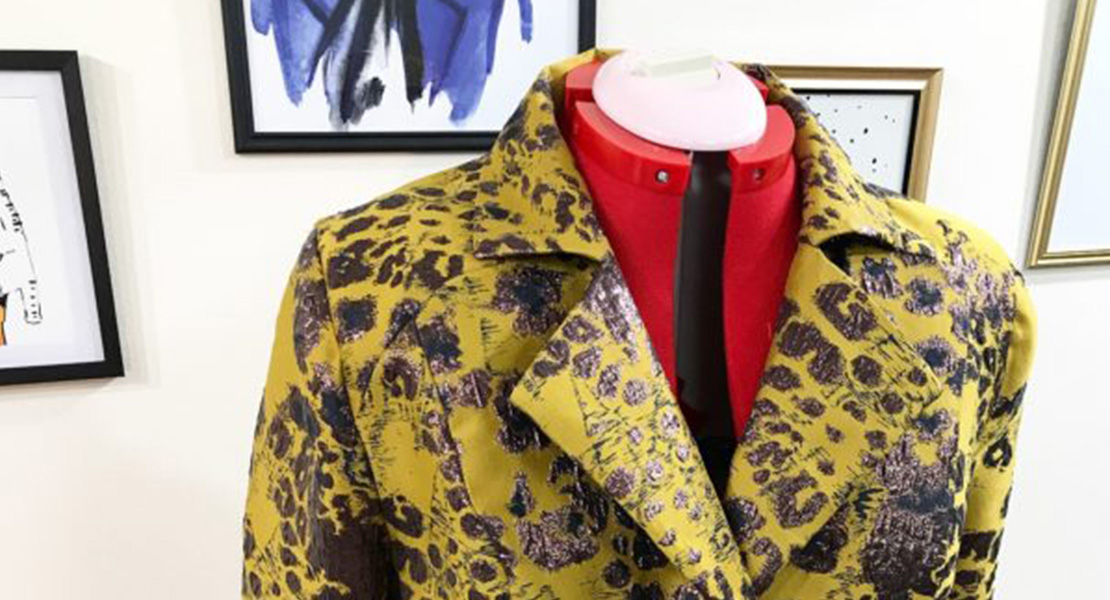
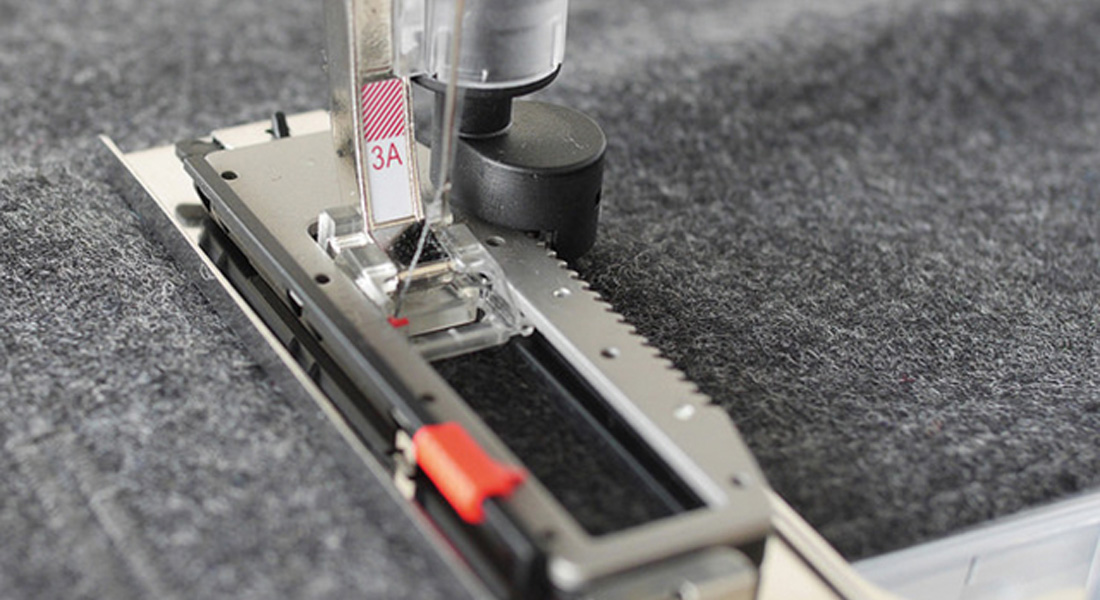
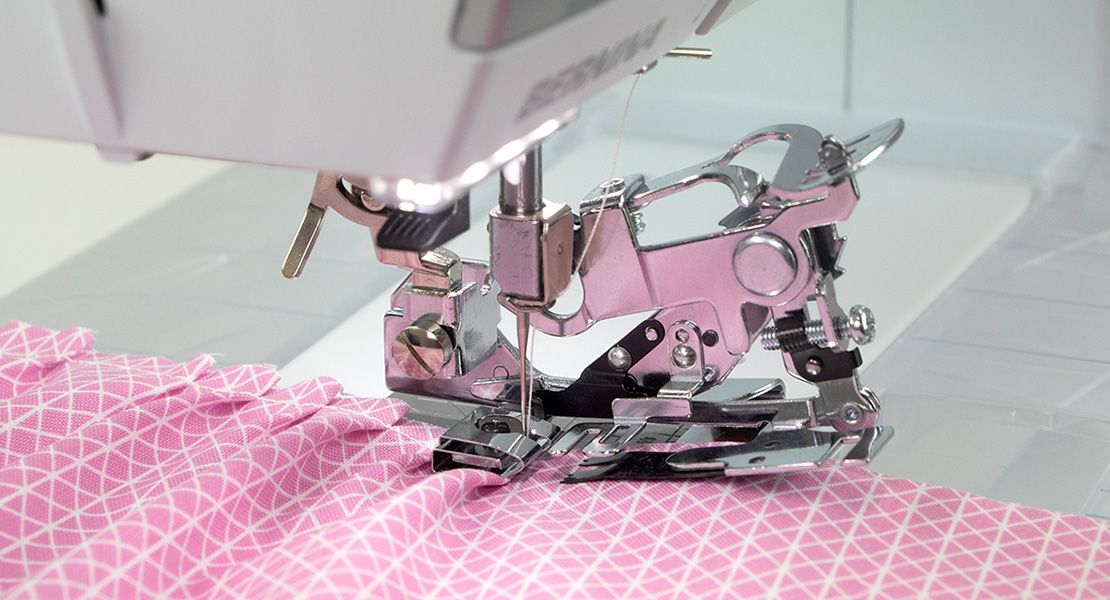
When you realize that your Buttonhole Foot with Slide #3A/3B/3C will not create a buttonhole large enough for your oversize button – that is when you need to take out Buttonhole Foot #3/3C. The two grooves underneath the foot allow the fabric to feed smoothly over the zigzag columns on either side of the buttonhole. These grooves also keep the columns parallel as the buttonhole is stitched. There are so many large buttons that can be added as the finishing embellishment of your project, and this is the perfect technique for accomodating them in a buttonhole.
The instructions on how to complete a manual buttonhole can be found in your sewing machine instruction manual or, on some BERNINA models, right on the sewing machine screen. In general terms, you control each step of the buttonhole as it is stitched.
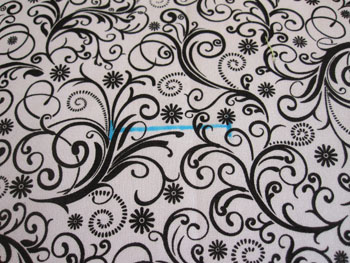
Mark the buttonhole on the fabric:
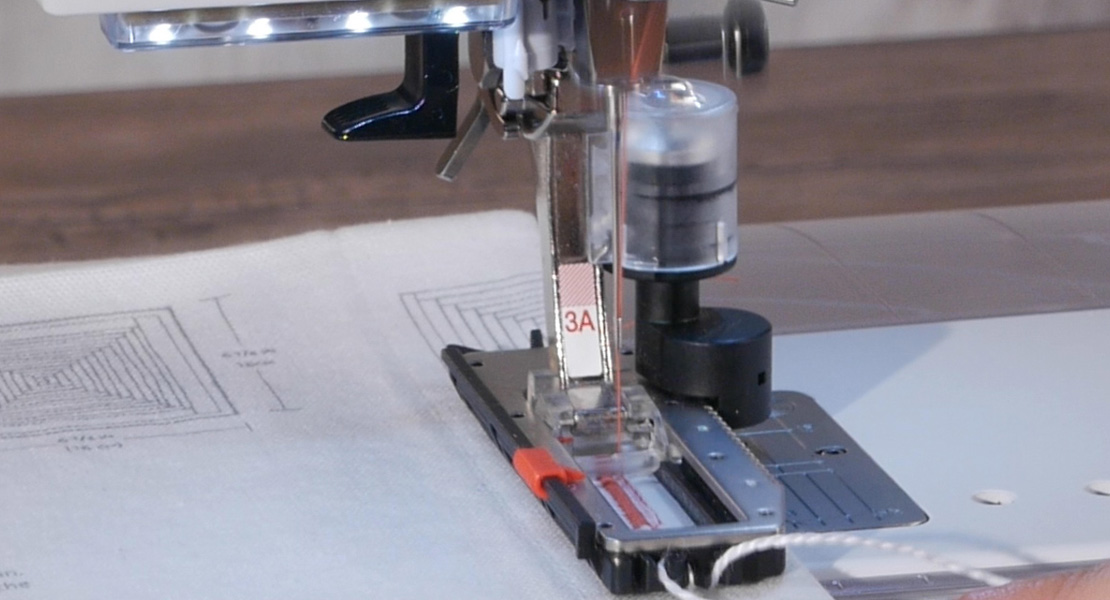
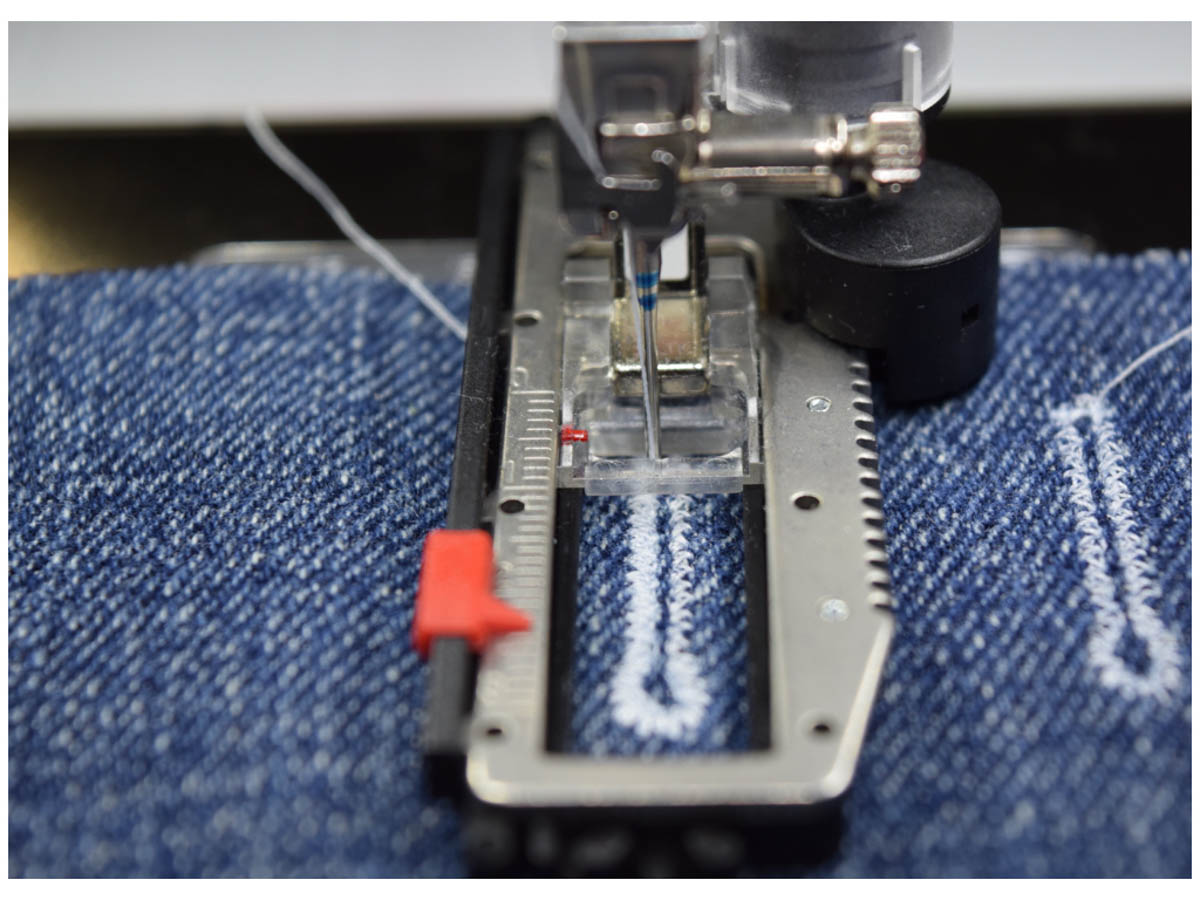
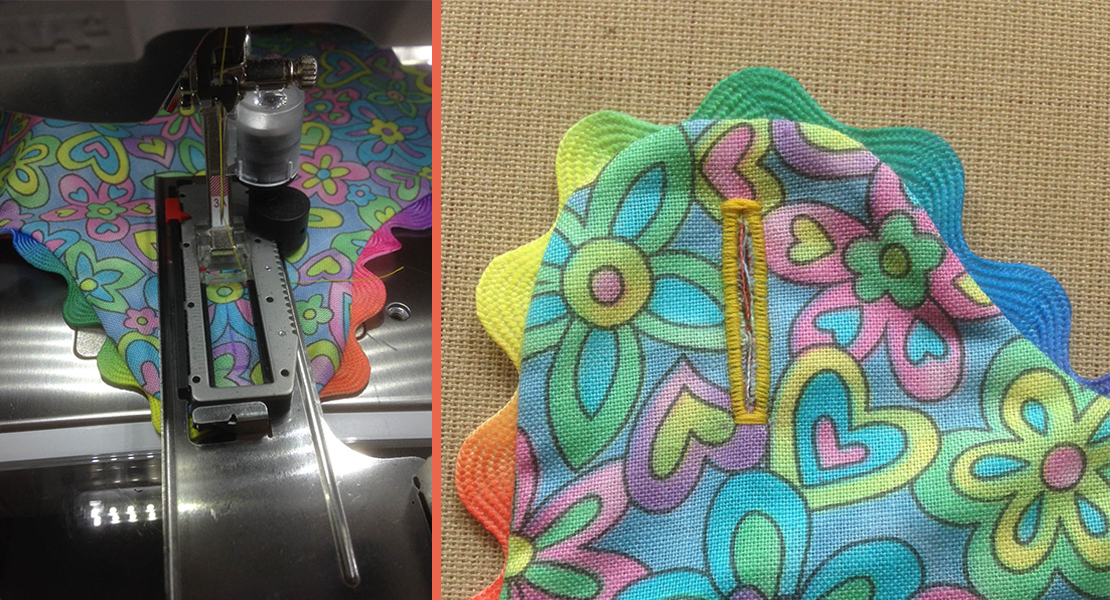
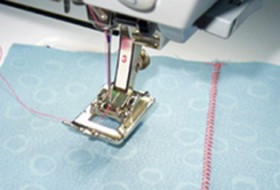
Align the marked line with the center of Buttonhole Foot #3/3C and stitch the buttonhole following the steps shown in your machine manual:

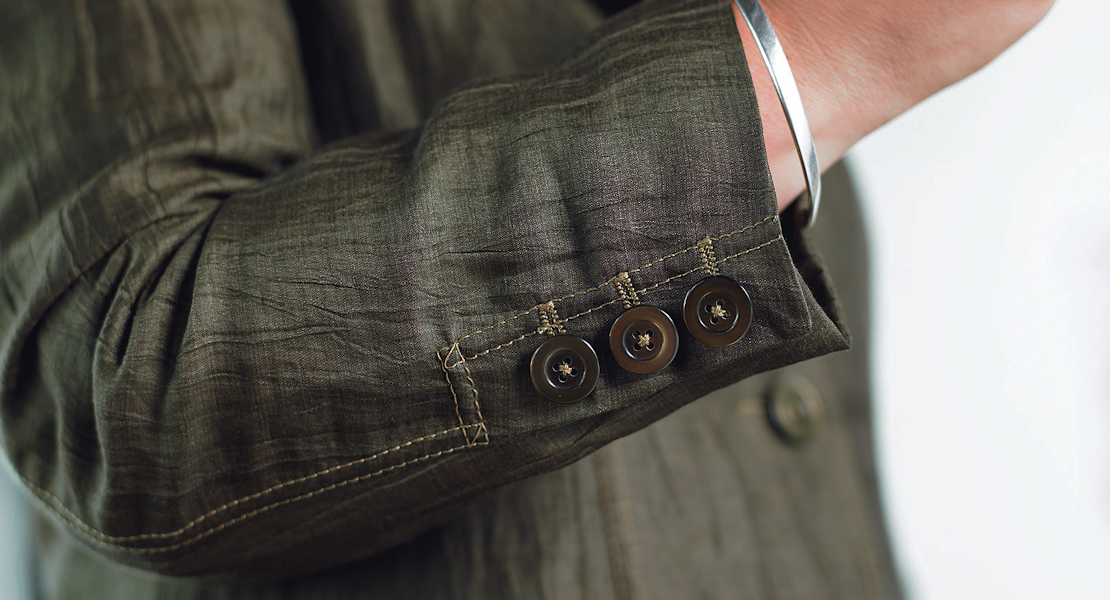
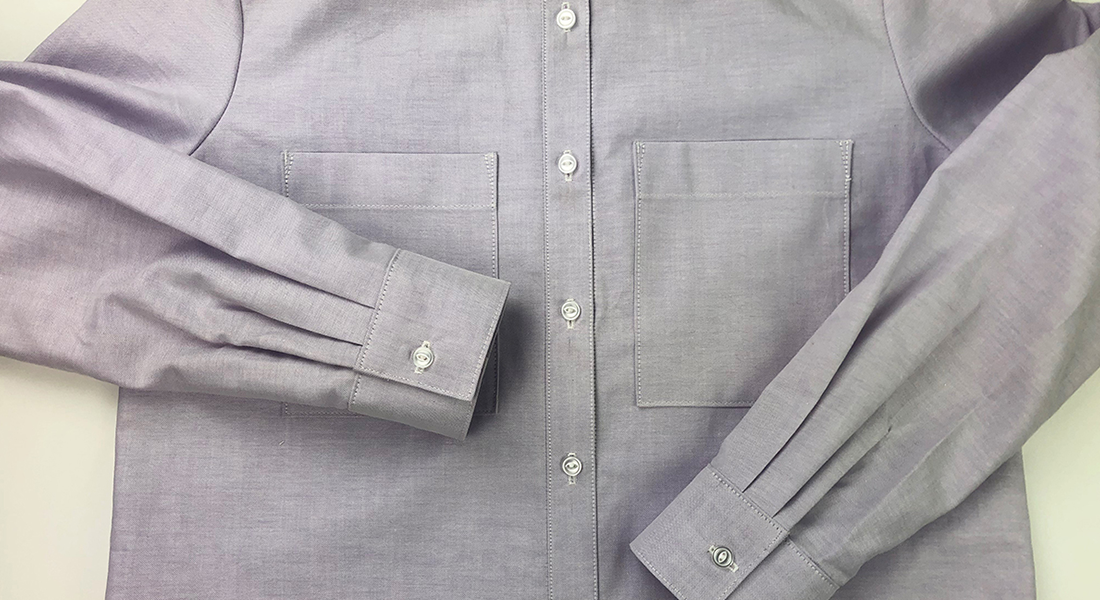
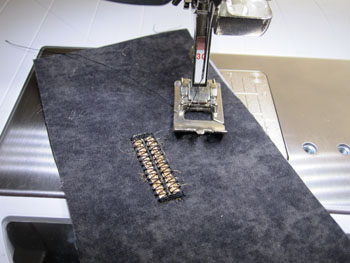
The finished buttonhole:
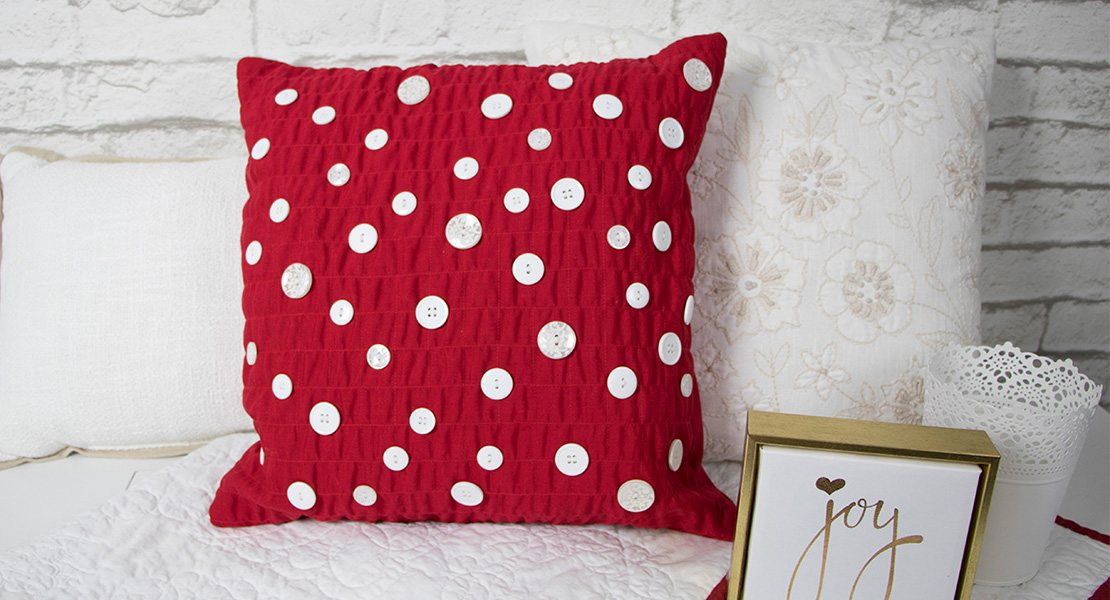
You can even use this foot to make corded buttonholes when added support and strength is desired. Try using a decorative cord and a buttonhole stitch with less fill when you desire a snazzy jazzy buttonhole.
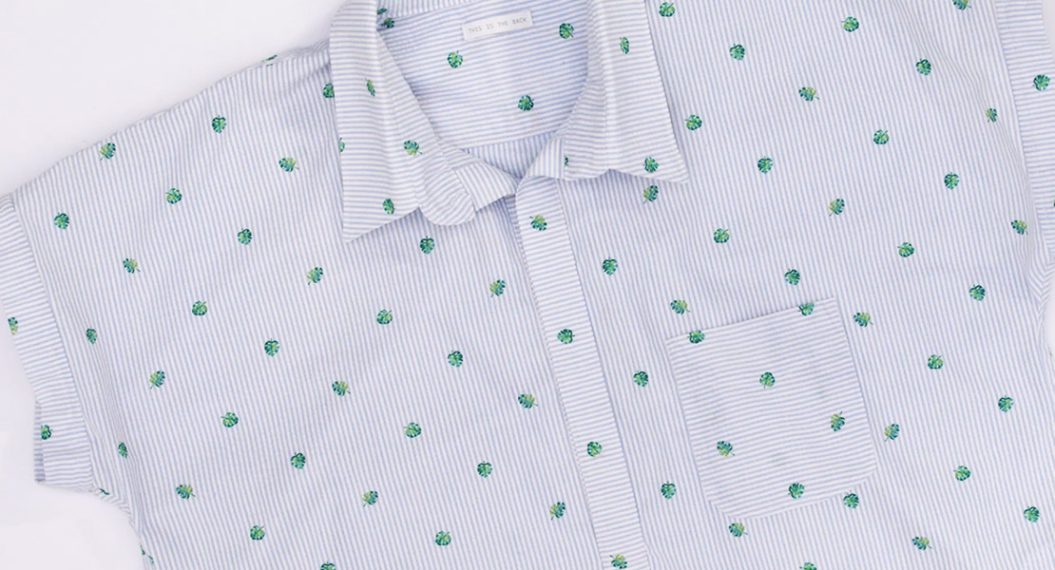
Now – what am I going to do with the sample swatch that I made for these instructions? I think it will make a perfect dog dress for my new Snorkie puppy – ‘lil Minnie – but first I have to find where she hid the sample!