Best Kept Secrets of Presser Feet
It’s not a secret that BERNINA offers the widest variety (and best quality) of presser feet for our machines. While each foot, by its name, suggests a specific use or purpose, there are usually more than one alternate use for every foot.
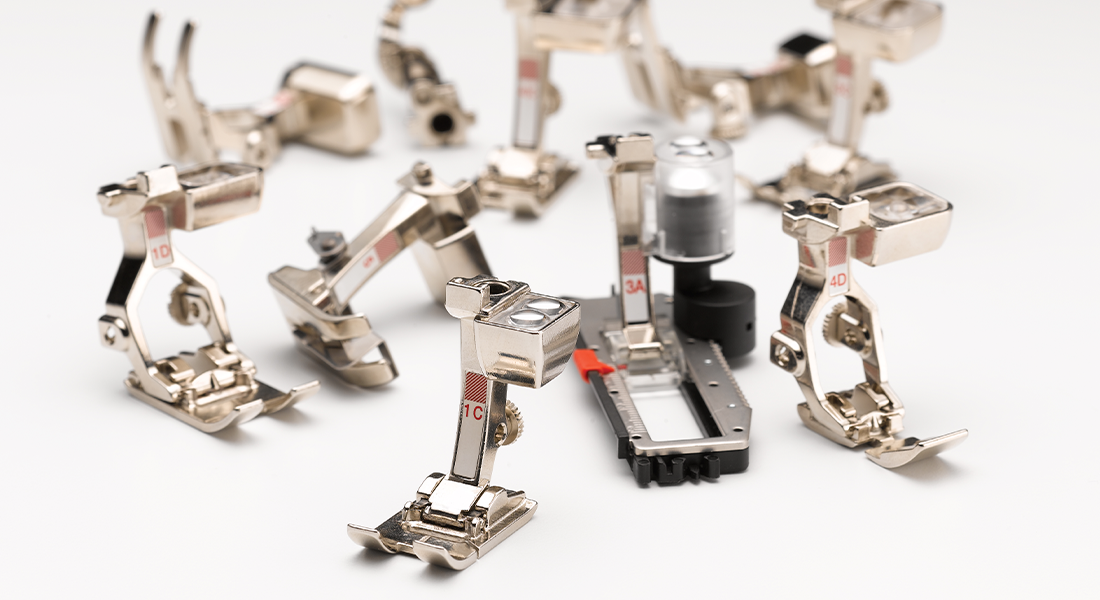
Here are five presser feet that may not grab the spotlight by their name alone. However, they deserve credit for some excellent alternate applications.
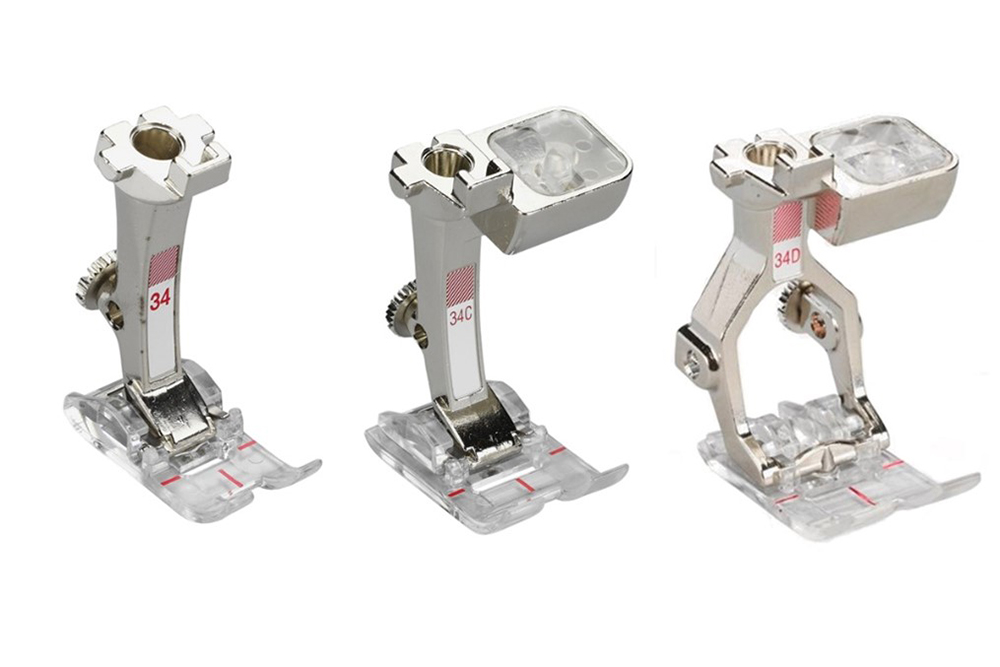
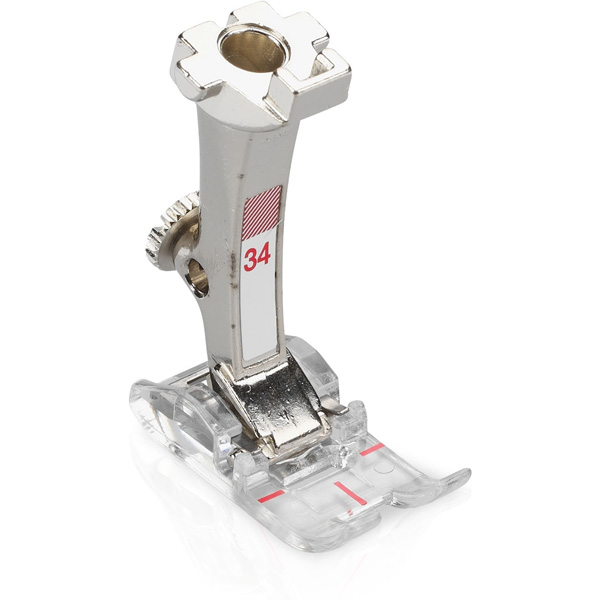
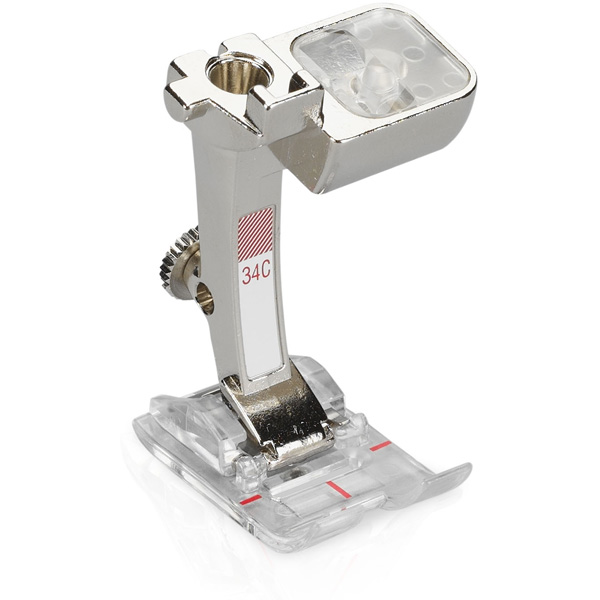
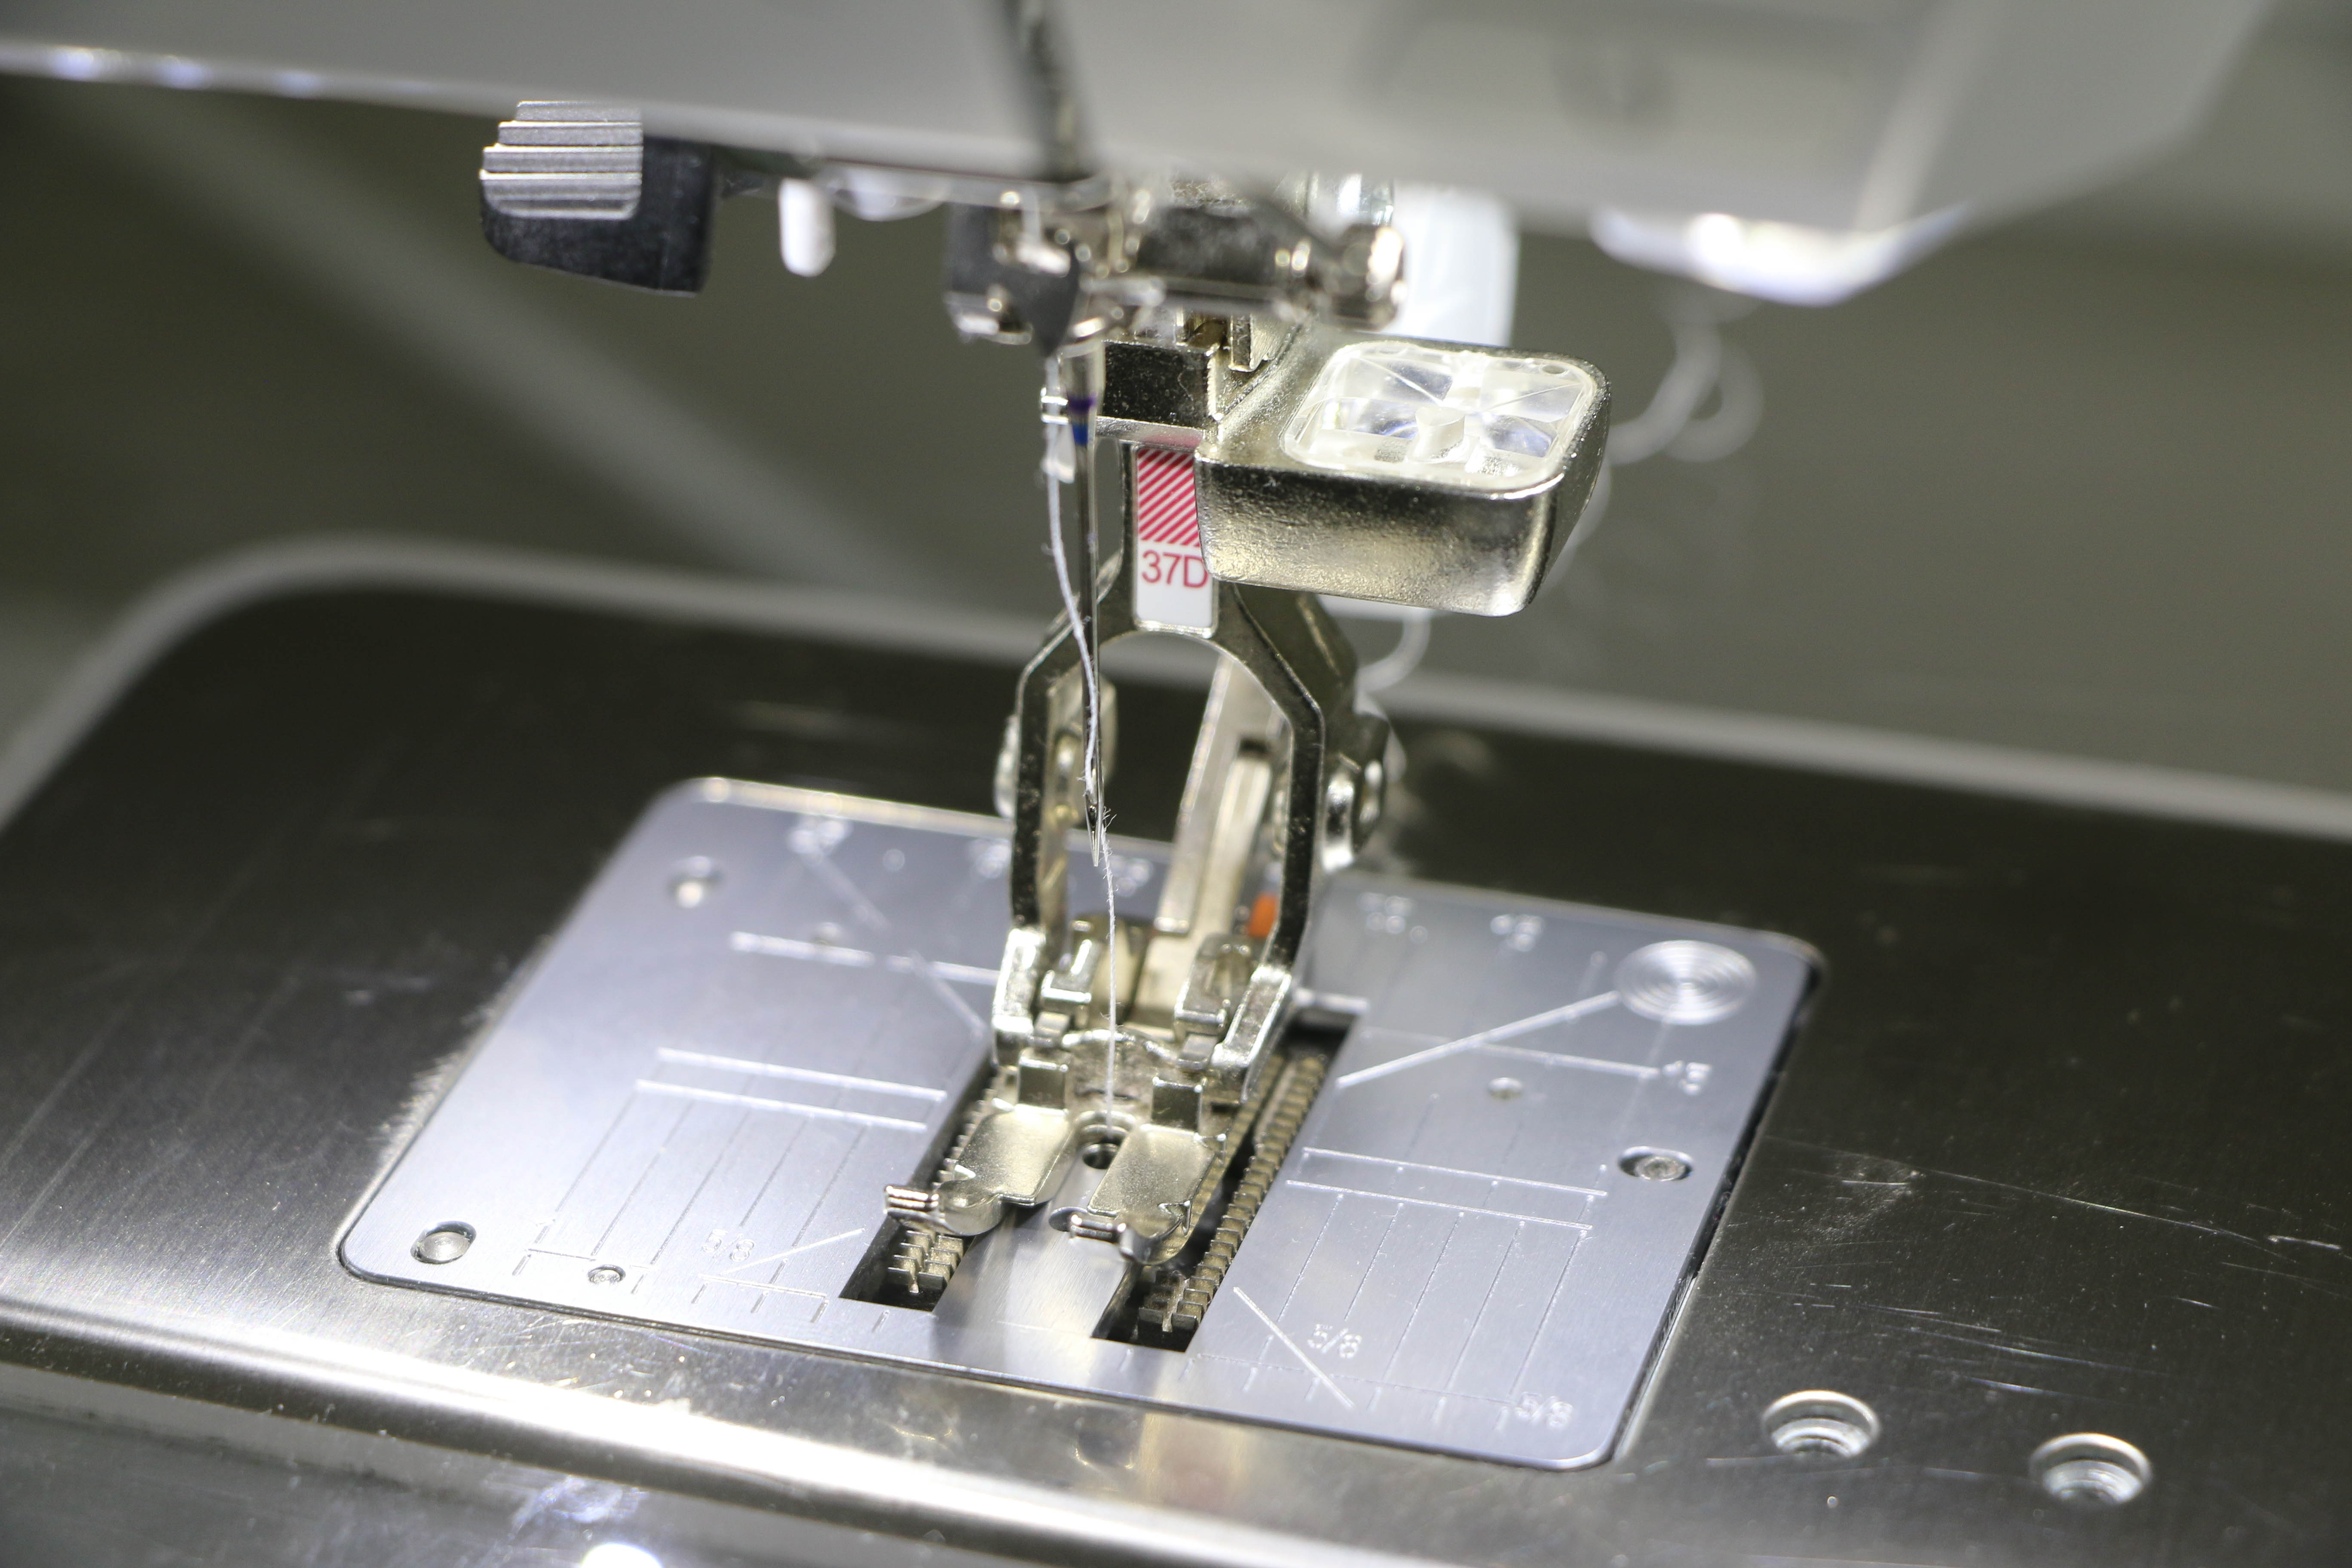
Reverse Pattern Foot with Clear Sole #34 / 34C / 34D
As its name implies, it’s a reverse pattern foot, so it’s well suited for regular and ‘back-and-forth’ stitching, as in:
- Regular straight stitching
- Reverse cycles stitches such as triple and honeycomb stitches
- Decorative stitches with low density such as open floral (not satin stitches)
The other and best part of Foot #34 is the clear sole, which lets you see where you are on the project.
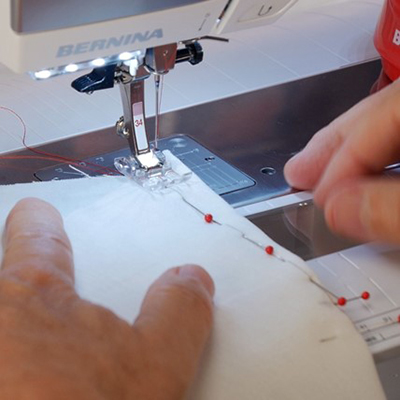
- Combined with the red placement lines, it lets you follow a line or path precisely by making sure the longitudinal line on the front of the foot is exactly on top of the line you marked on the fabric.
- A metal sole foot would cover such a marking line and prevent you from verifying your exact positioning on the project.
- The lateral (red) markings indicate where the needle will enter the fabric and make it easy to position the project exactly where needed to start and end stitching. This is essential when doing lines of stitching (like decorative stitching) that must begin and end at specific spots on the project. You can mark the start/end points with T-markings and then place them exactly under the foot, matching the red markings in the sole.
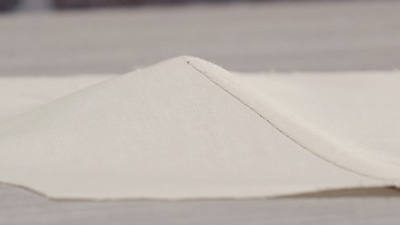
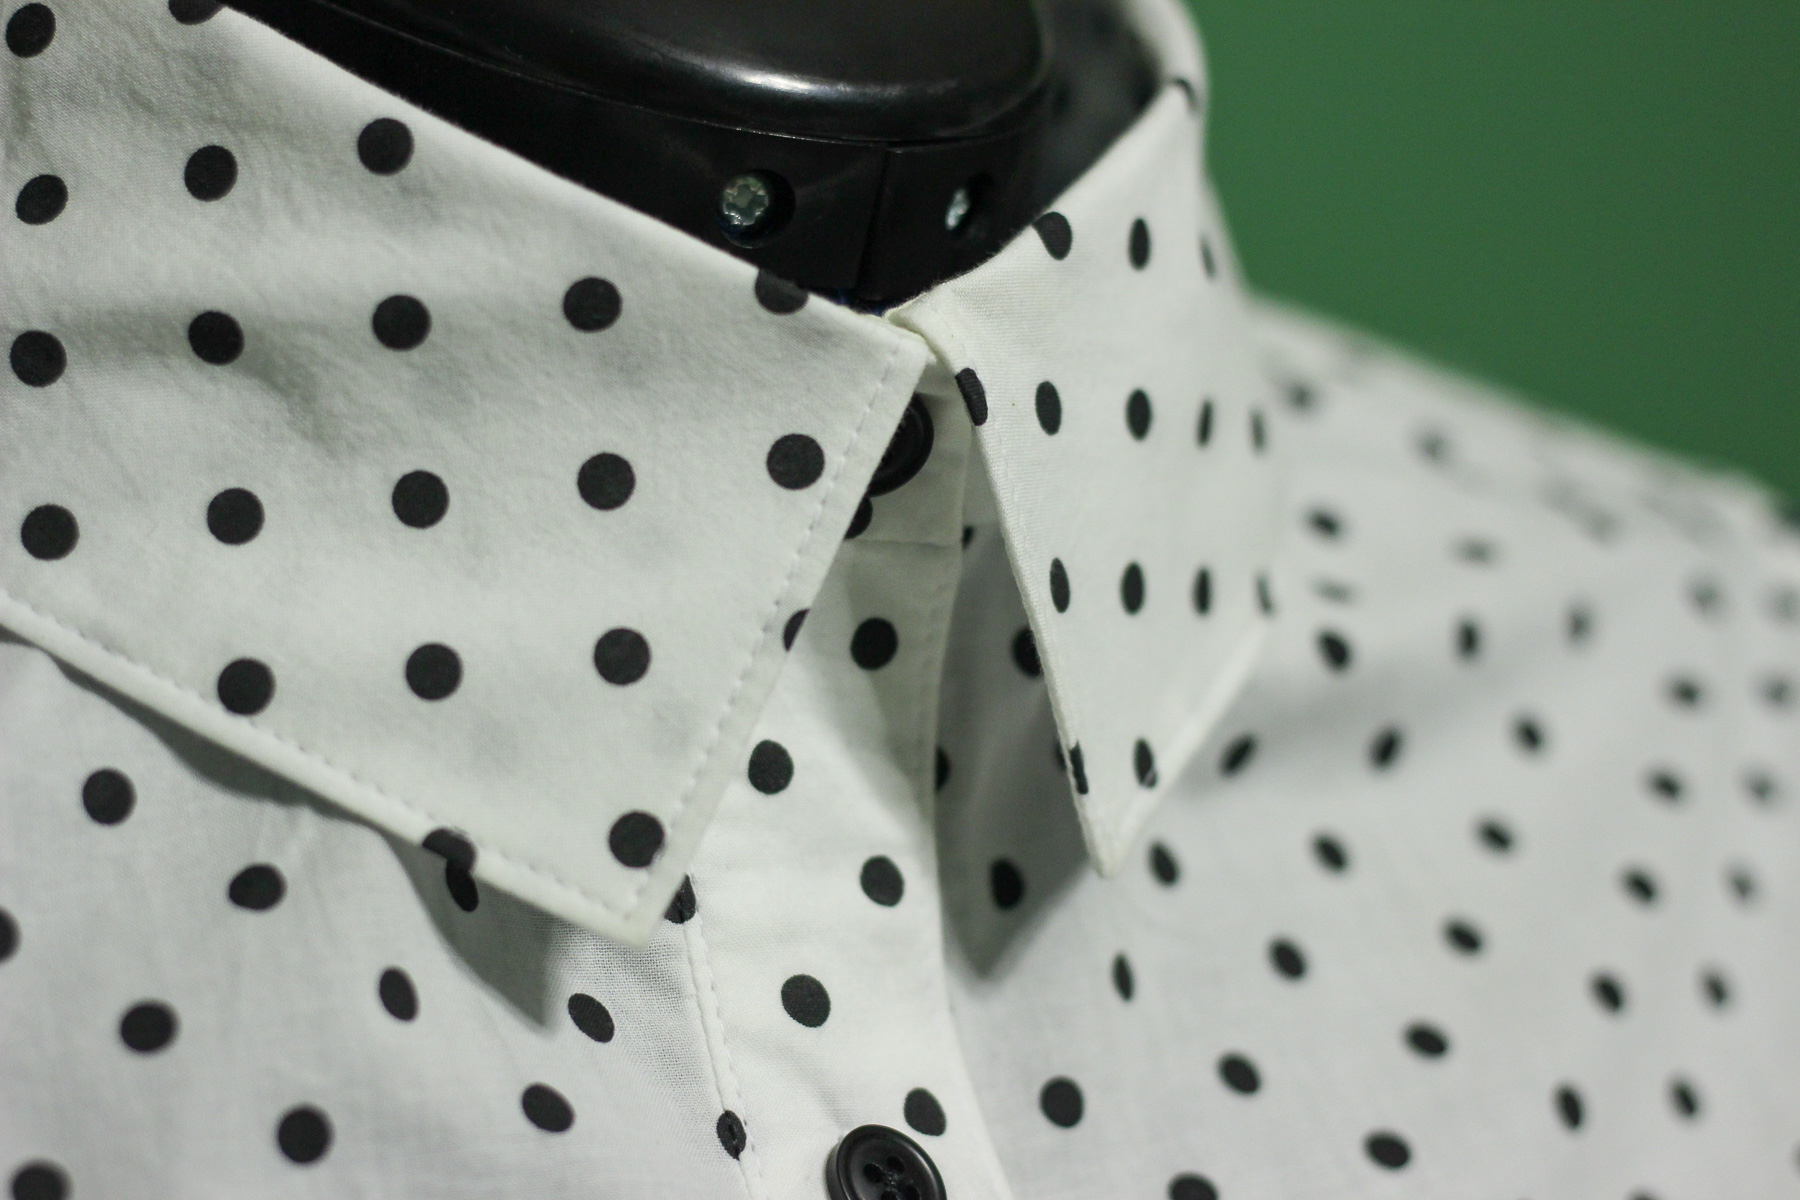
One ‘off label’ application I find this foot essential for is sewing darts. While a well-sewn dart is simple to execute, it does require however to follow the dart line precisely for accurate fit and proper shaping.
Then, without any special effort, the dart ends up formed up with a perfect finish!
You can find out more about sewing darts by reading the following article here on WeAllSew.com
Reverse Pattern Foot with Clear Sole is available in 3 versions:
- #34 for 5.5 mm machines
- #34C for 9 mm machines with or without Dual Feed
- #34D for machines with Dual Feed
Since I have Dual Feed on my current machines, #34D is my go-to version.
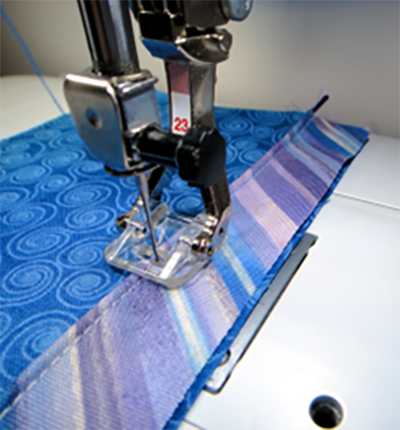
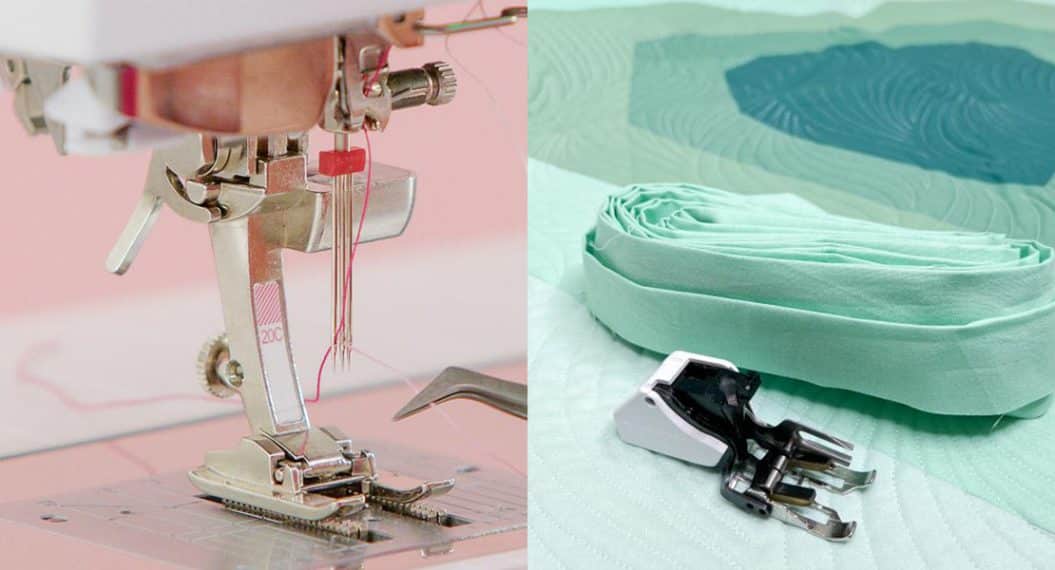
Clear Applique Foot #23
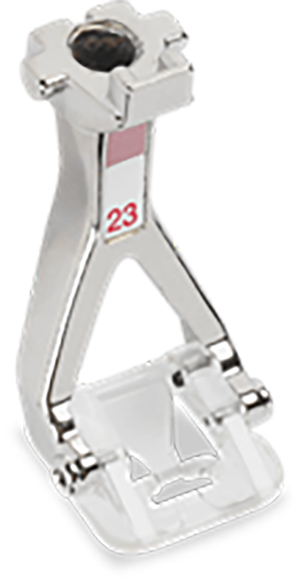
This foot is well known for its ability to do perfect narrow satin stitch appliqué. With its clear sole and tapered channel carved into the sole, it makes it a breeze to appliqué along even curvy contours. It’s also excellent for couching small cords.
And talking of cords… why not use it for miniature corded piping?! Foot #23 really shines for this application. The process will be the same as for corded piping made with presser feet #12/12C or 59C/60C, just with smaller dimensions. It’s also best suited for lighter-weight fabrics. Miniature piping is great for heirloom projects.
Tip: For a tinted corded piping, use a lightweight fabric like handkerchief linen to wrap a colored cord. The piping will show just a hint of color for a delicate and distinctive effect. Cords up to No. 18 in size can be used successfully with this foot.
Clear Applique Foot #23 can be used on machines of all types (5.5mm, 9 mm with and without Dual Feed)
For a tutorial on how to make mini piping, see this post here on WeAllSew.com

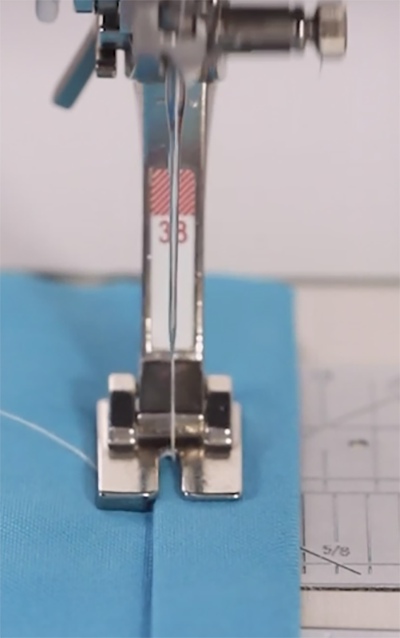
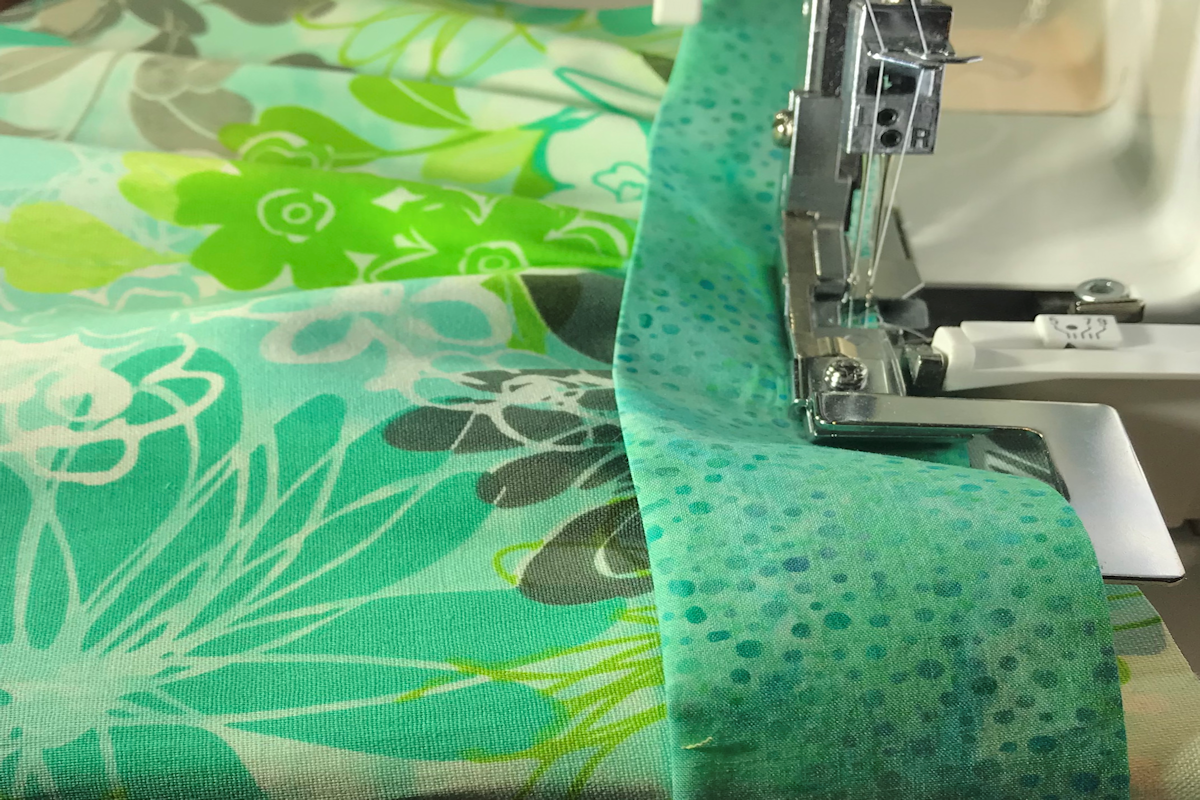
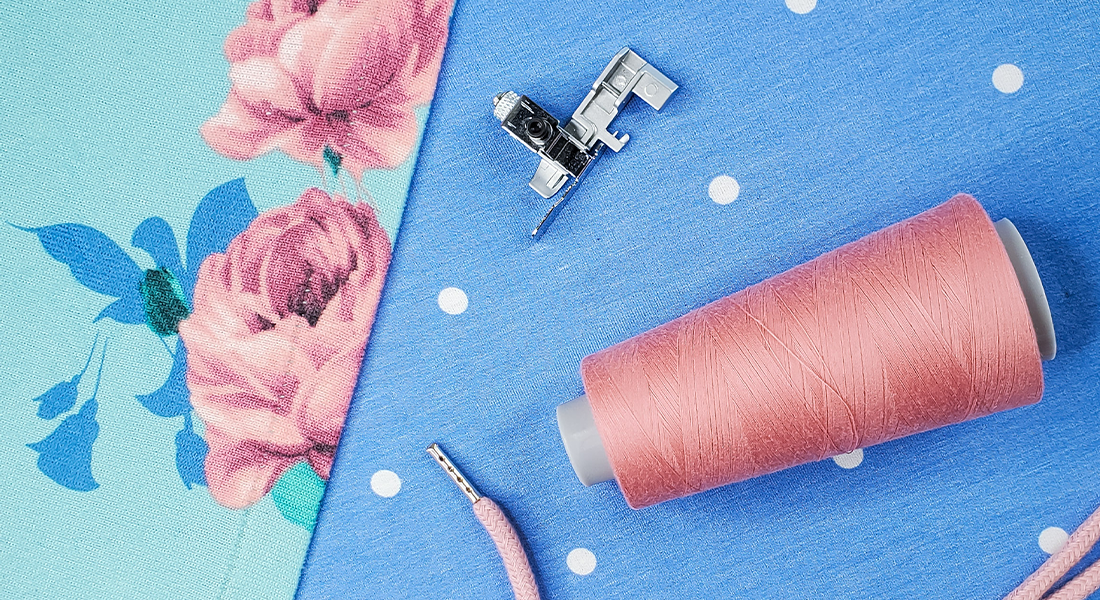
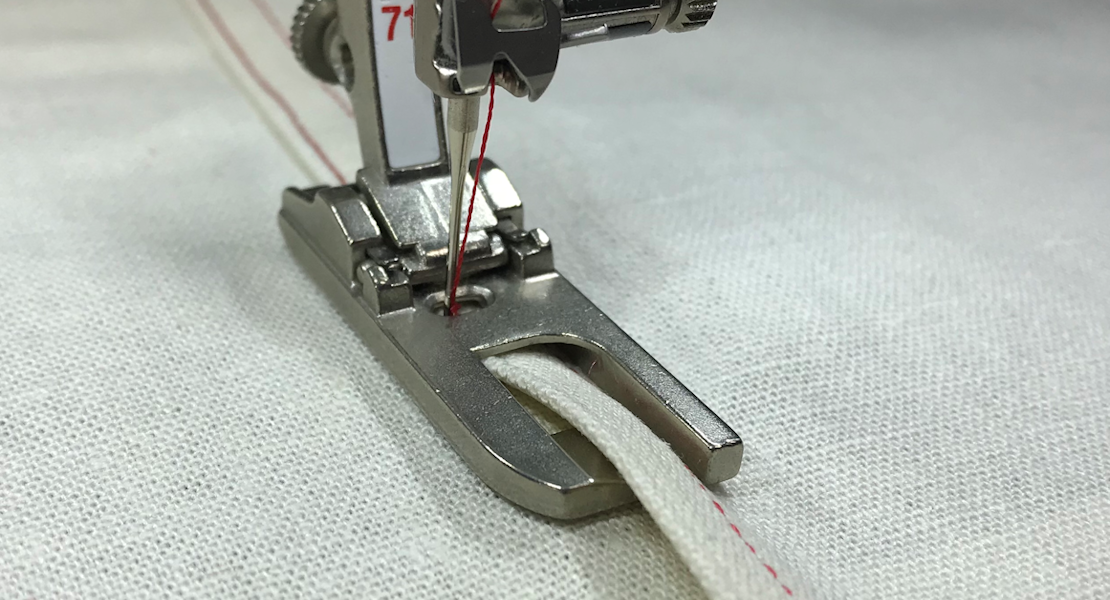
Piping Foot #38
The original design of this foot allows it to sew on flat mini piping. By placing the foot with the left (thicker) toe off the piping and the right (thinner) toe over the piping, you can attach the piping without distorting it.
One small detail makes this foot also very useful for stitching on bindings, especially self-bindings (from the backing fabric). I use self-bindings whenever I want a layered or quilted piece to lay perfectly flat, like my art (wall) quilts, table runners, placemats, etc. Since the backing fabric is double turned to the top, there is no added bulk under the piece, and it can like perfectly flat.
Now back to that little detail, there is a ‘nook’ carved out of the inside edge of the (thick) left toe. That nook lets you guide the inside folded edge of your binding to ride right against it, placing the (centered needle) right on the edge of the binding, for perfect placement of the seam.
Other uses for Piping Foot #38 include:
- Sewing on hook-and-loop tape: butt the edge of the tape against the nook in the left toe and sew with a straight stitch of length 2.0 mm
- Sewing over uneven layers: g. stitching the edge of felled seams
- Mock hand-picked binding stitch: using the Narrow Blind Stitch (aka invisible appliqué stitch) from the Quilting menu.
Note: availability of this stitch varies by machine and the stitch number may also be different on your machine)
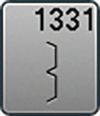
Use Stitch #1331 (or select the regular blind hem stitch) and alter is as follows:
- mirror-image left/right
- Stitch Width = 0.9 mm (and no wider! So the stitch fits in the opening of the foot)
Note: don’t ‘select’ the presser foot for this technique, even if your machine has that option. Selecting foot #38 would limit the stitch width to 0.5 mm, which would be too narrow. - Stitch length = 1.2 mm
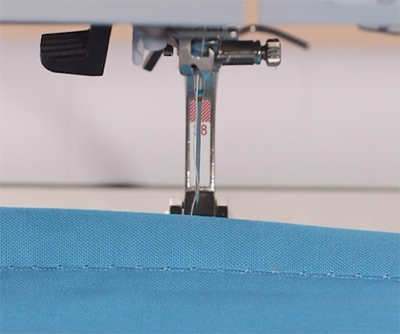
- Sew with the straight stitches falling just off the inside folded edge of the binding. The small zig-zag stitches will take just a small bite into the folded edge of the binding and will look like you hand-stitched it and it looks great!
- TIP: sew slowly! I usually don’t watch my needle while stitching (I get buggy eyed) but for this technique, you have to monitor your alignment to keep the straight stitches off the binding.
- This is the result.
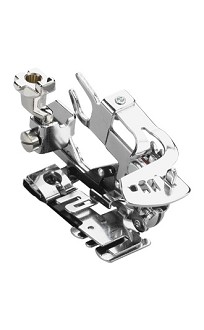
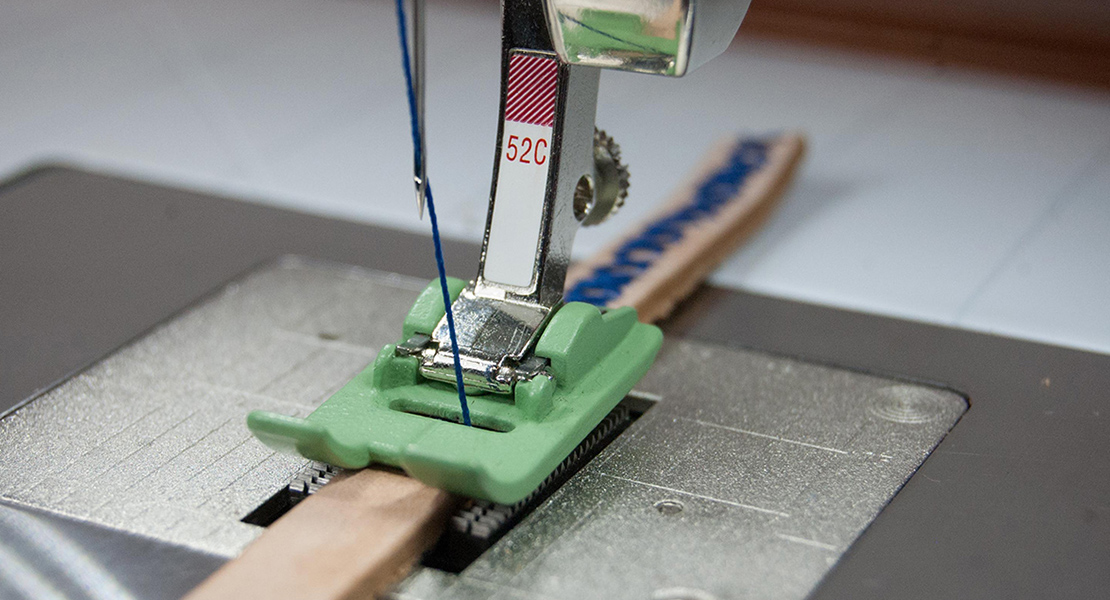
Straight Stitch Foot with Non-stick Sole #53
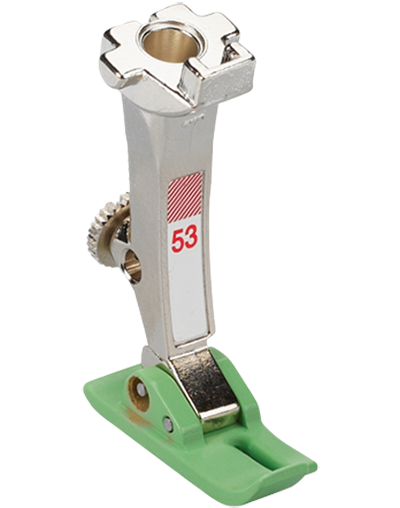
This foot is an evolution of an old classic. And I mean OLD classic. Way back, sewing machines in the 1930’s (and for some time beyond) came with this size and shape of presser foot as standard. The evolution part was to add a non-stick coating to help the foot glide over sticky or clingy materials. Think vinyl, leather, suede, etc.
The shape of the foot is great for many things:
- Precise seaming, thanks to it being a straight stitch foot
- Size of the toes makes it possible to use 3 mm (1/8 in) and 6 mm (1/4 in) seam allowances, and that can be put to use also for top stitching.

- Also, the narrowness of the sole makes it ideal for assembling projects with curved seams. One of my favorite applications for Foot #53 is sewing armscye seams and pants crotch seams in garments. The small footprint makes it easier to sew around tighter curves and the non-stitch coating makes that even easier.
Tips:
- For straight seaming with a straight stitch foot, I always use the Straight Stitch Plate for my machine.
- To preserve the coating under the sole of the foot, start and stop your seams on the fabric (right on the edge).
Since I mentioned stitching on leather and suede above, here’s a tutorial on WeAllSew.com with tips and tricks for Sewing with leather, including with Foot #53
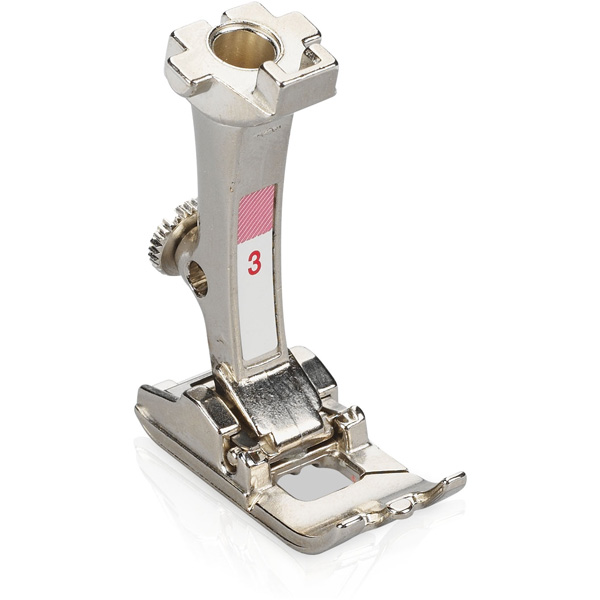
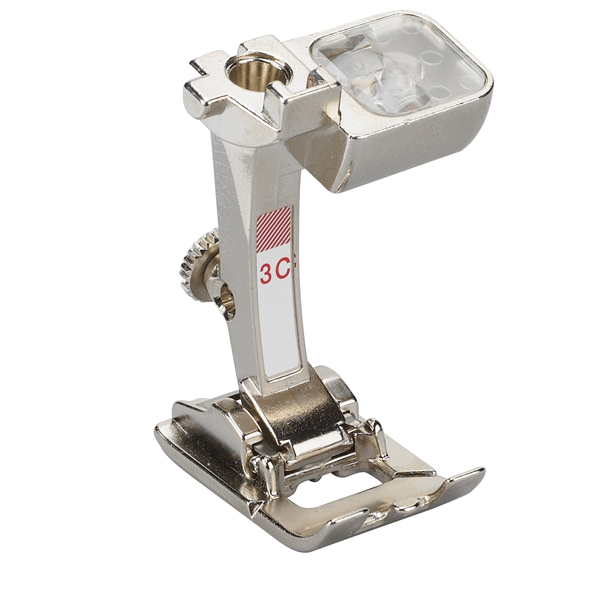
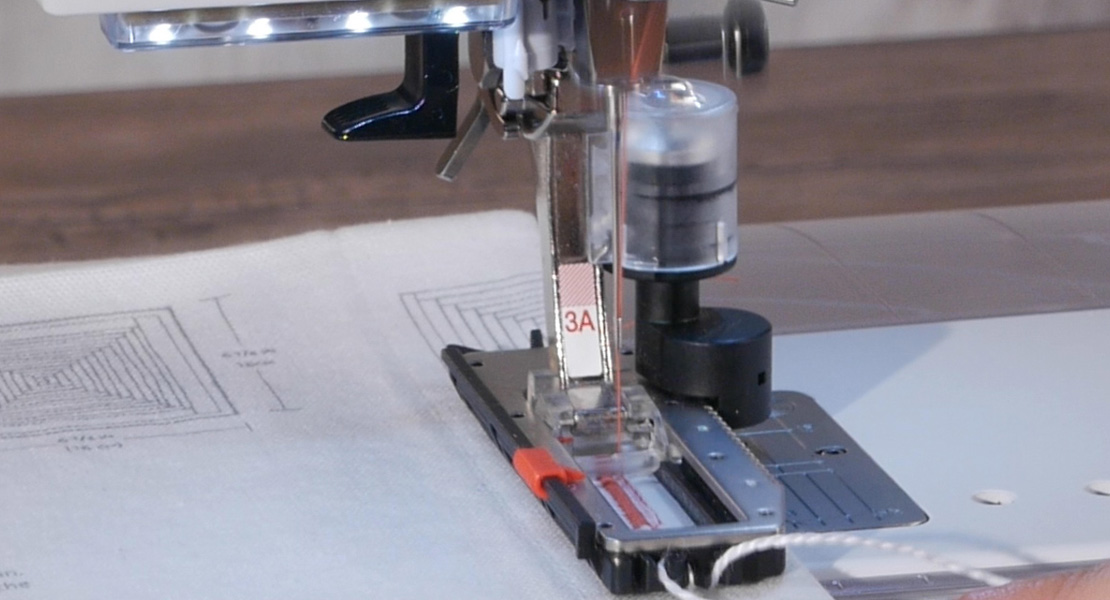
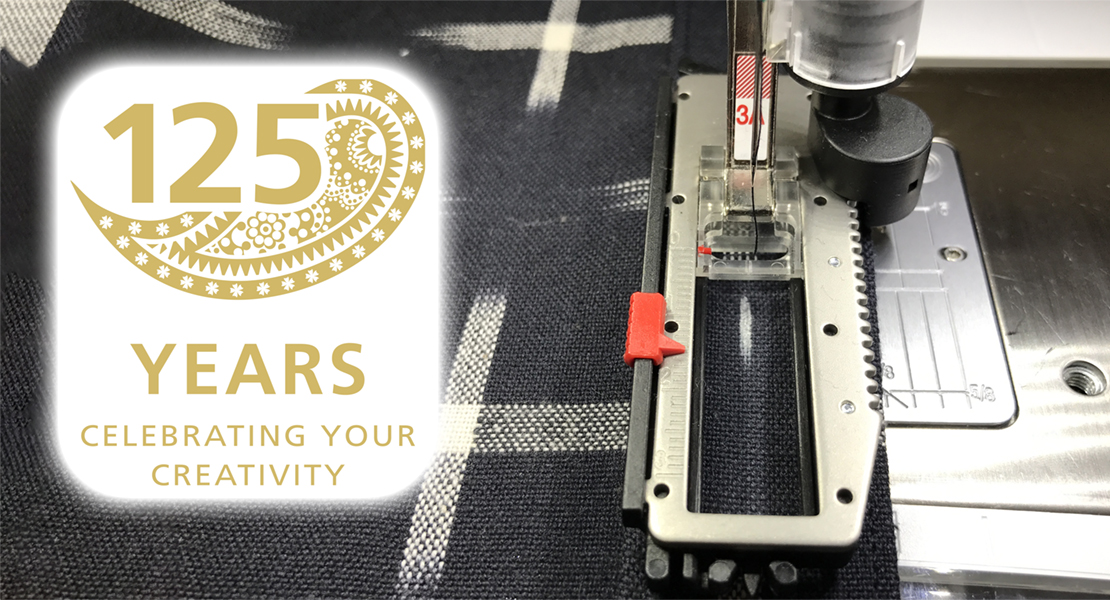
Buttonhole Foot #3/3C
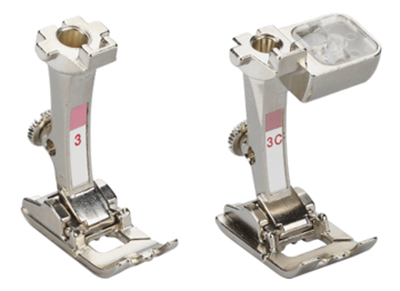
Often referred to as a ‘manual’ buttonhole Foot #3/3C, this foot design lets you take buttonholes to another… aka larger dimension.
The Automatic Buttonhole Foot with Slide #3A or 3B feet can be used to stitch buttonholes up to 29 mm long (1.15 in), which is plenty long for most usual buttons. But what if you want to make even larger buttonholes? Or even longer slits to pass a strap through?
Enter the plain Buttonhole Feet #3/3C. Their design is a classic.
- The two channels carved into the sole will help track your buttonholes, even when they get longer.
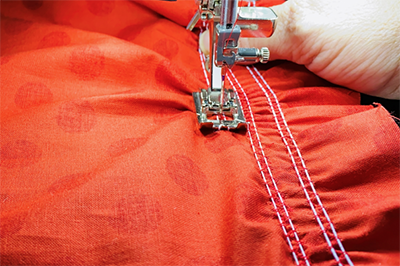
- The prong at the center front of the foot lets you place a (wrapped around) cord under the foot so you can cord your buttonhole.
- The channels under the foot also let you stitch over 2 cords, which can be used for gathering fabric, especially over long lengths.
- Foot #3 is suited for 5 mm machines
- Foot #3C is suited for 9 mm machines
- Tip: When using cords under the foot, test for the stitch length as cords will add resistance to the normal feeding of the fabric. You may need to increase the stitch length a bit.
For ideas and applications for Buttonhole Feet #3/3C, see the following blog post here on WeAllSew.com
Used Products
What you might also like


15 comments on “Best Kept Secrets of Presser Feet”
-
-
For your B 770, I would consider the straight stitch plate a must, for both straight stitching and for embroidery (if you have the module). For stitches that don’t require the full 9 mm width (e.g. blind hem at 4.5 mm wide), the 5.5 mm is always advisable to support the fabric right next to the needle penetrations.
You can use the narrow feet that came with your virtuosa 160 on your B 770. They may not offer the best traction is some cases but it’s still worth a try. Some feet don’t come in wide format (e.g. the Jeans Foot #8/8D, Blind Hem foot #5) and can still be used on the wider feed dog machine.
In all cases, testing first is the key 🙂
-
Thank you Sylvain. I do have the straight stitch plate for embroidery but rarely used it except for embroidery so now will consider it more often when straight stitching where I don’t require the 9mm width. I have many feet from the Virtuosa 160 although the 770 feet collection is growing. I’m so glad to have the 770 Upgrade now too as it is sometimes smarter than me in reminding me to stop and check ?.
-
#26 has improved my appliquéing unbelievably! I love it!
-
-
-
Hello Sylvain,
For my 570QE, what foot would you recommend when re-attaching velcro to a winter coat? The old velcro has come off and I am having some trouble with attaching the velcro because the coat is bulky. I always look forward to your articles. They are very informative. Thank you. Barb-
I would try foot #38 first. If the bulk gives you difficulties in feeding the project, the walking foot is always a good option!
-
-
I appreciate the 34D the most! I also use the edge stitch foot5 and the zipper foot4D.
-
I like using the 1/4 inch foot, walking foot and zipper foot
-
97D, 10 and 4. I absolutely love Bernina products! And…today is my birthday so winning would be fantastic!
-
Since I’m mainly a quilter I really use my walking foot, #37 and then the #20 (both 5mm and 9mm) for applique projects.
-
The presser feet I like to use are 37D, 97/97D and 26. I also like the easy on/easy off feature of all the presser feet.
-
Three favorite feet
1C
26
97d
I would love to win!
Embroidery is a sure love and also quilting for others! -
The Piping foot #38 with piping is a great idea. I am going to buy one before the end of the sale and are very excited to try it!
-
The foot I am using at the time is my favorite I love them all!!! Just sewed 100 buttons with my button foot!
-
If anyone from Bernina is listening, please make the number 53 foot in a metal version. I absolutely love this foot for making handbags, sewing curves and 1/8 inch seam. Its size is great for sewing in tight spots. This foot is so useful but the Teflon scratches easily. Please make a metal version too!
Leave a Reply
You must be logged in to post a comment.

Thank you for the tips…some new to me e.g. had not considered tip re: sewing darts and manual buttonhole foot was helpful. I have some feet referenced for my older Bernina (160) that I can use on newer machine (770), but do I need a special plate to use them, e.g. Foot #3 on 9mm machine – does it require a different plate to use it on the 770?