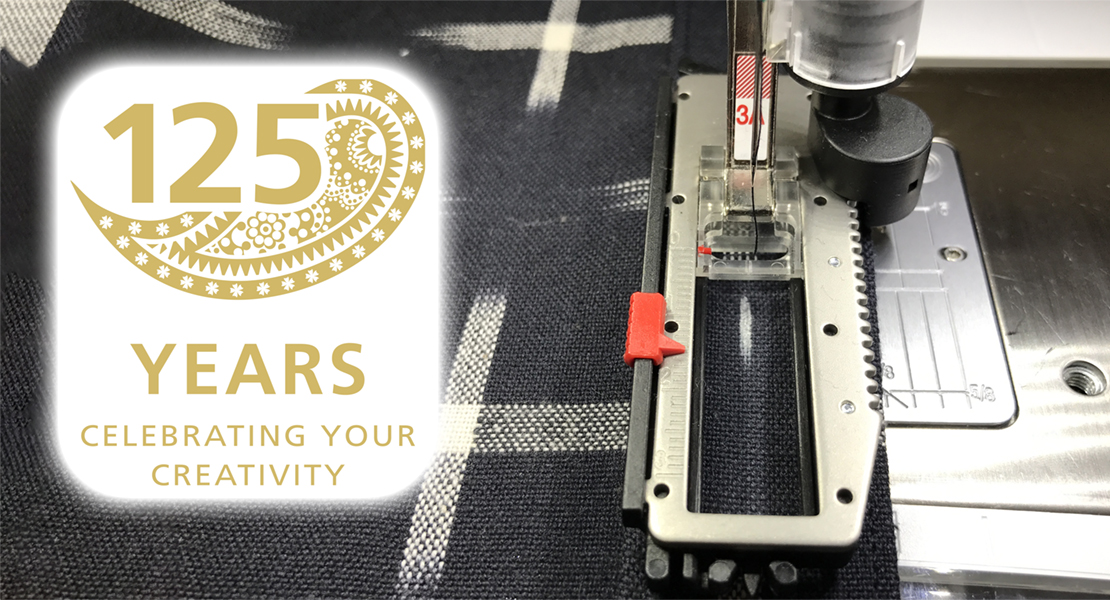
Adjustable Free-Motion Presser Feet
Adjustable Free-Motion Presser Feet are now available for vintage BERNINA models!
BERNINA has led the way in free-motion stitching since the beginning.
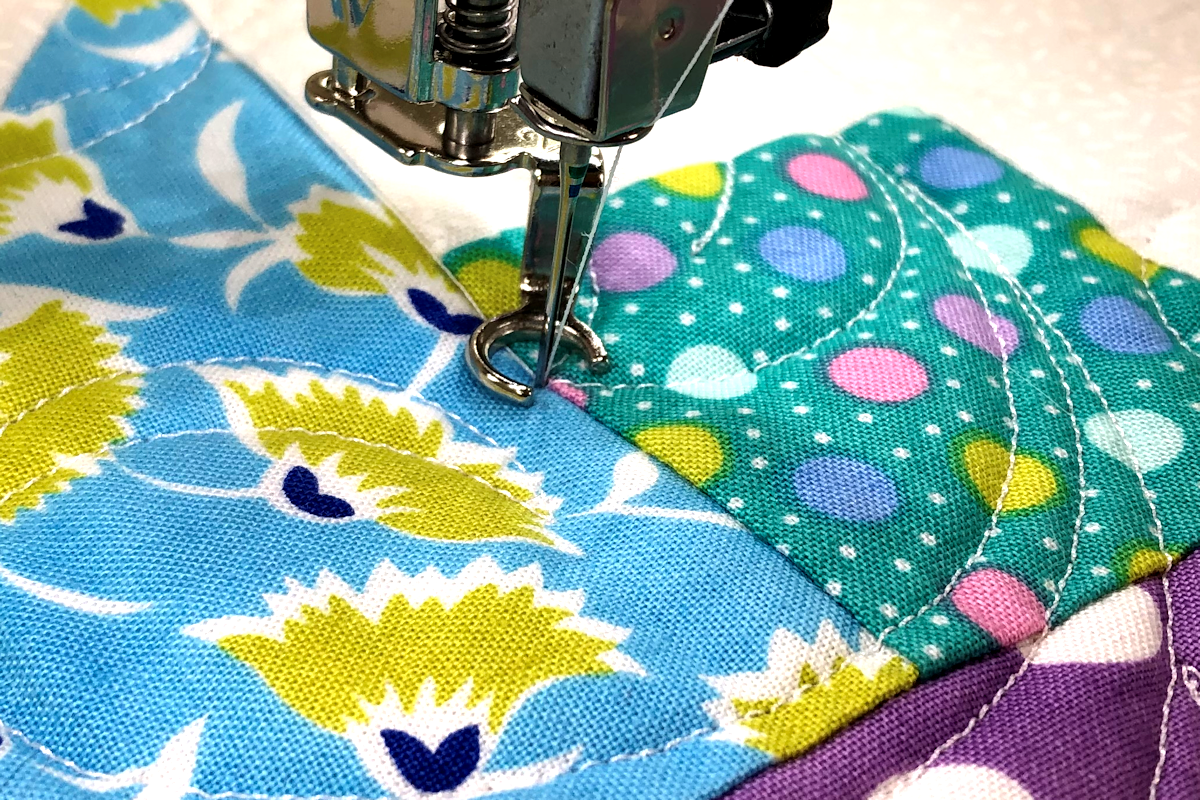
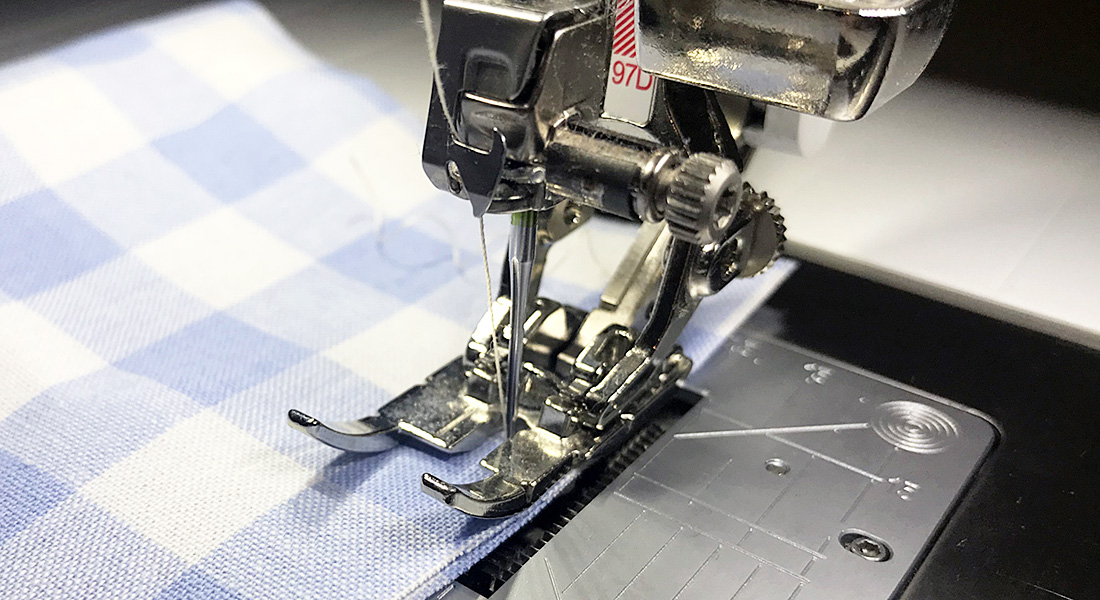
BERNINA sewing machines have been prized by quilters for a long time . . . and I mean decades! Thanks to the hopper mechanism built into the presser foot bar, BERNINA machines hold down the fabric (in this case, a quilt sandwich) while the needle is moving up and out of the fabric at the end of a stitch formation, while the take-up lever pulls the slack out of the thread. This means that skipped stitches on regular quilting projects have been very few and far between, granting BERNINA machines their reputation as outstanding stipplers.
This is great for mending, quilting and any free motion application. The fact that BERNINA was among the first sewing machines to let you drop the feed dog with (then) just a turn of a knob only added to their unmatched ease-of-use and performance for free-motion work. Oh . . . and the Free Hand System didn’t hurt either, by allowing the quilter to maneuver the quilt under the foot at the start and end of a run of stitching.
Now the above is all fine and good. Very much so. But what if your quilting stitch work is not of the plain free-motion type? What if you want to do guided and geometric quilting like rulerwork? Or stippling over quilts that are not always of the same thickness? Or on quilts that present dimensional elements (aka uneven terrain) like appliqués?
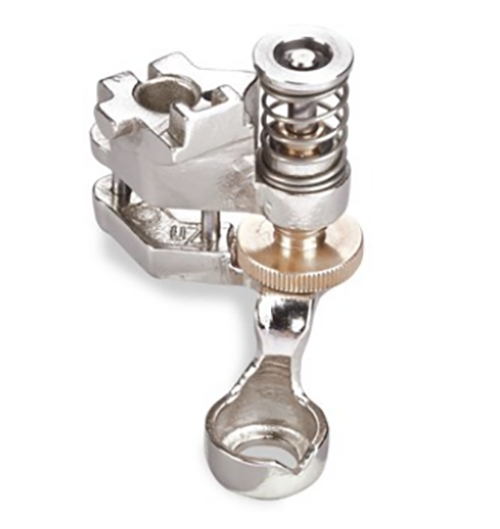
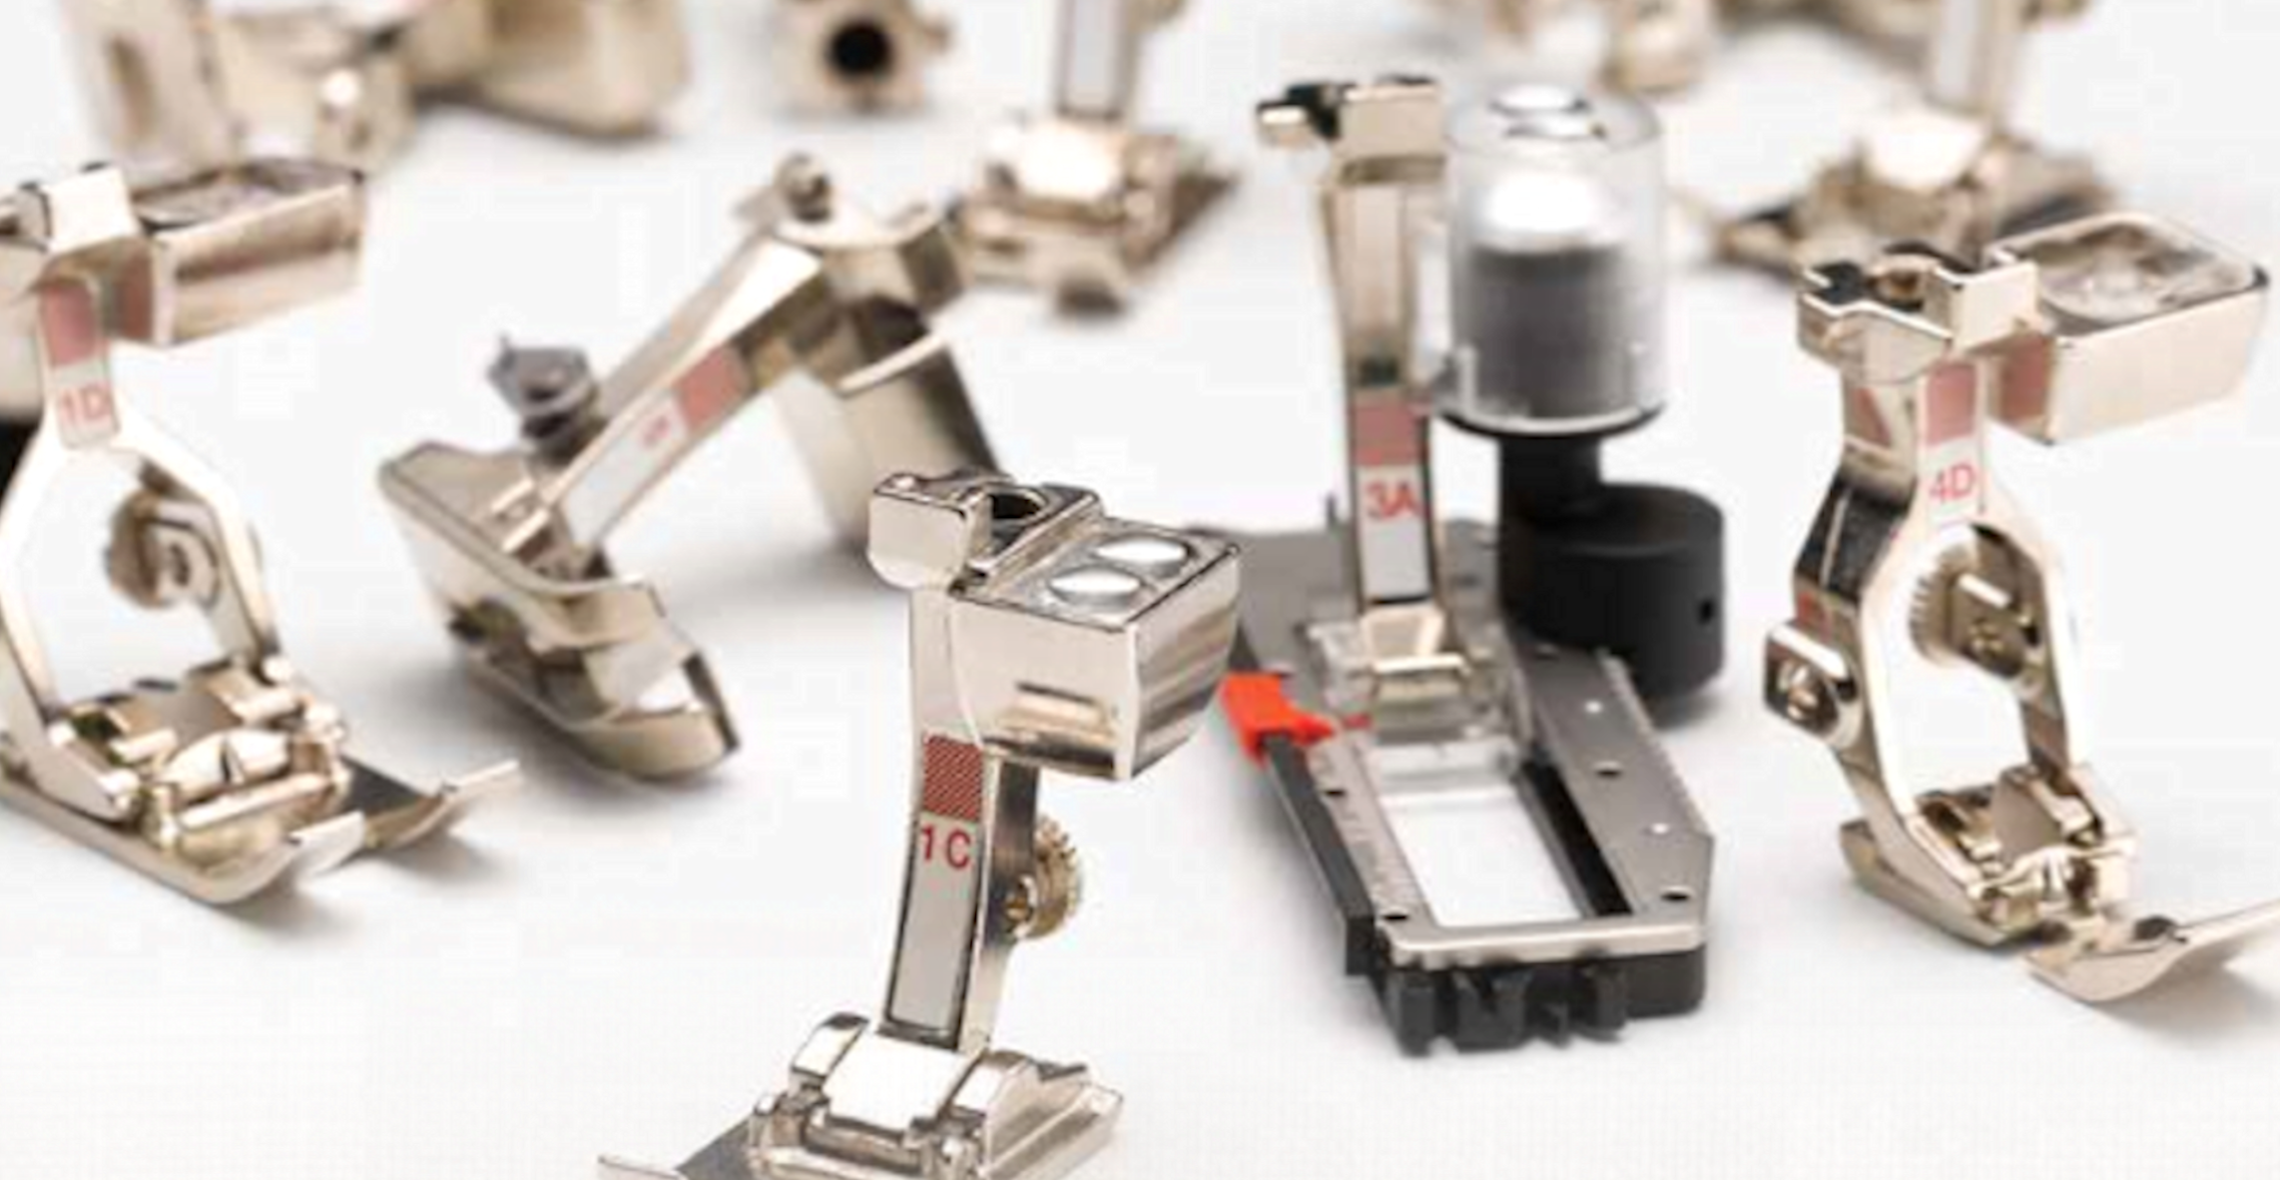
Enter the Adjustable Feet #72, #73, and #74. Because being flexible is a good thing!
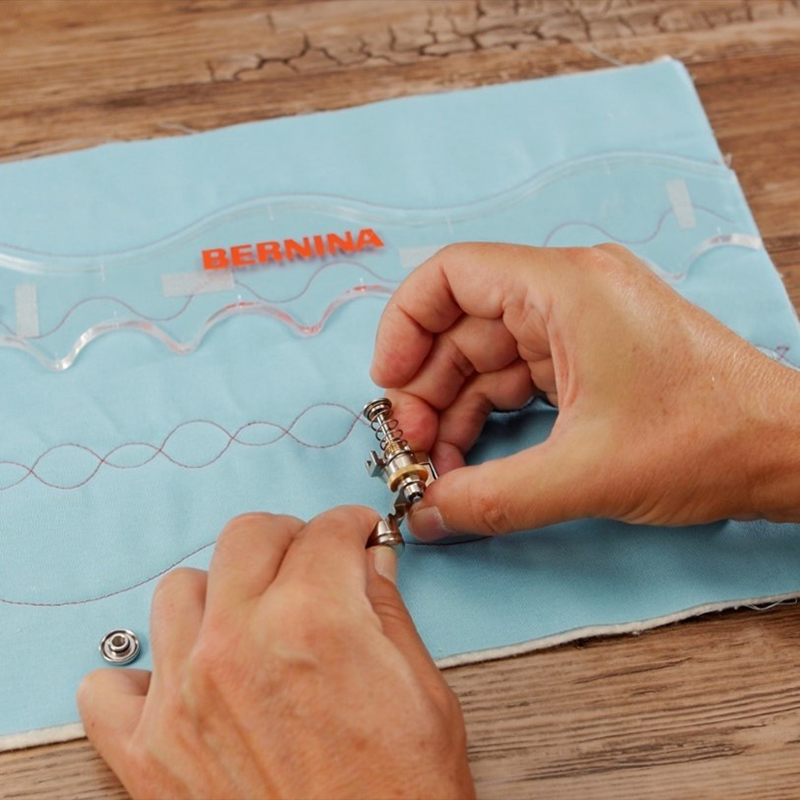
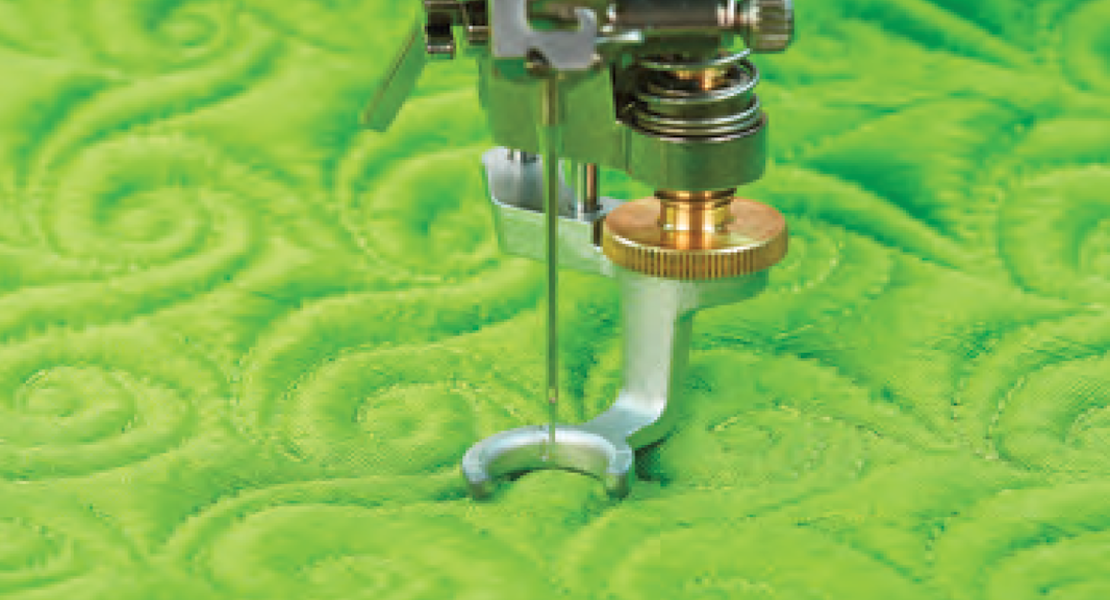
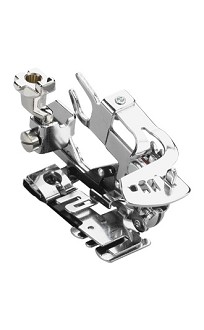
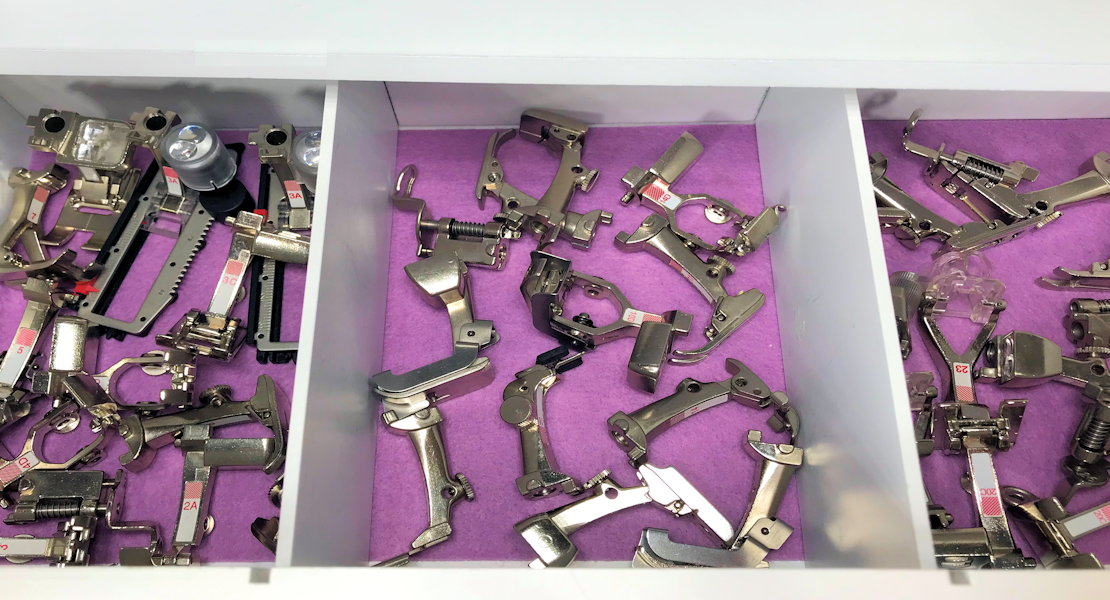
Our adjustable free-motion feet let you set the base elevation of the presser foot sole so that it will glide above (and clear of) the surface of the quilt, preventing accidental jabs or snags into the project. They are:
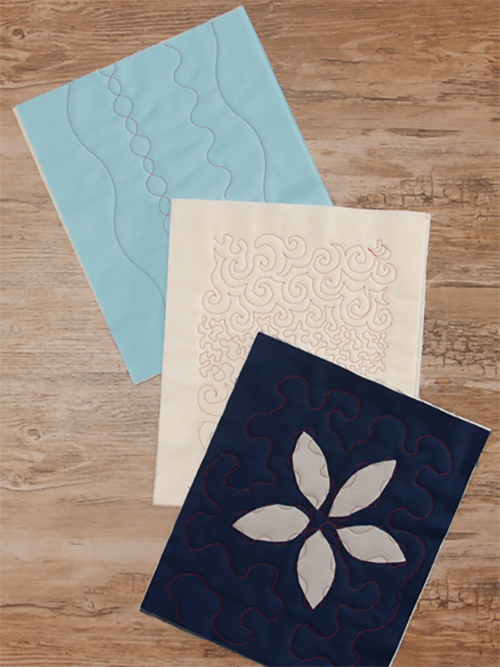
- Adjustable Ruler Foot #72: for ruler-guided stitching (without feed dogs)
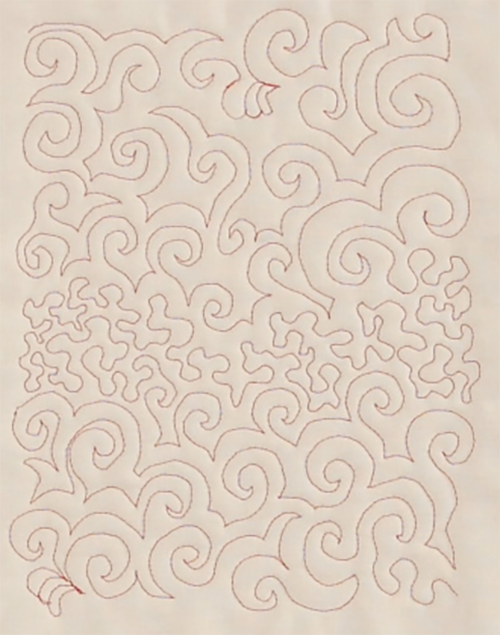
- Adjustable Stippling Foot #73: for an open view of your stippling work
- Adjustable Gliding Cup Foot #74: for easy gliding over uneven terrain.
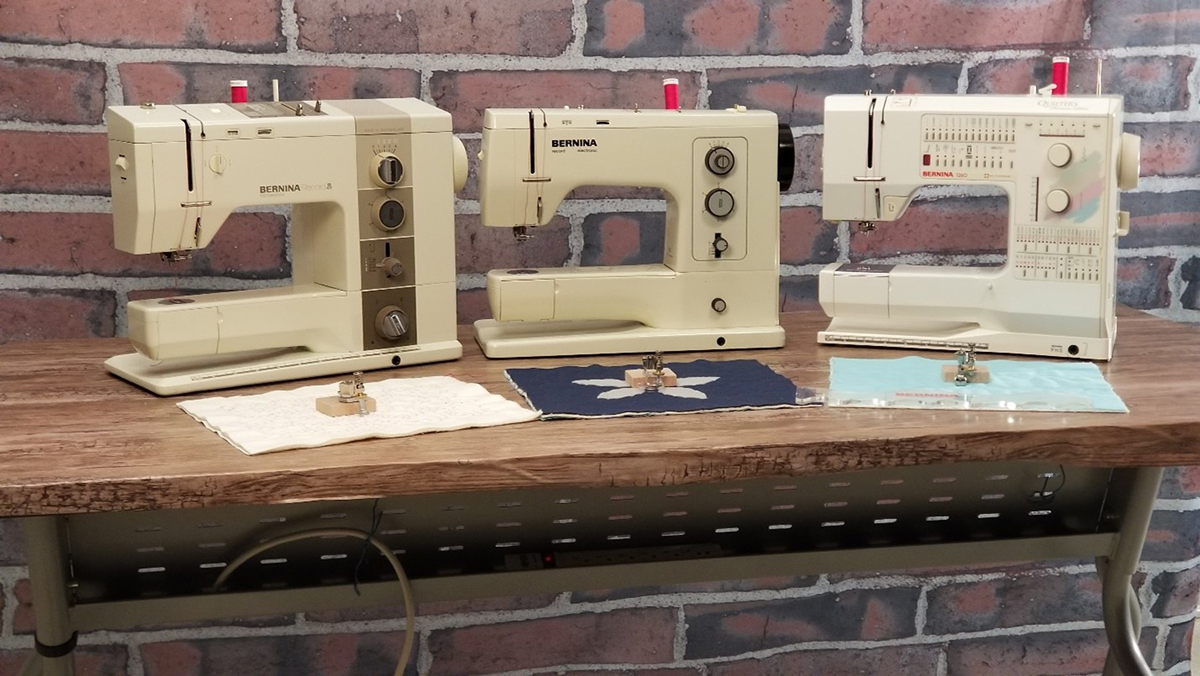
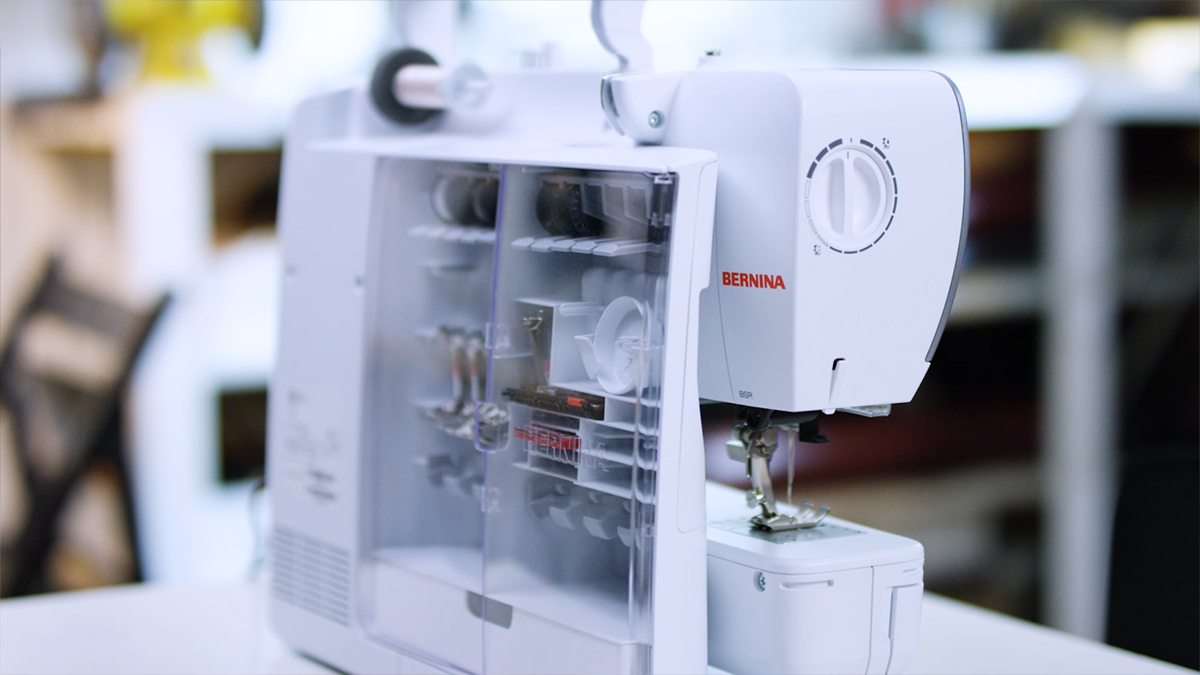
These feet have been available for recent and current models (made since 1997) for a while now, but just recently became available for vintage machines. By the way, the three machines pictured above are my own beloved B 830 from the 1970s, my B 930 from the 1980s, and my B 1260 QPE from the 1990s. It was a treat to take them out for a spin . . . and brought back a lot of good memories of my first years of sewing back in the ’90s.
Let’s review what makes each foot special:
For a quick review of each of these three feet, consult this article on WeAllSew.com by Susan Beck: BERNINA Adjustable Free-motion Feet
Adjustable Ruler Foot #72:
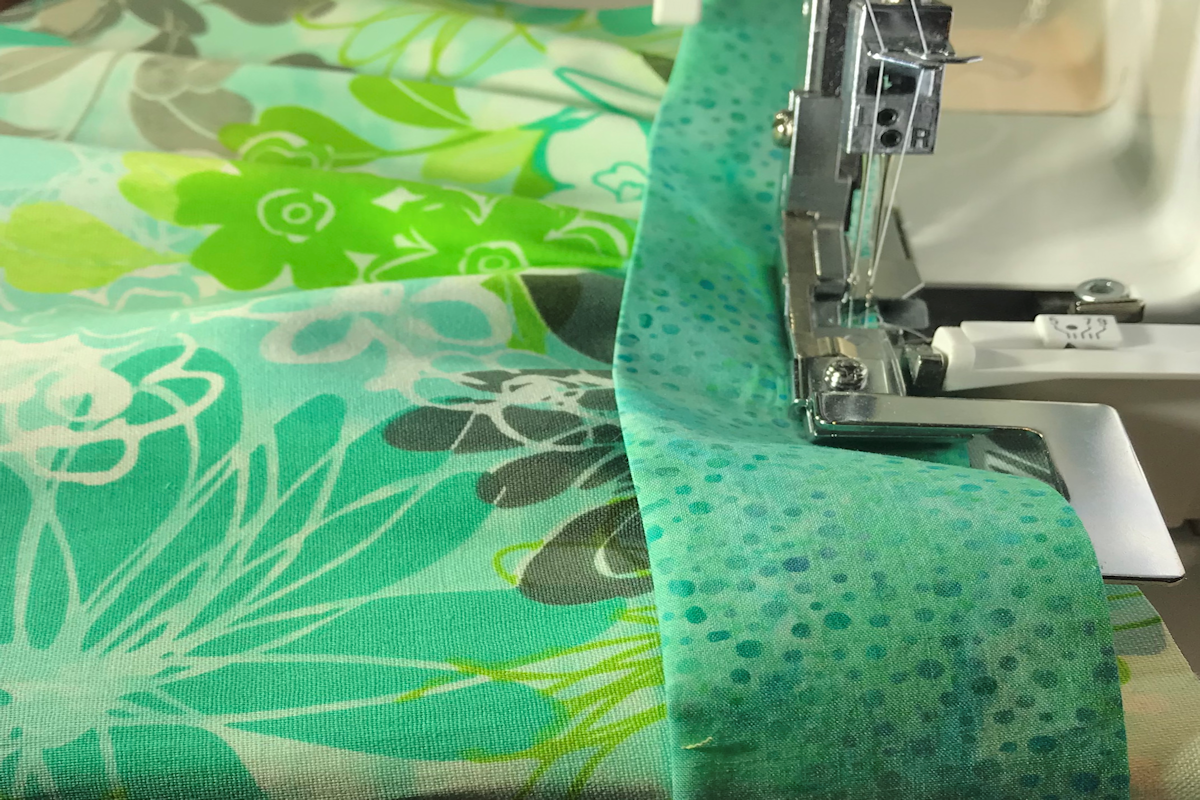
The fence around the base of the foot lets you follow a ruler securely. Where a standard hopping foot like Darning Foot #9 or Freehand Embroidery Foot #24 are great for stippling on thin quilts by themselves, they have a very thin sole that could slide under the edge of a ruler, especially if the quilt has a soft batting. That would lead to the needle coming down over the ruler with a broken needle promise. The fence (edge of foot) is tall enough to keep the foot securely beside the ruler and never under the ruler.
This foot, the first in this series, was developed after home sewing machine users and quilters saw the ‘cousin’ foot on our longarm machines. Given that longarm feet vary due to the different type of machine platform, the longarm version of the foot wasn’t suited for a household BERNINA, as it could be struck by the needle clamp and cause damage to the machine.
Since “seeing a good thing, is wanting a good thing”, BERNINA took the basic longarm foot design to the drawing board and adapted the foot to make it suitable for home machines, while adding the benefit of height adjustability. That’s thanks to the brass colored ‘screw’ you see in the middle of the foot. It lets you adjust the foot to the best height to fit the thickness of your quilt while the fence takes care of the guiding by riding securely along the edge of the ruler.
Using Adjustable Ruler Foot #72 is simple:
- Prep: Drop the feed dog and set your Needle Stop Up/Down to stop in the down position if that feature is available on your machine.
- Adjust the height of the fence (base of the foot) to suit the project thickness.
TIP: Do this with the foot in the down position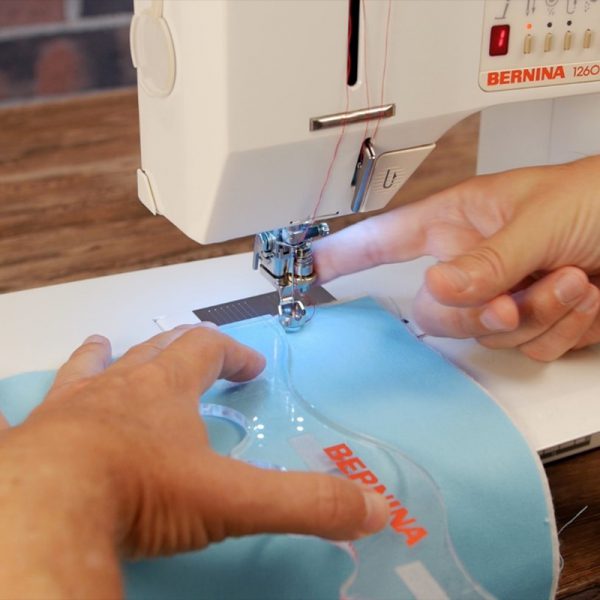
- Position your ruler on your project and start stitching, following the ruler with the edge of the foot.


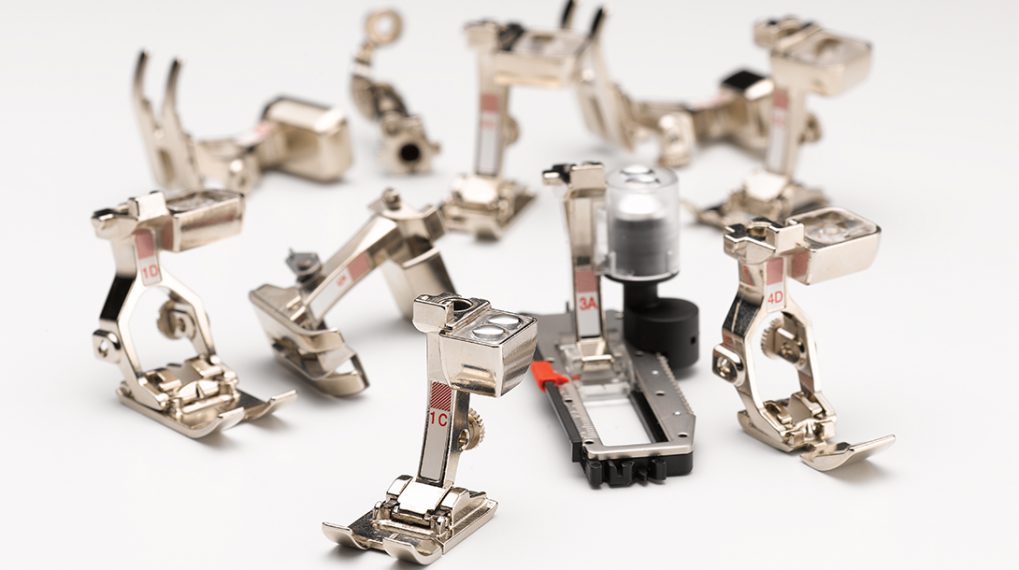
Bonus: This foot has a couple of accessories (sets, actually) to make it even more useful!
Echo-Quilting Clips:
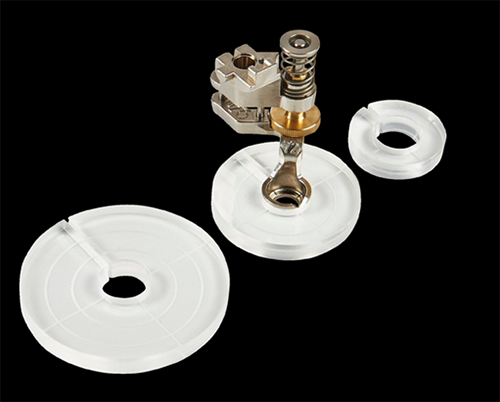
The Echo-Quilting Clips snap on to the base of the foot (around the fence), and make it possible to gradually increase the distance between the ruler and the needle. This makes echo quilting easier and more precise.
Couching Inserts:

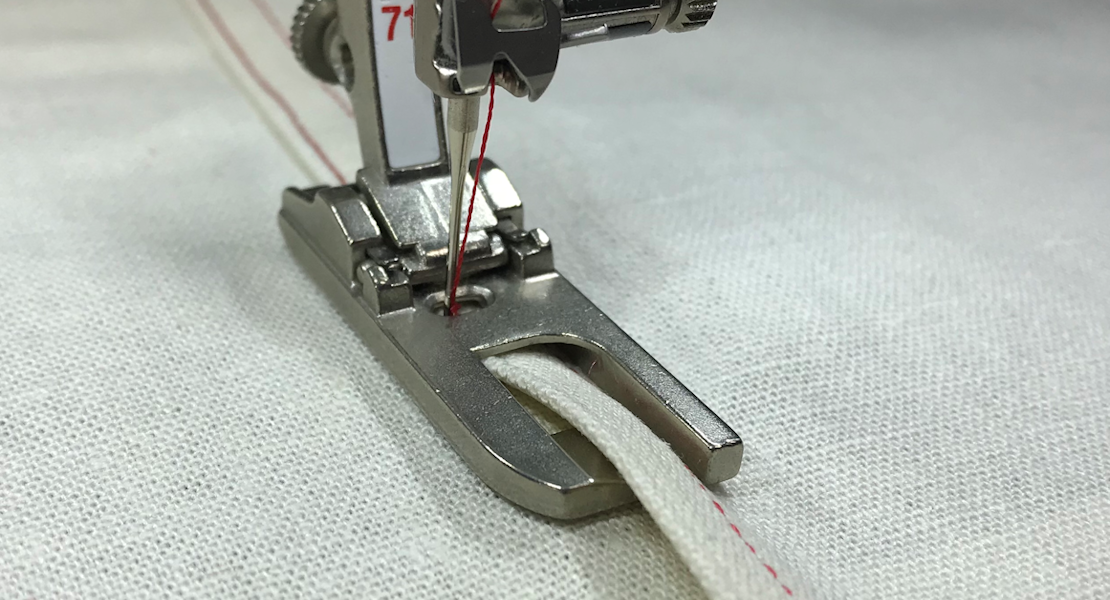
The Couching Inserts snap easily and securely to the bottom of the foot, just under the fence. They make it possible to feed a cord through the hole at the center of each insert, making cord couching simple and efficient. The three inserts will accommodate thin, medium, and thick cords.
TIP: You may have to adjust the height of the foot (using the Adjustment Wheel) to compensate for the added thickness under the sole of the foot.
Adjustable Stippling Foot #73:
 You’ll recognize the ‘adjustable’ part of Adjustable Stippling Foot #73 readily since that feature is shared with the other two feet in this series. That means you have the same benefit in adjusting the foot to the thickness and loft of your project.
Note: We have an open toe stippling foot (Freehand Embroidery Foot #24), which works well for thin projects, but which is NOT adjustable. For thicker projects or soft lofty projects, Foot #24 could snag against the loft. The solution is adjustability . . . and Foot #73.
The ‘open-toe’ style of the foot sole lets you see more clearly at the stitching point, while the foot still surrounds the stitching point enough to prevent flagging and skipped stitches. The cardinal point markings on top of the sole (marking the 9-12-3 o’clock points) help you with directional stitching.
This foot is especially useful for small and micro stippling and for complex stippling patterns such as feathers.
The setup for Adjustable Stippling Foot #73 is as simple as for Adjustable Ruler Foot #72. With the foot in the DOWN position, adjust the height of the sole above your project, and proceed with stippling.
So adjustable here means best stippling, regardless of loft or thickness. I’m all for that!
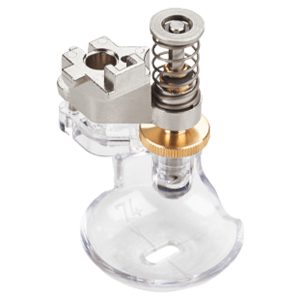
Adjustable Gliding Cup Foot #74:

Calling all creative types!
Because some of us don’t stop at free-motion work simply on the X and Y planes, what if you also want to add dimension (aka the Z plane) and layers to your stippling surface?
Adjustable Gliding Cup Foot #74 is your insurance policy for smooth sailing (or rather, smooth stippling) over uneven layers.
The smooth clear sole offers two main benefits:
- Clear view of your project
TIP: The groove on the top of the sole helps with precise positioning, which is a double advantage. - The cup shape lets the foot glide over uneven layers without snagging into edges (e.g. of edges of appliqués).
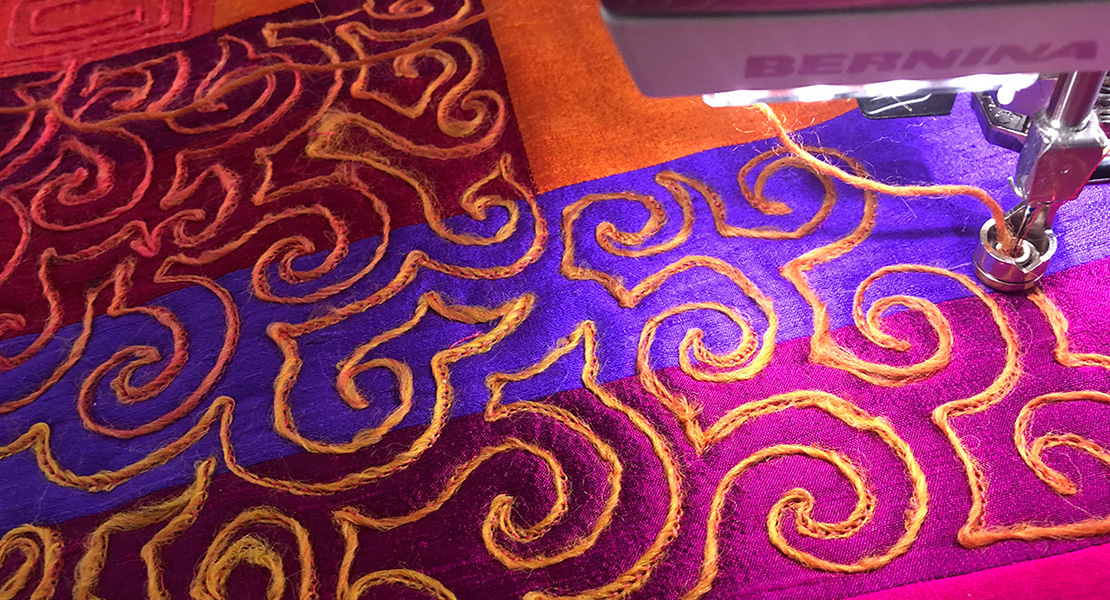
Here’s my oldie-and-goodie BERNINA 830 in action, stitching over felt appliqués on canvas . . . talk about uneven layers!

So that’s the benefit of adjustable free-motion feet. They both make it easier to do the work while helping ensure the best results.
A few final considerations in using these adjustable feet
As you can see in the pictures, I used my vintage BERNINA machines to film the short Made to Create video that was the source of visuals for this post. While it was a rare treat (as I use mostly current machines as part of my work), it reminded me why I upgraded over the years to current models even for my personal machines.
Current machines have three key advantages over my vintage machines
- Lighting:
LED lighting on modern models is not only brighter but adjustable in intensity. My eyes are not what they used to be, so the added brightness helps every time. The ability to dim the bright lights is a plus when working on dark fabrics. Either way, I can stitch for longer periods with much less eye fatigue, and with better results. - Speed Control:
Modern models with a Slide Speed Control let you preset a maximum sewing speed so that you can simply press the foot control all the way to maintain the speed that works best for you. Some stipplers have the hand-eye coordination to go full speed. For myself, I stipple best at a moderate speed just above 50%).Vintage machines originally did not have a variable speed limiter. Speed control was limited to how much pressure was put on the foot control. That introduces another focus, in addition to coordinating eye and hand movements, which means more juggling to get it right. Gradually, machines with a half-speed were introduced, then a 1-2-3 speed level. While these settings were very useful enhancements in their time, they did require still that the user adapt to the speed settings the machines offered.Nowadays, the ability for infinite speed adjustment means that every single stippler can set their machine to fit them. - Needle Stop Up/Down function:
My old 830 did not have that function. I missed it instantly! Having to use the handwheel to bring the needle down into the fabric when repositioning negates in part the benefits of the Free Hand System since I had to let go of the quilt with my right hand to turn the handwheel. Now most machines since the 1980s have the Needle Stop Up/Down function and this is the best example of technical progress benefitting the user/quilter.
By combining these features over time, we now get to benefit from what our Swiss Engineers call Sewing Comfort. When I first encountered that expression, I thought it had to do with using a good chair and a sewing cabinet. Over time I’ve come to learn and experience what it truly means: the machine facilitates each aspect of sewing, stippling, etc. so that we can focus on the project. Facilitating, meaning easier, which promotes better results. Oh . . . and it also means that the learning curve for a new technique or type of project is reduced. That’s the best return on investment I can think of when considering a creative outlet, with all its possibilities.
Used Products


What you might also like

4 comments on “Adjustable Free-Motion Presser Feet”
-
-
As the owner of a beautiful 930 I am so pleased to see I can get a foot to start my quilting in earnest.
Now the only downside of my machine I think is that the facility to stop with needle down is quite clunky and not always effective. I’m happy though
Good tutorial, thanks. -
I have a Bernina Matic 810 purchased in 1979 that is still going strong, but I’ve only recently wanted to start quilting, so I was very happy to learn of these feet for older machines. However, I was quite confused by this site because the pictures you show are of the new style feet (they have a bar in front of the prongs at the front of the attachment and a square back with a slot in it), which will not fit on a vintage machine that takes the old style feet (open prongs at the front and a round back without a slot). My understanding is that the bar in the front prevents you from putting a new style foot on an old machine and the slot in the back prevents you from putting an old style foot on a new machine. The feet are not interchangeable because the distance from the shaft of the foot to the needle is shorter in new machines. Your video is great and shows the proper feet, but the pictures are wrong and confusing.
-
The images are the newer feet, since this article is for both vintage and newer machines. Your local BERNINA Dealer will be able to provide the ‘old style’ feet used in the video for your machine.
The video clip was filmed on my own vintage machines btw (to show that the new feet were available even for vintage BERNINAs… it was a treat to take them out for a spin 🙂
-
Leave a Reply
You must be logged in to post a comment.

So good to know! I teach this ( when we were able to be in person!) and always had to use one of the store machines as I didn’t want to lug my 830 to the store. Now I don’t have too! Thanks for sharing!!