Gathering Techniques
When constructing a garment or embellishing an item for the home, creating gathers in your fabric is a great way to add volume or texture. It’s how we create fit-and-flare dresses or a frilly trim on bedding.
But there are so many different ways this look can be achieved! How do you know which technique is the best for a specific application? Let’s look at a few common examples.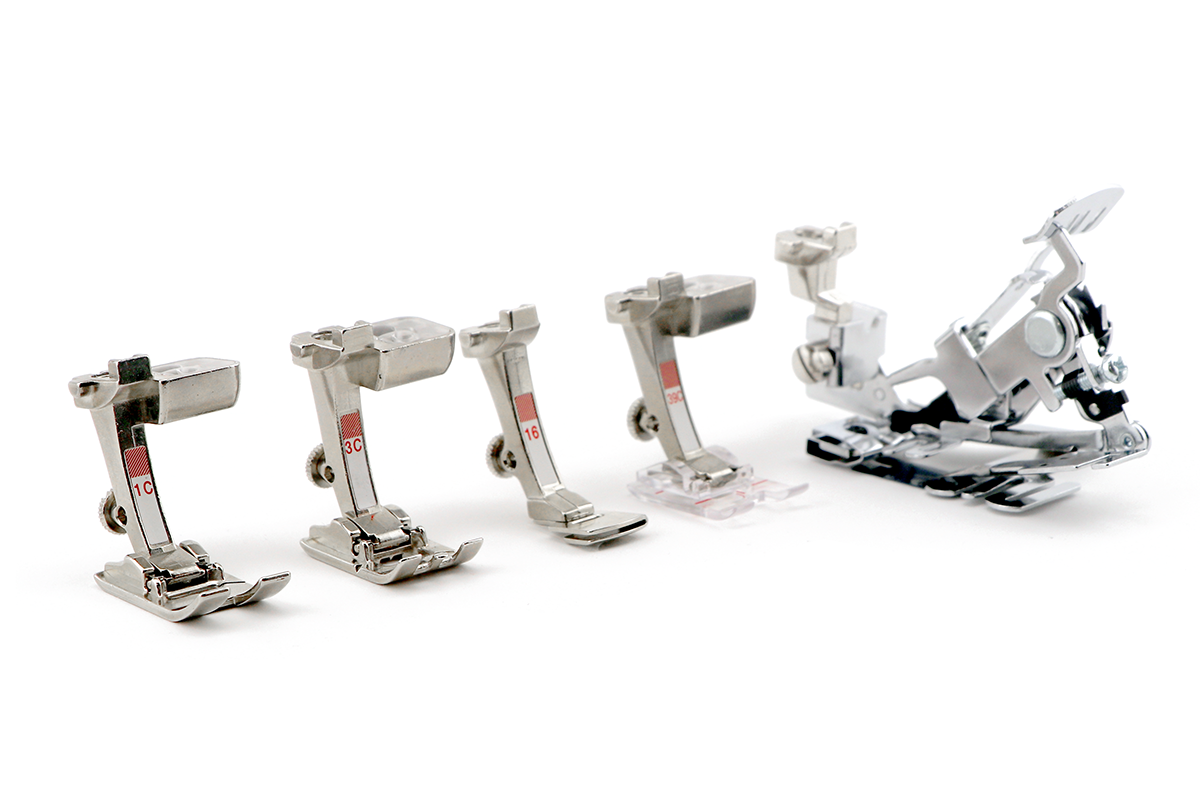 1) “I need to gather a specific amount of fabric down to a specific size.”
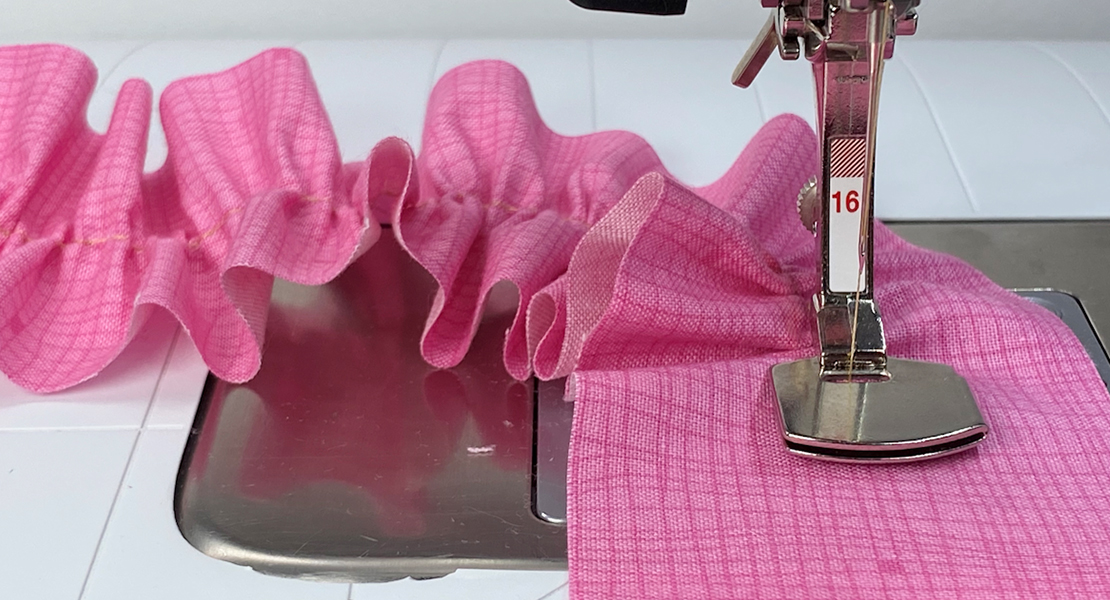
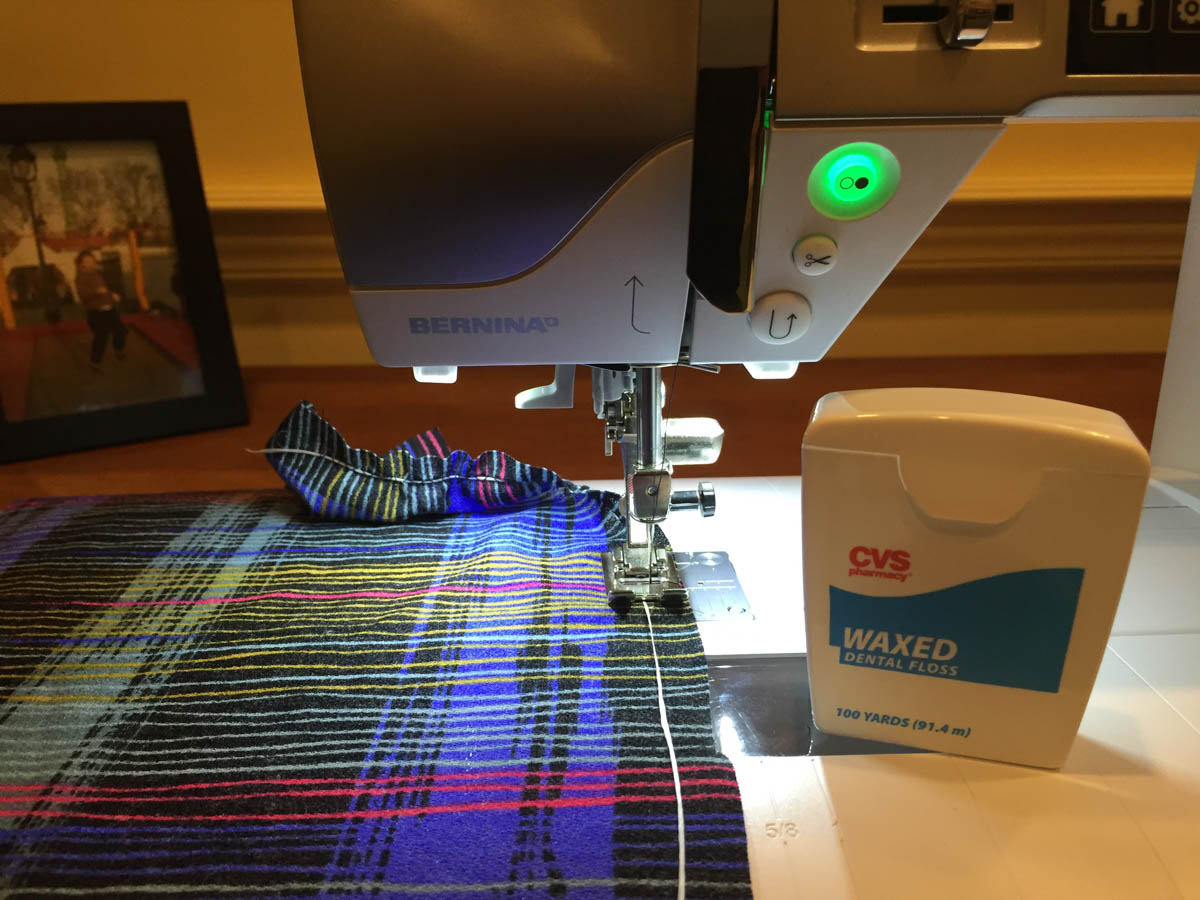
If you know exactly how much fabric you need to work with and you know exactly how small it needs to finish, then gathering over a cord would be a great choice. This is usually my favorite choice for gathering on a skirt—my sewing pattern provides a carefully sized pattern piece and will instruct the finished size.
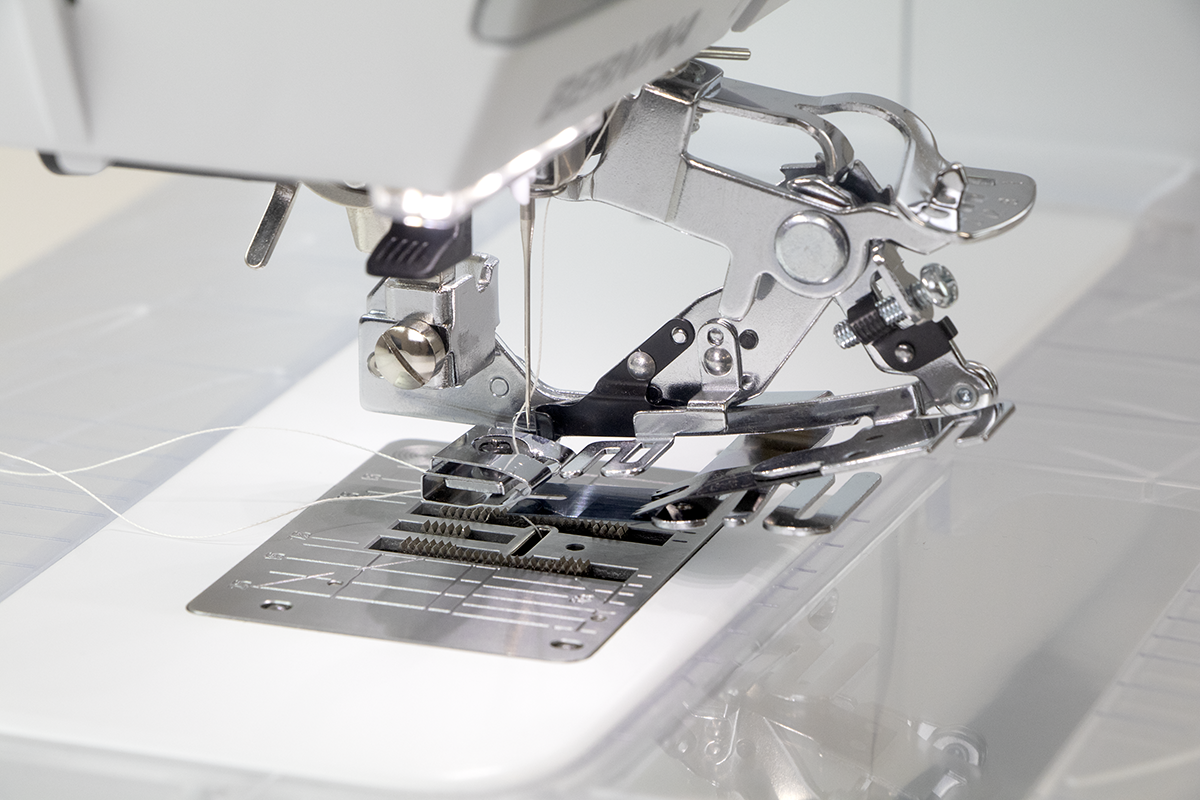
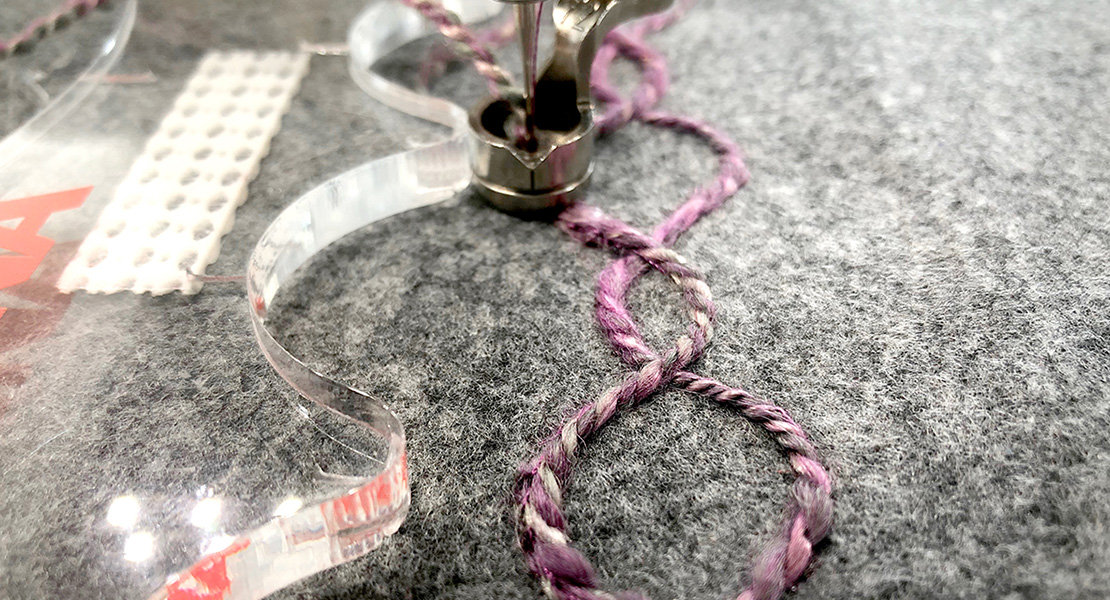
To gather over a cord, I use Clear Embroidery foot #39/39C with some perle cotton or light cording. Thread the cord through the hole at the front of the presser foot.
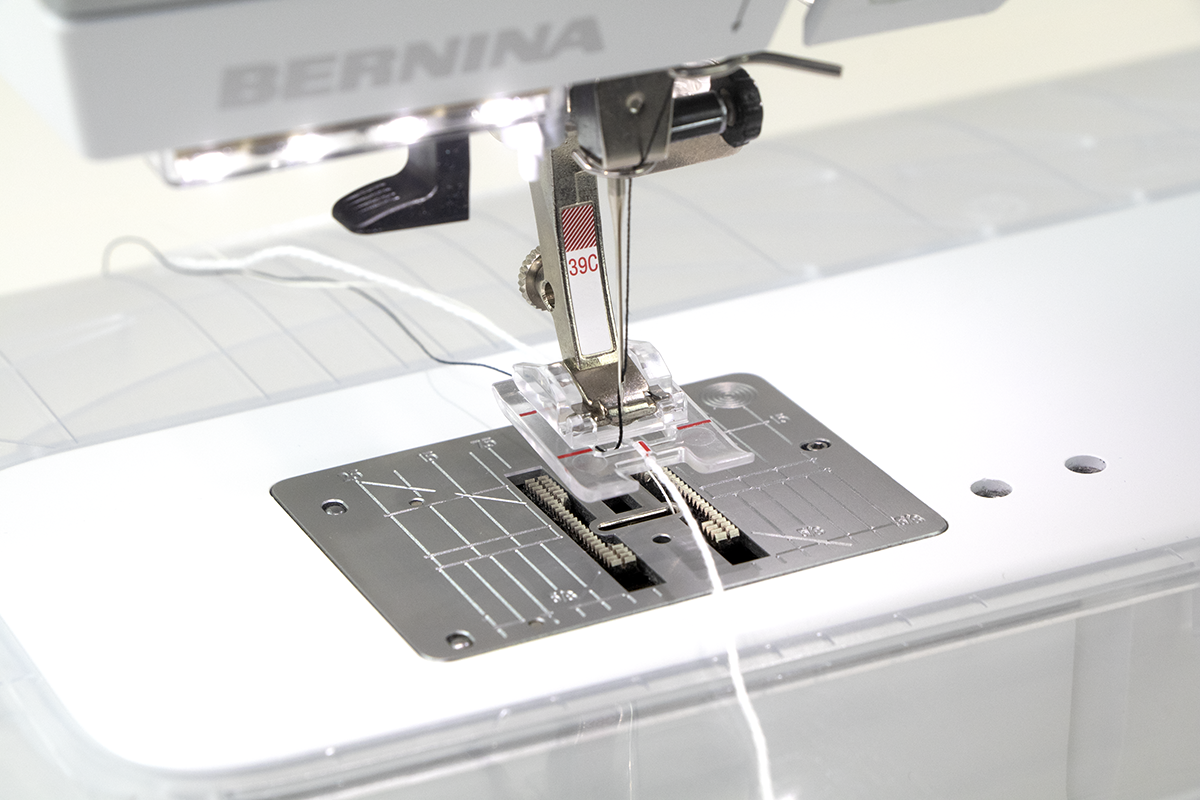
Select a zigzag stitch and set the width to 2.5 mm and the length to 2.5 mm. Pull a couple inches of the cord to the back of the presser foot. Secure your seam and sew down the length of your fabric, inside your finished seam allowance, with the zigzag stitch.
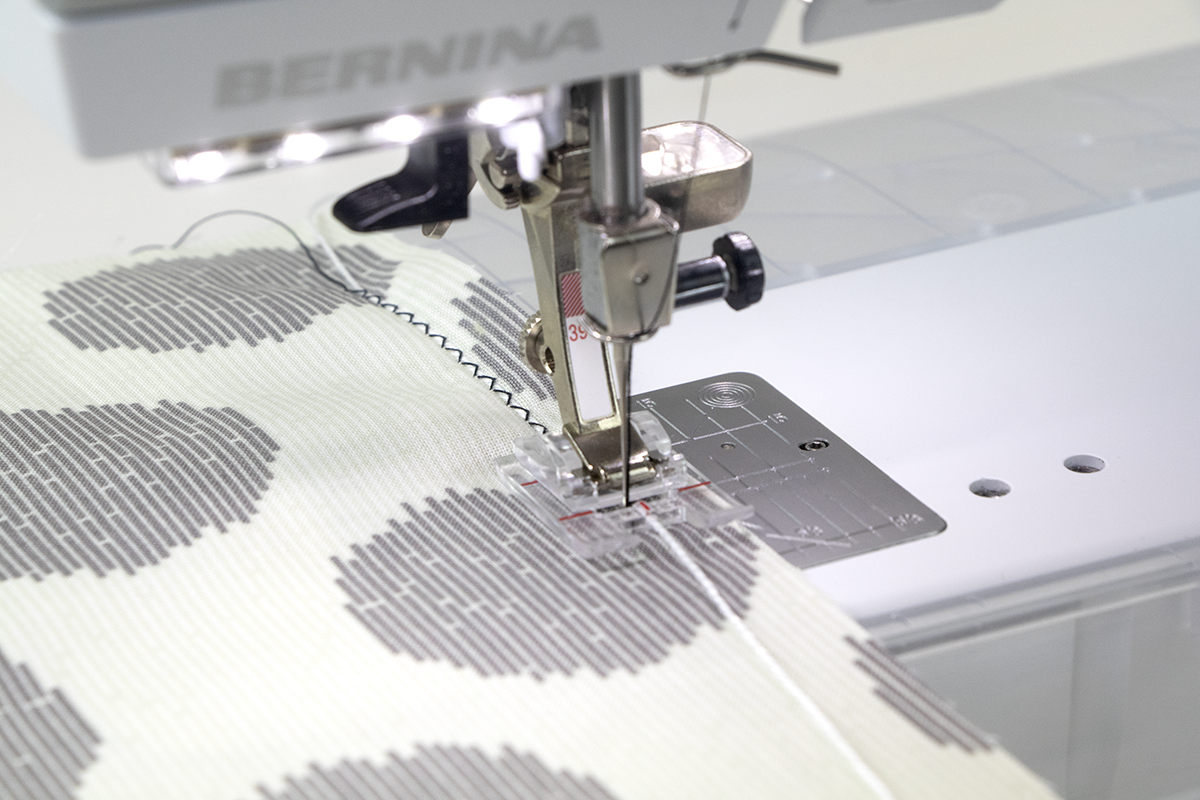
Secure your seam at the end then raise your presser foot, pull the fabric toward the back, and cut your threads and cording manually.
After stitching, hold the cording and pull the fabric along the cord, adjusting the gathers as needed. When your gathers are adjusted to the desired density, knot the ends of the cording to hold in place.

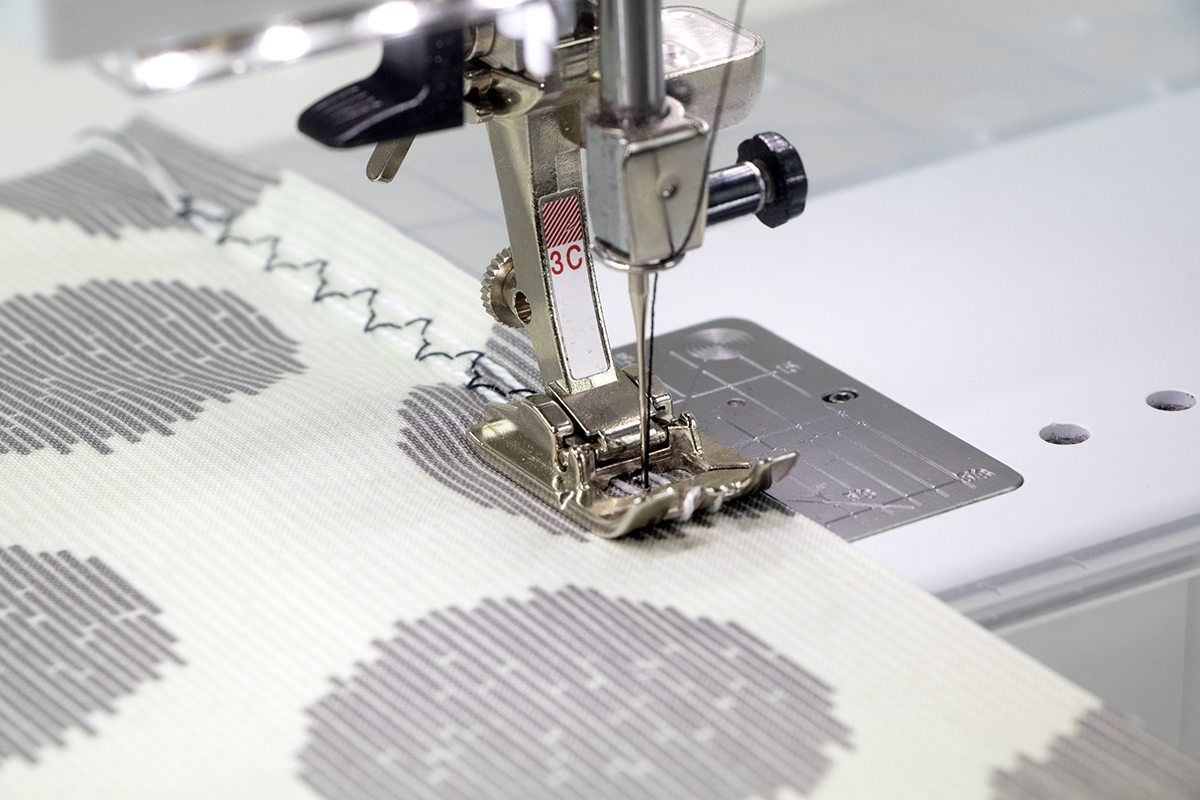
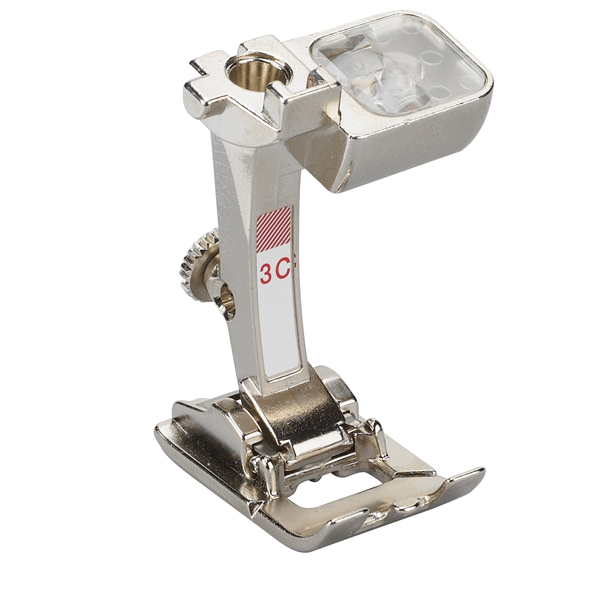
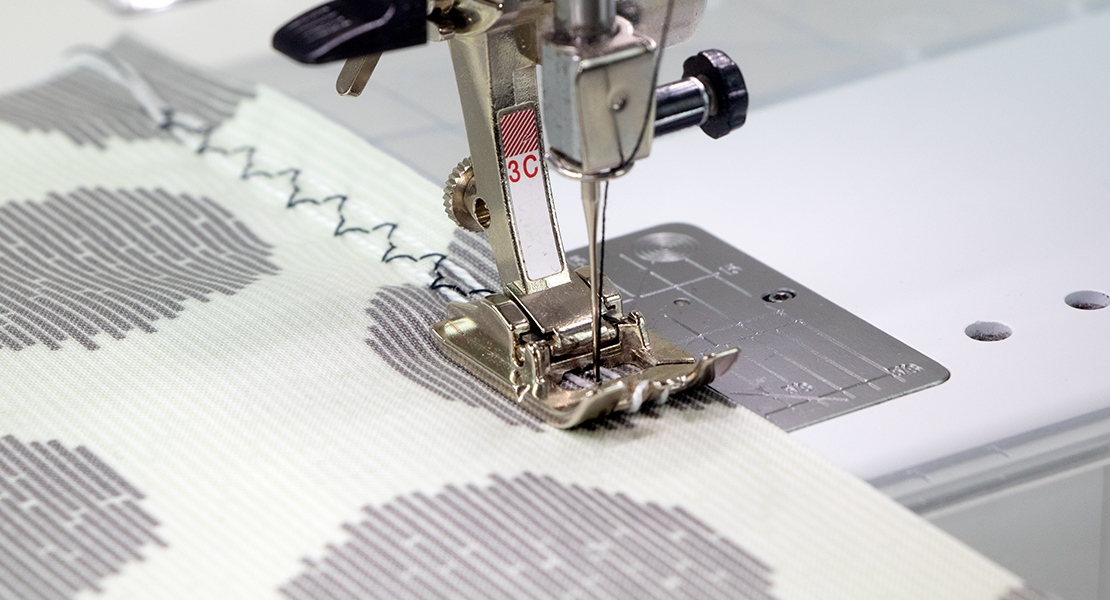
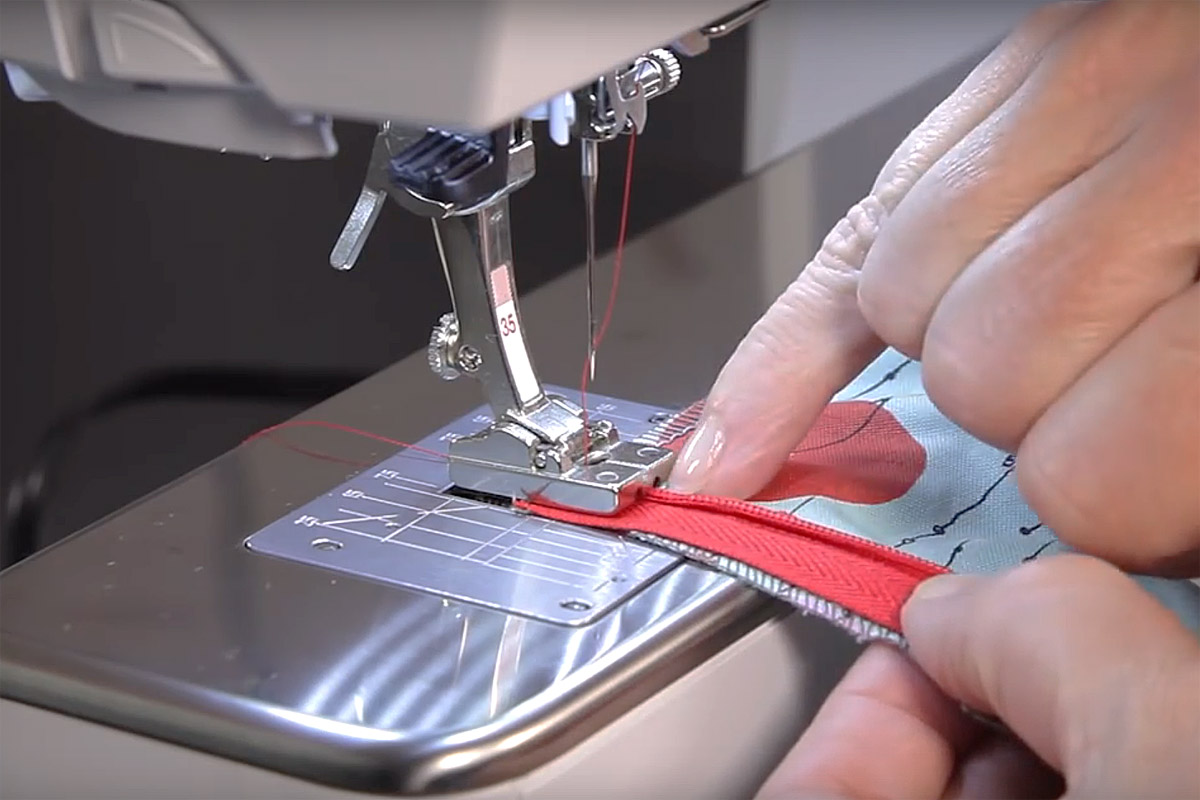
You can also do gathering over a double cord by using Buttonhole Foot #3/3C and a gathering (or bridging) stitch. This may be a better choice for mid to heavy weight fabrics or materials that may be more challenging to achieve an even gather.
2) “I want the volume and depth of gathering but with much more precision.”
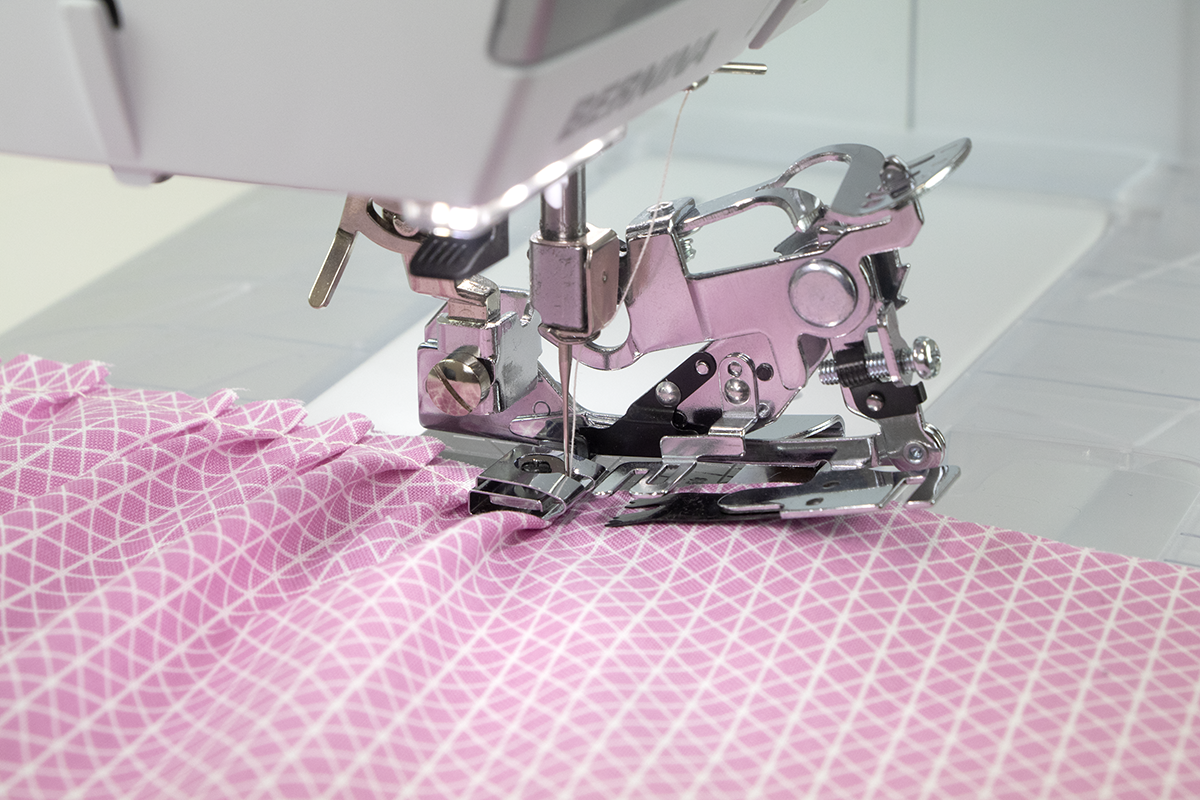
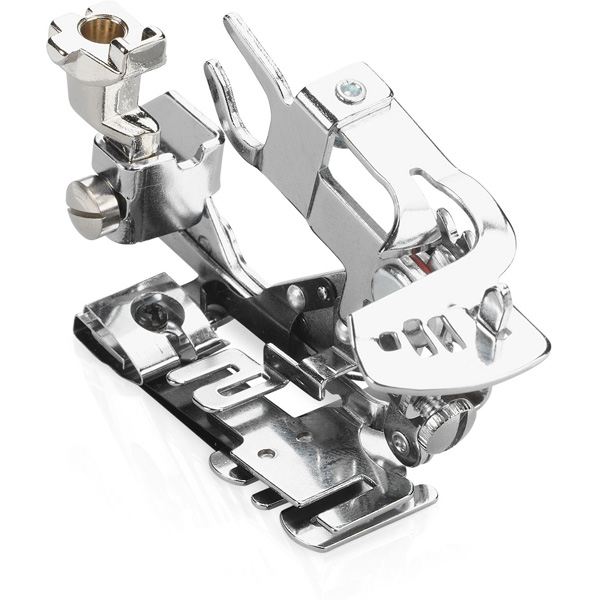
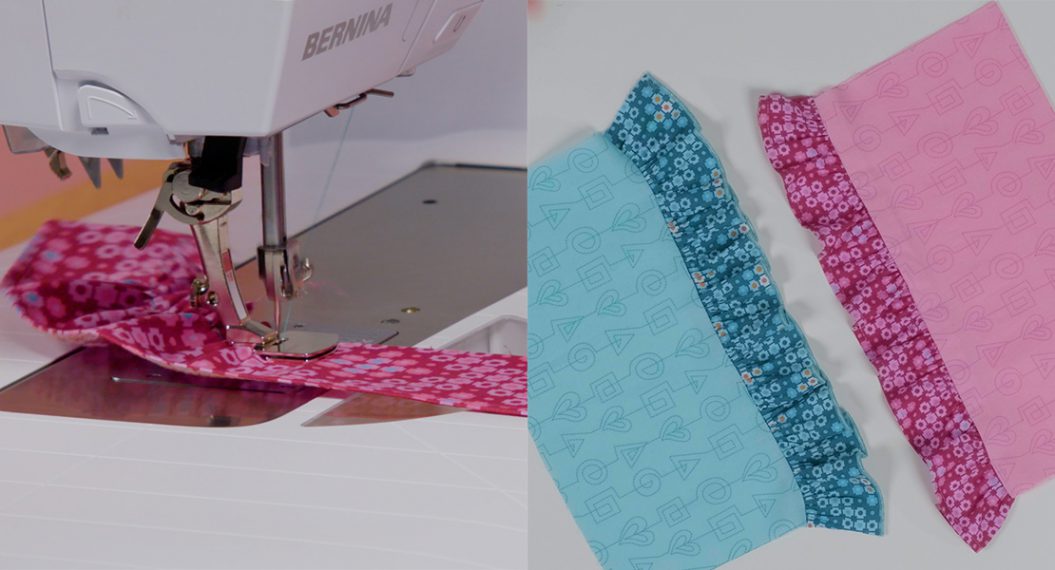
Sometimes basic gathering can feel a little haphazard. When you’re looking for a gather that feels more intentional and precise, the Ruffler Foot #86 will be right up your alley.
The name for this presser foot is actually a little bit misleading—what it does is truly more of a pleat than a “gather”. This presser foot counts the number of stitches taken by the needle and a small lever tucks the fabric to create a pleat in desired intervals. The ruffler can be set to pleat on every stitch, every six stitches, every 12 stitches, or not at all.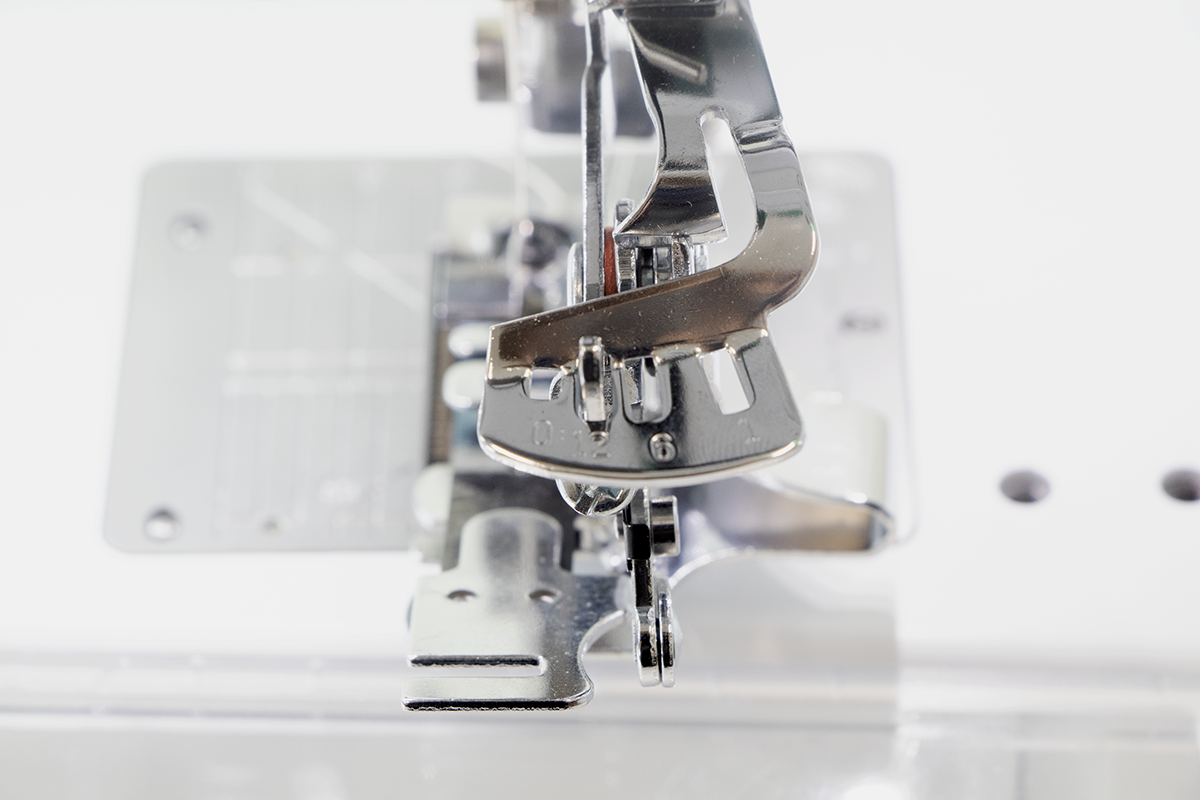
There is also a small screw on this presser foot that lets you control the depth of the pleats created. So if you want really deep, voluminous pleats you can achieve that. You can also make shallower, more delicate pleats. You’re in full control.
To sew with the ruffler, set your frequency (1, 6, 12, or 0) and depth. Then, feed your fabric through the presser foot. If you just place your fabric underneath the presser foot, it will not gather. Using a basic straight stitch, sew down the length of your fabric within your seam allowance.
The ruffler will work with a wide variety of fabrics, just be careful with anything too bulky. When you use the ruffler, always test sew a scrap of fabric before stitching on your project to test out the frequency and depth of your gathers. You can read more about the ruffler here.
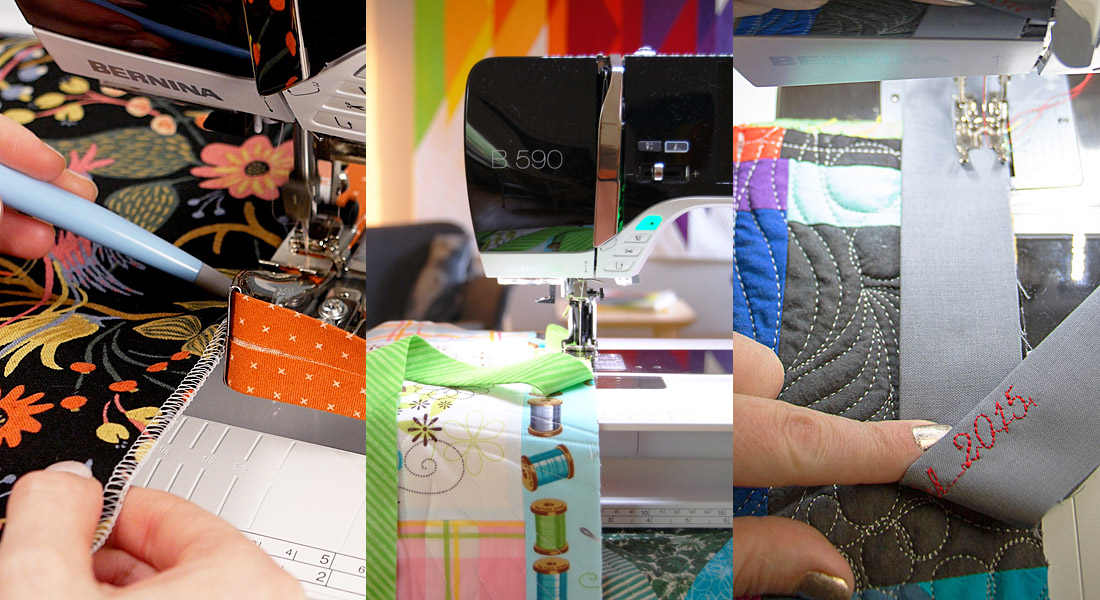
3) “I want to gather my ruffled section, attach it to another piece of fabric, and finish the raw edge all in one step.”
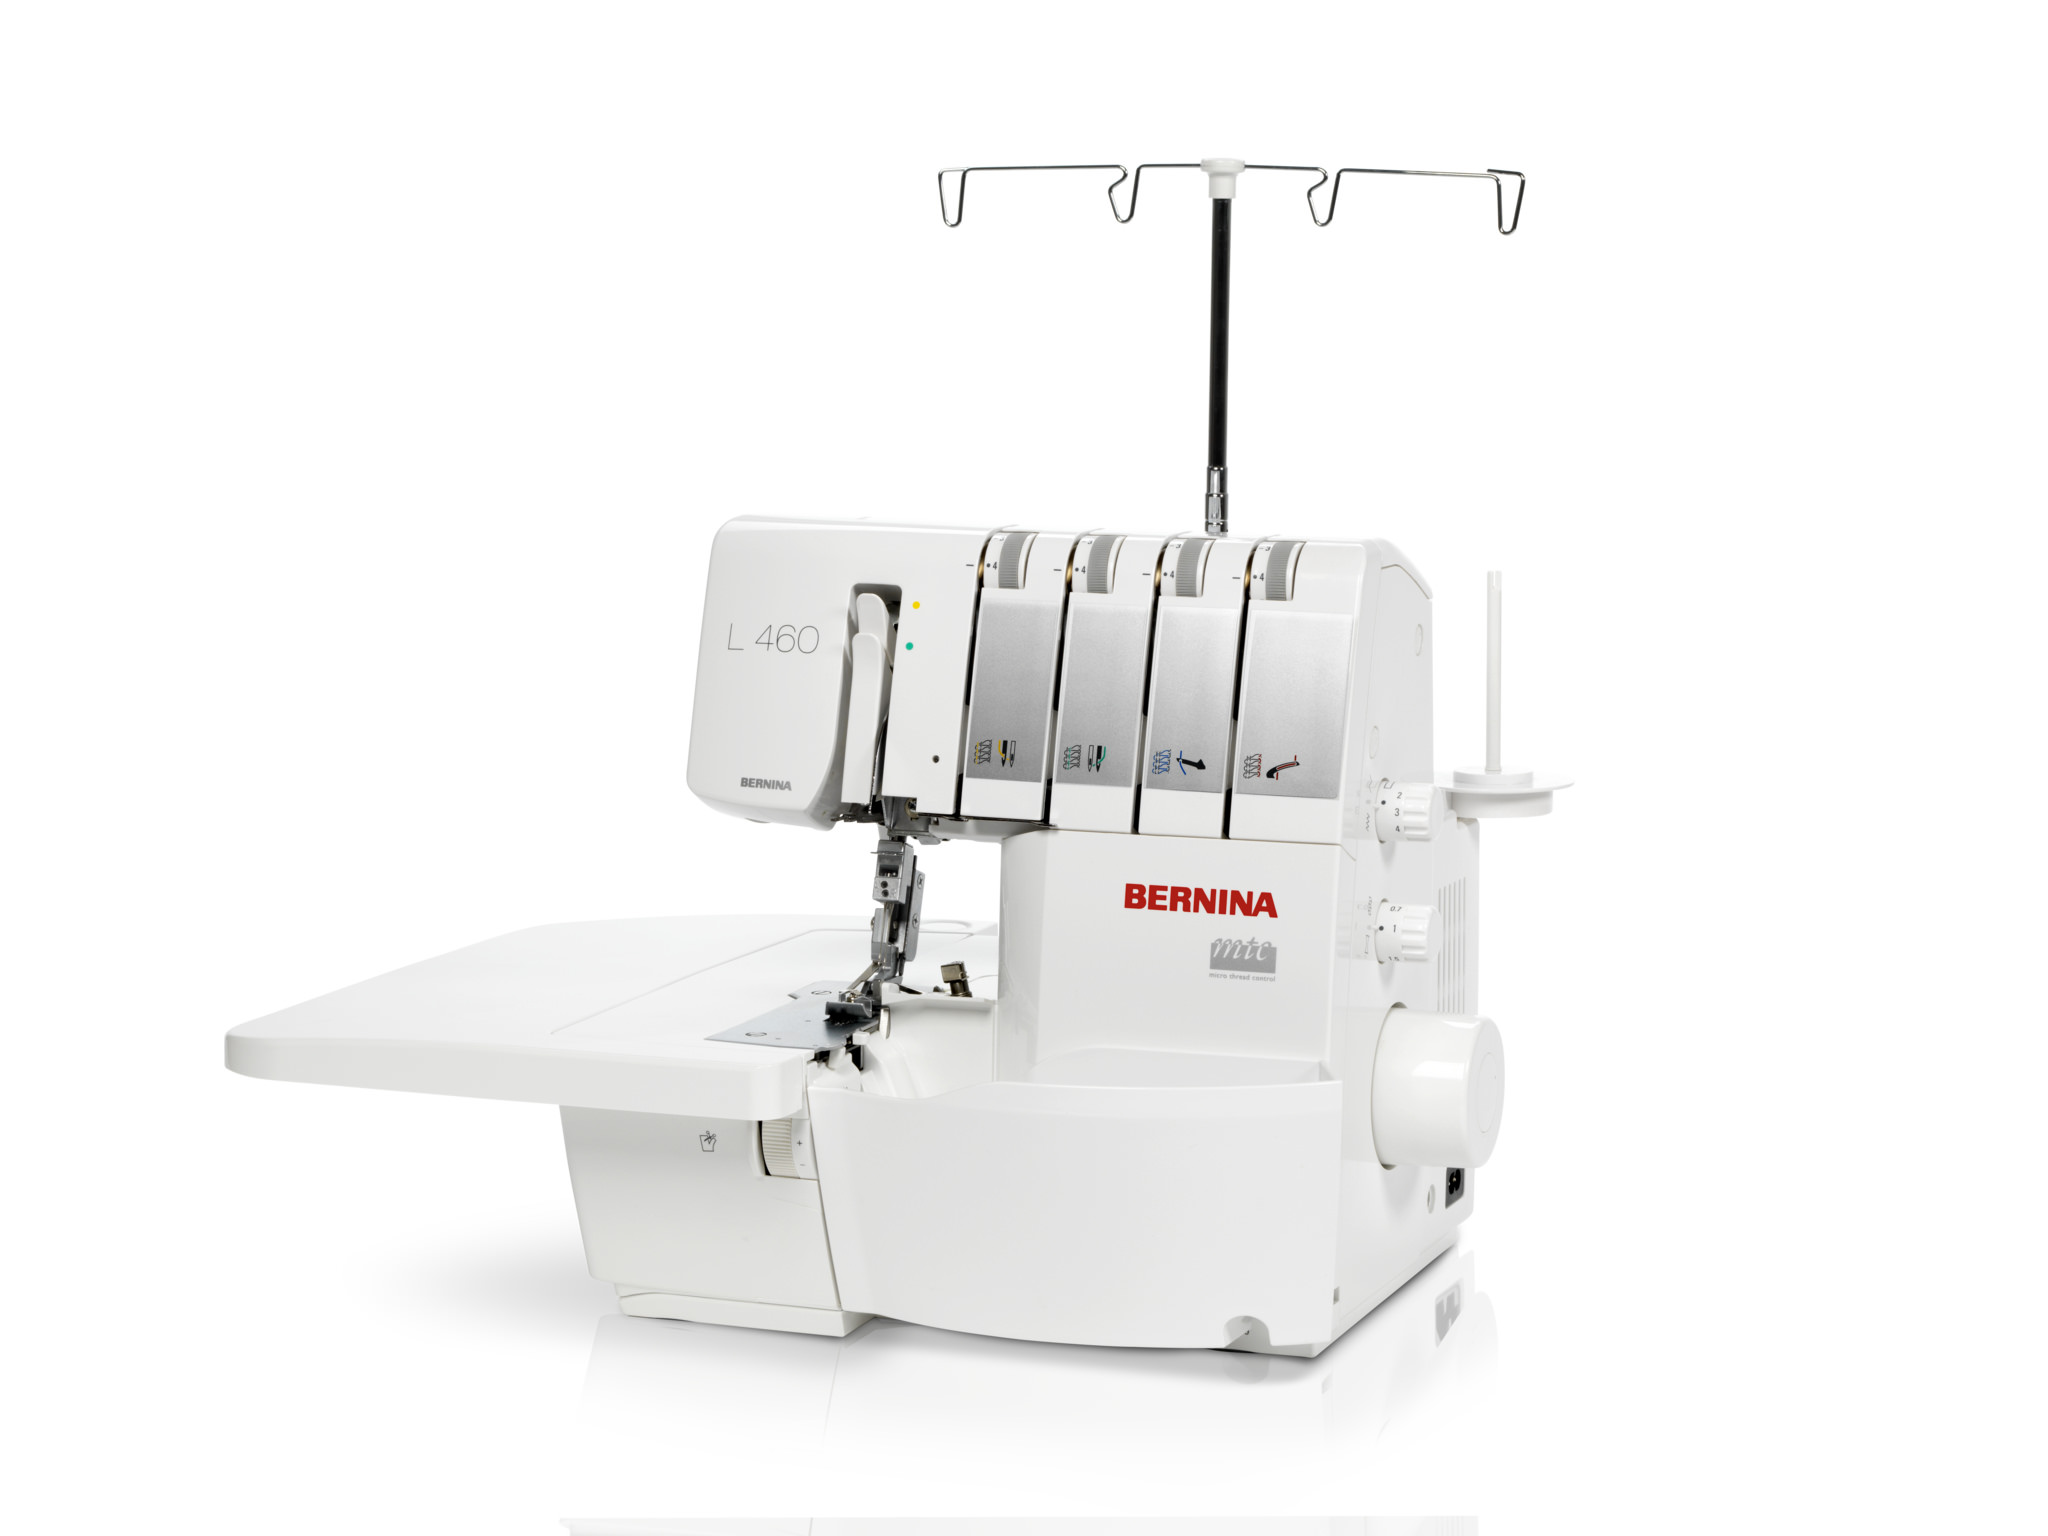
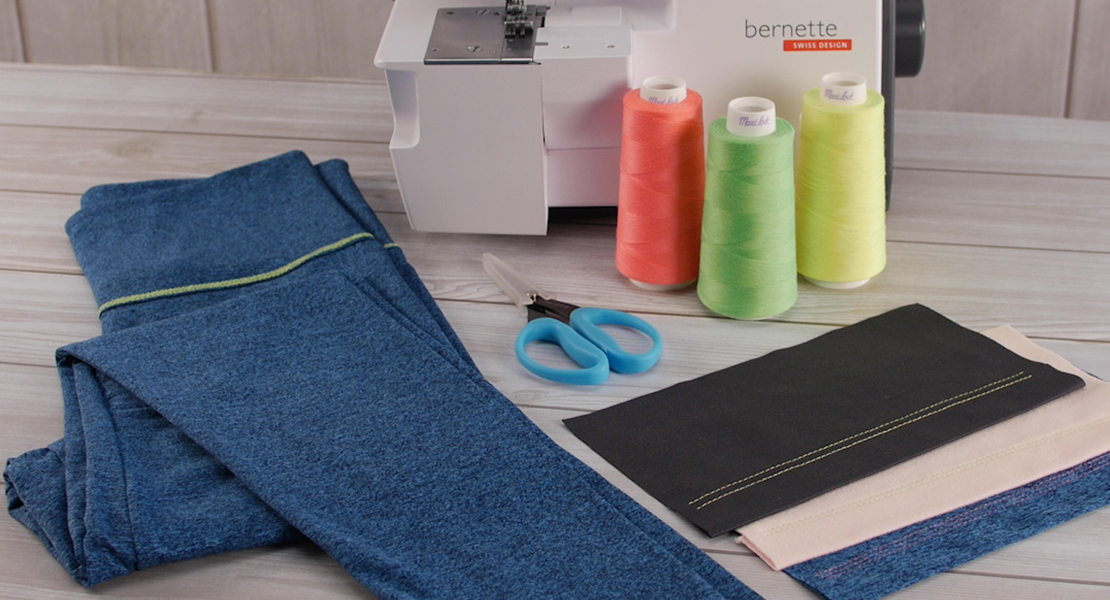
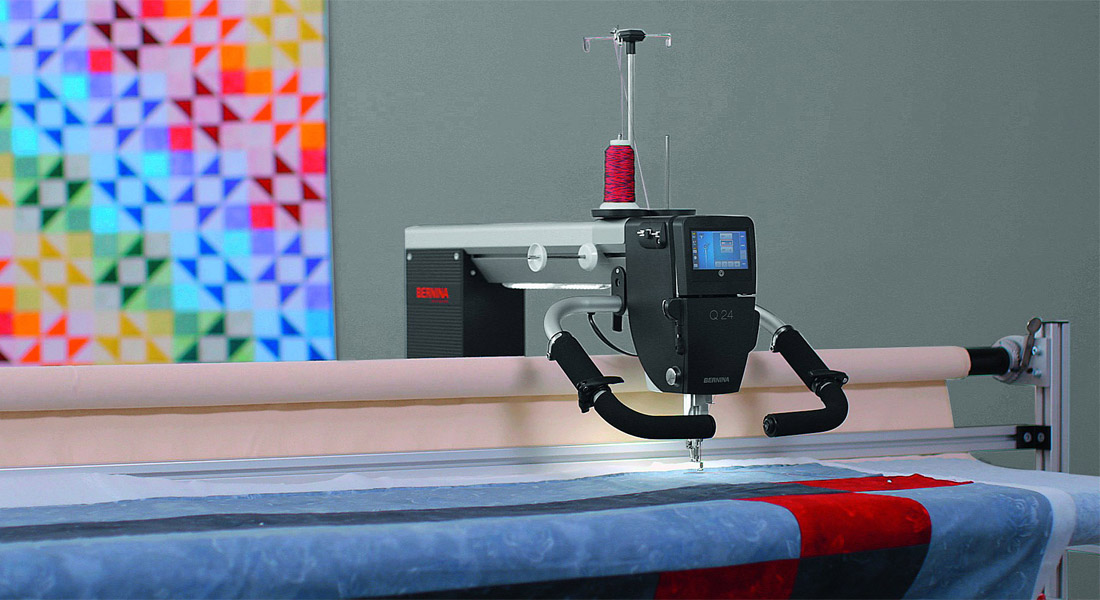
It seems like a tall order; that’s a lot of steps to accomplish all at once! But it surely can be done with the help of an overlocker and gathering foot. The overlocker has the ability to sew faster than our standard sewing machines at a whopping 1500 stitches per minute so if you’re working on a big project, like a dust ruffle or other bedding, this is the technique to save you time.
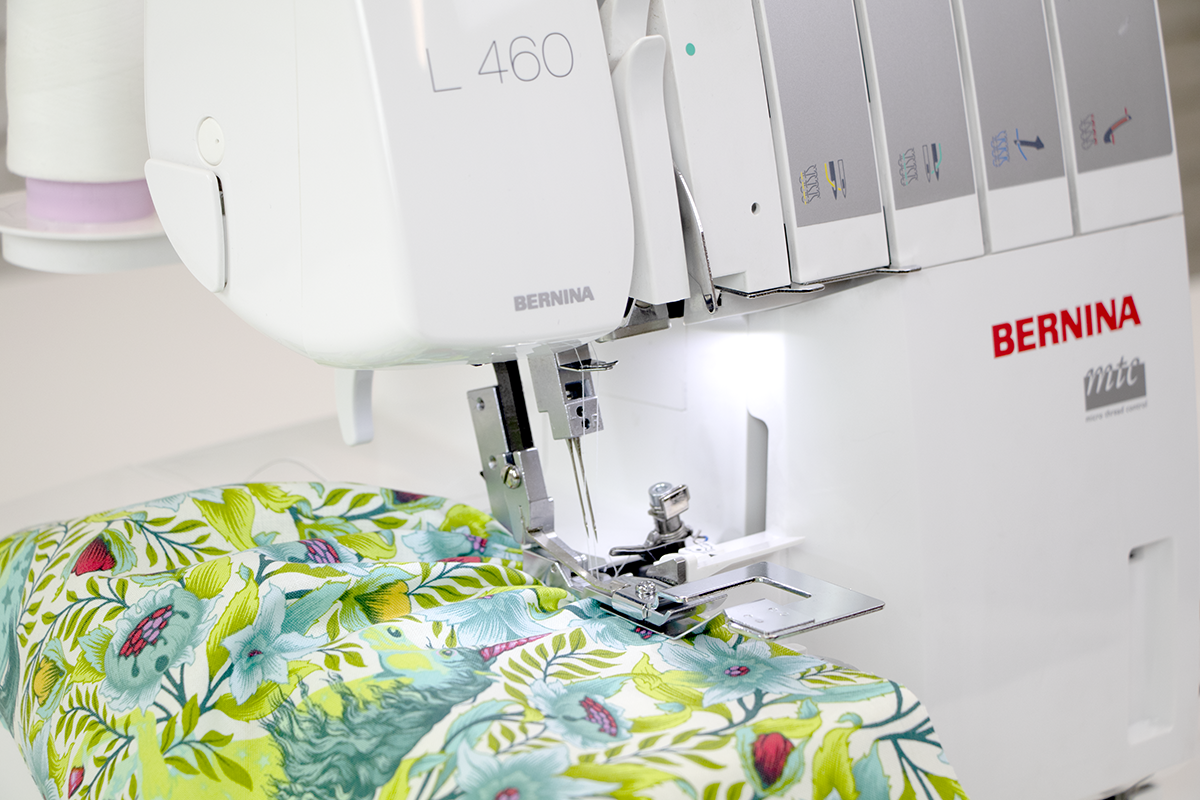
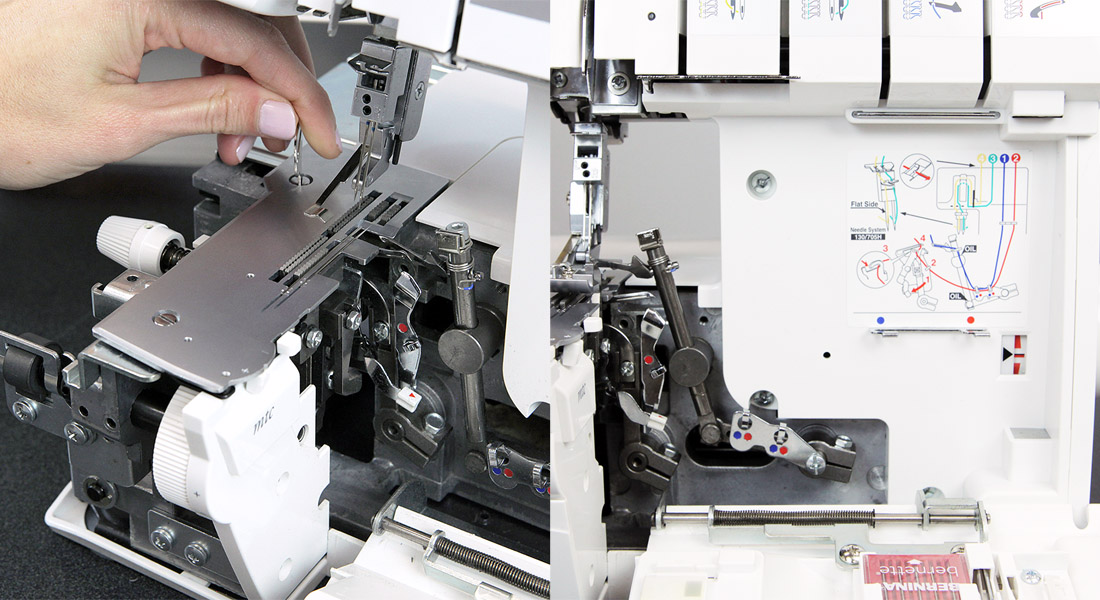
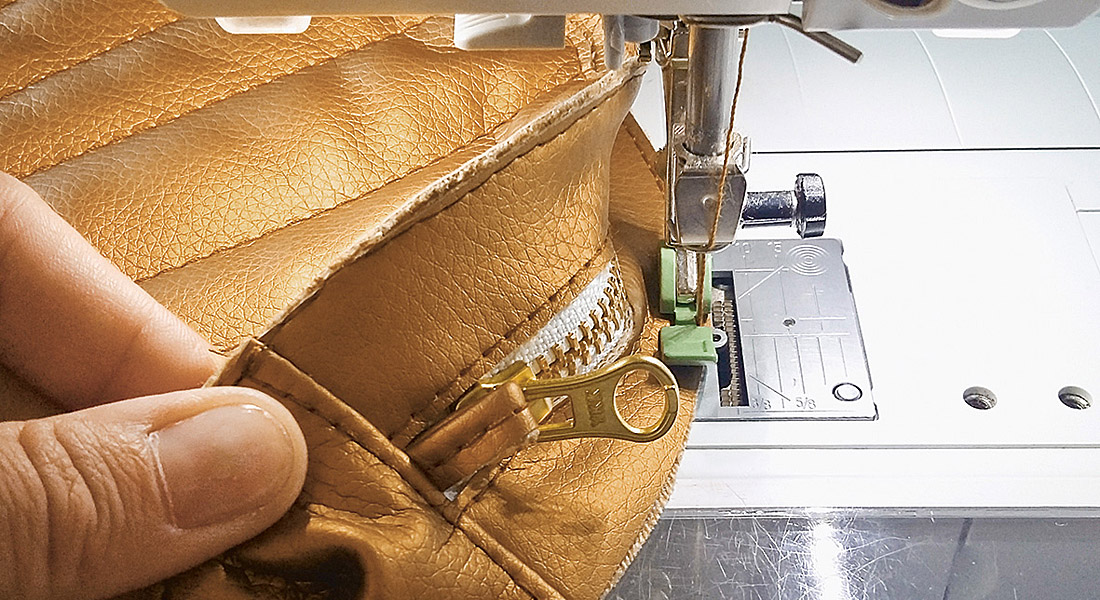
Set up your L 460 or L 450 overlocker for a 4-thread overlock stitch. Increase your needle tensions to 7-8 and set your stitch length to 4. Increase your differential feed to 2. Attach the gathering foot to your overlocker.
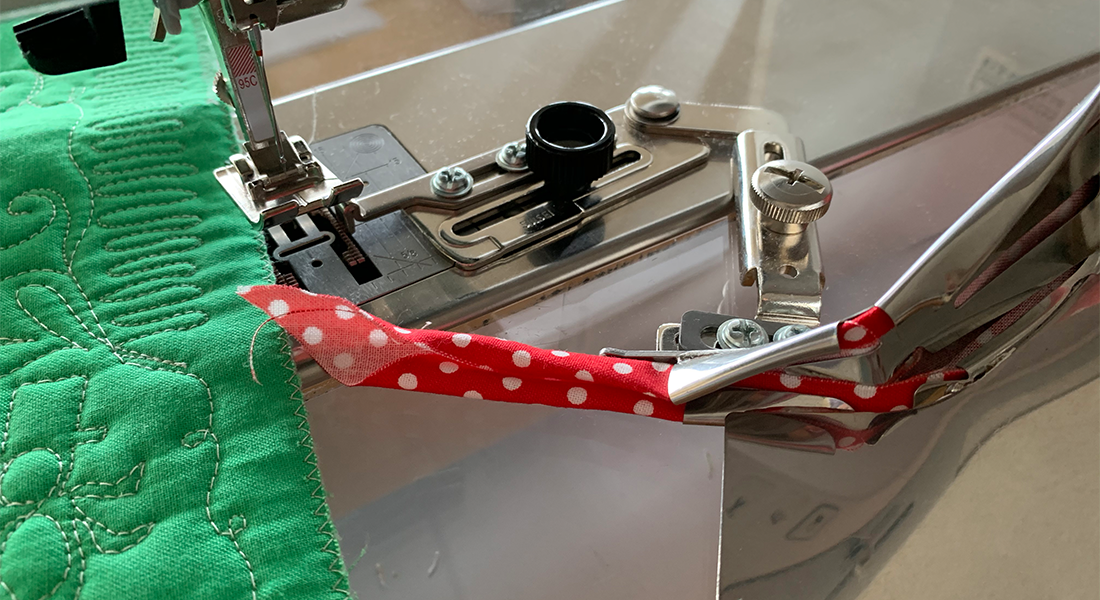
Place the fabric to be gathered right side up underneath the presser foot. Feed the ungathered fabric through the presser foot. Align these pieces to the right so that the blade will cut off at least 1/8” from the raw edge.
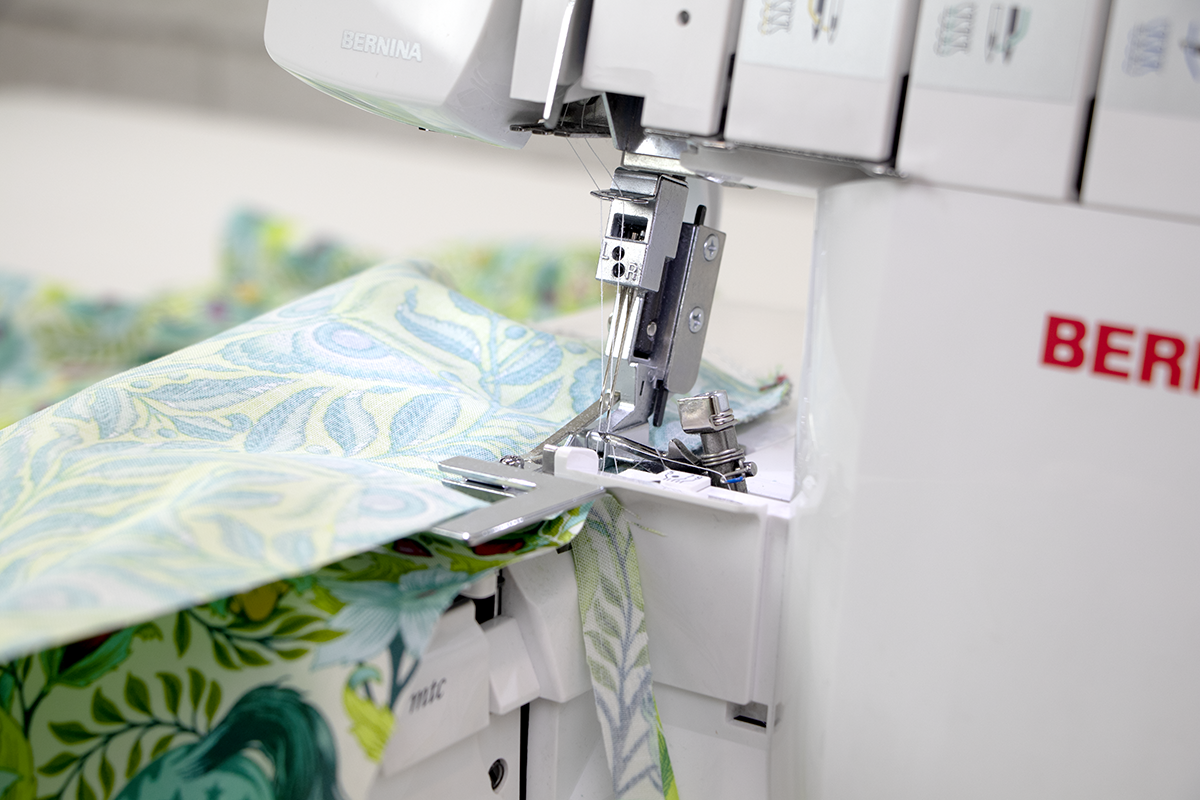
Sew the length of your fabric and watch as the machine gathers, attaches, and finishes all in one easy step!
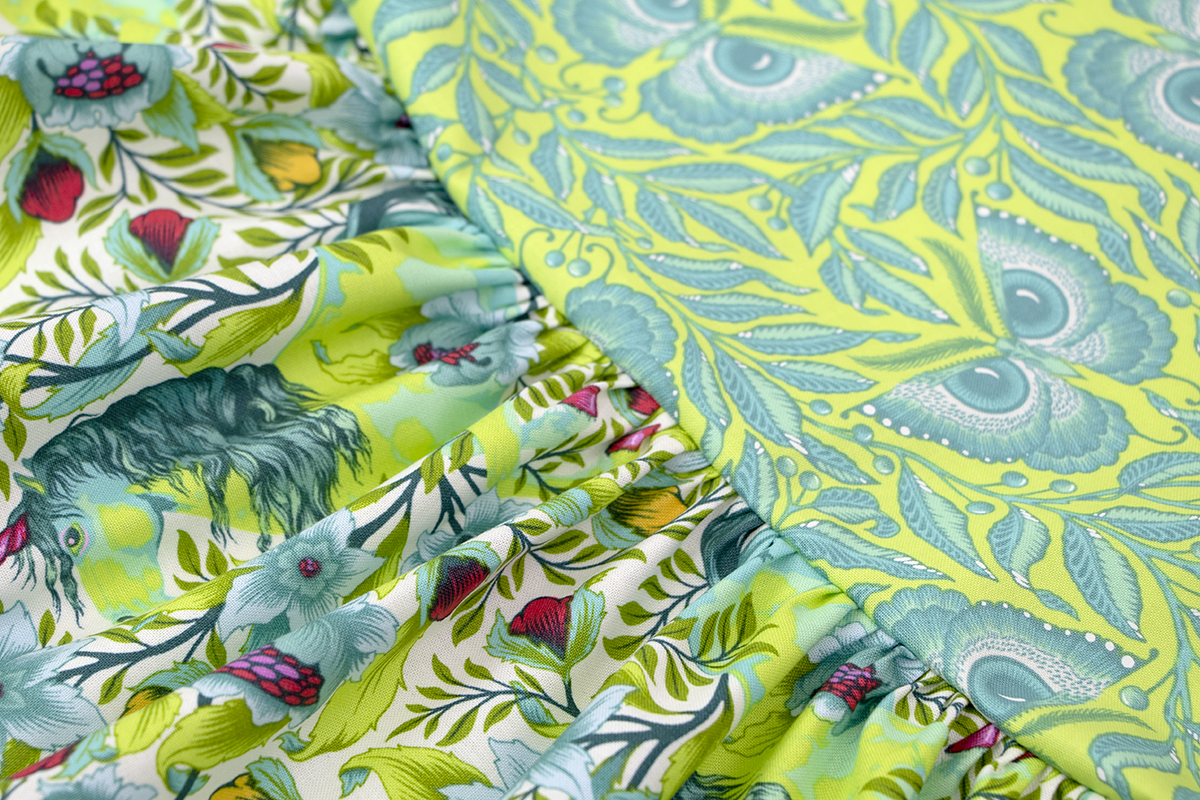
Like other methods, always test your gathers on scrap fabric before you tackle the real project. On the overlocker, you can adjust the intensity of your gathers by adjusting the differential feed. Setting differential feed to 2 is the maximum and can be reduced from there; at a setting of 1, there should be no gathers; lower than that, the feed dogs will actually stretch the fabric rather than gathering it. Different fiber contents, weaves, and knits will all behave differently so always test your stitch!
For more information about these techniques as well as even MORE gathering techniques, check out our eBook “Just SEW It! Gathering Techniques”.
Used Products

What you might also like

2 comments on “Gathering Techniques”
-
-
Which of the gathering techniques is best for one layer silk chiffon? Thank you.
Leave a Reply
You must be logged in to post a comment.

What is the best way to gather tule for a tutu?