Quilt Binding Tips and Techniques
If you’re like me you’ll love learning how your BERNINA can replace the tedious handwork. This frees up more time for creativity and inspiration!
After I made some mistakes…
When I first began playing with this attachment I was thoroughly disappointed. The bias tape kept flipping to the wrong side, my edges looked wobbly, and the corner . . . forget about it. I was ready to give up, but I did a bit of research and was able to piece together tips and tricks from other fabulous creators and make it all come together. The instructions below are for practicing. After completing four dummy placemats you will be able to easily bind a queen-sized quilt!

This fabric is my own line CalicoHorses by FreeSpirit fabrics, “Lupine Valley.”
Step 1. Preparing the Fabric
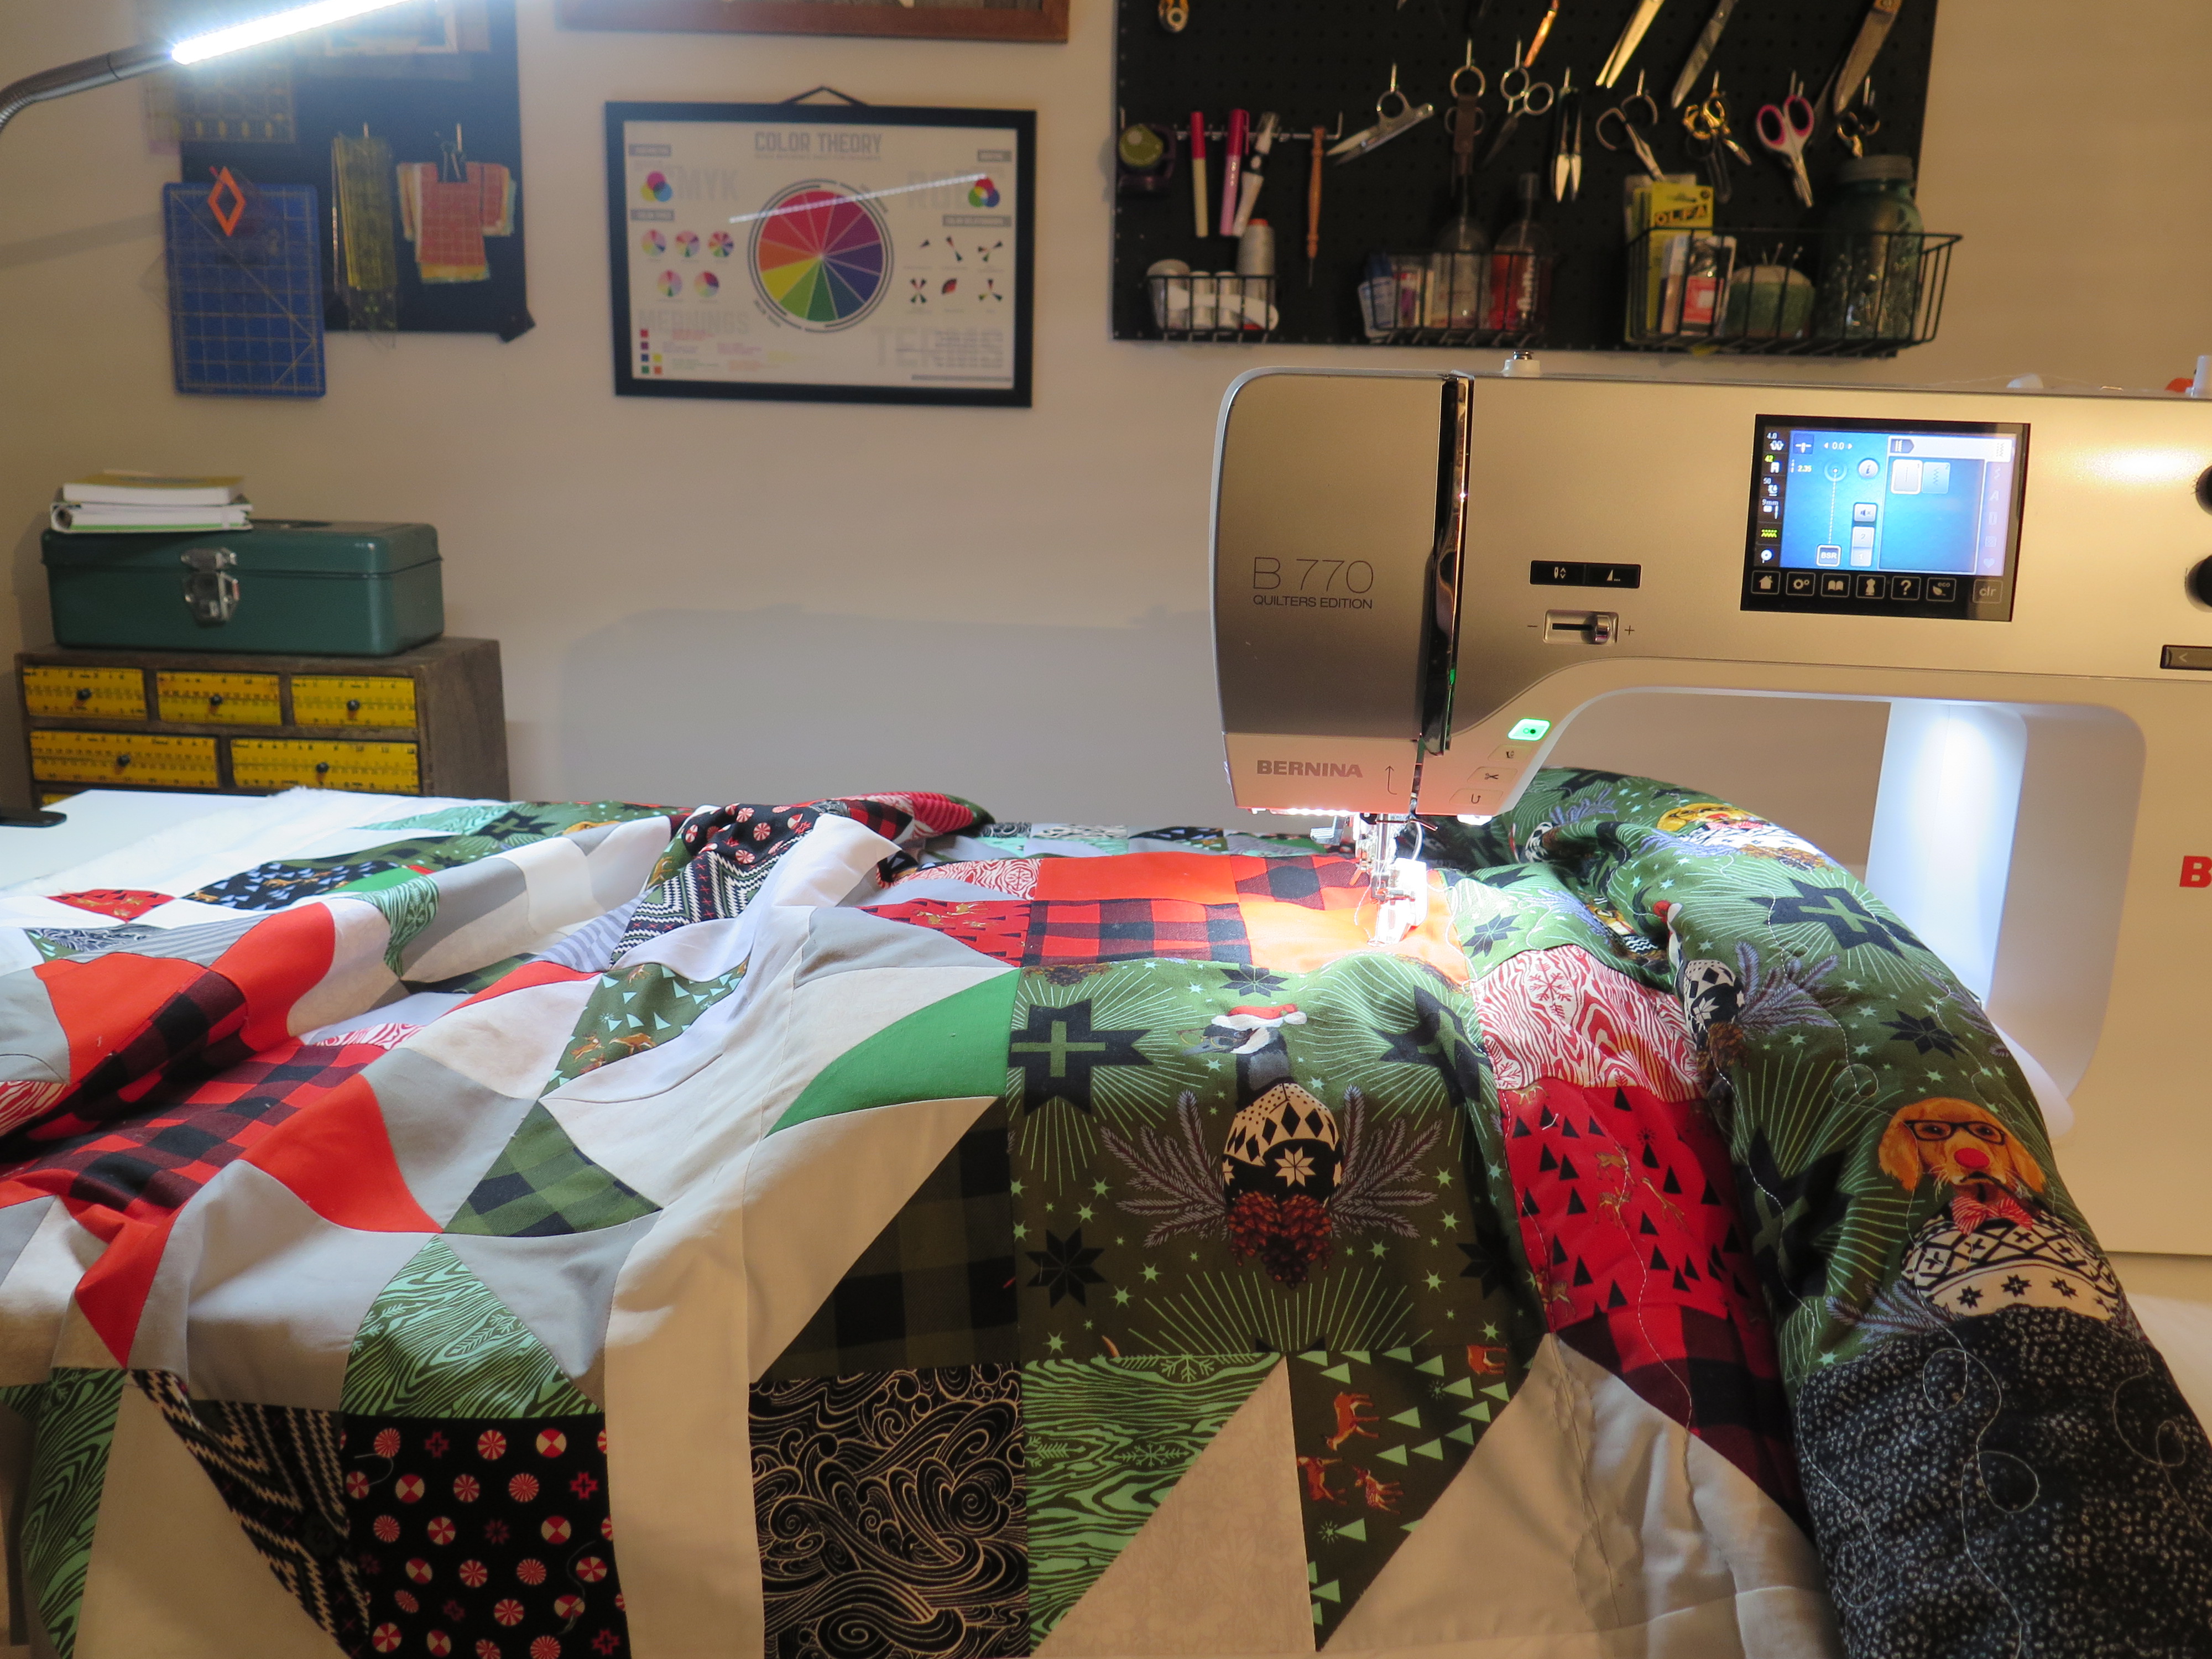
Create four quilted sandwiches roughly the size of a placemat 18″ x 12″. Finish the edges with a zig-zag stitch to keep them firm. I quilted on a BERNINA Q20 using the BERNINA Gripper Rings.
Starch the bias fabric. I recommend Mary Ellen’s Best Press as it does not leave any residue. Be generous with the starch so that your mitered corners will be crisp.
Step 2. Cut the Bias Fabric
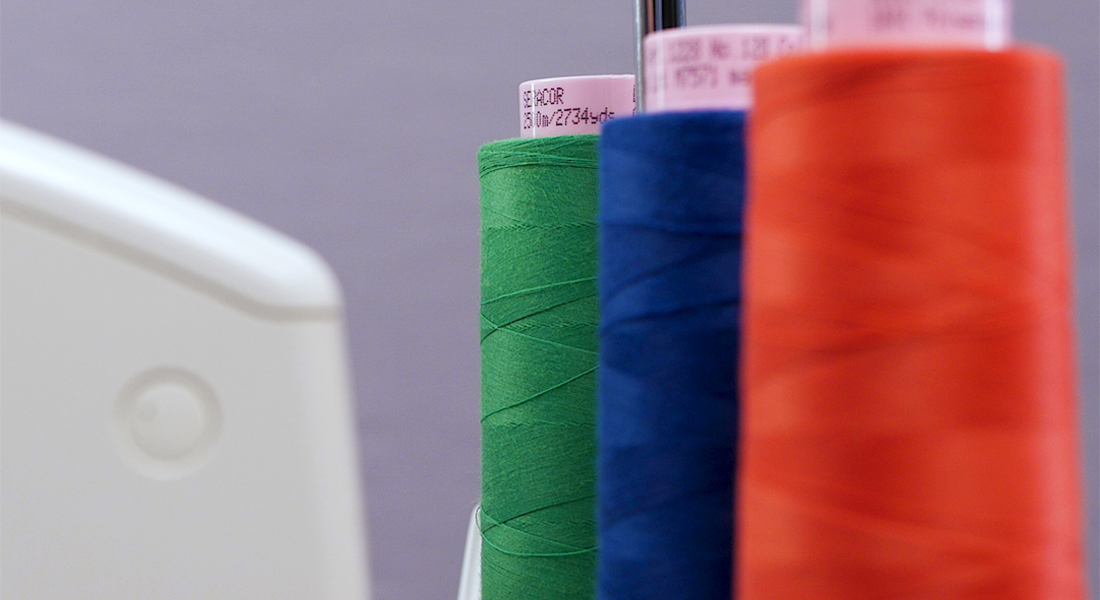
Fold 44″-45″ fabric in half and cut six strips for the binding of four placemats. The strips are cut 1 1/2″ wide when using the 38mm BERNINA Binder attachment #88.
Sew the six bias strips together, clip seams to 1/4″ and press open.
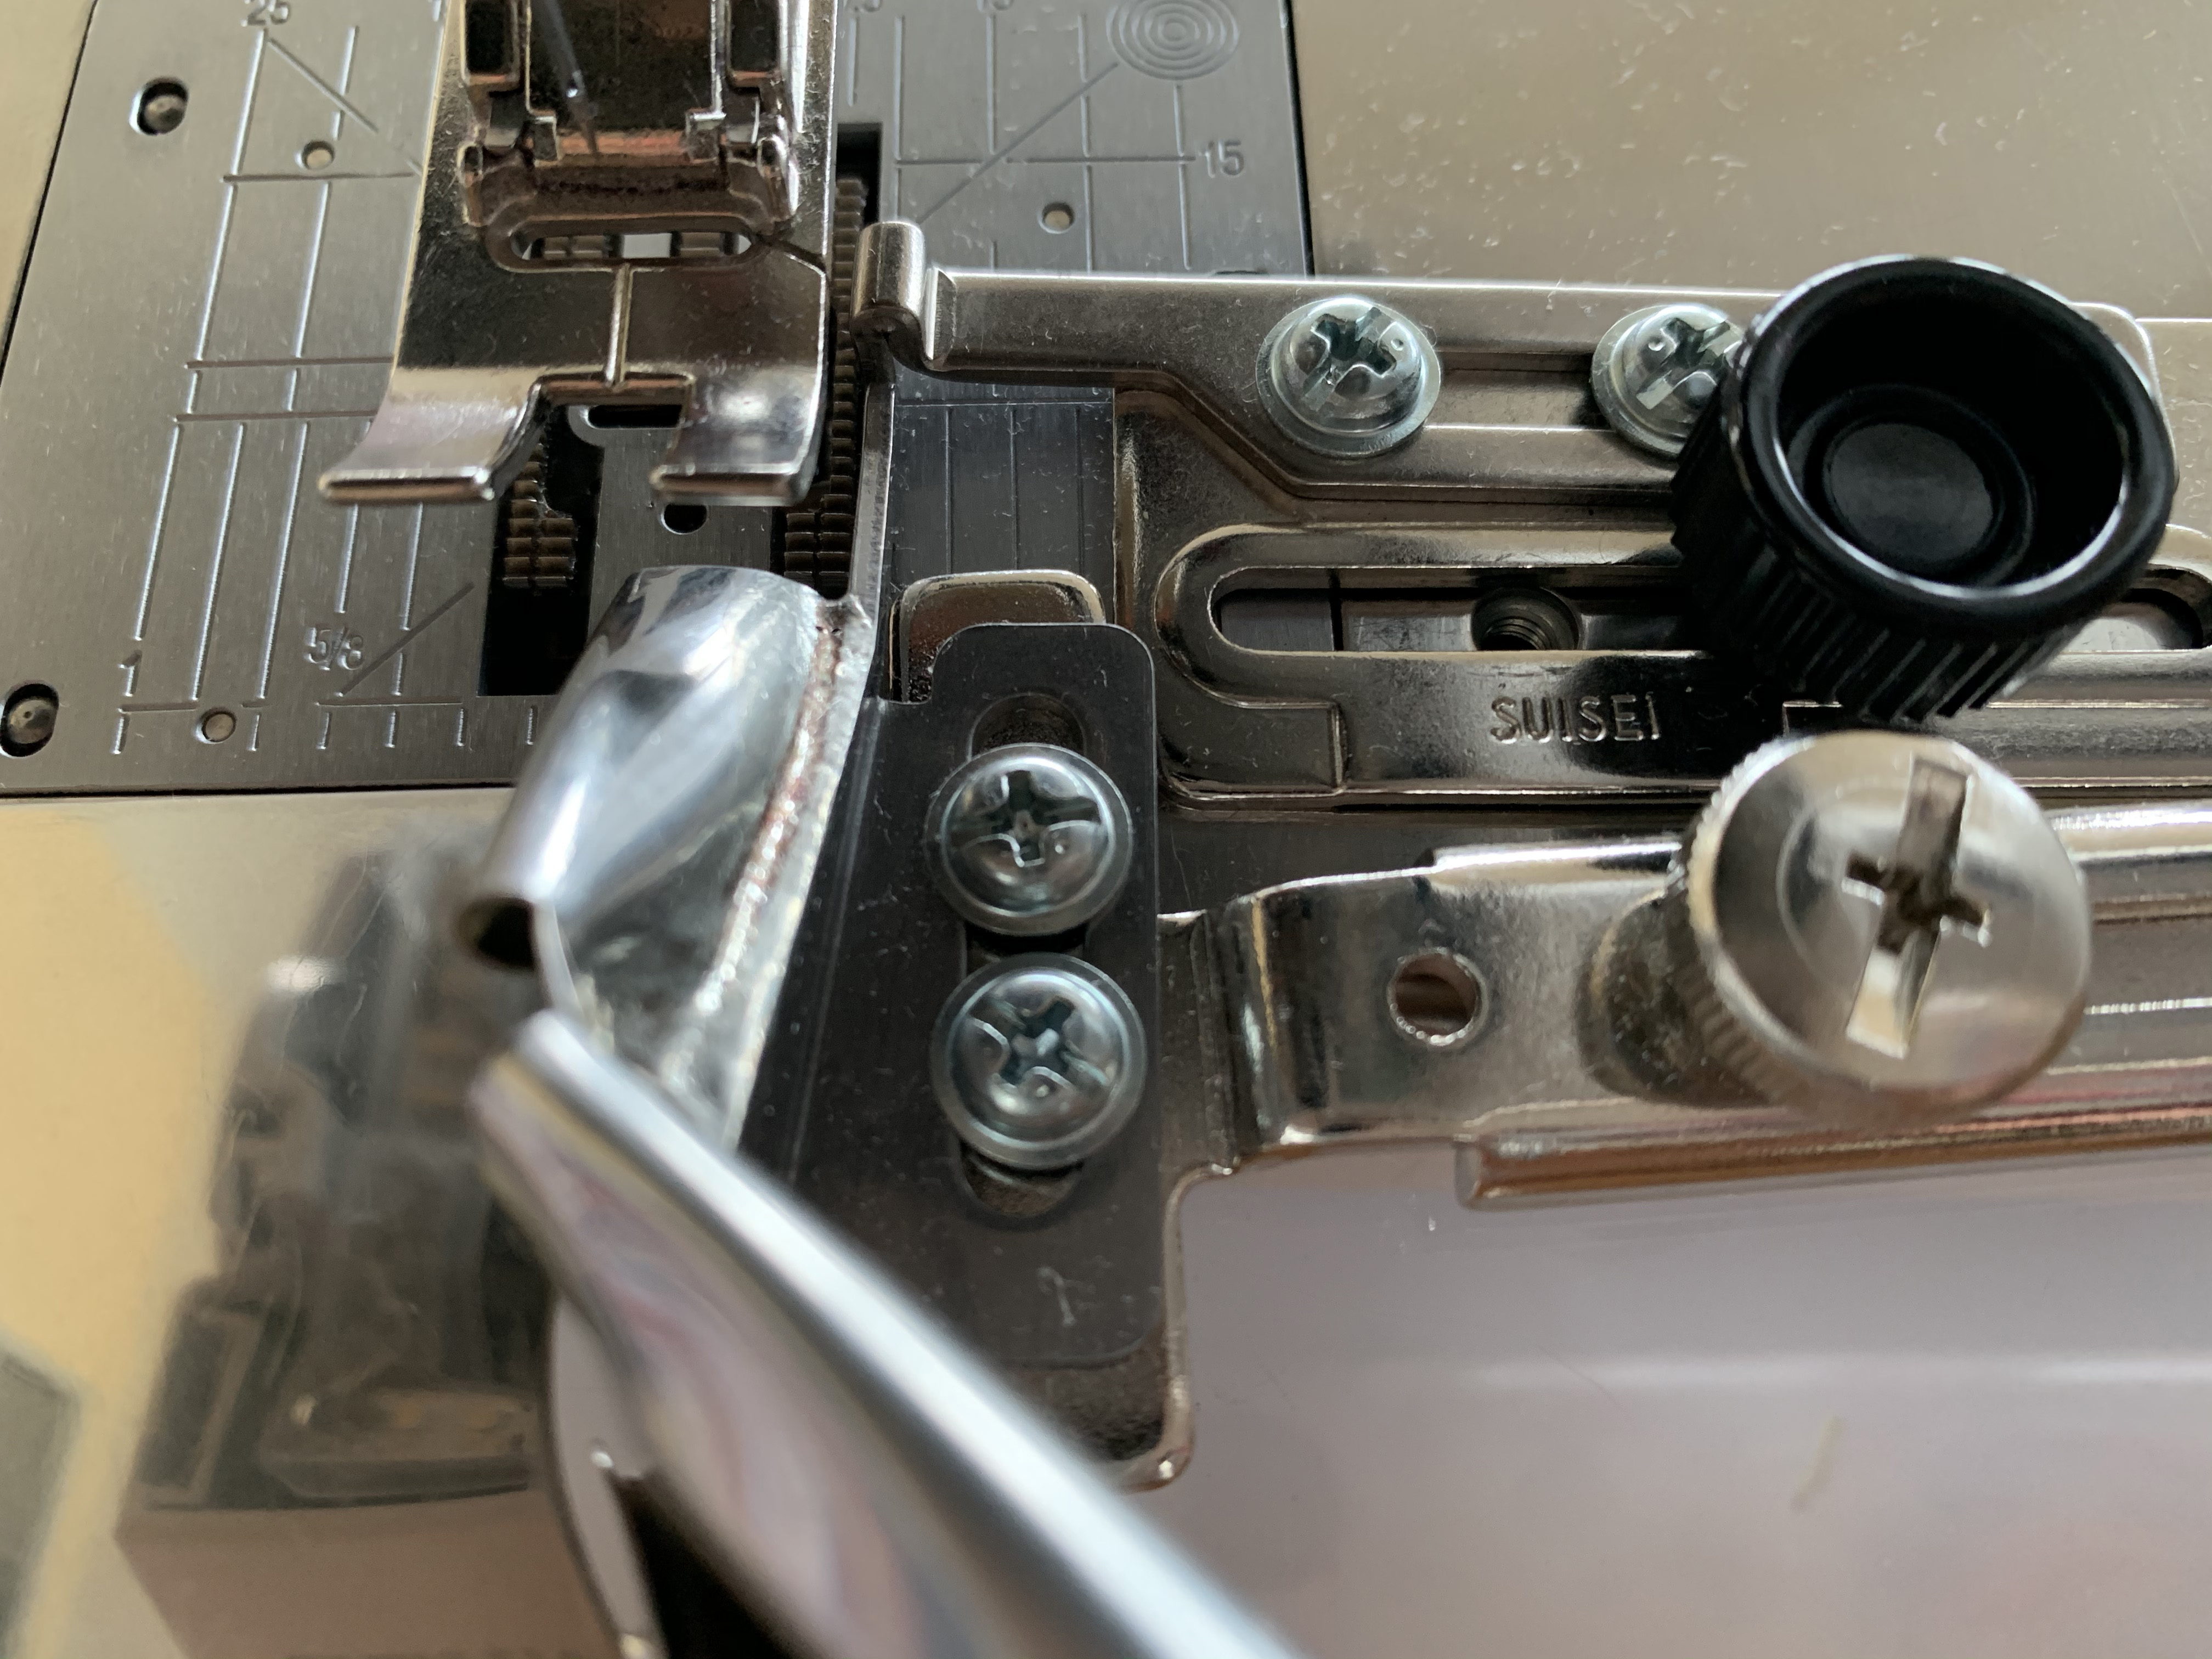
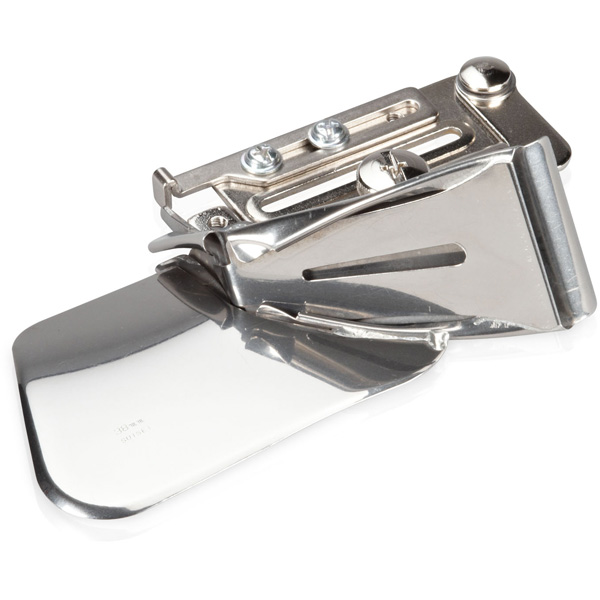
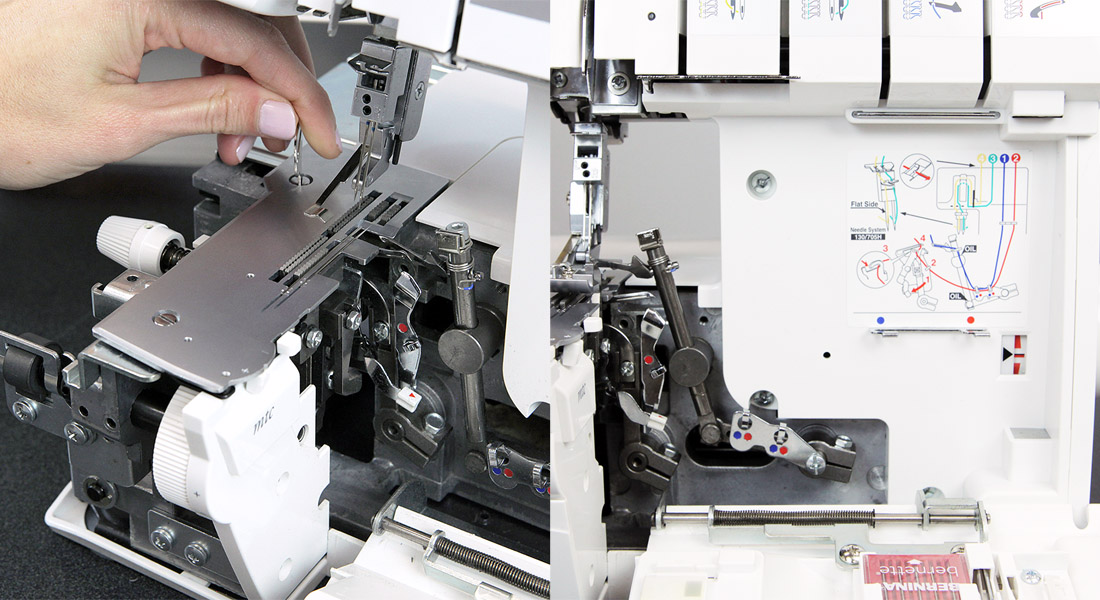
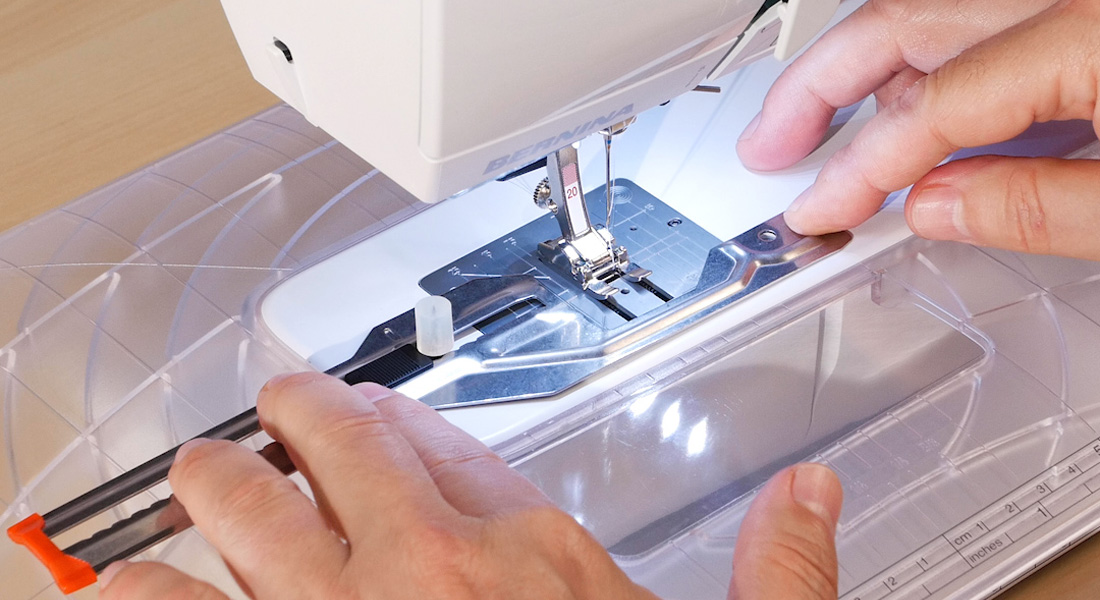
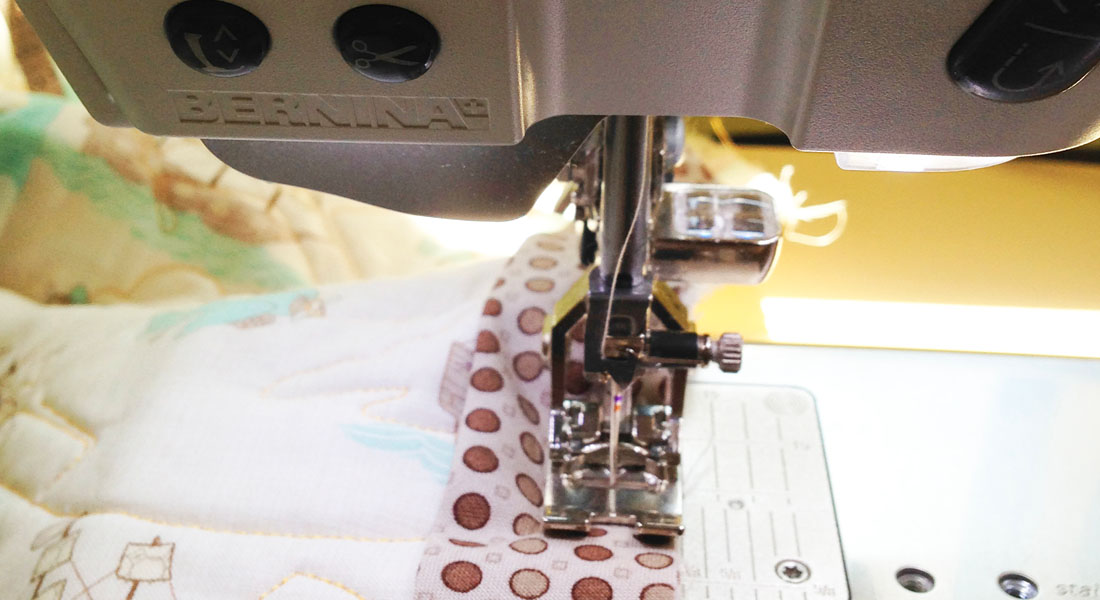
Step 3. Fastening the Attachment
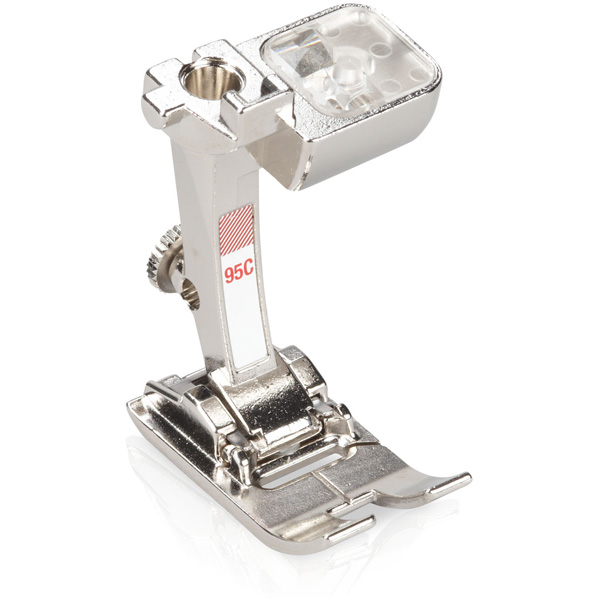
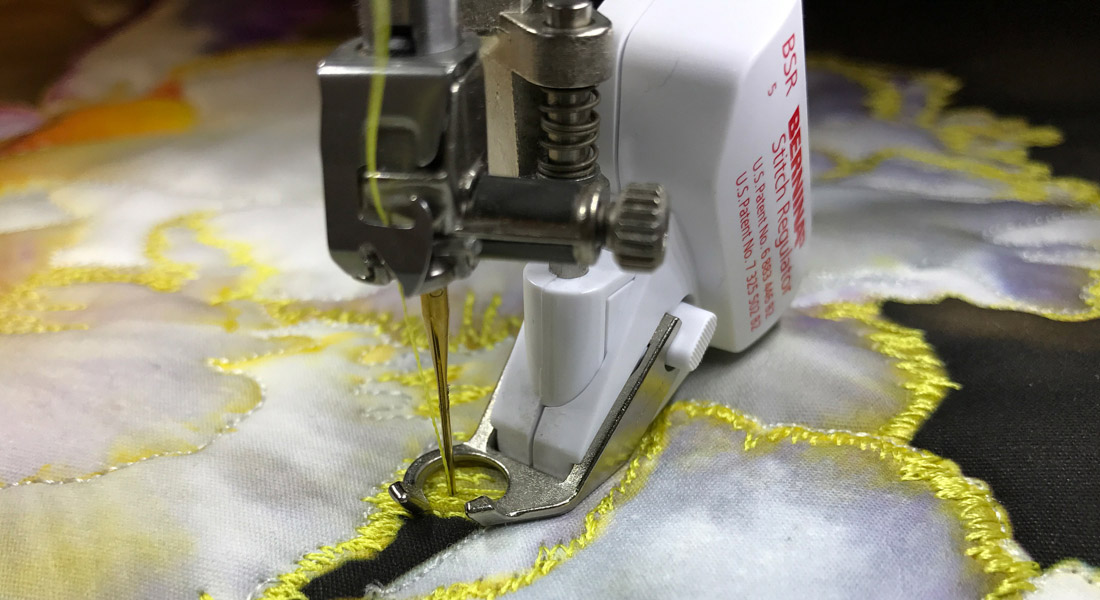
Follow the assembly instructions provided in the booklet. Adjust the screws’ positions to fit. The black screw goes into one of the holes on the sewing machine bed. I used the one on the right. Be sure the binder/pressure-foot is flush with the stitch plate. Give the black screw an extra twist as you will be opening the hinged part of the attachment while sewing and you don’t want it slipping. Insert BERNINA pressure-foot #95C.

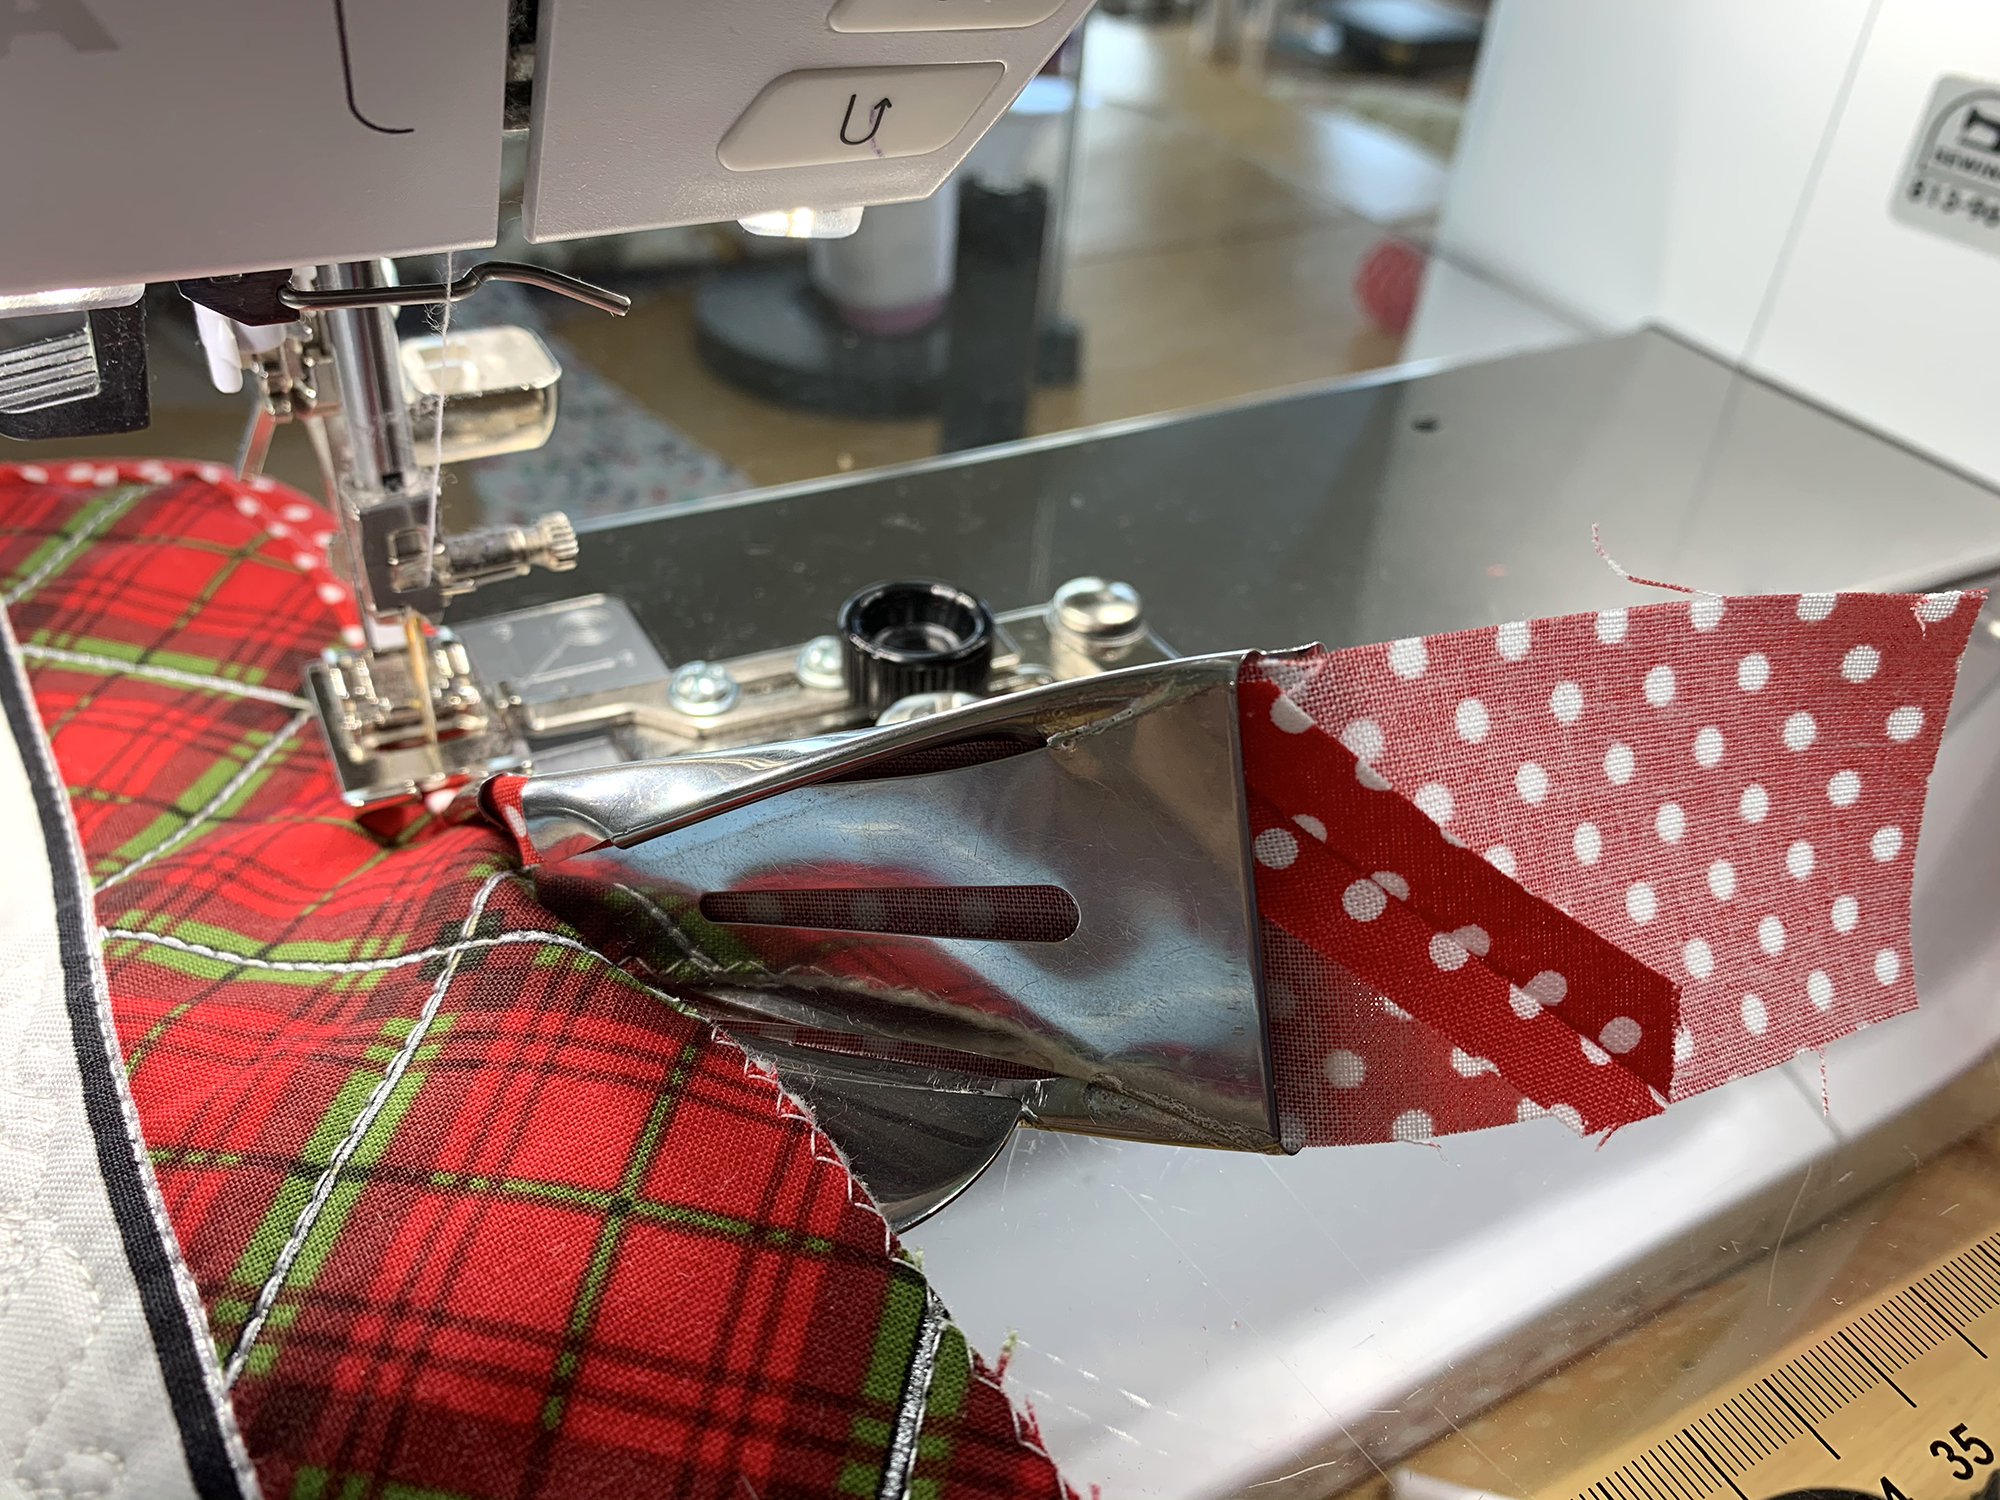
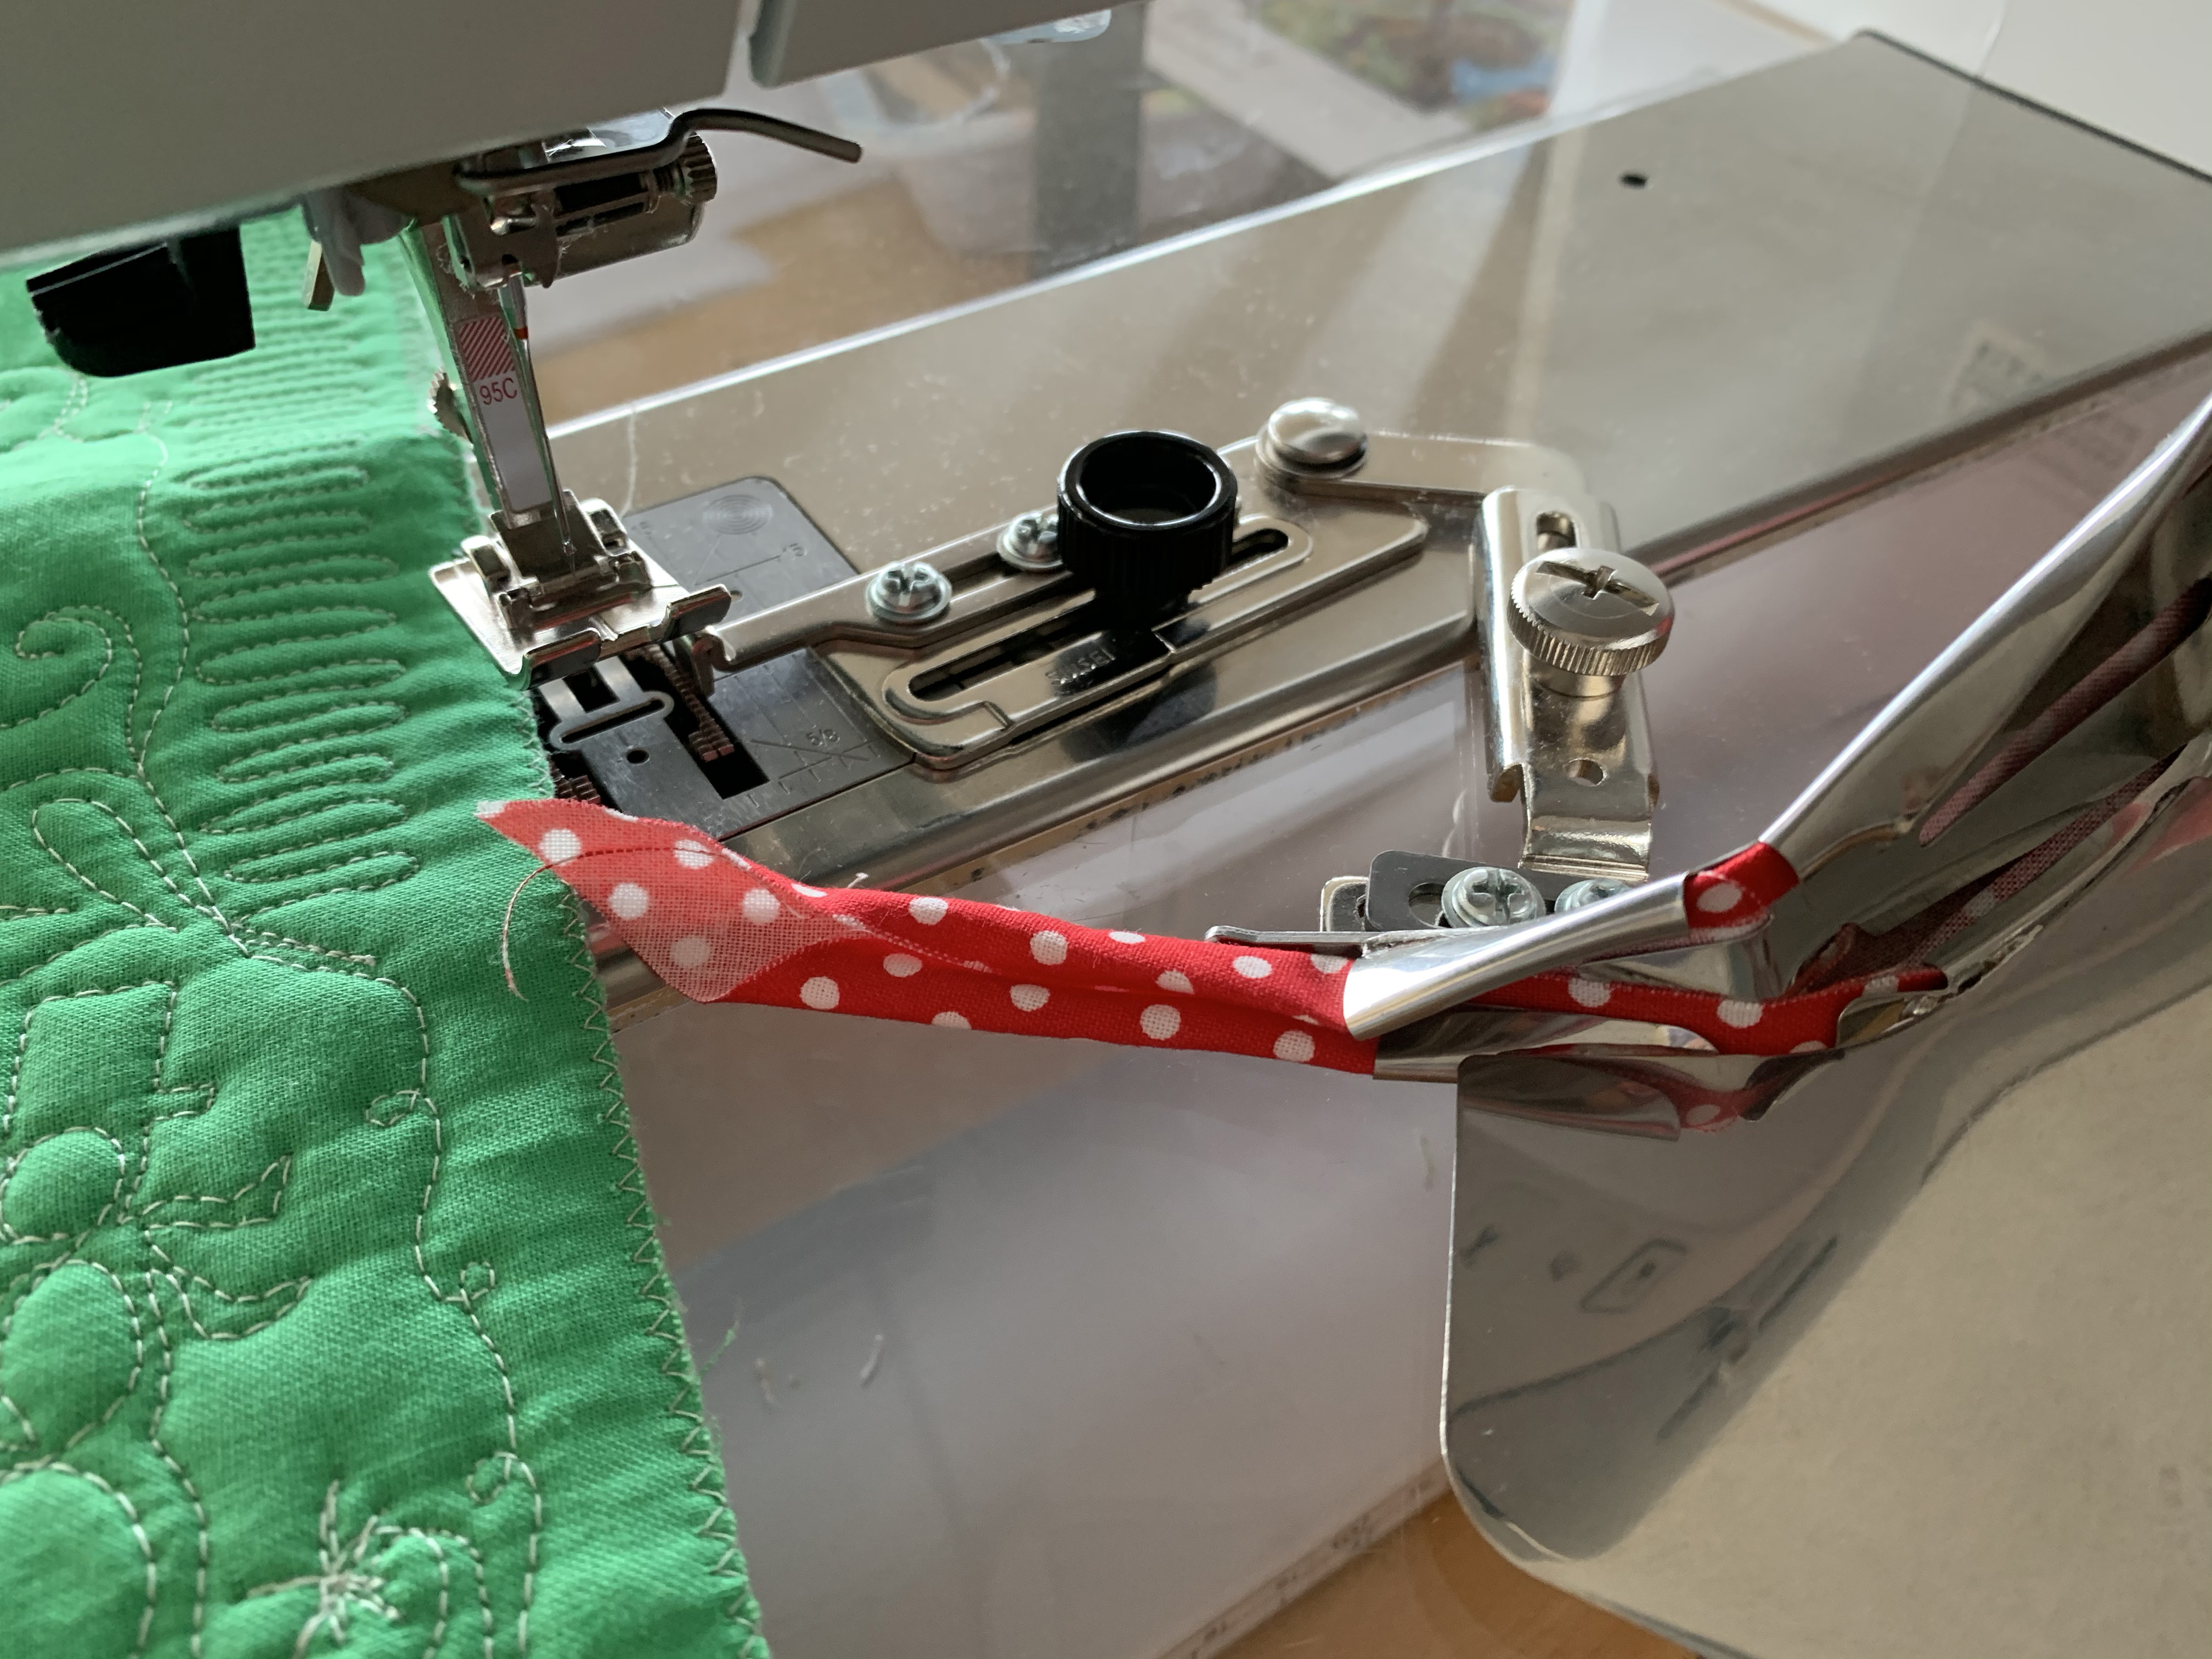
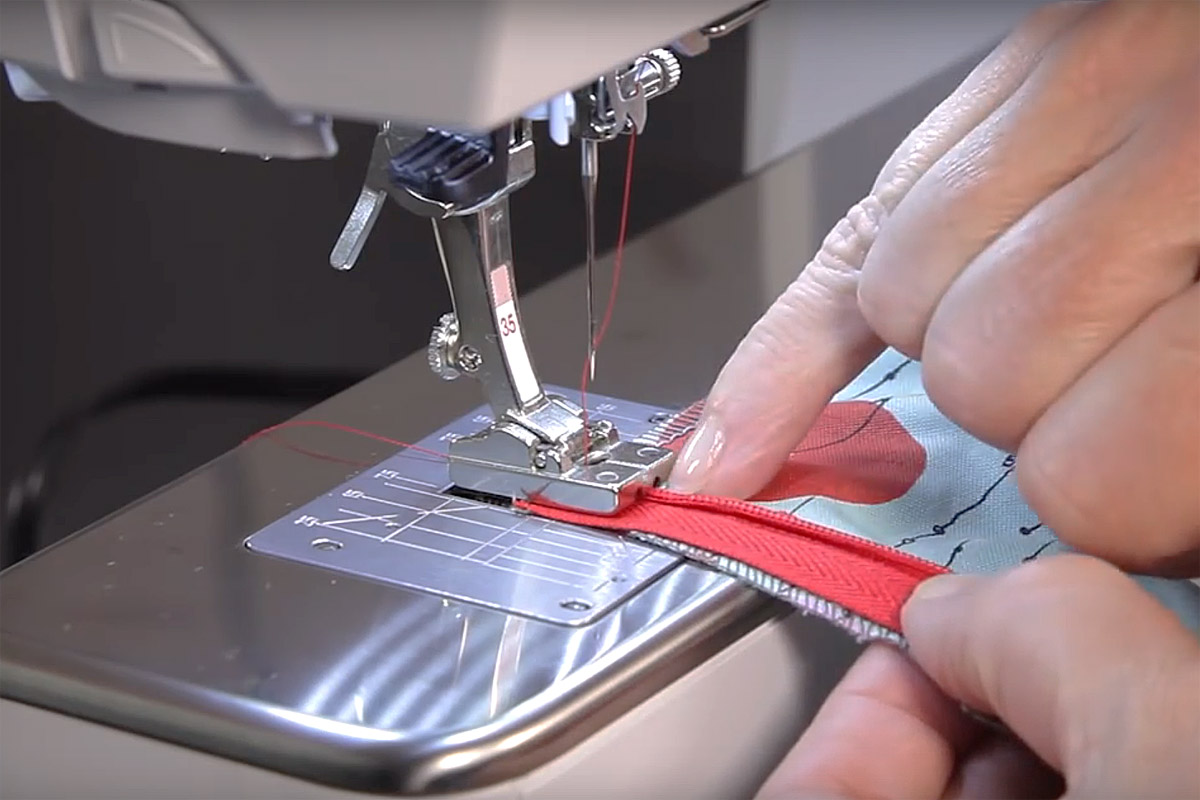
Step 4. Load the Binding
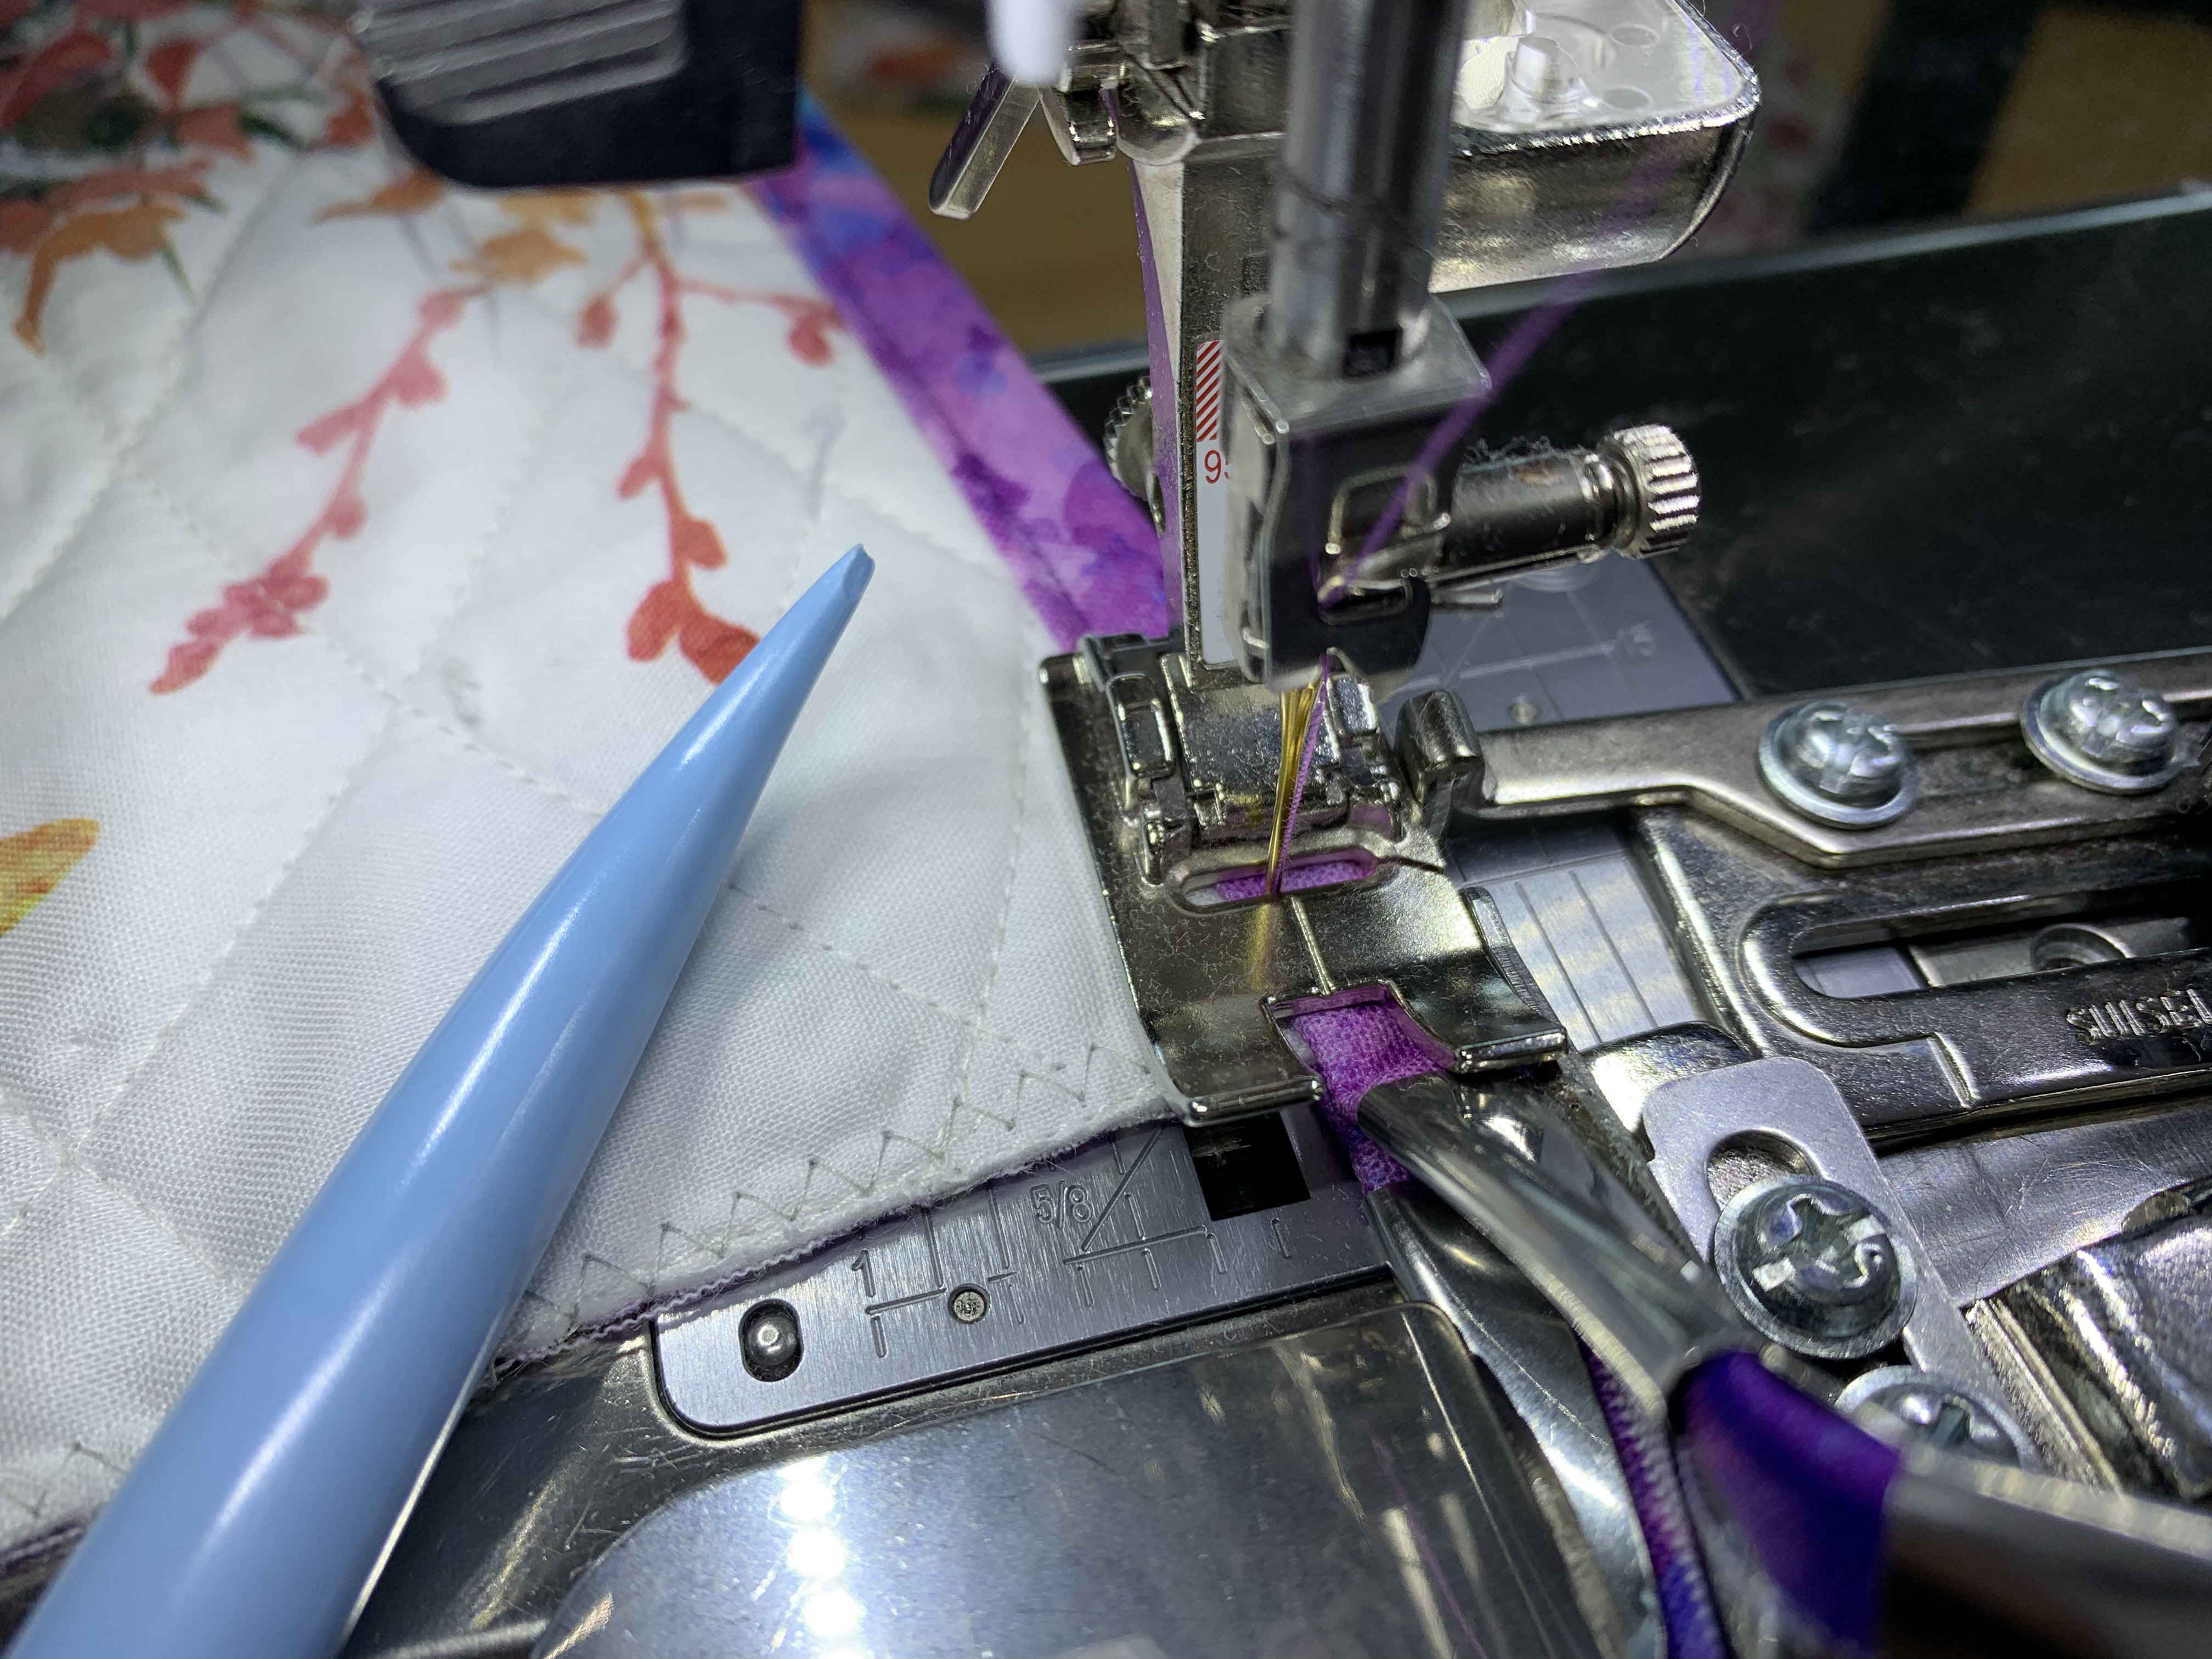
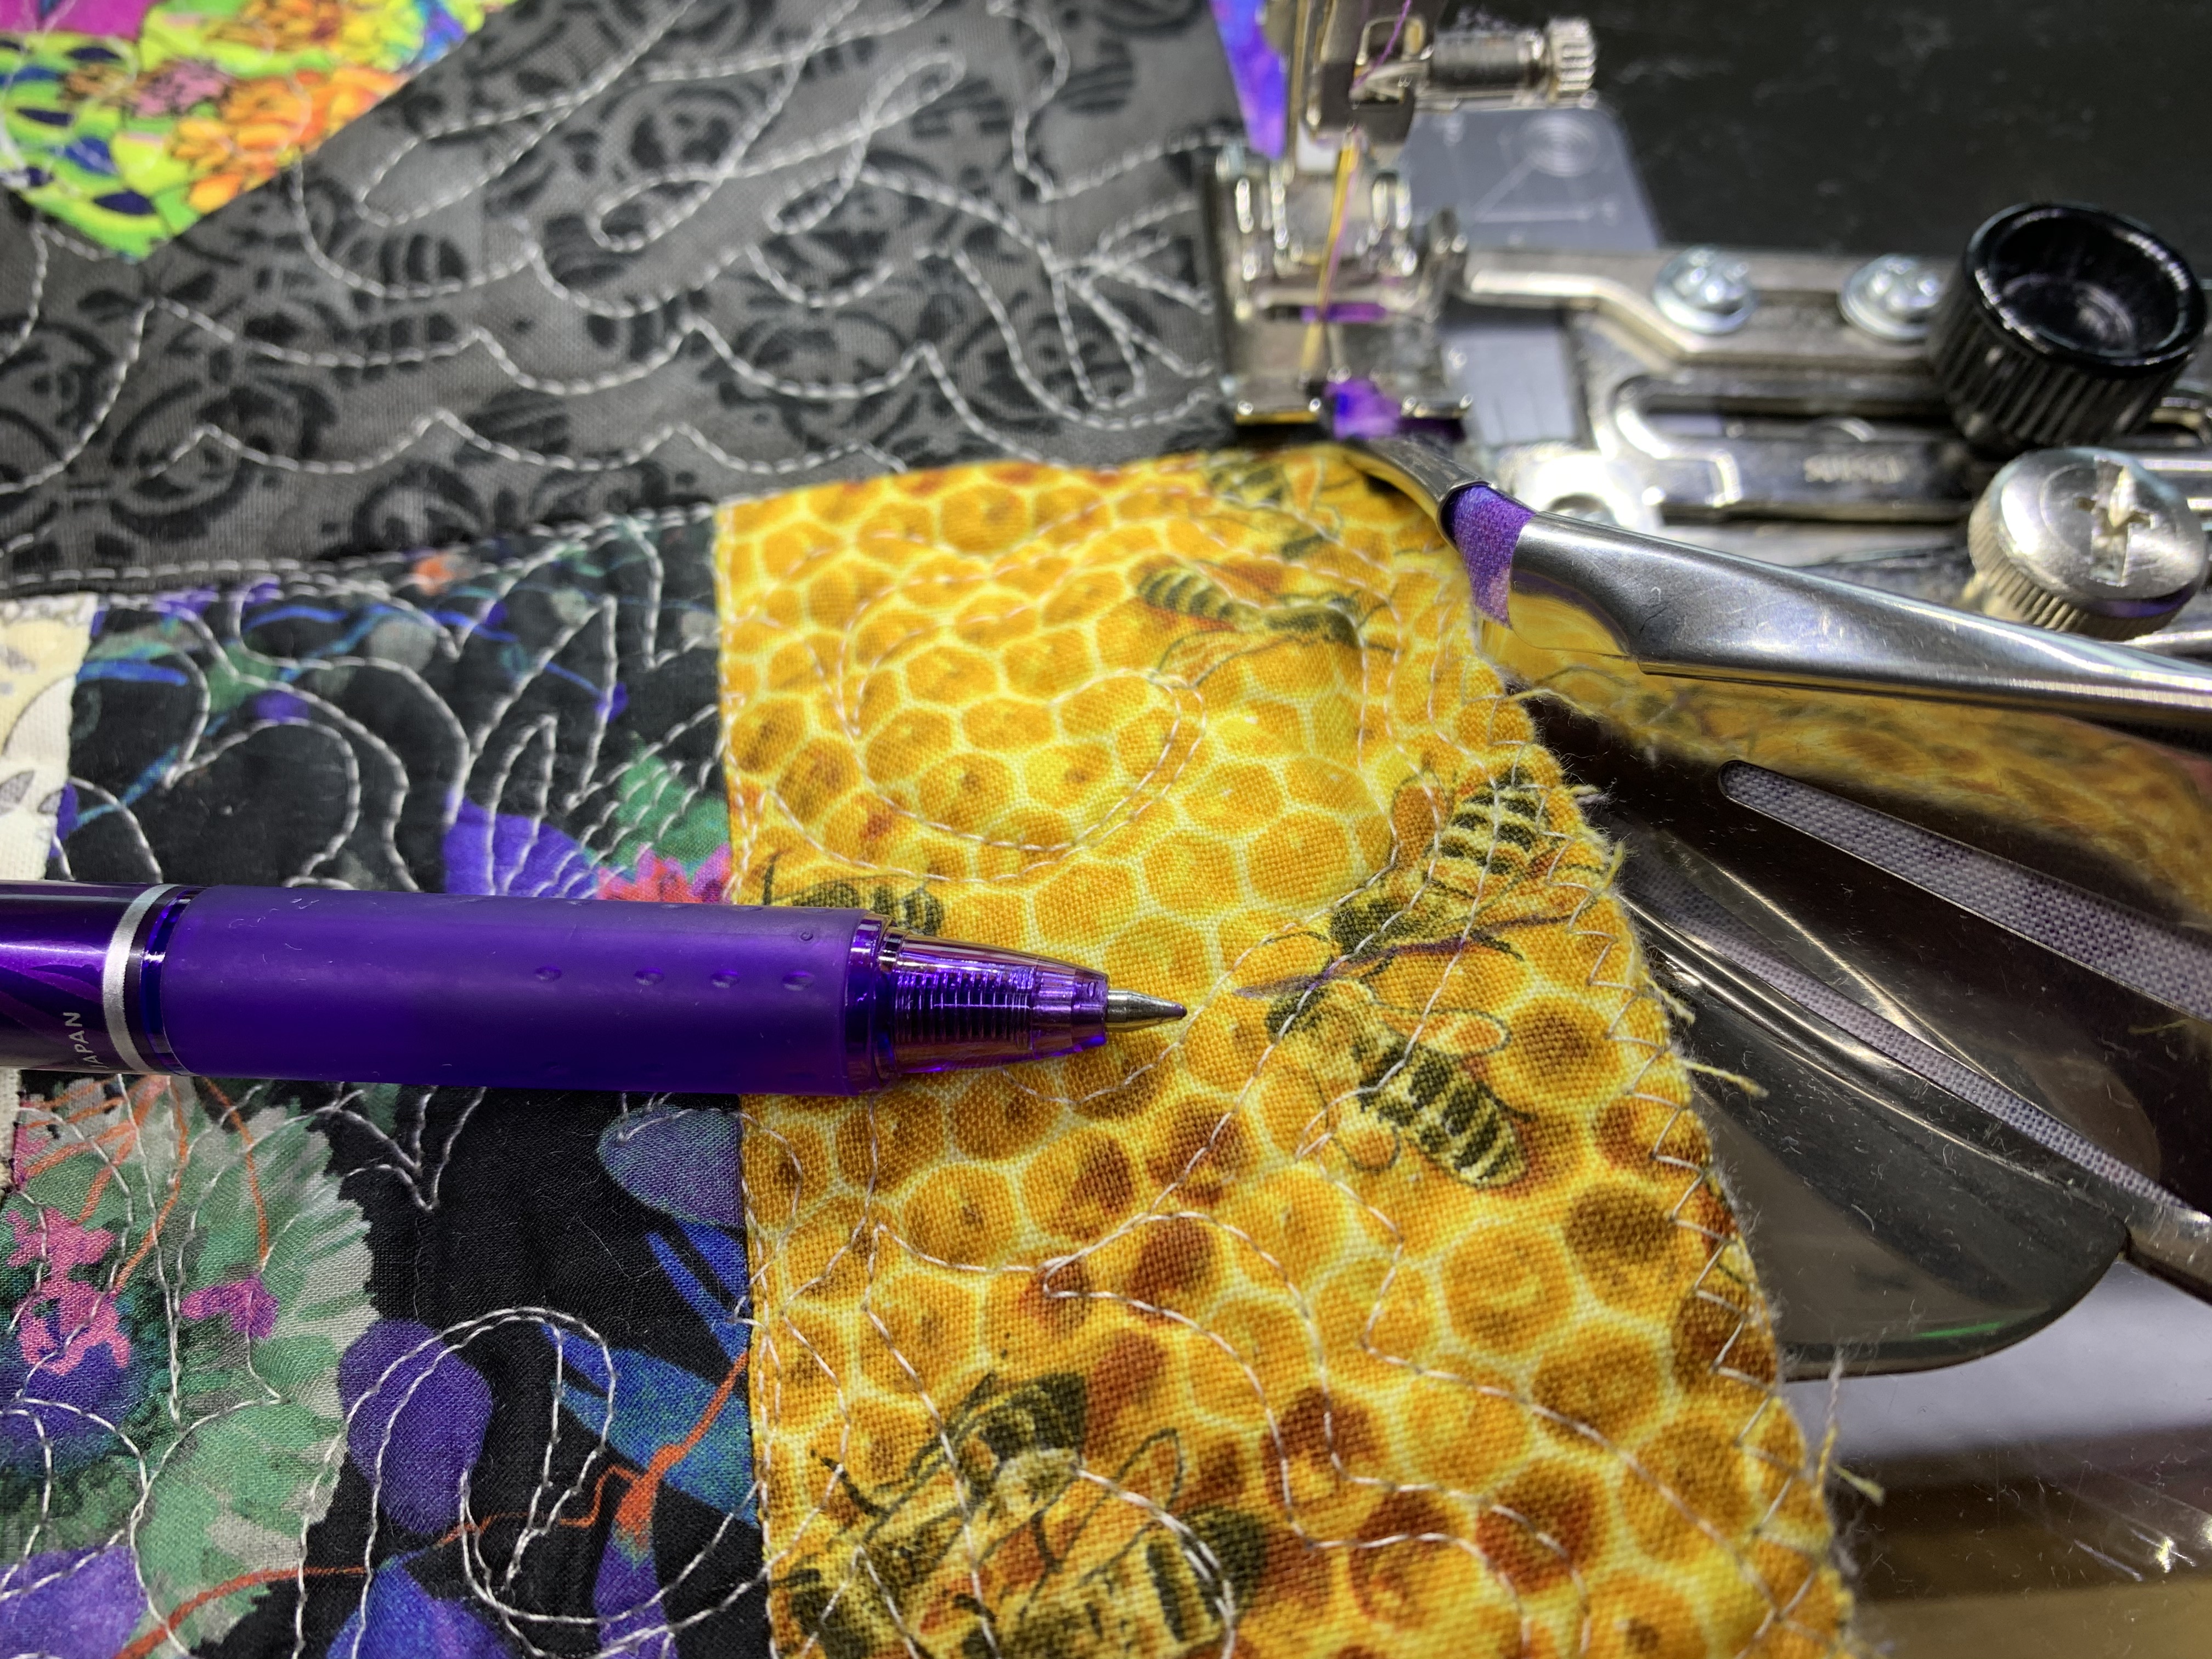
Cut the bias strip at a 45-degree angle. With the wrong side of the fabric facing you, insert the pointed end into the attachment. A stiletto is used as a guiding tool. *Note: It is important to keep the long bias strip loose and untangled. It may roll and flip inside-out if you aren’t careful. Slip and hang the excess bias fabric over the vertical spool holder located on the top right of the machine. Pull about an inch of bias through the attachment and slide the quilt sandwich in between the metal opening (they resemble two lips coming together) and wrap binding snuggly around the edges. Use the stiletto to hold it into position and lower the pressure-foot. You may need to adjust your needle position. My needle setting is -1.
Step 5. Begin Stitching
The settings I am using are for a BERNINA 770 QE.

Stitch width: 0/0-4mm
Stitch length: 2-3mm
Needle position: down
Feed dog: sewing position
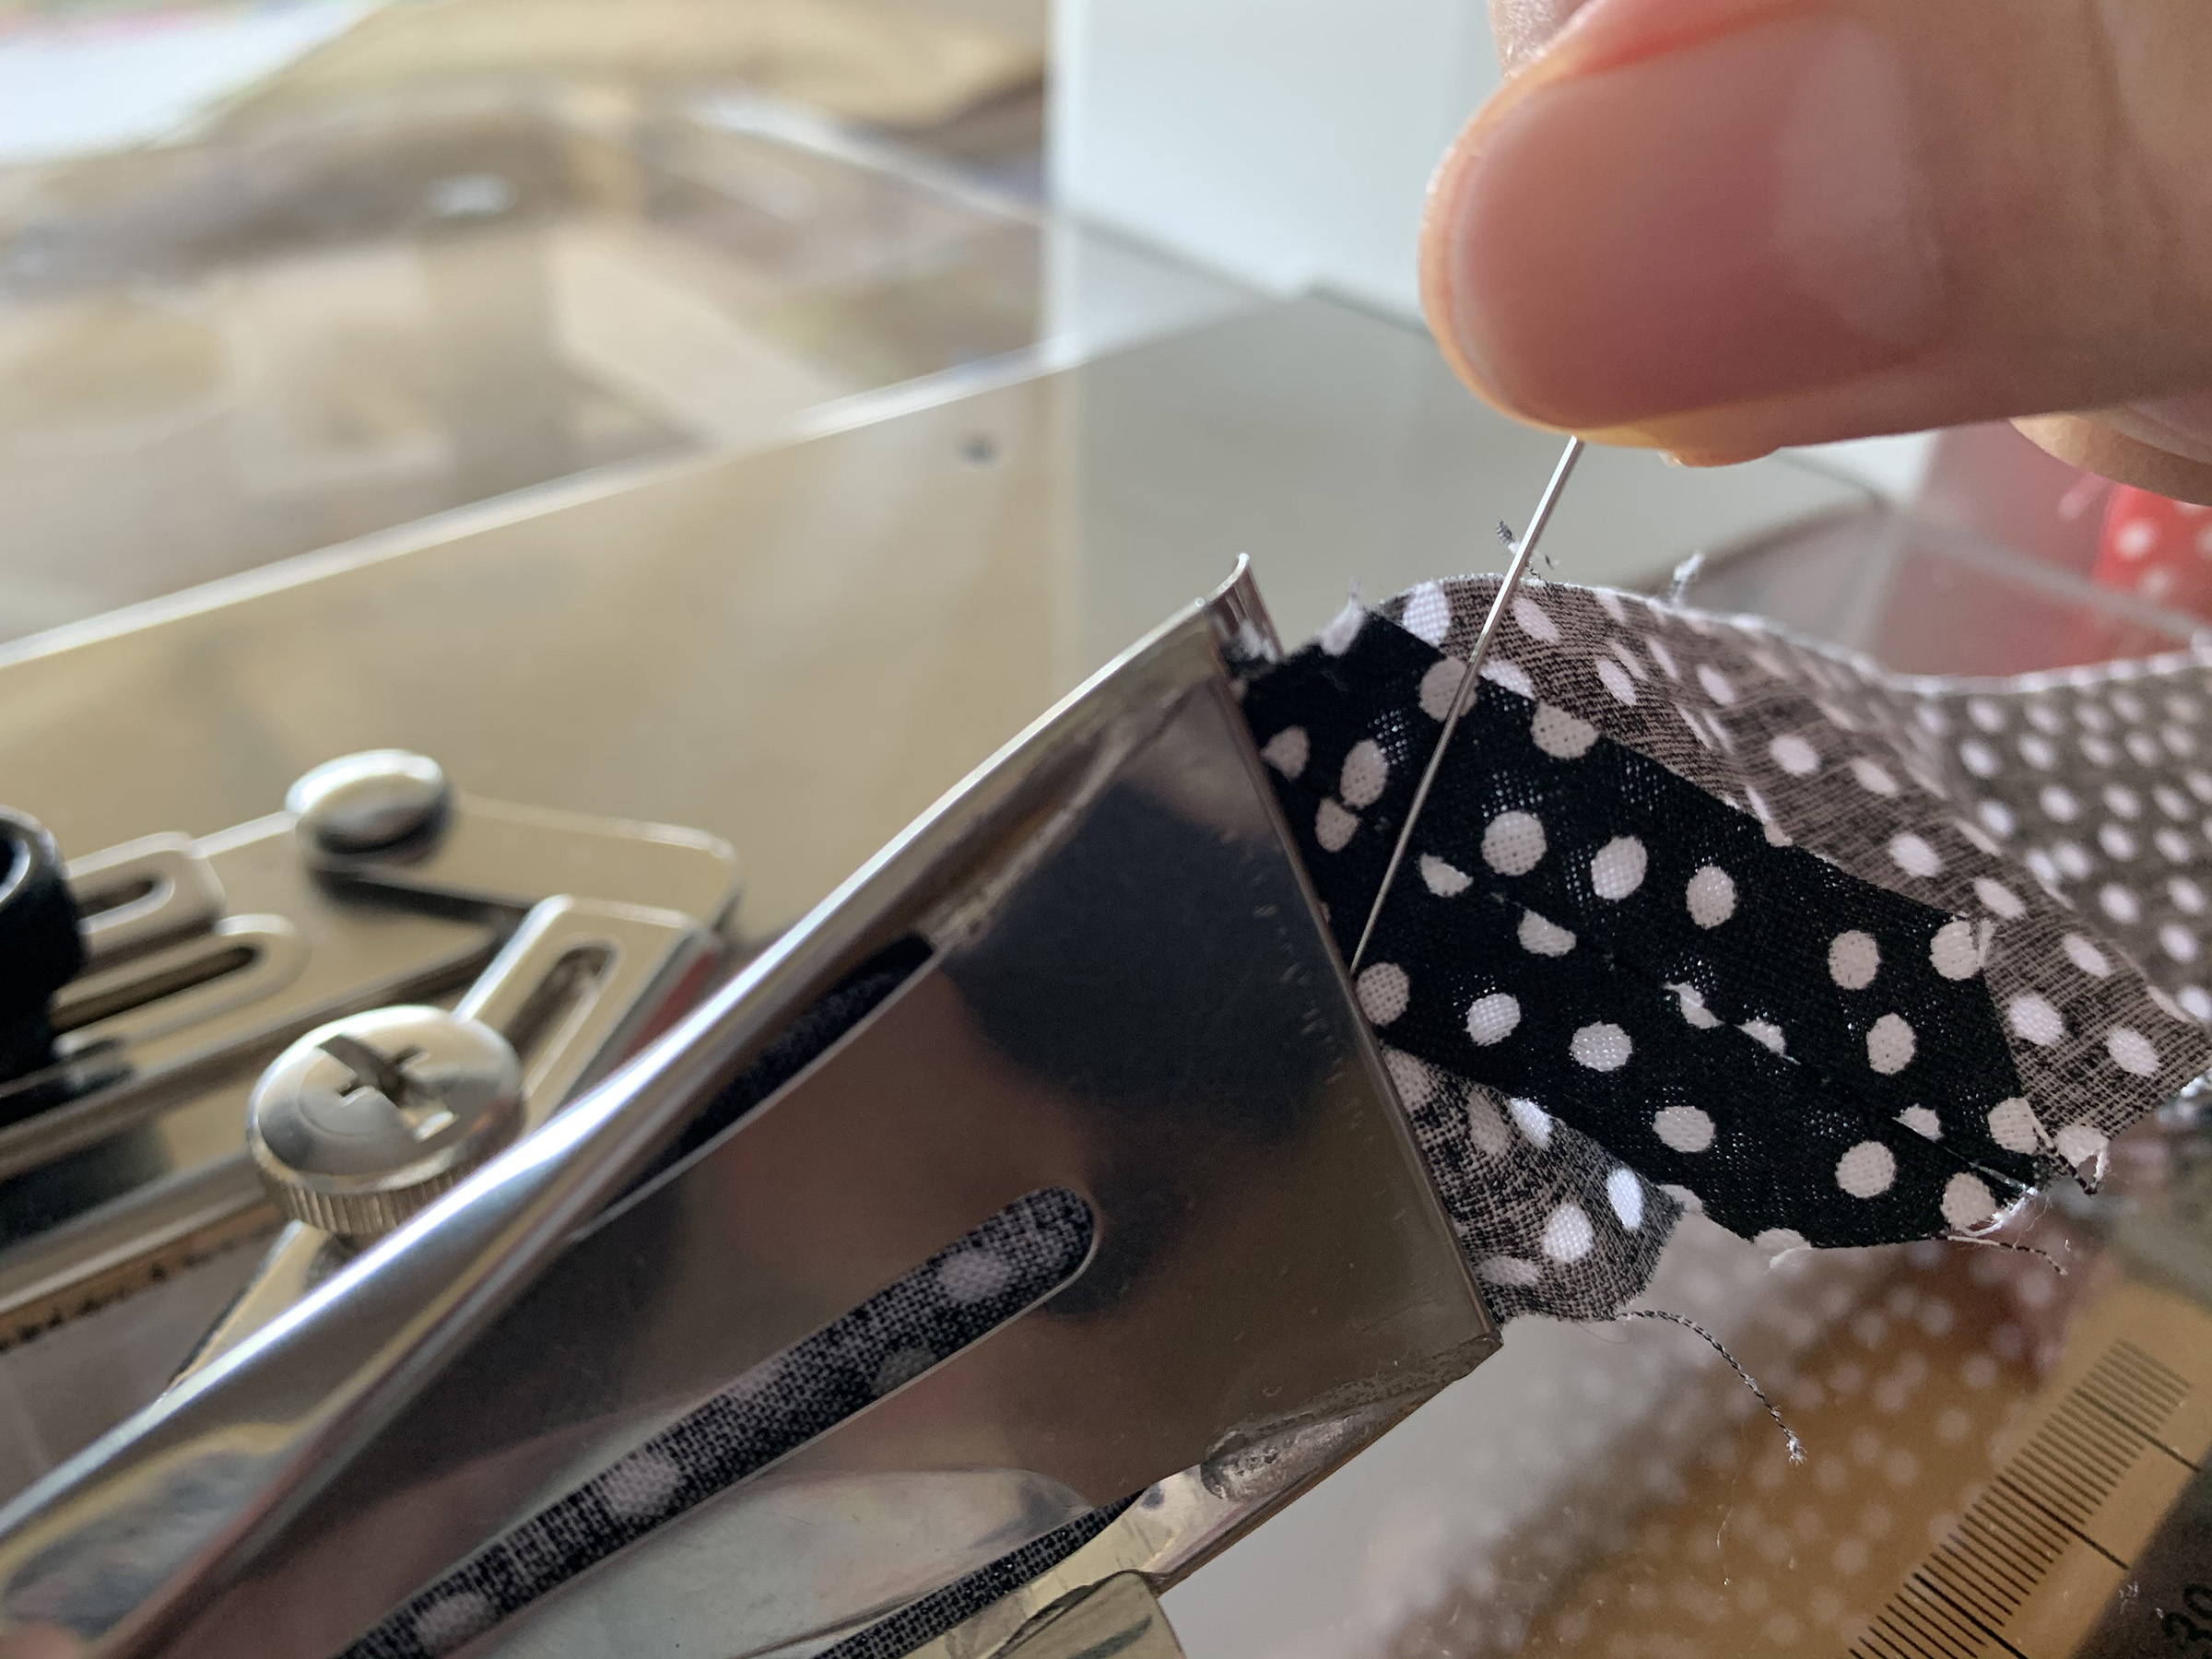
Note: When the seamed bias strips are approaching the attachment they can sometimes buckle causing wrinkles. As the seam is about to go through the attachment, use a straight pin to guide it smoothly into the tight opening. Continue sewing to the very end of the corner.
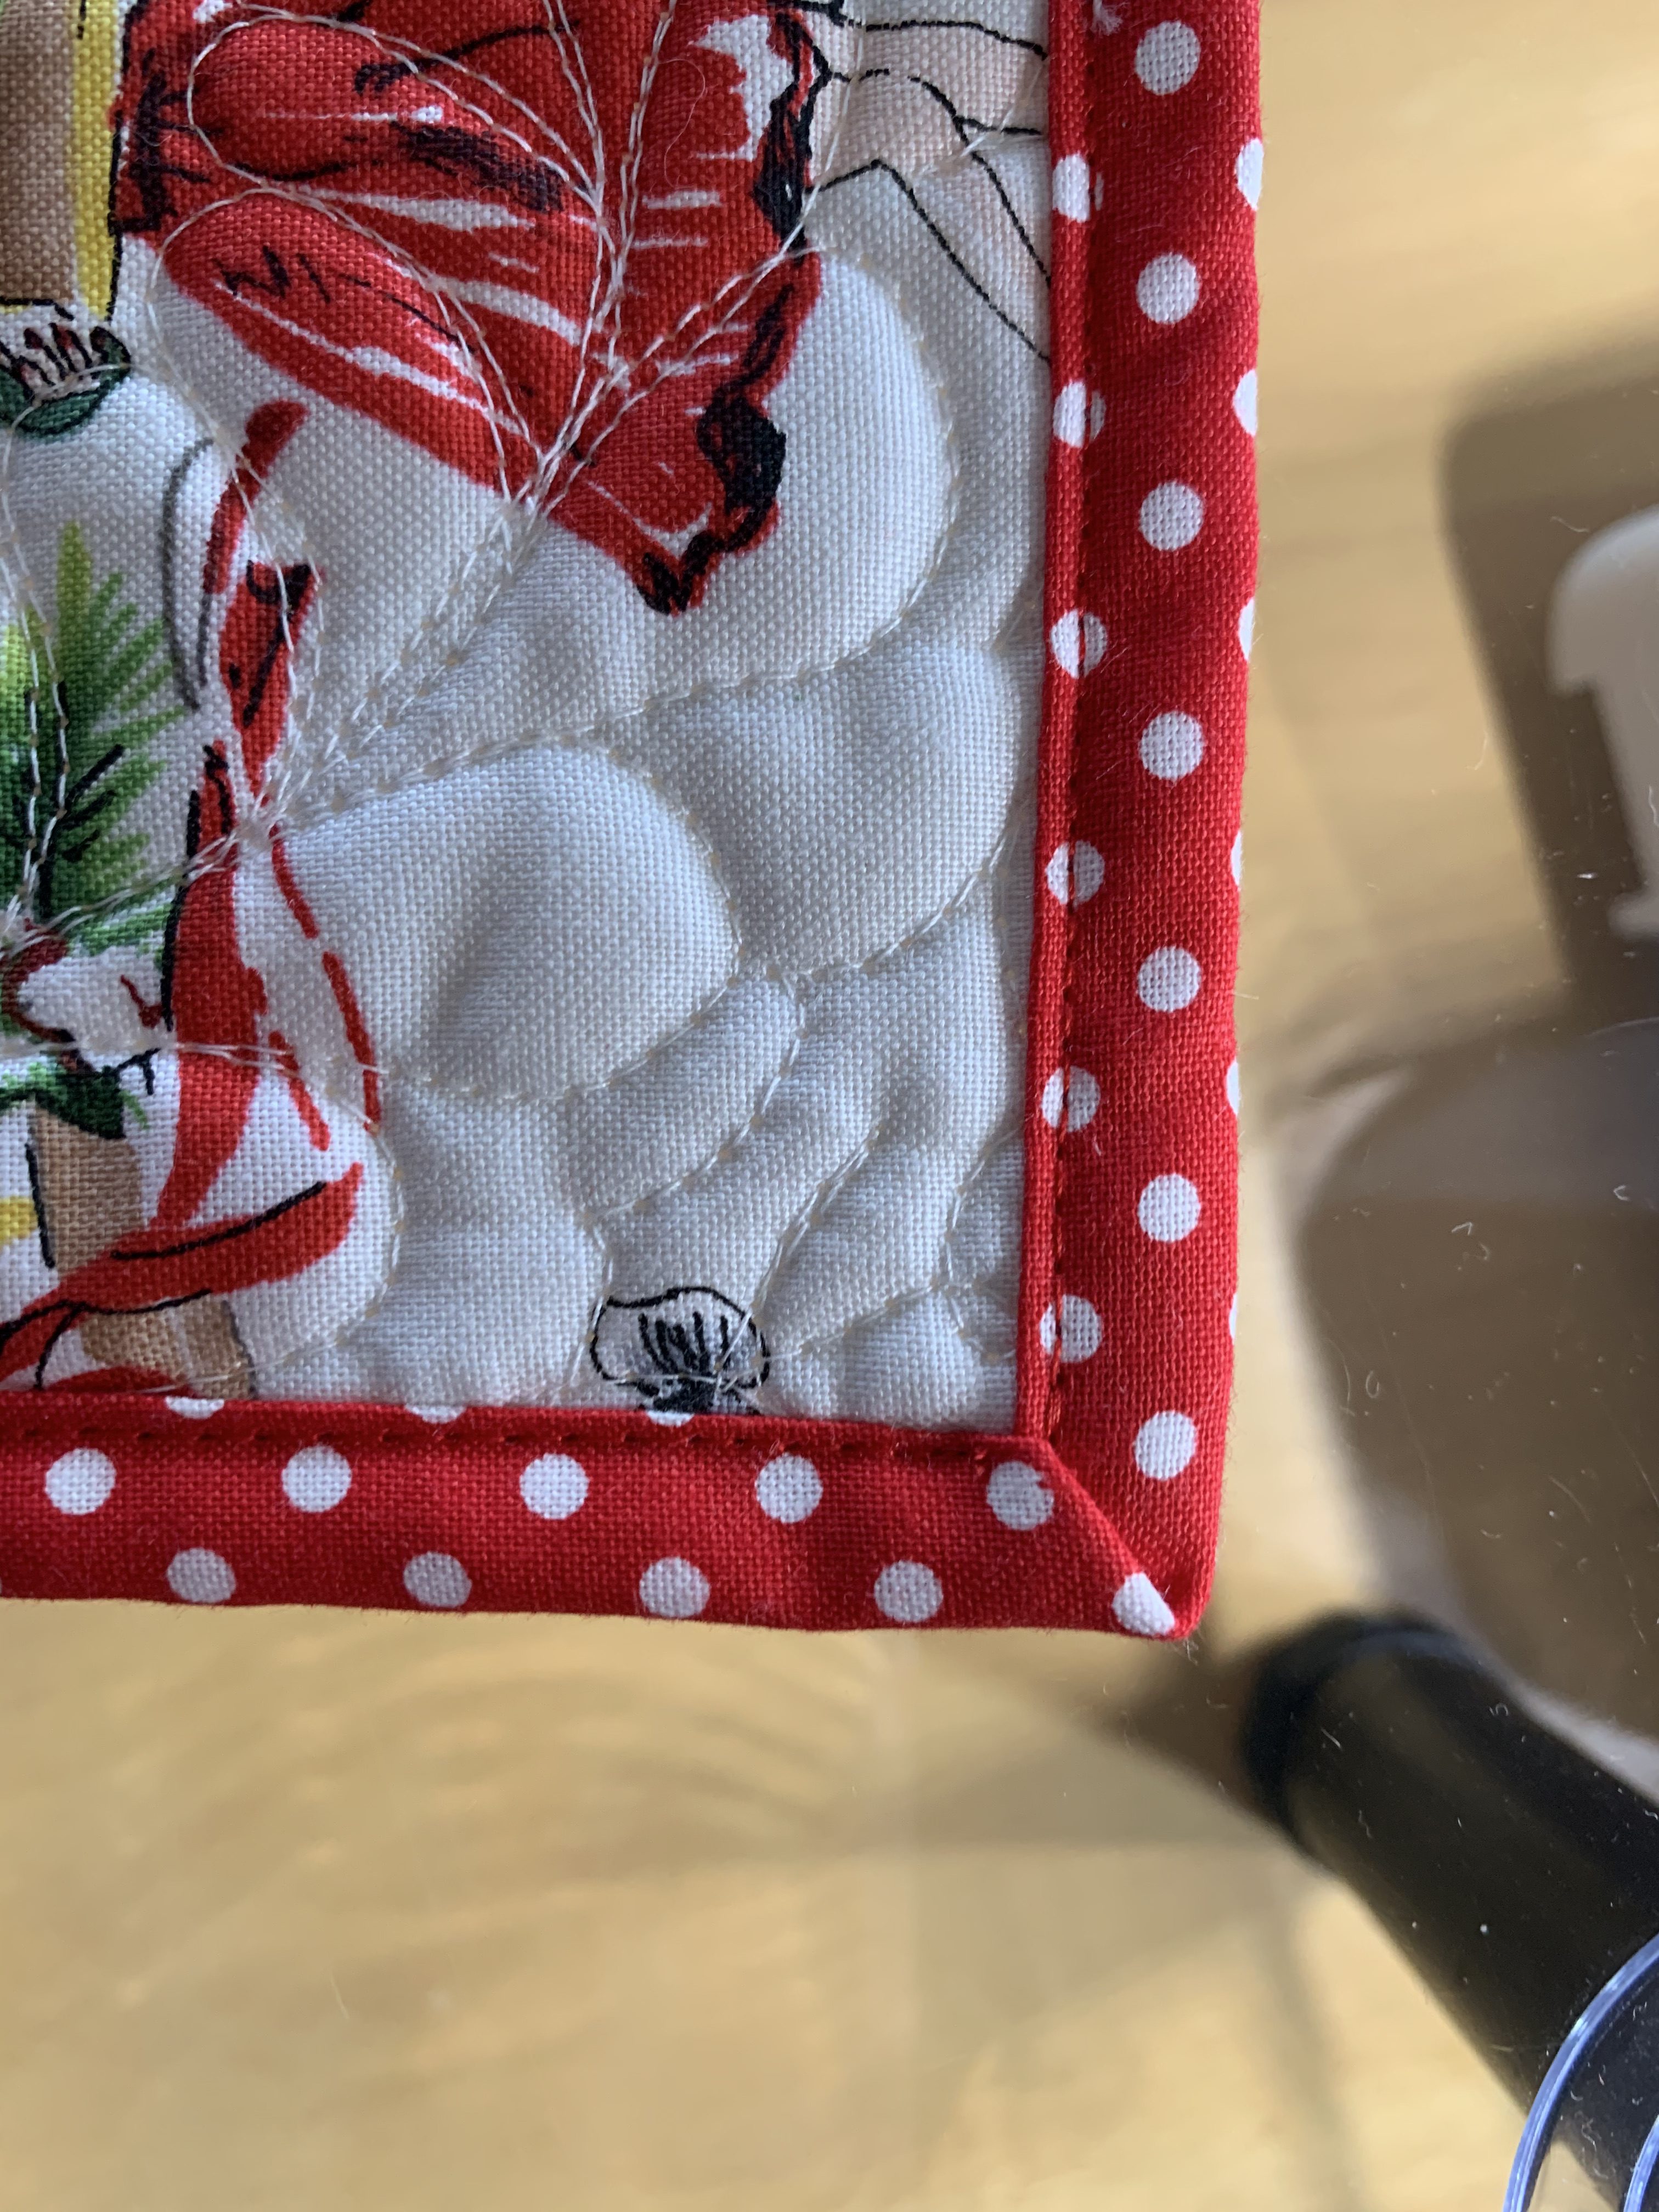
Step 6. Mitered Corners
After you have stitched to the end of the corner, take a few back stitches to lock it. Cut the threads. Pull the attachment hinge back and slide the sandwiched quilt out just enough to grab some fabric to make a mitered corner. Create a miter and clip it into position with a Wonder Clip. Check the back of the corner to be sure it is where you want it. Use tweezers to help position the corner if needed. Once it is in position, hand baste into place. Stab through the corner and stitch to the side and another over the top. This keeps it in the correct position. Clip threads.

Slide the quilt back under the needle swinging the hinge closed. Carefully pull the bias tape back through the attachment until it’s in position at the corner. Locate the miter and manually lower the needle into the corner. Be sure the hand-basted stitches are out of the way. Take a few stitches and then backstitch to lock. *Note: Sometimes the bulk of the corner needs some manual adjustments. If it feels as if it is not moving and is stuck, lift the pressure-foot and raise the needle, readjust the position and sew.
Repeat and finish all corners.
Step 7. Finishing the Tail
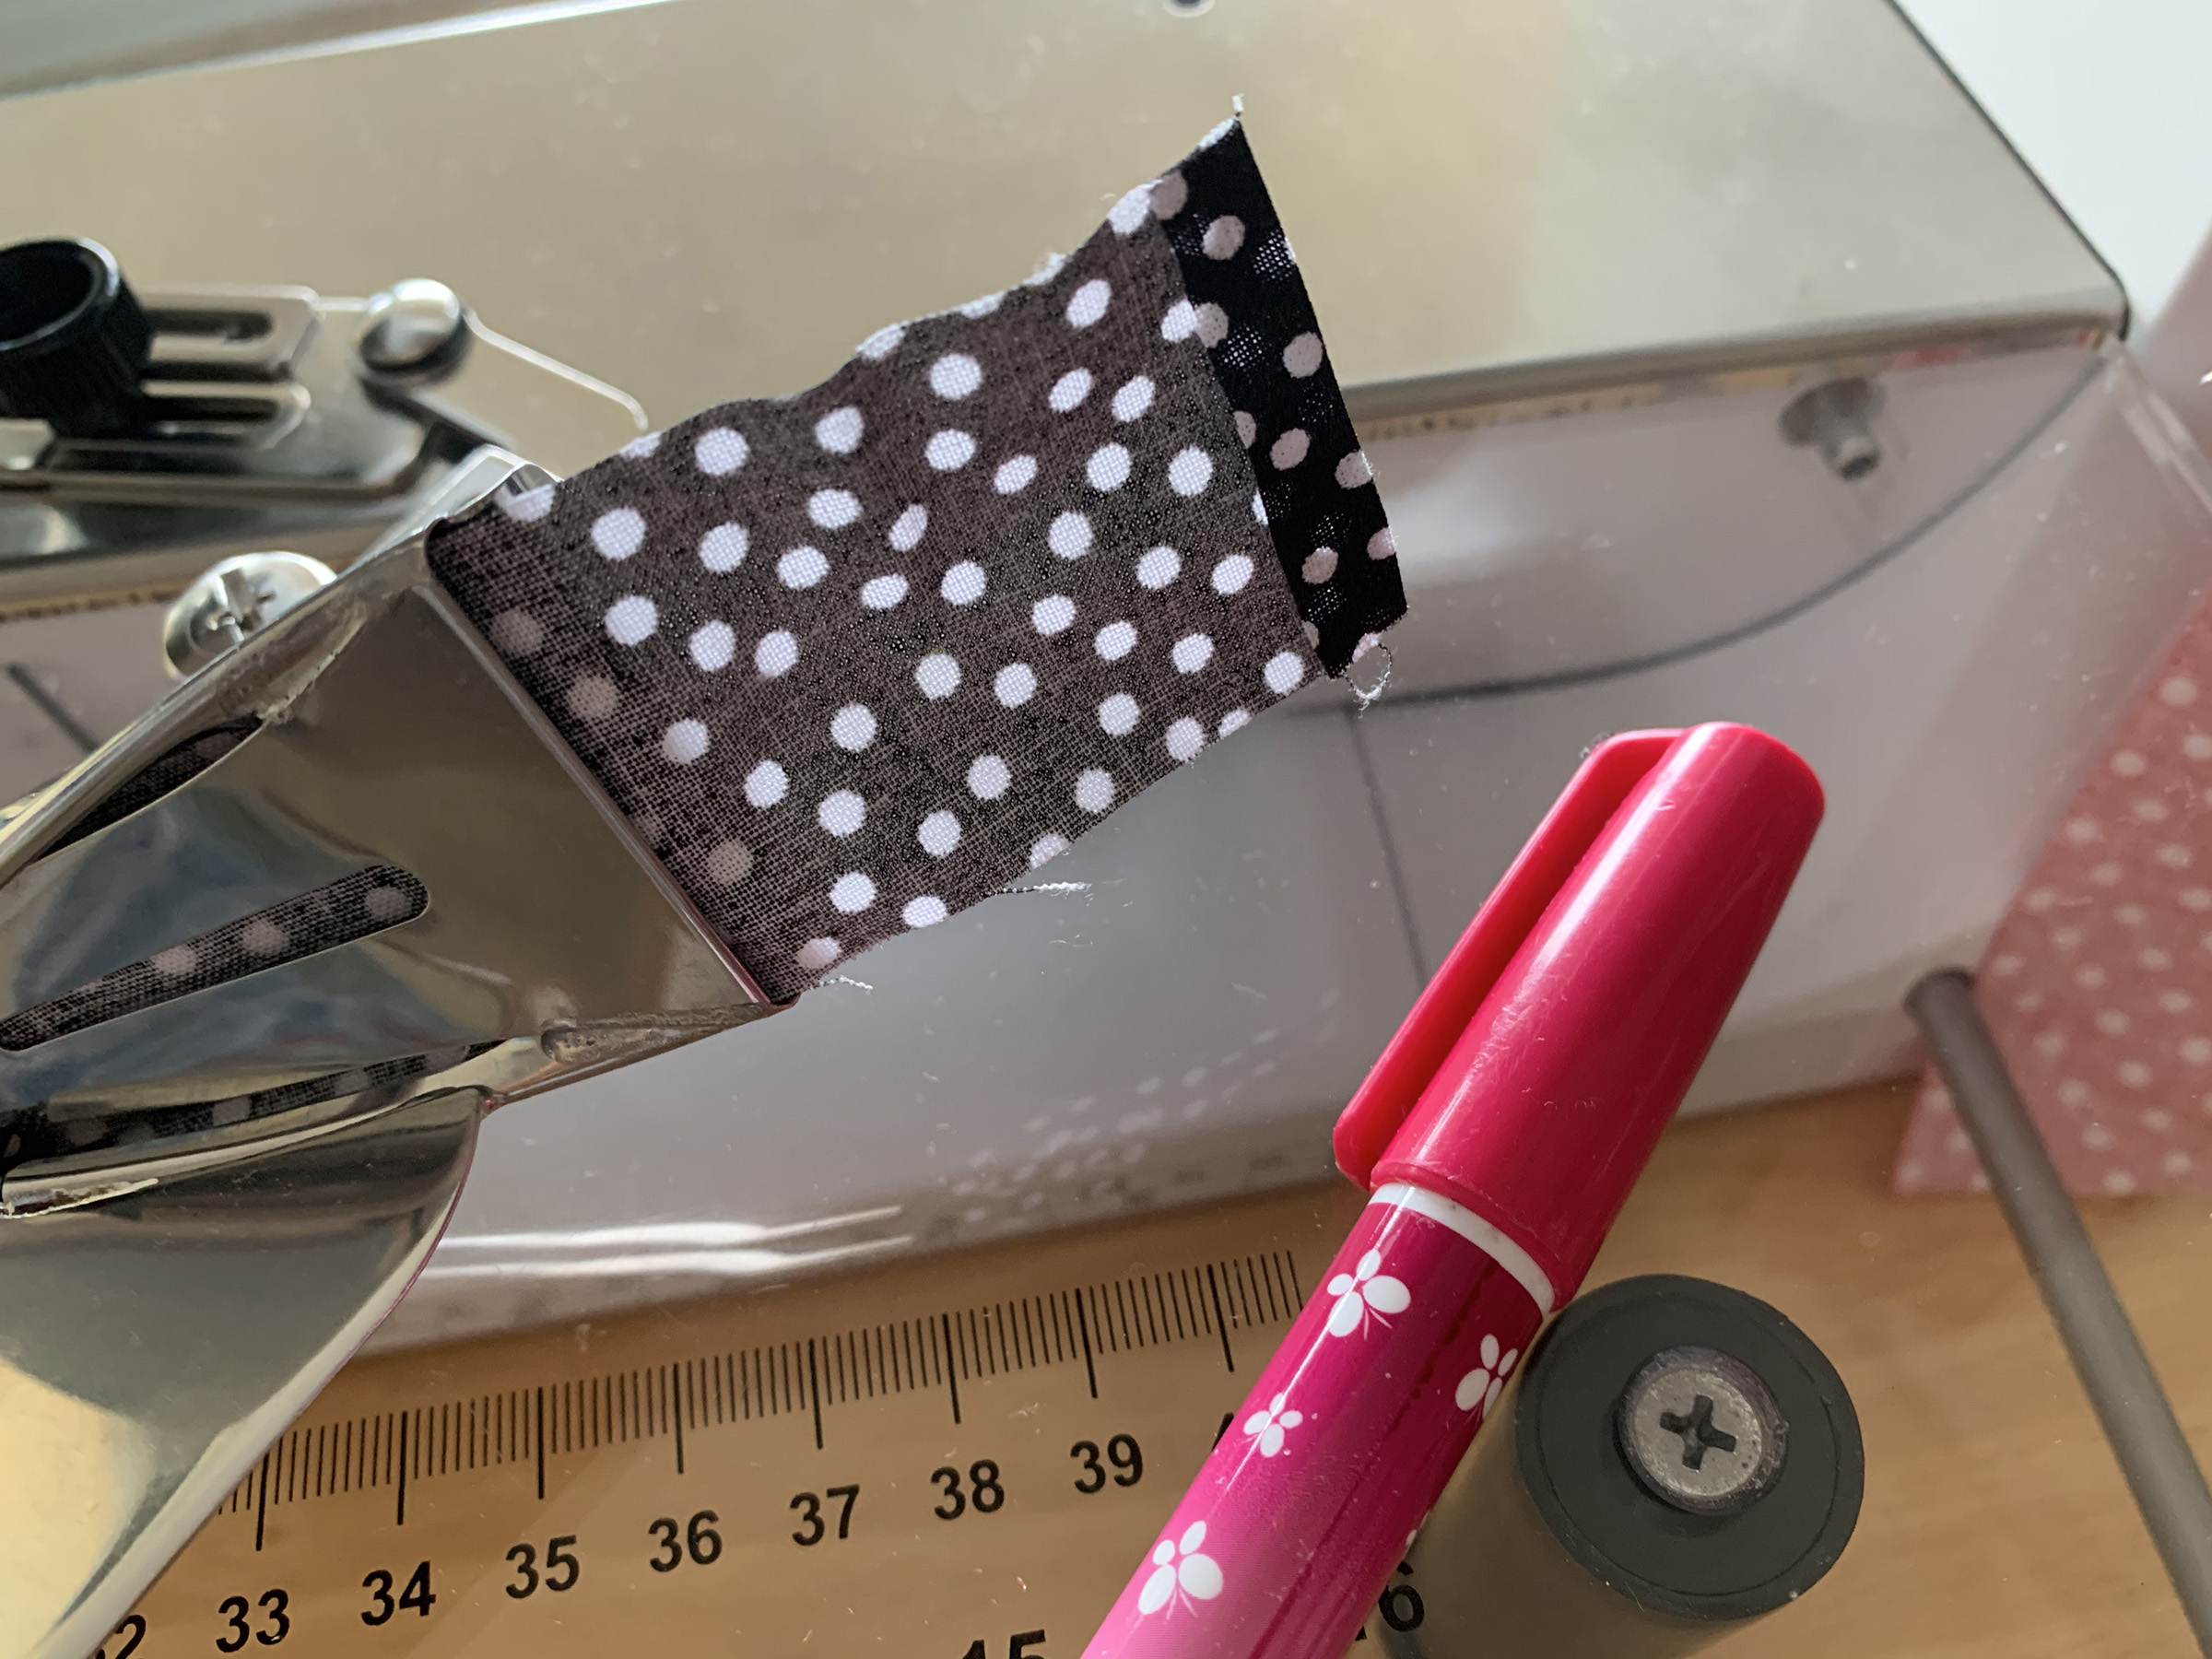
Find the beginning of the bias strip. Turn it over and look to see where the stitching is clean and edges are neat. Clip this end and discard the extra fabric. Sometimes a stitch-ripper is needed to get it to where you wish to clip it.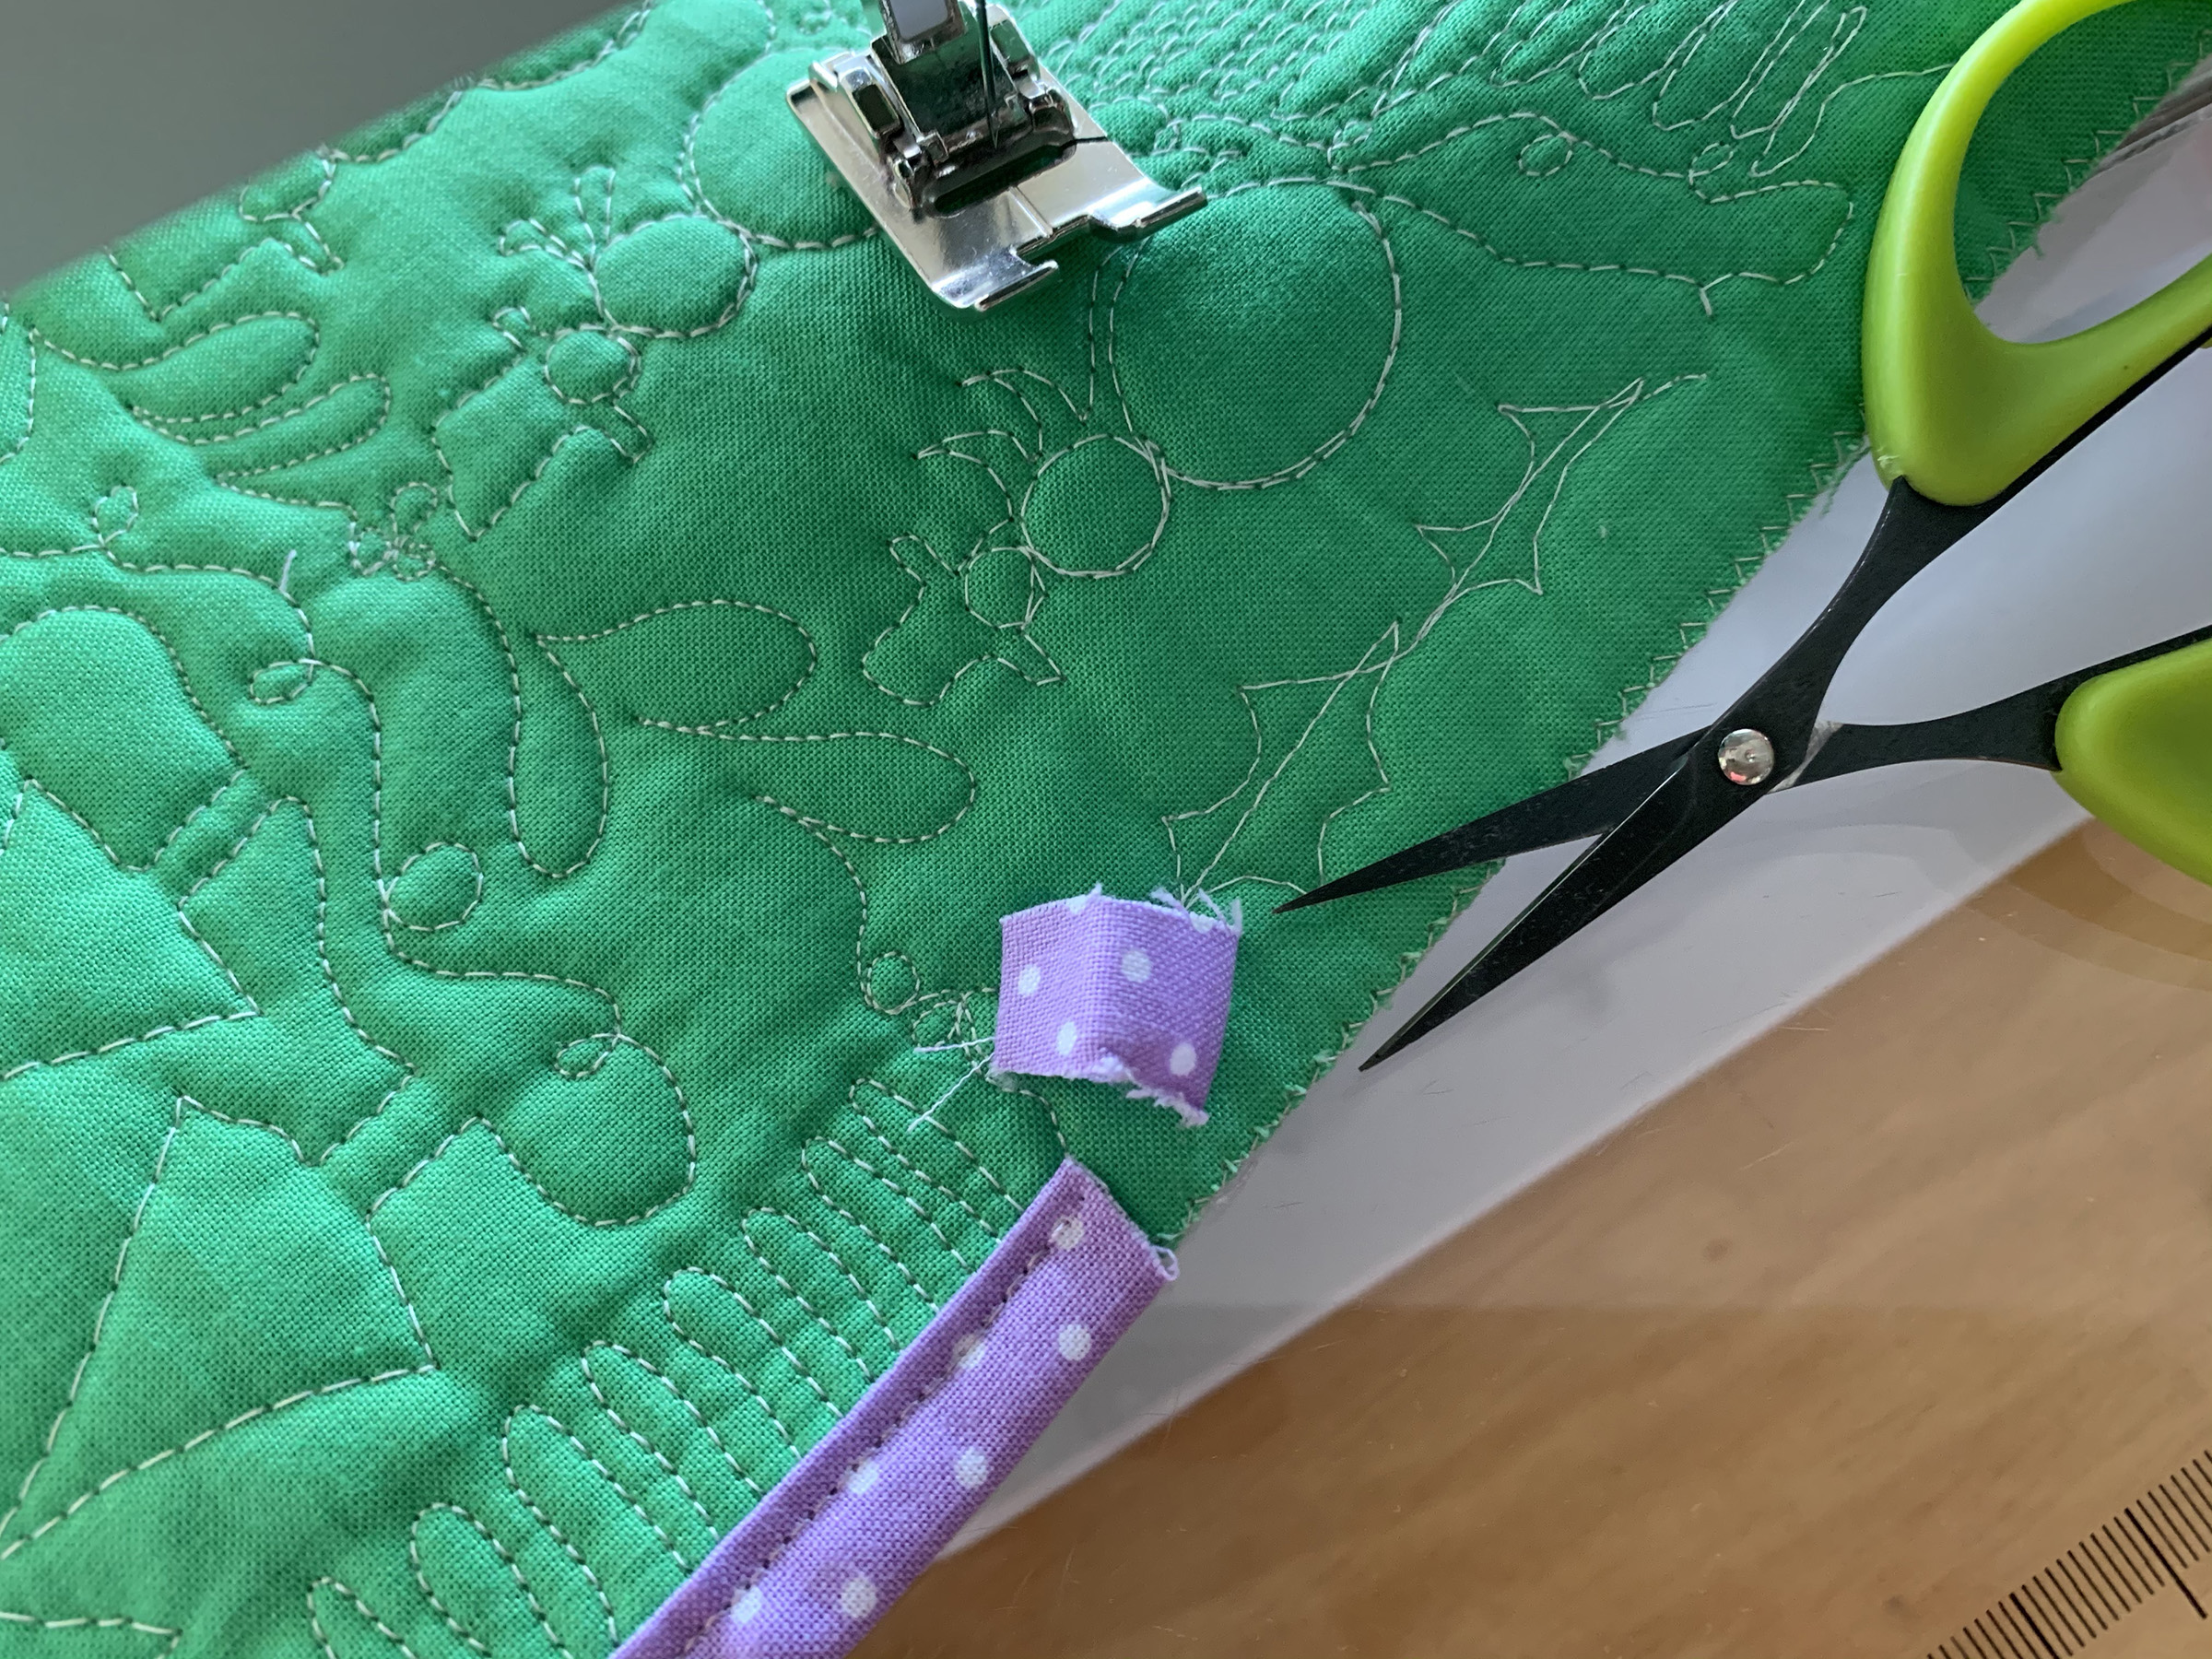
Measure 6″ up from the end you just cut and mark. Be sure to mark far enough into the left side of the sewing area so you do not accidentally stitch over the marking.
Sew up to the marking and stop with the needle in the down position. The next part is always magical for me. The BERNINA Binder attachment #88 is metal and the measurements will never change. I have determined EXACTLY where to cut in order to have a finished tail with a 1/2″ overlap.
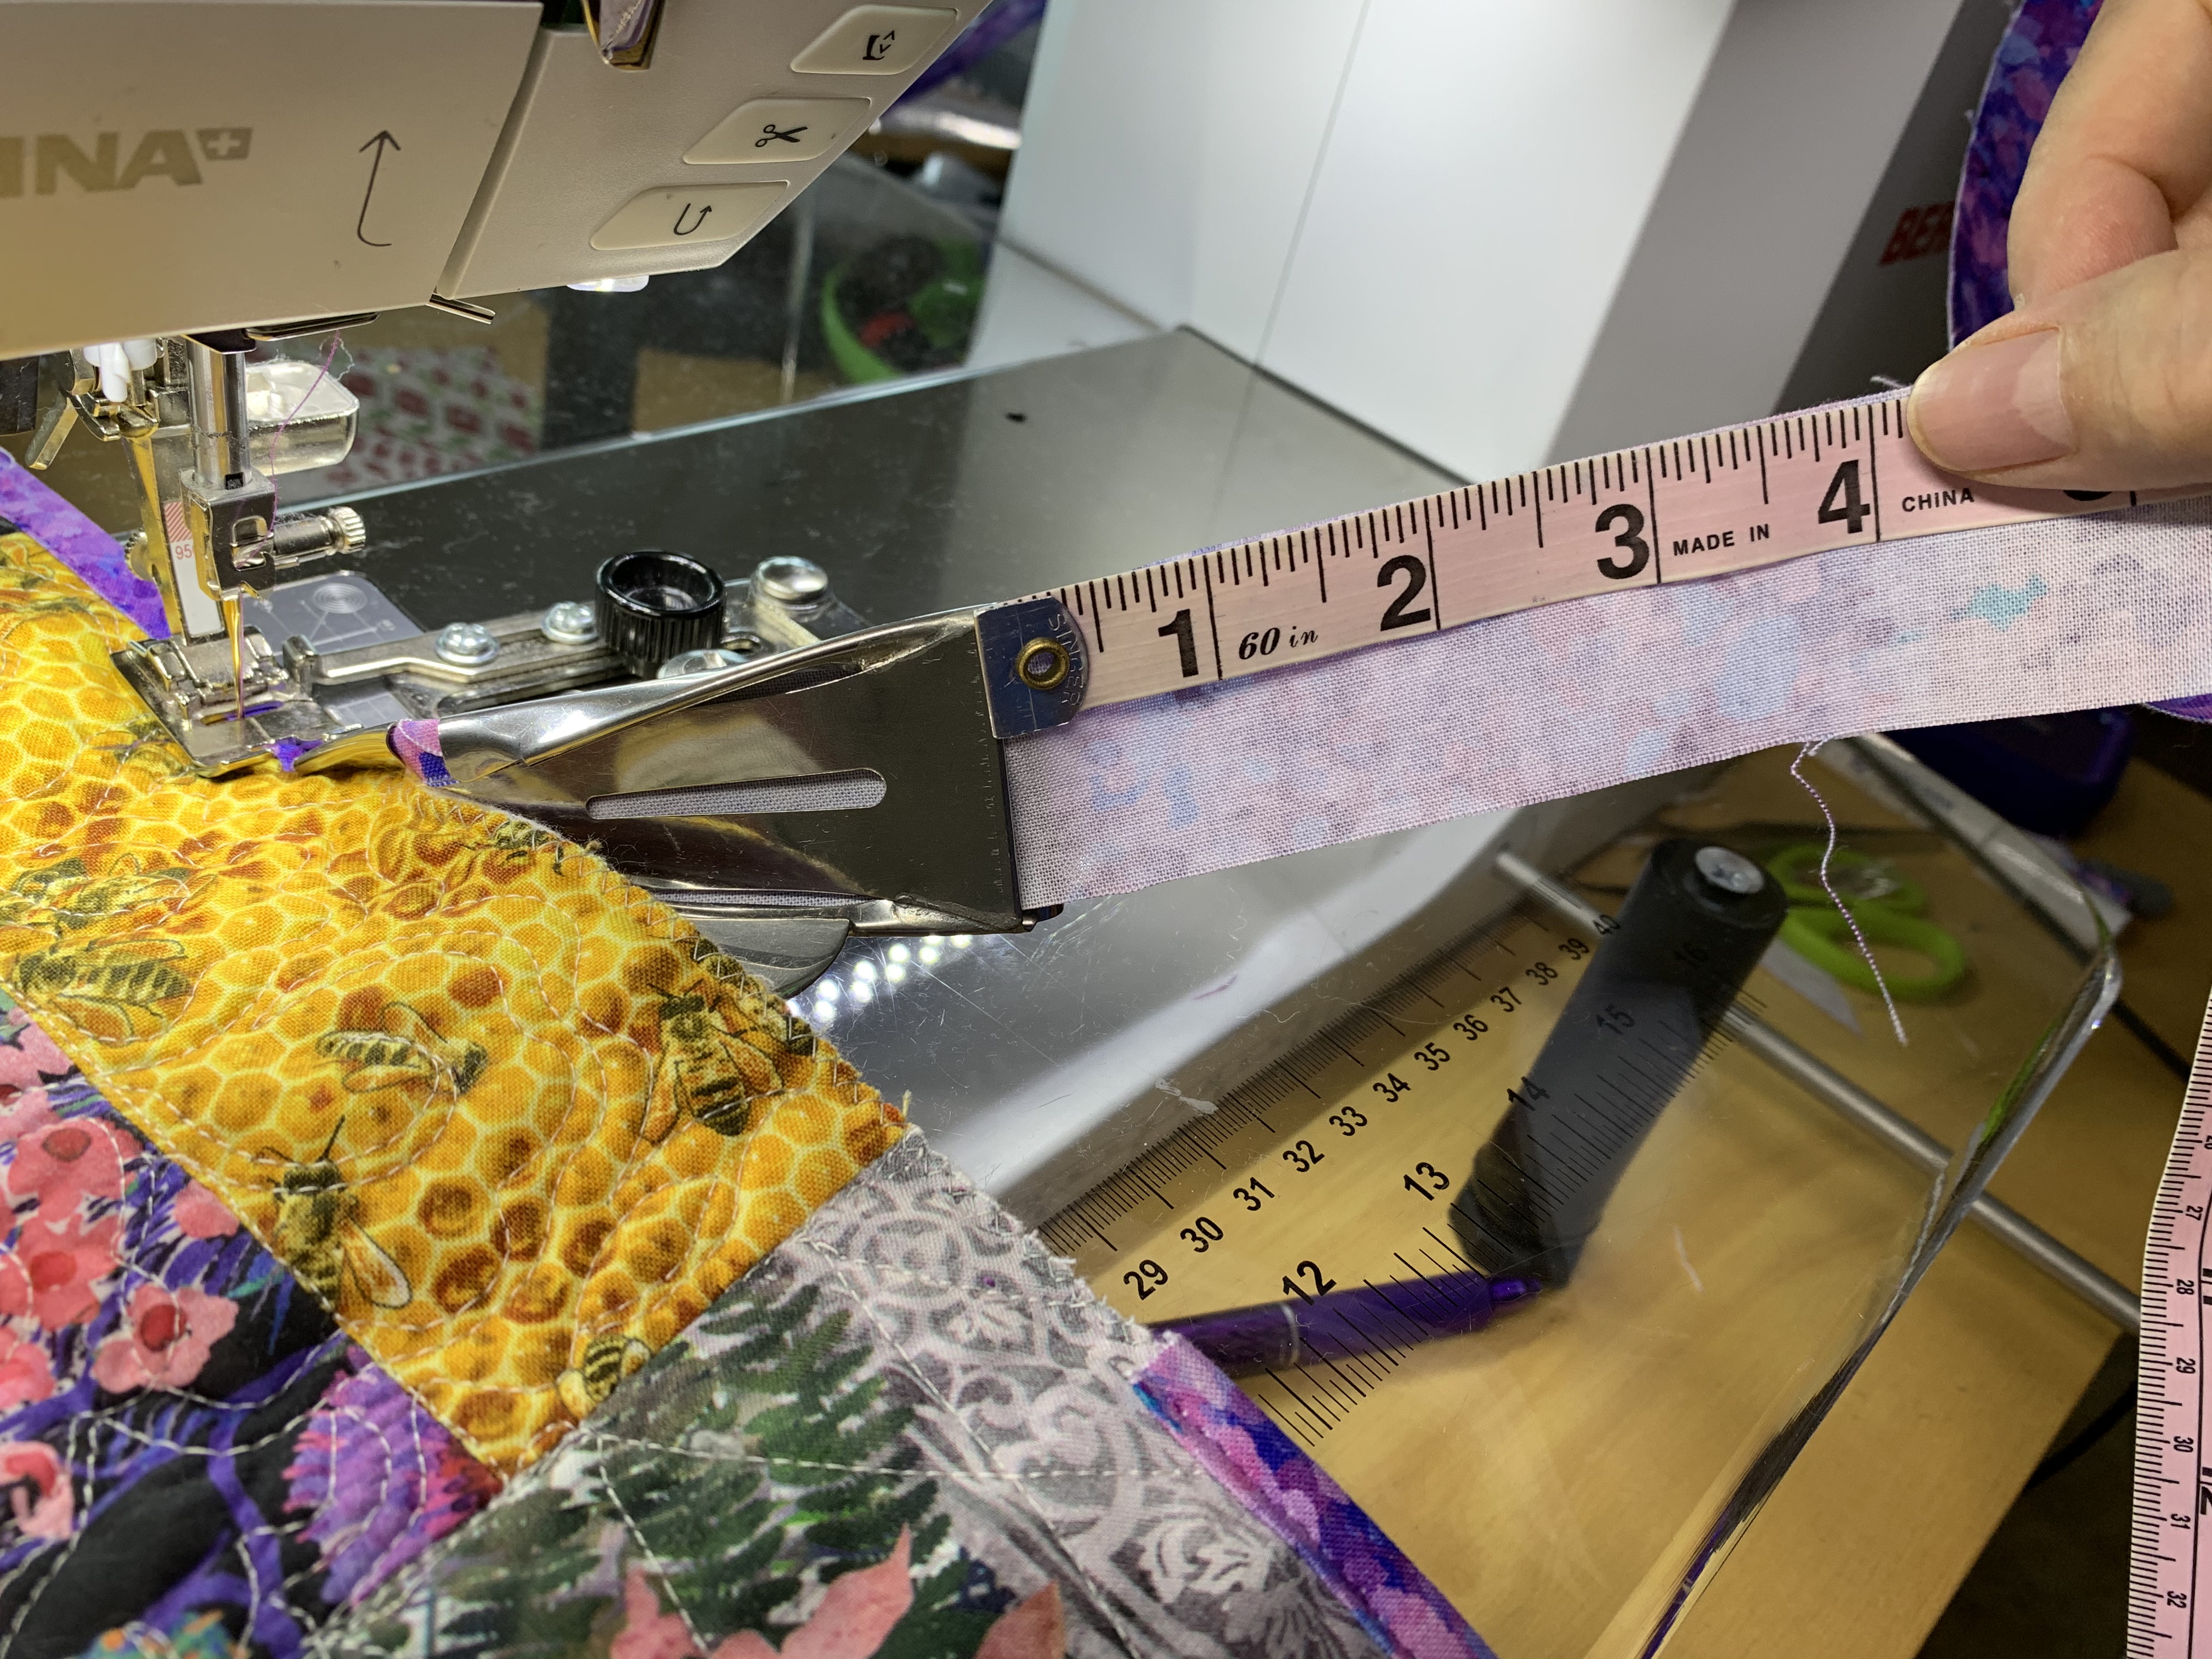
Line up the measuring tape with the end of the attachment and measure 2 1/2″. Cut the bias strip. I know…trust me! Turn under 1/4″. Glue and press firmly into place.
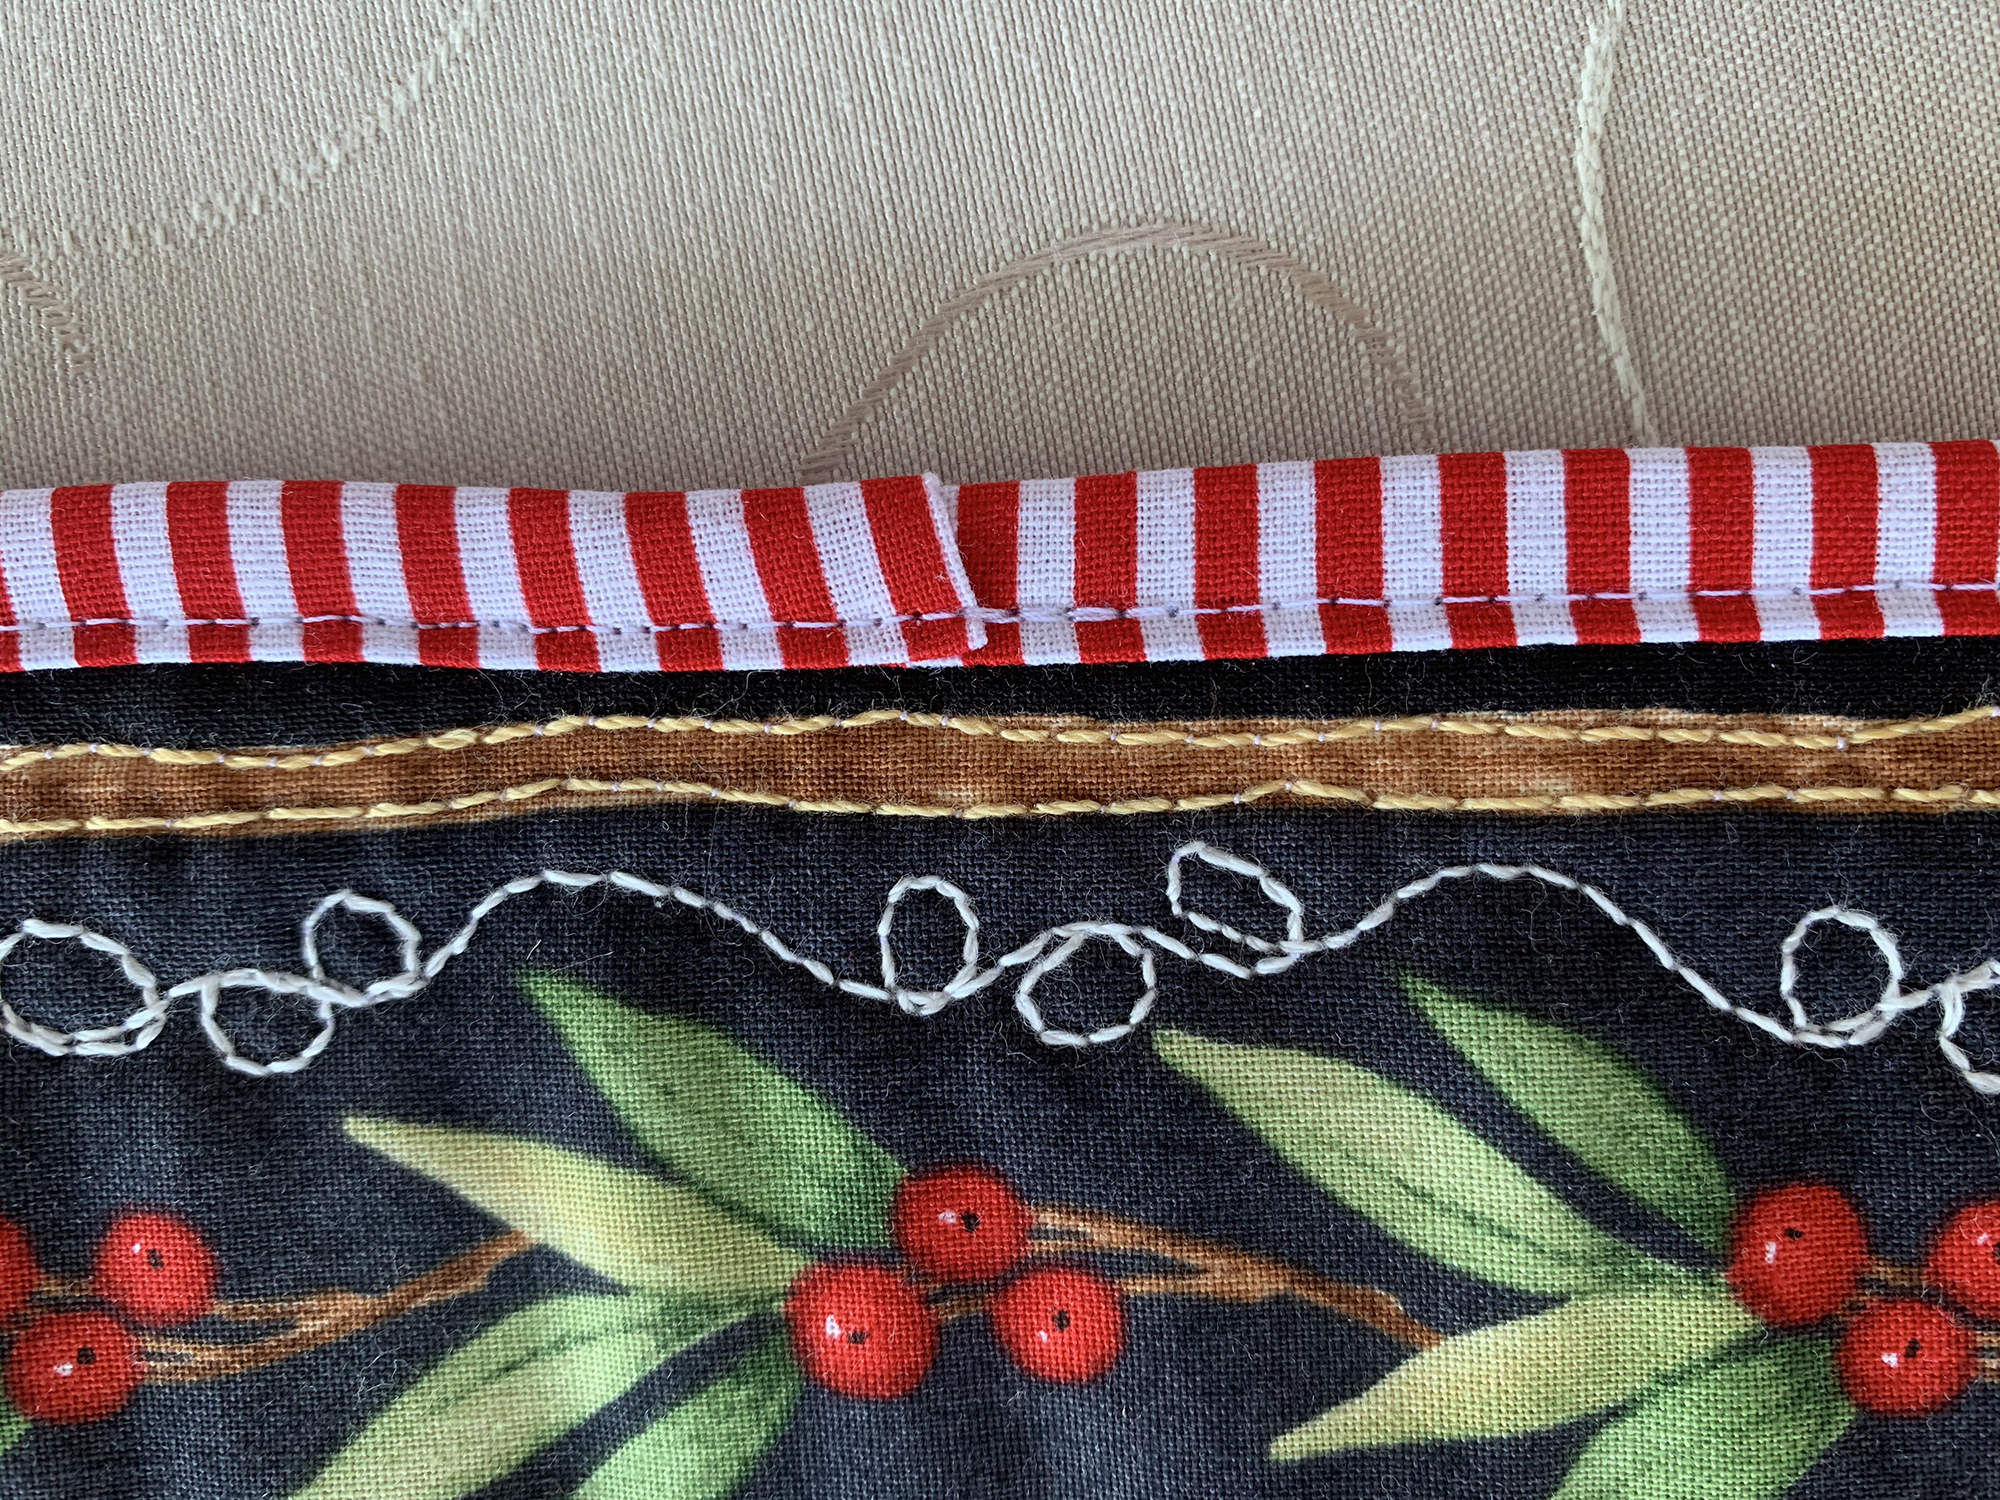
Slowly continue sewing to the end. As you approach your beginning binding look to see that the bias matches up. If not, use the stiletto to ease and tuck it in and under as you stitch the tail into place. Voila!
Practice, practice, practice! After creating over thirty placemats as gifts, I had the confidence to easily bind queen-sized quilts. I wish to thank the tremendous insight brought to me by other creators Sara Snuggerud and Shelly Fitzgerald who helped steer me in the right direction. *Tip: Memorize this quote by Sara Snuggerud, “Don’t ever let perfect get in the way of good.” It will take away all the stress!
NOW is the time to experience the joy of creating made easier by this masterful tool.
Used Products


What you might also like


15 comments on “Quilt Binding Tips and Techniques”
-
-
Great, any updates? How did you do?
-
-
This is the first I have heard of the Bernina binder attachment #88. What a great way to get the binding on
a quilt when arthritic hands can no longer do the hand stitching.-
Yes, it opened a whole world up to me! I used to dread this part of the project, now I actually look forward to it:)
-
-
I have the B 57O QE and the #87 bias-binder and love it. I practised making a dozen bibs. Still struggle a bit with (half) circles like the neckline, but the bottom corners went OK. Zigzagging before putting the binding on helps, especially when using towelling for the bibs.
-
Fantastic to hear, yes zigzagging the edges really helps keep everything smooth as you feed it through the bias-binder:)
-
-
Please, can I use #88, I have a new Bernina 570 qe?
-
Absolutely! My sister has the BERNINA 570 QE and uses #88 all the time:)
-
-
The instructions are confusing – are you using bias strips or straight grain strips?
-
Step #2 is pretty straight forward. As per the instructions included with the attachment all strips are cut in 1 1/2 strips.
“Fold 44″-45″ fabric in half and cut six strips for the binding of four placemats. The strips are cut 1 1/2″ wide when using the 38mm BERNINA Binder attachment #88.
Sew the six bias strips together, clip seams to 1/4″ and press open.
-
-
Can I use this to do a single fold bias binding? I cut my strips at 2 1/2 inches then fold them in half, sew them to the front of my quilt, and then machine stitch from the front to catch the back of the binding with a decorative stitch. Will this attachment work for that so I can do it all in one step?
-
No, tall strips must be cut exactly 1 1/2″ in order to be fed into this attachment.
-
All strips not tall strips:)
-
-
-
Thank you for this wonderful tutorial! I put the binder away after a few unsuccessful attempts – my corners are dreadful. Based on your suggestions, I will add this to my 2024 sewing techniques to master! Thank you for the encouragement.
-
Very happy to hear. Just practice a bit and you will get the corners you are looking for:) Enjoy!
-
Leave a Reply
You must be logged in to post a comment.

finally got the attachment out of the box and will attempt to try this.